1. Project management
This week was an introduction week where I learned how to edit my website through programs like git bash and Atom.
GITLAB
GitLab is a web-based Git repository that provides free open and private repositories, issue-following capabilities, and wikis. It is a complete DevOps platform that enables professionals to perform all the tasks in a project—from project planning and source code management to monitoring and security. Furthermore, it allows teams to collaborate and build better software.
GIT
On the first week we were introduced to git bash and Atom. In order to clone the website locally we need to follow these steps:-
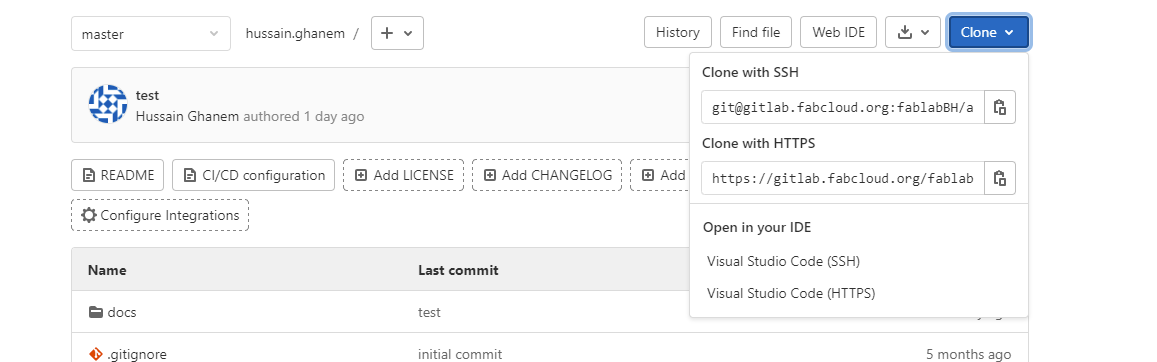
1- Copy the URL (Clone with HTTPS) from Gitlab account.
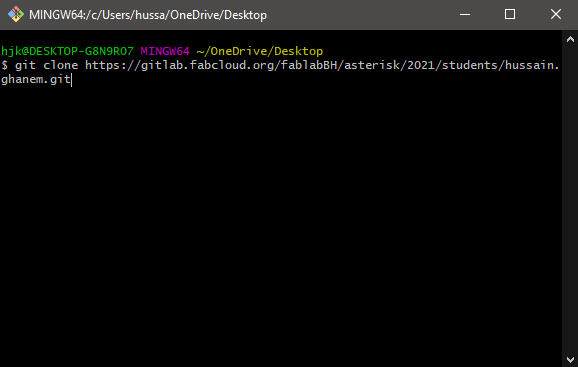
 2- Open Git Bash and paste the URL there through typing command (git clone ‘URL’) and press enter.
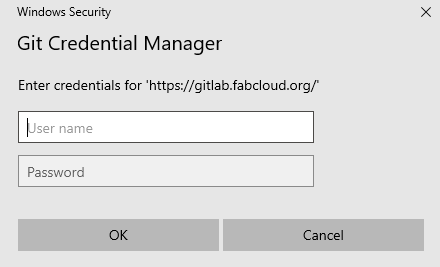
3- Once this popup message appear type in your GitLab username and password in order to finish cloning.
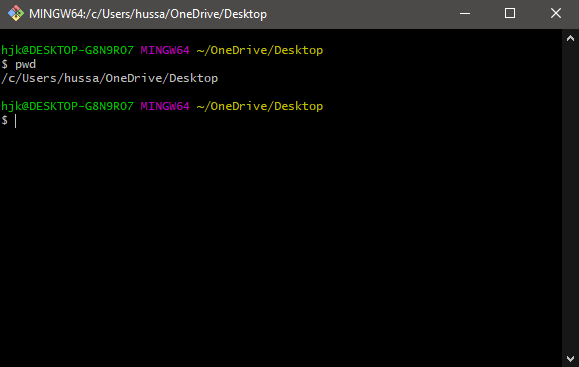
4- To locate your cloned file type command (pwd) to know where you are right now and in which directory your cloned file went to.
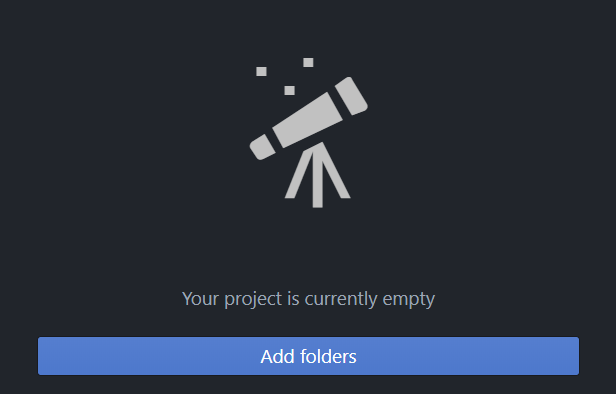
5- Once your file is cloned, open Atom and add the same folder that was cloned before.

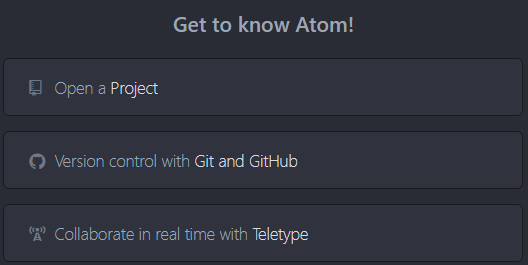
6- Press on version control with git and type in your GitLab username and password.
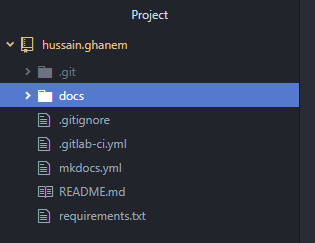
And there you go!! your repository is cloned locally and you can make all your edits in Atom and after that Push (upload) them to your server.
Uploading from Atom
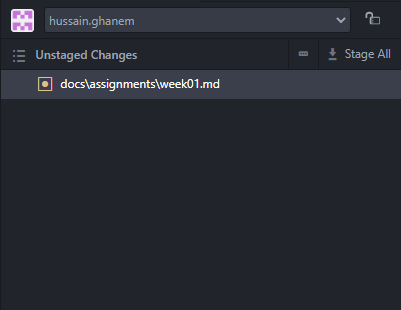
In order to Push updated data, first you need to save first and then Stage all the changes.
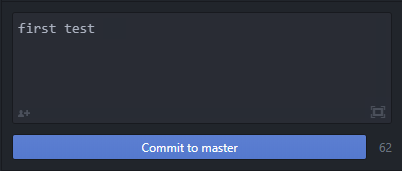
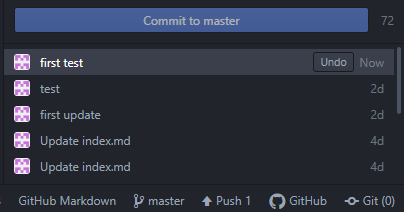
Then, type a Commit message for a reference point (If you want to go back to a specific update later on). And press on Commit to master.
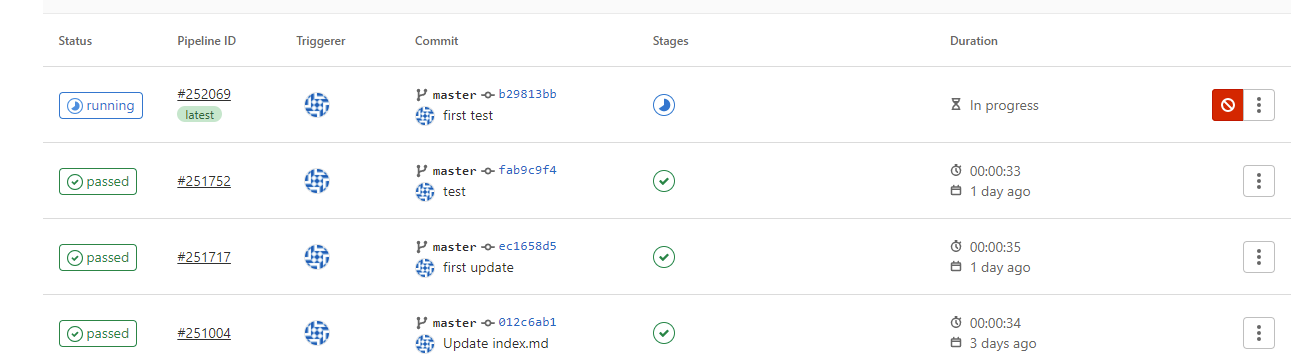
Finally, you press on Push and you will be able to see your updates on GitLab website in (CI/CD>PIPELINES) where the status of the update is shown with the Commit message that you wrote earlier.
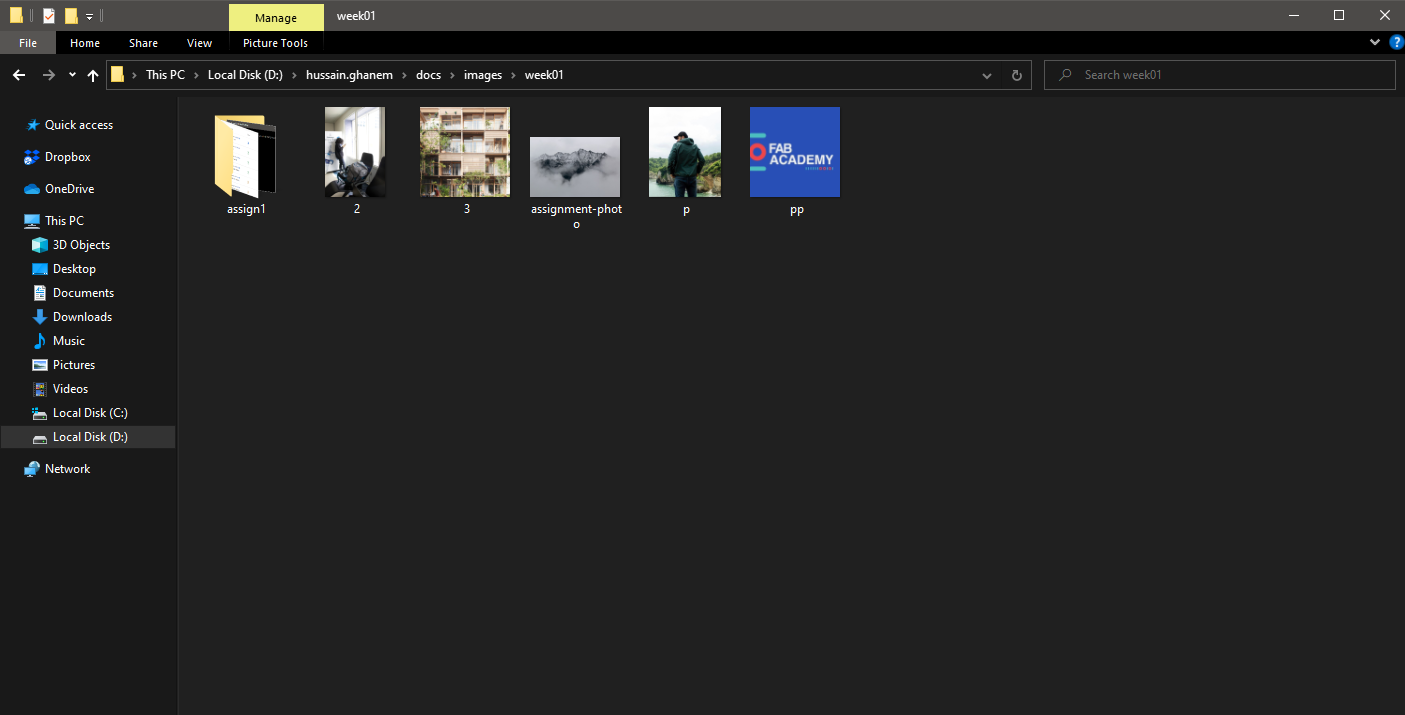
When you want to put pics or videos you have to add them in the repository folder in your computer and then refer to them like this code

Side note: make sure that there are no spaces in the name of the photo (use dashes)
Finally to change the theme of your website interface you edit directly in mkdocs.yml which allows you to change several things like the font and colors
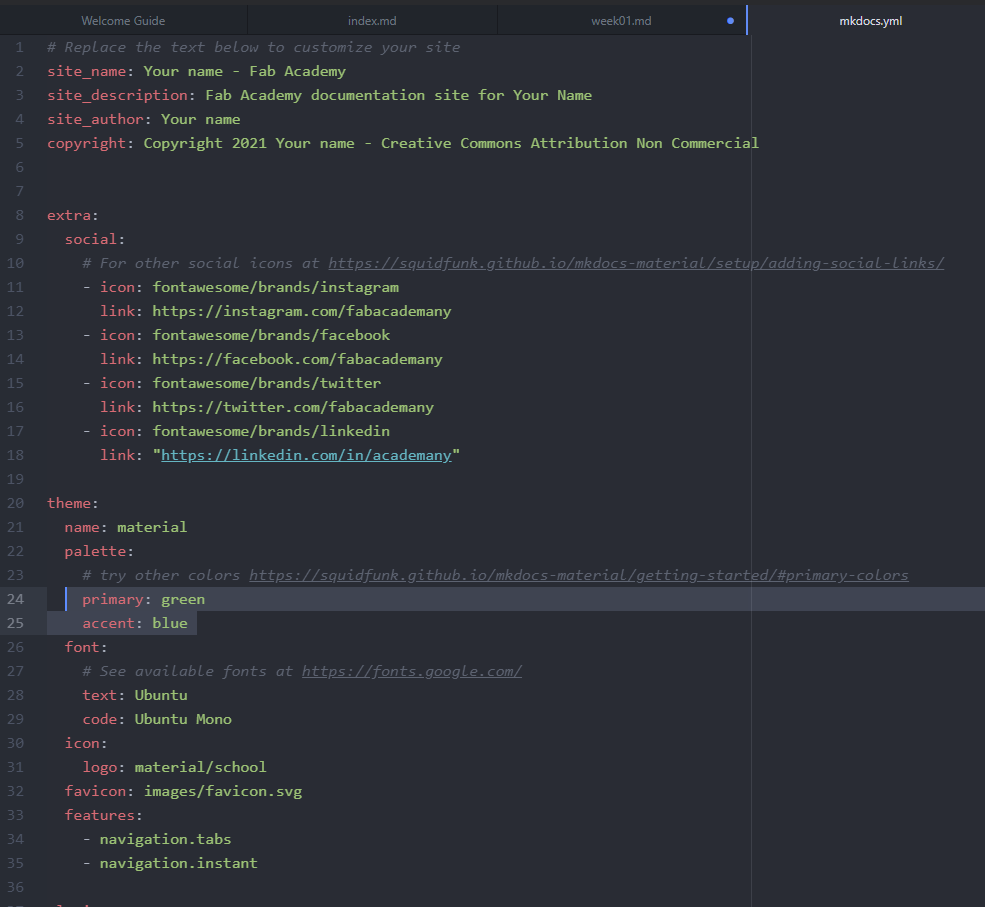
You can see from the highlighted part where you can change the colors
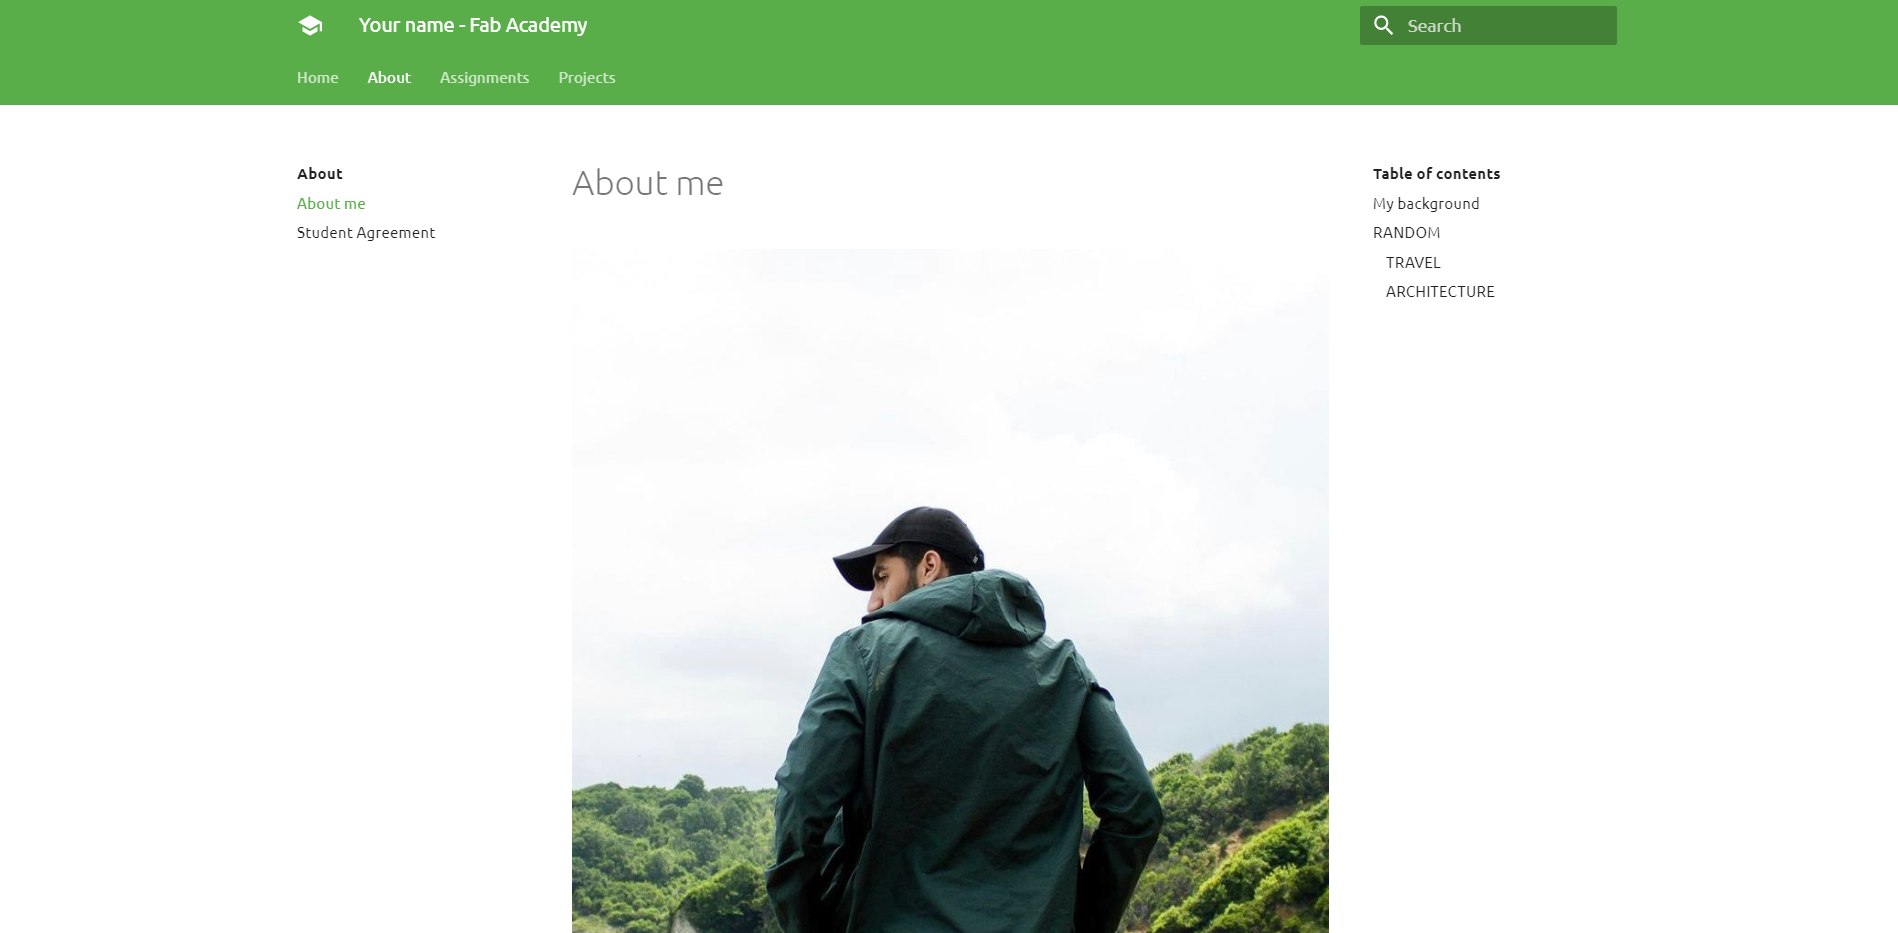
Final interface