7. Input & Output device
This week we worked on input and output devices, connected to Arduino Nano 33 Ble microcontroller.
General information
An input device is something you connect to a computer that sends information into the computer. An output device is something you connect to a computer that has information sent to it.
Input
Input devices are used to allow us to enter information into a computer system. This might be, for example, to control a character in a game, click on a shortcut icon on your desktop, or type data into a spreadsheet. To test this, we tried to use the microcontroller to sense temperature and connected it to the computer to read the results.
Reading temperature
The steps goes as following:
1- Opening a new Arduino page
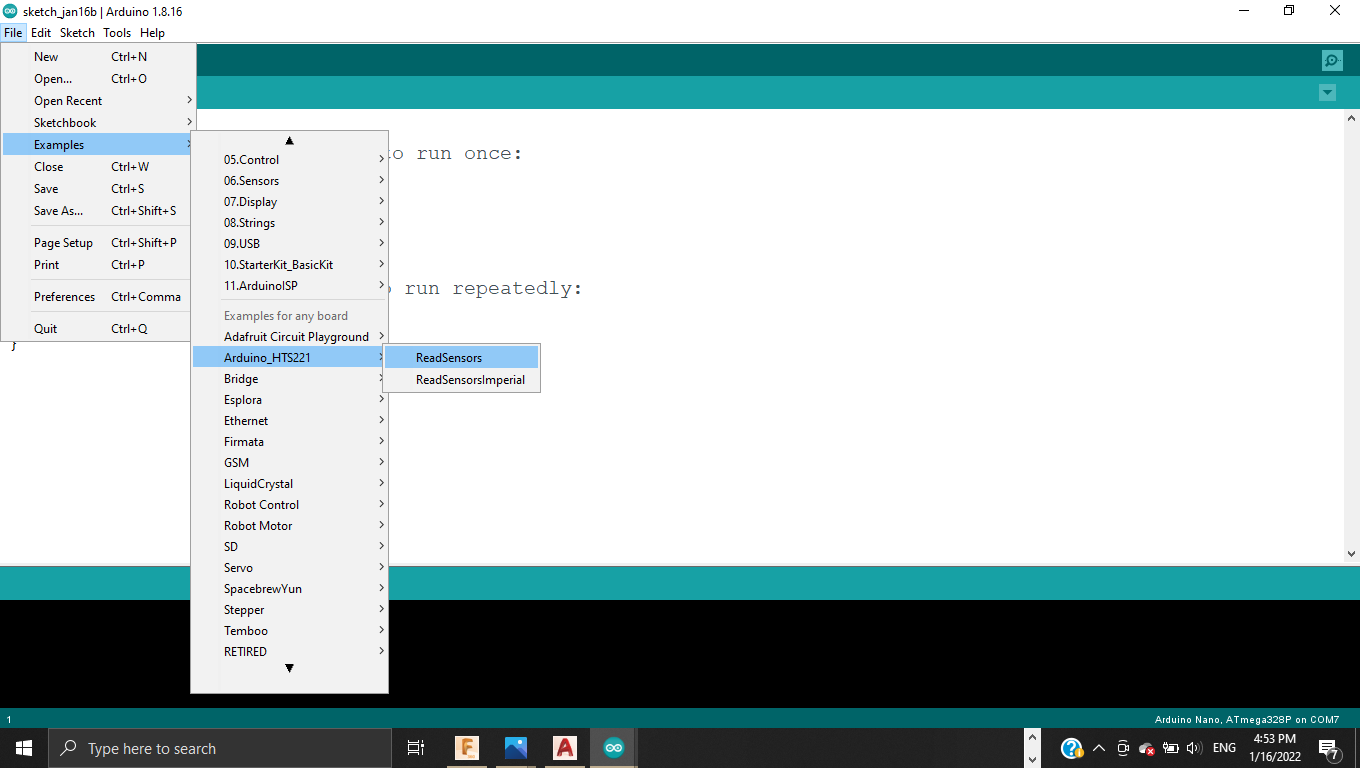
2- Copying the HTS221 library link from Arduino website to download it
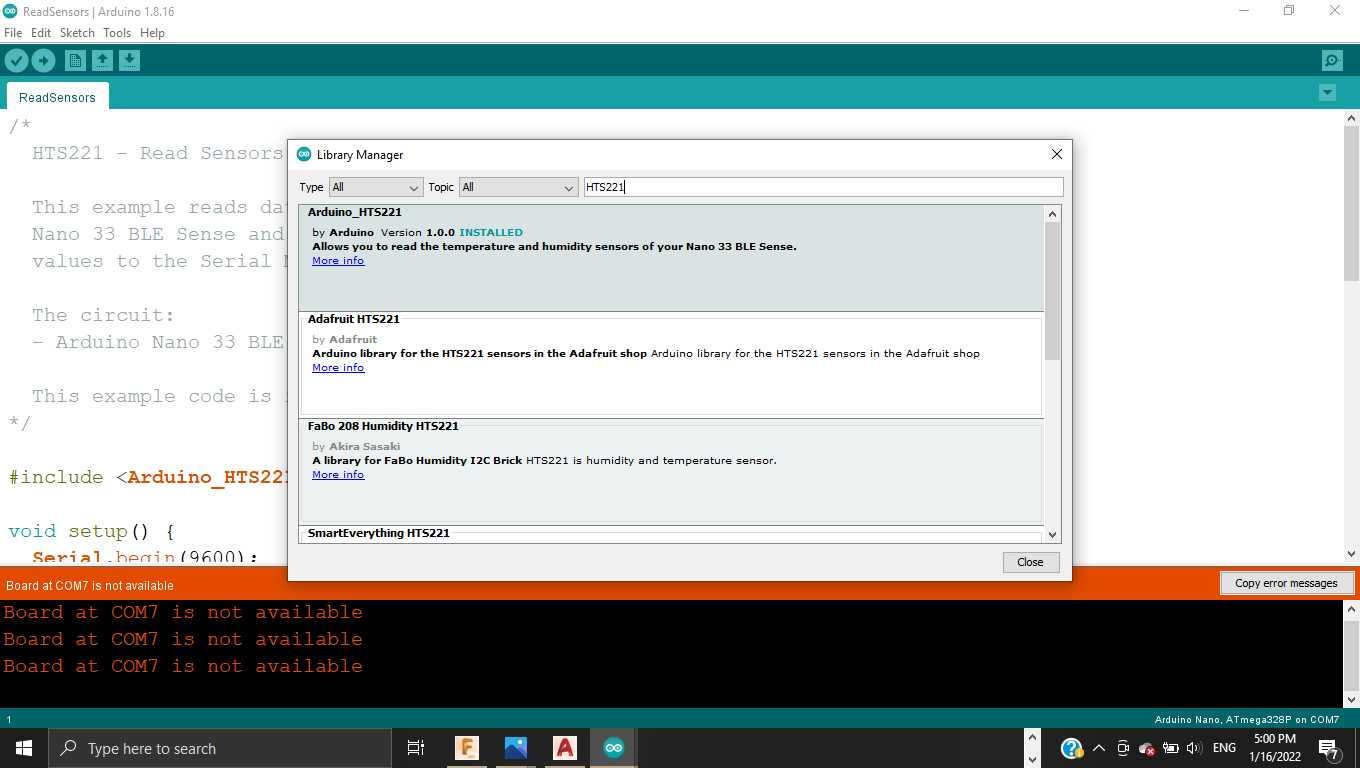
3- Opening Sketch > Include library > Manage libraries
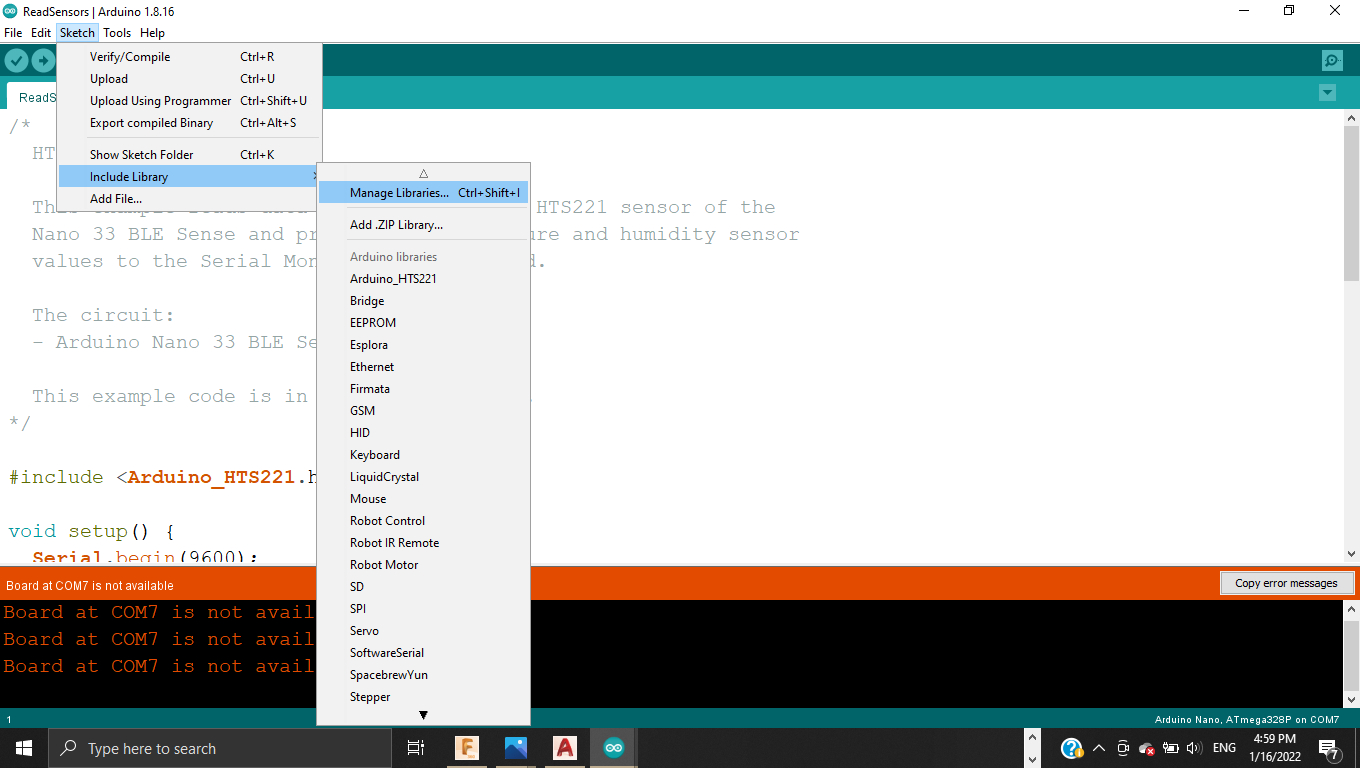
4- Pasting the link copied earlier to make the Arduino read the temperature and humidity sensors
5- Going to Examples > ReadSensors

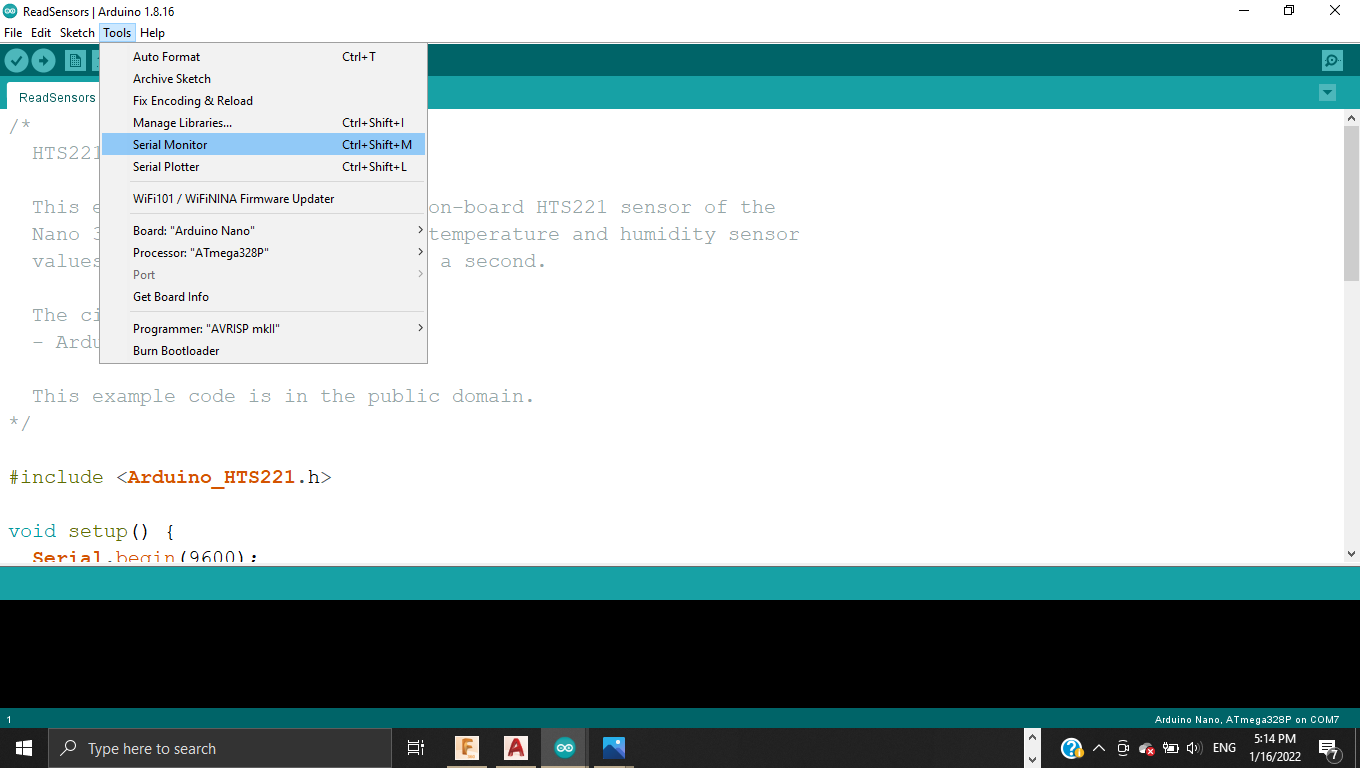
6- Going to serial monitor to show the values
7- This one contains the original temperature and humidity values
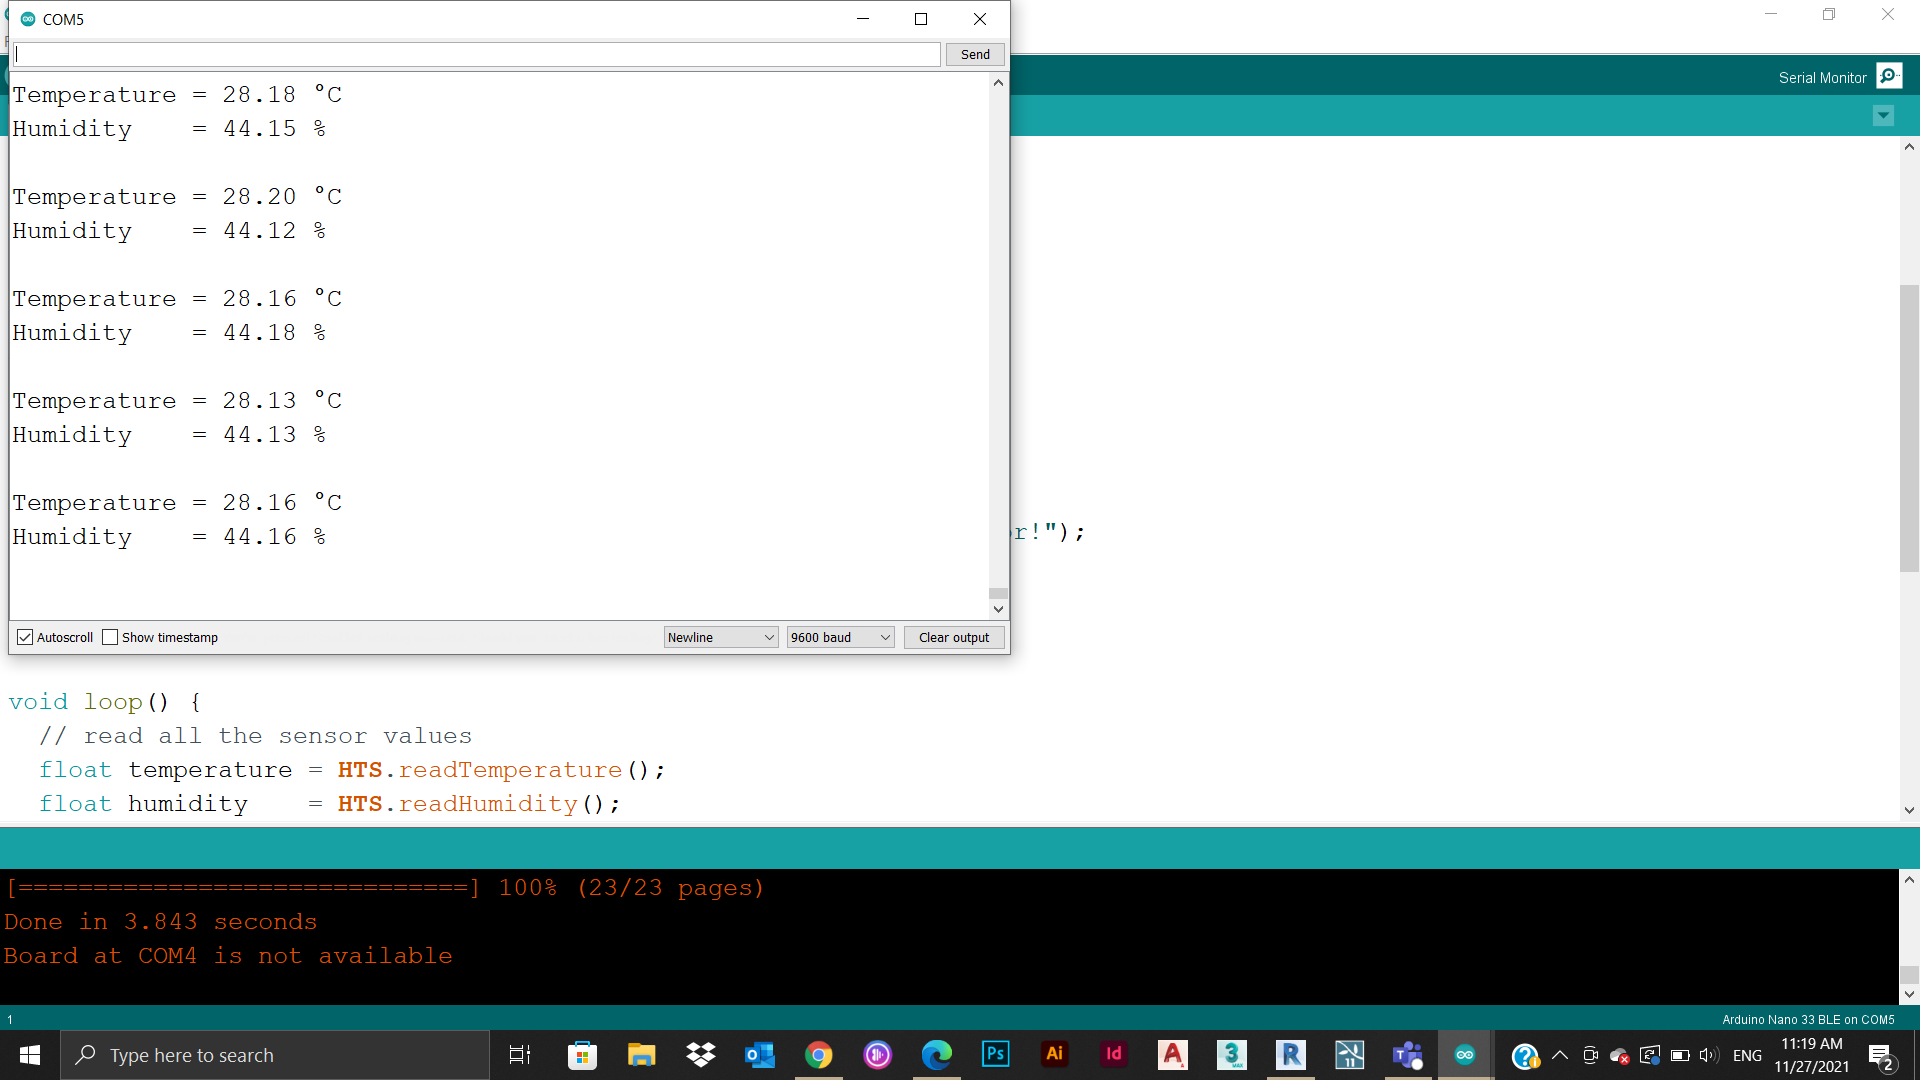
8- This one after heating the Arduino by holding it and it shows the new temperature and humidity values

Temperature and Humidity code
/*
  HTS221 - Read Sensors

  This example reads data from the on-board HTS221 sensor of the
  Nano 33 BLE Sense and prints the temperature and humidity sensor
  values to the Serial Monitor once a second.

  The circuit:
  - Arduino Nano 33 BLE Sense

  This example code is in the public domain.
*/

#include <Arduino_HTS221.h>

void setup() {
  Serial.begin(9600);
  while (!Serial);

  if (!HTS.begin()) {
    Serial.println("Failed to initialize humidity temperature sensor!");
    while (1);
  }
}

void loop() {
  // read all the sensor values
  float temperature = HTS.readTemperature();
  float humidity    = HTS.readHumidity();

  // print each of the sensor values
  Serial.print("Temperature = ");
  Serial.print(temperature);
  Serial.println(" °C");

  Serial.print("Humidity    = ");
  Serial.print(humidity);
  Serial.println(" %");

  // print an empty line
  Serial.println();

  // wait 1 second to print again
  delay(1000);
}
Output
Output devices provide data in myriad different forms, some of which include audio, visual, and hard copy media. The devices are usually used for display, projection, or for physical reproduction. Monitors and printers are two of the most commonly-known output devices used with a computer. To test this device I chose the servo.
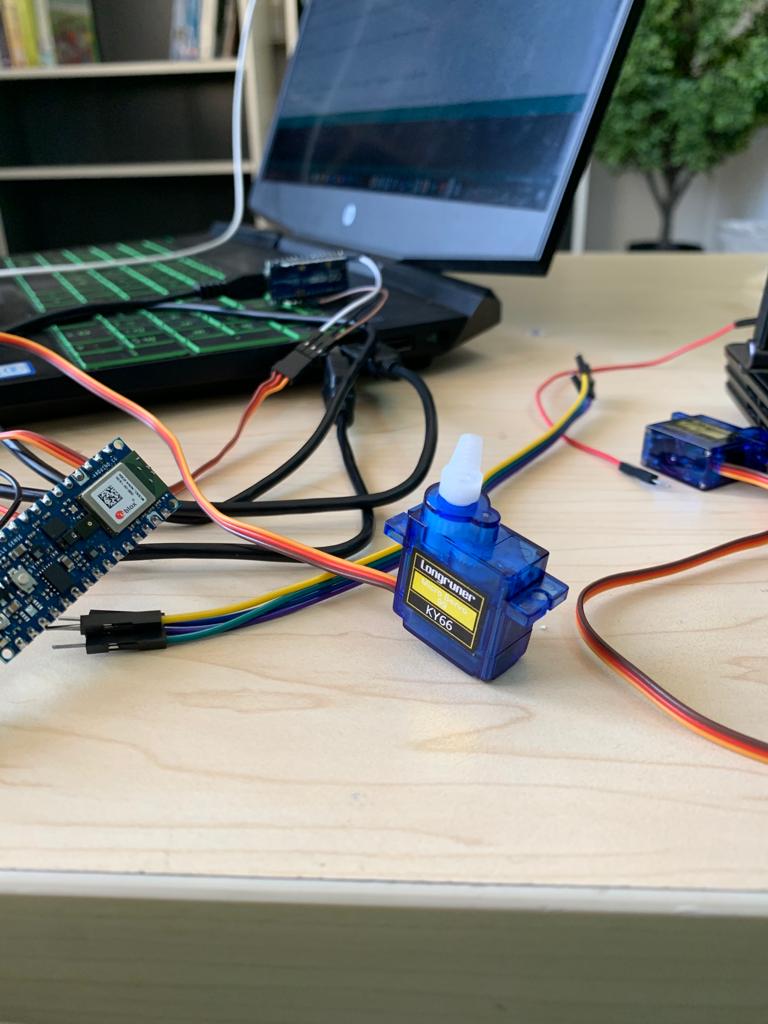
Servo motor
Servo motors or “servos”, as they are known, are electronic devices and rotary or linear actuators that rotate and push parts of a machine with precision. Servos are mainly used on angular or linear position and for specific velocity, and acceleration. This time we needed to connect the servo motor with the micro controller by jumper wires.
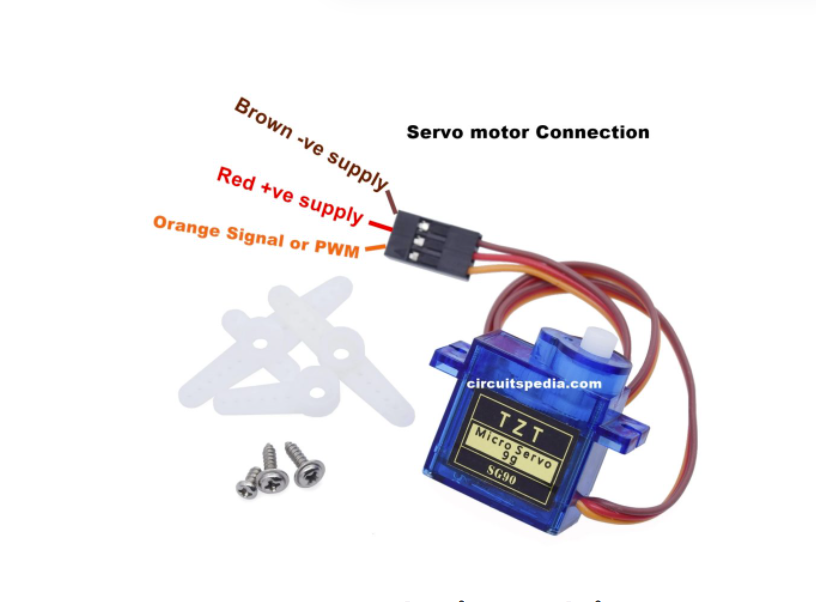
So the connections we need here are Ground to Ground, Power to Vin, Digital to D6
After that comes the programming part with the steps following:
1- Going to Examples > Servo > Sweep
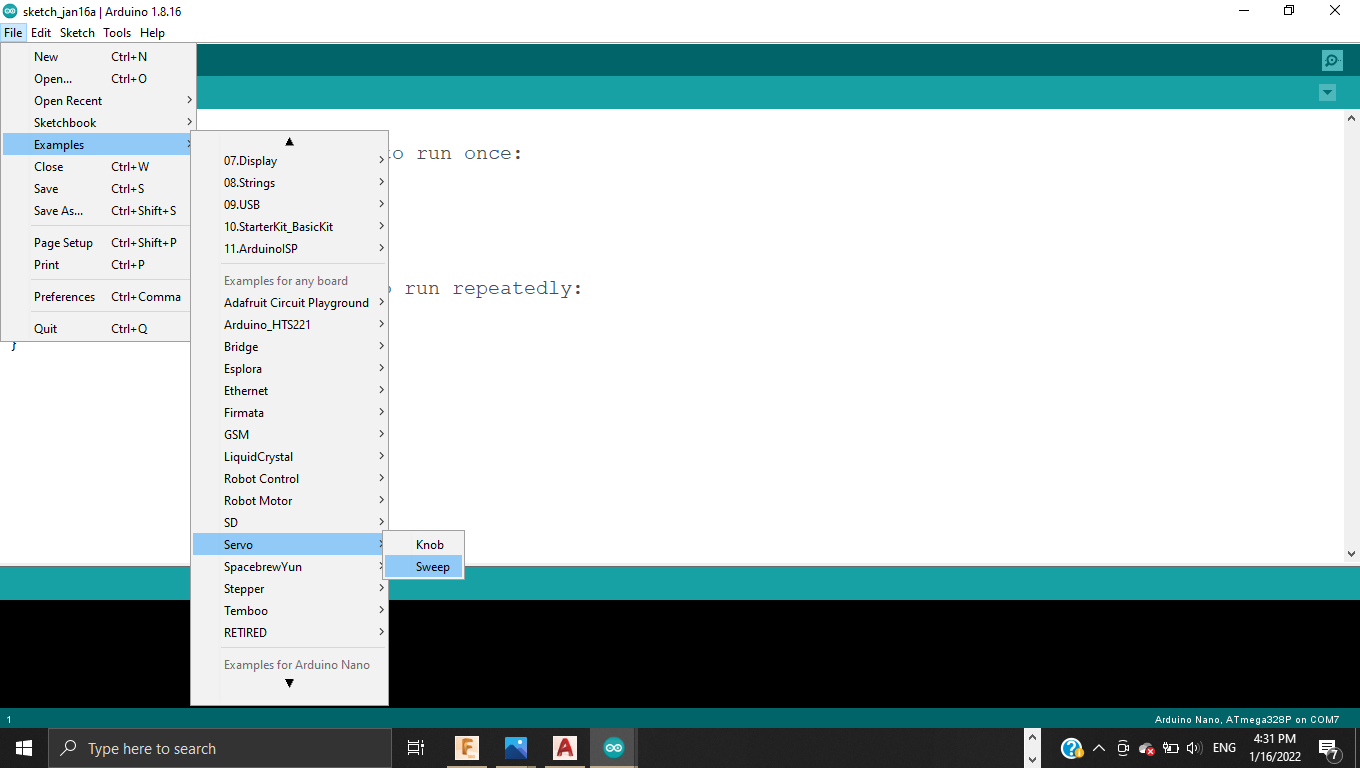
2- The code now shows
3- Changing the pos to the value of 180 which is the maximum movement degree for this servo and changed the delay to 1000

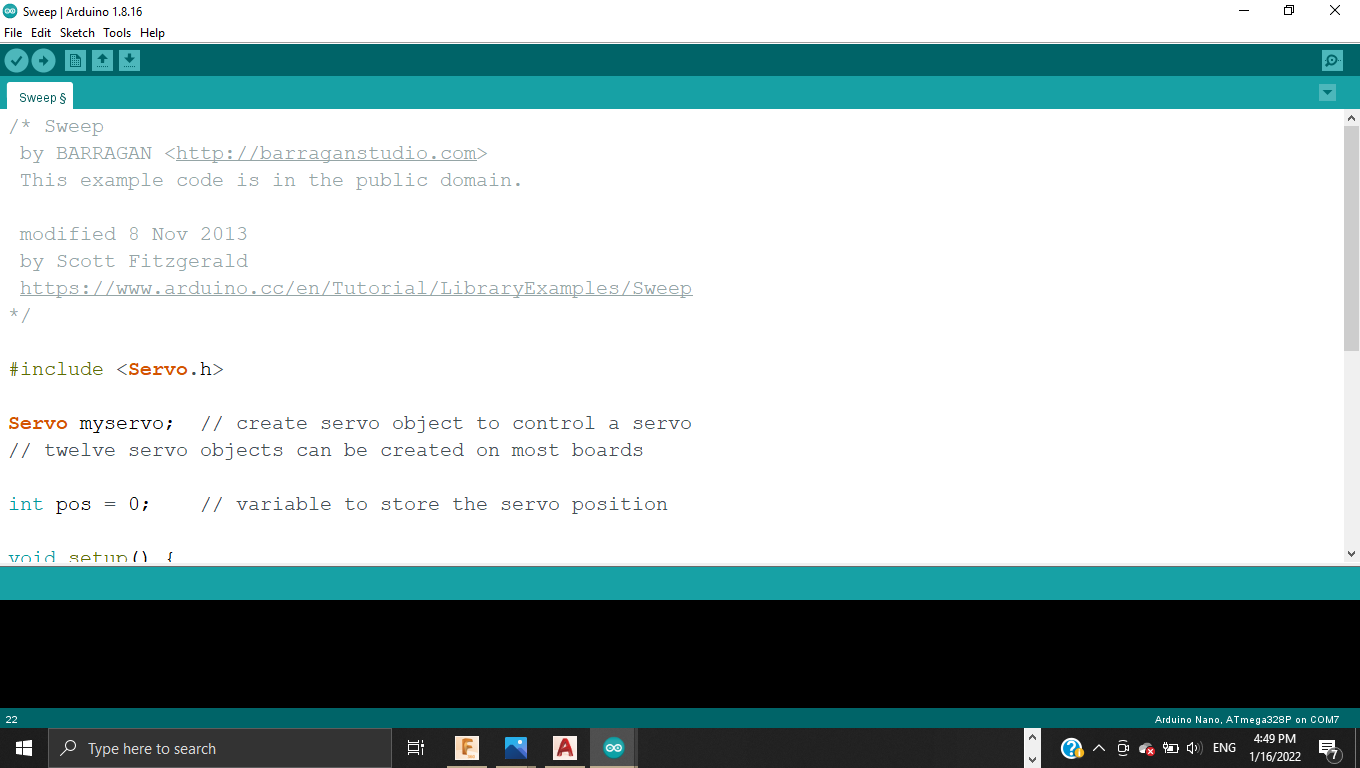
Sweep code
/* Sweep
 by BARRAGAN <http://barraganstudio.com>
 This example code is in the public domain.

 modified 8 Nov 2013
 by Scott Fitzgerald
 https://www.arduino.cc/en/Tutorial/LibraryExamples/Sweep
*/

#include <Servo.h>

Servo myservo;  // create servo object to control a servo
// twelve servo objects can be created on most boards

int pos = 0;    // variable to store the servo position

void setup() {
  myservo.attach(9);  // attaches the servo on pin 9 to the servo object
}

void loop() {
  for (pos = 0; pos <= 180; pos += 1) { // goes from 0 degrees to 180 degrees
    // in steps of 1 degree
    myservo.write(0);              // tell servo to go to position 0
    delay(15);                       // waits 15 ms for the servo to reach the position
  }
  for (pos = 180; pos >= 0; pos -= 1) { // goes from 180 degrees to 0 degrees
    myservo.write(180);              // tell servo to go to position 180
    delay(15);                       // waits 15 ms for the servo to reach the position
  }
}
Results
Servo Test on Vimeo.
Input and Output
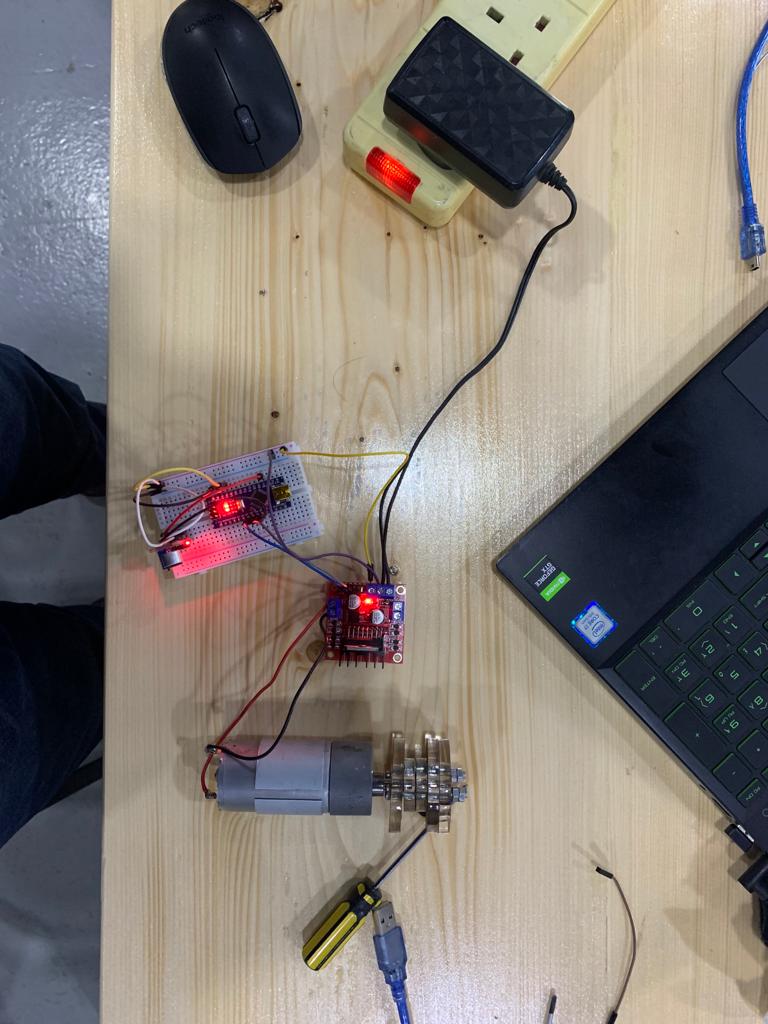
DC Motor and sound sensor
I wanted to make something related to my final project, so the whole idea was to connect DC Motor with sound sensor through Motor driver
you can check out this link for more
What I needed to do this: - DC Motor - Motor driver - Sound sensor - Breadboard - Microcontroller - Jumper wires
code
int sound_digital = 6;
int sound_analog = A0;
int motor2pin1 = 4;
int motor2pin2 = 5;
int motor1pin1 = 7;
int motor1pin2 = 8;
int enA = 3;
int enB = 9;
bool rotate = 0;


void setup(){
Serial.begin(9600);
pinMode(sound_digital, INPUT);
pinMode(motor2pin1, OUTPUT);
pinMode(motor2pin2, OUTPUT);
pinMode(motor1pin1, OUTPUT);
pinMode(motor1pin2, OUTPUT);
pinMode(enA, OUTPUT);
pinMode(enB, OUTPUT);
}


void loop(){
int val_digital = digitalRead(sound_digital);
int val_analog = analogRead(sound_analog);


Serial.print(val_analog);
Serial.print("\t");
Serial.println(val_digital);


if (val_digital == HIGH && rotate == 0)
{
analogWrite(enA, 150);
analogWrite(enB, 150);
digitalWrite(motor2pin1, HIGH);
digitalWrite(motor2pin2, LOW);
digitalWrite(motor1pin1, LOW);
digitalWrite(motor1pin2, HIGH);
delay(4000);
rotate = 1;
}
else if (val_digital == HIGH && rotate == 1)
{
analogWrite(enA, 50);
analogWrite(enB, 50);
digitalWrite(motor2pin1, LOW);
digitalWrite(motor2pin2, HIGH);
digitalWrite(motor1pin1, HIGH);
digitalWrite(motor1pin2, LOW);
delay(4500);
rotate = 0;
}
else if (val_digital == LOW)
{
analogWrite(enA, 255);
analogWrite(enB, 255);
digitalWrite(motor2pin1, LOW);
digitalWrite(motor2pin2, LOW);
digitalWrite(motor1pin1, LOW);
digitalWrite(motor1pin2, LOW);
}
}
Results
Motor Test on Vimeo.