2. Computer Aided design
This week’s task was about exploring 2D and 3D design softwares. I tried 2 softwares for each.
2D design
The 2 softwares that I chose here in 2D are Illustrator and Autocad.
Adobe Illustrator
Adobe Illustrator is 2d design software that is used mostly by graphic designers. It produces vector drawings that deal with lines rather than pixels.
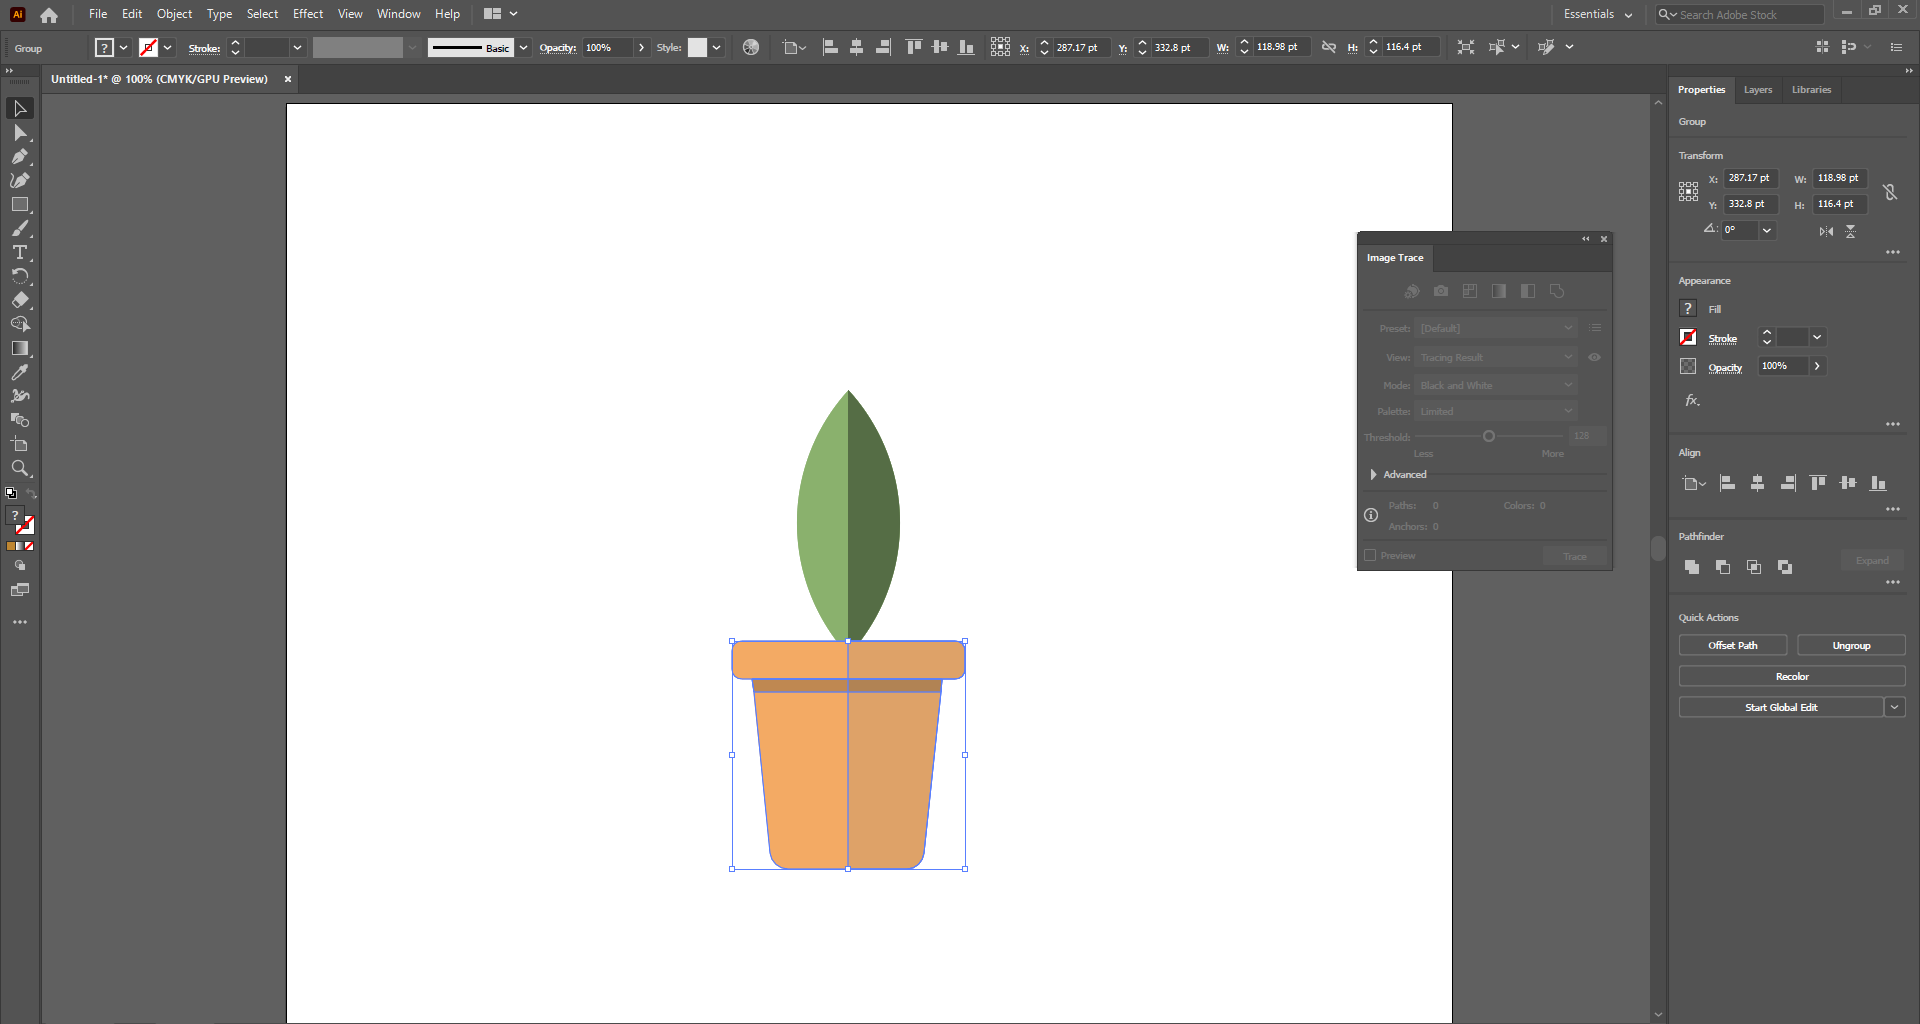
So I wanted to draw a planting pot and I followed these steps:
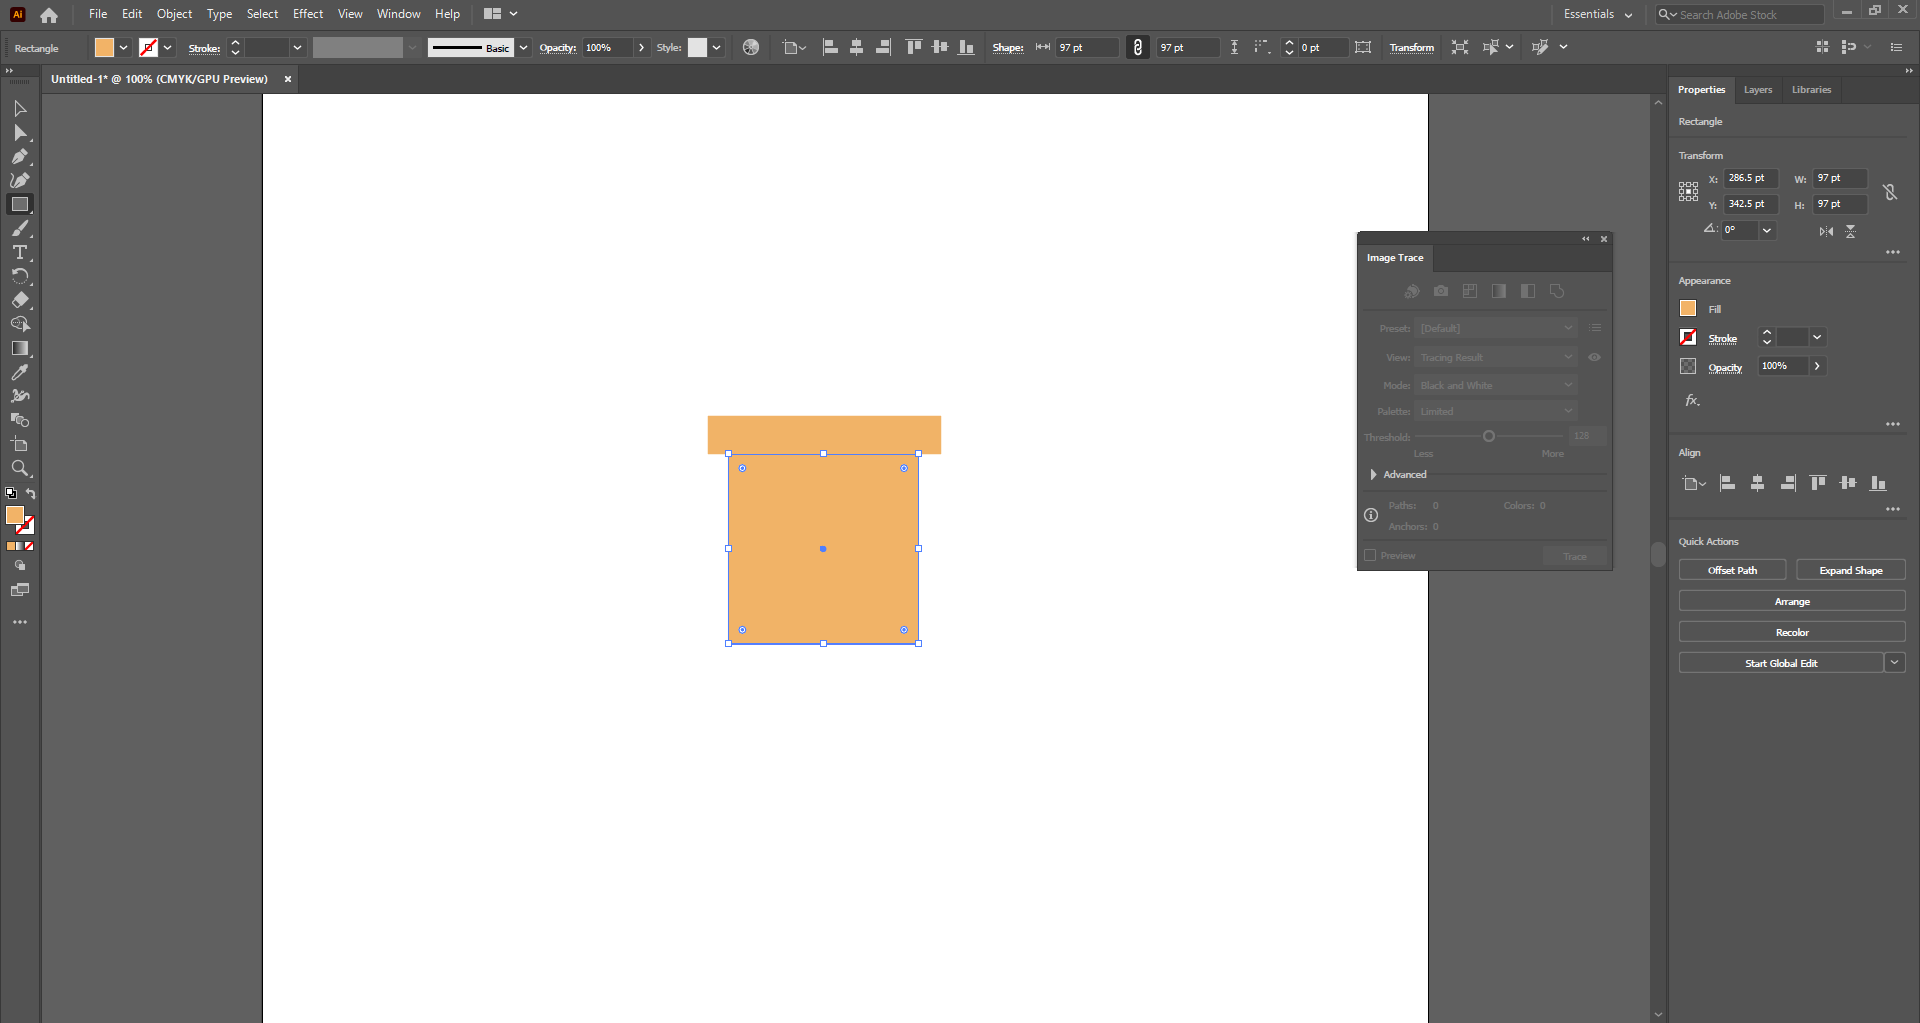
1- At first, I drew 2 rectangles by using shape tool and I placed them on top of each other.
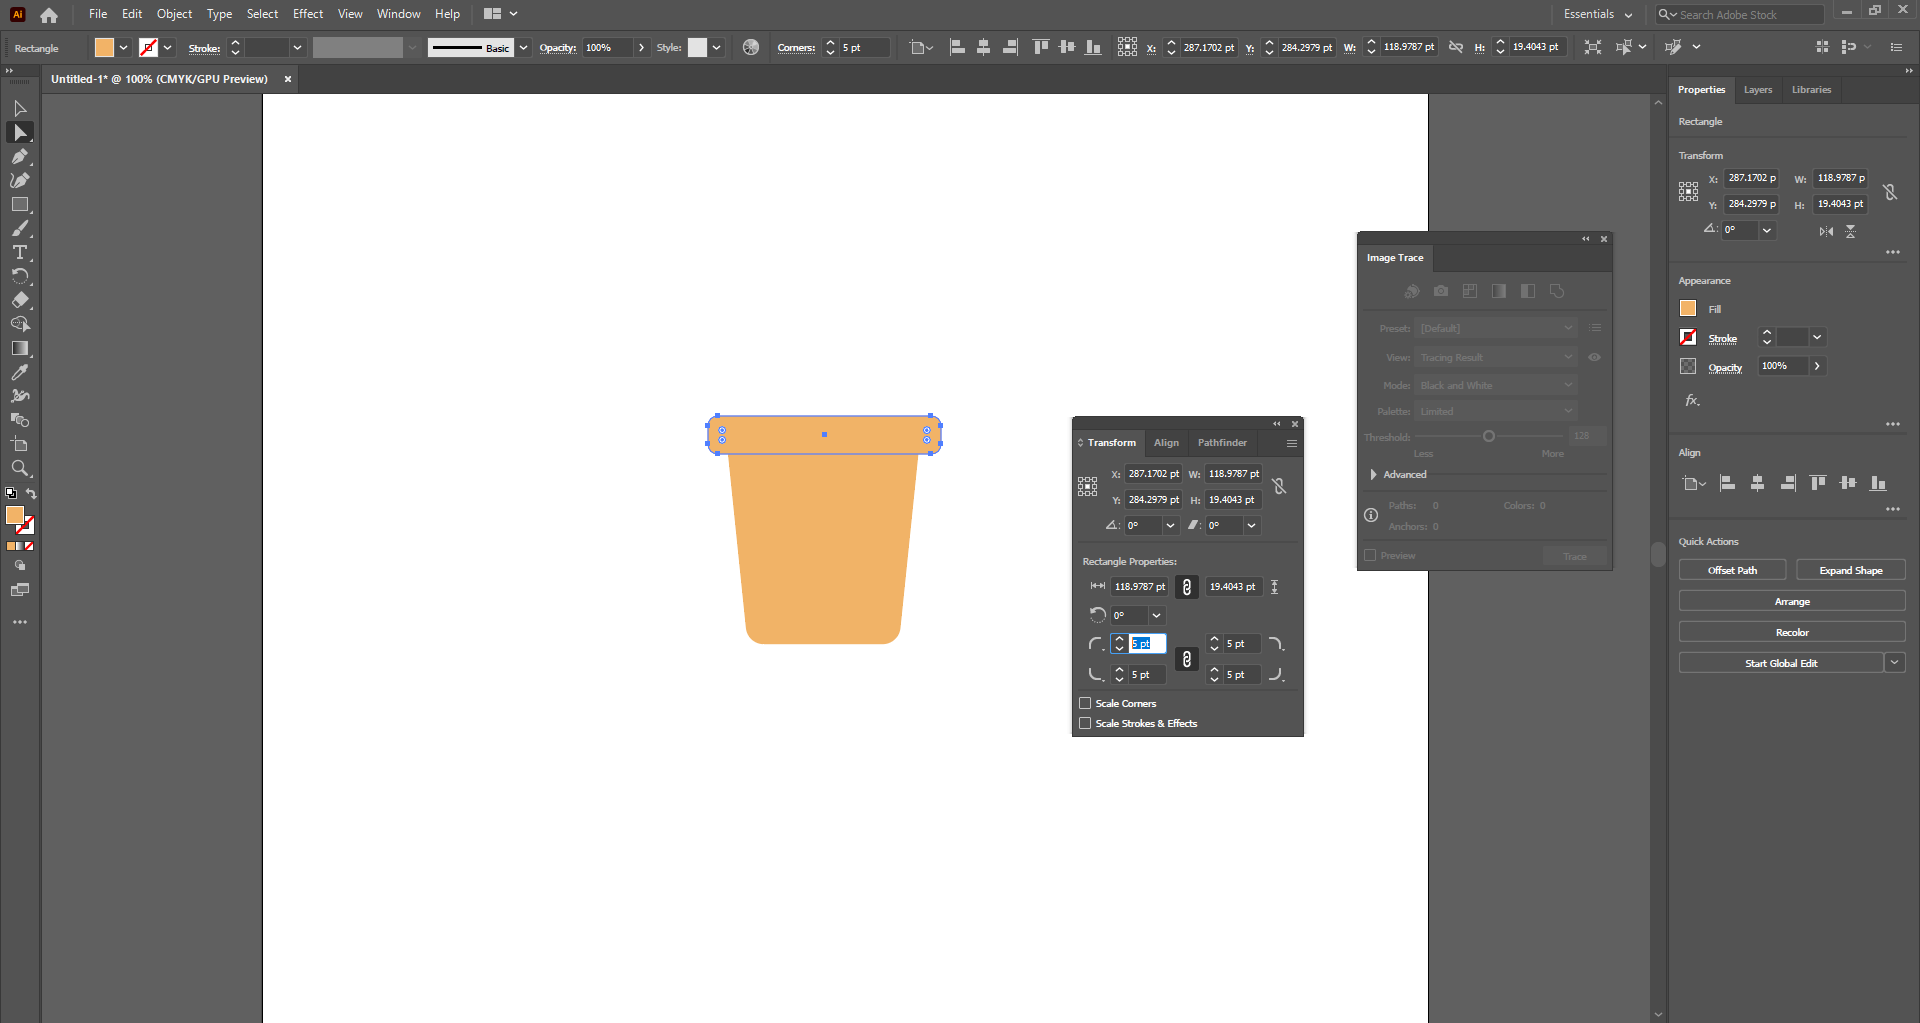
2- I chamfered the edges by using the transform window (Window<Transform<Rectangle properties)
3- Then, I added shadows by drawing rectangles on top of the object then changing the colors and opacity level

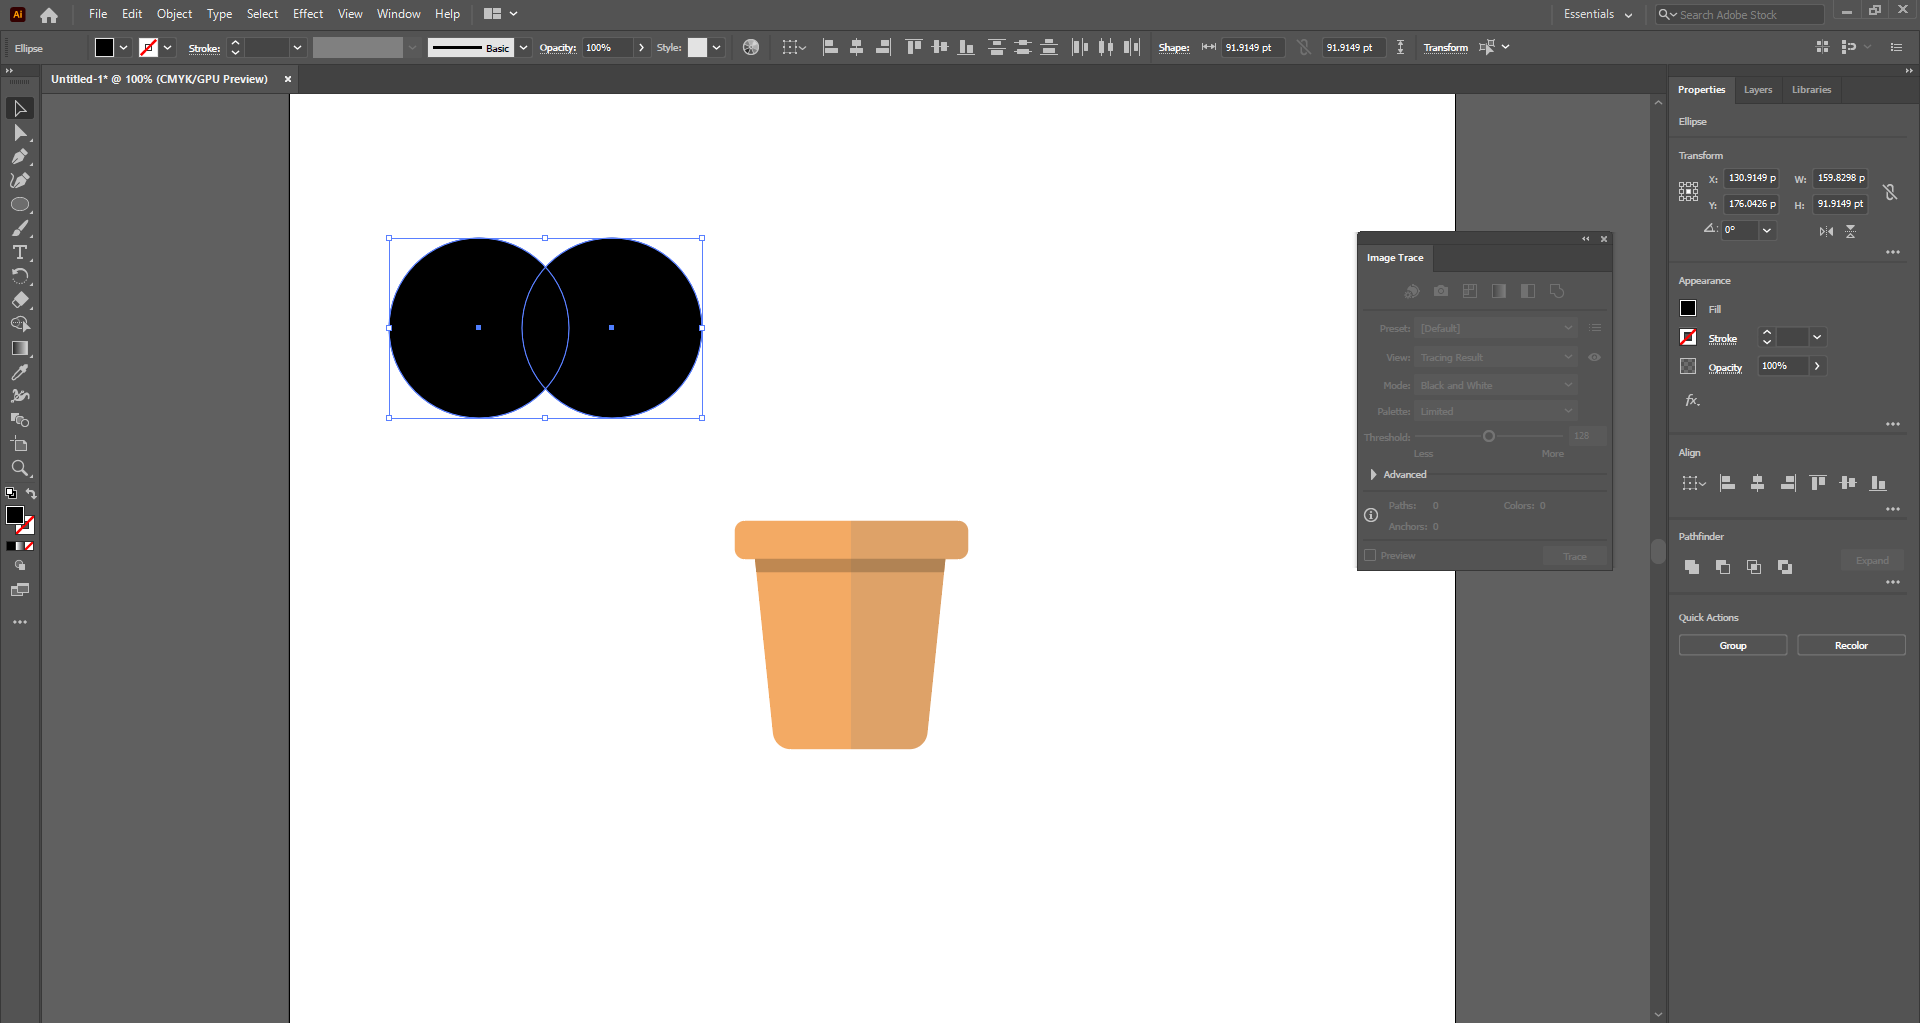
4- Now in order to draw the leaves, I drew two circles and combined them together
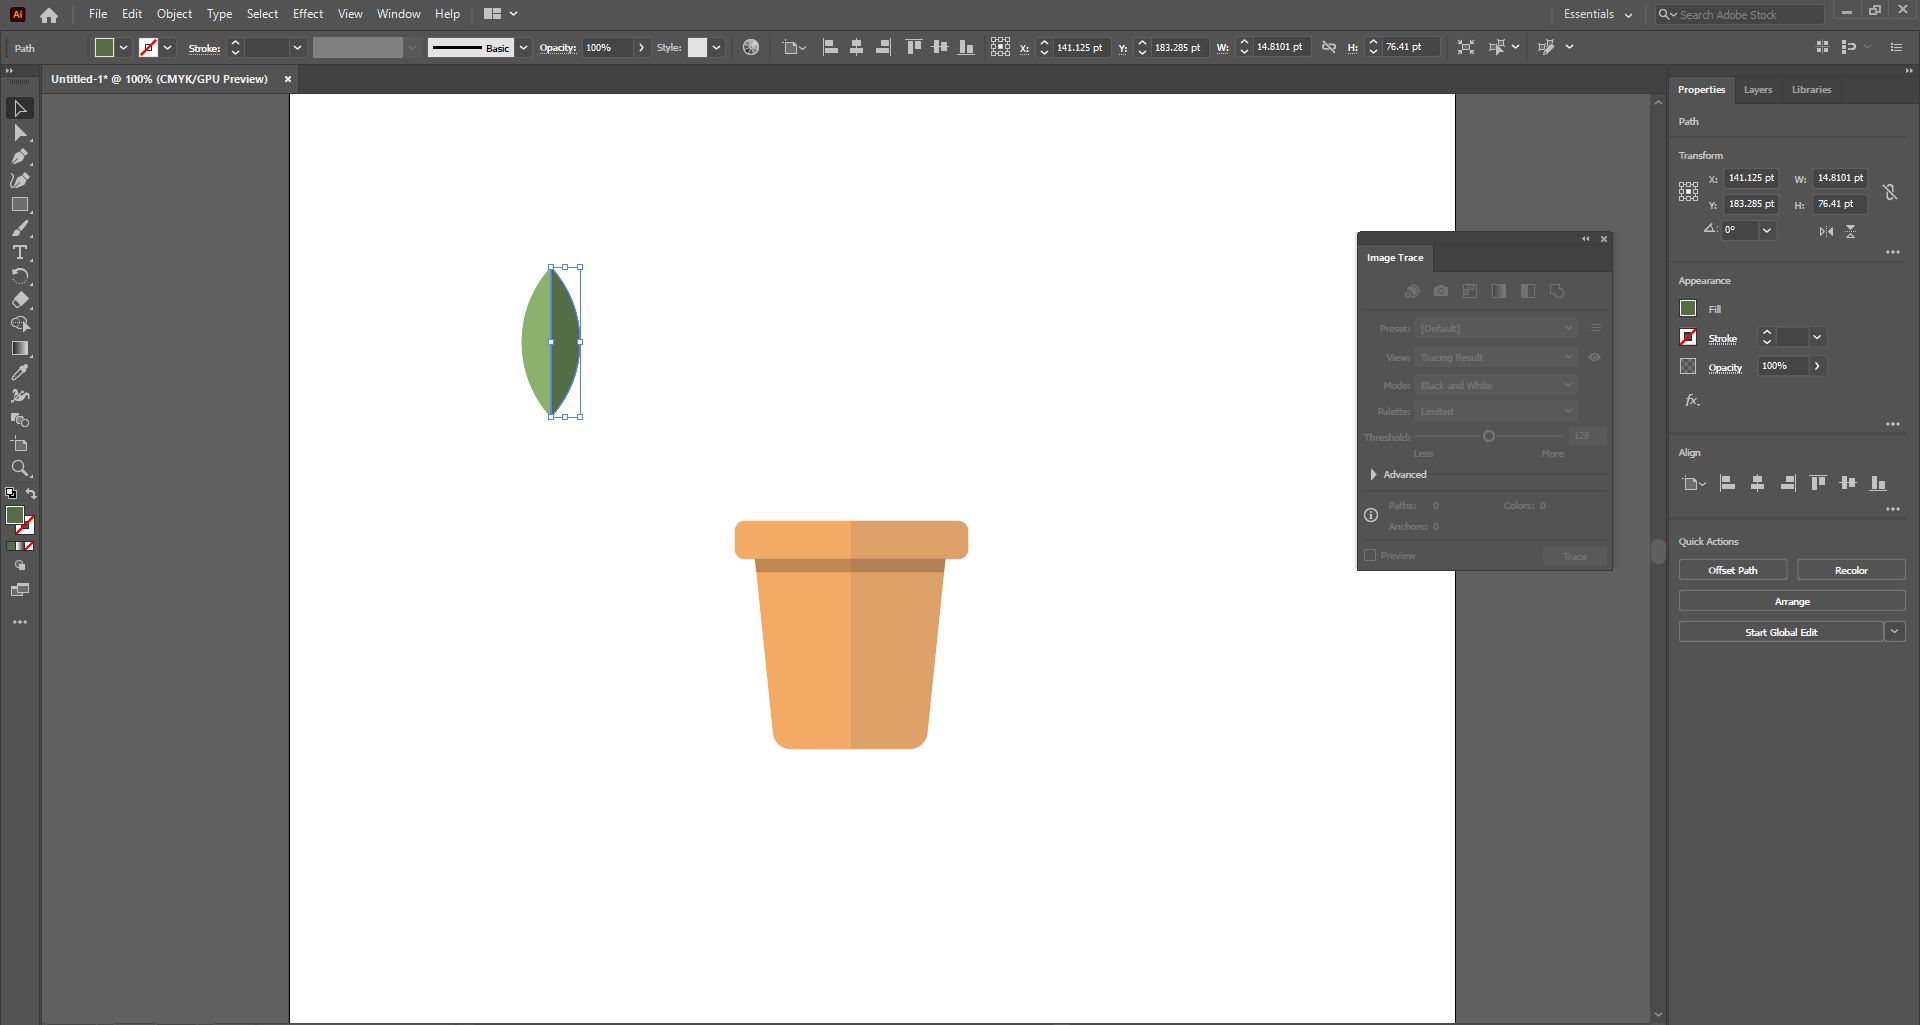
5- The shape of the leaf here came from the intersection part and I did it using a tool called Shape Builder (Shift+m). Also I changed the color and duplicated the layer with a dark tone to give the look of shadows
6- After that, I grouped both the shapes of pot and leaf (right click & group) and placed the leaf behind the pot (Right click< Arrange< Bring to back)
7- Finally, I duplicated the leaf and rotated them with different sizes (Select and Rotate)
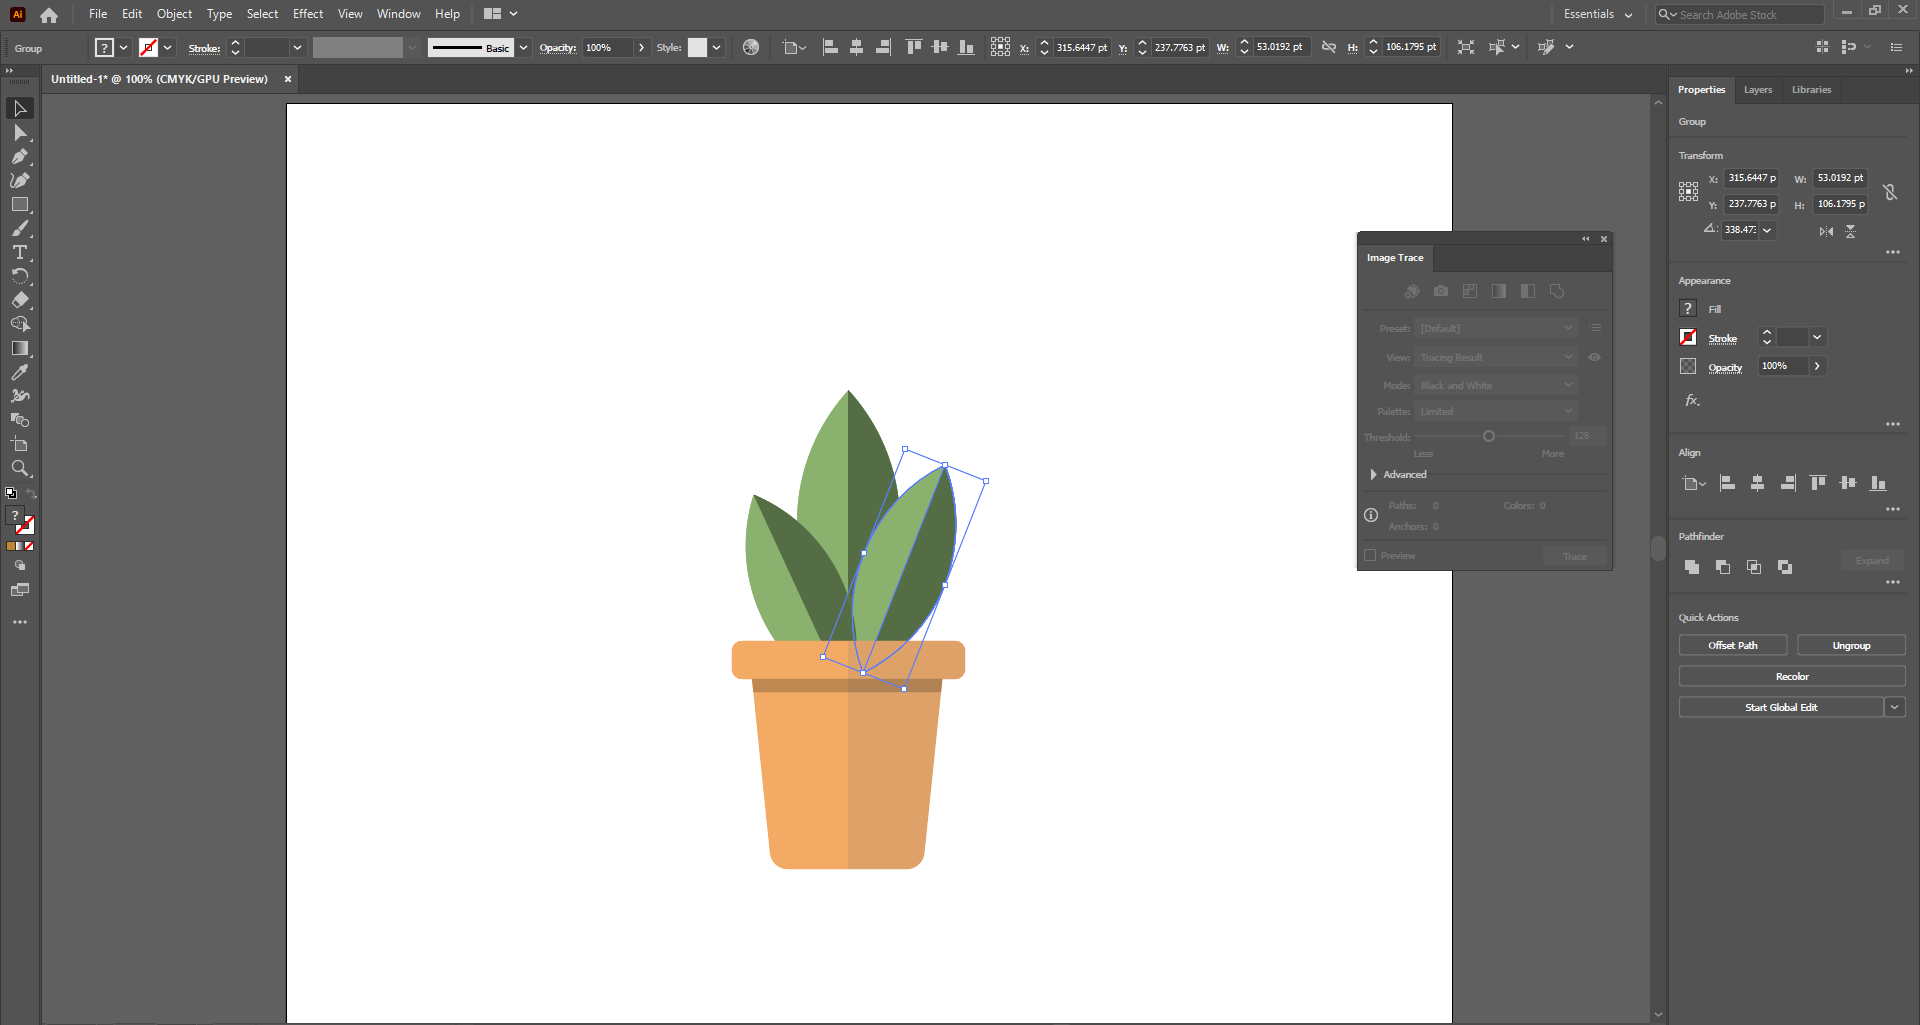
And there you go!! Here is the final drawing

Autocad
Autocad is an Autodesk engineering software that produces both 2d and 3d drawings, And it is used mainly by drafters for precise measurements and drawings.
I started randomly to come up with a shape and I came up with a modular chain I guess, and here are the steps:
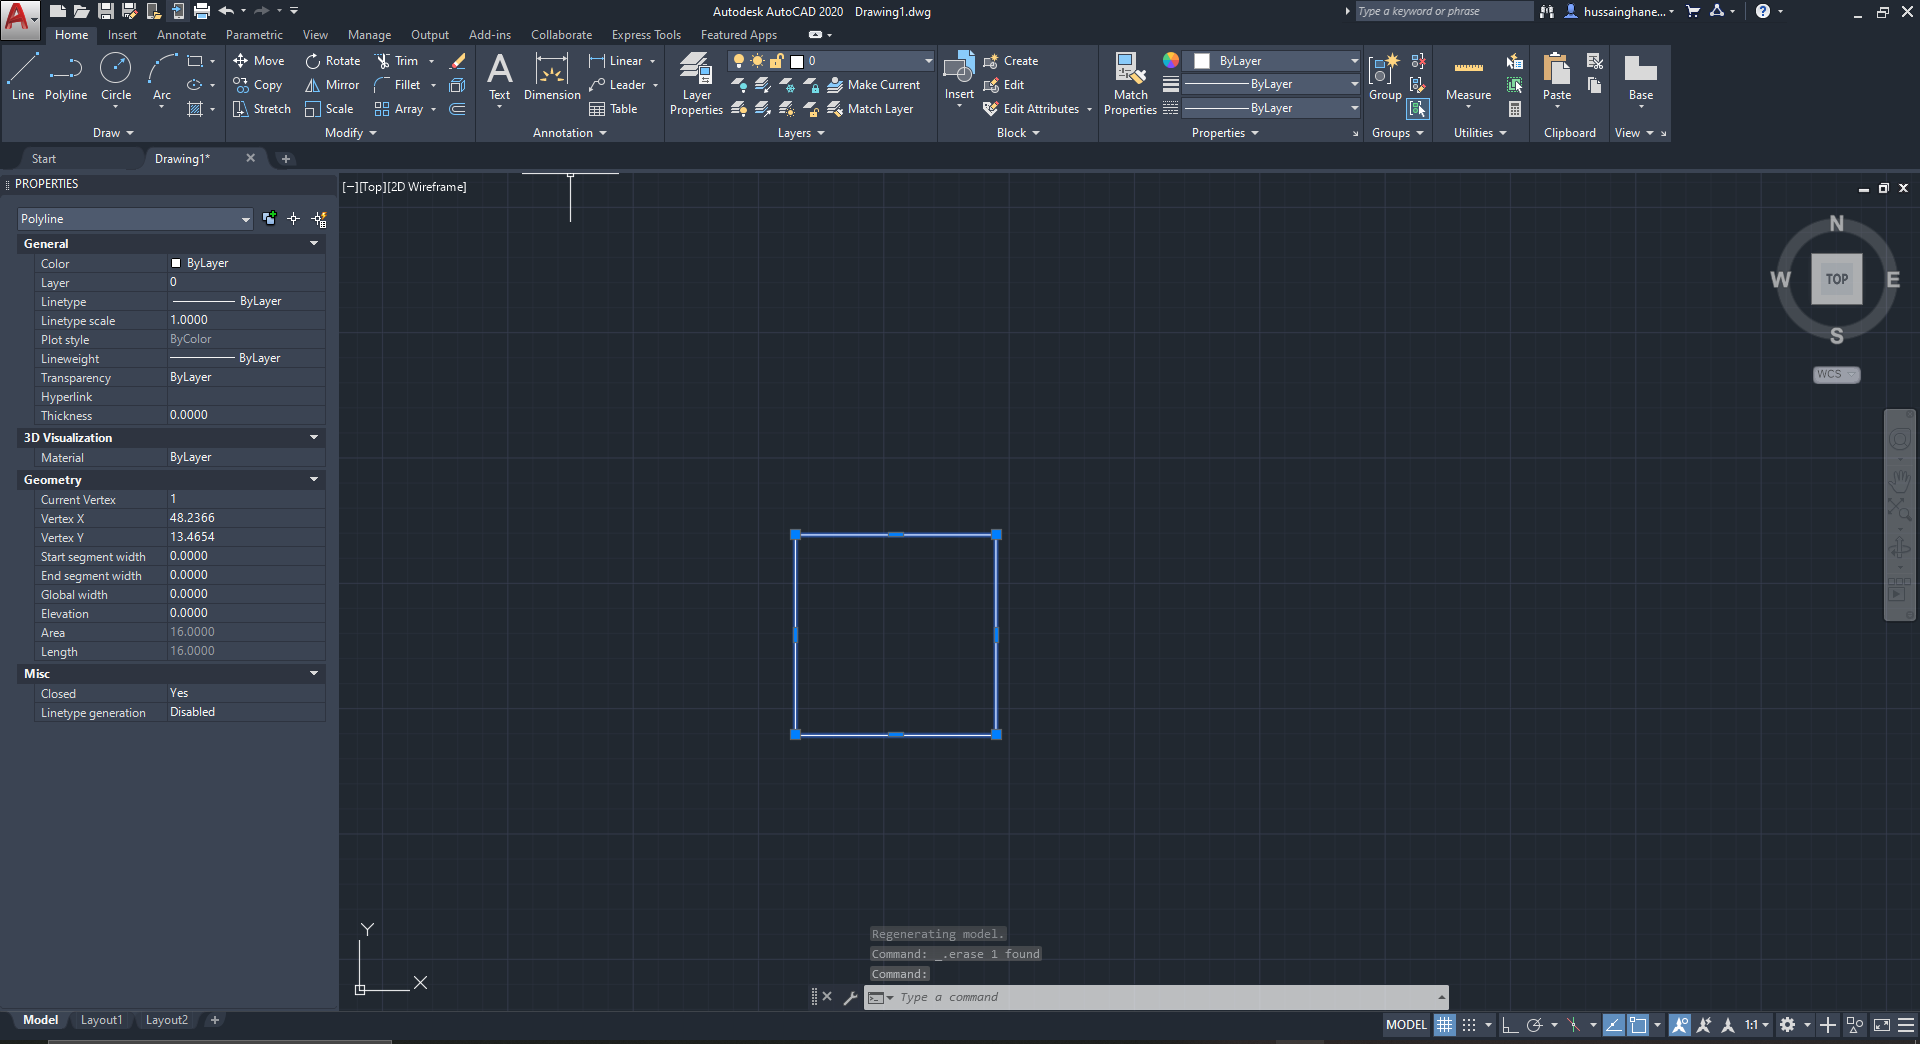
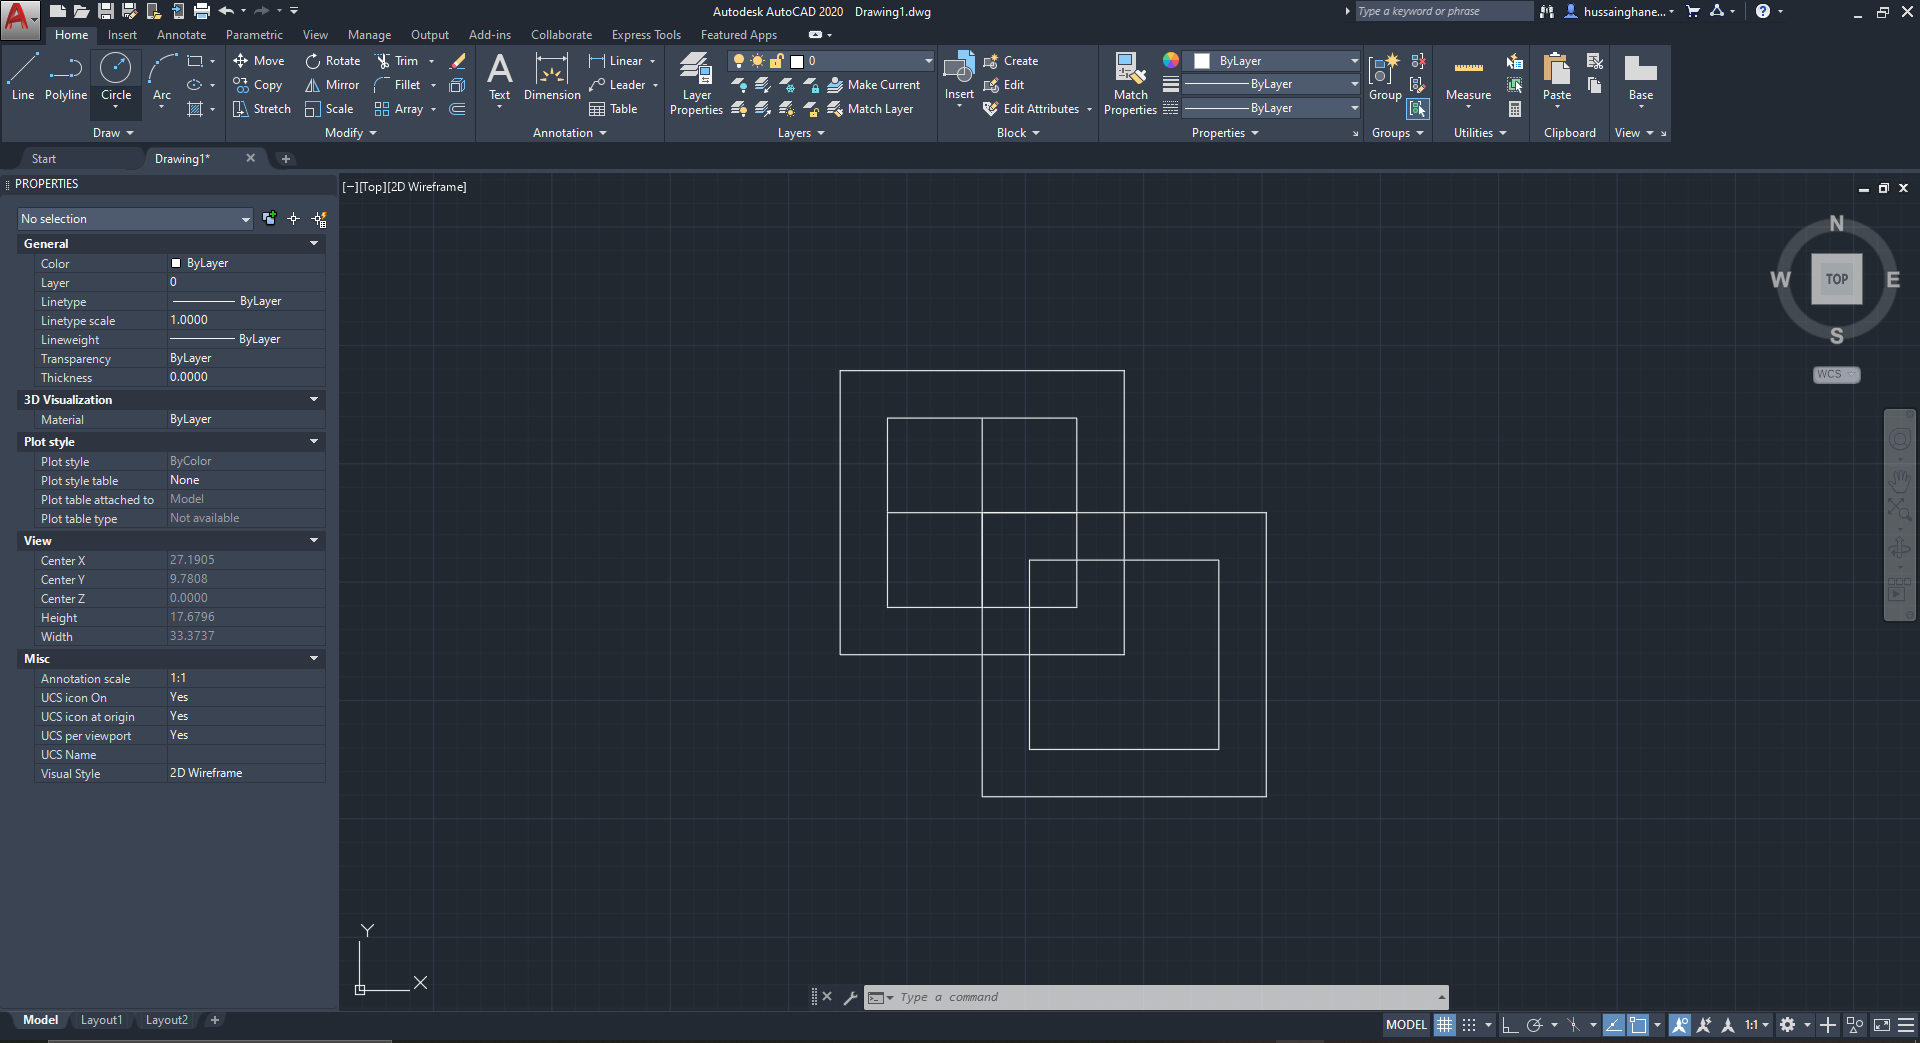
1- First of all, this is the interface of the software where all the tools are located on the upper bar while the properties on the left. So I started with a square using rectangle tool and I adjusted the dimensions for a square
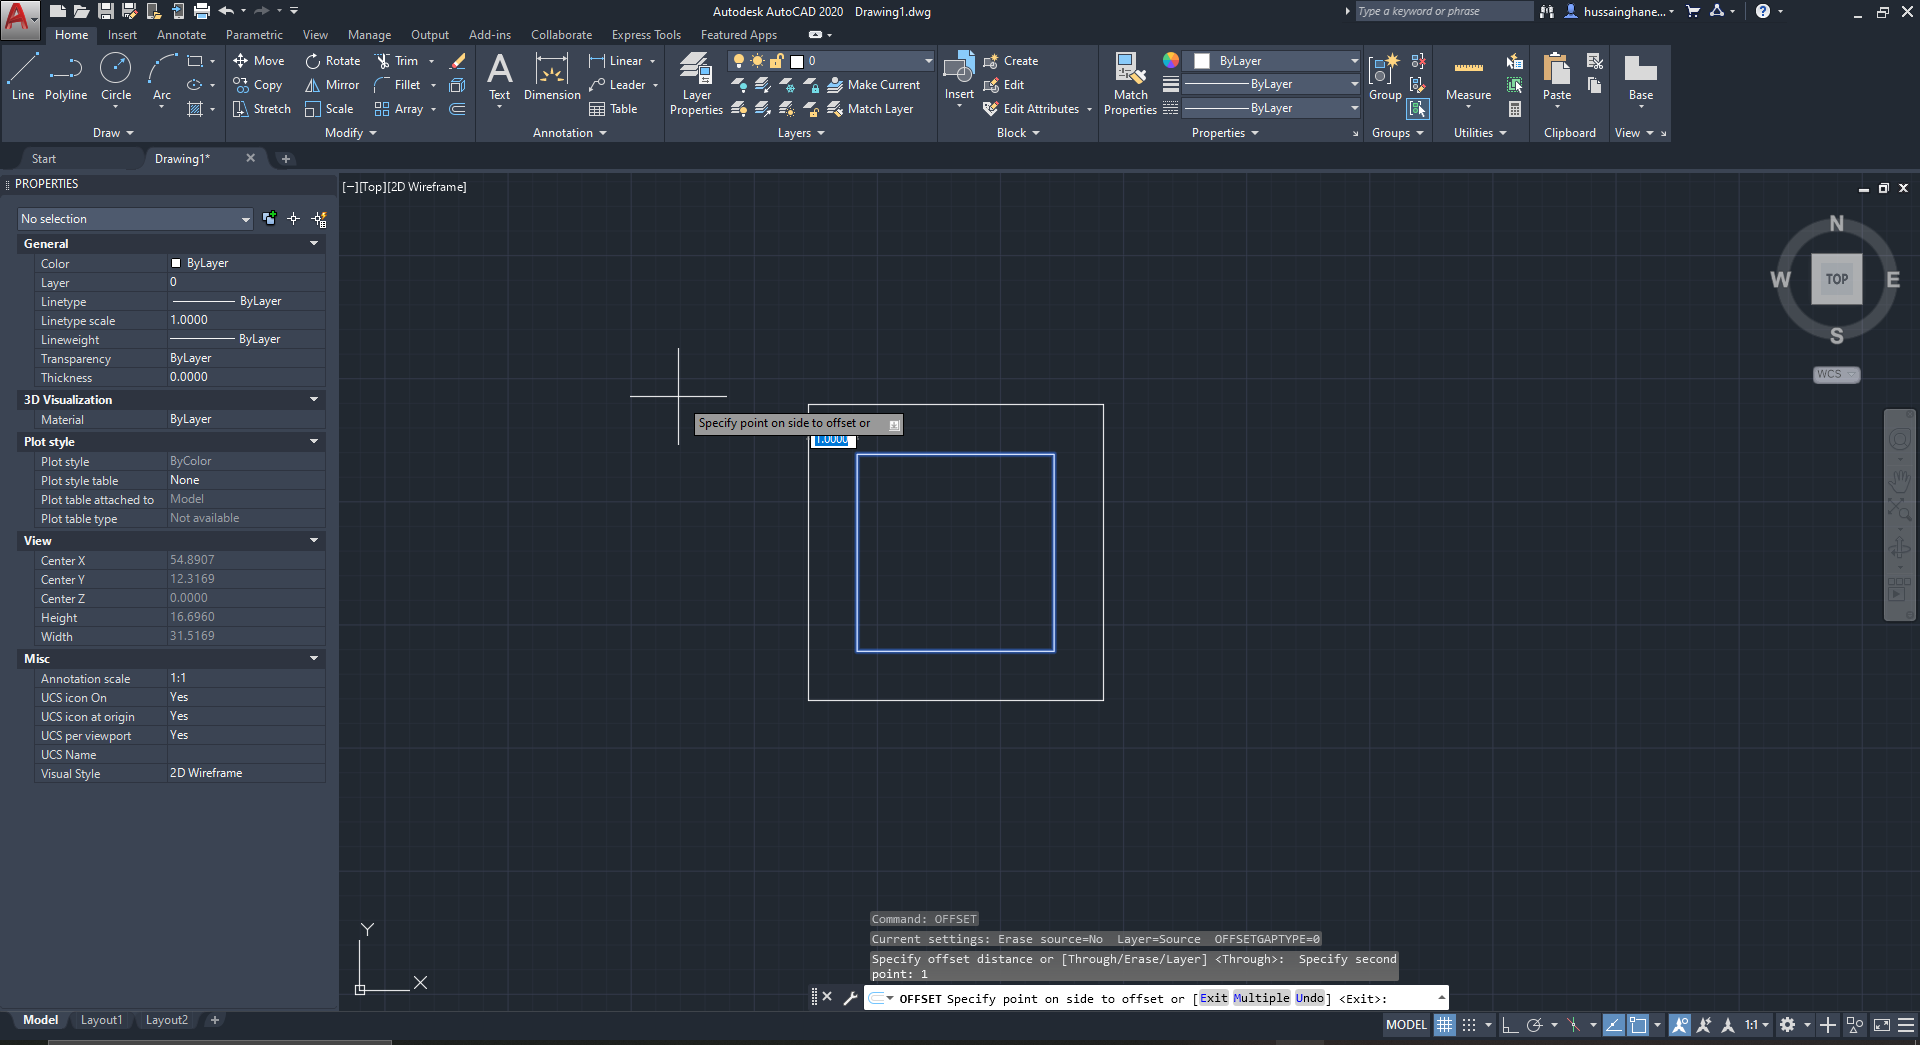
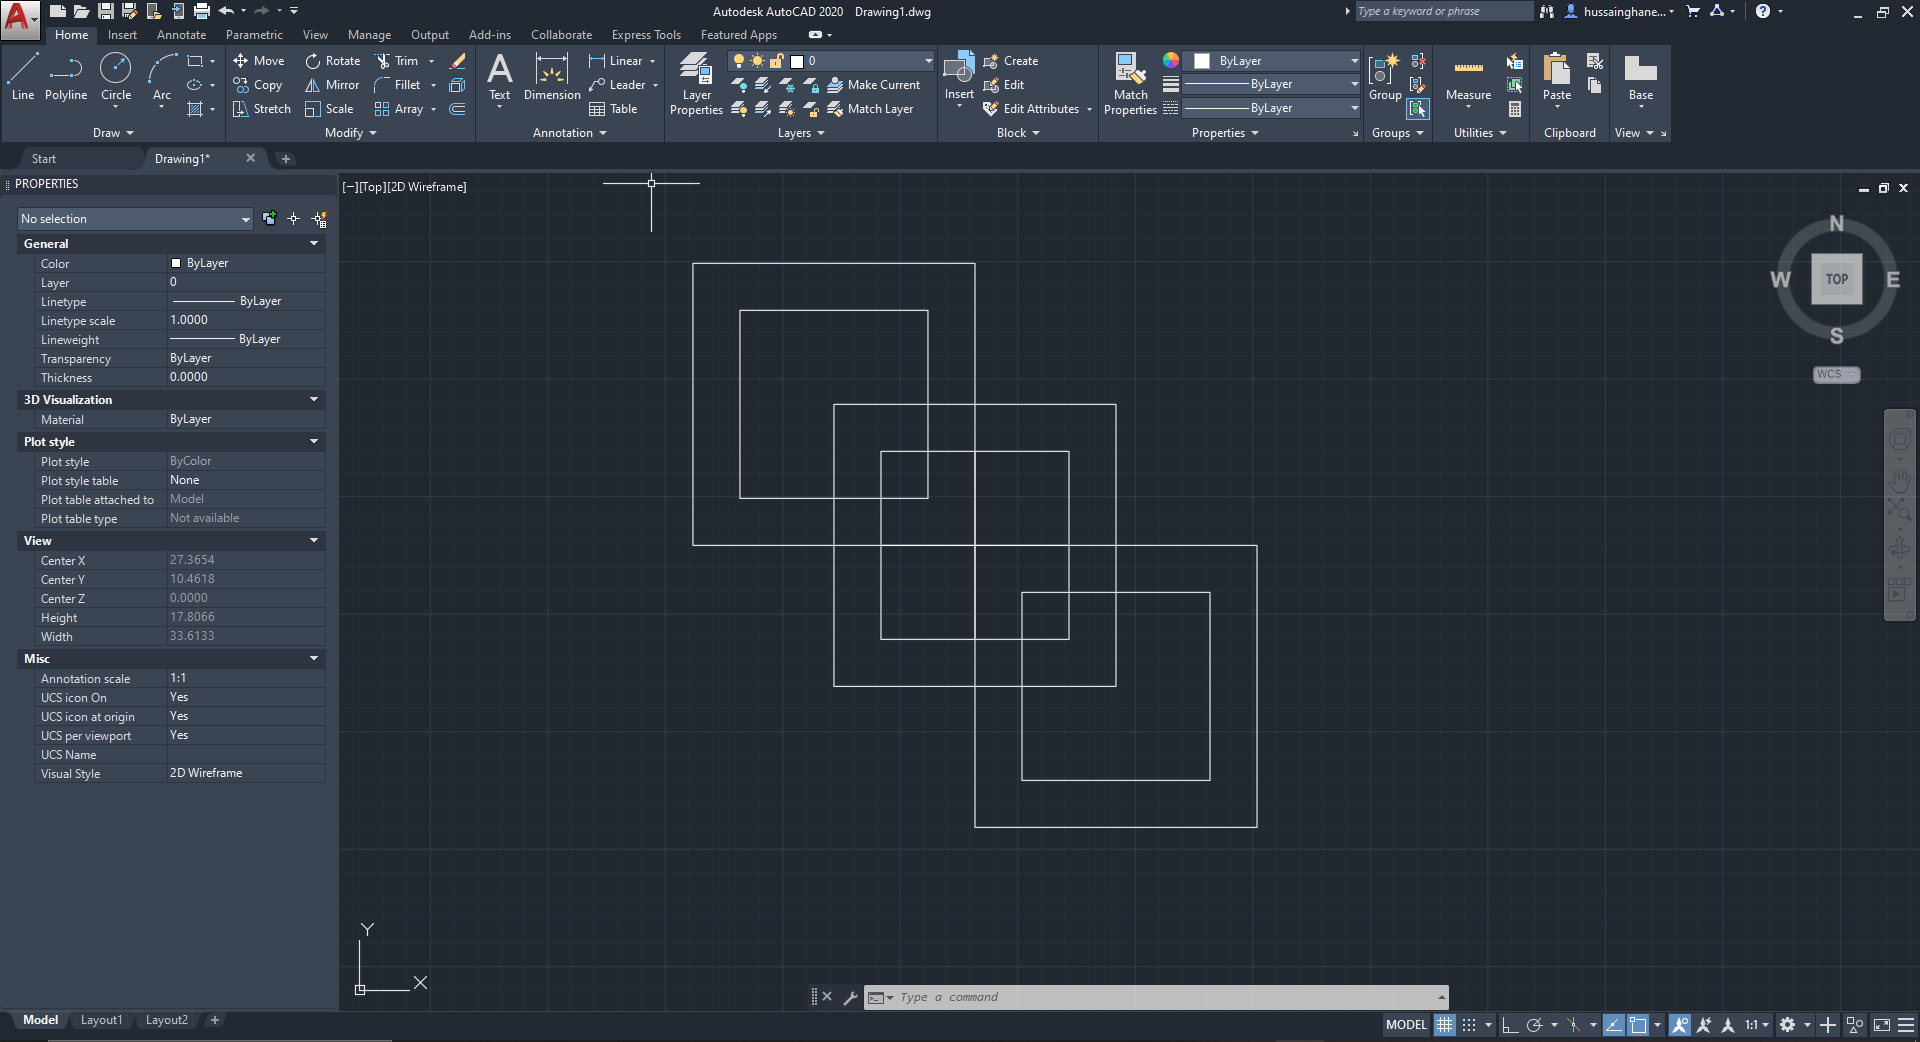
2- Then I duplicated the square with a bigger scale like a border and that command is called (Offset) and typed in how much I wanted it to offset
3- I duplicated the whole shape and I wanted it to be in the corner of the original shape so I drew lines to help me place the corner on the center of the original shape
4- After that, I added another copy on the upper left corner using command (Copy)
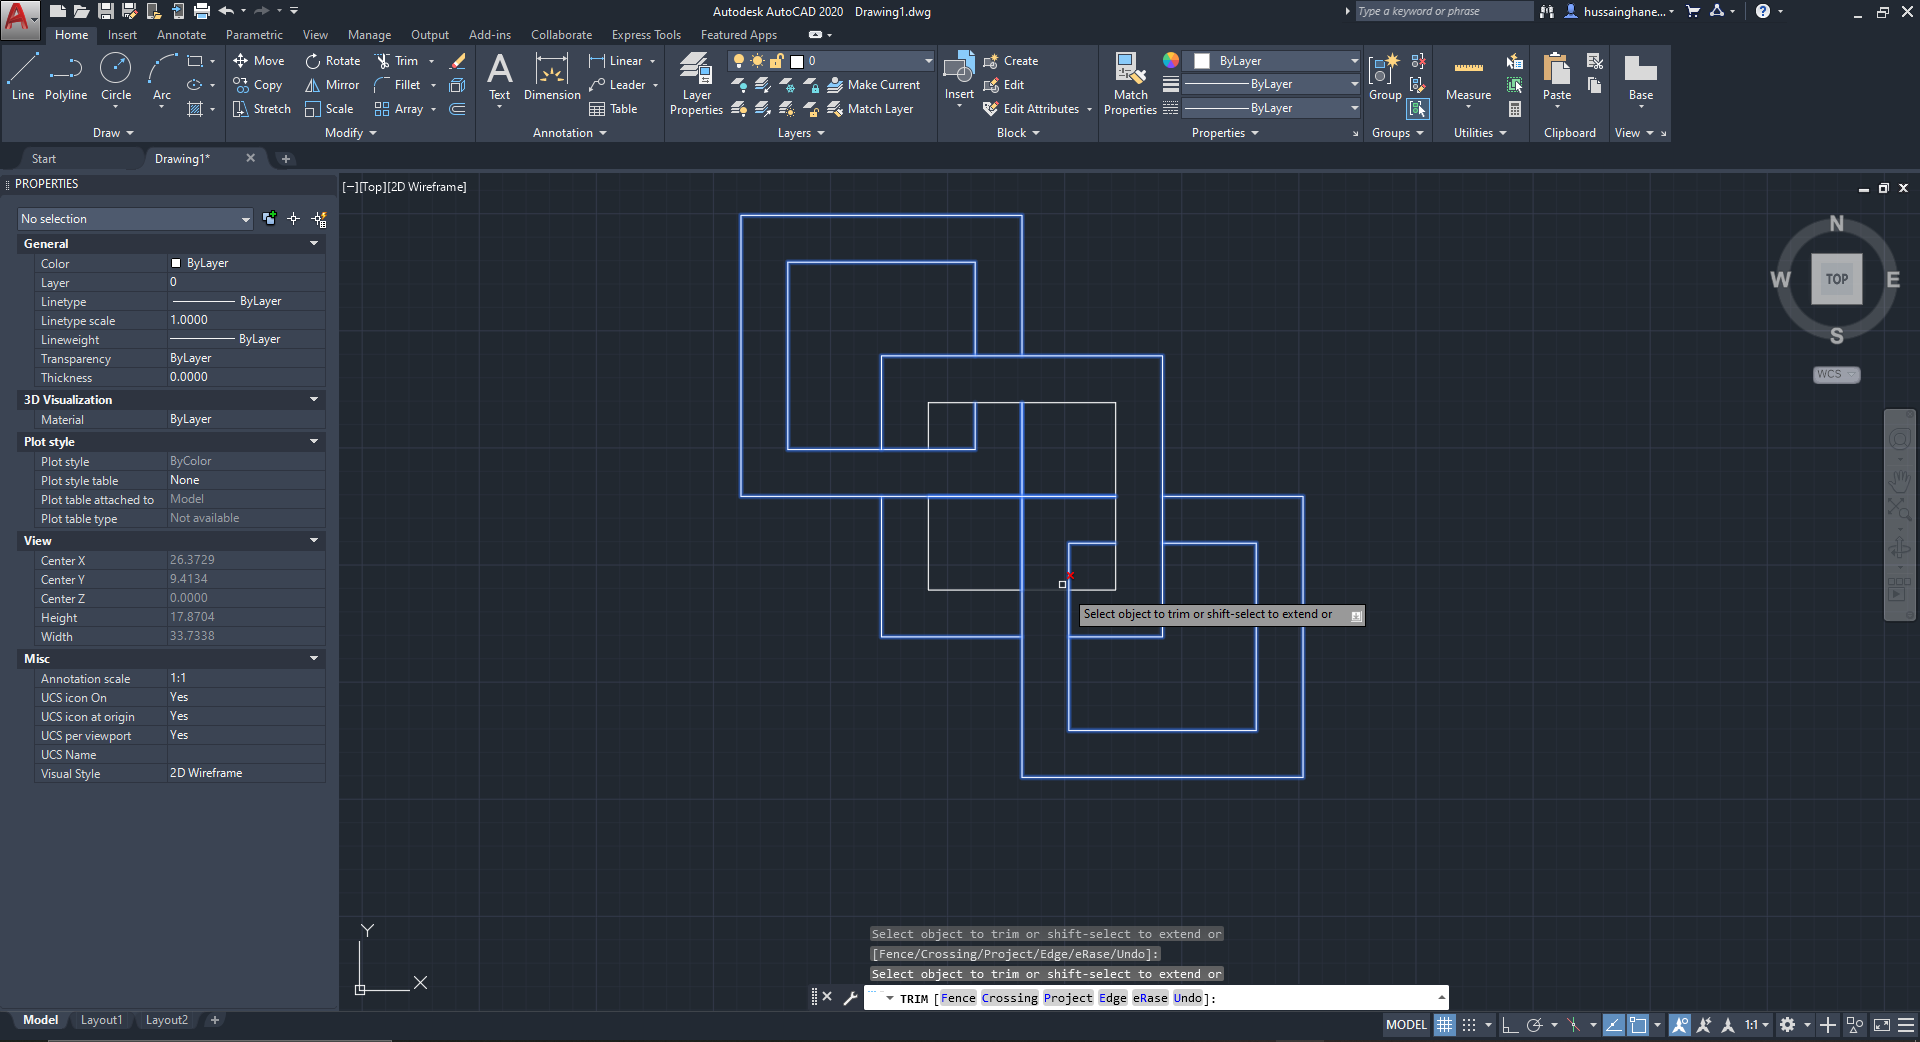
5- And Finally, in order to cut the intersecting lines I selected all the shapes and I used command (Trim)
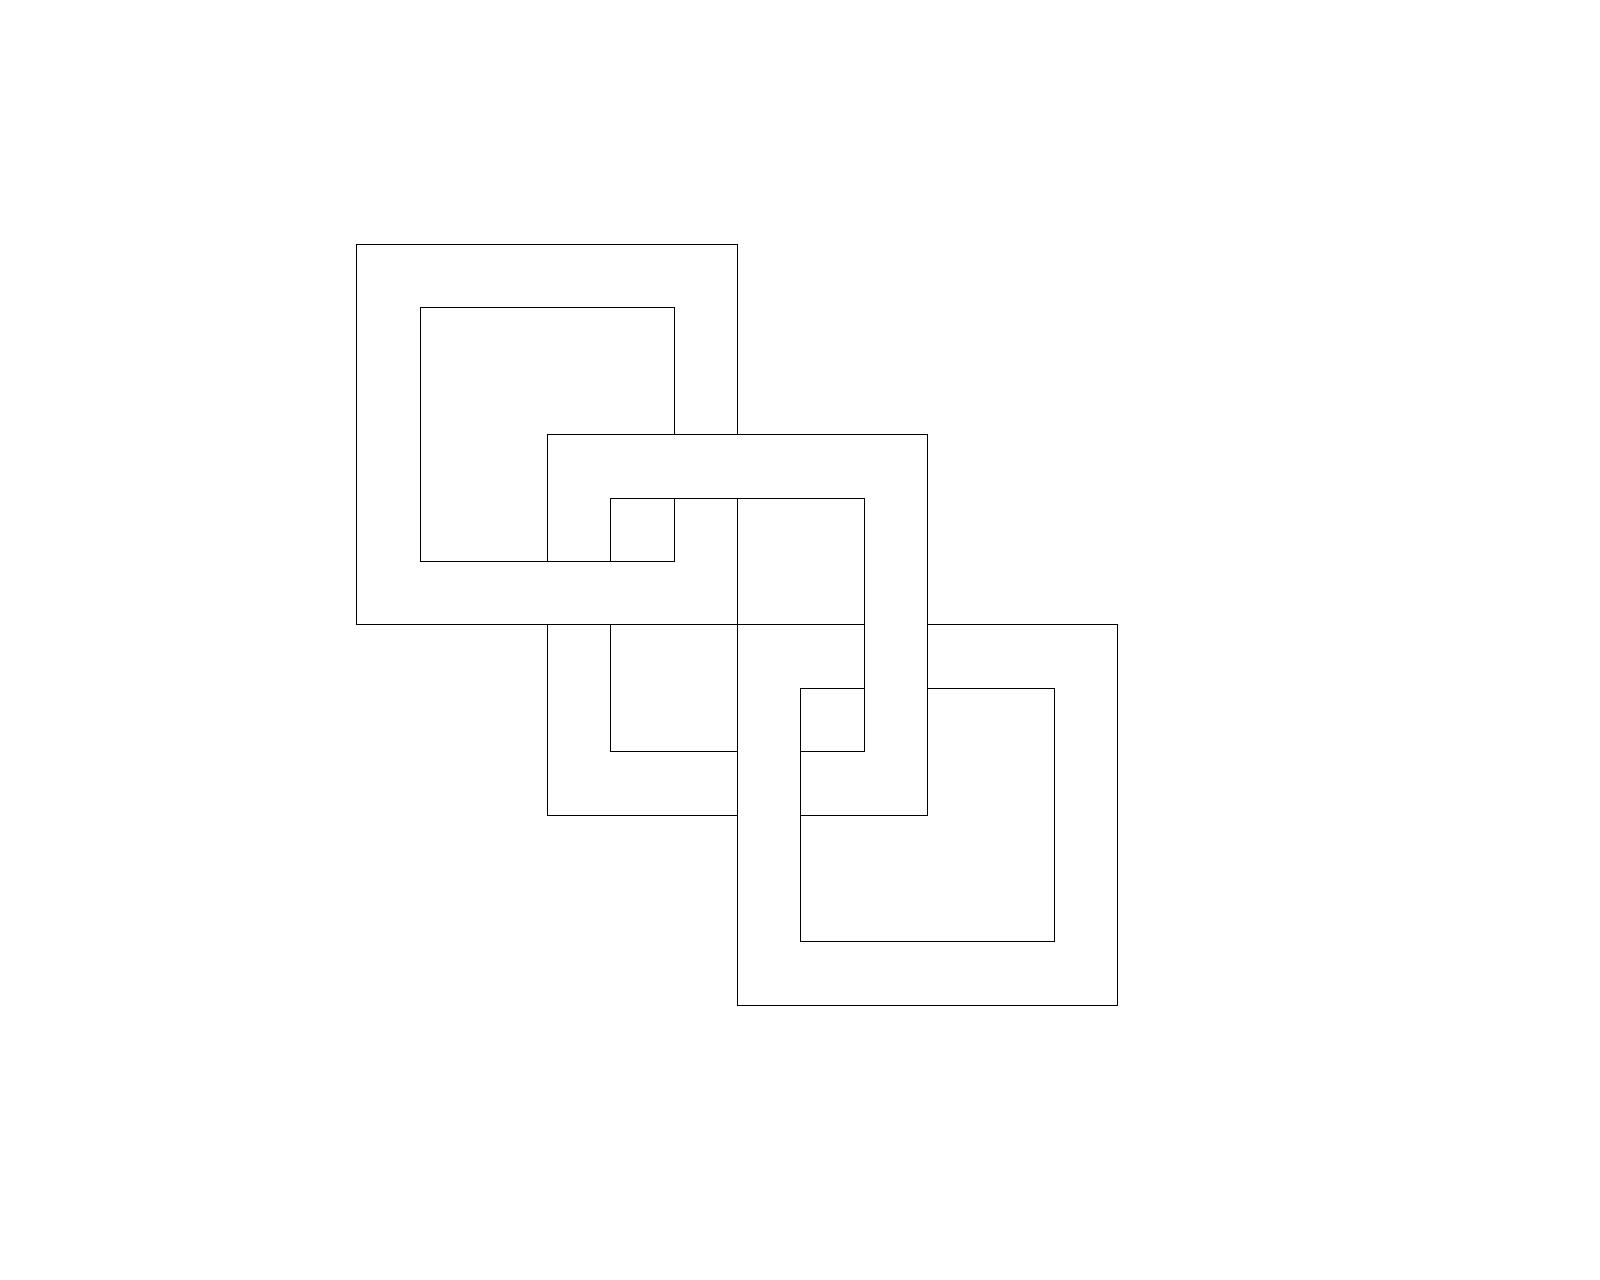
And here is the final outcome
3D design
For the 3D softwares I used Sketchup and Fusion360.
Sketchup
Sketchup is a 3d modelling program that simplifies and ease up the process of design. Many Architects, engineers and even furniture designers use Sketchup.
Since I’m pretty familiar and good in using the software, I had a specific idea that I knew I can do it here easily. The idea is basically an object that I saw on a movie “Inception” that has a lot meanings and I wanted to model it, so here is the steps:
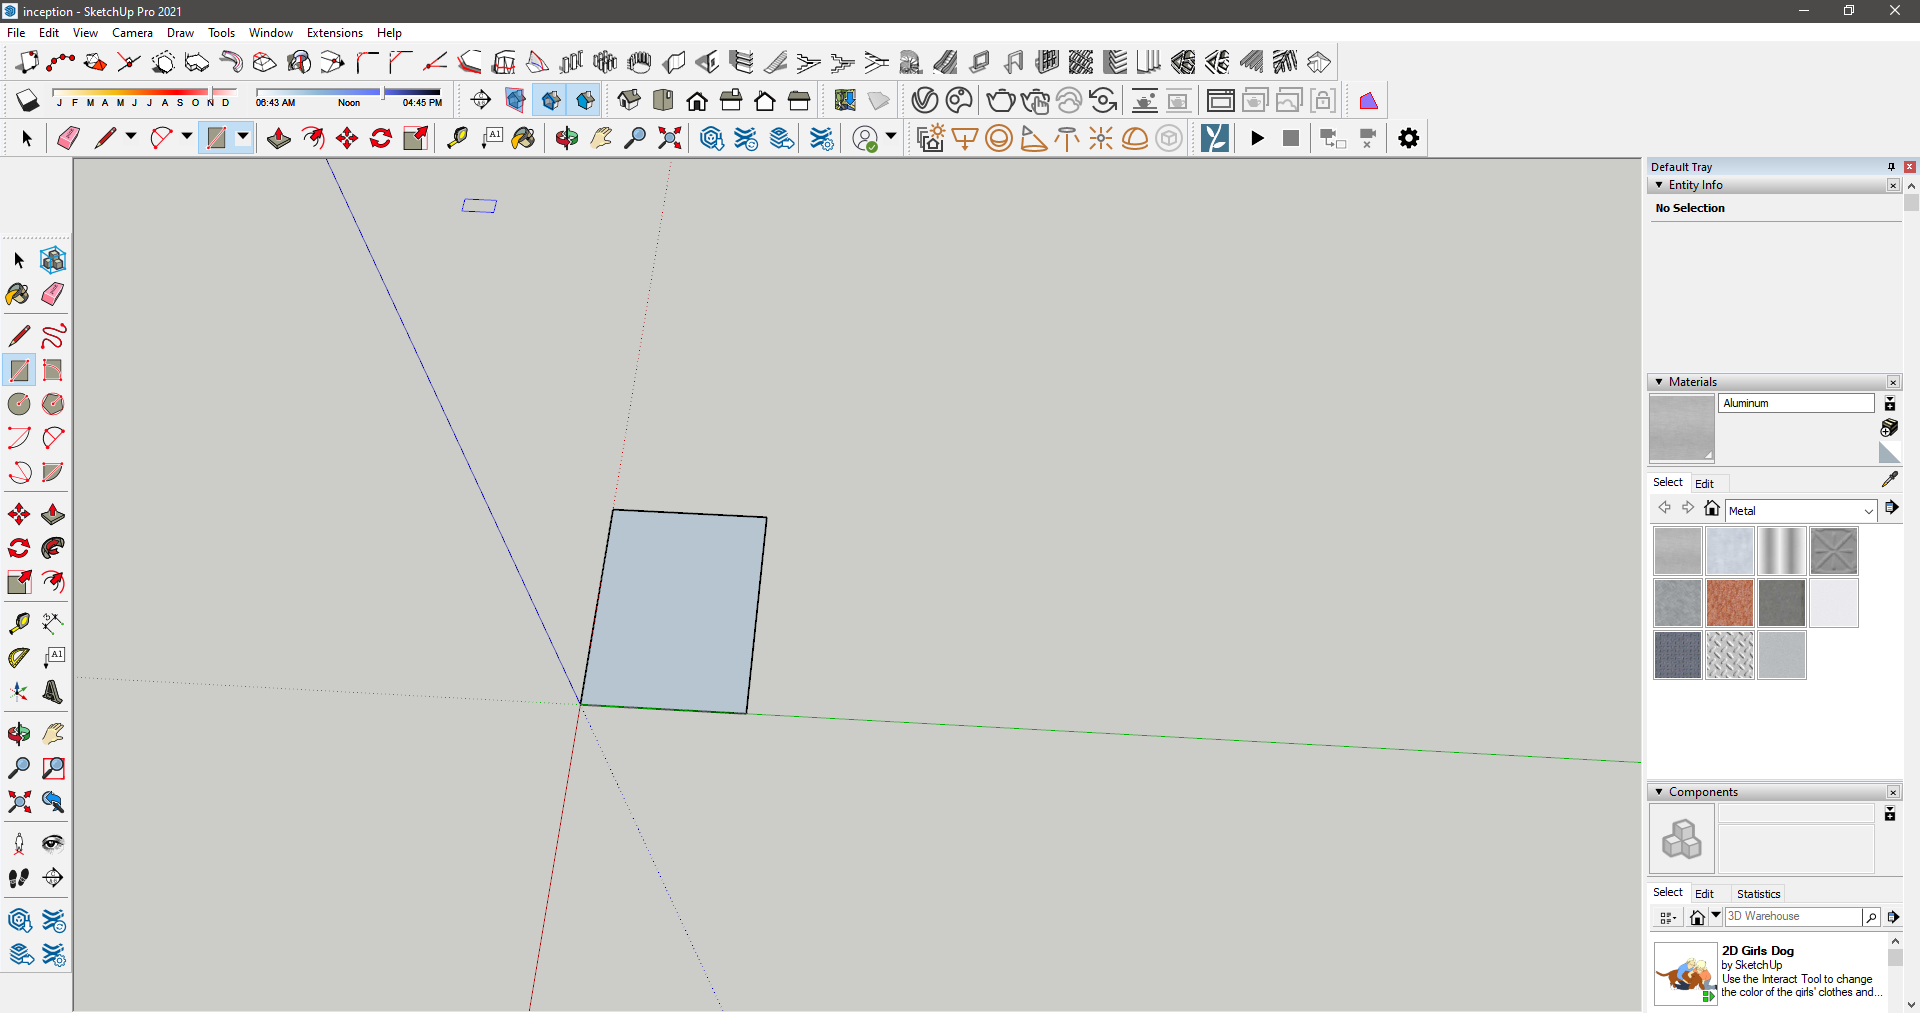
1- First of all, this is the interface of the software where all the tools are located on the upper and left bar while the properties on the right. So I started with drawing a rectangle using shape tool
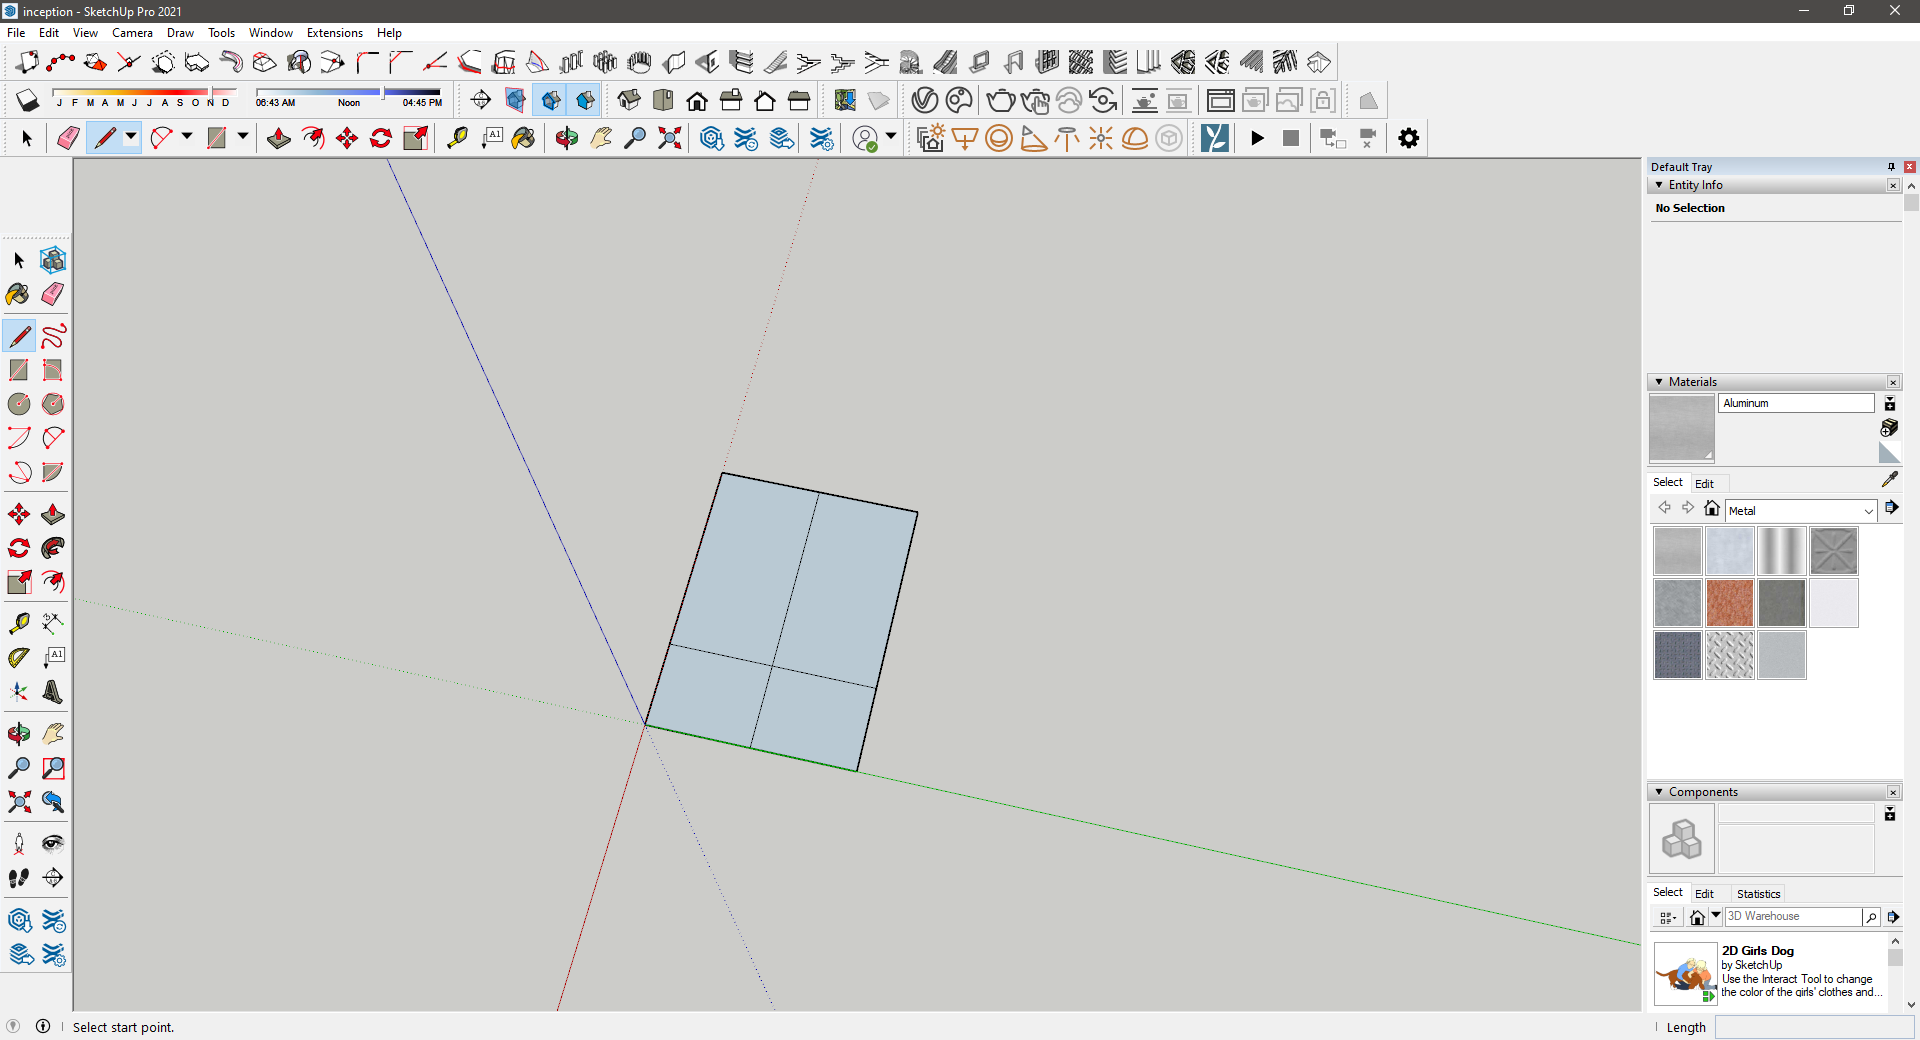
2- Then, I drew lines using draw line tool to help me in drawing my shape
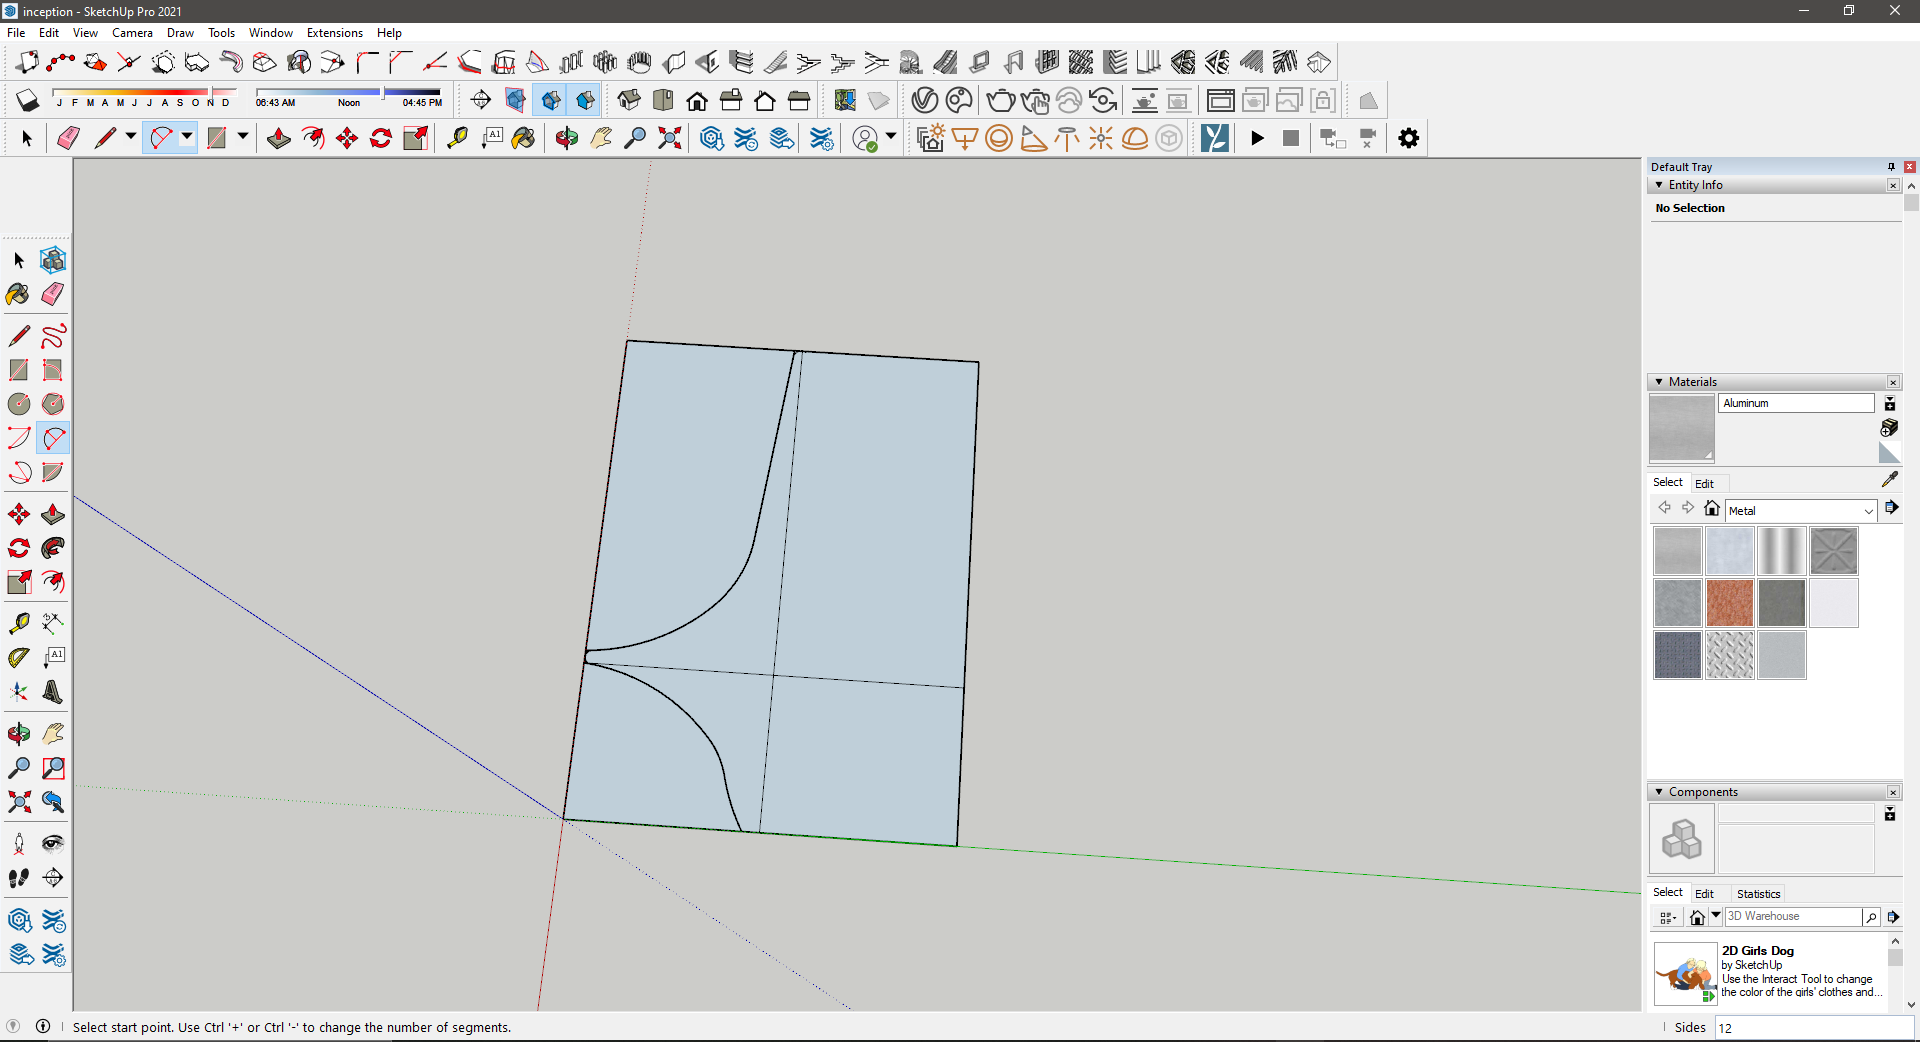
3- I started drawing half of my shape using lines and arcs using 2 points Arc tool
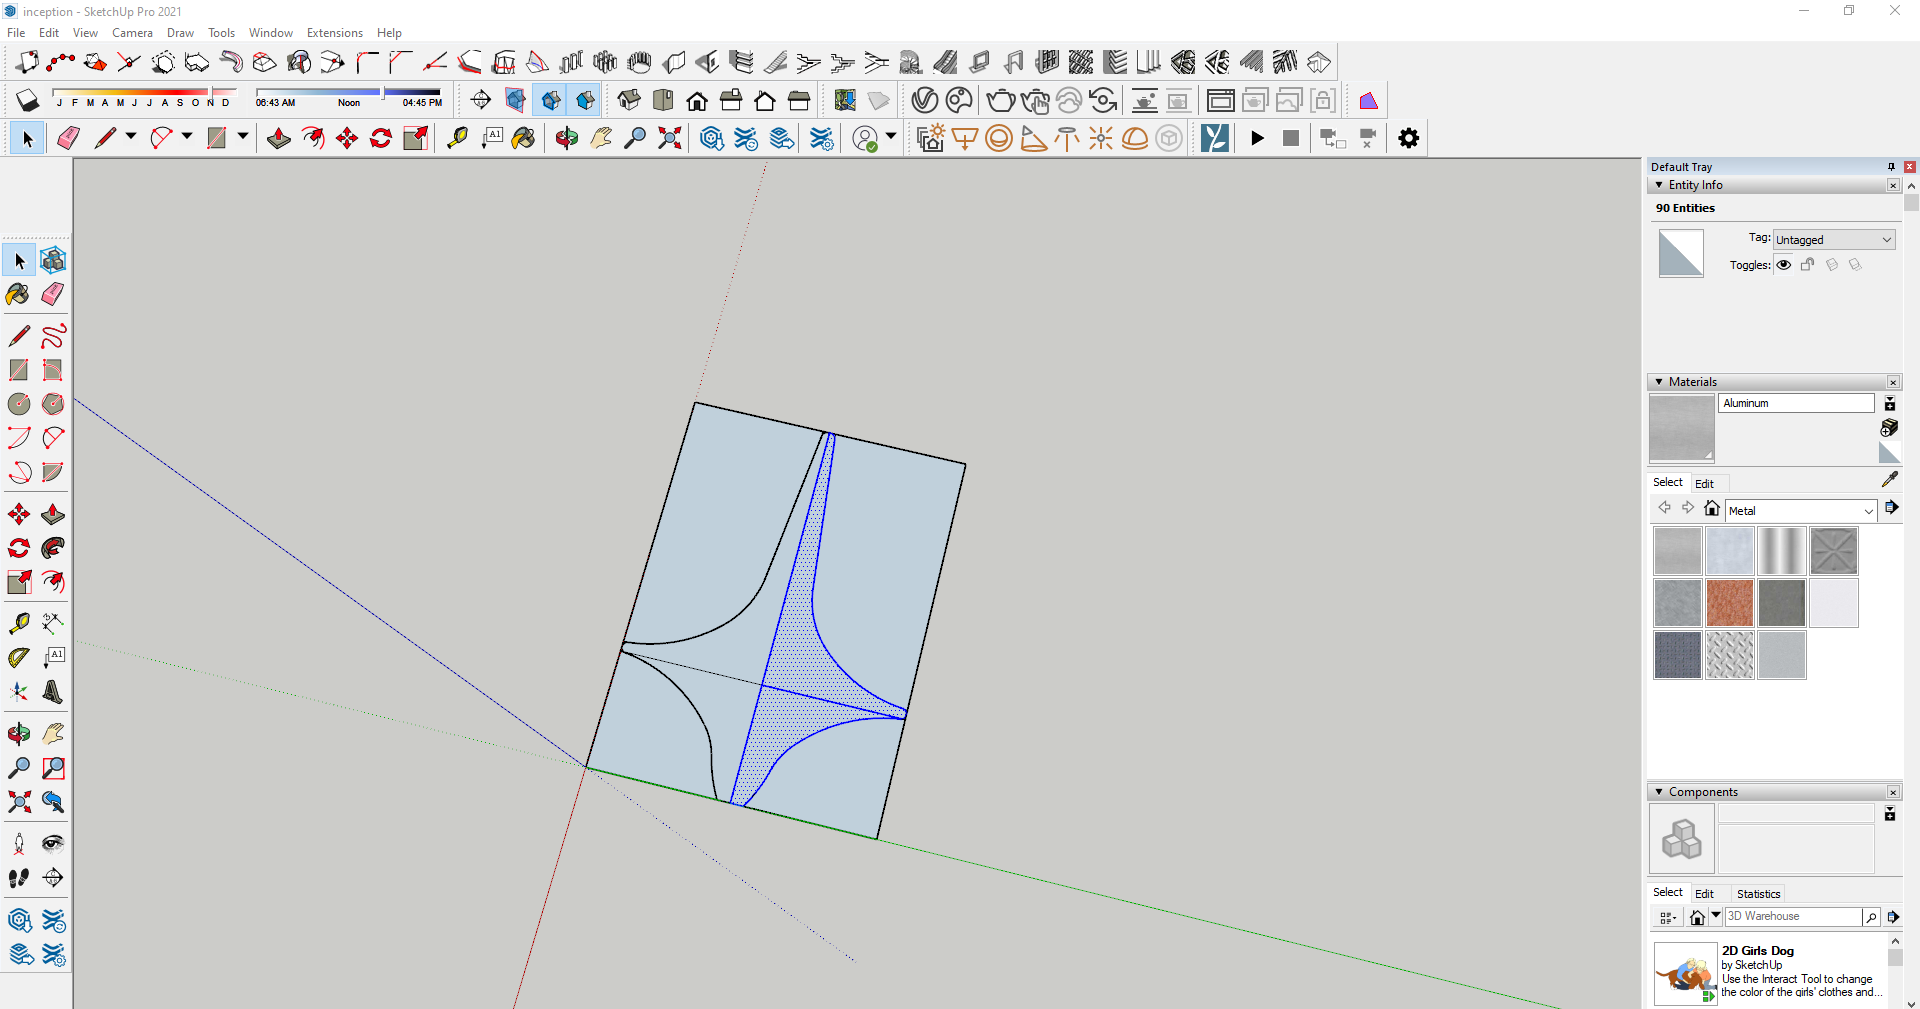
4- Now it bacame easier to finish the drawing by mirroring the half that I already did, so I grouped it first (Right click< Group) mirrored it (Right click< Flip along< Green axis)
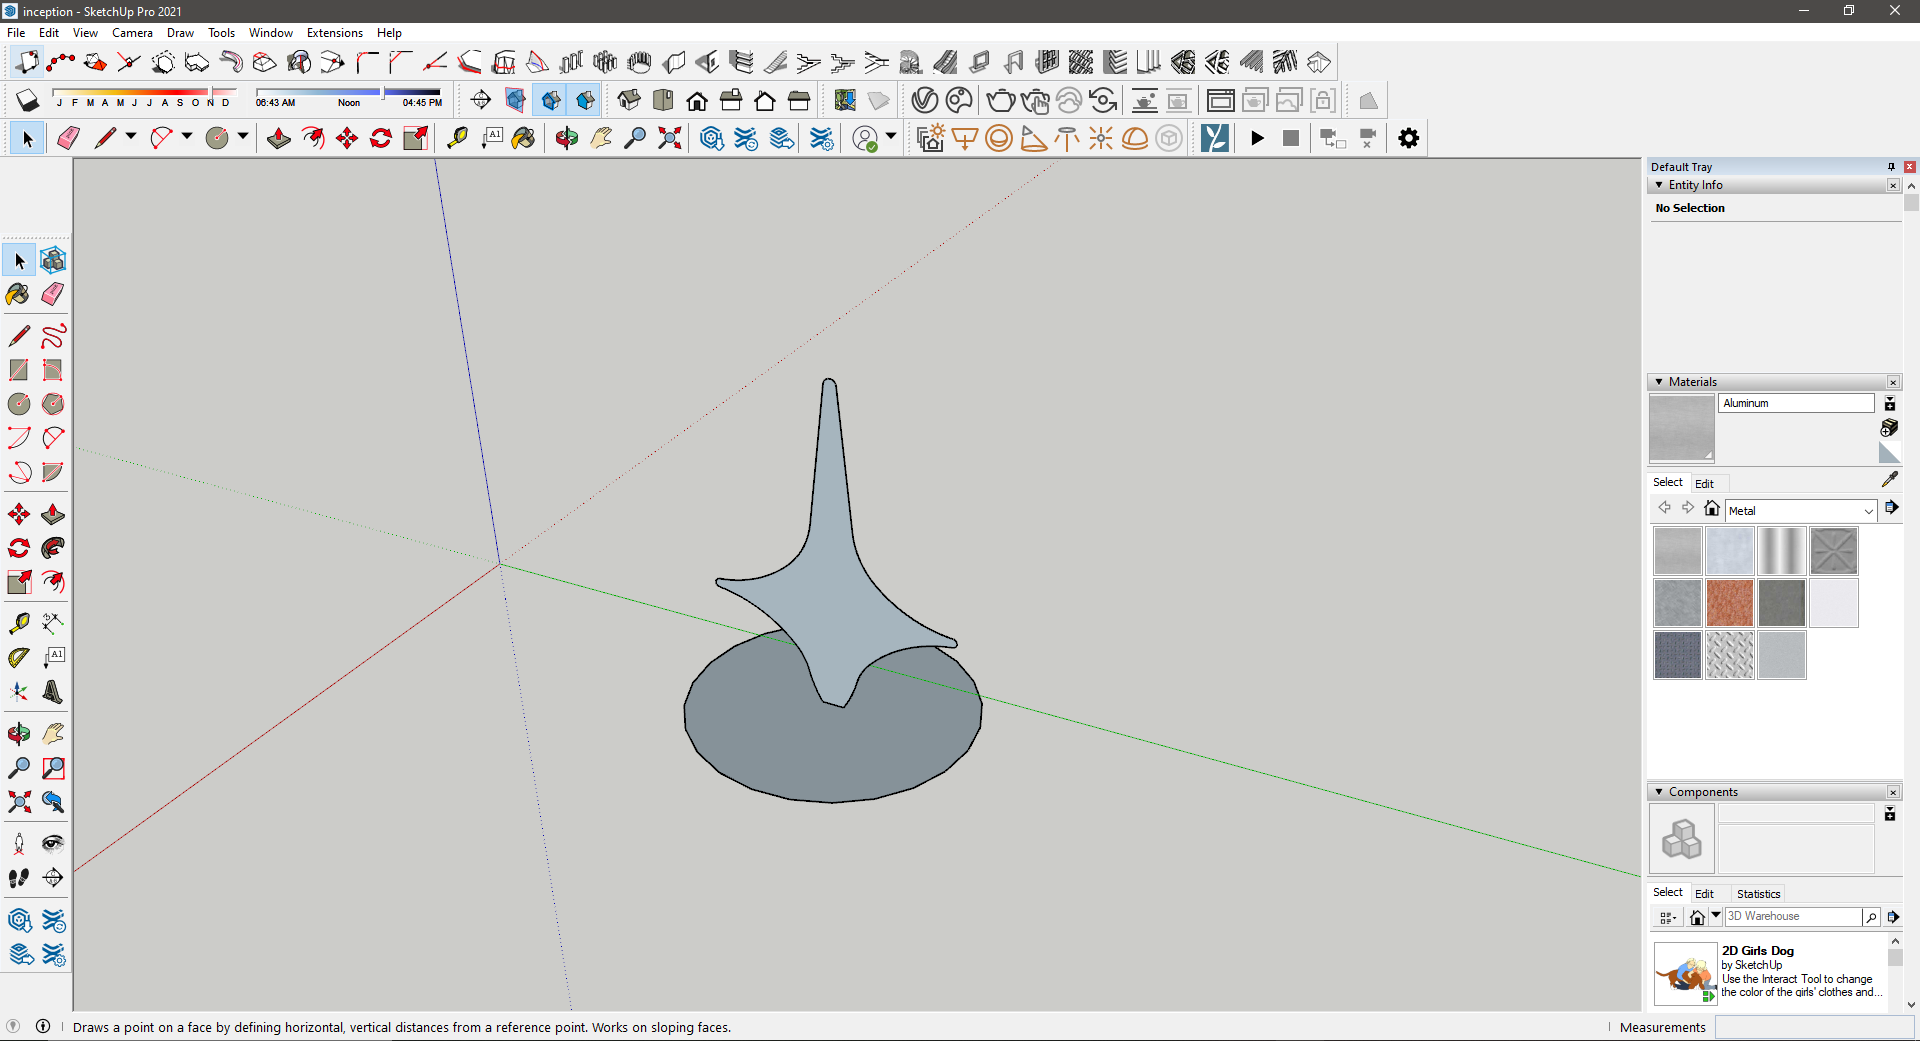
5- Here I deleted the lines in the face and grouped the whole face

6- Then, I rotated the face of the object on the z axis using rotate tool and I placed it on a circle that I drew to help me later revolve the face on the circular axis
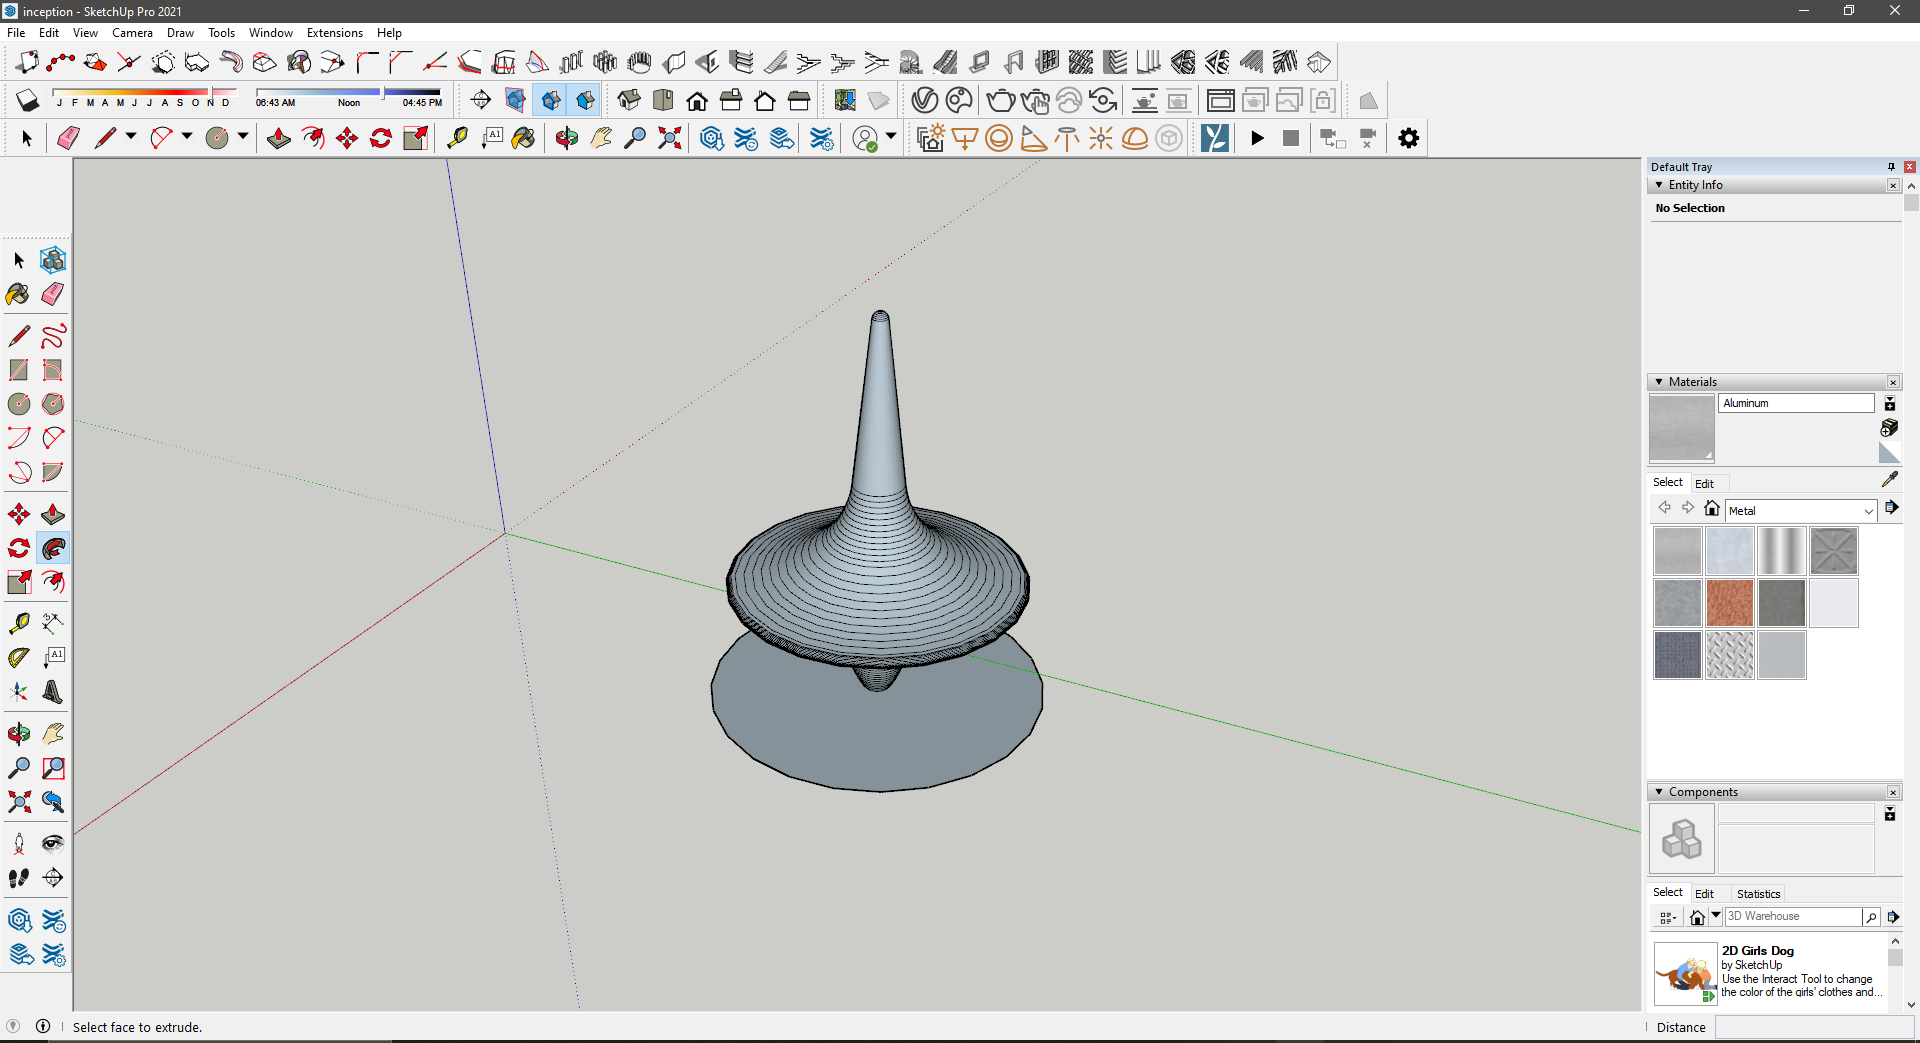
7- Now here the magic happens, I revolved the faced using a tool called (Follow me) that allows to either revolve or extrude but on a specific path
On this case it is the circular path
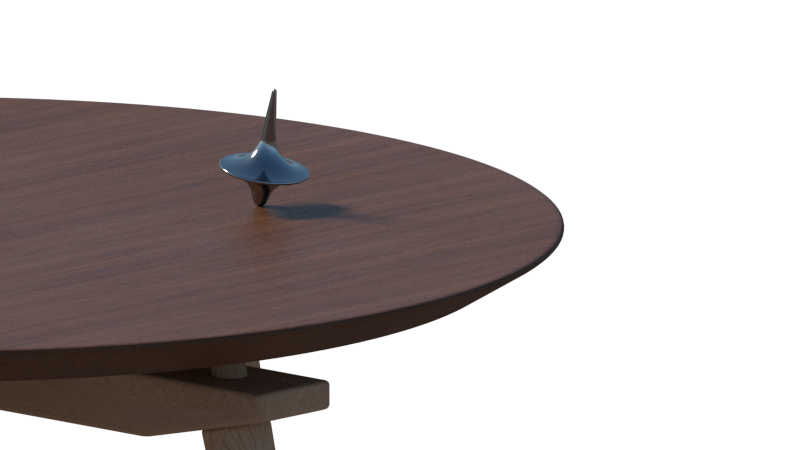
And this is the final outcome after applying materials and rendering!!
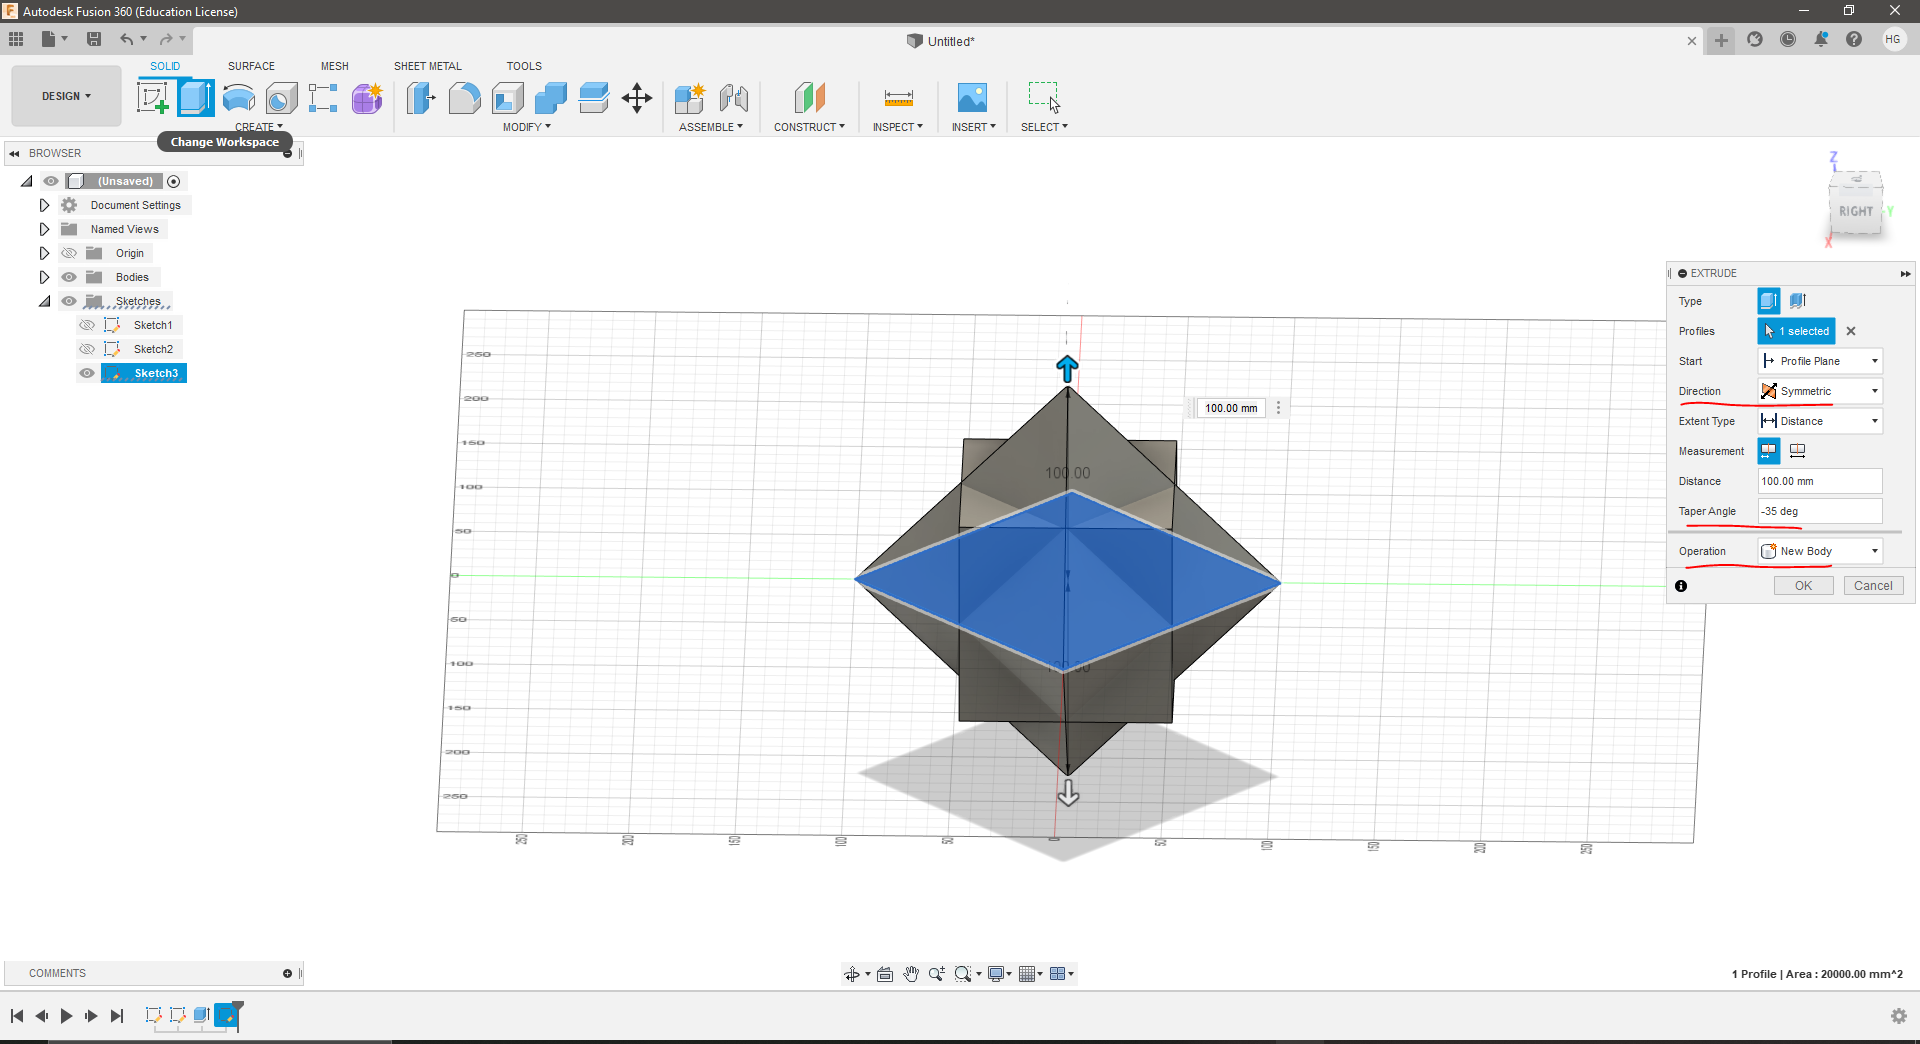
Fusion360
Polyhedral pot
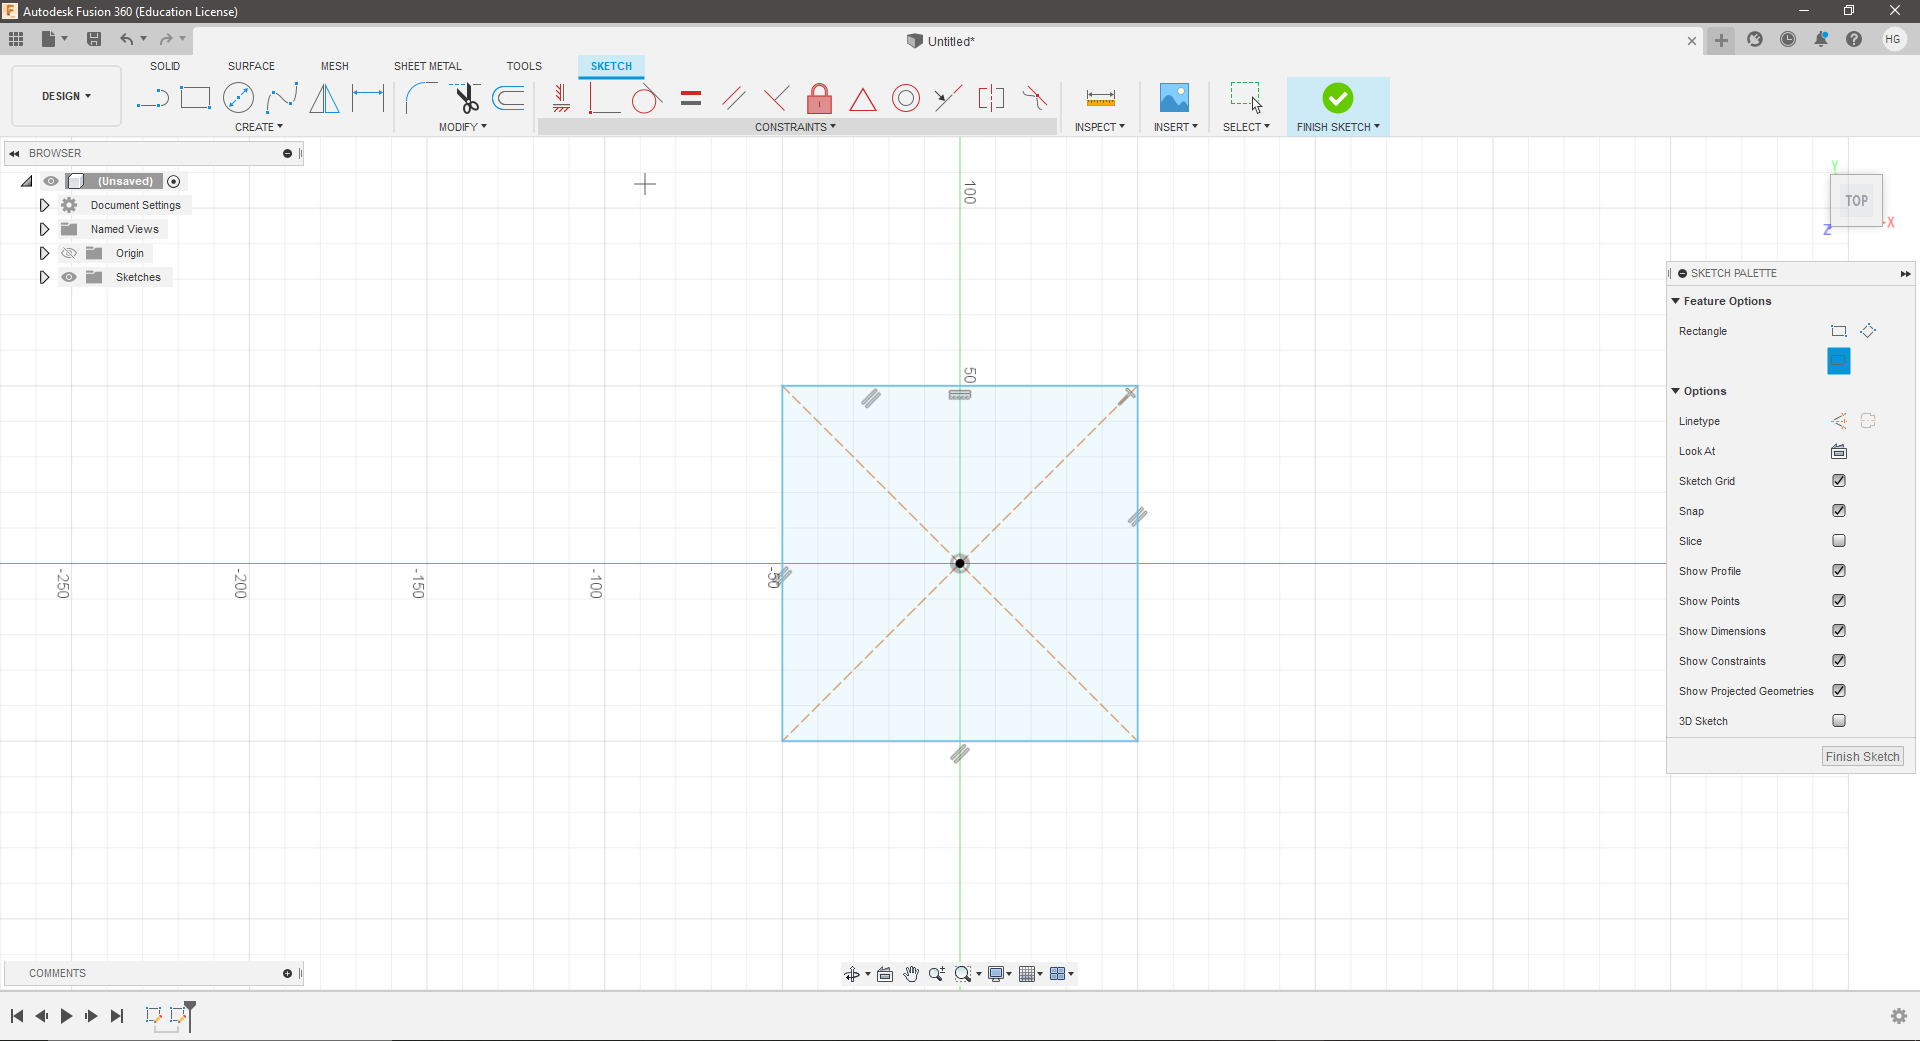
1- First of all, this is the interface of the software where all the tools are located on the upper and left bar while the properties on the right. So I started with drawing a rectangle using shape tool
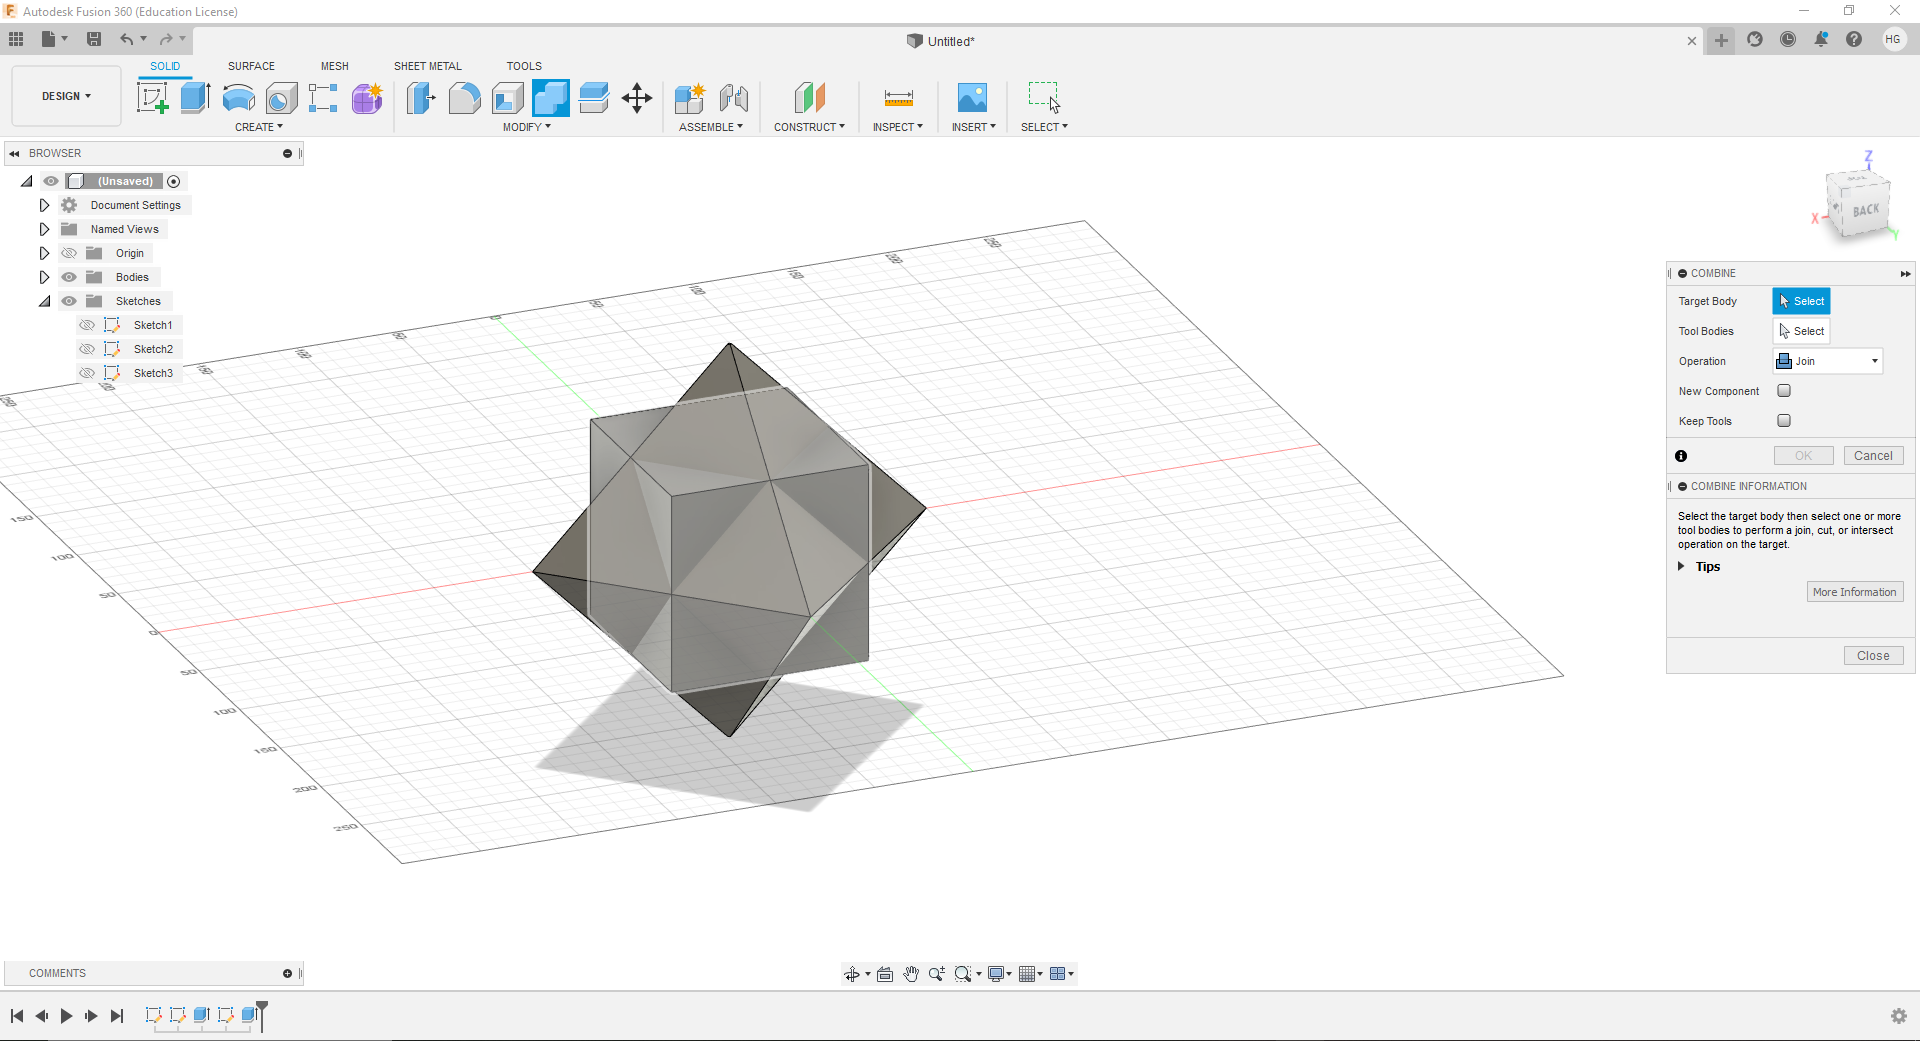
2- Then, I drew lines using draw line tool to help me in drawing my shape
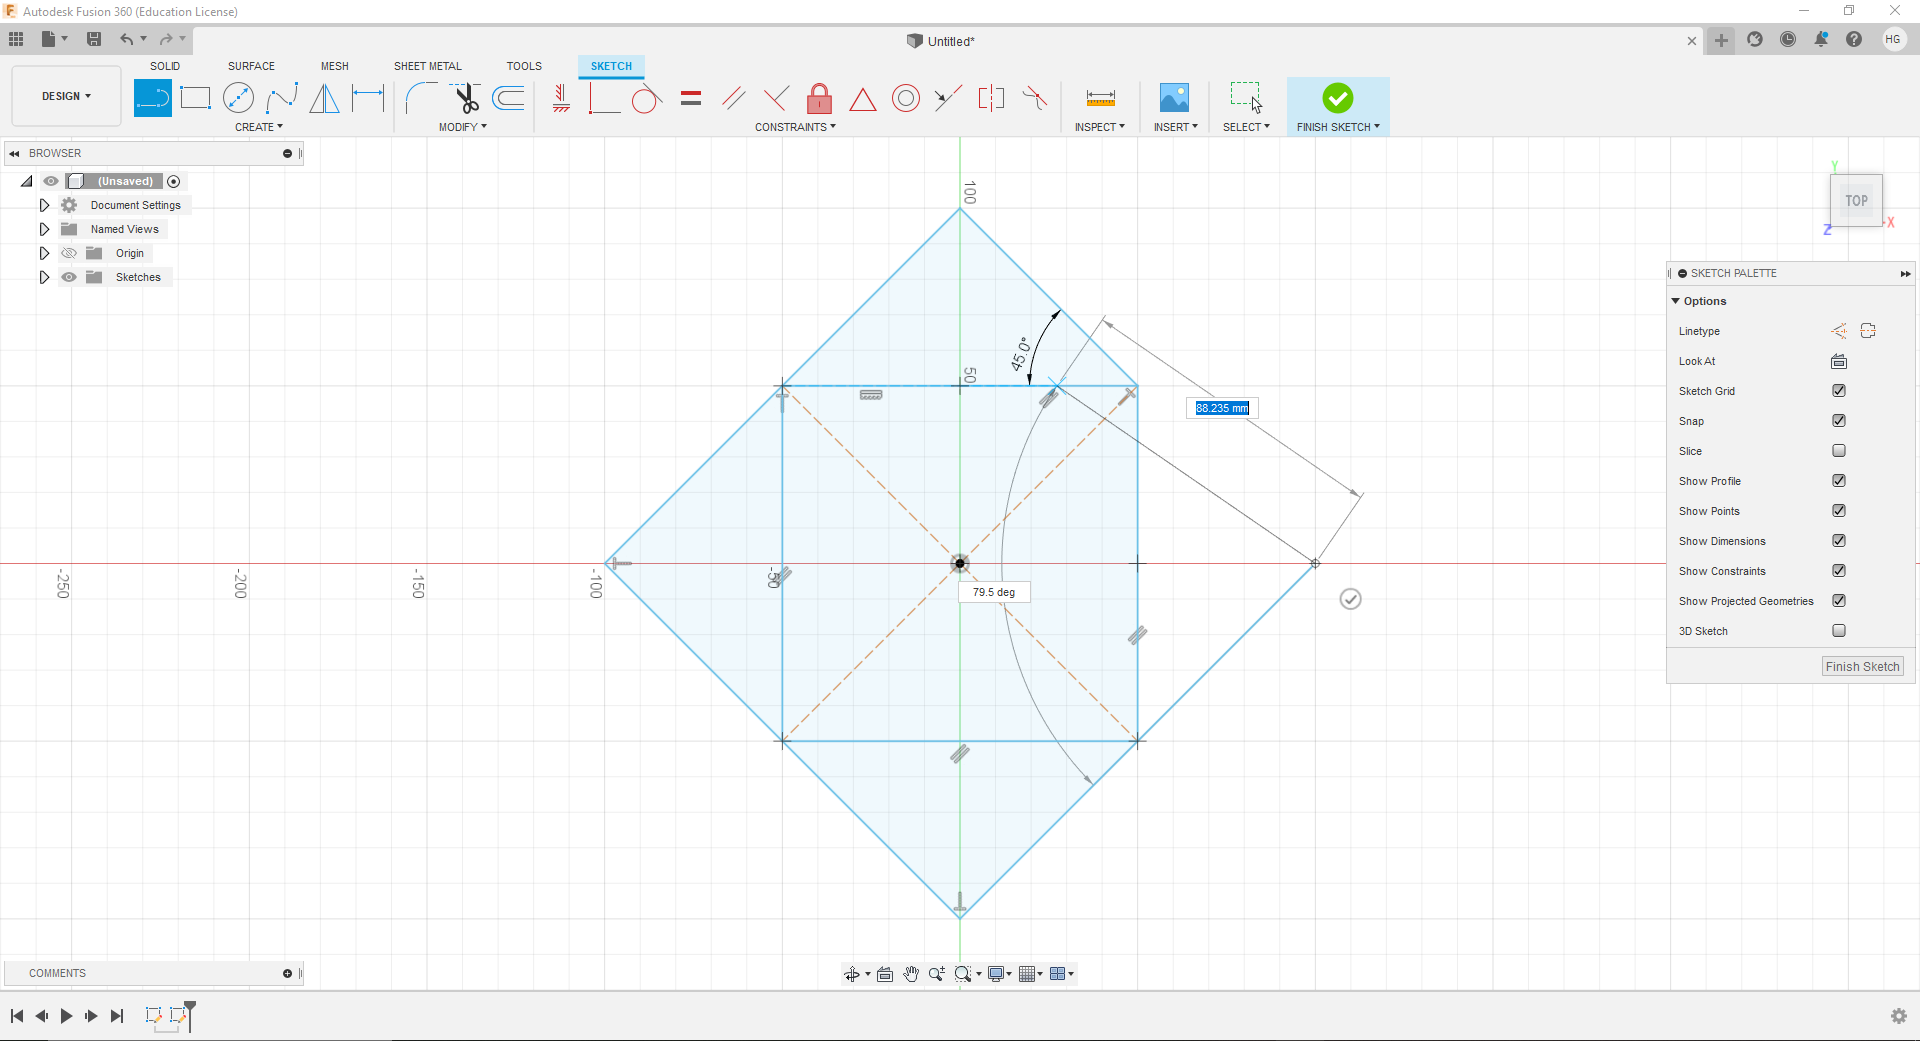
3- I started drawing half of my shape using lines and arcs using 2 points Arc tool
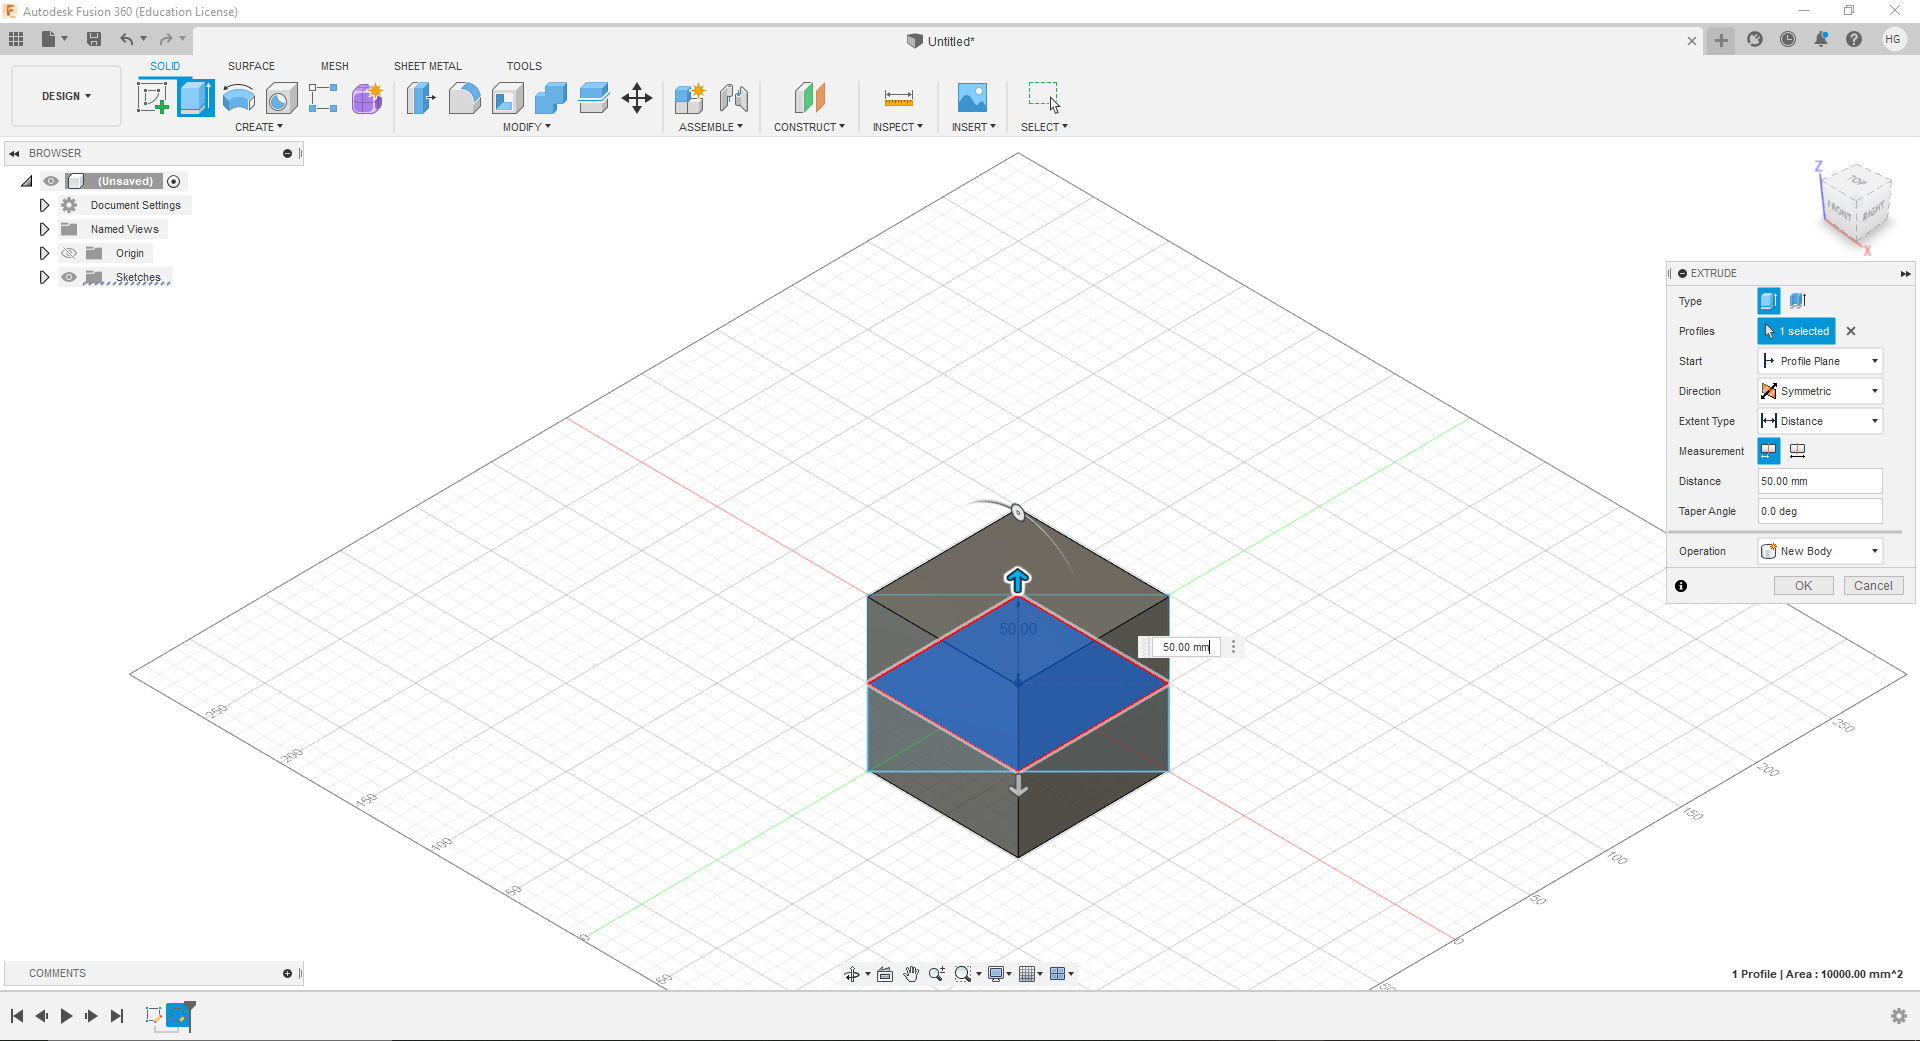
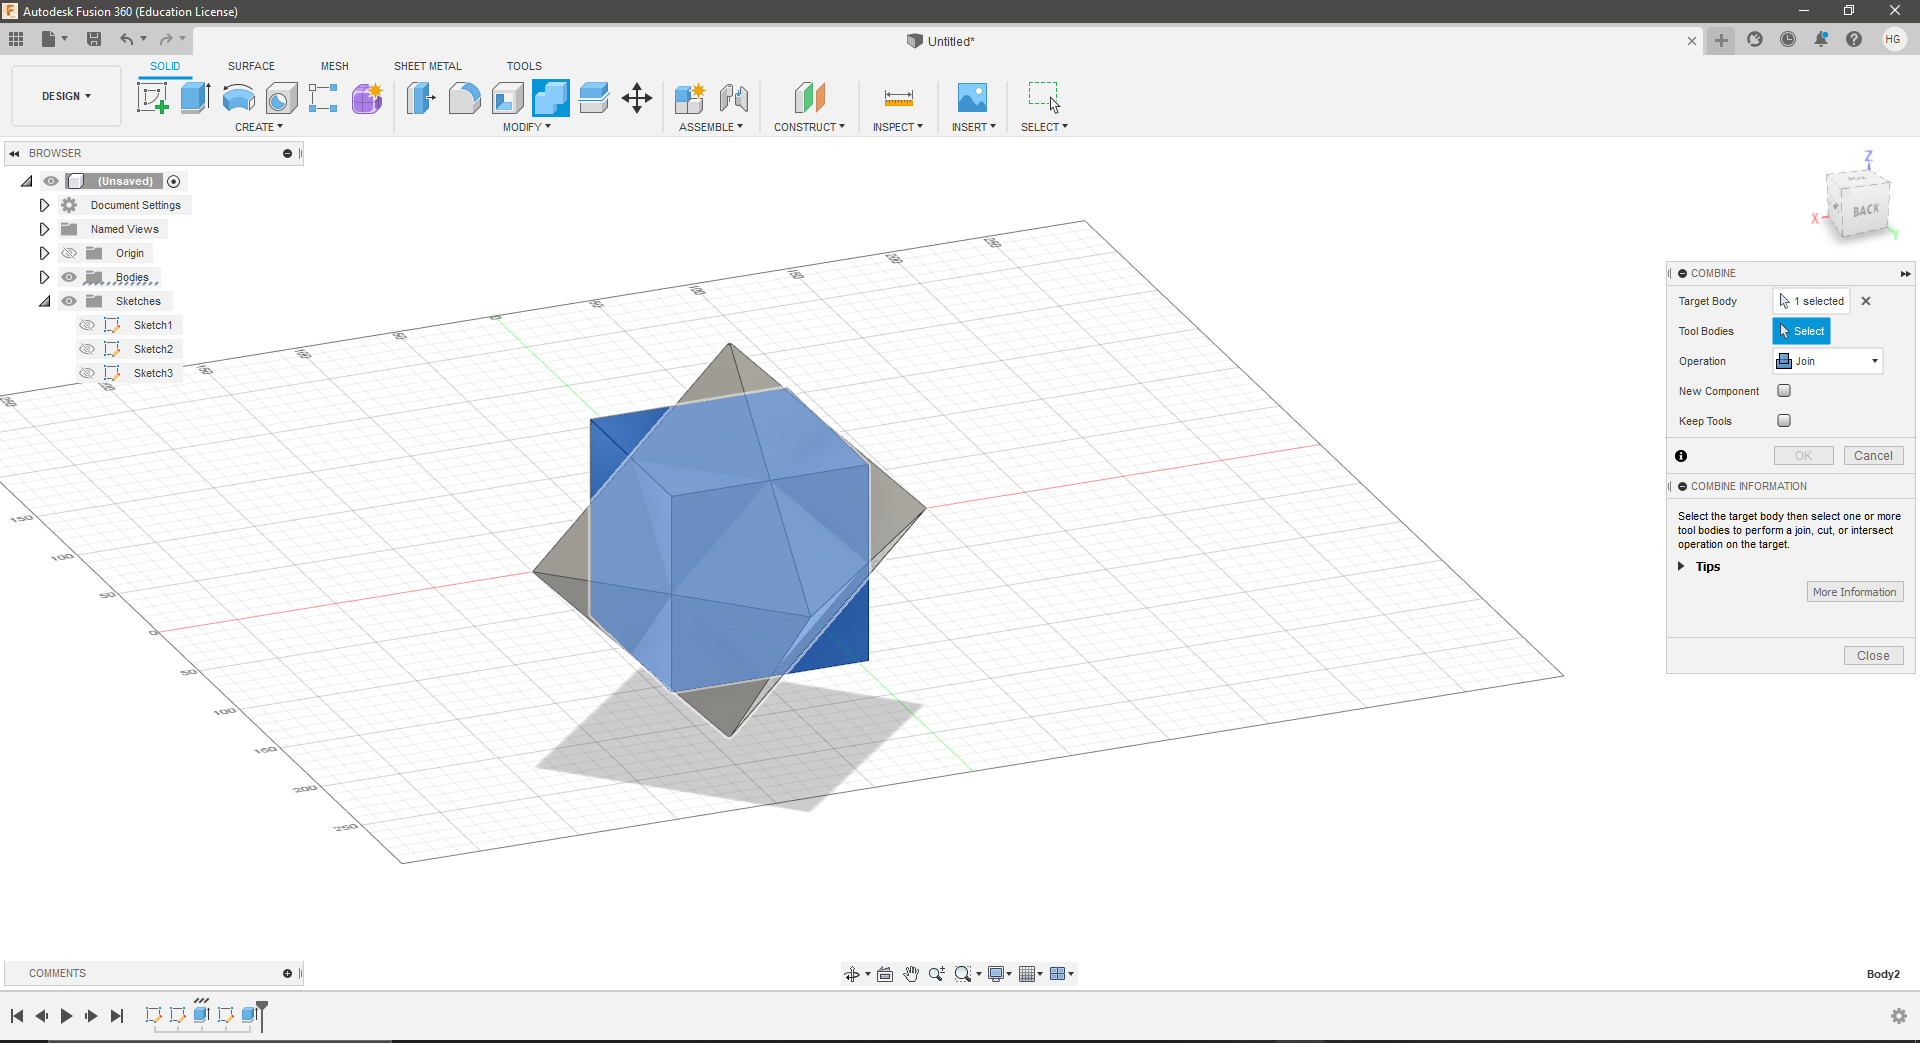
4- Now it bacame easier to finish the drawing by mirroring the half that I already did, so I grouped it first (Right click< Group) mirrored it (Right click< Flip along< Green axis)
5- Here I deleted the lines in the face and grouped the whole face
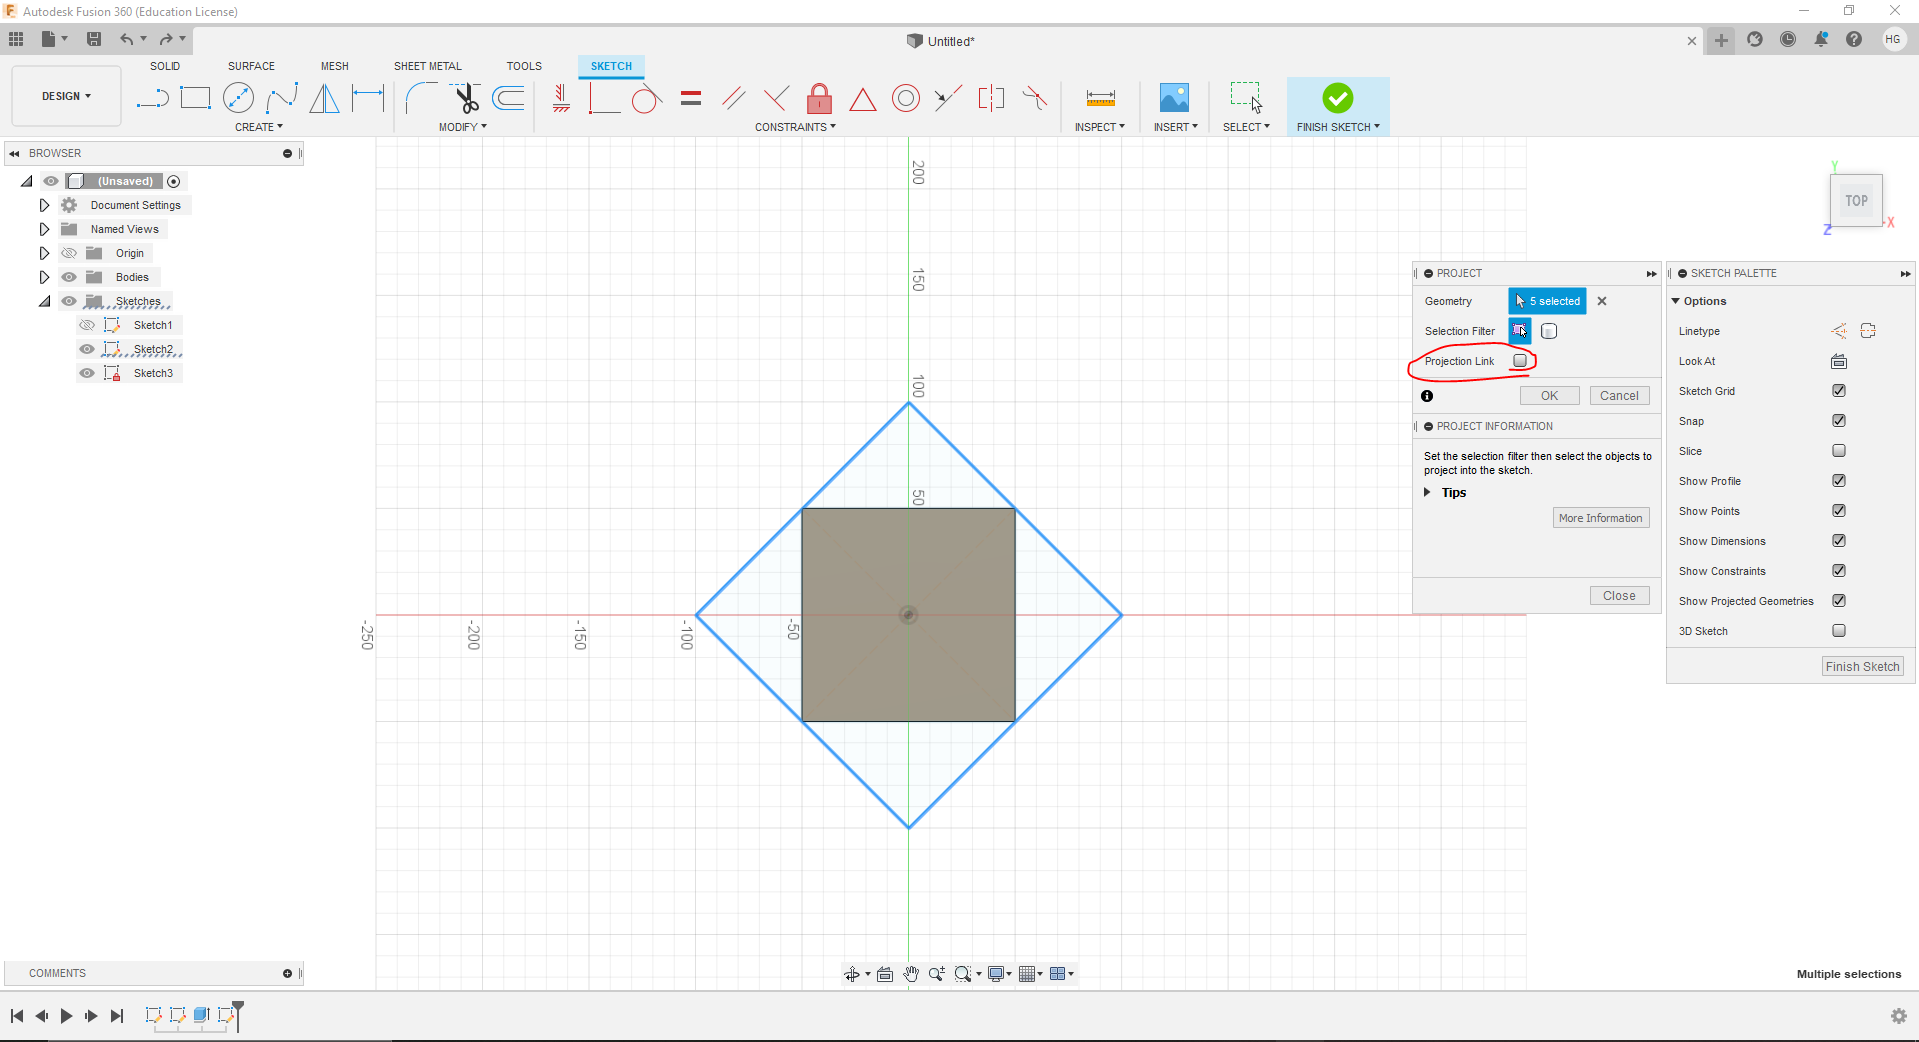
6- Then, I rotated the face of the object on the z axis using rotate tool and I placed it on a circle that I drew to help me later revolve the face on the circular axis
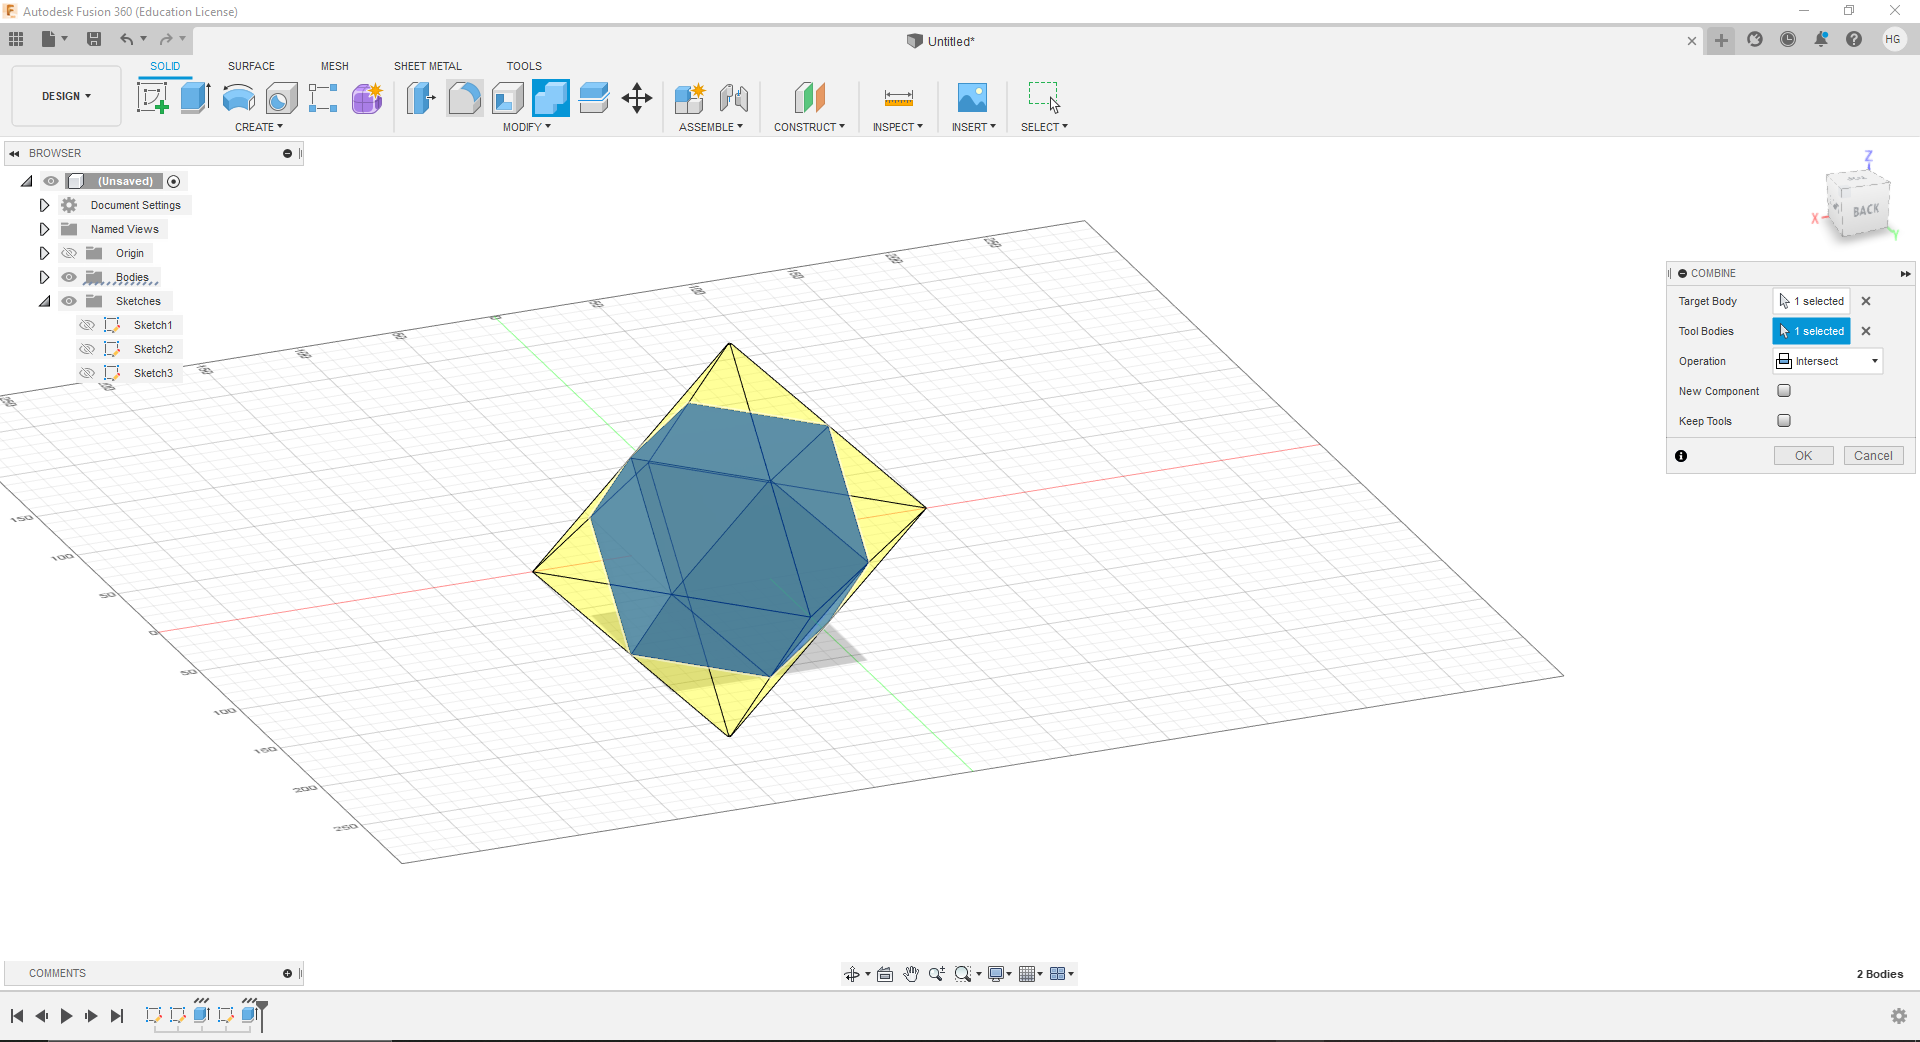
7- Now here the magic happens, I revolved the faced using a tool called (Follow me) that allows to either revolve or extrude but on a specific path
On this case it is the circular path
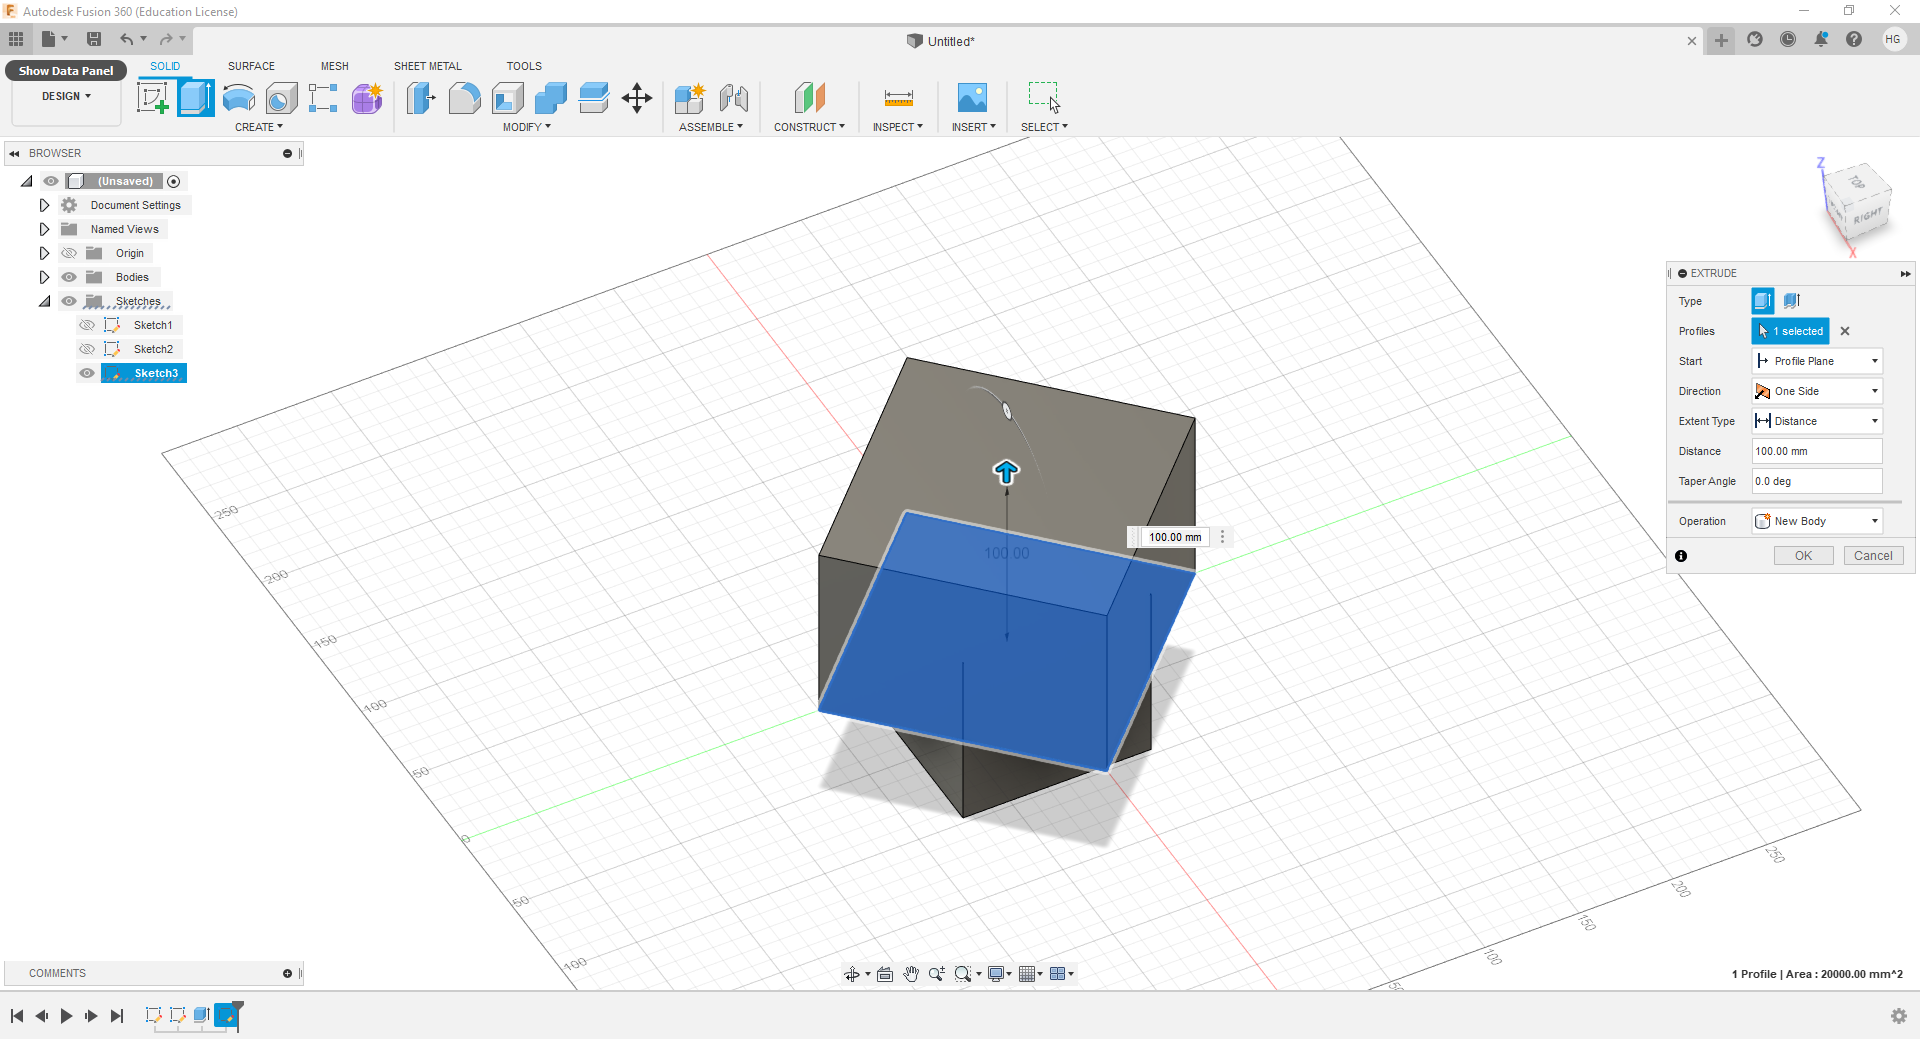
8- And this is the final outcome after applying materials and rendering!!
9- Then, I rotated the face of the object on the z axis using rotate tool and I placed it on a circle that I drew to help me later revolve the face on the circular axis
And this is the final outcome