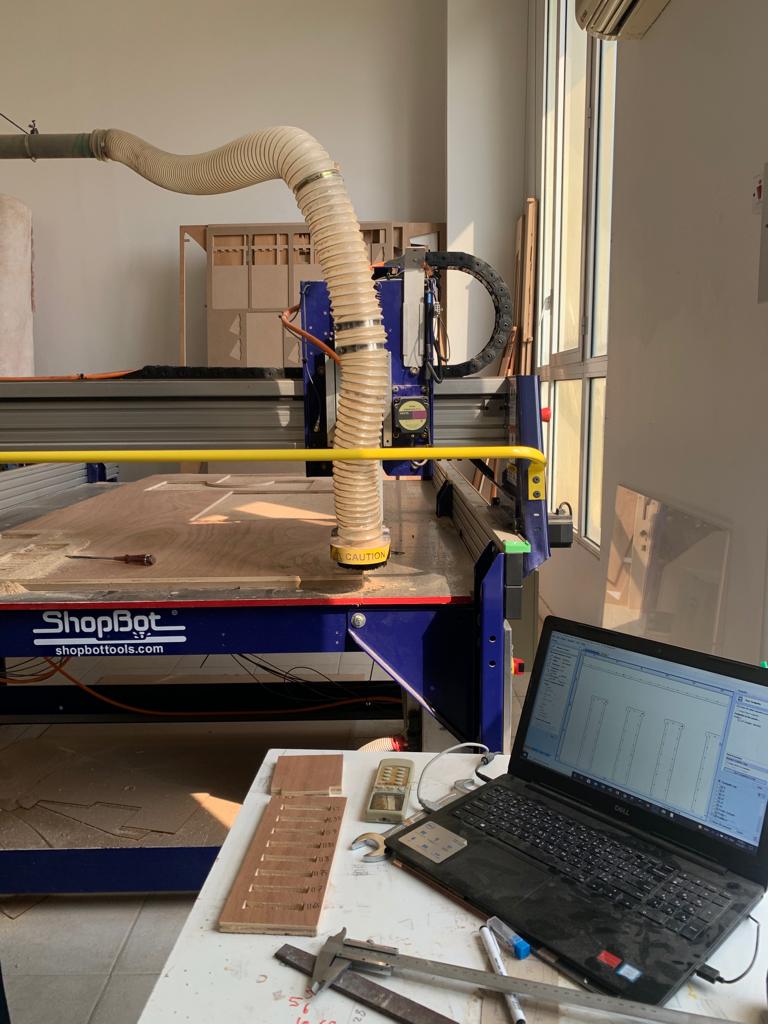
6. Large format CNC (computer controlled Machining)
On this week we got introduced to the large format CNC machine, which gives us an opportunity to design in a bigger scale using different materials like wood
General information
What is CNC Machine?
A computer numerical controlled (CNC) machine uses a program to control the operation of machine tools such as lathes and mills. It takes a raw material (metal, plastic, etc.) and cuts, grinds, drills, turns, mills, and/or shapes it into parts that meet exact specifications.
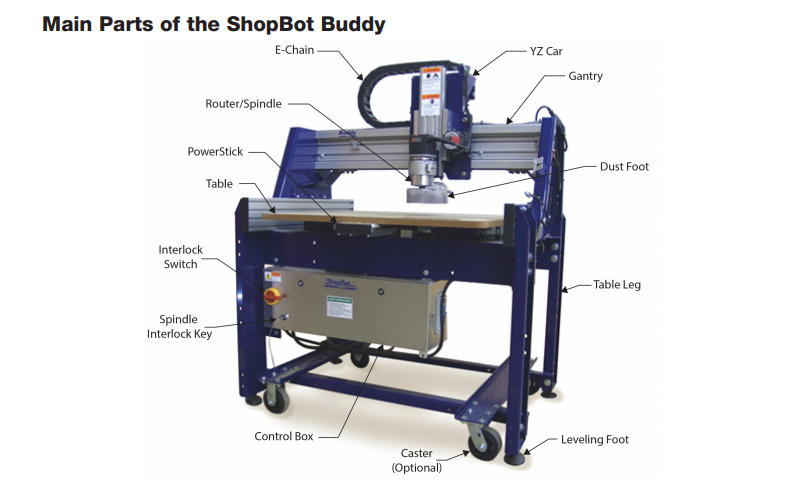
CNC main machine parts
Special requirements
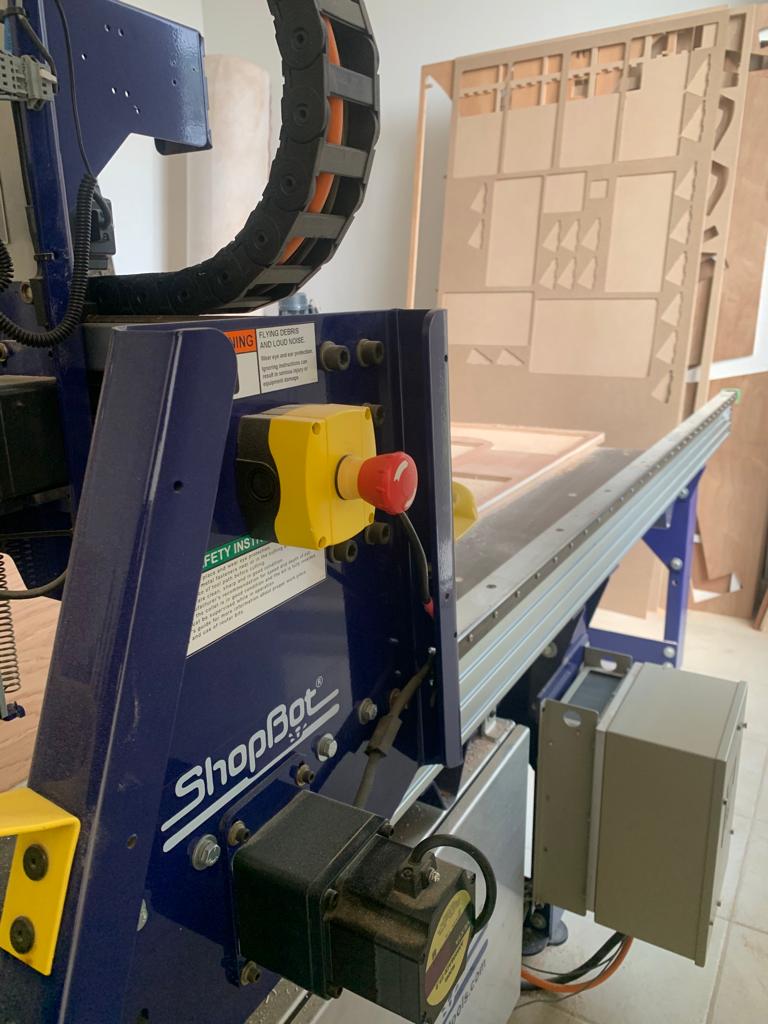
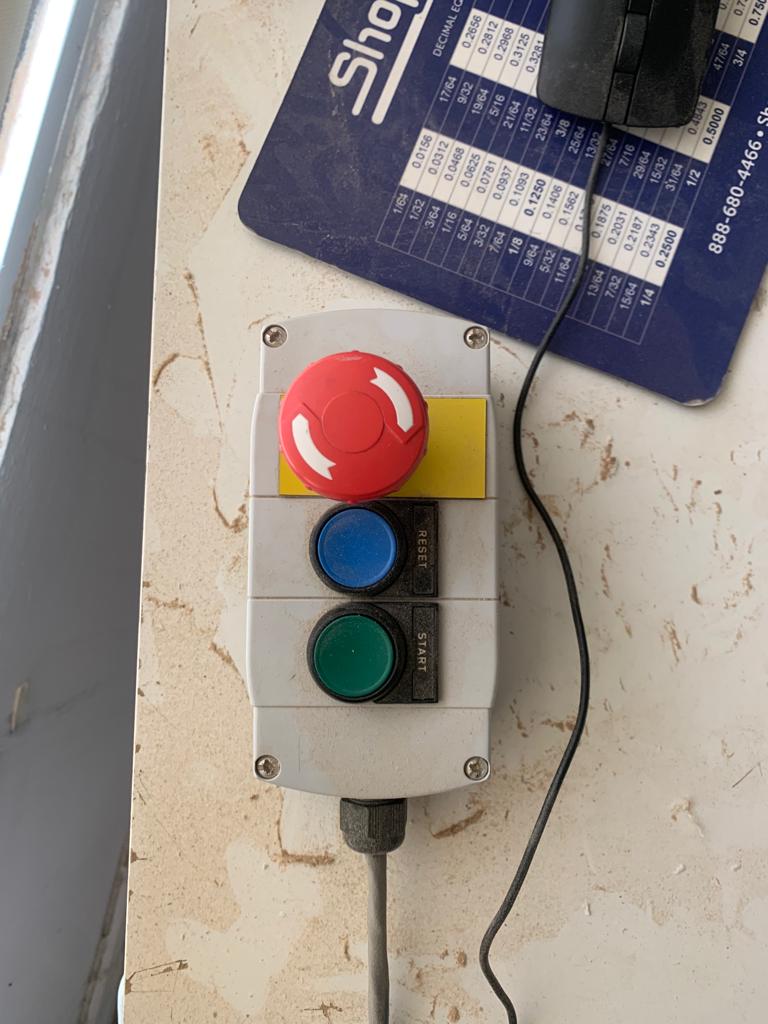
When using this machine it is better to be aware of how to operate it and how to stop it
There are two stop and start buttons, one in the machine like the first picture, and the other one is separate near the computer connected to the machine (the second picture)
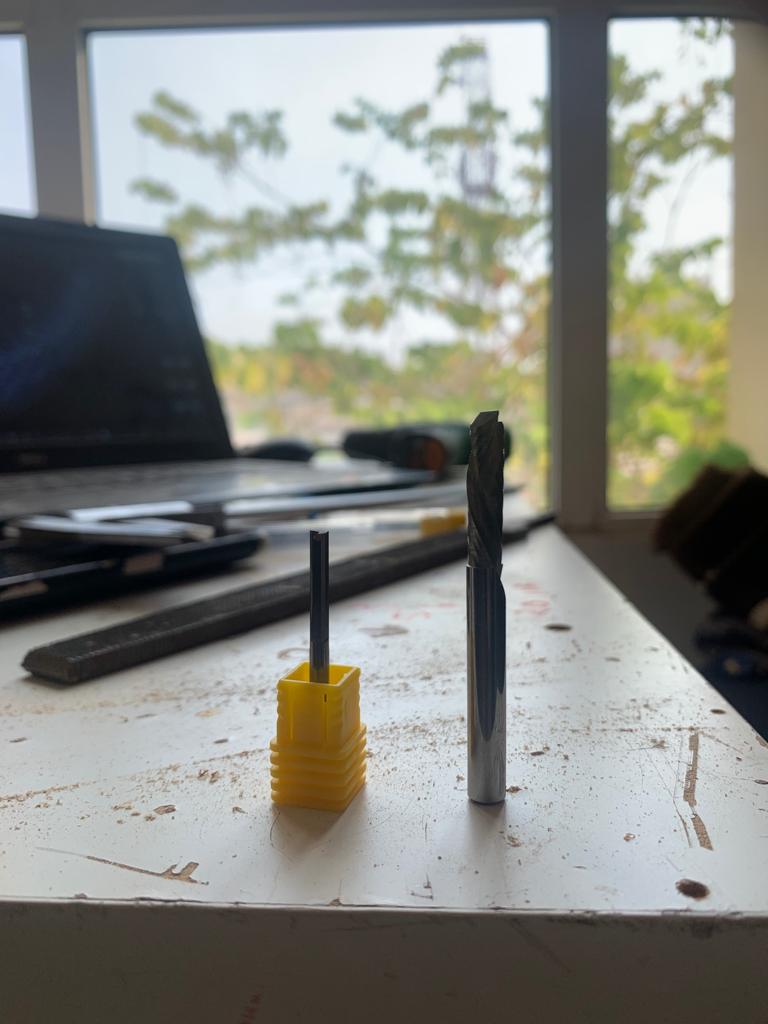
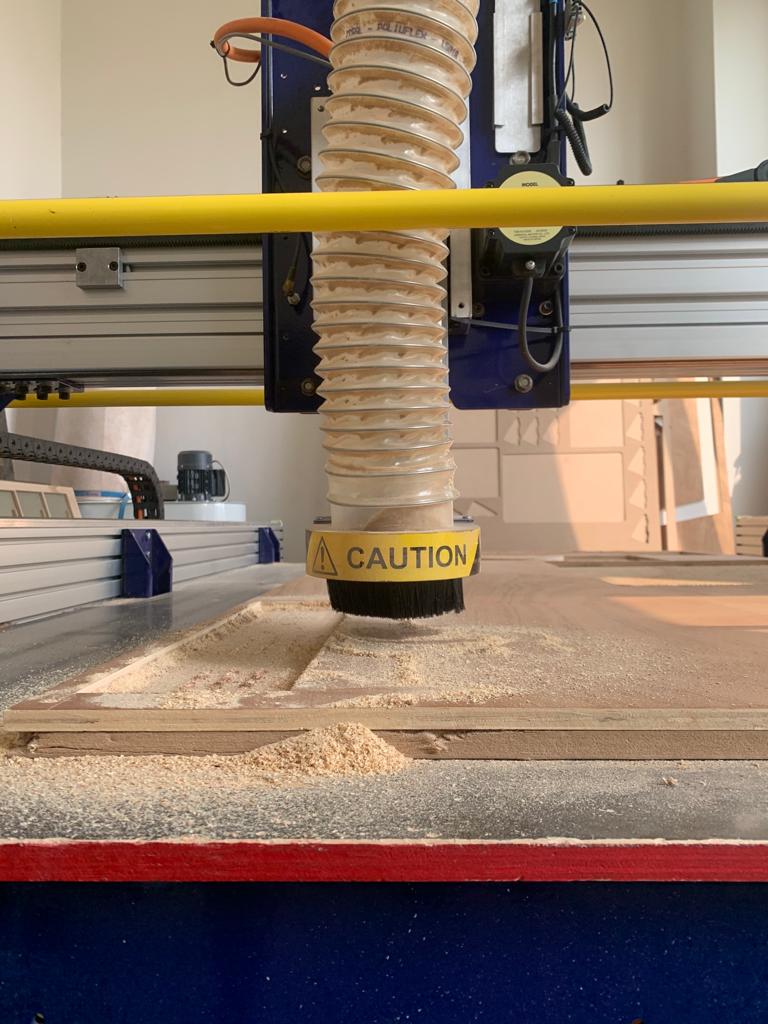
It is better to choose the drill bit carefully before cutting depending on the material used and the machine settings
Safety requirements
for safety requirements it is advised to wear a protective glasses when the machine starts
GROUP WORK
You can check out group assignment in Kumail’s page here
Building an object (INDIVIDUAL WORK)
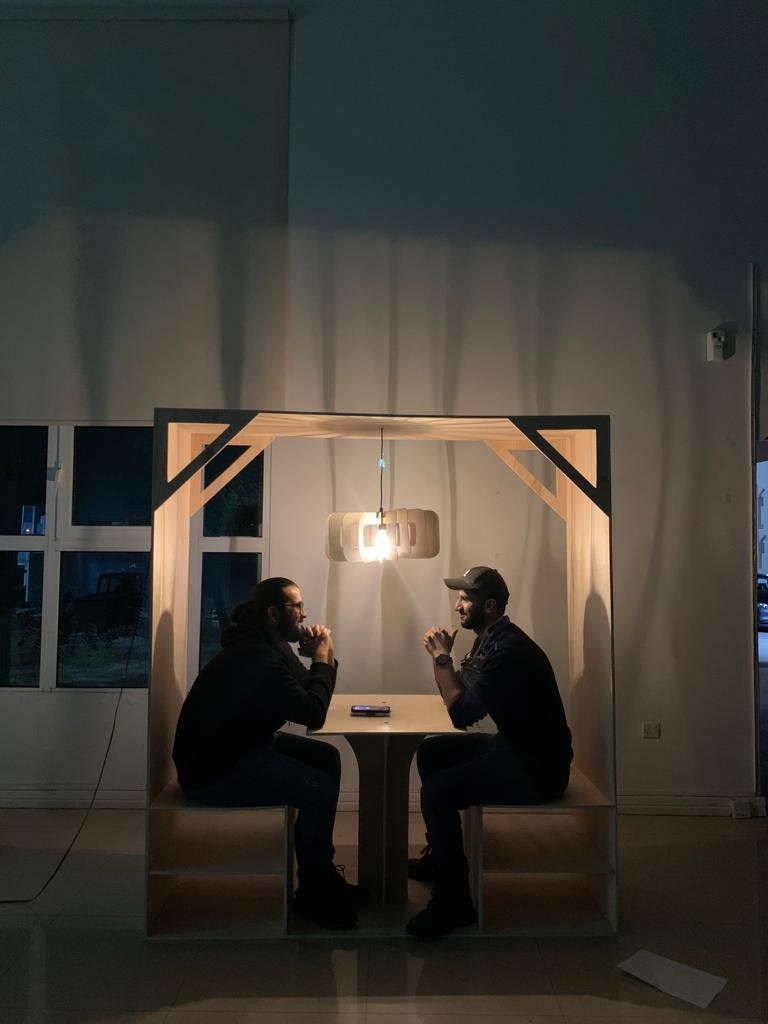
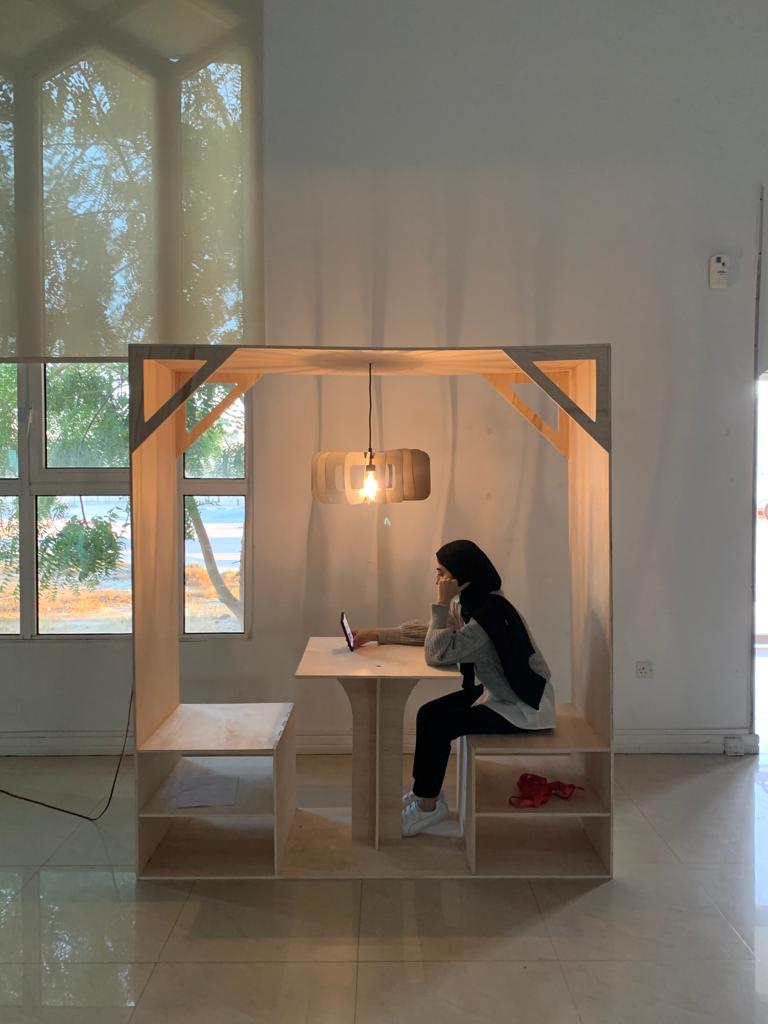
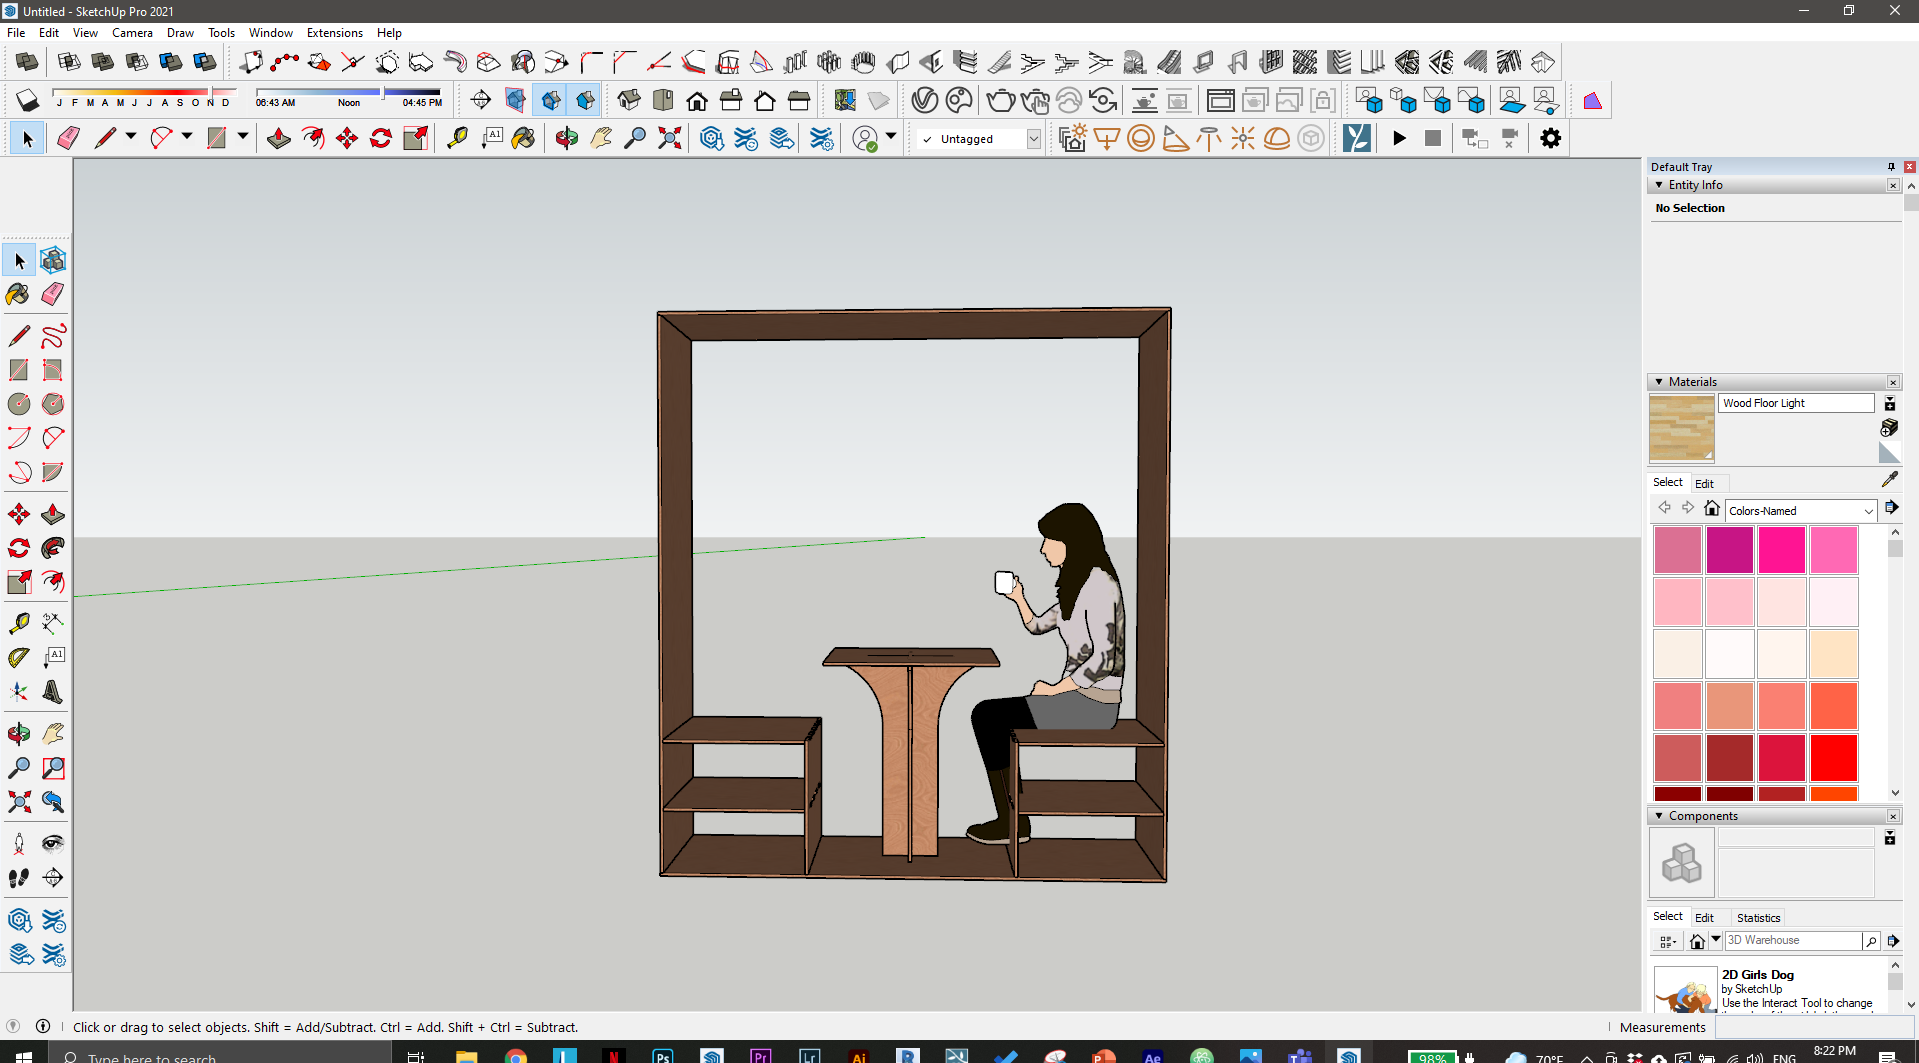
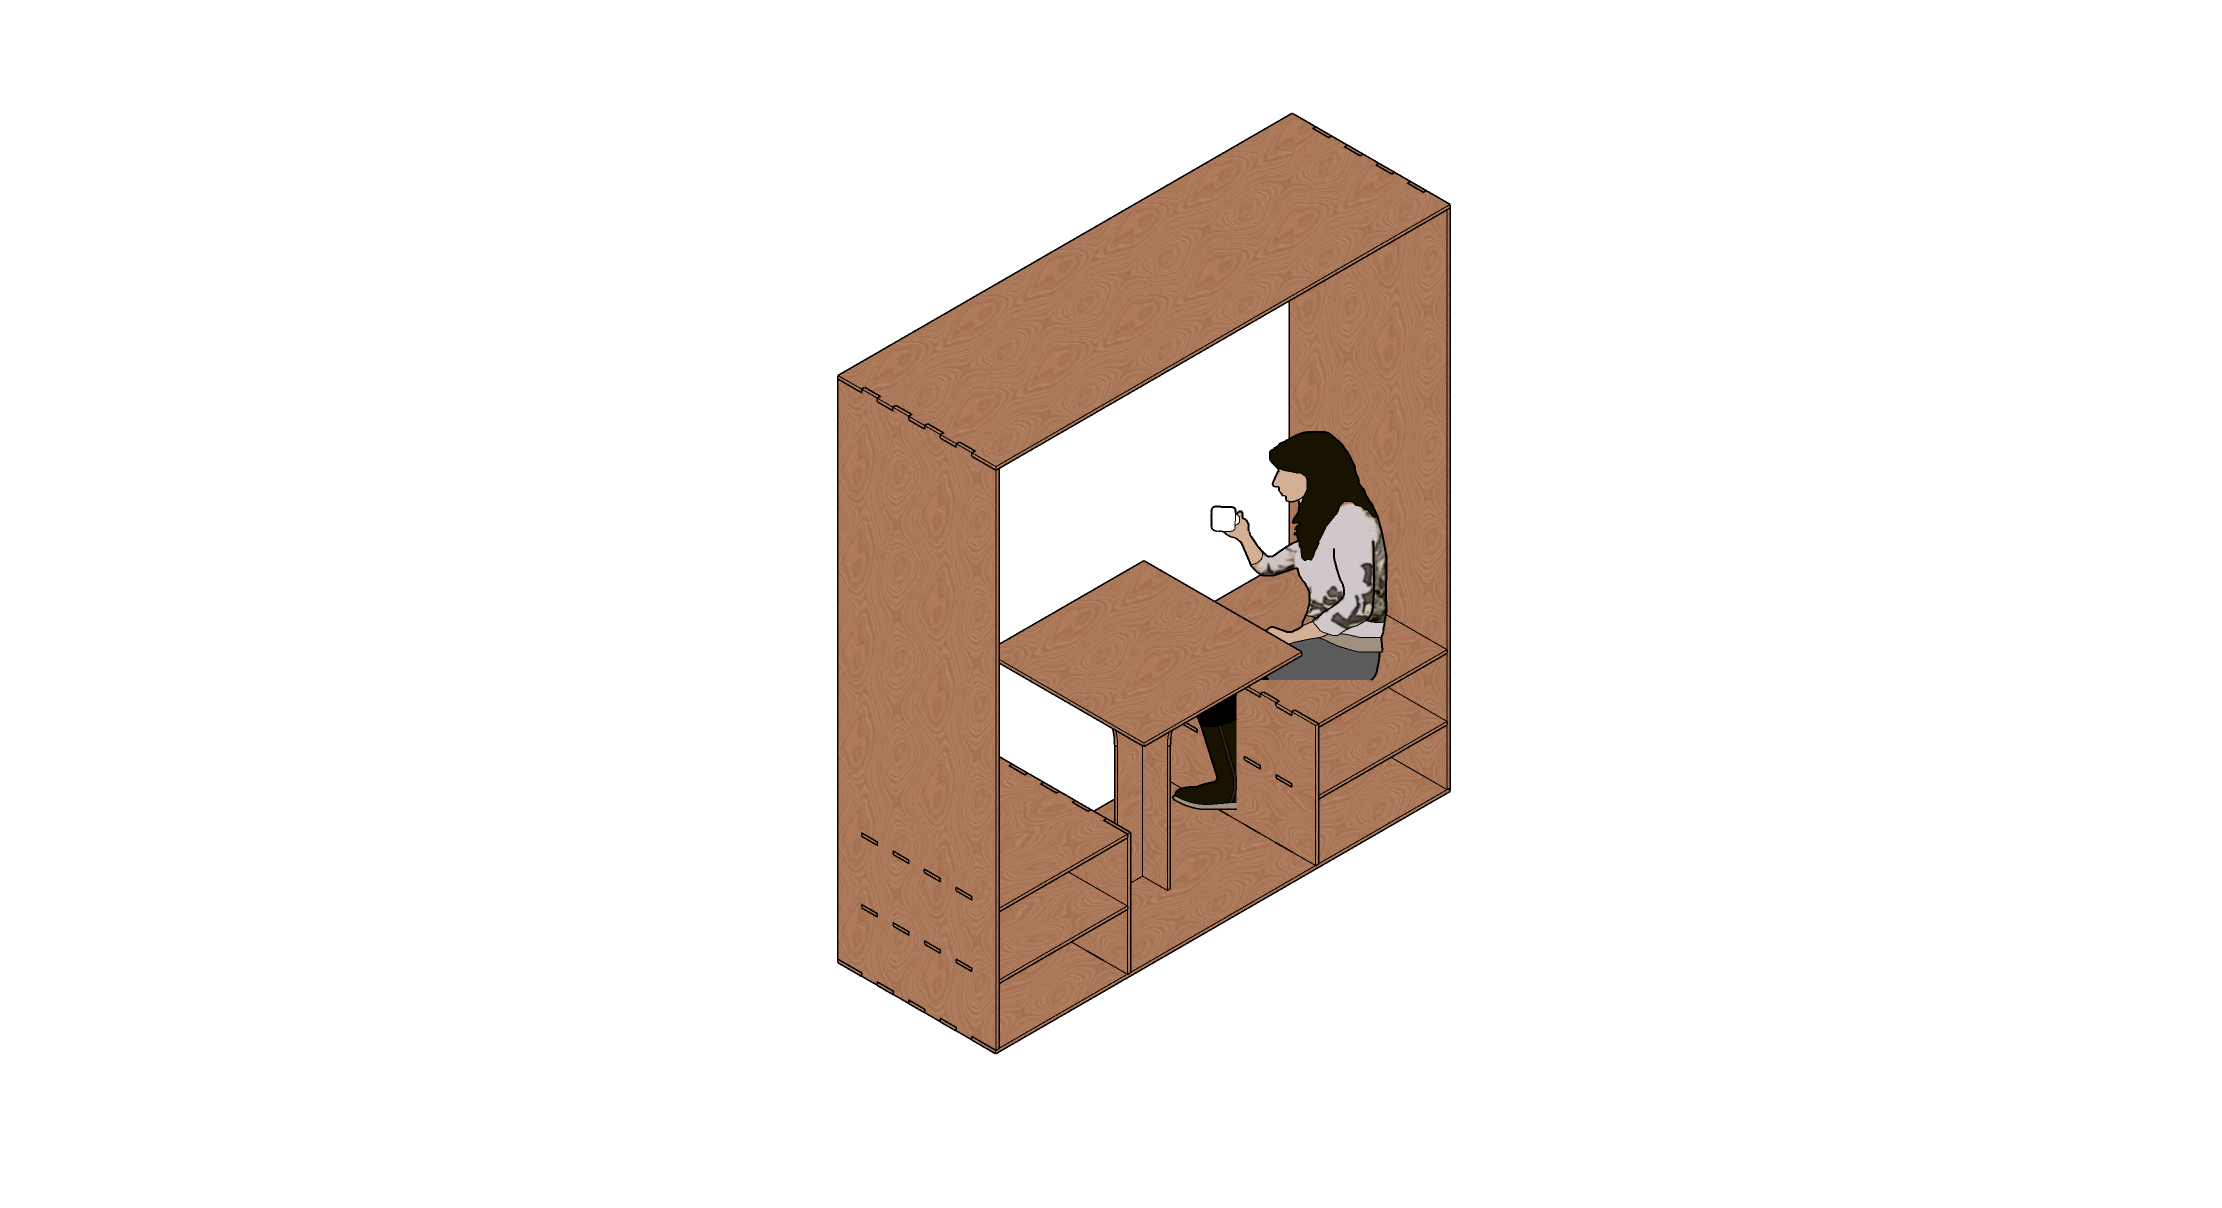
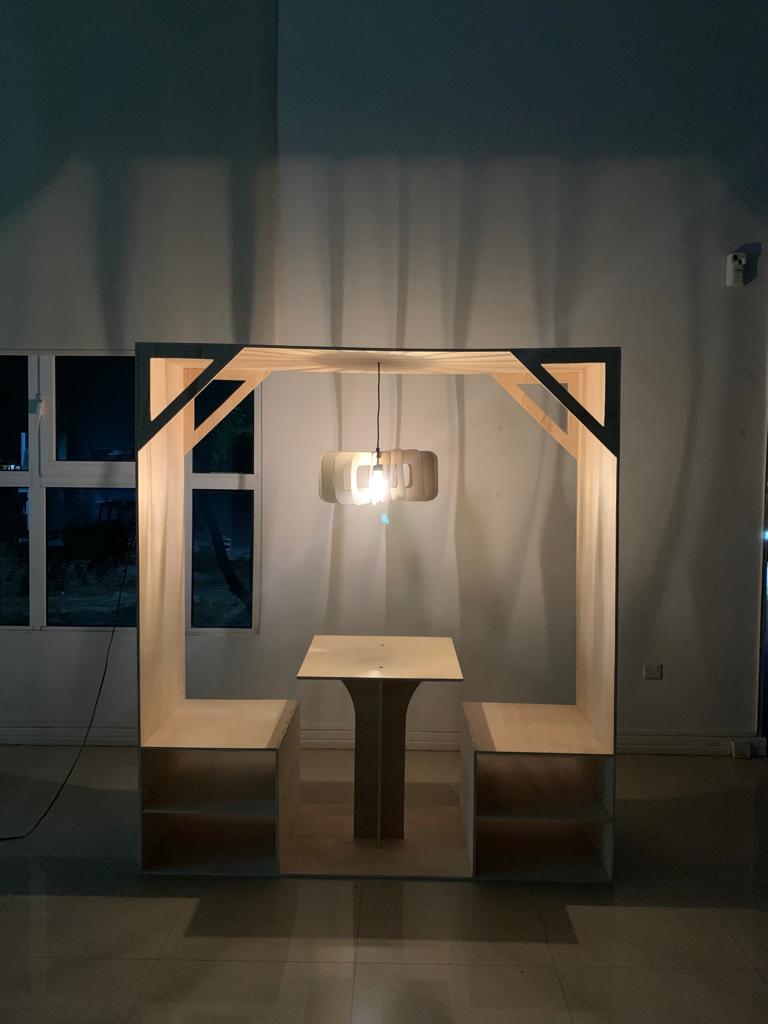
The object the I decided to make with this machine is a large setting unit contains two chairs, a coffee table, book shelves and a roof for a lamp.
Design phase
First, I designed the whole unit using Sketchup in 3d and I prepared the drawings of the pieces that would make the while unit
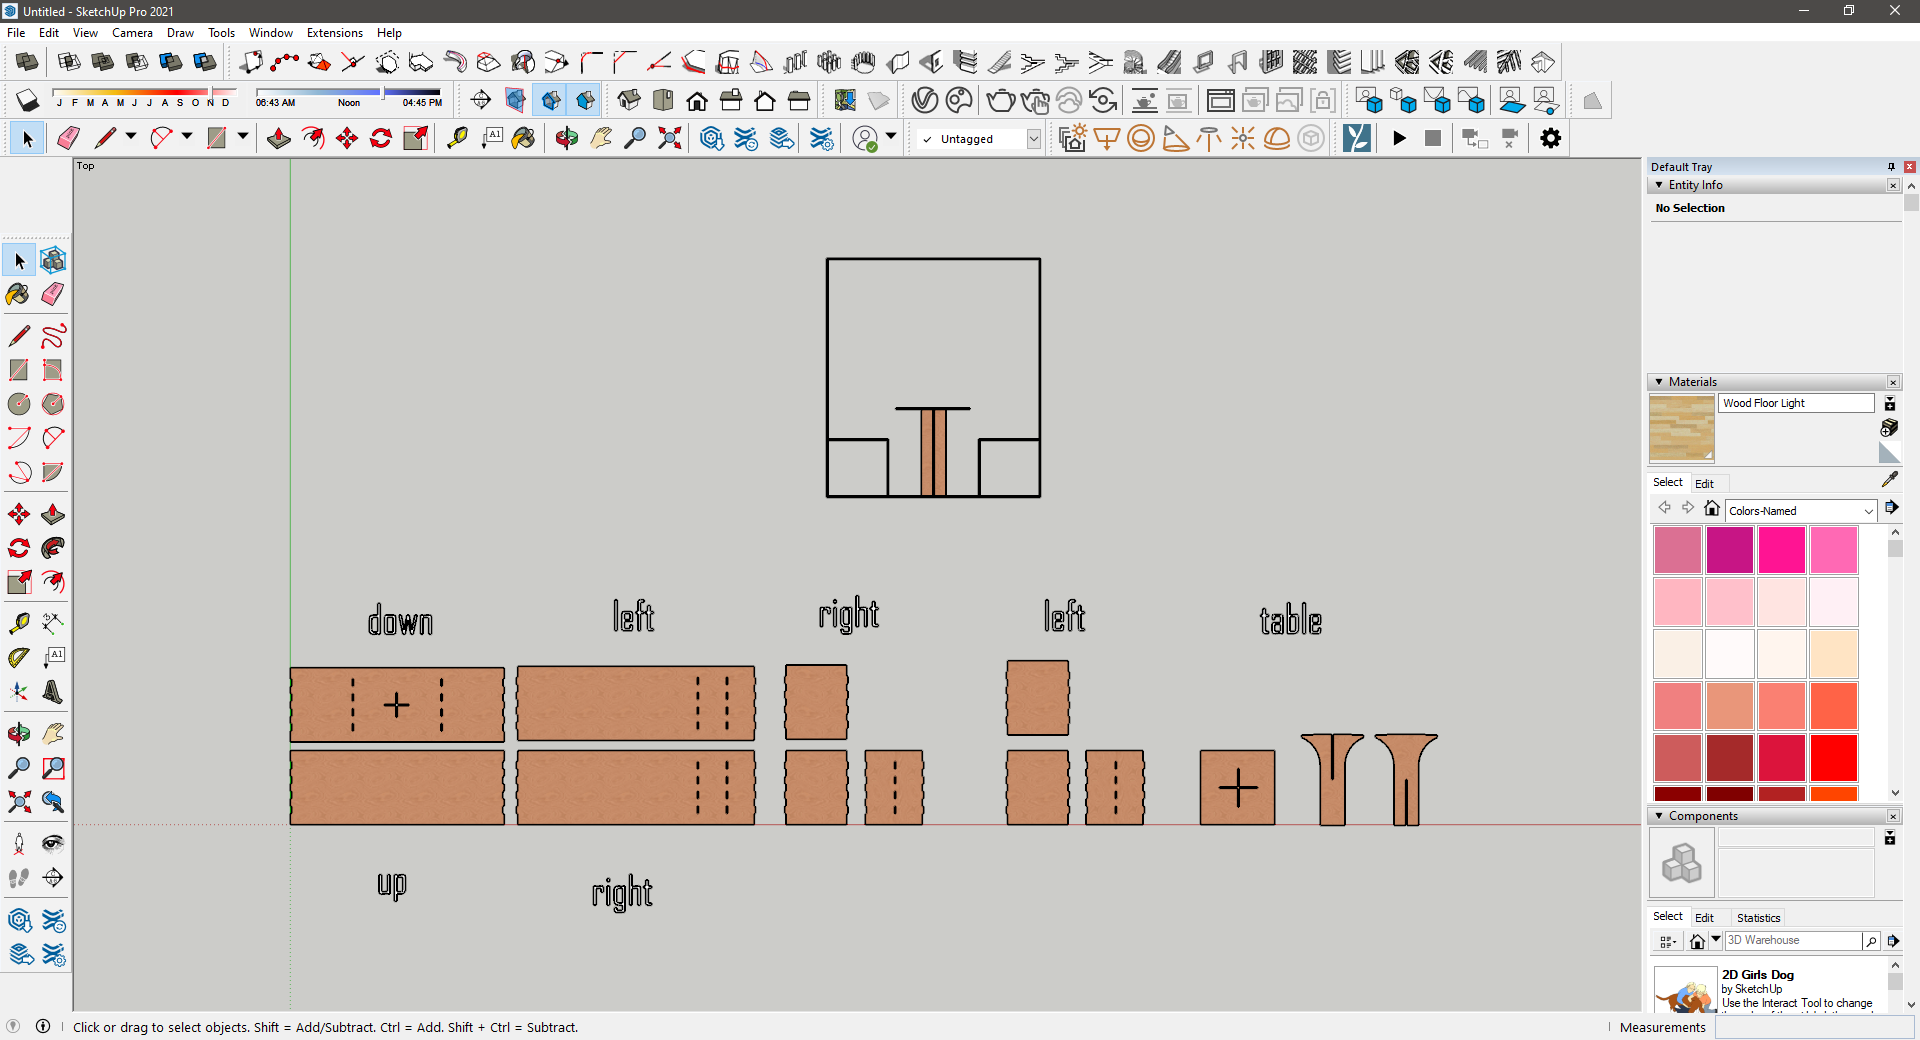
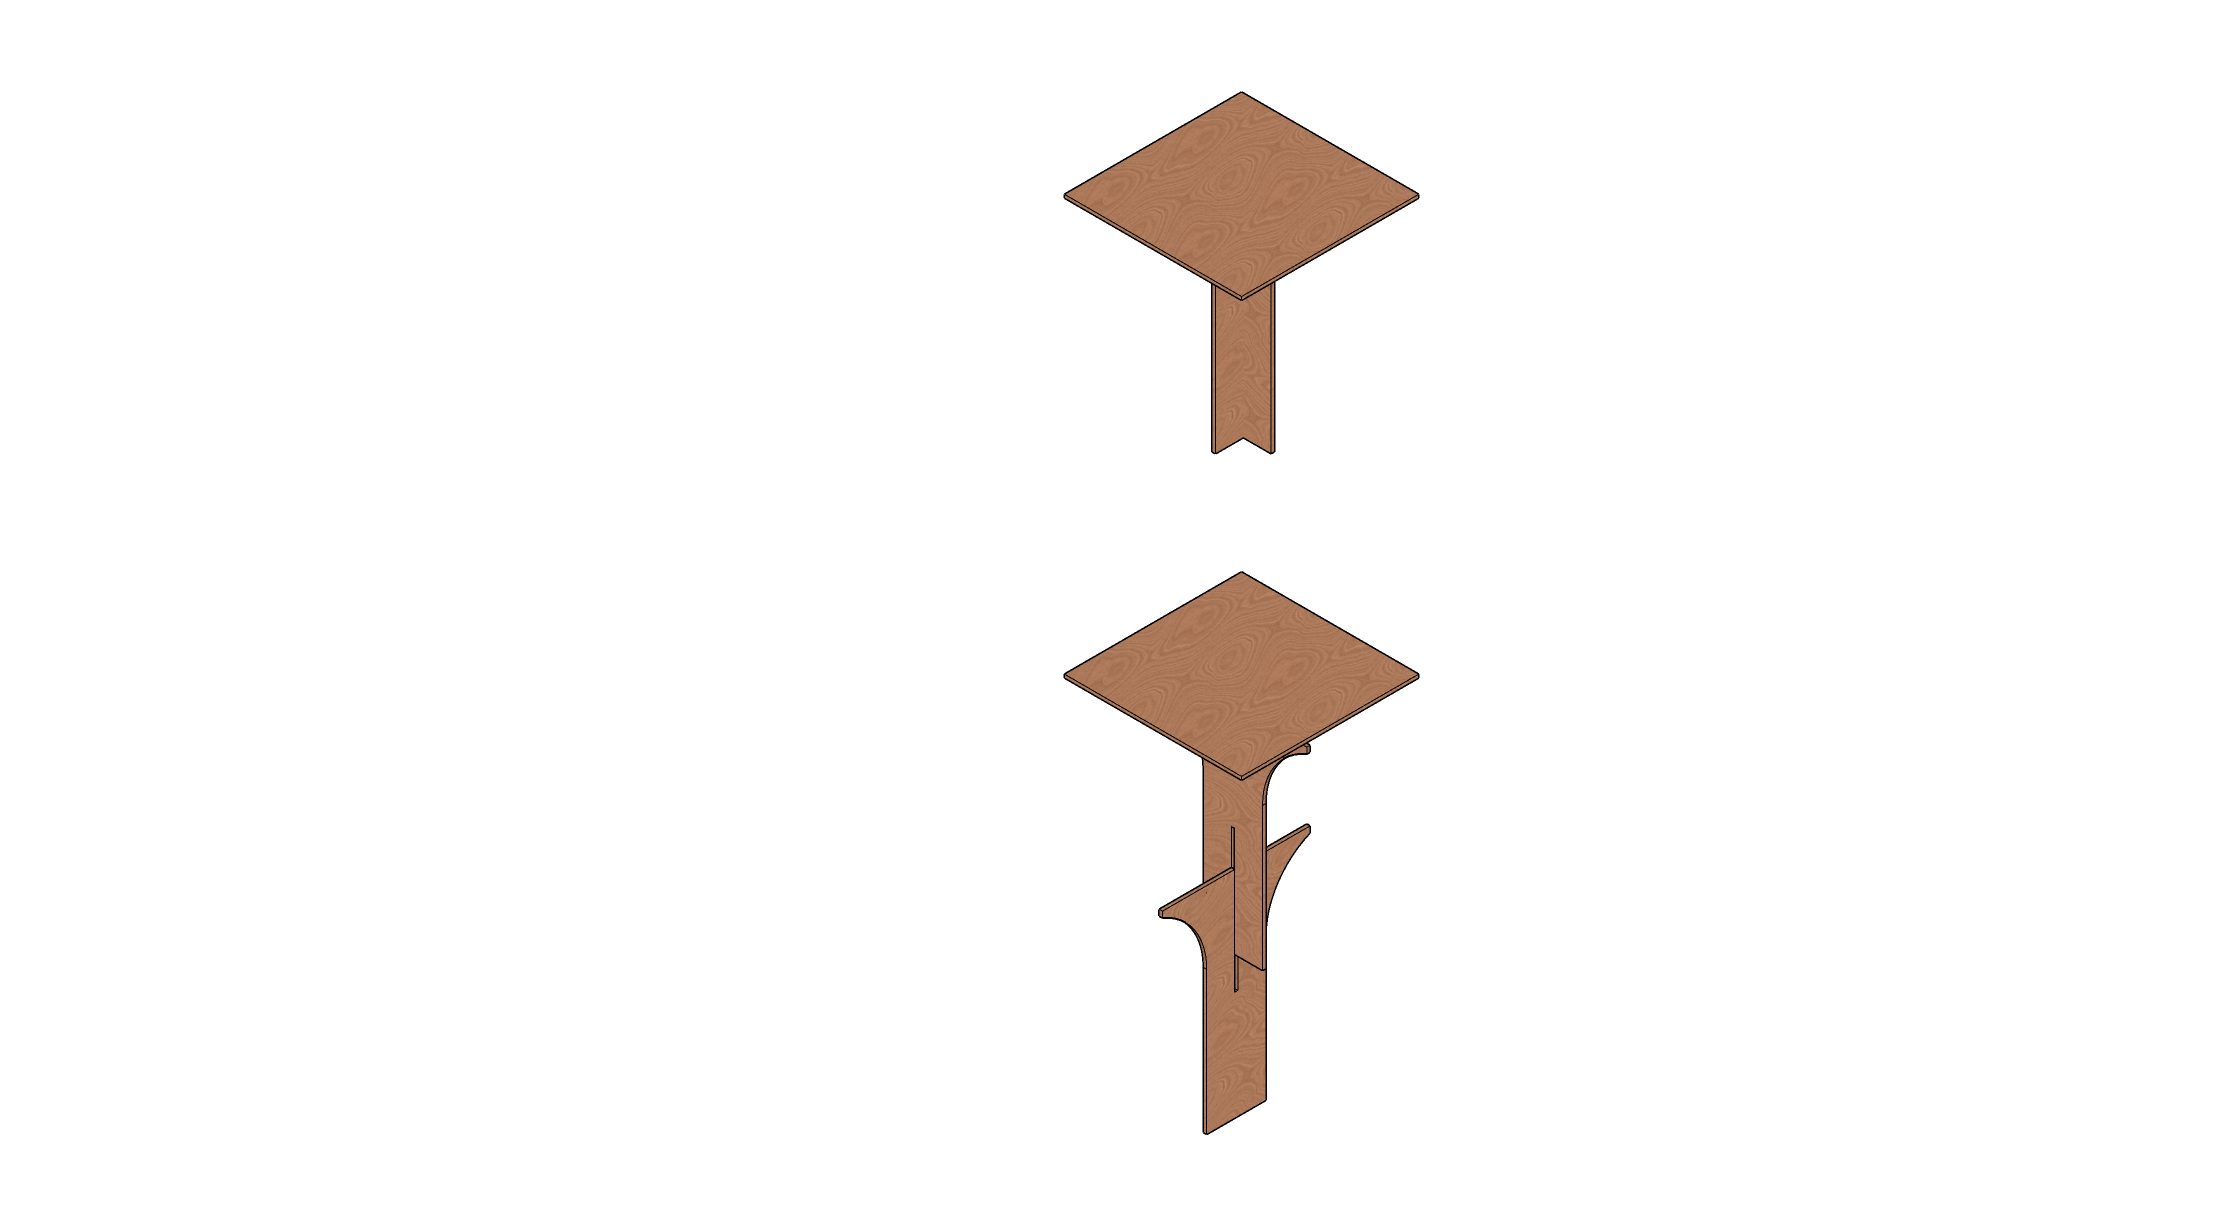
To imagine the fitting of the coffee table I designed it in 3d then took the side elevation drawings of it.
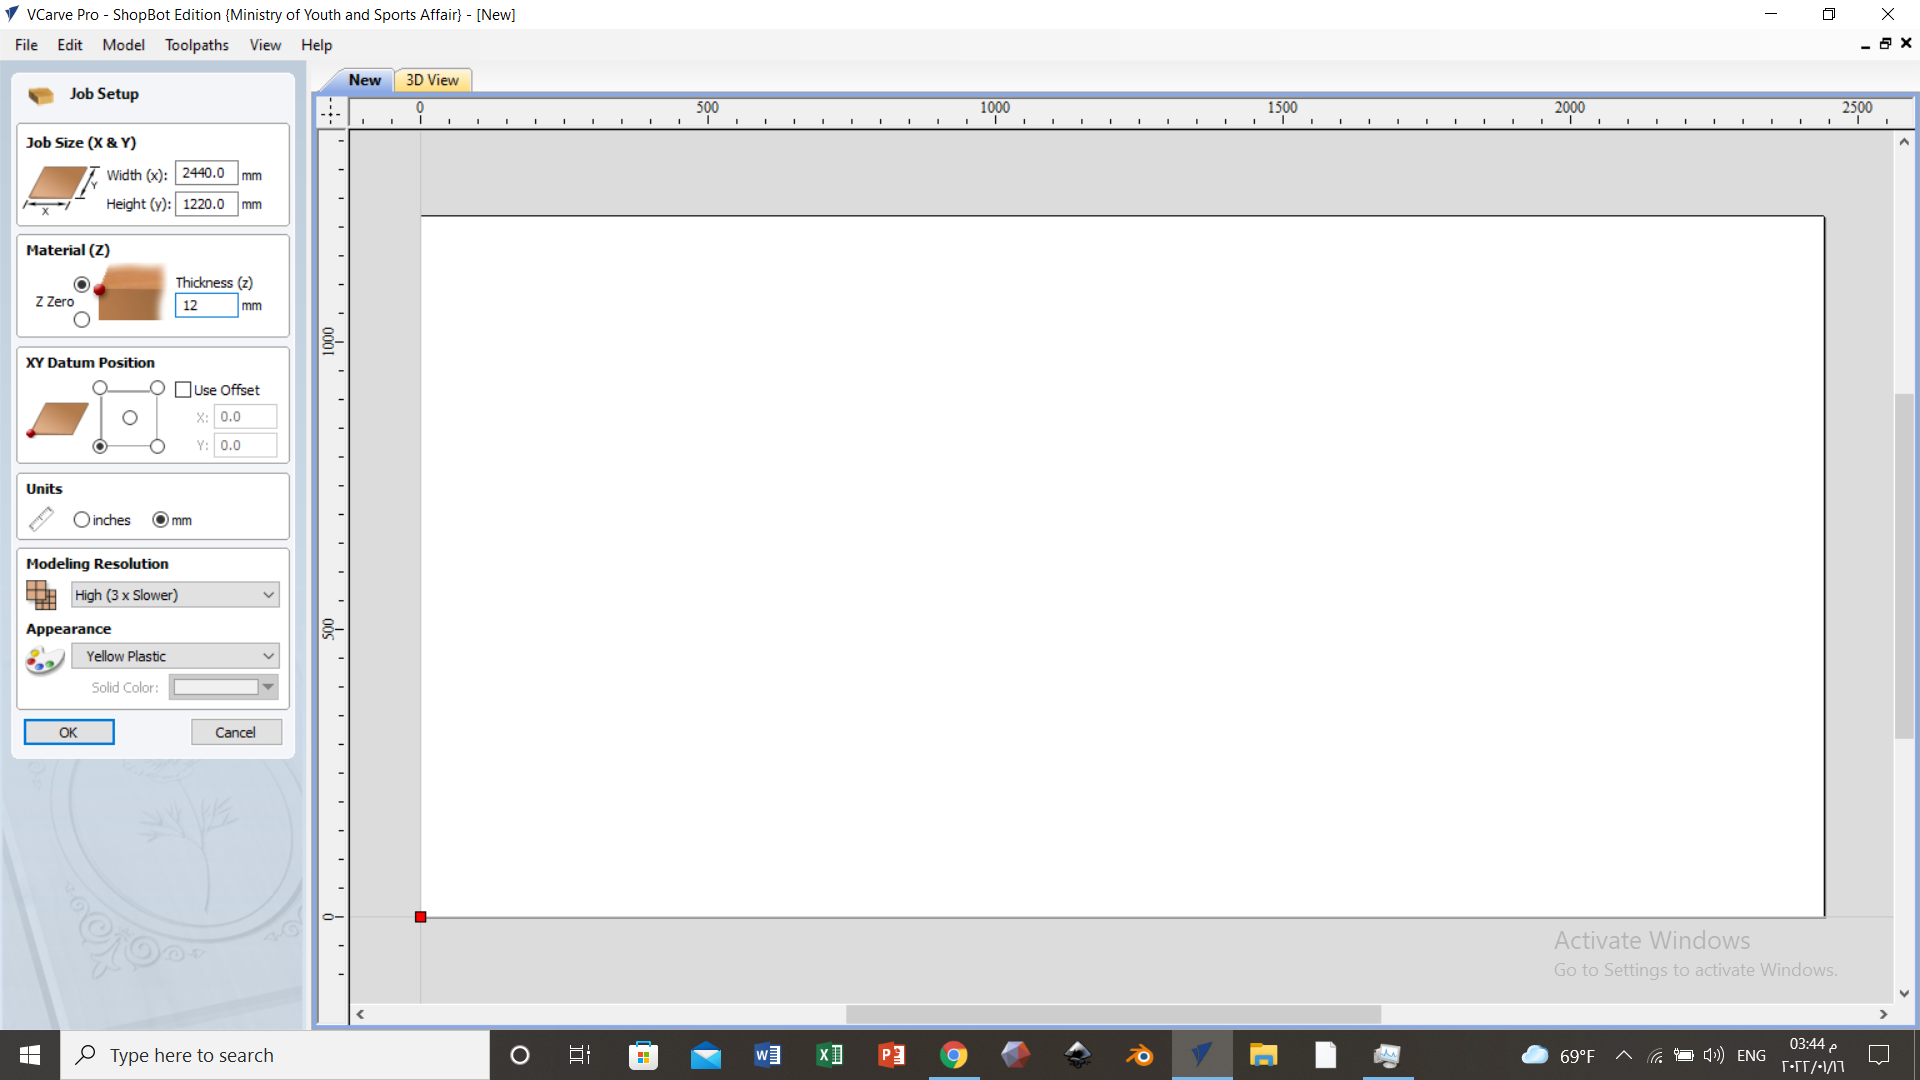
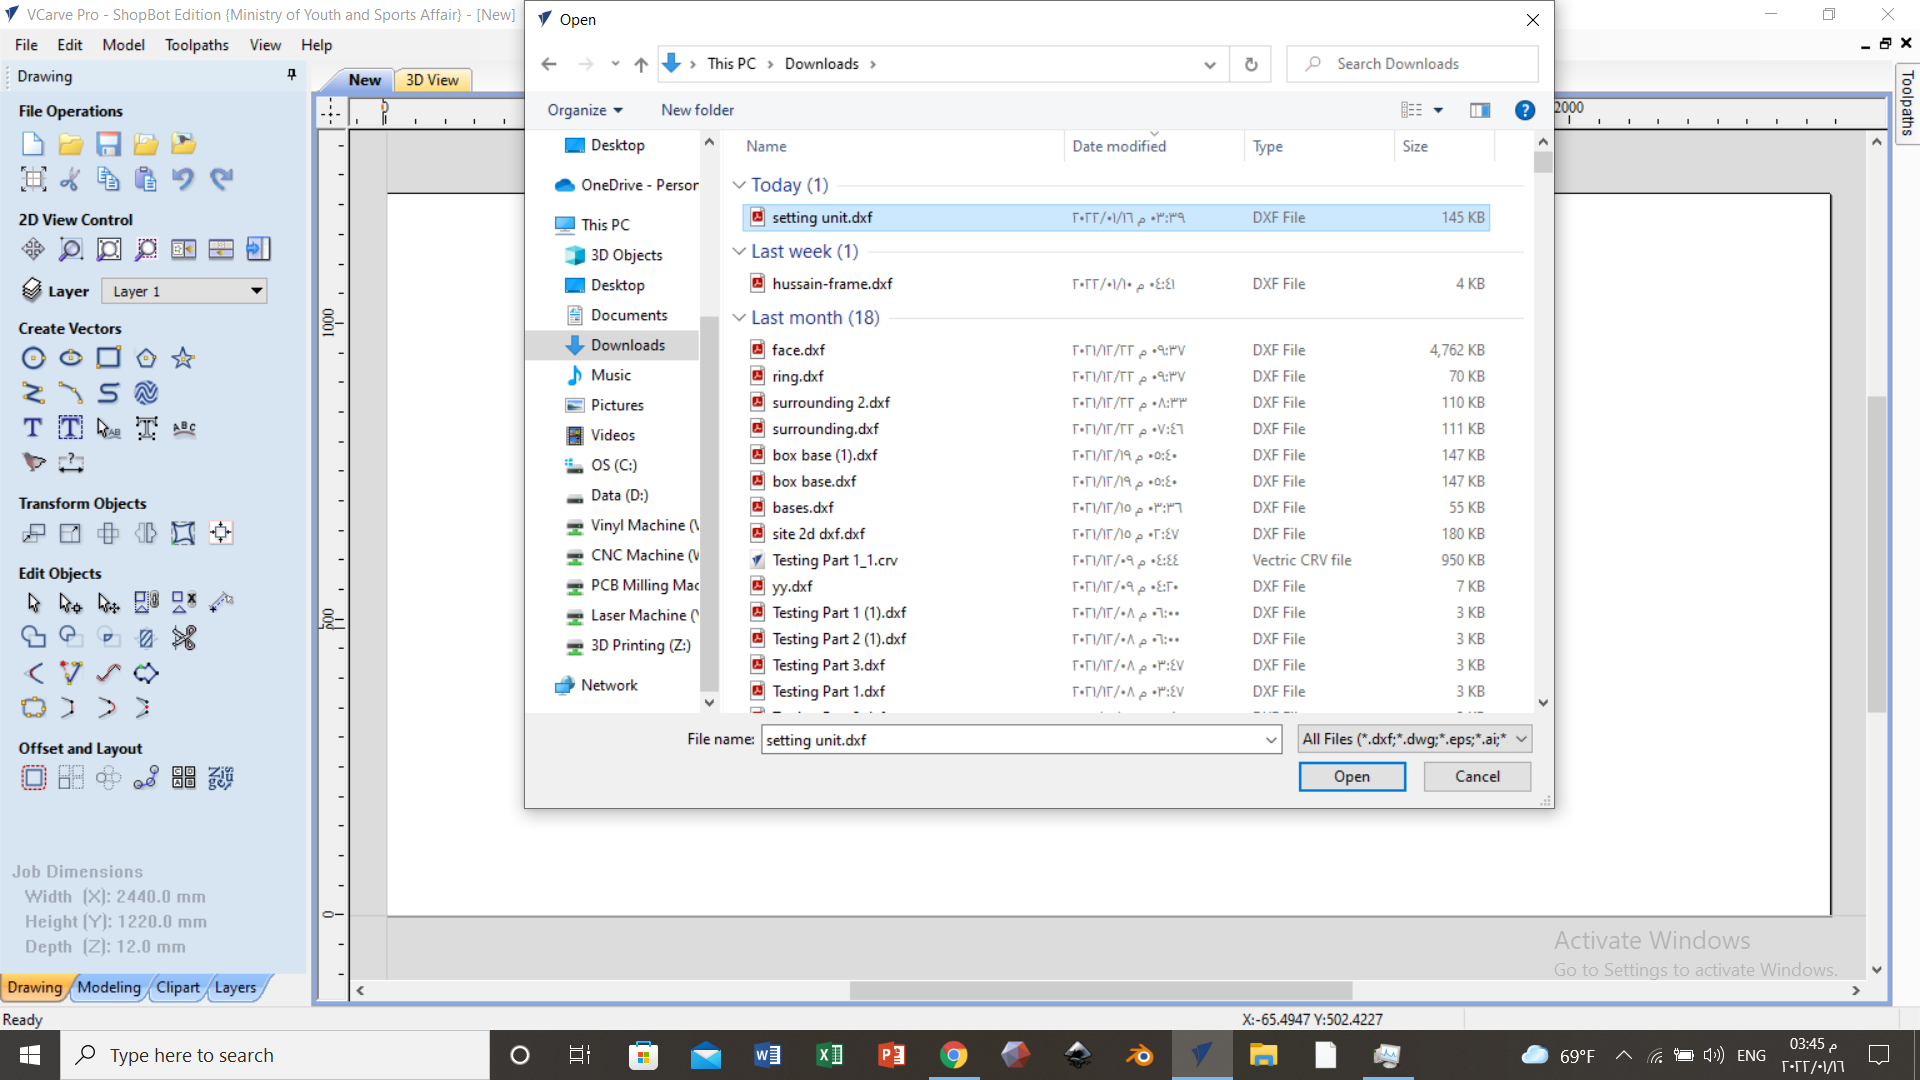
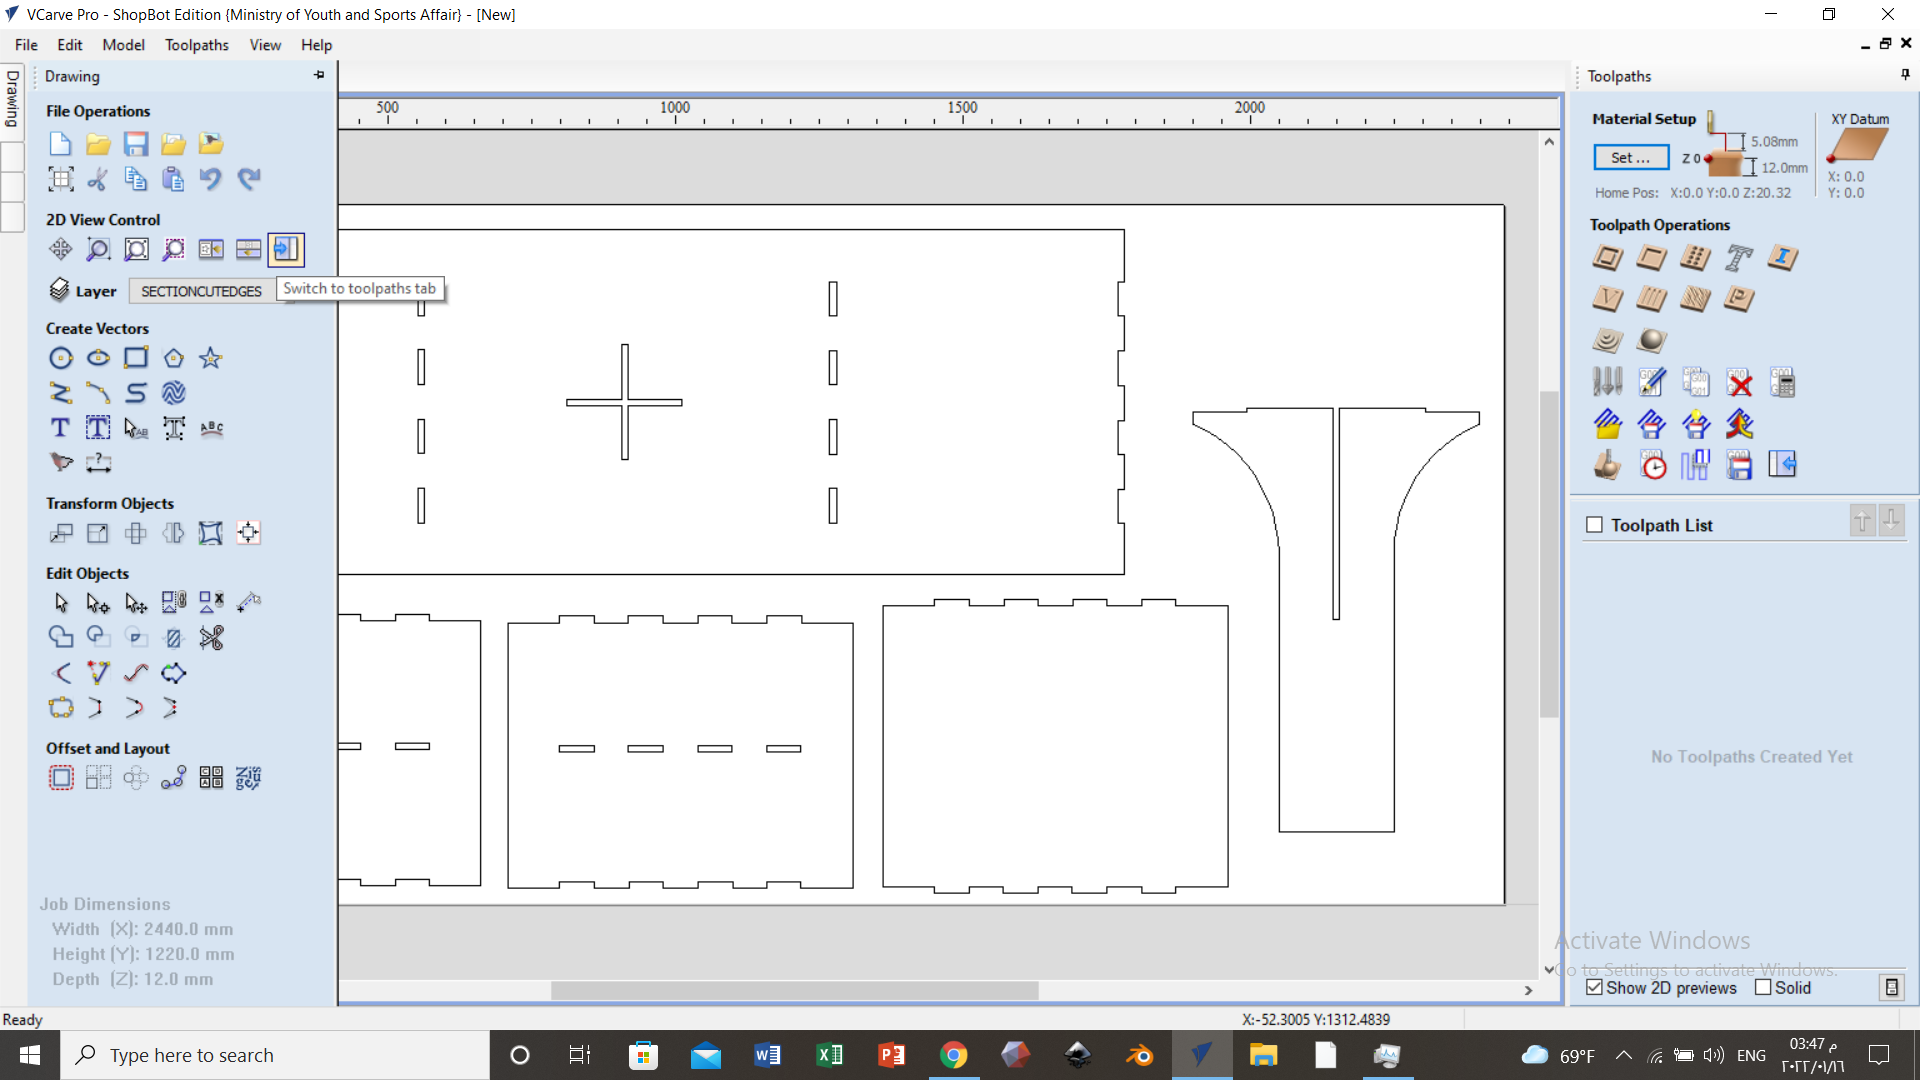
I exported all the drawings as DXF format and sent it them to the machine program which is called VCarve Pro.
Machine phase
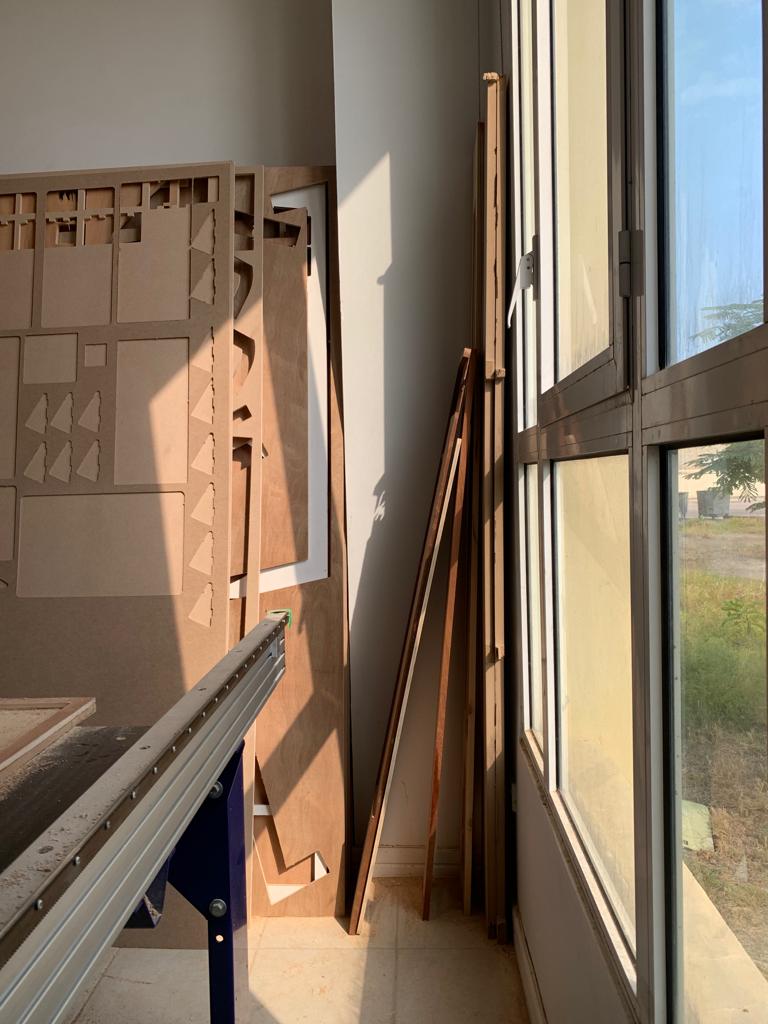
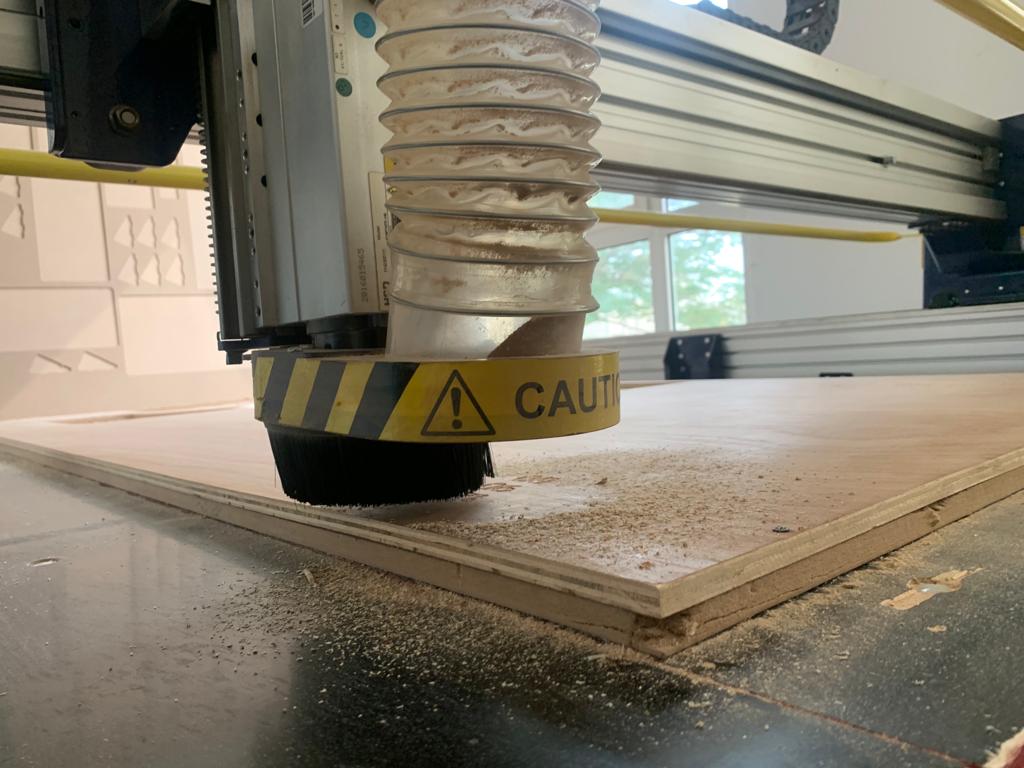
Before starting the cutting operation, we had to make the wooden panel stable, and we used Plywood as our material

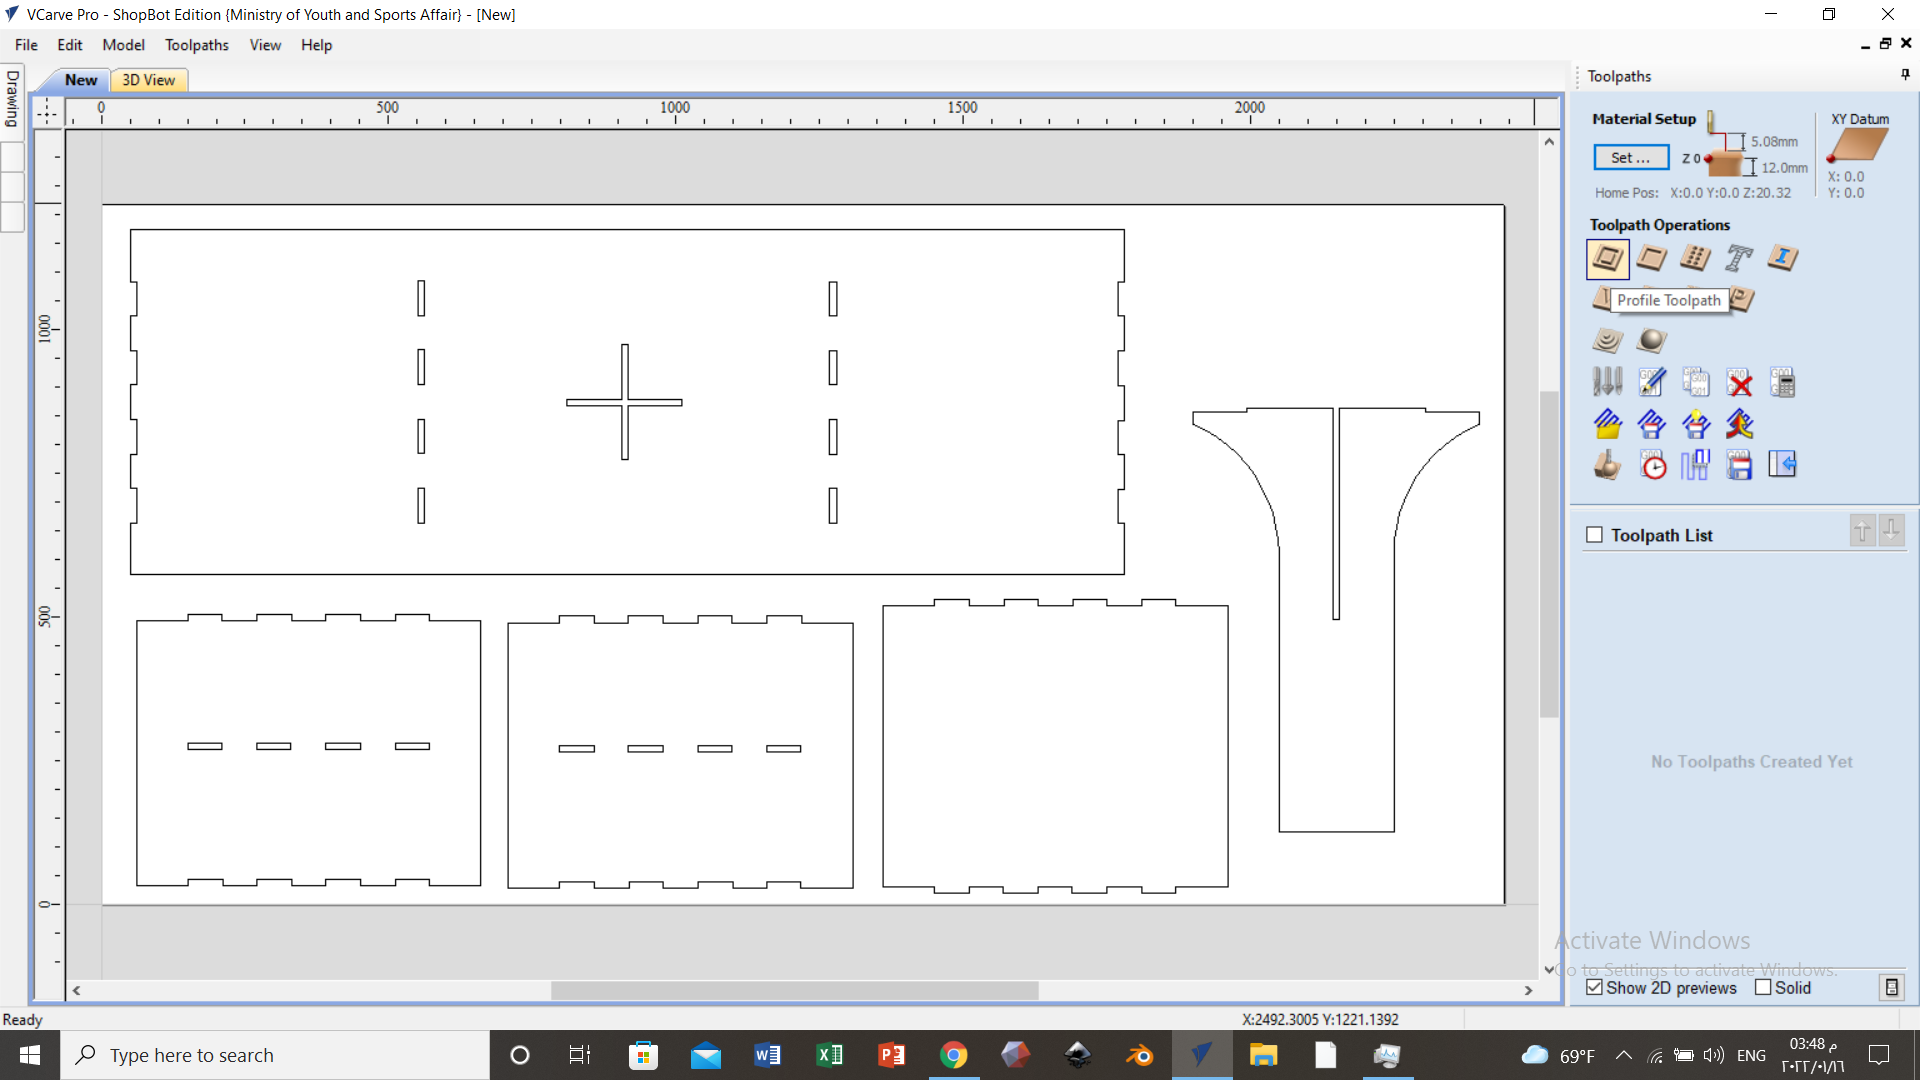
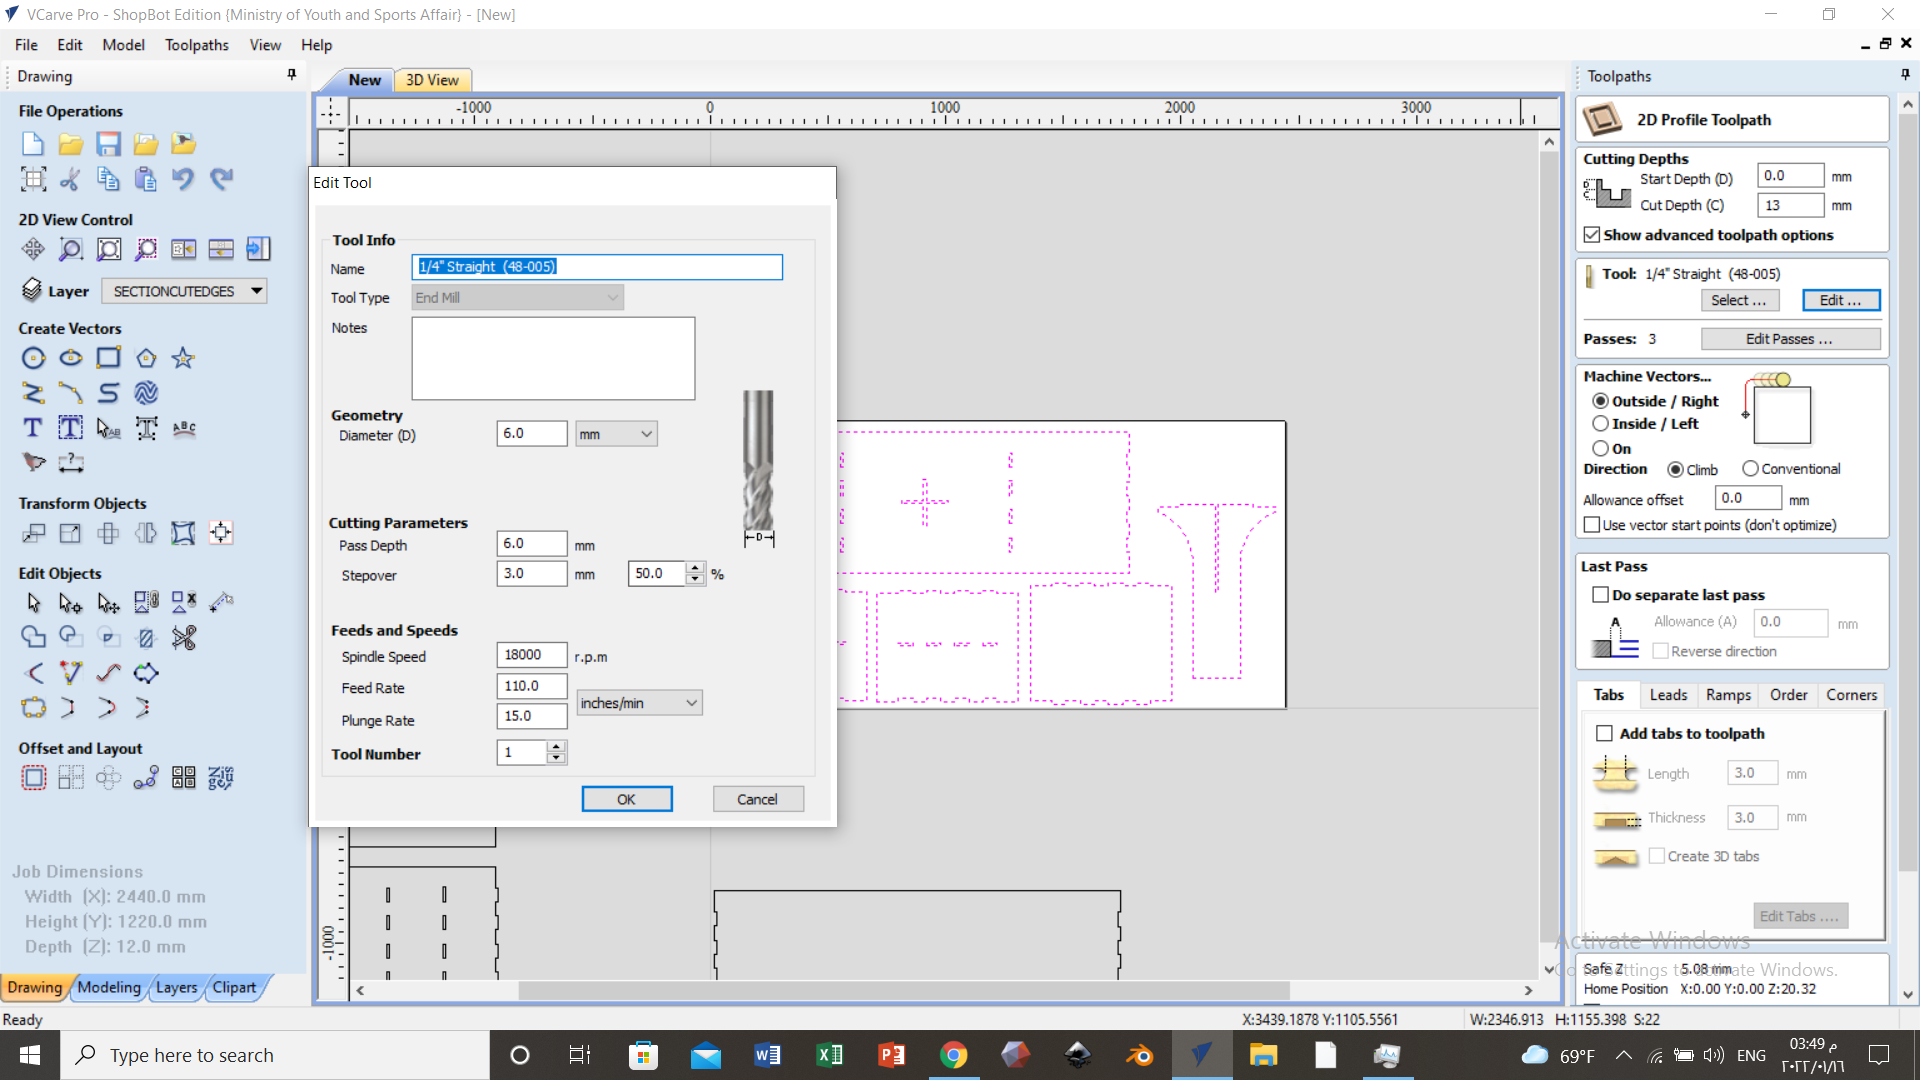
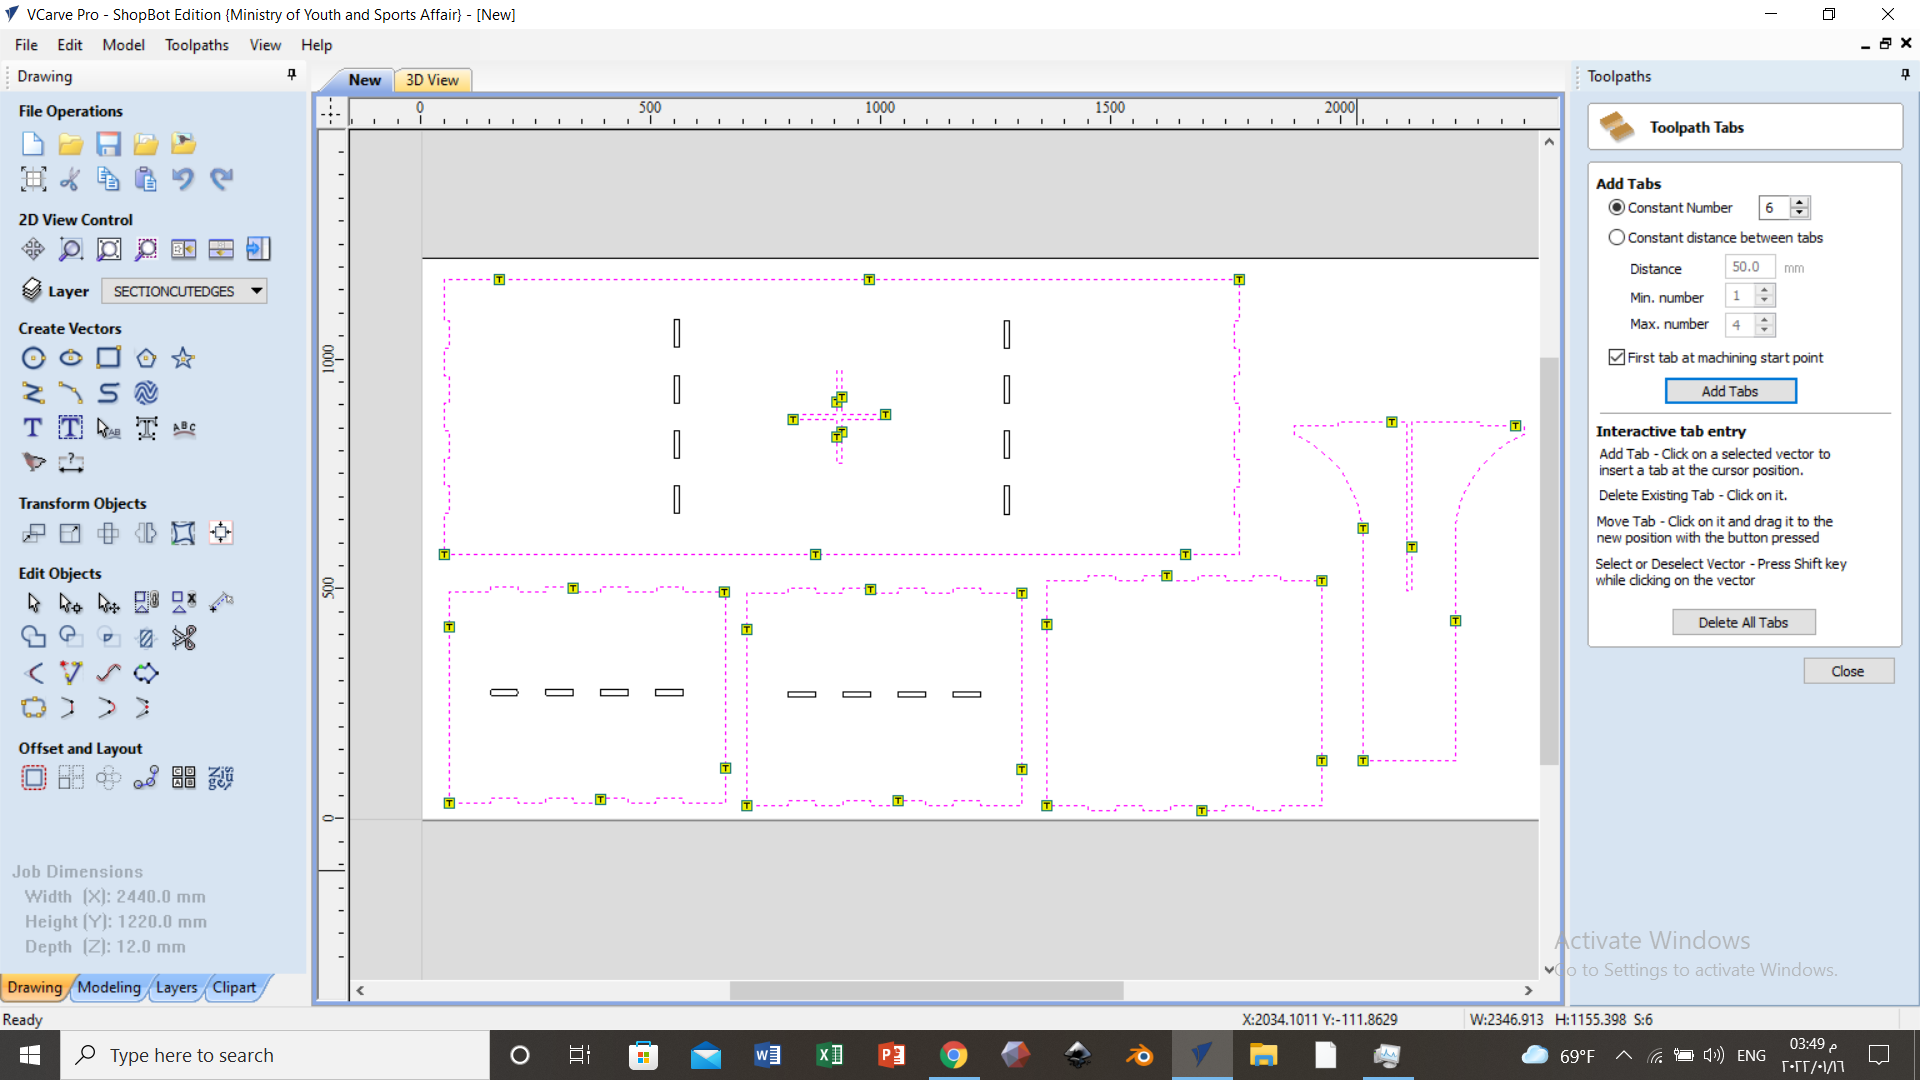
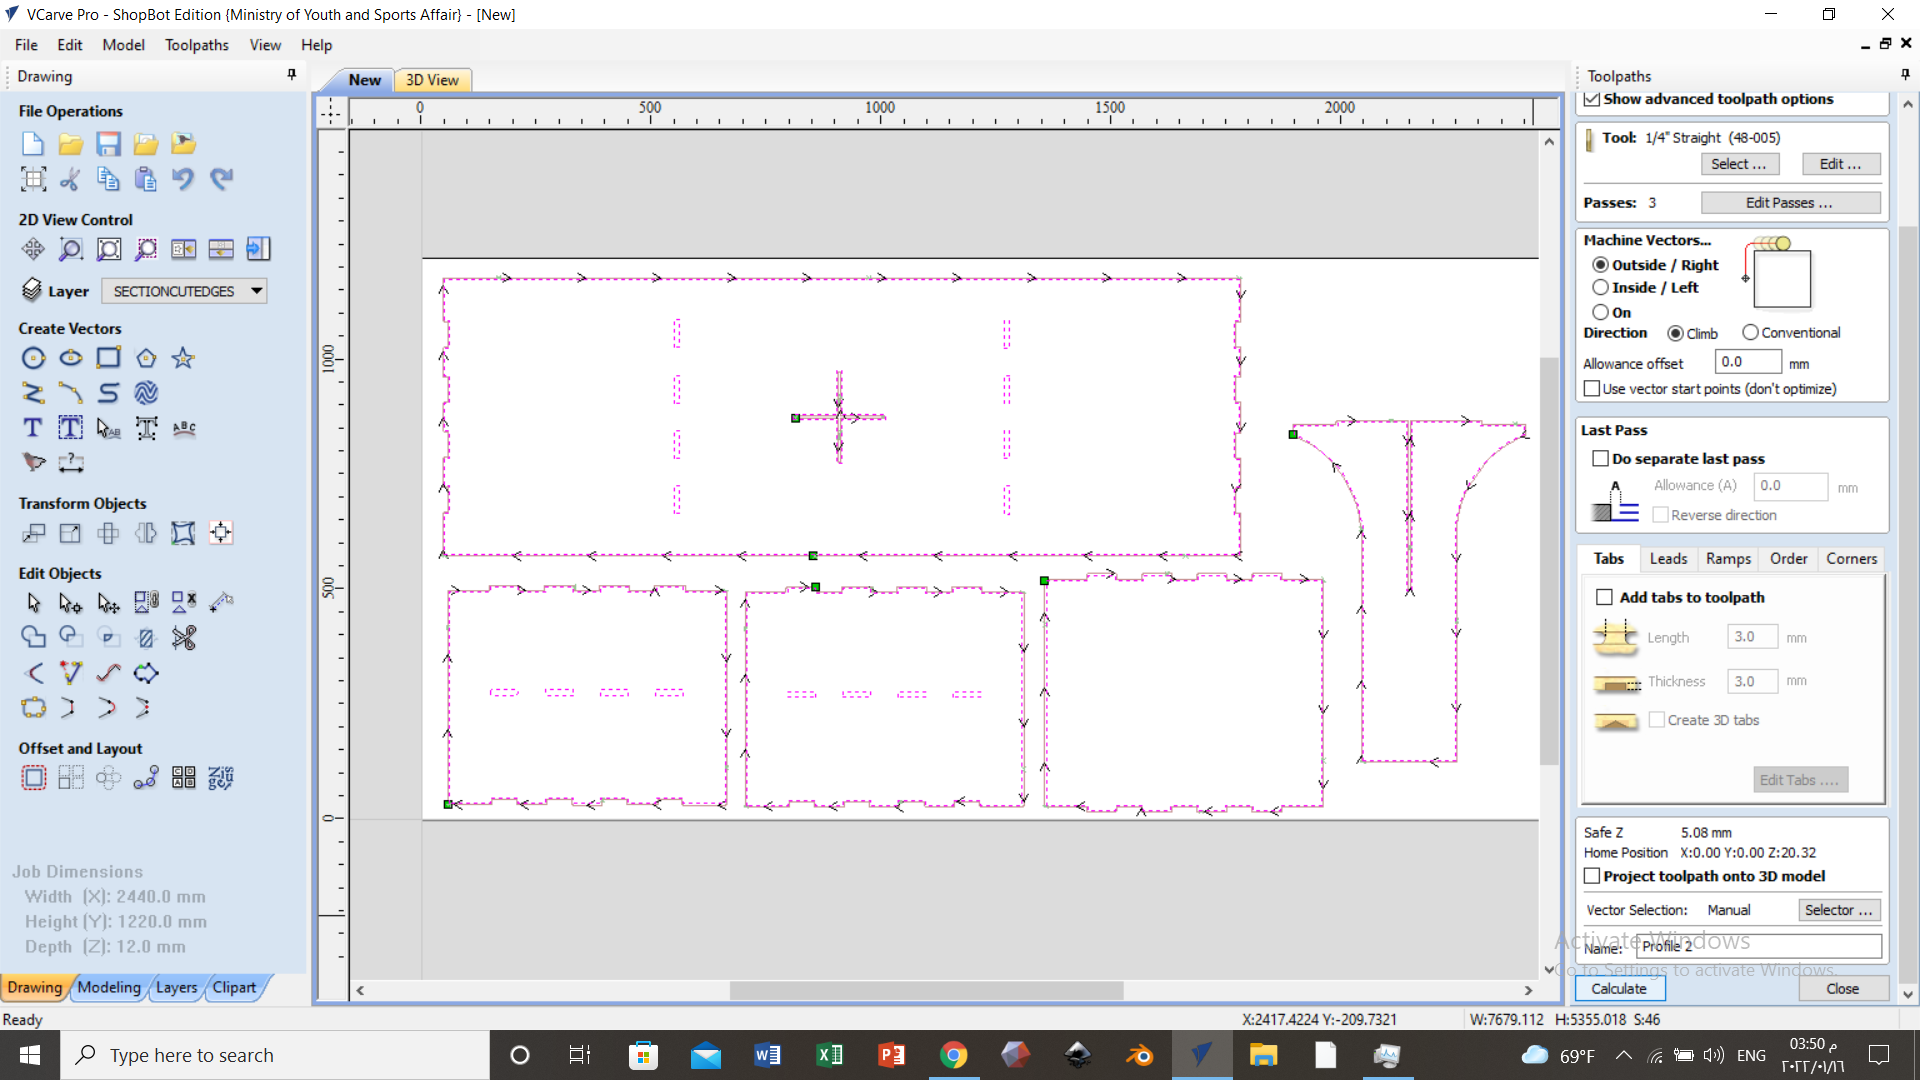
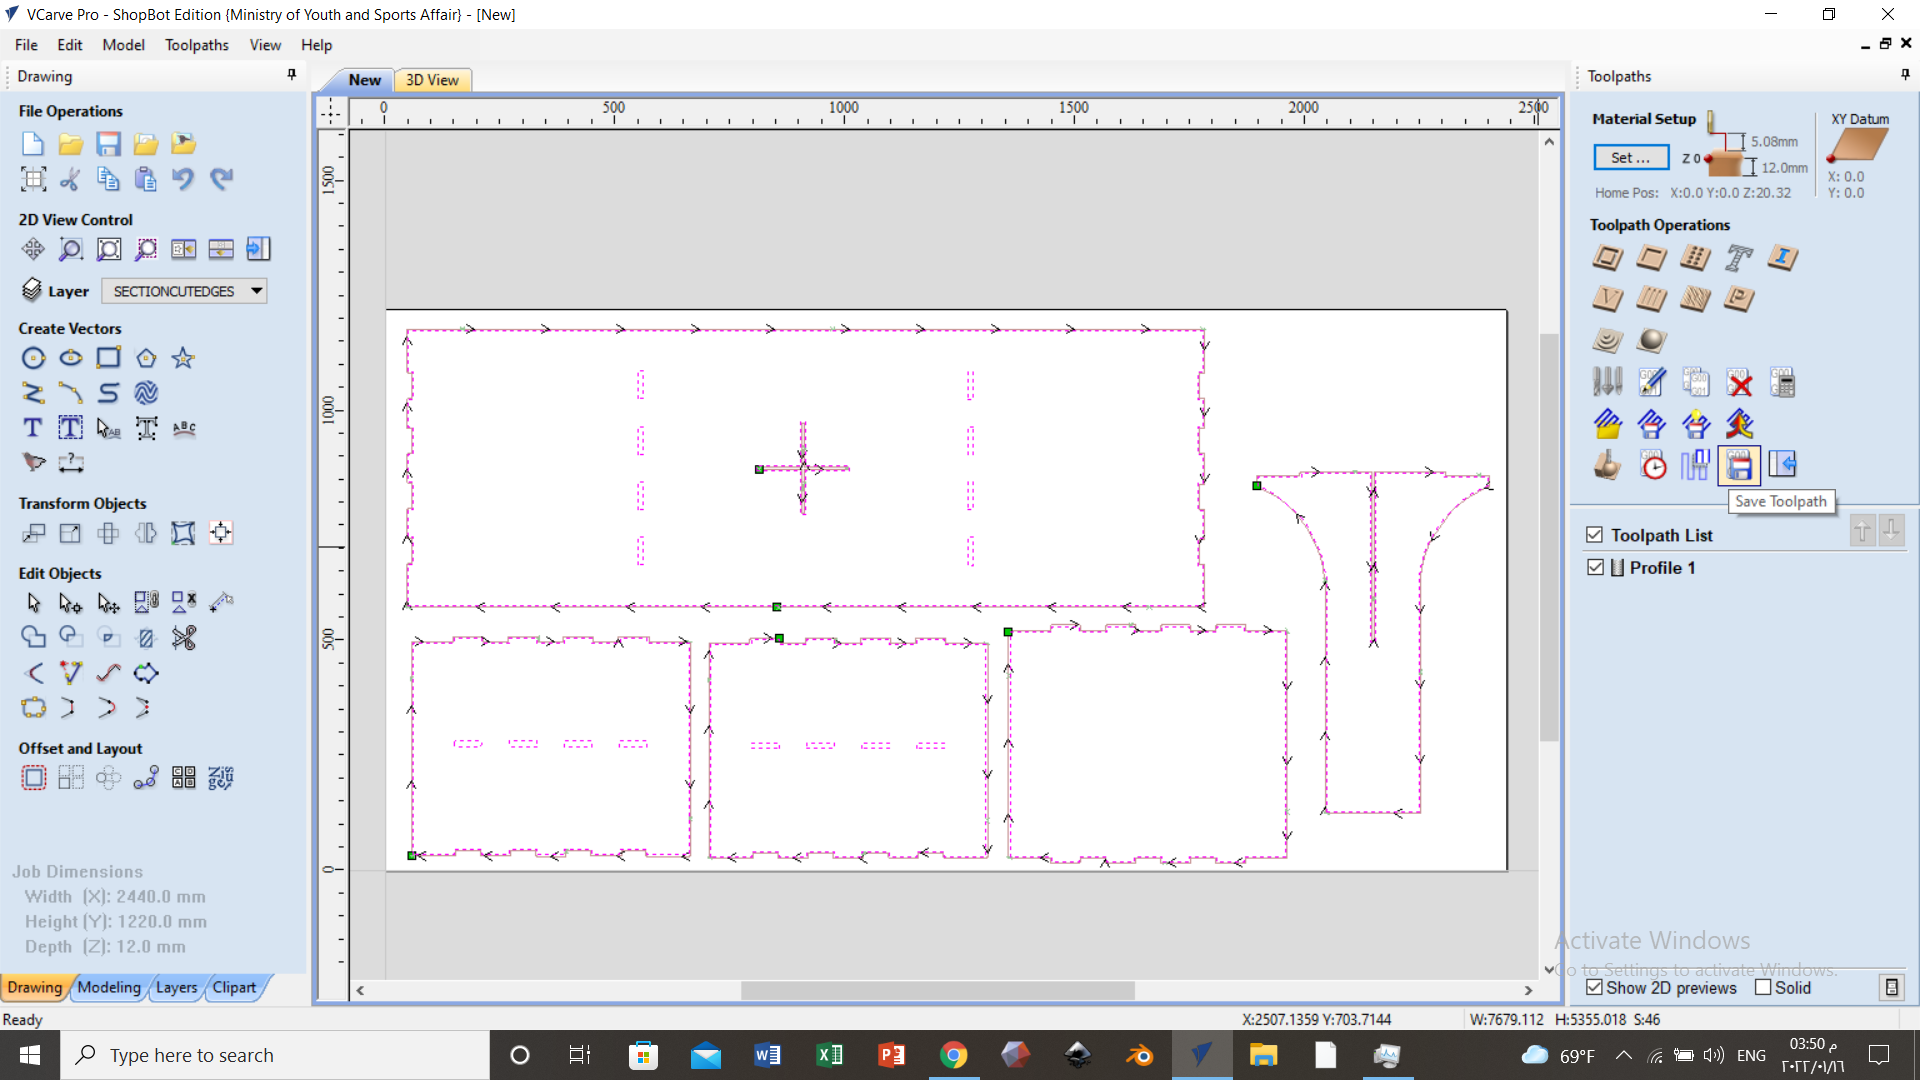
Tool path
Here are the steps when you open the program in order to make a tool path (which is like letting the machine know how you would like to cut the pieces in terms of order and also in terms of cutting or carving)

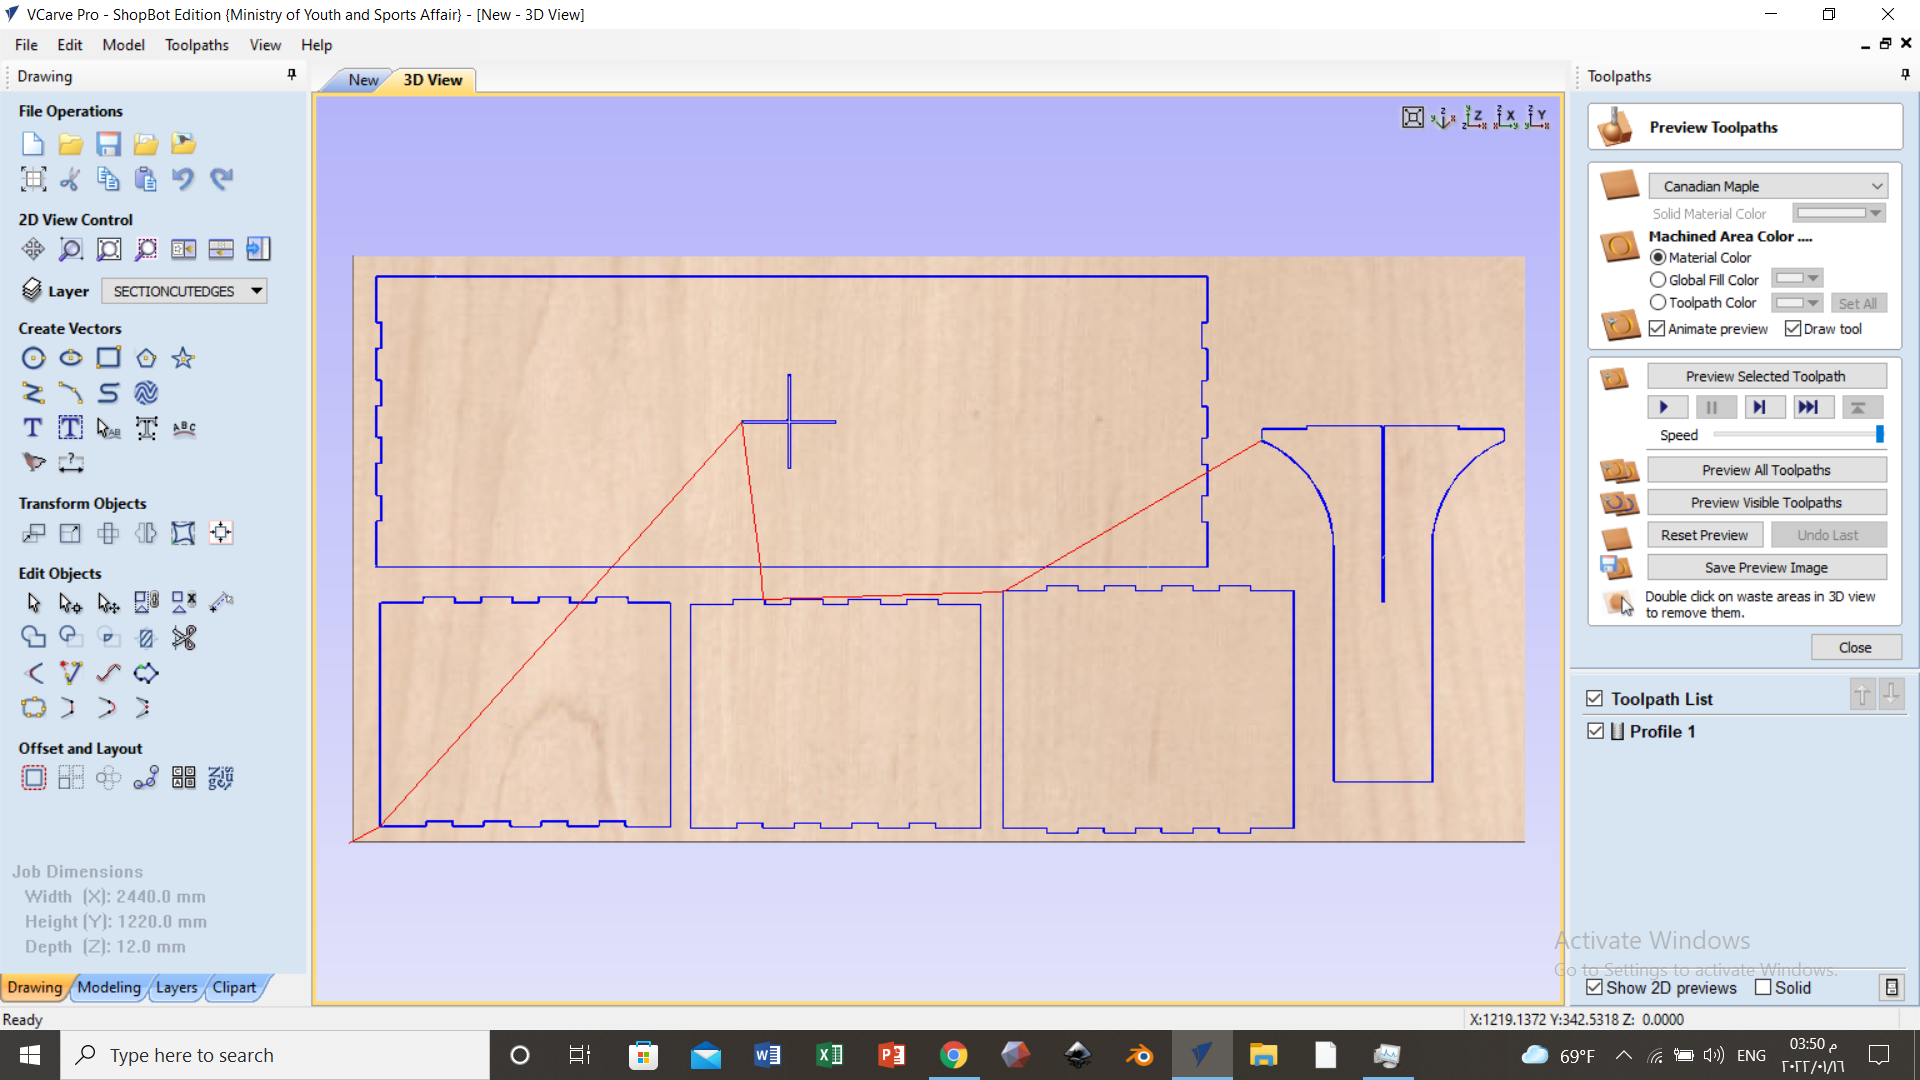
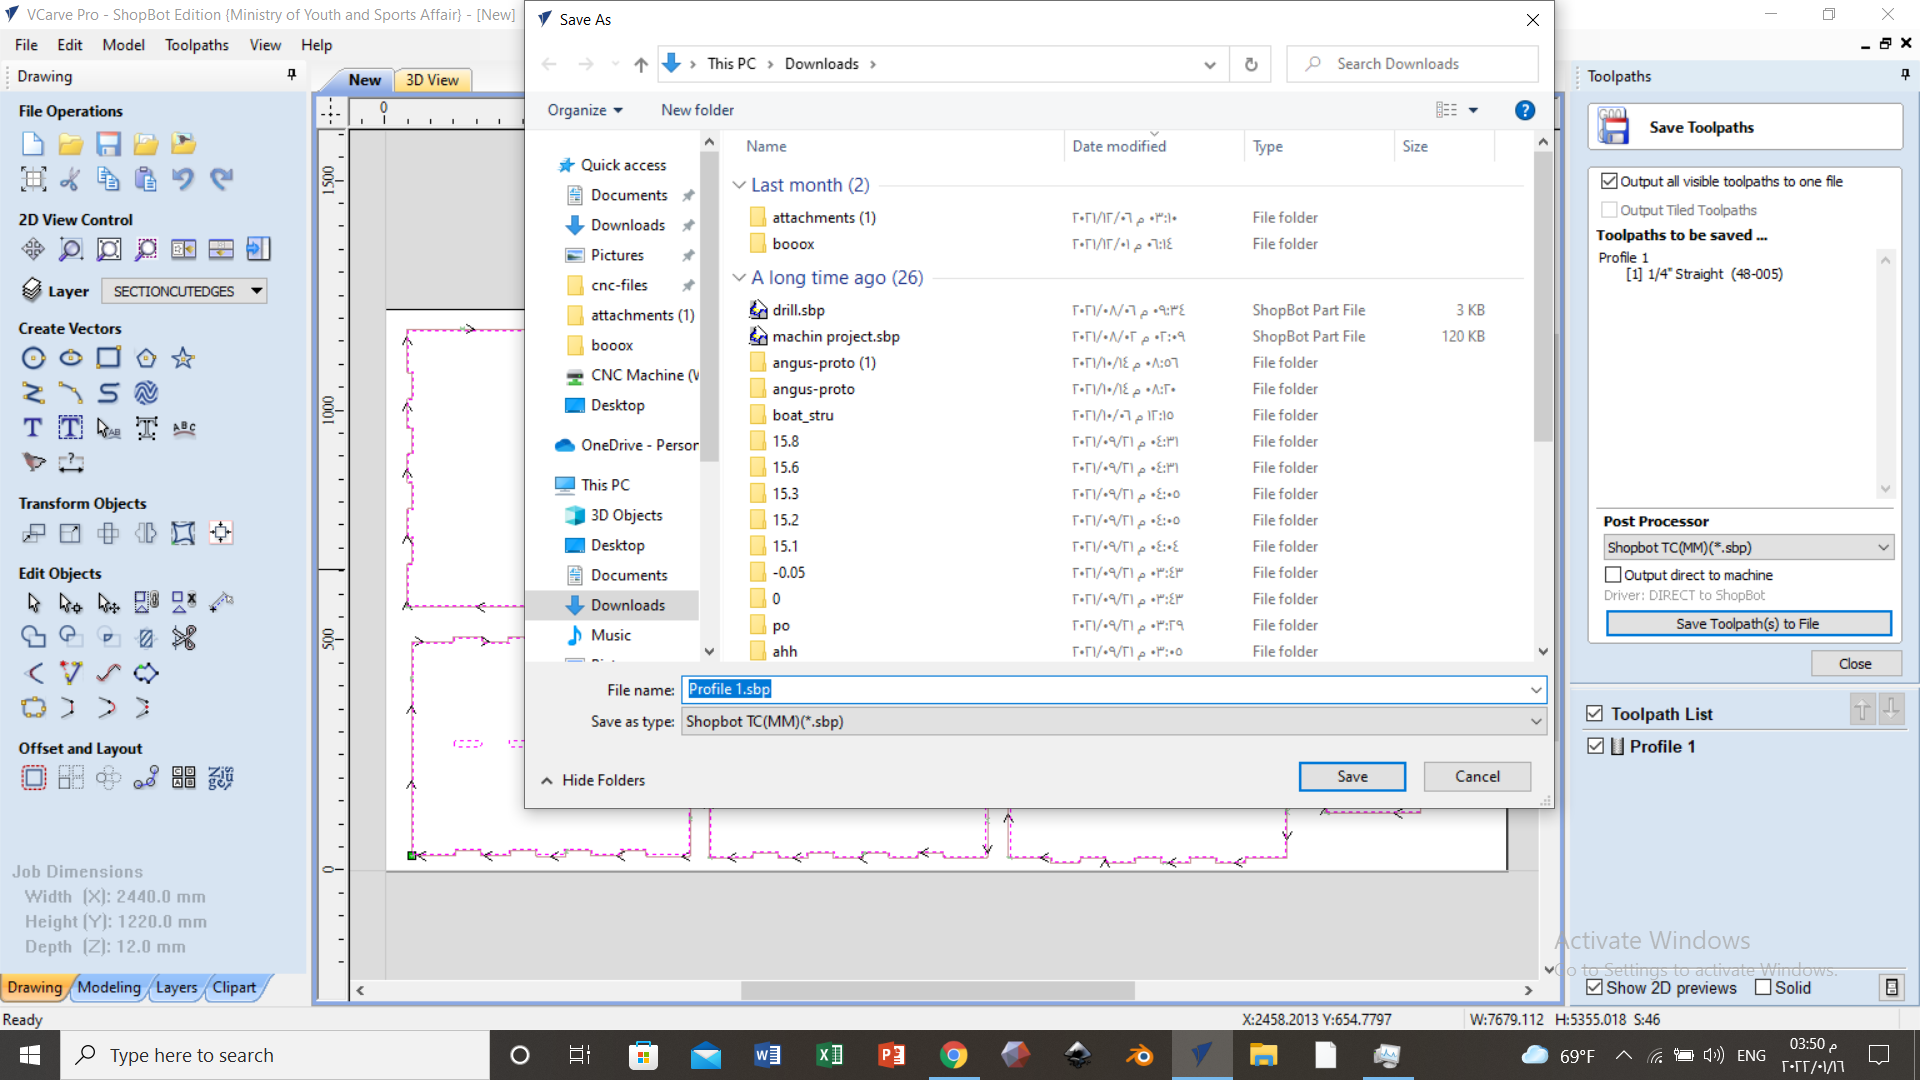
Sooo finally we started the cutting phase

Assembling phase
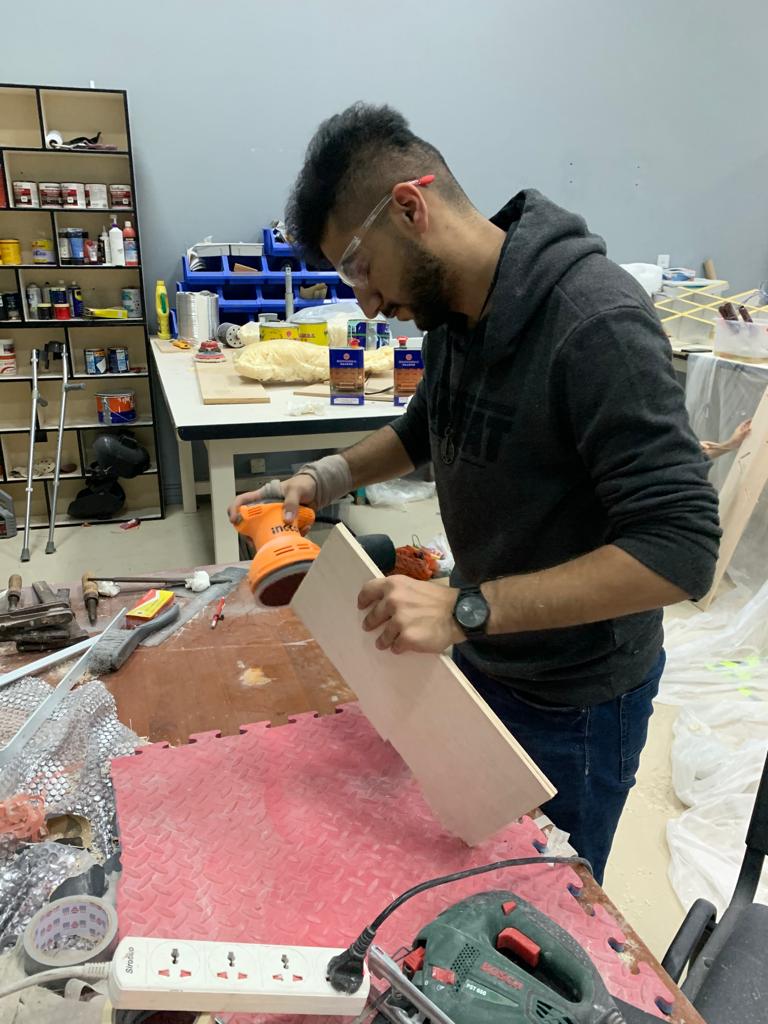
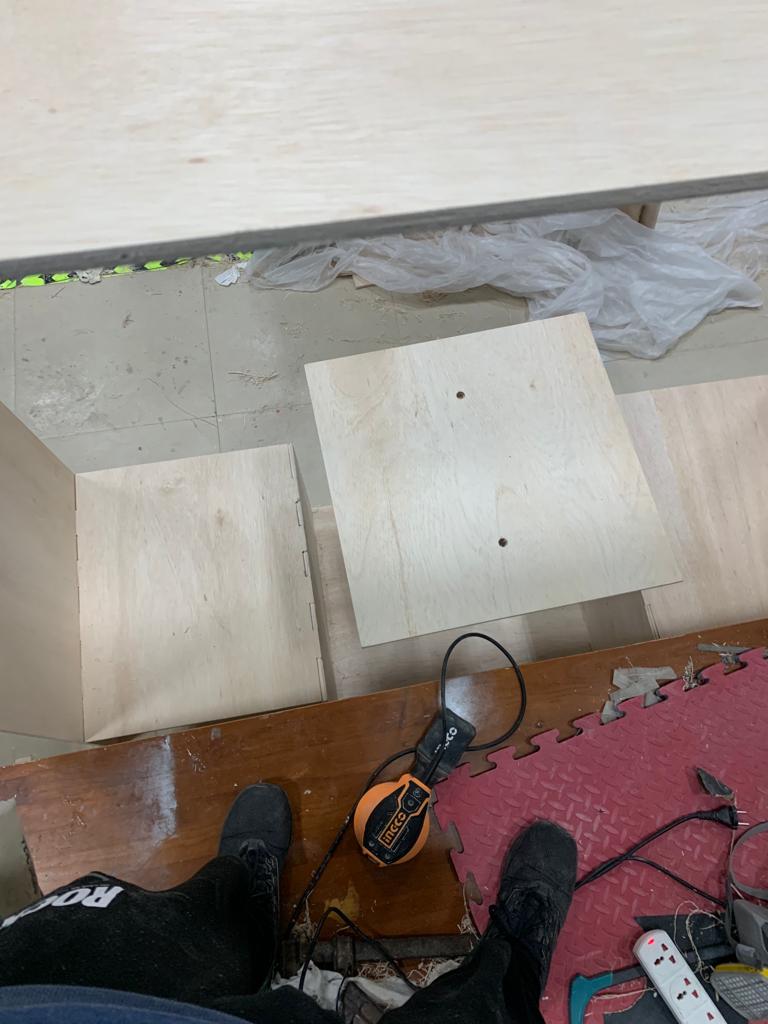
In order to assemble all the pieces together first we need we need to sand them and make sure they look clean using sanding paper, wood file and electric planer.
Then, I started assembling all the pieces together and I started with the base and the two chairs
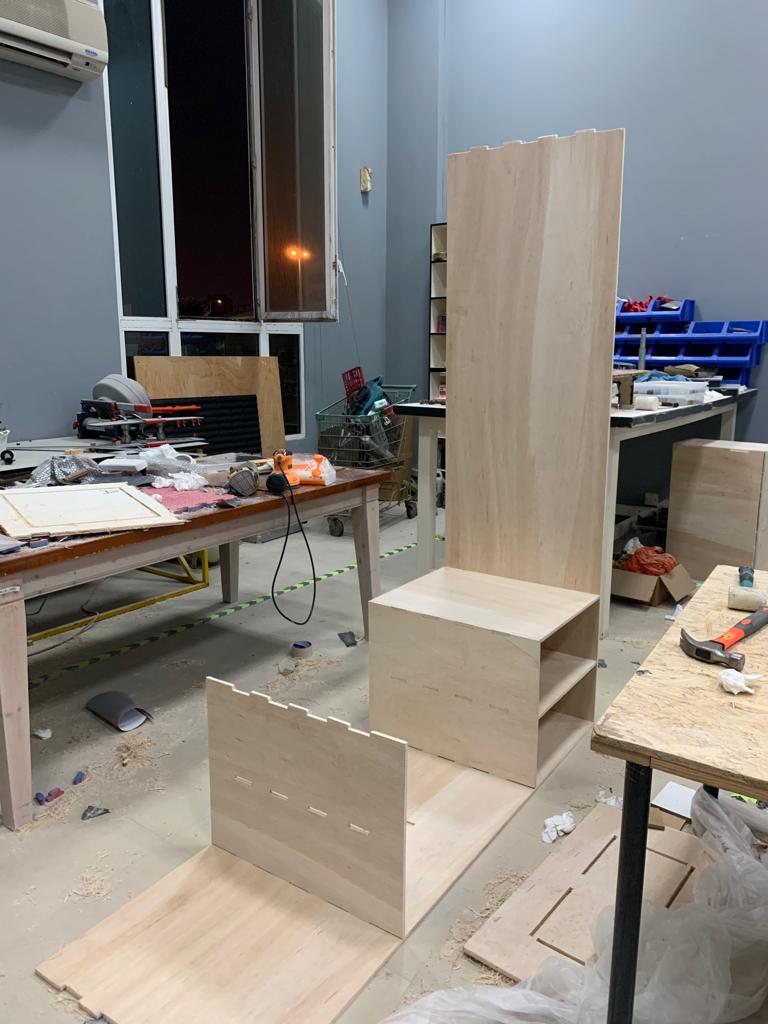
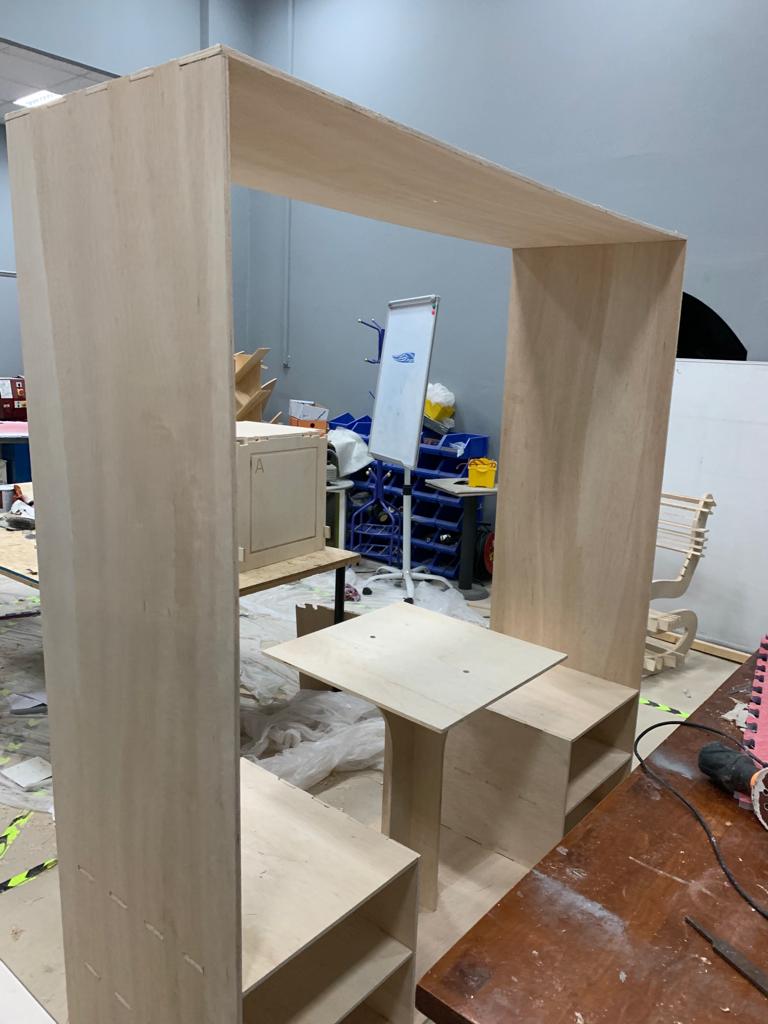
As it is shown here, all the pieces are joined together through fitting joints
For the coffee table, It is shown how I followed the same fitting principle that I did digitally in the diagram (first the two plus shaped legs together and then making a plus sign engrave in the table to fit them there)
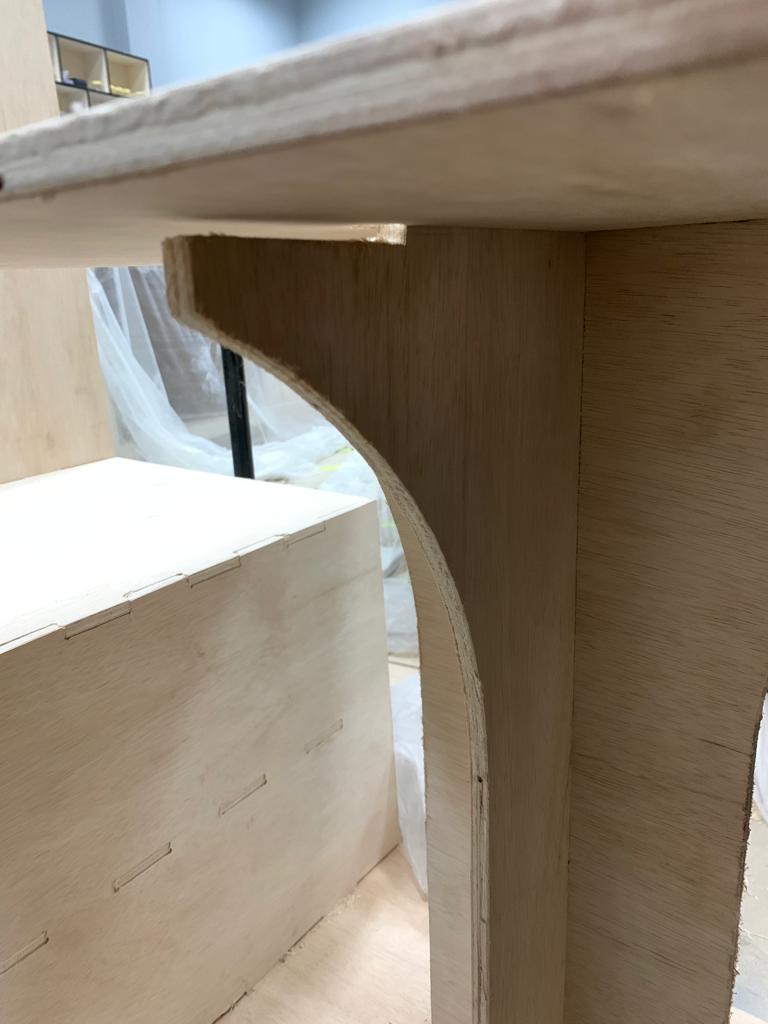
Almost there and putting the roof part after putting the two back supports and putting the coffee table in the middle
And this is how it looks with all pieces put together with fitting joints
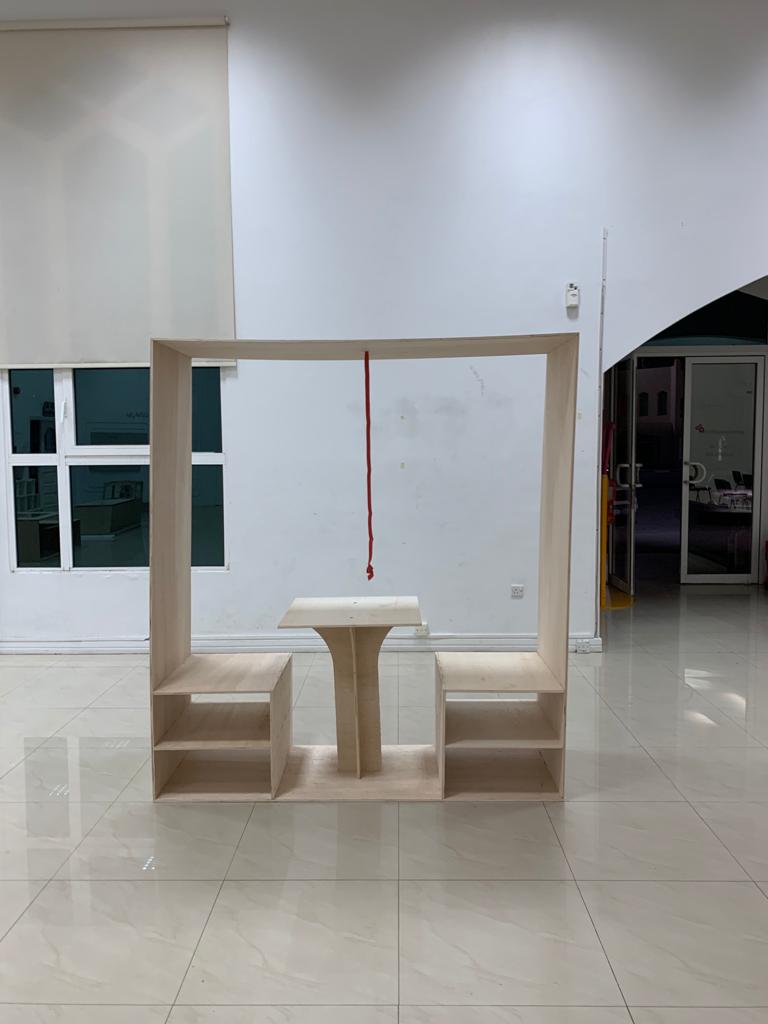
And this is how it looks from design to reality!!

But then I noticed I was facing an issue. Because the height and the width are too big for Plywood pieces put together (190mm x 2100mm) it was clear that the pieces were not looking aligned and were bending and looking like they will fall off with time like the picture below. So yo avoid this issue I designed roof supports with triangle shapes and placed them in the corners to make the whole unit structurally supported and looking aligned.
So this is how it looks:
BEFORE
AFTER
Big difference right!!
FINAL RESULT
After all the hard work I put in this assignment I am proud of the final outcome as it looks INCREDIBLE!!
These are some live examples after a week of assembly, showing that people really used and will still use the unit