8. Moulding and casting
What is moulding and casting?
Molding is the act of creating the cavity / form that carries a negative or reverse impression of an original model. Casting is the act of pouring liquid material into the cavity of a mold. After a period of time, this liquid will cure via chemical reaction or cooling.
Group assignment
Research part
In the first thing It was a group research where each one of us chose one material to read about it and then we shared the information and got to know more about all materials.

My material was Resin - Graffiti, it is a versatile substance that can be used for a multitude of purposes. It is commonly used for making durable castings, arts and crafts, flooring, countertops, and more. Resin can be used to make plastics, and it is an excellent adhesive.
Safety
Resin should be stored in dry storage area and in temperatures of 20c to 25c. It is advised to wear masks while using for pregnants. Gloves are important to wear while using because the subject is sticky and cannot be removed easily even with soap.
(Caution: It may cause an allergic skin reaction)
Process
1.Mix ratio: 10g of Resin to 6g of Hardener using digital scale (the box comes with 2 bottles, one Resin and one Hardener) 2.Stir the mixture for 3 mins, then pour and spread it
Note: you can add colors to the mixture before stiring it
Cure time
24 hours to dry completely - 48 hours to harden enough
Note: If it hardens enough after 24 hours you can remove it and use it
Work time
45 minutes after pouring, but after 10 minutes it is not advised to move it
Experminting part
First, I poured 10 grams of Resin and 6 grams of Hardener and weighted them using the digital scale.

Second, I stir the mixture for about 3 minutes
Note: follow the safety rules and wear your gloves, I learnt that the hard way;)

Then I added some acrylic color to test how the color reacts with the mixture, and you can do that before even stiring the mixture

Finally, here is the 3 tests that I did where you can see one translucent without adding any color, one with adding black acrylic and it is not translucent (you can make it black translucent by adding few drops only not like in my case where I added a lot), and one with adding black acrylic and also adding glitter and it gave a sky dreamy look.

Check the links below to know more about the other materials:
Individual assignment
Design process
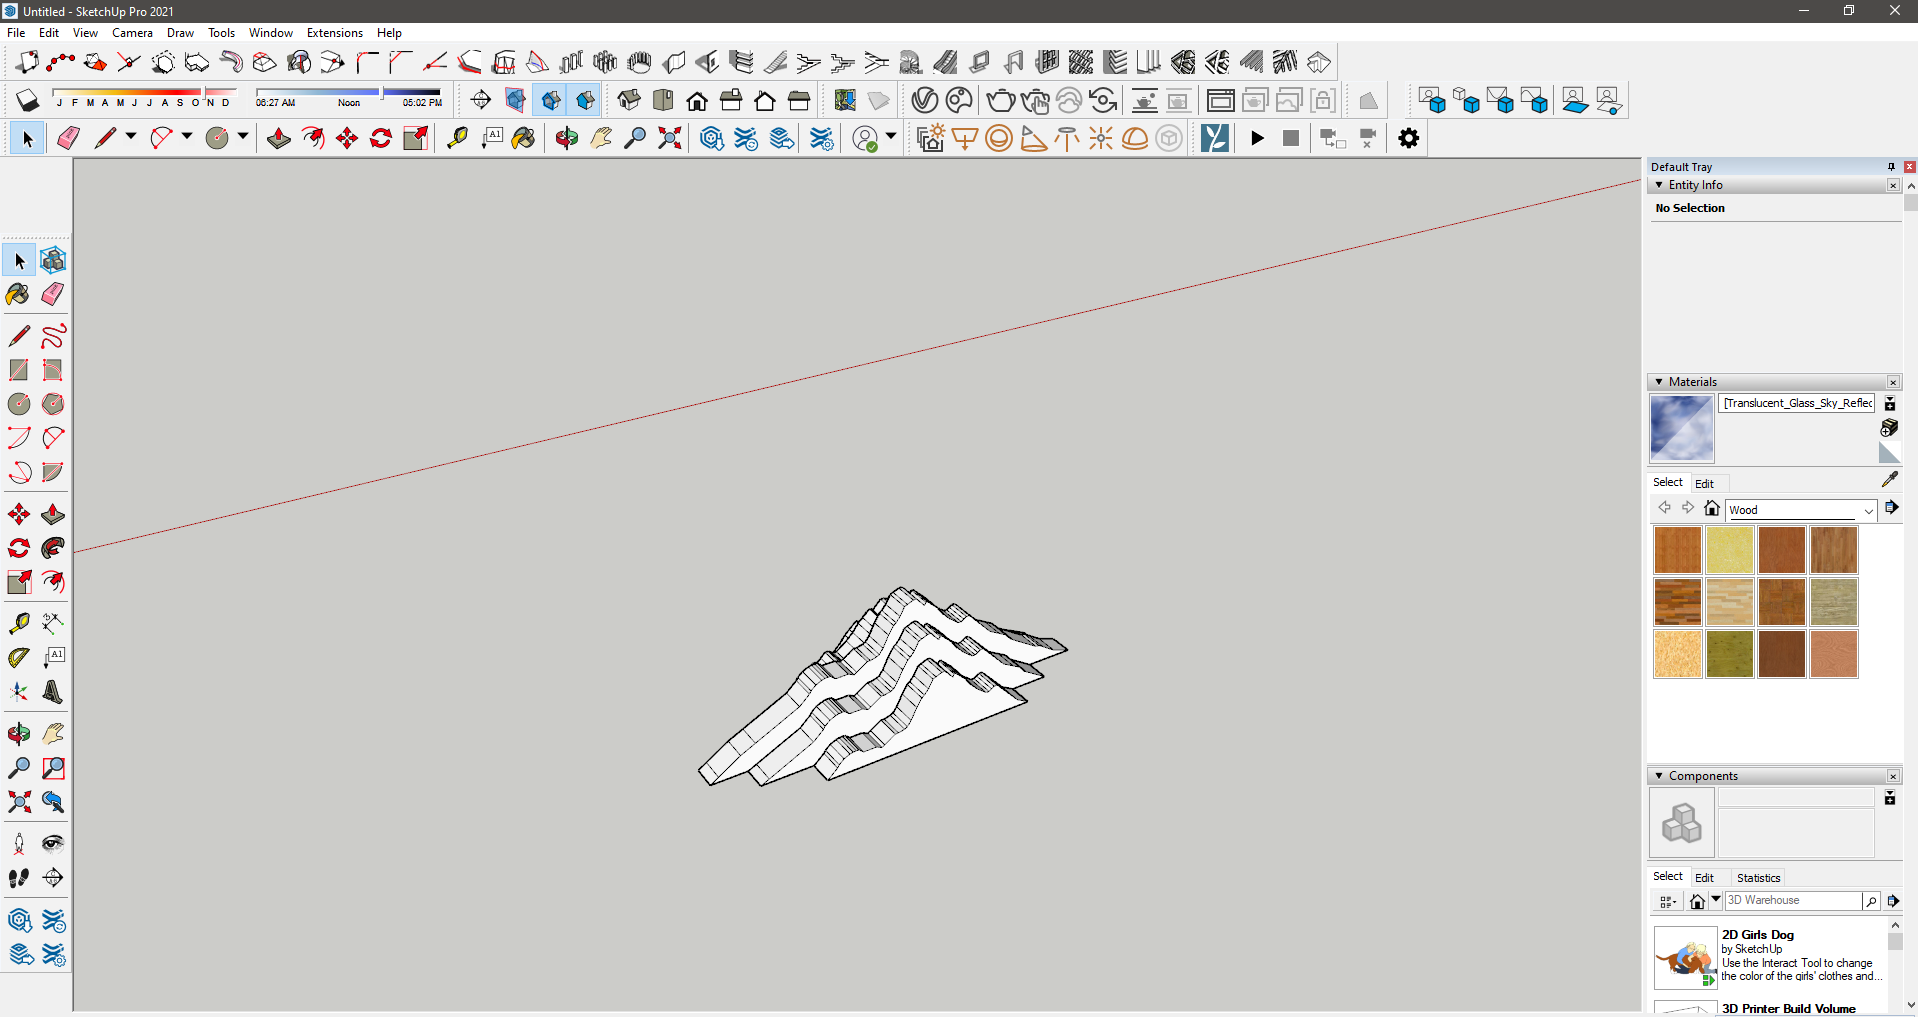
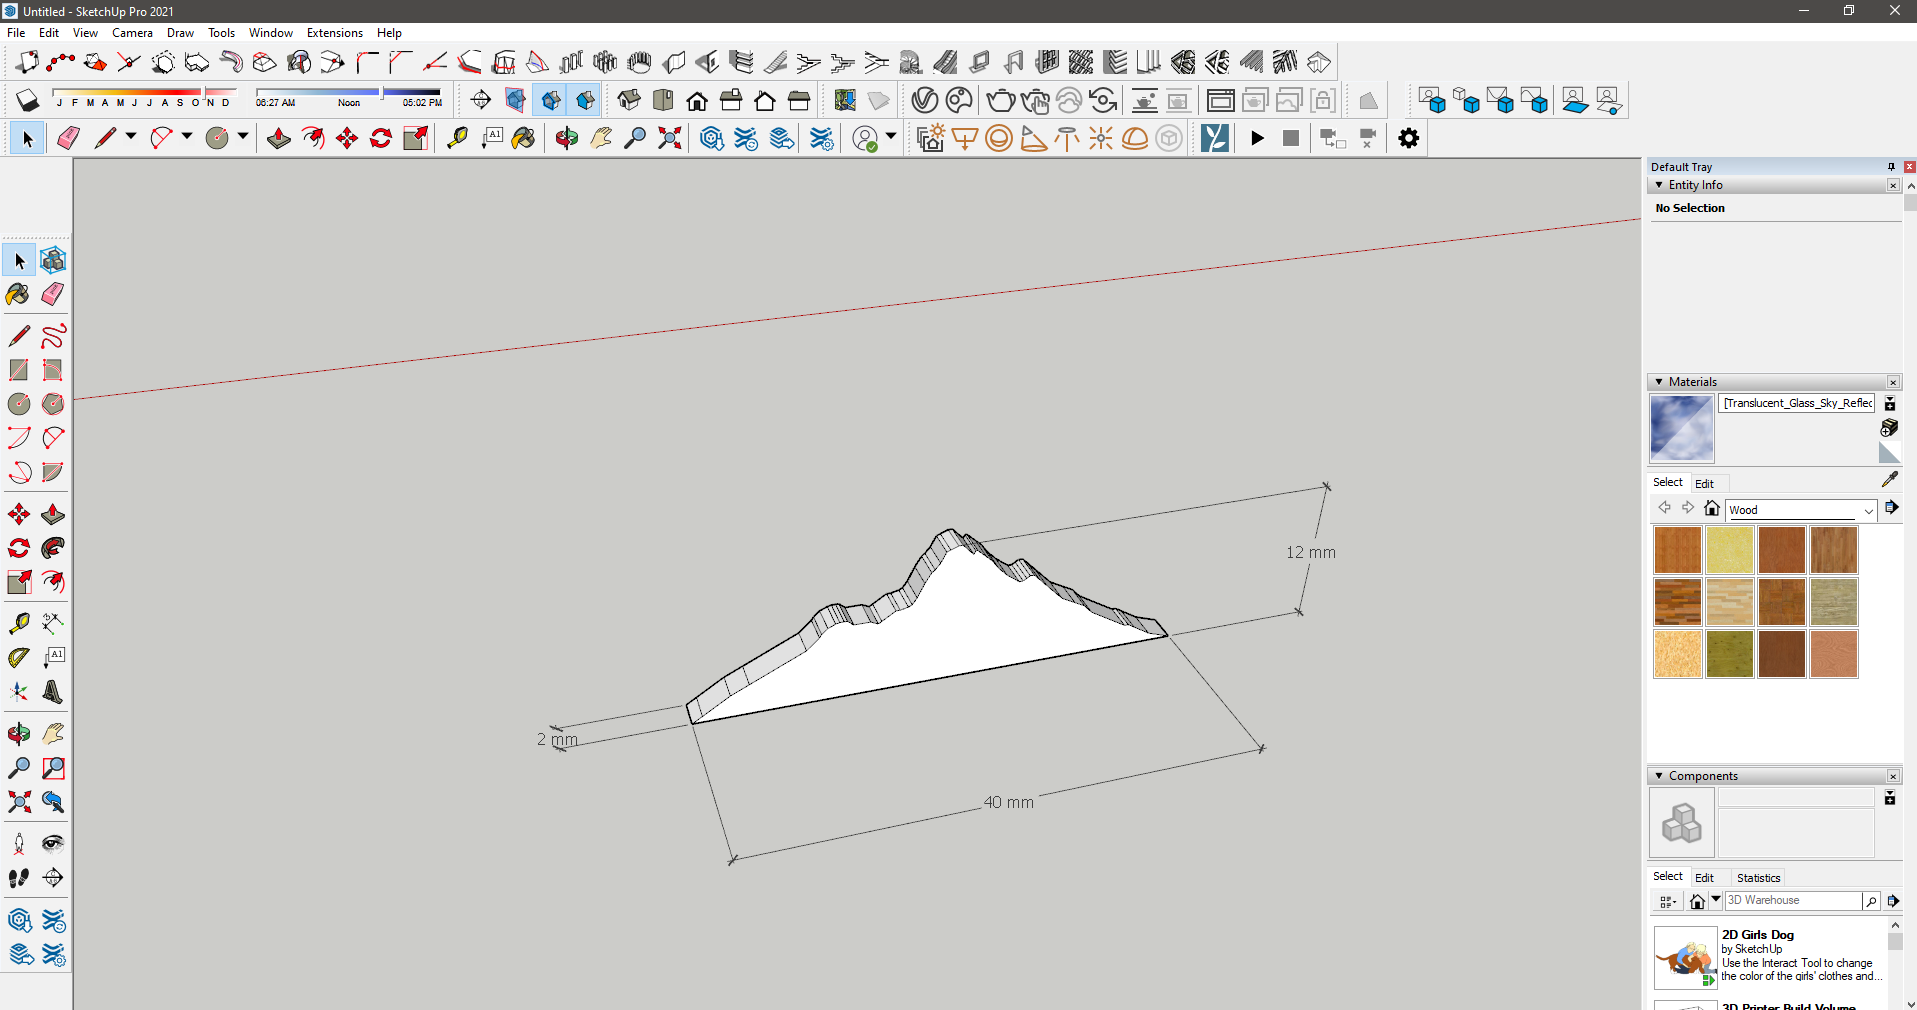
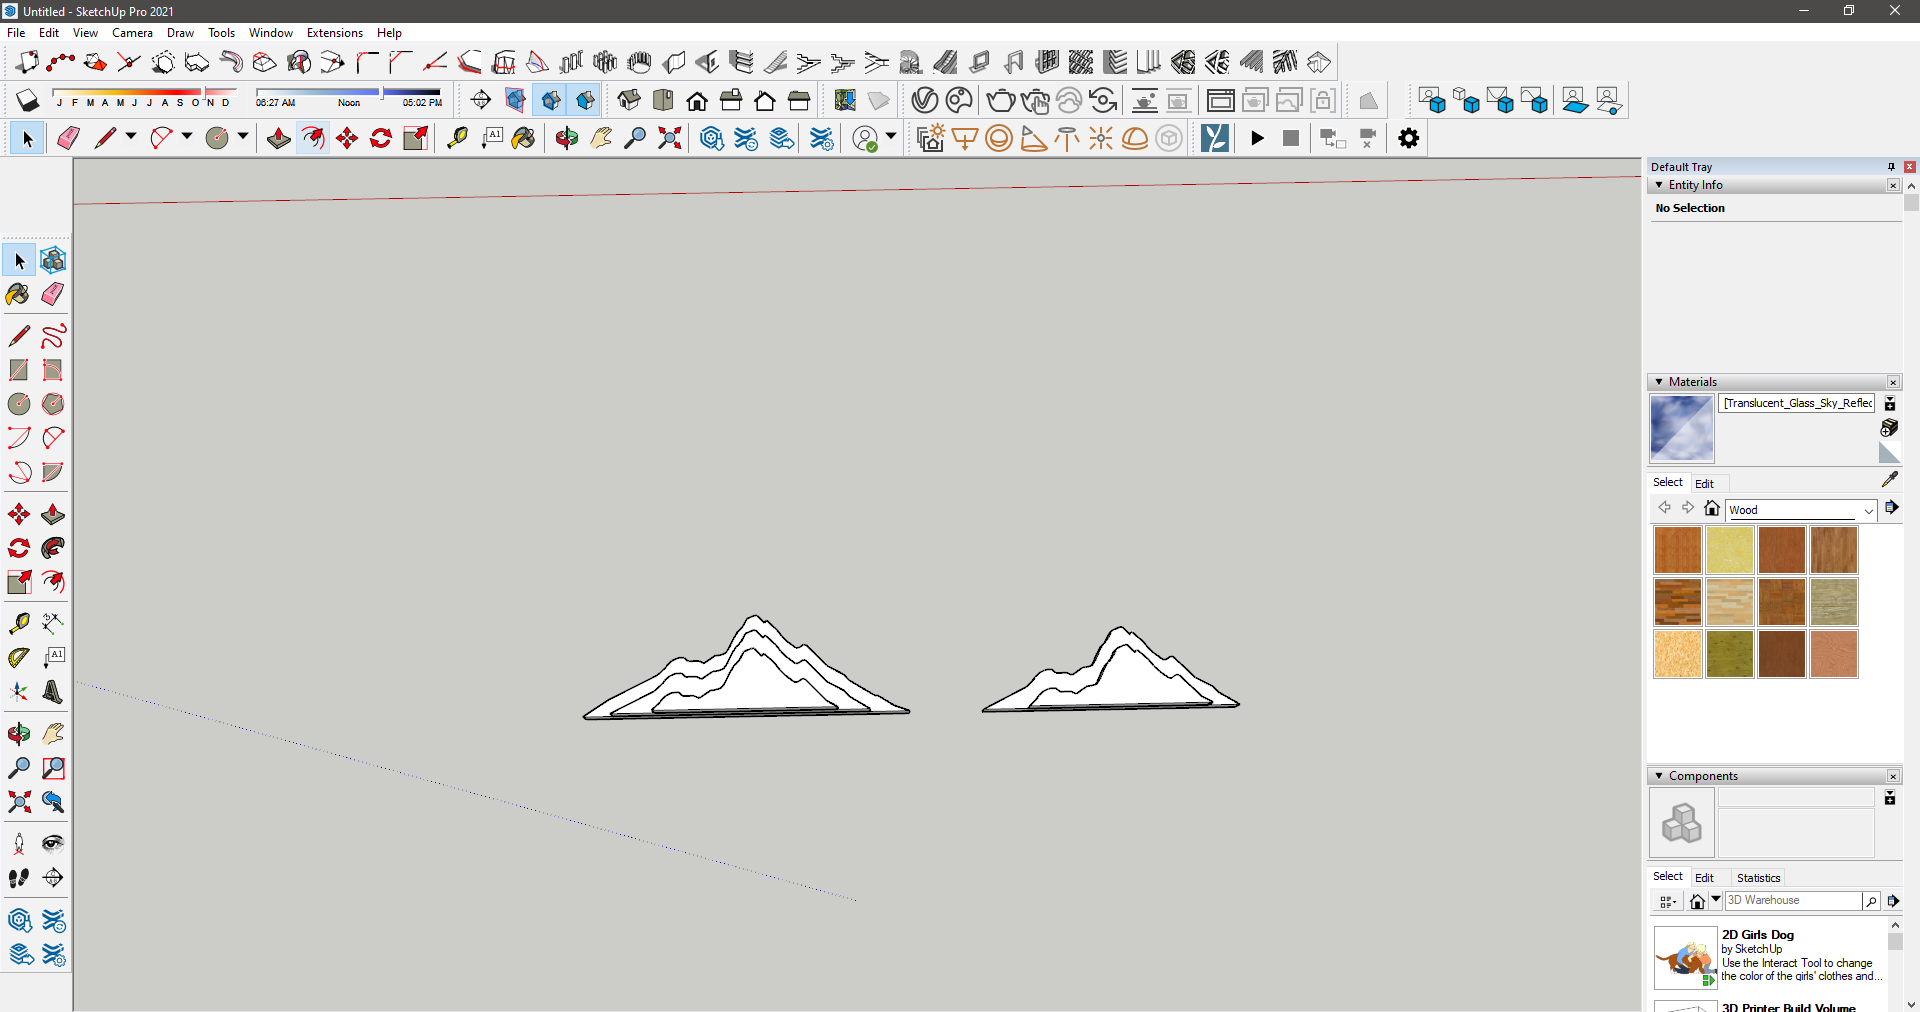
The first thing I did in this phase was modeling my design in Sketchup and exporting it into stl file
Milling machine


NOTE: We used 2 types of drill bits, 1/8” for roughing and 1/32” for finishing


Moulding
The first thing we did was pouring water into the positive wax mould to measure the amount of silicon we need to create the negative silicone mould

Second, we prepared our 1:1 silicon mixture and mixed it

After that, we poured the mixture into the wax mould and left it to dry


After almost 24 hours, it was ready to be used

Casting
We prepared our resin epoxy mixture, mixed it for 3 minutes, added acrylic color to the mixture and poured it into the negative silicon mould

And finally here is the final result after another 24 hours
Note: I added a frame made from wood so it can act like a mould and I placed my cute little mountain and poured the Resin mixture inside it so it can be resin whire resin inside translucent in it.


Problems we faced
The negative silicon mould was little bit sticky and we think the reason behind that was not mixing the mixture very well before pouring it. Even though, we used it and it didn’t affect our final result at all.