Final Project
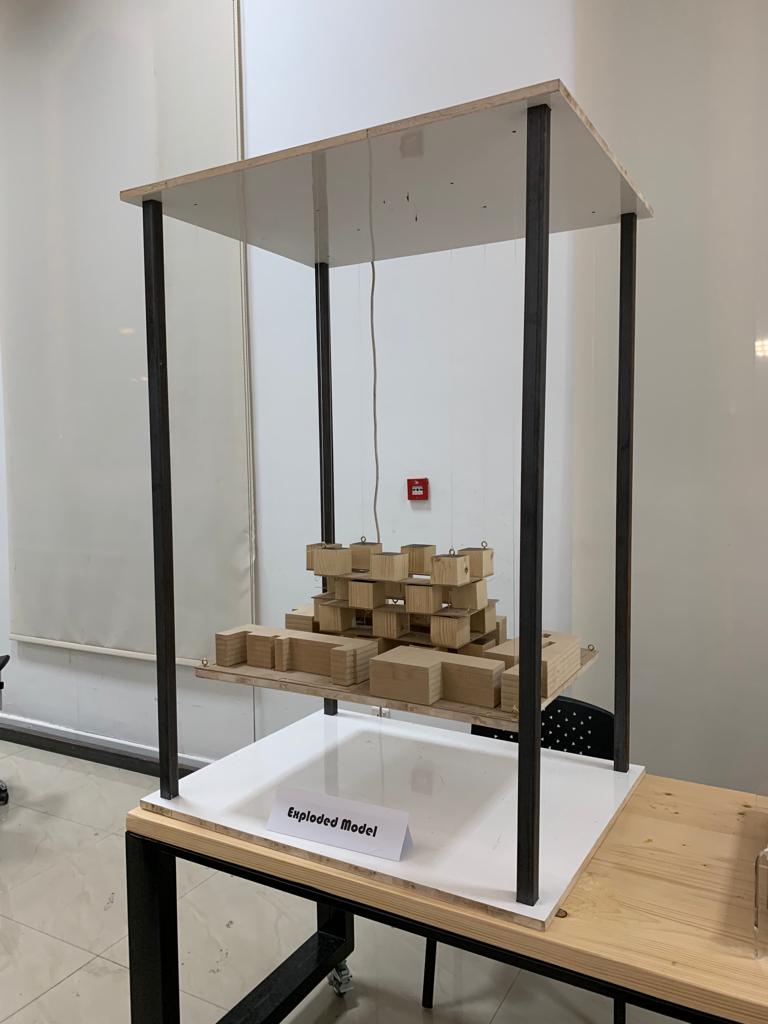
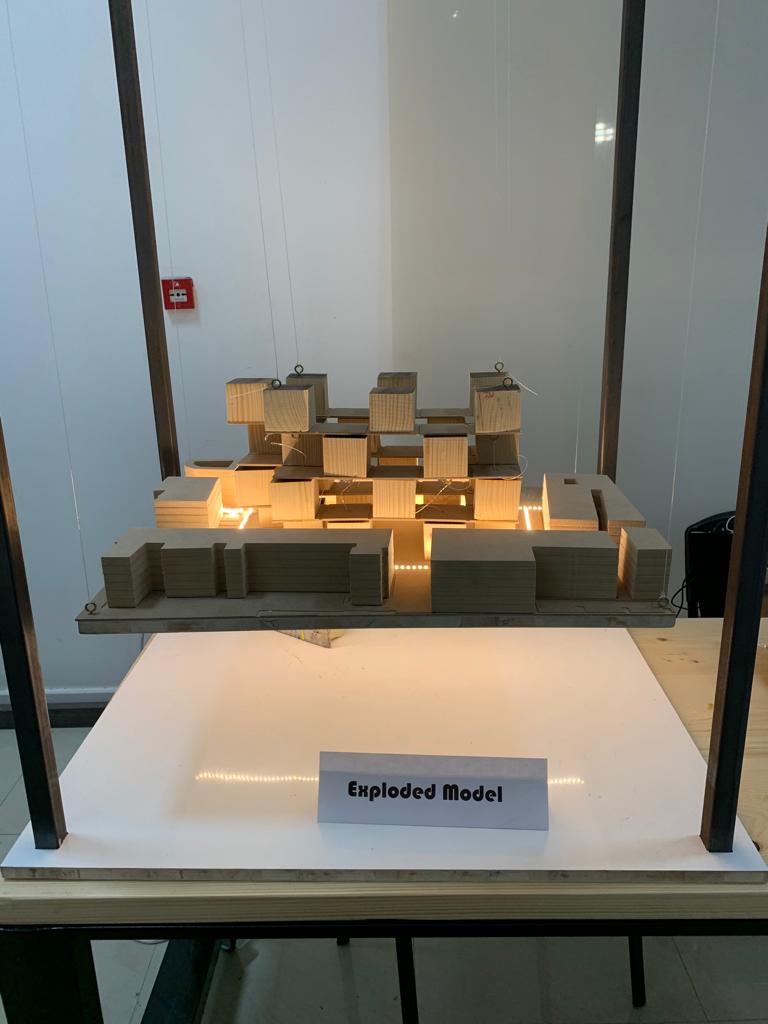
EXPLODED MODEL
Concept
As an Architecture student, my perspective got limited to digital drawings due to the nature of my background. The main idea of this project is to reimagine how digital diagrams would look like in reality.
The most idealistic idea to go from concept to reality was to treat each couple of floors as one layer (in my case 4) to uplift the different layers later with a DC motors mounted on top of all the layers with a bully that carry the strings.
Initial Research
1- Digital fabrication processes:
-
Large format CNC machine for cutting the base, the big parts, and (support maybe)
-
Laser cutting machine for cutting parts with small thicknesses like (buildings, streets, 2D trees and lights for solution) and from different materials like wood MDF and acrylic
-
3D printer for the smaller elements (pullies)
2- Final project idea:
Exploded physical model diagram that showcase the different elements in a site model, and explain if there are any solutions possible to make it worth living in
Structure: frame to make things levitated
- not sure still how to hide structure
Mechanism: Brushless DC motor - quiet - rotate freely
- limitations: Some brushless motors are difficult to control and require a specialized regulator
Electronics: might use some sensors for lights and movements - sound sensors to give orders to the motors to move
- LED lights
3- Materials:
- White wood for base model
- White wood blocks for the main building
- MDF for buildings
- Plywood and steel for support
- Strings
2D and 3D Modeling
The design is about a housing building located in a dense urban area which lacks open areas for residents and green spaces
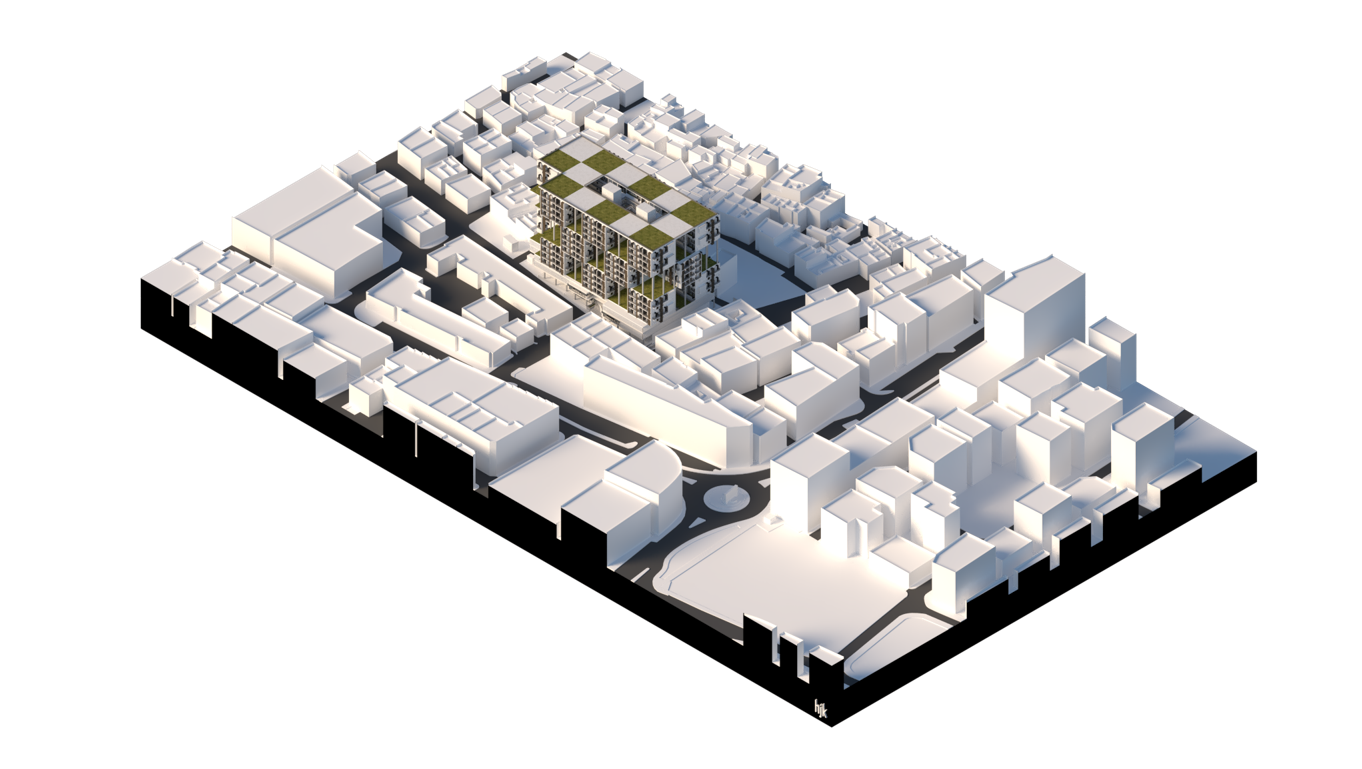
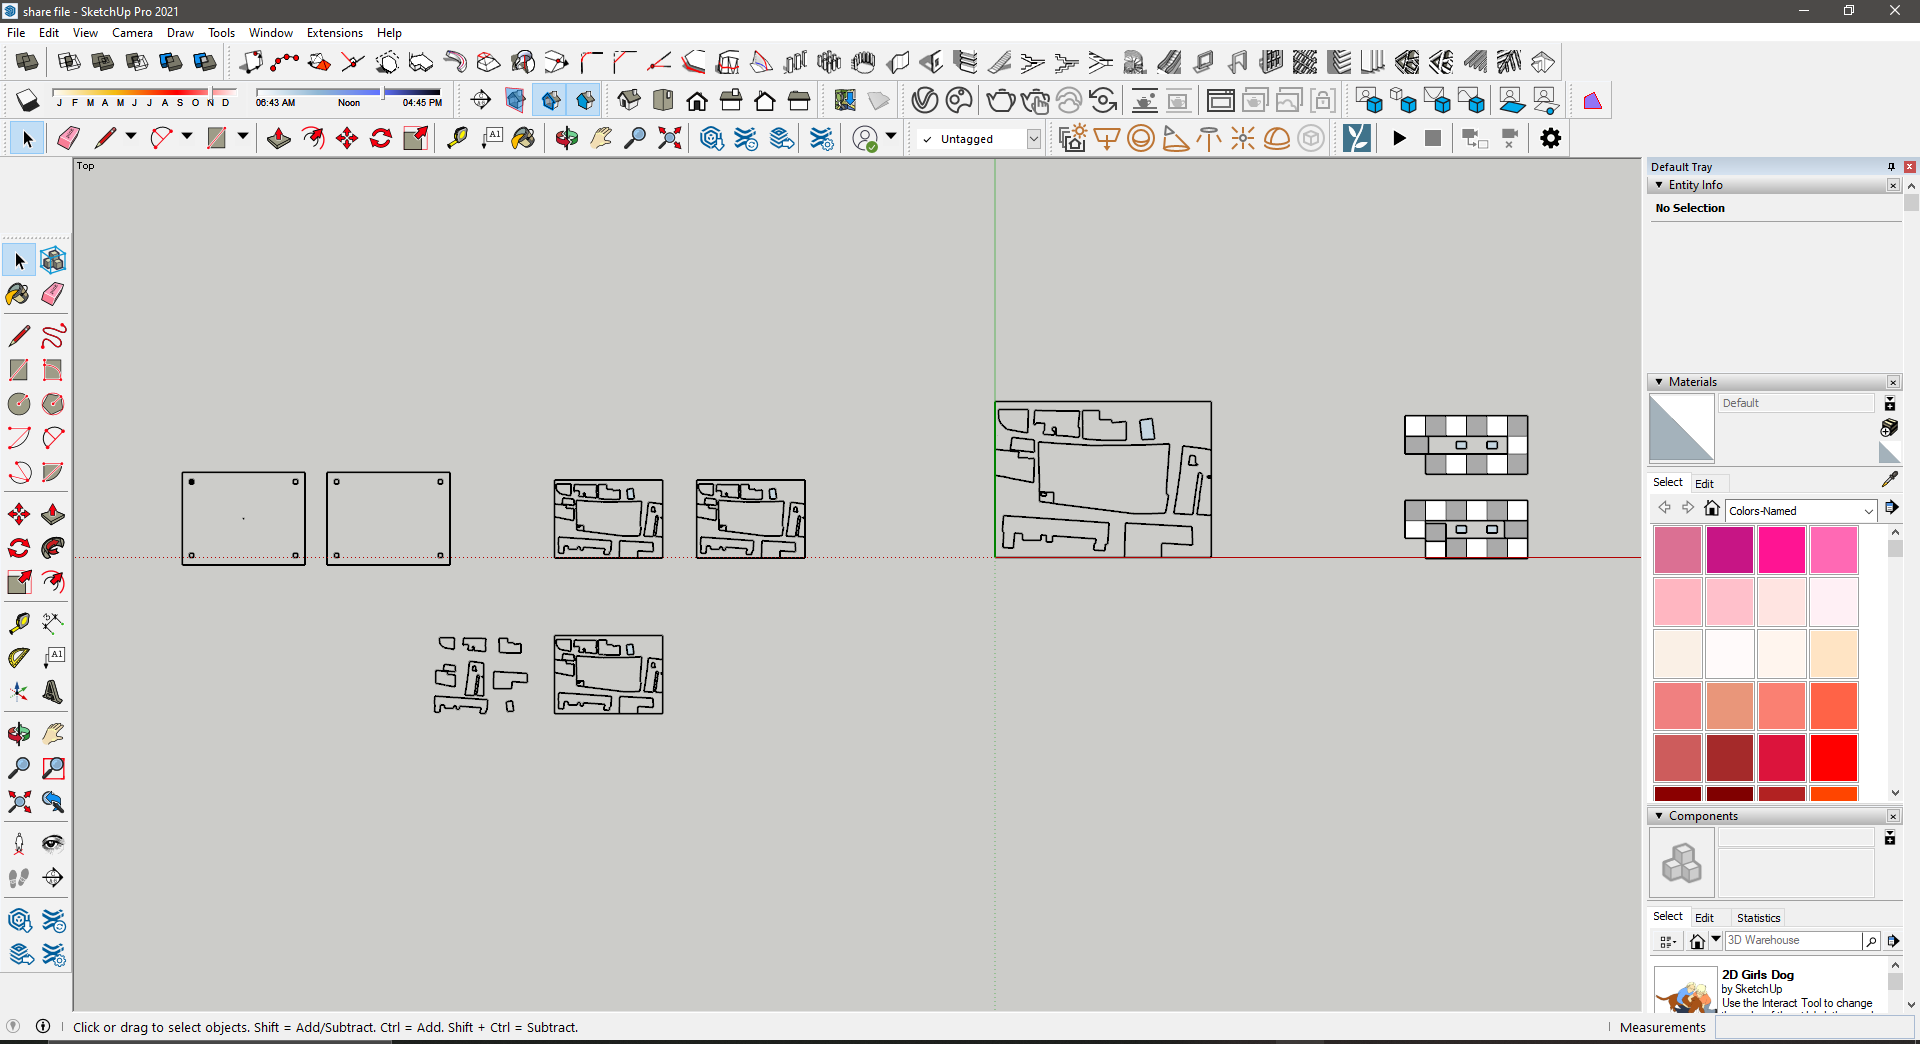
I designed all the pieces from site model, building blocks, surrounding buildings and support bases all in sketch up
Machines Journey
Sooo before my journey started I wanted to make sure first will DC Motors hold the whole design and will be able to lift it efficiently.. I tested it out with one Motor and a basic pulley with a fishing string and it carried about 5Kg and honestly I was impressed and thought finally after many tests and research this can really work!!
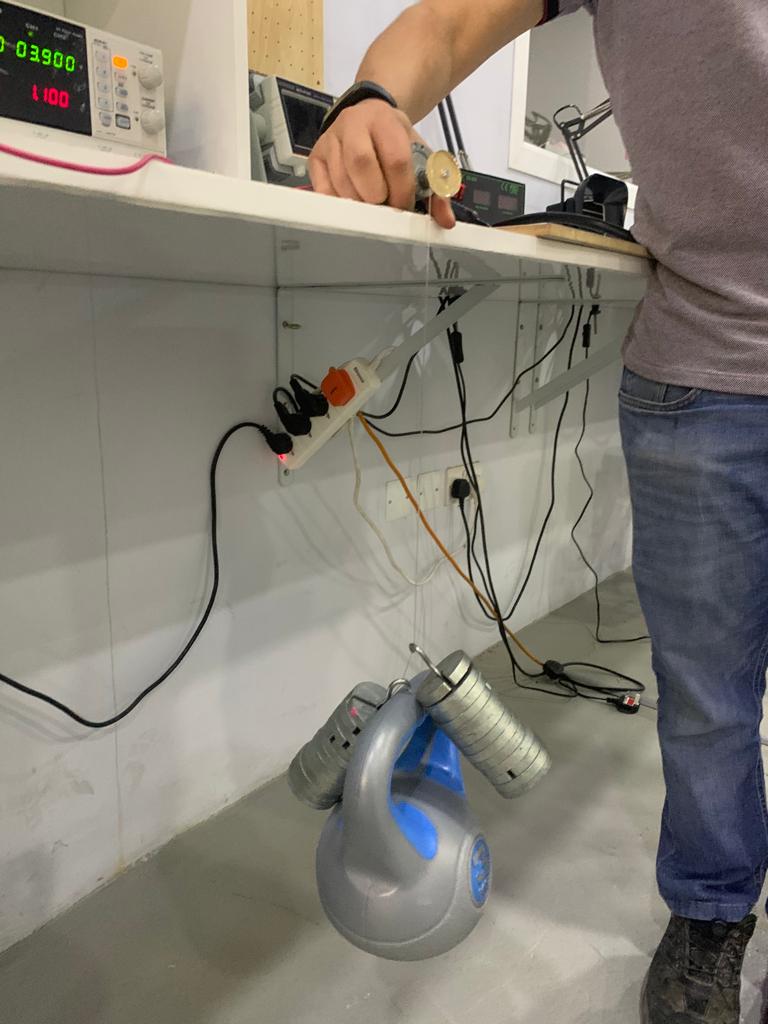
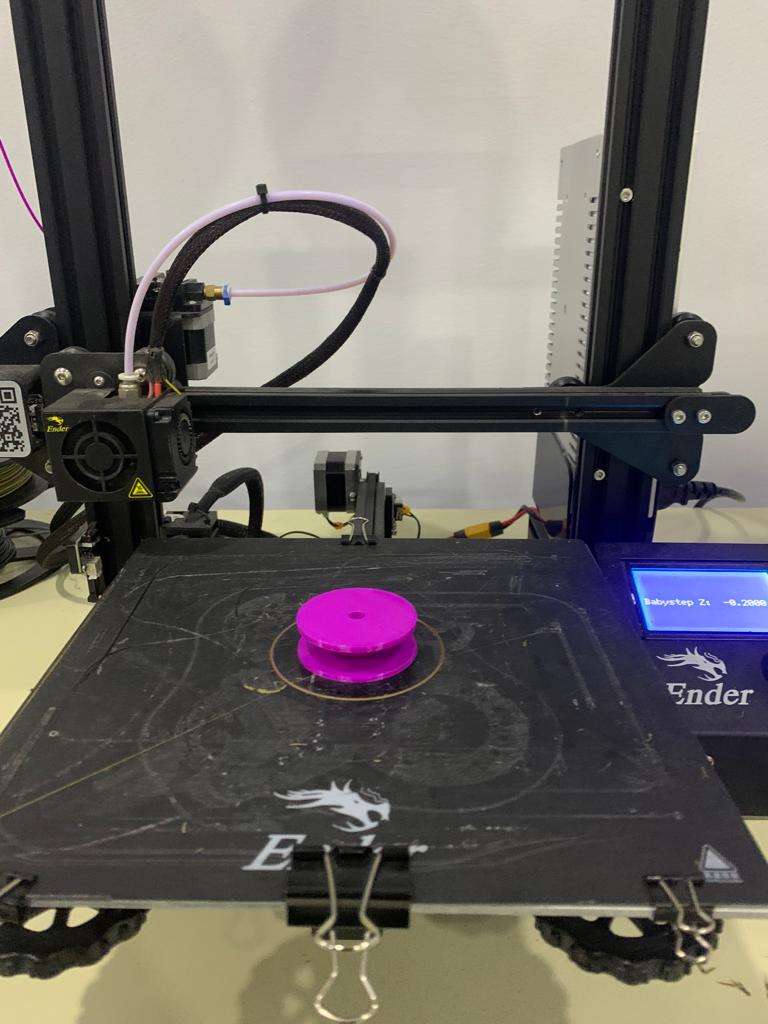
I tried printing a pulley on the 3d printer but when I tested it out with the expected weight it broke down, and I replaced it with 6mm Acrylic bully that I cut using the laser cutting machine
I guess the plastic filament was not the best

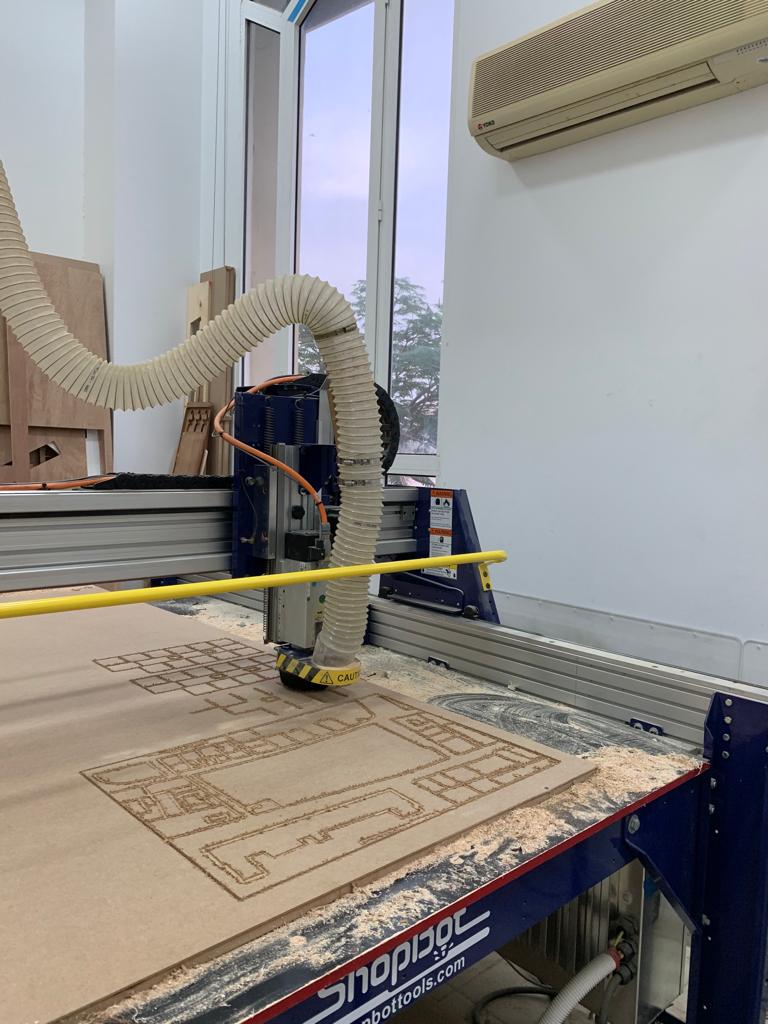
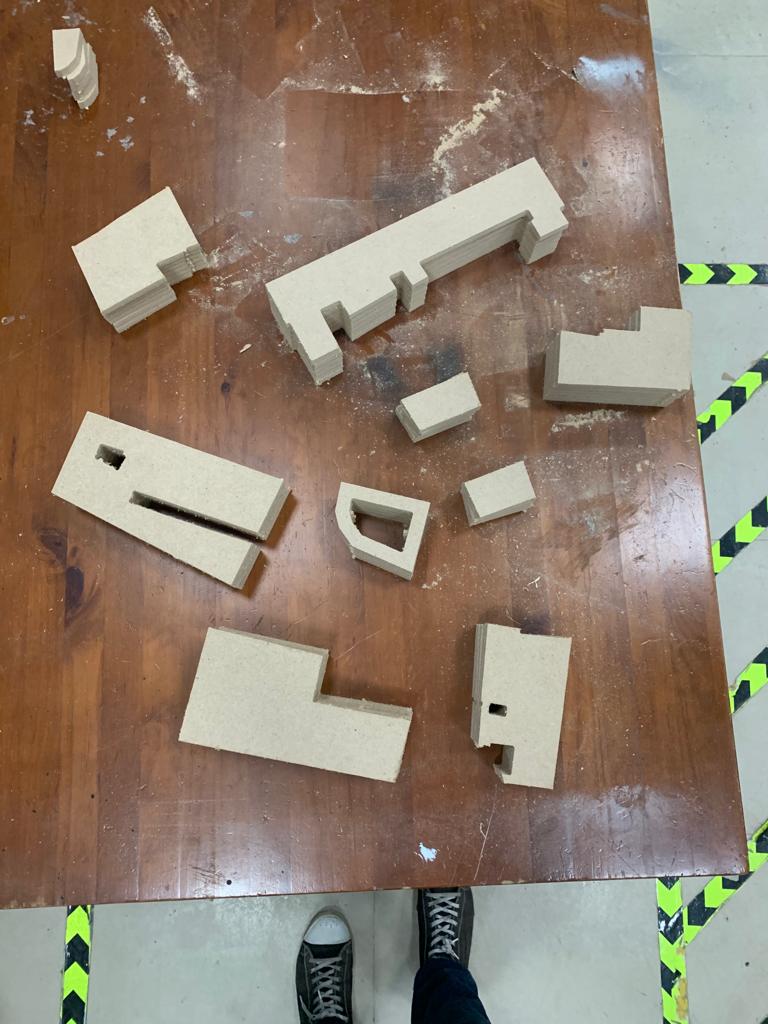
- CNC Machine
So I started to cut the floor bases of the building and the borders of the site with the CNC machine, and engrave the buildings outline

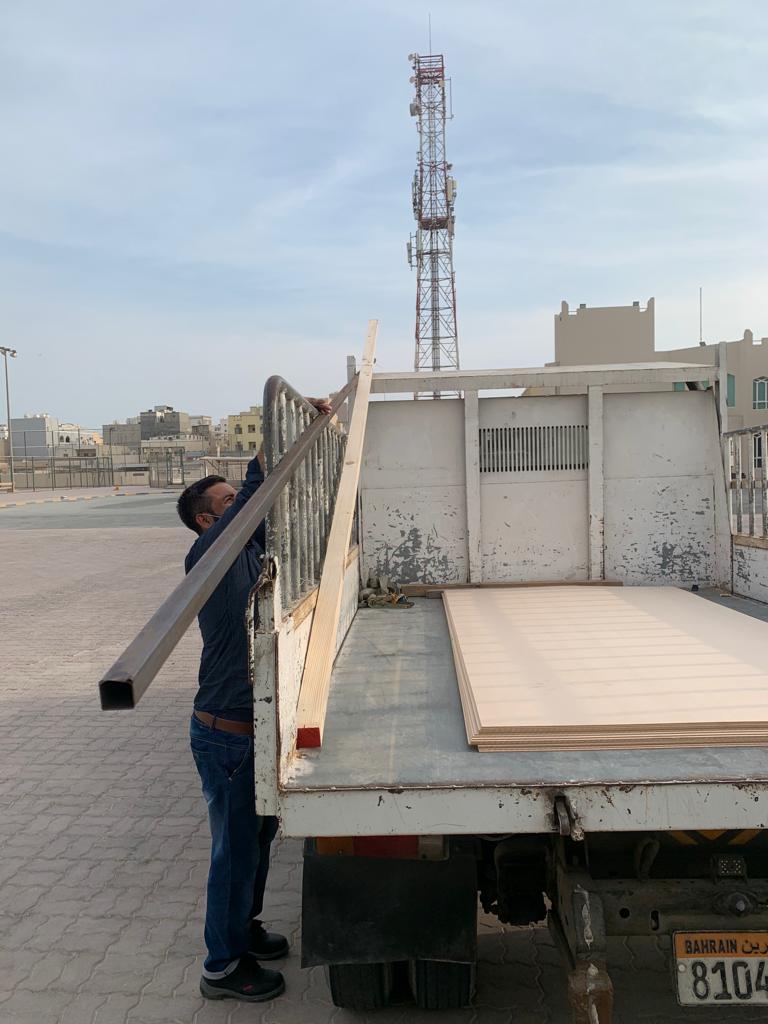
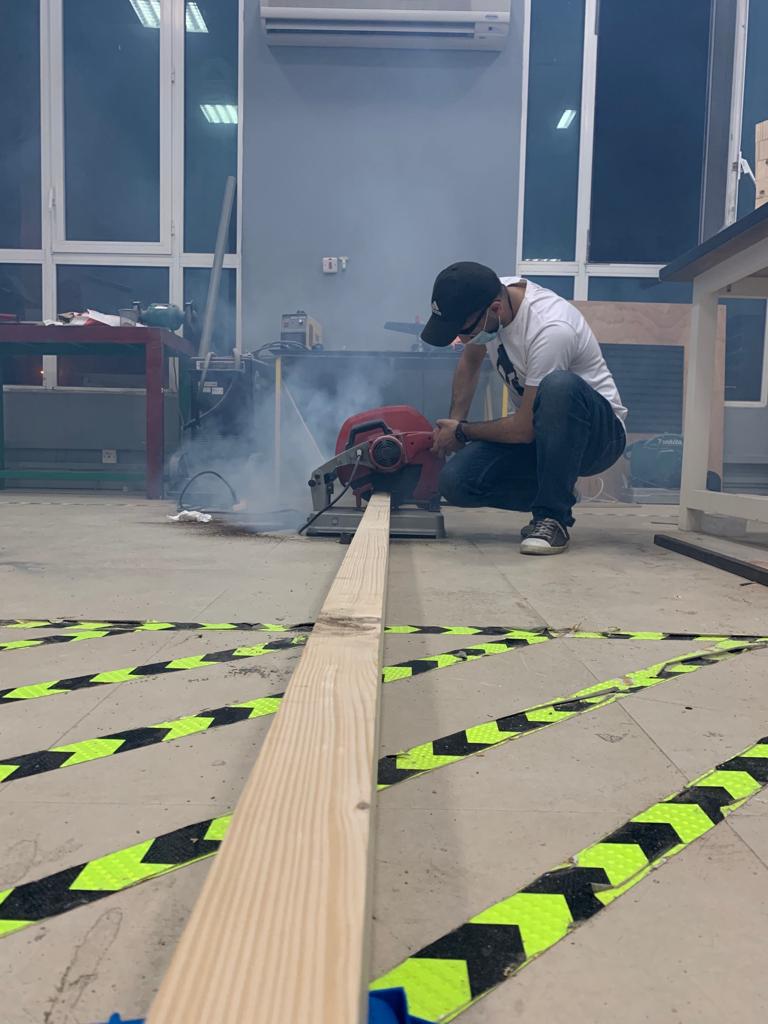
And then our package of (4 meters of white wood long and 6 meters of steel rod ) was delivered and it’s time to cut the pieces manually
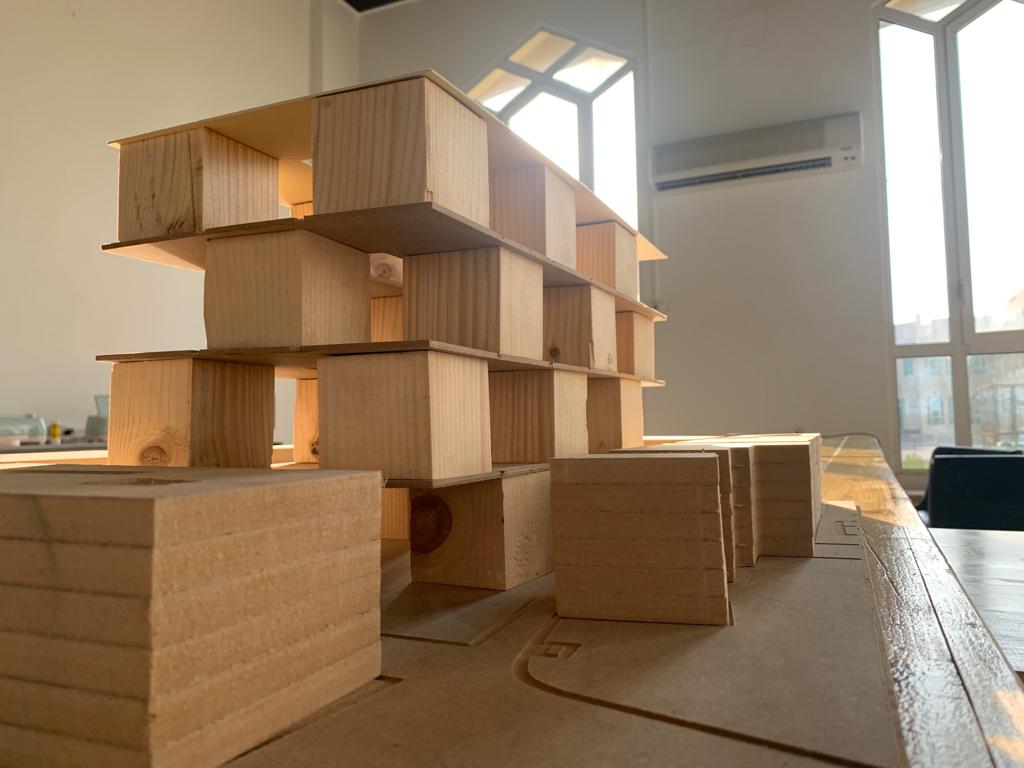
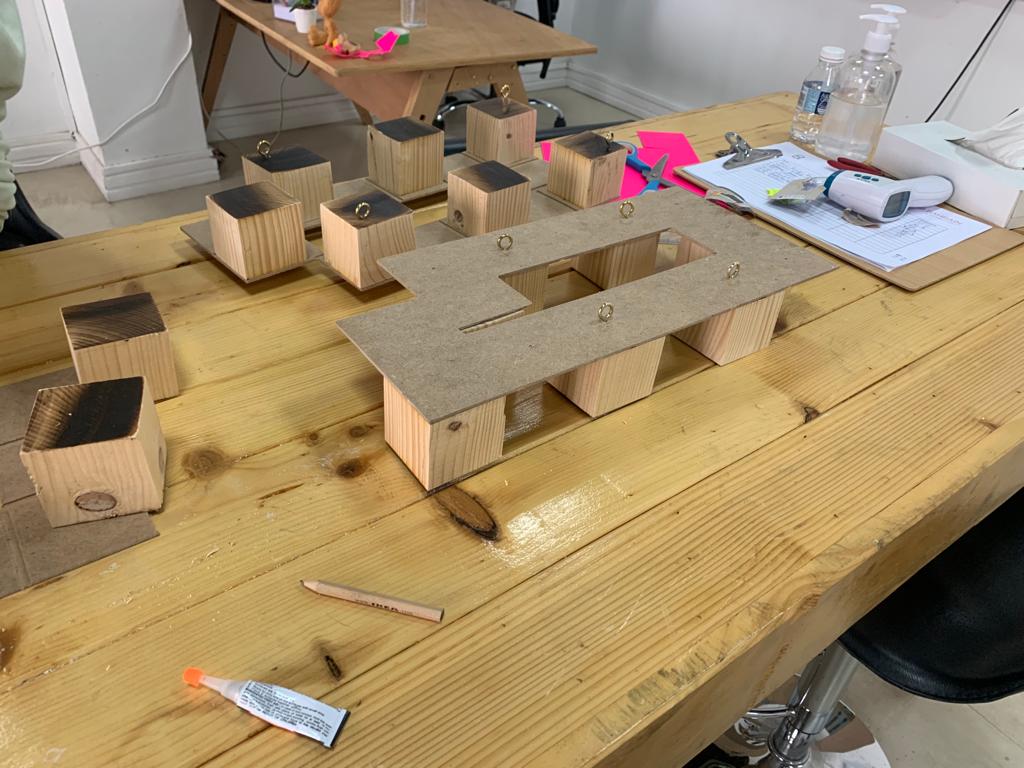
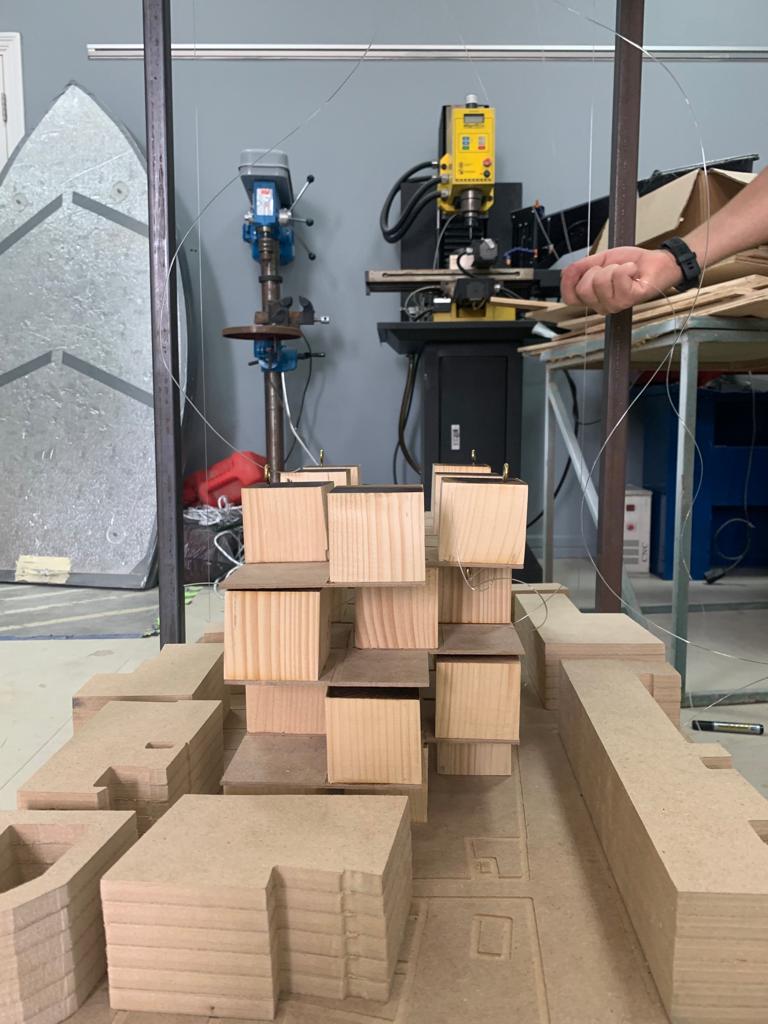
Here we have all the main building pieces ready along with surrounding buildings

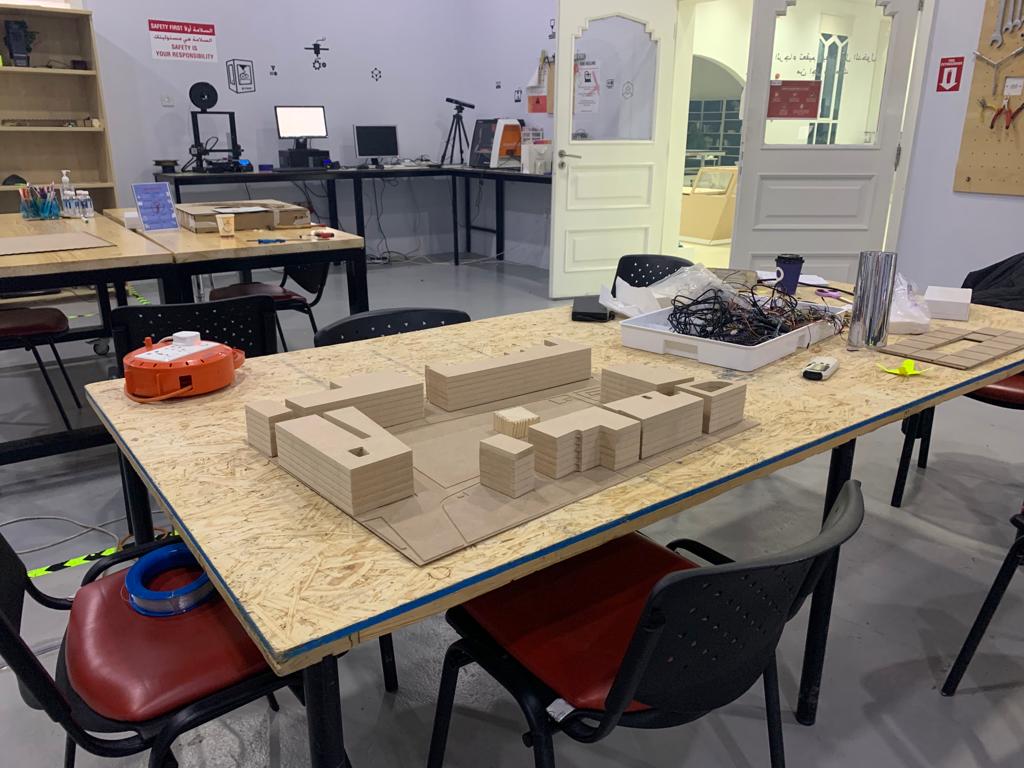
The result after putting them all together on site was incredible!!
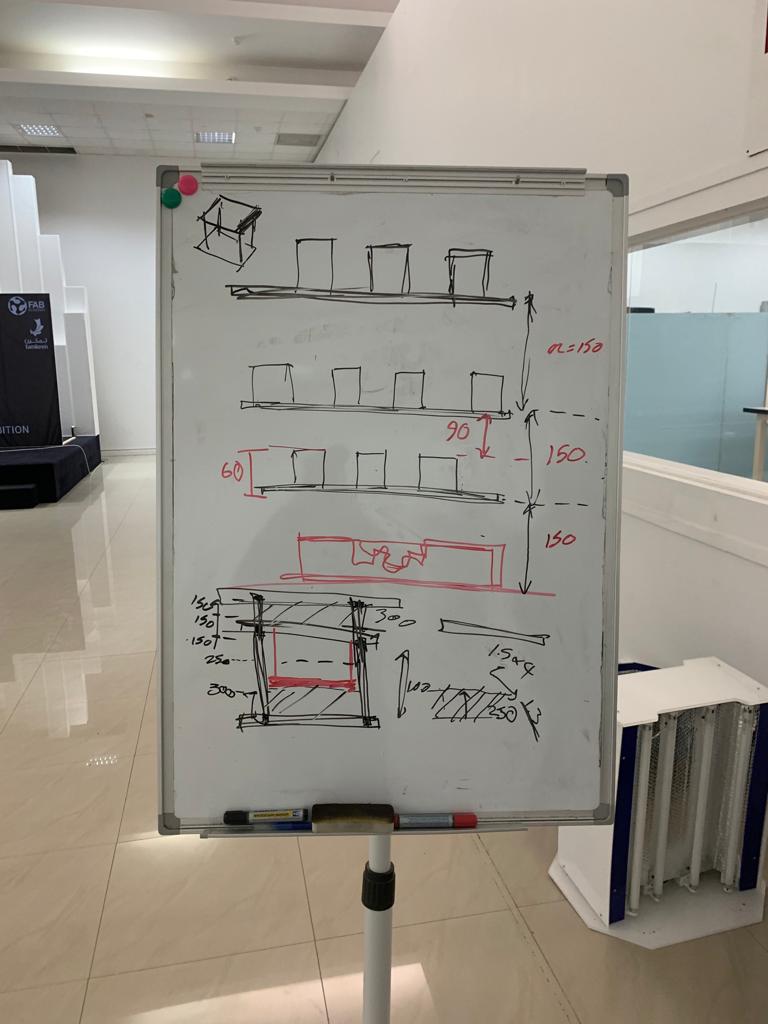
After that, I had a problem knowing how high each layer should go to.. So I made a quick sketch to help me figure out the whole length of the steel structure
All the numbers I measured them in true scale and my aim was to put the model in front of the viewer directly when its put on a table, so I took the average height of human into consideration while designing
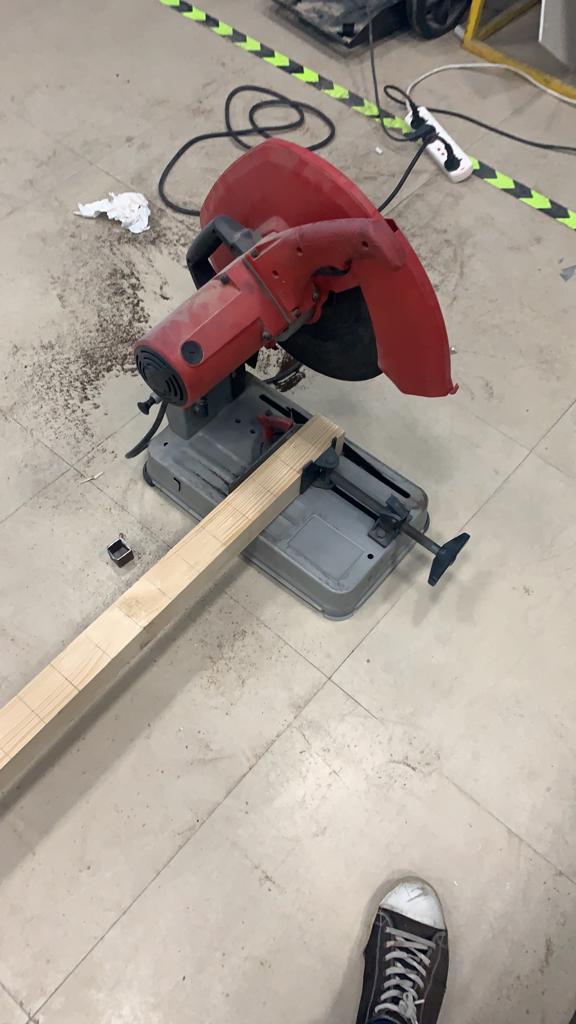
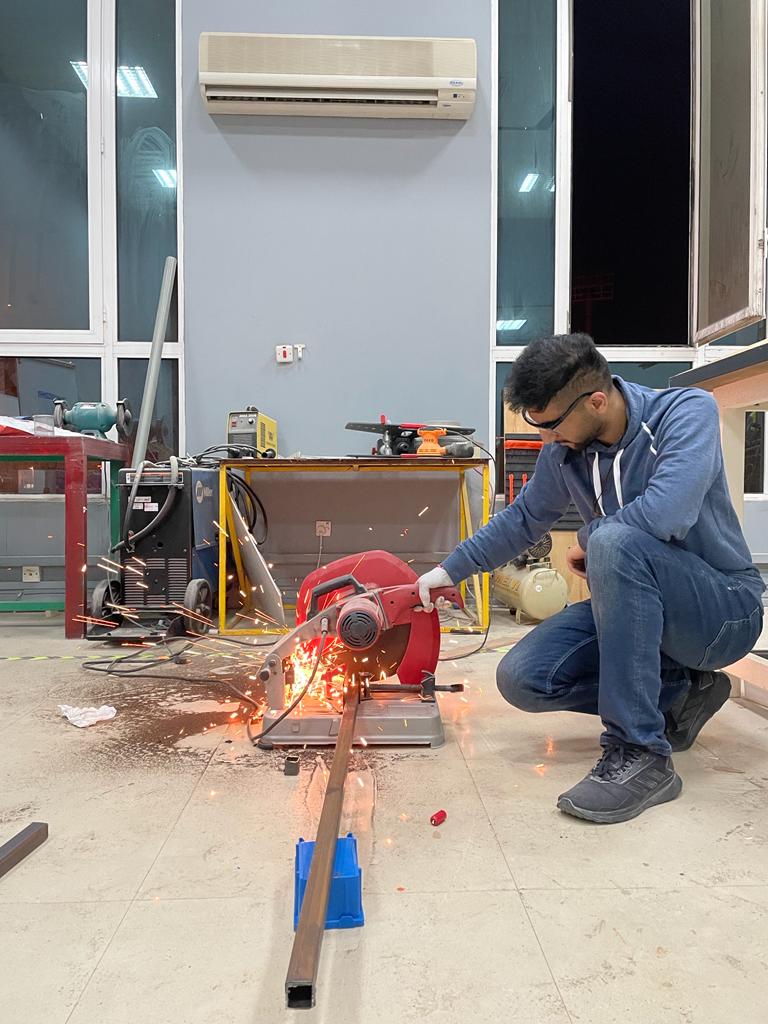
And I started cutting the steel columns directly
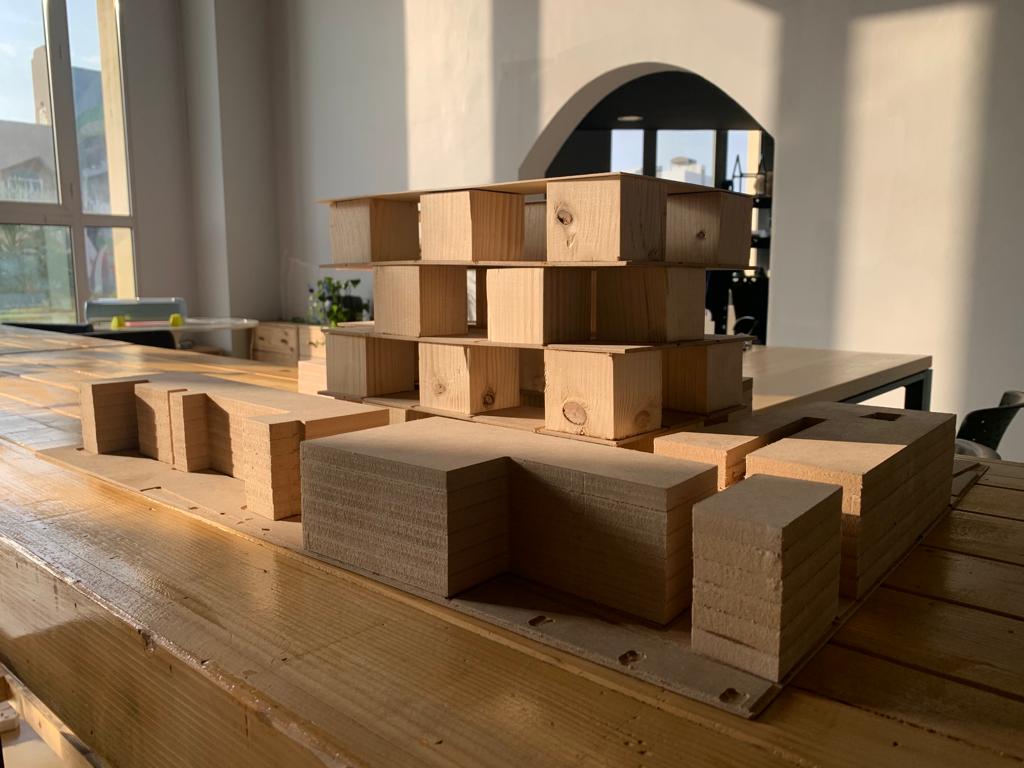
Next step was to attach the bases of the floors with the floor blocks and place hooks on top of each floor in order for the strings to uplift each layer
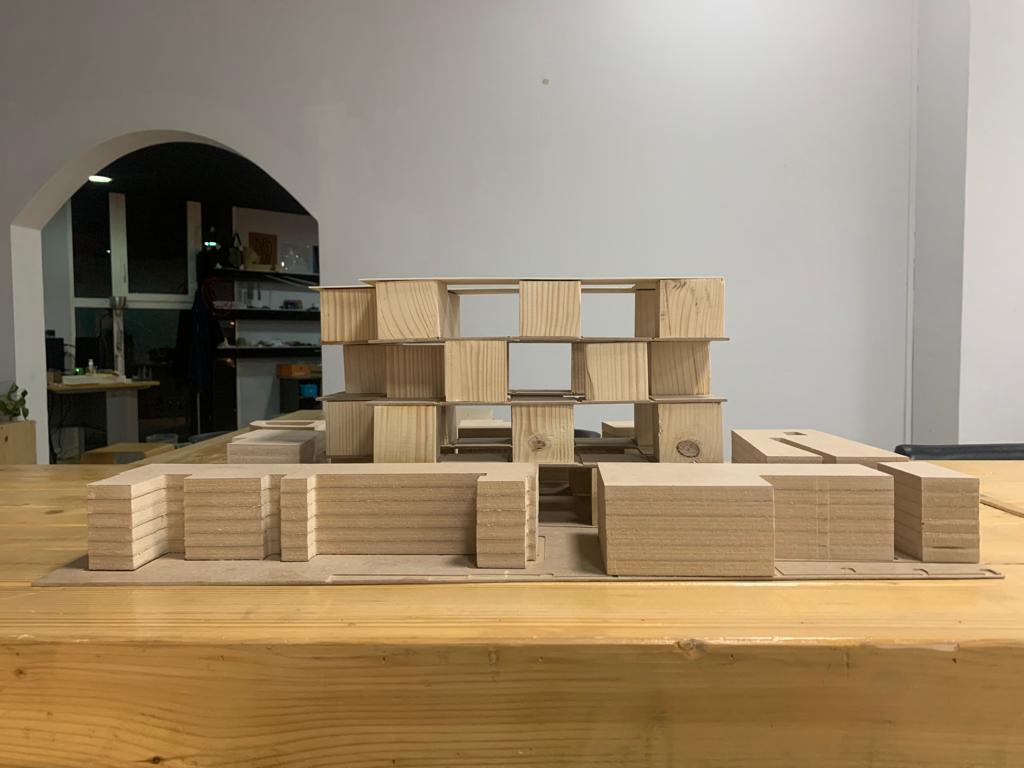
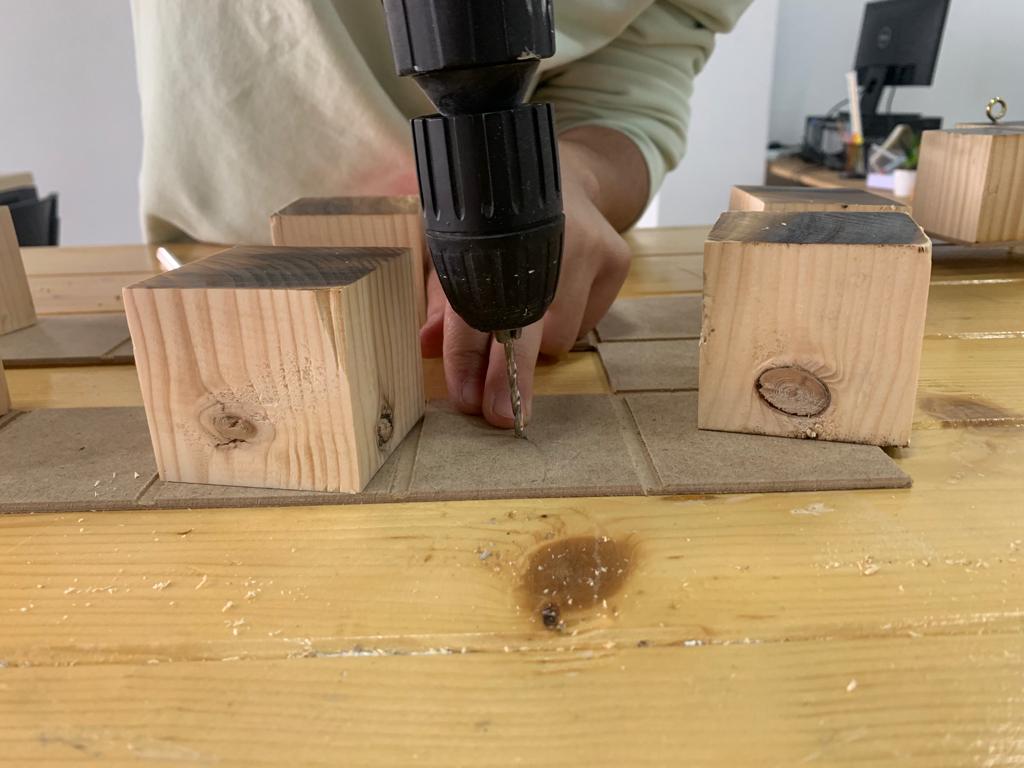
I placed the columns on some kind of a base and a top from MDF that I cut using the CNC machine, and I tried first put the first layer levitated on the calculated height and make it straight
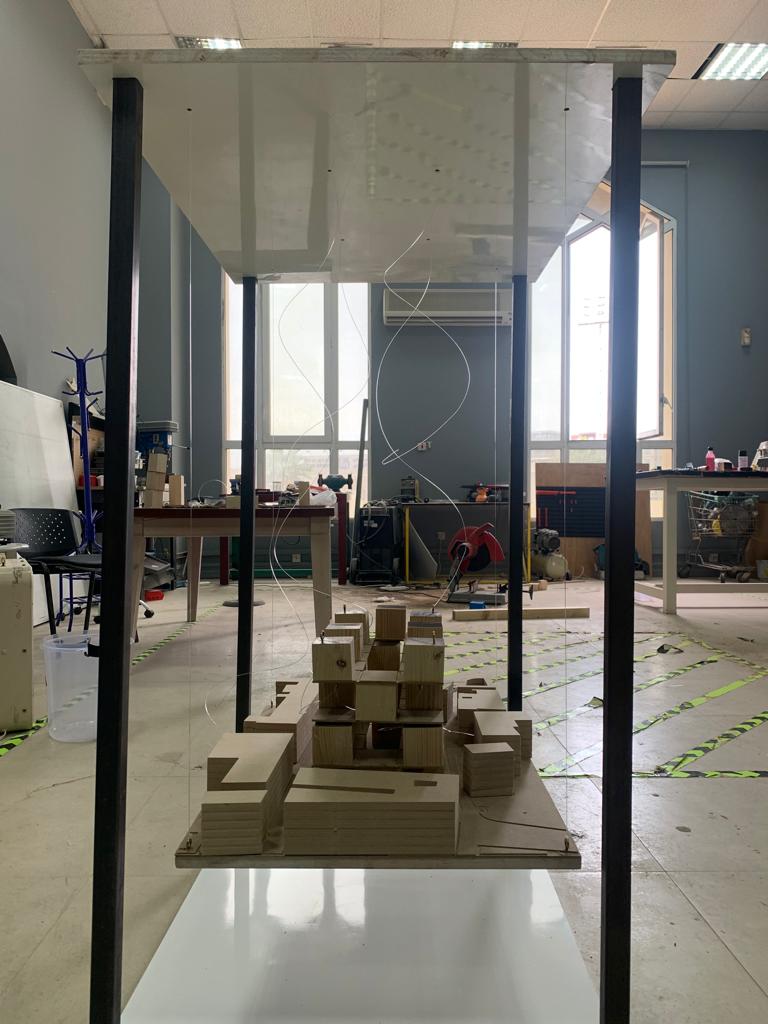
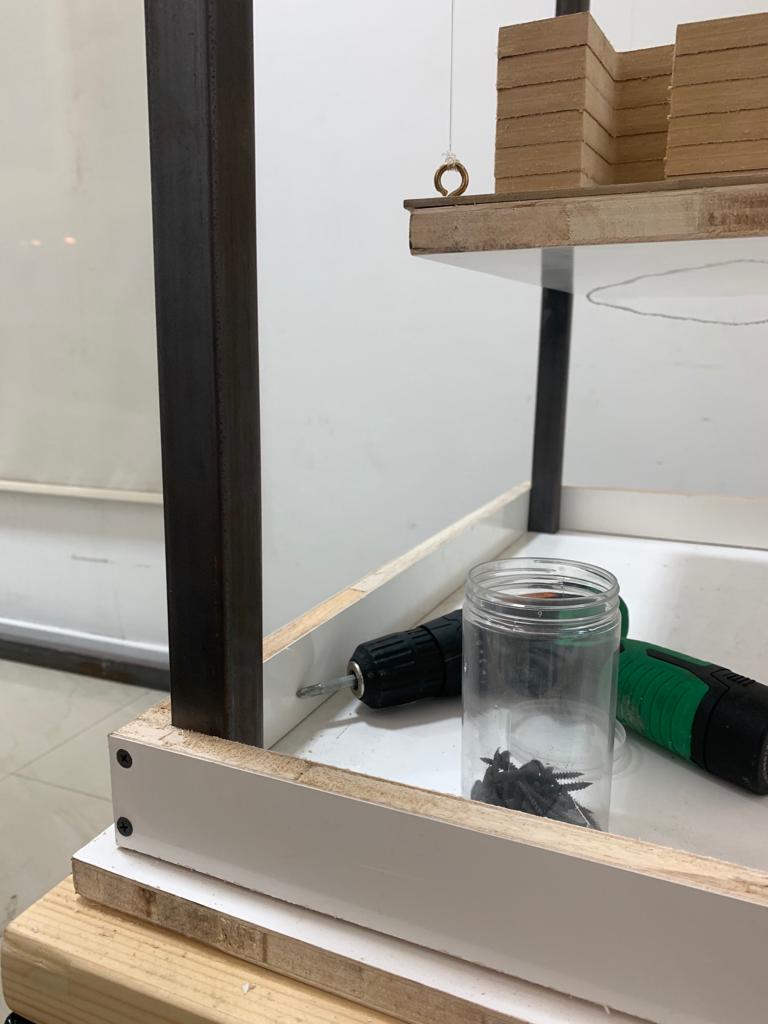
Here comes a big problem that I faced which was the steel supports were not straight and the whole model might fall with time. I fixed it later by putting some kind of a frame around the supports to make sure they don’t move and stay stable
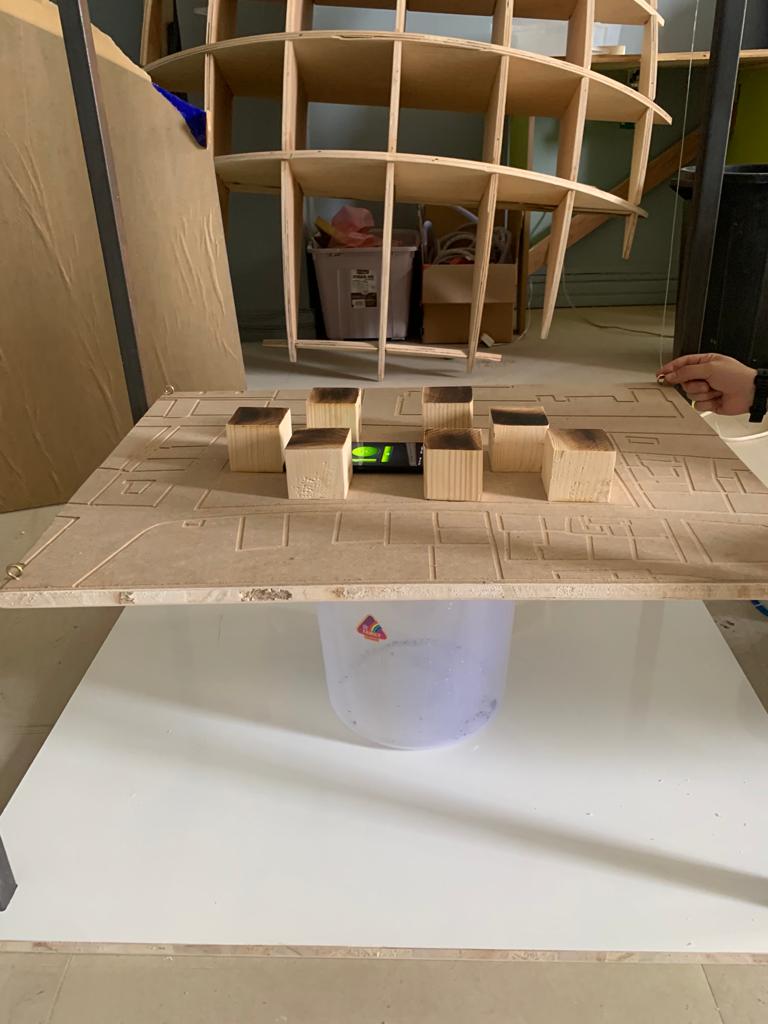
And now comes the fun part.. Adding the strings
I used 4 strings to hold the whole model and make it looks like it levitating (attached from top to the first layer the site model), but I also used 4 strings between each layer so that when the first layer gets lift up all the layers below it (except the first layer) will move after it because of the strings in the middle are limited in length and will get tense
Here is Abdulla trying to pull the strings manually lol
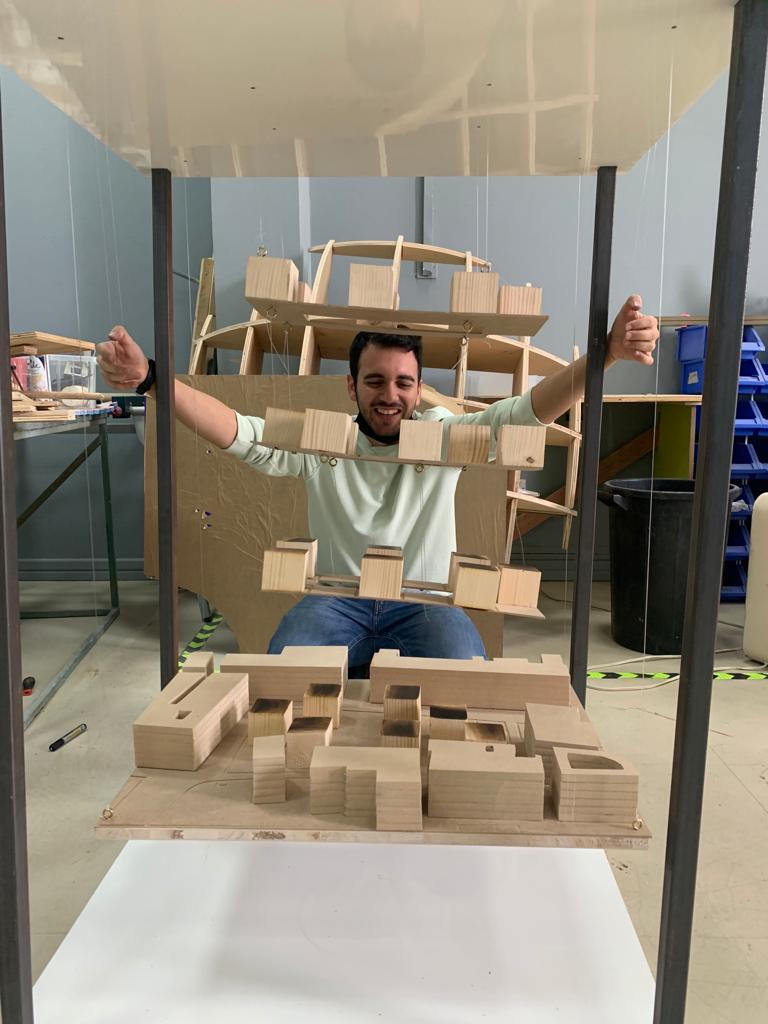
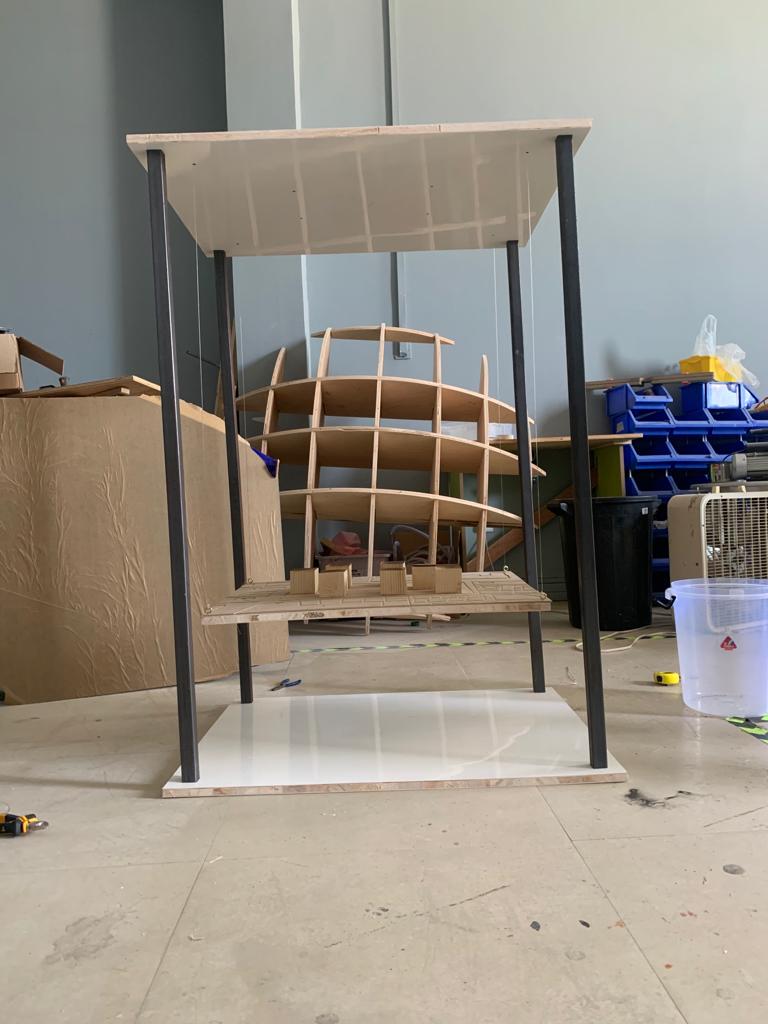
And finally we got able to see the model being levitated by only strings
The next important step was movement and electronics.
In order to carry and uplift the whole model layers I used two DC motors with a circuit I did connected to a sound sensor, and once a person claps the motor rotates clockwise to a limit and wait for the next order or clap to rotates back and carry the model down to state zero
You can check the electronics part on my Input and Output page here

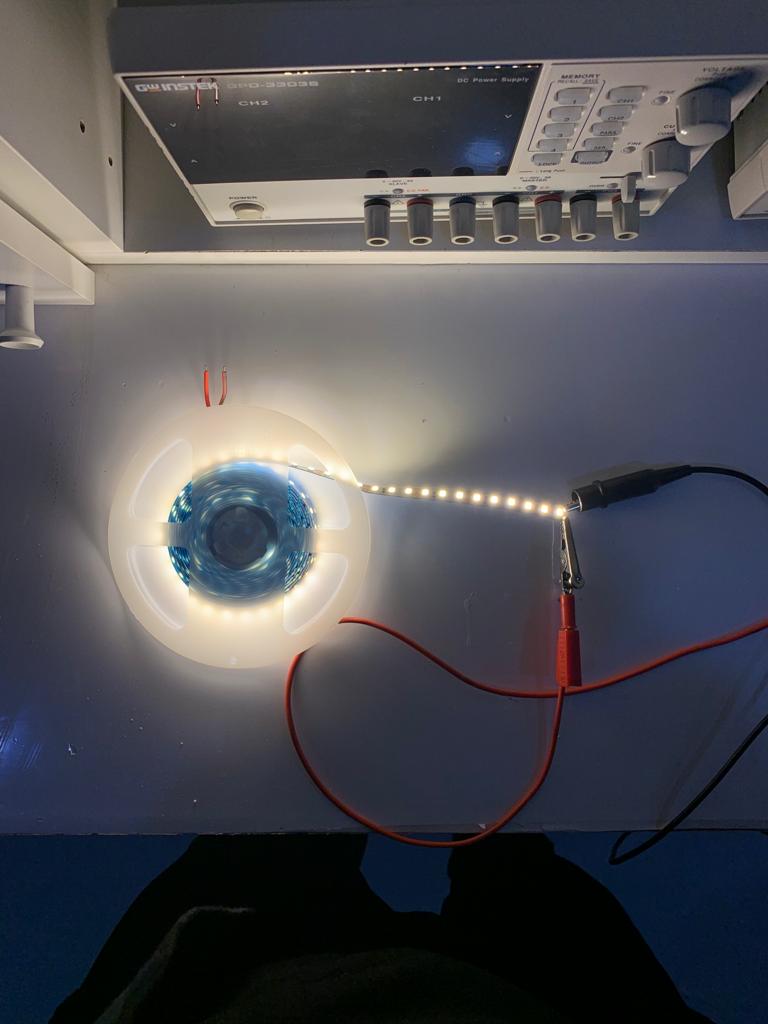
The other part of electronics was to add some lightings, So I put a LED strip light over the site to make it even look cooler
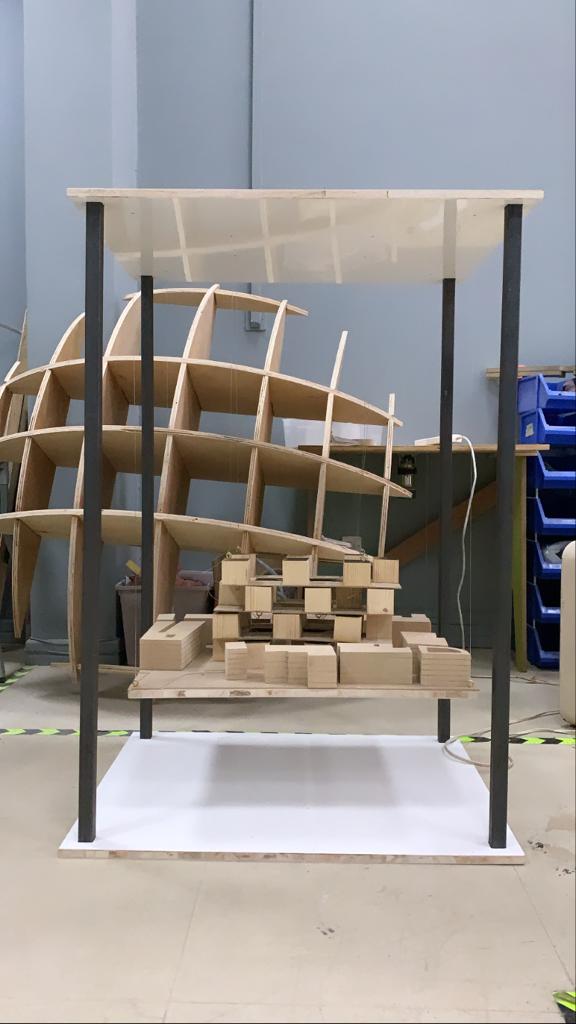
Putting the last touches and making sure the structure stable by putting the wooden frame that I mentioned earlier
FINALLY THIS IS HOW IT LOOKS AND WORKS!!
Acknowledgment
This journey came to an end sooner than I expected. Besides the amazing skills that I gained at this place, the people that I met through this journey made it very light and friendly. Thanks to everyone who helped in any way through this journey. Doctor Salman, Duaa, Abdulla, Abdulghafoor, Mohammed, Haitham we learned a lot from each one of you thank you for being friends before instructors. Batool, for always being there for me ready to help and making this journey a lot better. Alawi, for having my back and helping me out whenever I’m in need of any help.
Without you all this journey wouldn’t be the same
THANK YOUU!!
