1. Project management
This week I will be discussing the construction of the website used to document my process through fablab academy.
A website to document the progress of the program is established through several illustrated steps which is to be shown in the fabcloud for viewers which can be accessed from the following link click here . This page includes the assigned assessments to be done through the 9 weeks program and some general information with regards to the admin of the website (i.e. owner). Gitlab mainly convert the markdown language used in atom from that language to HTML that is displayed in our website that can be viewed. The website uses a mkdocs that the website works on which ensures the successful conversion to display the website. mkdocs can be considered a site generator when viewed from that aspect as it converts the things written in markdown to HTML. The website was established as follows:
Git bash downloading and cloning of the website:
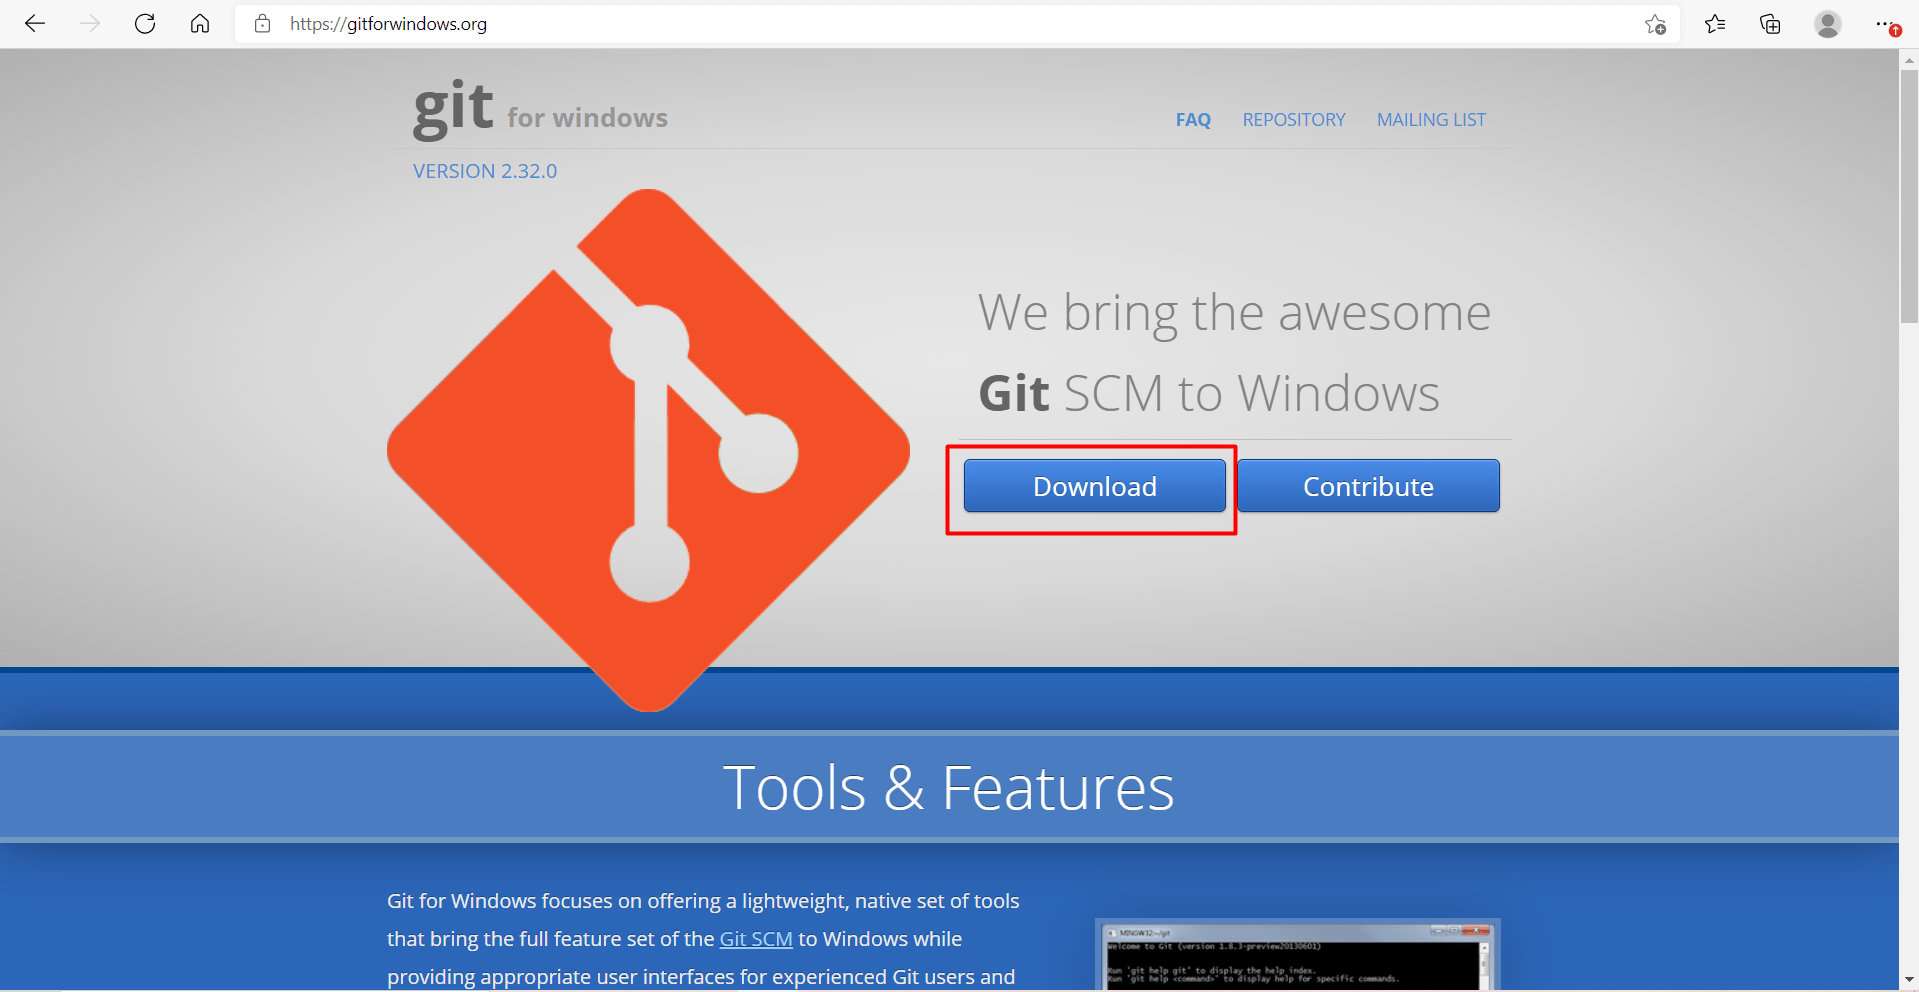
First of all, git bash is downloaded from the following link: click here
After that, launch git bash to clone the website that you are going to work on. When launching git bash you will get a black screen which looks like as follows:

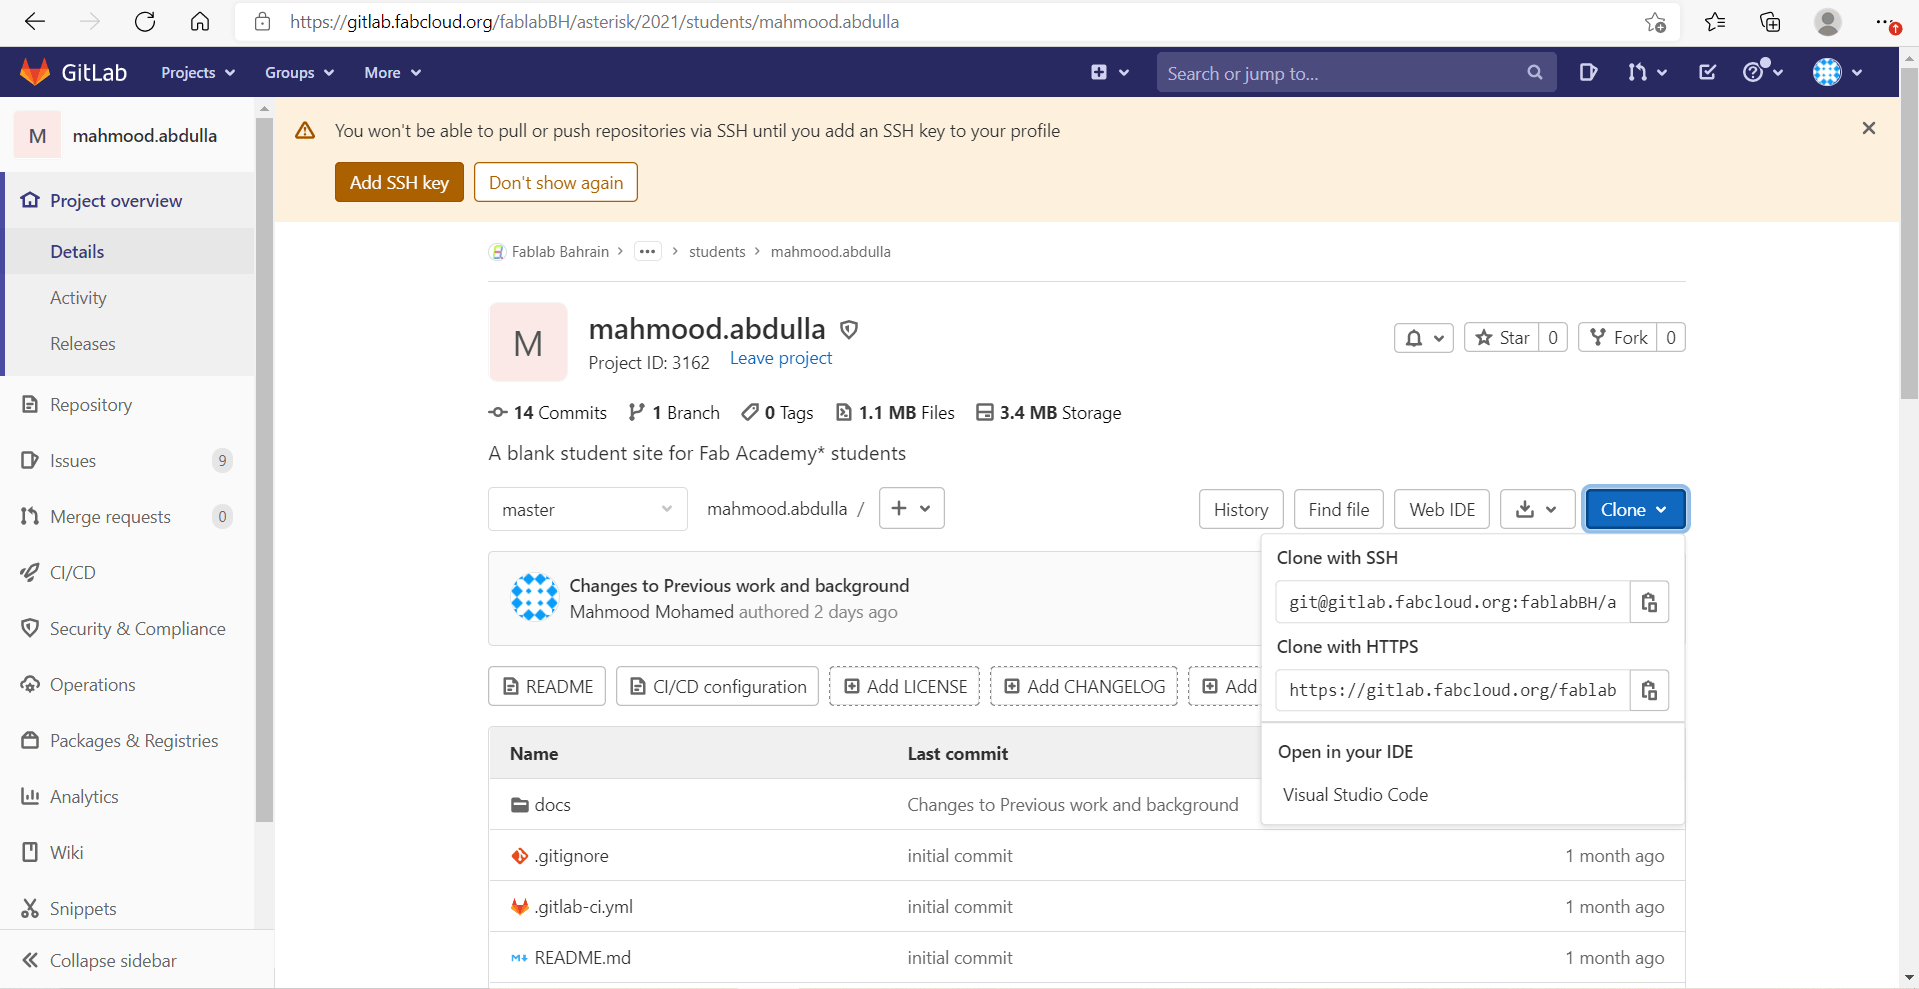
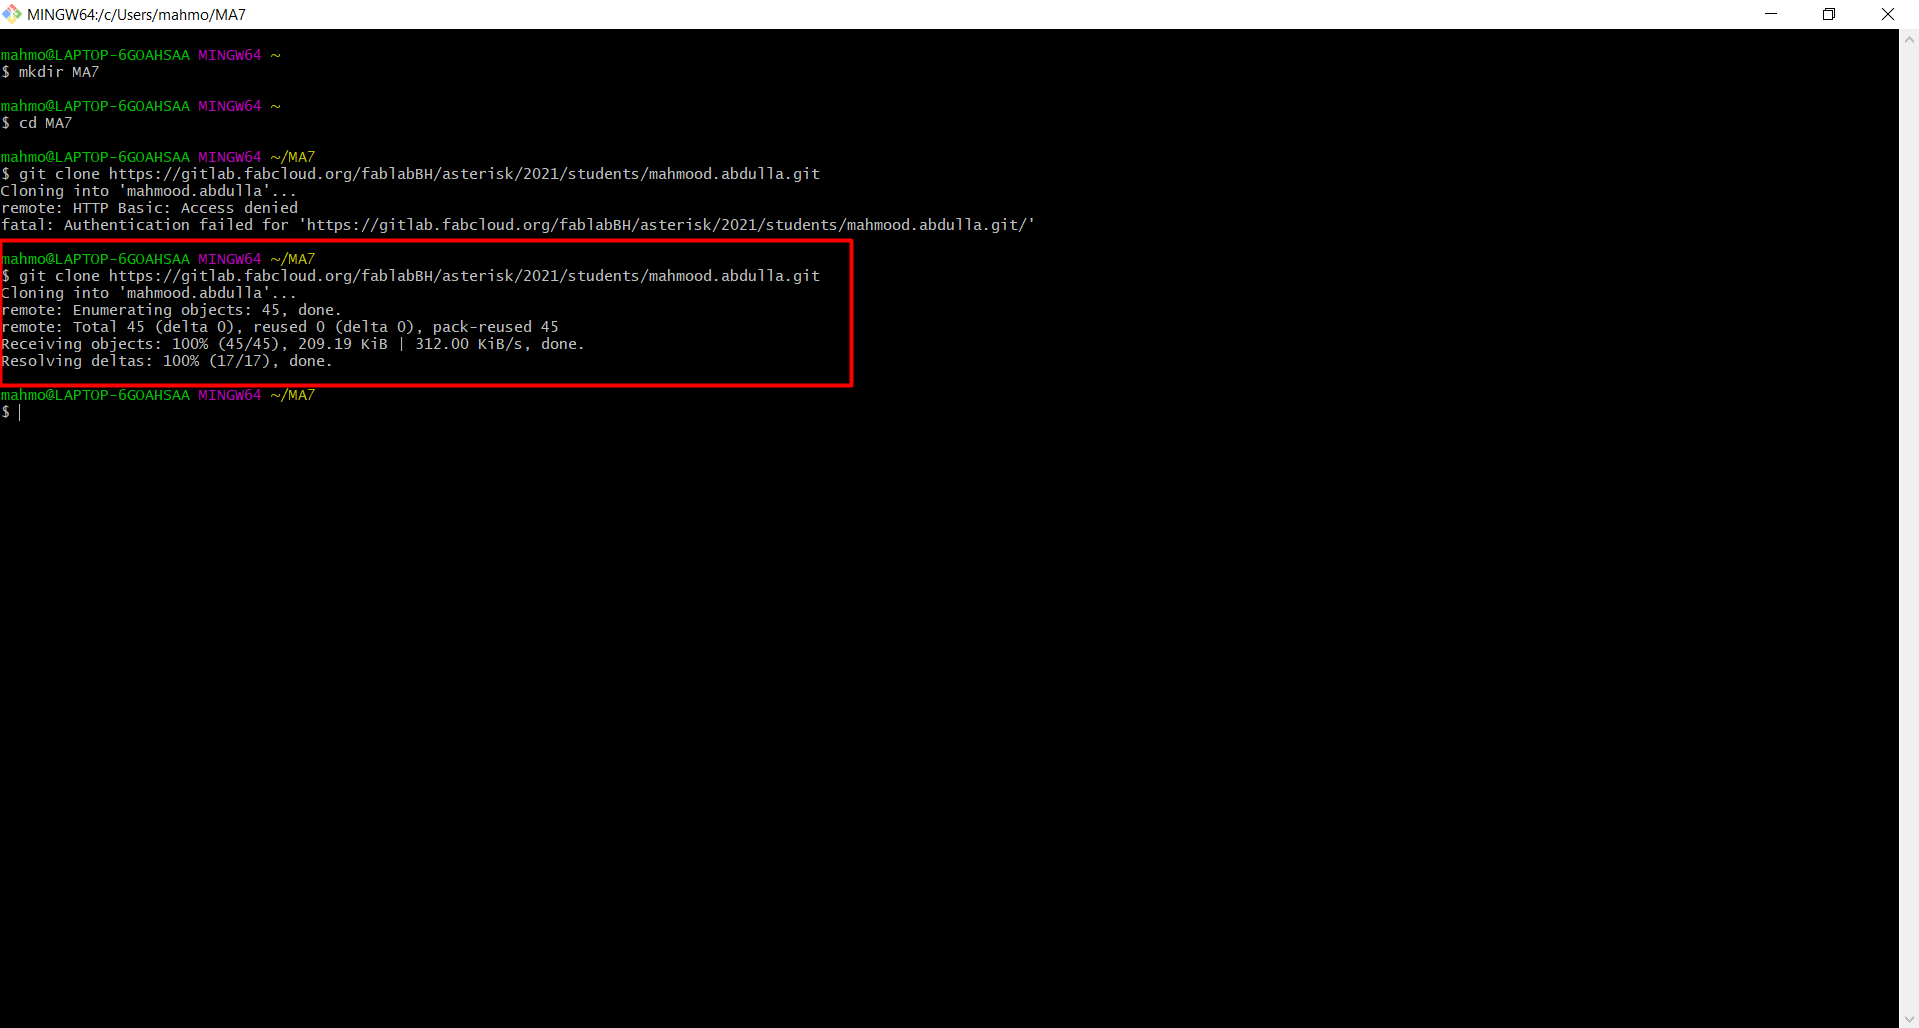
Then, several steps are to be followed to successfully clone the website and to later on construct it: First step is to use the command (mkdir), this command is used in order to make a directory in the computer to store the cloned website within it. Second step is the utilization of the command cd which is used to convert to this directory in order to work within the wanted directory to complete the cloning process. Third step is to use the command git clone which is followed by the website link. The link is got from the gitlab website as illustrated in the upcoming photo:
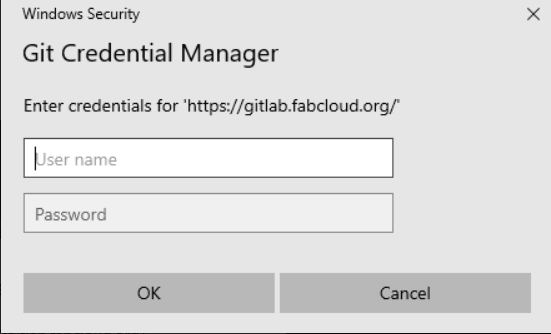
When you want to proceed with the cloning, you will be required to login within the git bash.
After logging in, an error which is demonstrated in the following picture is faced:
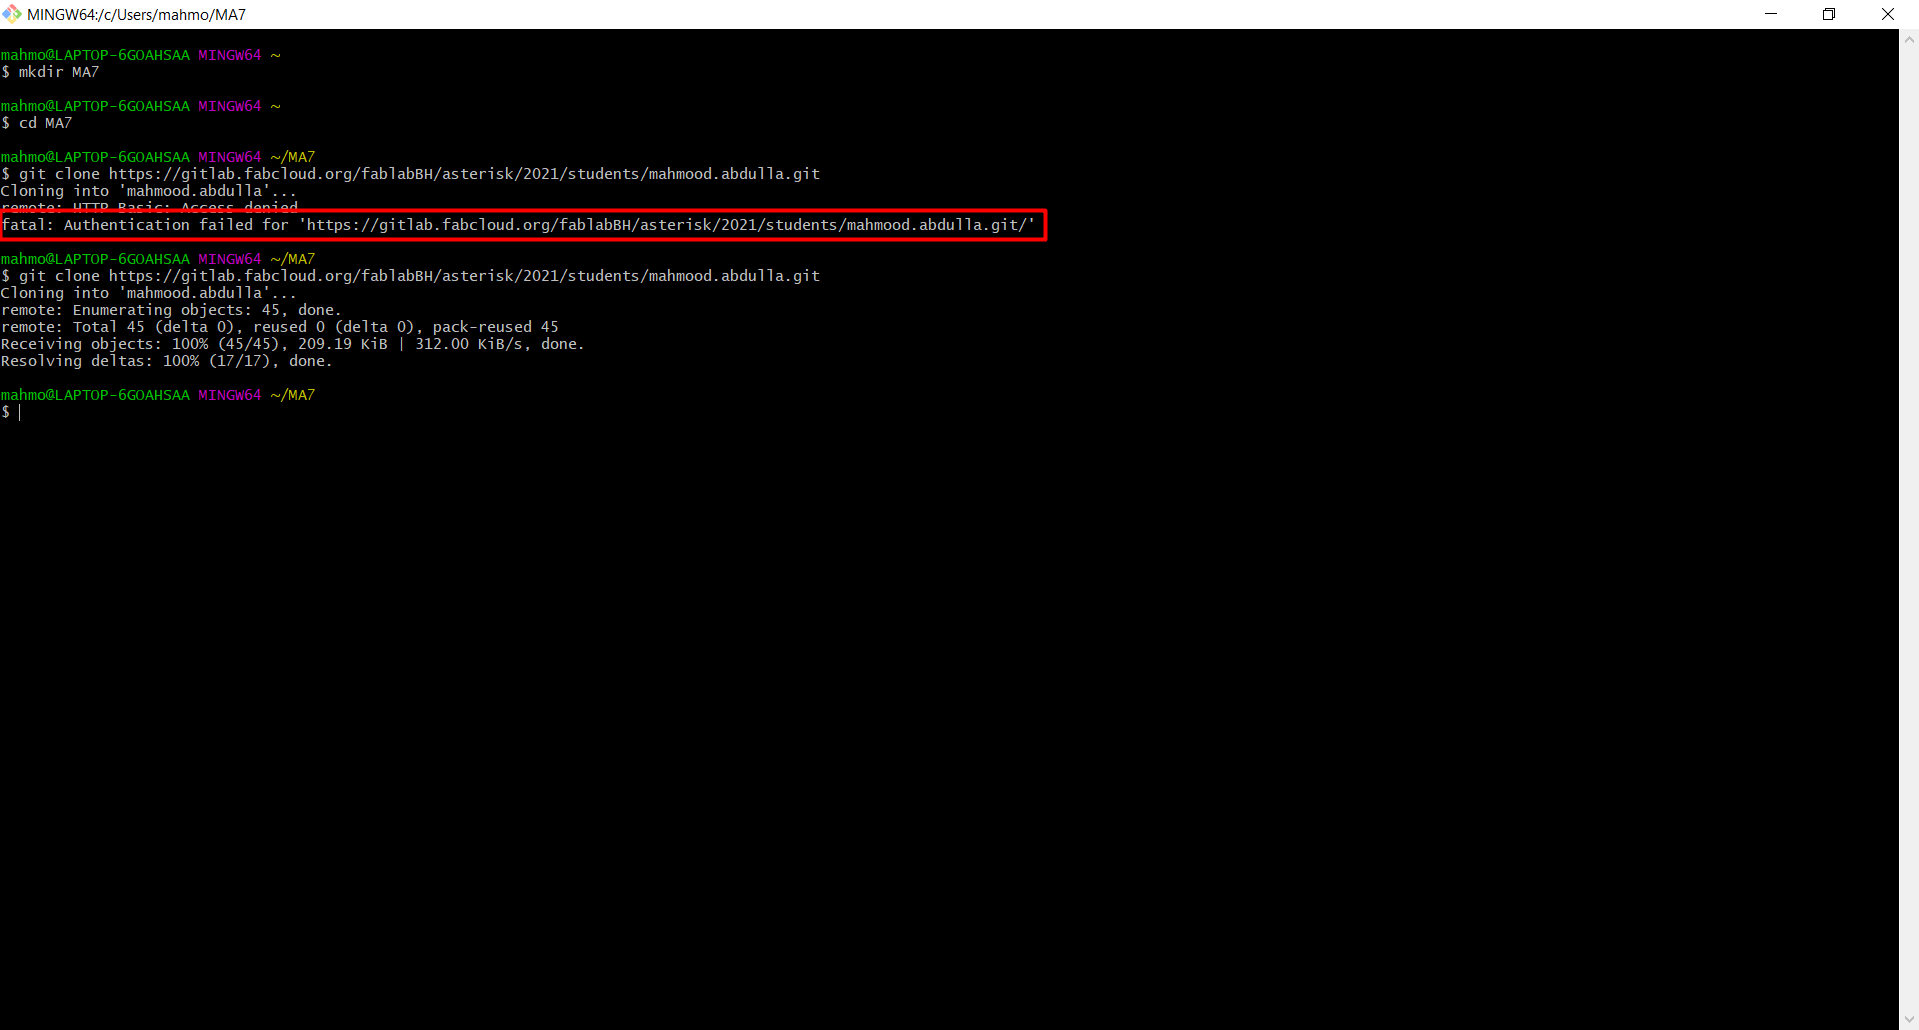
This can be solved through changing the password again to gain access for the HTTPS links within git bash:

Set a new password and repeat the illustrated steps and the cloning process will be completed successfully.
Atom downloading and pushing files/information to the website:
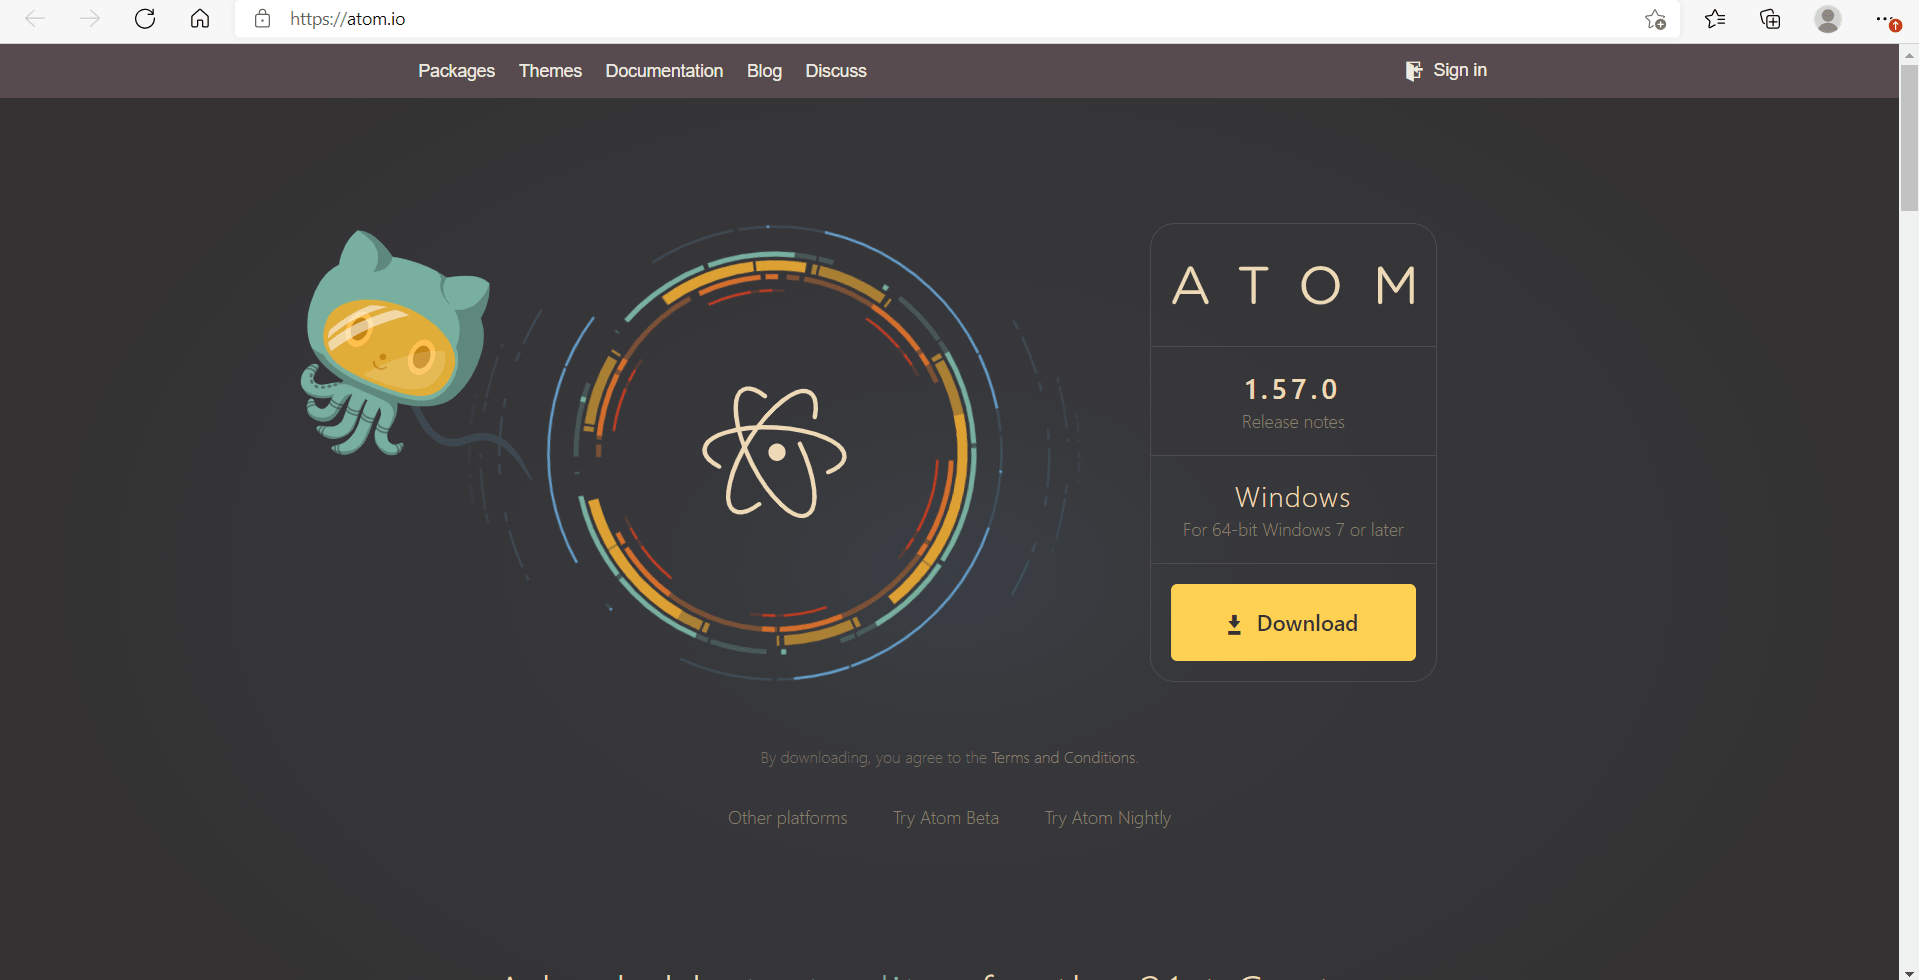
After the successful cloning process of the website, the next step to which you are going to insert things within the website is to be done. Atom is downloaded from the following link: click here .
Then after installing atom on your device with the recommended settings, open atom and go to the home screen and add the cloned folder to the atom:

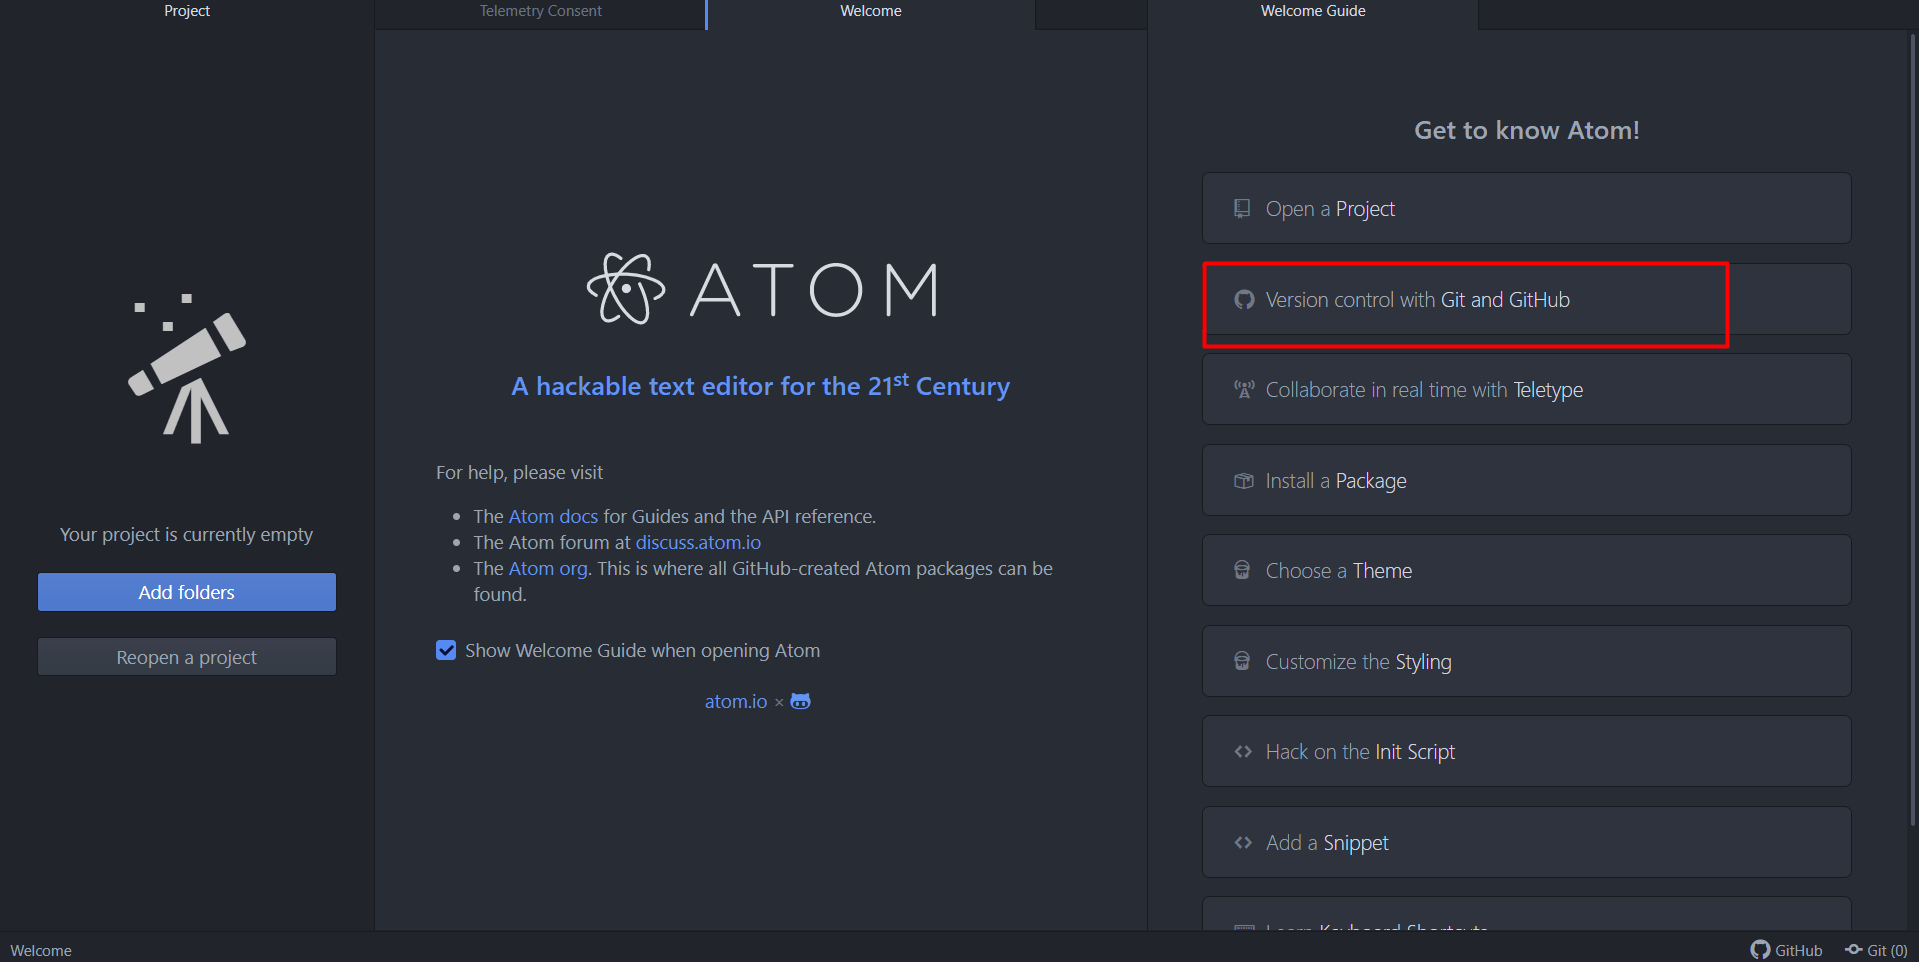
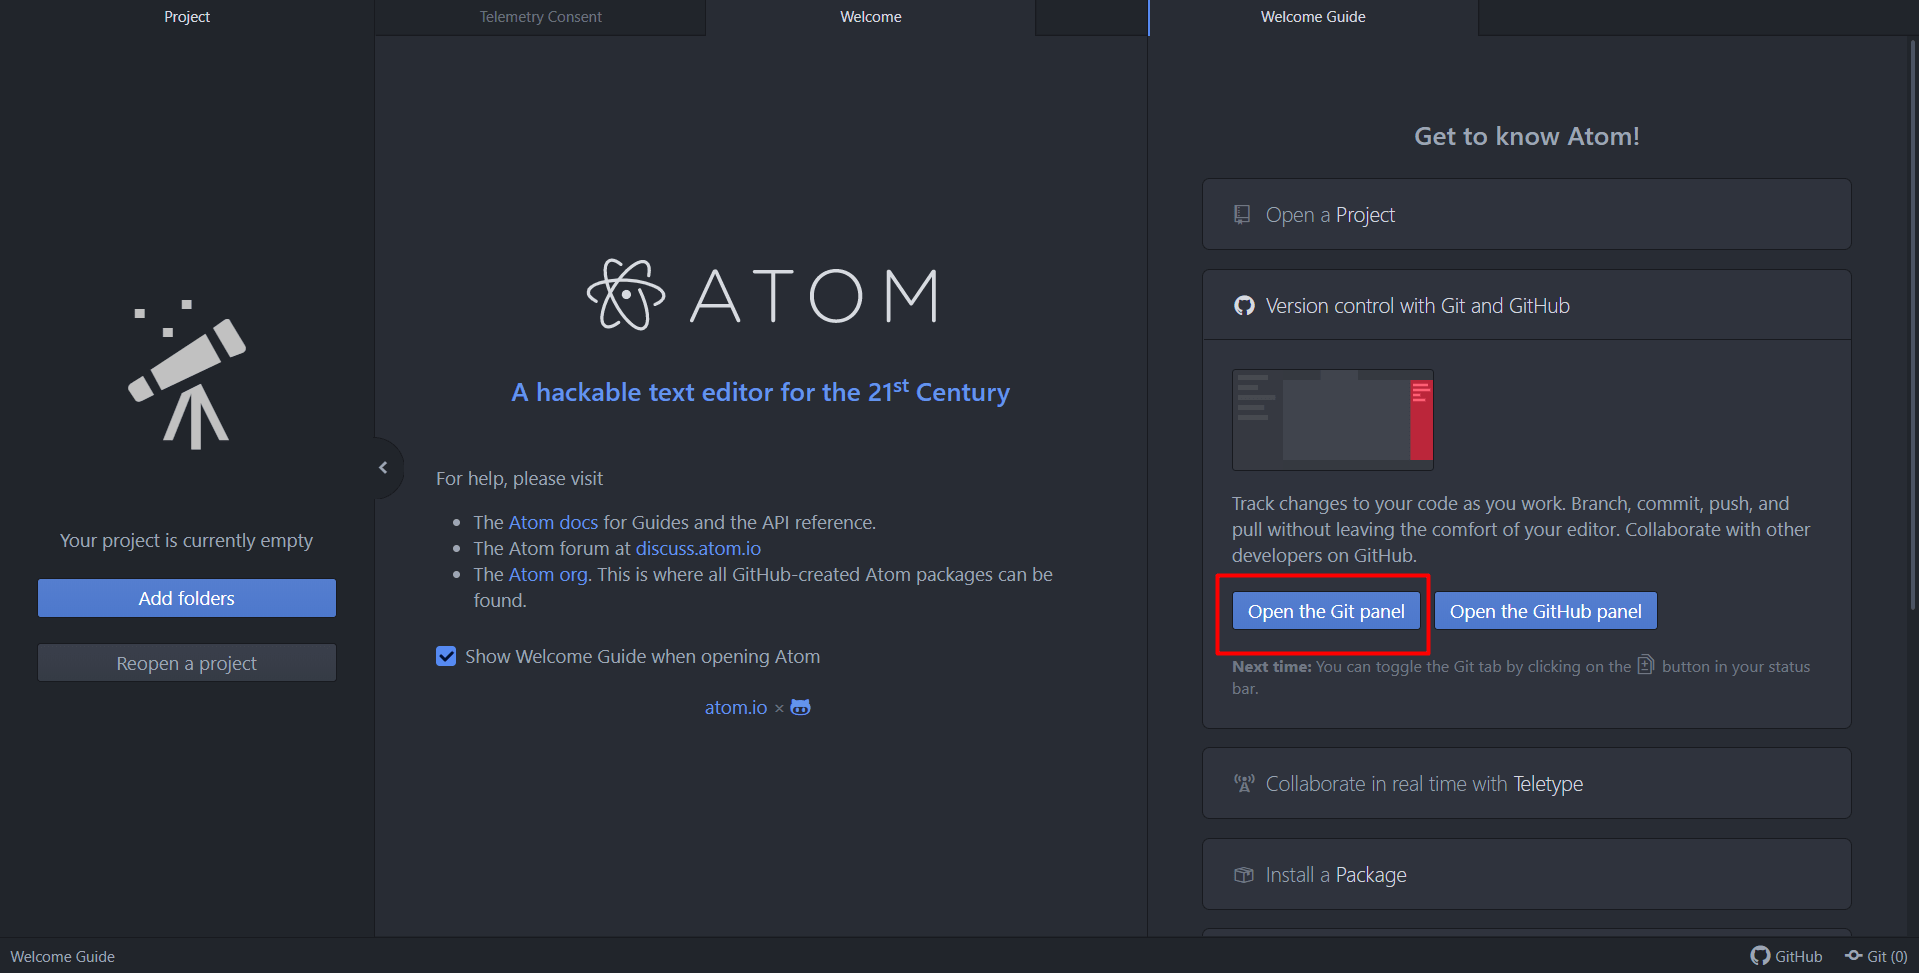
After you successfully add it, then choose the version control with Git and Git hub option followed by the git panel choice to login and get access to staging changes which is to be needed later on.
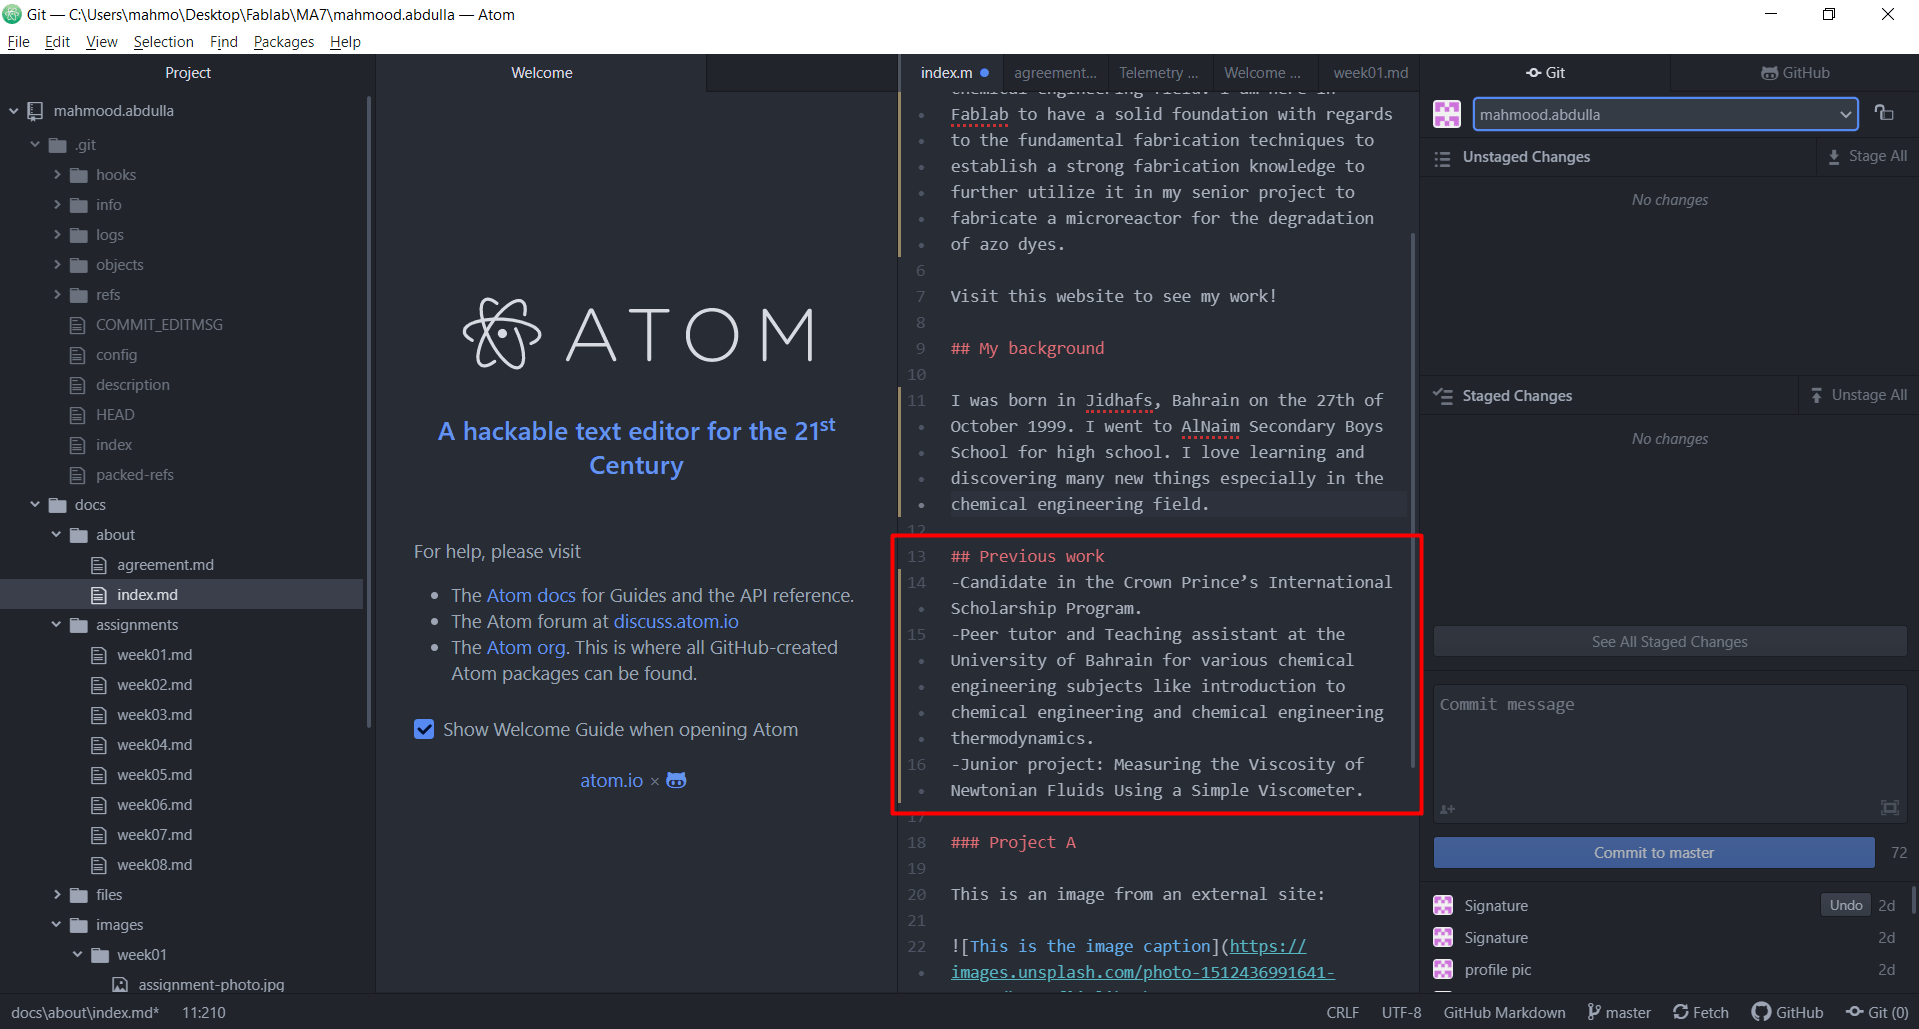
After finishing these steps, make the changes as follows in the designated space:
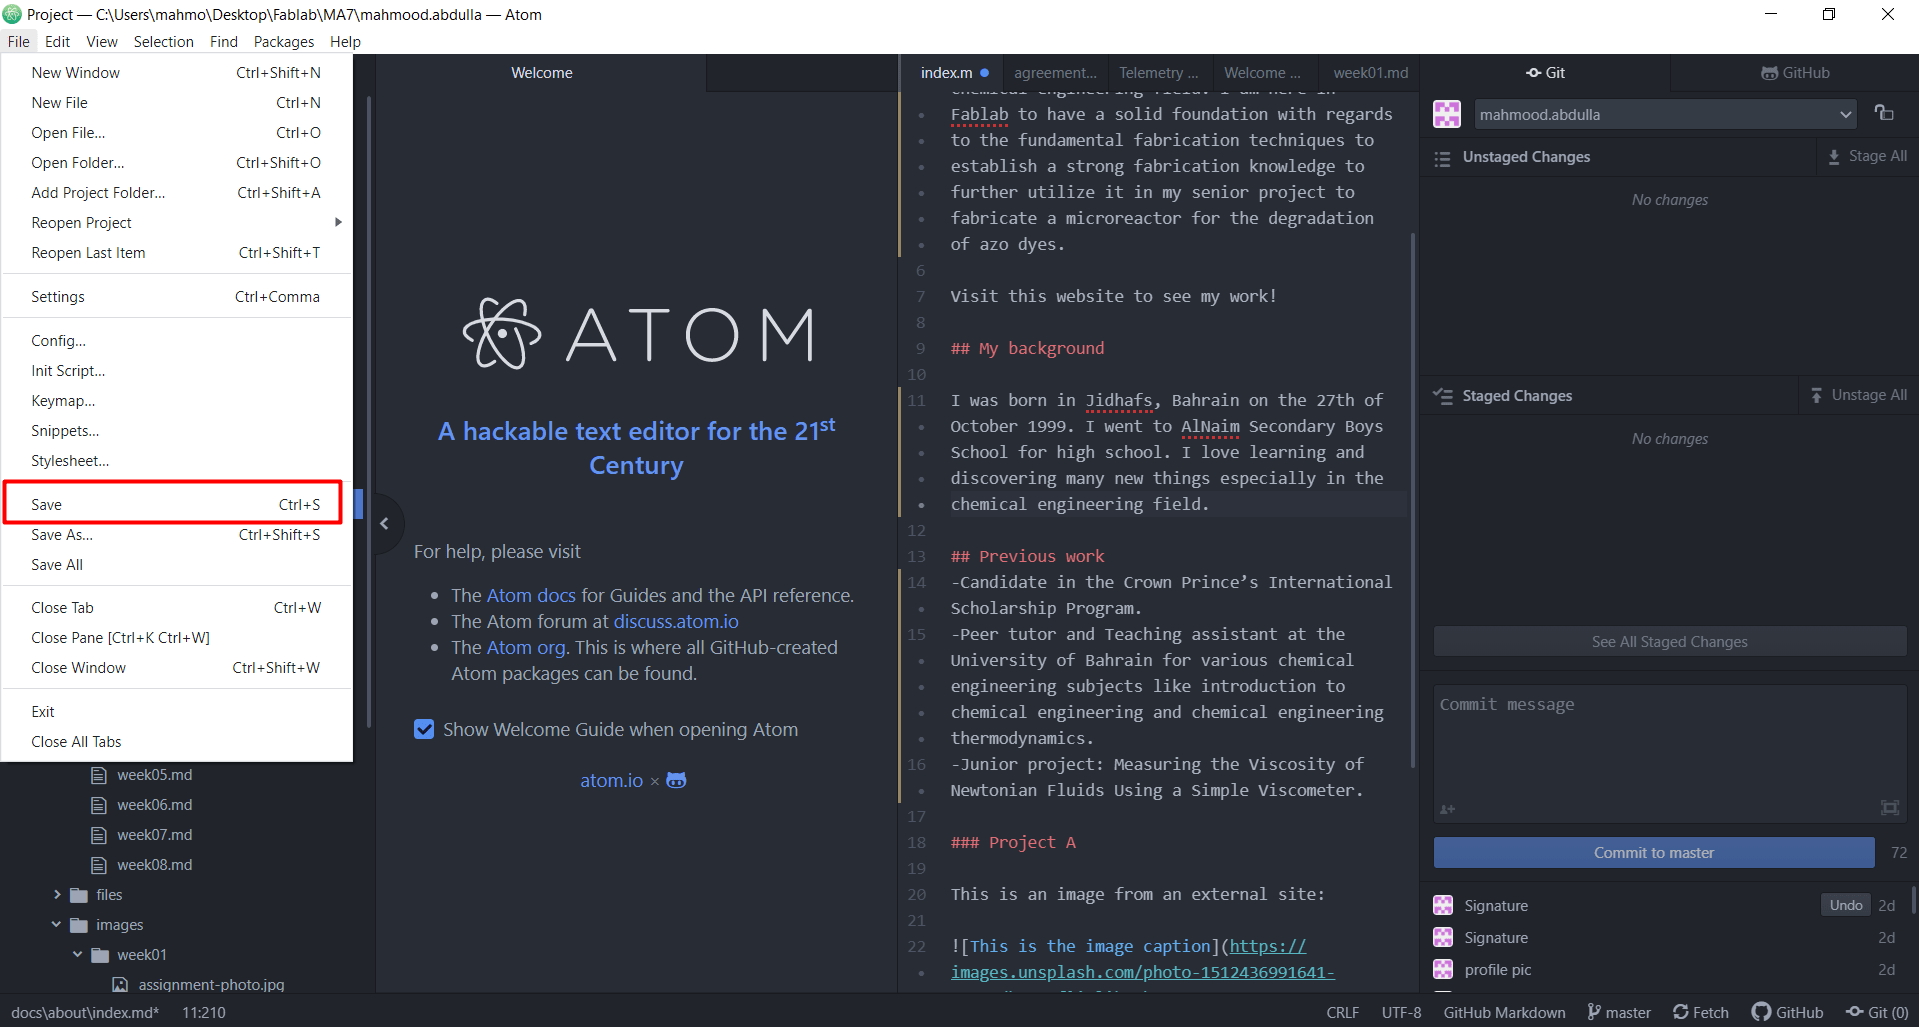
After making the changes, save the file:
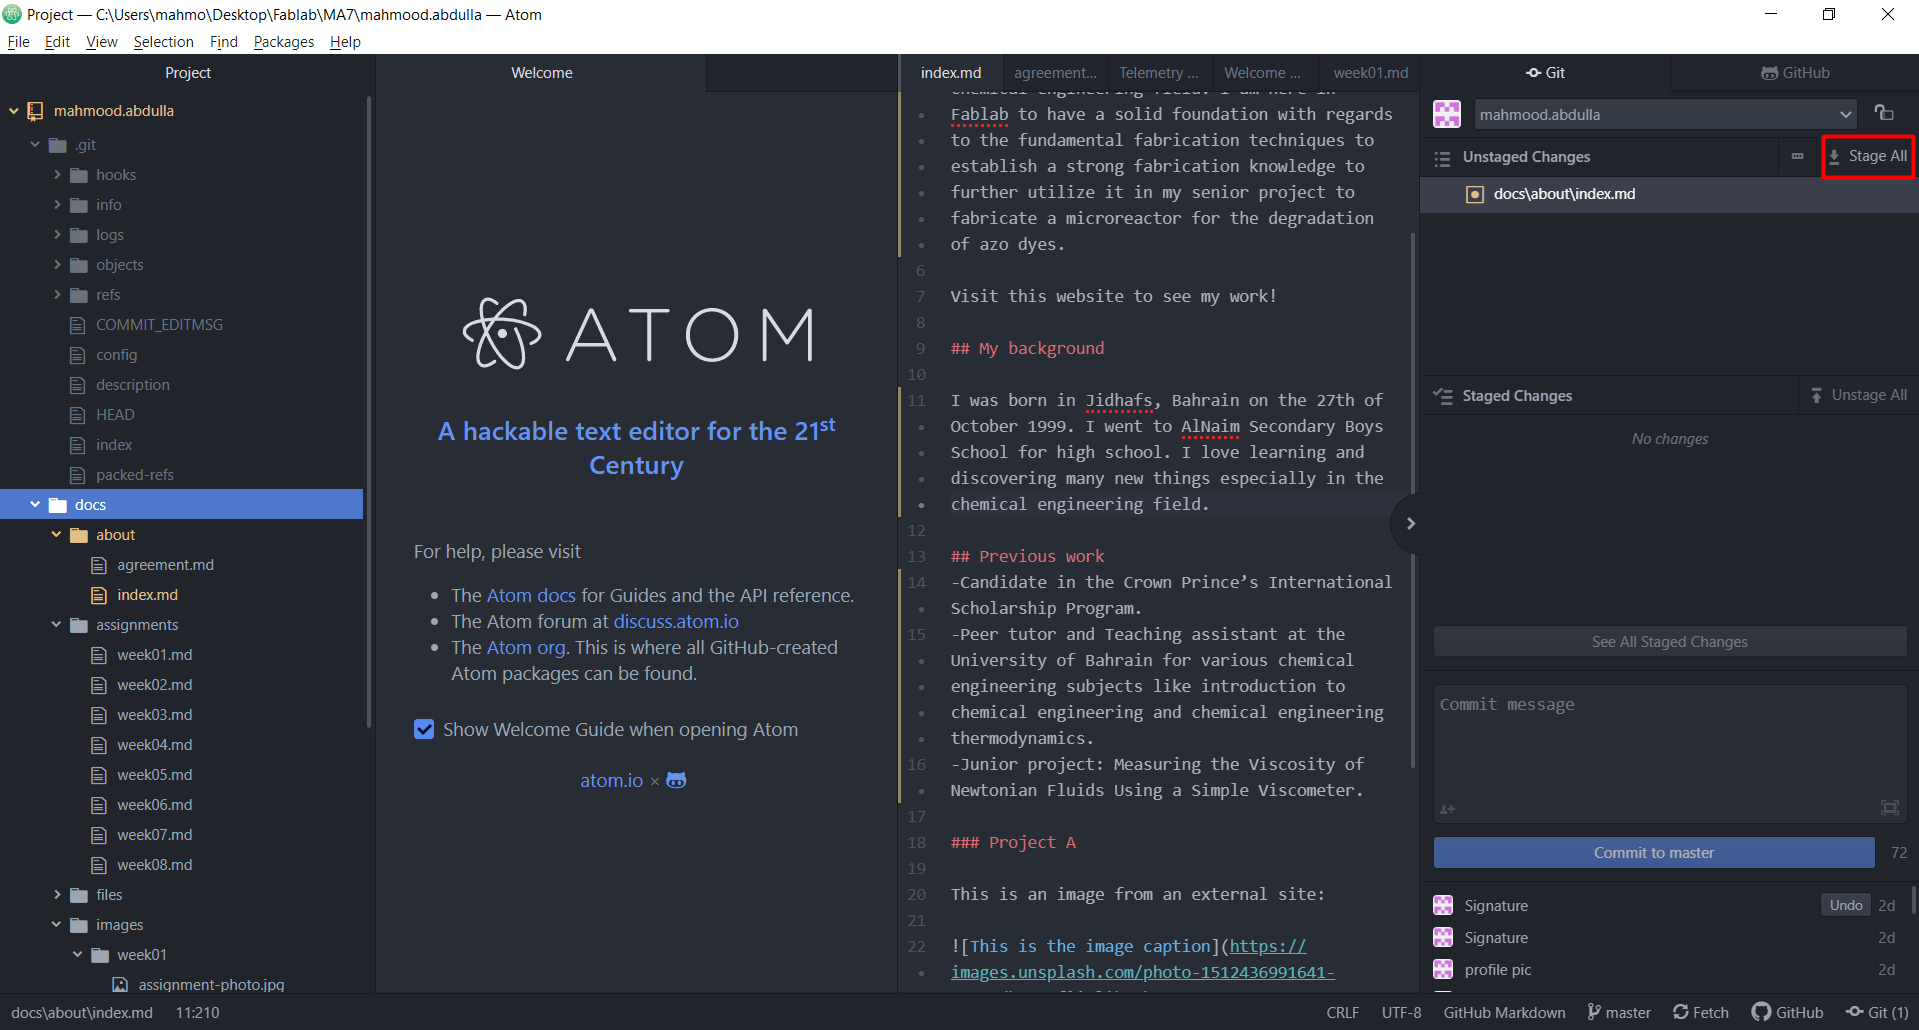
When saved, the changes will be transported to the unstaged changes where you have to stage them.
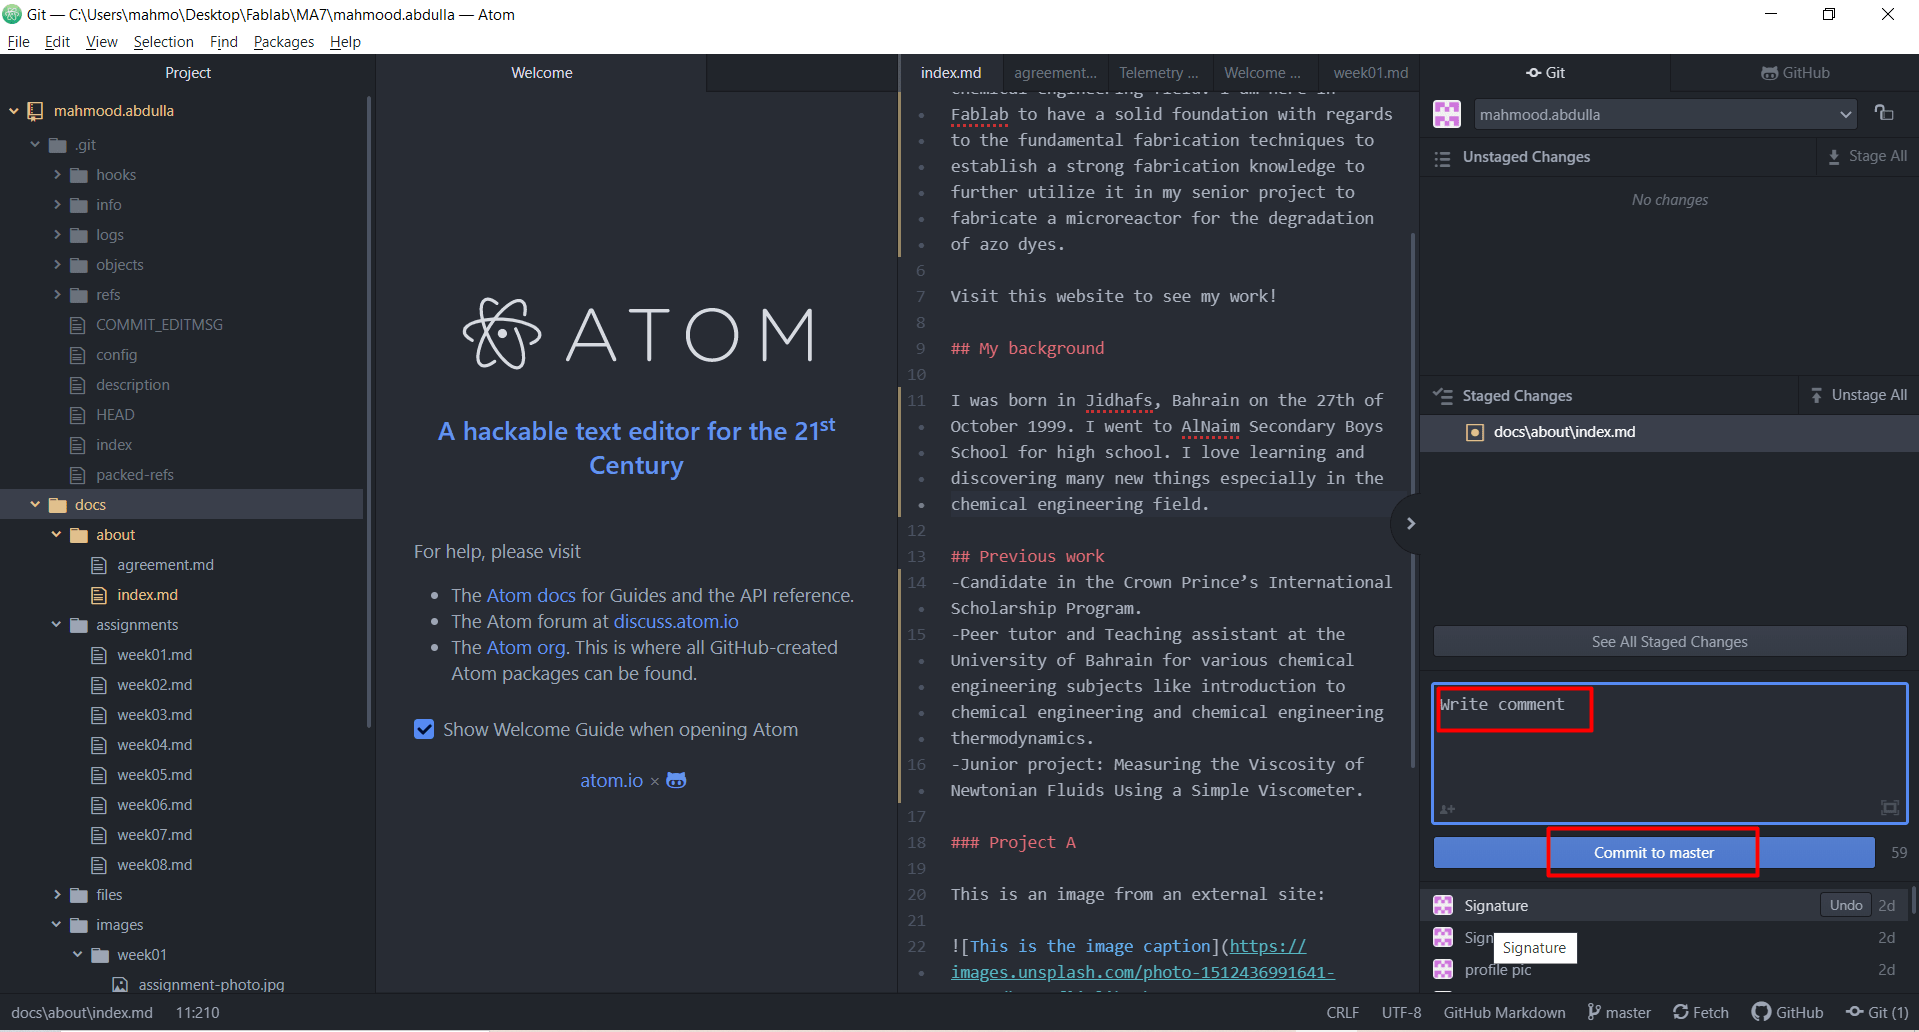
After staging the changes, they will be transferred to the staged changes where you will have to give a commit message indicating the action done which is to be committed to masters which can be used as a set point for the future work.
Finally, the push option will be available at the bottom right to push the conducted changes to the website.
