1. Project management
This week we have learned how to set our own website to track our progression through out the training course.
What is GitLab
Firstly to understand the meaning of GitLab, we should define Git; Git is a free and open source distributed version control system designed to handle everything from small to very large projects with speed and efficiency. GitLab is a platform which enables the users to perform all the tasks in project; in another words it is a representative documentation of what you are working on.
2. My Website
My website will be a tracking method to my progress through the training weeks of FabLab. It will highlight all the important processes that helped me during the completion of this course. Thus, My Website will track my evolution weekly. Website works using MkDocs which is a fast, simple and downright static site generator that helps building project documentation. Documentation source files are written in Markdown, and configured with a single YAML configuration file.
The following headline will cover the set up steps to my website in GitLab.
Website set up
Installing Git folder
First
I have downloaded the Git app and Atom app through these links Click me , Click me
Second
I have copied the “clone with https” link on clone located on the GitLab website which was sent for us through the e-mail. As you can see at the pointed curser in the photo below.

Third
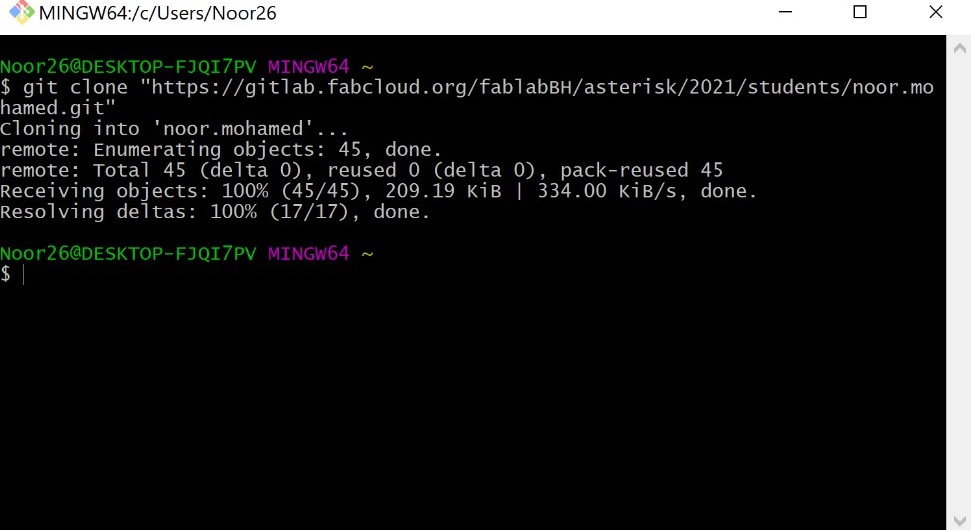
Opened the GitBash app then paste the https clone link, this step will locate the file on the hard drive of the used device. Following Figure shows the pop up that should be done to perform this step. In order to do the step we should write this as $ git clone “Paste the copied link in the step before” this should be cloning into our folders which was previously named; mine is stated by “noor.mohamed”.
Editing “About me” section on our Website
By this we have learned how to edit our website using Atom App. Hence, we have learned to how to open the atom app which is remotely linked with the GitLab website. Any edit done in the Atom app will be directly shown in the GitLab website for each student. and We should sign our student agreement.
First
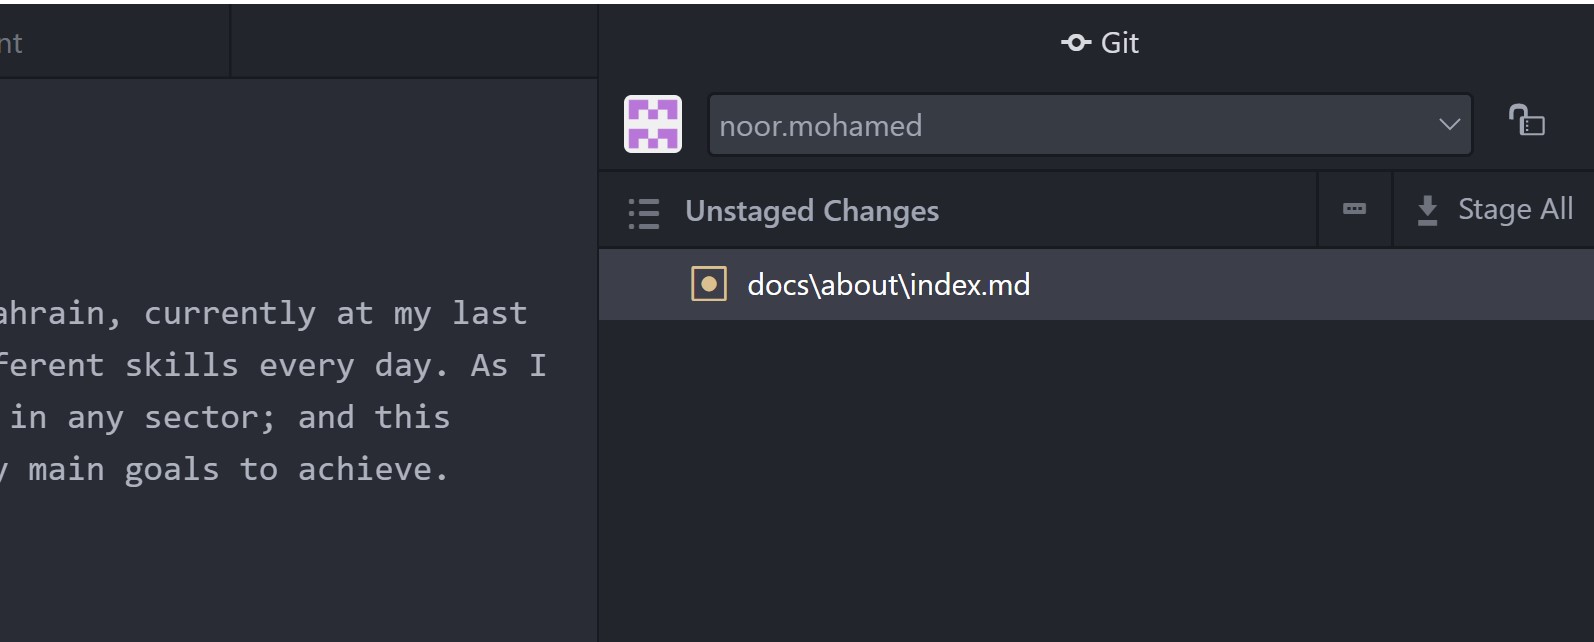
By opening the Git Panel we could choose one of the different folder located on the folder we have set up by the first session. And in this session We have tried to edit our About me section in our website to learn the steps. Thus, after editing the about me section the following step should be performed to push the edits made into our GitLab website.
Second
Enter save in order to save the edit you have made, then stage all the edit made as you can see in the following figure.
Third
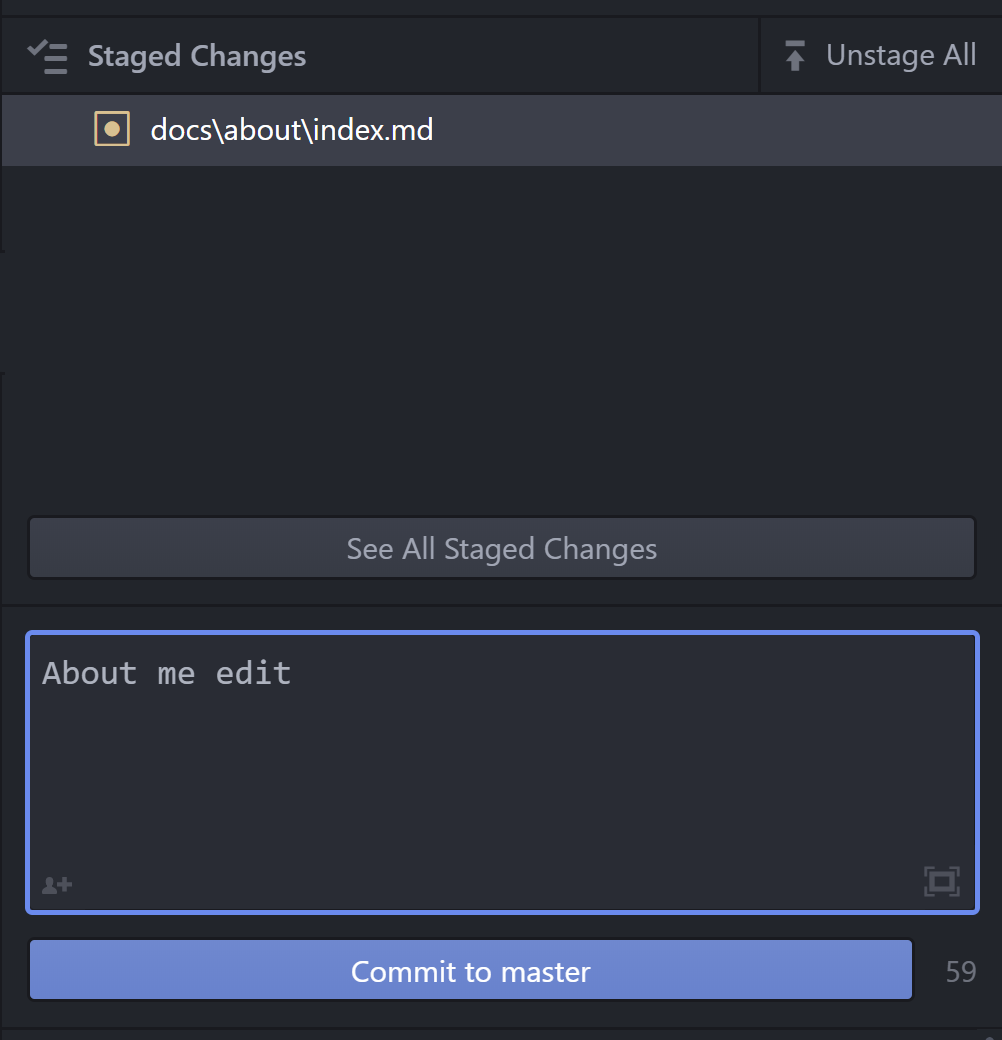
Write a commit message which will be labeled as the title made for your editing progress. This will help you by tracking your editing progress. After, push the commit to master button shown in the following figure.
Forth
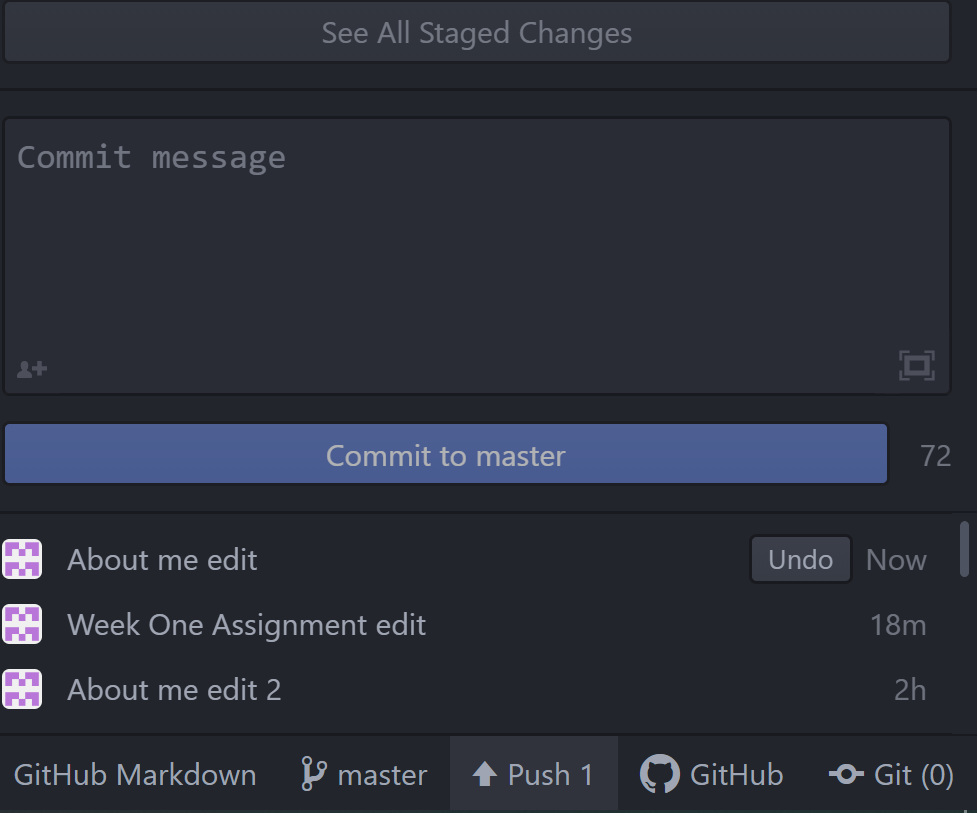
Tap on the push button that have an arrow as you can see in the following figure.
We have a cheat sheet that includes some of important codes to perform some of the editing such as images and google links.