5. 3D printing
3D printing is a way of creating three dimensional (3D) solid objects. 3D printing is done by building up the object layer by layer. Usually, 3D printers use plastic, because it is easier to use and cheaper. The earliest record of 3D printing through the additive process was the Japanese inventor Hideo Kodama in 1981. He created a product that used ultraviolet lights to harden polymers and create solid objects. This is a stepping stone to stereolithography (SLA).
Design Idea
In order to do the design of the 3D printing object we design it in a 3D software. The 3D software I have chose is Fusion360. I have decided to do a small vase piece that could be used in multiple things but the main function is to be a scent vaporizer that holds the charcoal with the scent perfume. This design which I have chose it can not be done in other processes only in 3D printing because of some complications on the structure.
Setting the machine
To set the machine I have followed the steps linked to the group assignment page followed. Click Me!
3D modeling
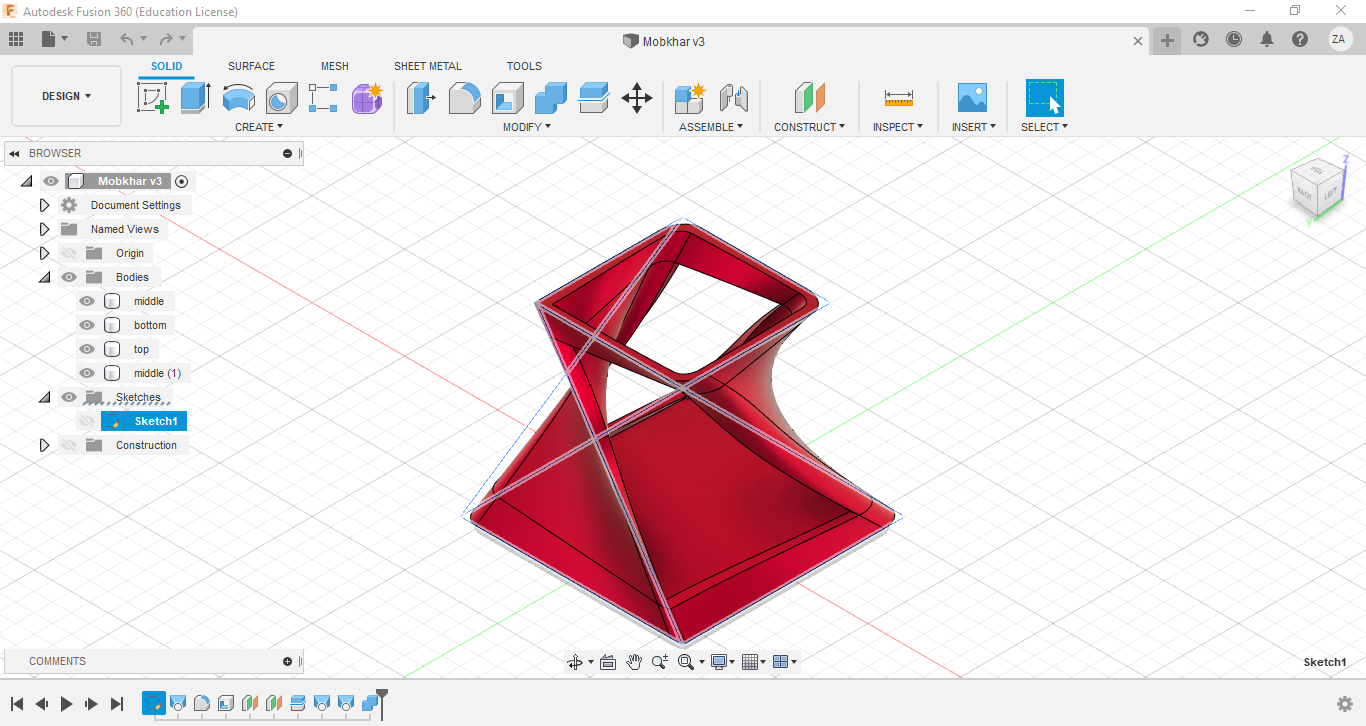
The following 3D cad design is the one I have made. This screenshot followed shows the original sketch I have made highlighted by the while lines, the initial design was to do it in more than one plane. The design was inspired by the following video.
After Printing
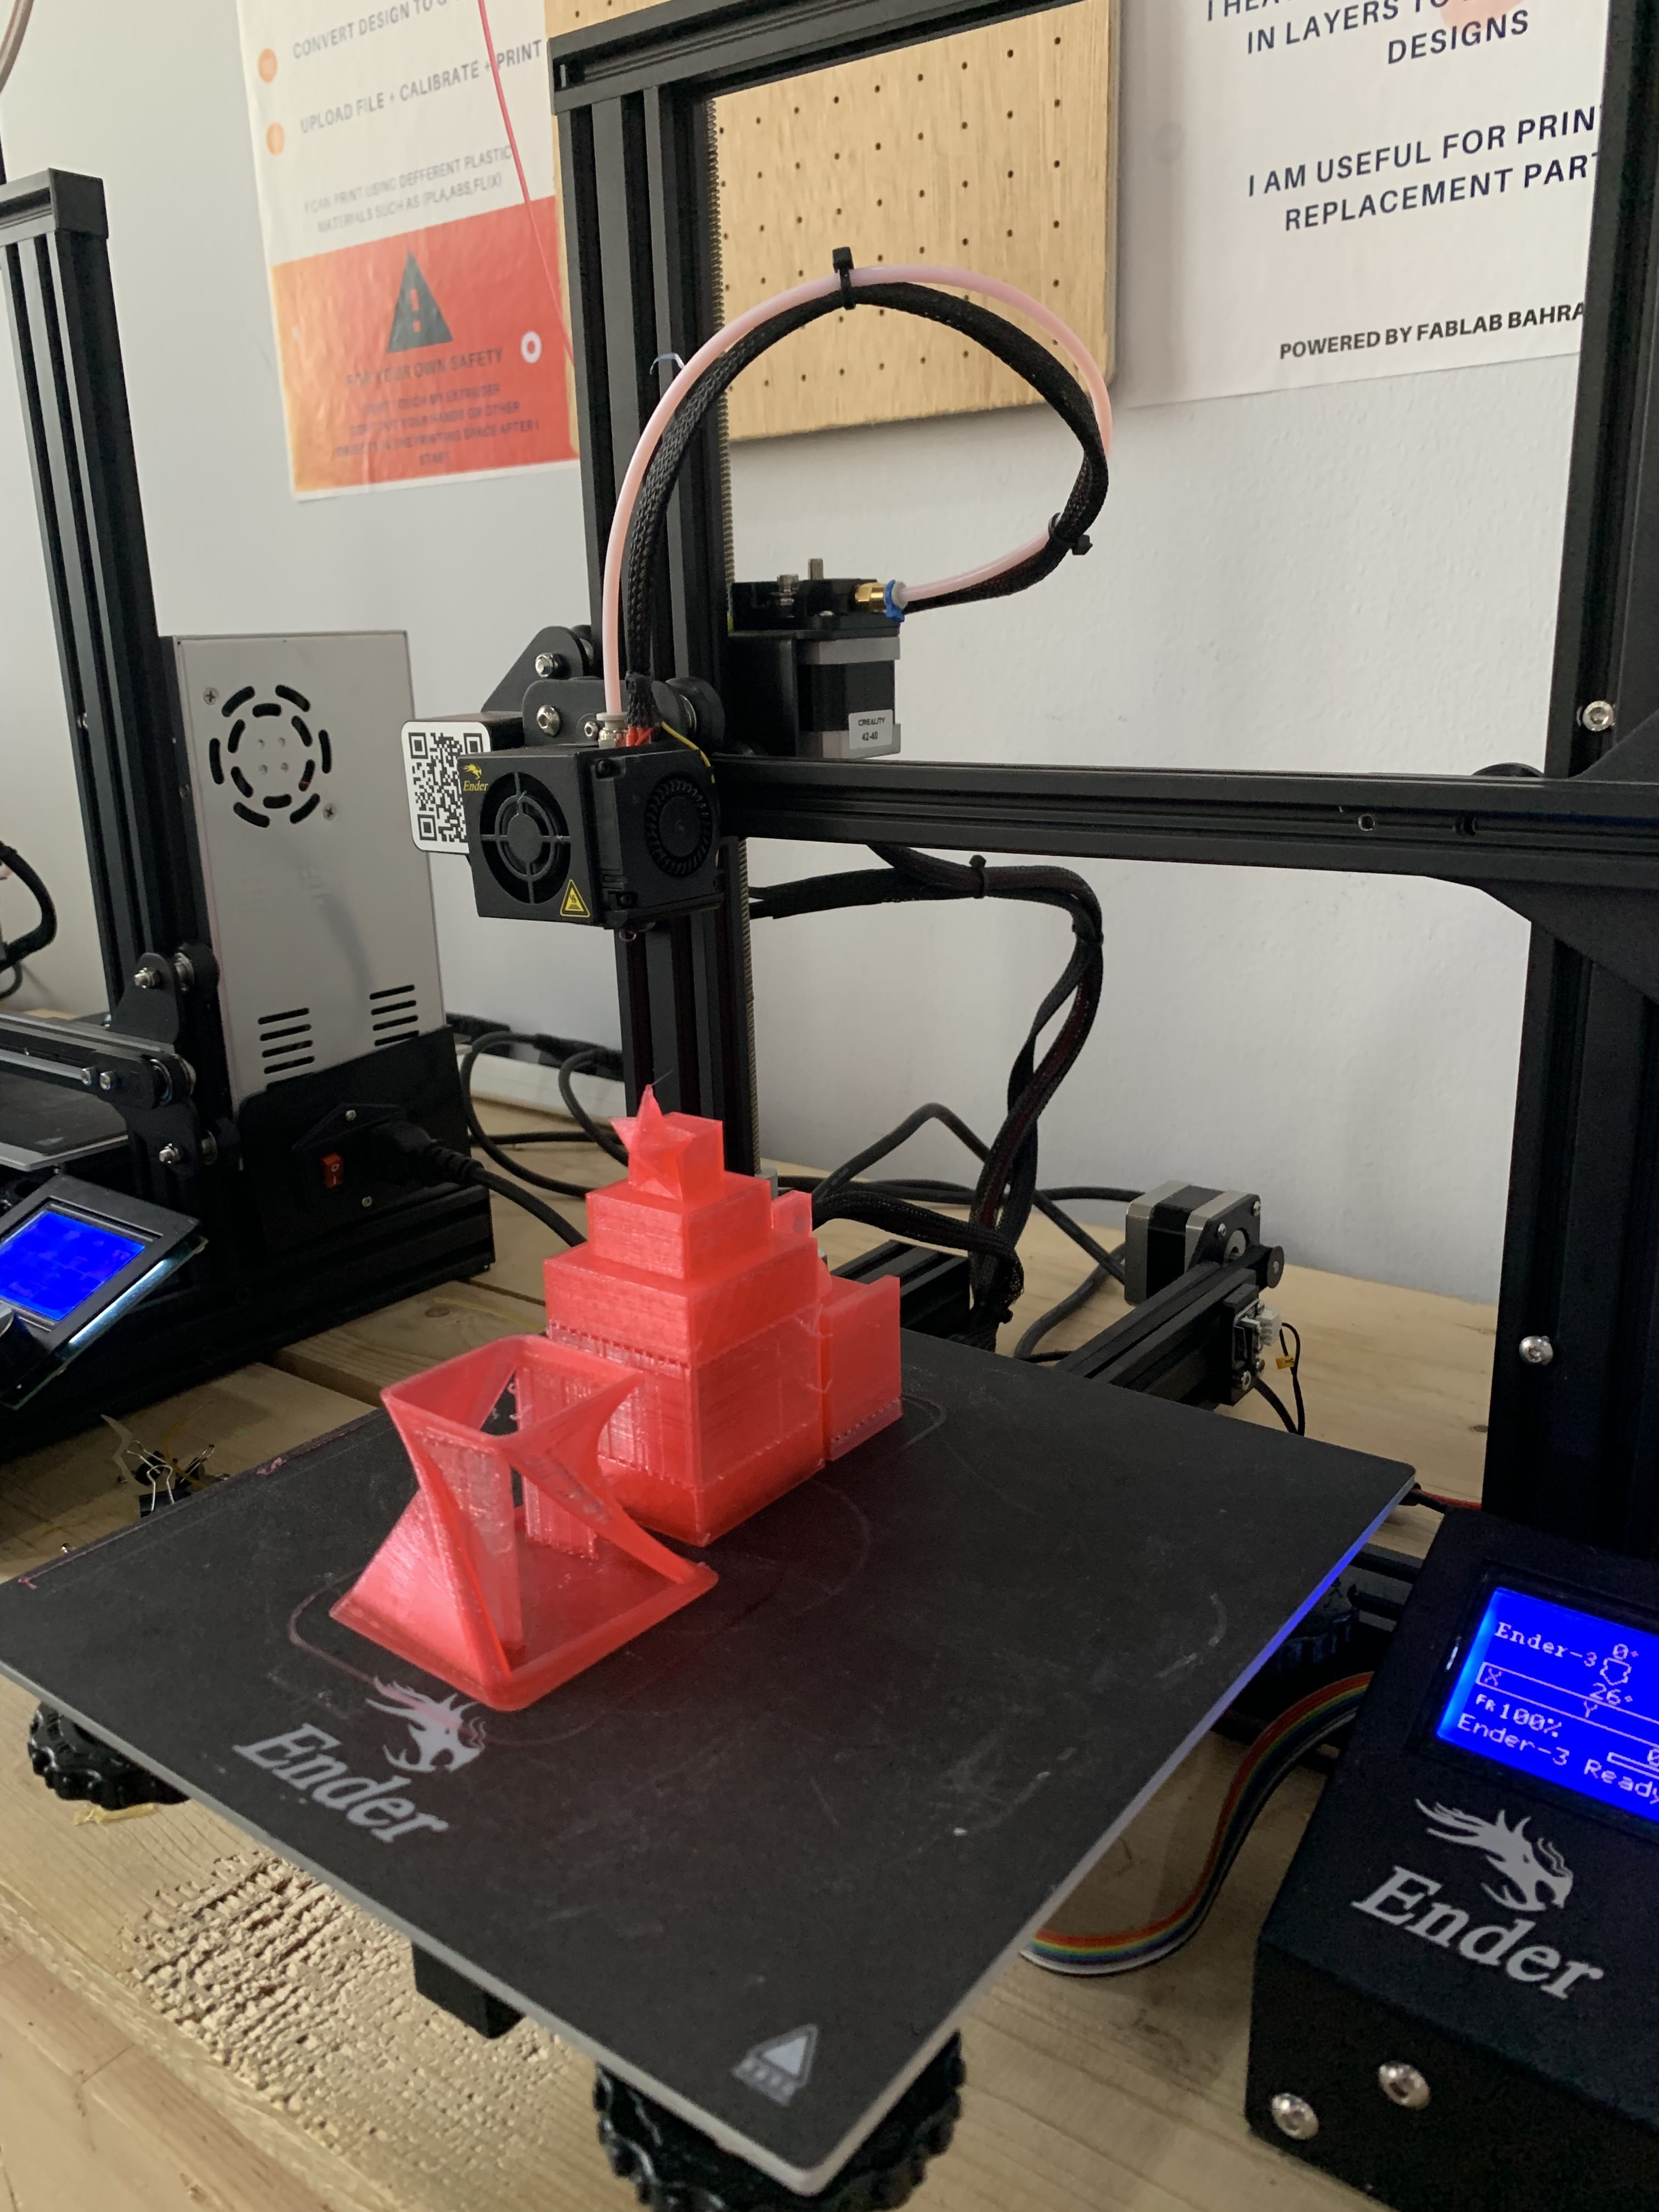
After the design we have removed the design from the 3D machine bed carefully, and started removing any printing impurities from the design. Mine did not have any design printing impurities. These impurities are the support that I have applied to the design. This support is done by the program of the 3d design machine it self. The following picture shows the object on the mat of the 3D printing machine.
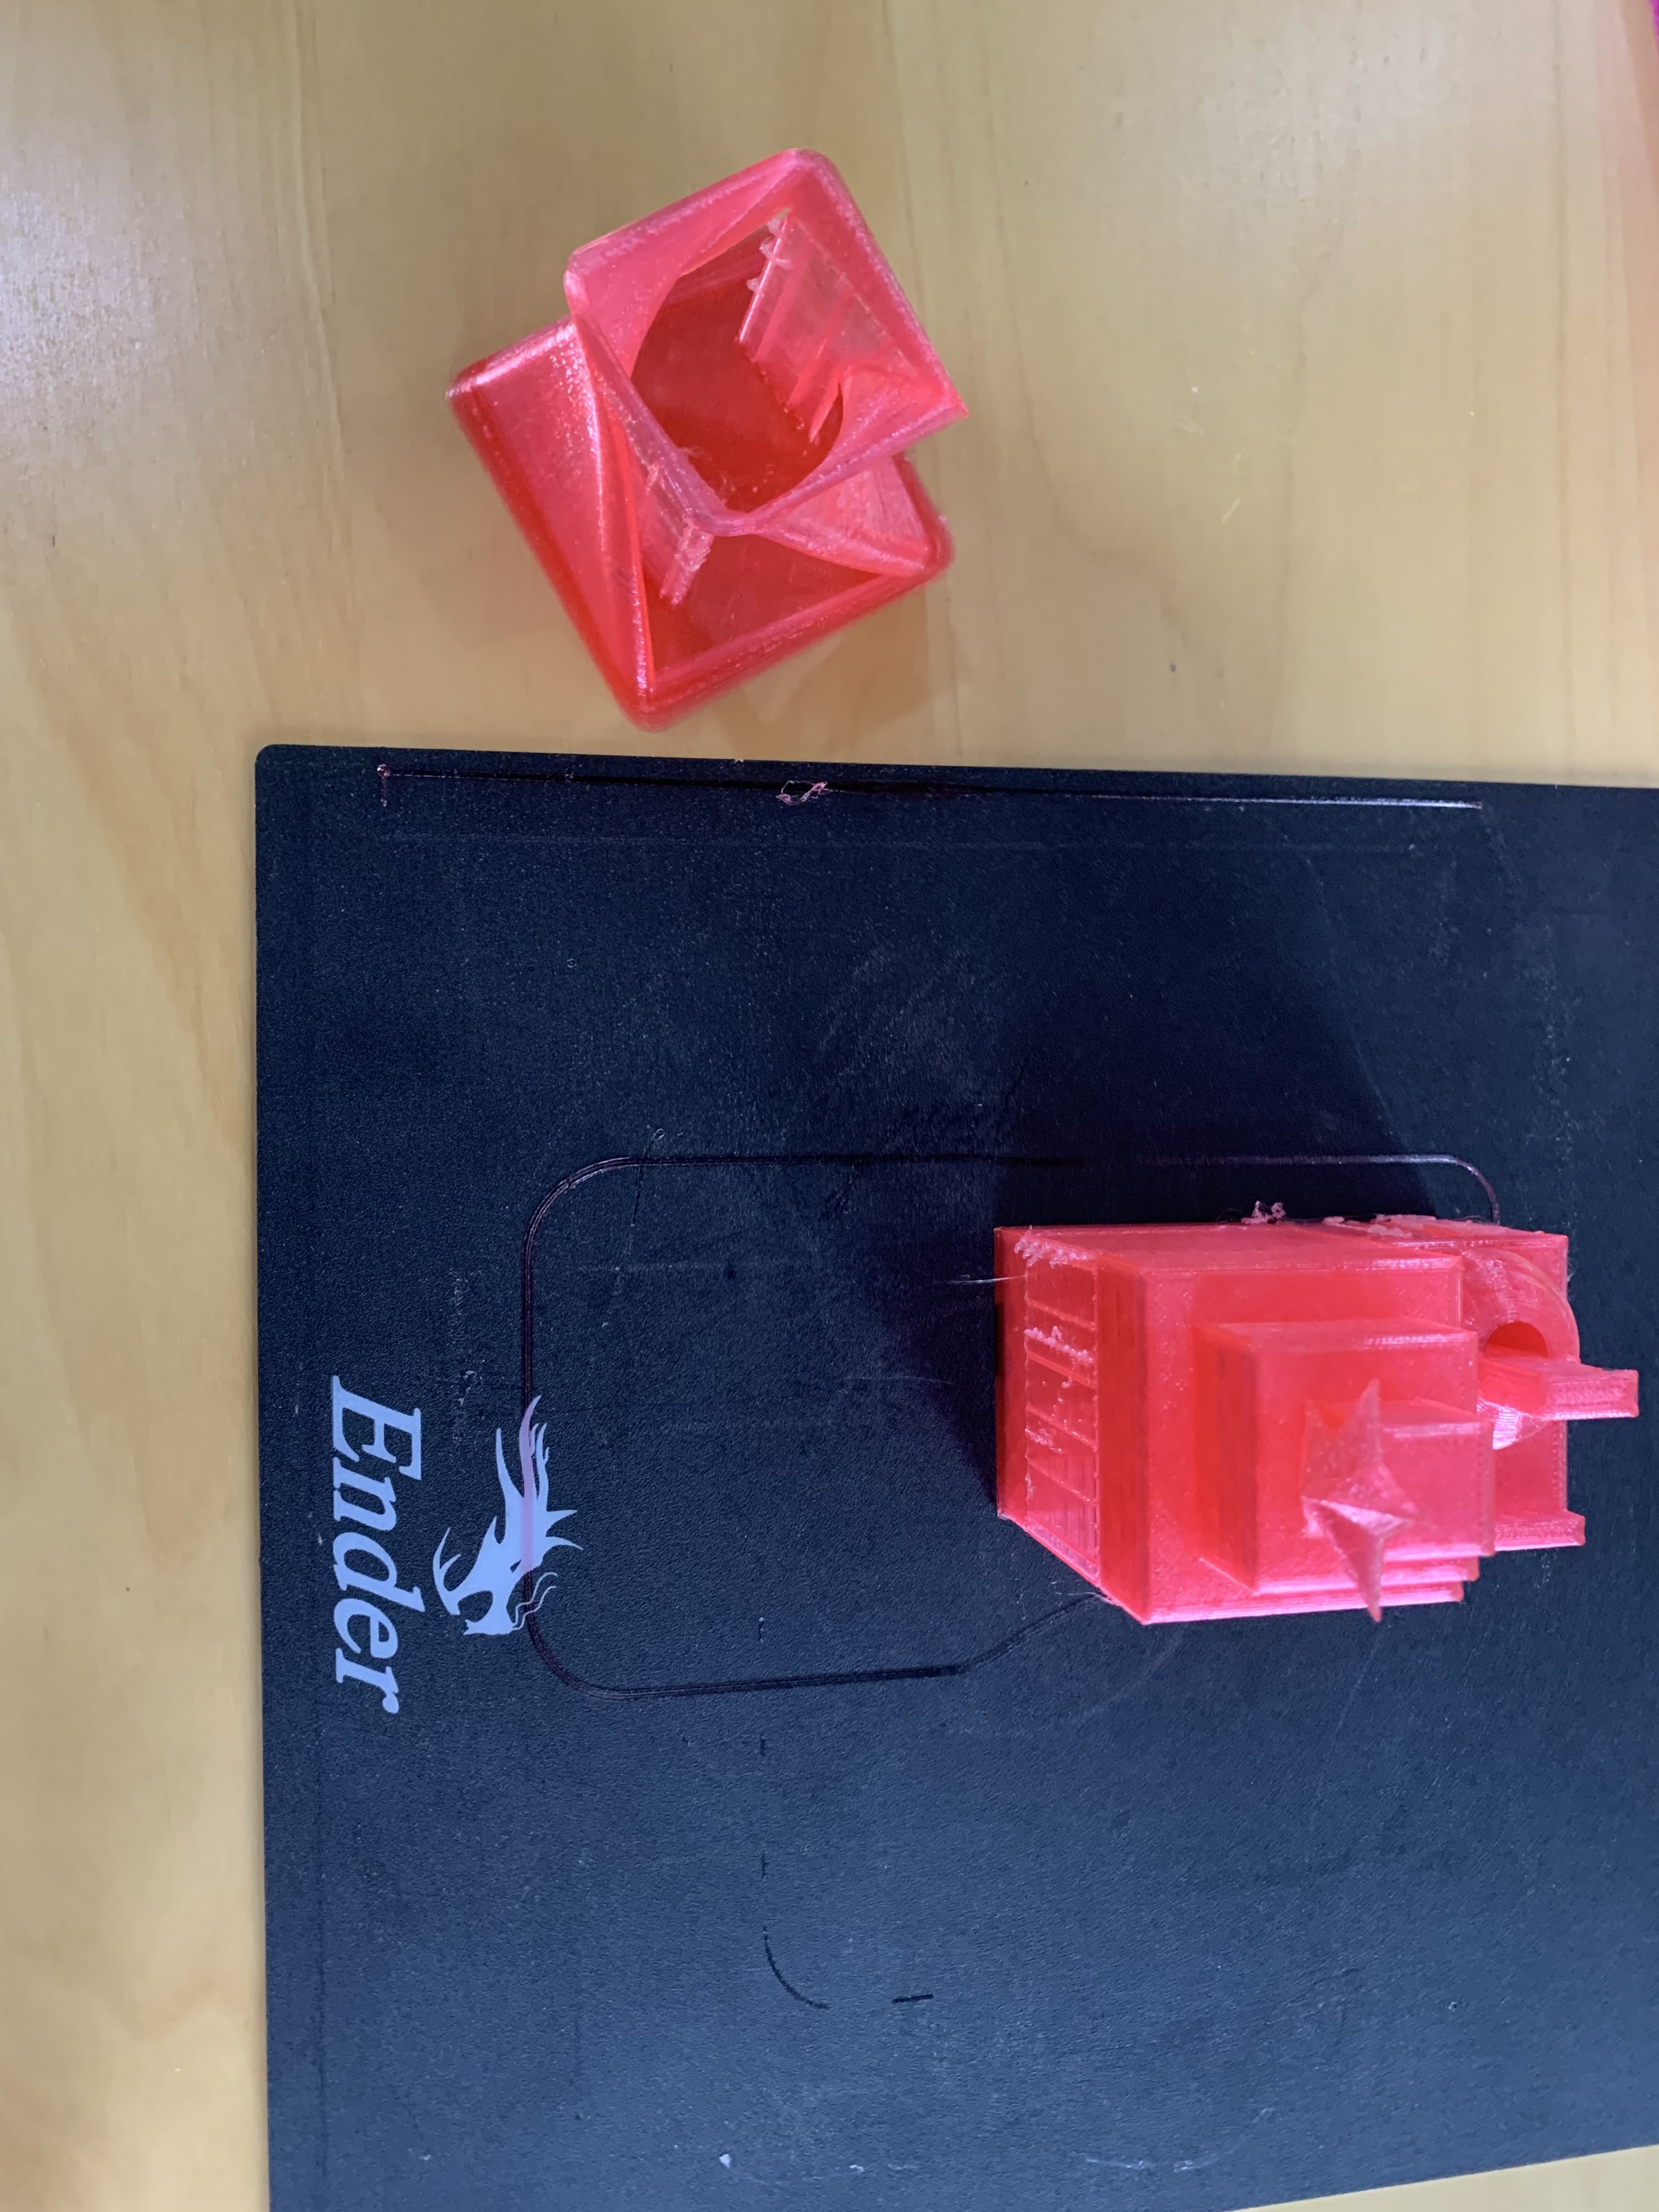
 The next picture shows the design removed from the mat.
Final Project
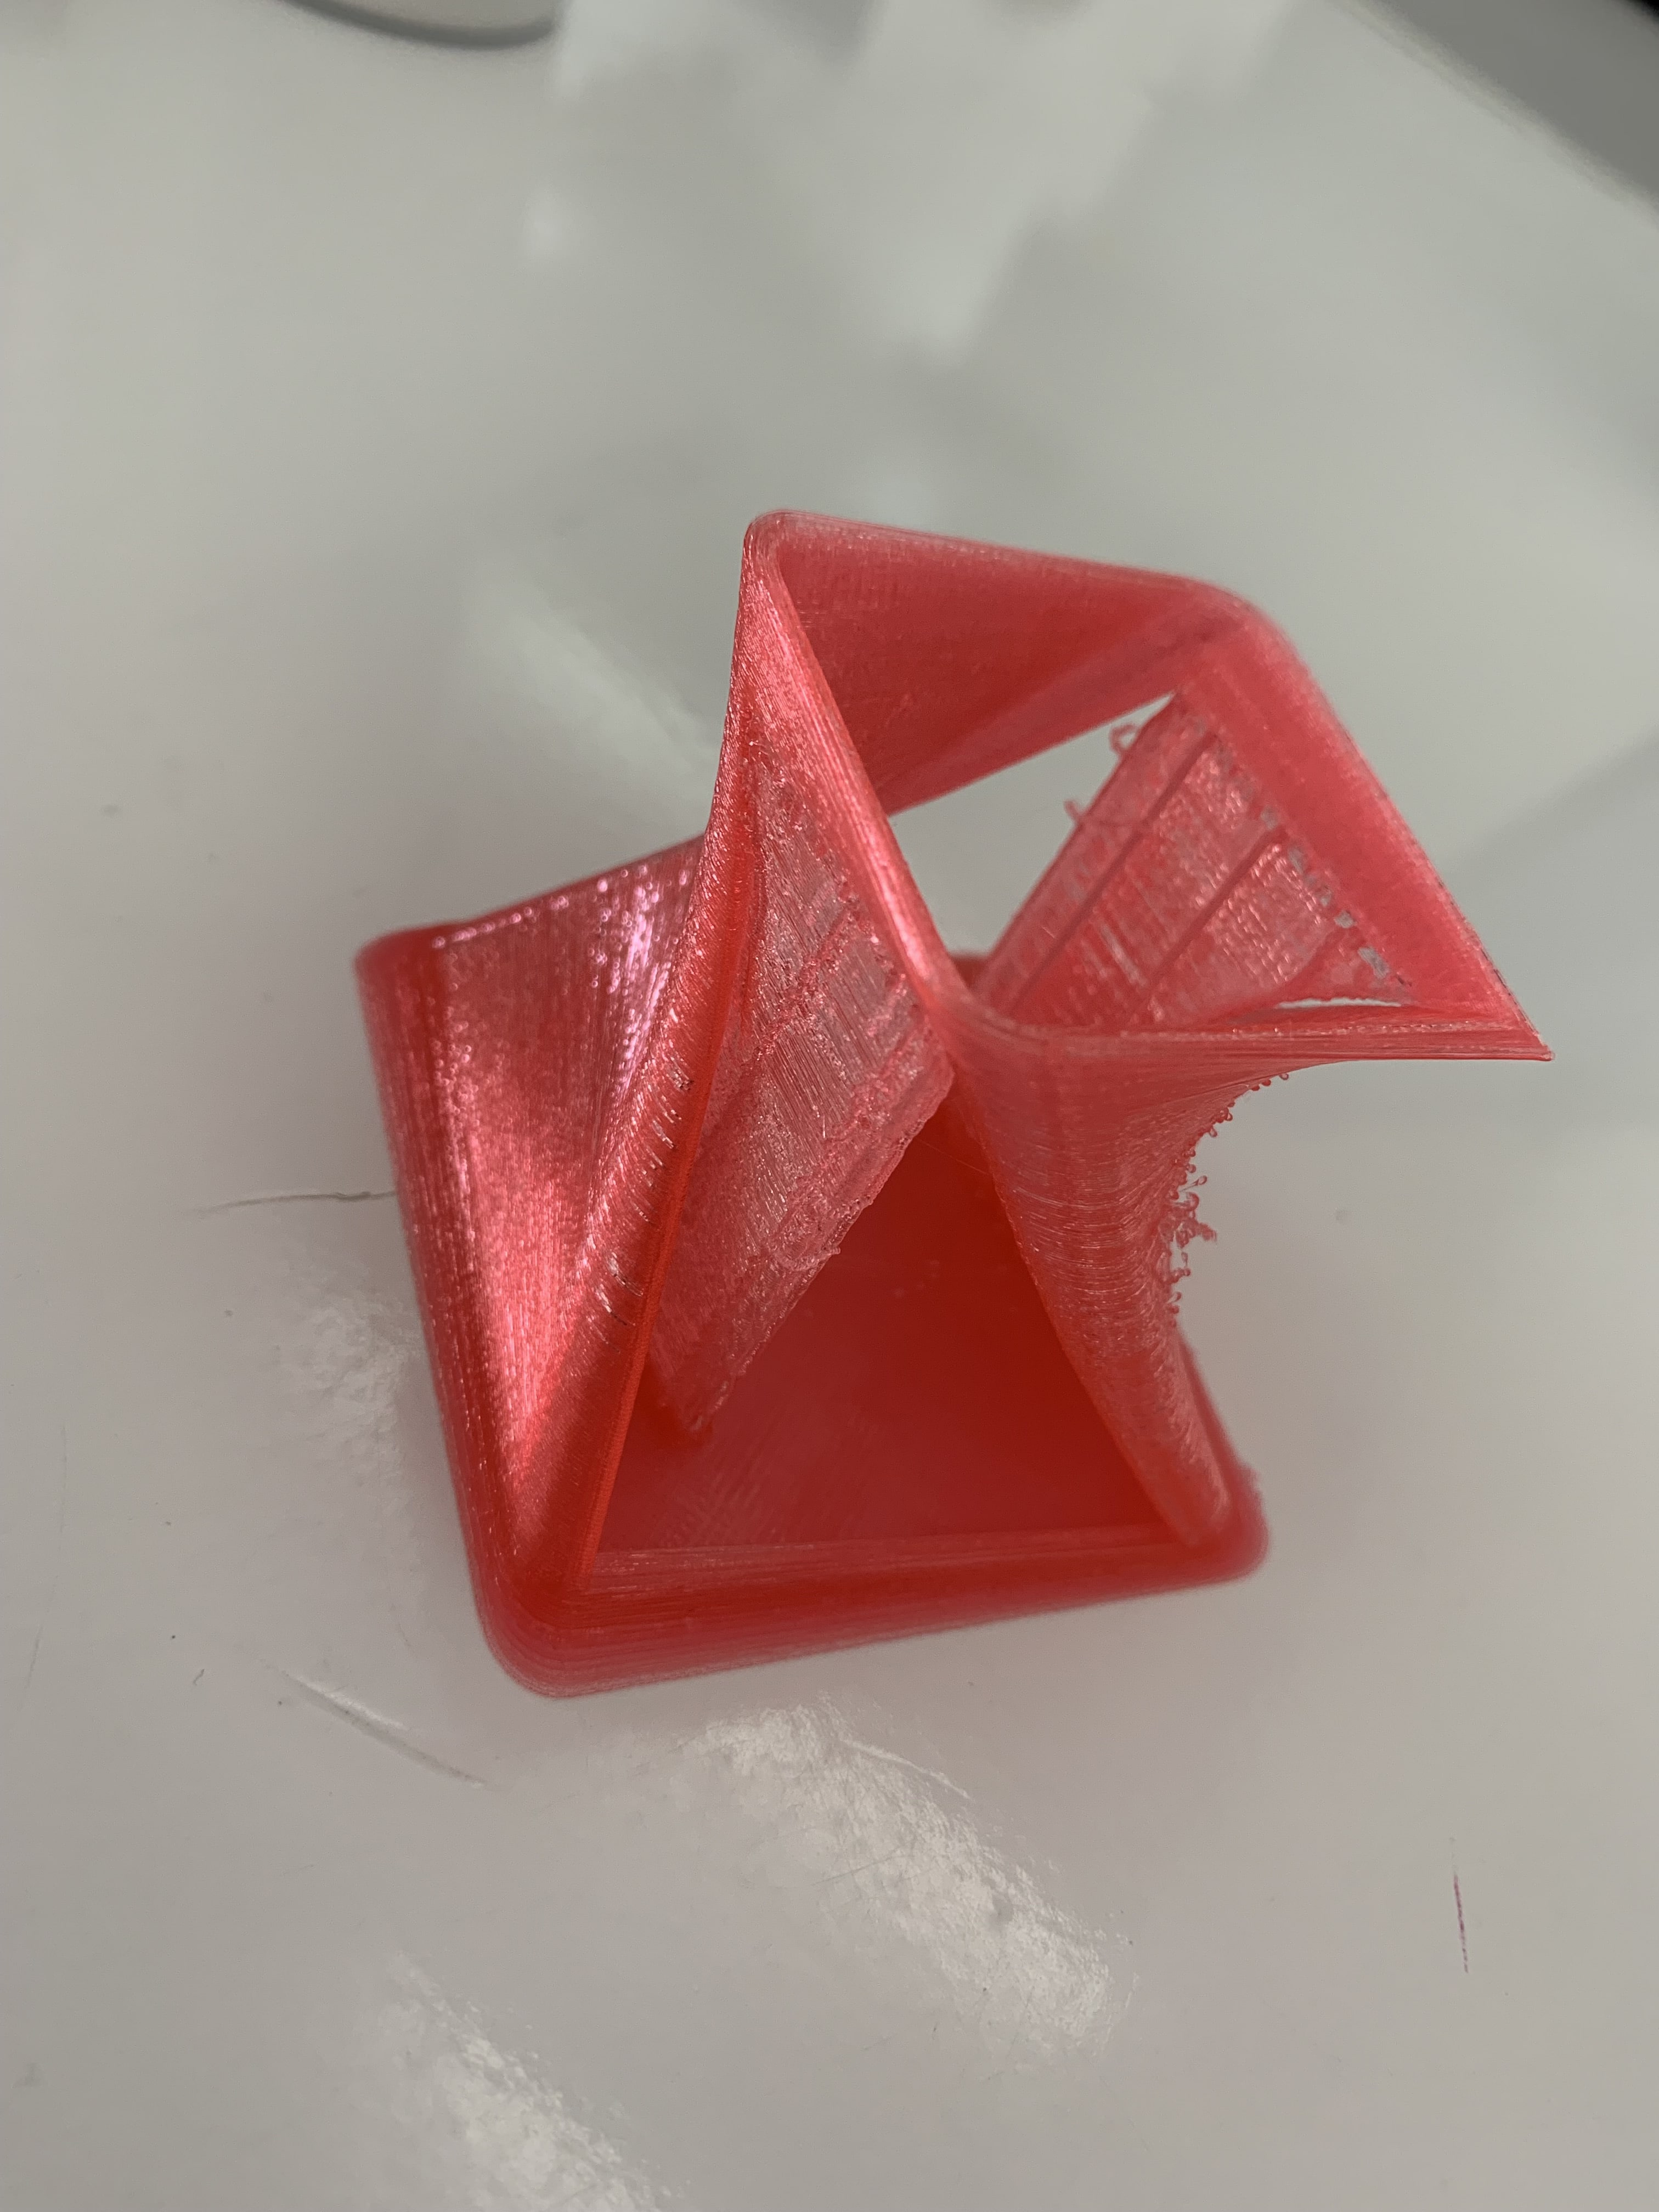
The following pictures show the final project after removing it from the mat.
3D Scanning
3D Laser Scanning is a non-contact, non-destructive technology that digitally captures the shape of physical objects using a line of laser light. 3D laser scanners create “point clouds” of data from the surface of an object. In other words, 3D laser scanning is a way to capture a physical object’s exact size and shape into the computer world as a digital 3-dimensional representation.
3D scanning using Qlone
In order to do the 3D scanning using an app called Qlone, we must download the representative app to do the scan of an object. The app scan an object placed between two sheets of paper QR-code like scanning mat. The following video shows how to do the 3D scanning using the Qlone app.
The video shows how exactly we have done the scanning to the object, I have placed the object on the QR mat and rotates it while the object is stationary above the mat, to take 360 pictures of the object.
The following screen shot shows the Qlone app that I have used
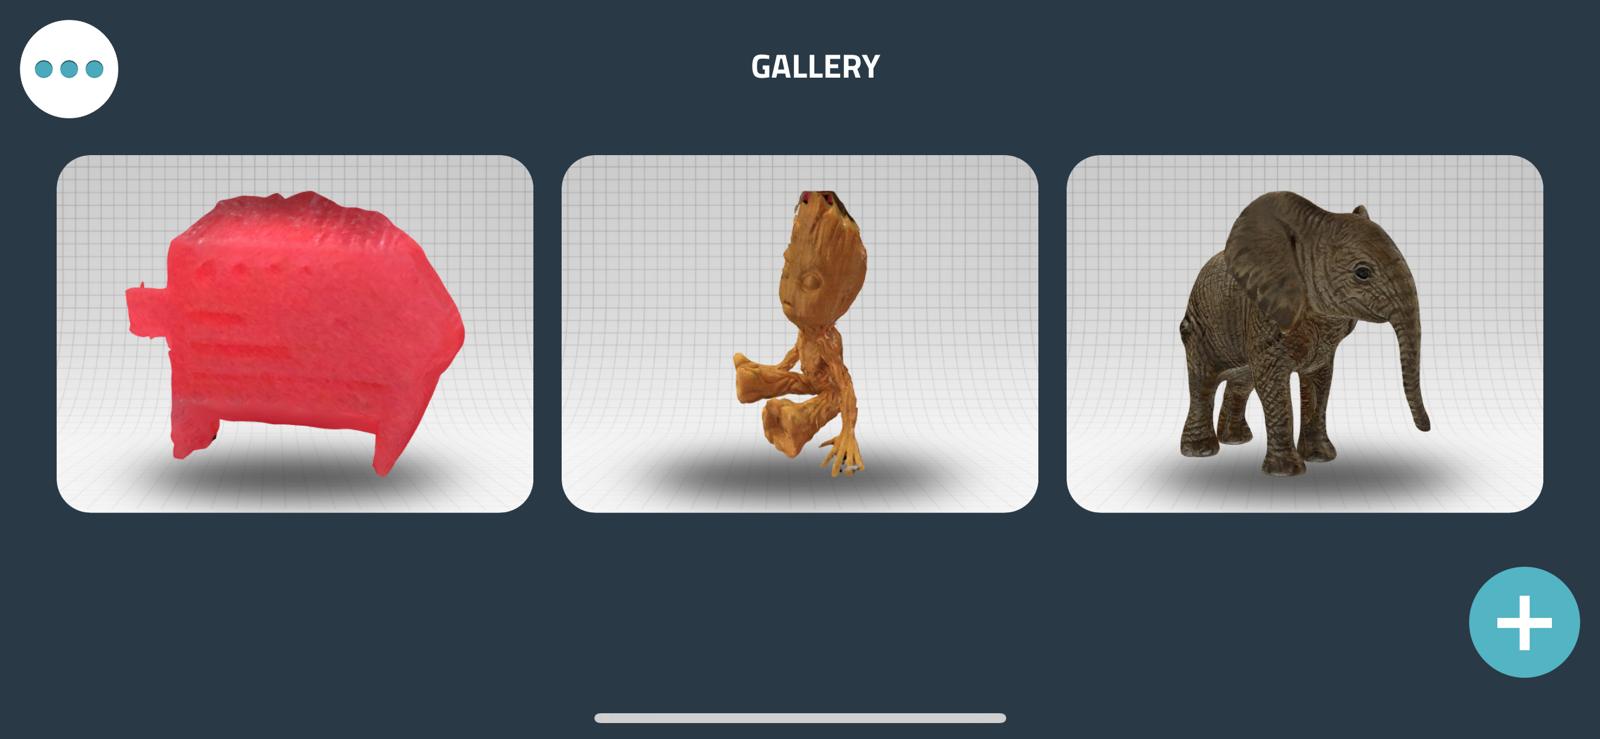
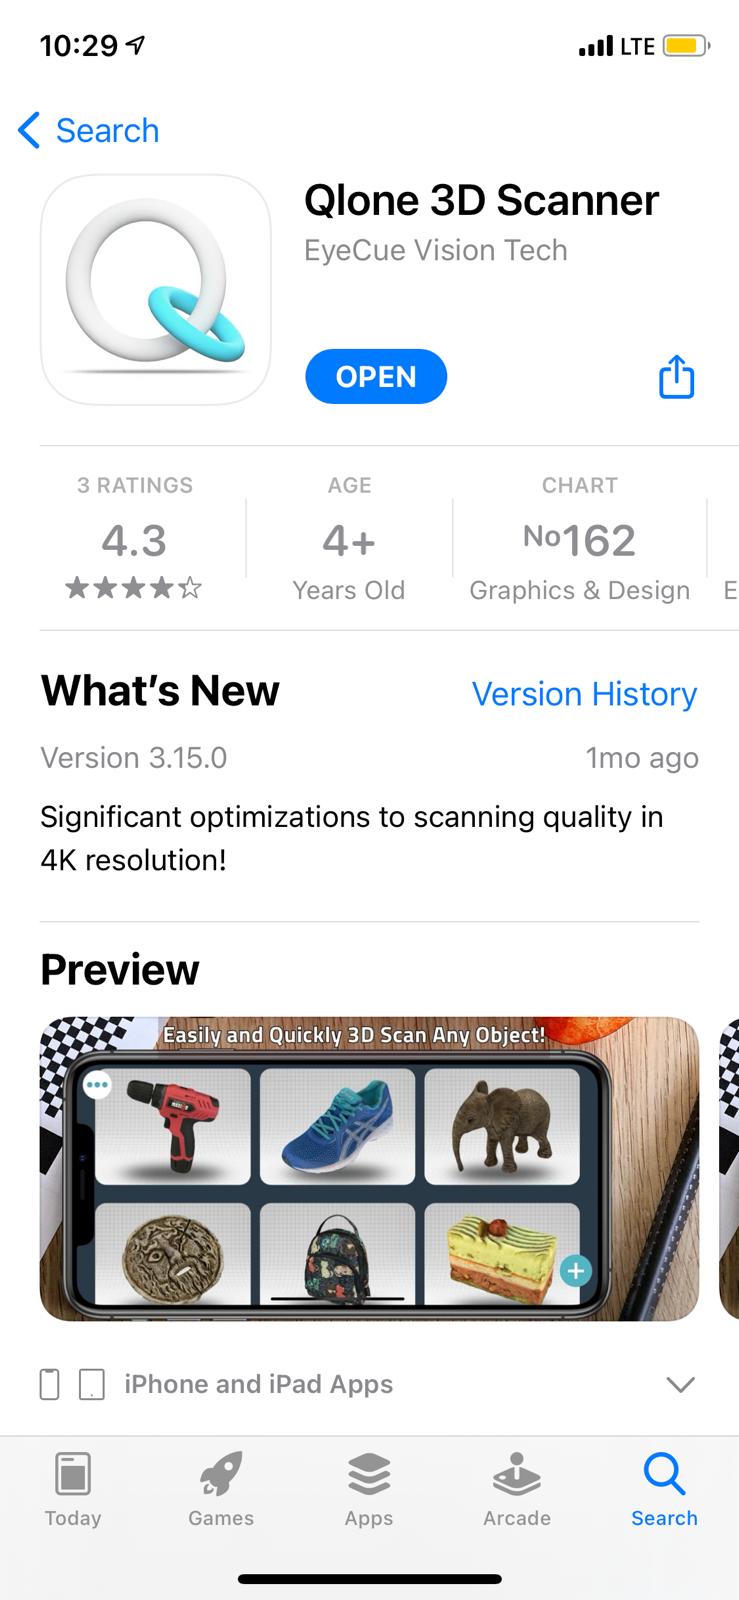 After opening the app this is what it looks like
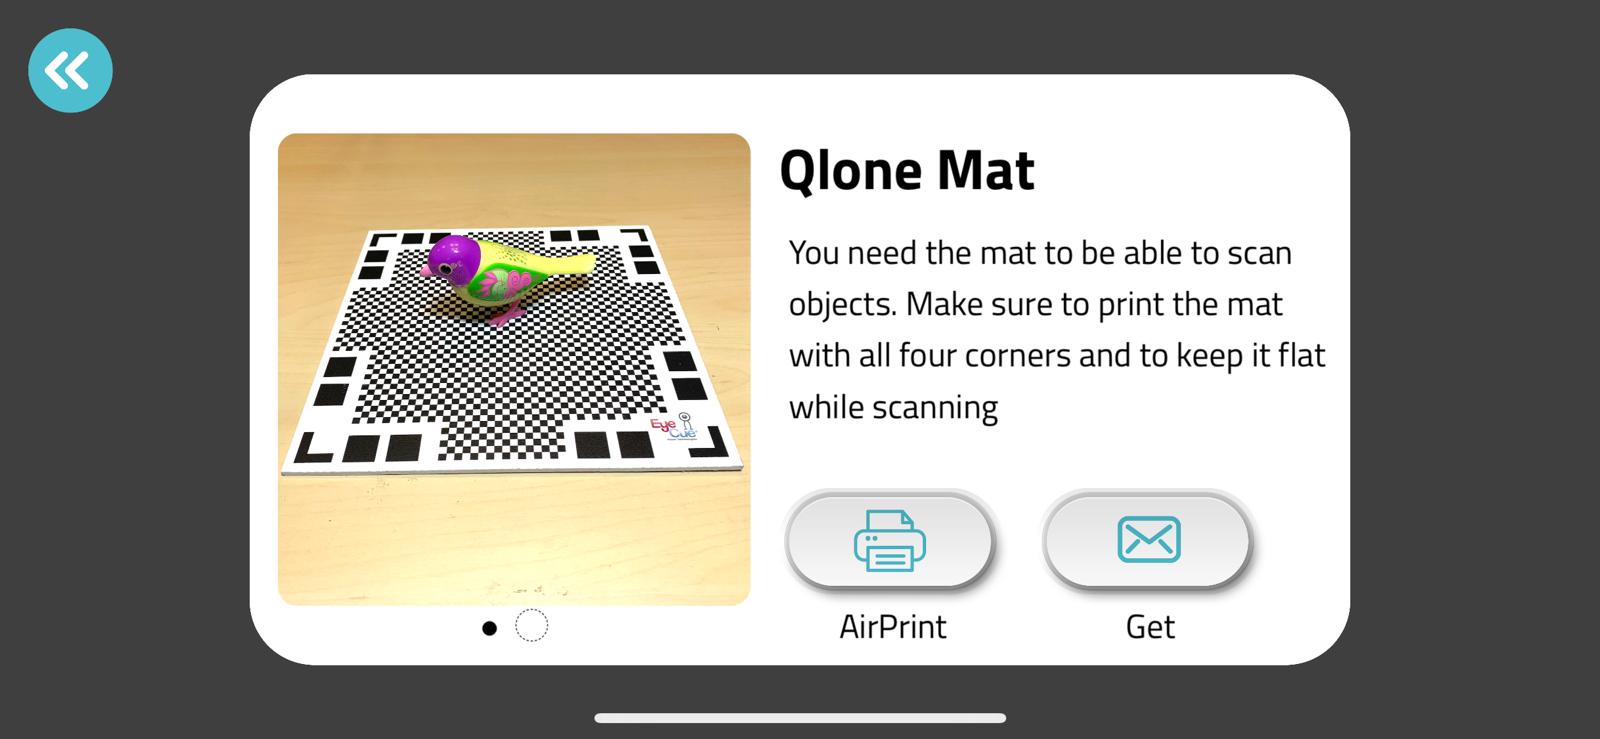
 The app shows you to put the Qlone mat in order to scan the object as follow
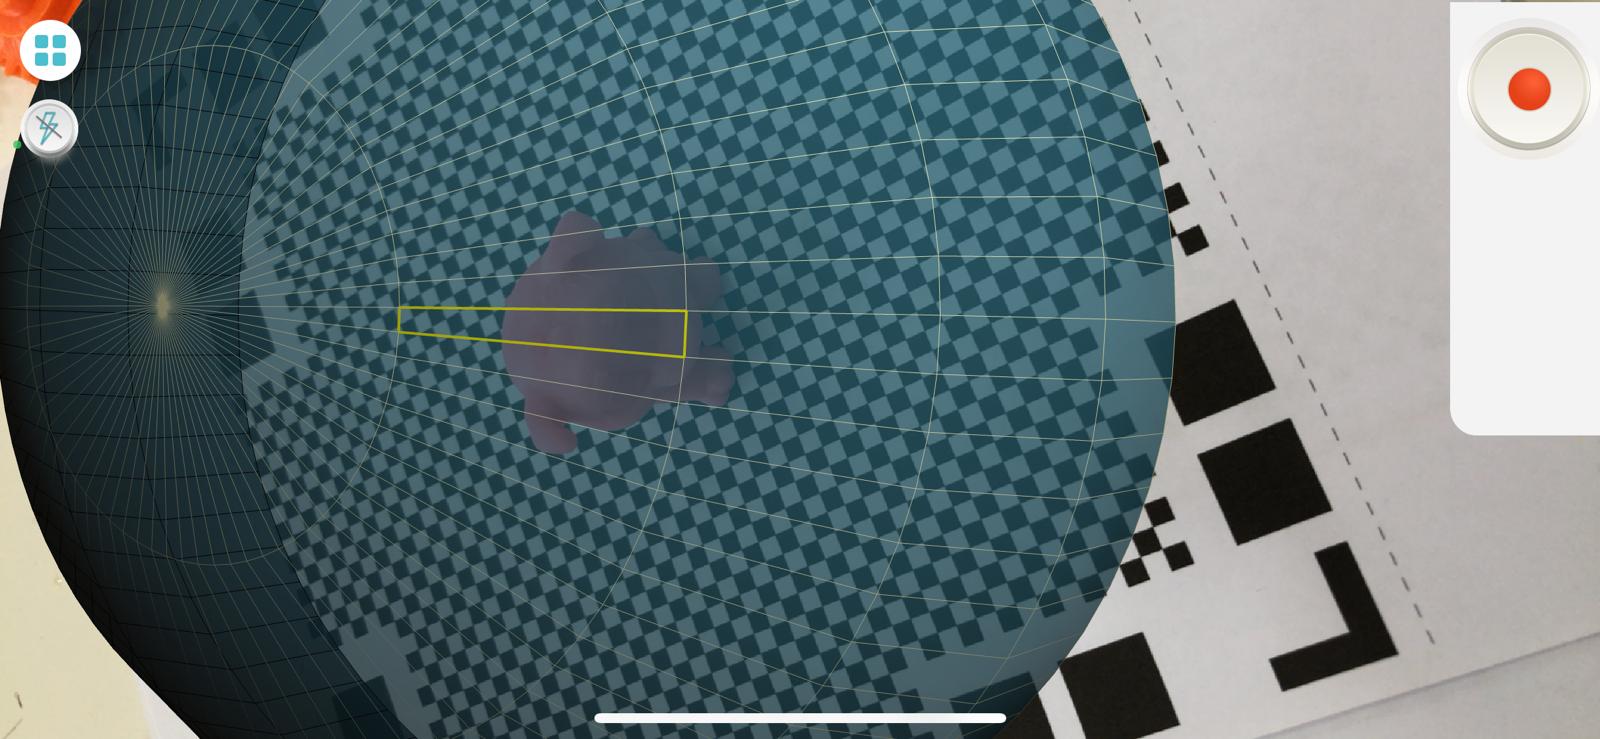
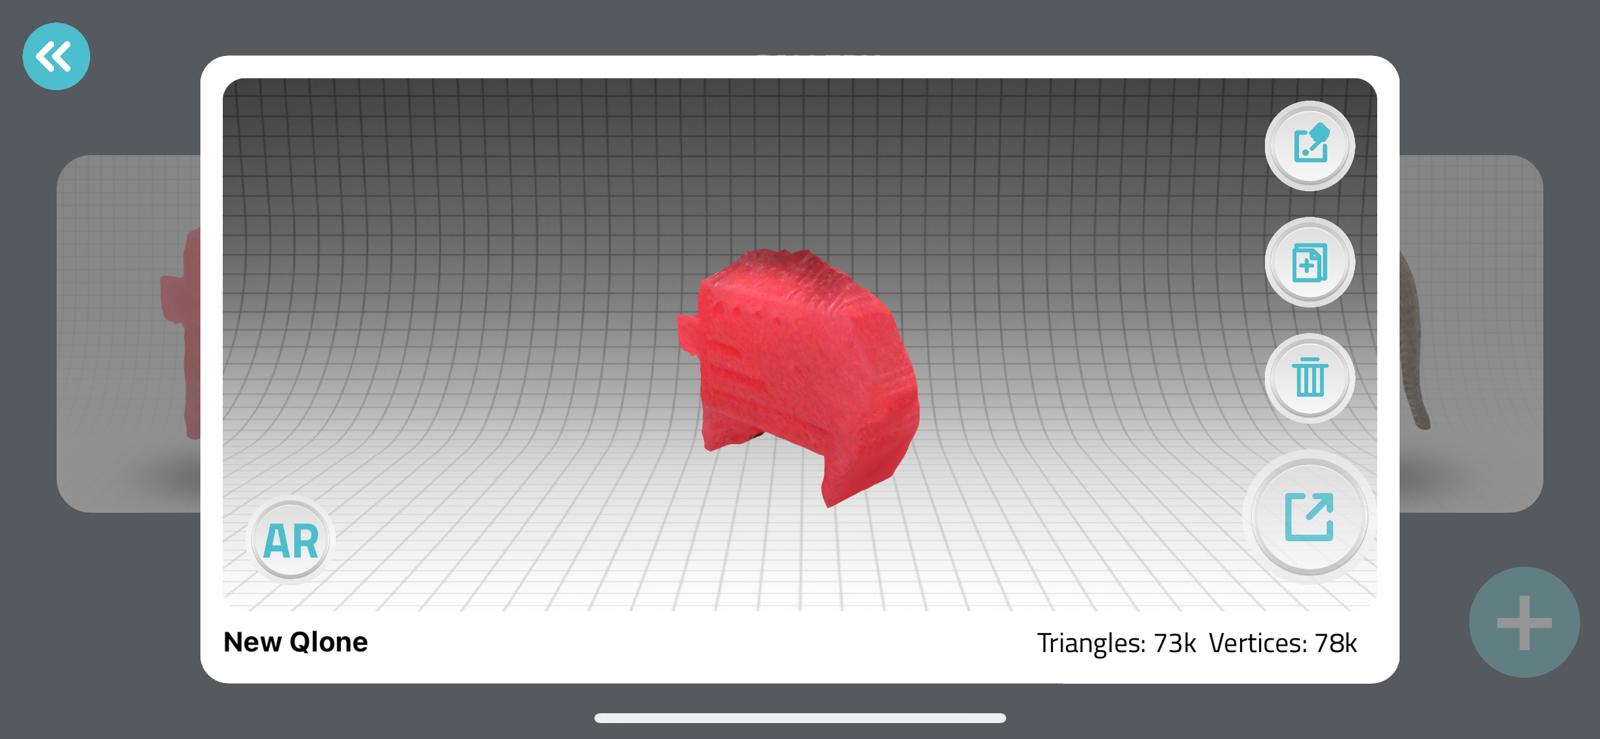
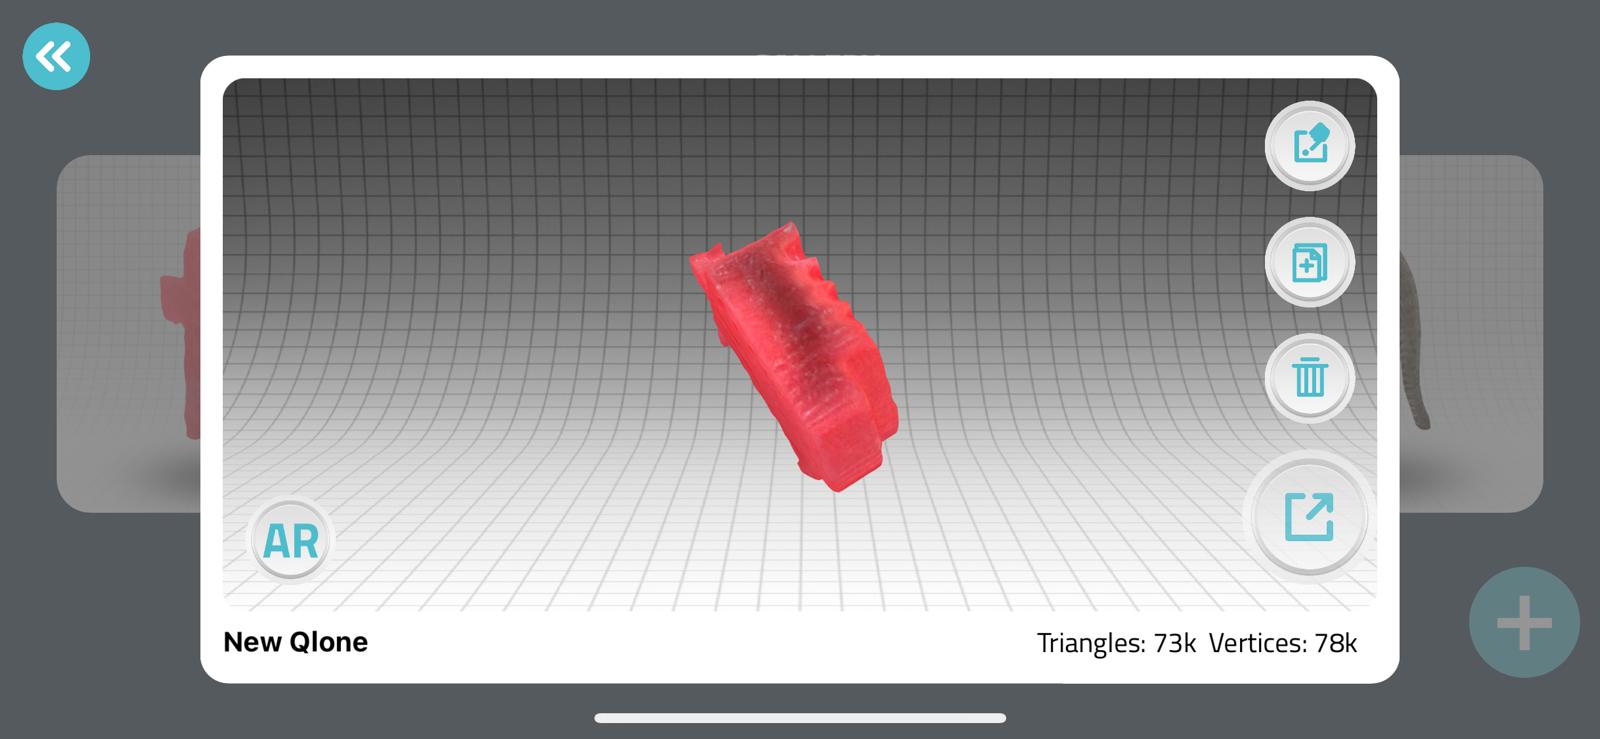
 The dome around the object appears after putting the desired object to scan on the mat.
Problems
The problems that I have faced using the Qlone app is laid under the technical category. The first one is that the matt which is placed behind the object was not recognized by the app so I had to remove it and it worked fine. Second, the other problem was when I move and rotate the object, while it is on the mat the camera and the app sometime not recognize the fast movement so I had to move it slowly accordingly. The other problem sometimes the app will not didact the object by scanning it so I had to go around the object multiple times.
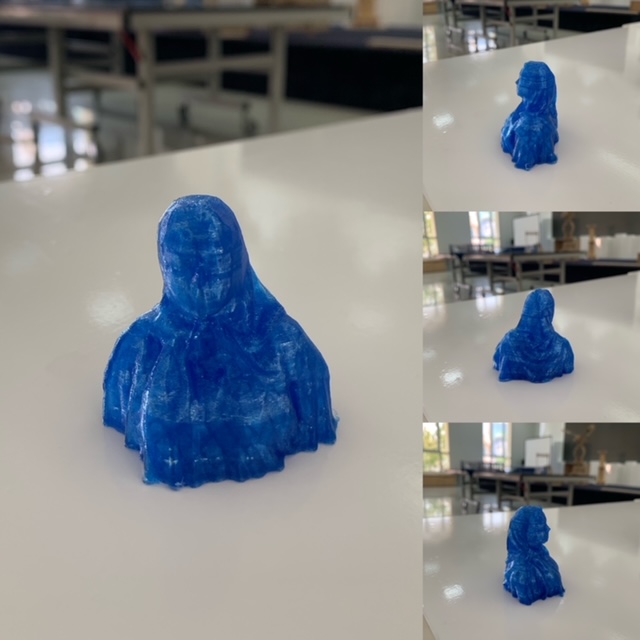
Final project
The following pictures shows the scanned object that I have used, and scanned using the Qlone app.
3D scanning using camera
So in order to do the design we have stood in front of the camera to capture our movement. This procedure of motion is transferred to the PC software. Thus, to edit the scan we should fill any missing holes to the scan object and enhance the appearance of the scanned object. After finishing the scanning we take the (stl) file of the project made to the 3D design software to print it. Setting up again the 3D printer has the same procedure as 3D printing; which is linked to the group assignment page.
Problems
Not many problems faced me during doing the 3d printing and 3d scanning. The 3D printing, some of impurities are noted on the surface where the printing procedure is not that clean. On the other hand, the 3D scanning had other problems such as the camera was not capturing the movement correctly of the body. So I had to repeat the procedure 2 times in order to have a proper perfect scan.
Final project
The following photo shows the final scanned object that I have done after removing the support.
References
- (1) 3D printing
- (2) History of 3D printing
- (3) 3D Scanning