2. Computer Aided design
This week I learned how to use 2 software for 2D designs and 2 software for 3D designs:
2D designs
Vectr
- Creating rectangle for the hook:

- Drawing a line for the string:
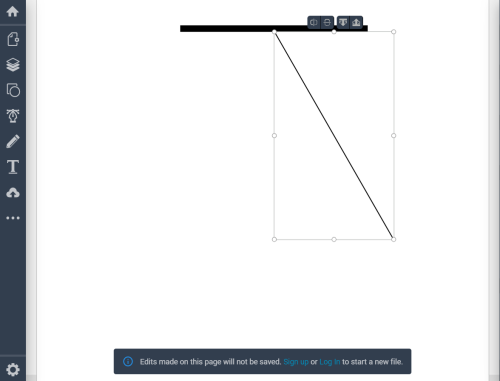
- Drawing a circle for the ball:
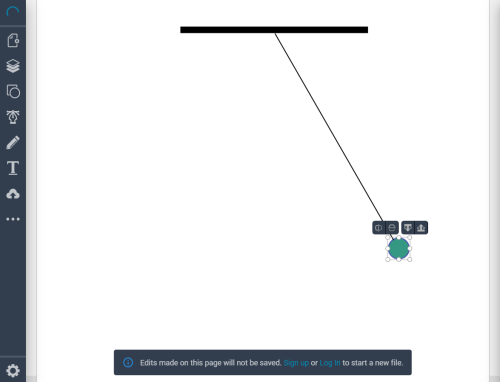
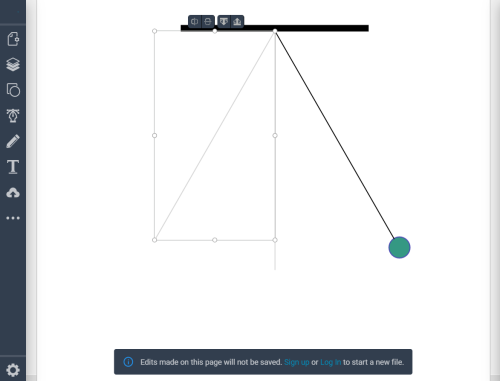
- Repeating the circle hanged on the string with less opacity:
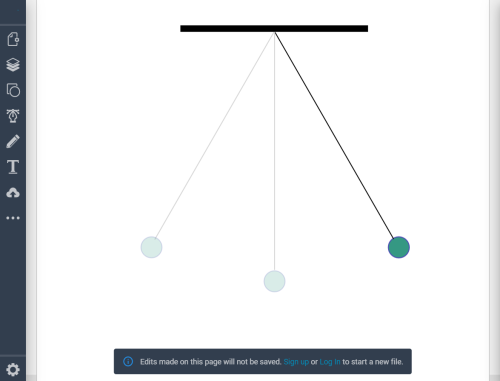
Pendulum Design
Final Design in .svg extension:

I see Vectr is very basic, in opposite to Inkscape which is more professional and has more advanced functions.
inkscape
Tutorial 1
I learned from this tutorial how to:
- learn the basics how to move zoom.
- Draw square, ellipse and star.
- Change size, rotate and skew an object.
Tutorial 2
In this tutorial, I applied what I learned from tutorial 1 and how to make a logo:
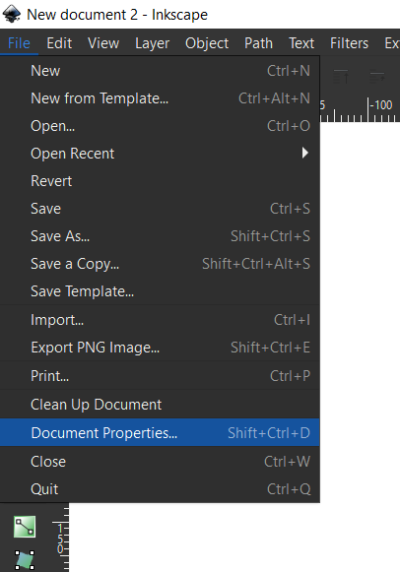
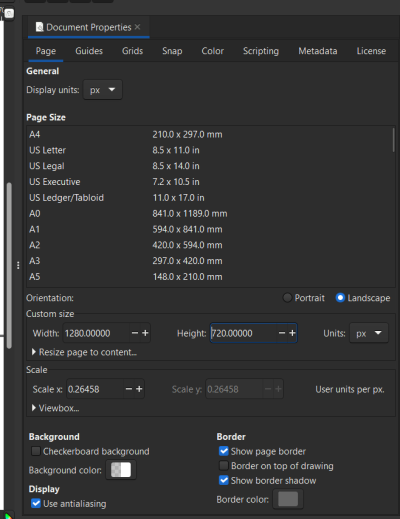
- Changing Document size:
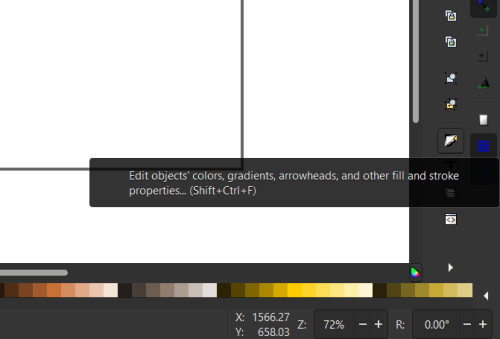
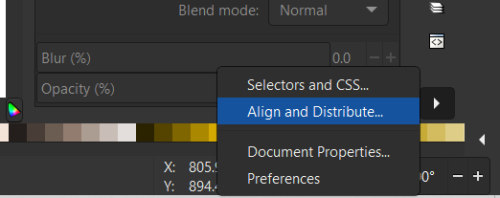
- There is two important menus: fill and stroke, align and distribute:
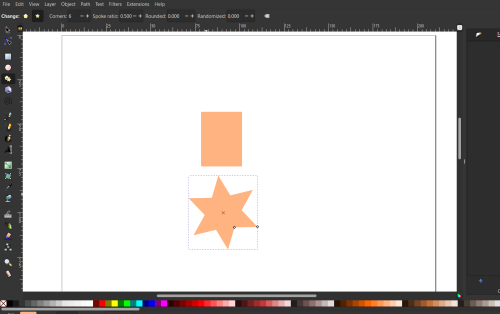
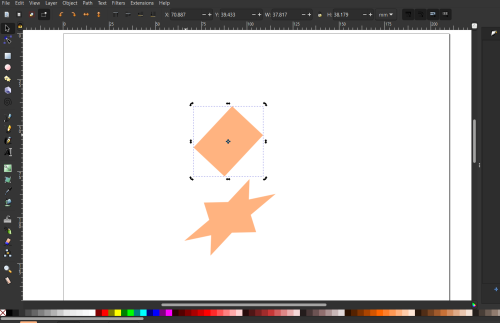
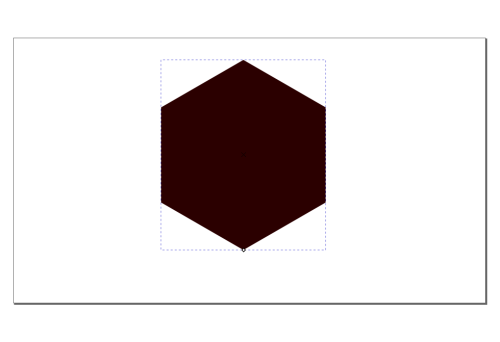
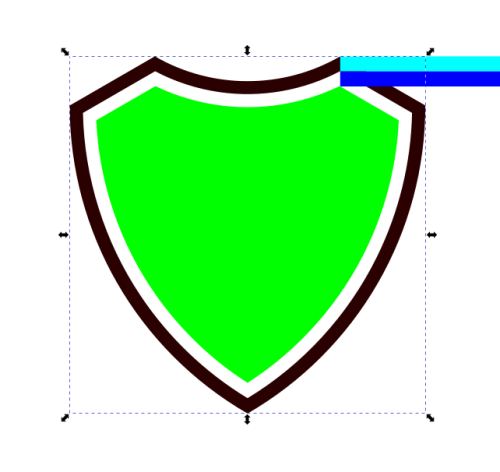
- Drawing the logo:

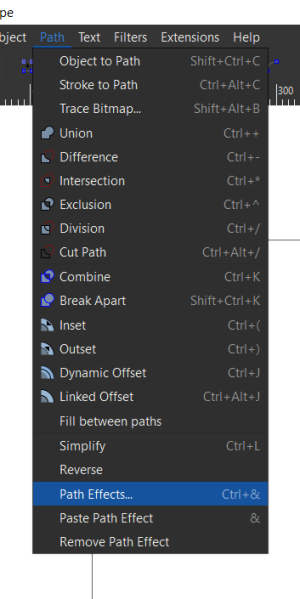
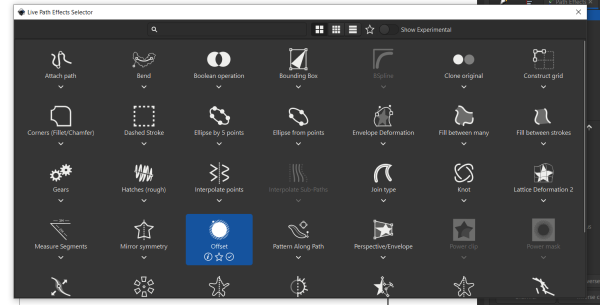
- Path effects:
a- Corners:
 ]
]
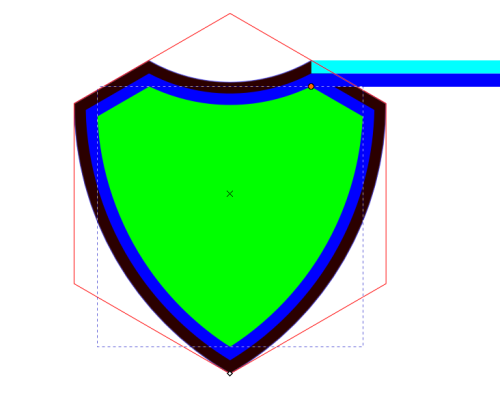
b- Offset:
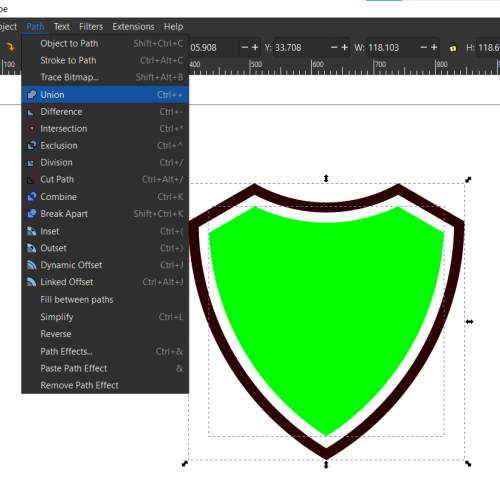
- Applying the Difference between two objects:
- Applying the union between two objects:
- Adding a logo from website (https://iconape.com/)
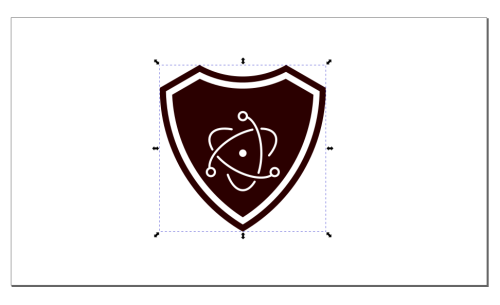
- Adding some stars:

Logo desing
![]()
I see Inkscape is more professional and has more advanced functions than vectr.
3D designs
Openscad
I learned from it how to:
- learn simple codes of cylinder, cube, circle.
- learn some functions like translate, rotate, difference, color.
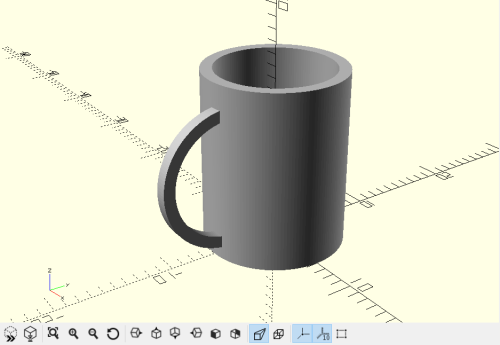
Cup Design
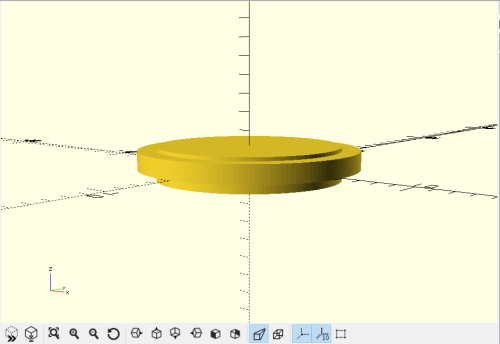
- Creating two cylinders, and taking the difference:
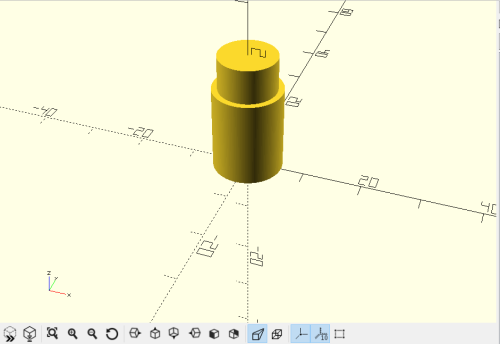

- Creating two cylinders, and taking the difference:
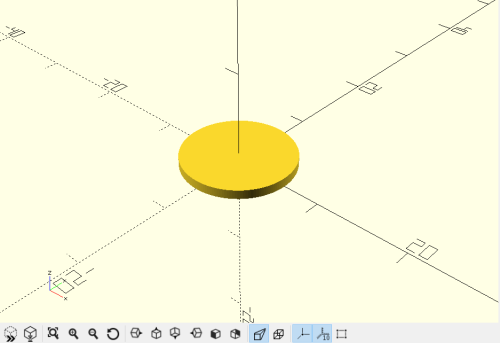
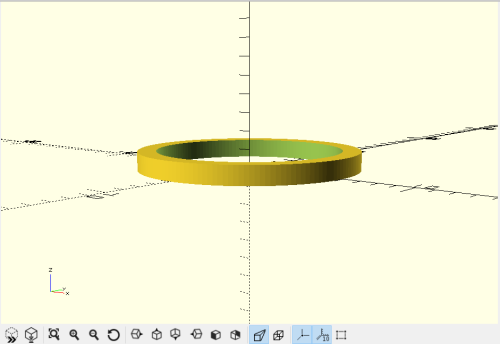
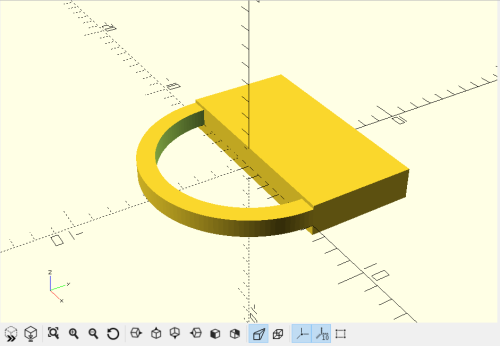
- Taking the difference between the ring with a cuboid:
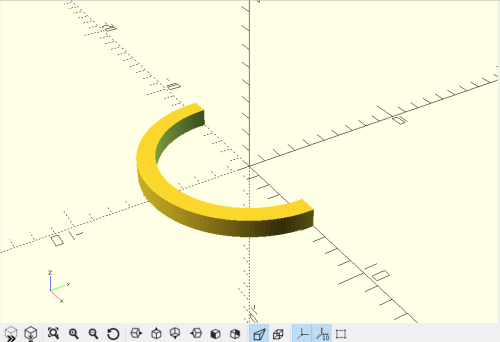
- Final cup:
Cup design
I see Openscad is nice, as it is just using coding, which I’m familiar with.
Fusion360
Add feedback about every program.
I learned from this tutorial the basics of the Fusion360, and applying them to design a stamp:
- Components: I made a component for each part of my design.
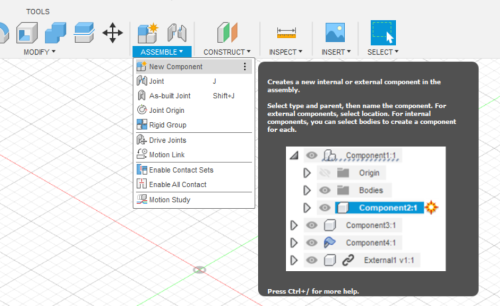
- The browser contains all components and parts:
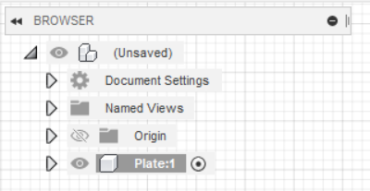
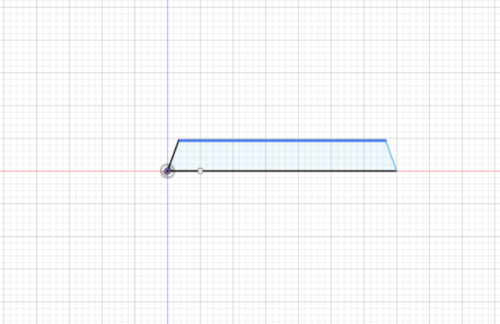
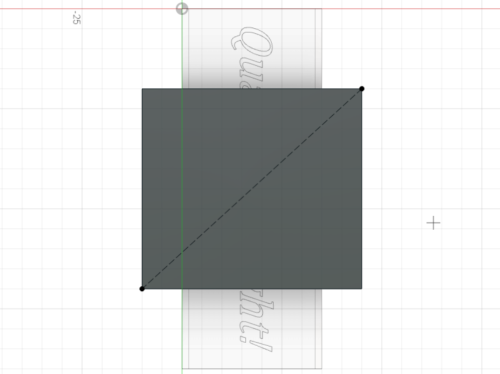
(a) Plate part
- Line: I Selected one of the origin planes to sketch 2D design on it. I used the view cube in the upper right to change the angle of view of the design.
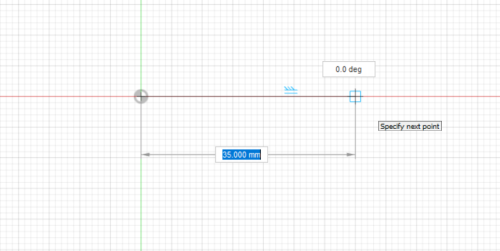
- I can draw lines by dragging from some point to a final point, and I can write the length and angle of each line. I press Esc to exit line command. I click right click and then repeat line to reopen the command.
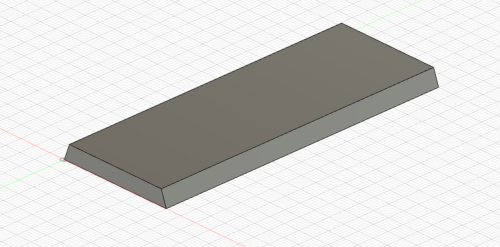
- From Solid tab, I open drop-down list named create, and then choose Extrude, and choose the shape to be extruded, and write the thickness.
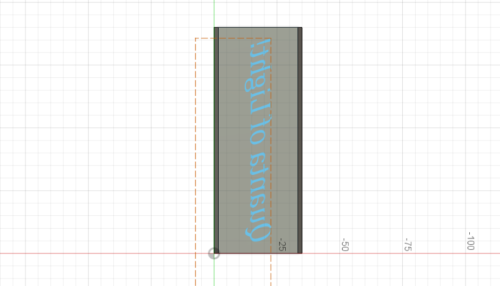
- I can Insert .svg file from Solid tab, or write a text using Sketch from Solid tab, then create a text to be in the stamp. I inverted it horizontally to be correct when using stamp:
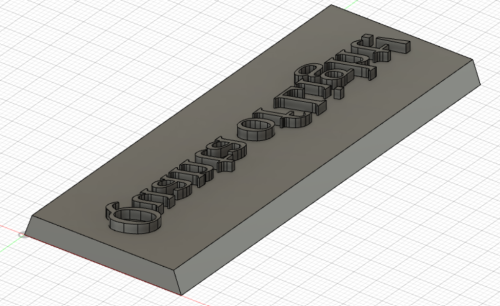
- I can extrude the text (or .svg file), and choose thickness of extrude:
(a) Handle part
-
I made first a new component for it, after deactivating the plate component.
-
Project command: is used to project a 3D object in a 2D plane. I used it to project the plate, and then made the handle shape around it.
-
Offset: duplicates a geometric object with changing its size. I can Flip to choose the shape outside or inside the original shape. I used it to make the size of the handle little larger than the plate.

- Construction option in drawing line, is used to draw lines that will be used only for guidance. Traingle tells you that you’re in the middle of the line. I used Construction line to make a circle in the middle of the bottom of the handle:
- Offset plane: I used it to make a copy the handle bottom plane at some distance, and then created a circle on it:
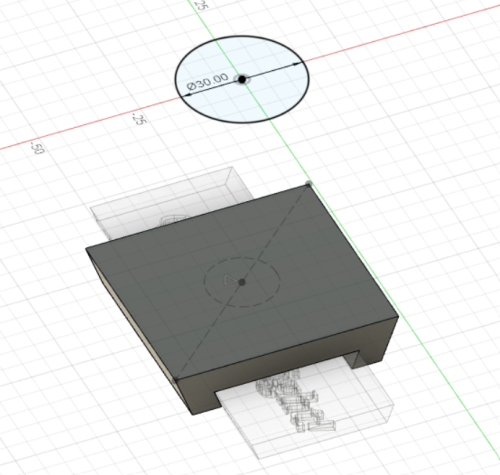
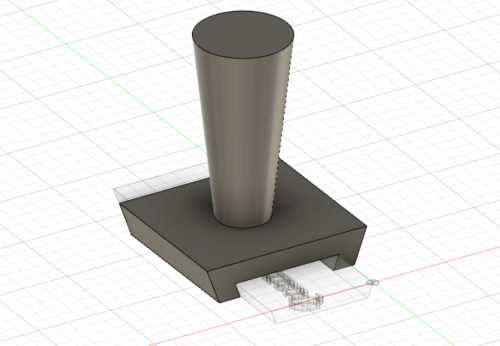
- Loft command in Solid tab, inside create drop-down list, is used to bridges two 2d shapes (where here they’re two cricles):
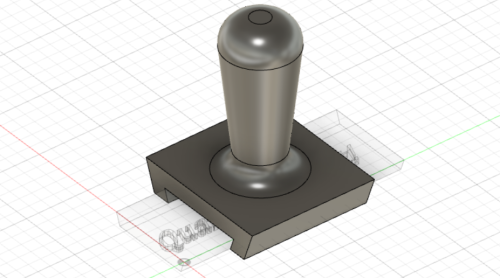
- I added rounded edges to be more beautiful using, Fillet command in Solid tab, inside Modify drop-down list:
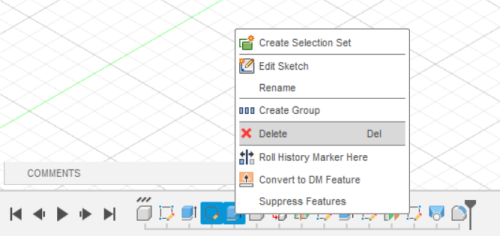
- The time line in the left bottom can be used to track the processes of the design, and to make some changes:

Stamp design:
- Handle:
- Plate:
- General instructions from the same tutorial I followed:
1- Save your files right away.
2- Keep components per each part.
3- Keep sketches simple.
4- Construction lines.
5- Be creative!
- Shortcuts from the same tutorial I followed:
1- L: line
2- E: Extrude
3- P: Project
4- C: Center diameter circle
- Other shortcuts: Shortcuts
I see Fusion360, is very beautiful, as its use is easy more than I expected.
How to use Sketchfab?
It is a website where you can upload your design in an extension like .stl, and can copy the code of your publish to embed it in your website.
-
First, Sign up in the website.
-
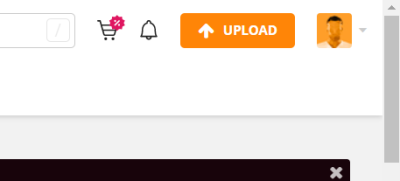
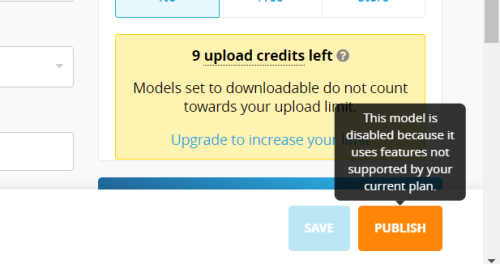
Upload your design in a supported extension, and publish it:
- Then, click “Embed” under your design, and copy the embedding code.
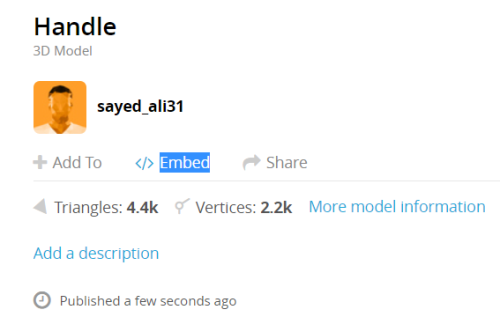
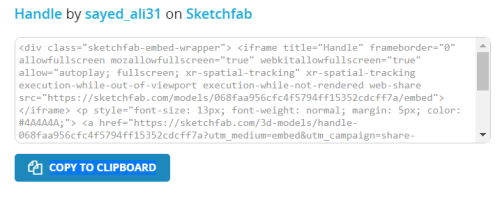
- Paste the code in the place you want to share your desgin.