7. Input & Output device
This week I worked in input sensors, and output devices, connected to the Arduino Nano 33 Ble sense microcontroller.
input
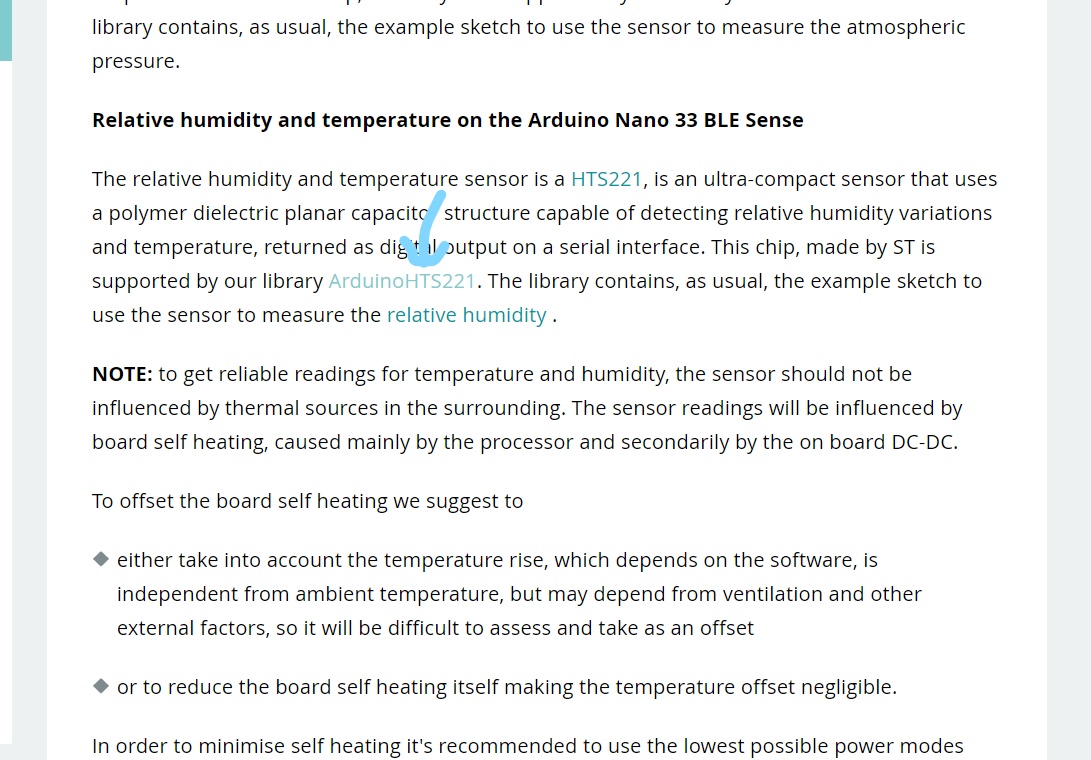
For each sensor in the Arduino microcontroller we use, there is a library for it, which makes the conversions from the raw data to other data we’re familiar with like (Celsius, Pascal or any physical quantities).
1- Find library name:
Name of libraries of each sensor could be found from this link:
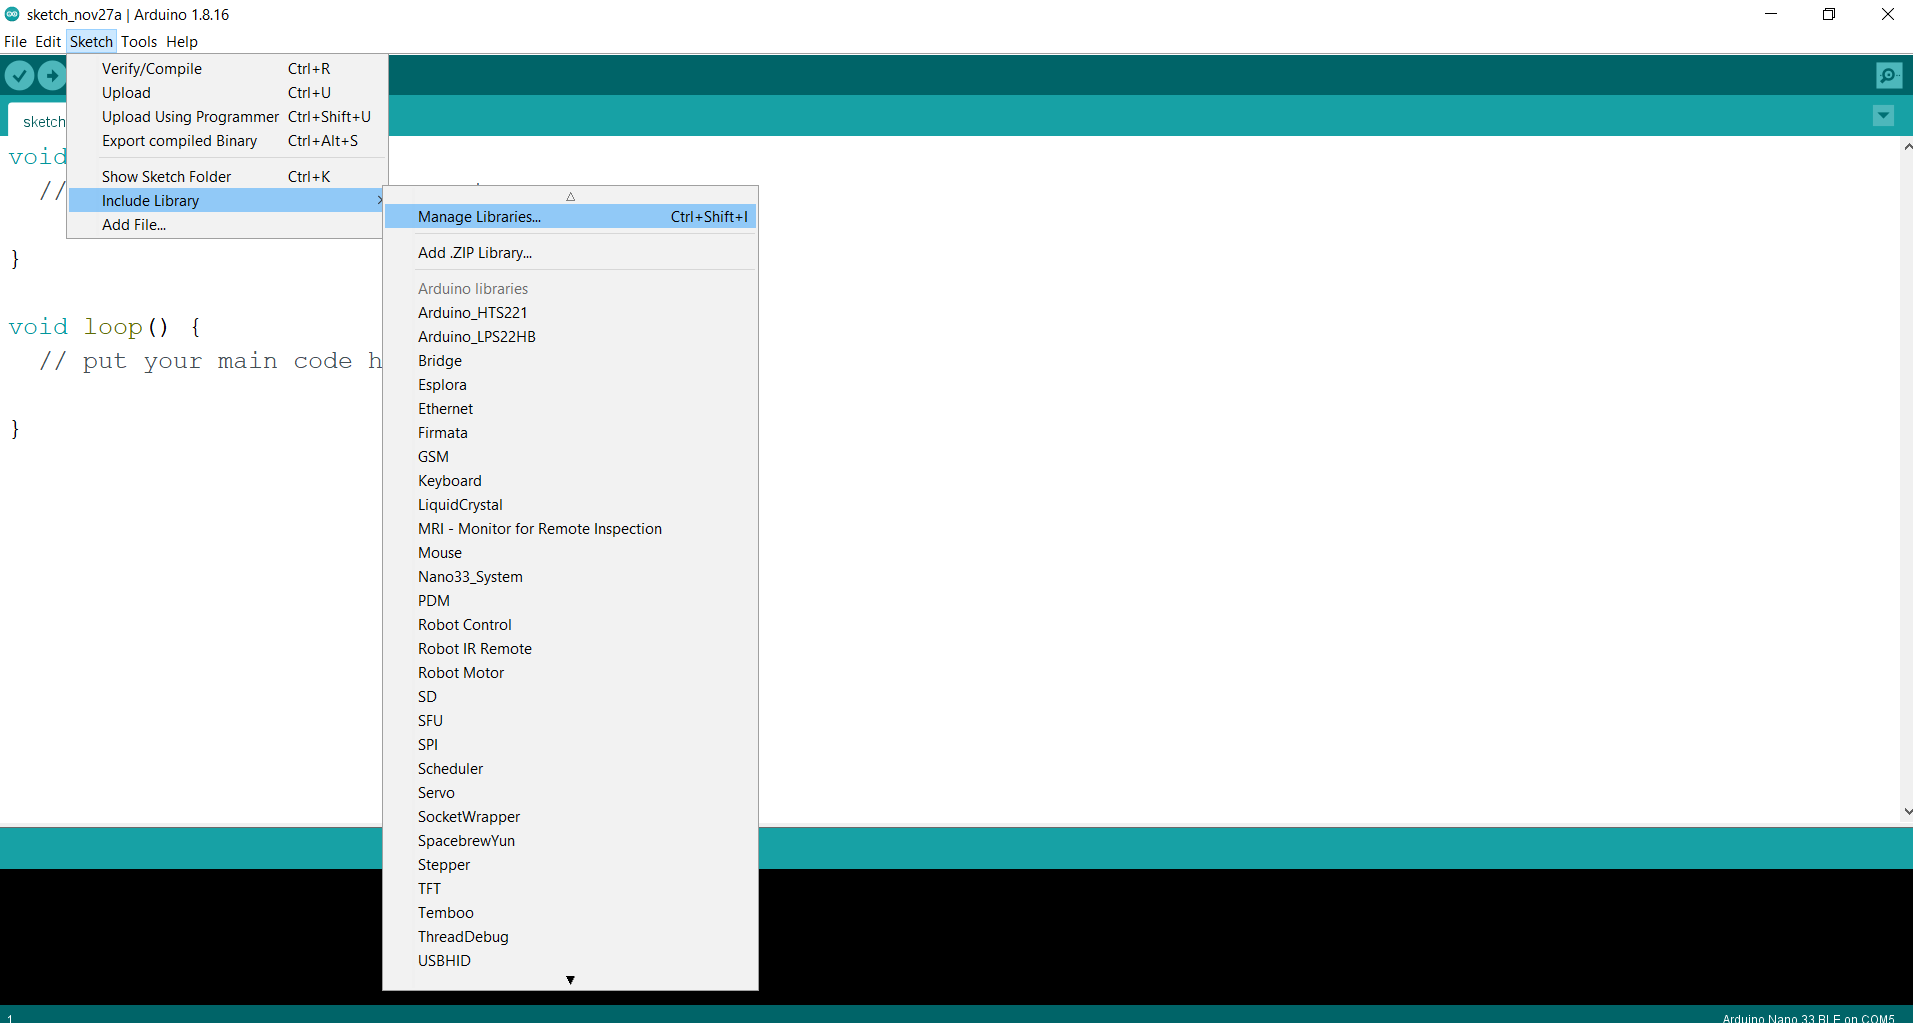
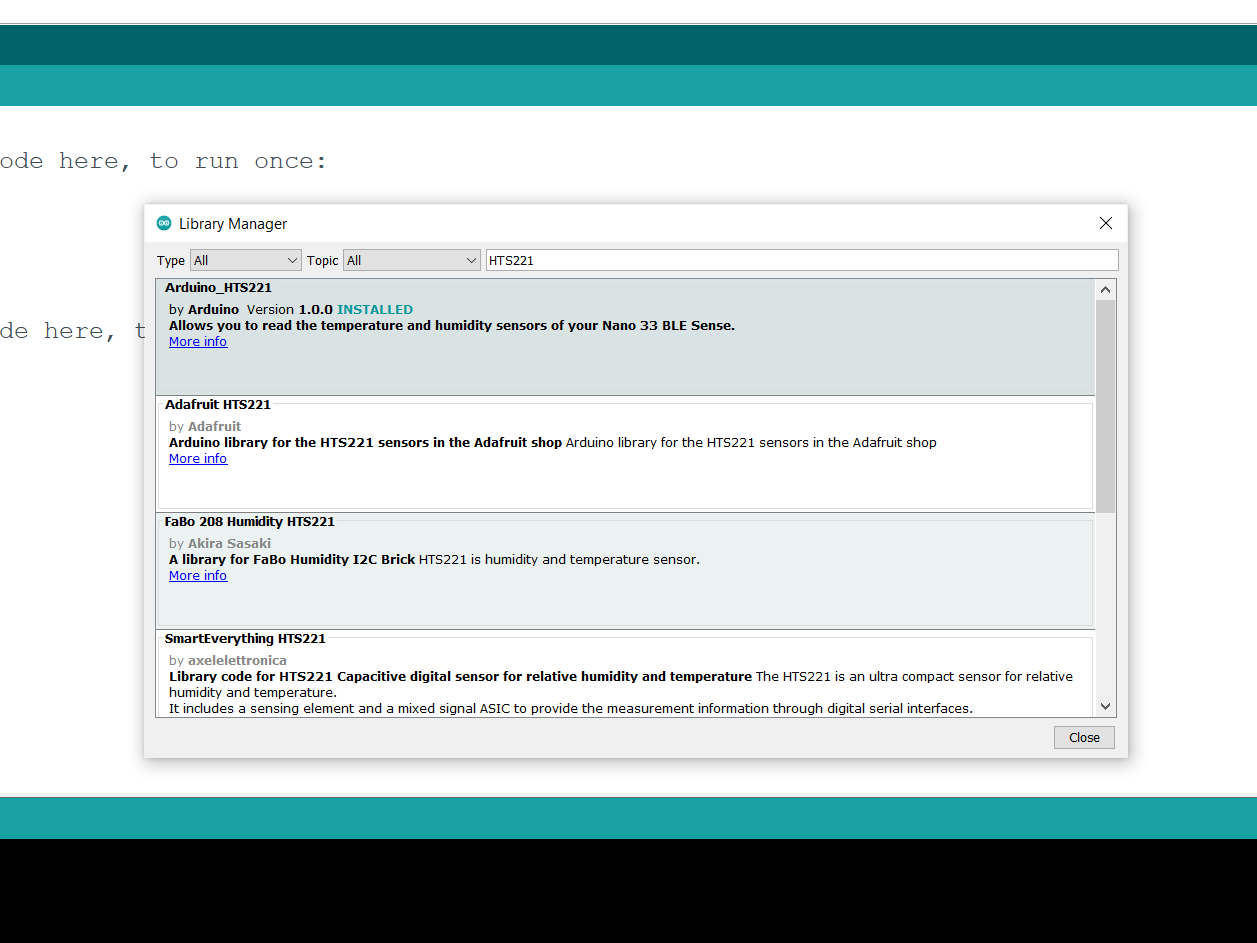
2- Go to Sketch drop-down list, then include library, then manage libraries and search for the library with its name, and install it:
built in Temperature sensor
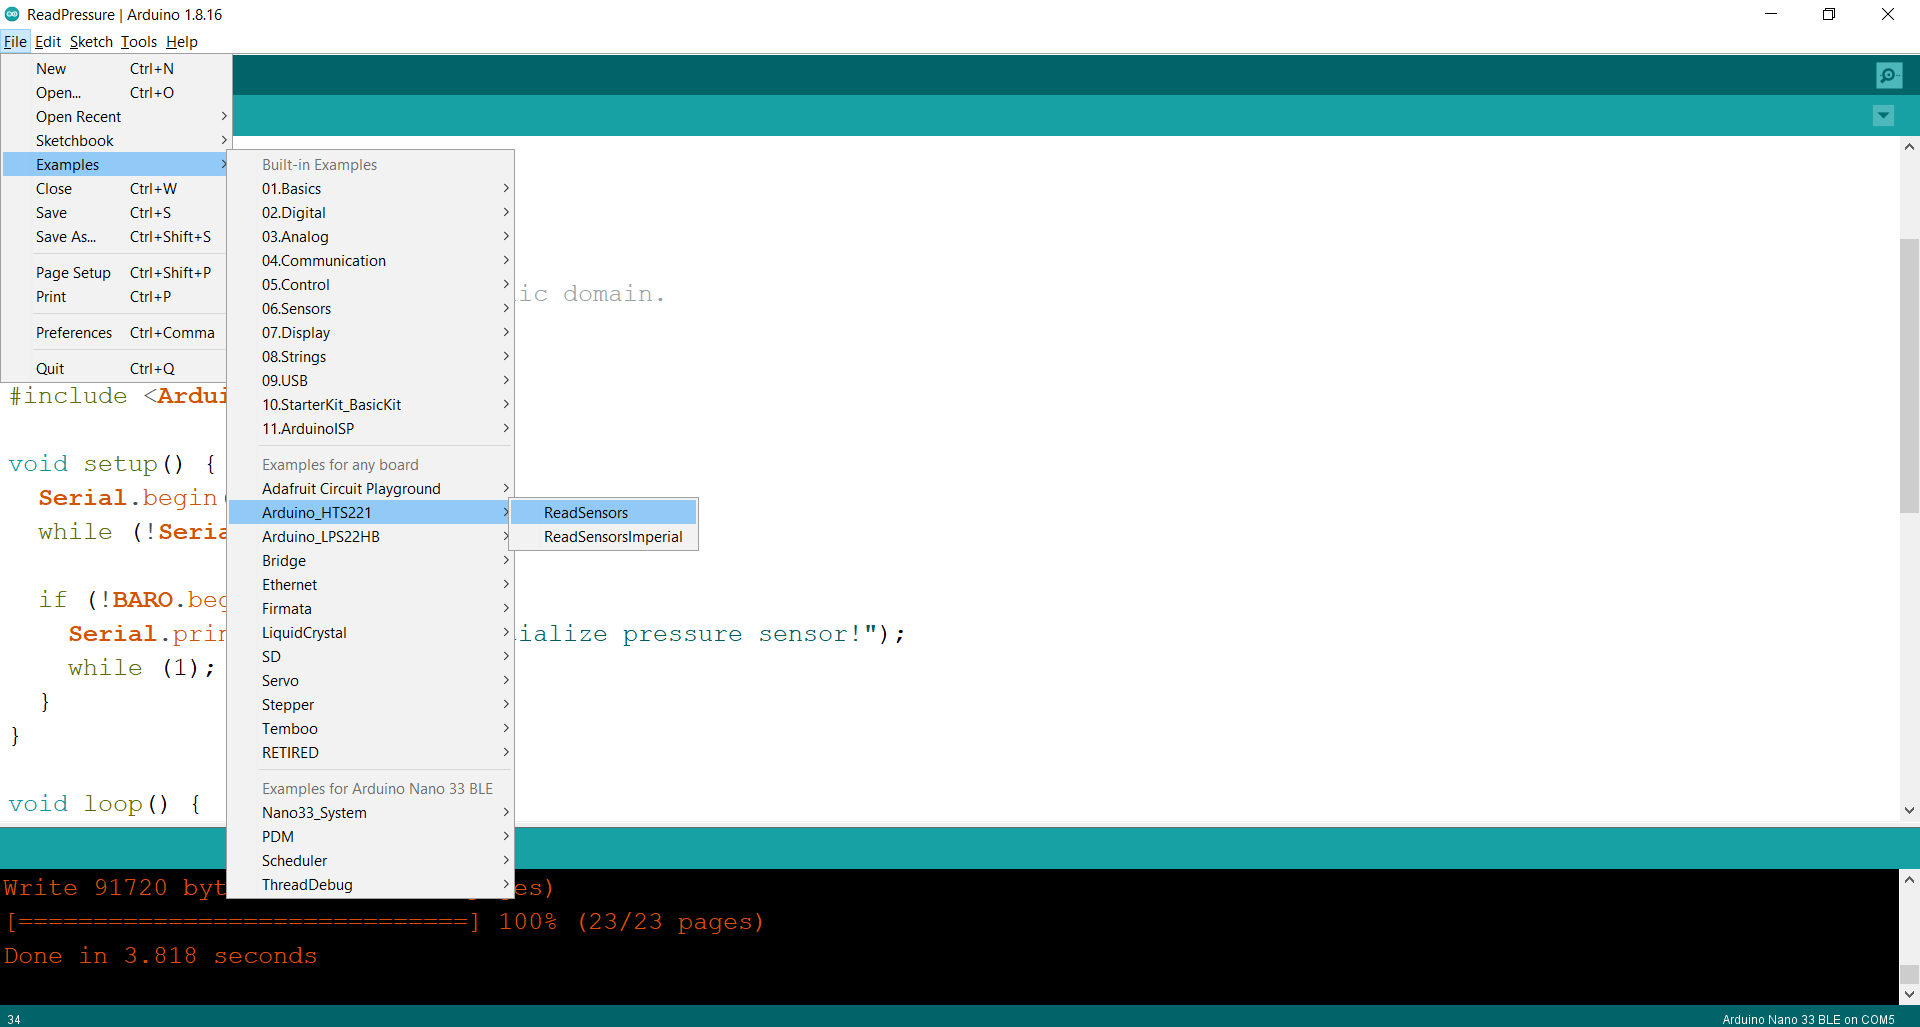
Trying the Temperature sensor example:
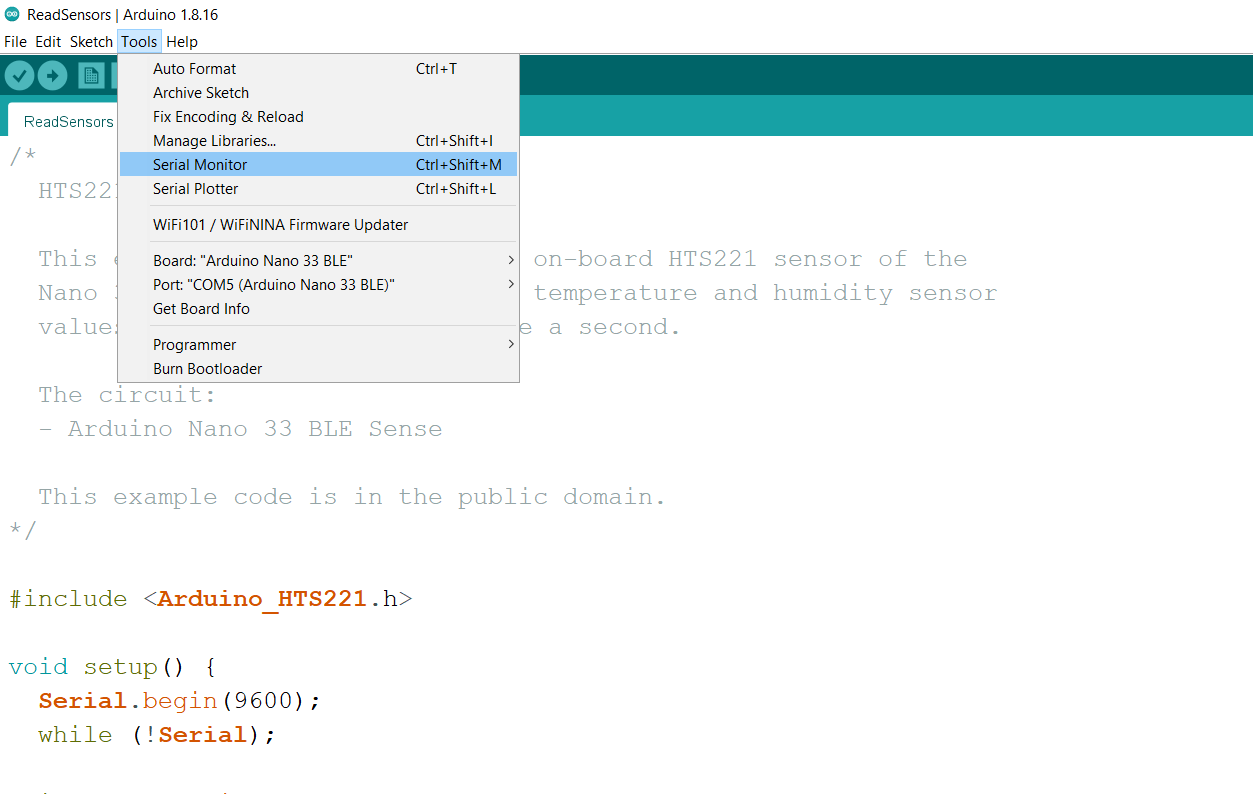
1- Go to the example:
2- Take a look to the code, to know how it works:

3- After uploading the code, go to the serial monitor:
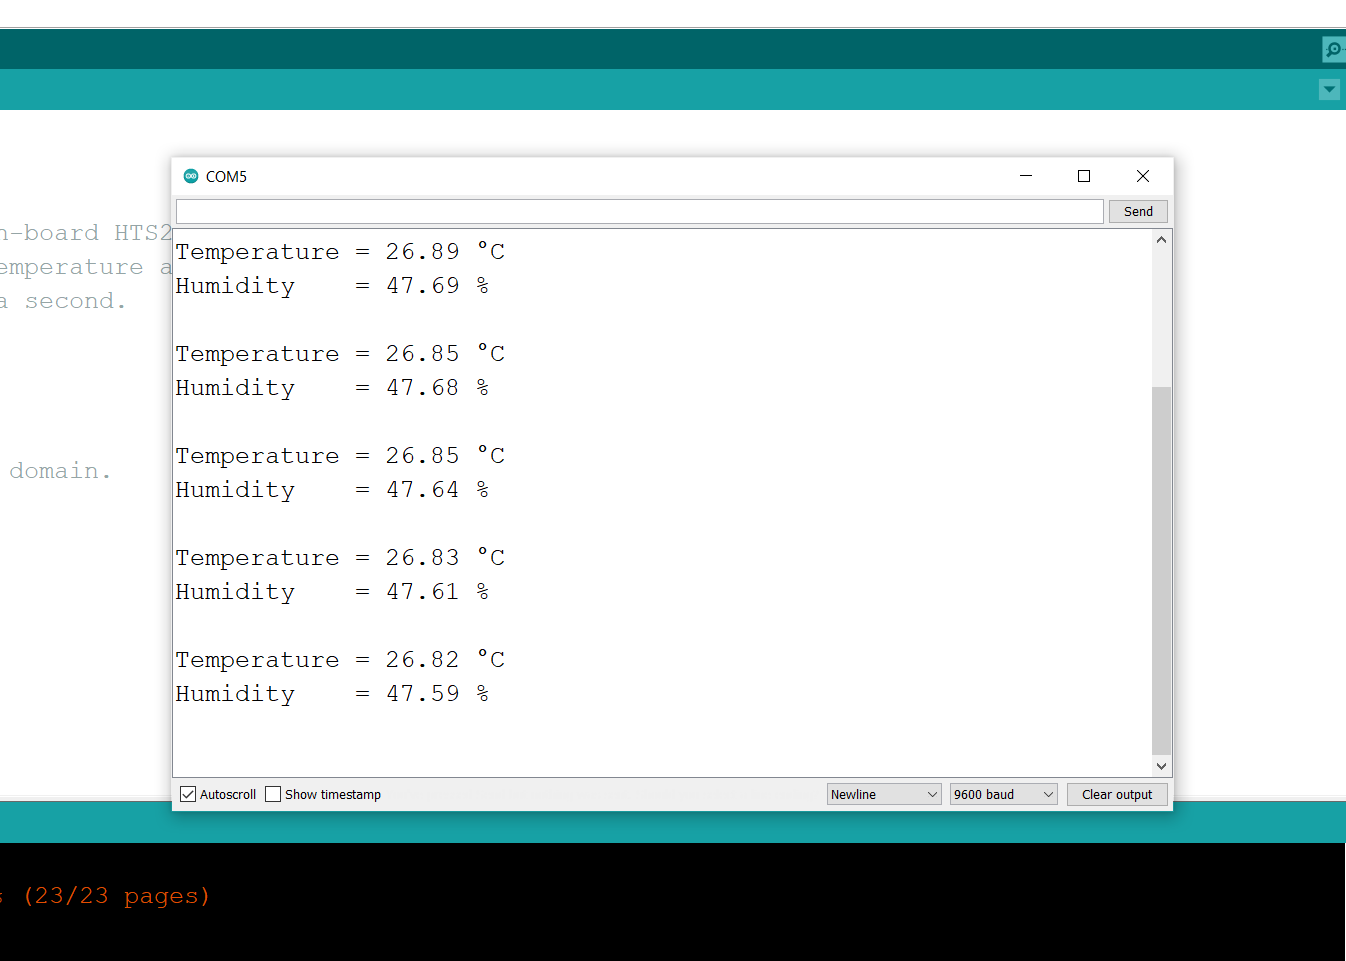
4- The update of Temperature and Humidity could be seen:
Code:
/*
  HTS221 - Read Sensors

  This example reads data from the on-board HTS221 sensor of the
  Nano 33 BLE Sense and prints the temperature and humidity sensor
  values to the Serial Monitor once a second.

  The circuit:
  - Arduino Nano 33 BLE Sense

  This example code is in the public domain.
*/

#include <Arduino_HTS221.h>

void setup() {
  Serial.begin(9600);
  while (!Serial);

  if (!HTS.begin()) {
    Serial.println("Failed to initialize humidity temperature sensor!");
    while (1);
  }
}

void loop() {
  // read all the sensor values
  float temperature = HTS.readTemperature();
  float humidity    = HTS.readHumidity();

  // print each of the sensor values
  Serial.print("Temperature = ");
  Serial.print(temperature);
  Serial.println(" °C");

  Serial.print("Humidity    = ");
  Serial.print(humidity);
  Serial.println(" %");

  // print an empty line
  Serial.println();

  // wait 1 second to print again
  delay(1000);
}
built in Pressure
It works as the same idea of the temperature sensor:
Video
Code
/*
  LPS22HB - Read Pressure

  This example reads data from the on-board LPS22HB sensor of the
  Nano 33 BLE Sense and prints the temperature and pressure sensor
  value to the Serial Monitor once a second.

  The circuit:
  - Arduino Nano 33 BLE Sense

  This example code is in the public domain.
*/

#include <Arduino_LPS22HB.h>

void setup() {
  Serial.begin(9600);
  while (!Serial);

  if (!BARO.begin()) {
    Serial.println("Failed to initialize pressure sensor!");
    while (1);
  }
}

void loop() {
  // read the sensor value
  float pressure = BARO.readPressure();

  // print the sensor value
  Serial.print("Pressure = ");
  Serial.print(pressure);
  Serial.println(" kPa");

  float temperature = BARO.readTemperature();

  // print the sensor value
  Serial.print("Temperature = ");
  Serial.print(temperature);
  Serial.println(" C");

  // print an empty line
  Serial.println();

  // wait 1 second to print again
  delay(1000);
}
Output
Servo
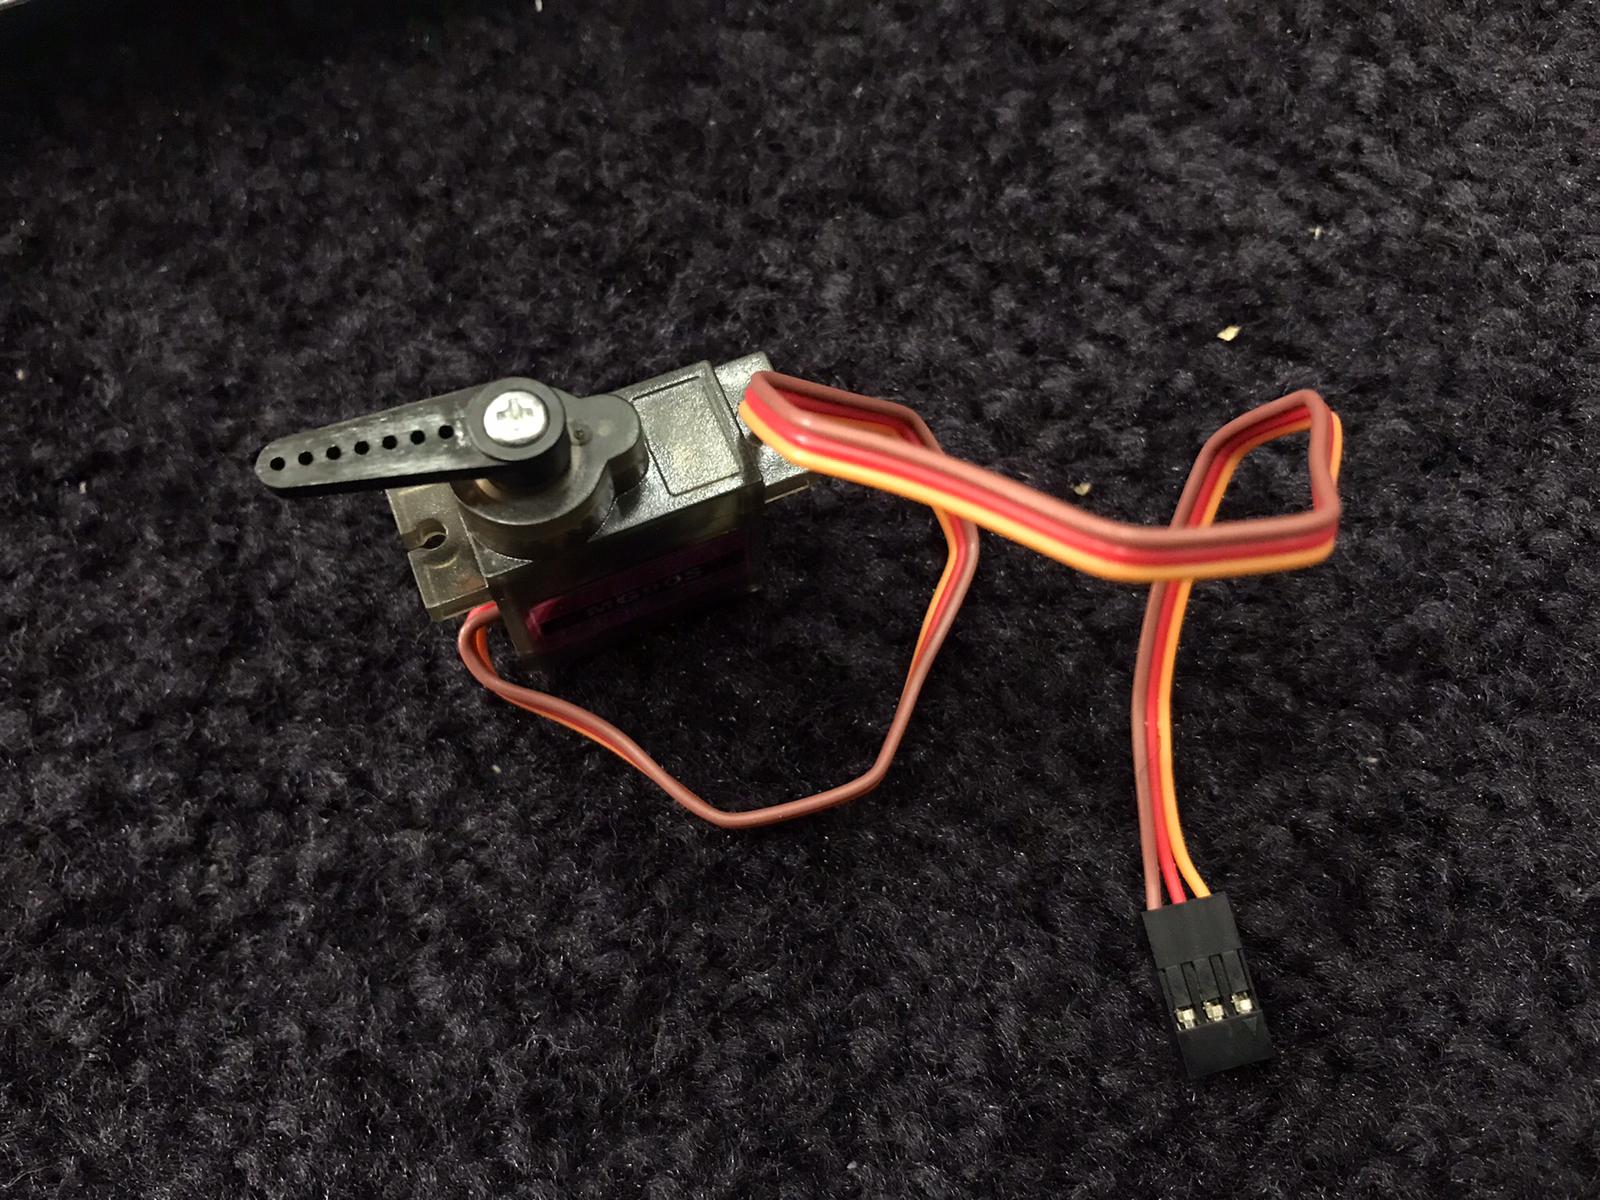
What is servo?
Servo motors or “servos”, as they are known, are electronic devices and rotary or linear actuators that rotate and push parts of a machine with precision(1)
we have:
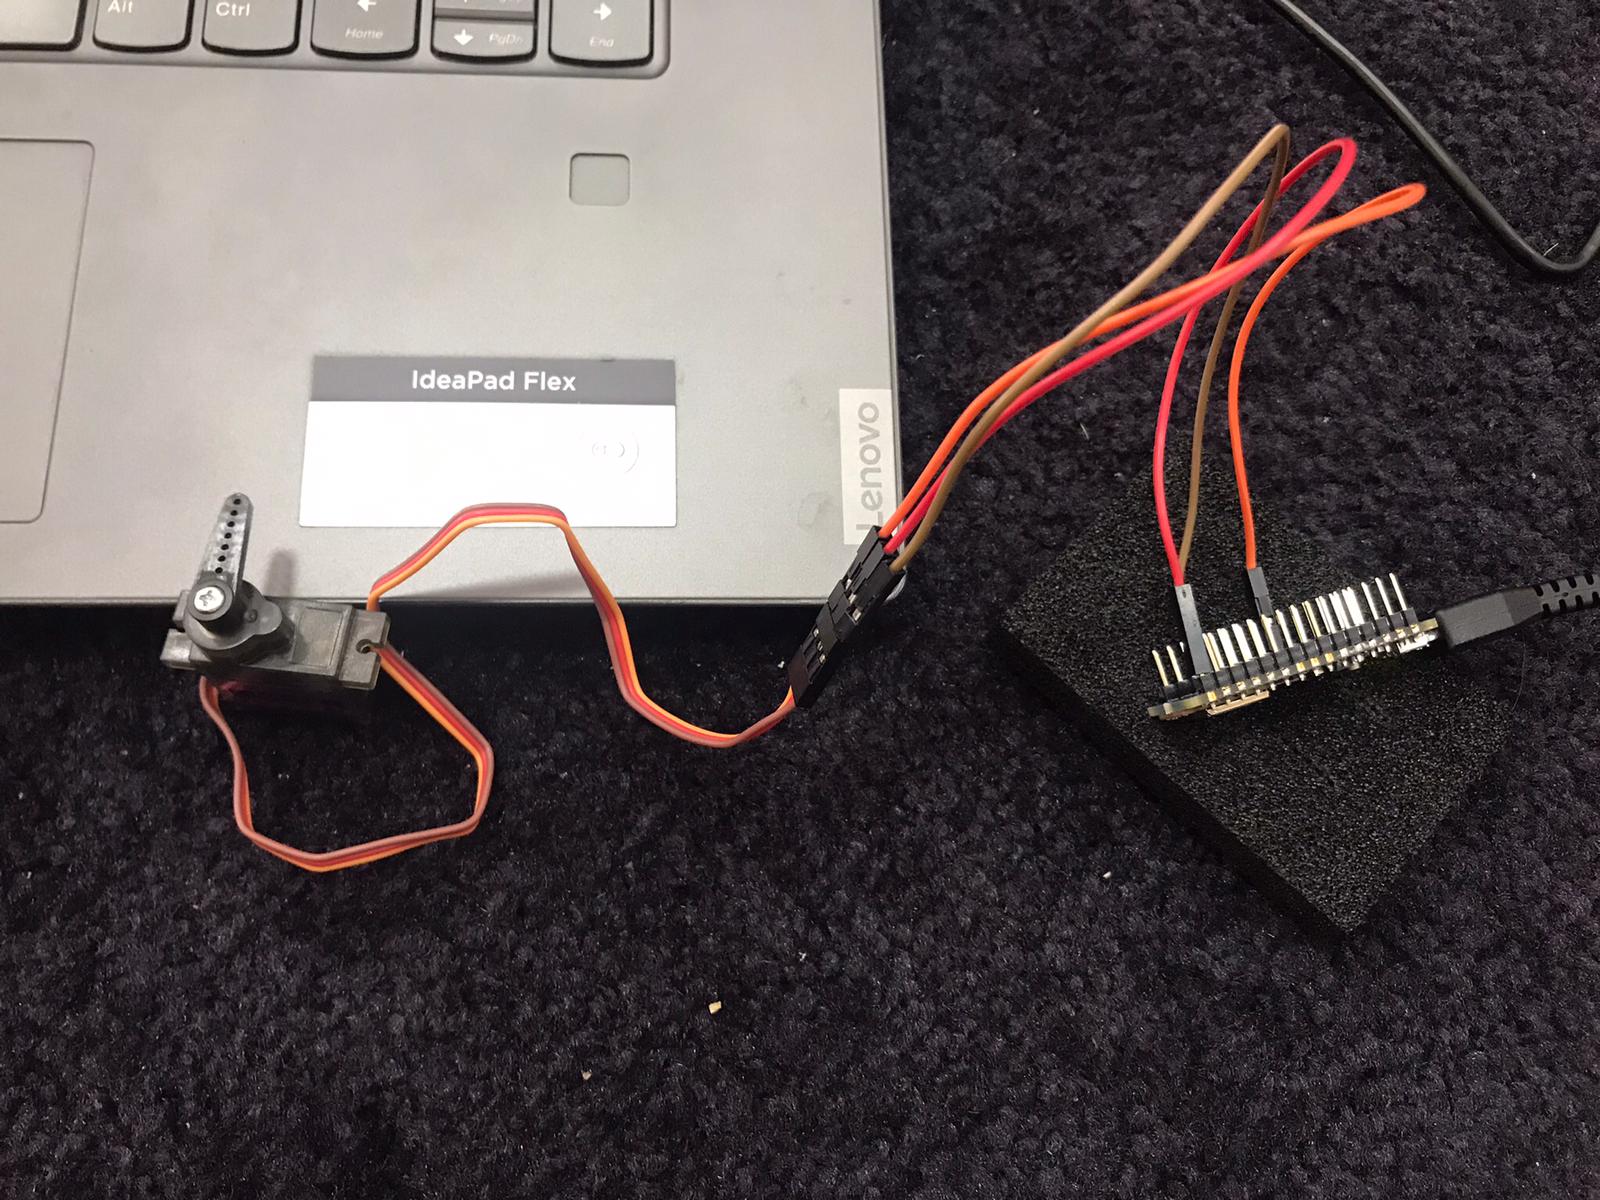
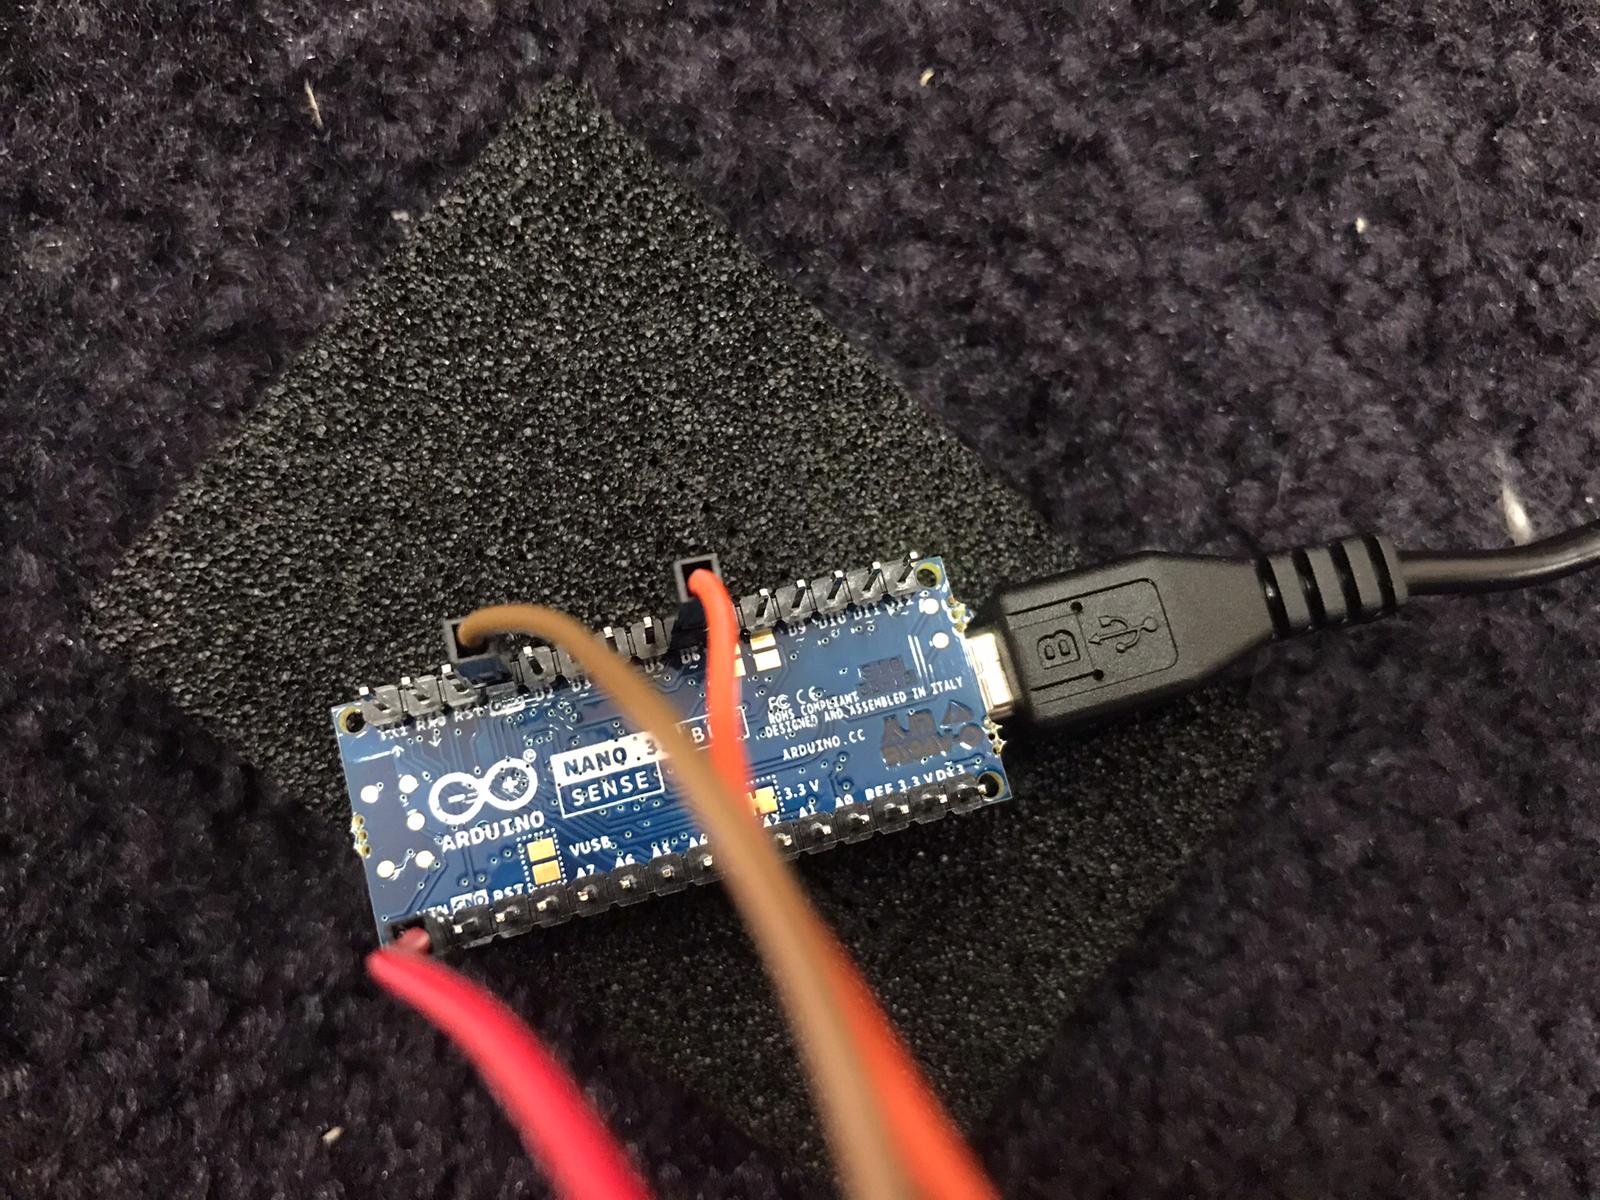
1- Servo:
2- Jumper wires:
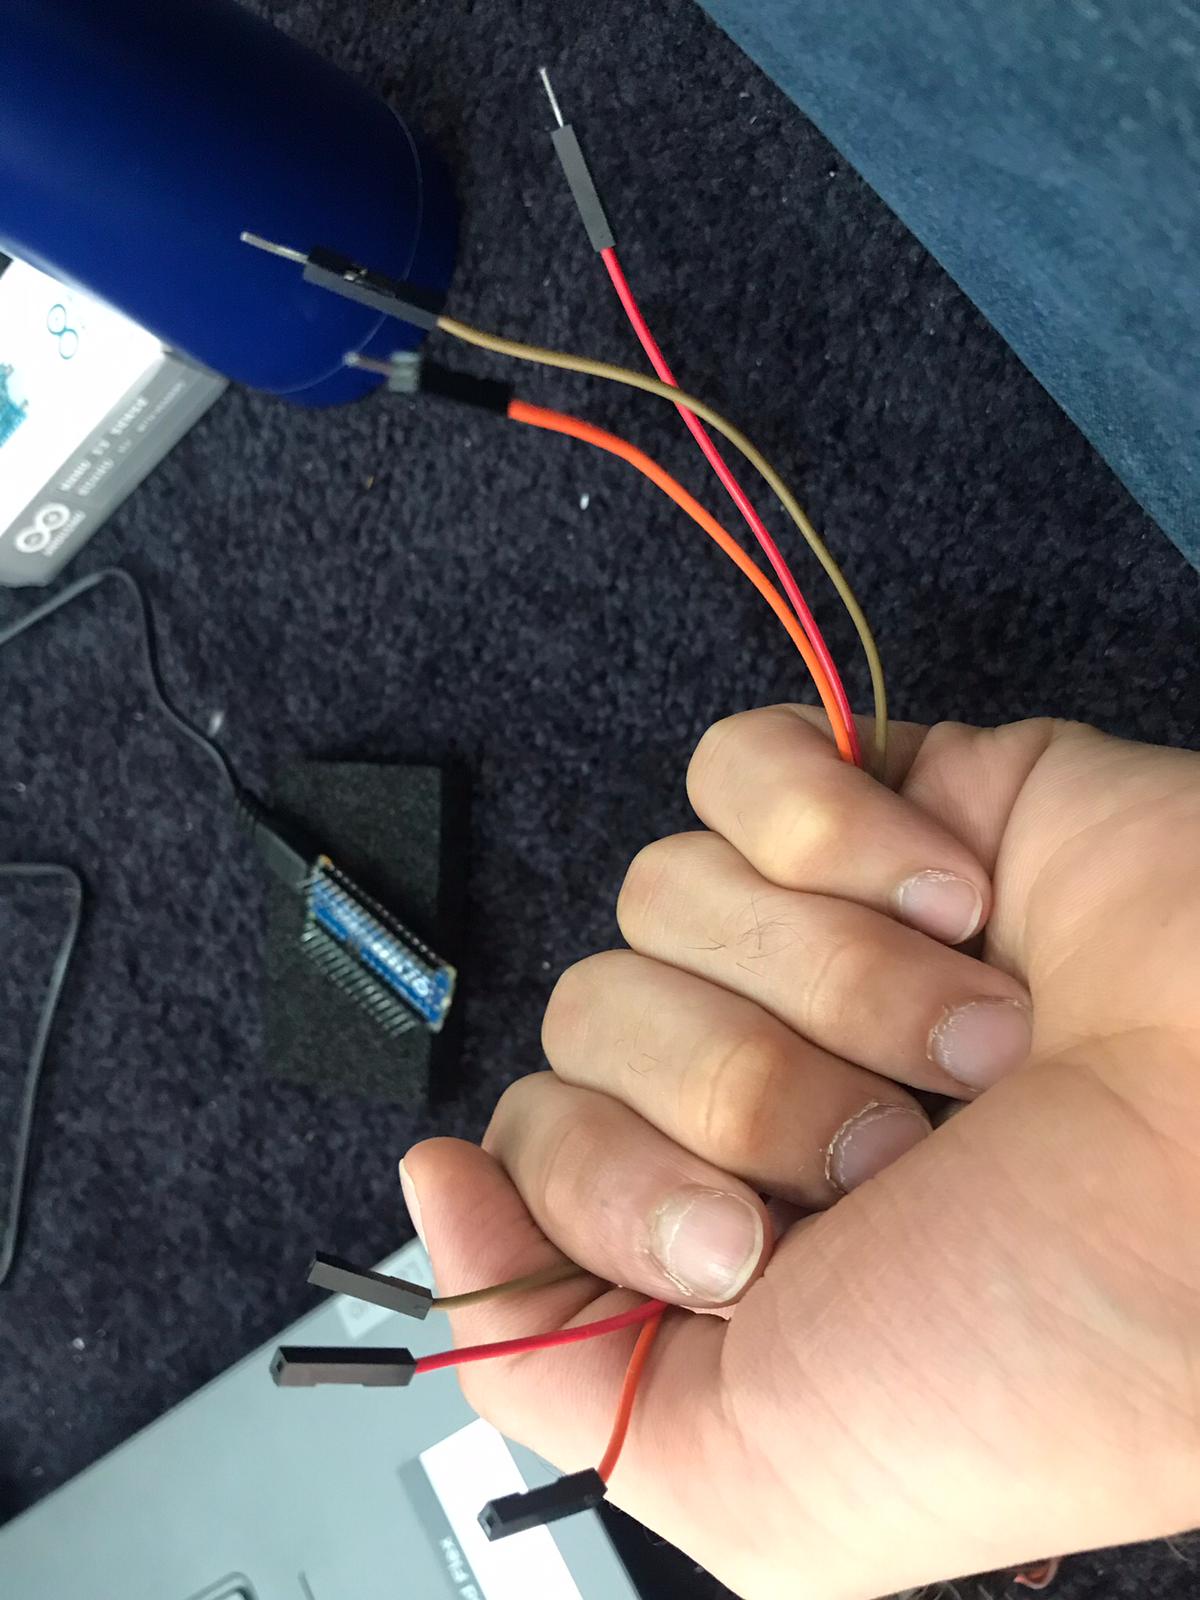
3- Connecting, of servo:
-The ground to ground of arduino.
-The power to Vin of arduino.
-The digital part to D6 of arduino.
Video
-Using Sweep example that can be found in Arduino IDE: (File->Examples->Servo->Sweep)
-Making the change of the angle as fast as possible:
Code
1- Original version:
/* Sweep
  by BARRAGAN <http://barraganstudio.com>
  This example code is in the public domain.

  modified 8 Nov 2013
  by Scott Fitzgerald
  https://www.arduino.cc/en/Tutorial/LibraryExamples/Sweep
*/

#include <Servo.h>

Servo myservo;  // create servo object to control a servo
// twelve servo objects can be created on most boards

int pos = 0;    // variable to store the servo position

void setup() {
  myservo.attach(6);  // attaches the servo on pin 6 to the servo object
}

void loop() {
  for (pos = 0; pos <= 180; pos += 1) { // goes from 0 degrees to 180 degrees
  // in steps of 1 degree
  myservo.write(pos);              // tell servo to go to position in variable 'pos'
  delay(1000);                       // waits 15 ms for the servo to reach the position
  }
  for (pos = 180; pos >= 0; pos -= 1) { // goes from 180 degrees to 0 degrees
  myservo.write(pos);              // tell servo to go to position in variable 'pos'
  delay(1000);                       // waits 15 ms for the servo to reach the position
  }
}
2- The changed version, which involves changing “pos” of the servo from 0 to 180 instantaneously (i.e. with fastest possible speed.)
void loop() {
  //for (pos = 0; pos <= 180; pos += 1) { // goes from 0 degrees to 180 degrees
  // in steps of 1 degree
  myservo.write(0);              // tell servo to go to position in variable 'pos'
  delay(1000);                       // waits 15 ms for the servo to reach the position
  //}
  //for (pos = 180; pos >= 0; pos -= 1) { // goes from 180 degrees to 0 degrees
  myservo.write(180);              // tell servo to go to position in variable 'pos'
  delay(1000);                       // waits 15 ms for the servo to reach the position
  //}
Input and Output
Temperature and RGB LED Module
What is RGB LED Module?
RGB LED modules can emit various colors of light. They are manufactured by packaging three LEDs of red, green, and blue into a transparent or semitransparent plastic shell and have four pins. The three primary colors, red, green, and blue, can be mixed and compose all kinds of colors by brightness, so you can make an RGB LED emit colorful light by controlling the circuit.(2)
I wrote a code which links the temperature input of the built-in temperature sensor, to the RGB LED Module, by the following way:
- If the temperature is more than 26 C, the light will be red colored.
- If the temperature is between 25.5 and 26 C, the light will be green colored.
- If the temperature is less than 25.5 C, the light will be blue colored.
I got help from the code in this website: create.arduino.cc
Video
Code
/*
  HTS221 - Read Sensors

  This example reads data from the on-board HTS221 sensor of the
  Nano 33 BLE Sense and prints the temperature and humidity sensor
  values to the Serial Monitor once a second.

  The circuit:
  - Arduino Nano 33 BLE Sense

  This example code is in the public domain.
*/

#include <Arduino_HTS221.h>

int redpin = 11; //select the pin for the red LED
int bluepin =10; // select the pin for the  blue LED
int greenpin =9;// select the pin for the green LED

int val;

void setup() {
  pinMode(redpin, OUTPUT);
  pinMode(bluepin, OUTPUT);
  pinMode(greenpin, OUTPUT);
  Serial.begin(9600);
  while (!Serial);

  if (!HTS.begin()) {
    Serial.println("Failed to initialize humidity temperature sensor!");
    while (1);
  }
}

void loop() {
  // read all the sensor values
  float temperature = HTS.readTemperature();
  float humidity    = HTS.readHumidity();

  //color
  if(temperature>26)
  {
   analogWrite(11, 255);
   analogWrite(10, 0);
   analogWrite(9, 0);
  }
  else if(temperature>25.5)
  {
   analogWrite(11, 0);
   analogWrite(10, 0);
   analogWrite(9, 255);
  }
  else
  {
   analogWrite(11, 0);
   analogWrite(10, 255);
   analogWrite(9, 0);
  }

  // print each of the sensor values
  Serial.print("Temperature = ");
  Serial.print(temperature);
  Serial.println(" °C");

  Serial.print("Humidity    = ");
  Serial.print(humidity);
  Serial.println(" %");

  // print an empty line
  Serial.println();

  // wait 1 second to print again
  delay(1000);
}
Temperature and Servo
I wrote a code which links the temperature input of the built-in temperature sensor, to the Servo Module, by the following way:
- If the temperature is 26, the servo will be at pos=180.
- If the temperature is 25, the servo will be at pos=0.
- If the temperature is between 25 and 26, the servo will be between pos 0 and 180.
Video
Code
/* Sweep
 by BARRAGAN <http://barraganstudio.com>
 This example code is in the public domain.

 modified 8 Nov 2013
 by Scott Fitzgerald
 https://www.arduino.cc/en/Tutorial/LibraryExamples/Sweep
*/

#include <Servo.h>
#include <Arduino_HTS221.h>

Servo myservo;  // create servo object to control a servo
// twelve servo objects can be created on most boards

int pos = 0;    // variable to store the servo position

void setup() {
  myservo.attach(9);  // attaches the servo on pin 9 to the servo object

  Serial.begin(9600);
  while (!Serial) ;

  if (!HTS.begin()) {
    Serial.println("Failed to initialize humidity temperature sensor!");
    while (1);
  }
}

void loop() {
  // read all the sensor values
  float temperature = HTS.readTemperature();
  float humidity    = HTS.readHumidity();

  //servo
  if(25<=temperature<=26)
  {
    myservo.write(180*(temperature-25));
  }

  // print each of the sensor values
  Serial.print("Temperature = ");
  Serial.print(temperature);
  Serial.println(" °C");

  Serial.print("Humidity    = ");
  Serial.print(humidity);
  Serial.println(" %");

  // print an empty line
  Serial.println();

  // wait 1 second to print again
  delay(100);

}
Sources:
(1) fujielectric.com