5. 3D printing and scanning
This week I worked on 3D Scanning some bodies, and 3D printing a design, as Individual assignments. As group assignment we tested the abilities of our 3D printer.
Group Assignment
- First part of group assignment is documented in my colleague page:
- Second part of group assignment:
We downloaded the test files from the website:
We downloaded the Application for slicing:
Steps of slicing the design
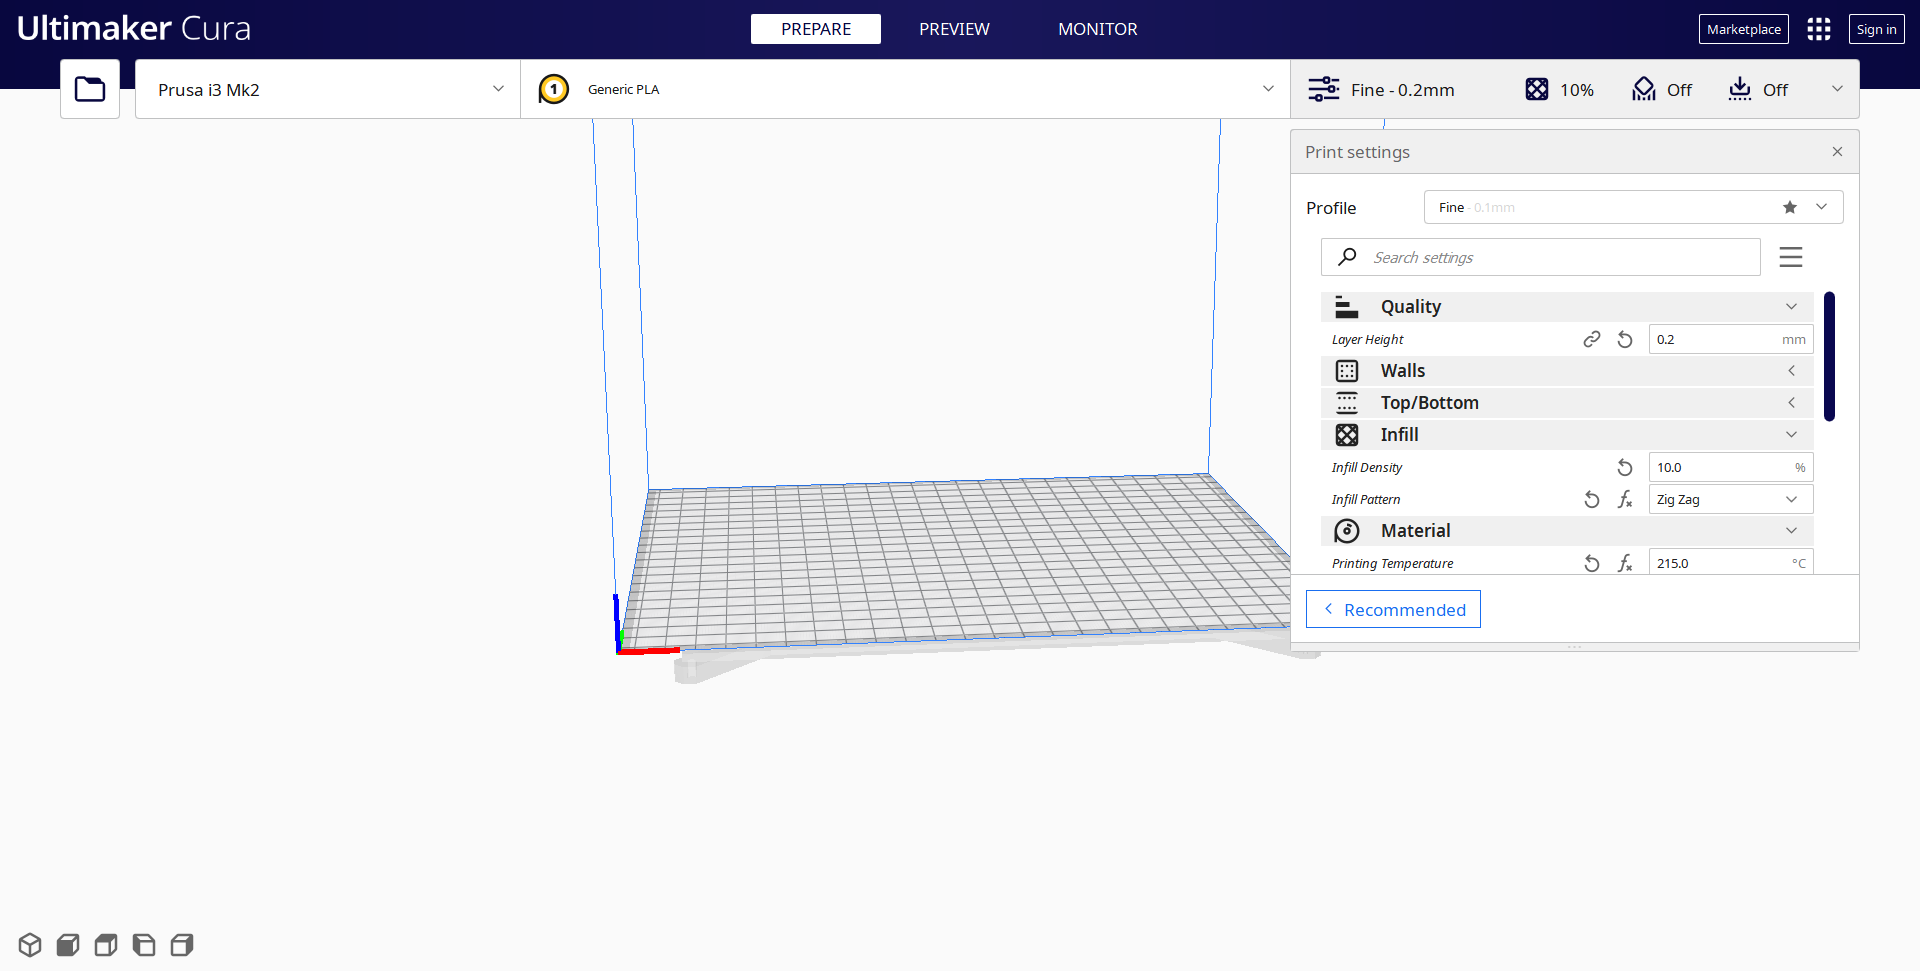
1- Open the Ultimaker Cura:
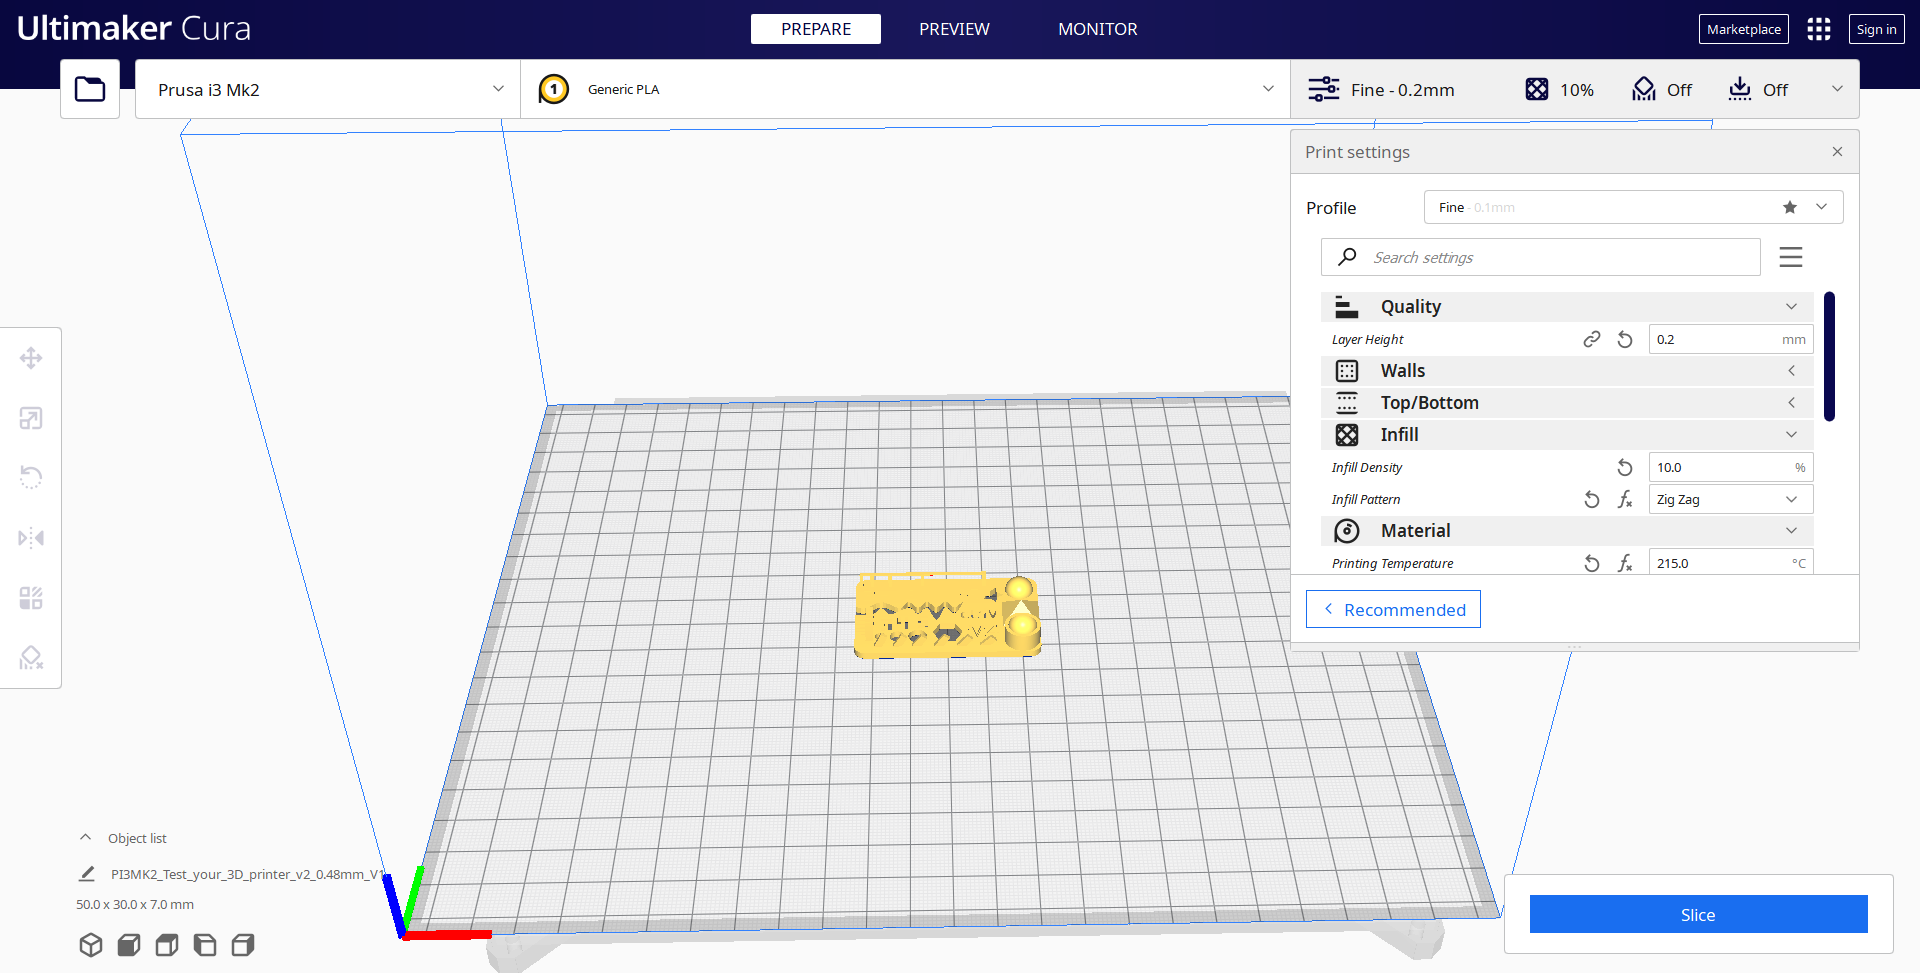
2- Import design files:
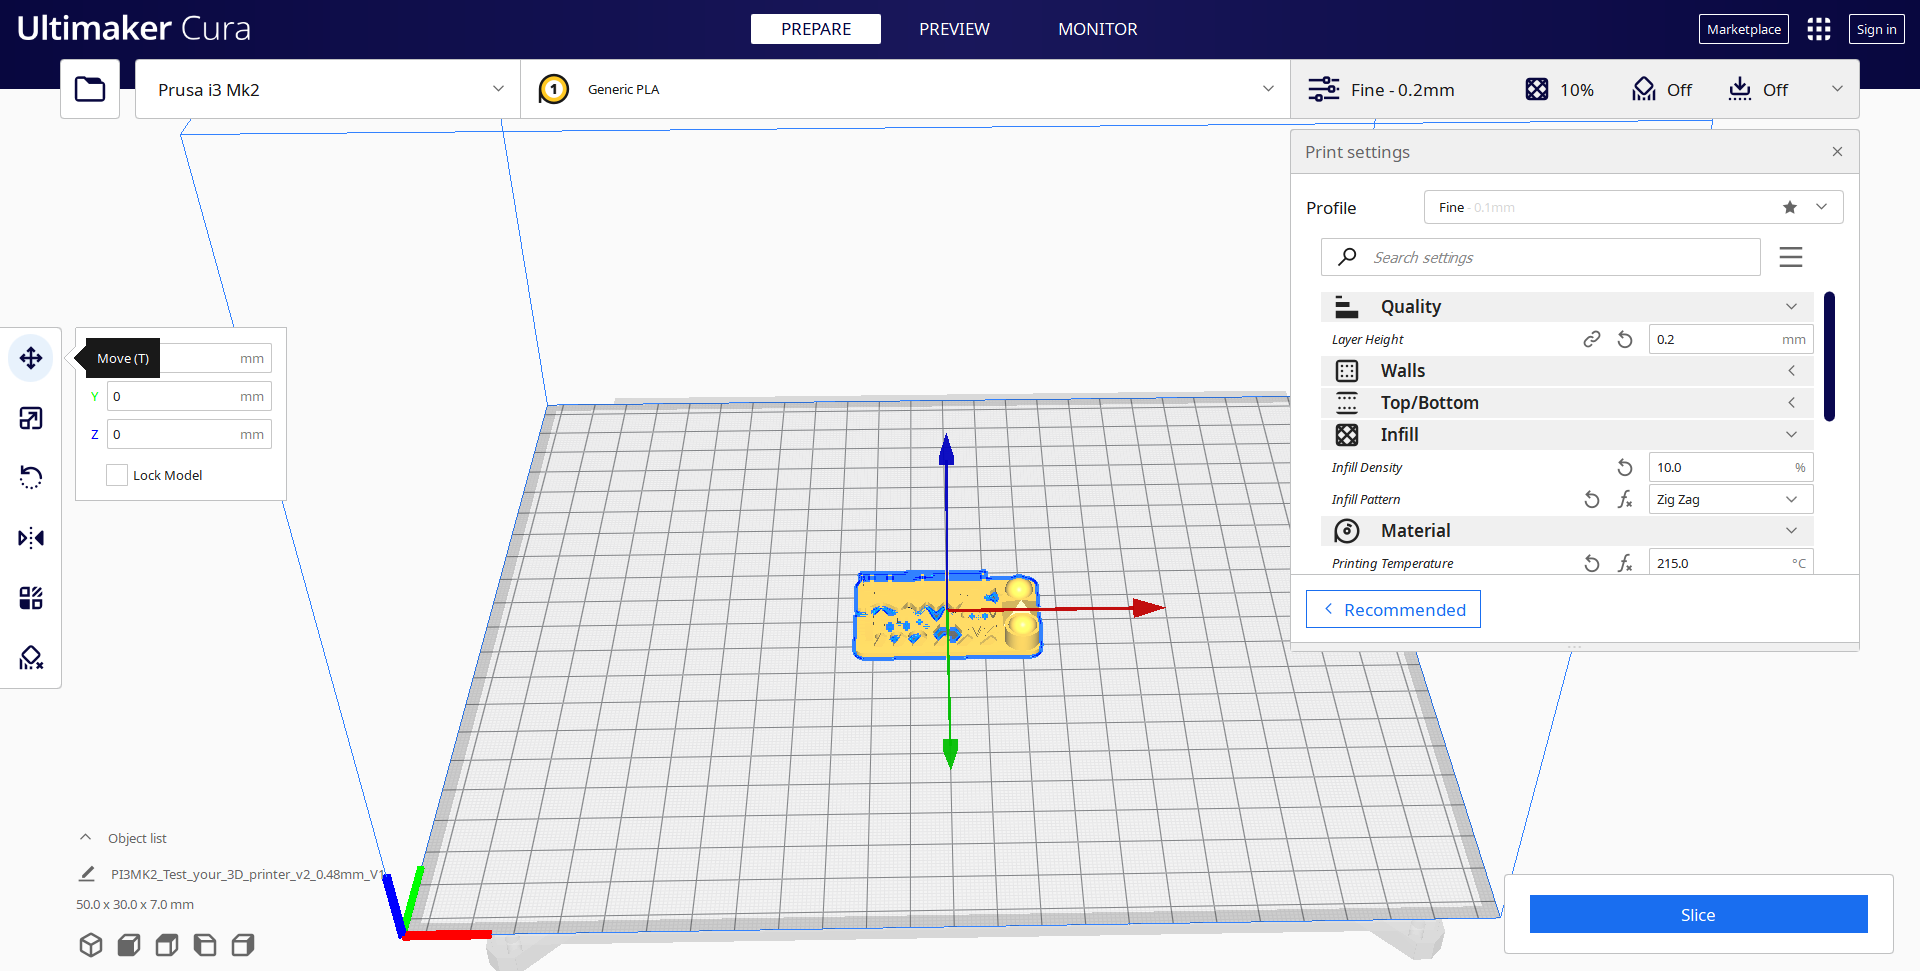
3- Use move tool to place the design in a good position:
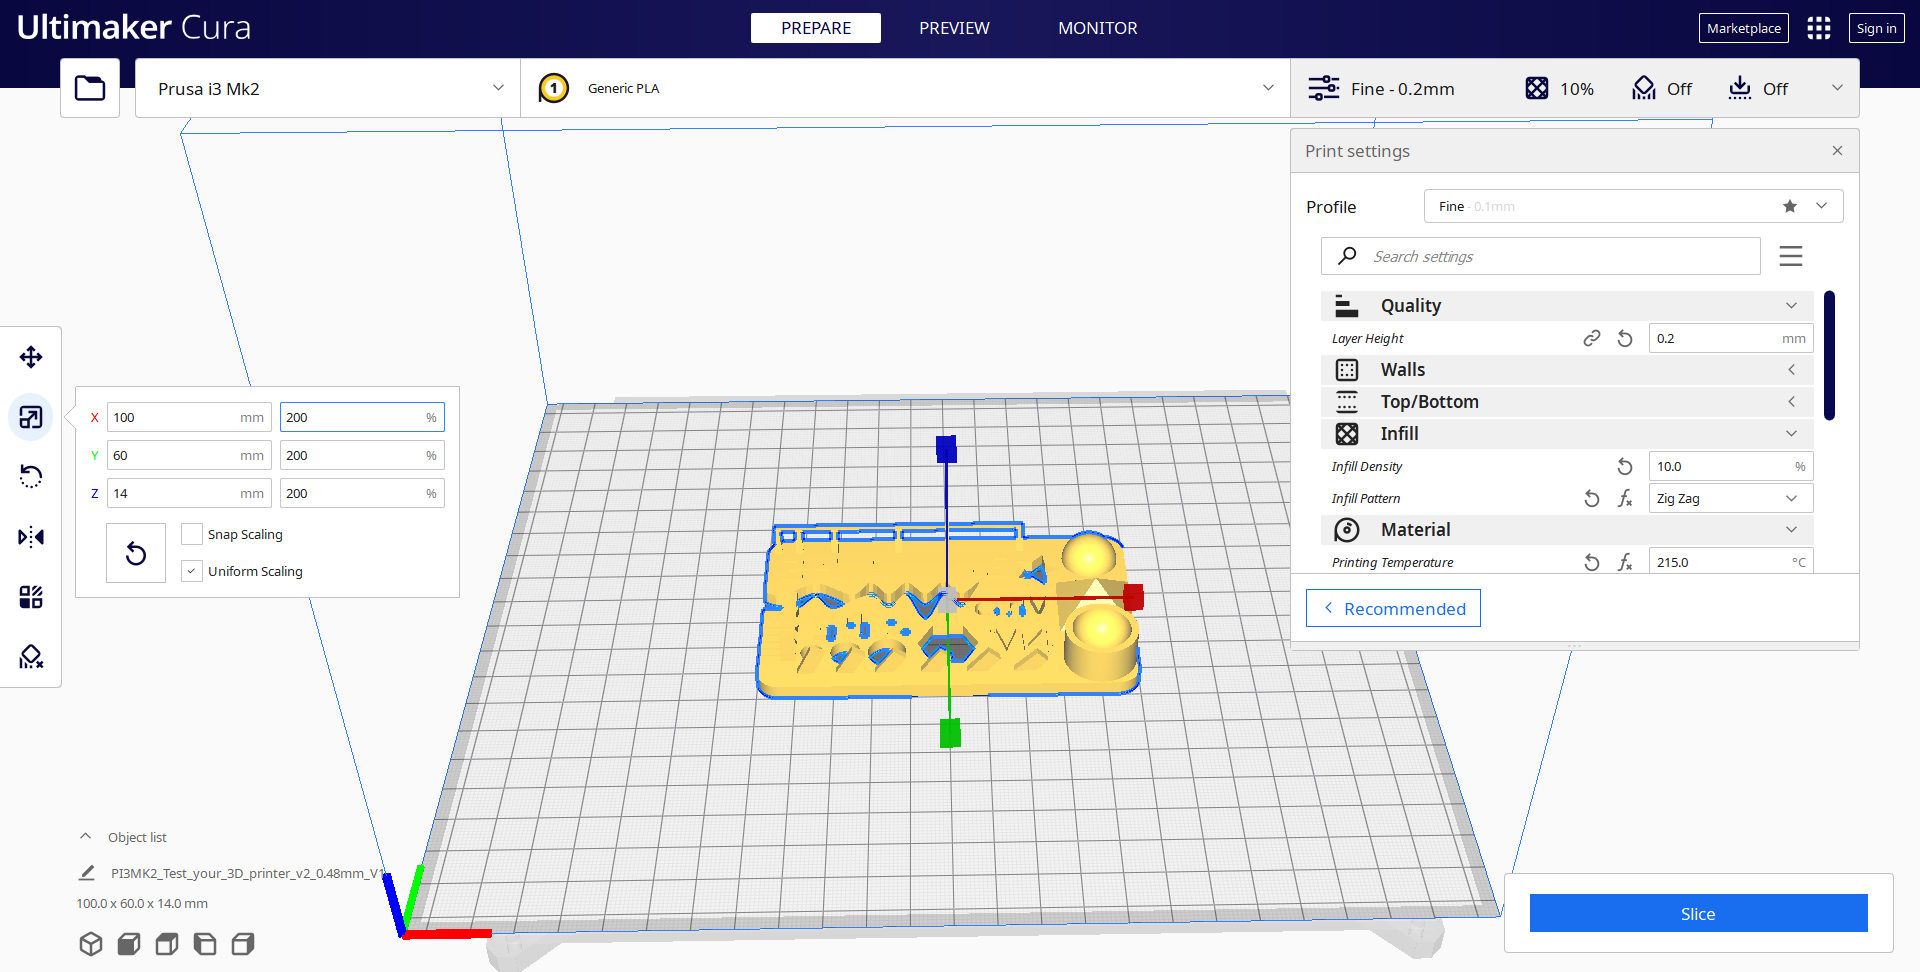
4- Change the size of the design from the Scale tool:
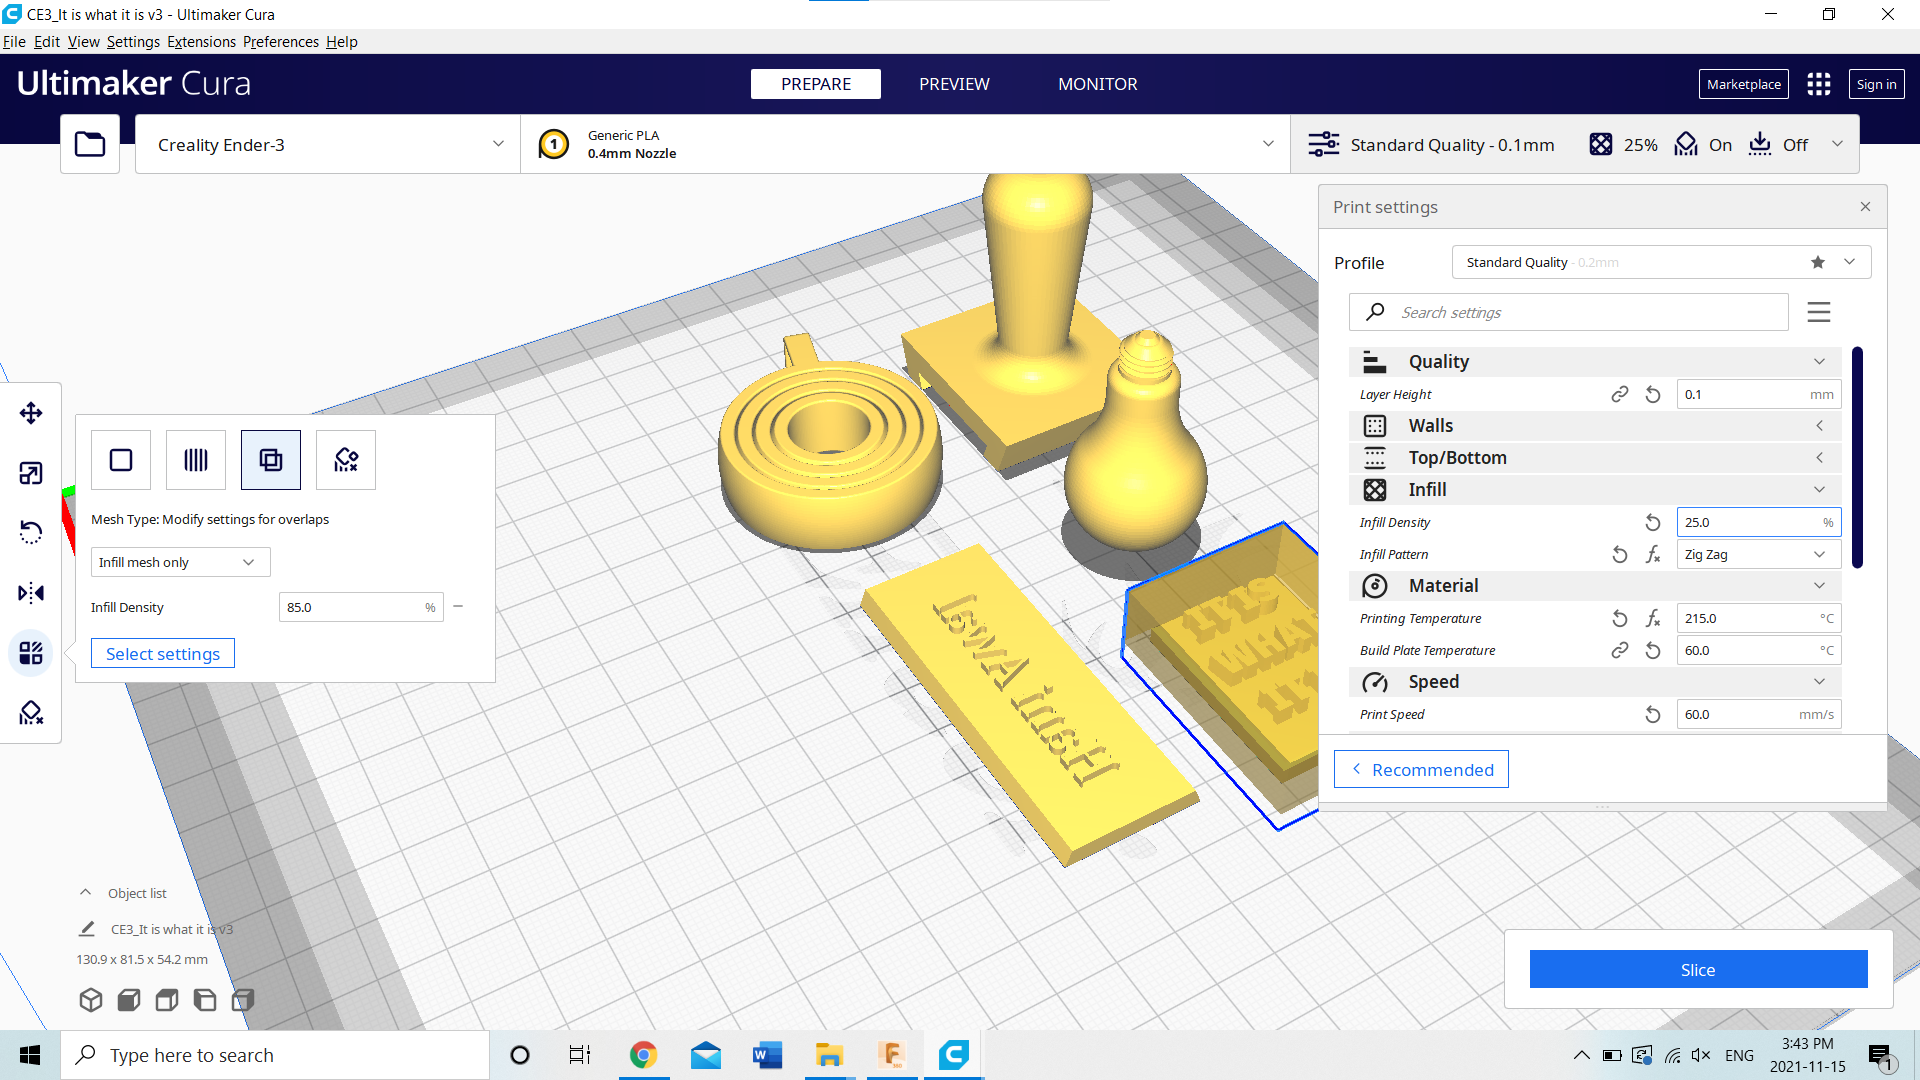
5- Choose Print settings:
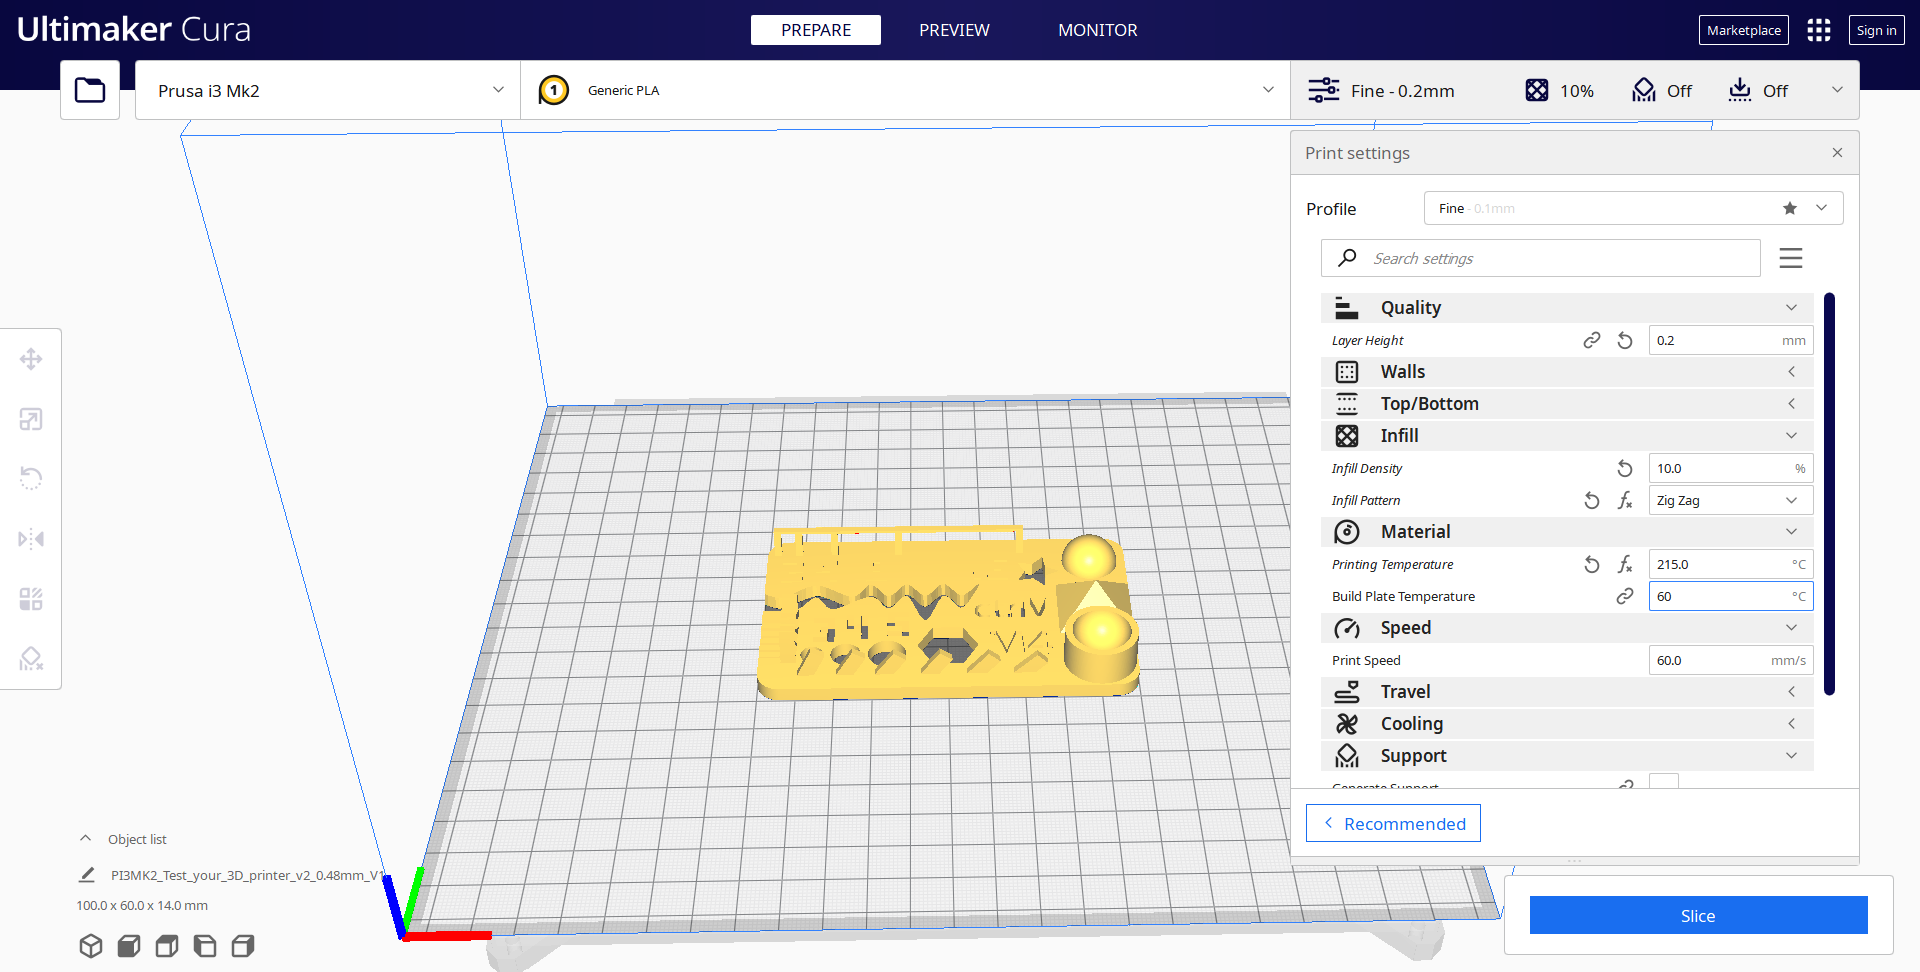
We adjusted these settings (which are explained in the group assignment in my colleague page):
Quality: the thickness of each layer.
Infill: Infill density and pattern.
Material: Printing temperature and build plate temperature.
Speed: Print speed.
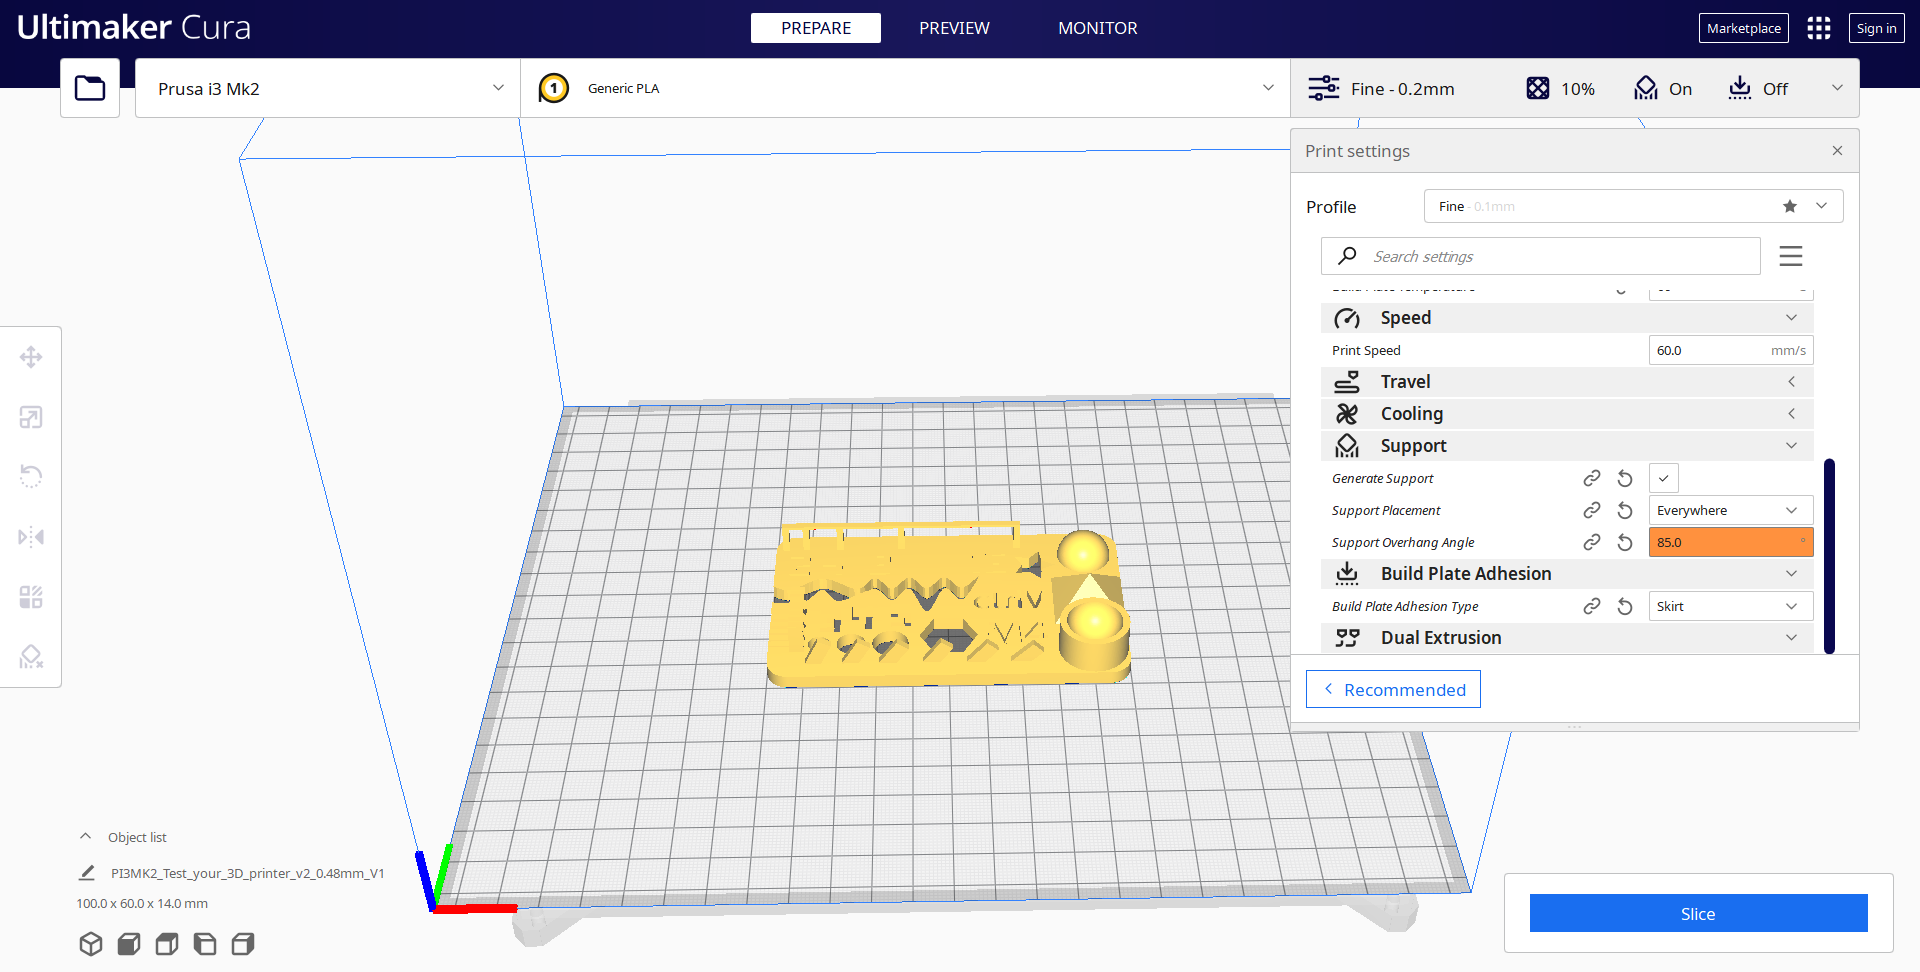
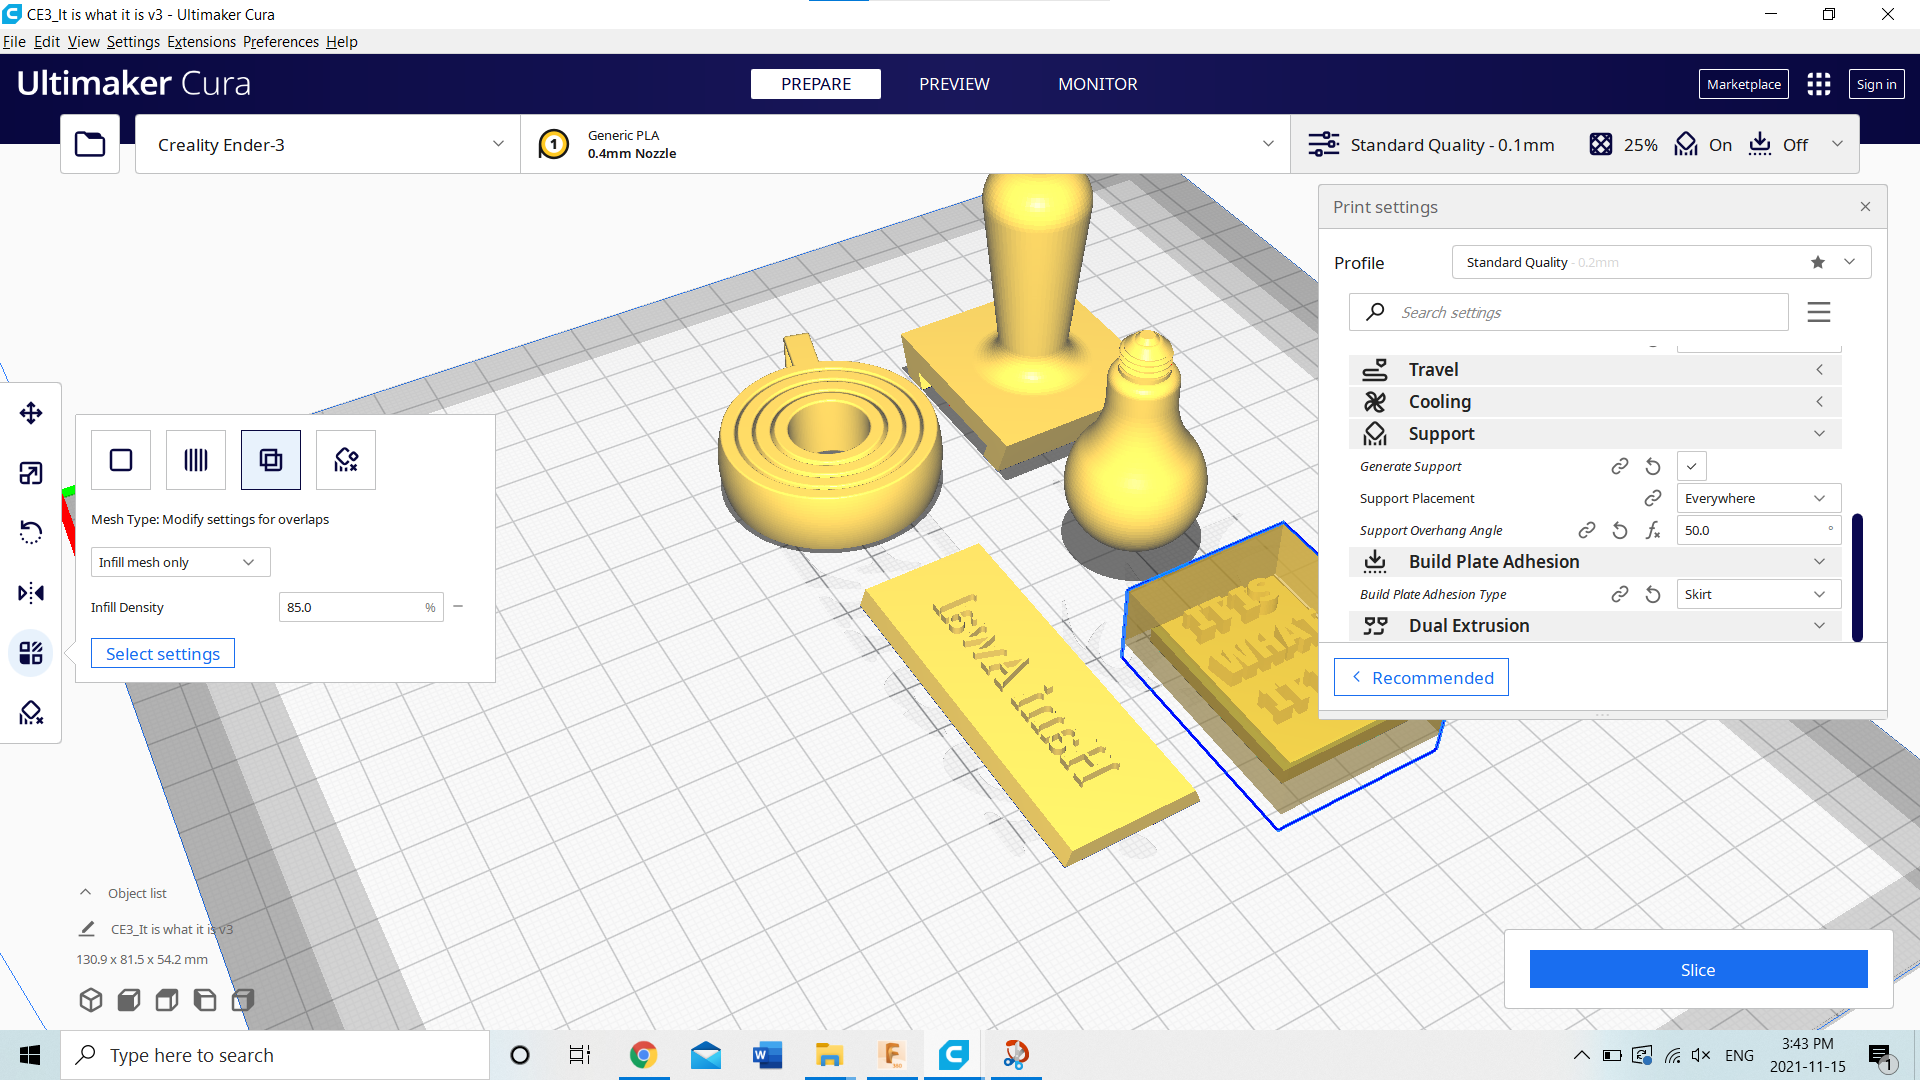
Support: Supporting parts of the model that have overhangs.
Build plate adhesion: the type of layer below or around the model.
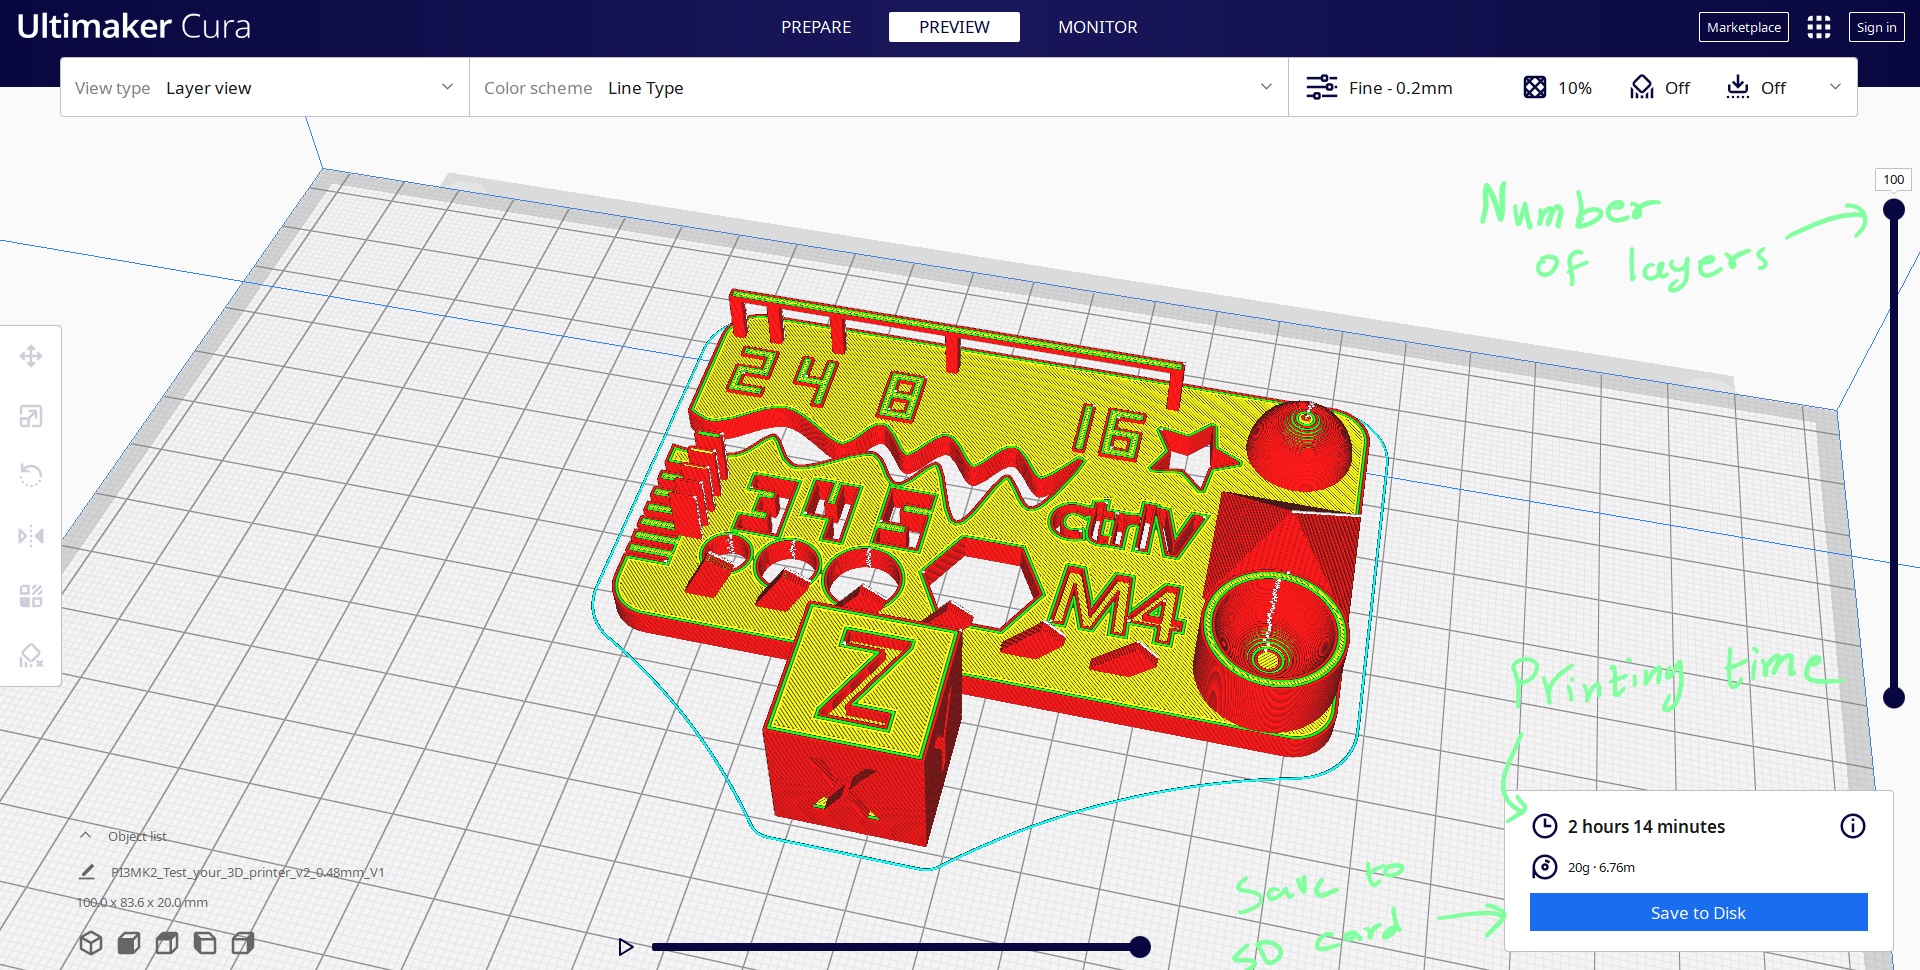
6- Click Slice:

7- Preview of final design, and save it to SD card:
Printing the design
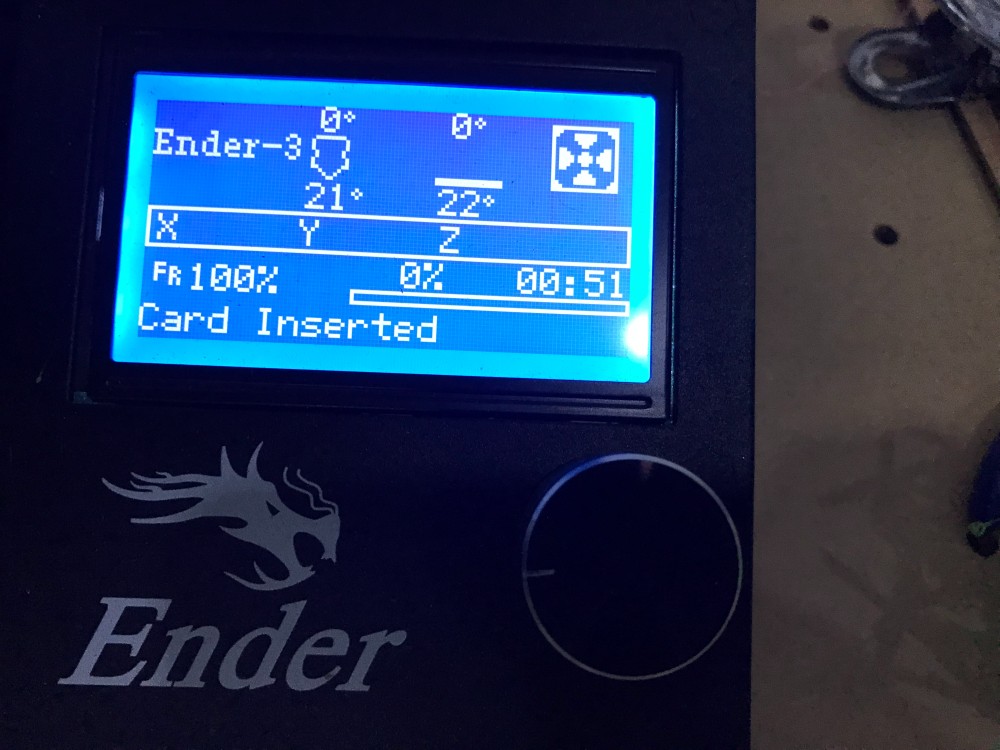
1- We inserted the SD card in the “PRUSA” printer
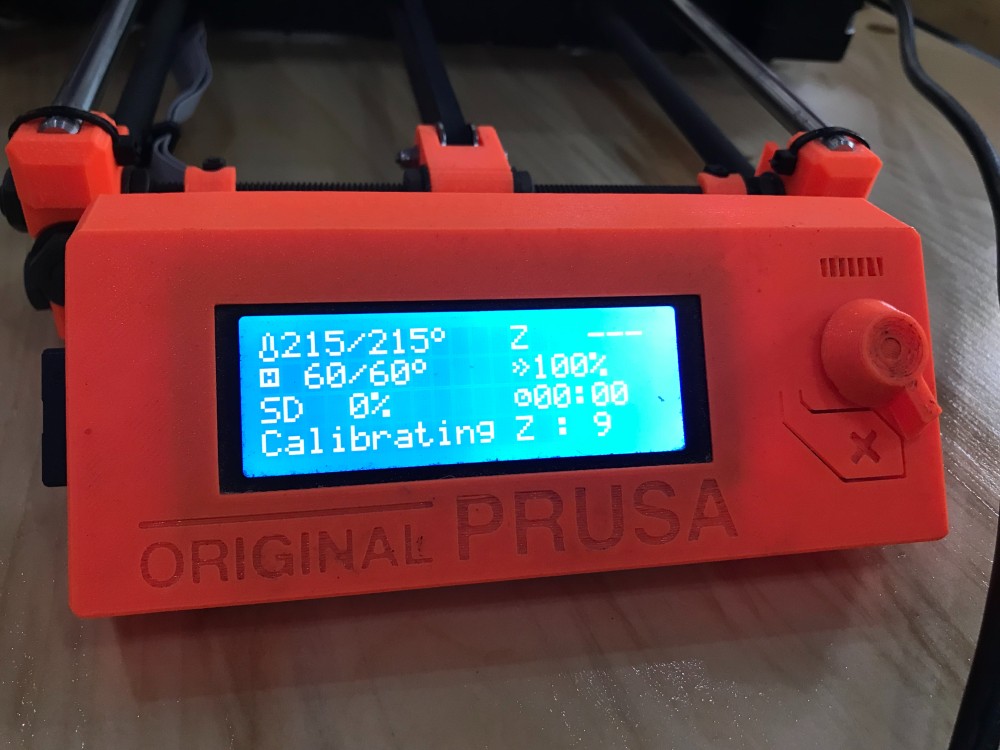
2- We choose printing from SD card
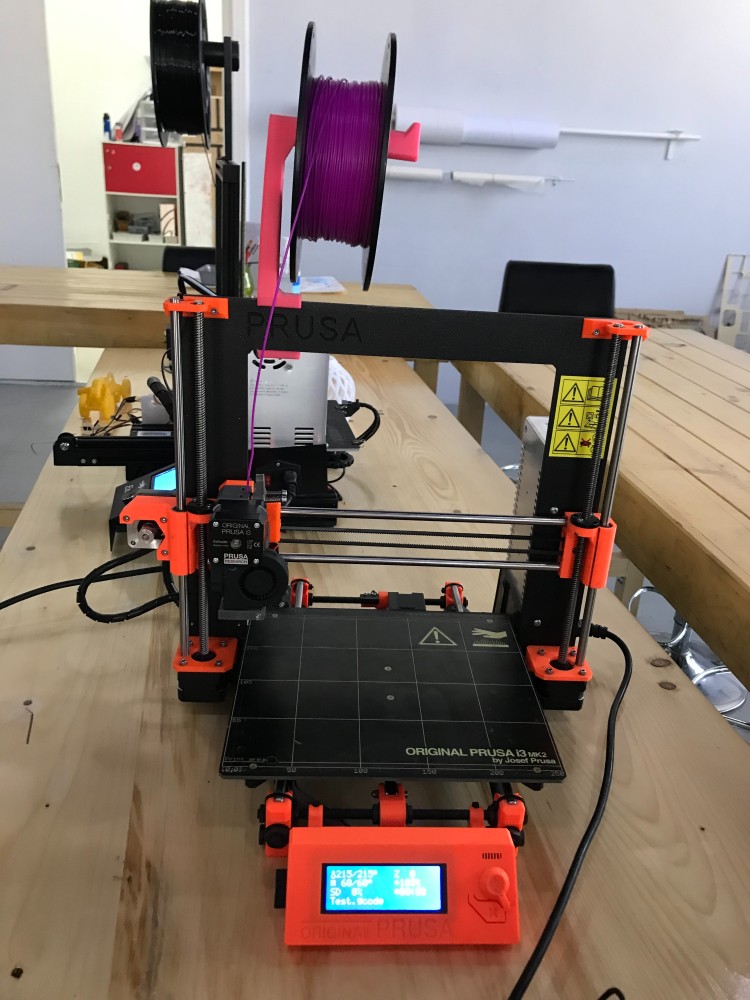
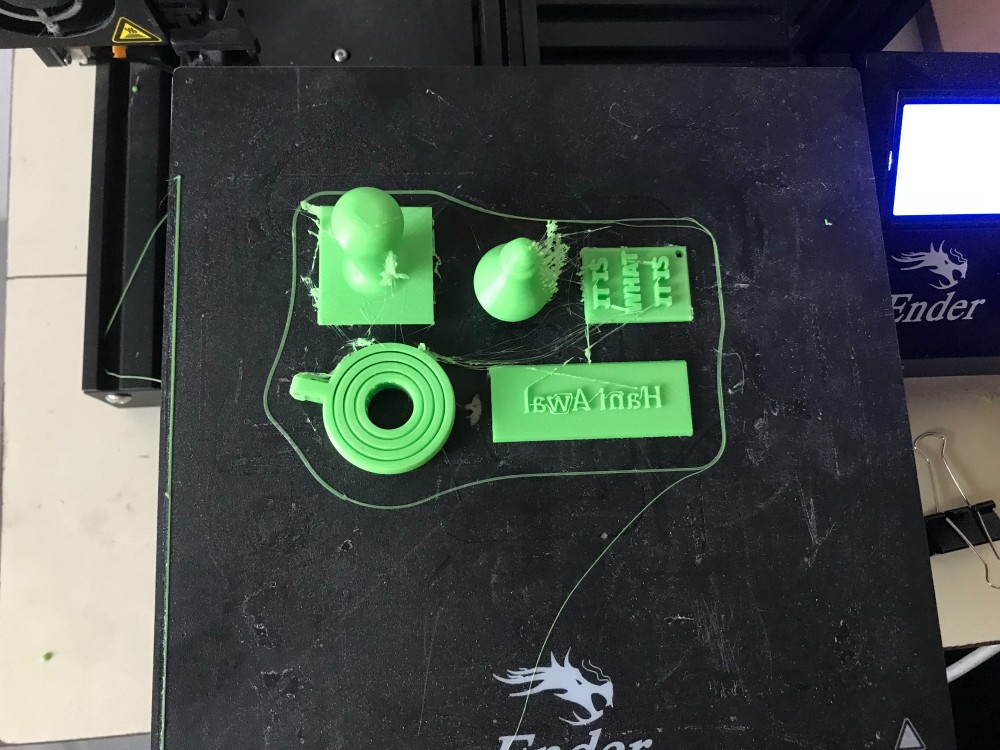
3- Final results:
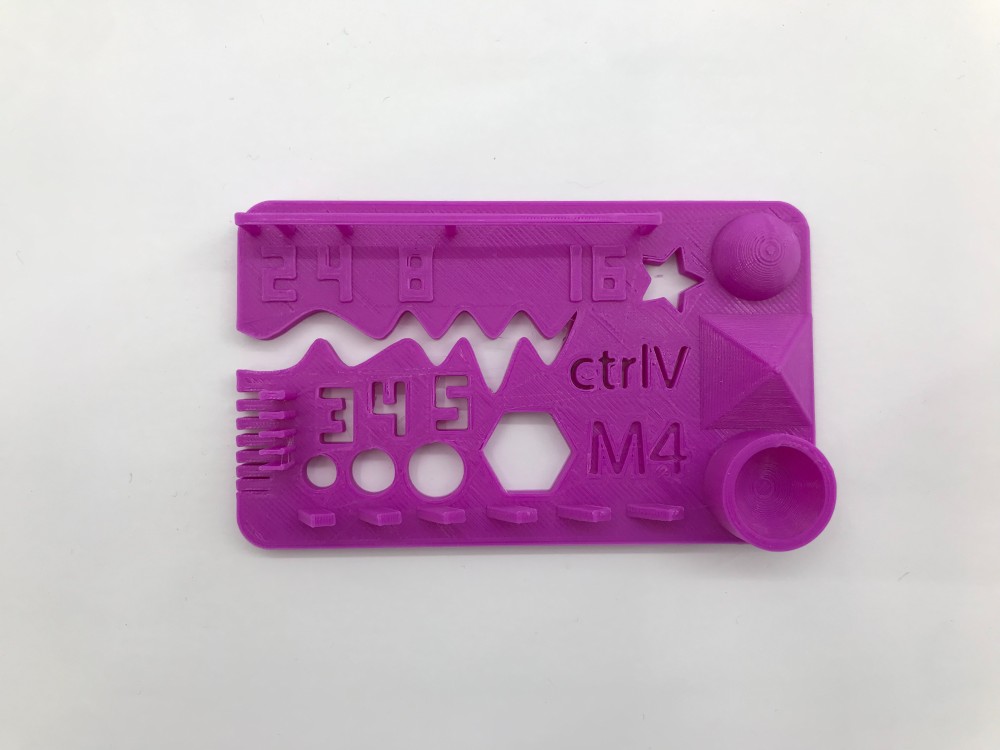
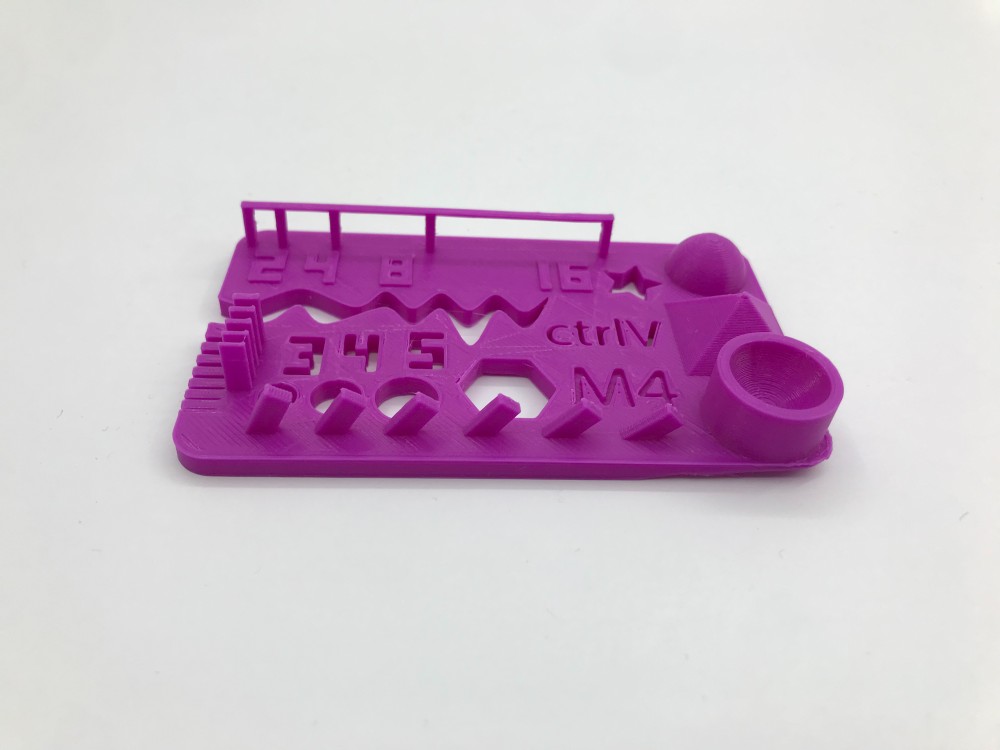
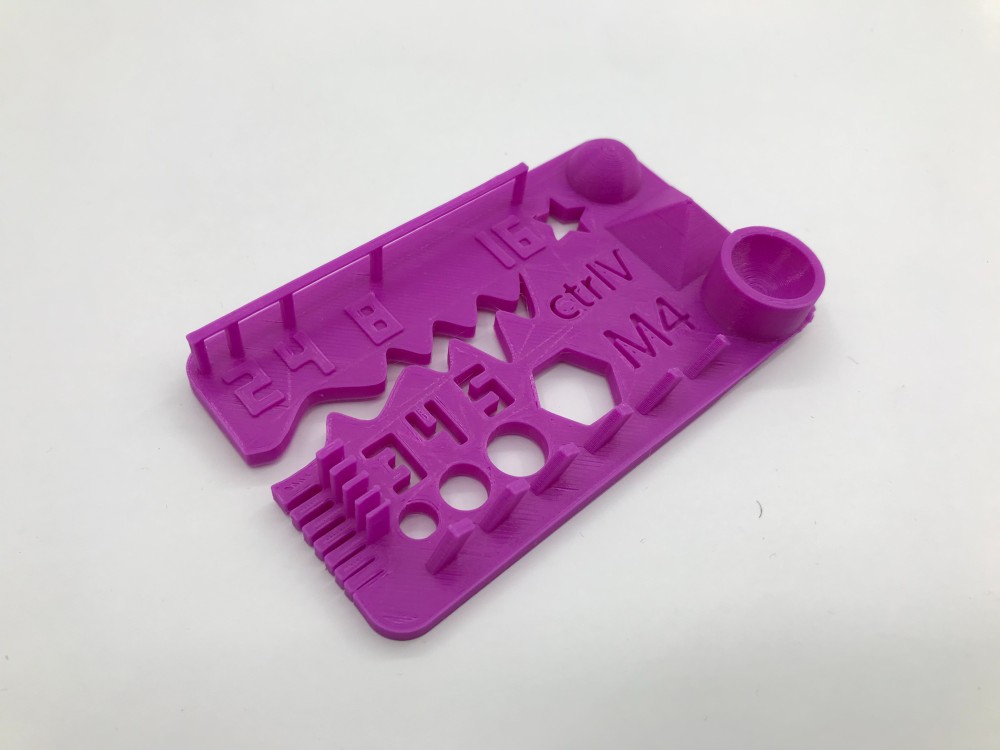
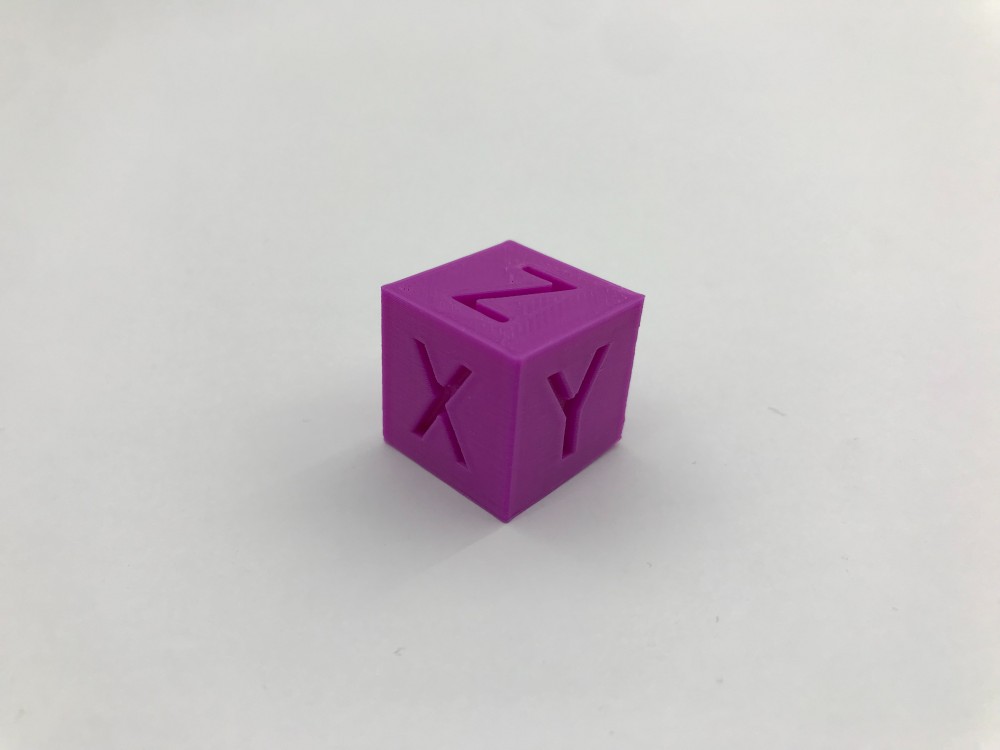
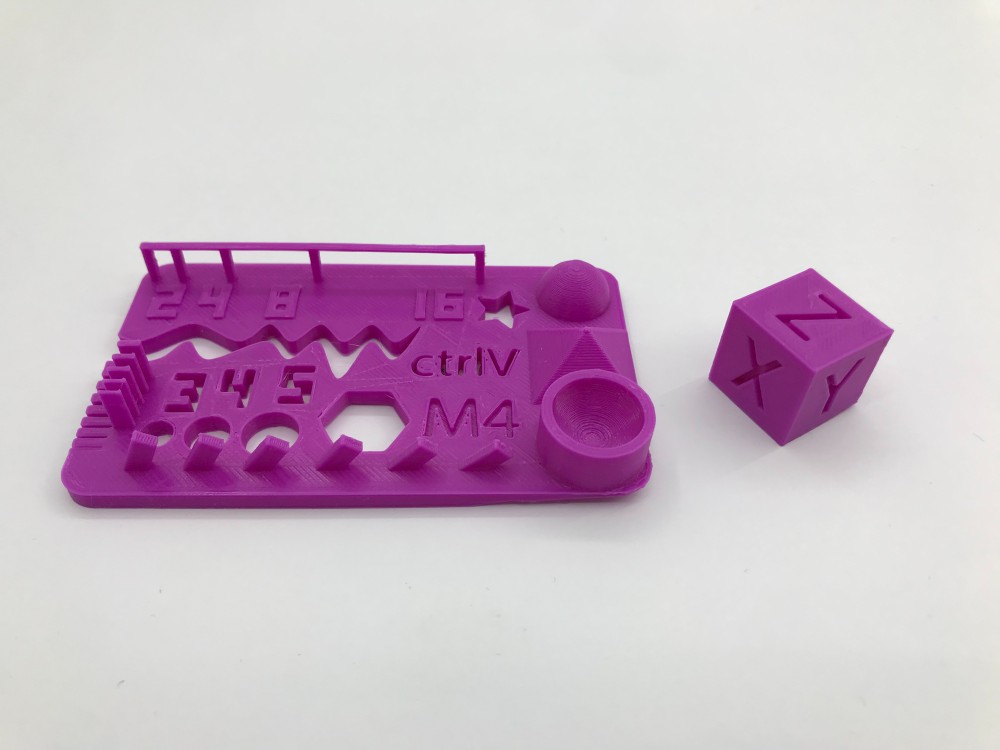
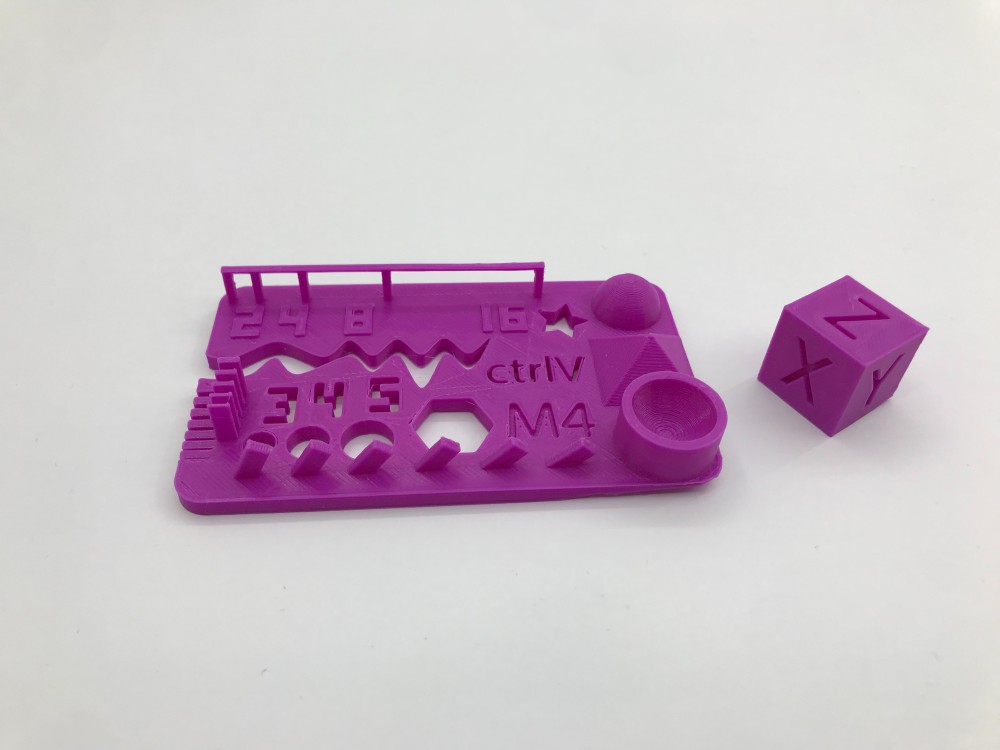
Comment about the result: The results shows, though the settings aren’t the best here, that the printer is very good in details and sharp narrow ends, and curved surfaces, and also has a good limit for angle of printing.
Individual Assignment (3D Printing)
Design 1: Stamp
Refer to As2 for steps of design:
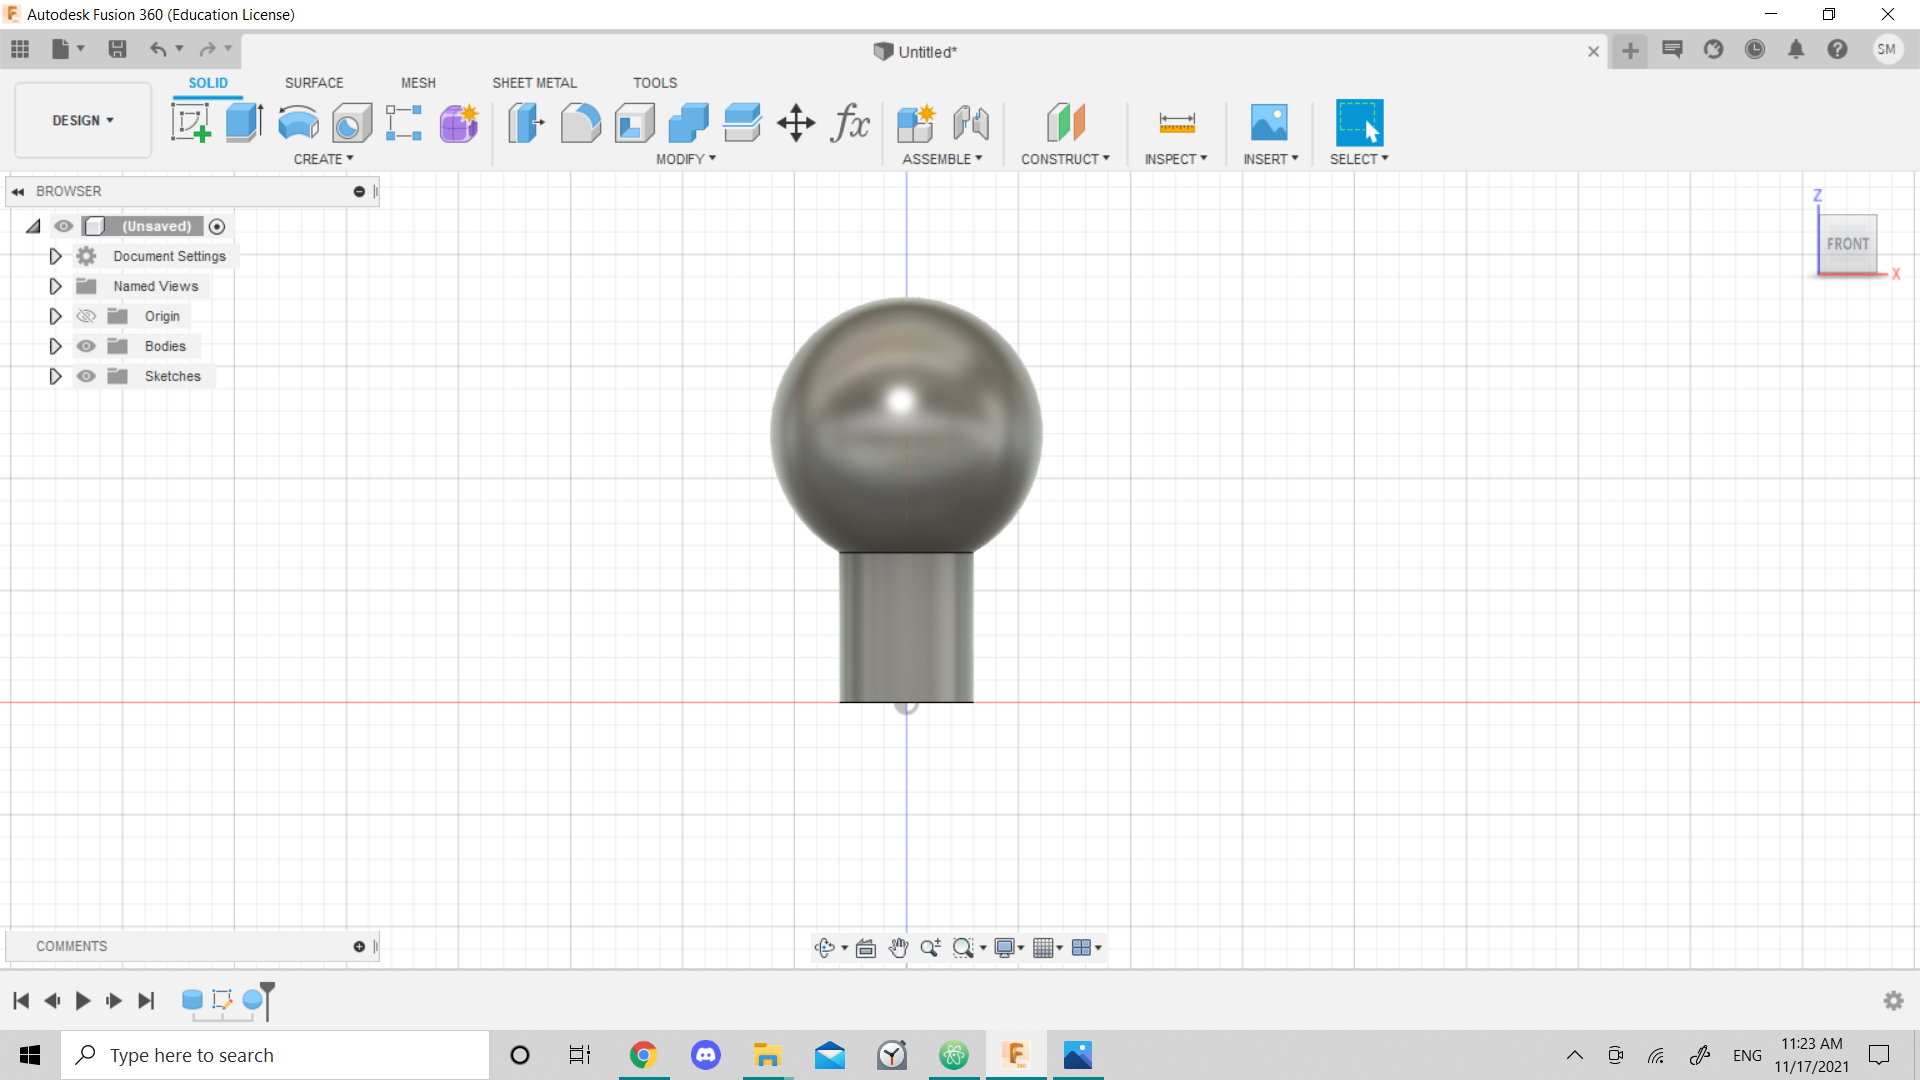
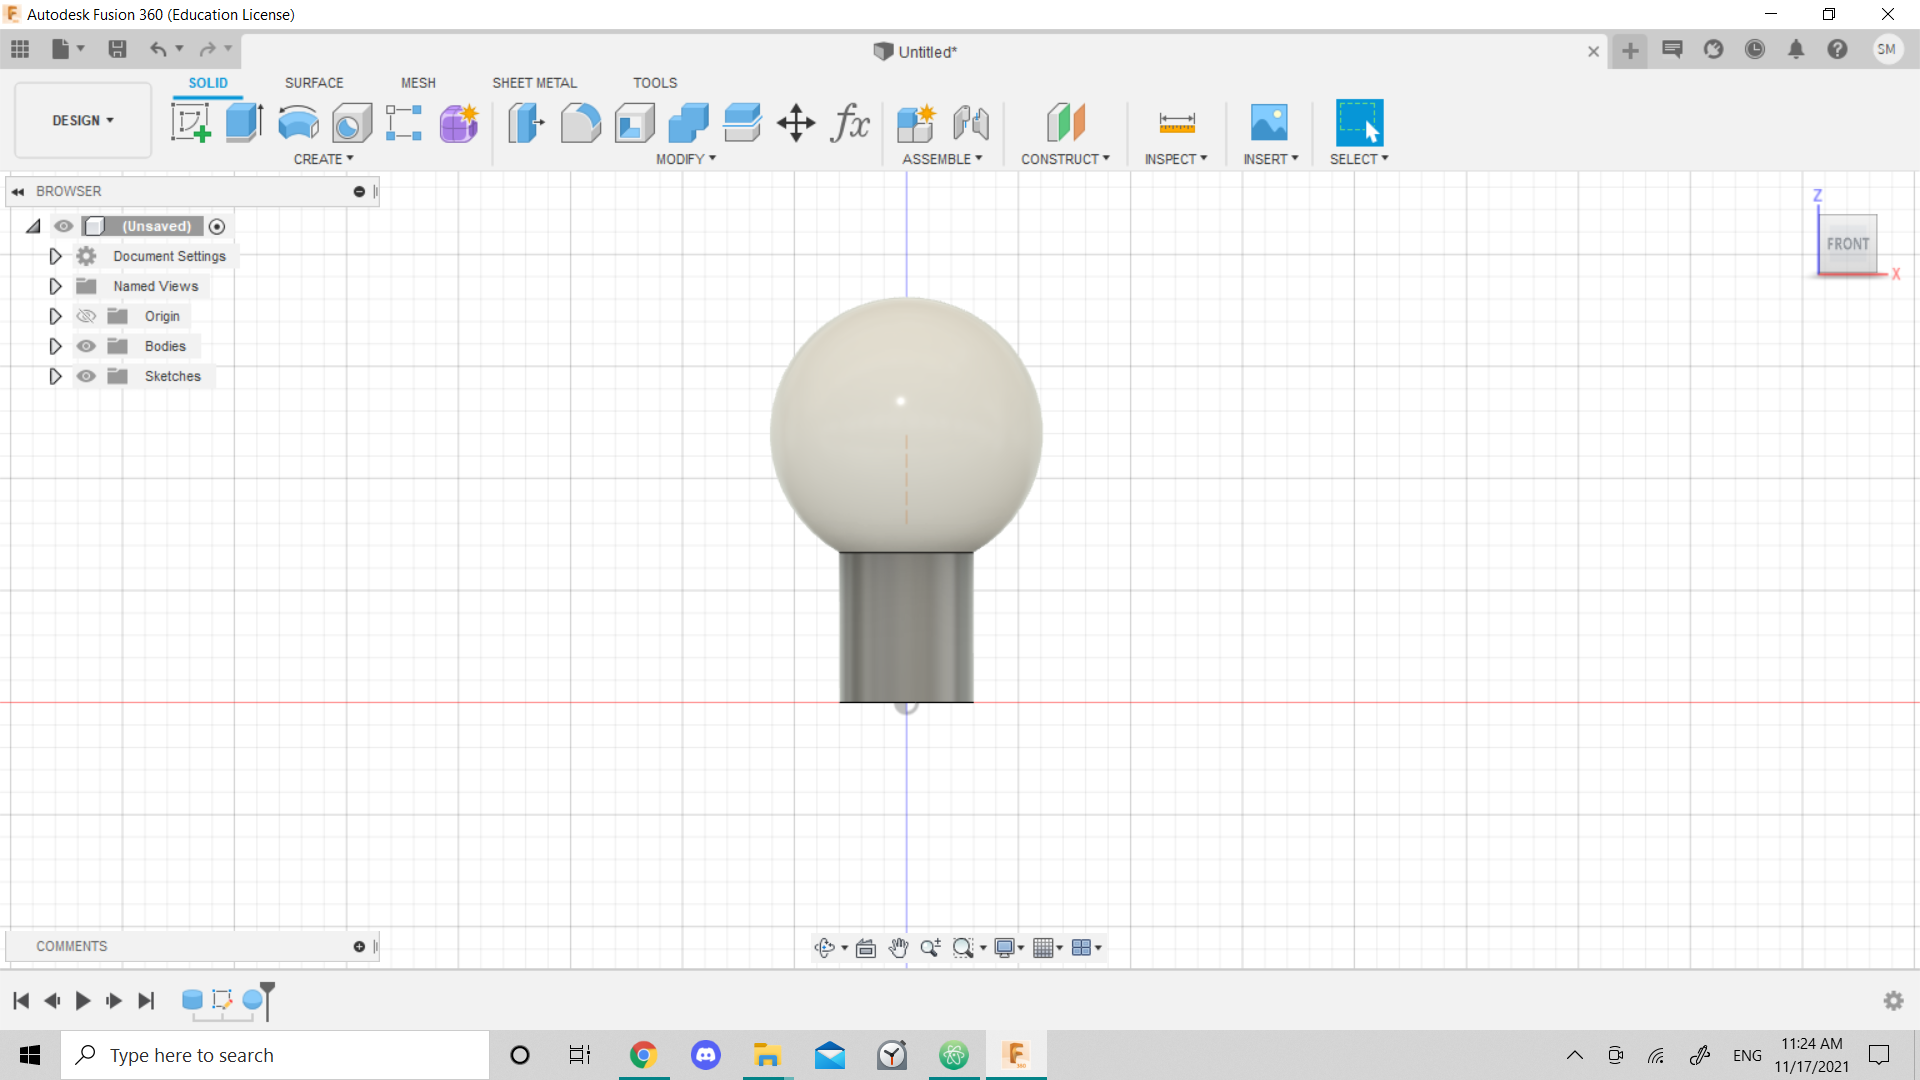
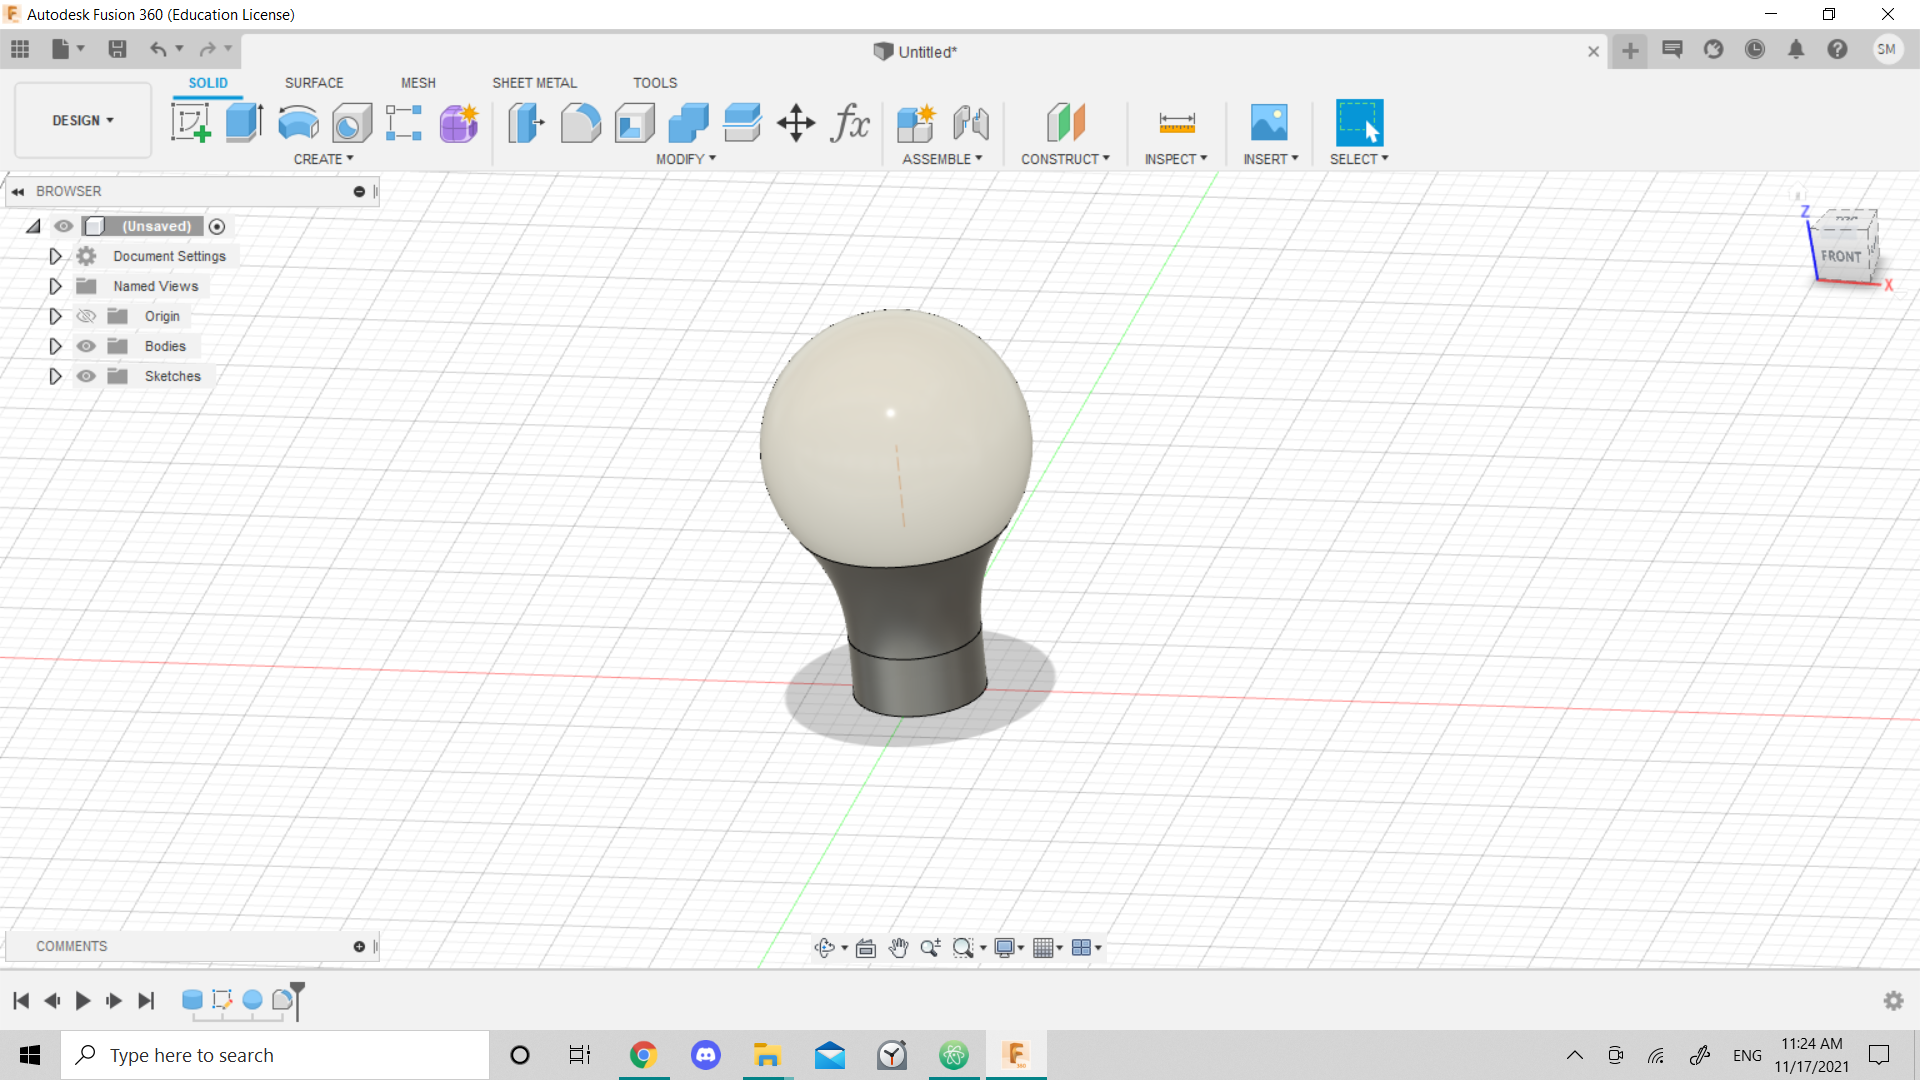
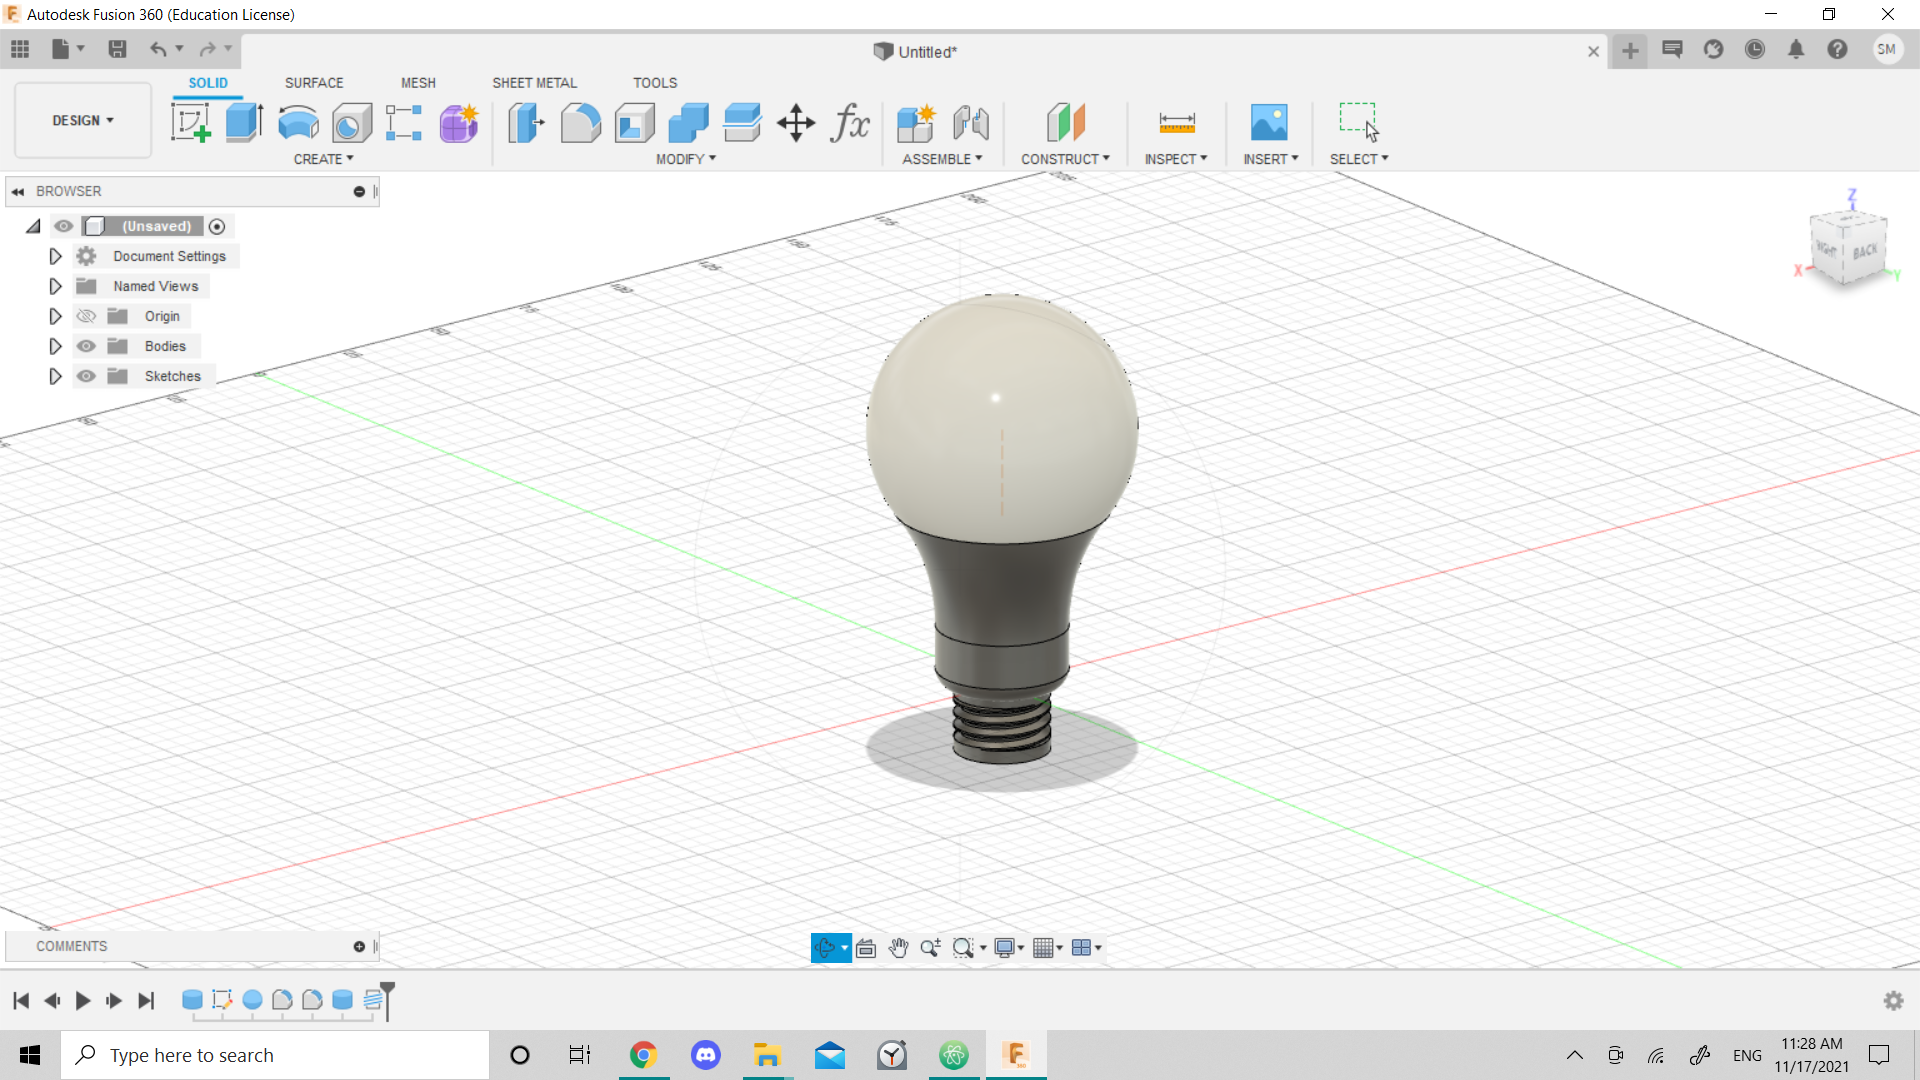
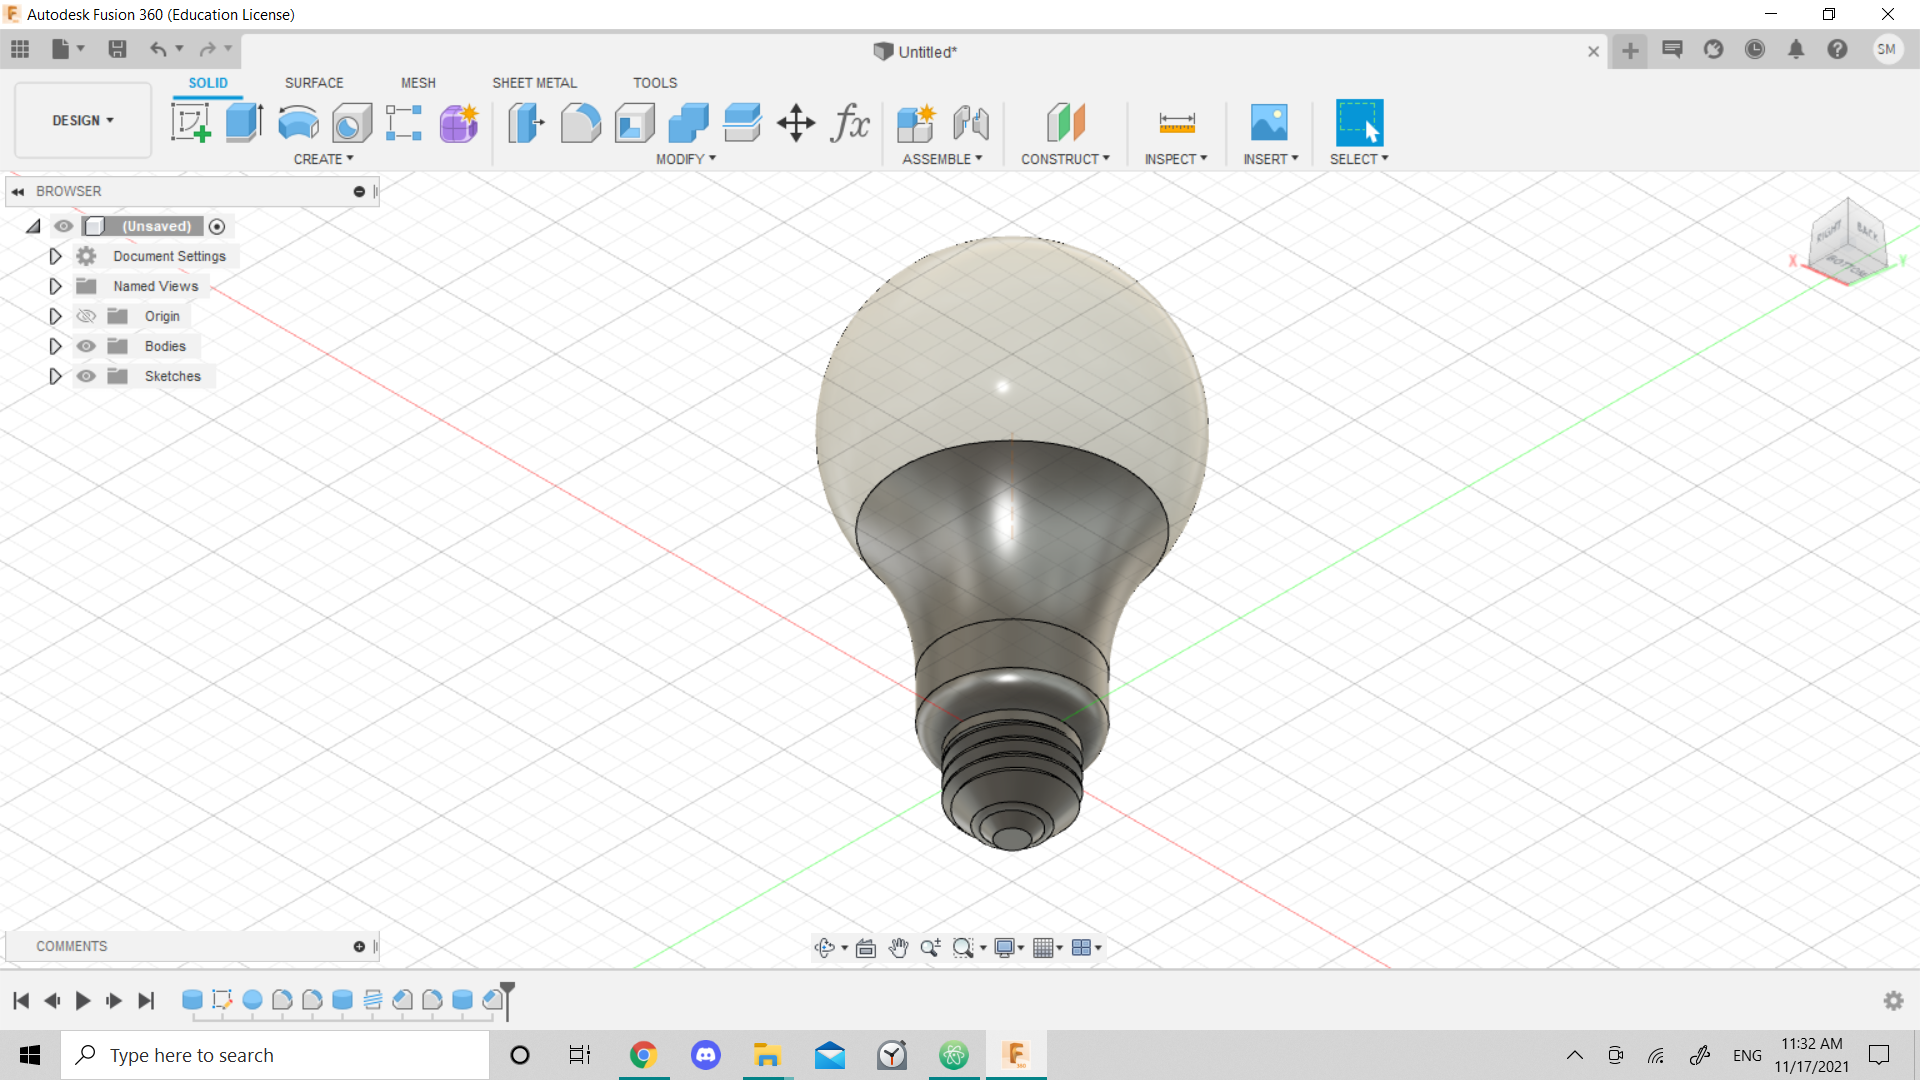
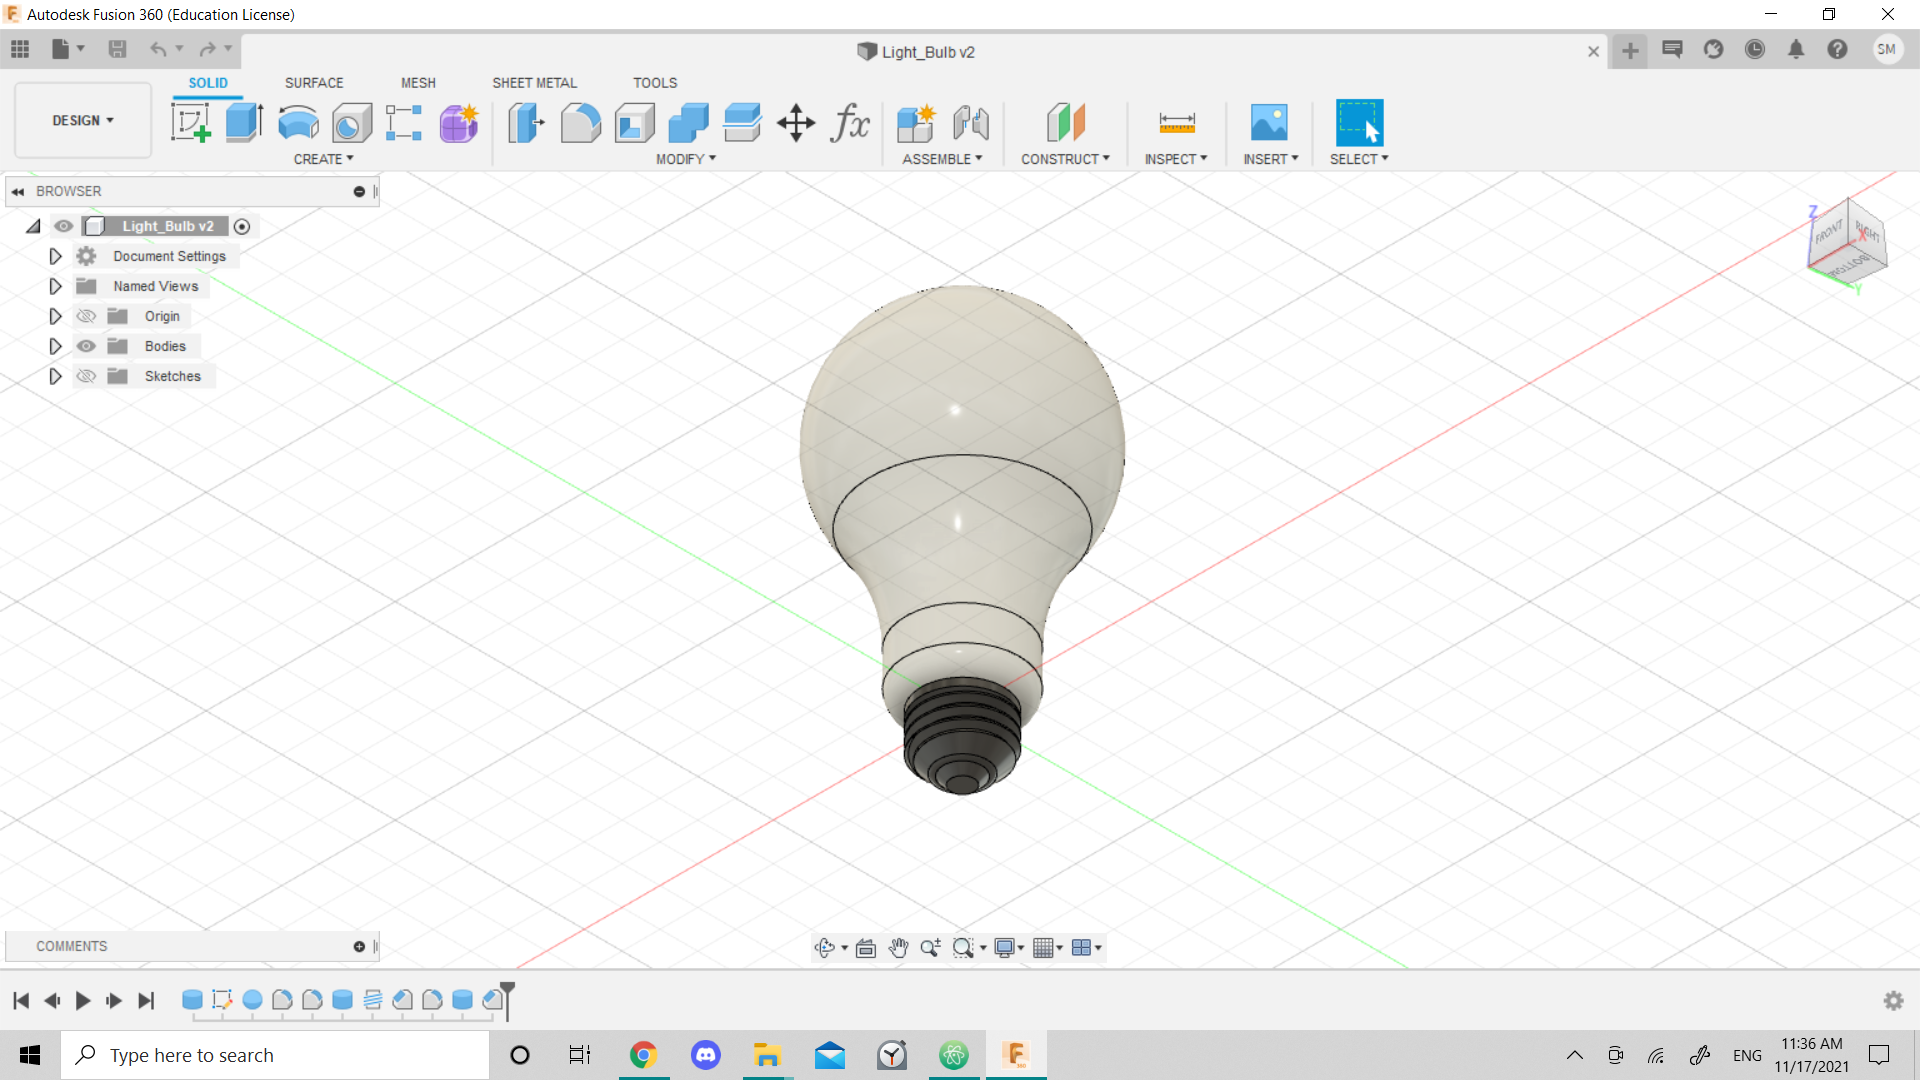
Design 2: Light bulb
I did this design using fusion360, with help of this tutorial:
Some steps of design:
Slicing
I sliced my designs along with my colleague designs, and chose these settings:
Printing
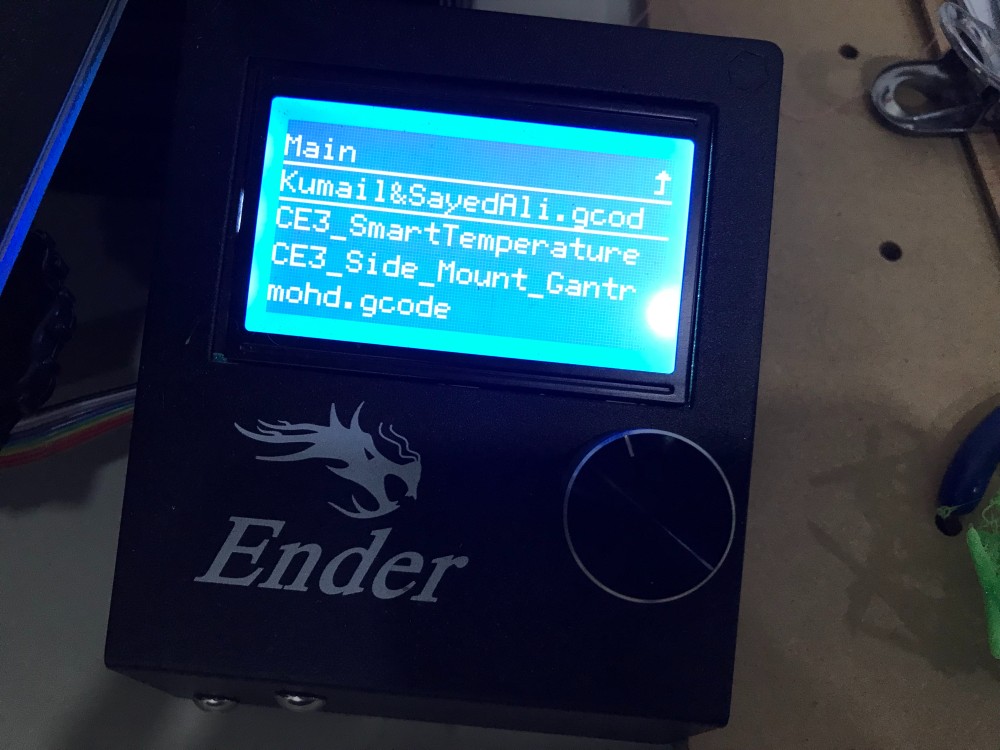
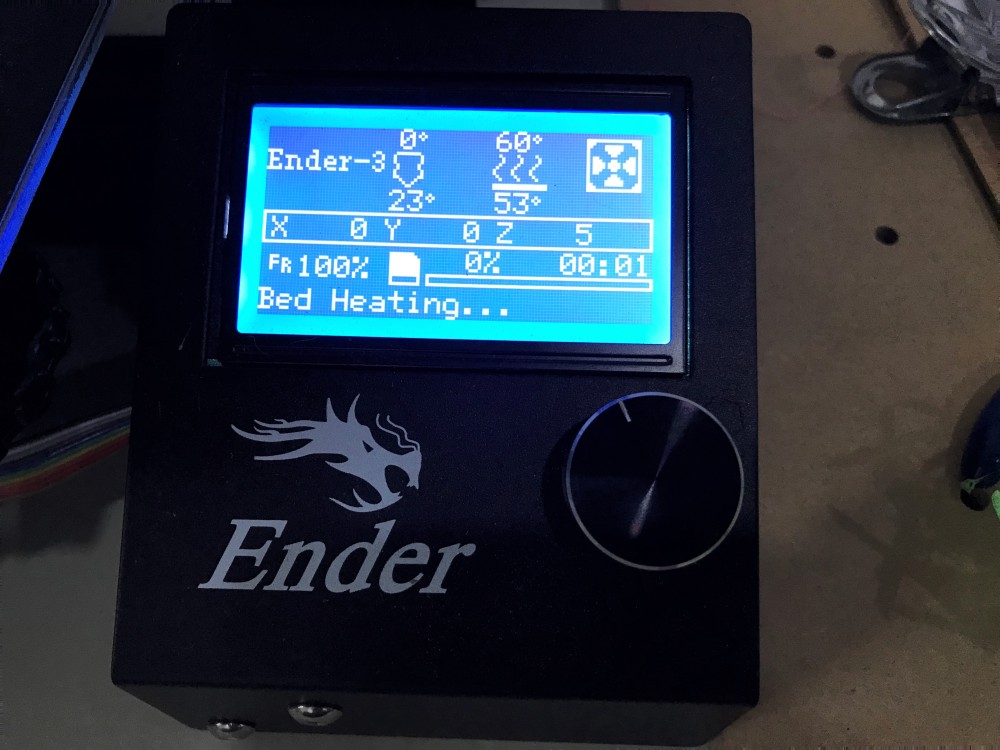
1- I inserted the microSD card:

2- I chose “print from TF”, and chose our .gcod file:

3- Results after finishing printing:
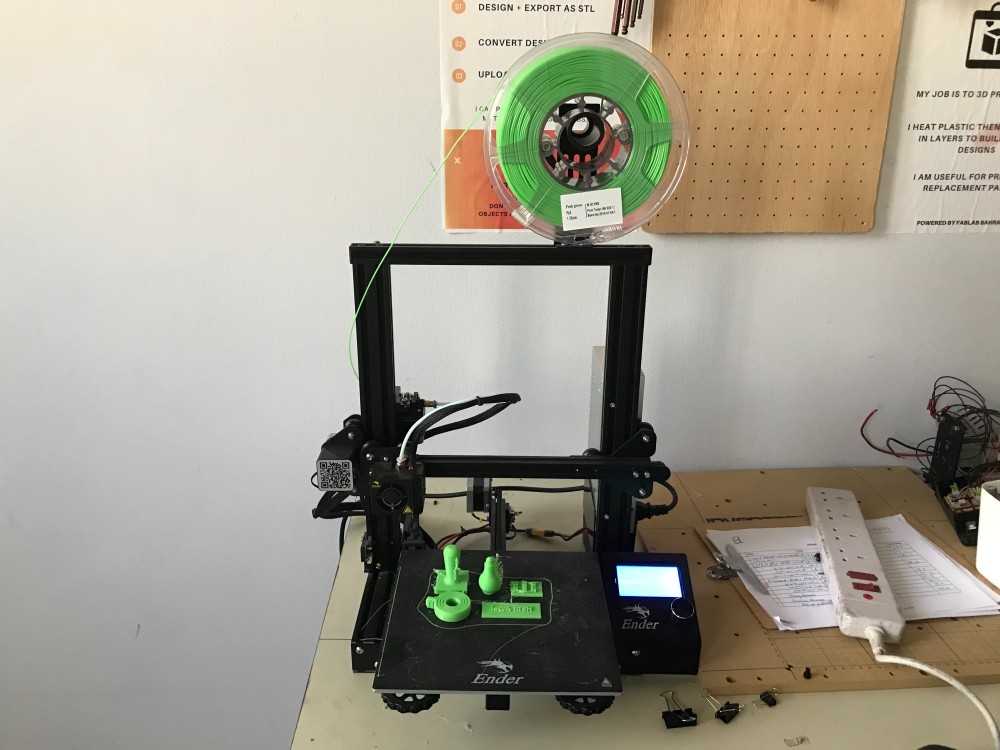
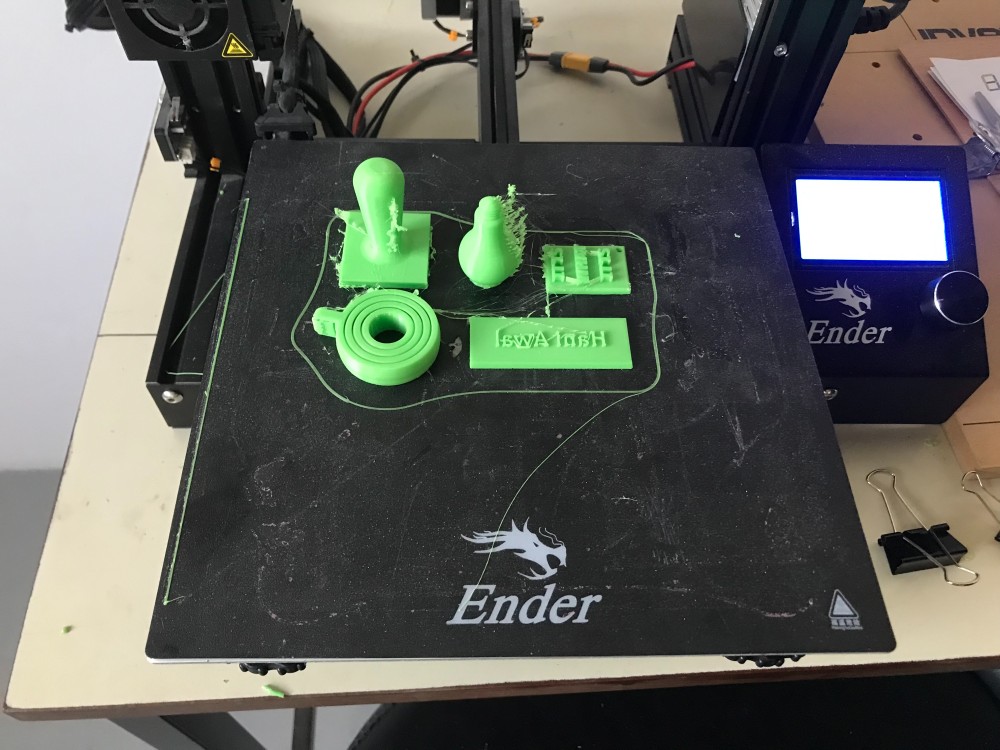
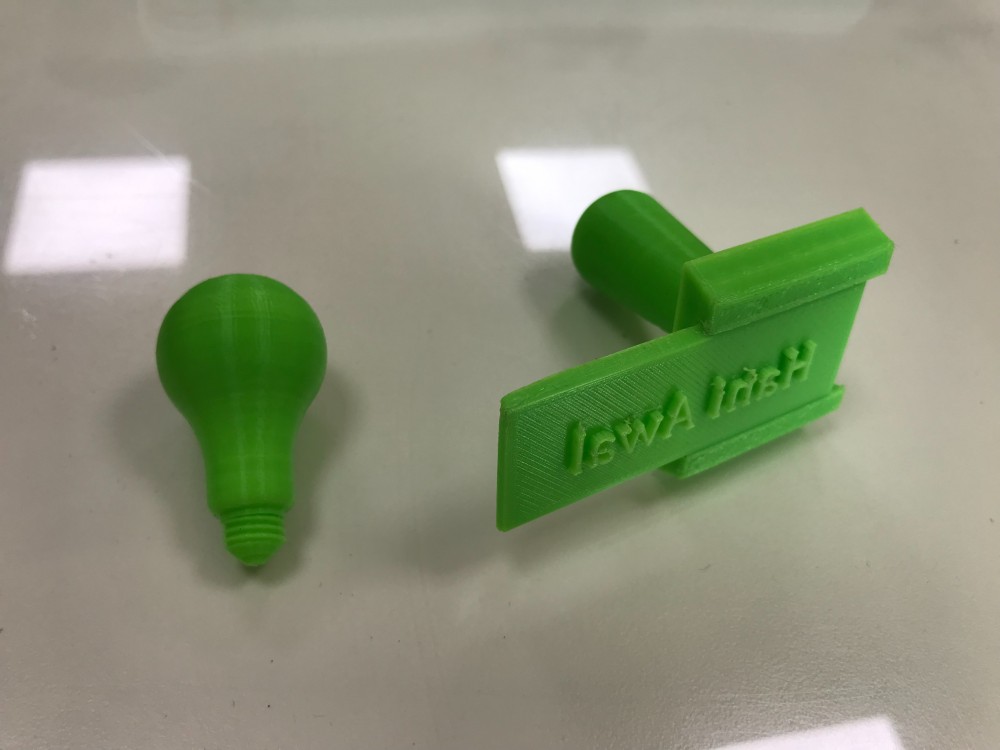
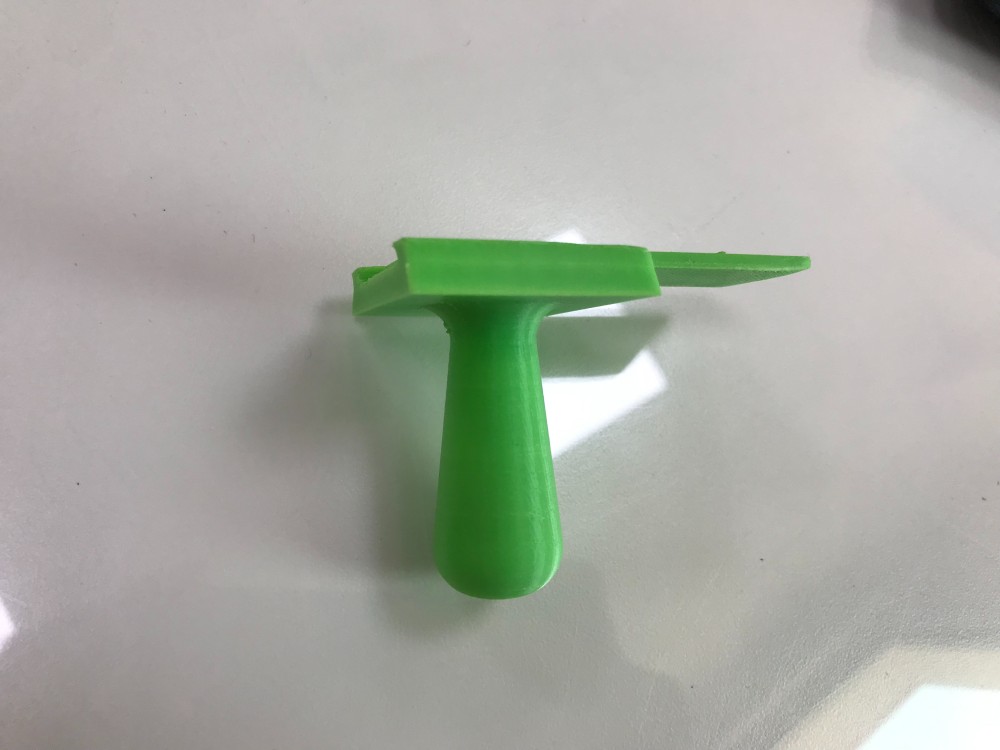
Comment about the result: It was hard to remove the unwanted remains, and still the process of cleaning the models isn’t perfect. Maybe the support could be chosen better to avoid the difficulty of cleaning process.
Individual Assignment (3D Scanning)
Scanning using qlone application
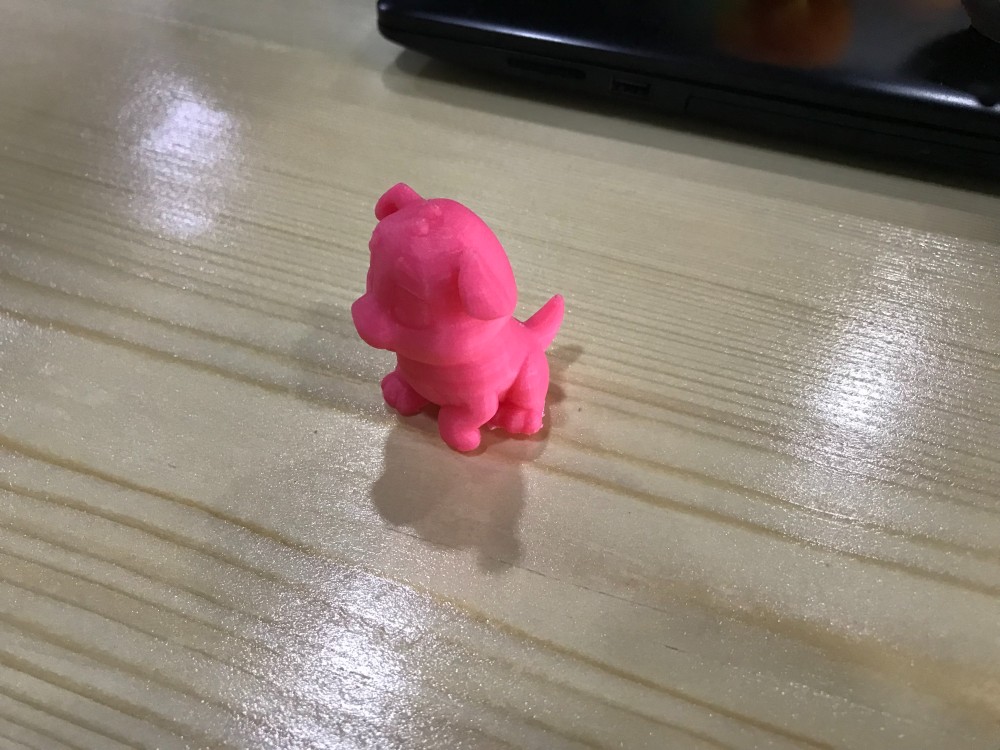
1- First choose a 3D object to scan:
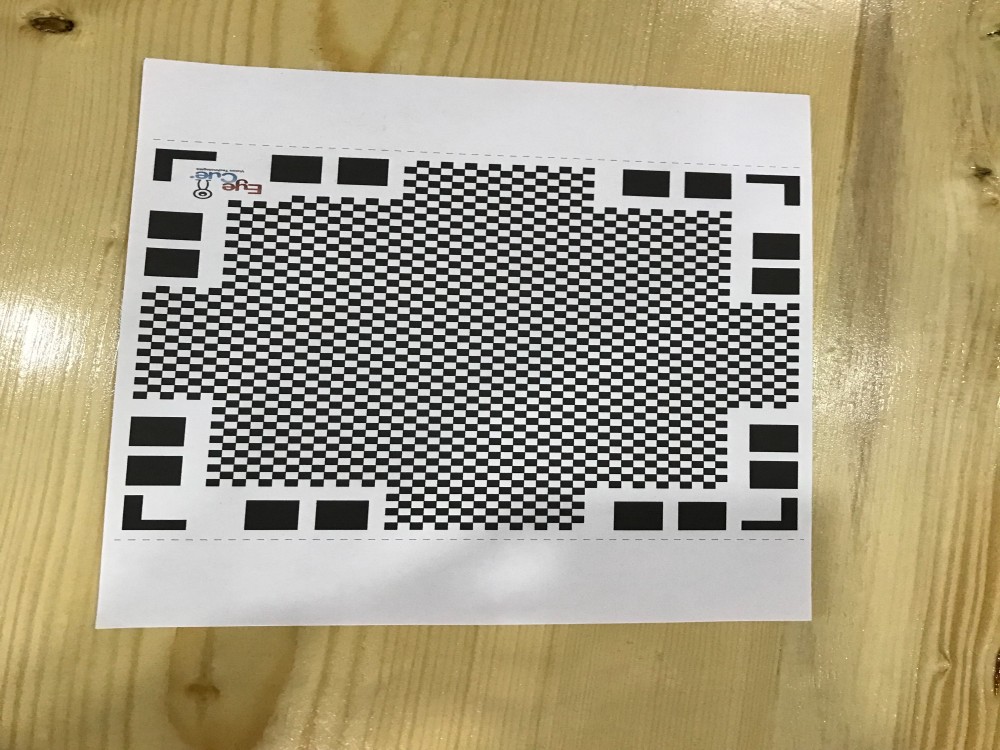
2- Print the mat from the qlone application:
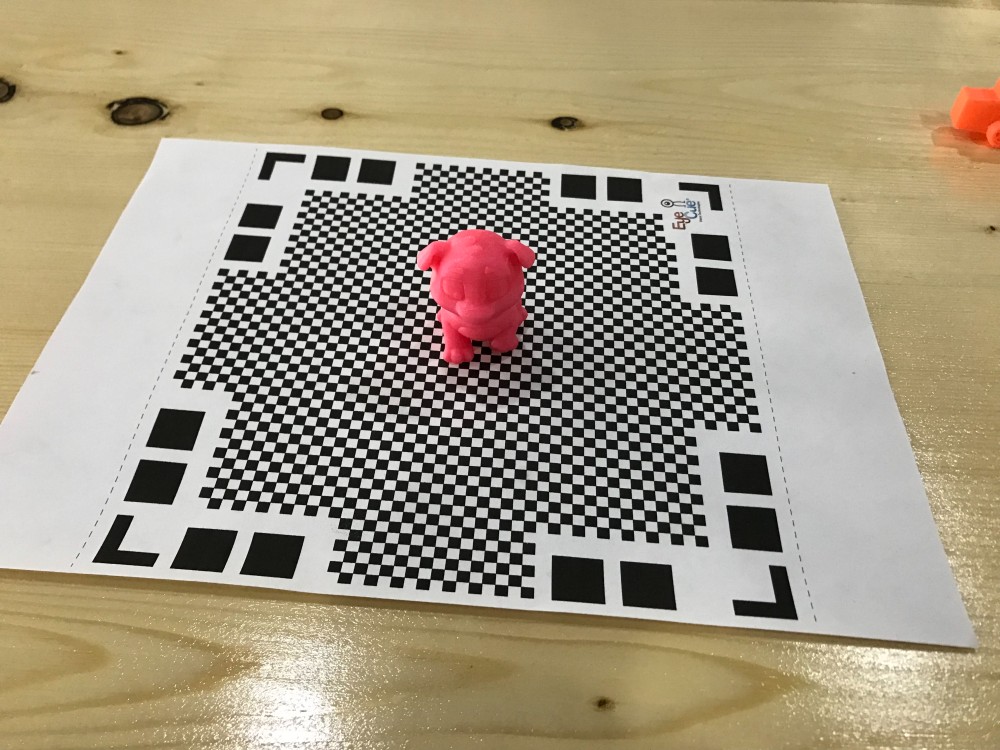
3- Put the object in the mat paper:
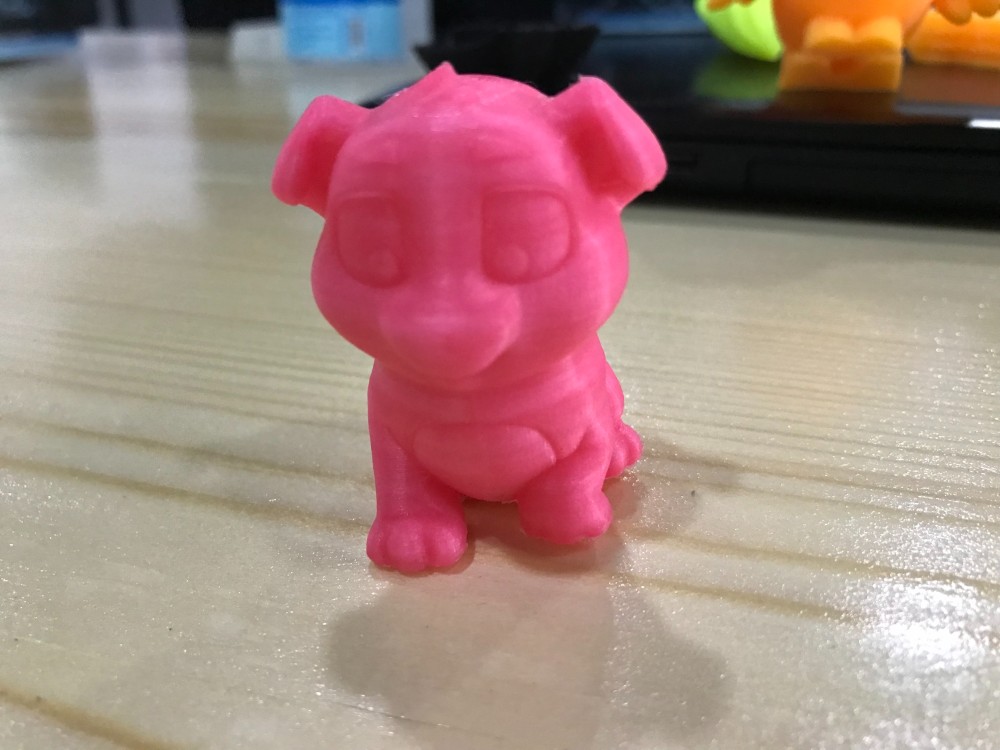
4- Final results after scanning:
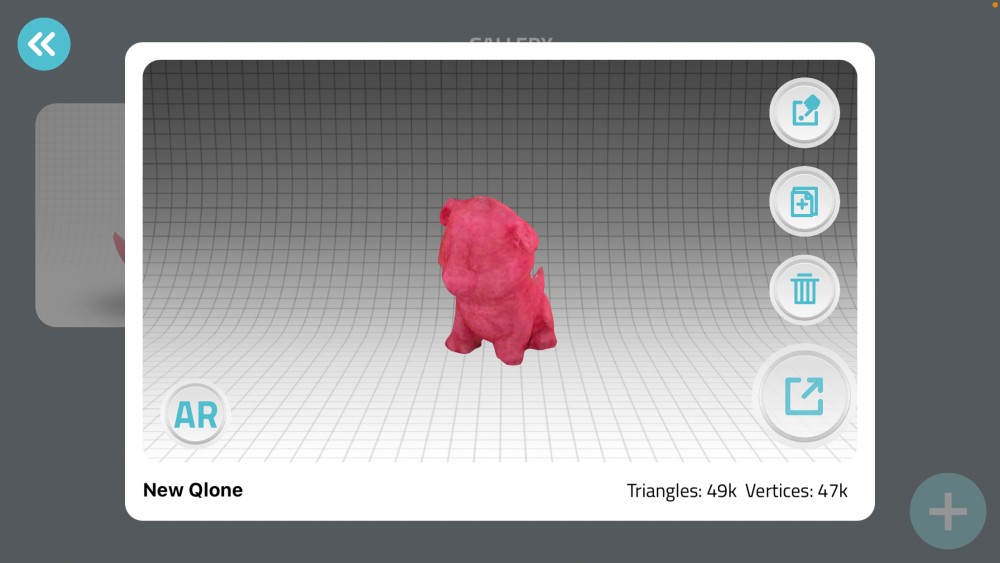
Comment about the result: It is acceptable result, still the scanning of the sharp details and the shaded portions, isn’t accurate enough as the light isn’t distributed perfectly for this technology of scanning.
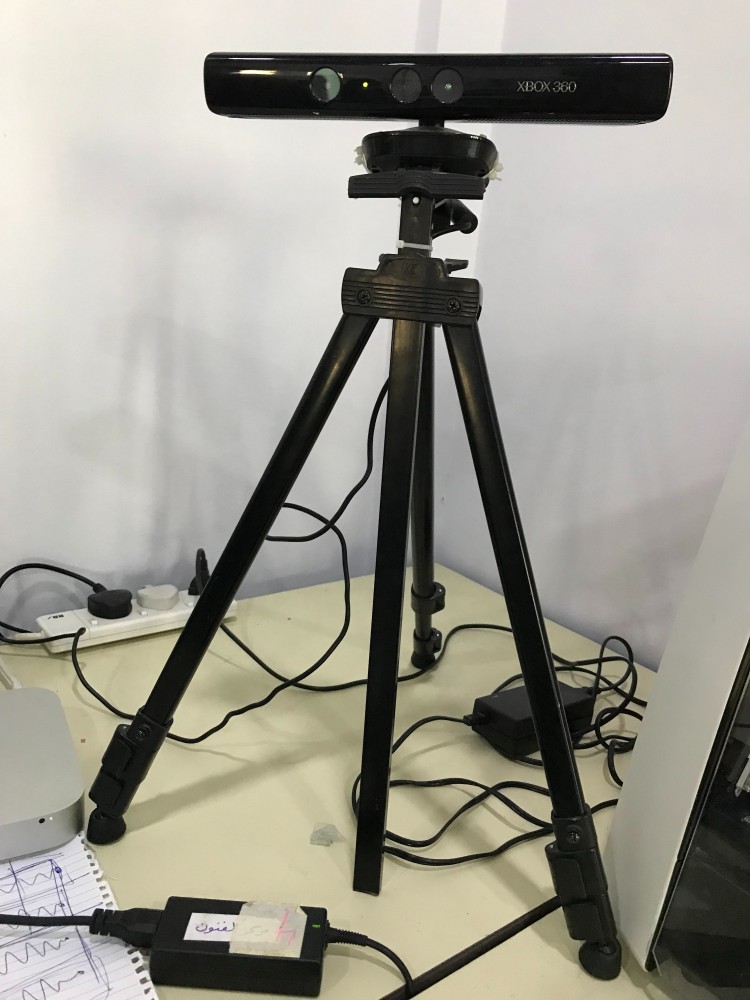
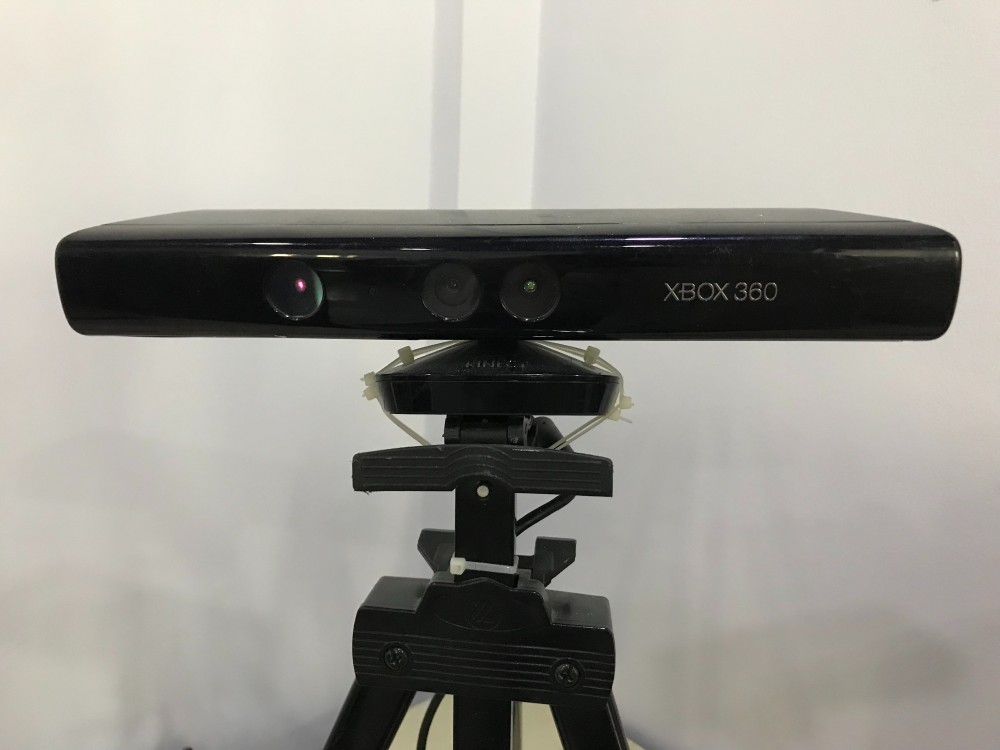
Scanning using Xbox360 Kinect
Xbox360 Kinect is a device used in gaming to scan body movement fo the player. We used it here along with the application “SKANECT” to scan ourselves:
The device:
Steps of scanning:
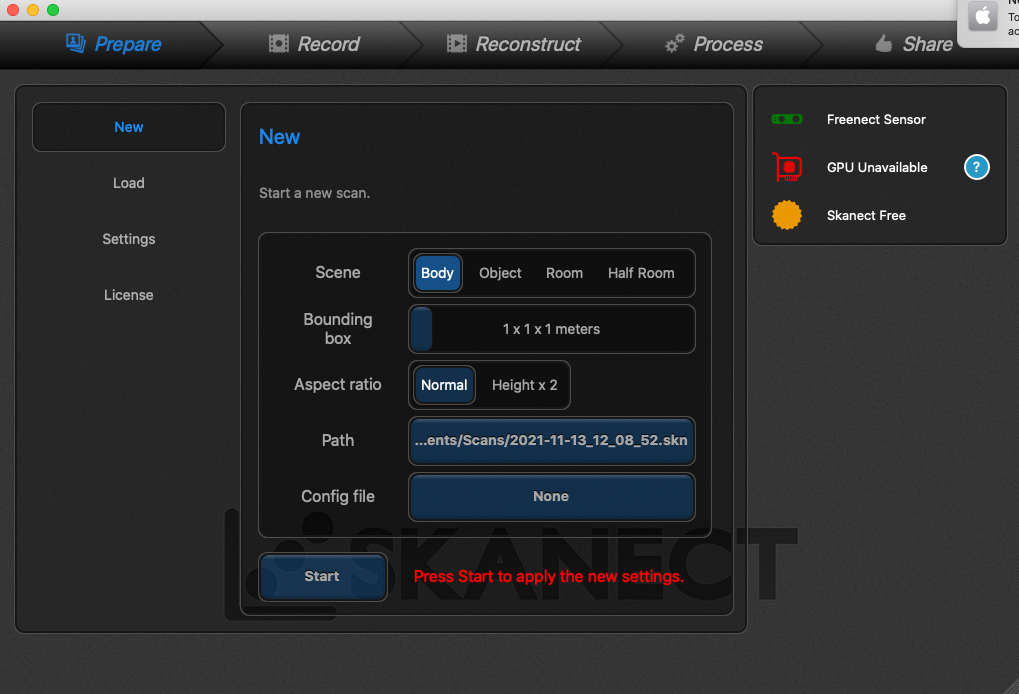
1- Application start:
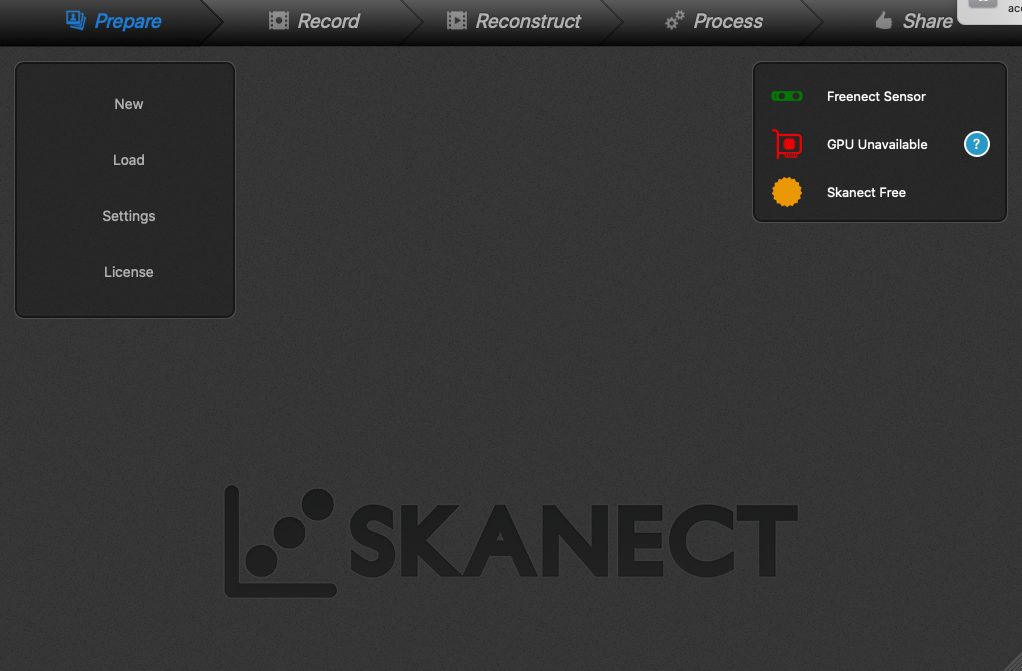
2- starting new scan:
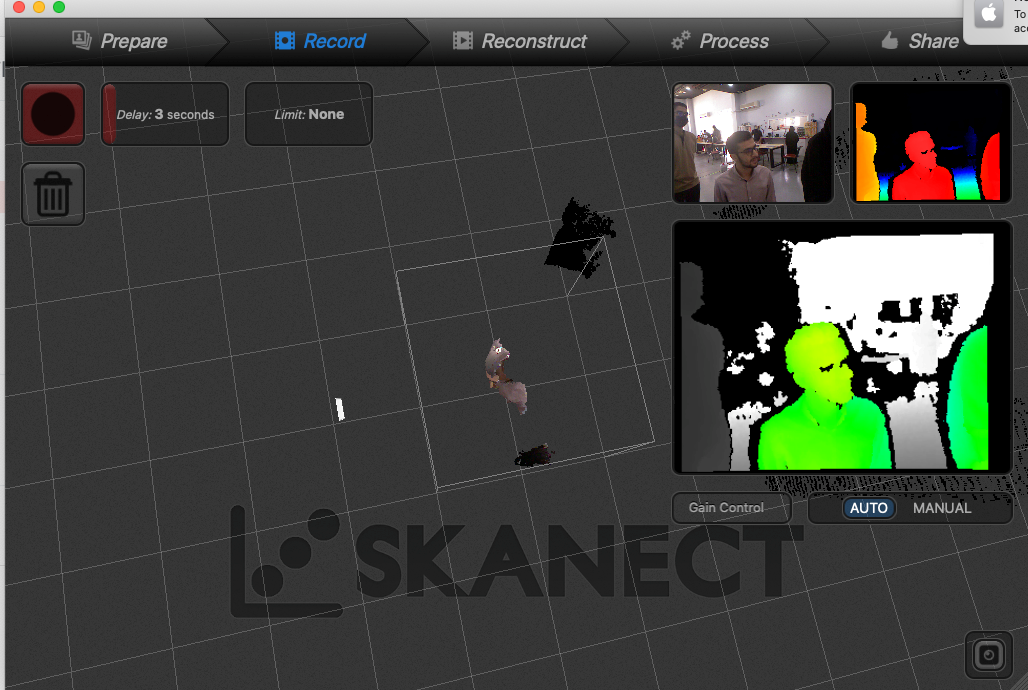
3- I rotated around my self for the kinect to scan me:
4- Preliminary result:

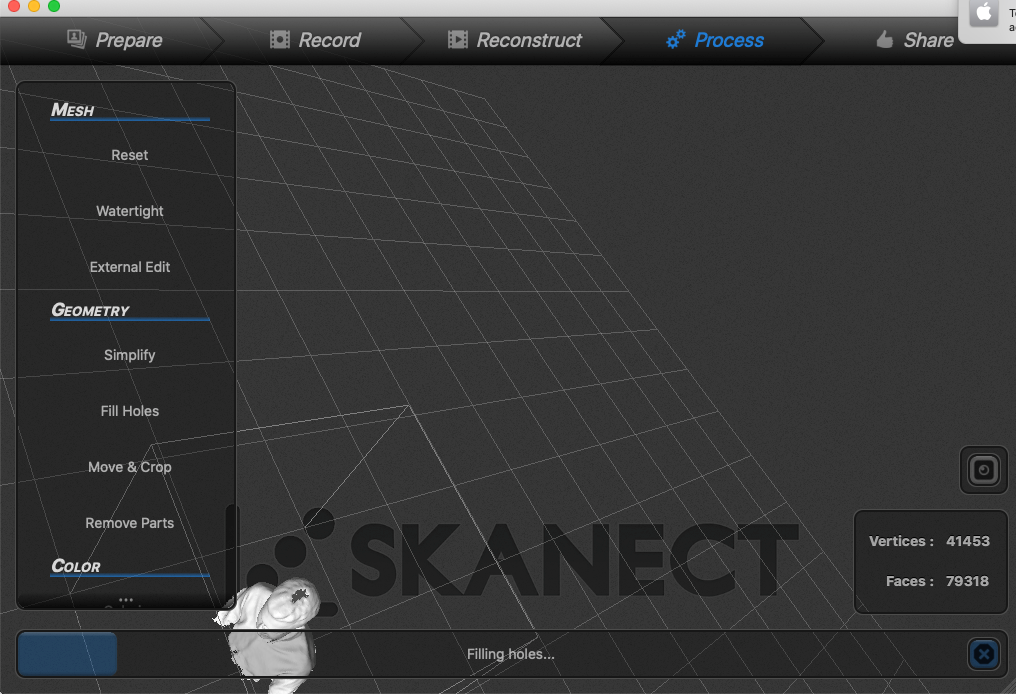
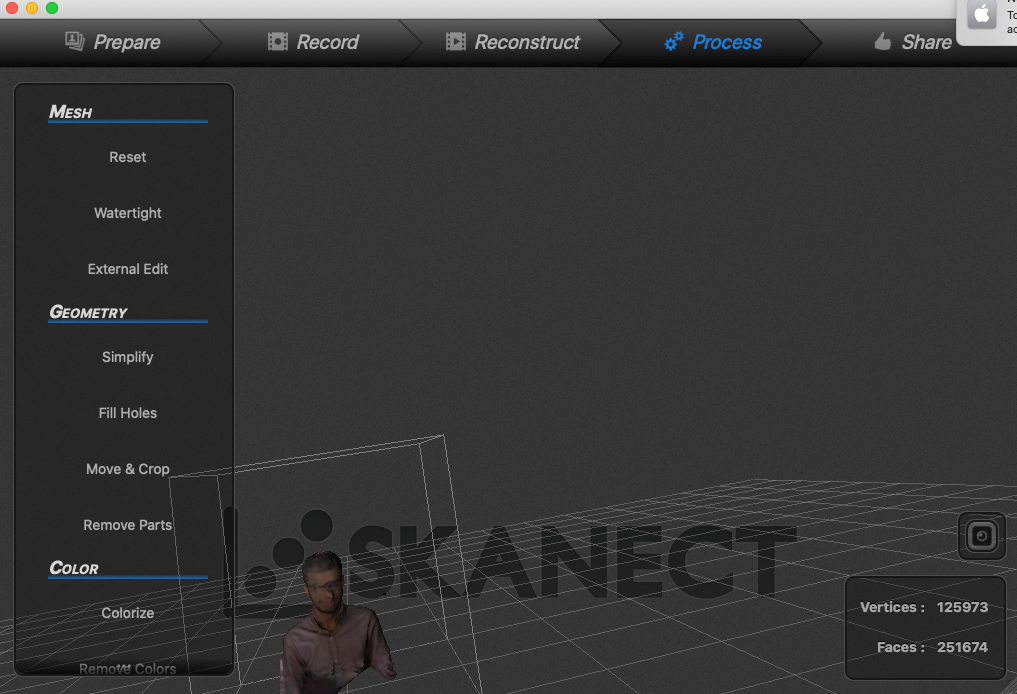
5- Filling holes option to make the model better:
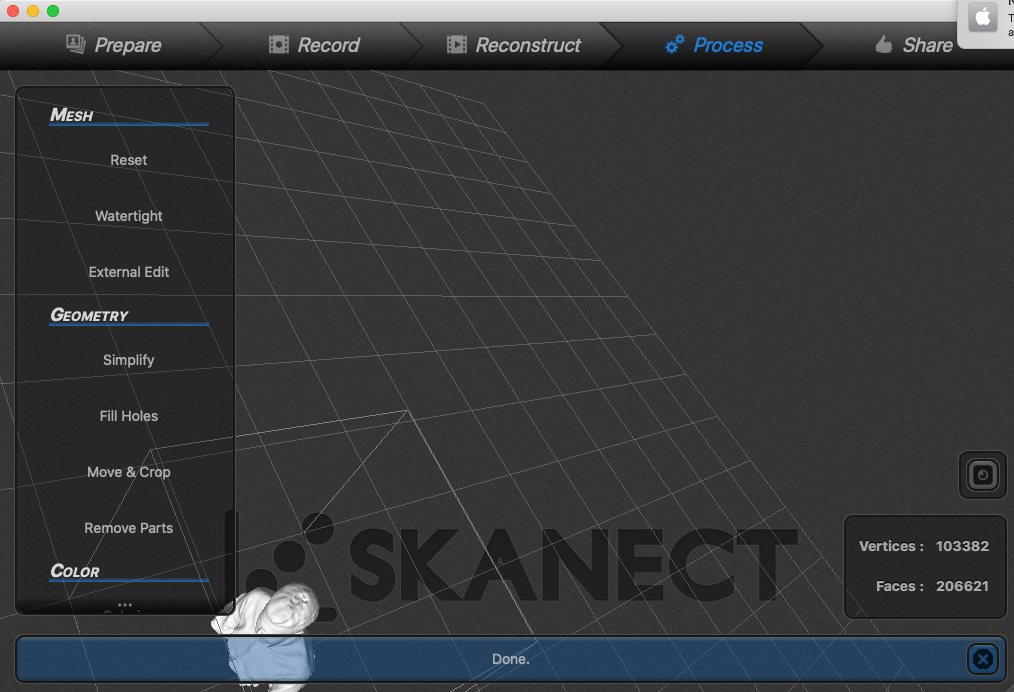
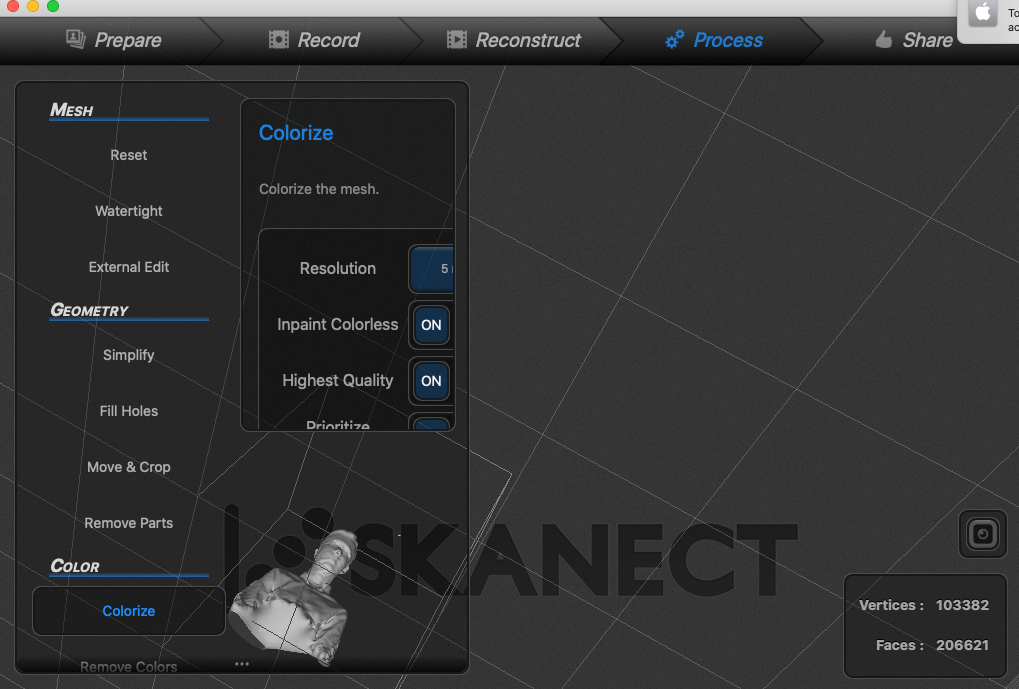
6- Coloring the model:
7- Exporting the model as .stl file:
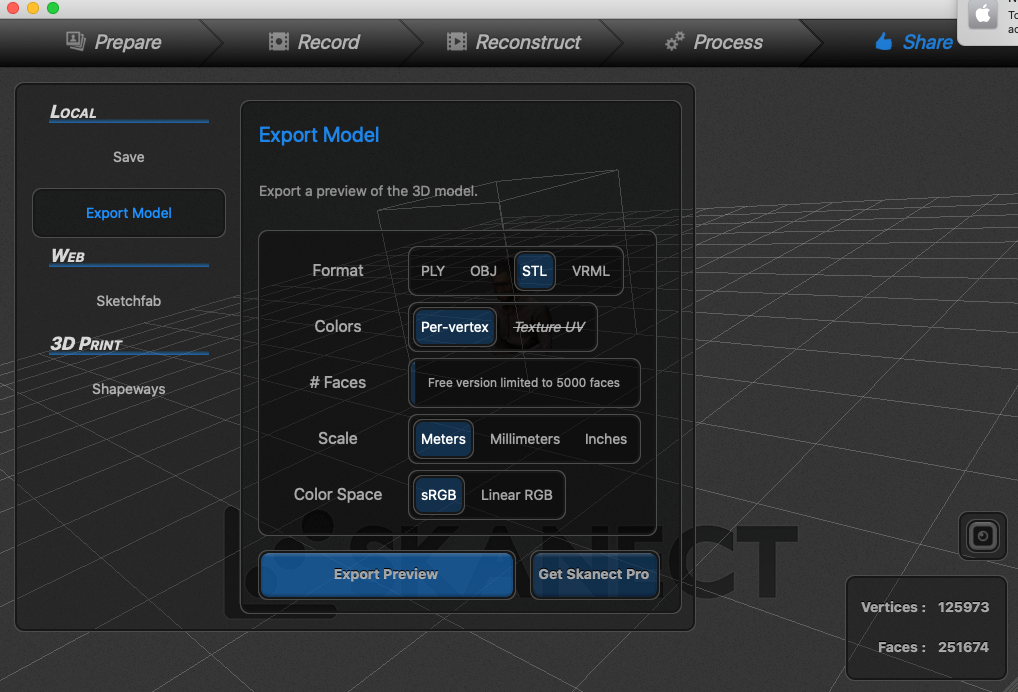
.stl file
Comment about the result: The result is fairly good as a general shape of human, but clearly it is not accurate for the details of a person itself. The portions of bulges in clothes are not good scanned, and also the portions that are out of the view of the camera such as the top of the head, become like holes after scanning, but it can be fixed by the SKANECT program. I think the final result can be also smoothed using some applications.