Final Project
The first idea that i have in my mind was to create a chess board with sensors that can detect the moves of the players to countdown the time without the need of a clock, but because there was no time to do all of that. I decided to go with another project.
I want to build one piece that i can place on it the chess pieces and it can recognize them, also this piece can decide if you did the right move on the chess board or not.
so it will help people to learn the moves of the piece in a fun and easy way.
I will display the pieces that i’ve made and i will explain how did i do them.
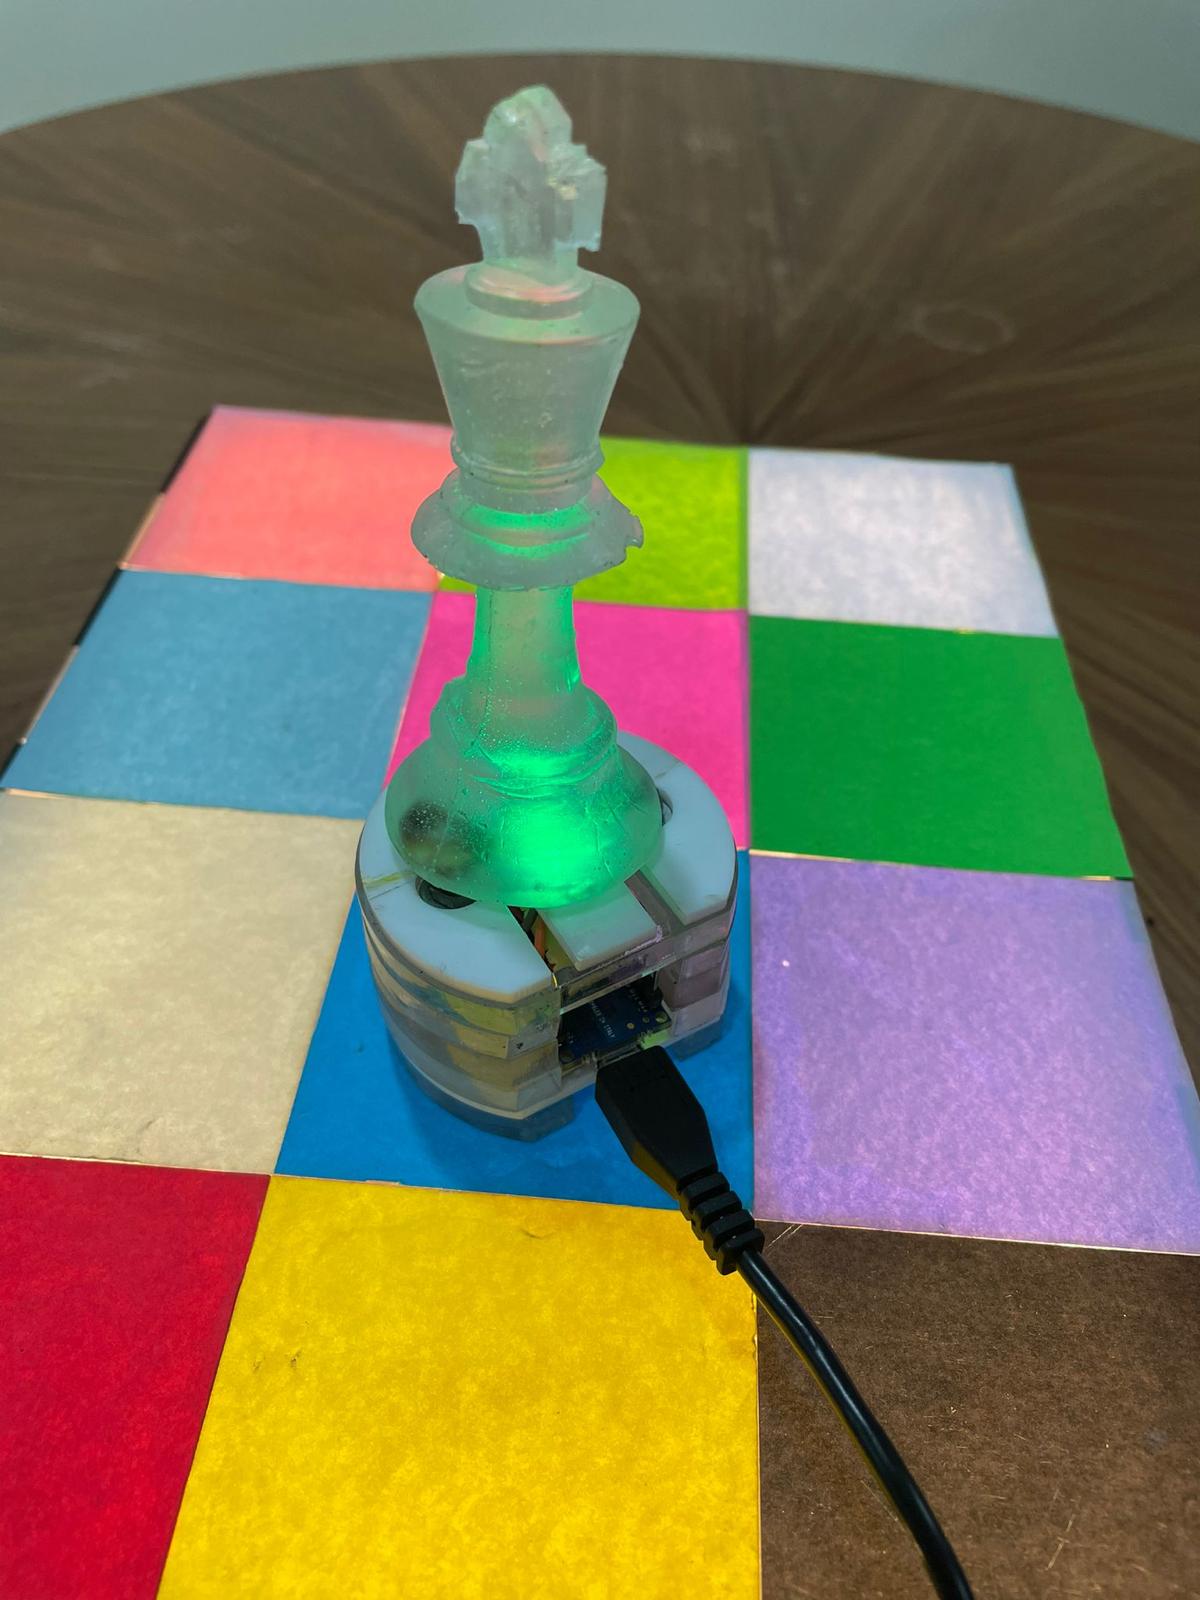
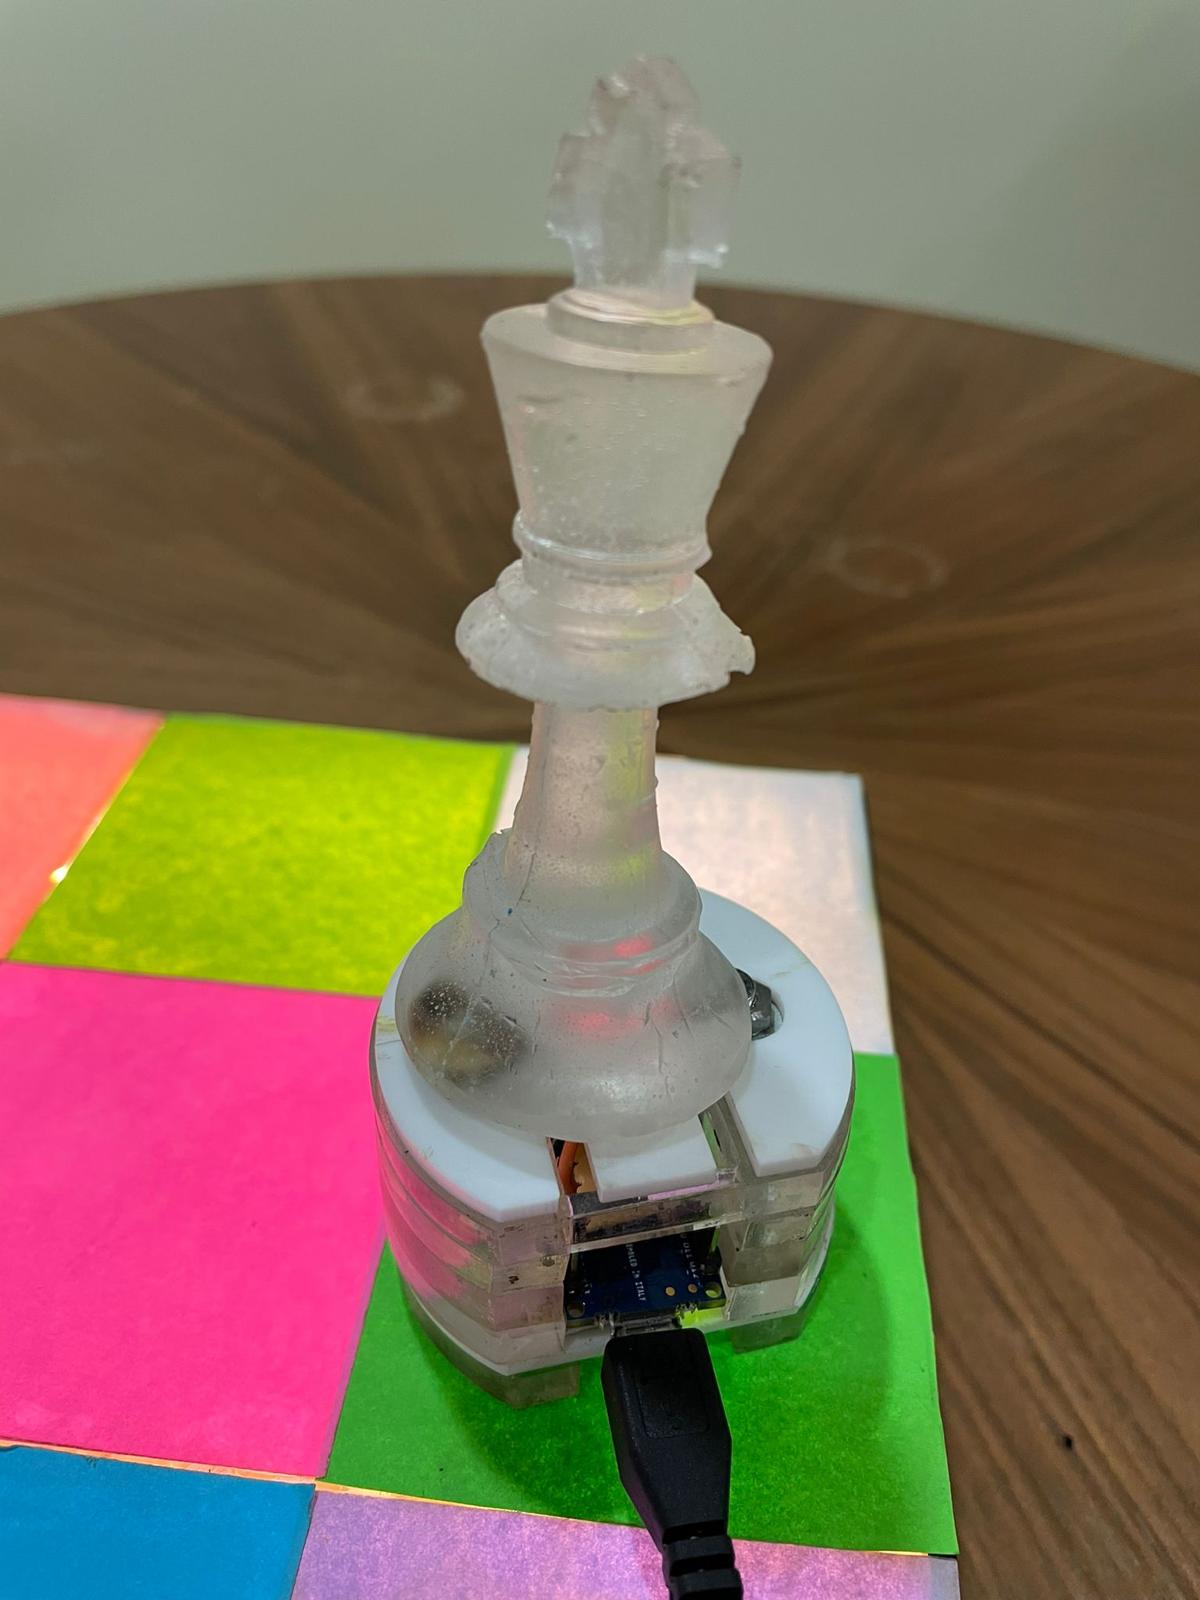
King Piece
First of all, I made a king piece by Molding.
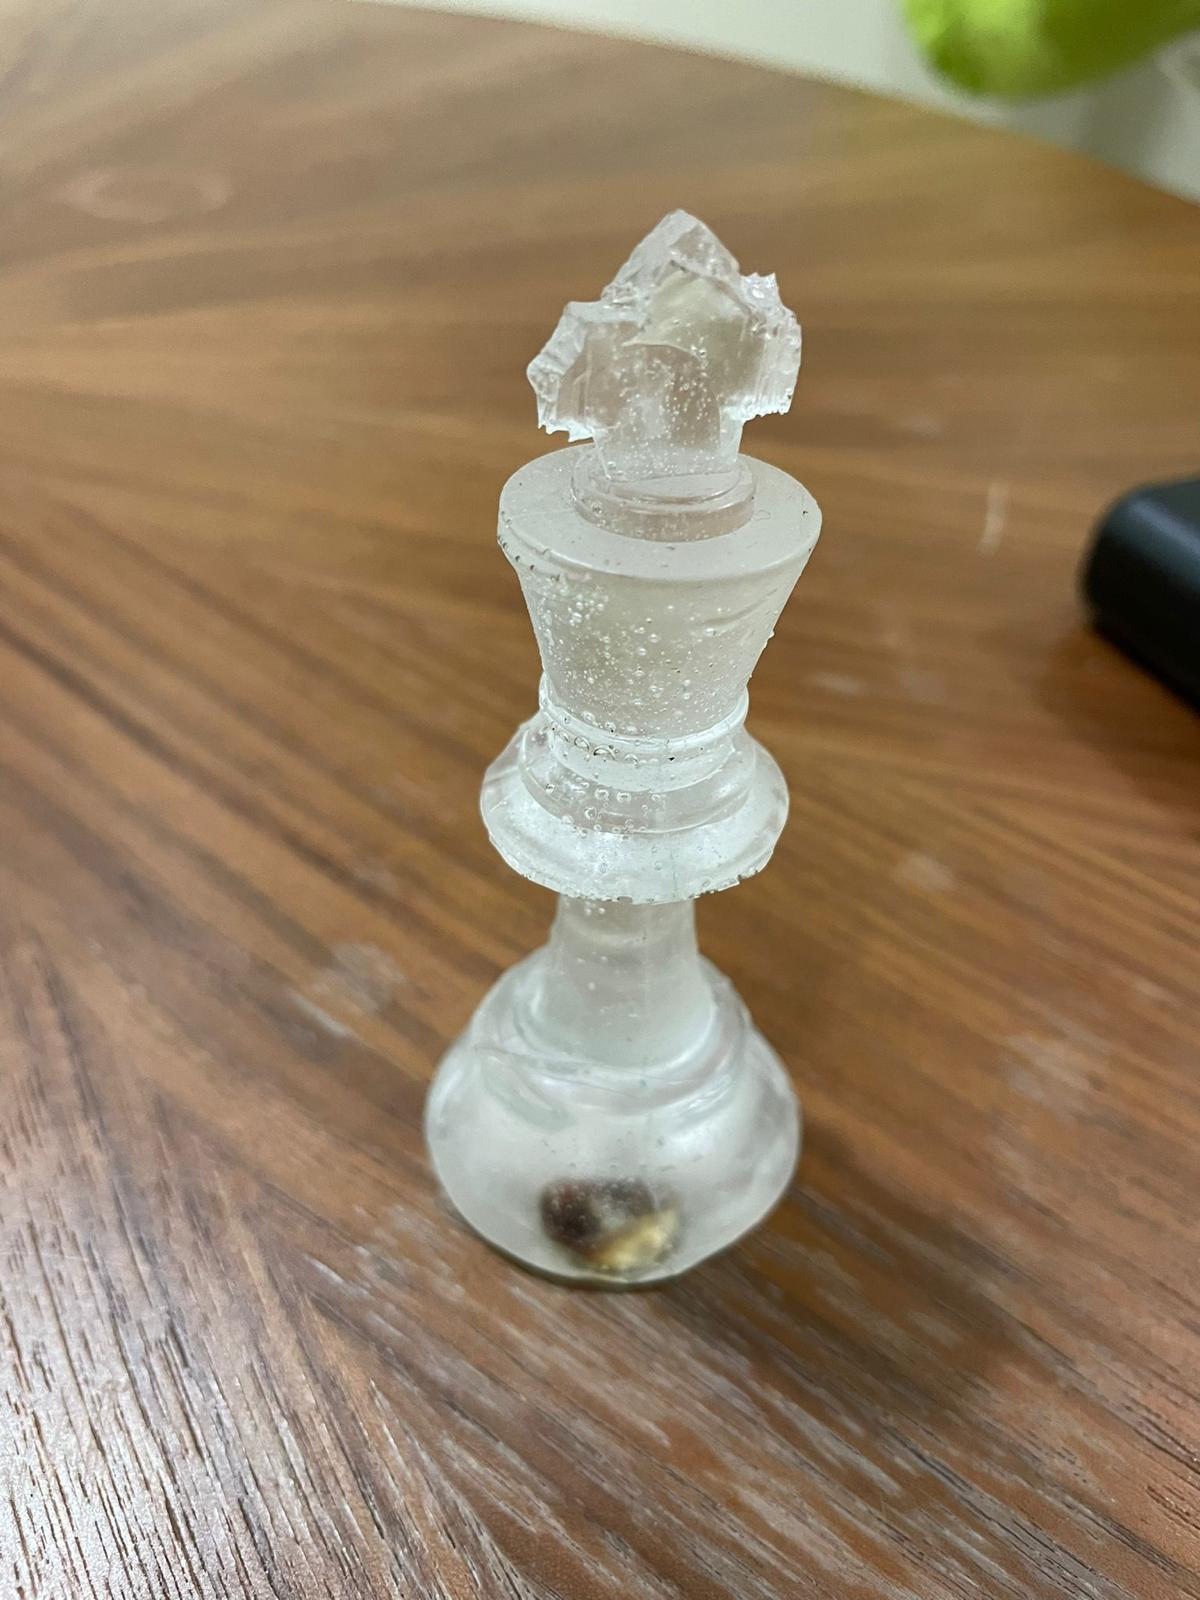
I used Silicone Plastique to make the mold
This is a like to my colleague page on how to use it
I used it because it become hard quickly (within 2 hours the mold become ready)
Then I fill the mold with Resin i made and i used a heat gun to remove the bubbles.
Here is a link on how to make the resin.
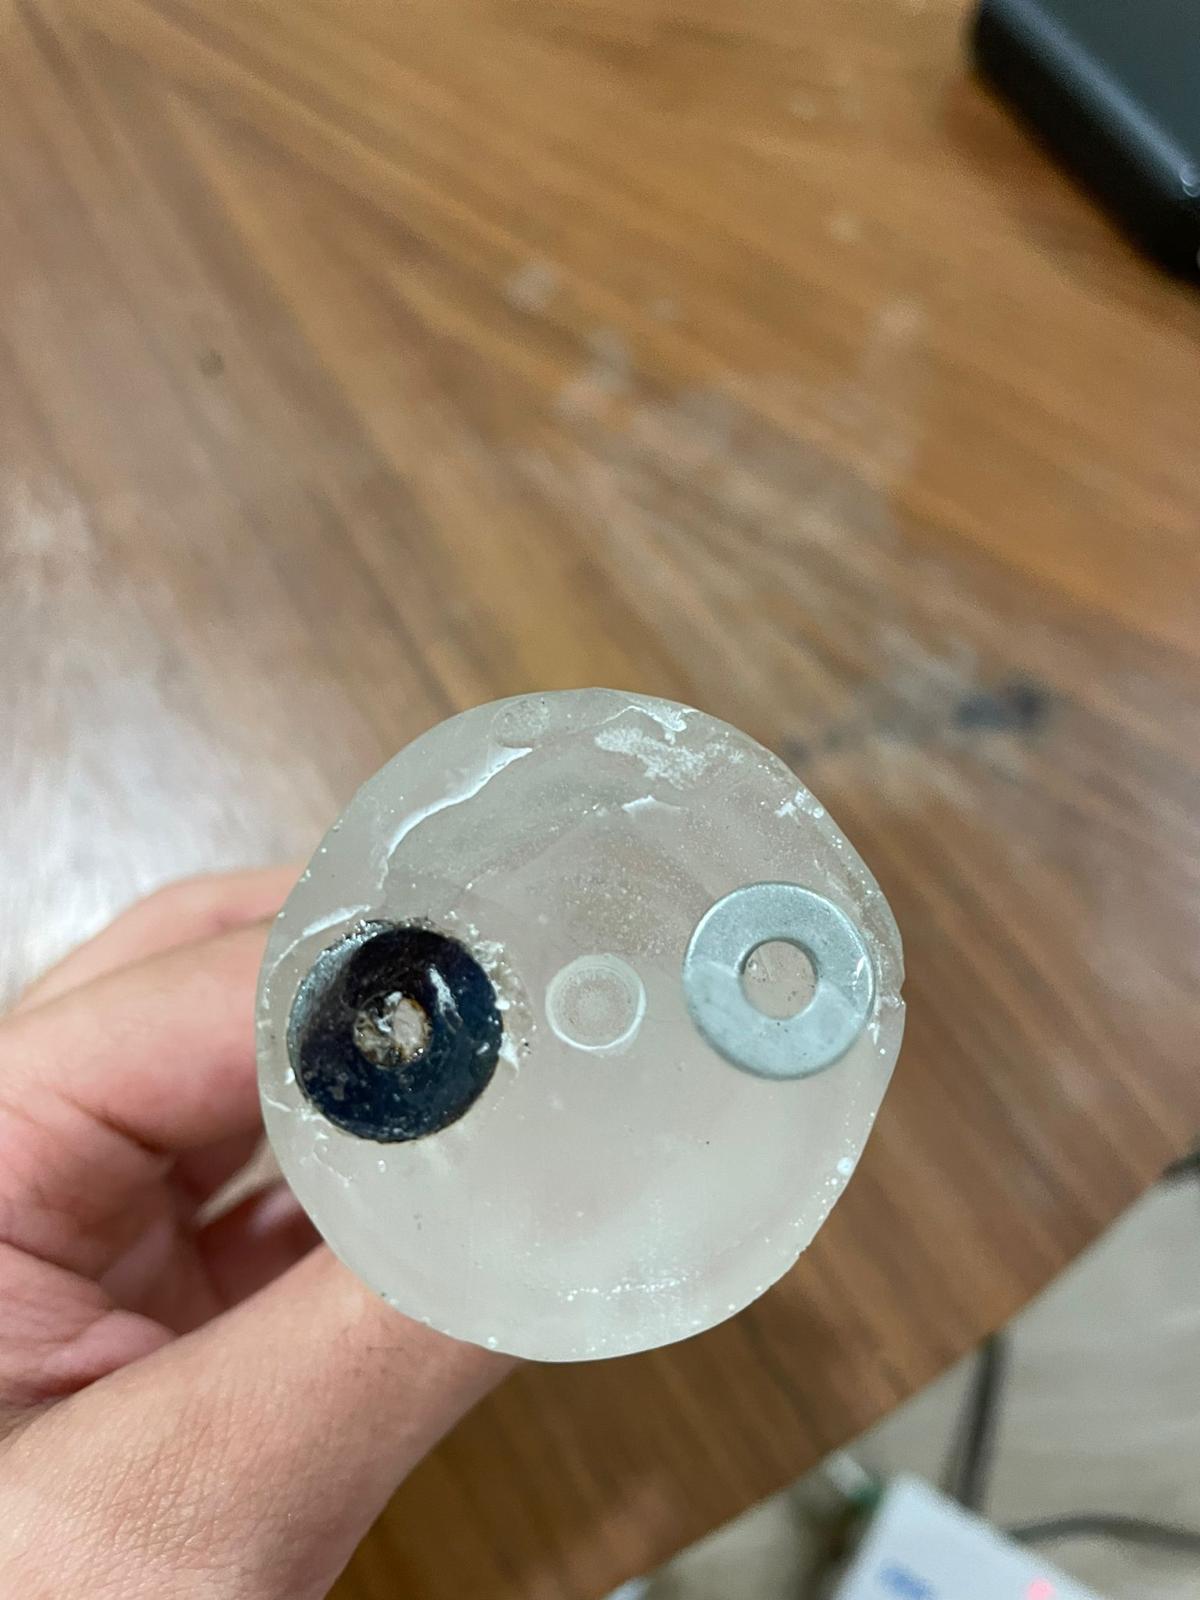
After that, when it became a little bet harder i placed two circules of iron in side it because i wnat to put a magnit in my piece so it can be hold.
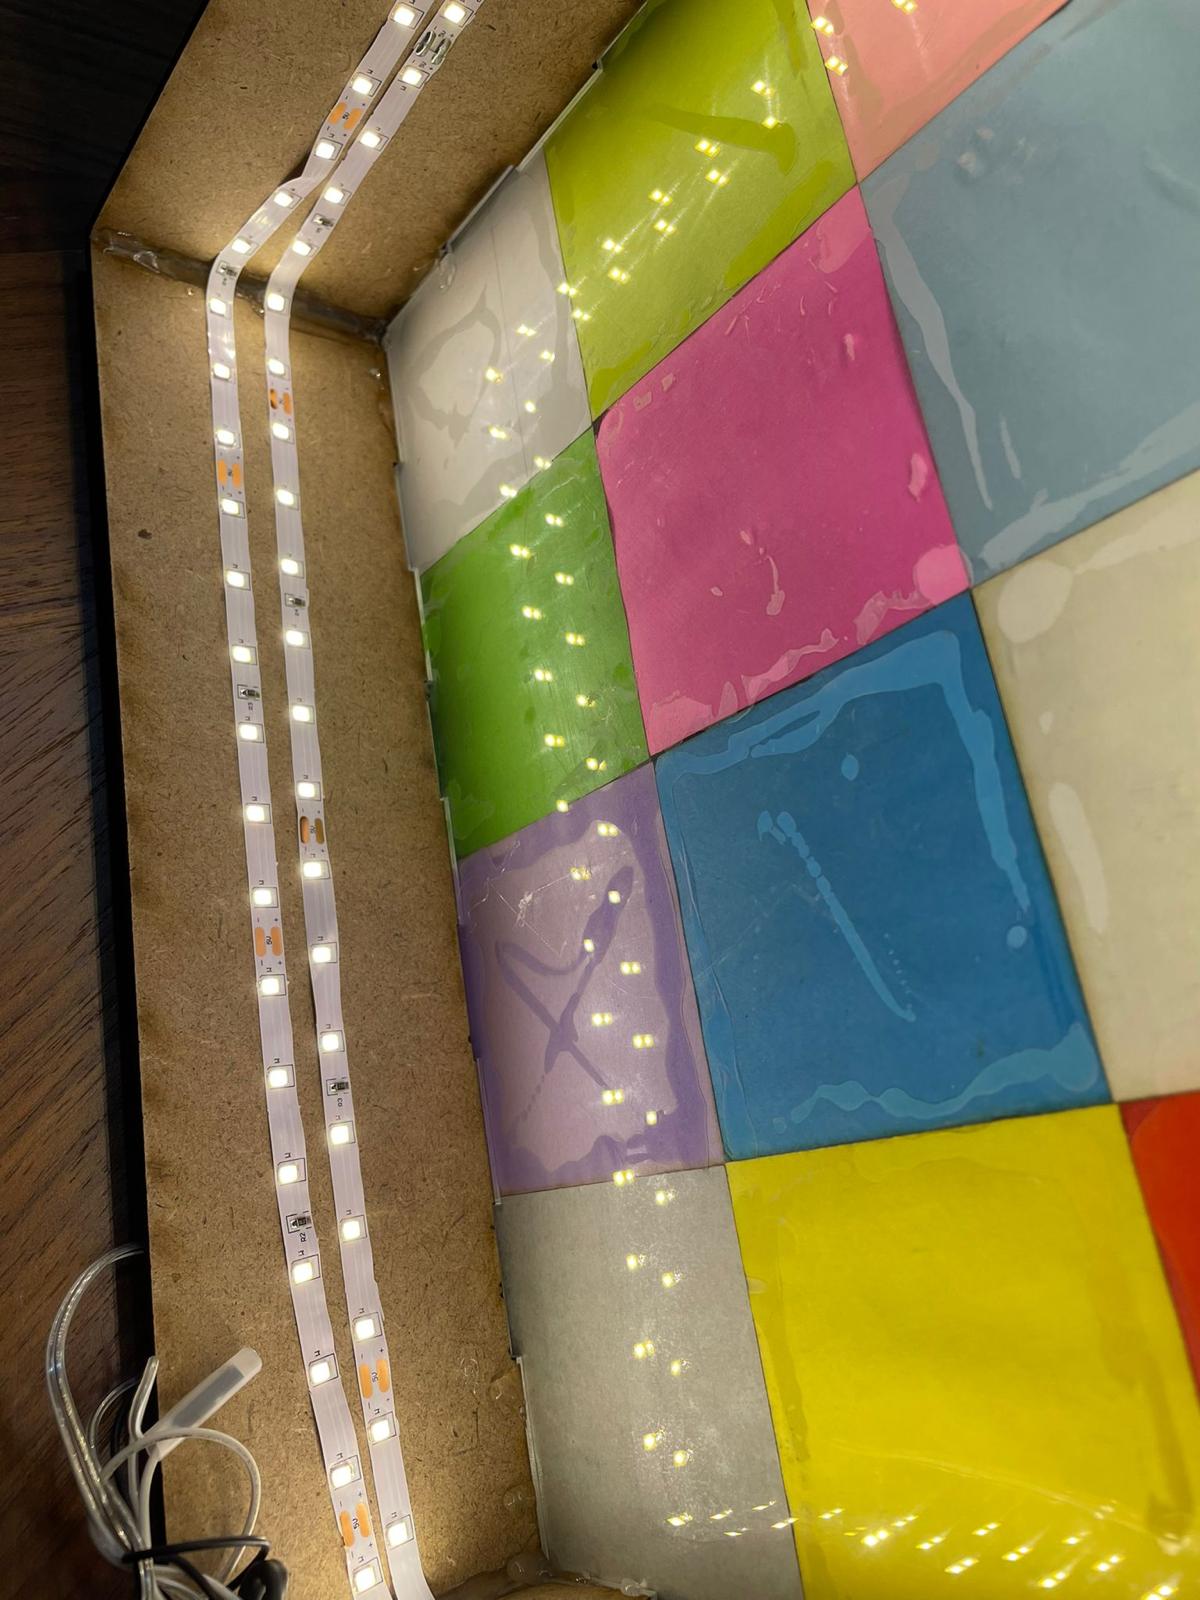
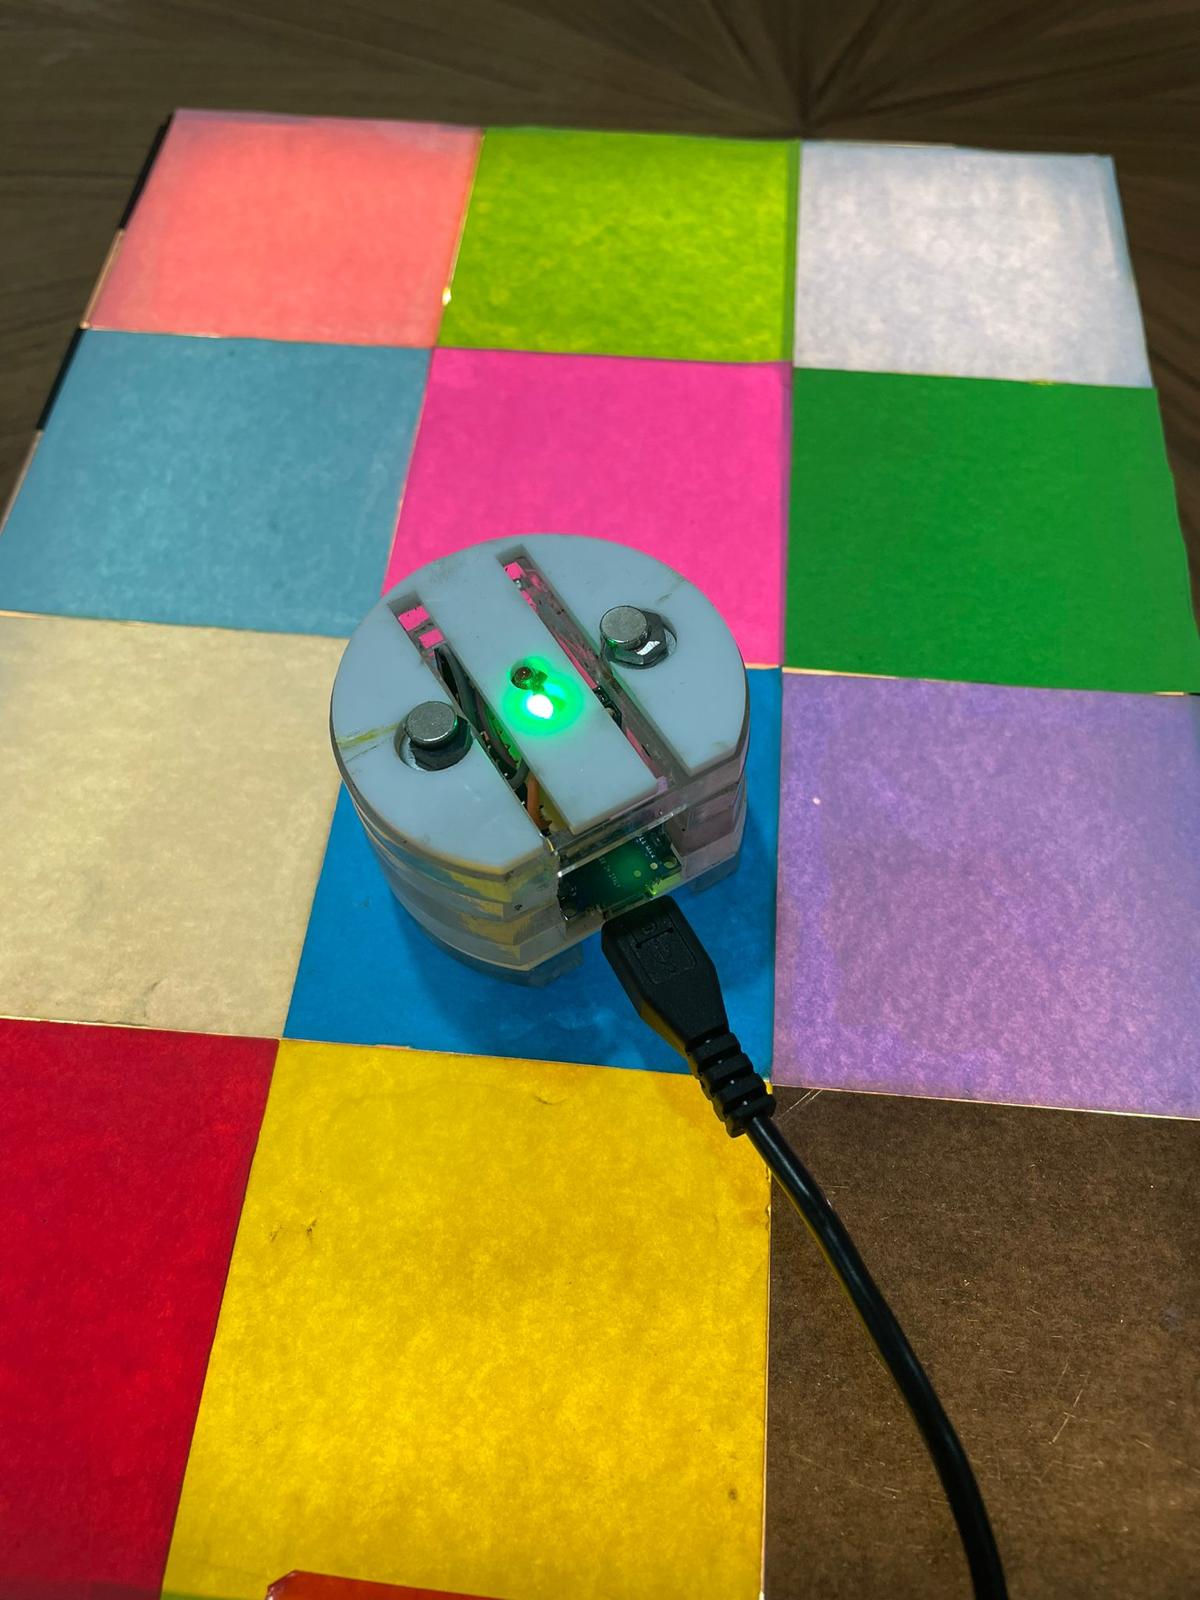
chess board
I made a box to be as a board, I put an LED light inside cause i want the sensor to recognize the colors of the board more efficiently.
a. I made the pieces of the board from a website that can do a box by just putting the size you want.
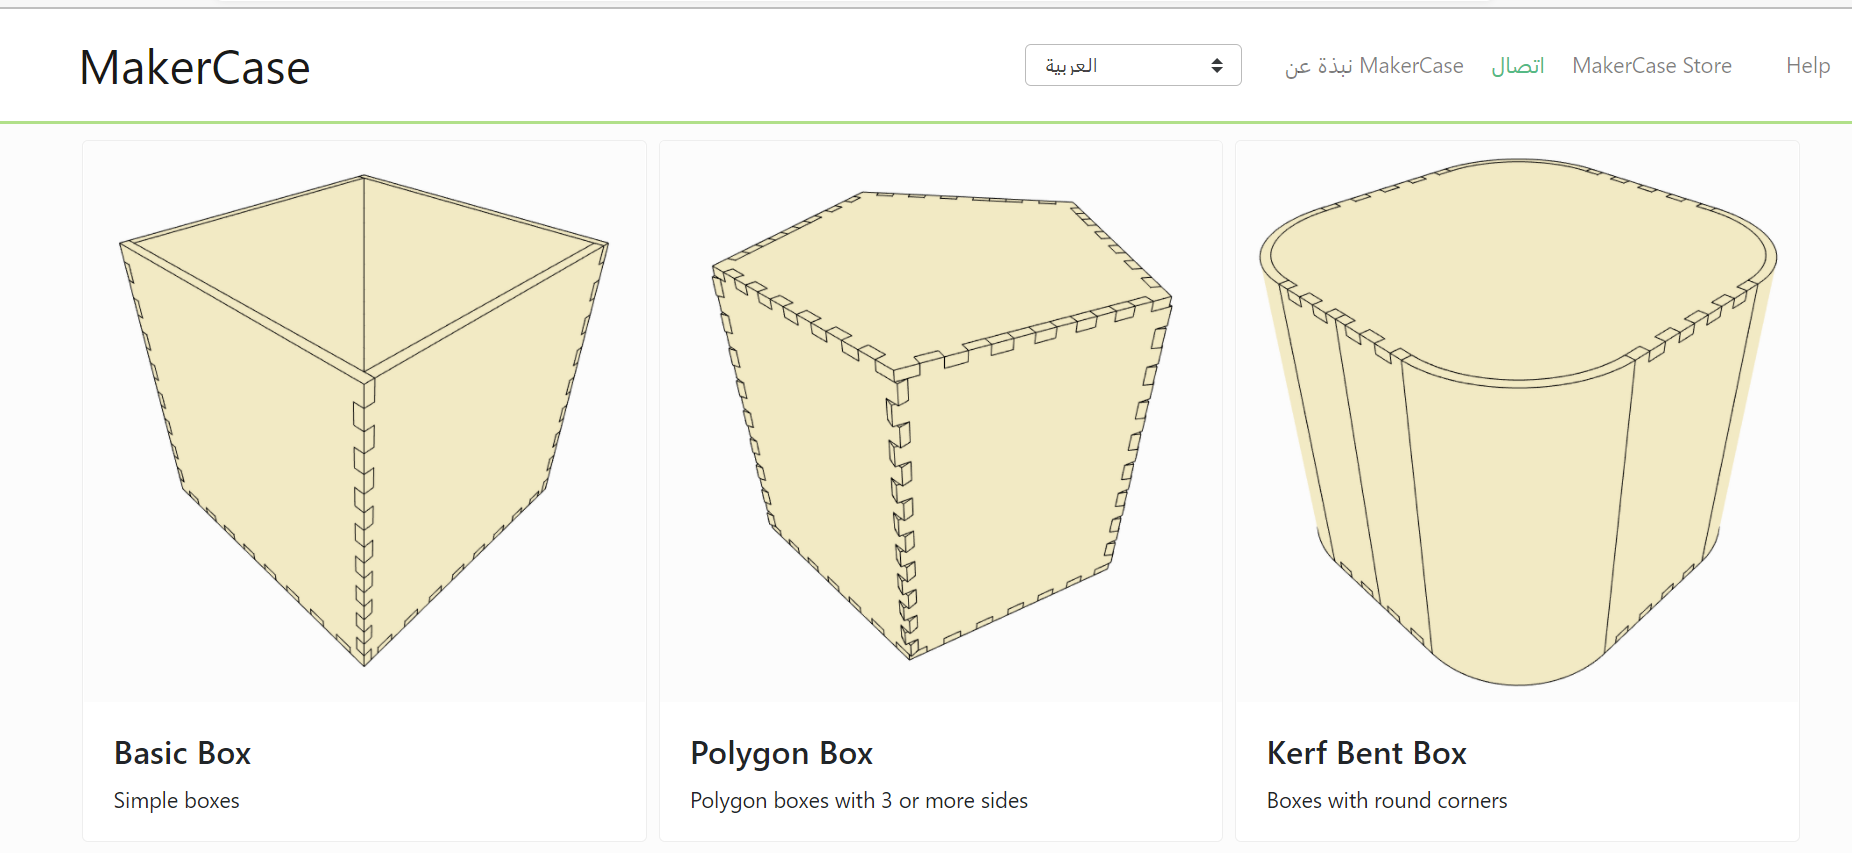
b. Then i cut the pieces in the laser cutter.
The sizes made out of wood and the top made out of acrylic so the light can shine through it.
c. I cut some paper with different colors so that the sensor can recognize where it place and then the code can decide whethere it’s the right move or not.
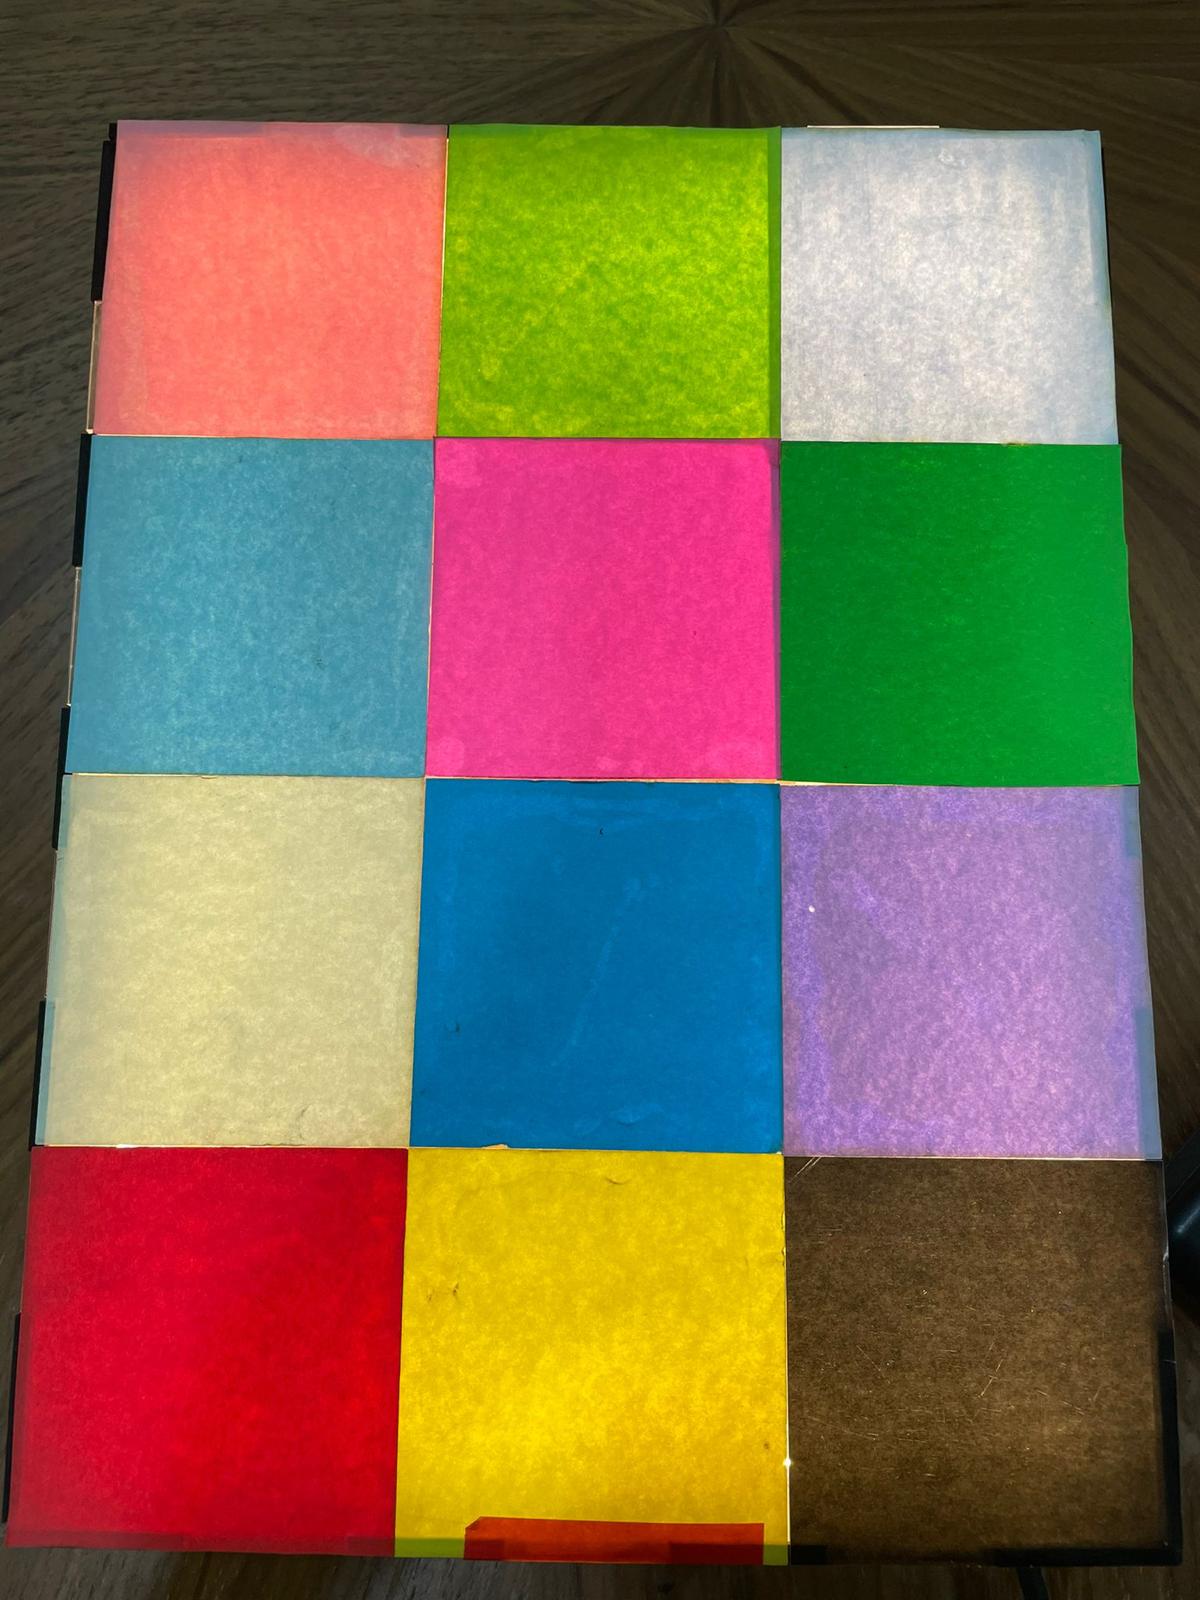
As i mentioned before i placed LED light inside the box for the reading to be better.
The main piece
The main piece contain of several slides i made them by fusion 360.
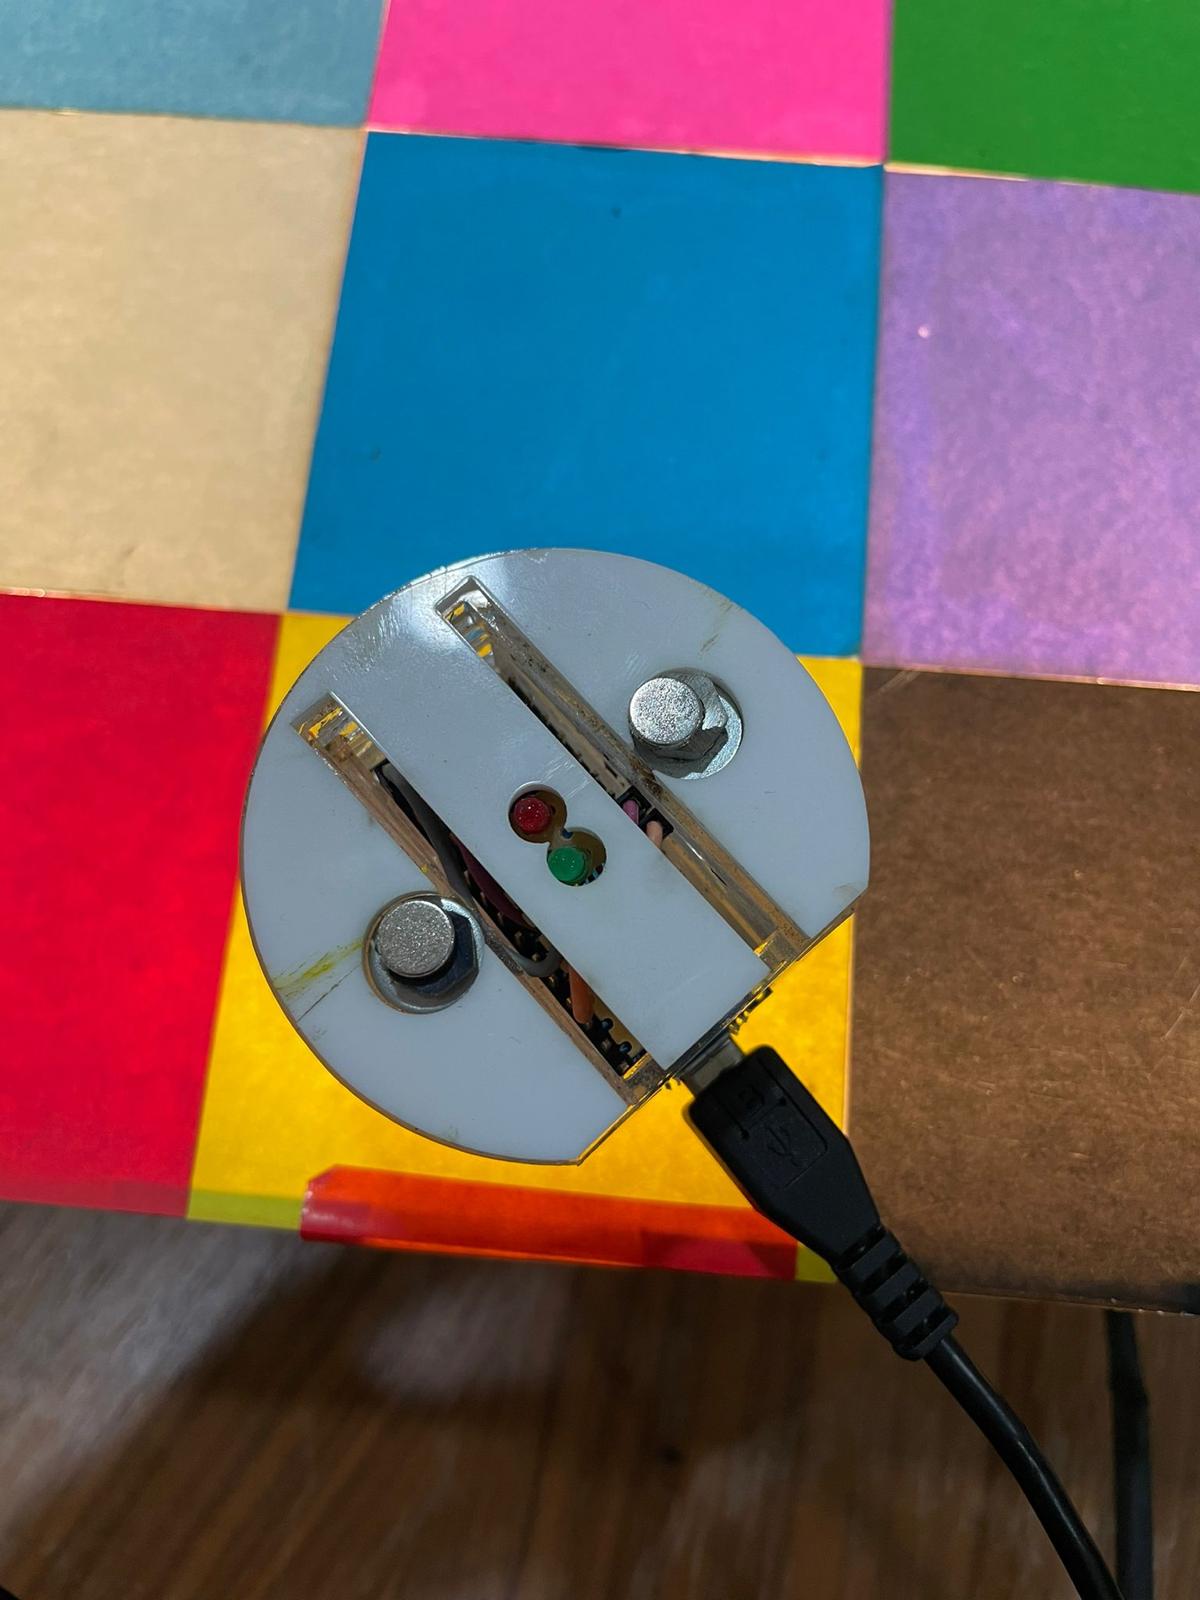
I did it so that i can put any piece of chess i created, that’s mean i don’t have to change everything cause i have this piece and i can place any piece i want on the top.
a. I design the pieces in fusion 360
b. I cut them by the laser cutter
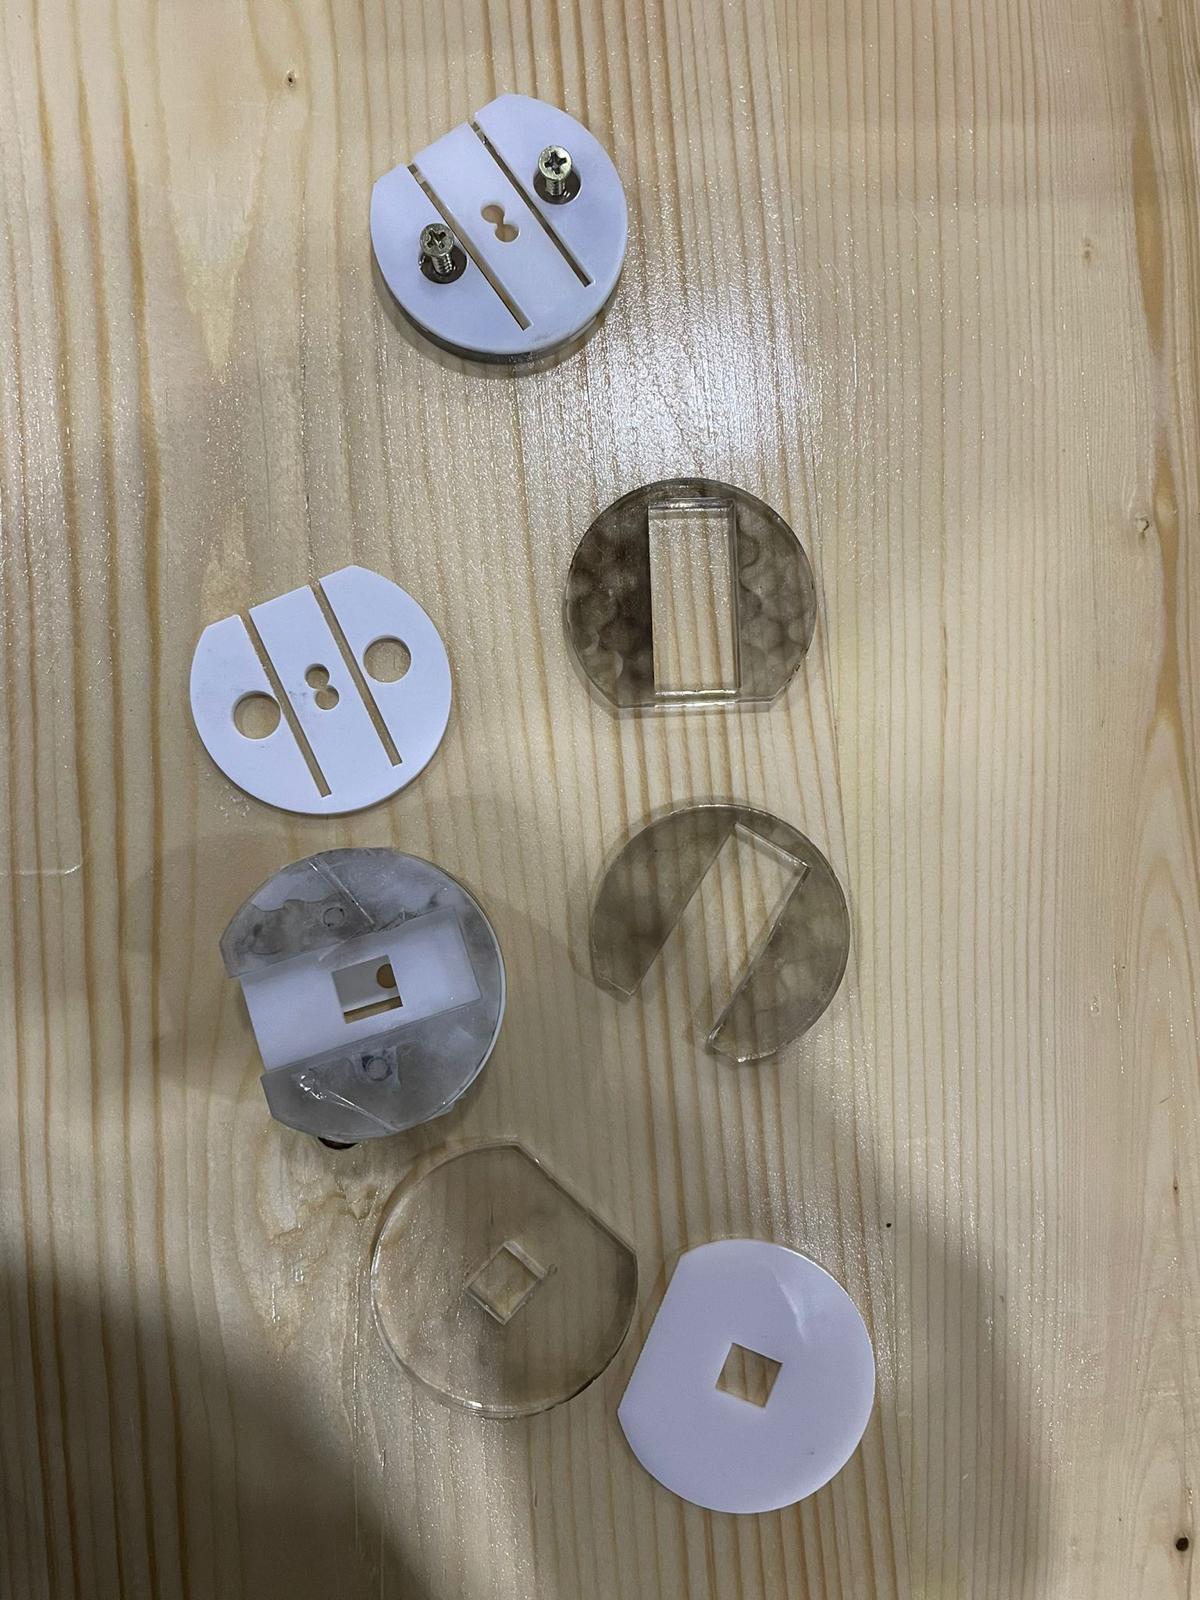
I made 7 layers:
-
The last layer is to give some distance from the light to the arduino board so it can detect the color clearly.
-
The next layer has just a rectangul hole in the side of the color sensor.
-
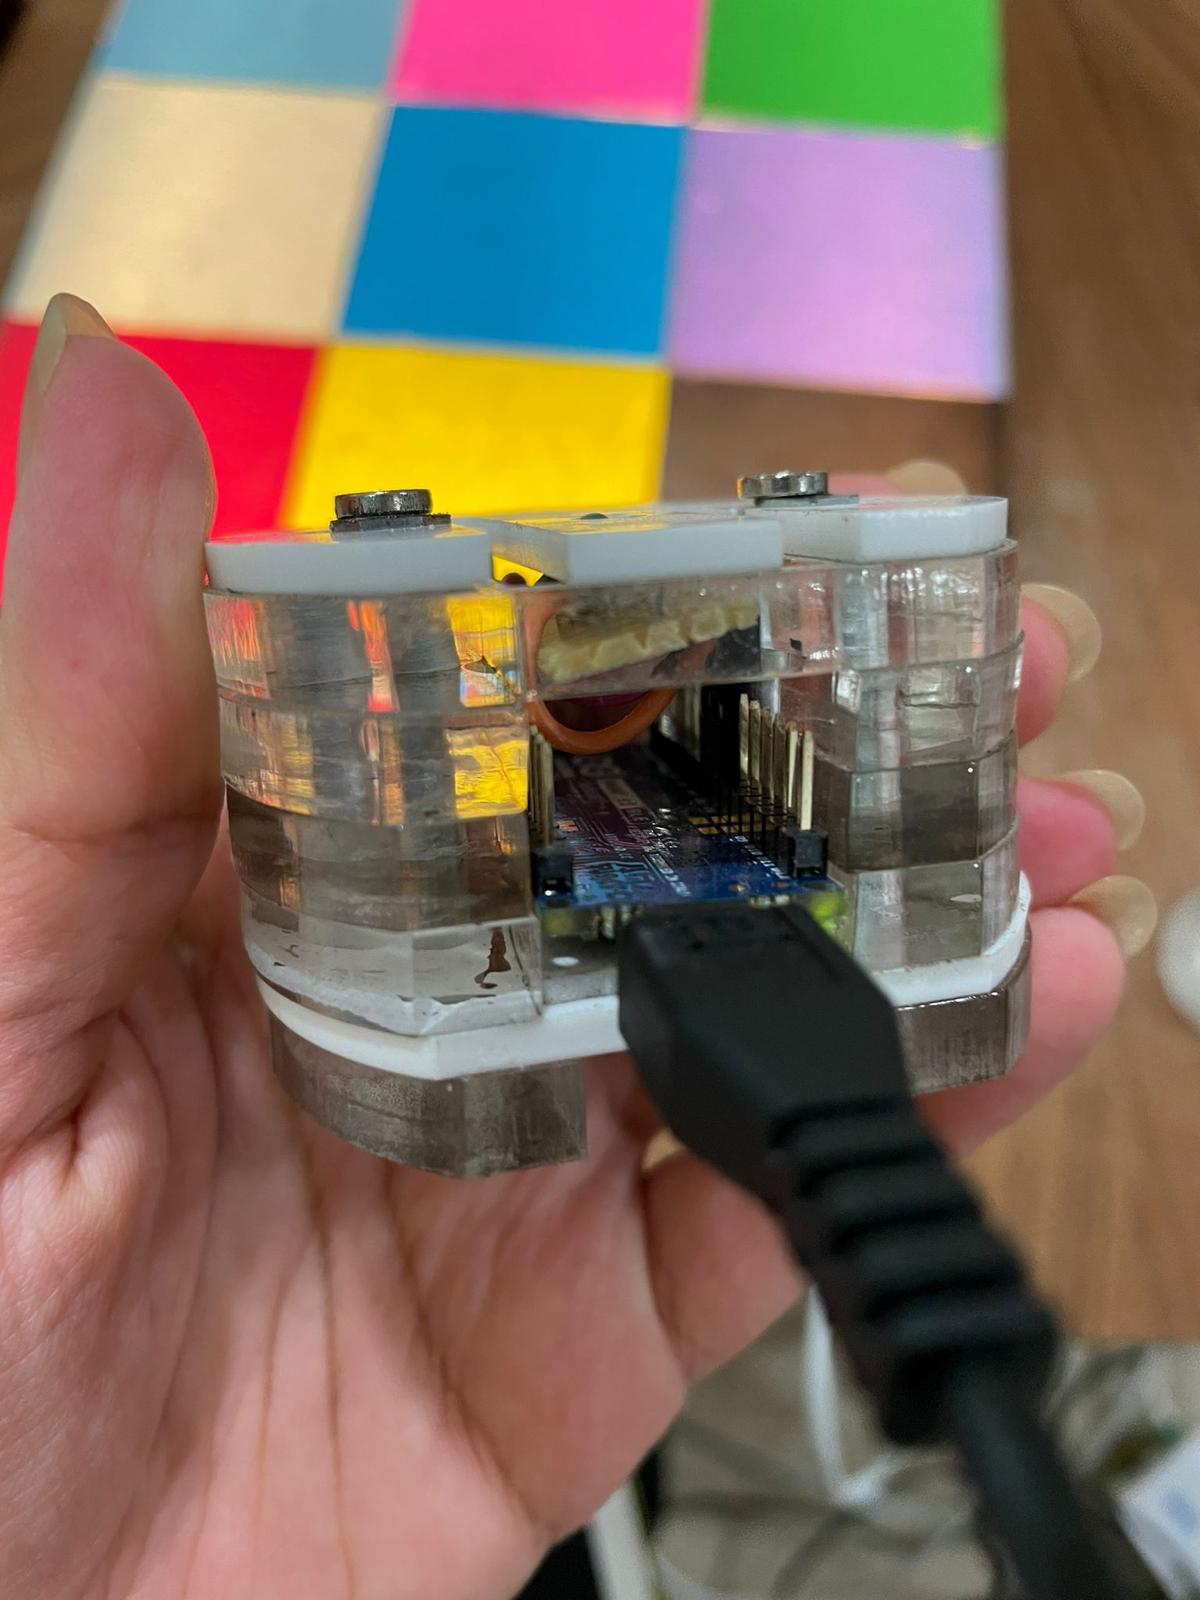
The next four layers are just to keep the ardunio in its place.
-
The last one has two holes to pace the magnit in them and there are a space in the middle to let the pins out.
Also i used the pins to put LED lights one red and the other one green to show the results of the move if its right or wrong.
c. I joined them by screw.
This is the link for the pieces that i’ve made in fusion 360
How does everything work togther ?!!
I did a code that can recognize all the 12 different colors on the board and i put a specific color to be the origin.
This is my initial code:
#include <Arduino_APDS9960.h>

void setup() {
  Serial.begin(9600);
  while (!Serial);

  if (!APDS.begin()) {
    Serial.println("Error initializing APDS-9960 sensor.");
  }
}

void loop() {
  // check if a color reading is available
  while (! APDS.colorAvailable()) {
    delay(5);
  }
  int r, g, b;

  // read the color
  APDS.readColor(r, g, b);

  // print the values
  Serial.print("r = ");
  Serial.println(r);
  Serial.print("g = ");
  Serial.println(g);
  Serial.print("b = ");
  Serial.println(b);
  Serial.println();

  // wait a bit before reading again
  delay(1000);

  if ((r<25&r>17)& (g<15&g>7) & (b<13&b>6)) /*black*/{
  digitalWrite(6, HIGH);

} else if ((r<353&r>320)& (g<175&g>158) & (b<126&b>110)){        /*yellow*/
  digitalWrite(6, HIGH);

}else if ((r<127&r>110)& (g<17&g>4) & (b<40&b>22)){        /*red*/
  digitalWrite(6, HIGH);
}
else if ((r<250&r>225)& (g<134&g>120) & (b<111&b>92)){        /*light yellow*/
  digitalWrite(6, HIGH);
}
else if ((r<8&r>2)& (g<18&g>10) & (b<22&b>14)){        /*dark blue*/
  digitalWrite(6, LOW);
  digitalWrite(5, LOW);
}
else if ((r<85&r>67)& (g<35&g>18) & (b<48&b>33)){        /*purbil*/
  digitalWrite(6, HIGH);
}
else if ((r<50&r>35)& (g<59&g>44) & (b<55&b>35)){        /*light blue*/
  digitalWrite(6, HIGH);
}
else if ((r<225&r>200)& (g<30&g>15) & (b<70&b>54)){        /*pink*/
  digitalWrite(6, HIGH);
}
else if ((r<12&r>0)& (g<18&g>6) & (b<14&b>1)){        /*green*/
  digitalWrite(6, HIGH);
}
else if ((r<410&r>365)& (g<90&g>70) & (b<125&b>110)){        /*light orange*/
  digitalWrite(5, HIGH);
}
else if ((r<120&r>100)& (g<110&g>90) & (b<65&b>45)){        /*light GREEN*/
  digitalWrite(5, HIGH);
}
else if ((r<220&r>200)& (g<145&g>130) & (b<134&b>120)){        /*white*/
  digitalWrite(5, HIGH);
}
else {        /*others*/
  digitalWrite(5, LOW);
  digitalWrite(6, LOW);
}
}
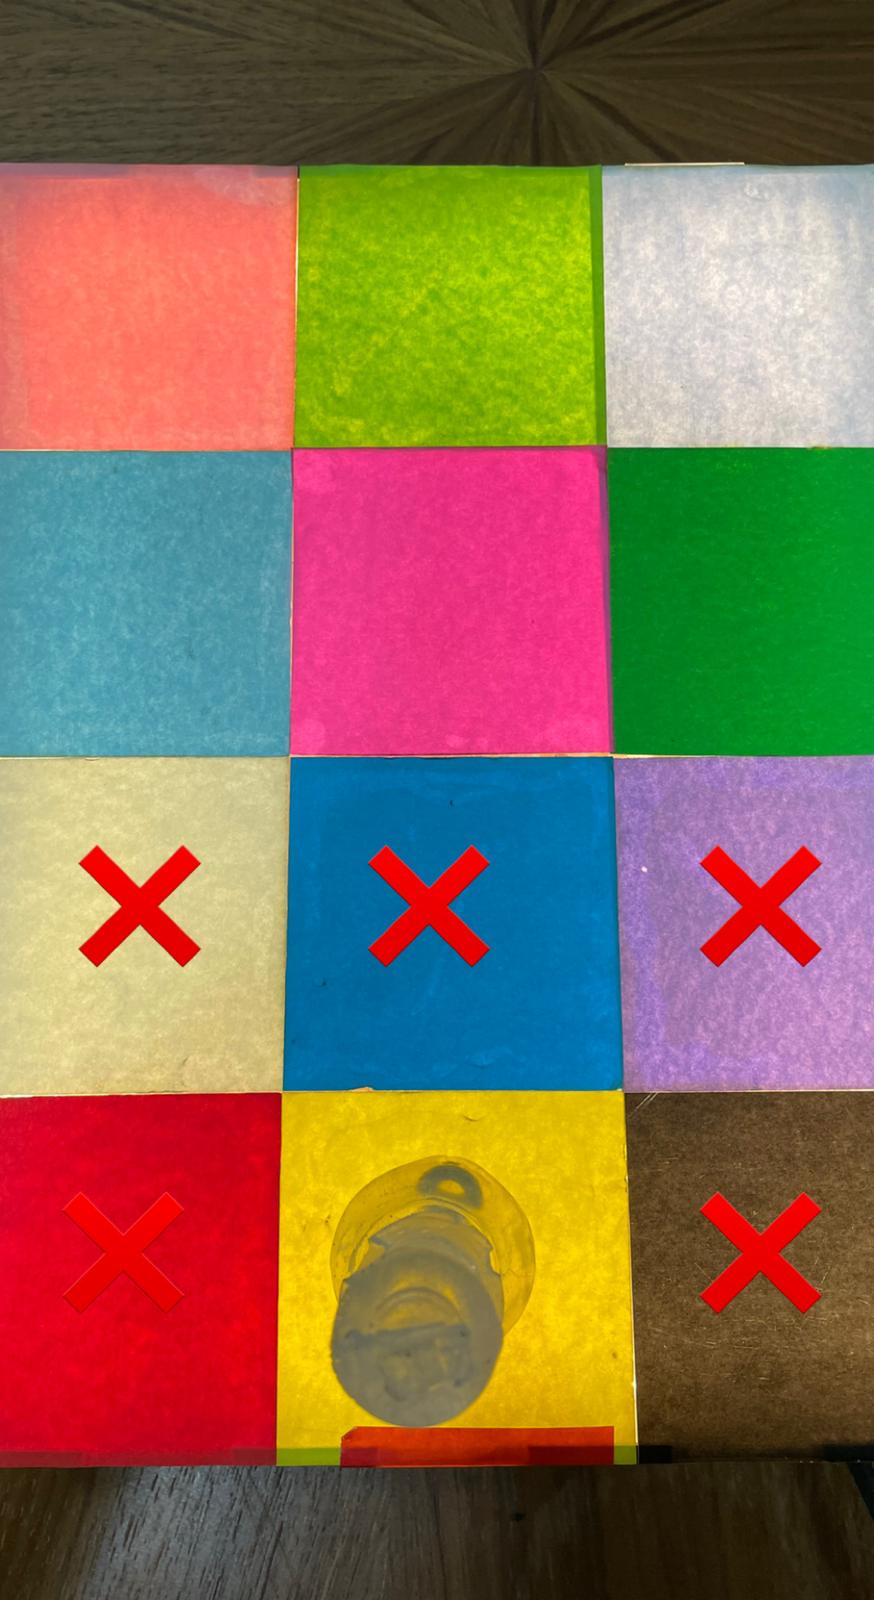
In this case, the origin is the yellow color.
And as you can see, the X is where the king can move.
So if i move the piece in these squares, the green light will have a power.
And if the piece go to another squares, the red light will have a power.

Here is a short video on how you can use it.
For the future work,
I’d like to make the board made out of sensors and make the hole chess pieces.