8. Moulding and casting
This week I worked on molding and casting.
Group work
For the grop work:
First the instructor showed us a different material and we choose one to try it for the molding process.
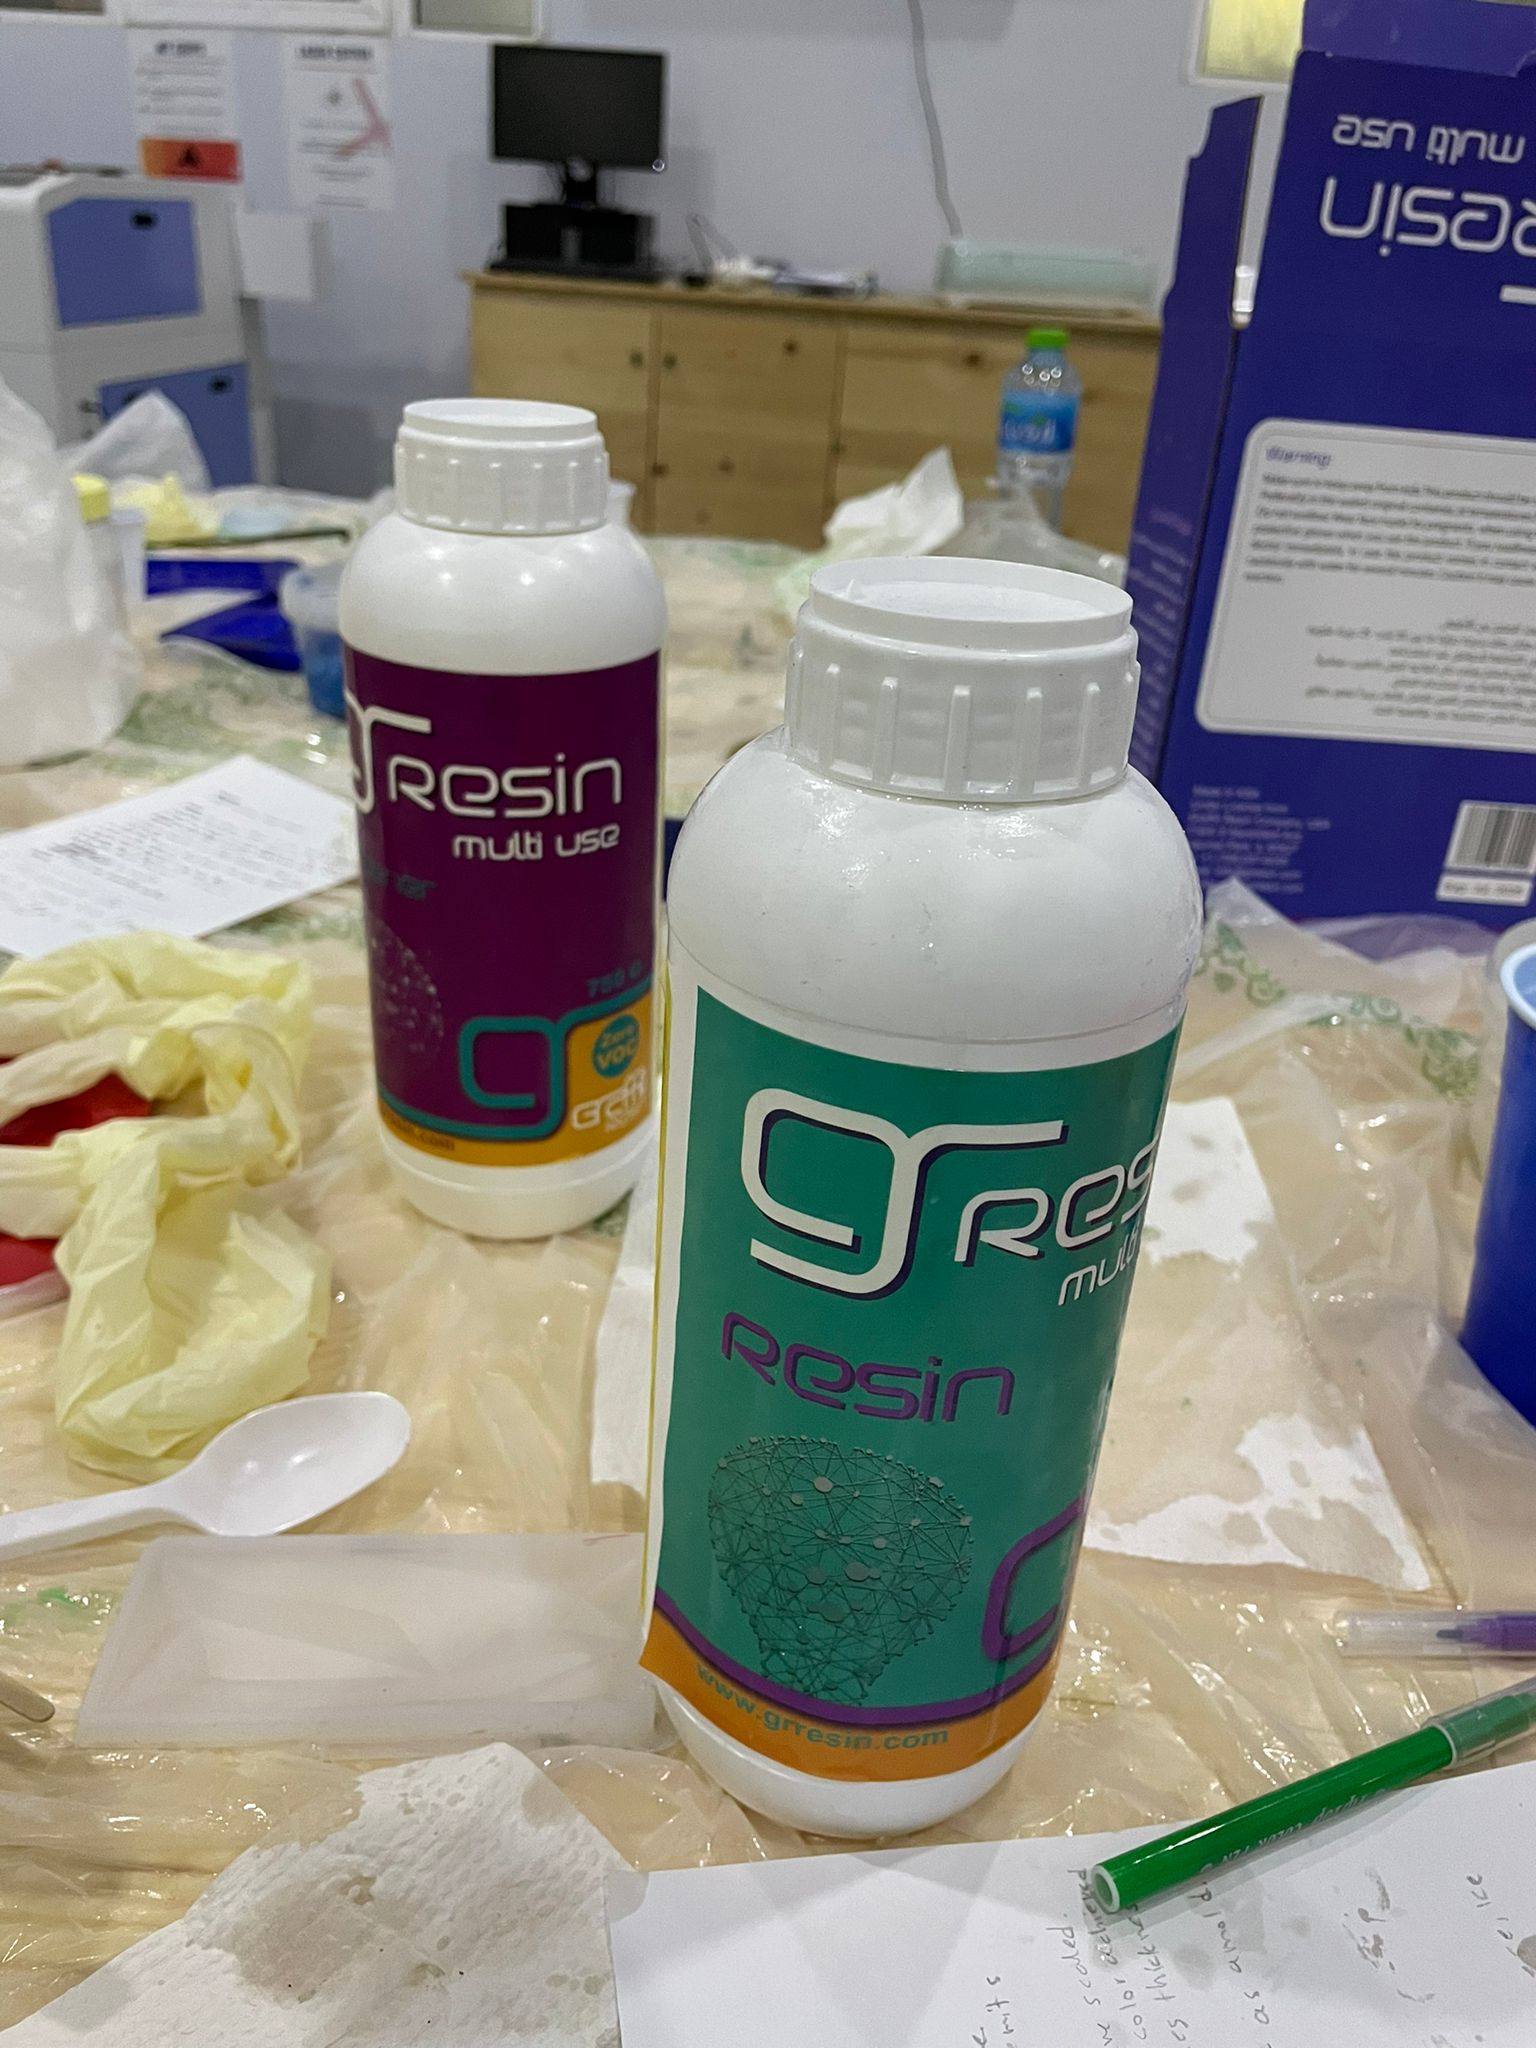
Which is this material, it called selicon (Rubber):
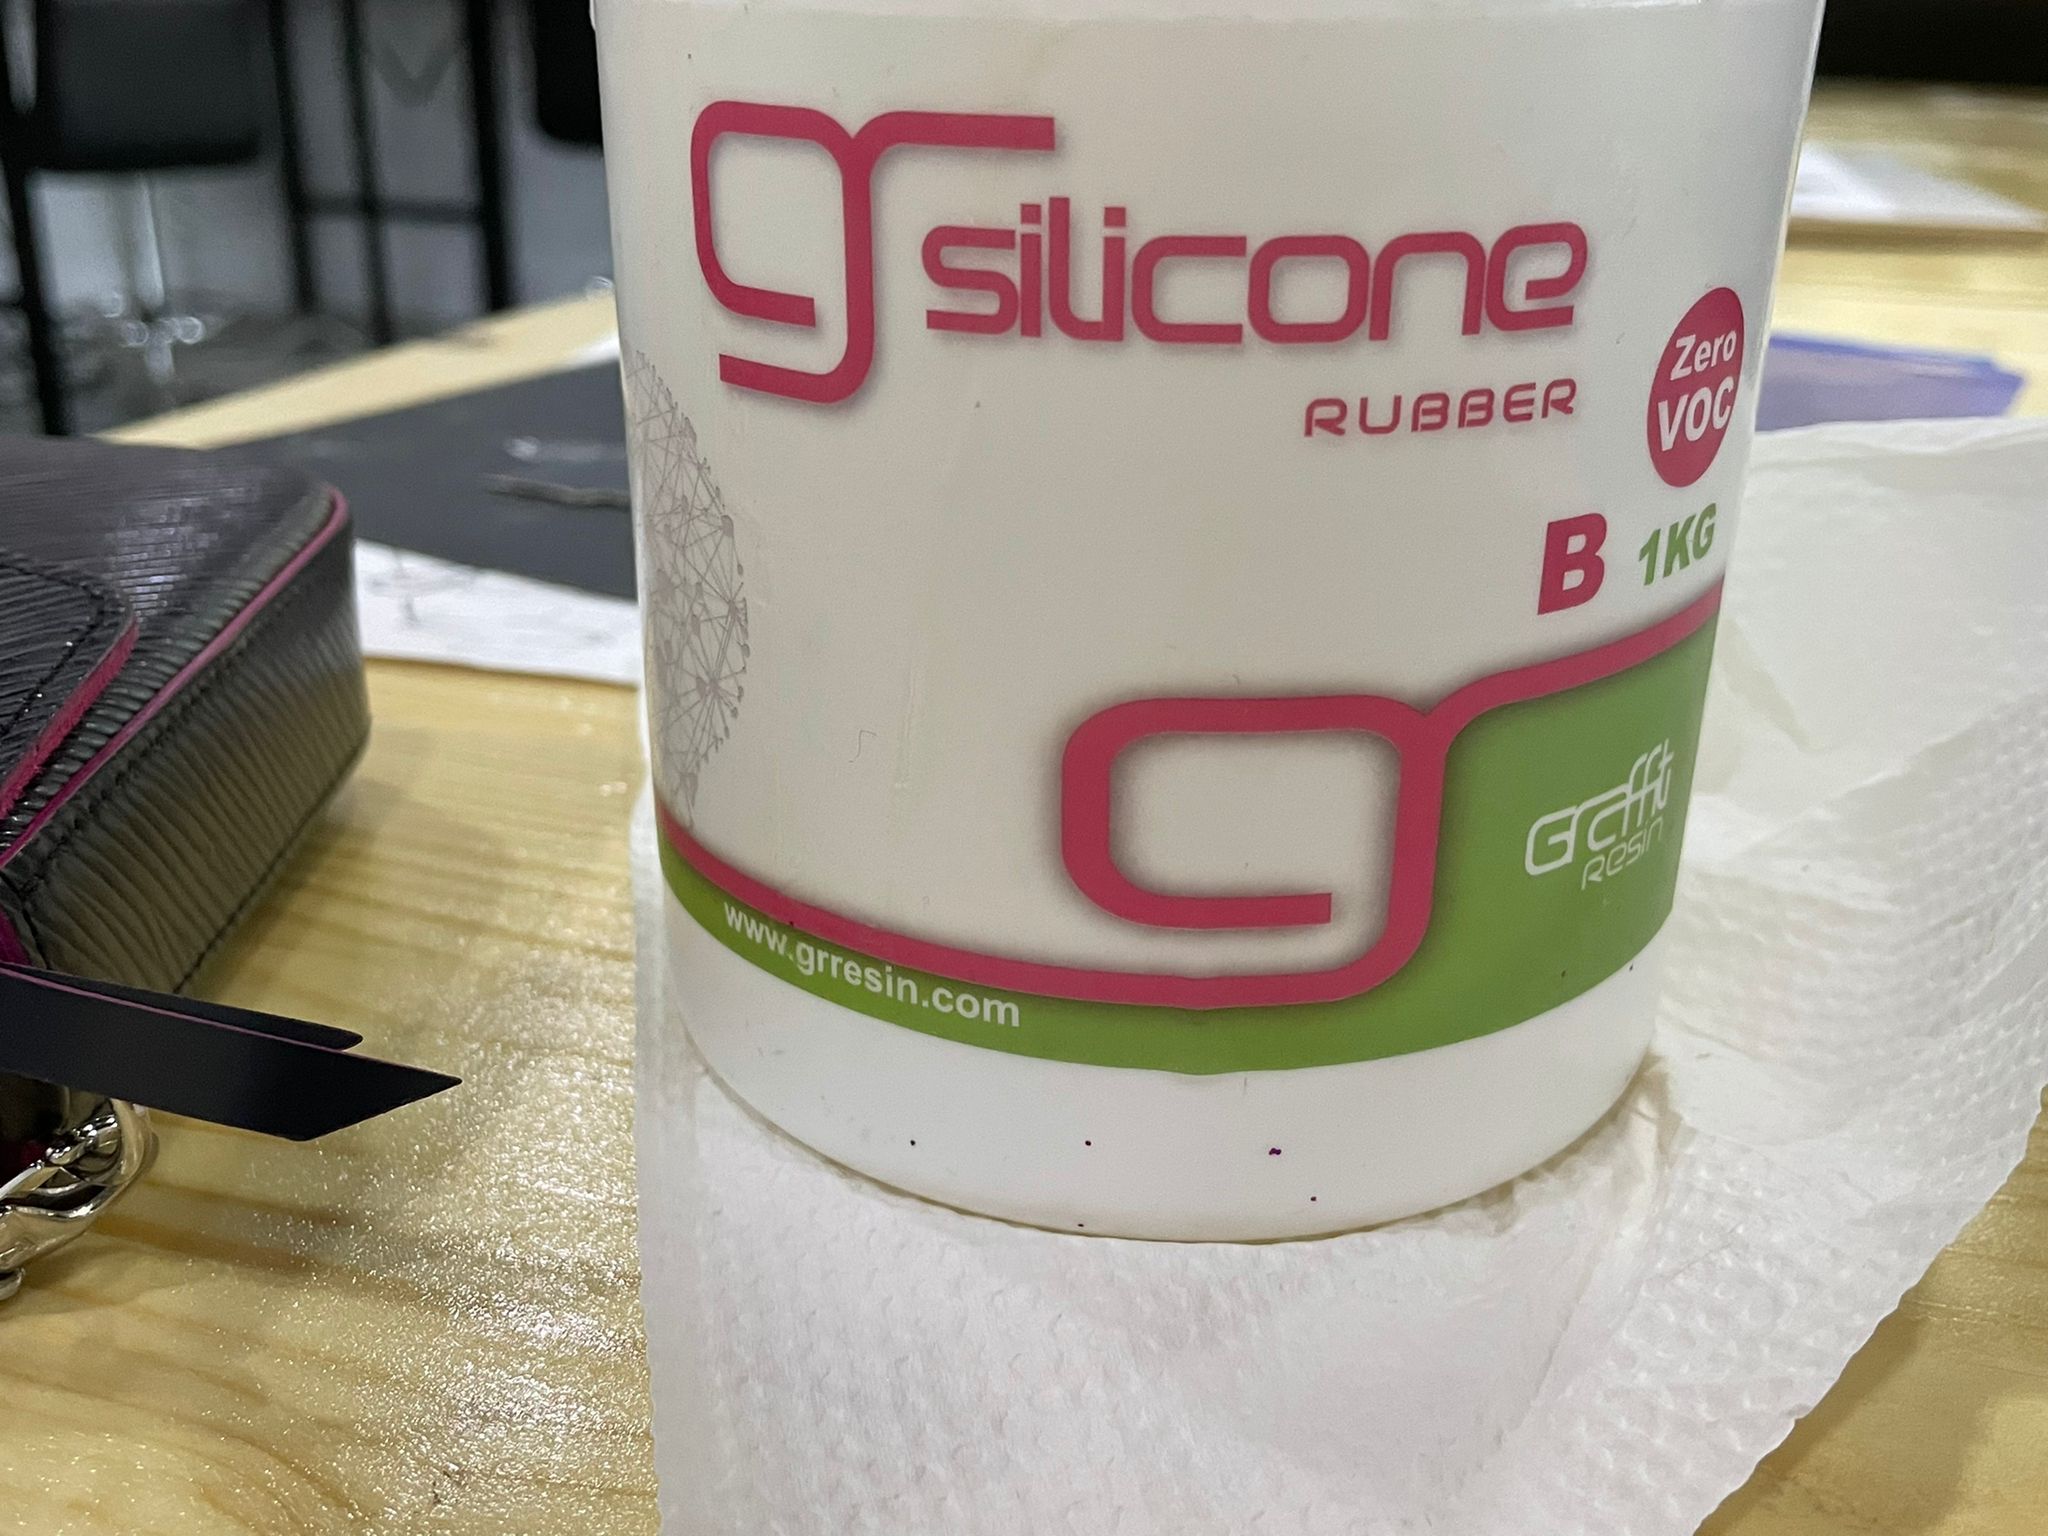
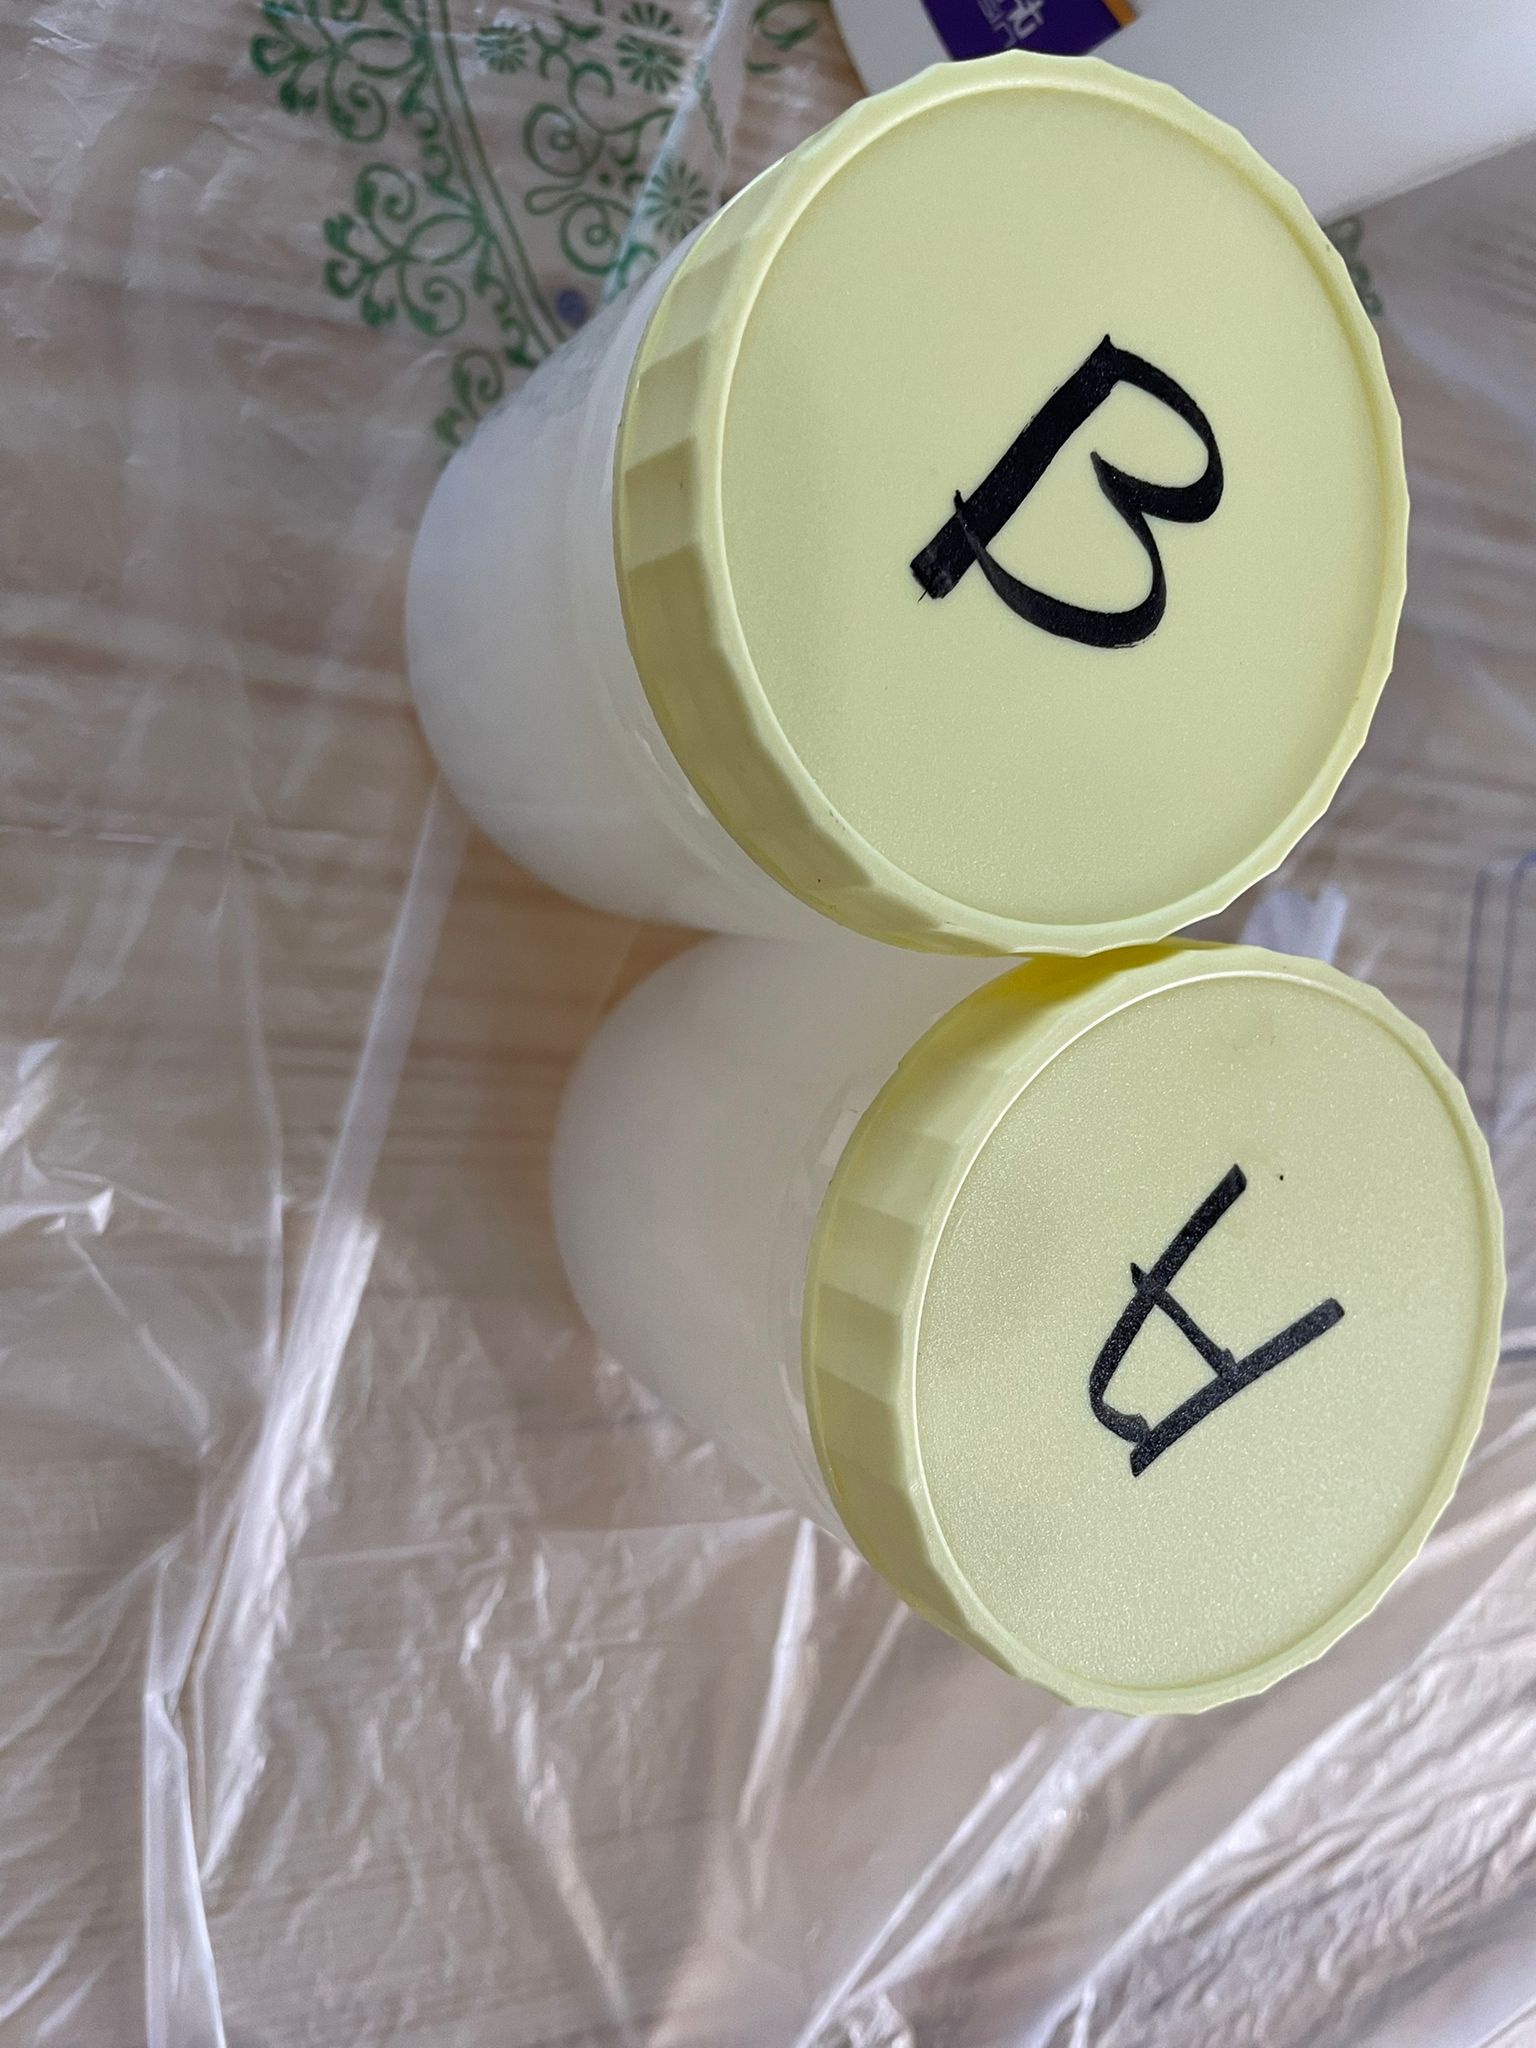
There is two of them, A and
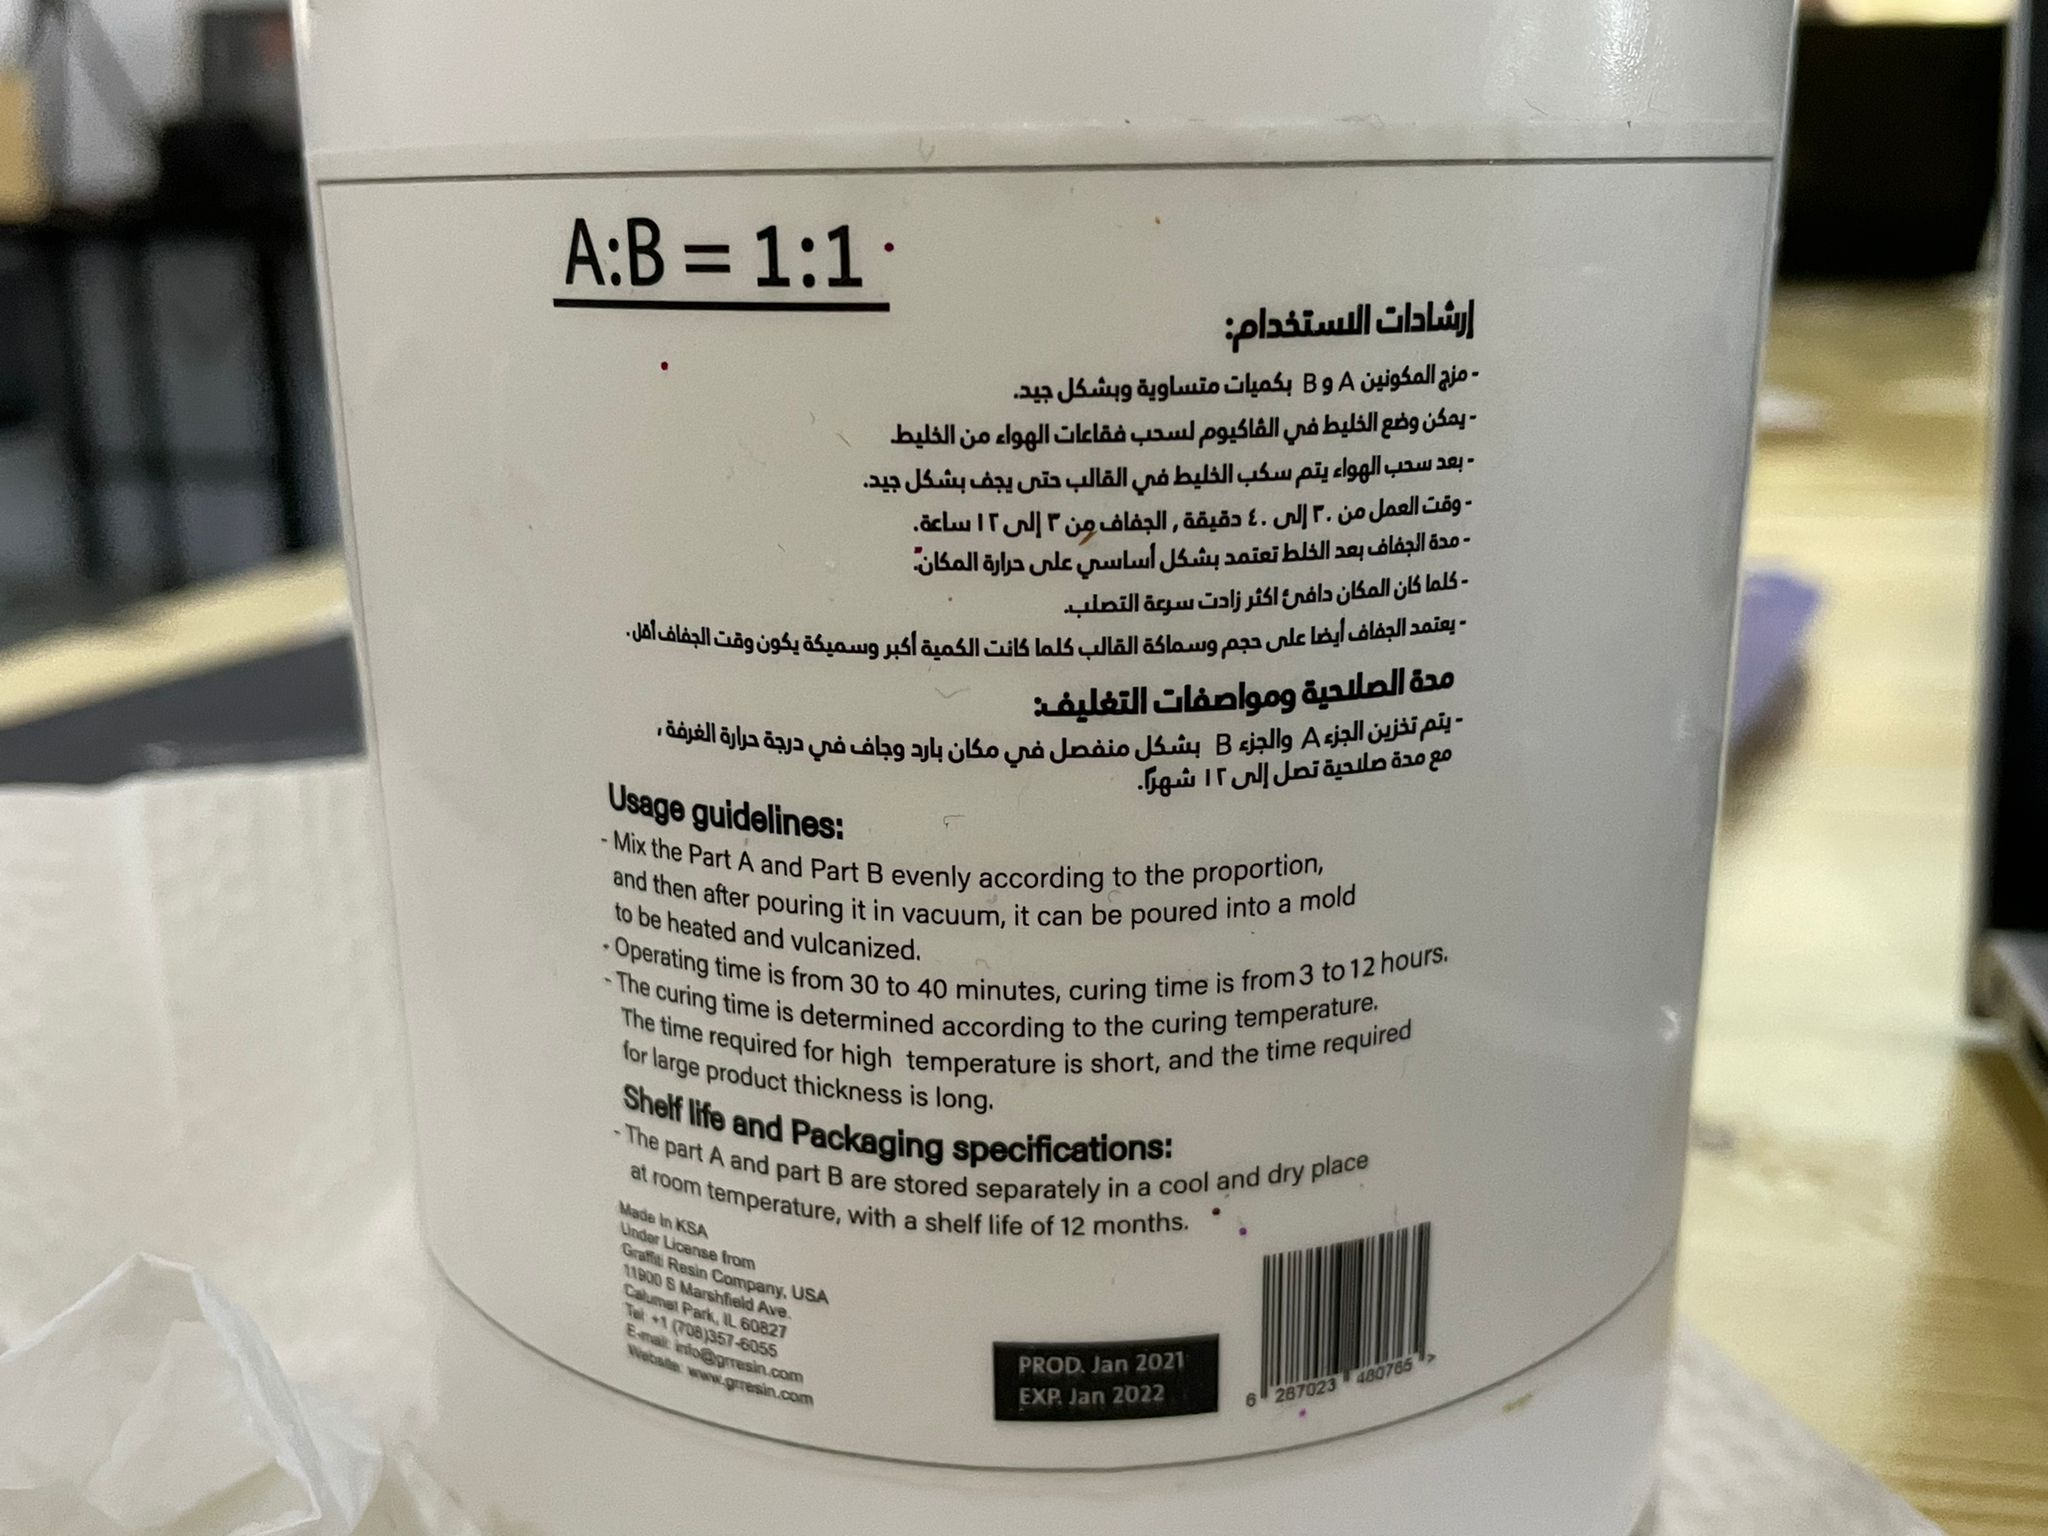
I read the instructions to start the process.
Also, i rea about the warnings like: i should wear a gloves.
Furthermore, the ration is 1:1 and we need a scale to measure the amount.
Firts of all, we got a scale and put on it a plastic cup, then we put the scale into zero.
After that, I measue put A material for 16 gram and then B material for 16 gram and i mixed them.
After that, I put it in this tray.
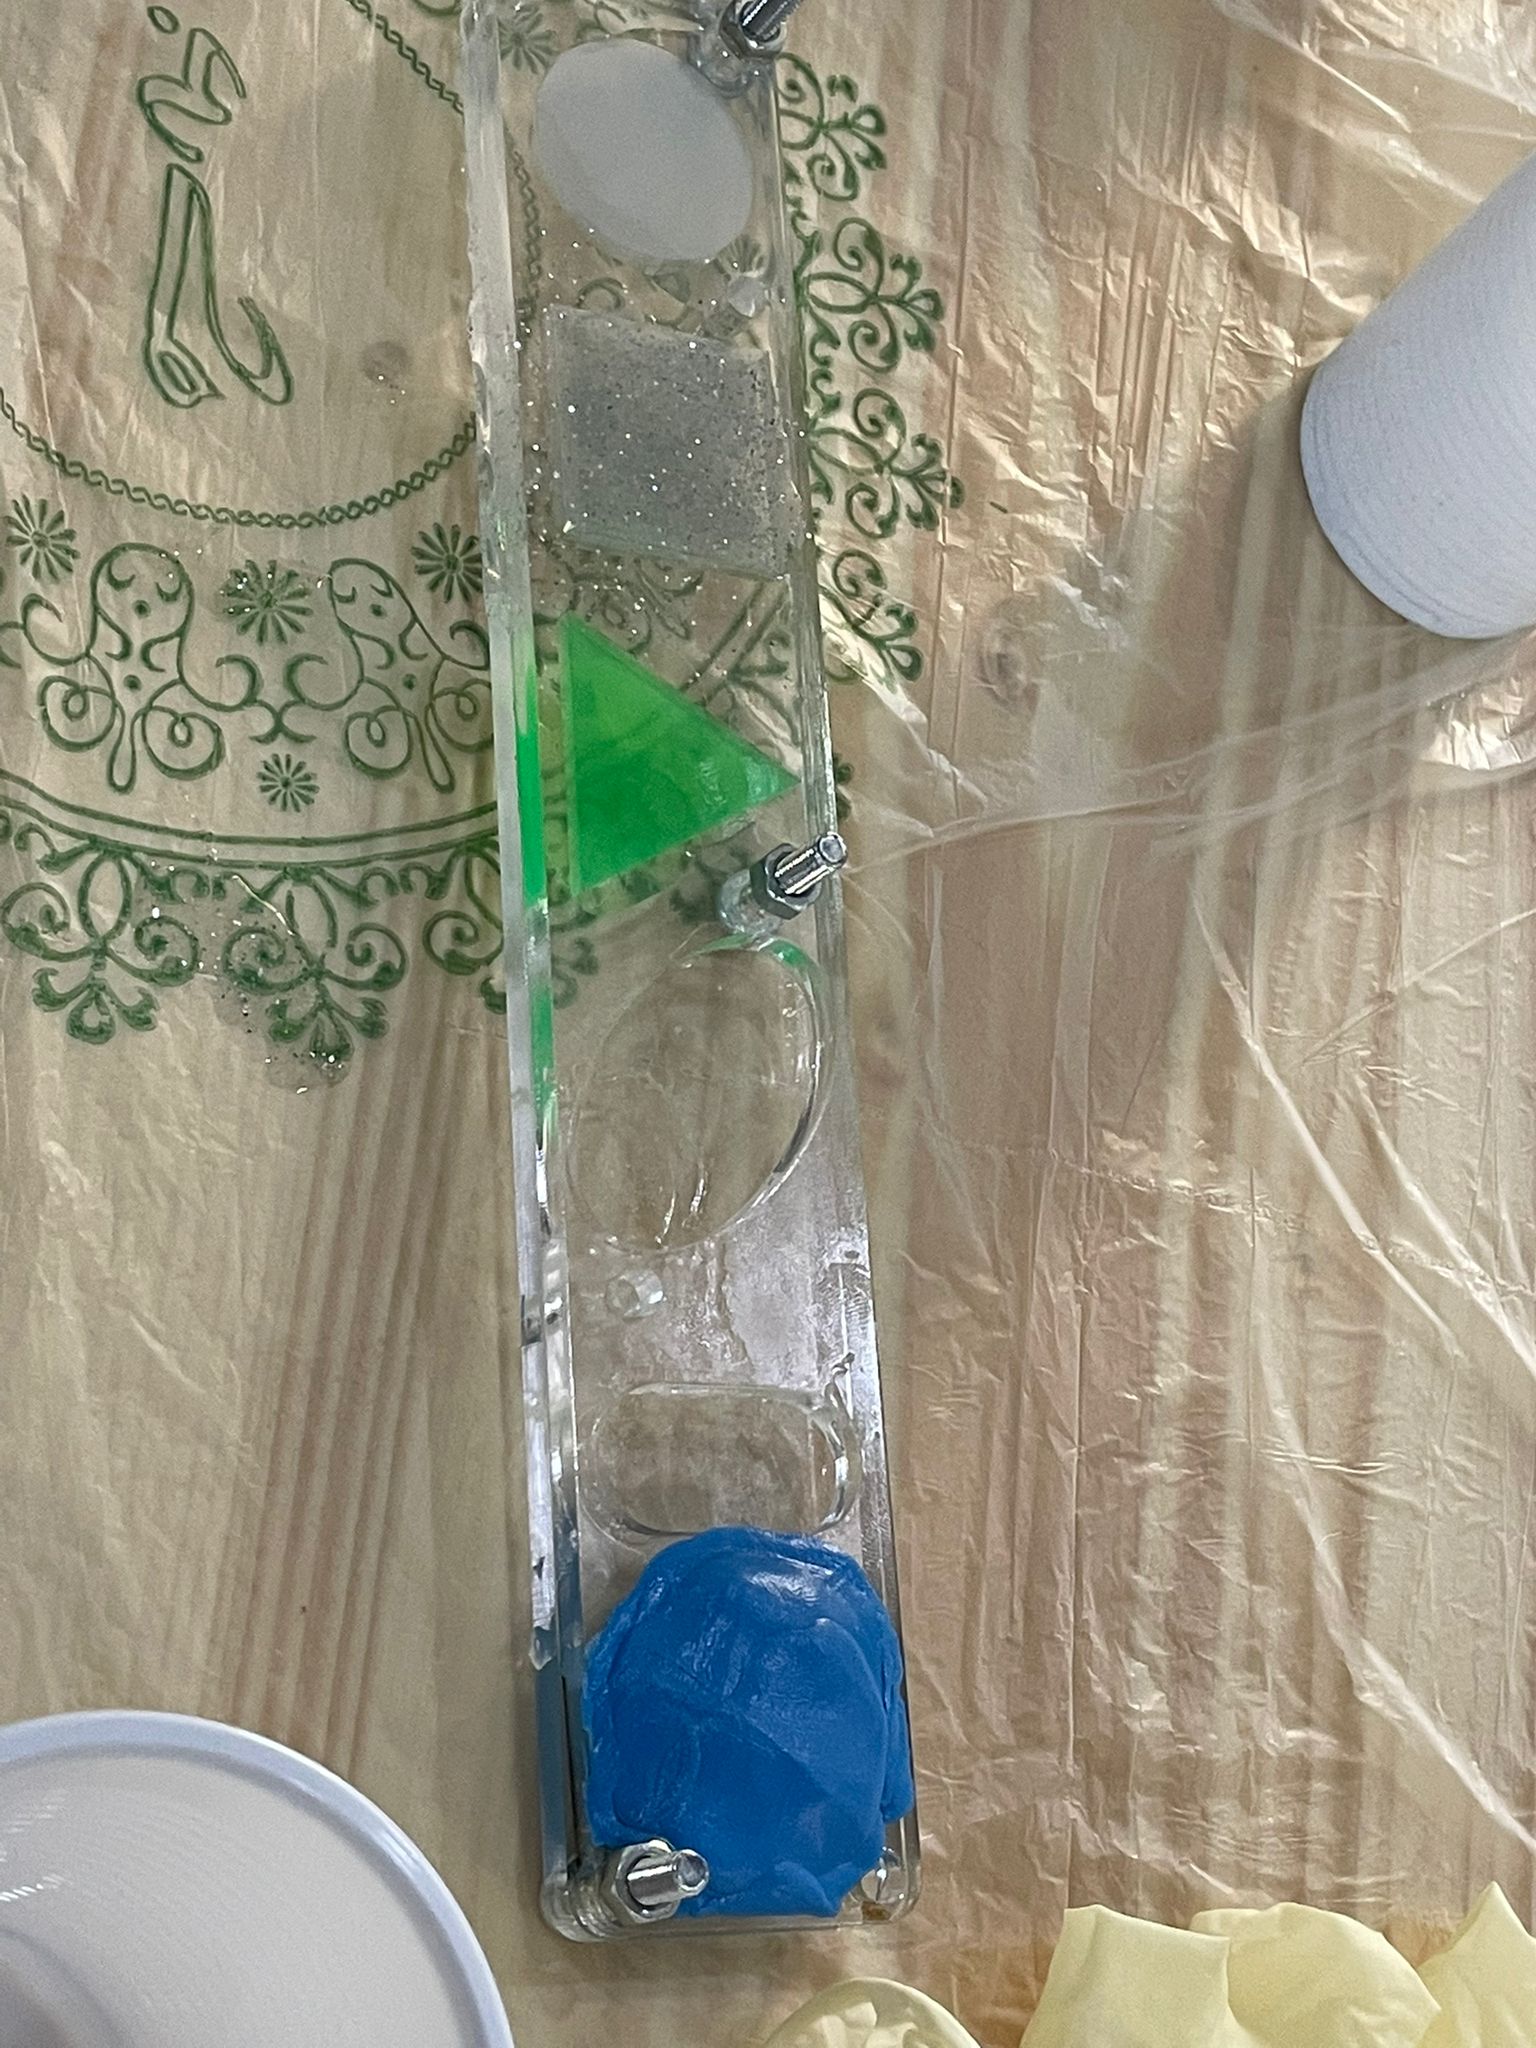
This material is good to form a mold.
Here some other students works with different materials:
individual WORK
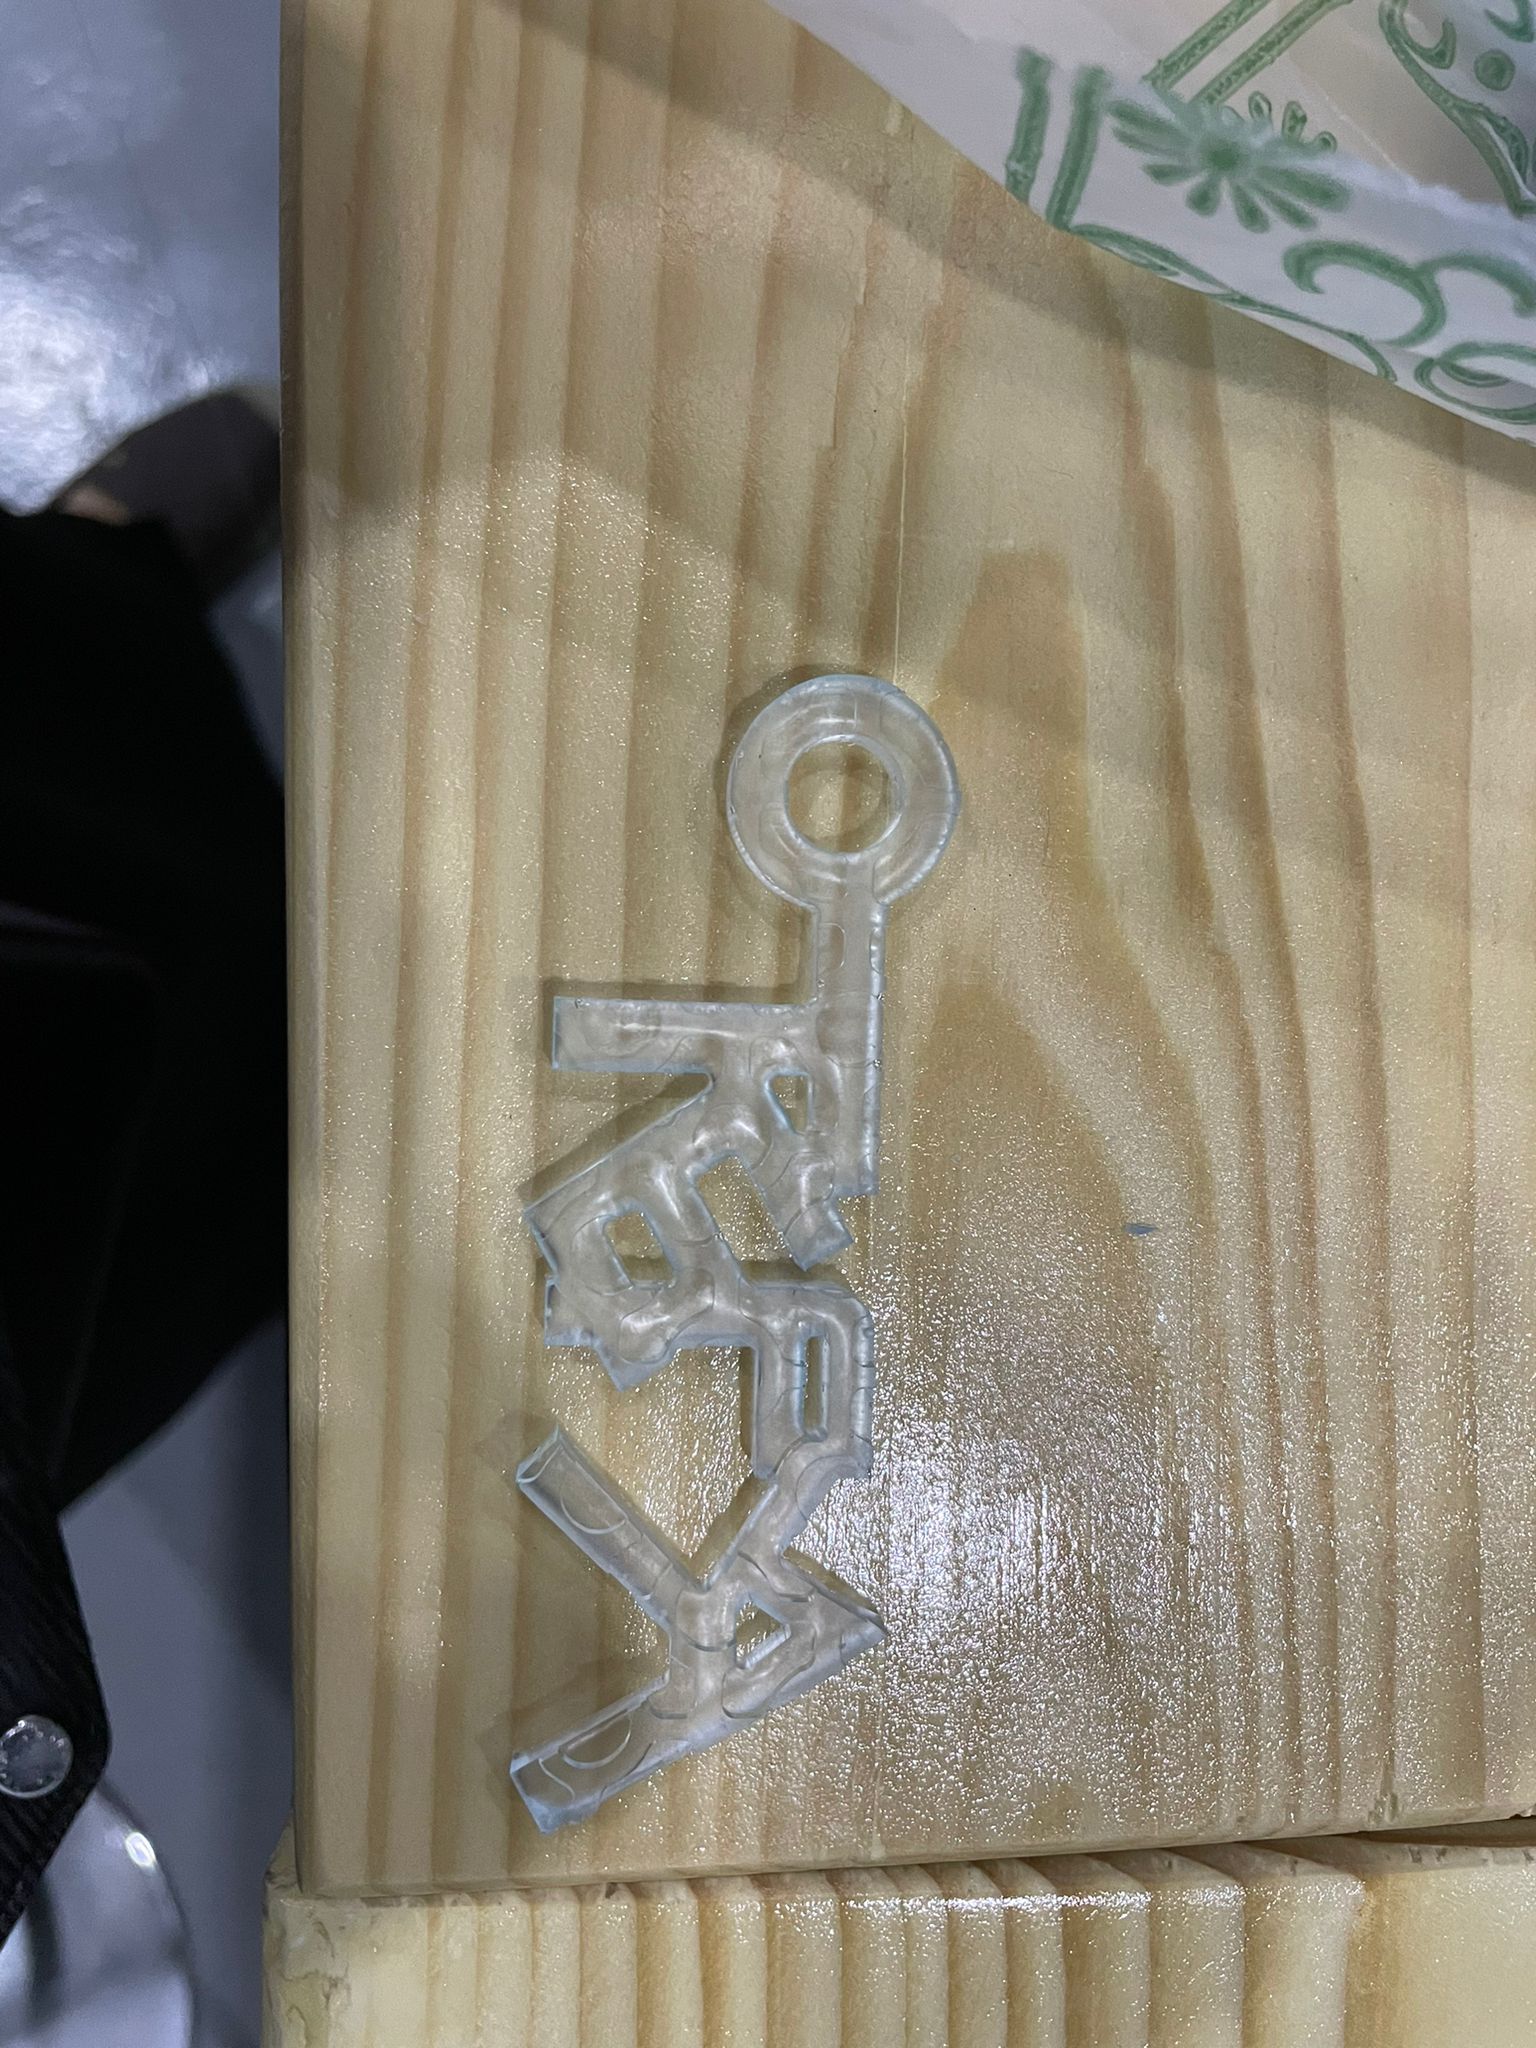
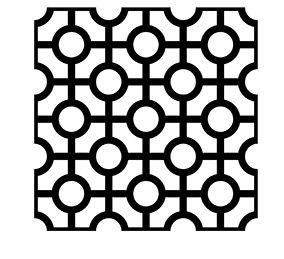
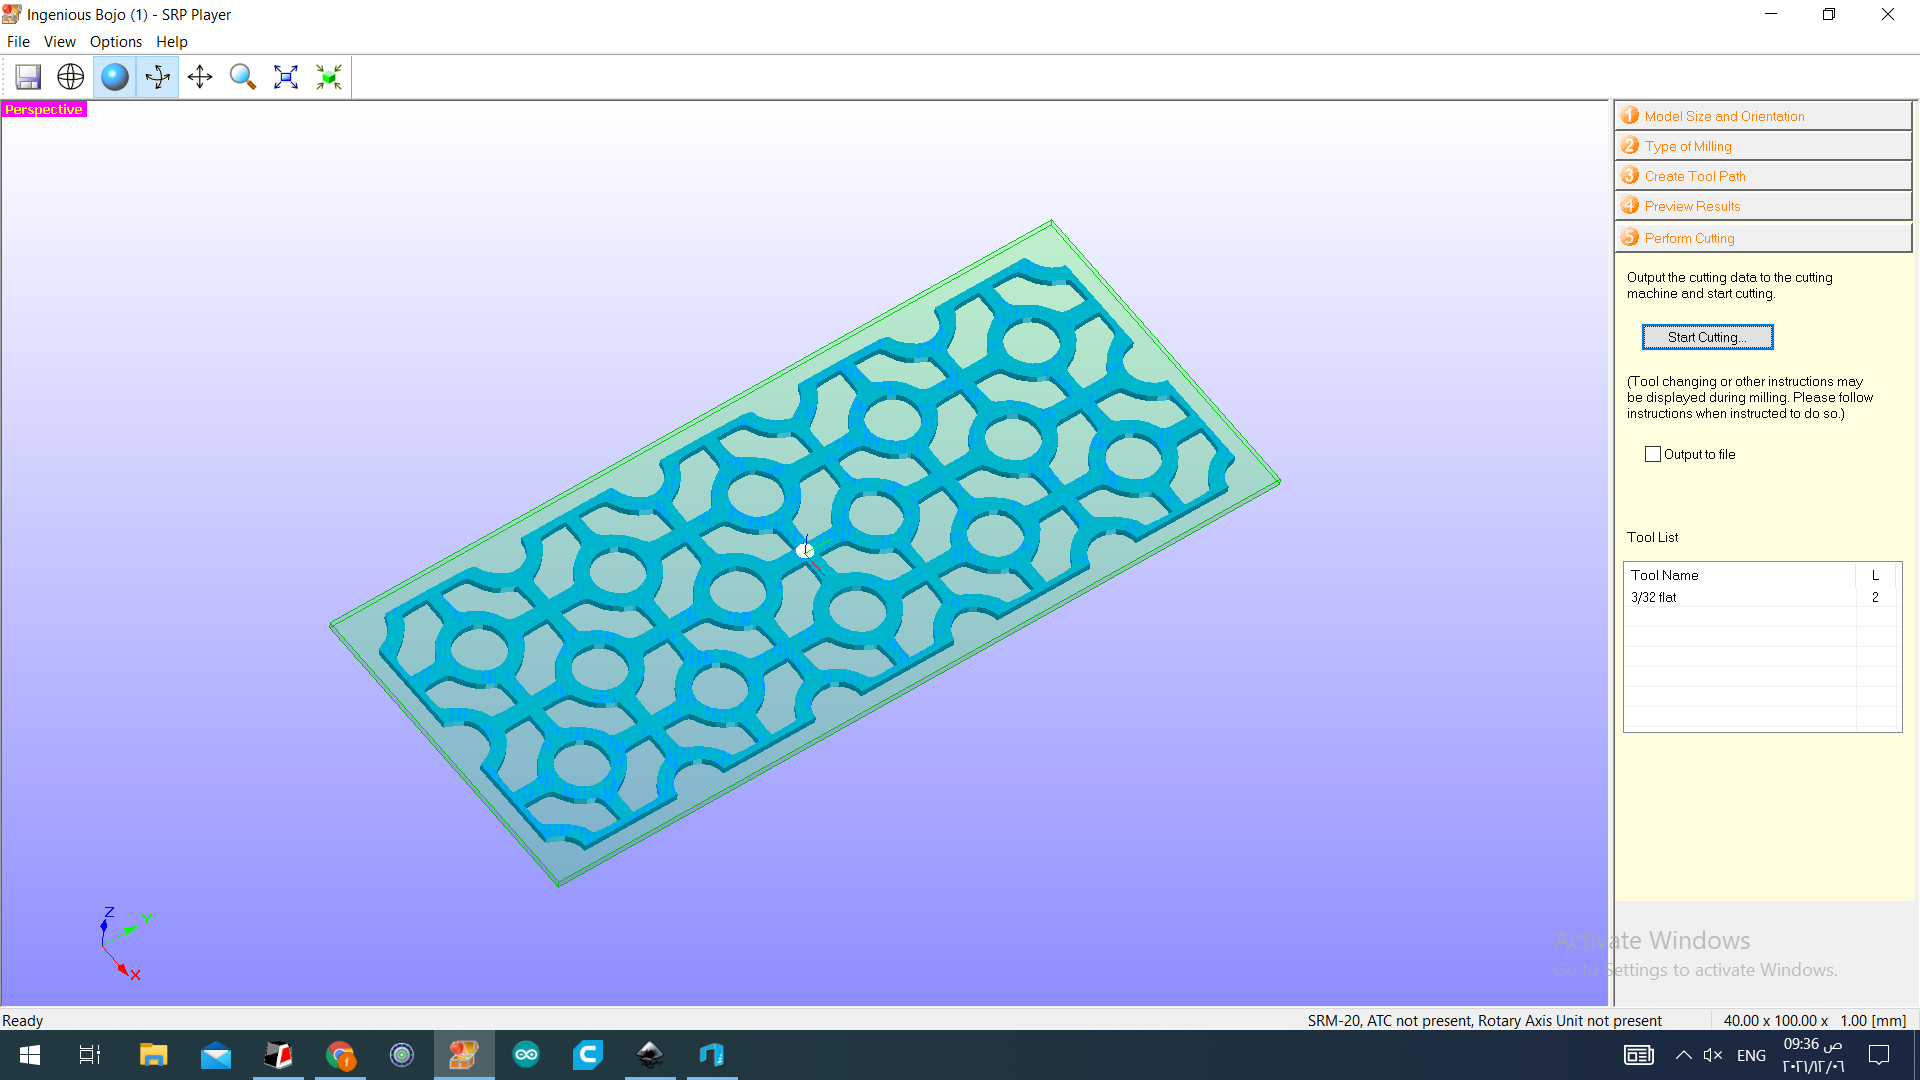
I used a design that i did it befor for a key chain .
and i added this pattern above
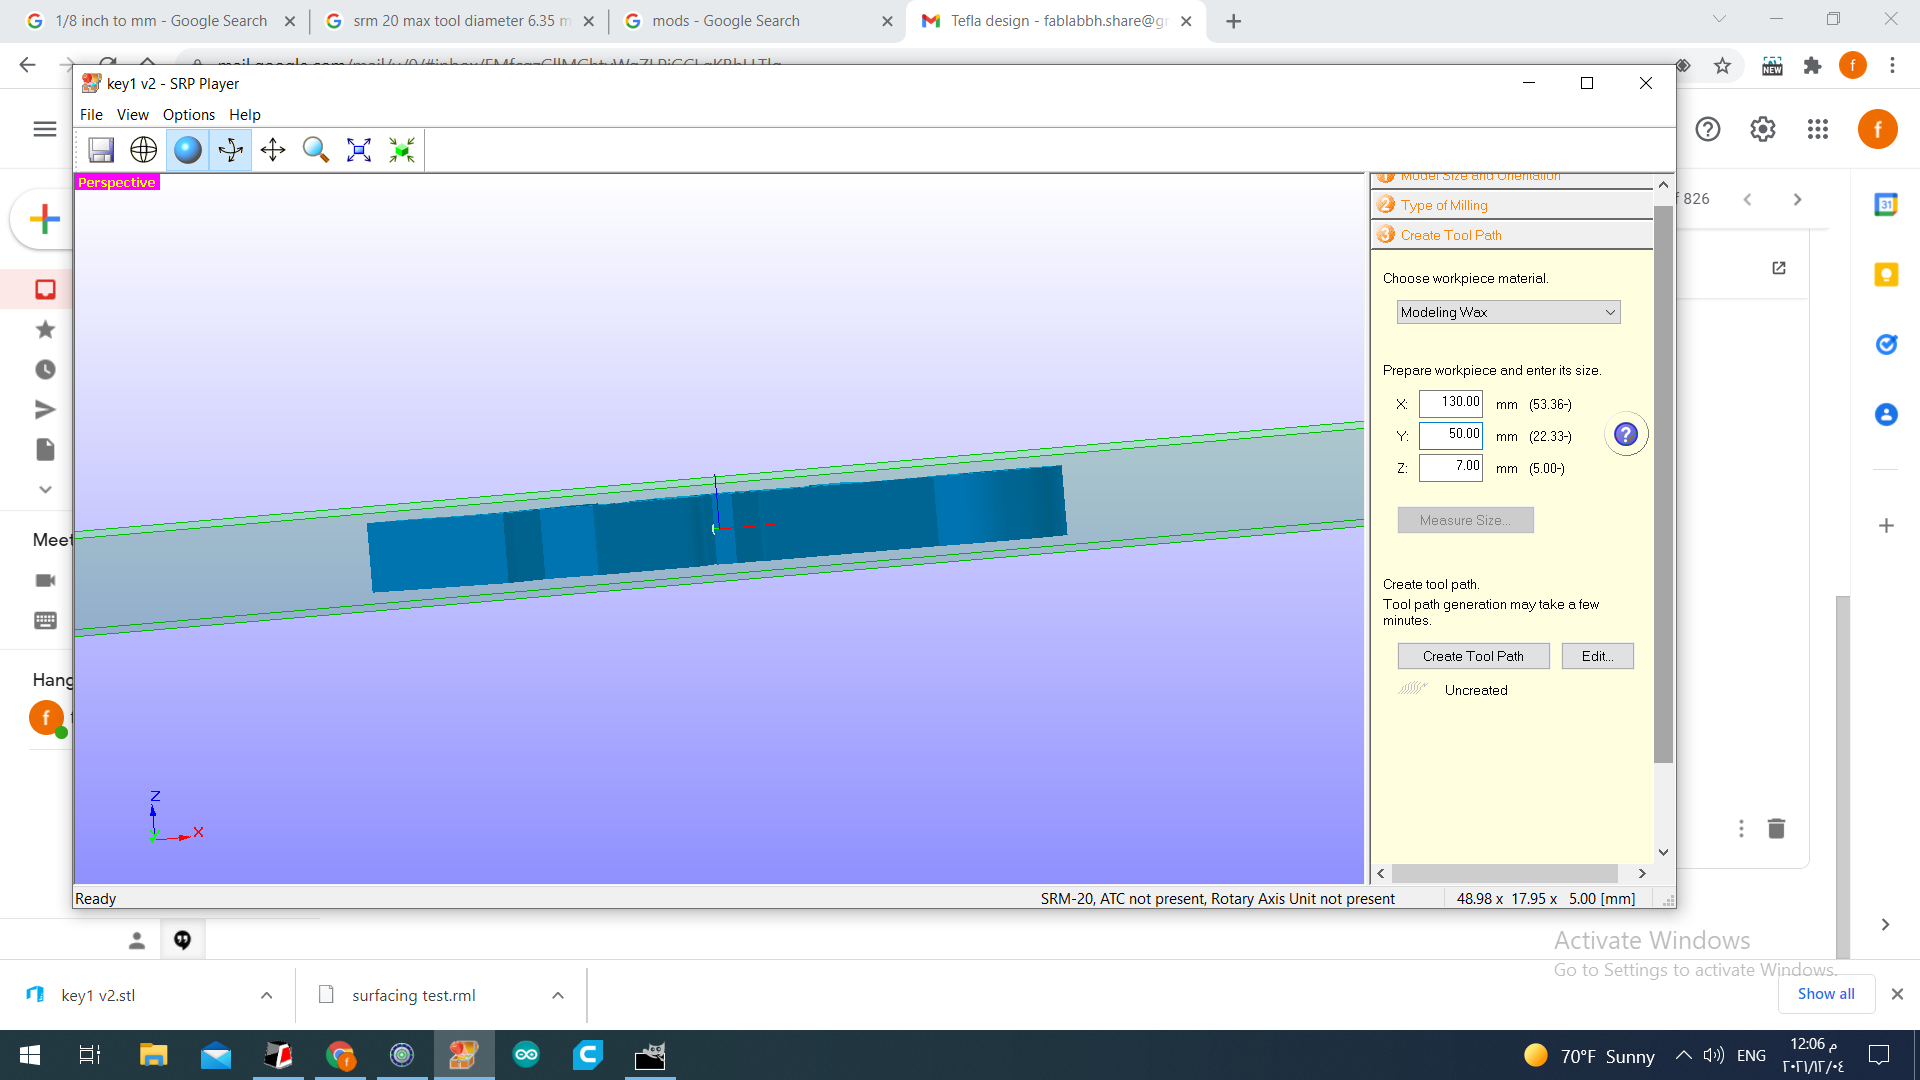
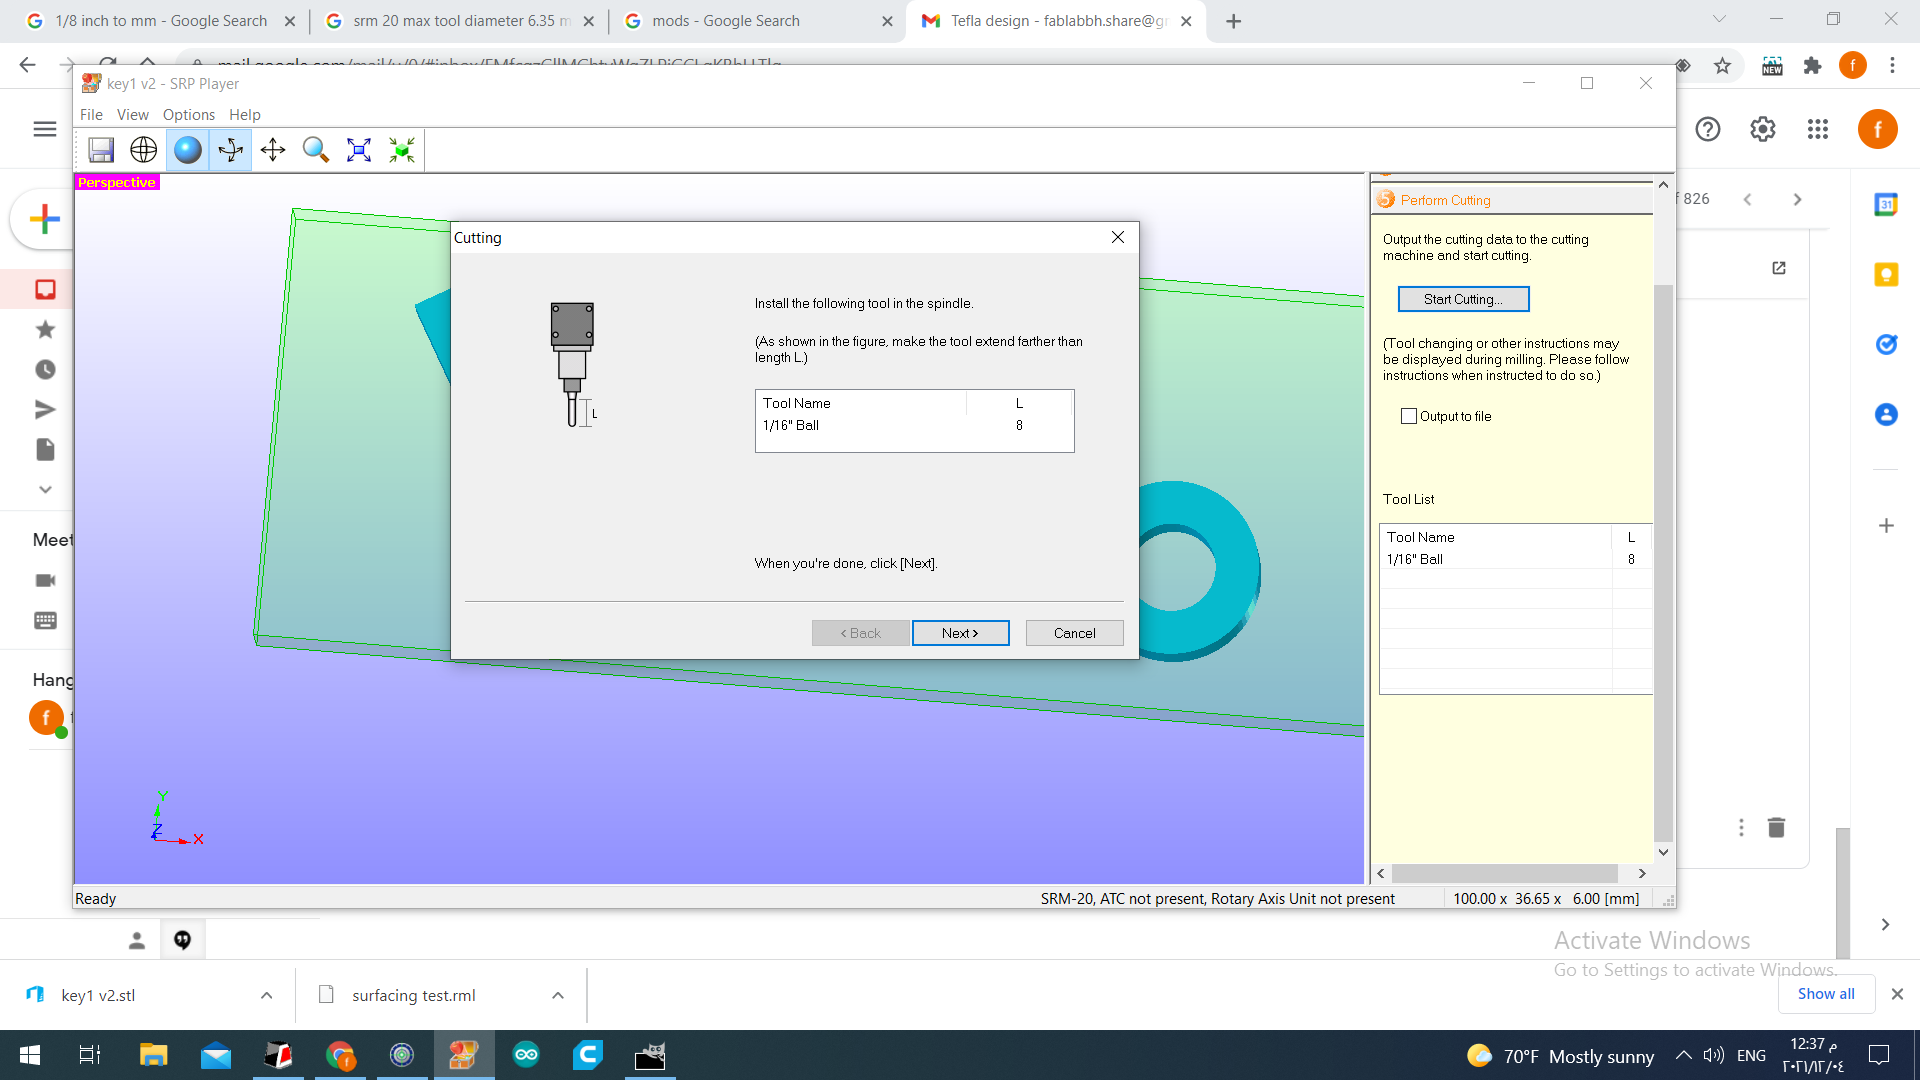
I went to the machine to adjust the sittings .
I uplod the foldar and set the directions (oriantation)
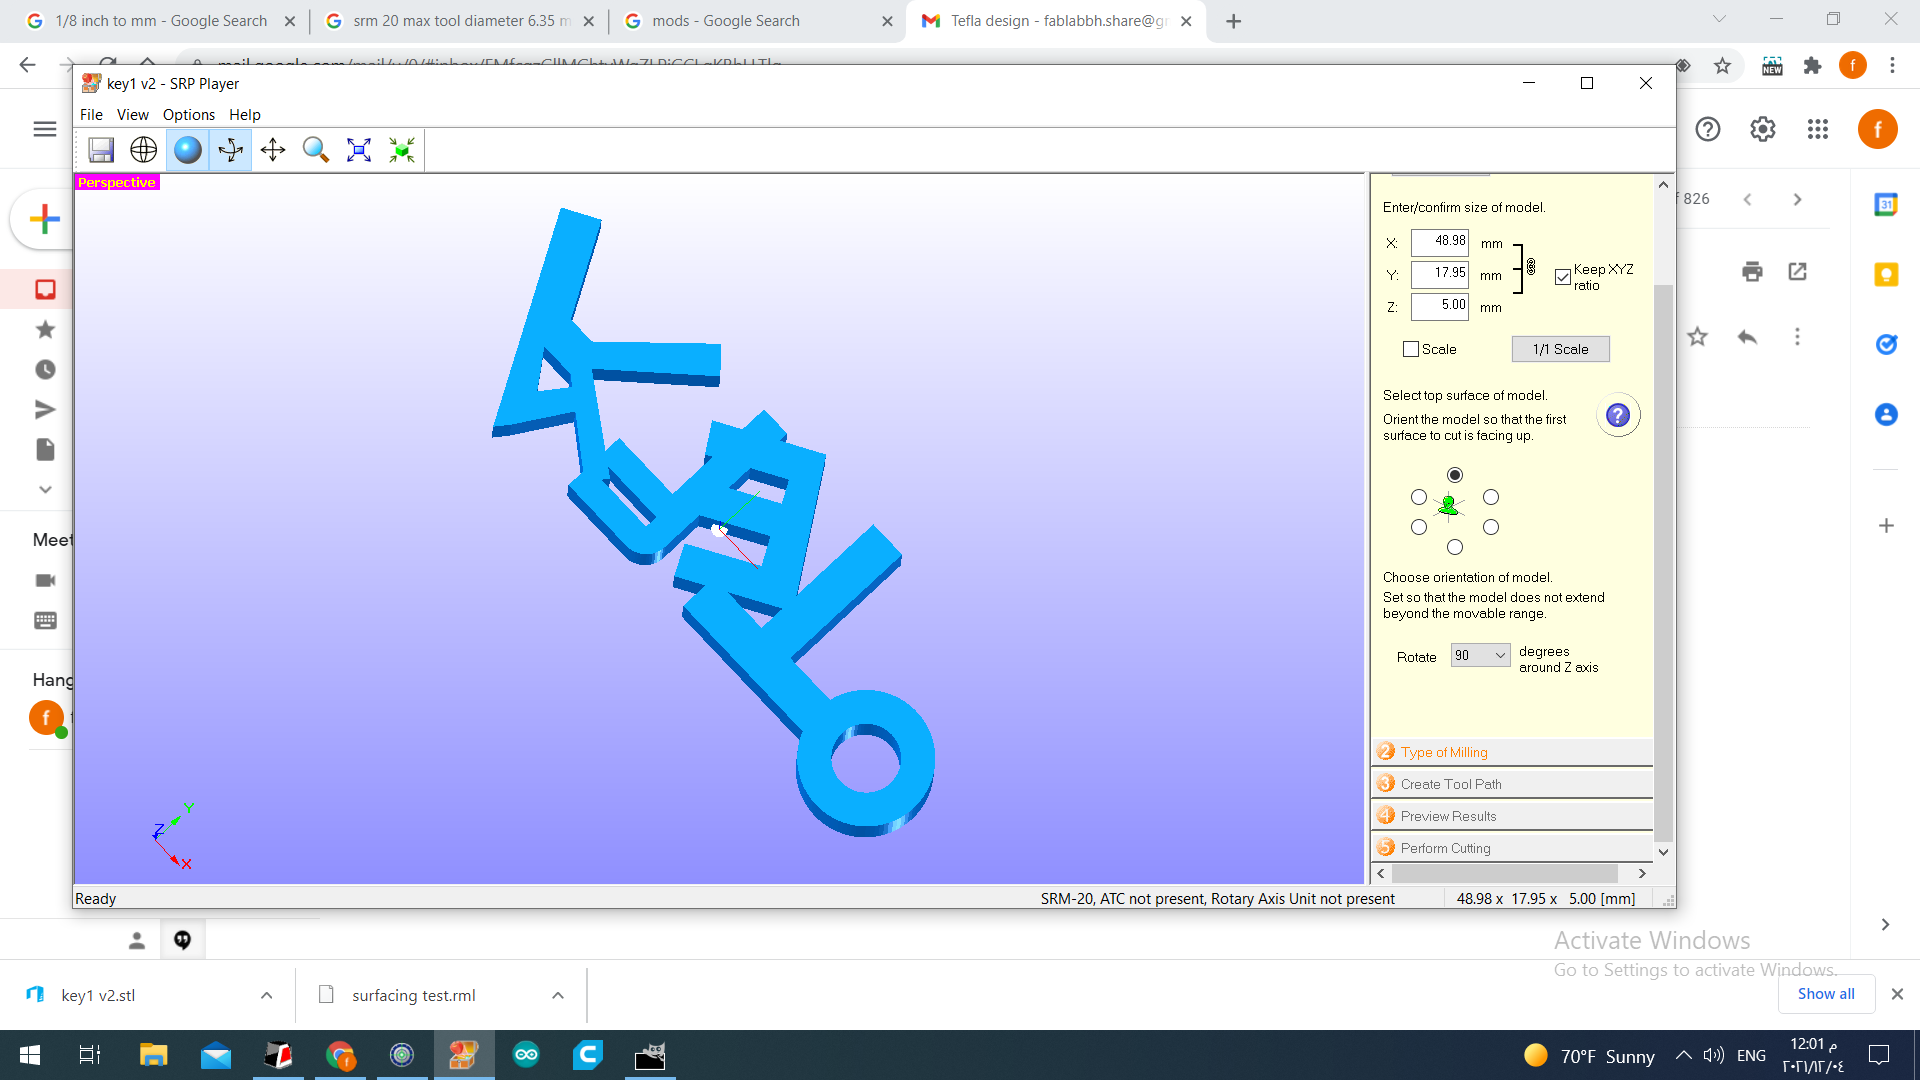
I chose the type of molding
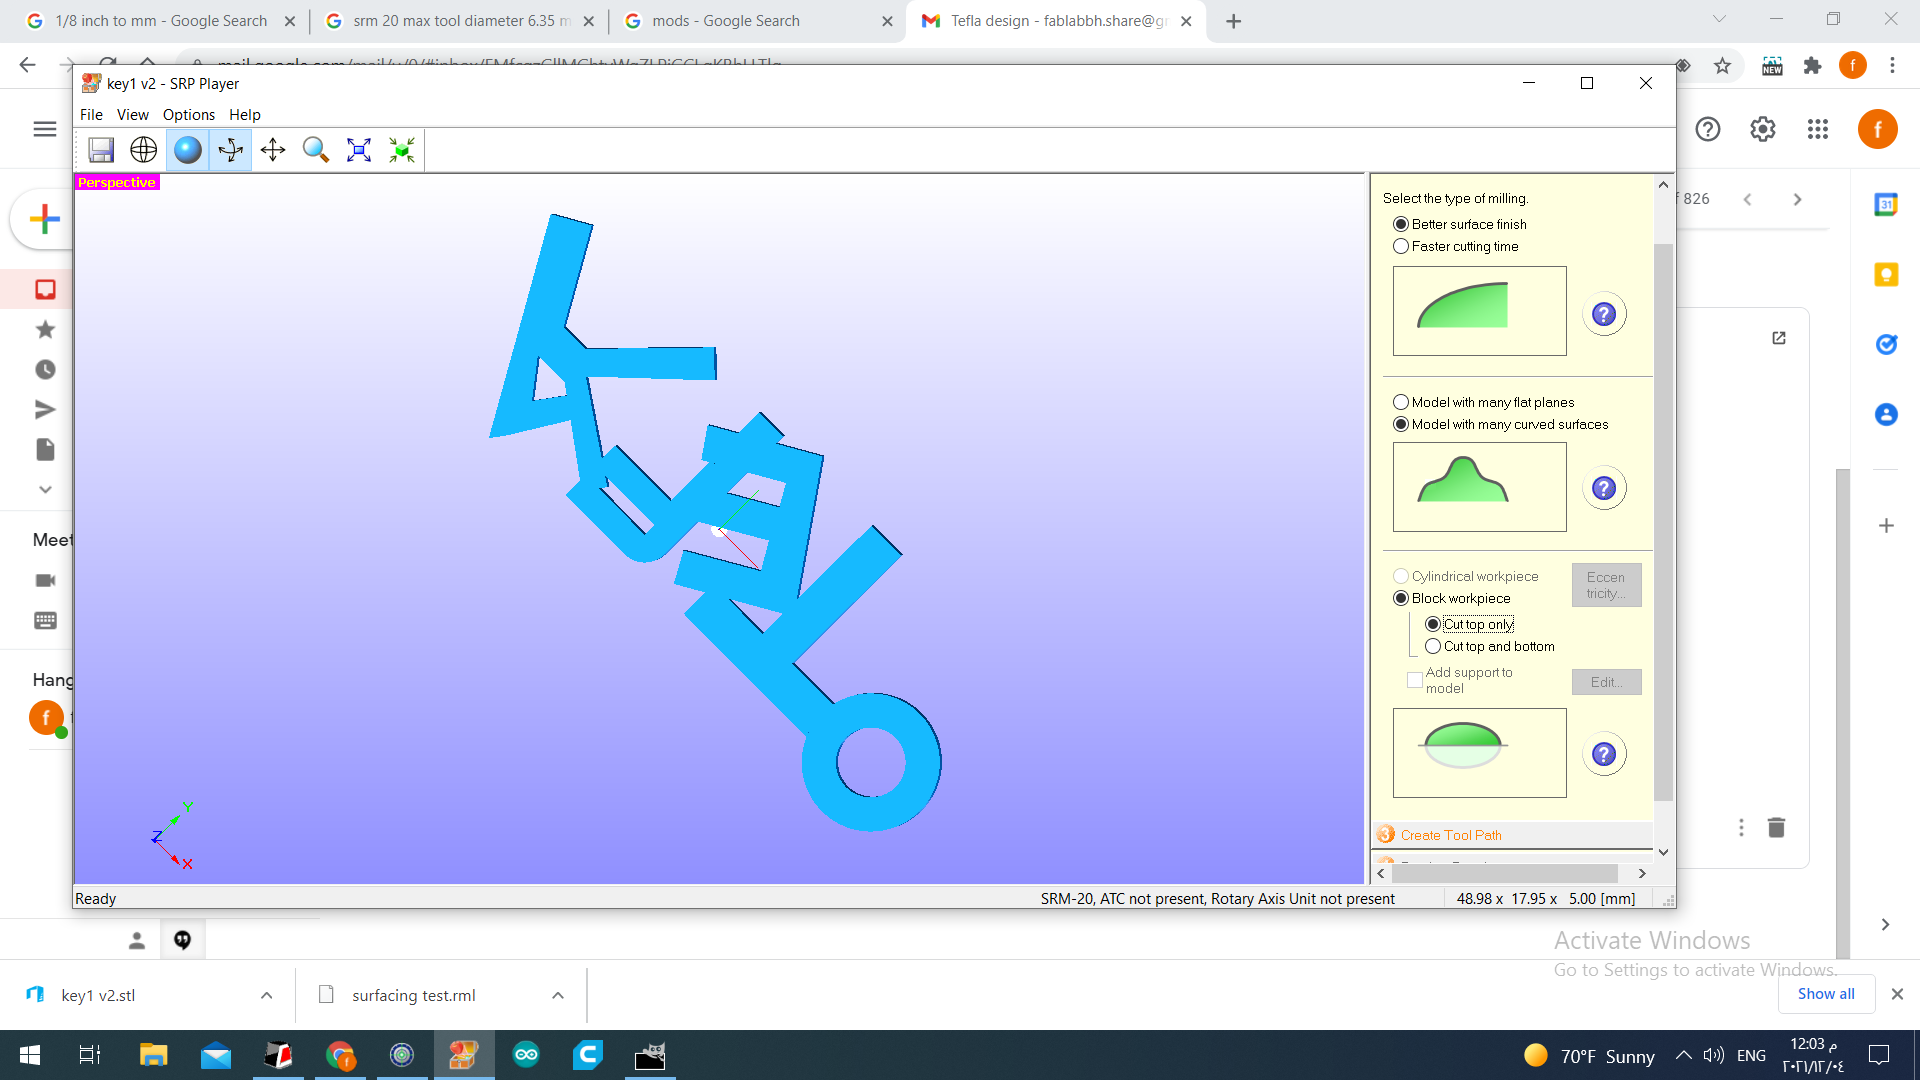
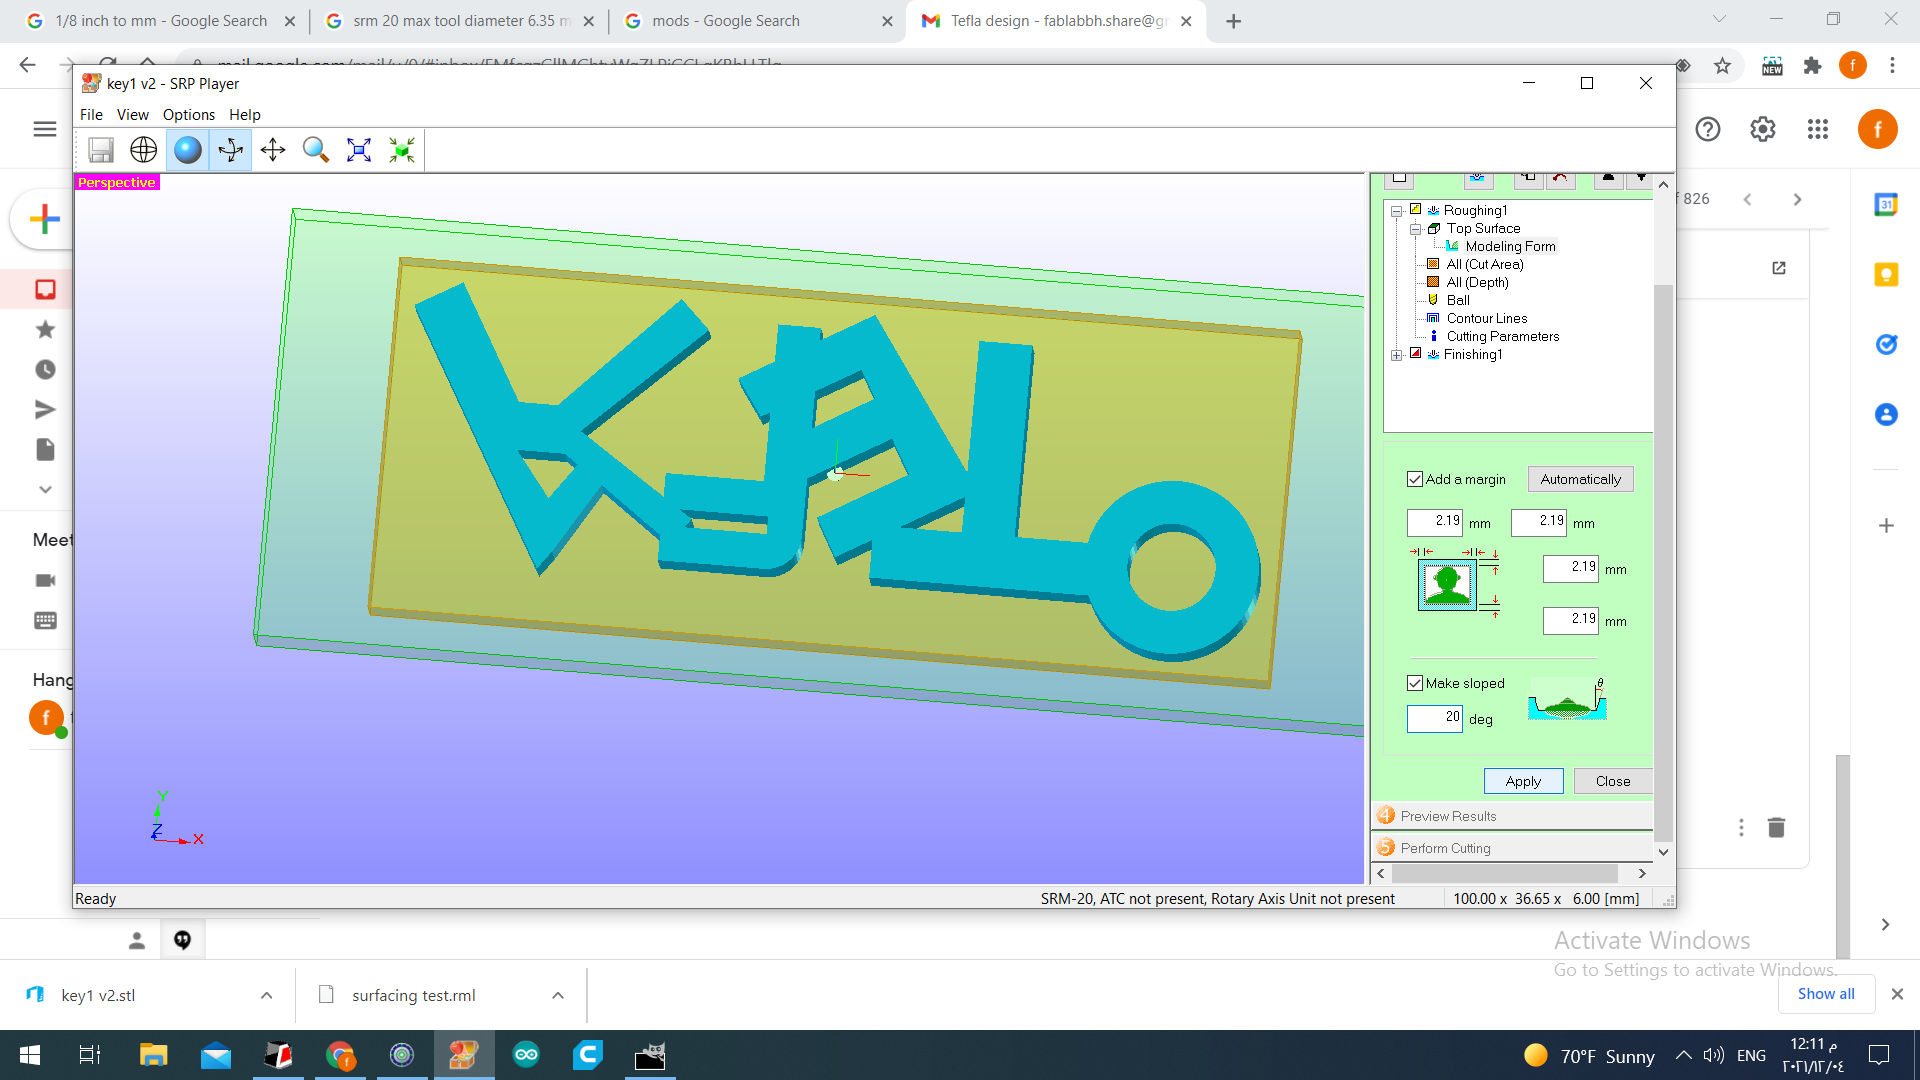
Then i create the tool path
Showing the model to check everything and set everything

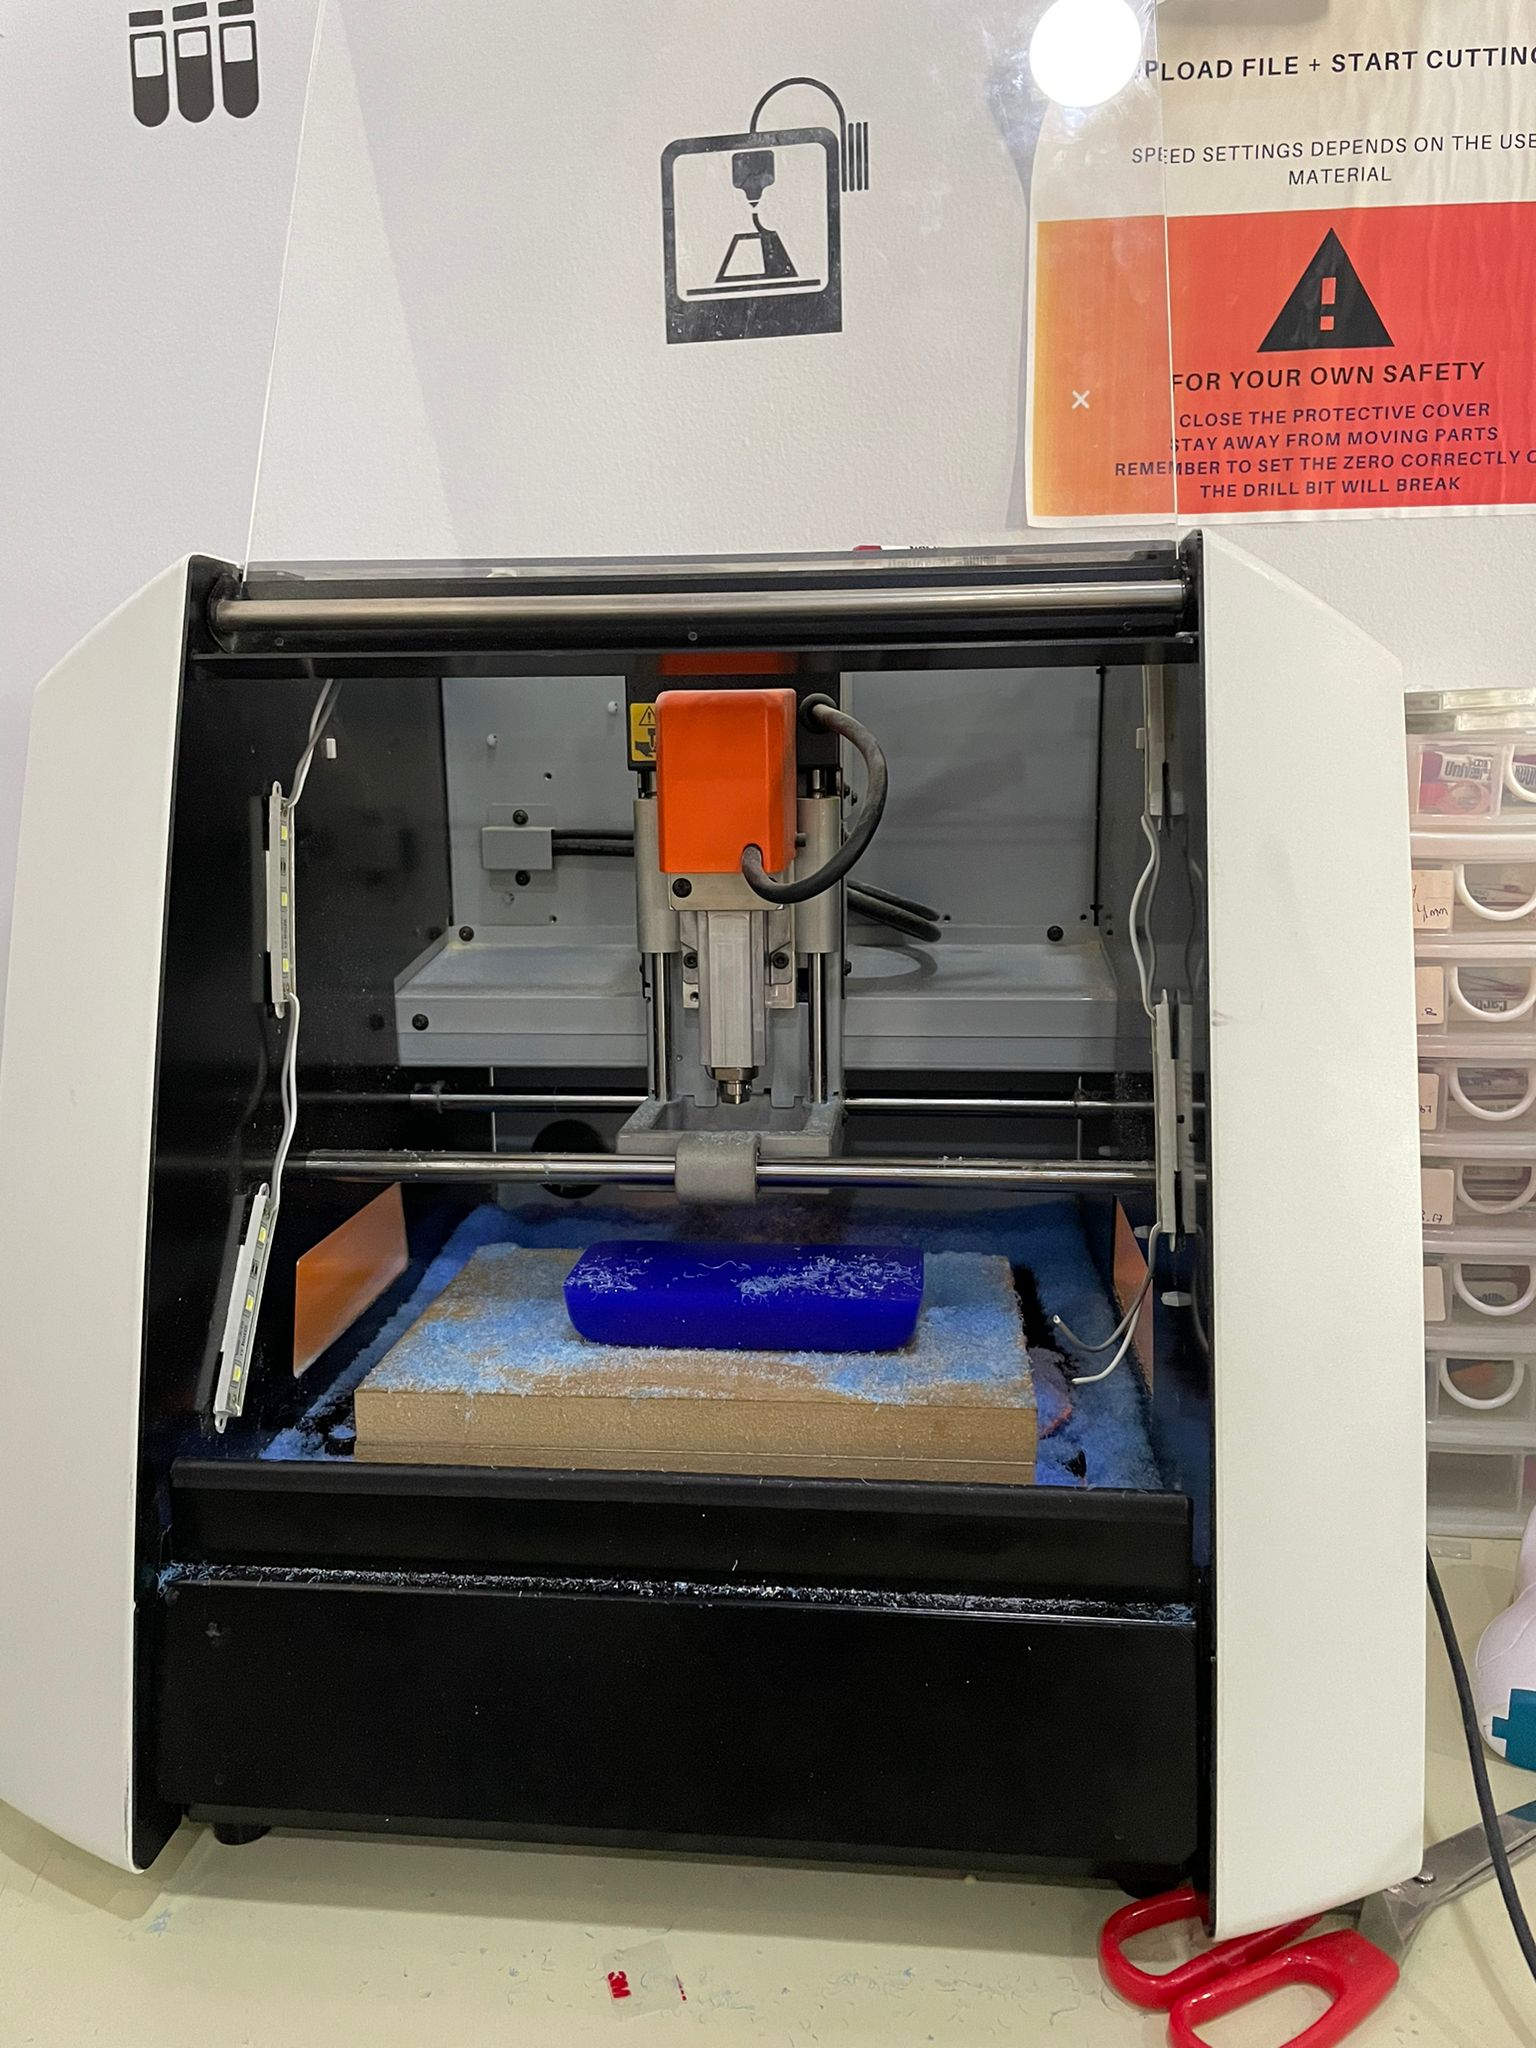
After that, we opened the machin app
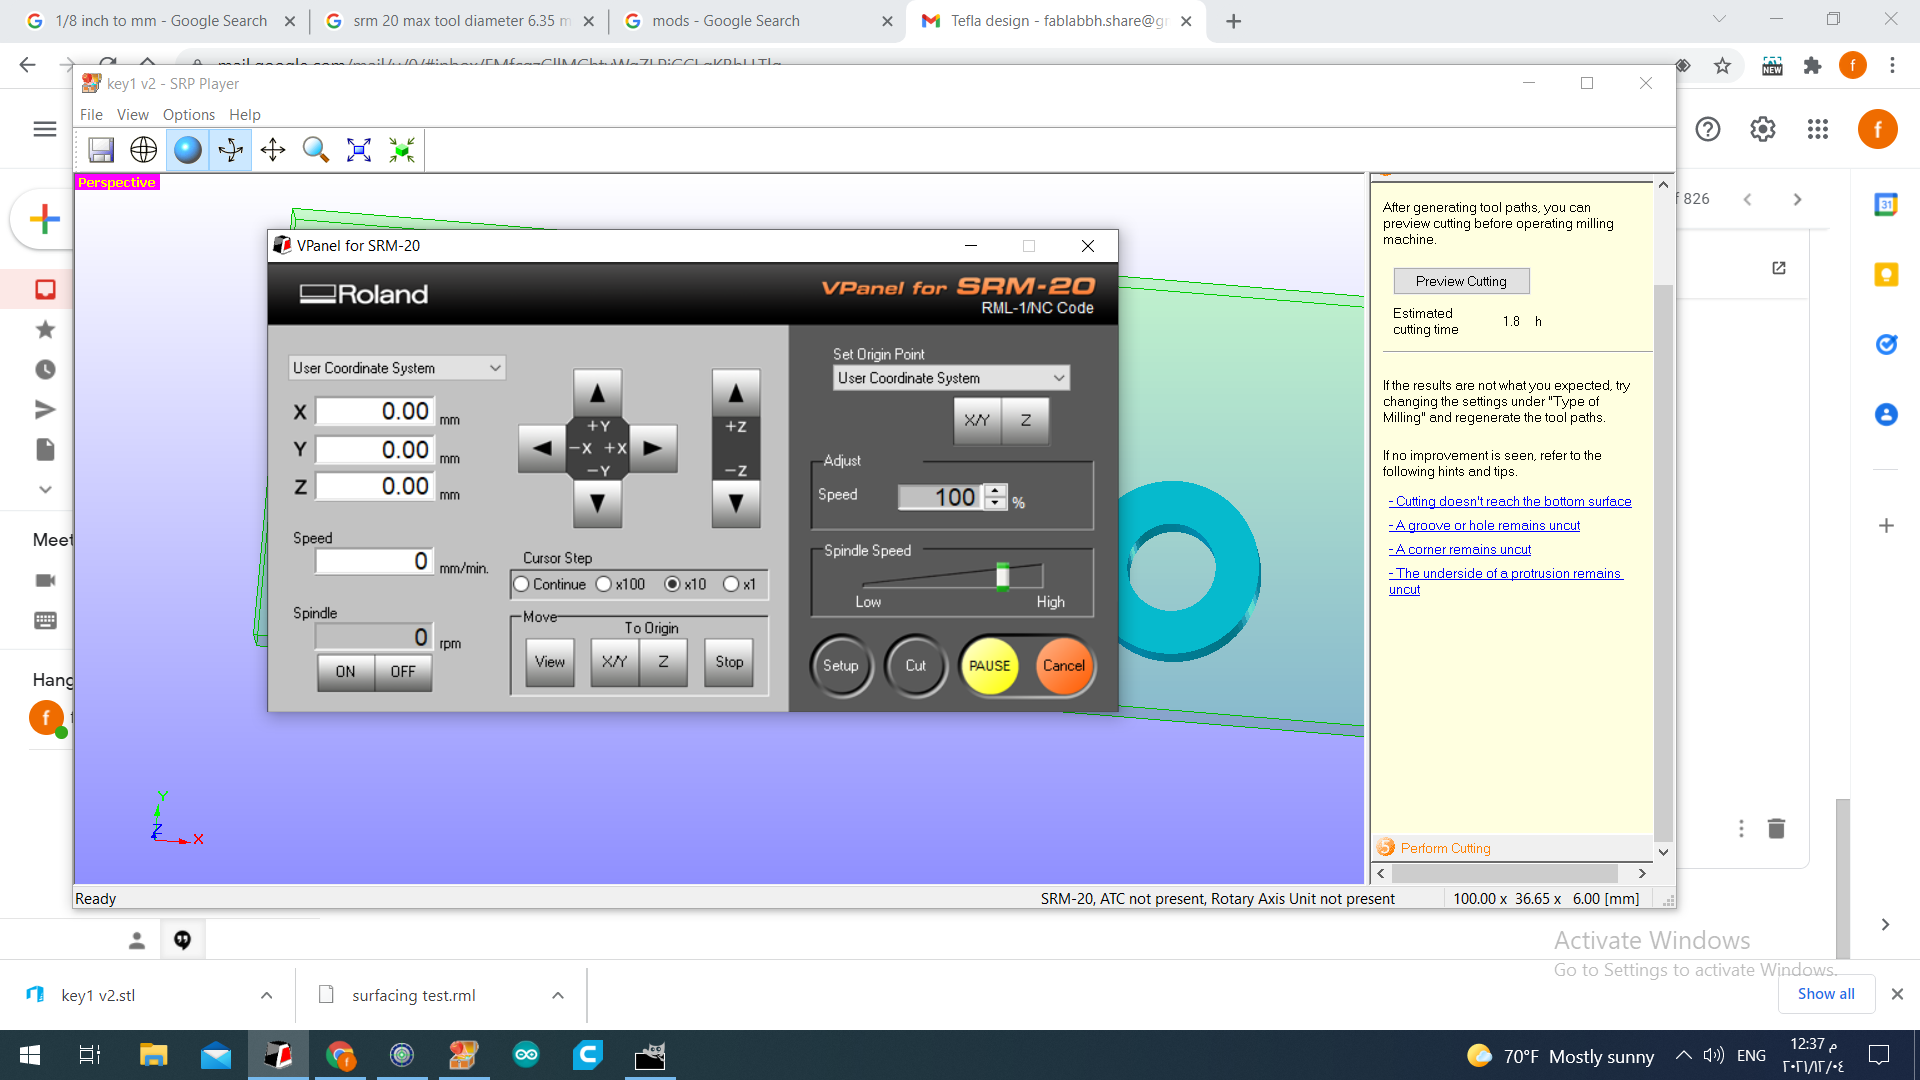
Then, we chose the pit and the location
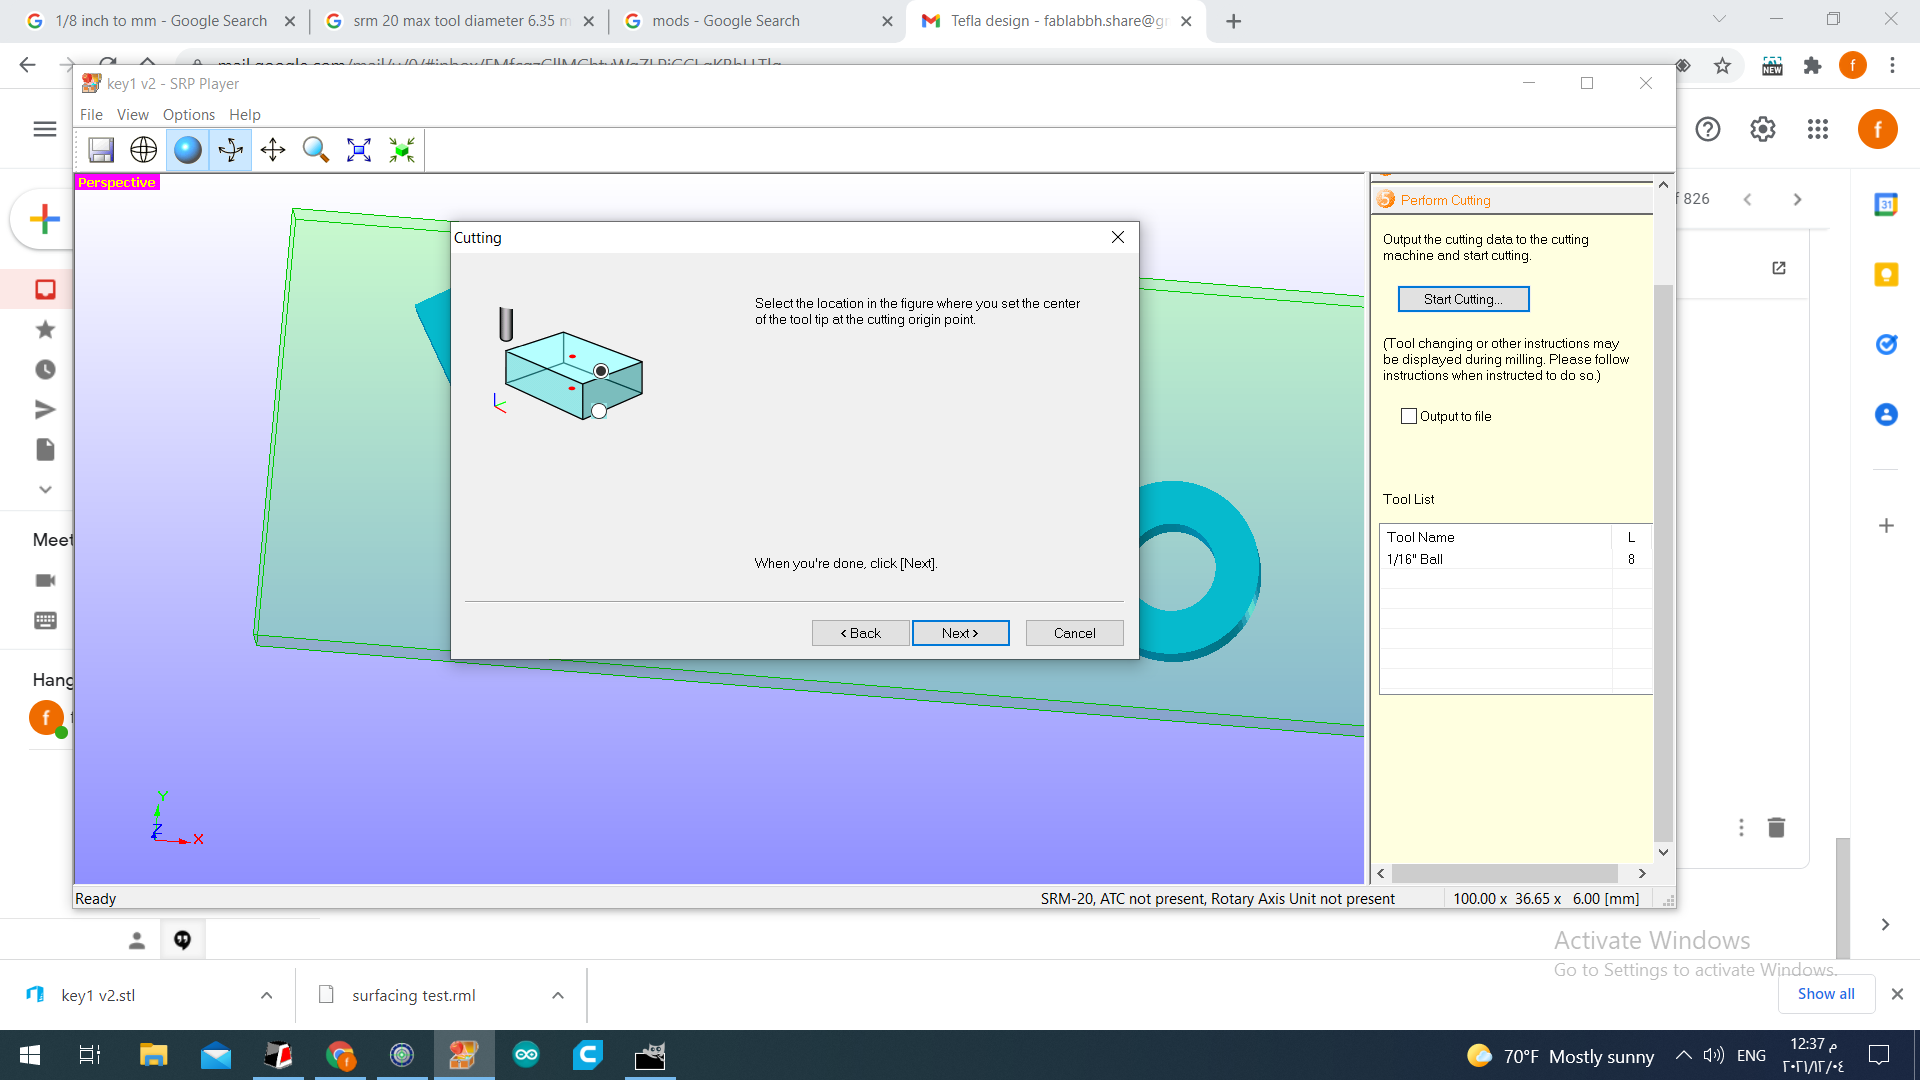
and I added a pattern
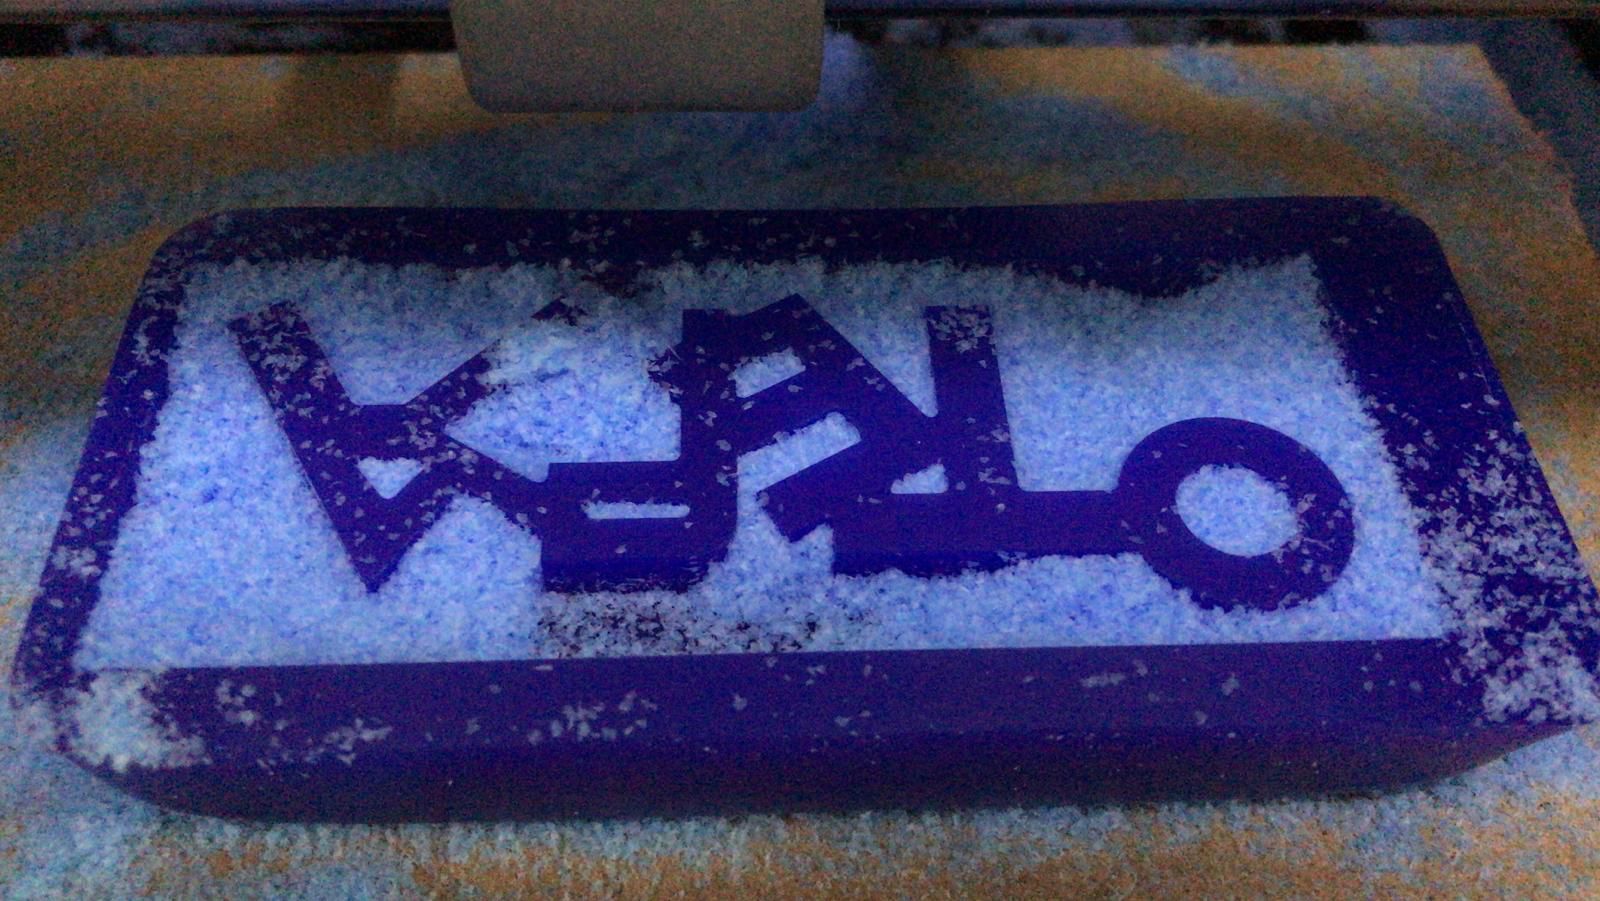
This was the pit
the process started

This is the result
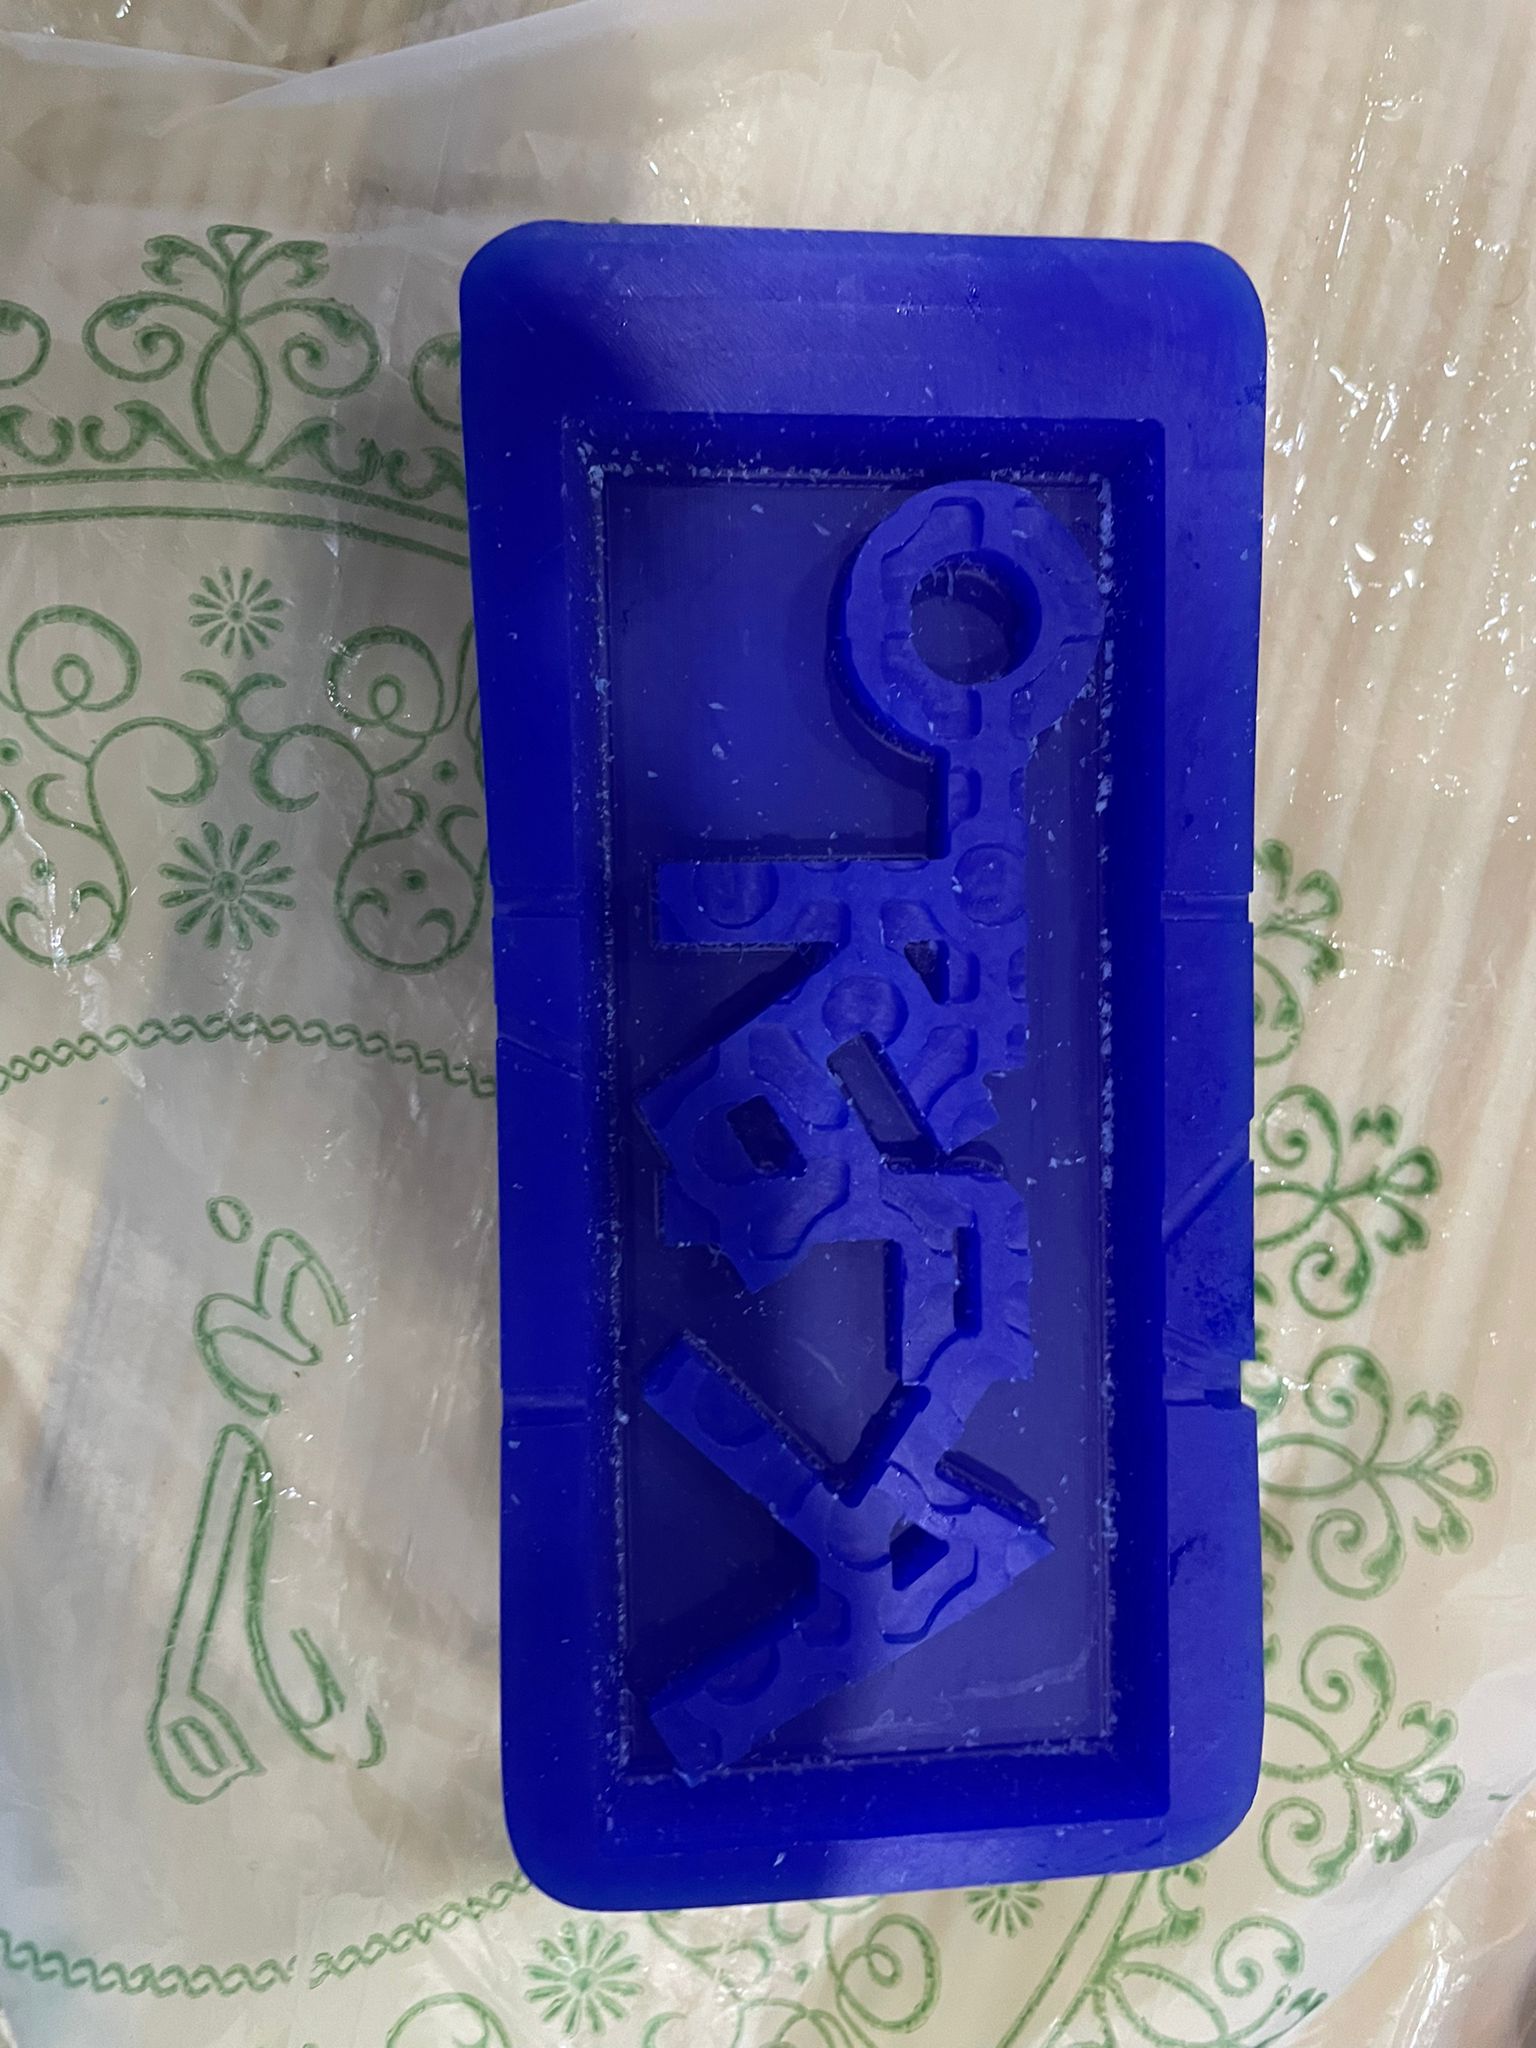
I mixed the same material i used before for the molding and put it on my design
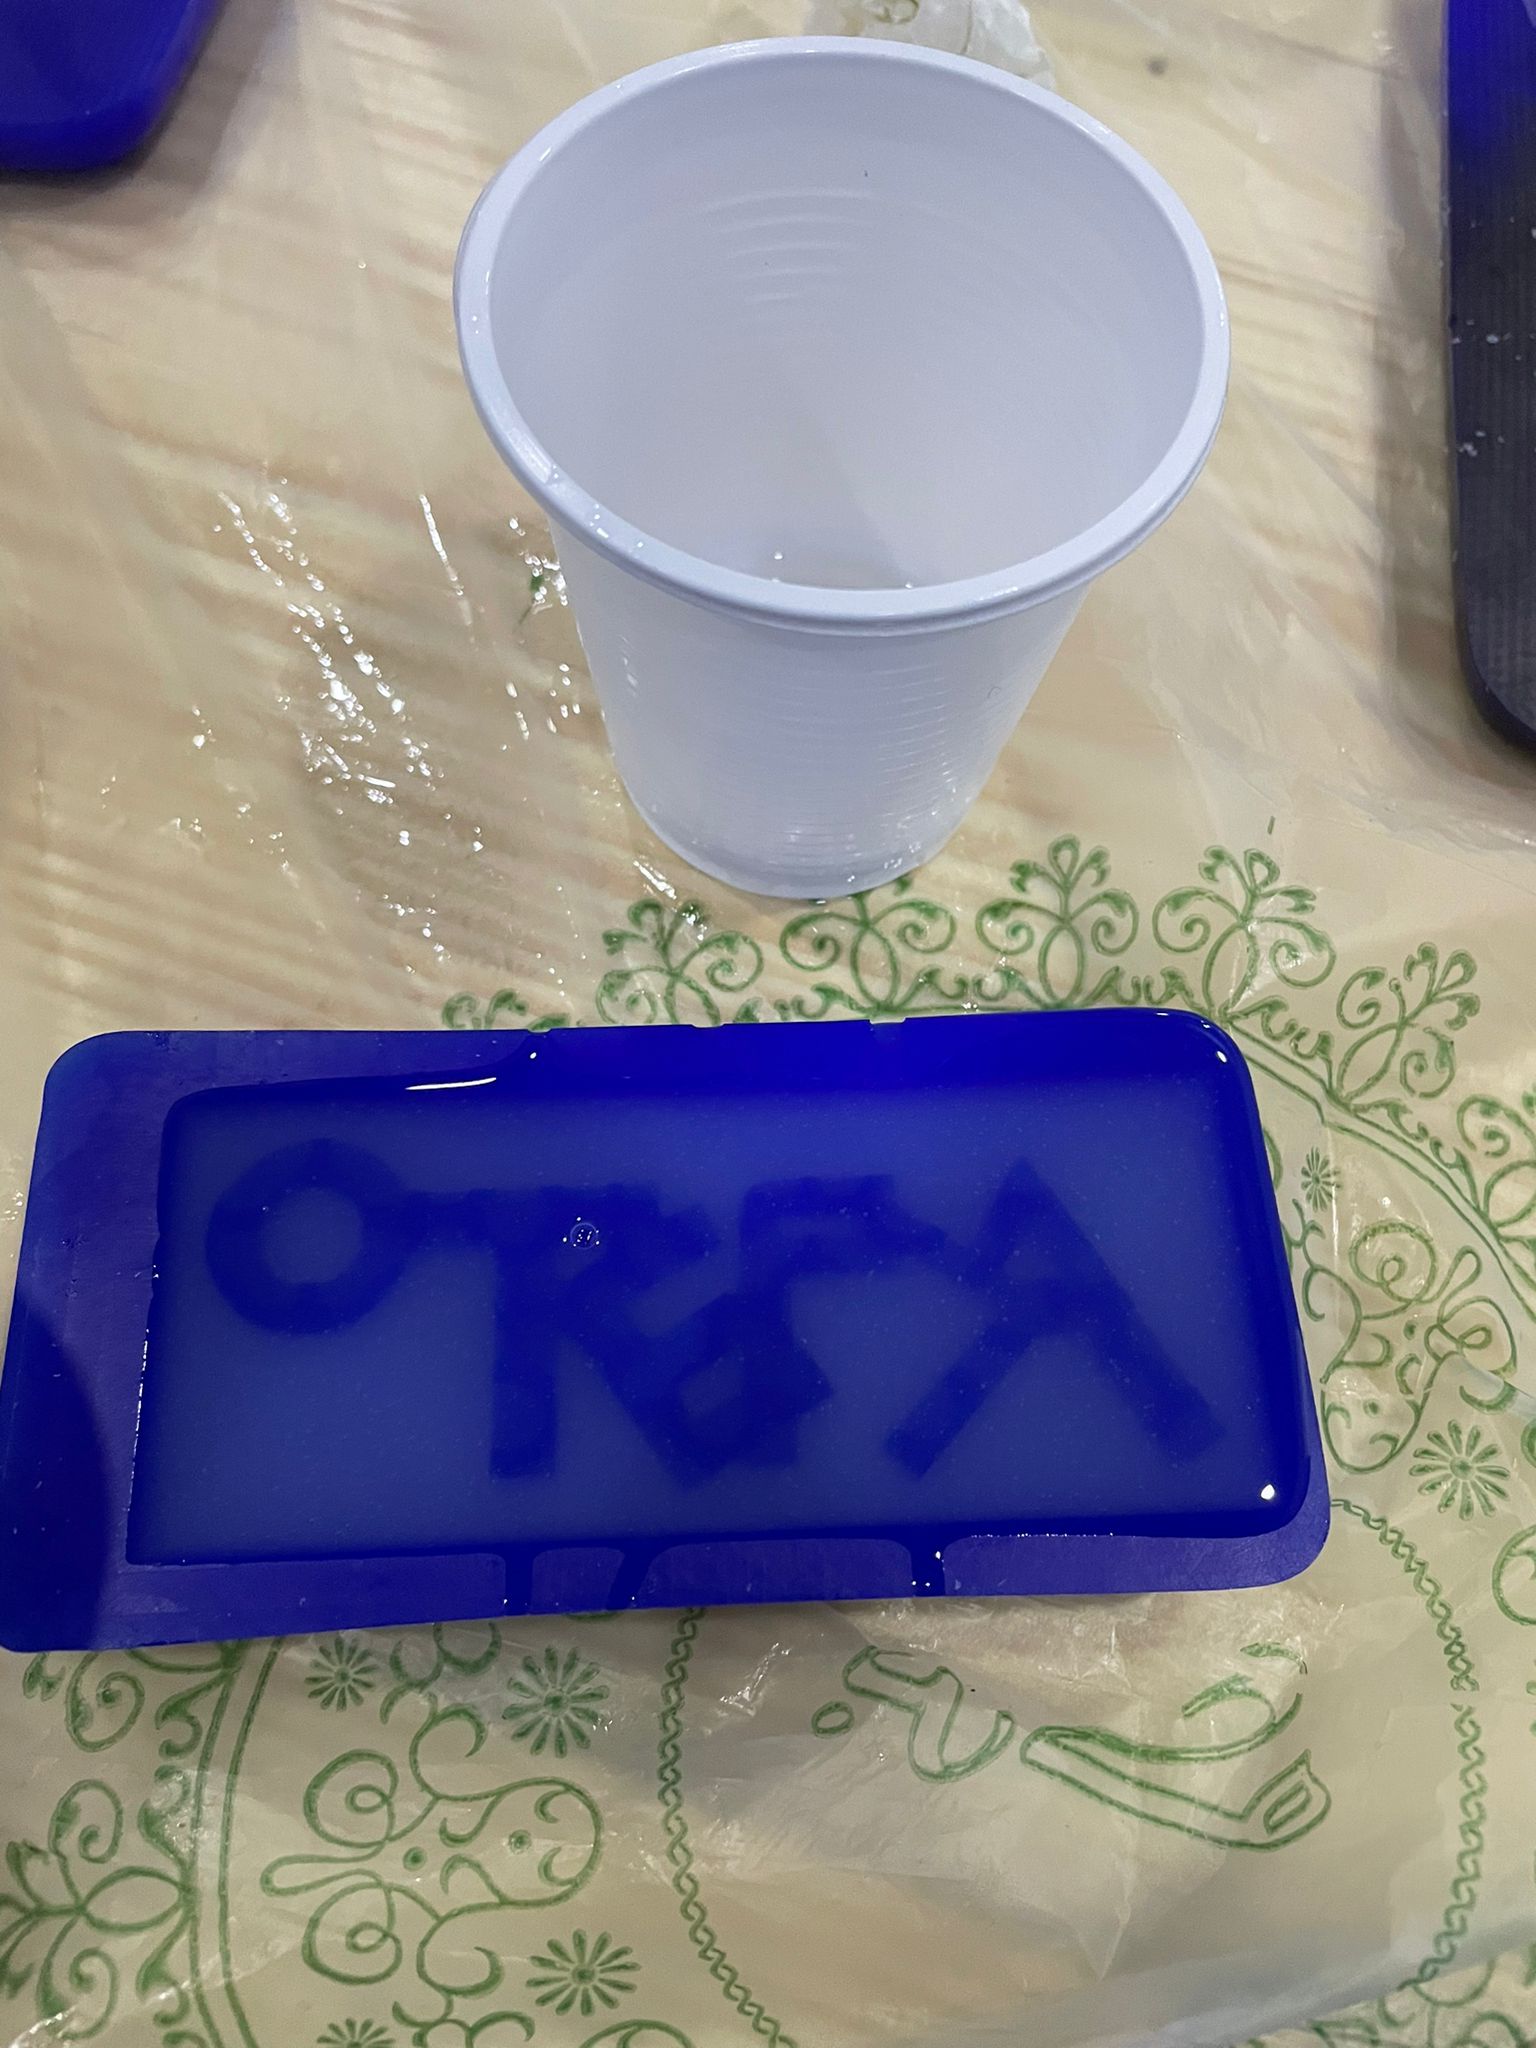
After waiting 1 hour of waiting this was the result.
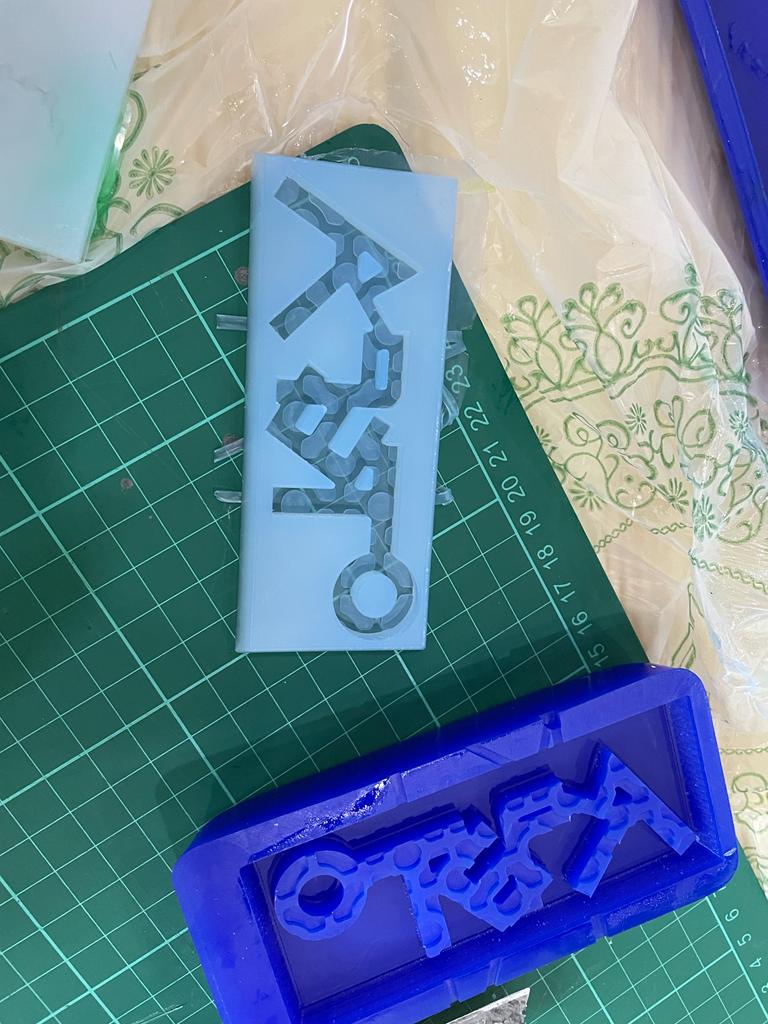
Moreover, I used this material to make the shape that i wanted.
The ratio is 4:10
I made it by mixing the material and used a heatgun to remove the bubbles .
And finally this is the result.