5. 3D printing and scanning
This week was about learning how to do 3D printing.
At our first lesson, we divided into two groups so we did our work as a group.
Group work
First, the tutor introduce to us the characteristics of the printer.
He showed us some samples and explain to us how does the machine work.
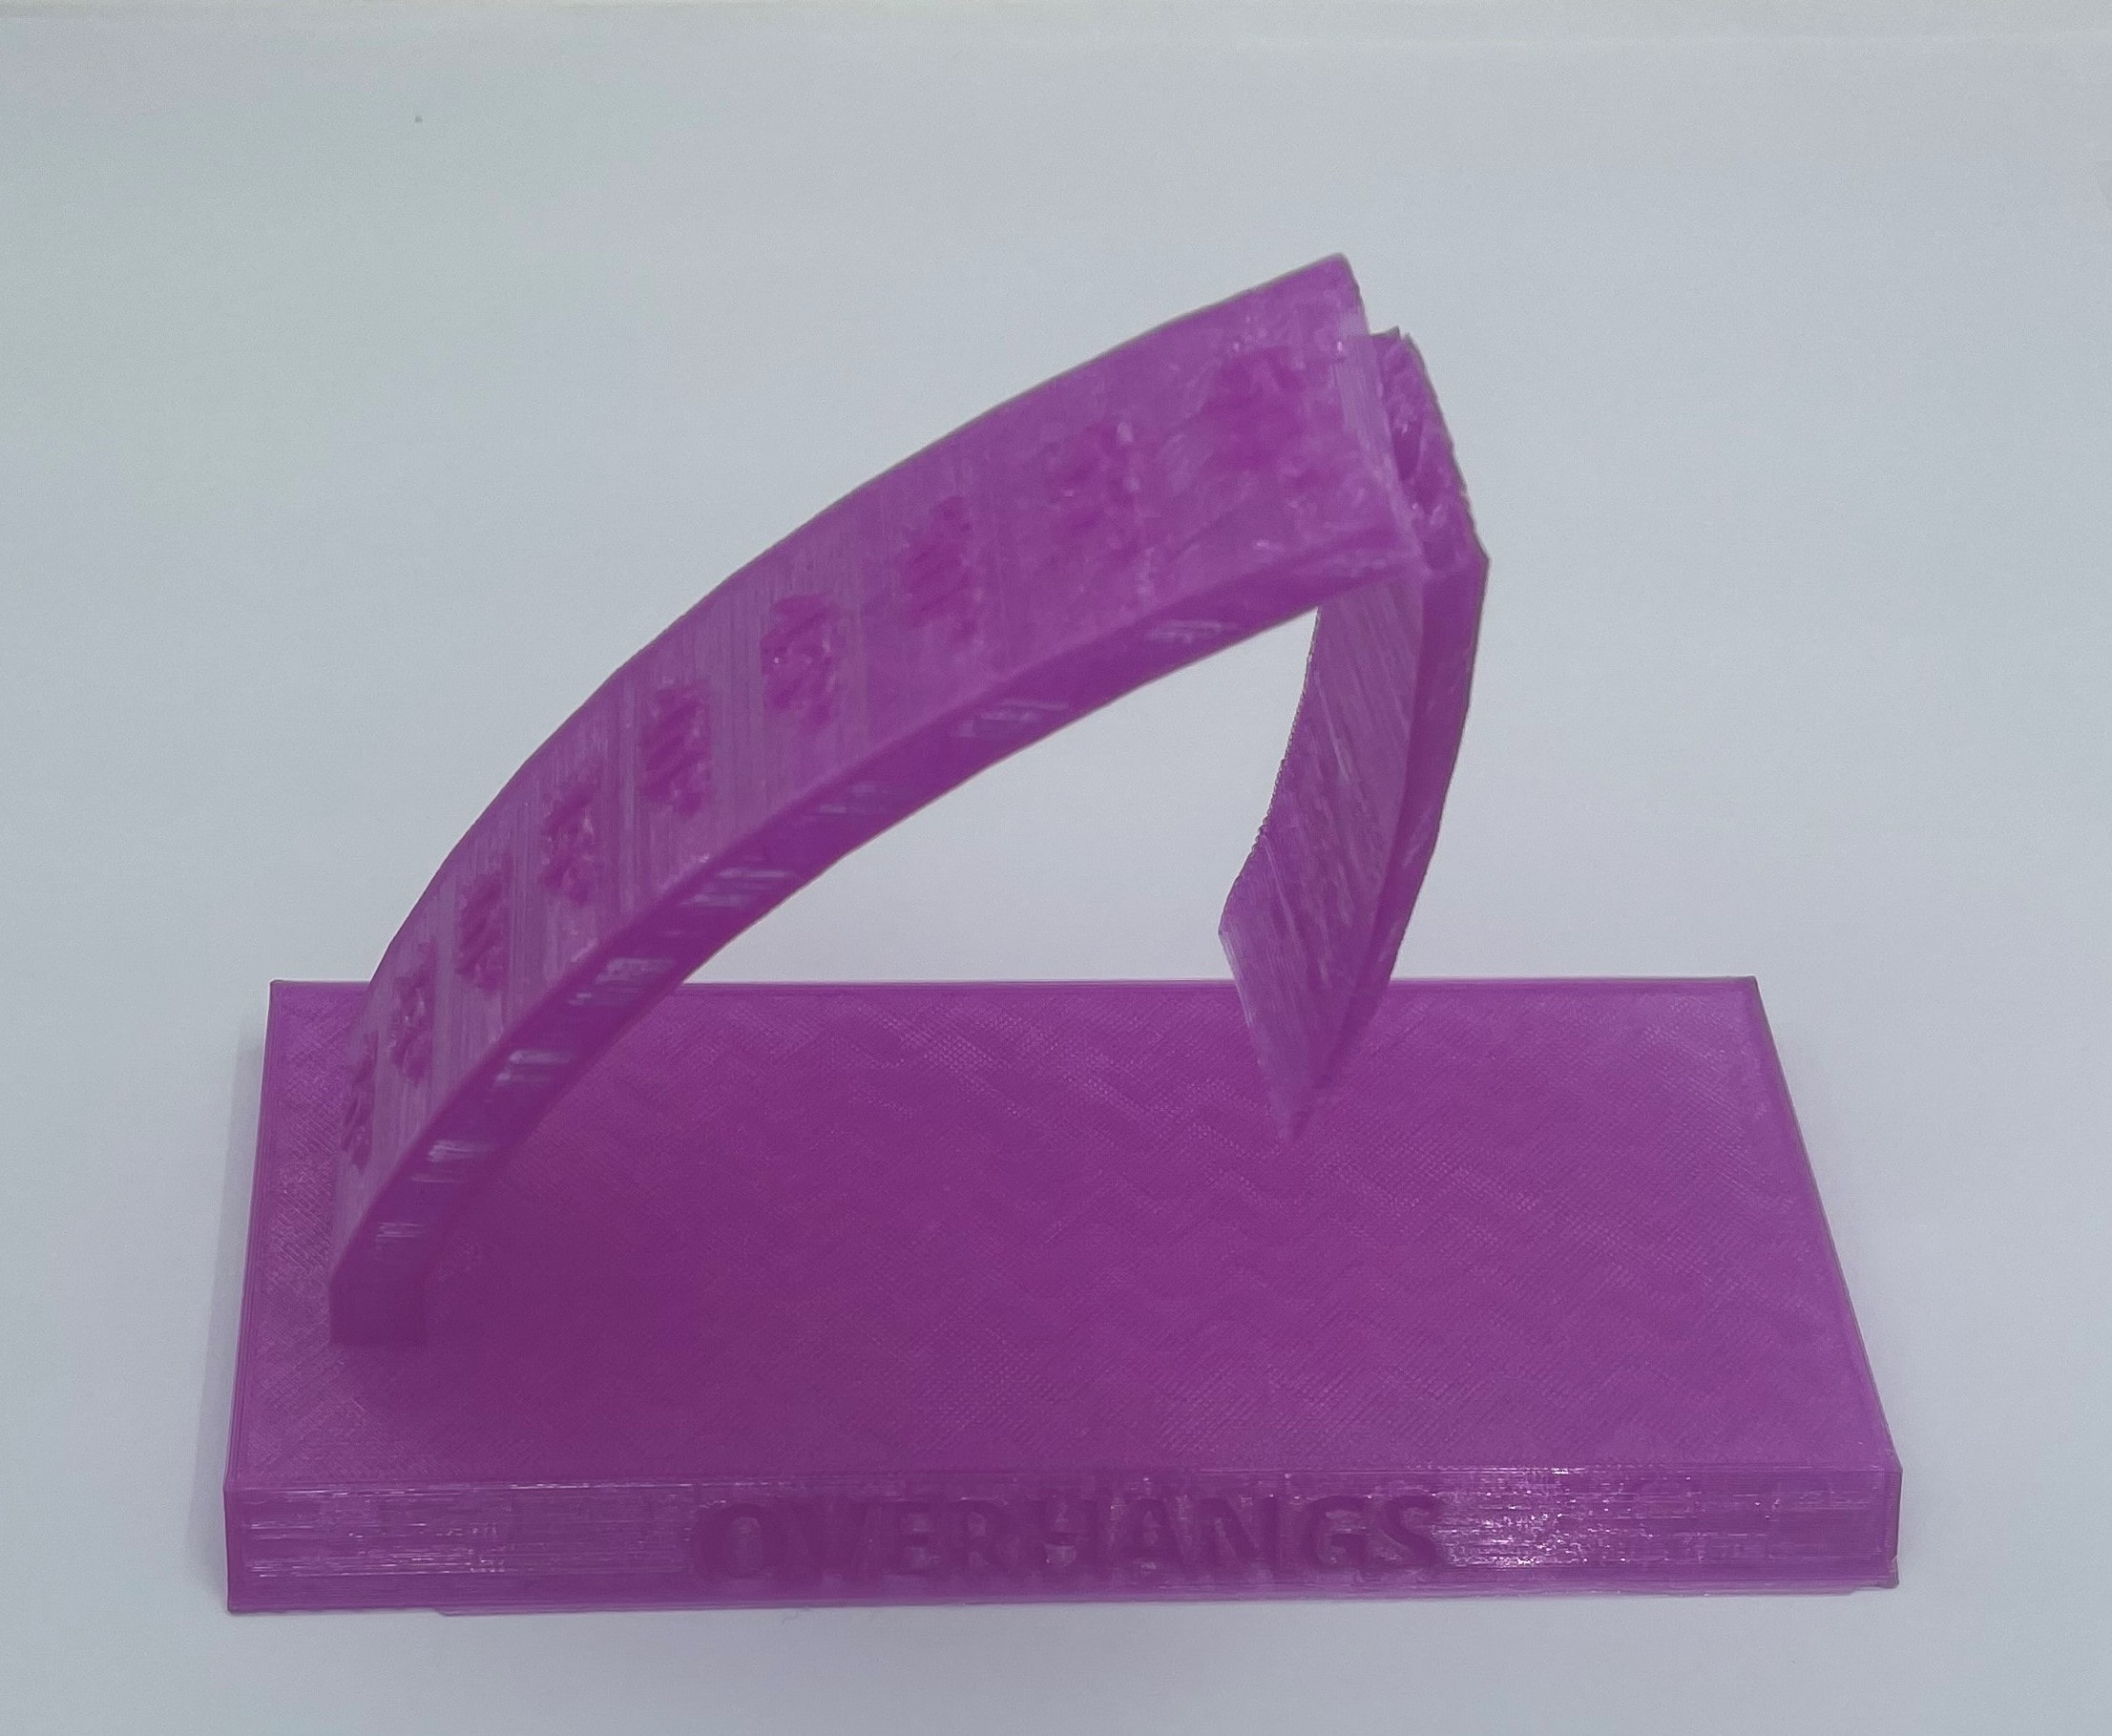
This image shows the angle that the printer can print with.
This shows the different filling percentage
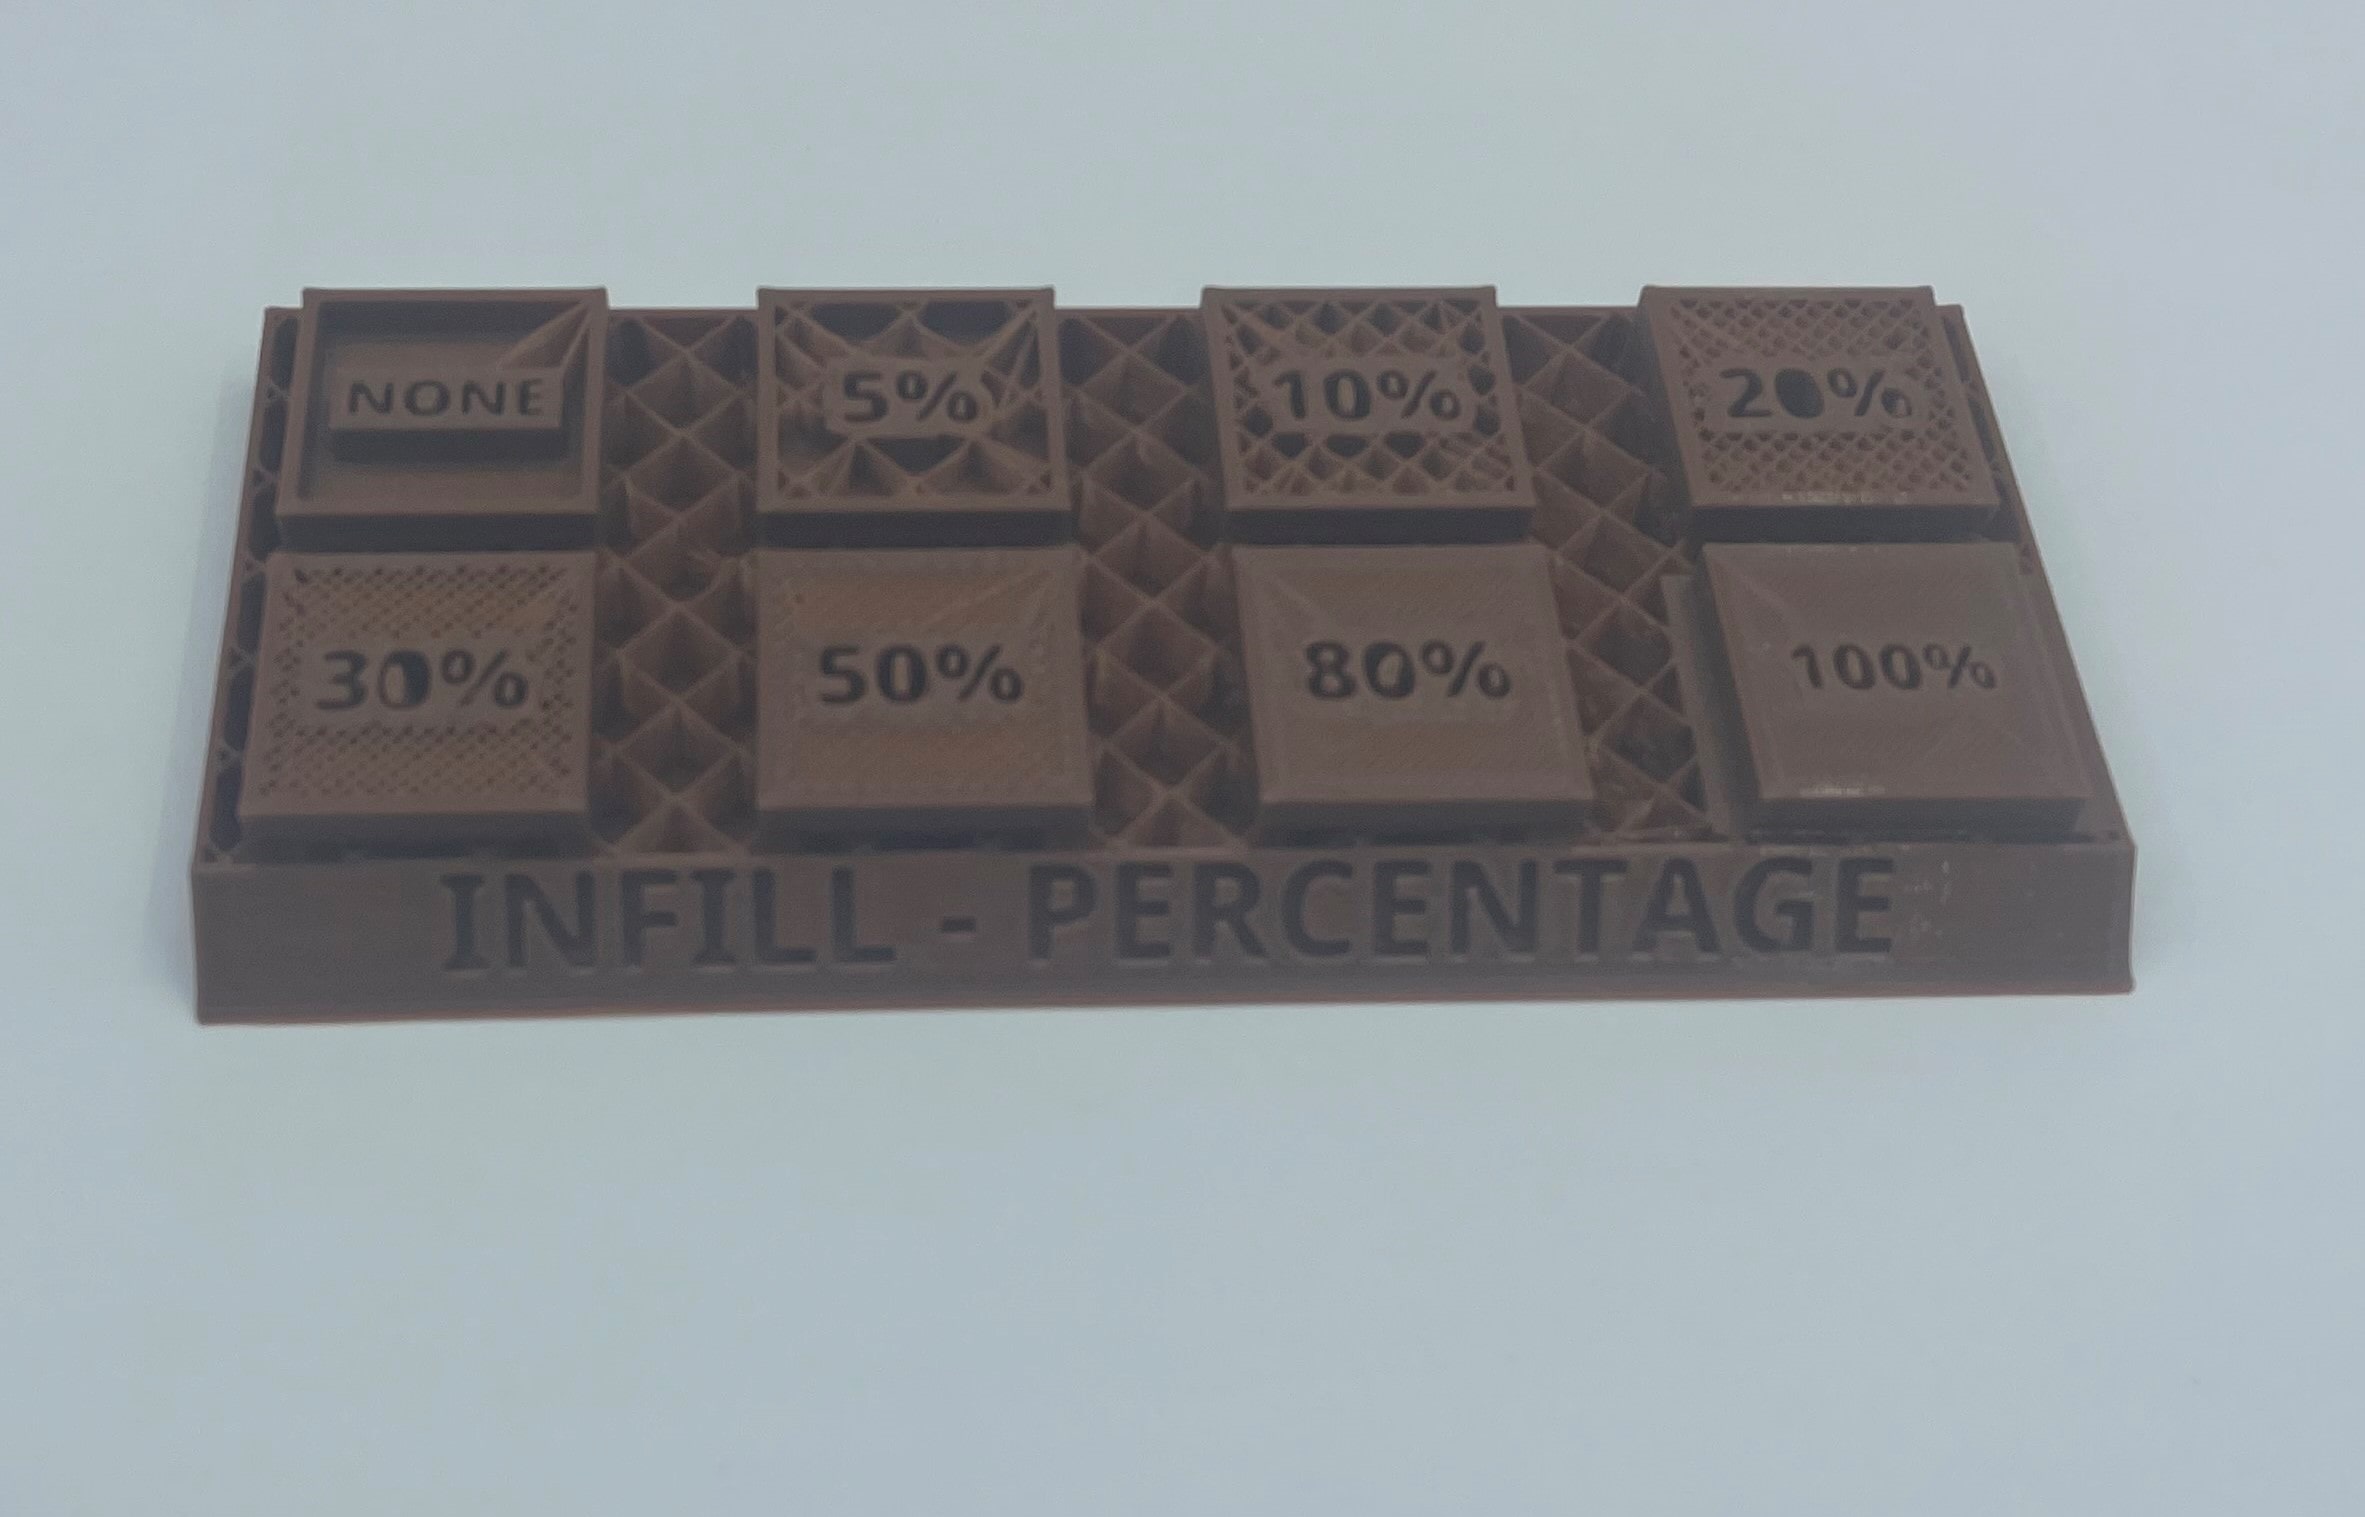
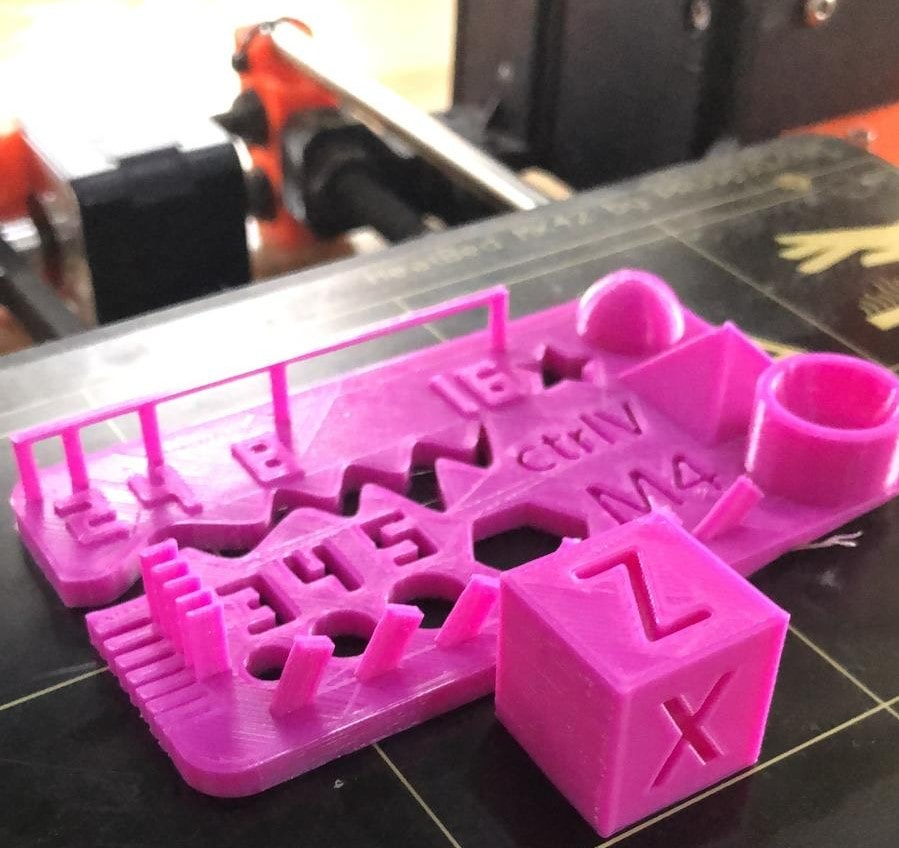
There are many ways to fill with, one of them is the zig zag
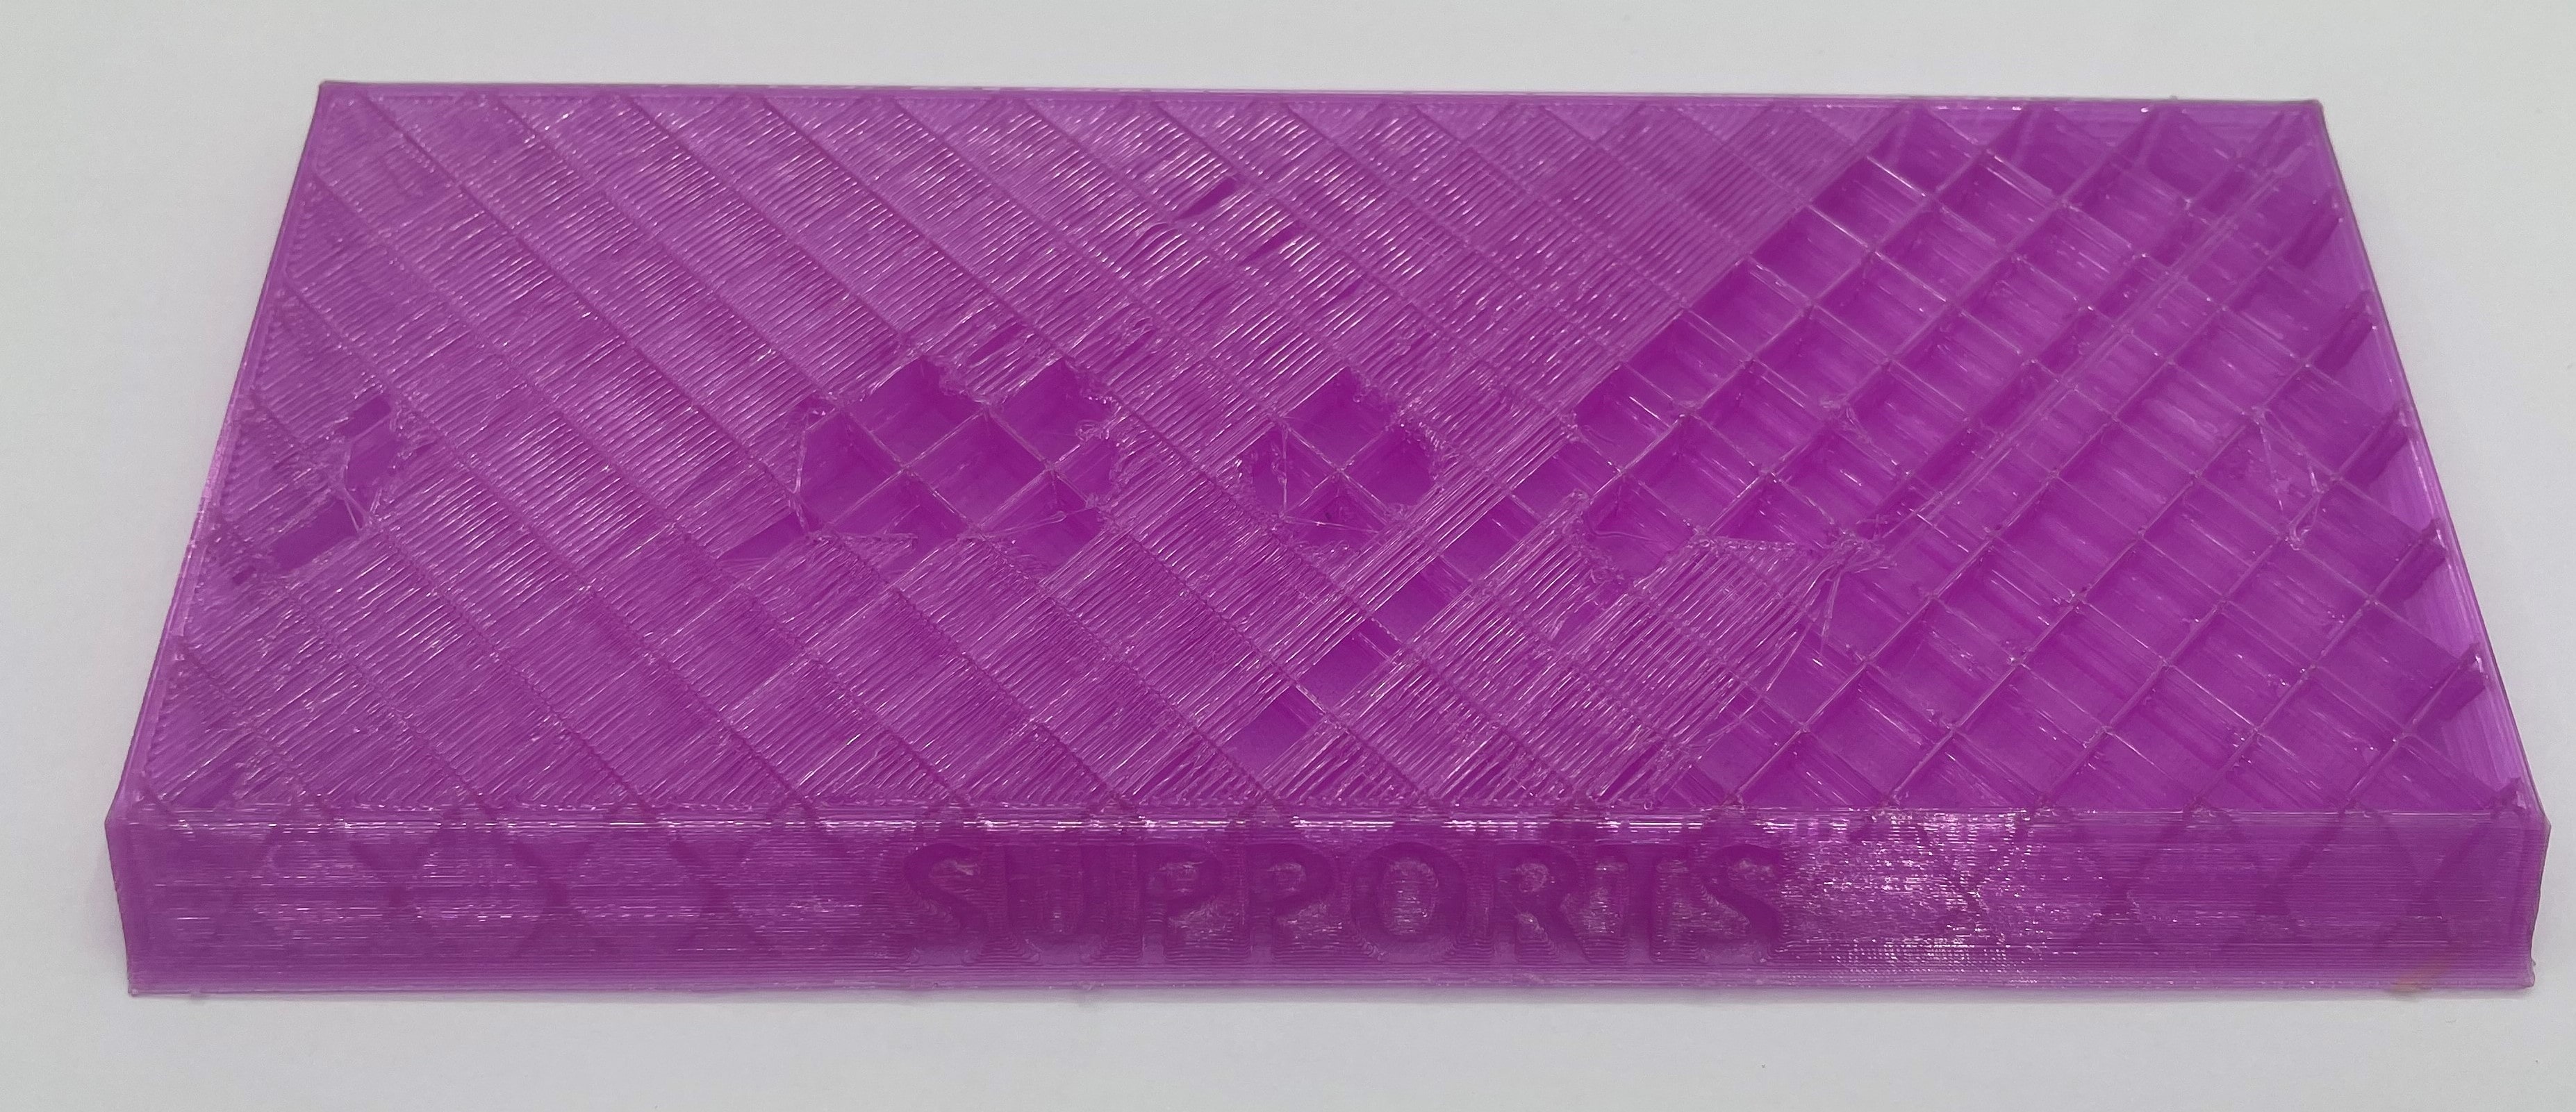
some time you can deal with some problems

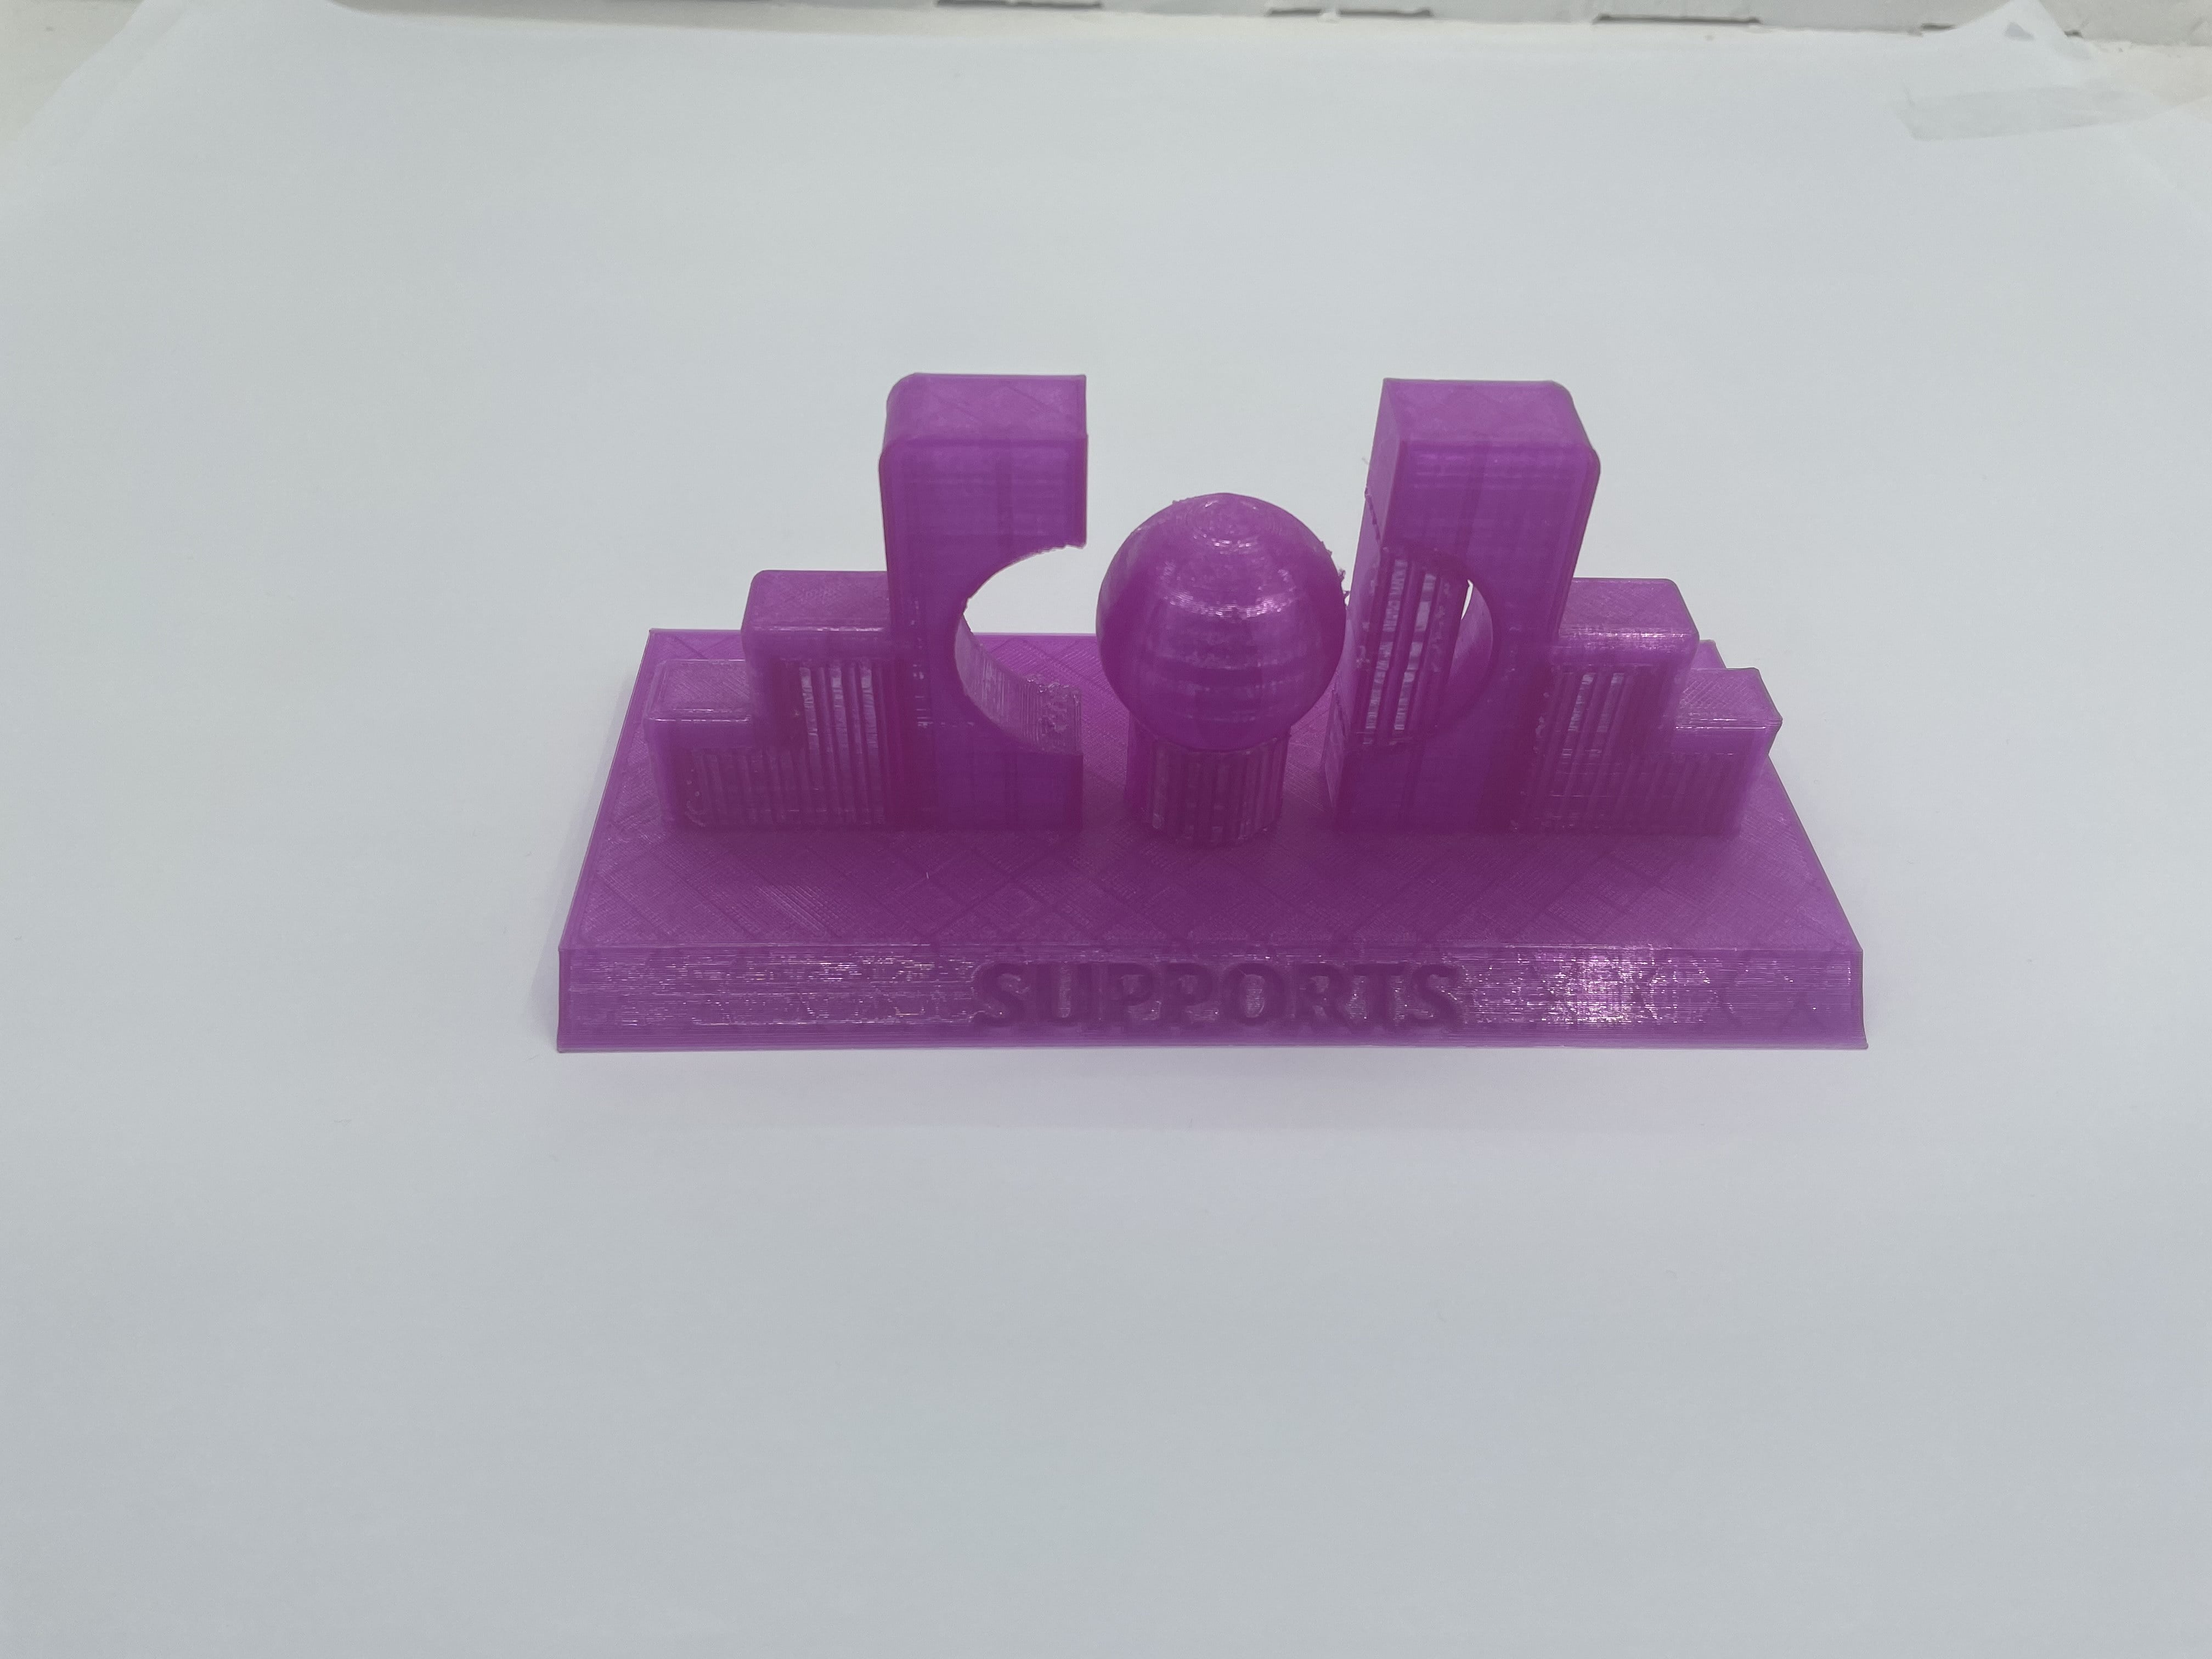
It’s better to have a support for the pieces
This is a comparison between the different sizes that have been used
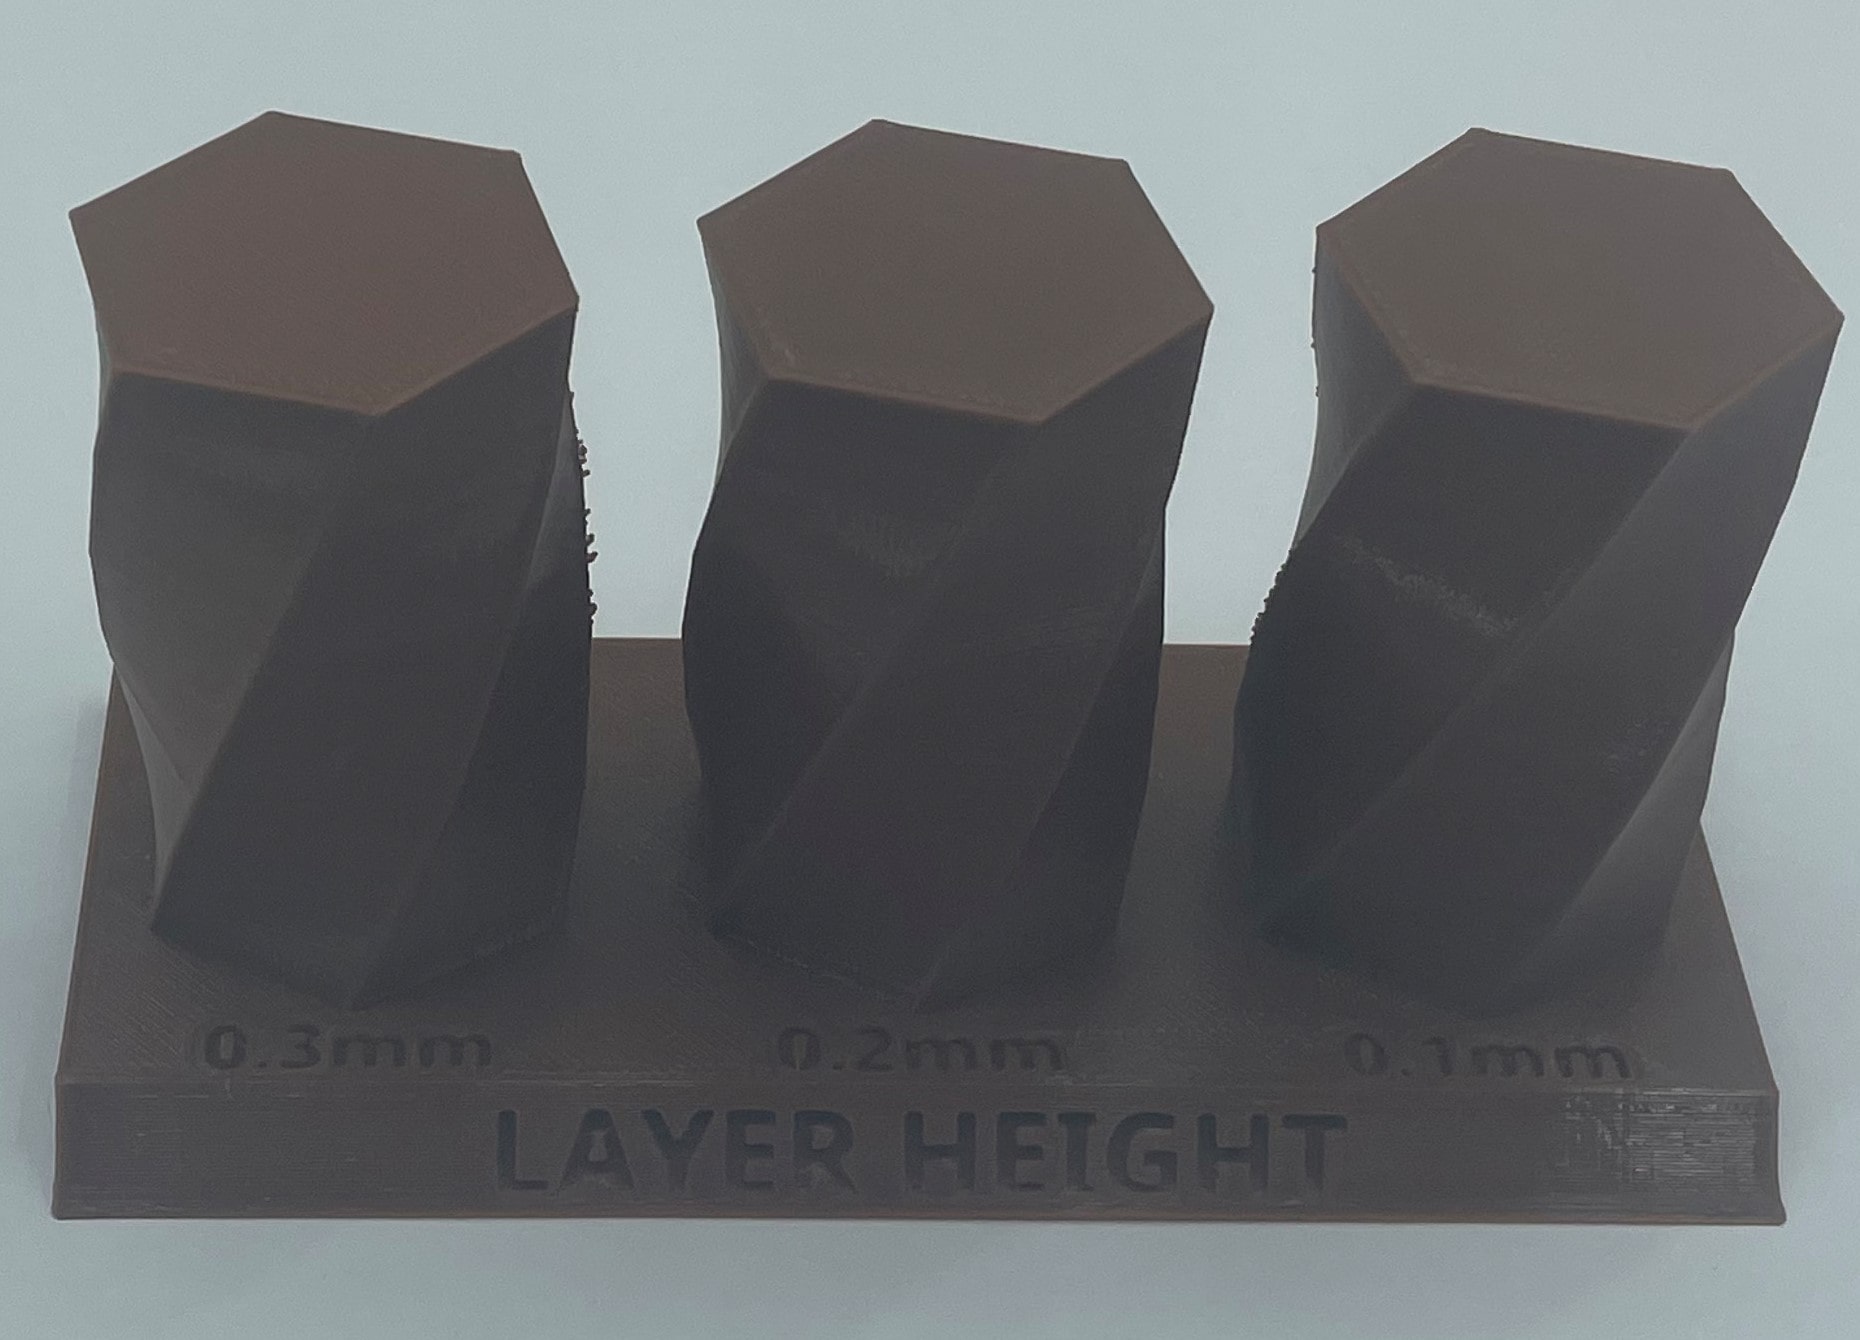
it is obvious that 0.1mm is giving a better solution.
They made this vase before and you can see in the bottom they face a problem, it could be from the speed they sit the printer on it or it moved by mistake.
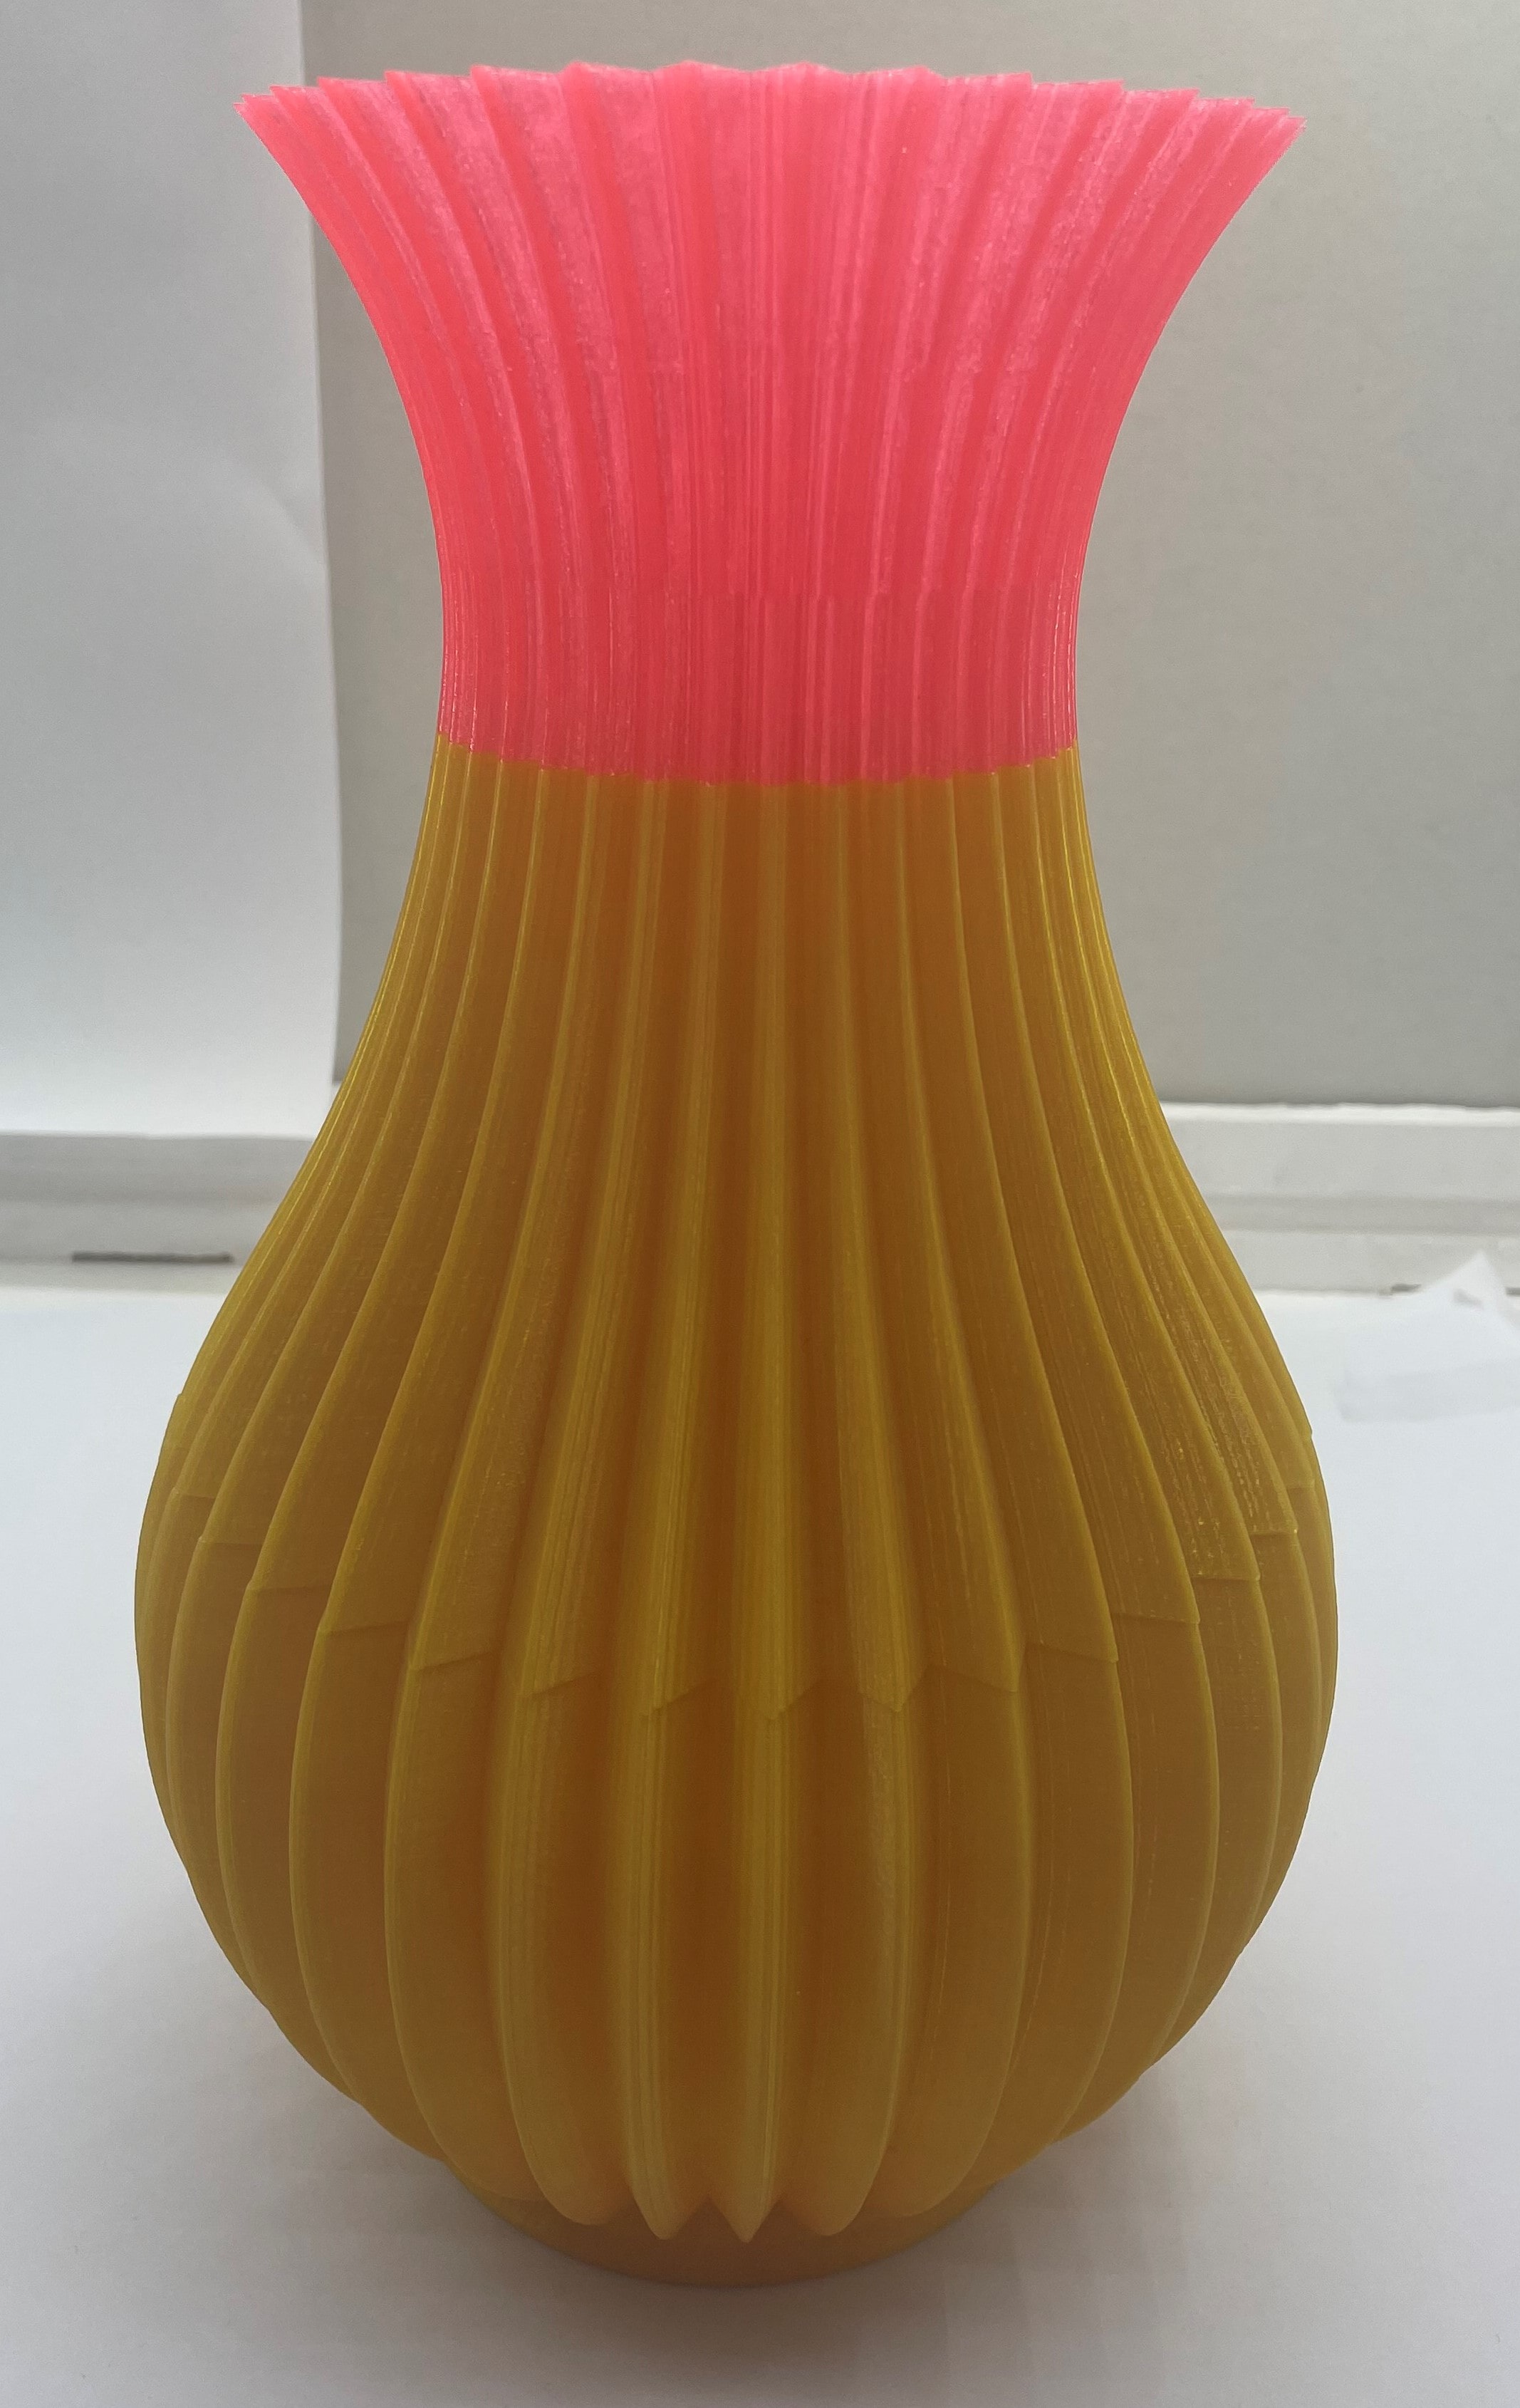
you can produce to colors by changing the filaments.
You can see the steps that we followed to print a testing object from my colleague website .
individual work
3D scan
We introduced to two process that we can scan 3D object with.
We can scan by using an Xbox camera, we used this set.
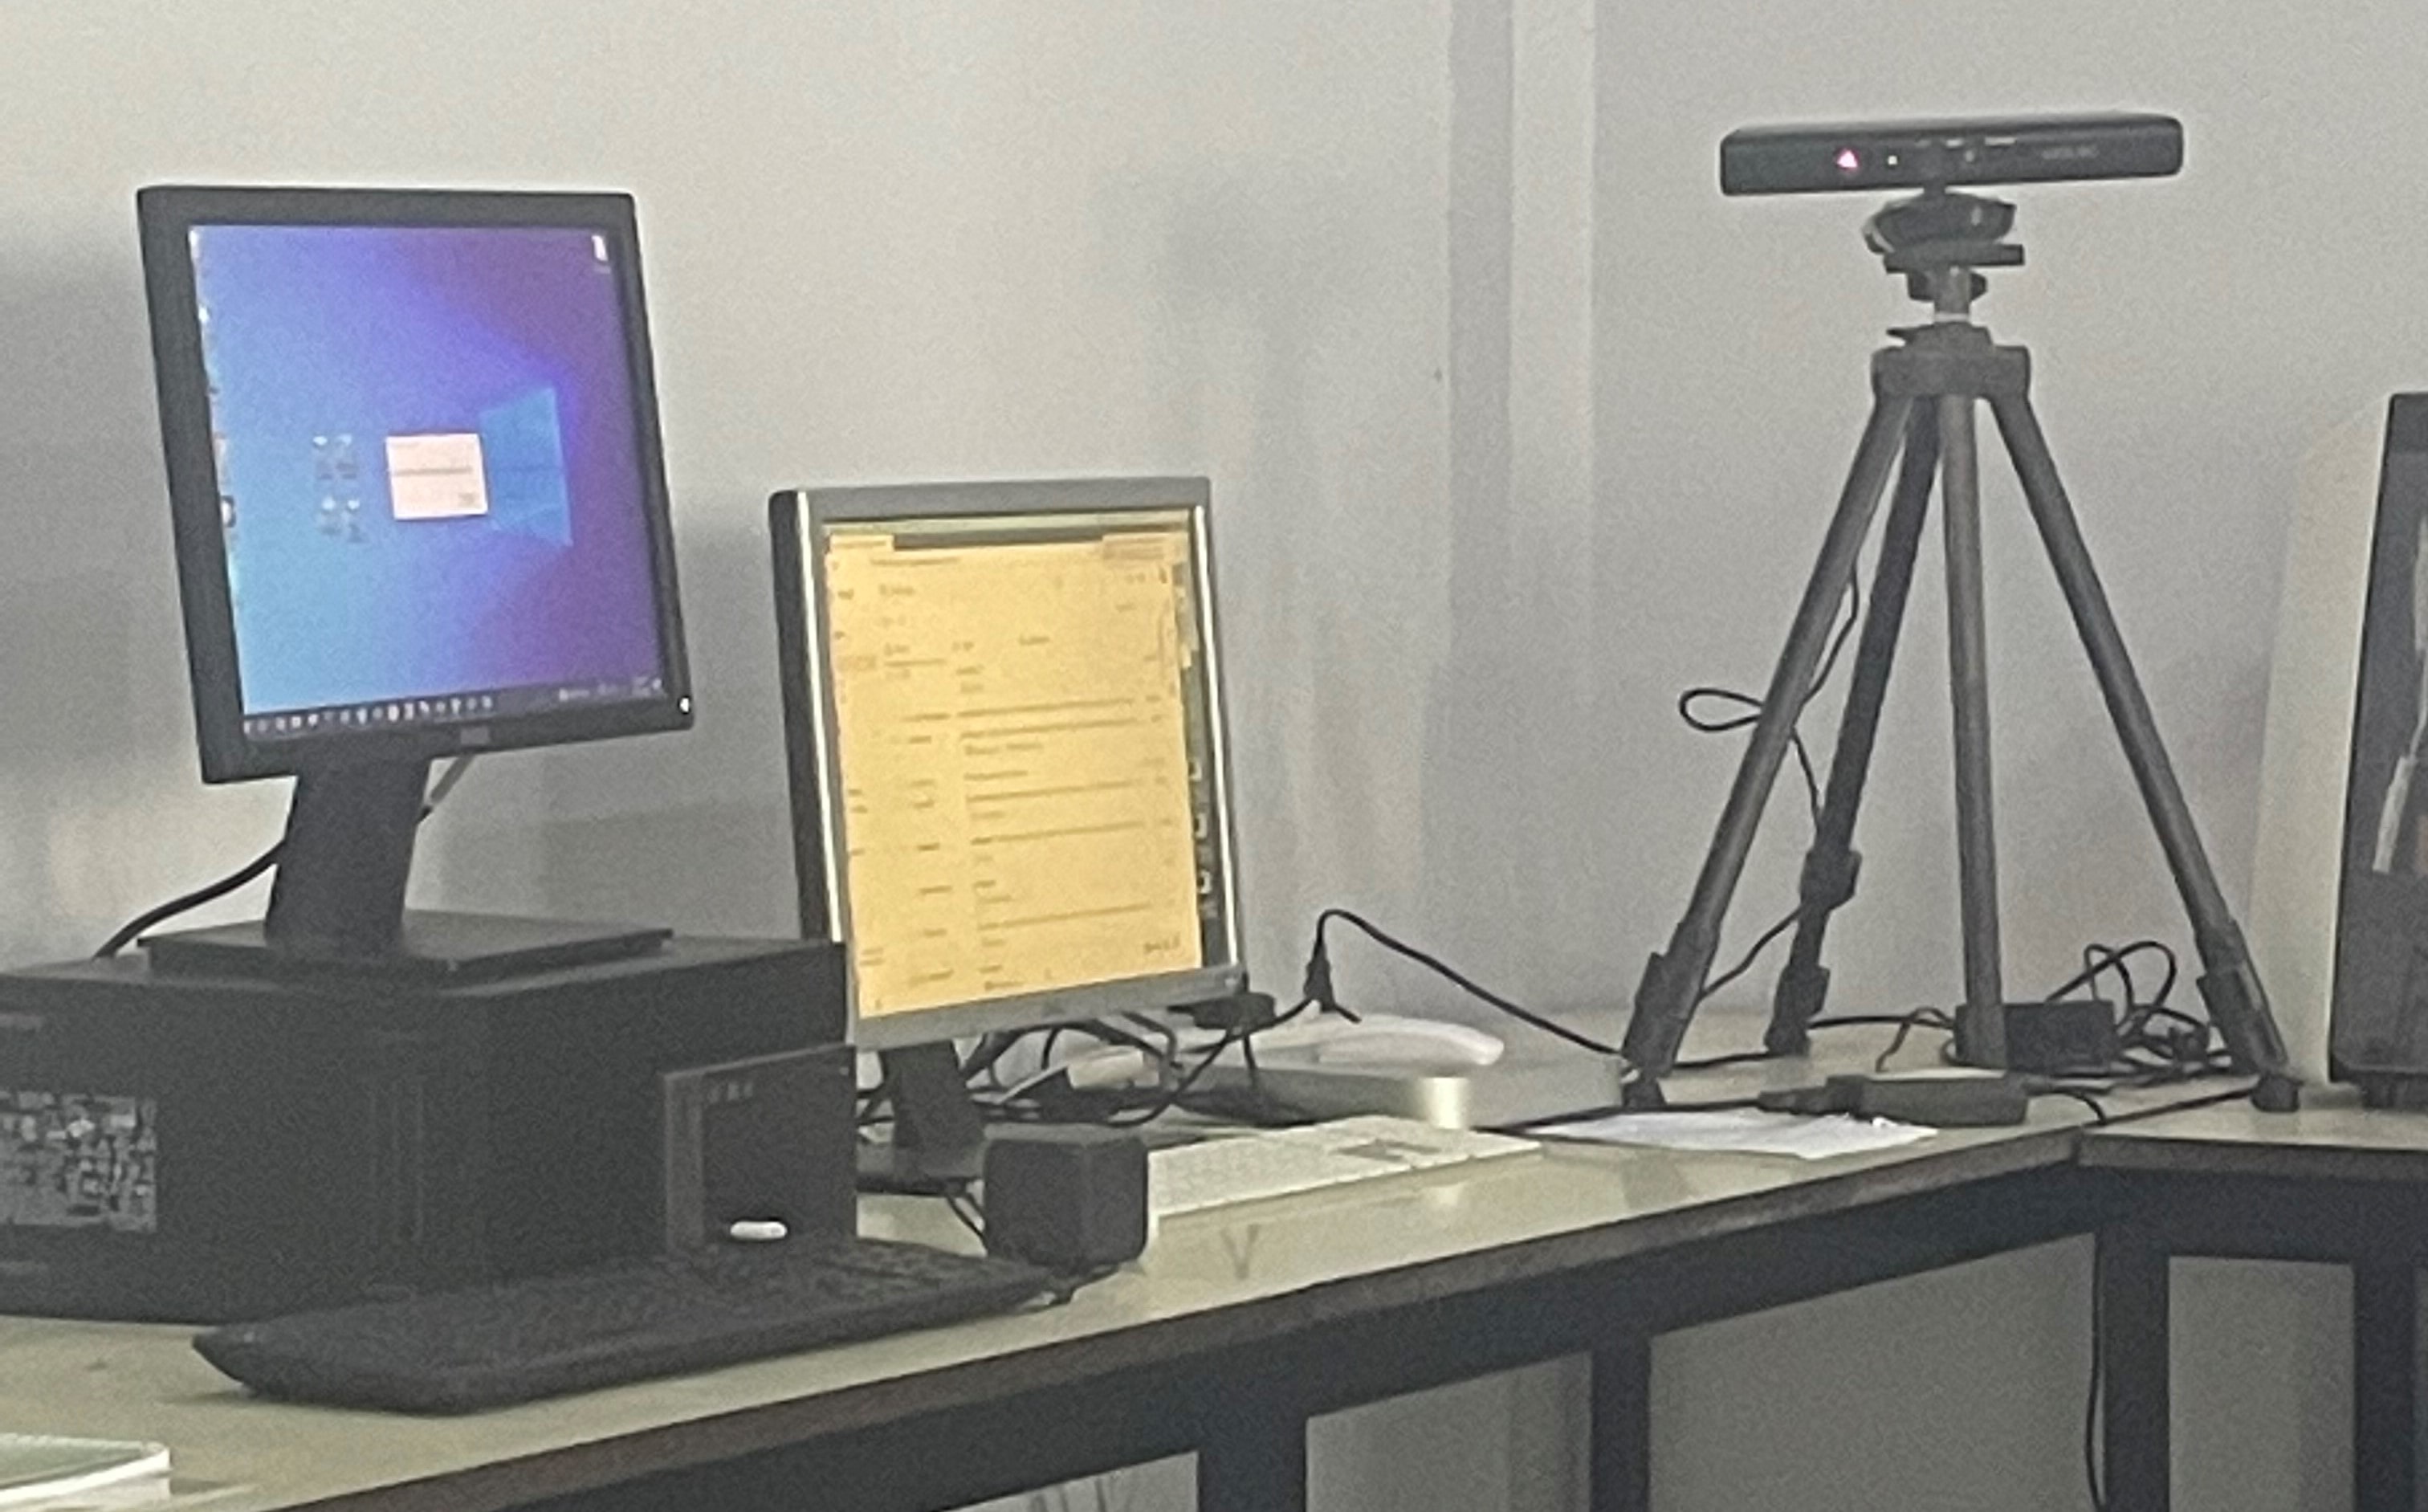
it have three cameras, it work with thermal radiation.
There is one camera the send waves and the body reflect it so the other one receive it.
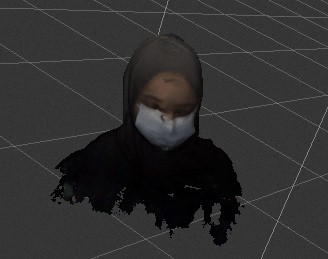
First of all we choose the object that we want to scan .
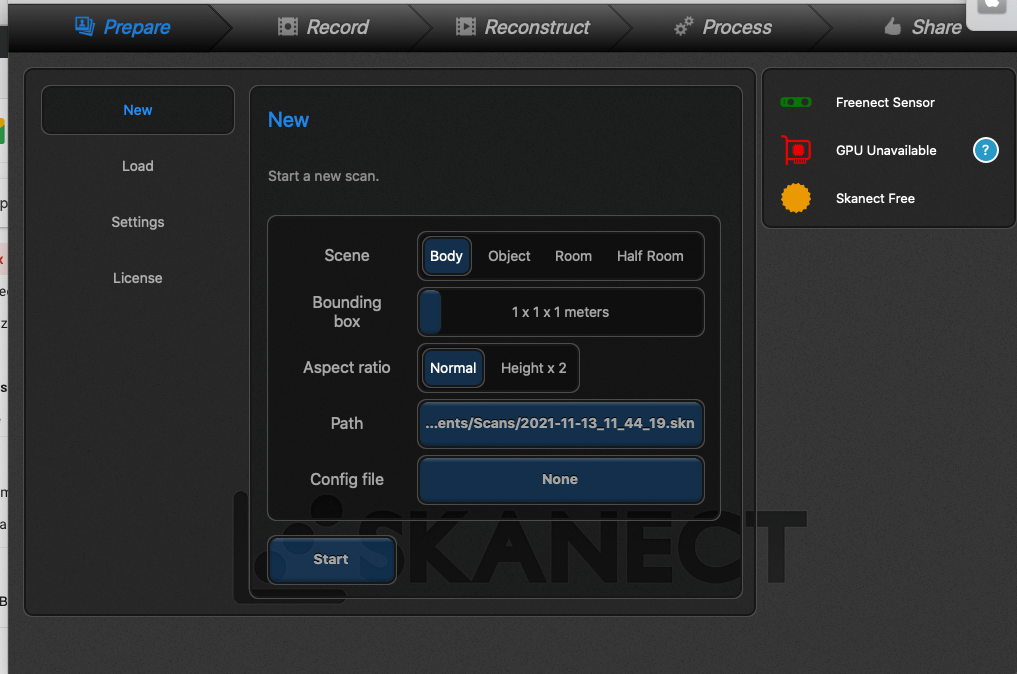
then i make sure that i’m in the right place.
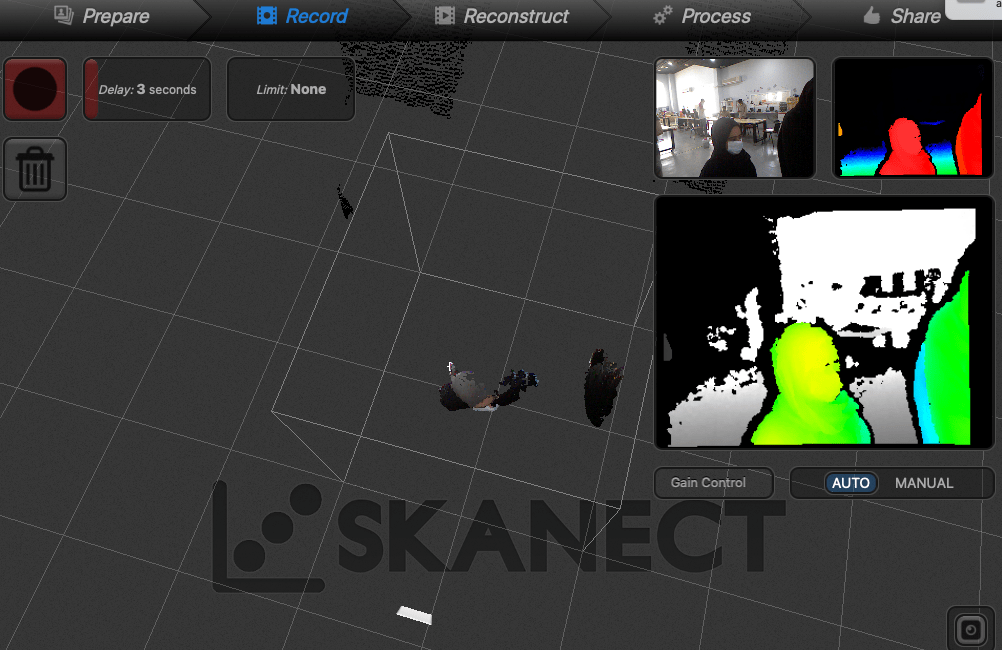
I rotate slowly to make sure that the camera capture all the details
This is the results that i have.
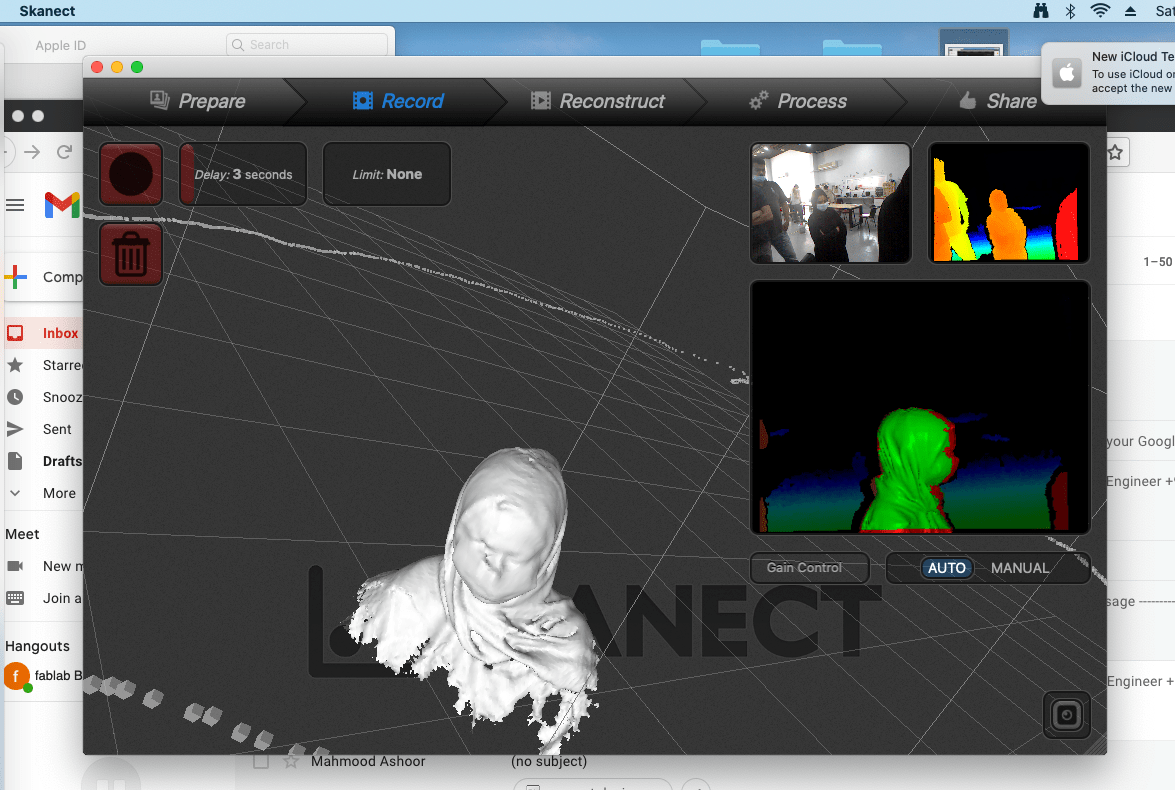
I can make it colored.
I can fill the holes to make it better.
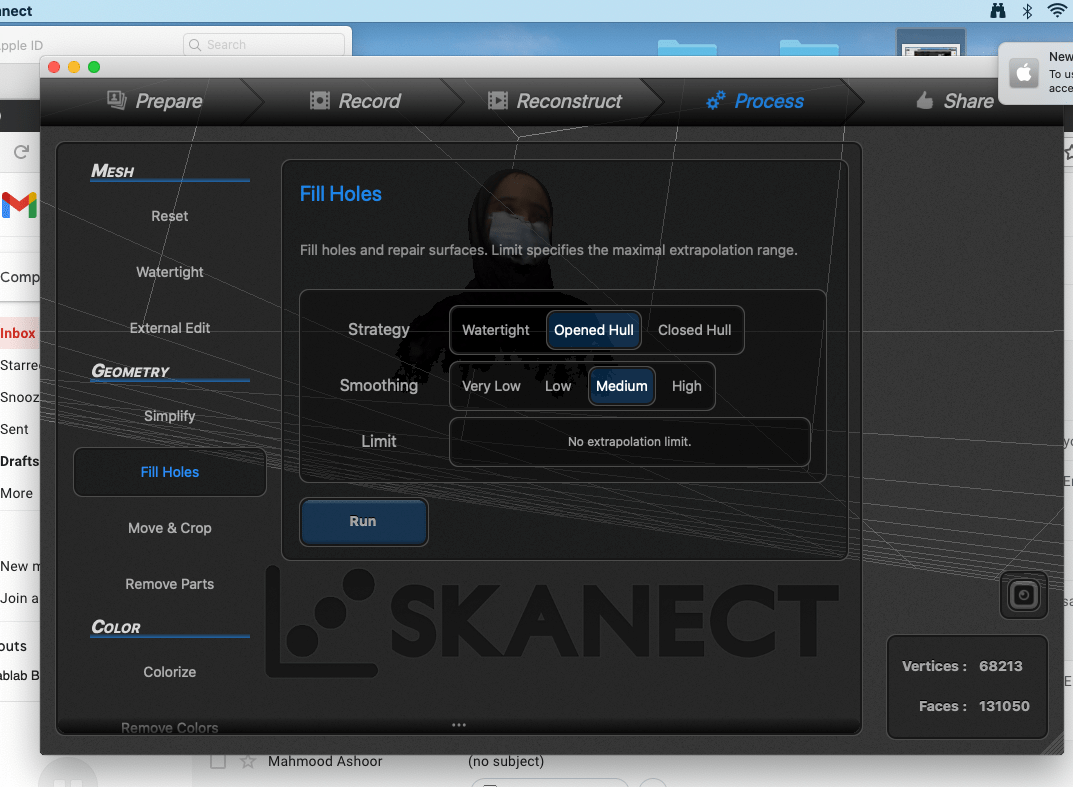

Then I export the File as STL.
If you would like to see the work that I did just click on this link.
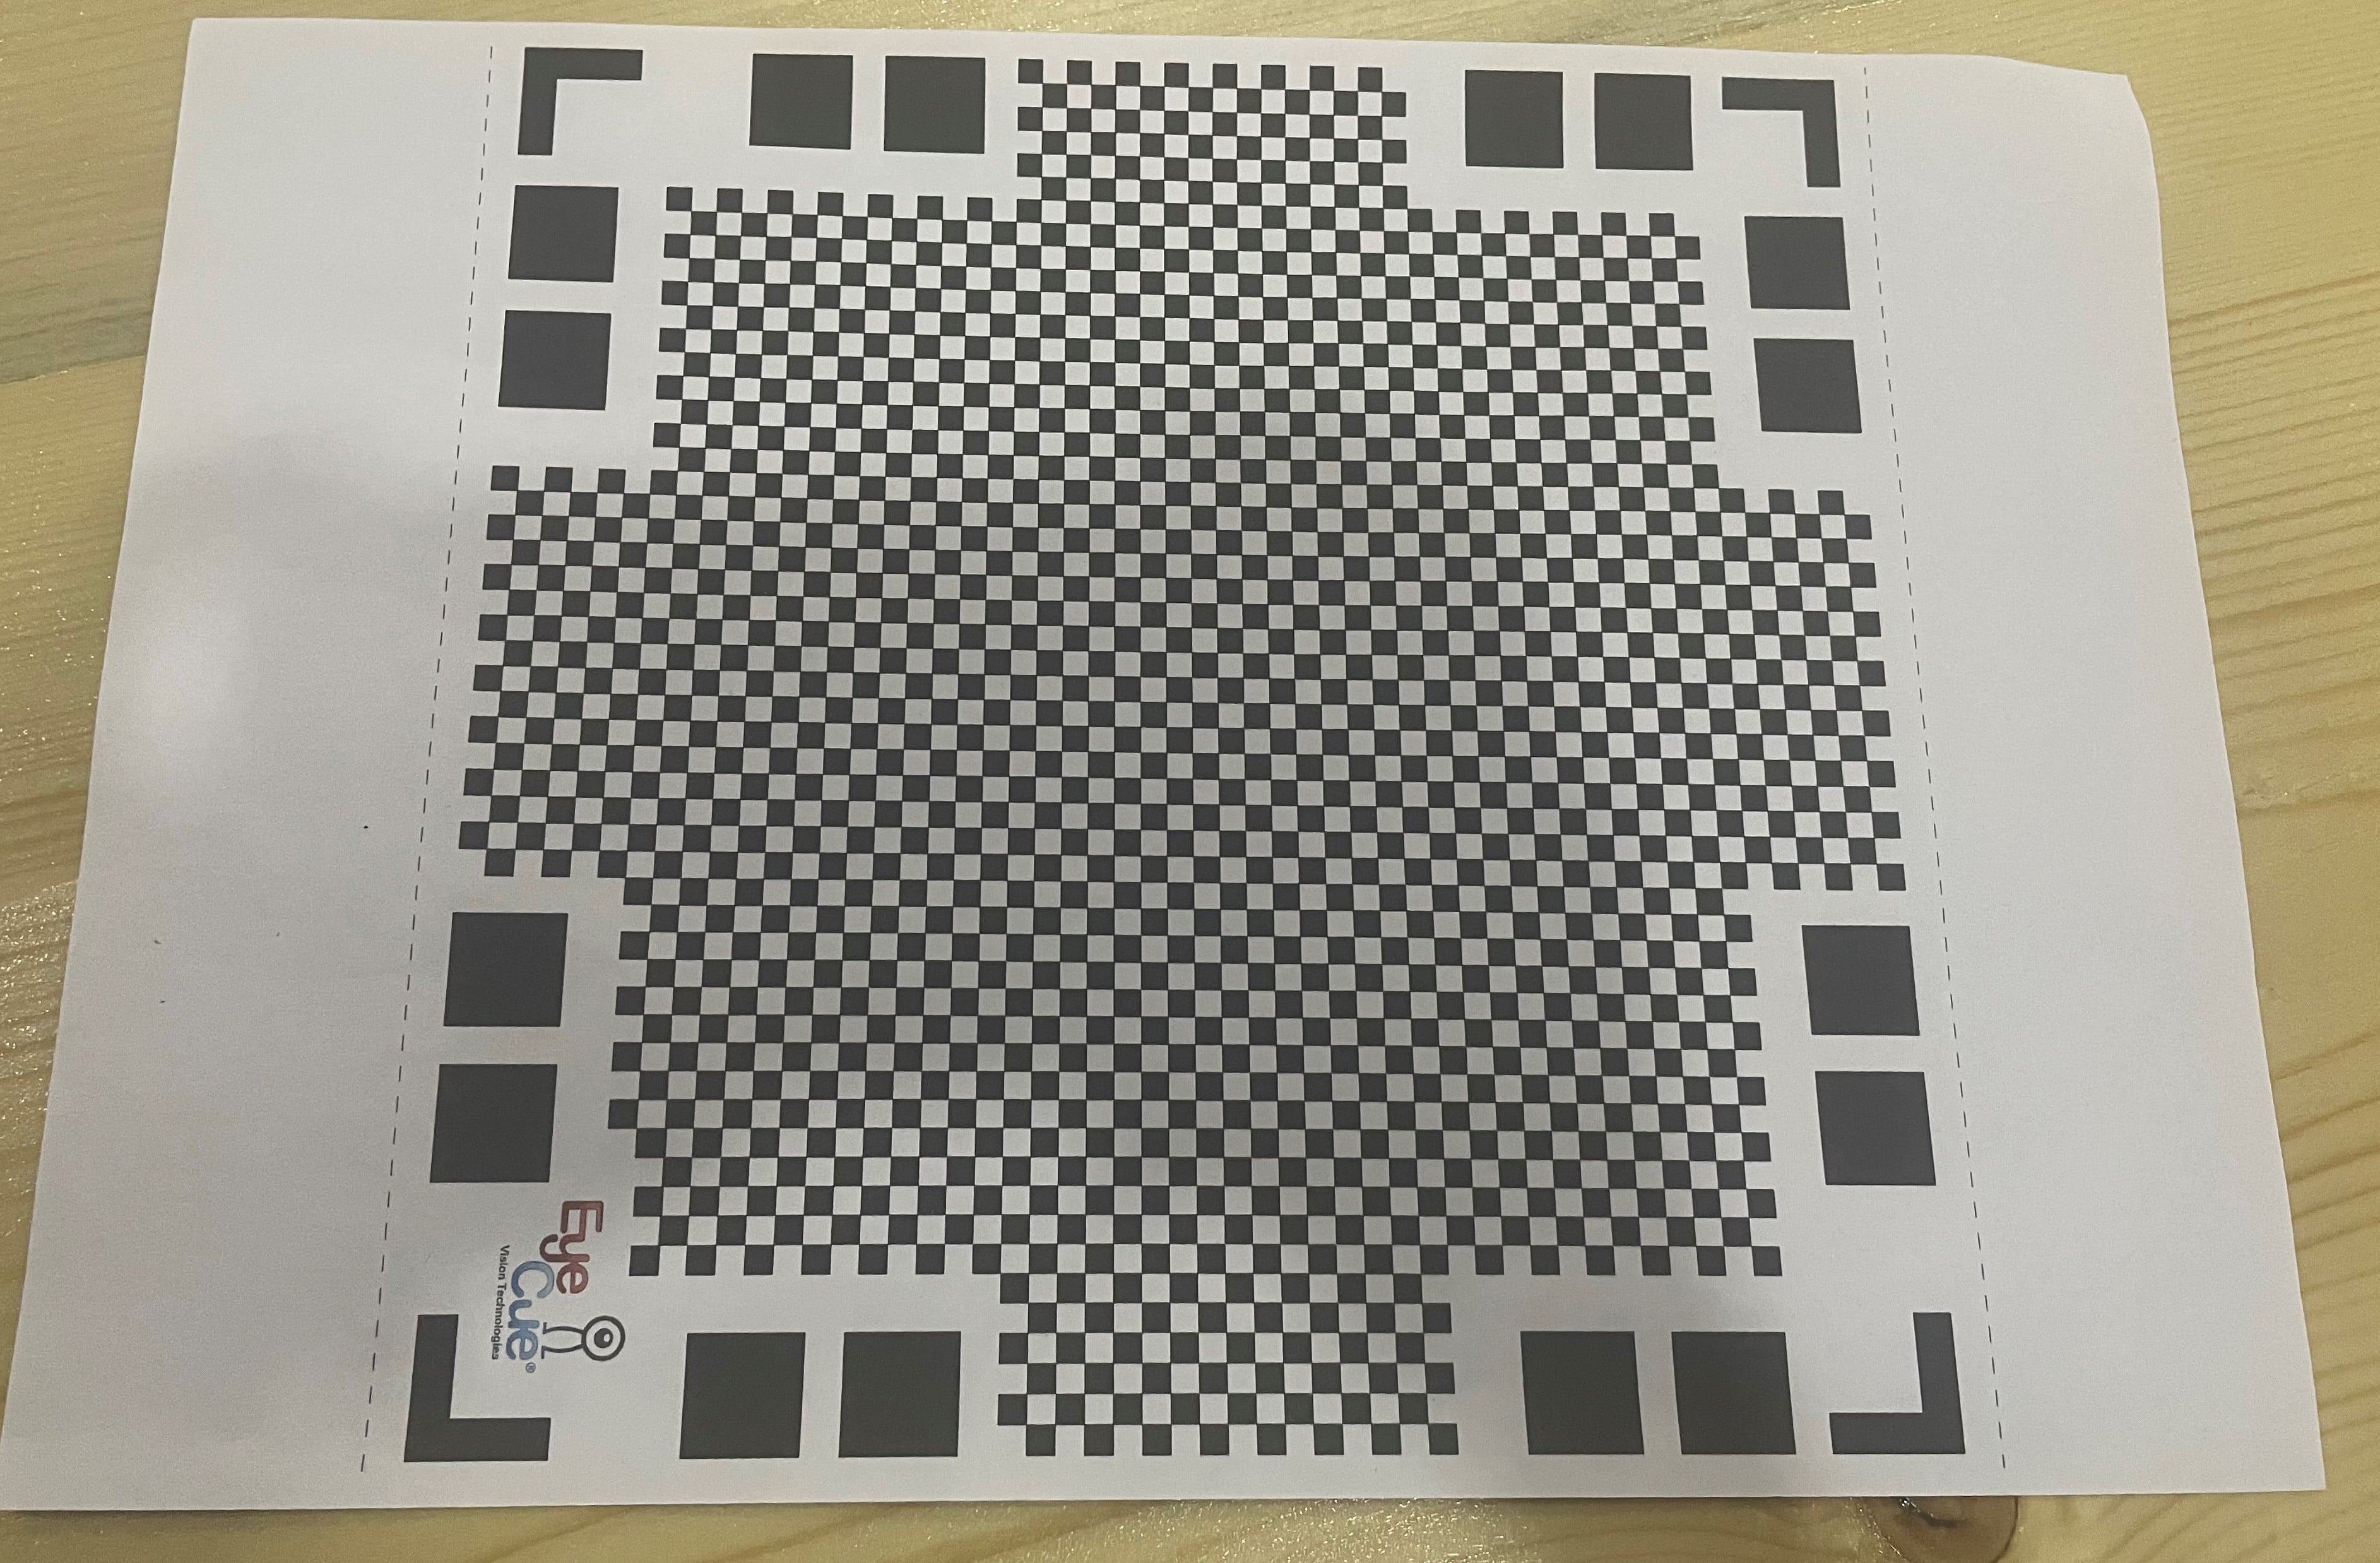
The second way, We used Qlone app, you can download it in your phone.
First you must have this paper.
I choose this object to scan it.
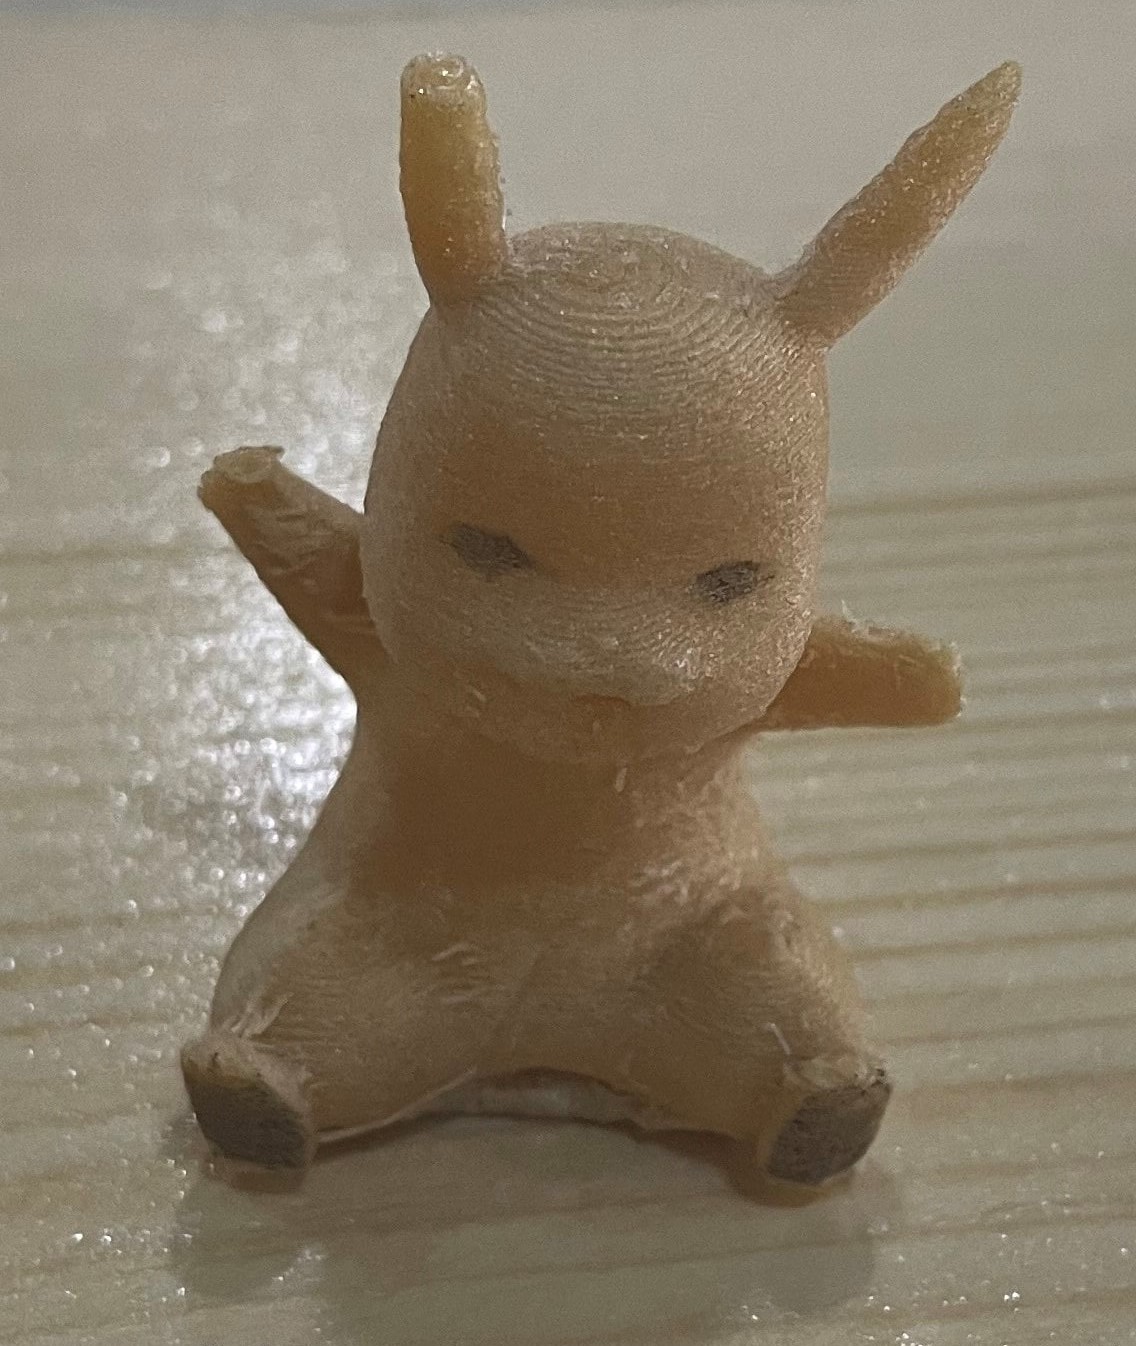
I put ot in the paper and i start to rotate around it.
This is the result
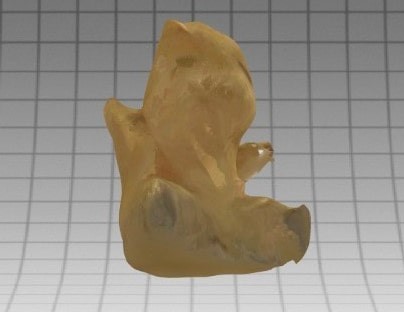
There is so many missing details, i can make the resolution better by repeating the process but i get another object to scan it, i thought it will give me a better result.
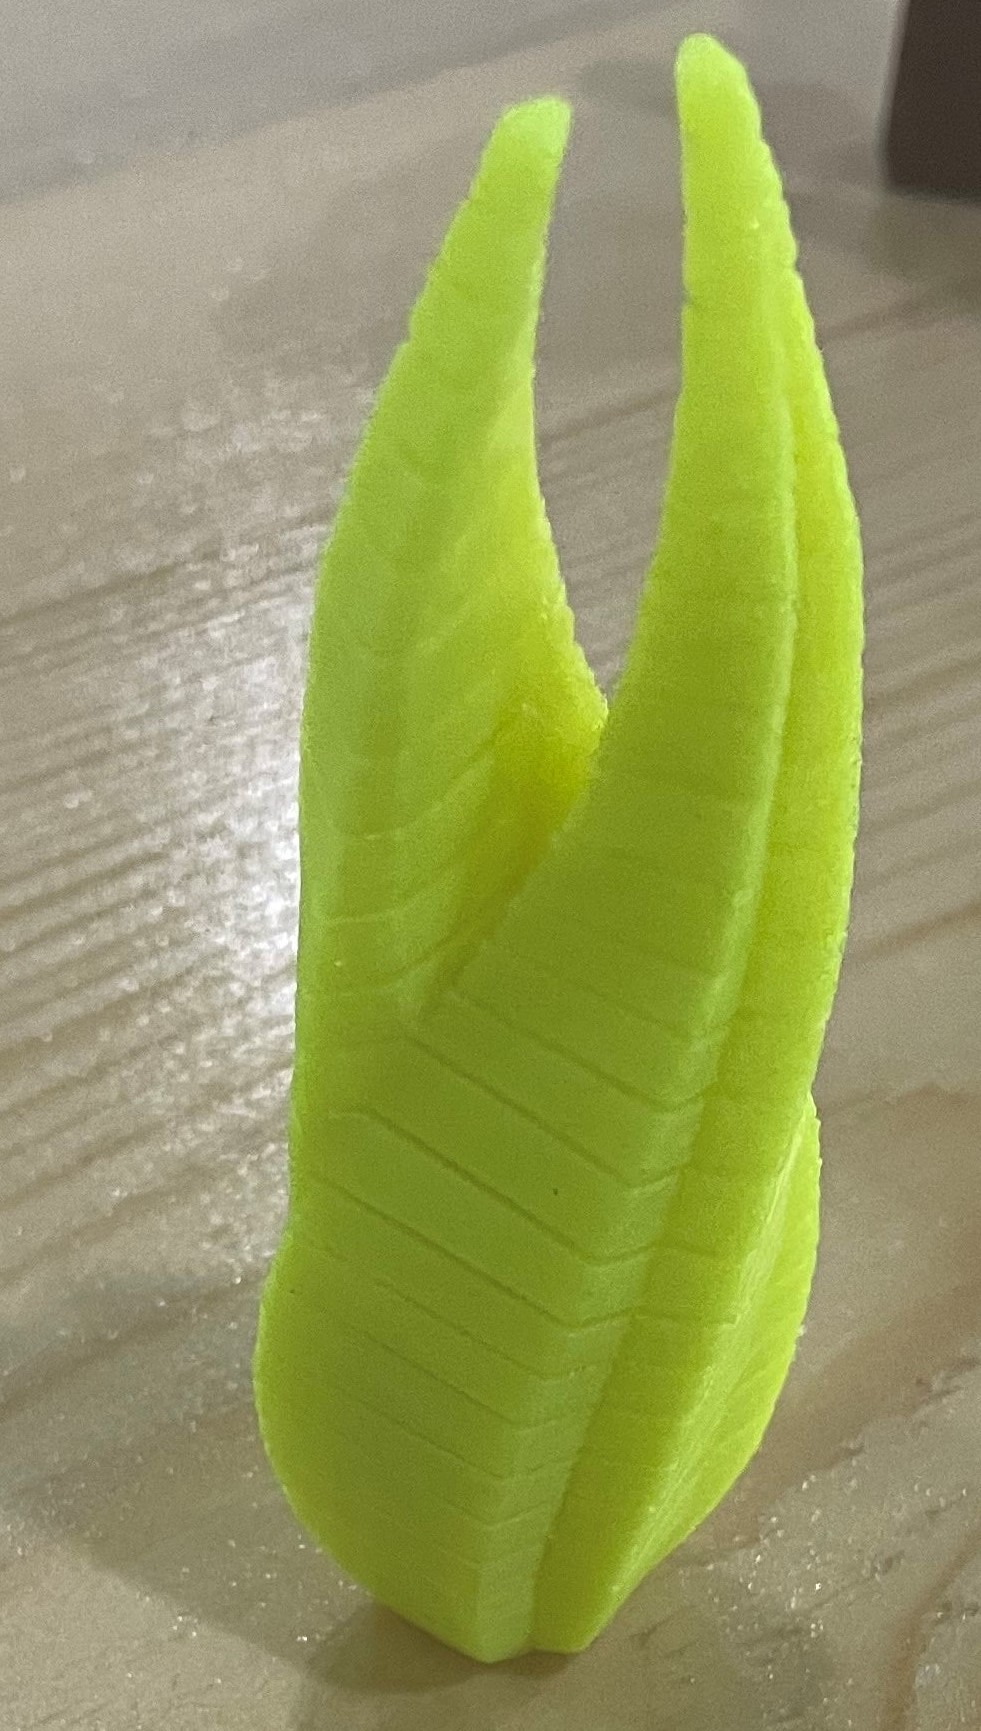
This is the result after taking data twice.
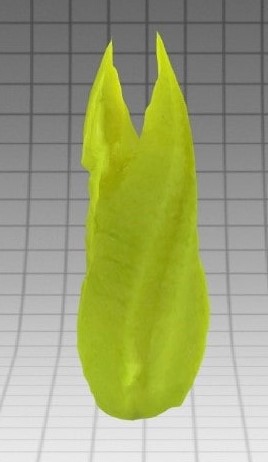
you can notice that this shows a better details.
3D printing
I made two object to print in fusion 360
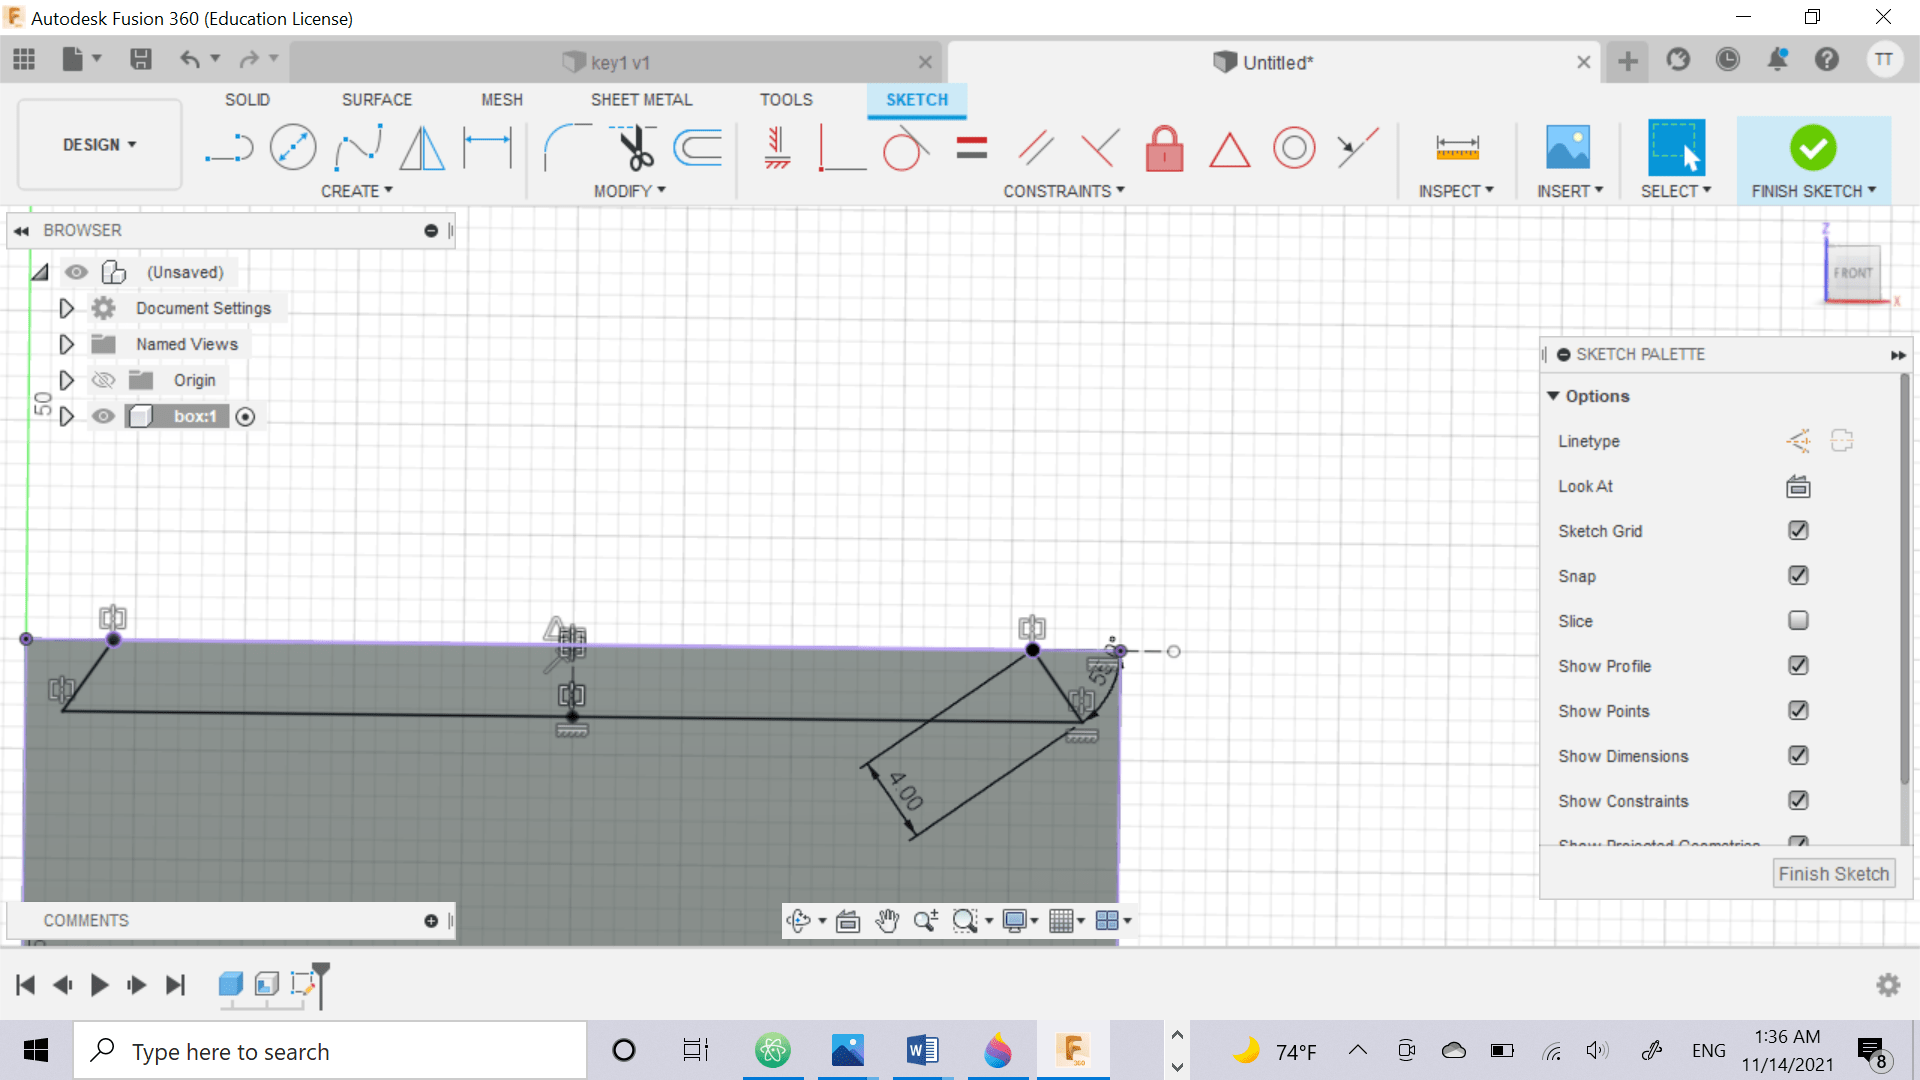
First, I made a key chain with my name.
I made a ring, then I inserted a line and i start to make the letters.
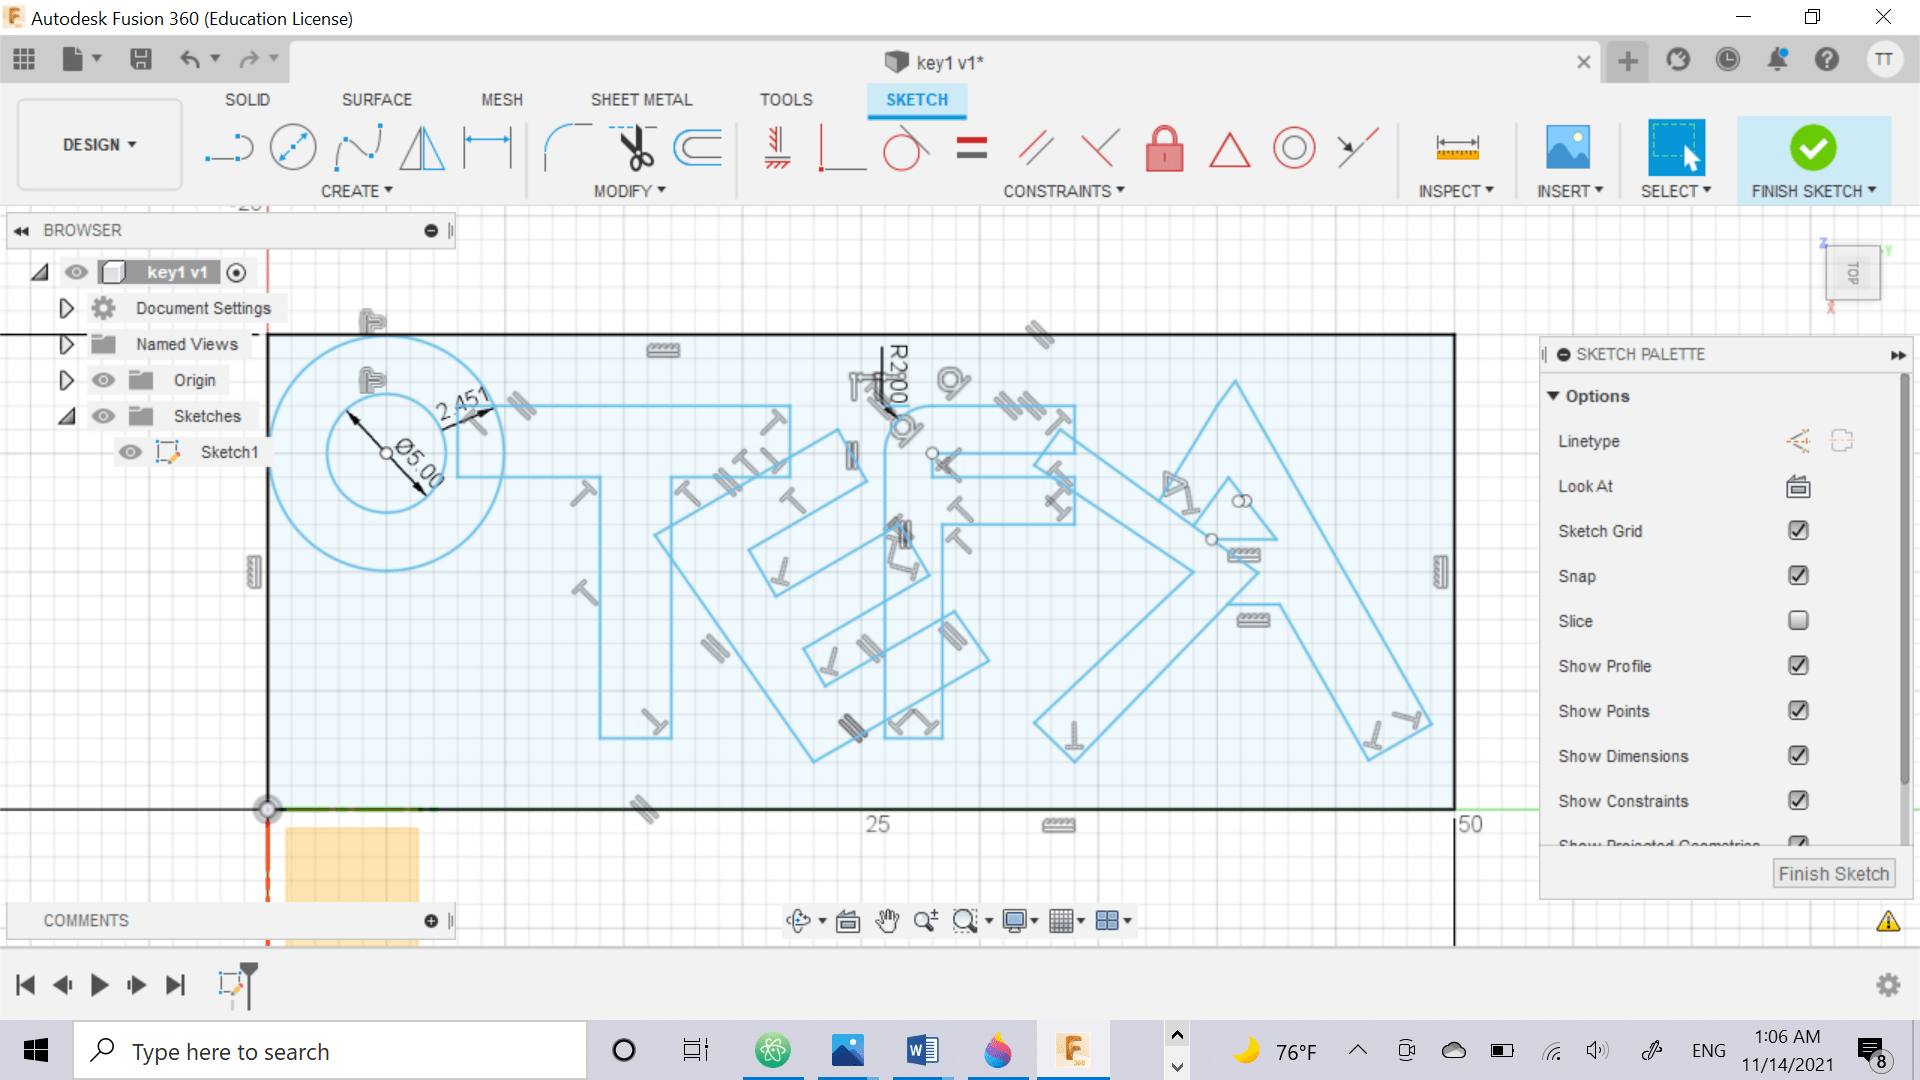
I make every letter as a body and extrude them with different heights .
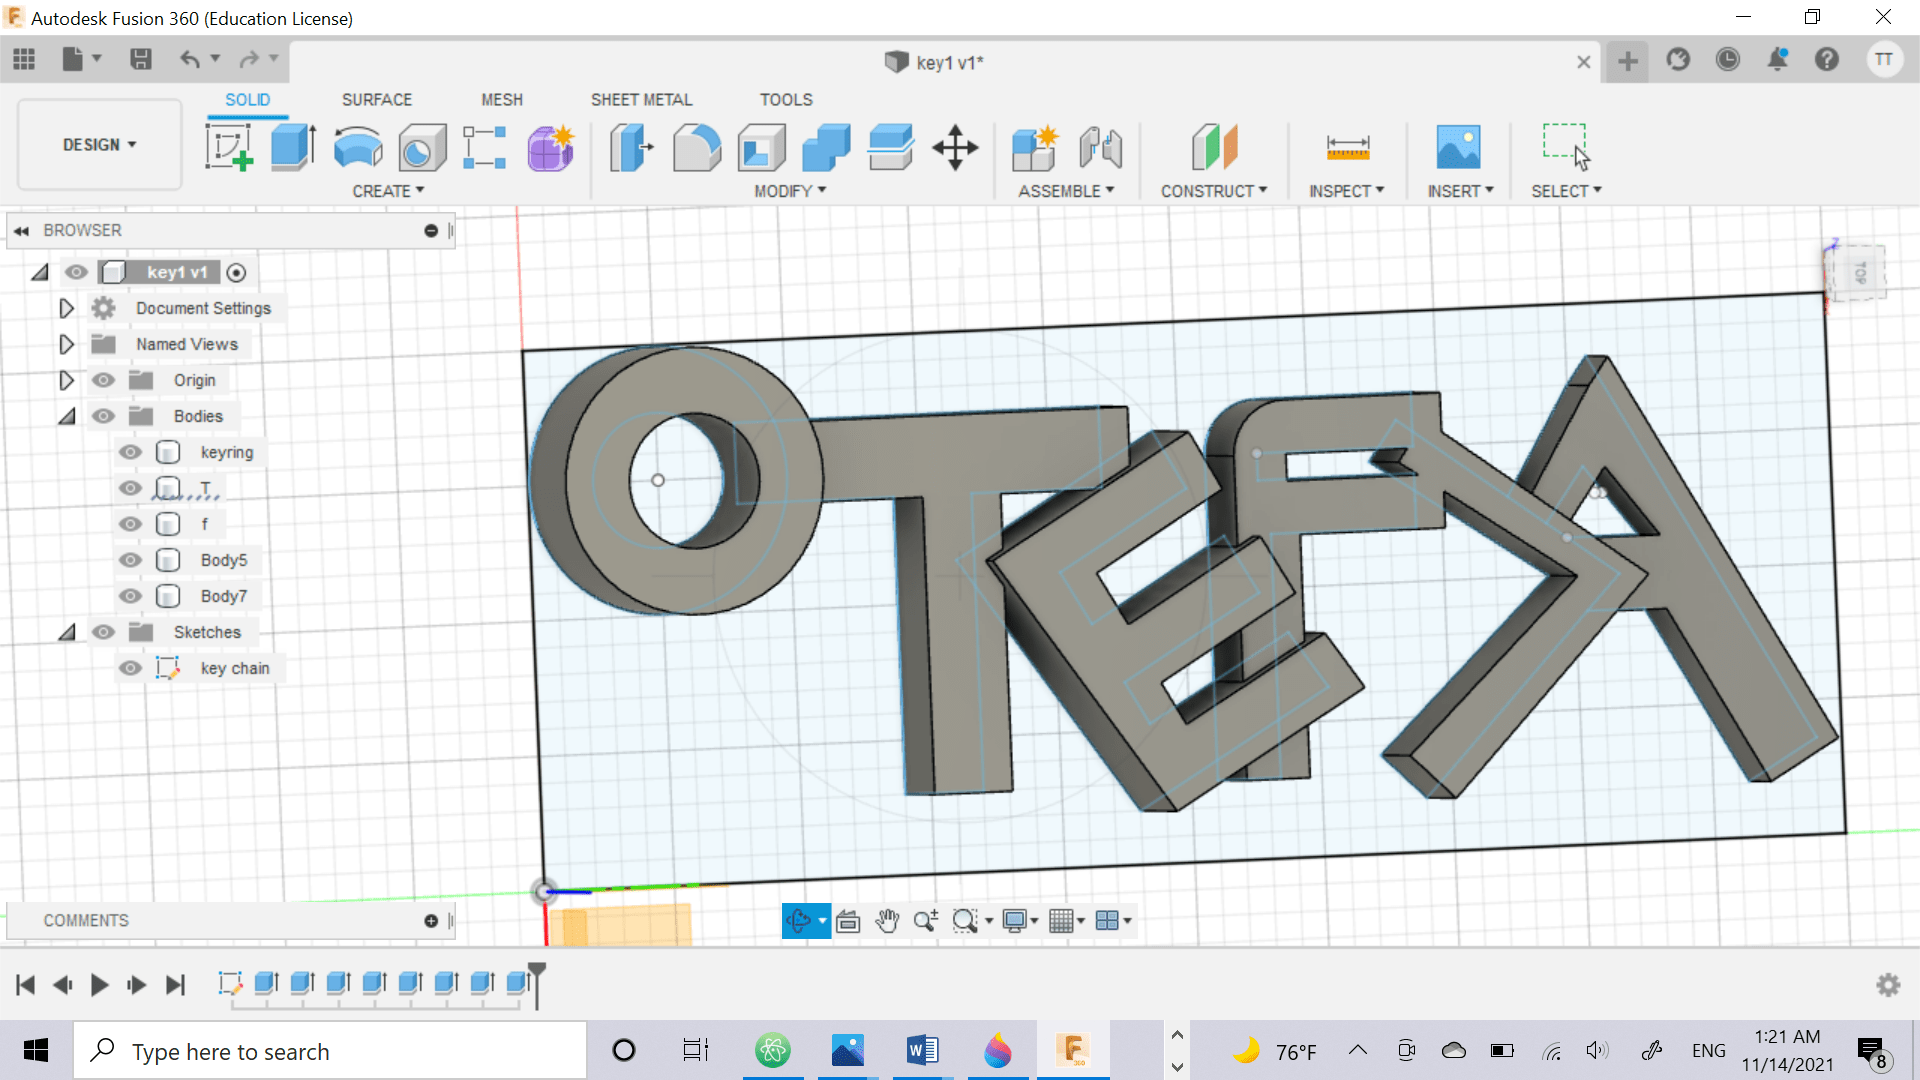
I also extrude some letters from the bottom.
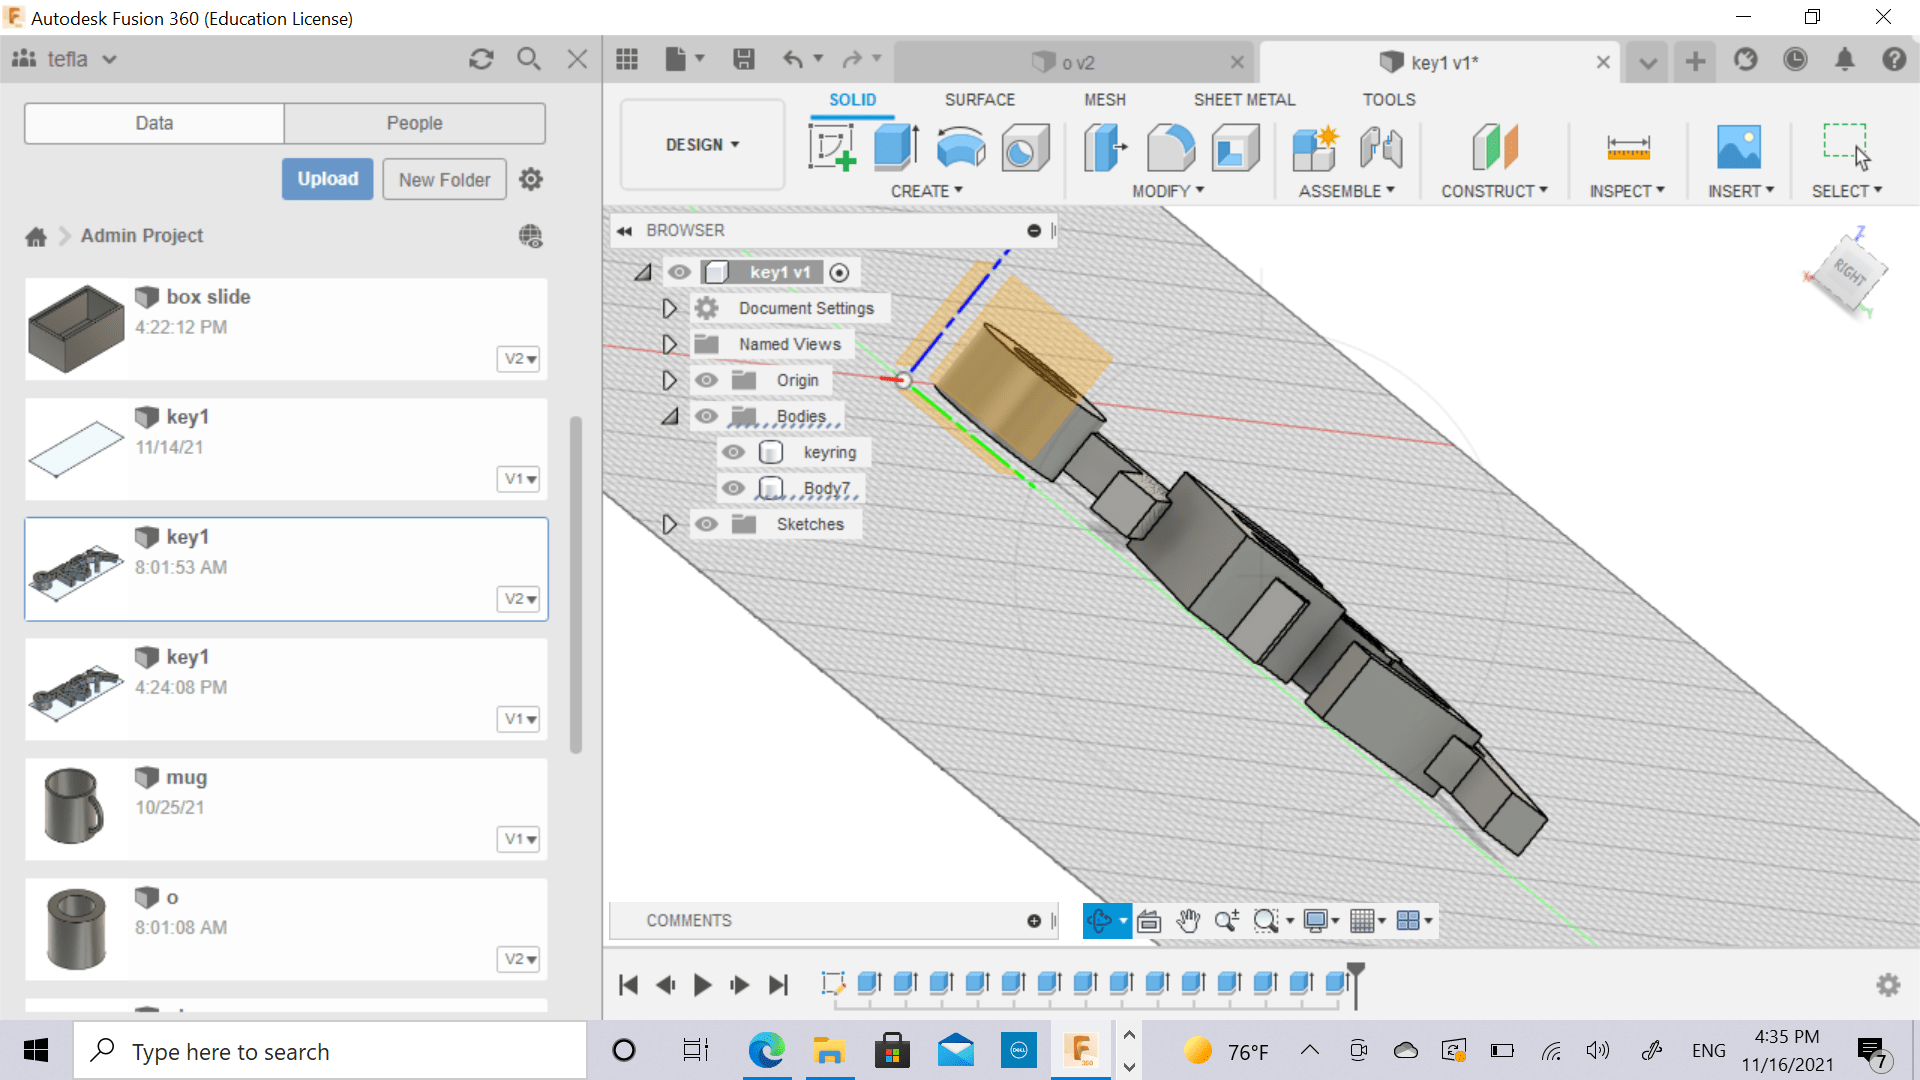
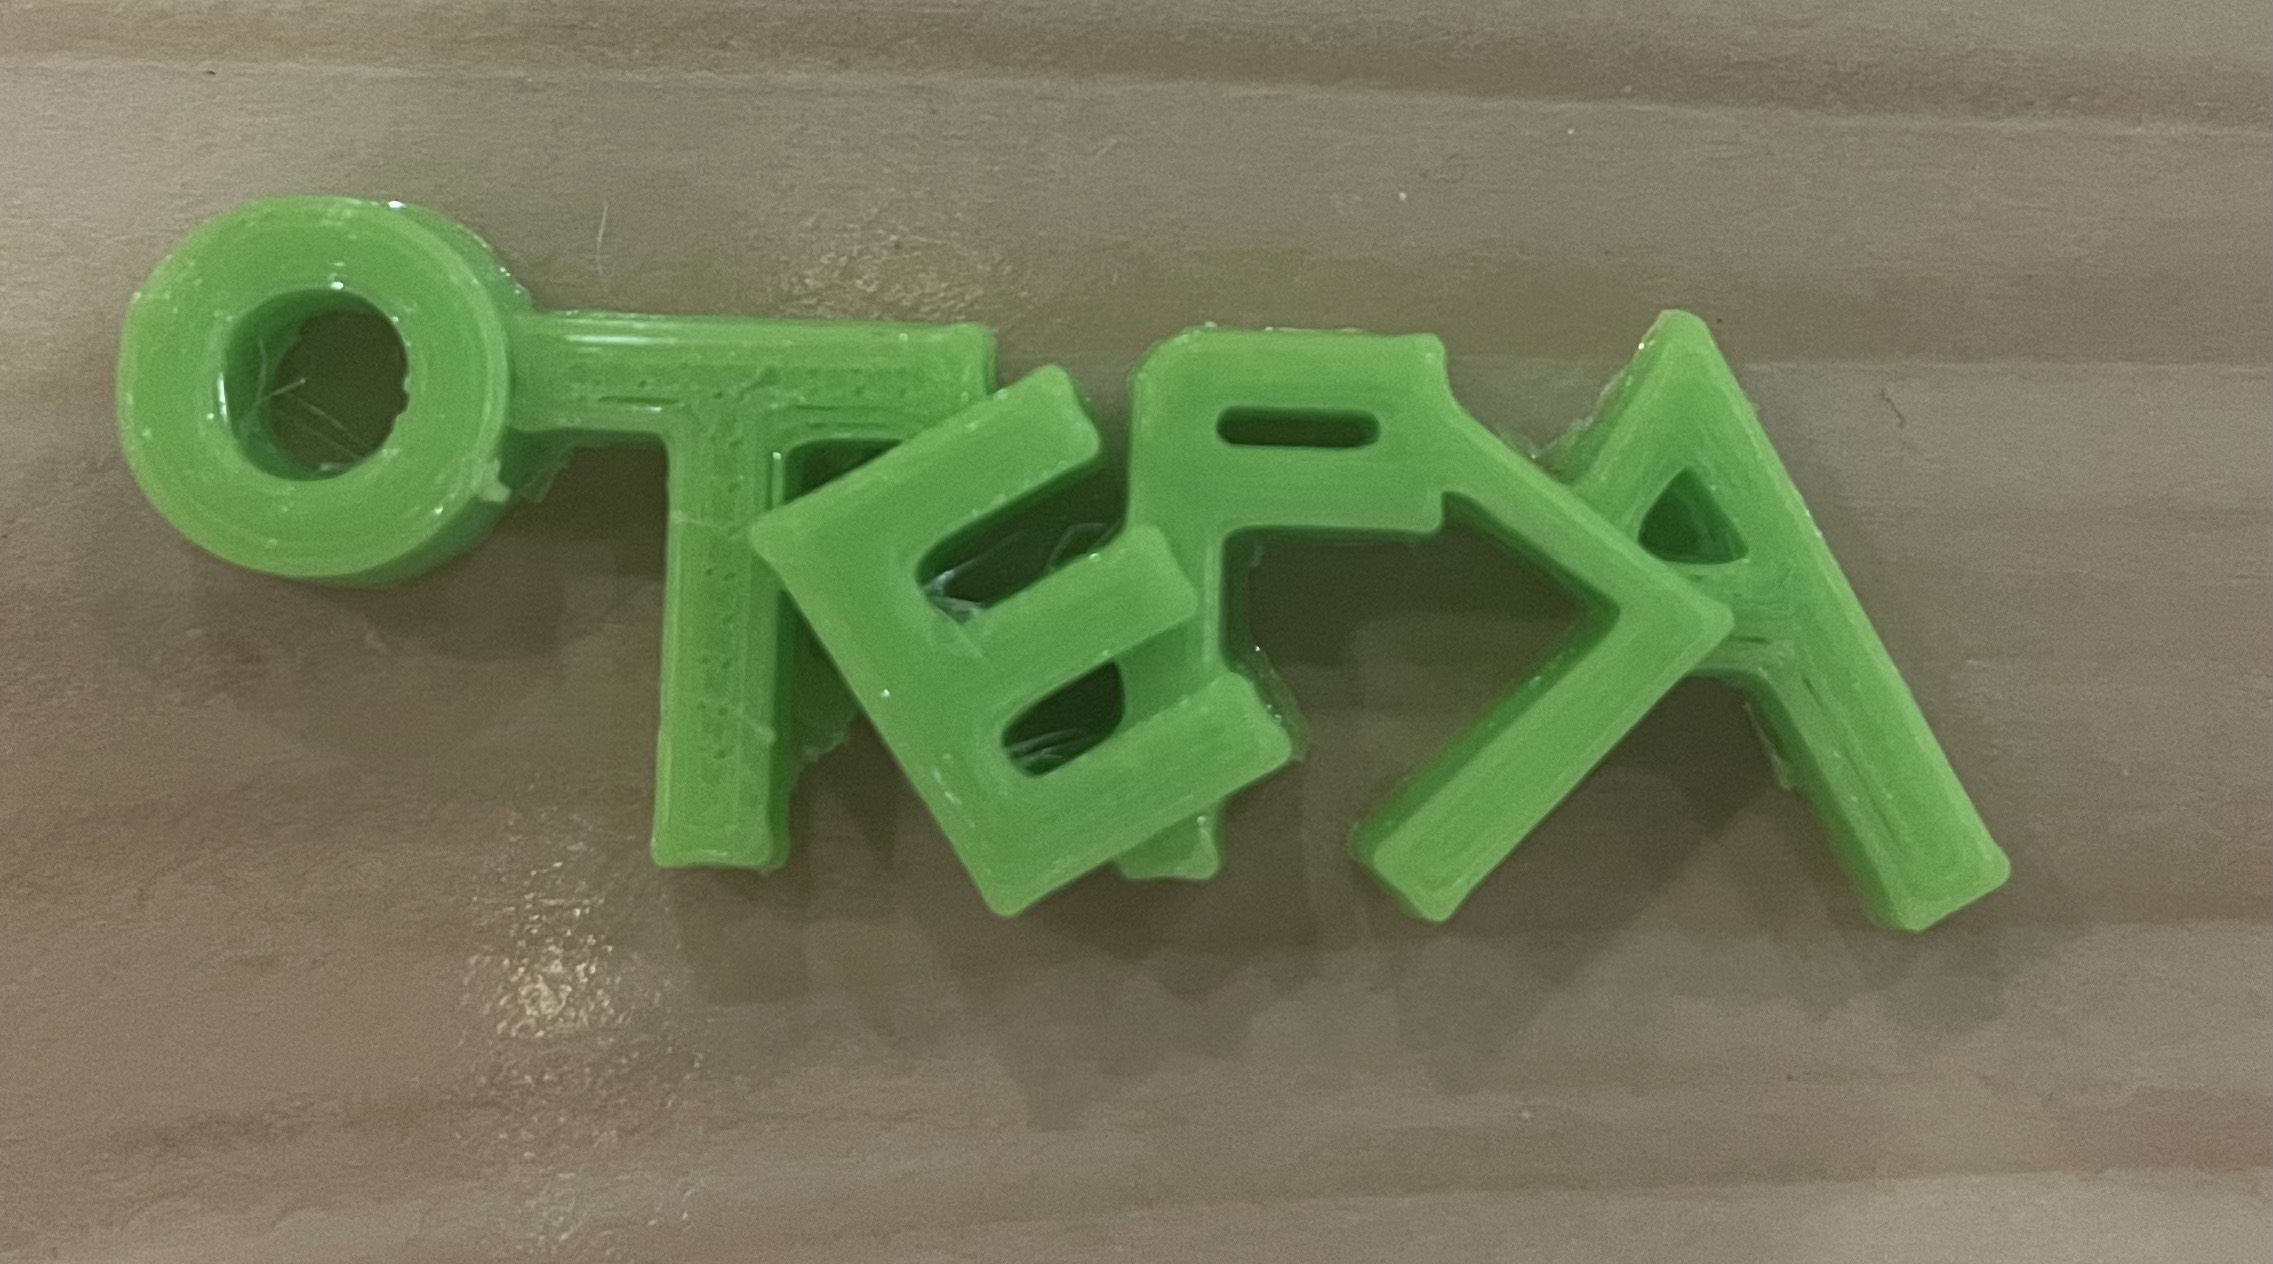
This is the result:
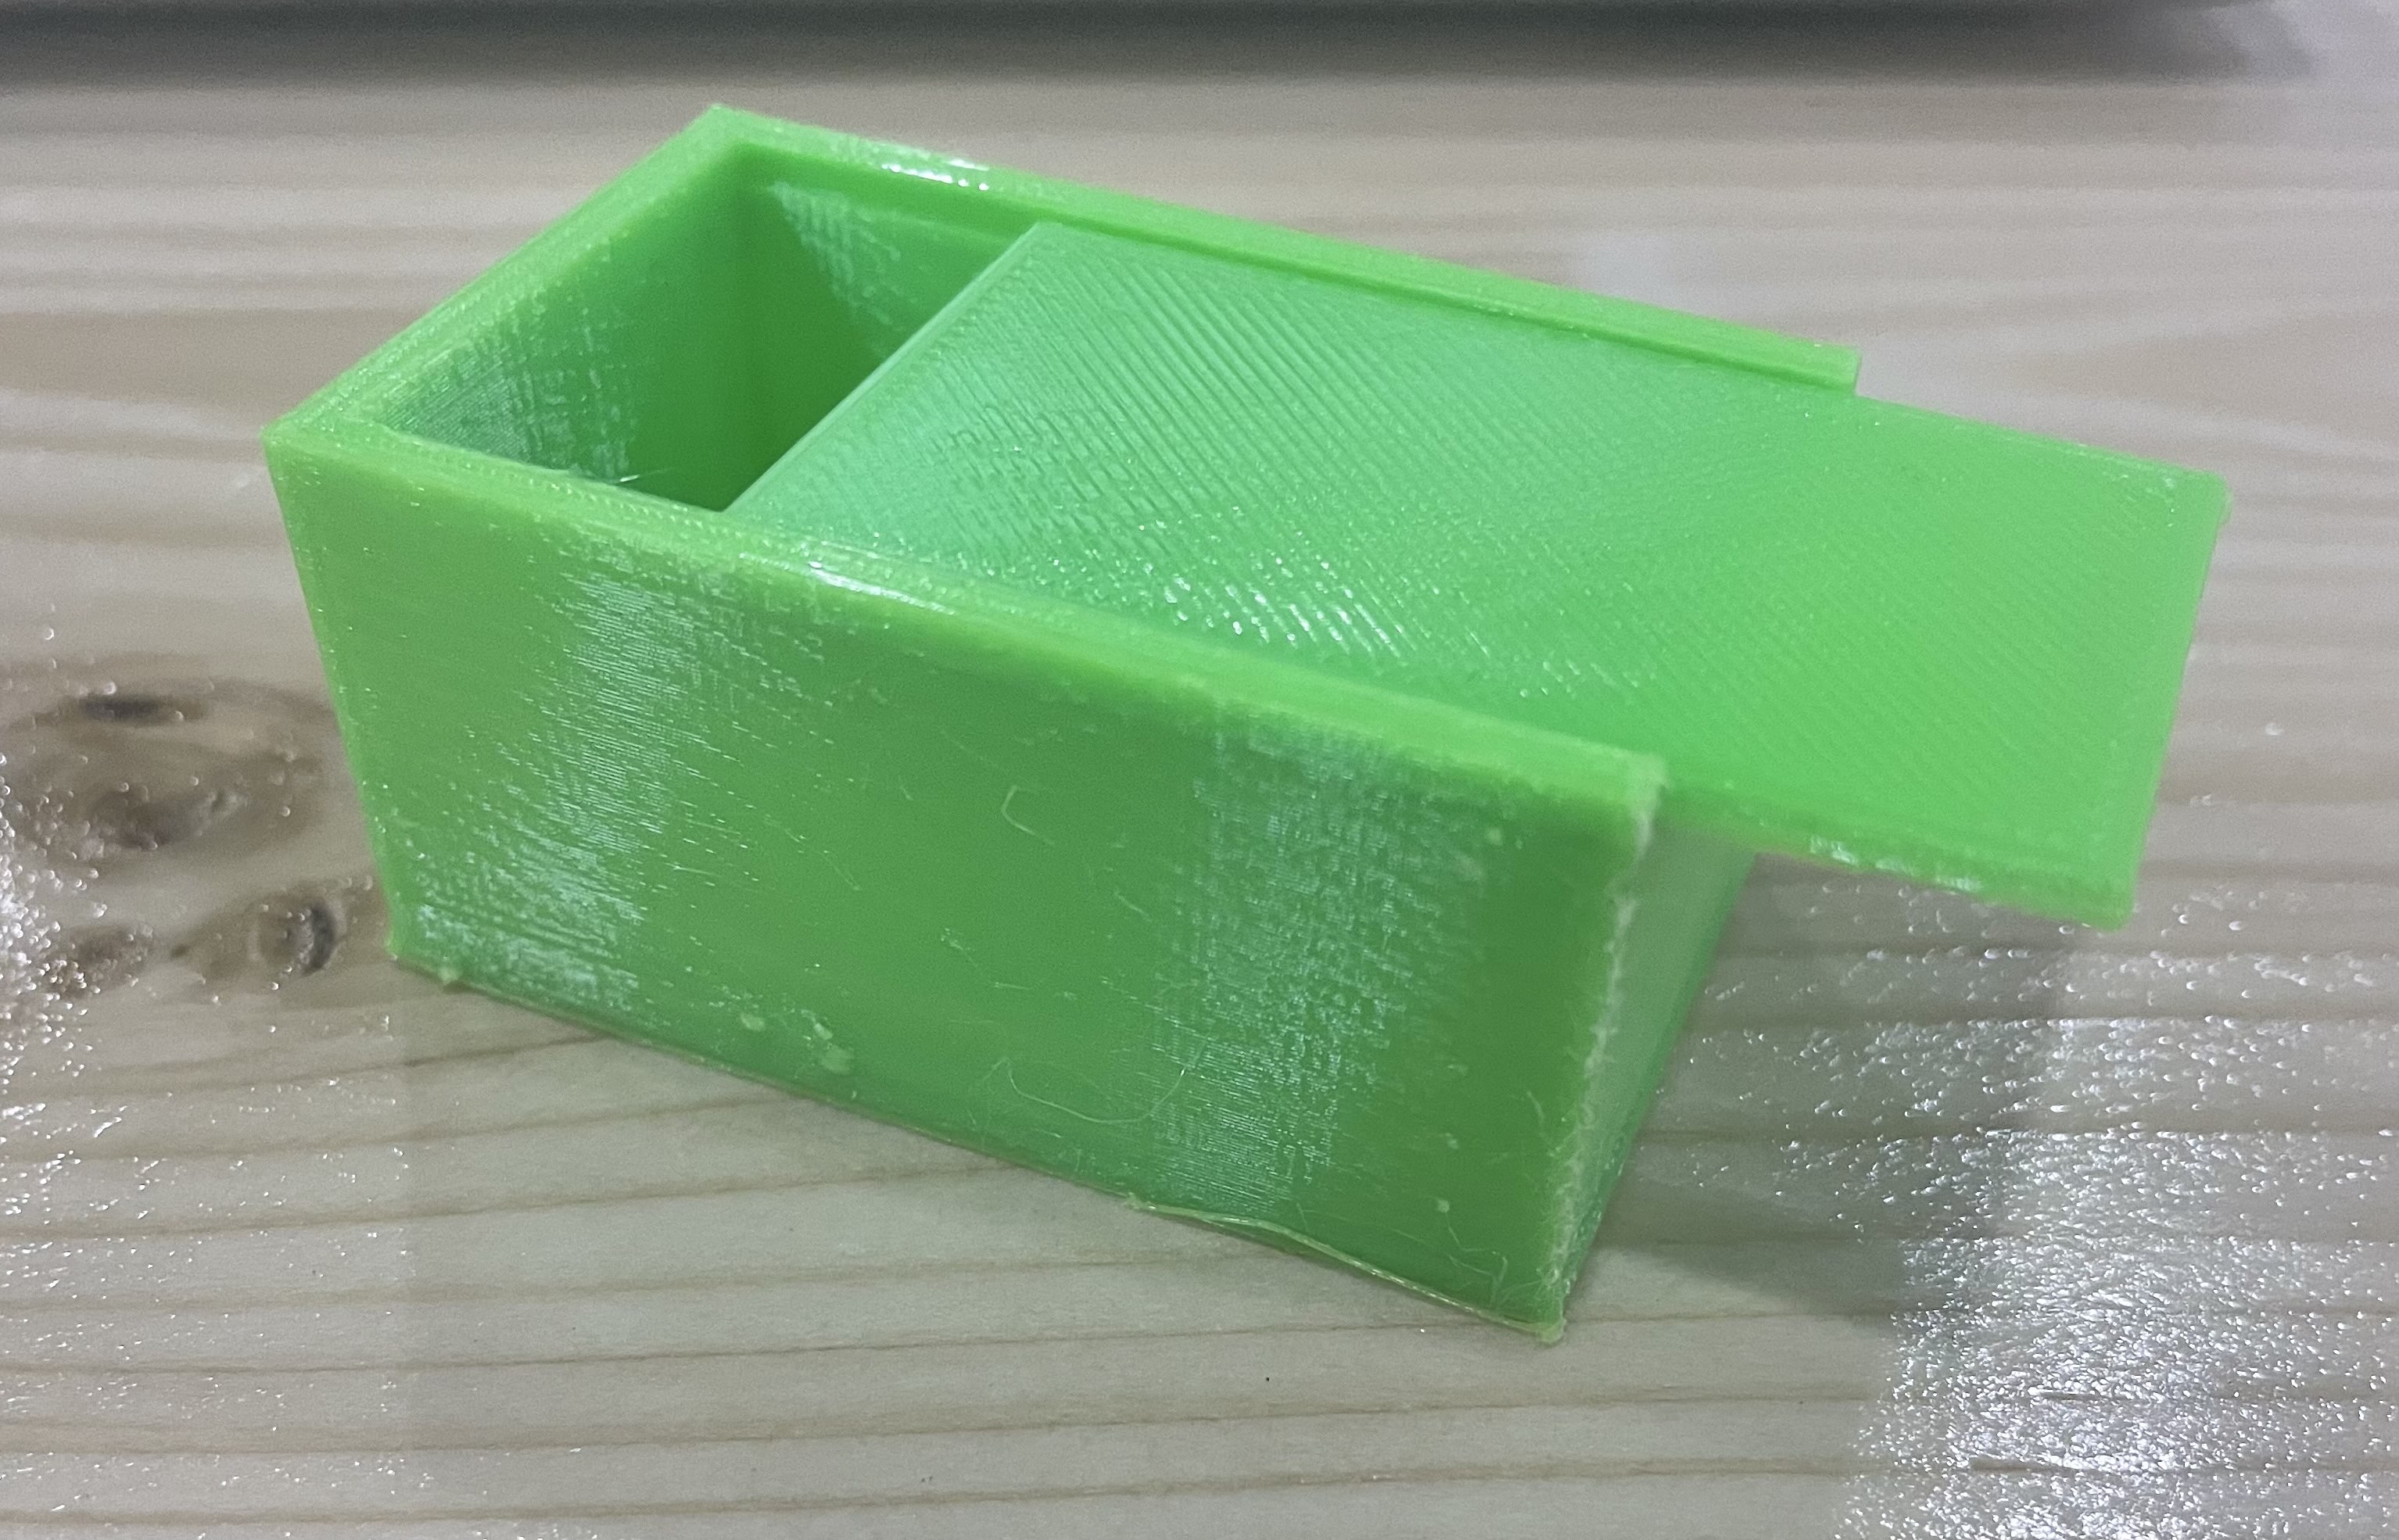
The second object is a box with sliding cover.
I made a box.
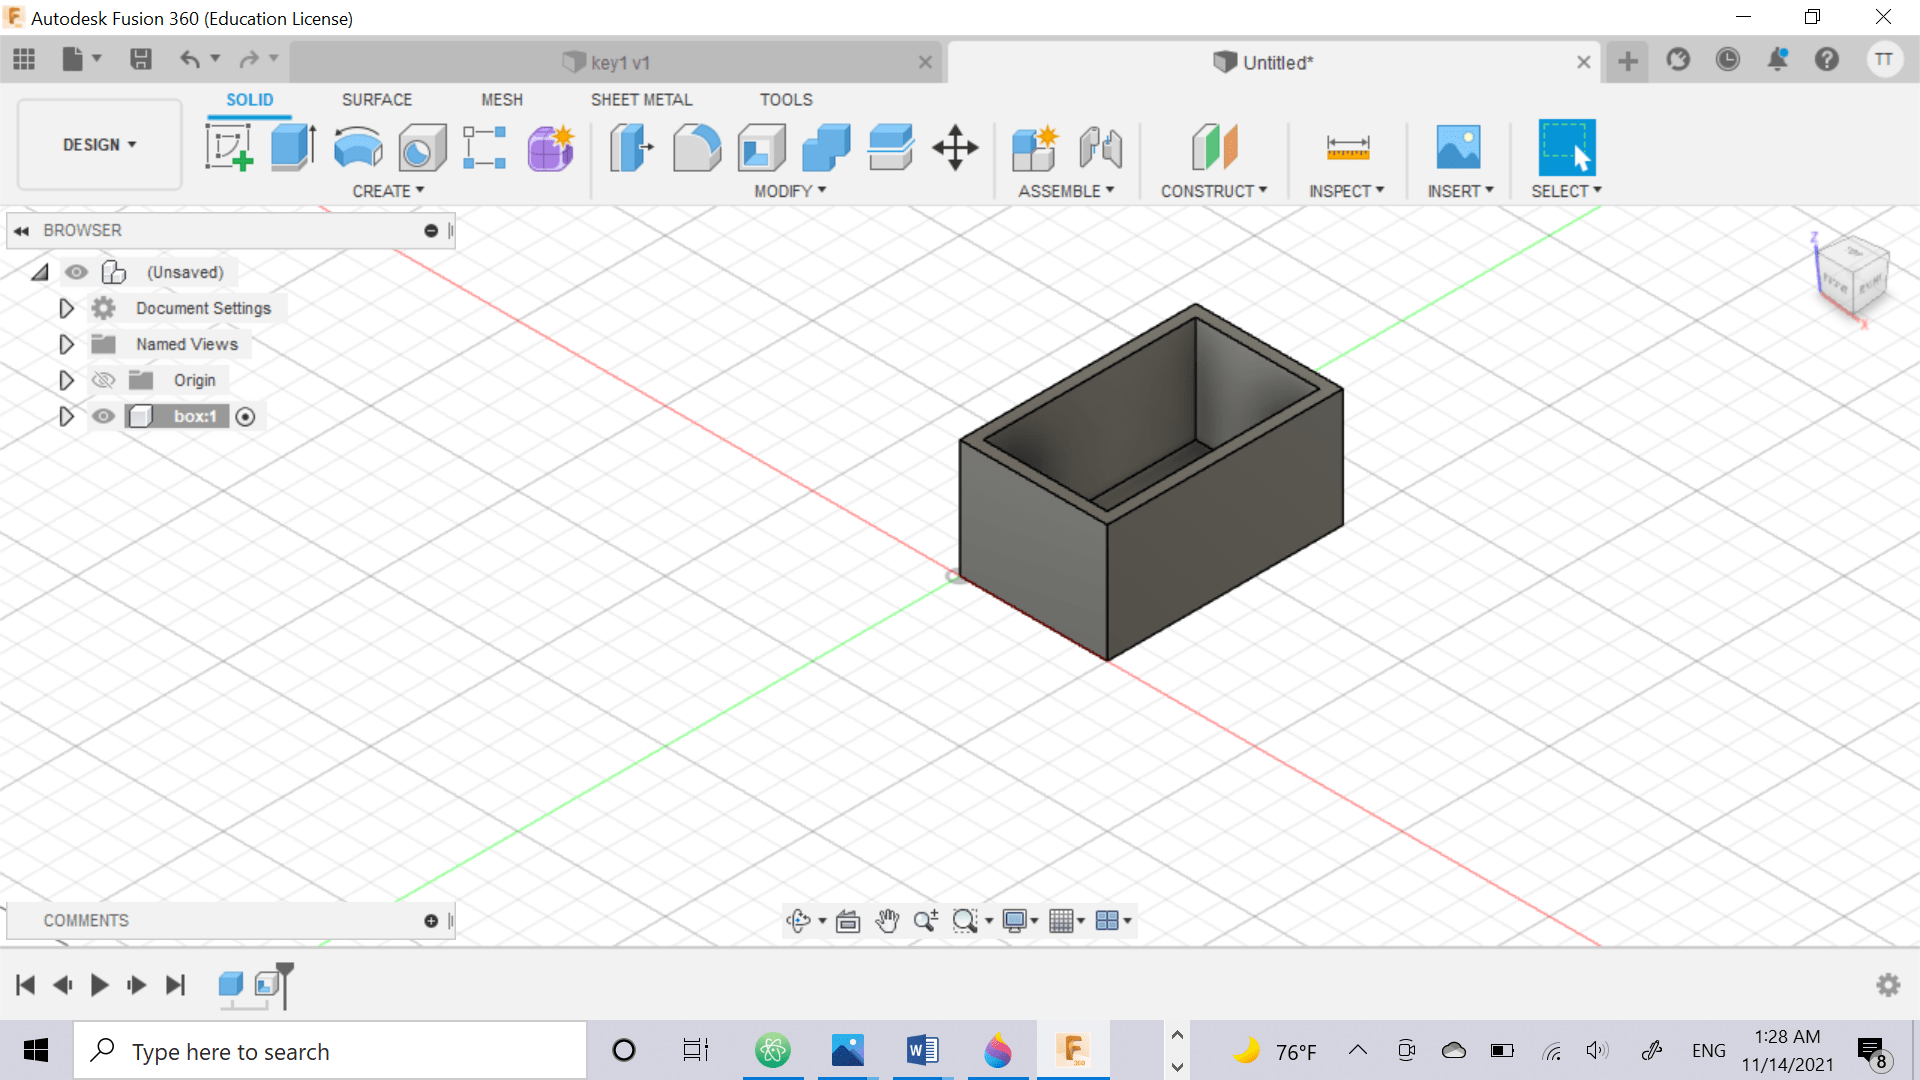
I made the edge to cut it for the sliding cover.
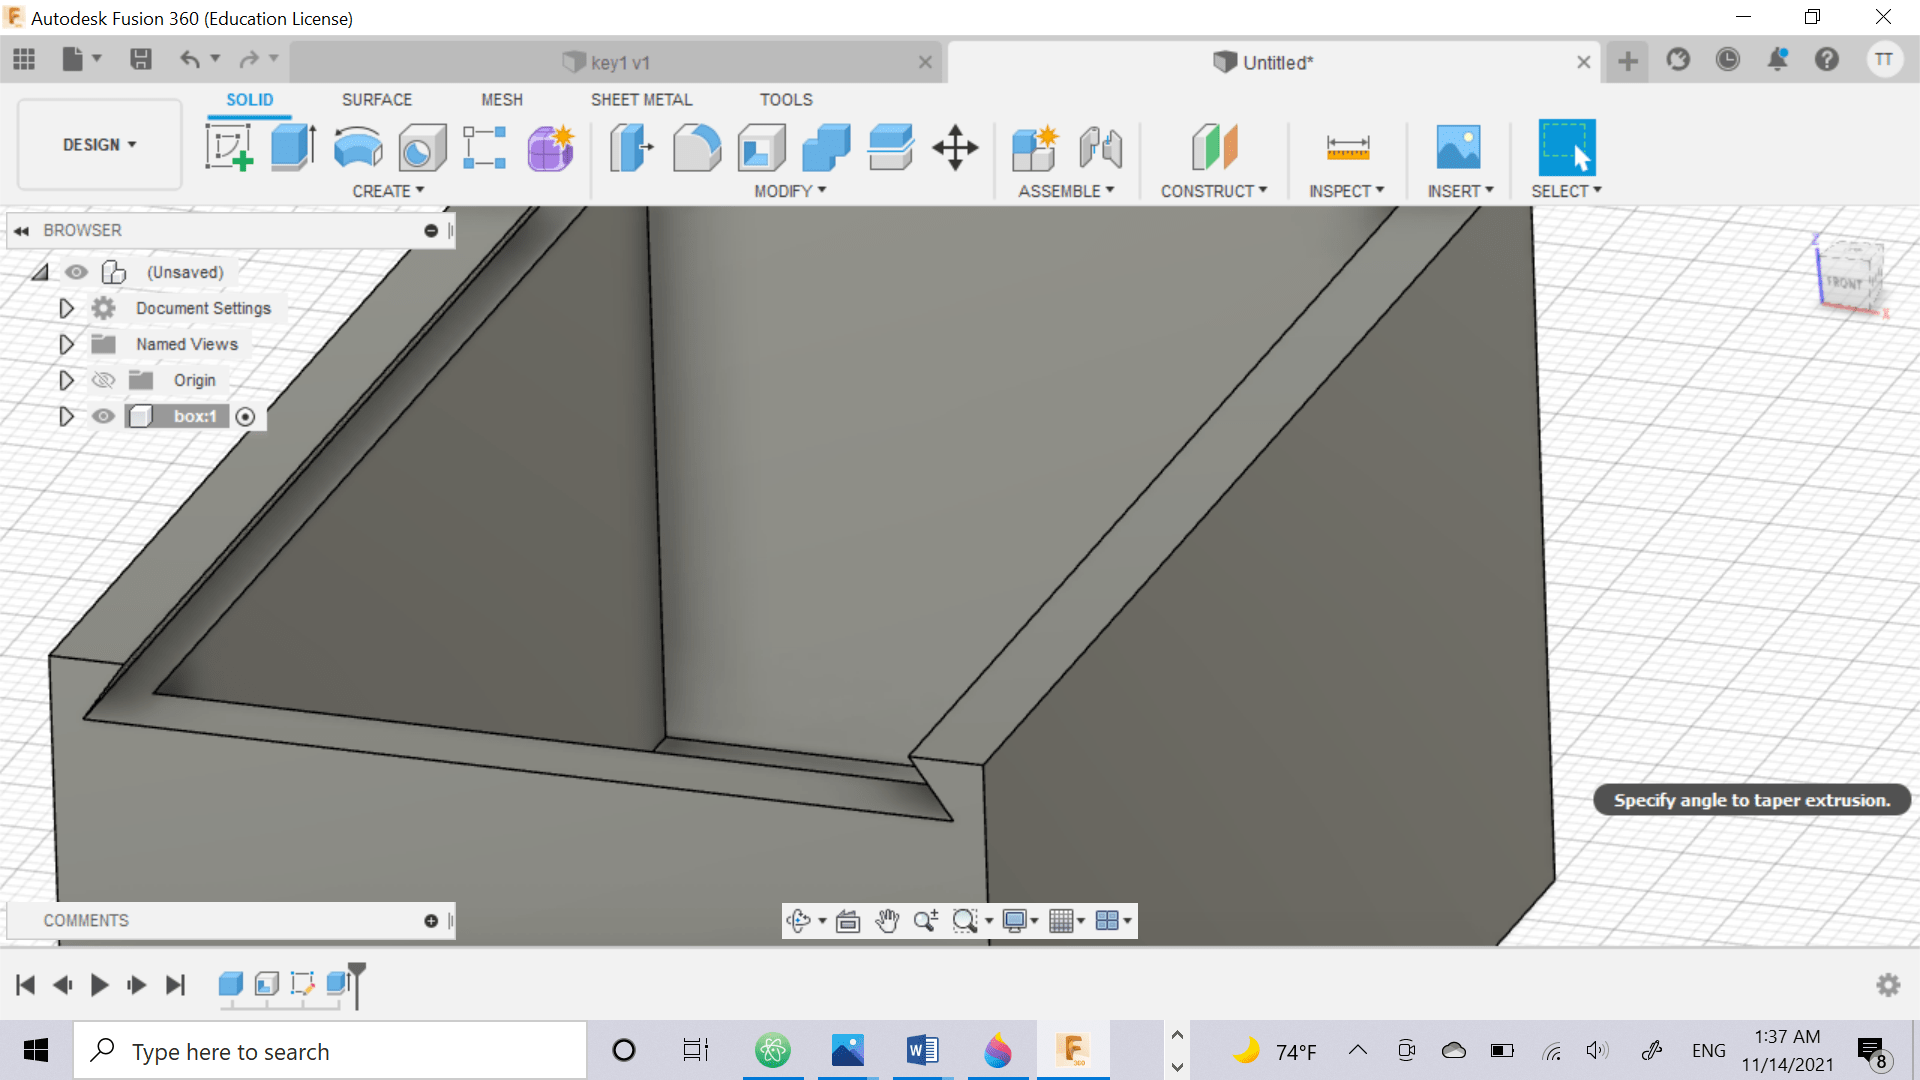
Finally, I made the cover.
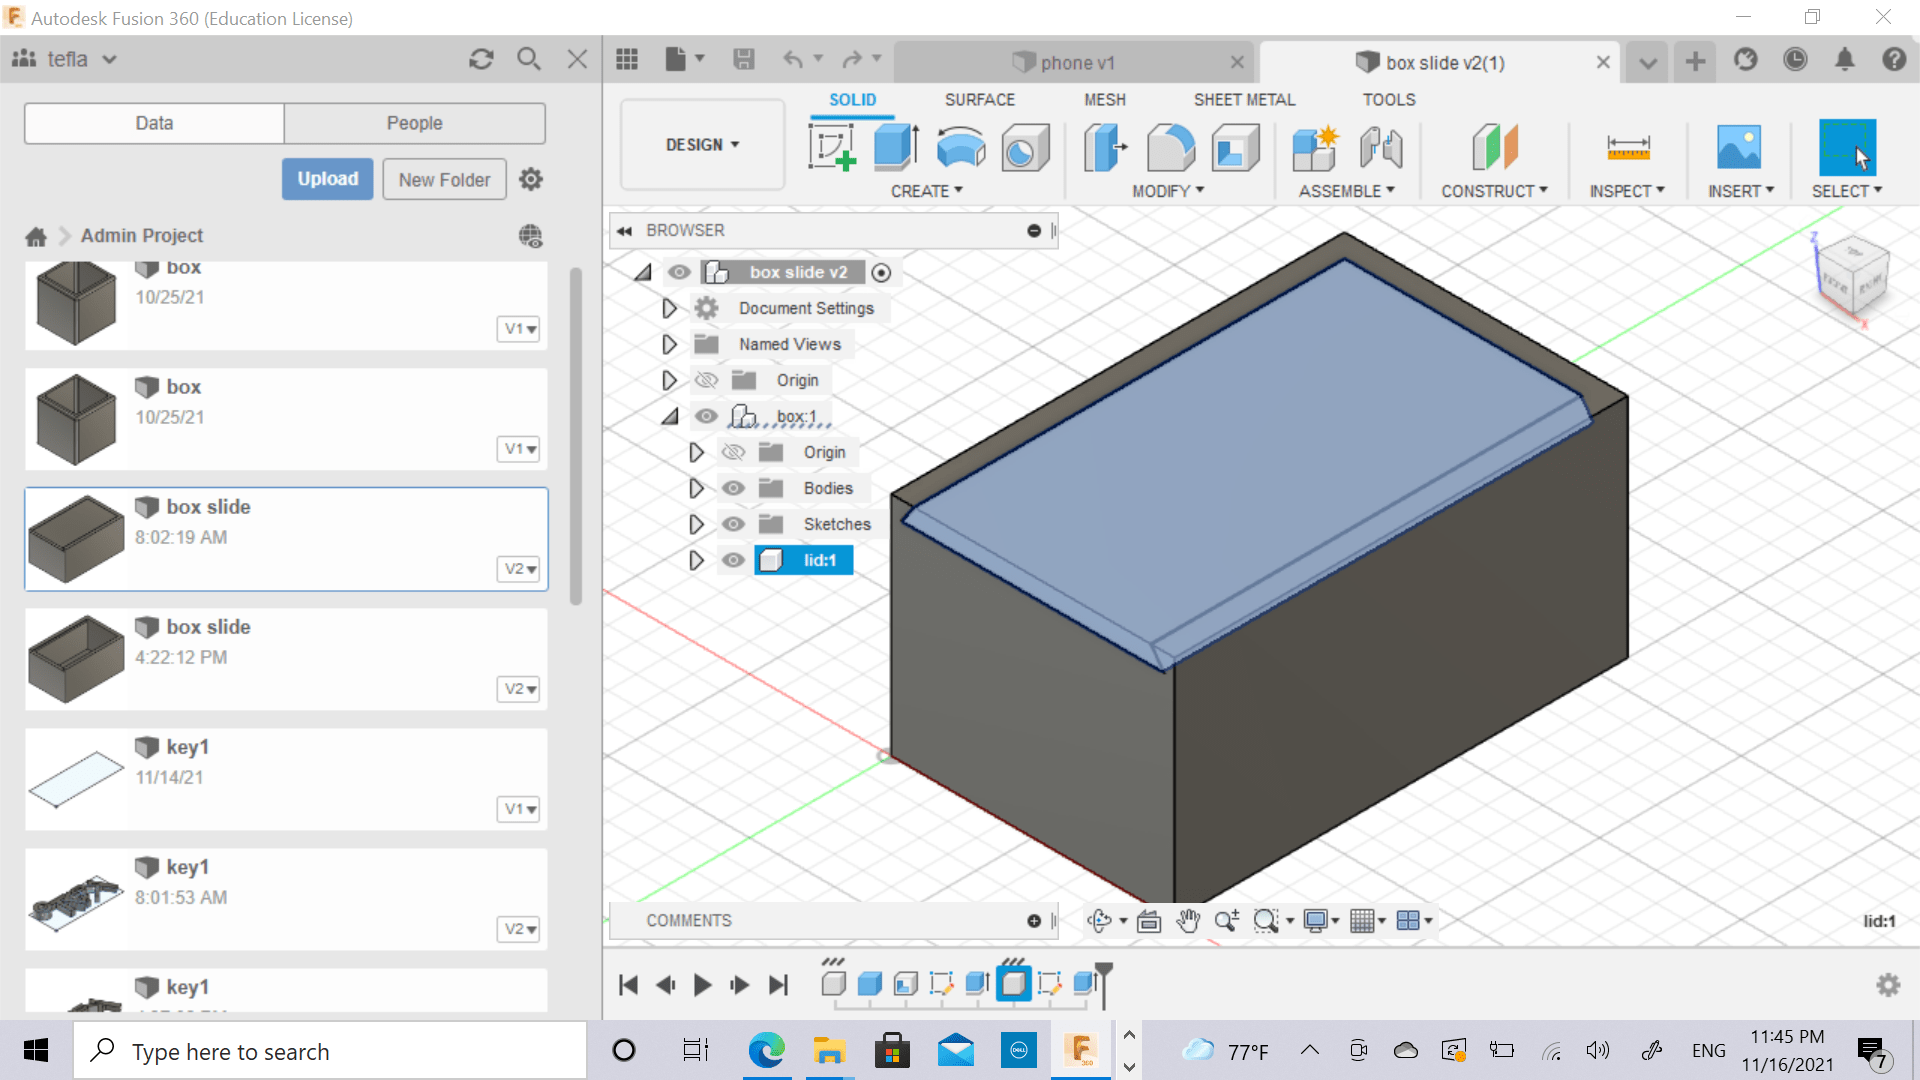
I set a parameters for the box in case i want to change it’s size.
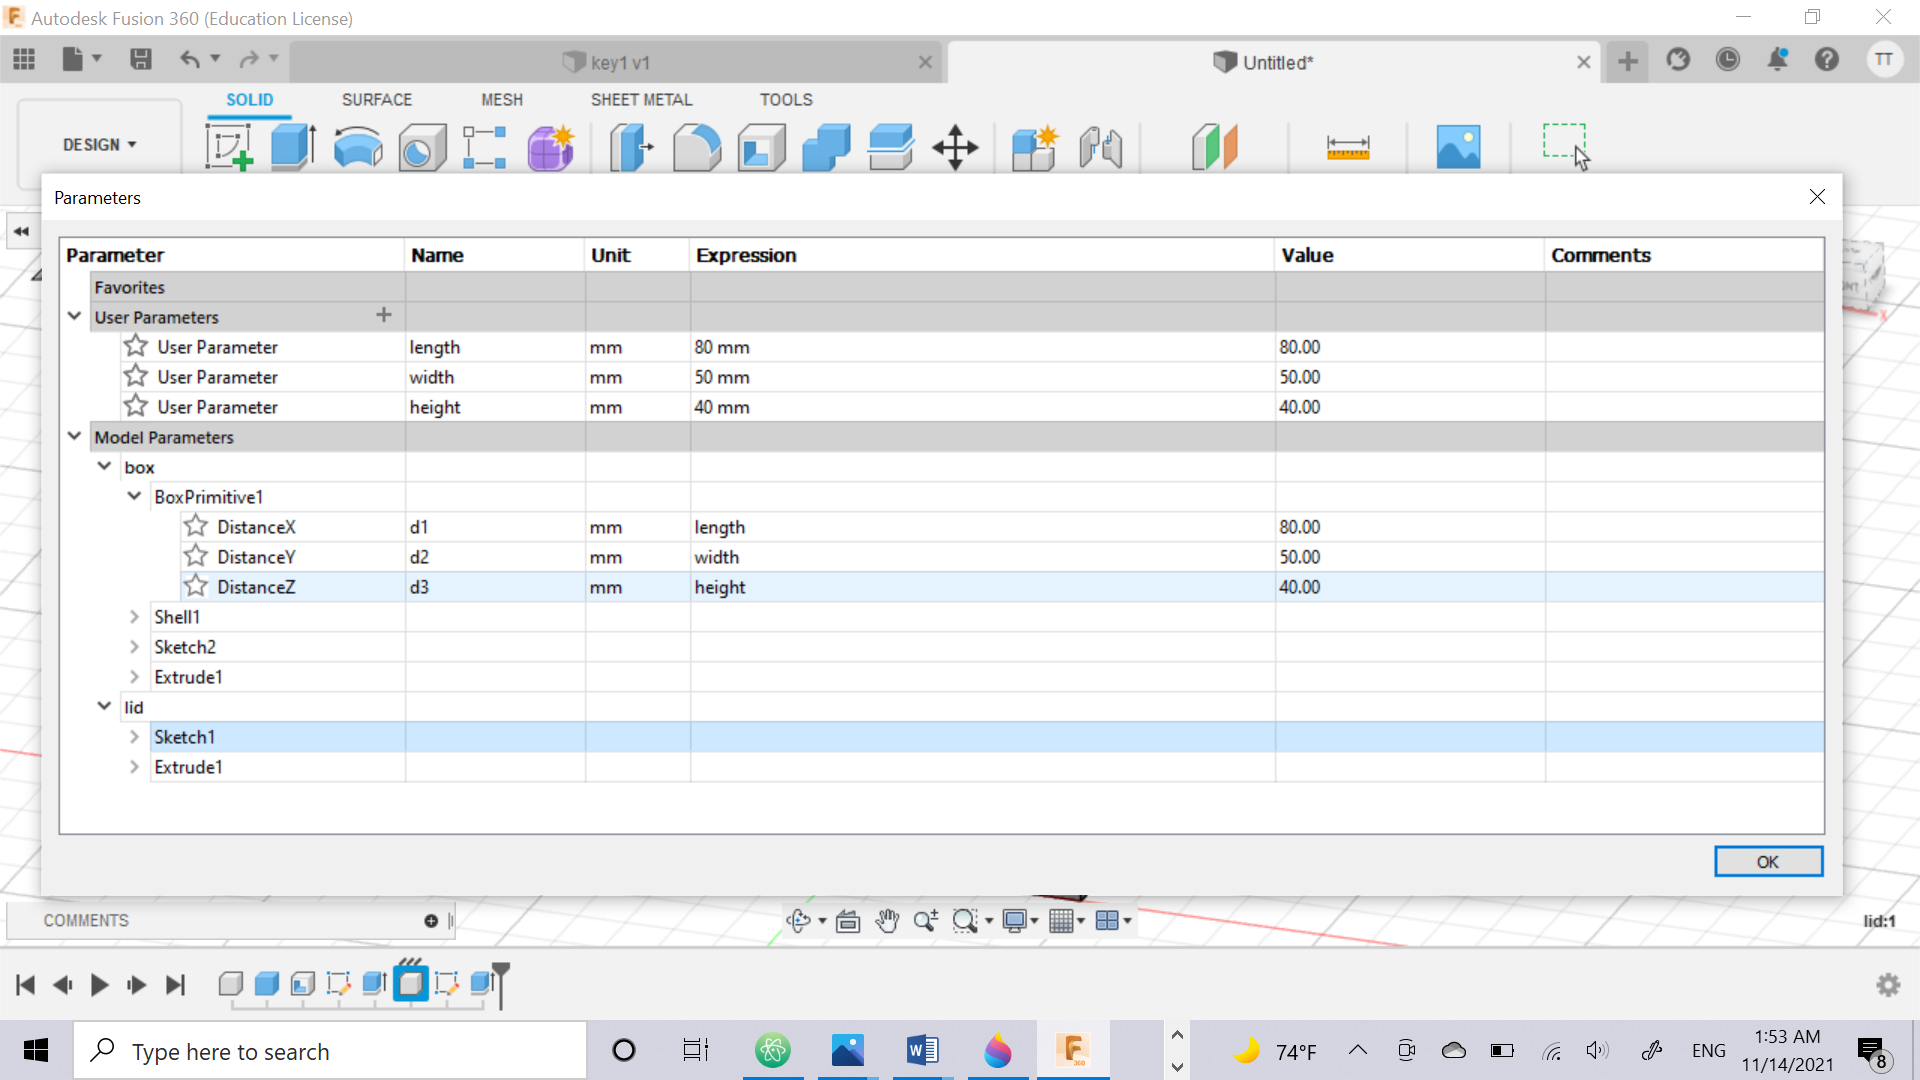
This is the result: