2. Computer Aided design
This week I learned how to model on fusion360 which is straightforward, the next section displays some of the models I developed. But first we had to learn the difference between raster and vector based images. The difference essentially boils down to how the images are formed, raster is based on pixels and when scaled up the image loses it’s quality. On the other hand vectors is based on geometry and filled areas so when scaled up the image can still have the same quality. We also learned about parametric designs which are designs based on mathematical functions which allow for efficient designs that look both asthetically pleasing and tend to be structurally sound.
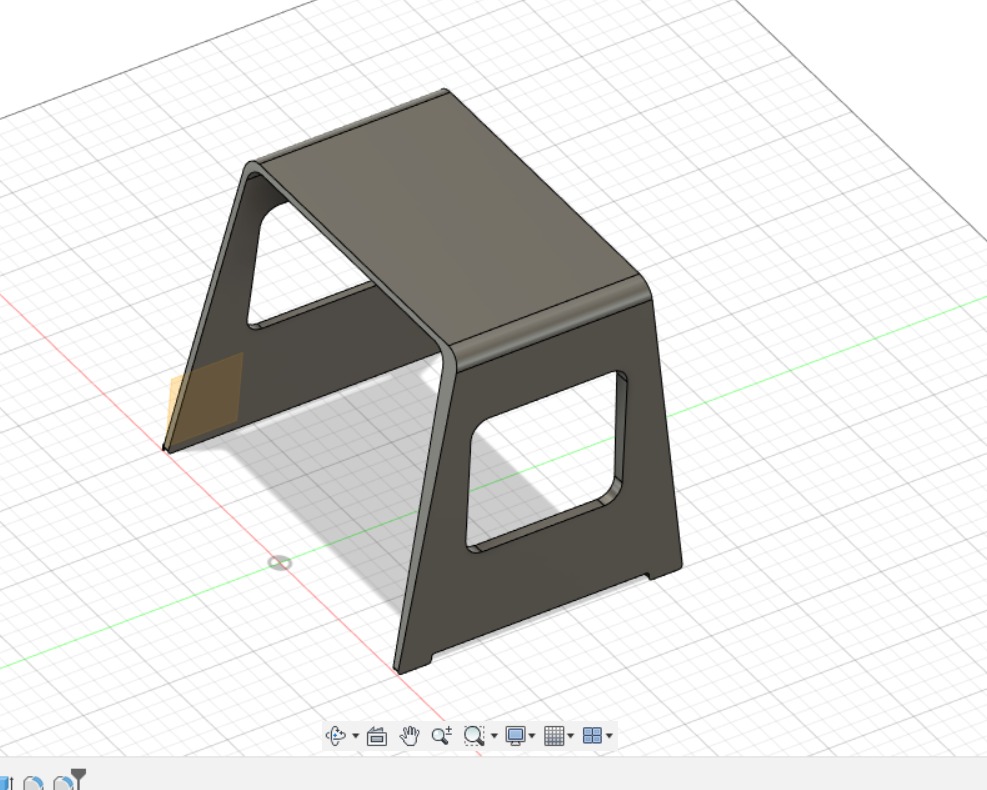
fusion 360
For my Fusion360 model I used the X,Y,Z planes to make my design and used extrusion tools and smart measure tools to make the design. No fillets and chamfers were used as the design was a primative prototype and no such features were necessary as it was a beta. Furthermore, to export the files, I right clicked on the body in Fusion360 and saved as an STL file to upload it as a model or DXF where I used that for the CNC router machine to cut the design. For any challenges that I came across, simply googling the problem would provide an answer from the top websites or via the fusio360 forum. In my opinion Solidworks is far superior to fusion360 in terms of speed, design, asthetic and intuitiveness. However, Fusion360 is better than cuttle and blender for beginners. And preview the model below in 3D hosted on SketchFab and Fusion360 respectively:
Cuttle and Blender:
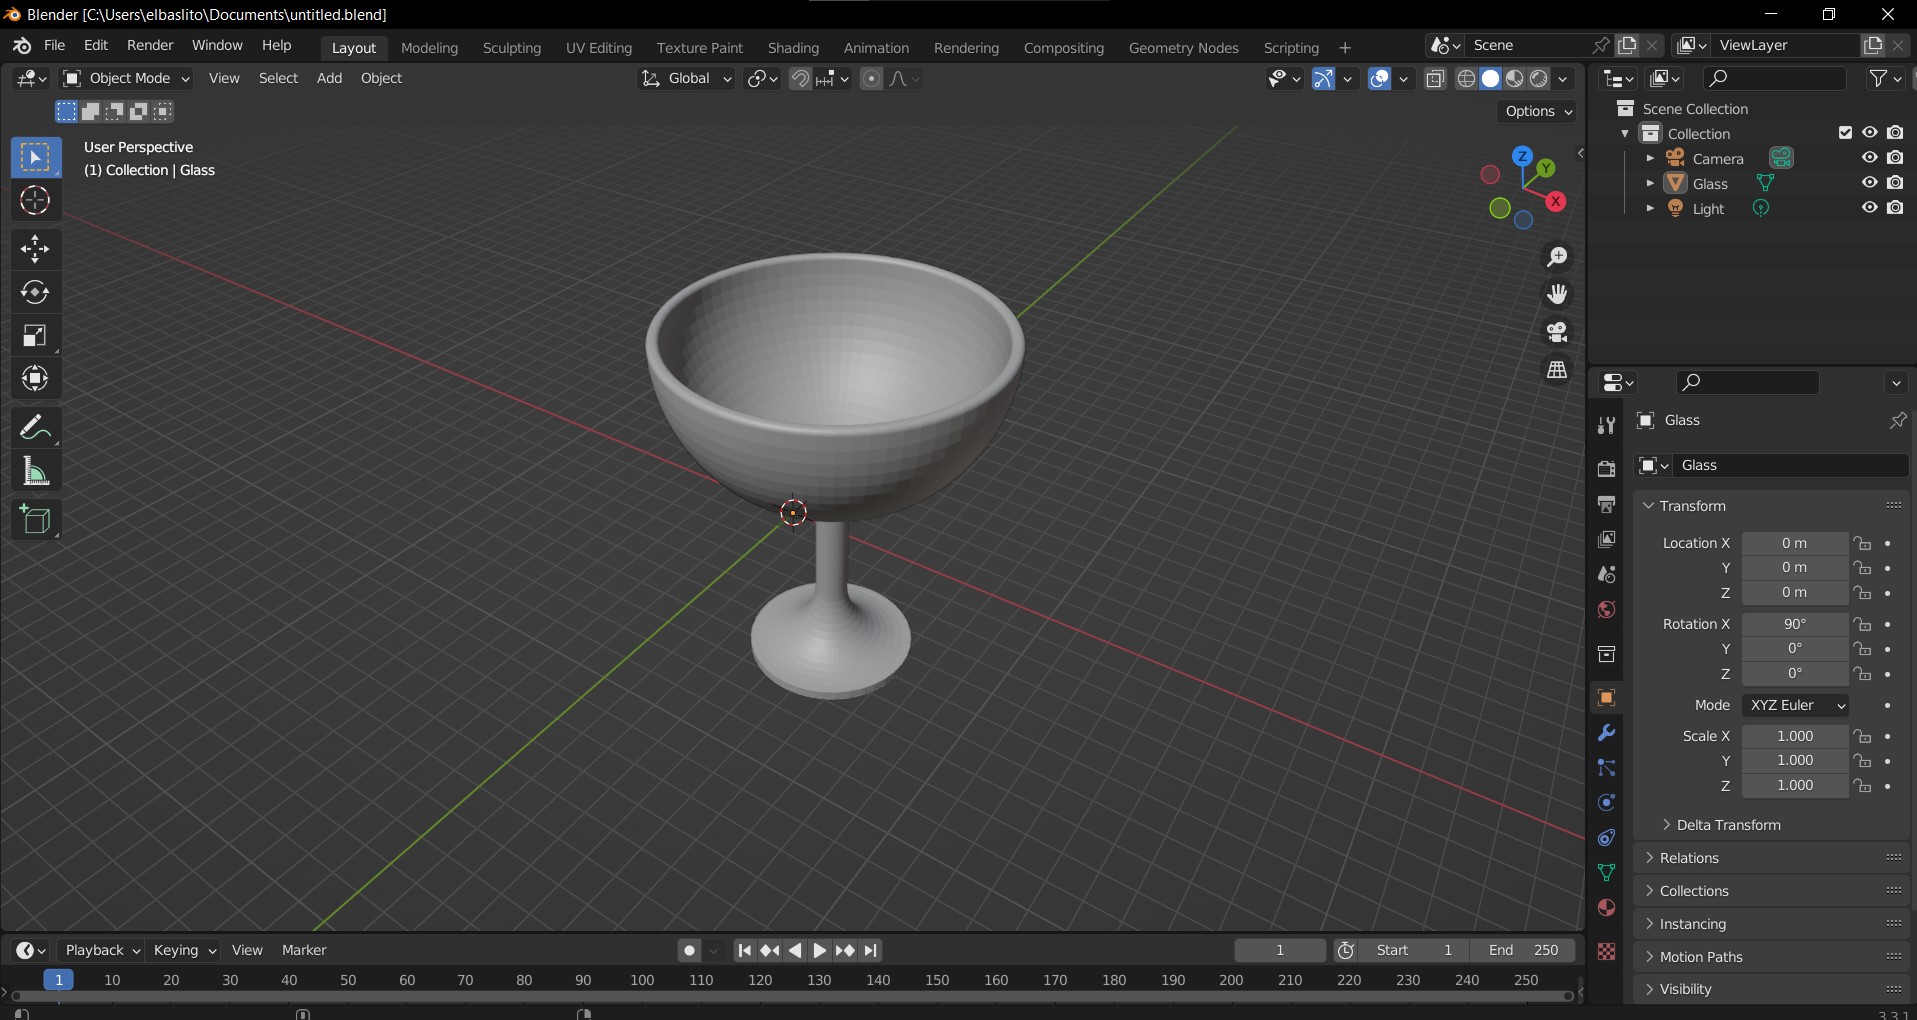
Besides using Fusion360, I also used cuttle which is an online tool to draw 2D designs, the image below demonstrates the designs I worked on using cuttle and blender respectively. Note that below is also an image of a sketch I drew by hand which is my moodboard inspired from Harry Potter which is the deathly hallows symbol. I also revolved the design to generate the cup.

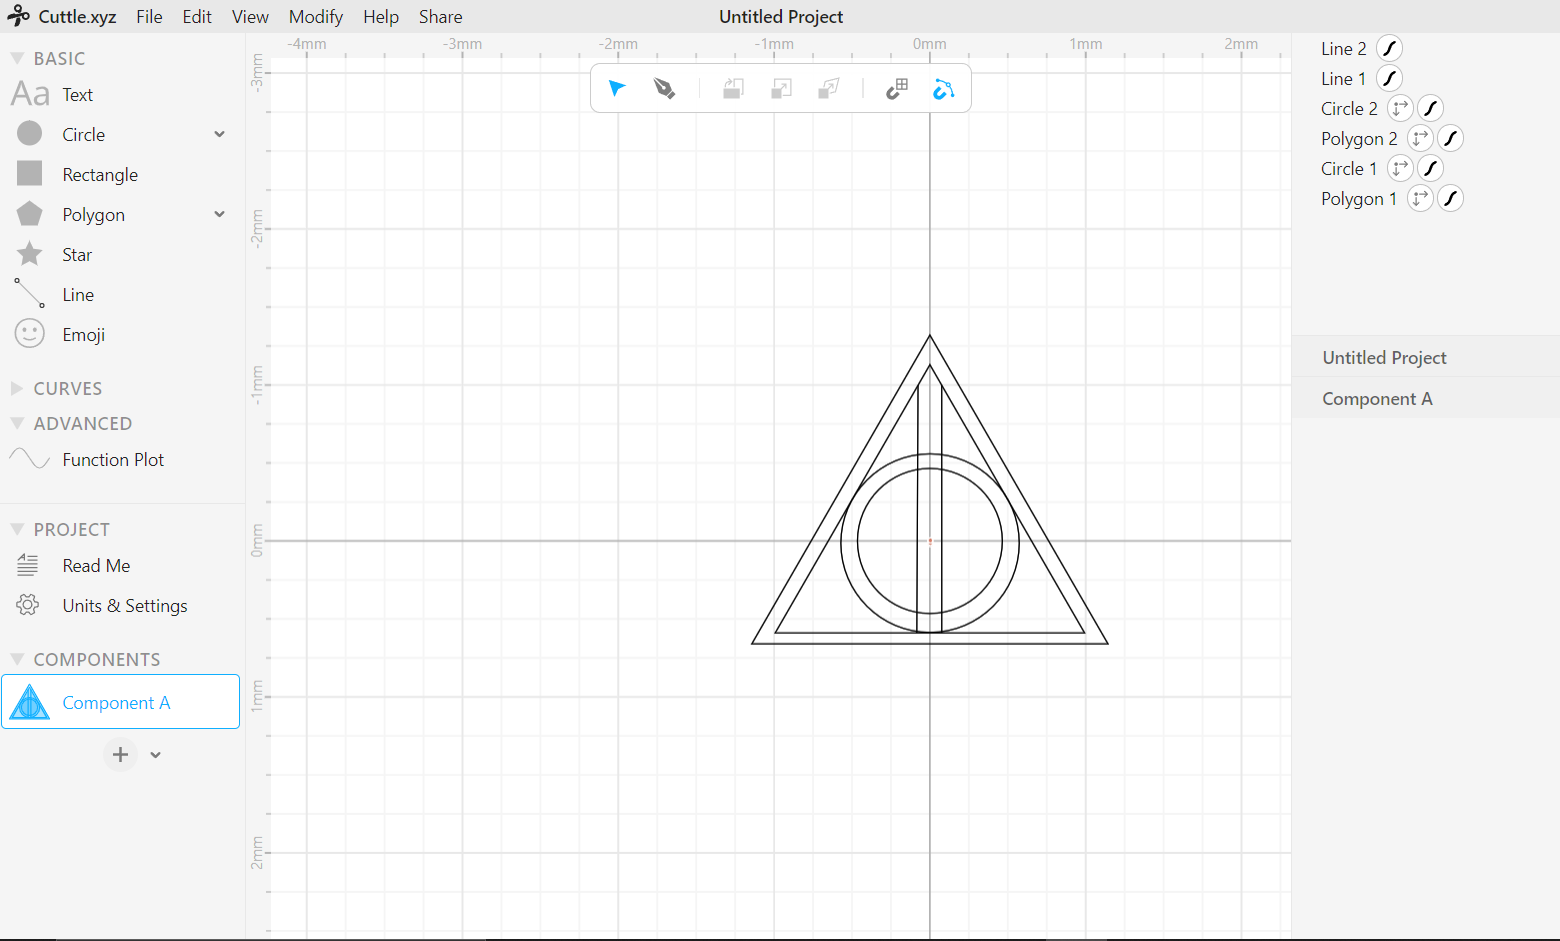
When drawing on cuttle I used the XY plane and used the line, rectangle, and circle tools. Furthermore, union and intersection of shapes were done to better represent the symbol drawn. General eyeballed measurements were done for the design.
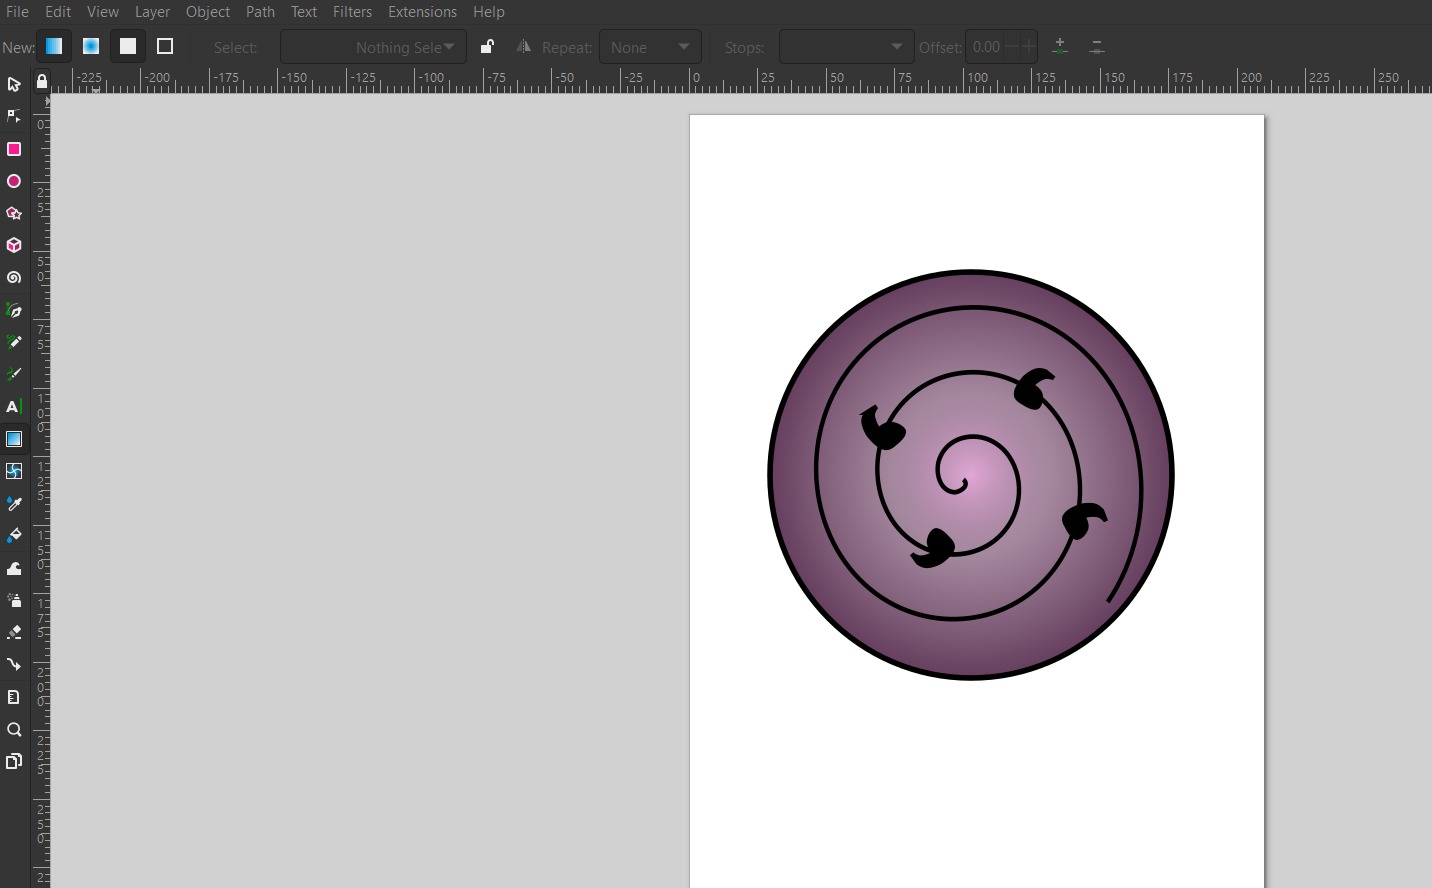
Inkscape
Finally, I learned how to use Inkscape where I produced the design seen below: