3. Computer controlled cutting
This week I worked on cutting using cricut and cutting using the laser cutting machine by using Fusion 360 to create joints.
Group assignment
In our laser cutting group assignment we experimented the laser cutter and the diffrent settings for operating the machine and then we tried diffrent thickness of the joints and chose the best one for more details visit jenan’s page
individual assignment
First : cutting using laser machine.
Creating a design in Fusion 360.
In the beginning we create a joint model than can fit together.
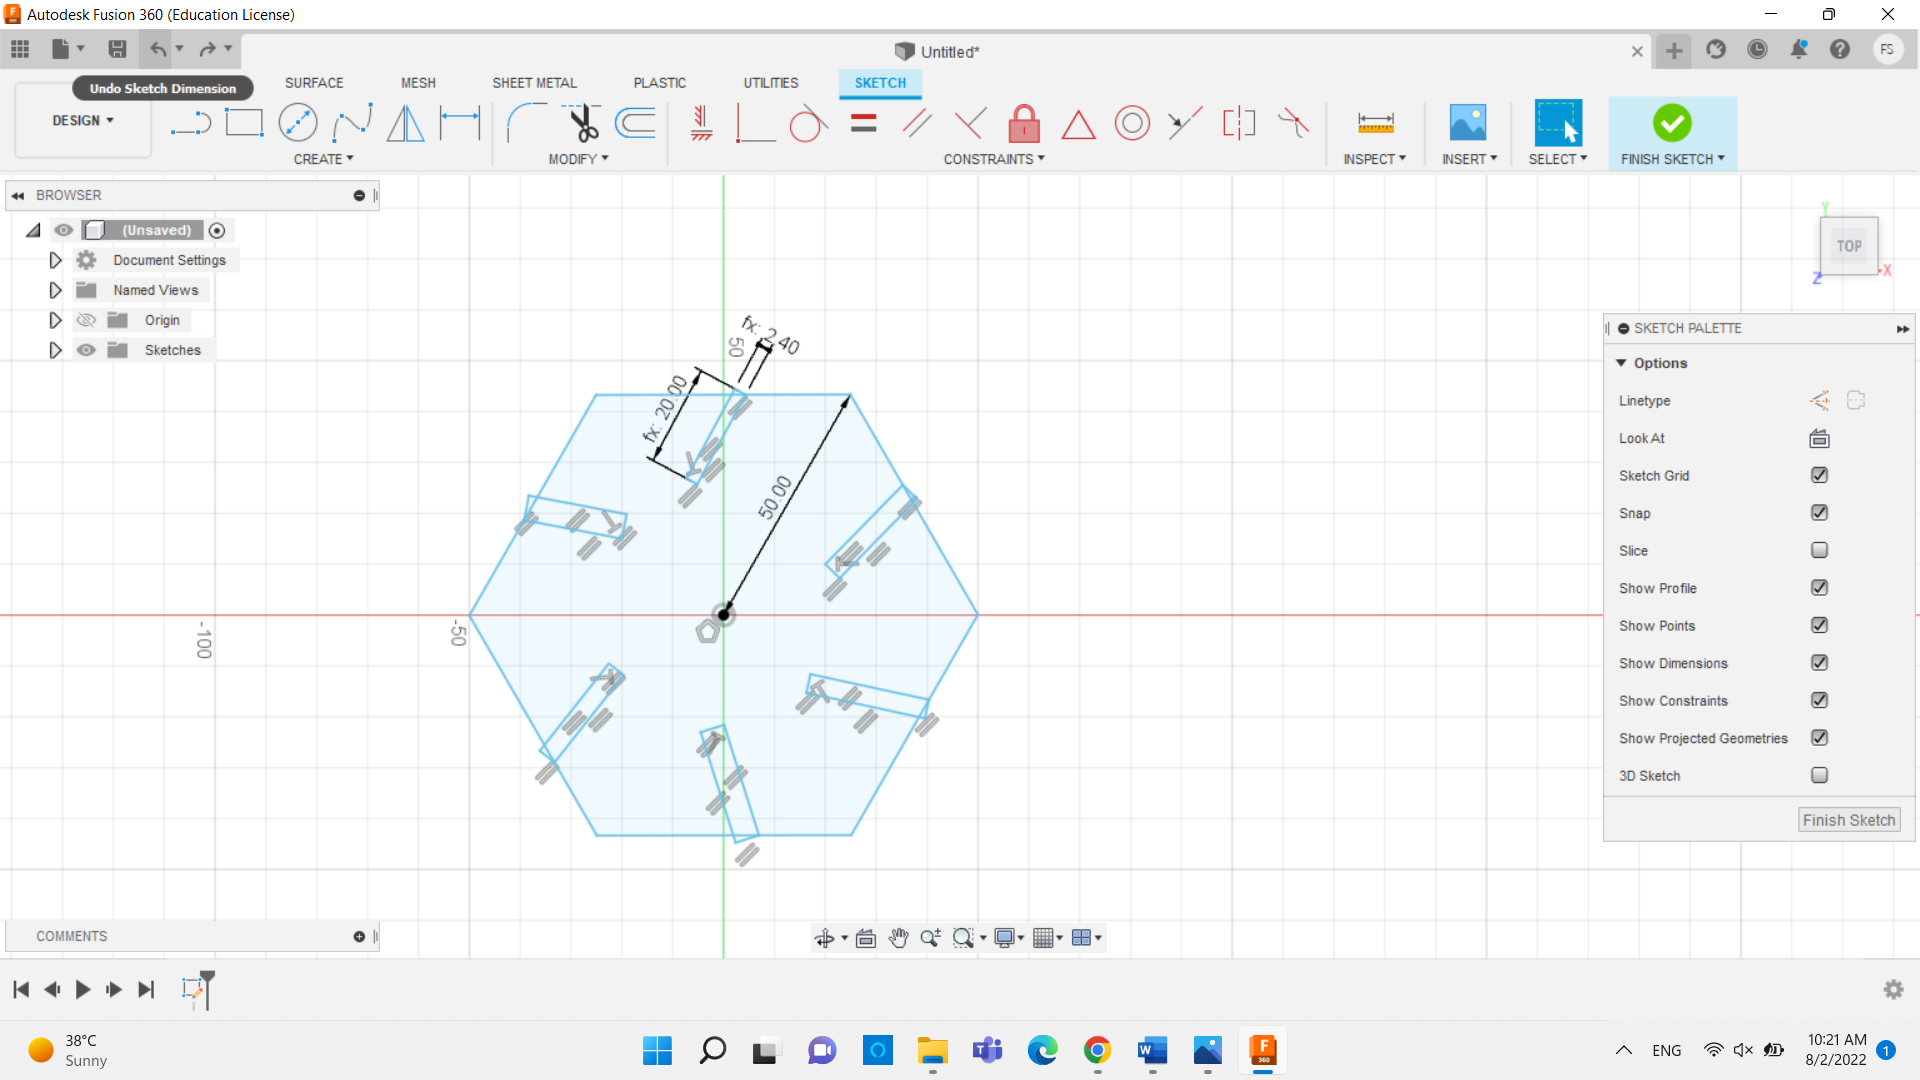
1) we go to ‘create sketch’ then ‘select a plane’ to put on then ‘create’ and i chose a polygon shape.
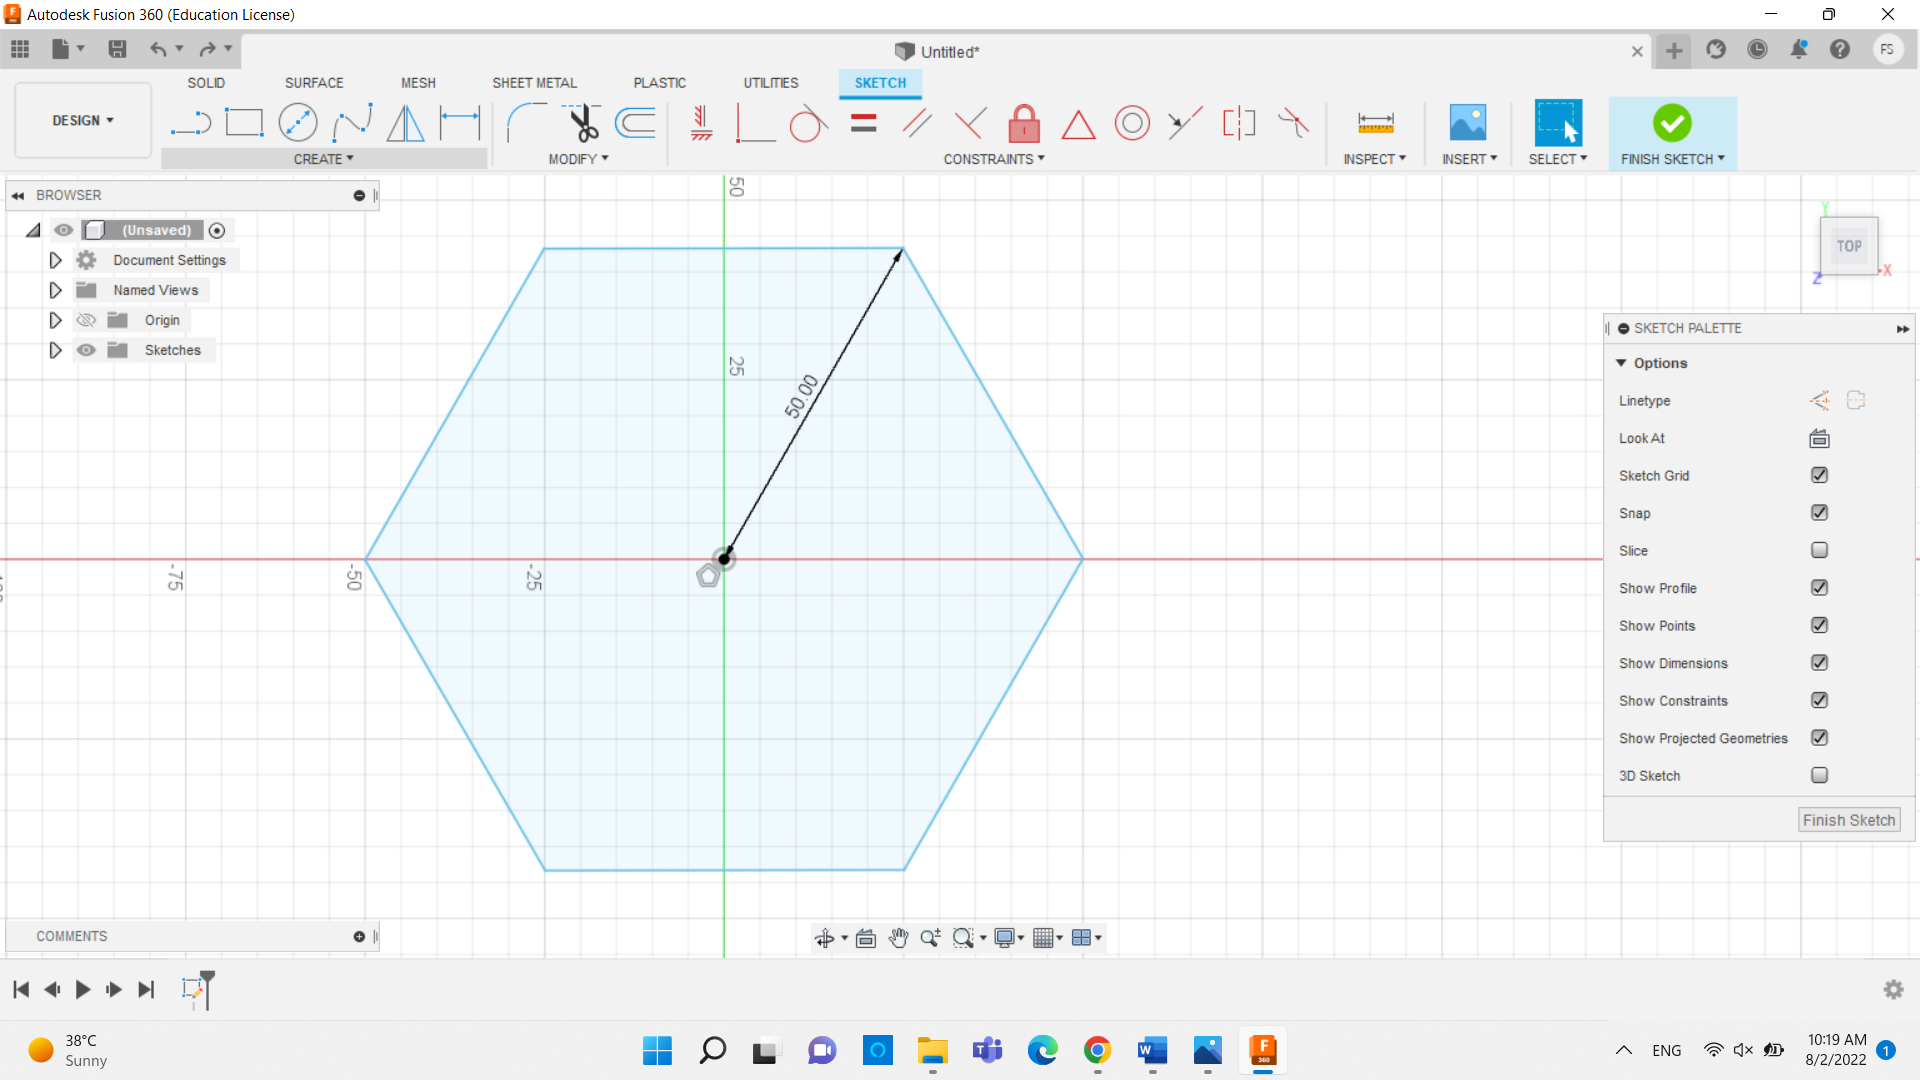
2) we chose a ‘3-points rectangle’ to create the gaps in the joint.
this is for the parametric
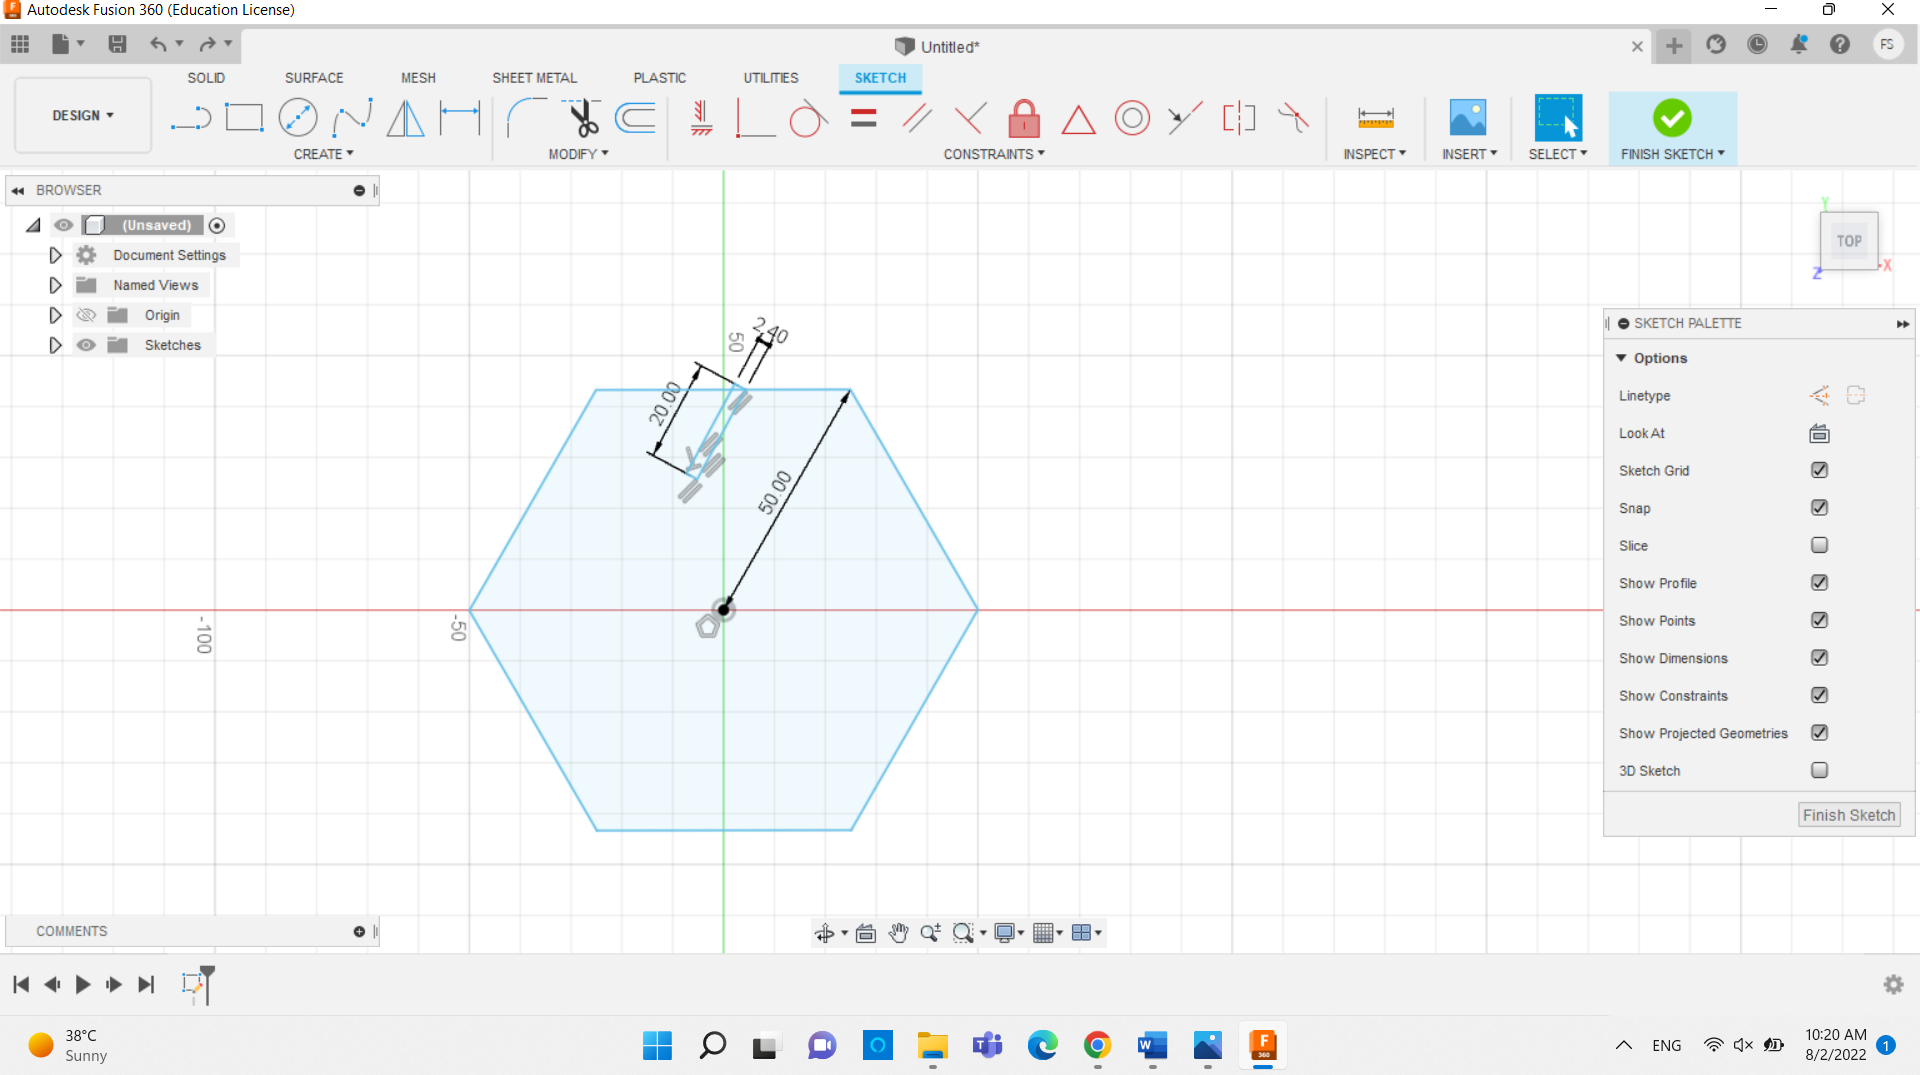
3) In each lone of the polygon we create a ‘3-points rectangle’ doesn’t matter the shape of it.
4) we go to ‘Modify’ then ‘change parameters’ then we can define the height of each rectangle and the thickness of it.
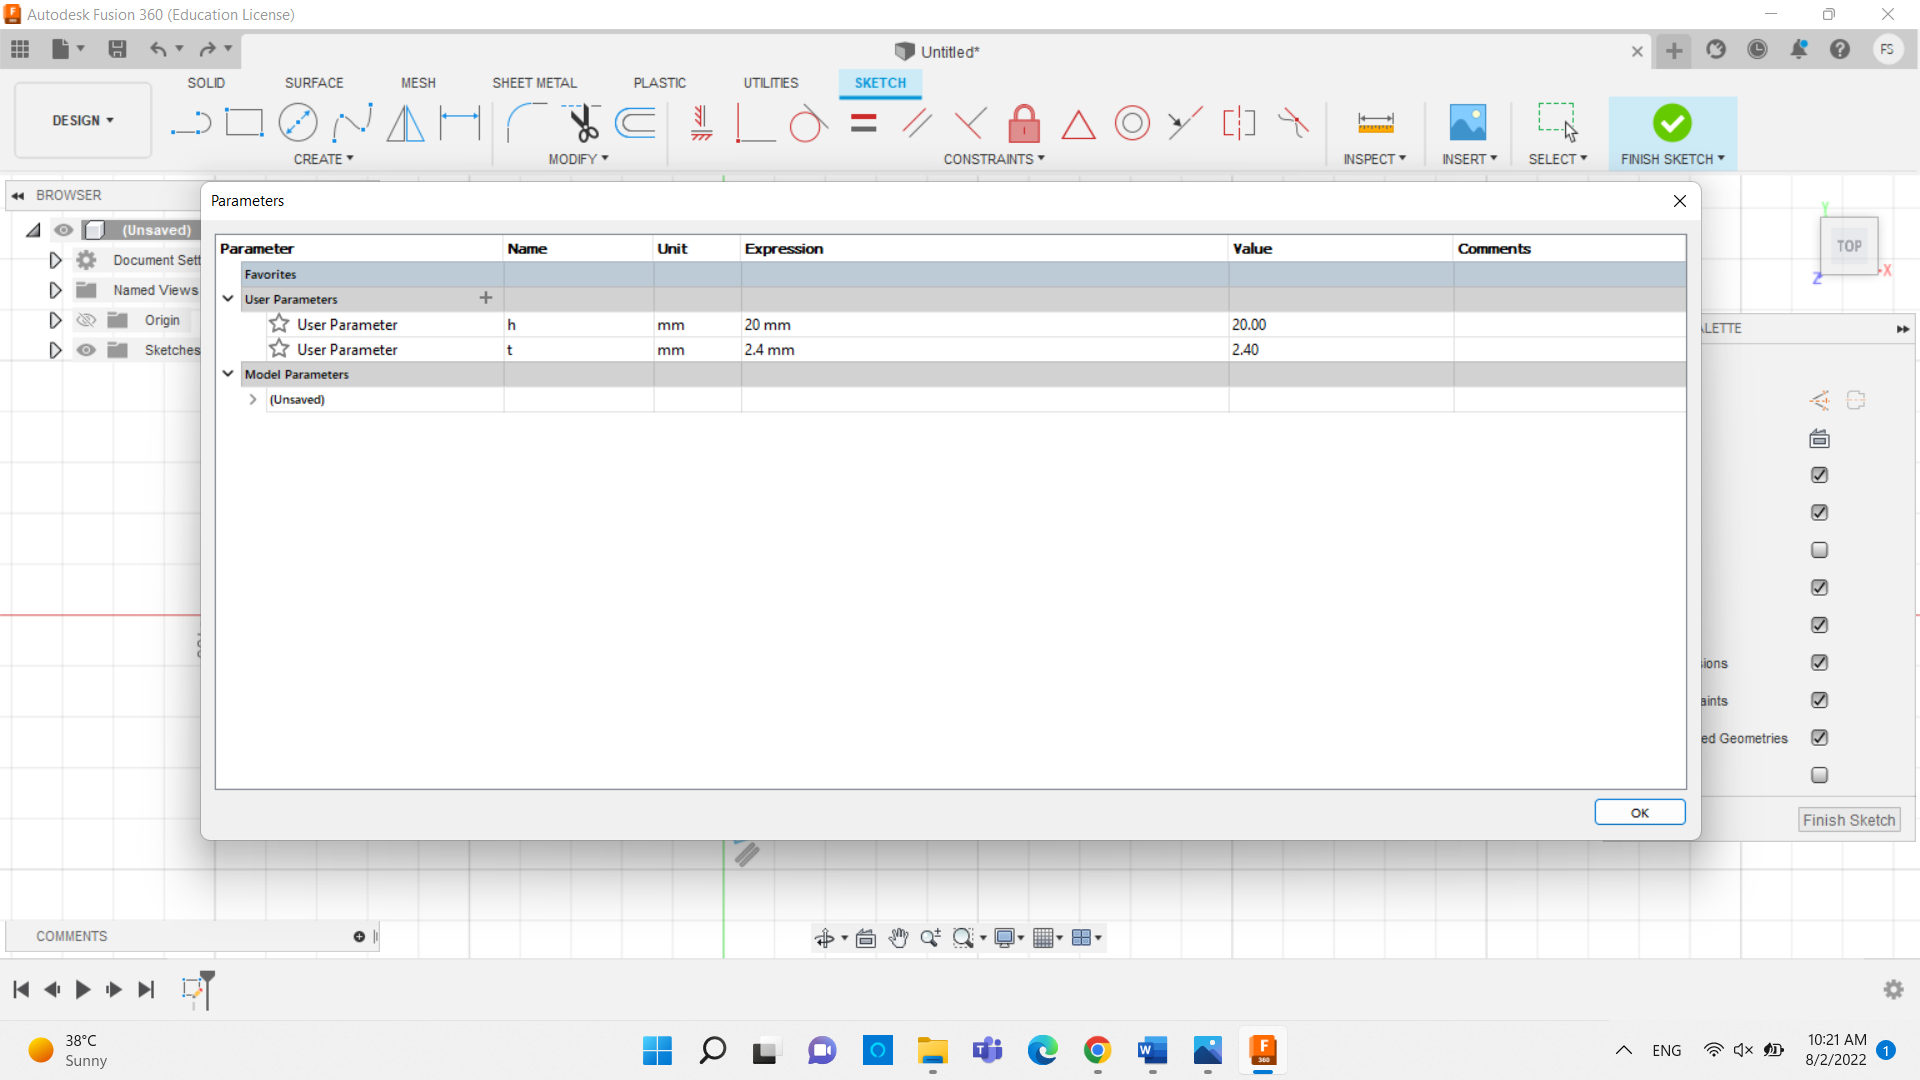
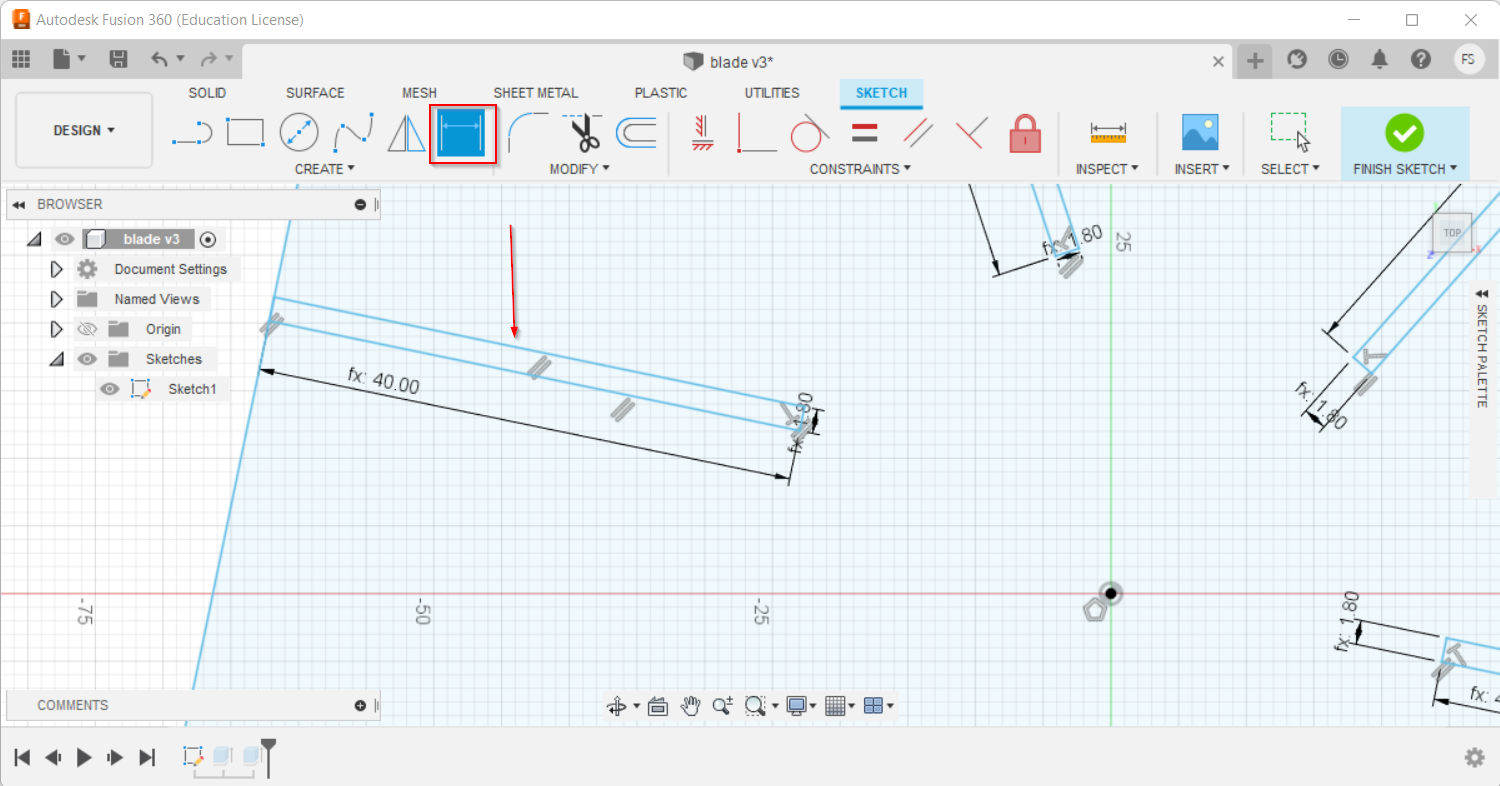
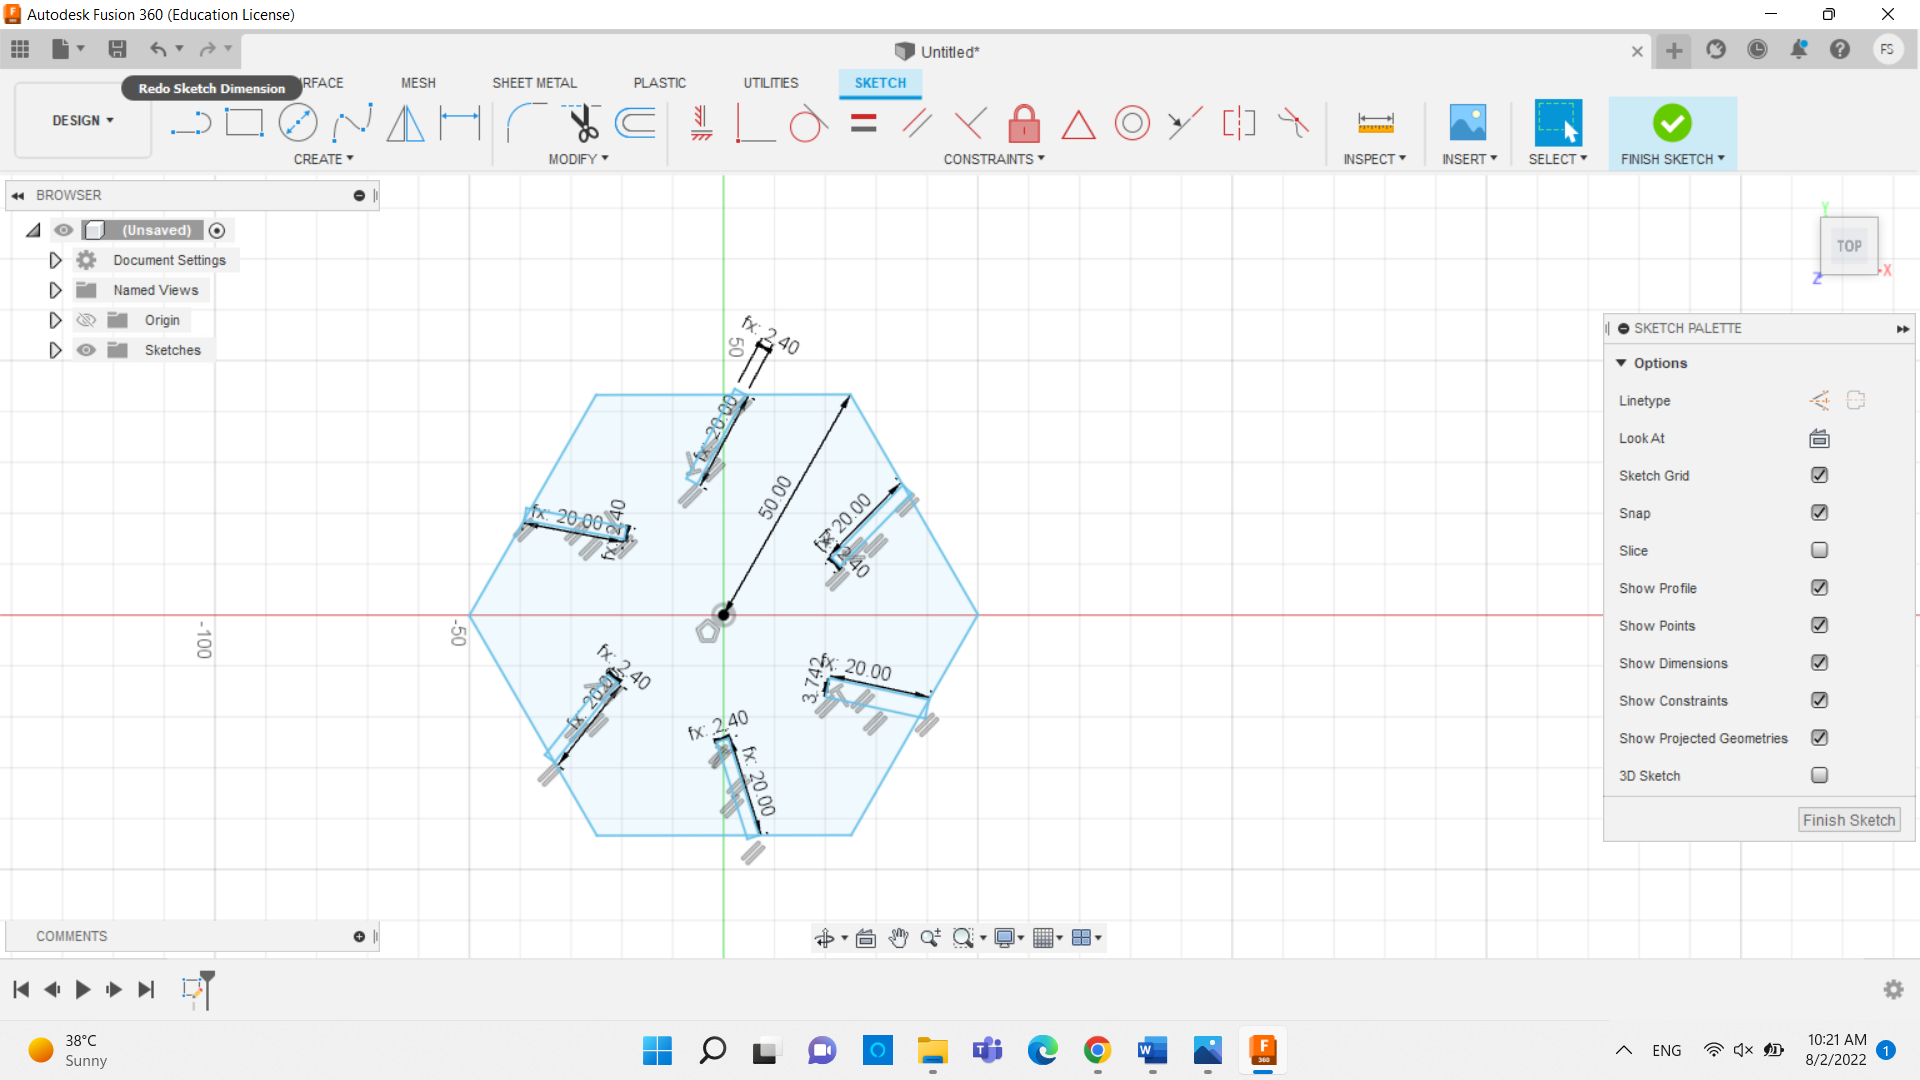
5) by going to ‘sketch dimension’ we click on the longest side of the rectangle and we put in the number parameter a ‘h’ as I defined to be the height of my rectangle in the parameter and then the short side as the thickness ‘t’ as i defined. for the sizes of both is based on the experiment we took from the group assignment which we found that both of the values in the picture below shows the best fit. This tool help us to save time by just changing the value in the parameters table and all the specified dimensions will change immediately.
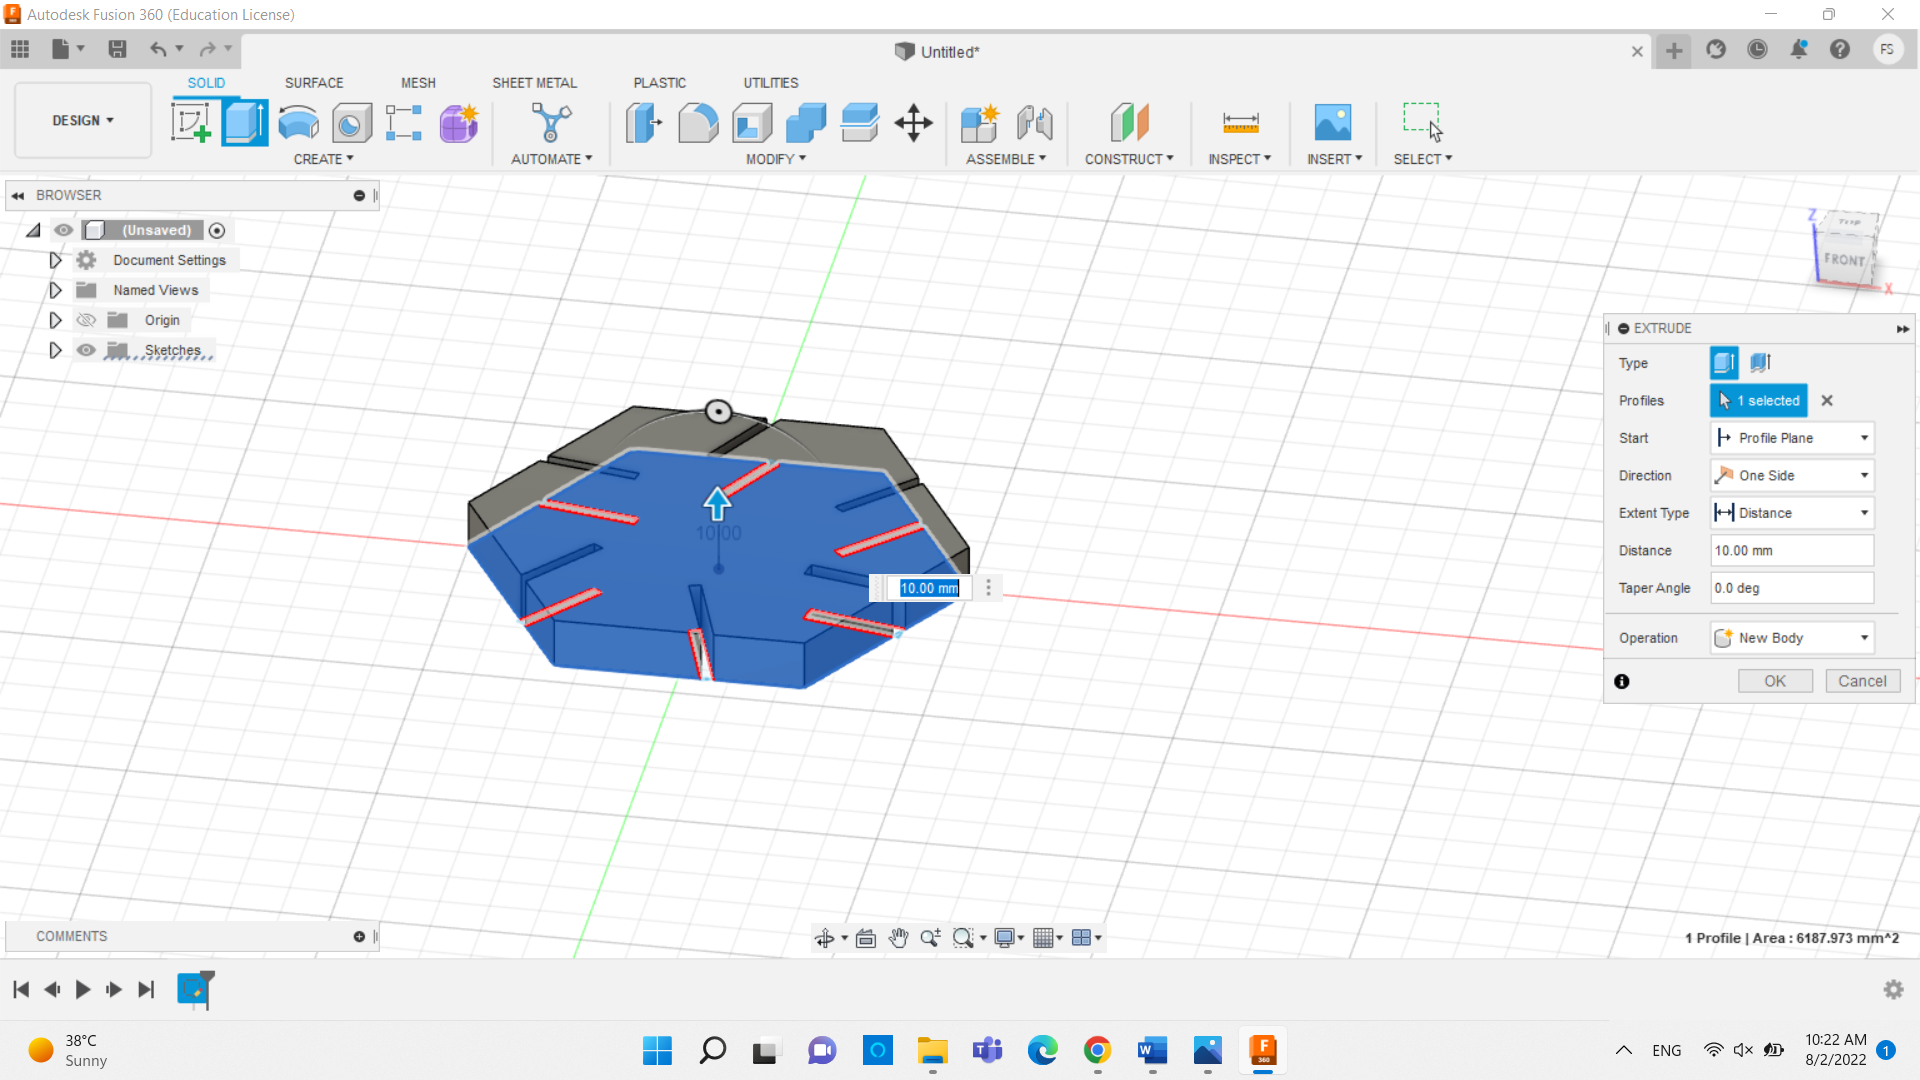
6) Then ‘Finish sketch’ and click on the ‘extrude’ to see what it would look like when it is finally cutted.
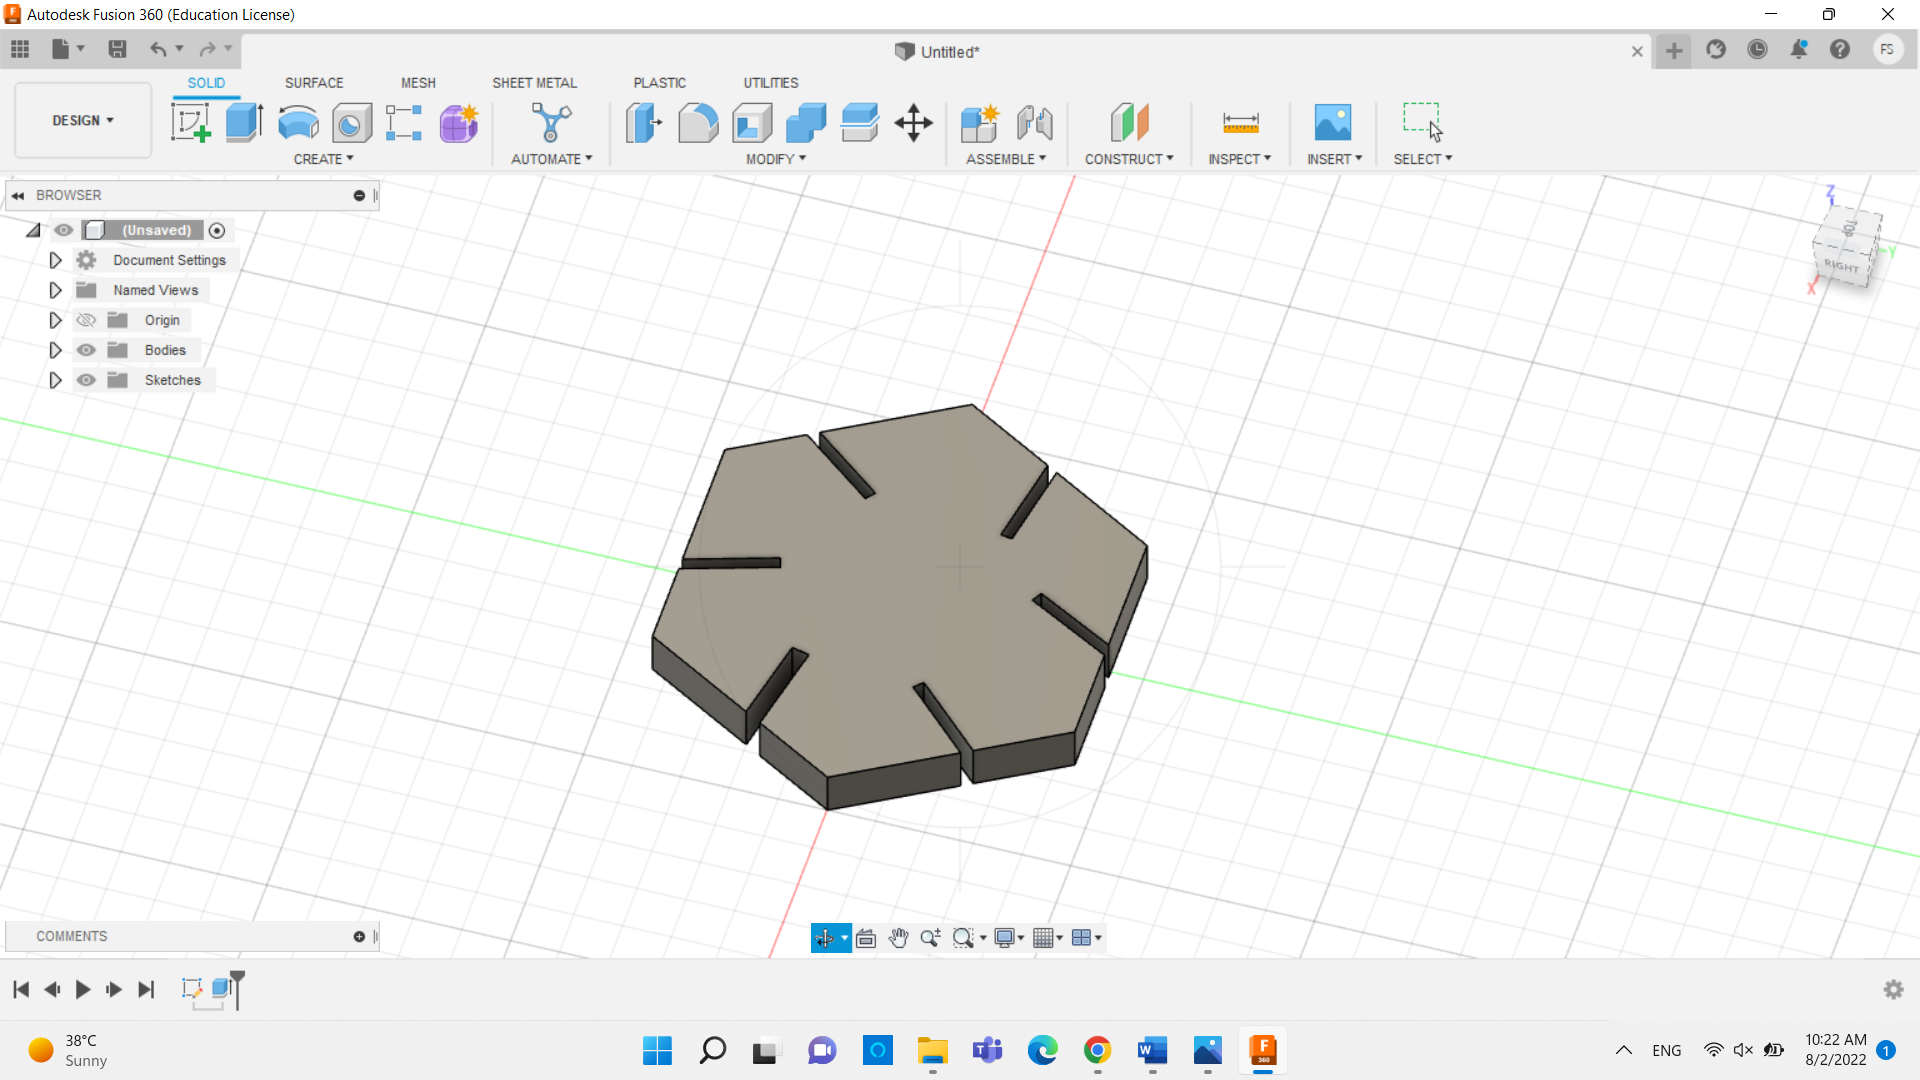
Laser machine settings.
7) This is the power needed to cut.
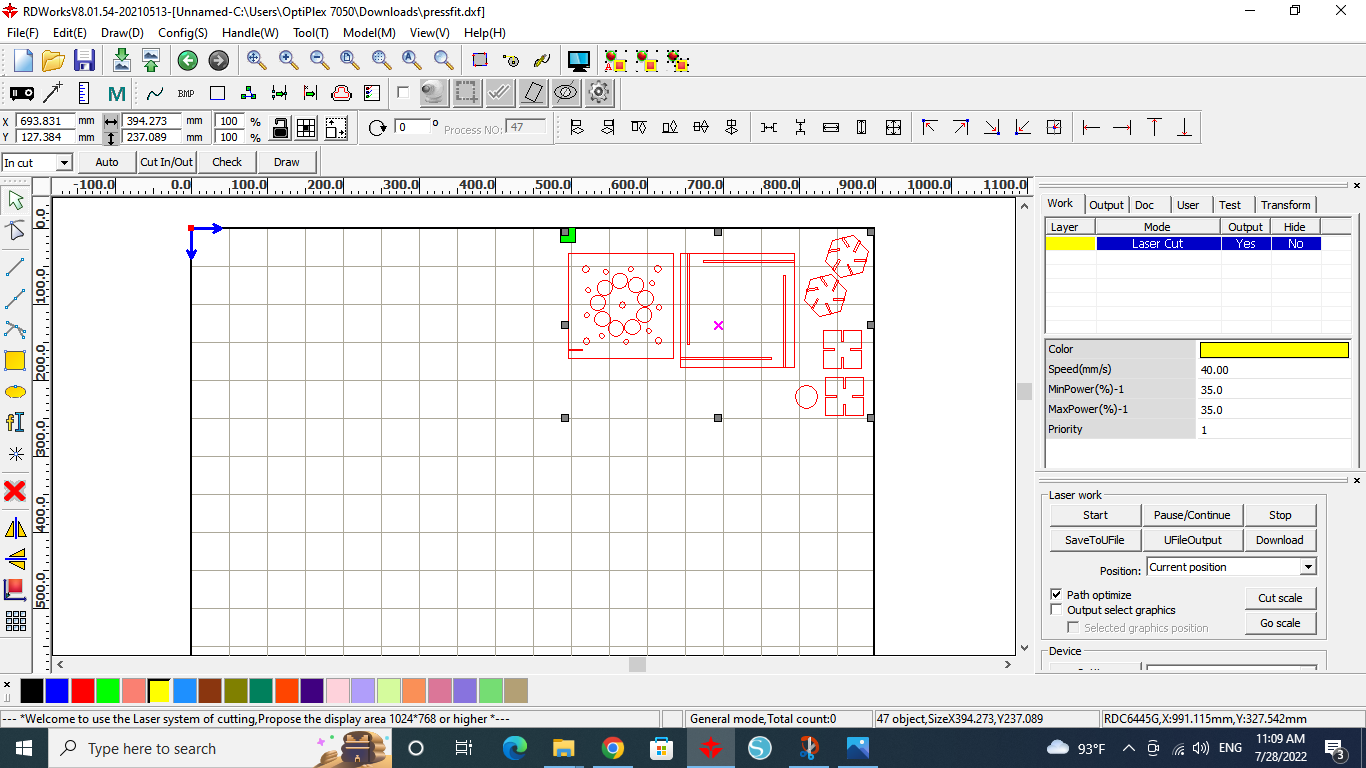
8) after testing the joints now we can cut more from the same shape.

9) here the power needed to cut more of the same shape.
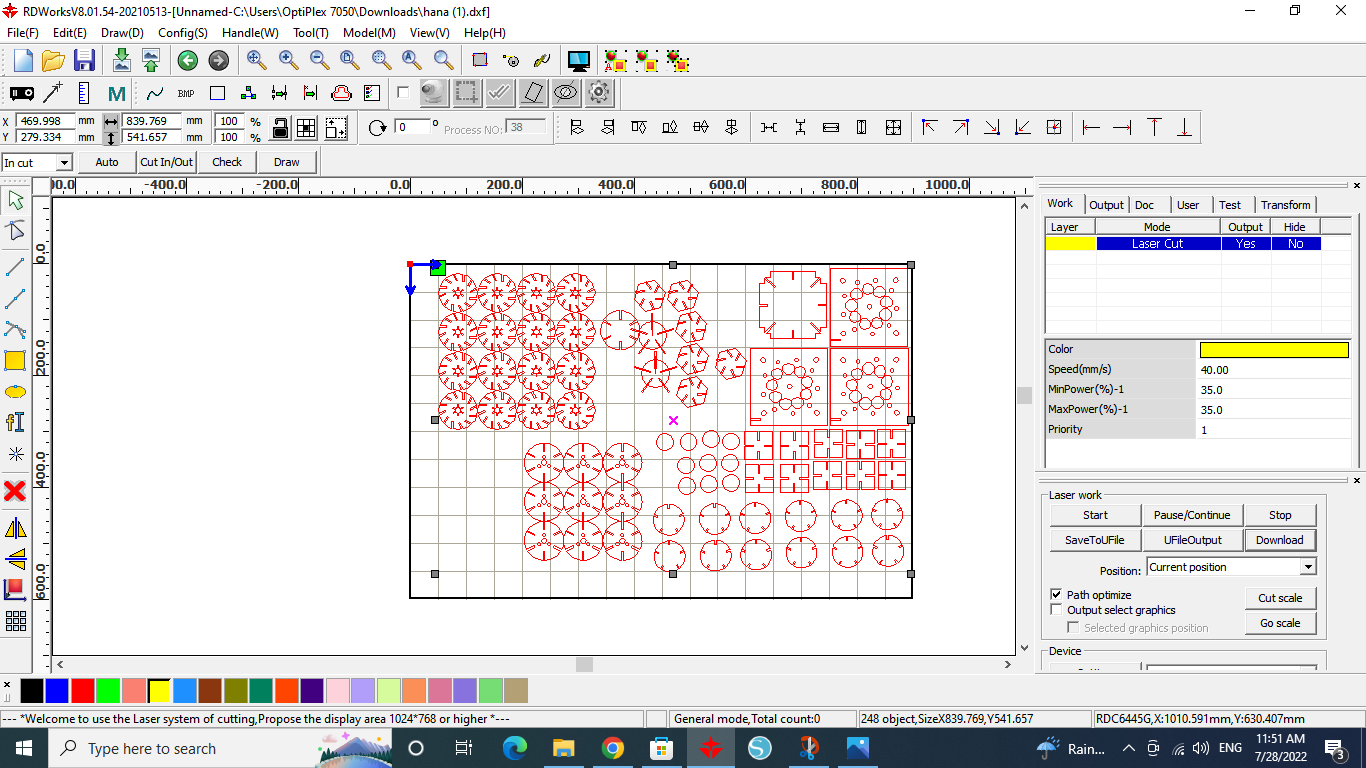
10) This is what it would look like after sending the files to the laser cutting machine.

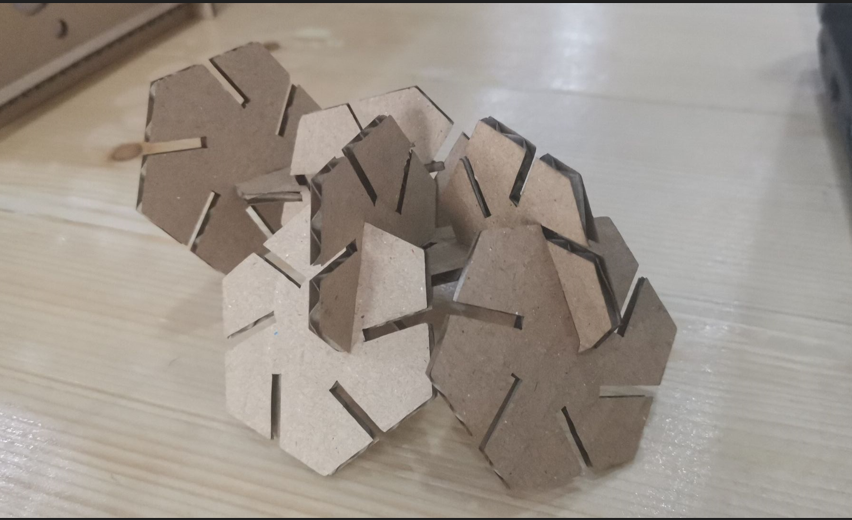
11) The final after making several joint and putting them together.
Second : cutting using the cricut.
we need in the beginning to install the cricut design space then we searched for a silhoutte pictures that can be cutted with known it shouldn’t have many details that can get lost when cutting and it would be difficult to handle.
here we can dowload the cricut
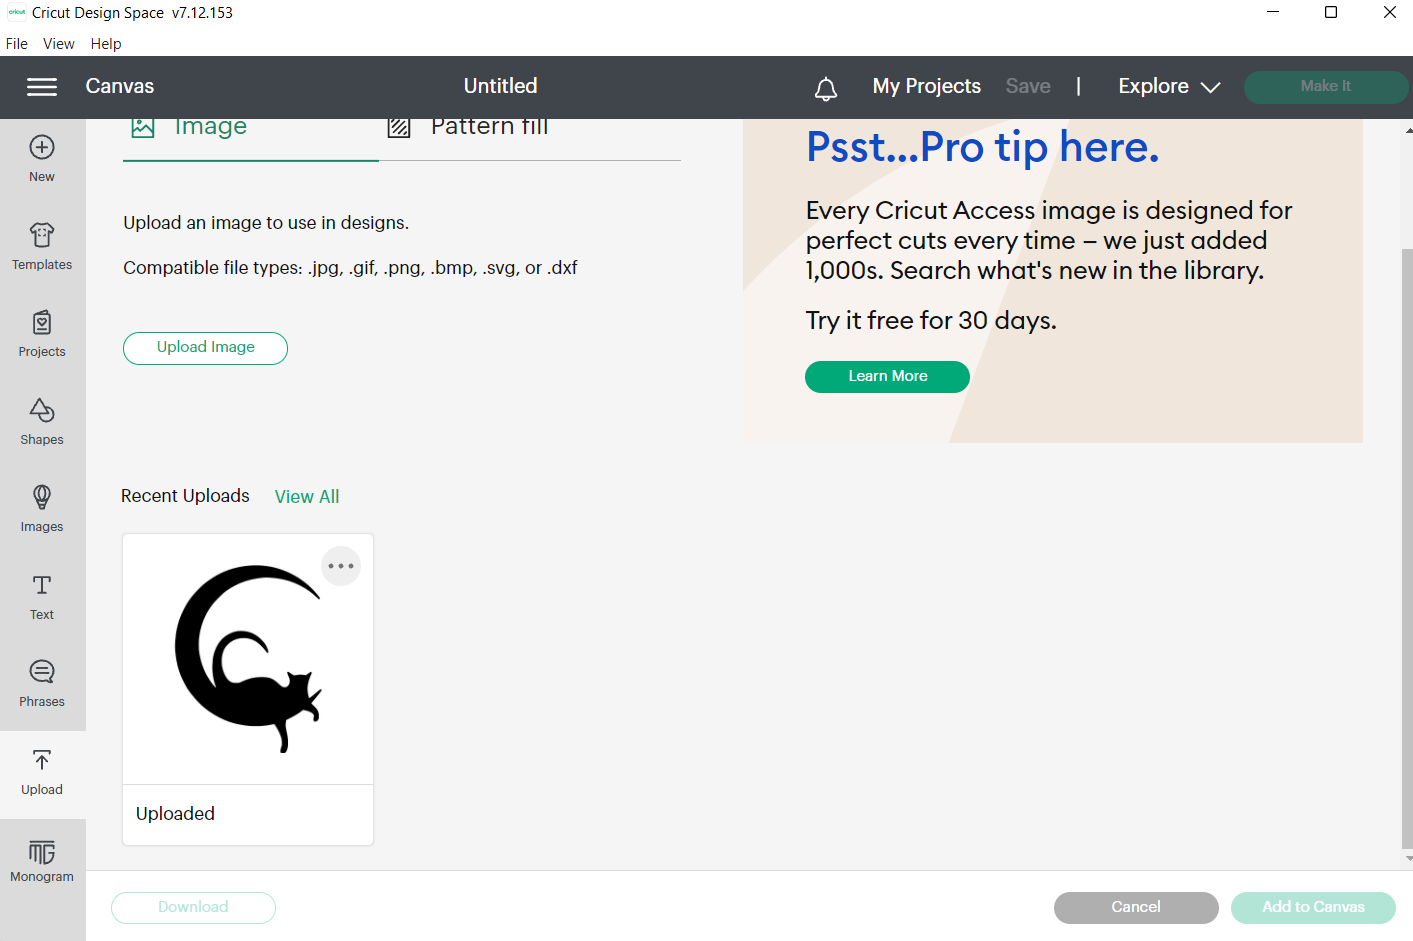
1) First we upload the selected silhoutte photo we want to cut in the acricut design space.
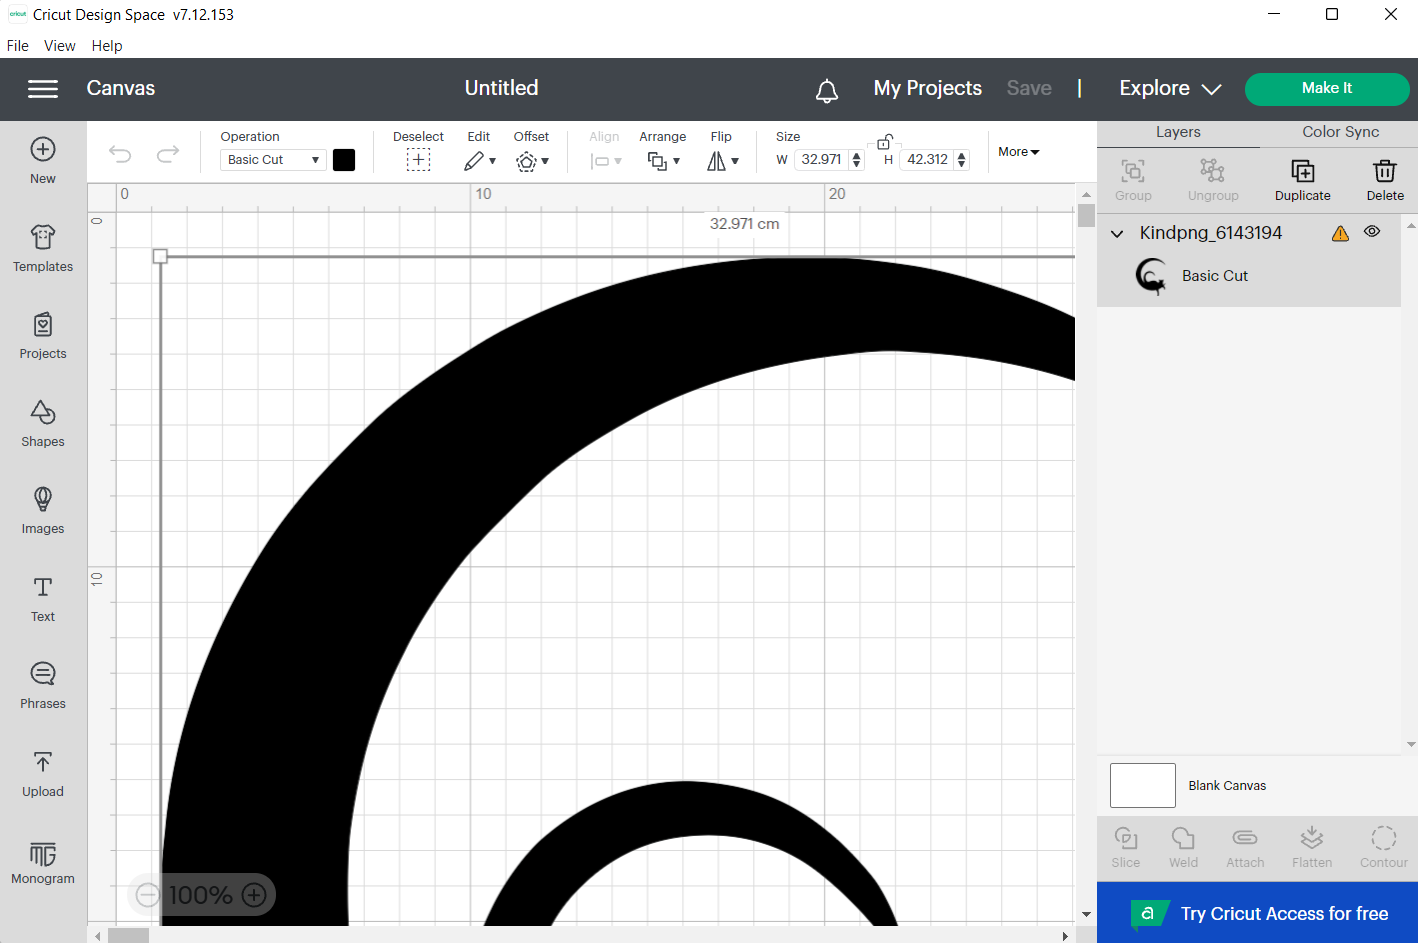
2) here as we can see the photo is too big so we need to decrease the size of it and leaving some extra space on both sides.
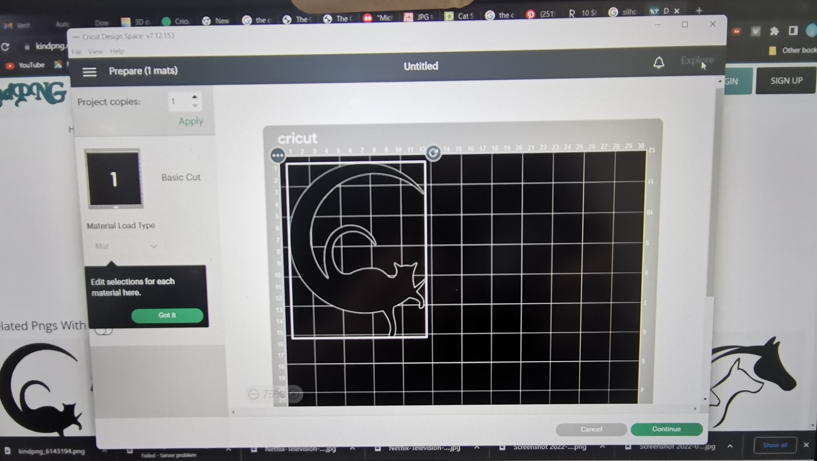
3) this is how it would look like in the cutting board with the sizes shown in the axes
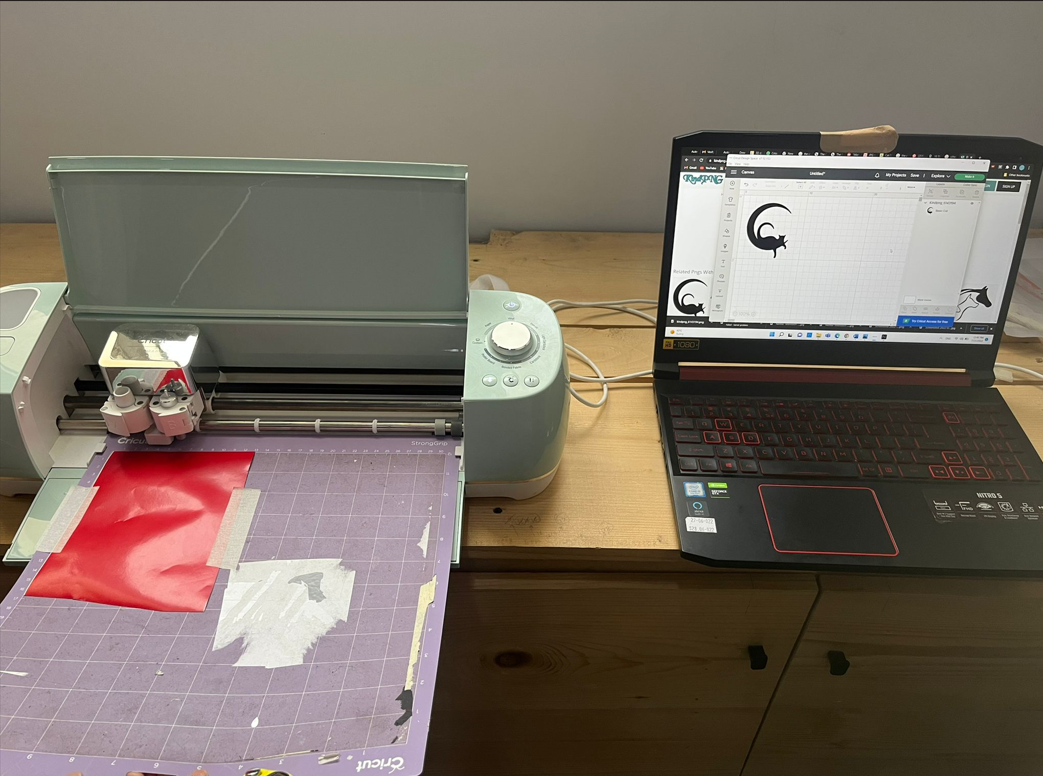
4) here after putting red paper on the cutting board known the size of the photo so I selected a size that would fit it with some extra space for any error would happen.
5) This what it would look like after the cutting and removing the extra material from eachother to show the silhoutte picture which is a moon with a cat on it.

6) I putted the sticker on my laptop to remember this achivment whenever I go.