8. Moulding and casting
This week I worked on moulding and casting so i designed a rabbit using Fusion360 then by using a milling machine.
Group assignment :
Here is the group assignmet were we tested a diffrent materials in groups and I tested material3.
Individual assignment :
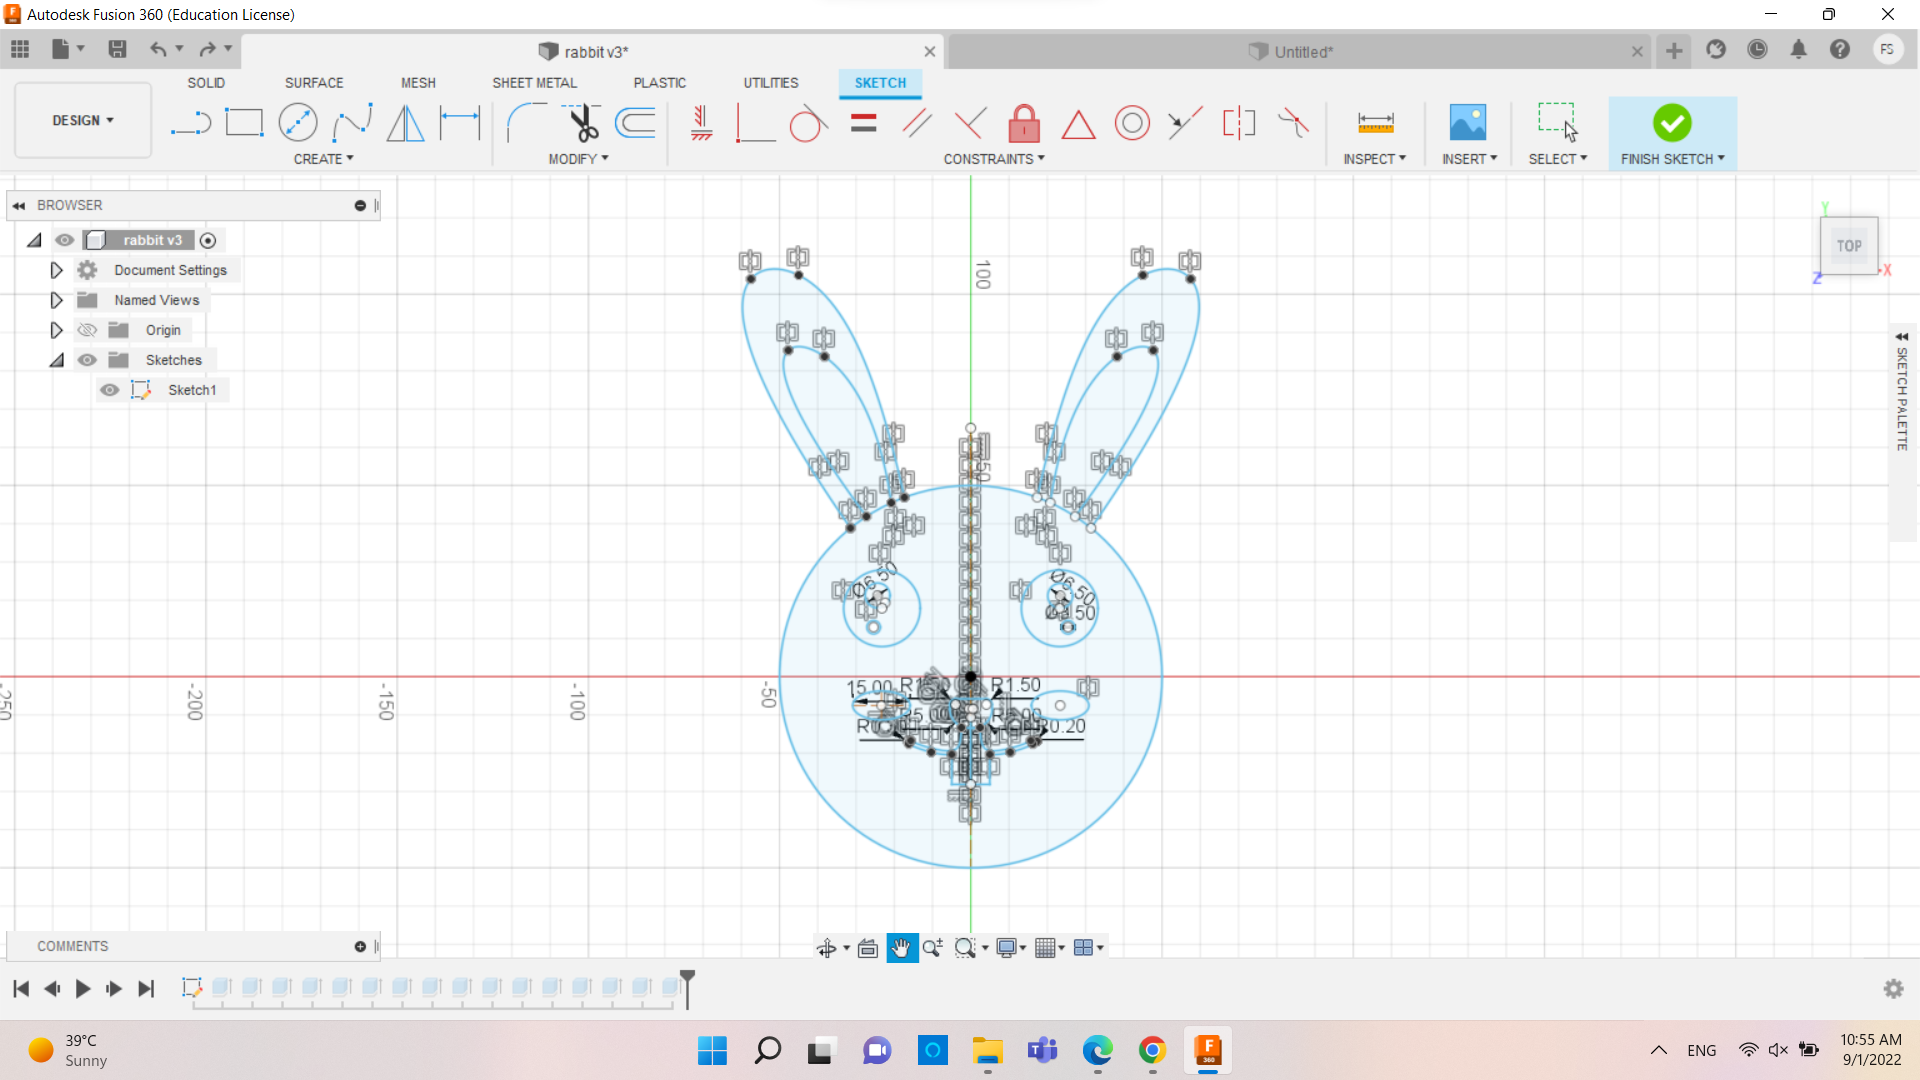
Design
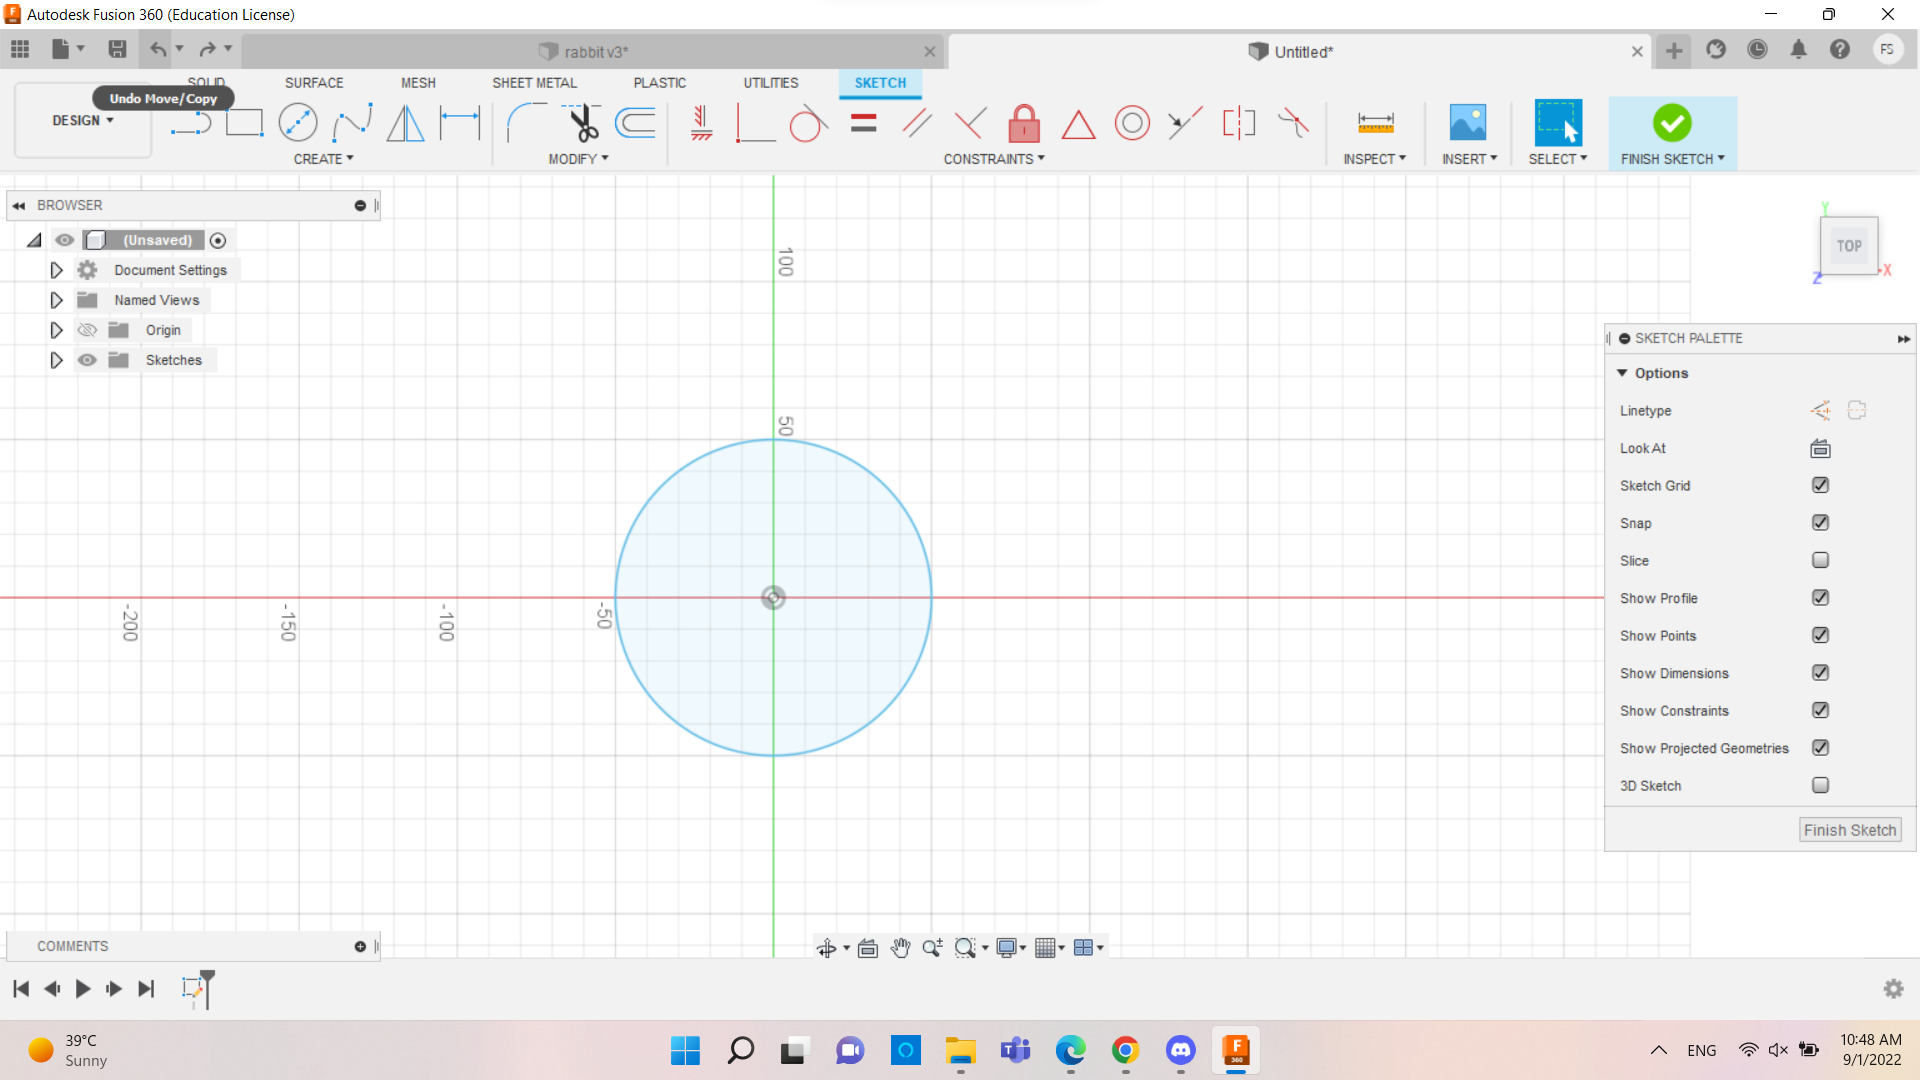
1) Clicking on create sketch then making a circle in the origin point.
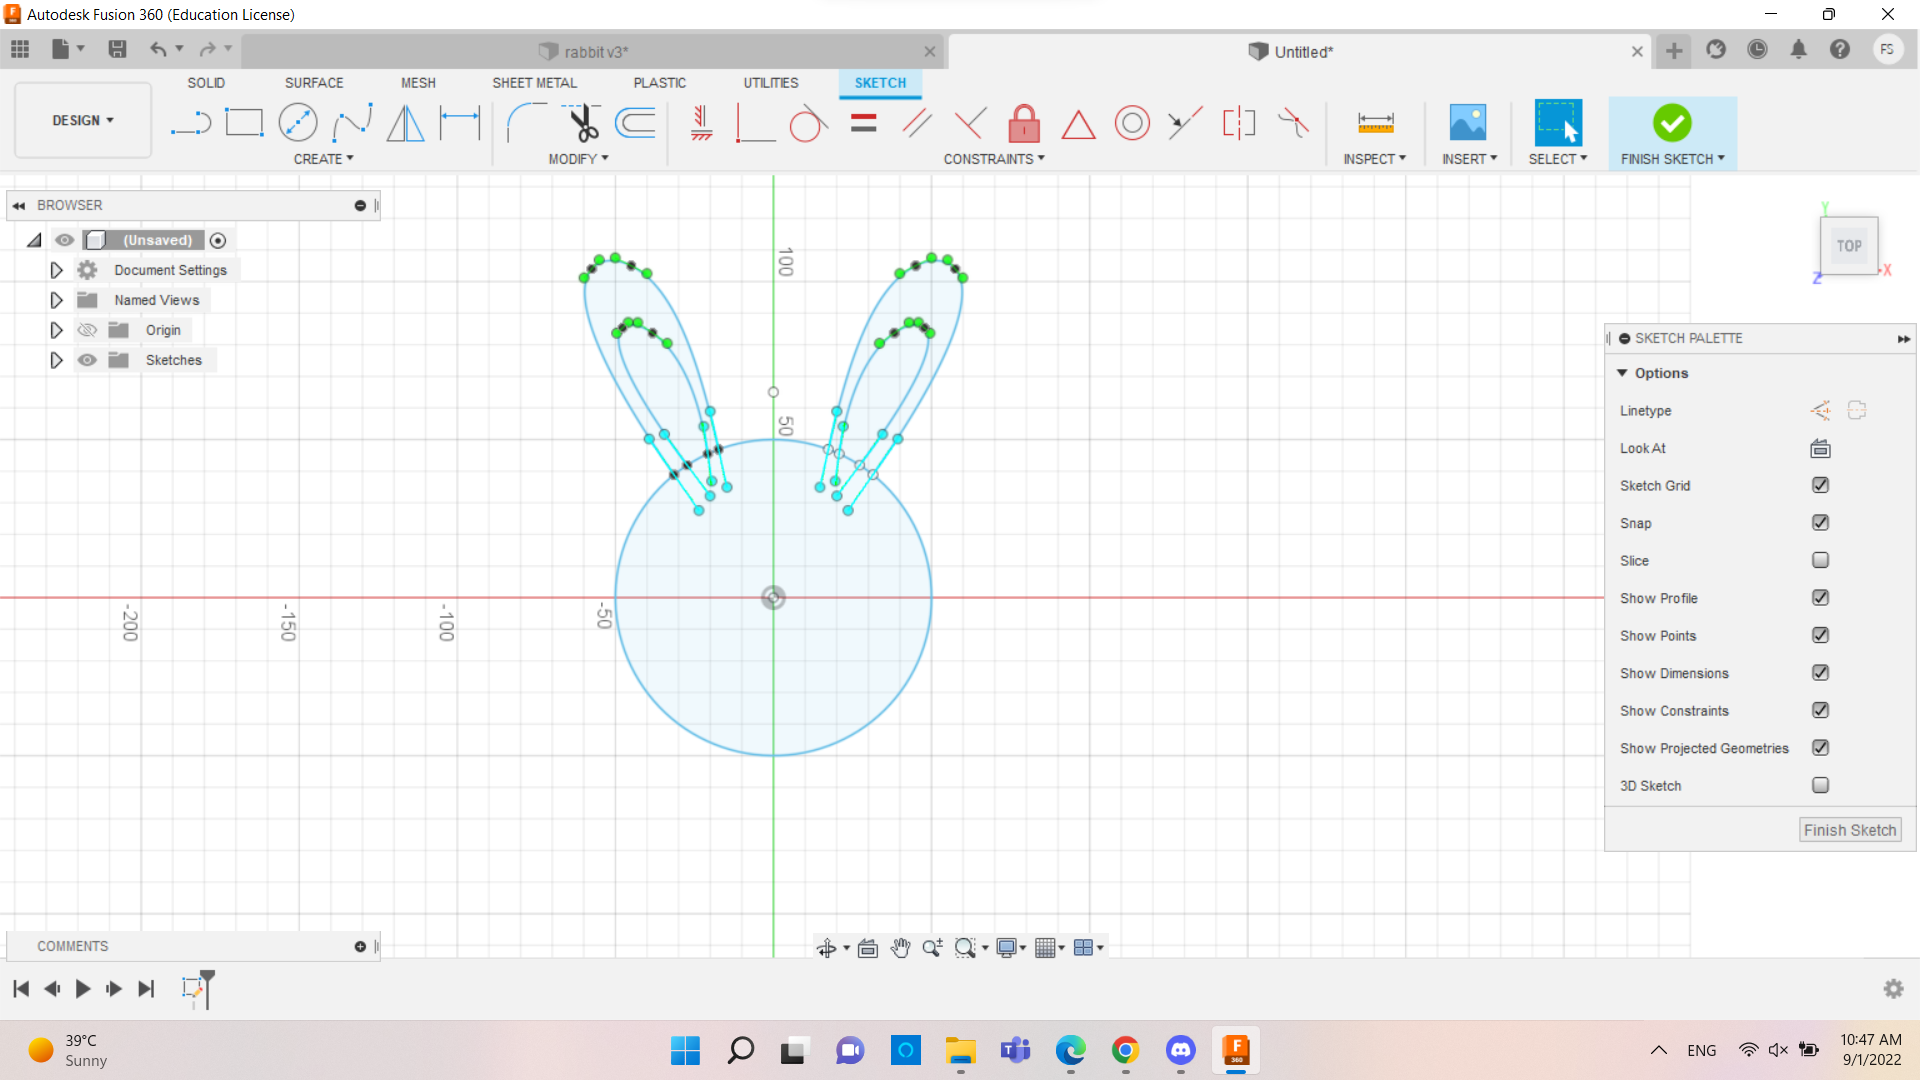
3) Drawing a line to create the ear and the inner ear of the rabbit.
4) Creating three circles to represent the eye of the rabbit.
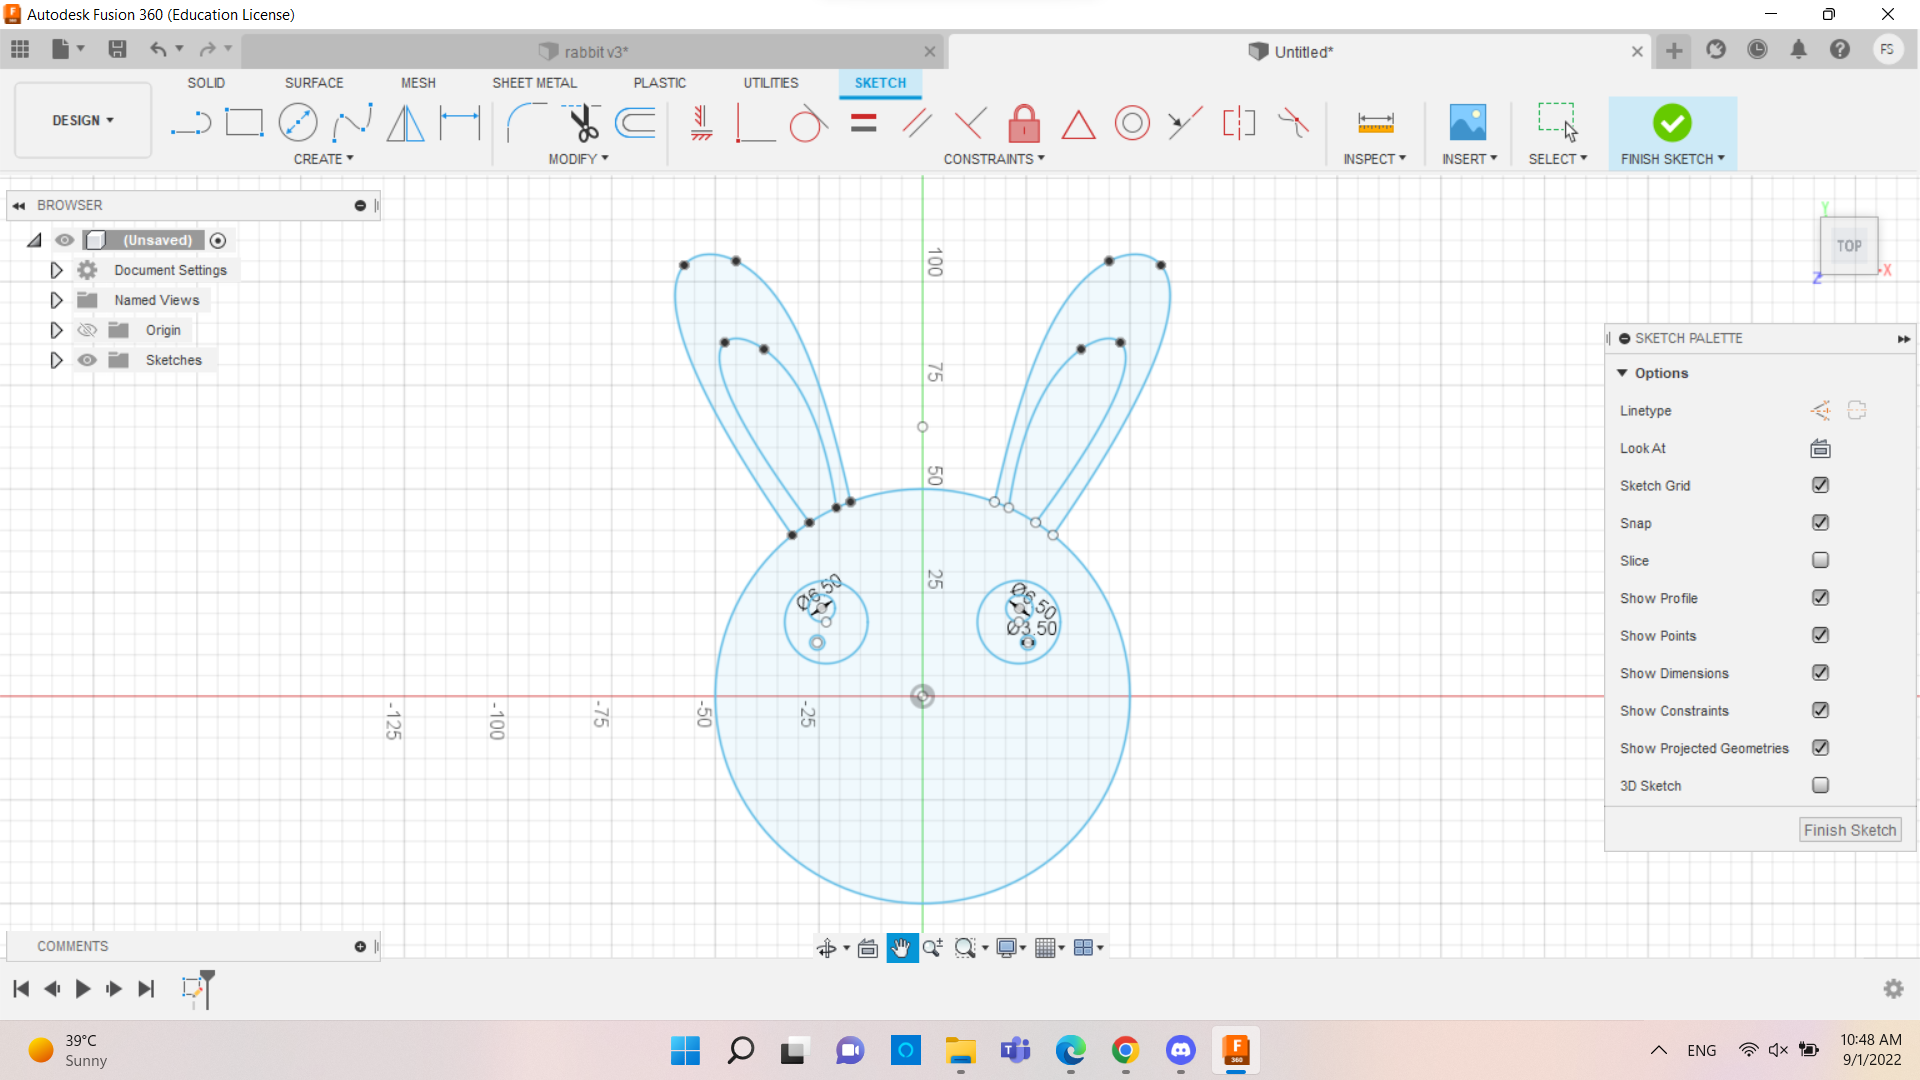
5) two circles then swiping the right or left side of it to make the oval shape.
6) I took a rectangle then rounded the upper angle of it more than the lower using the fillet tool beside the scissor sign.
7) I created the mouth and the teeth of the rabbit using the line.
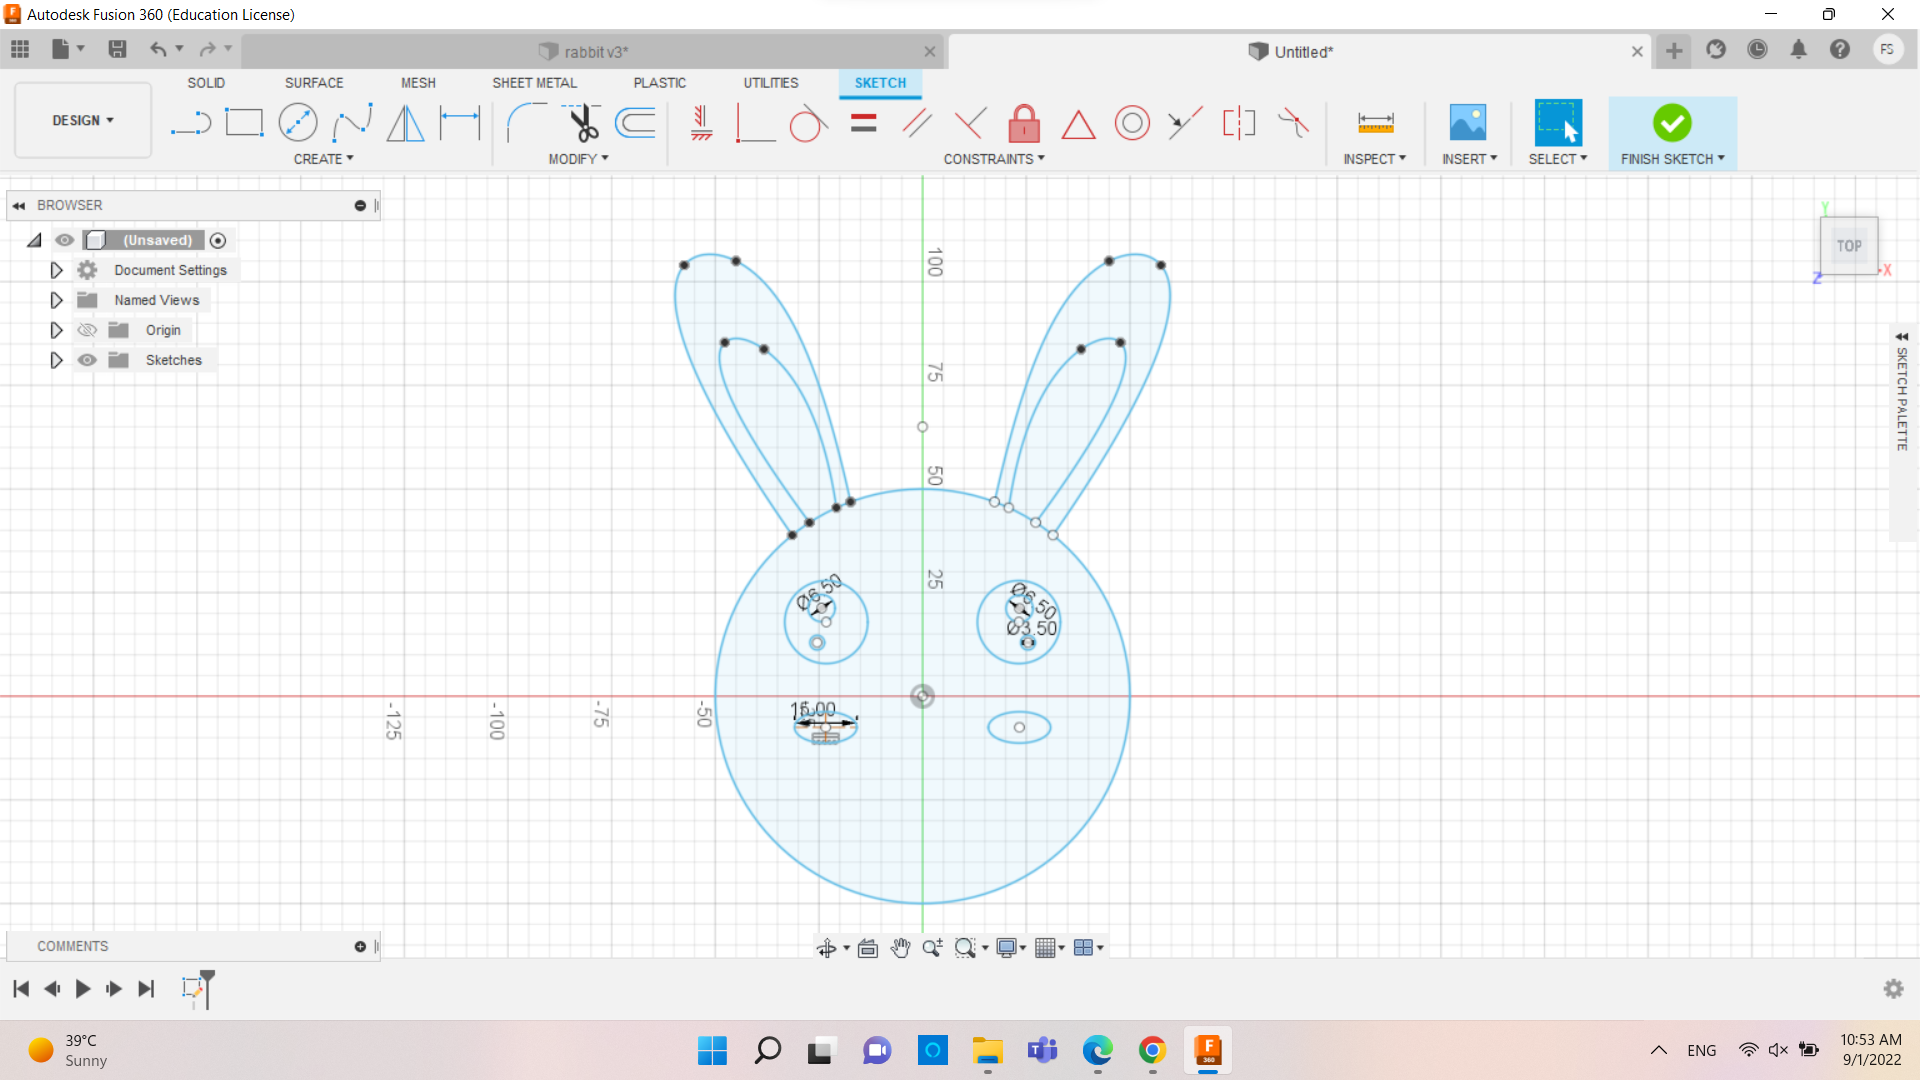
8) Here we can extrude and chose the level of the extrude we want
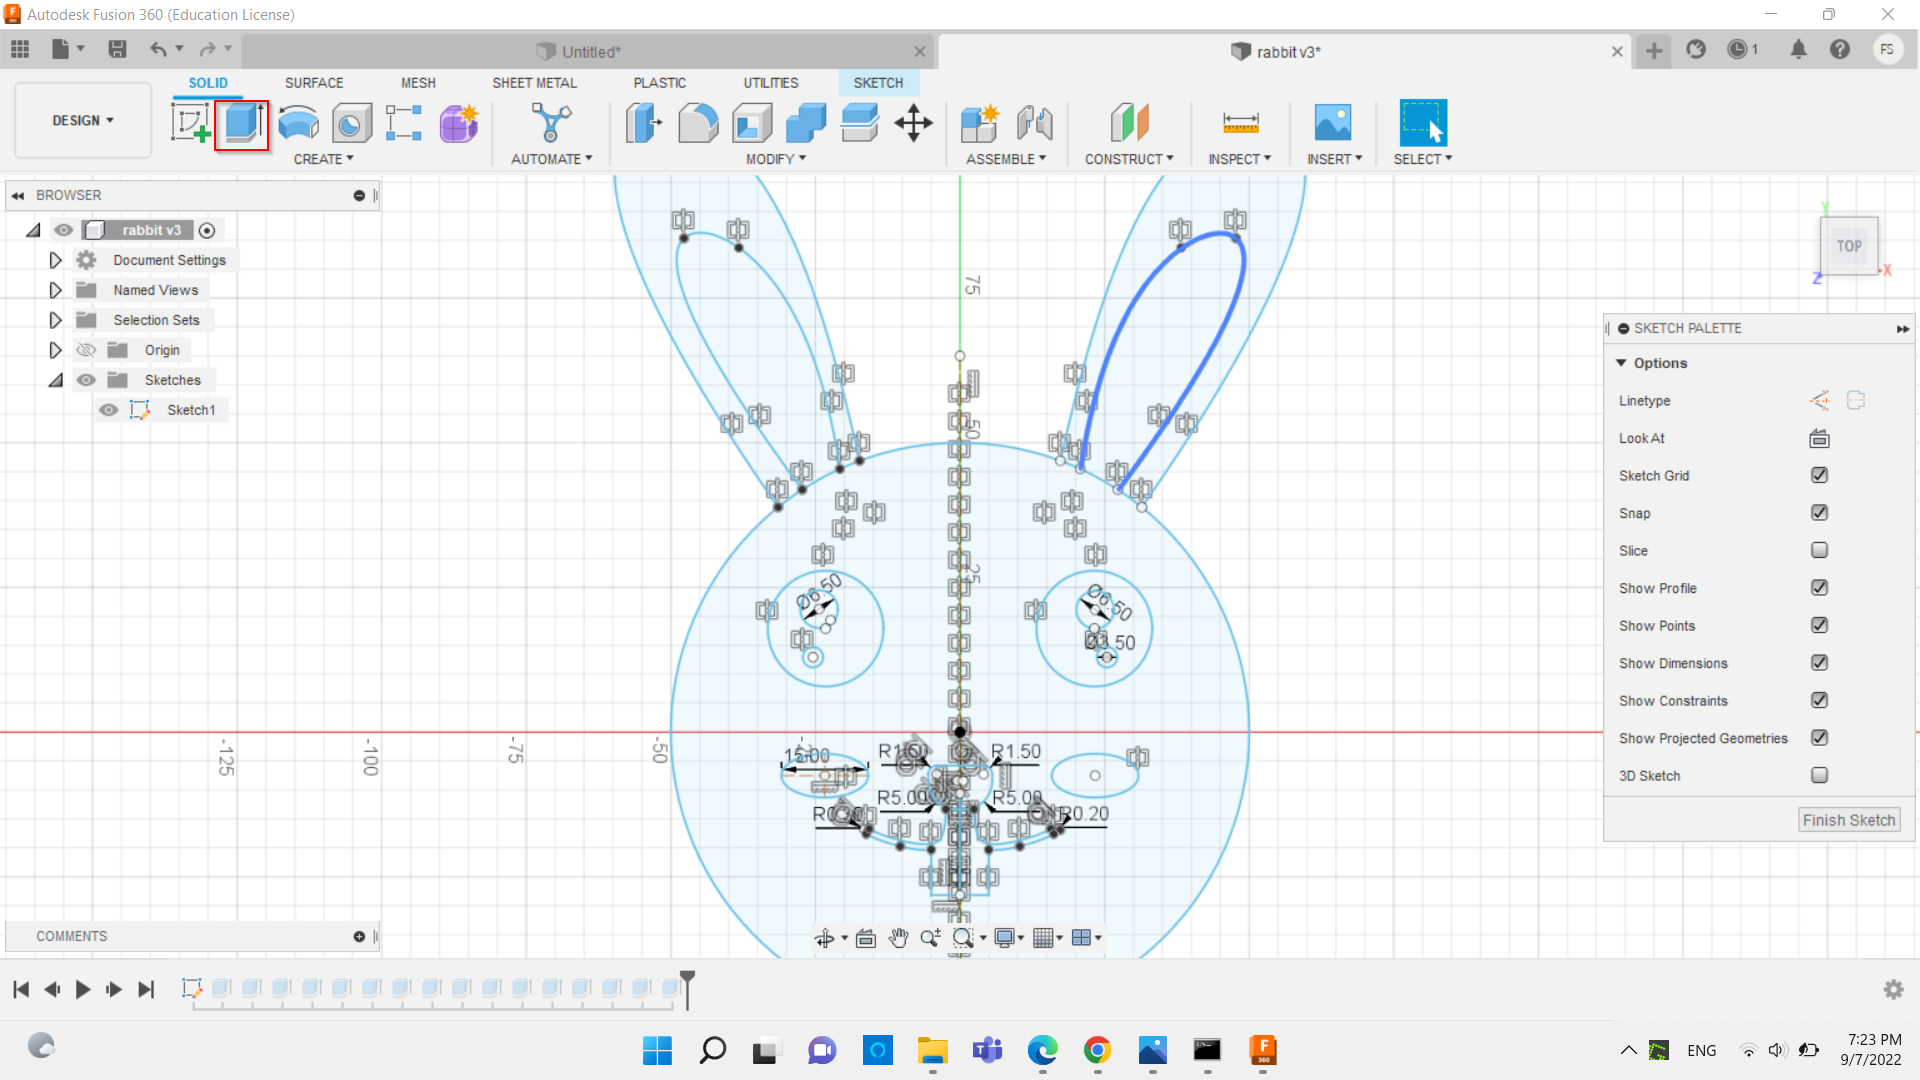
9)Now we get the rabbit shape.
Moulding
1) here we are putting a double side tape on the lower part of the wax block.
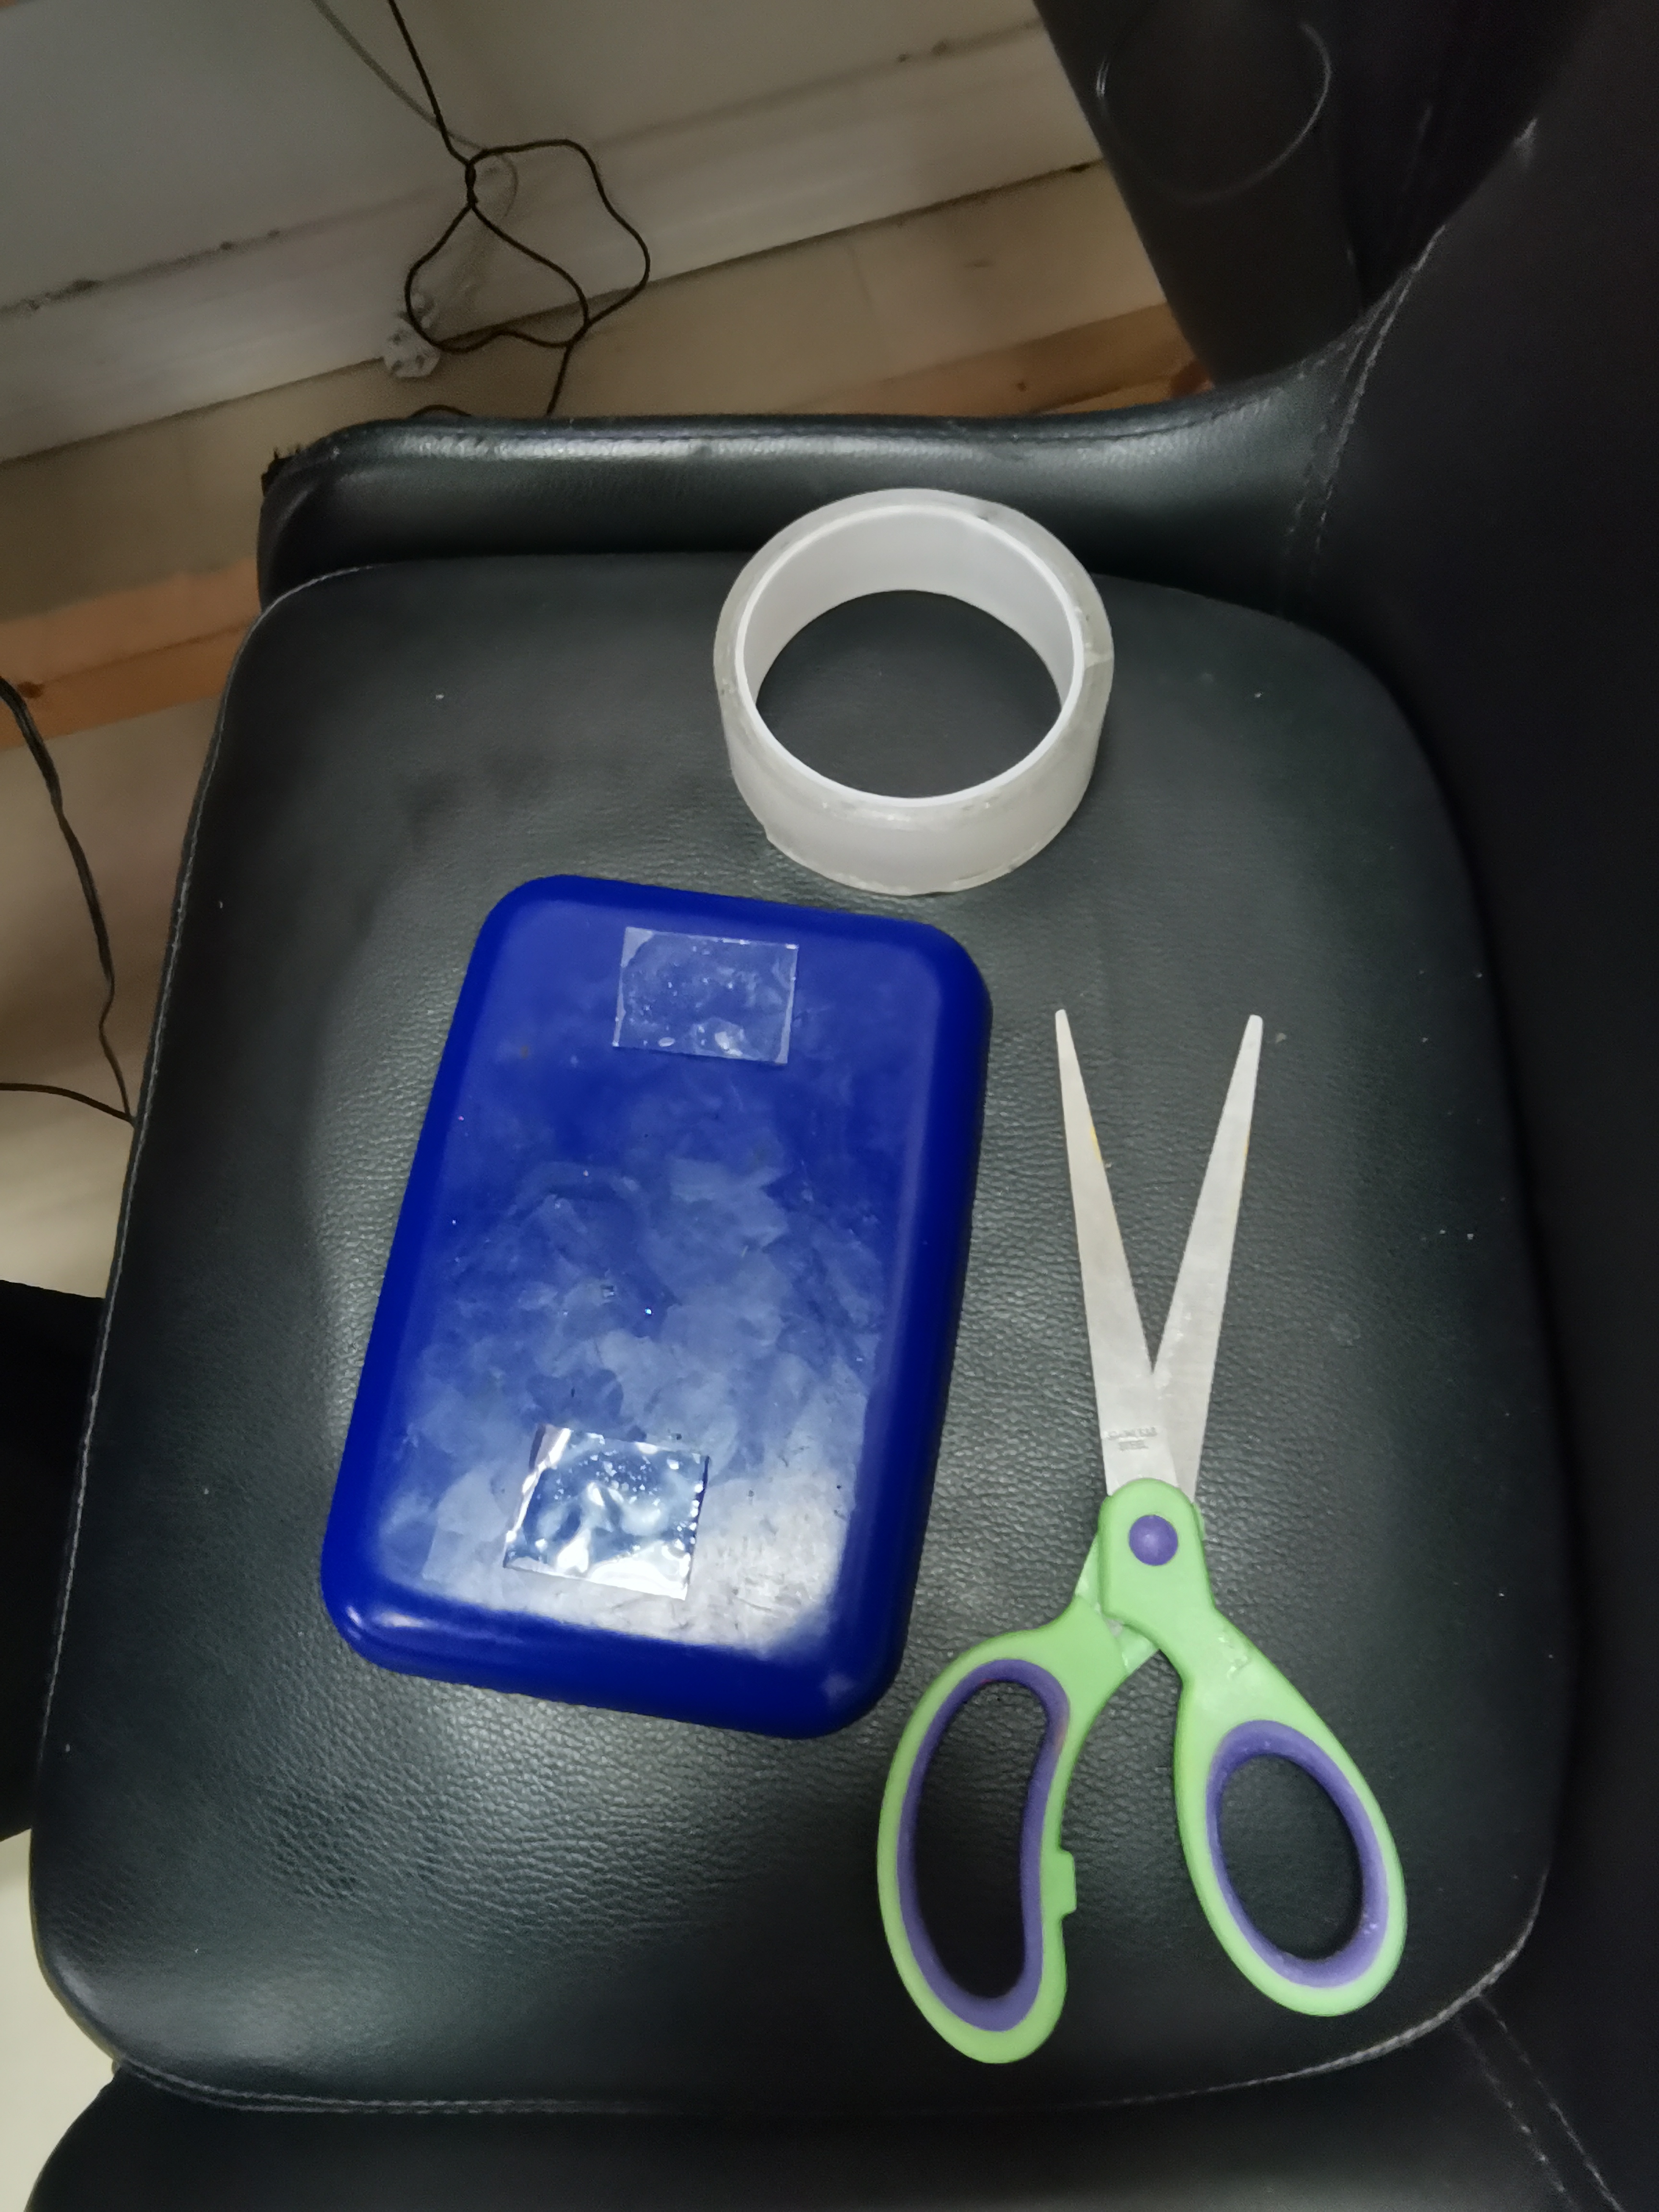
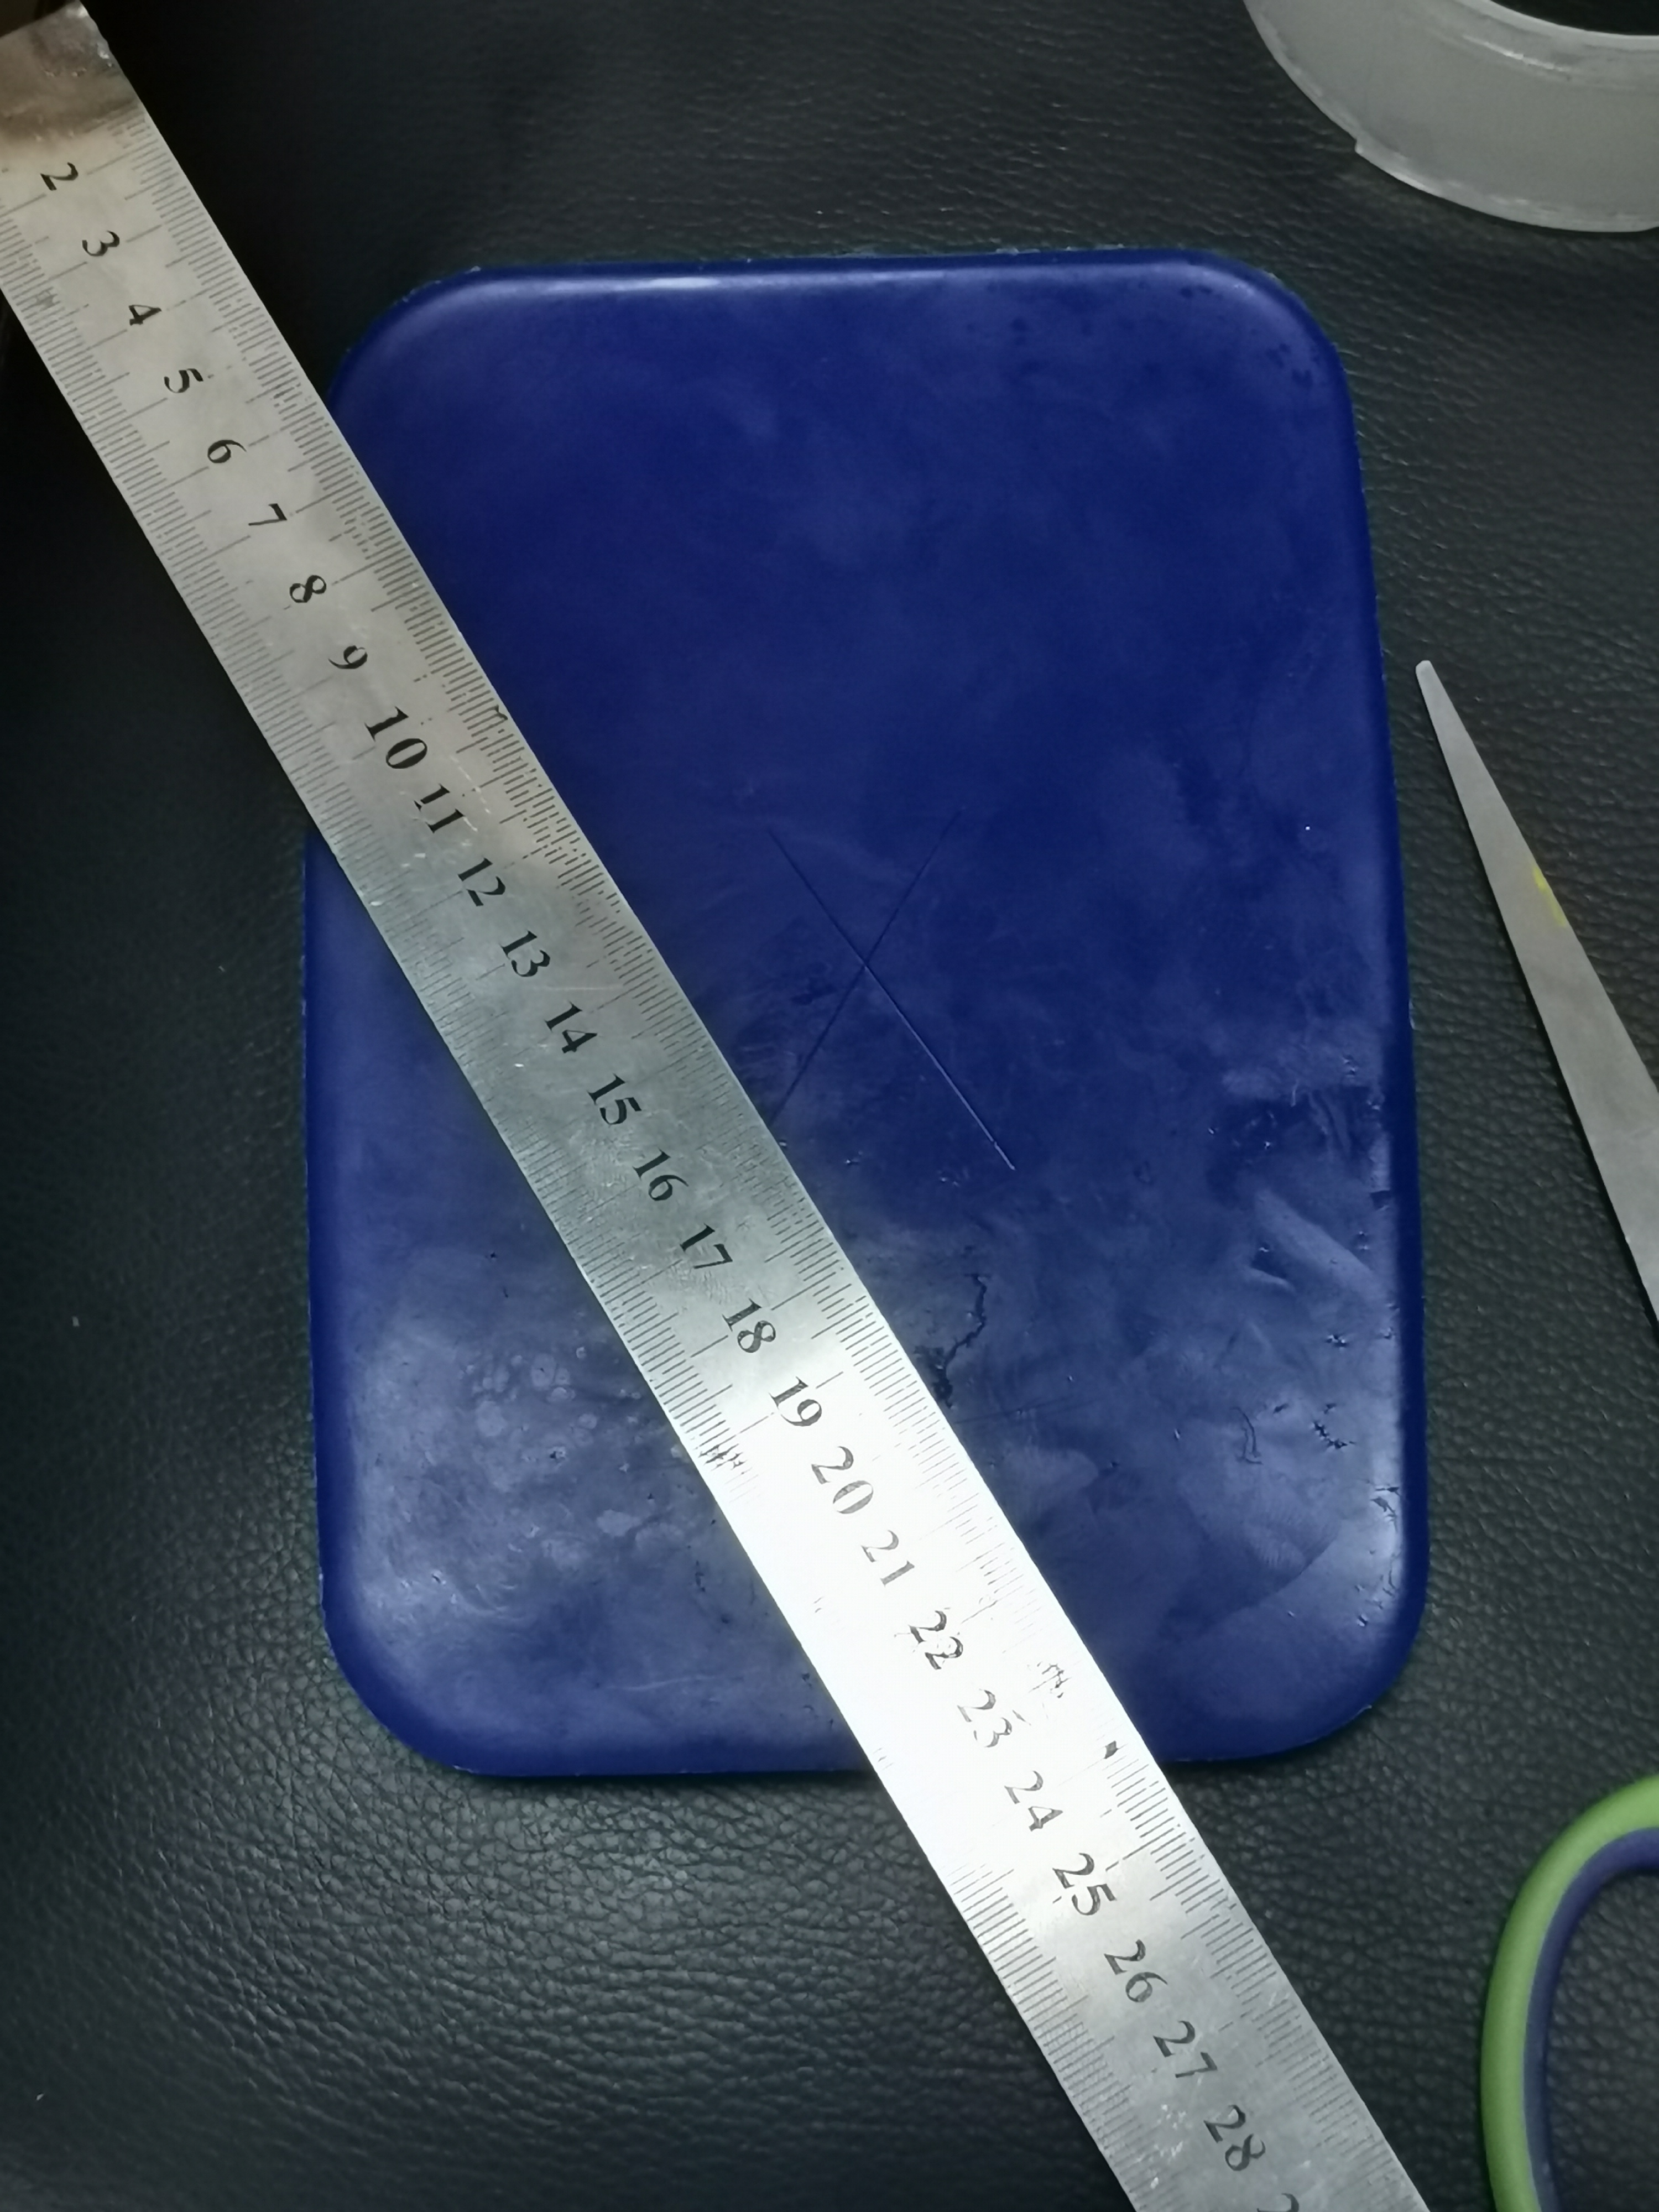
2) finding the middle point on the blcok by using a Ruler.
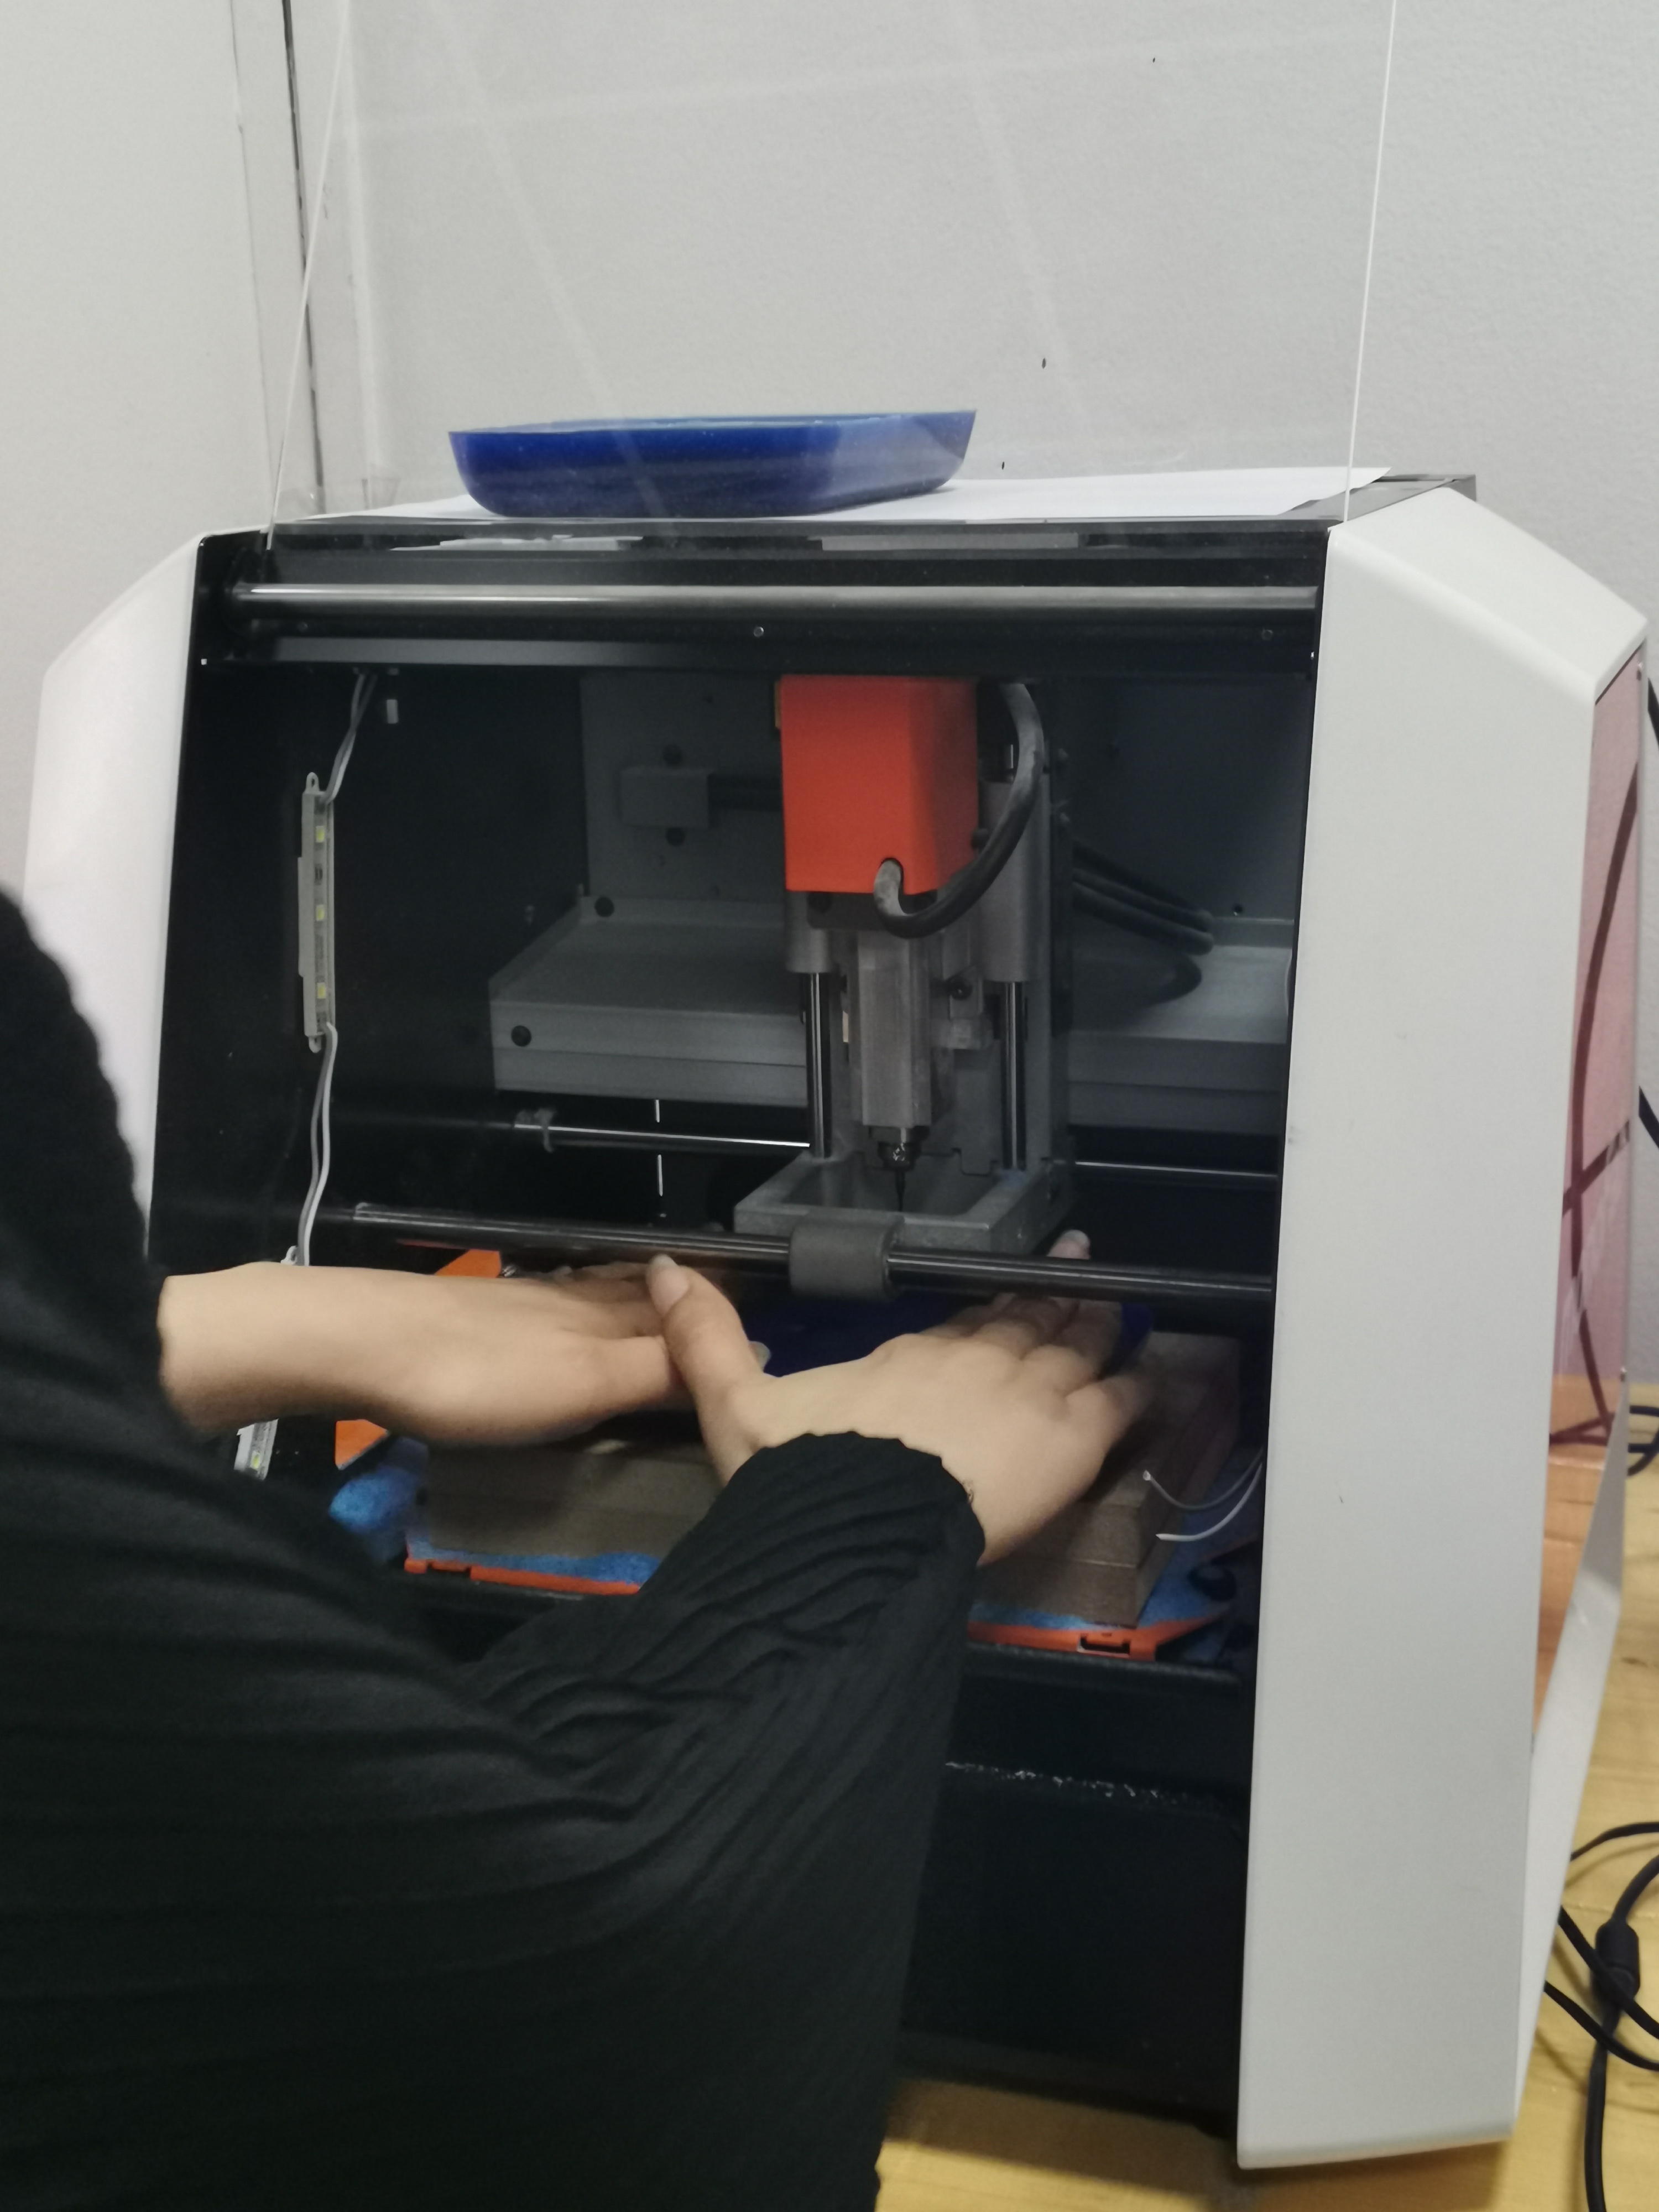
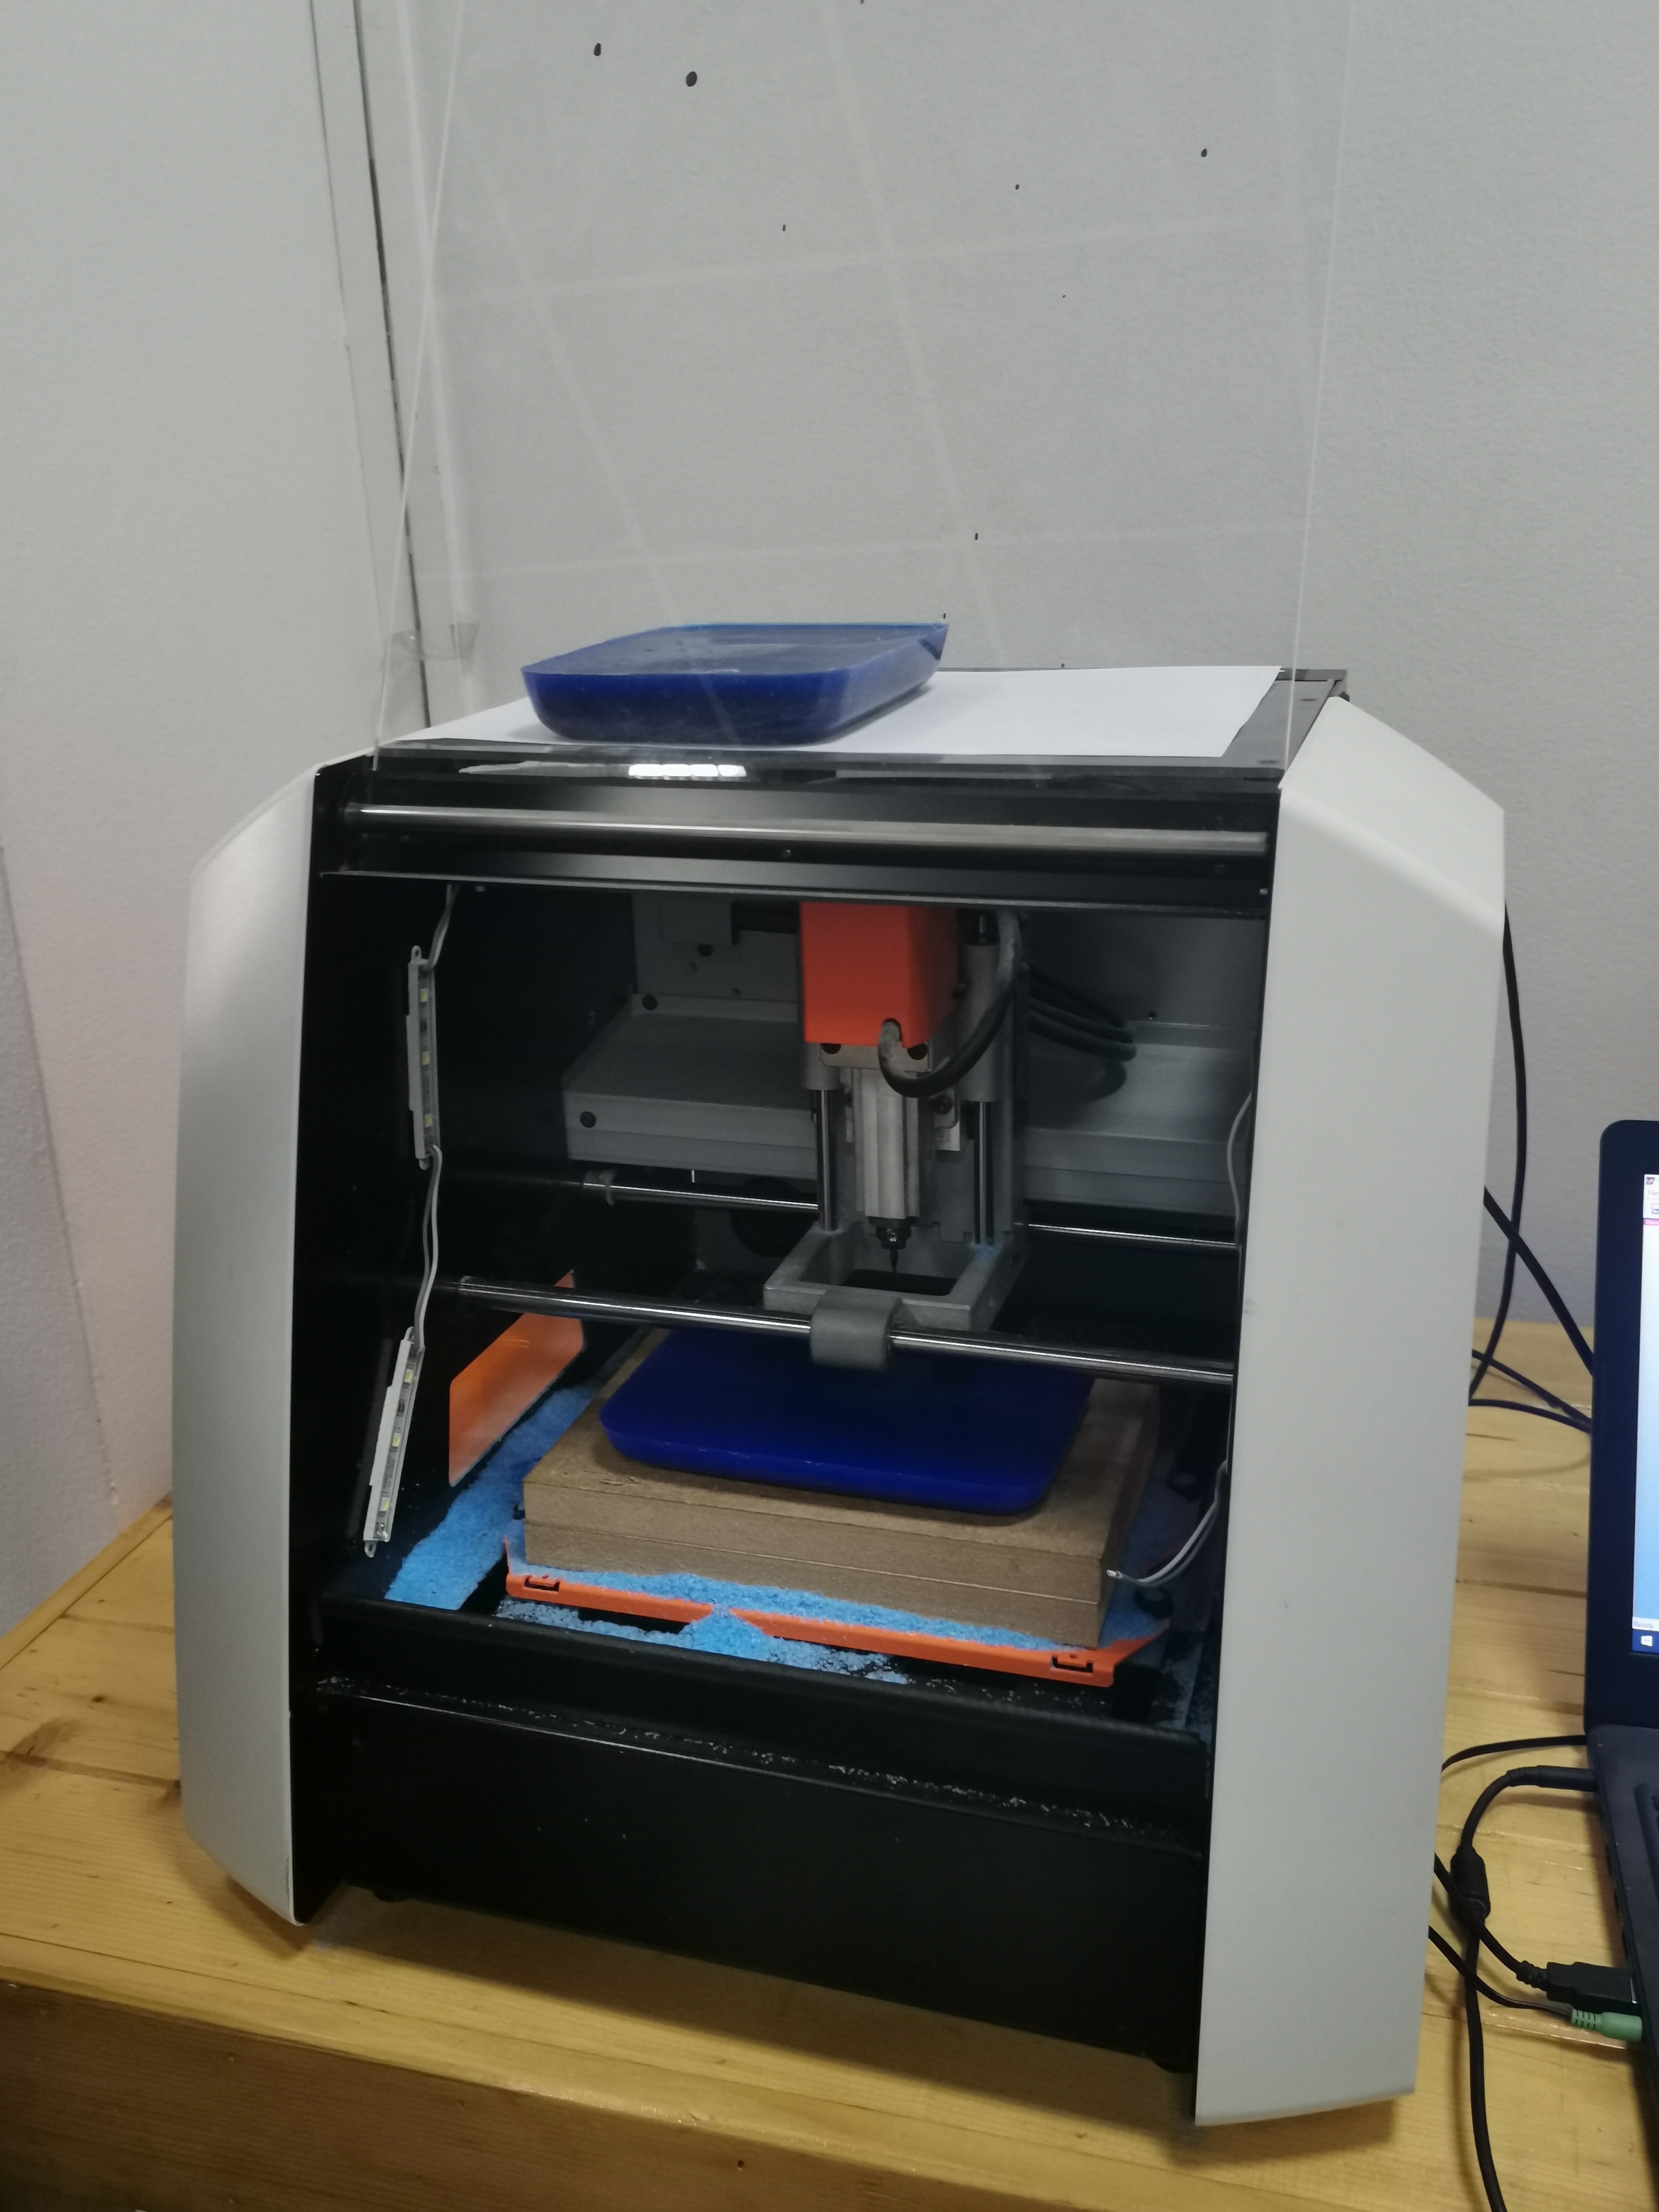
3) placing the block in the machine and pressing it down so it will have an equal level in both sides.
4)
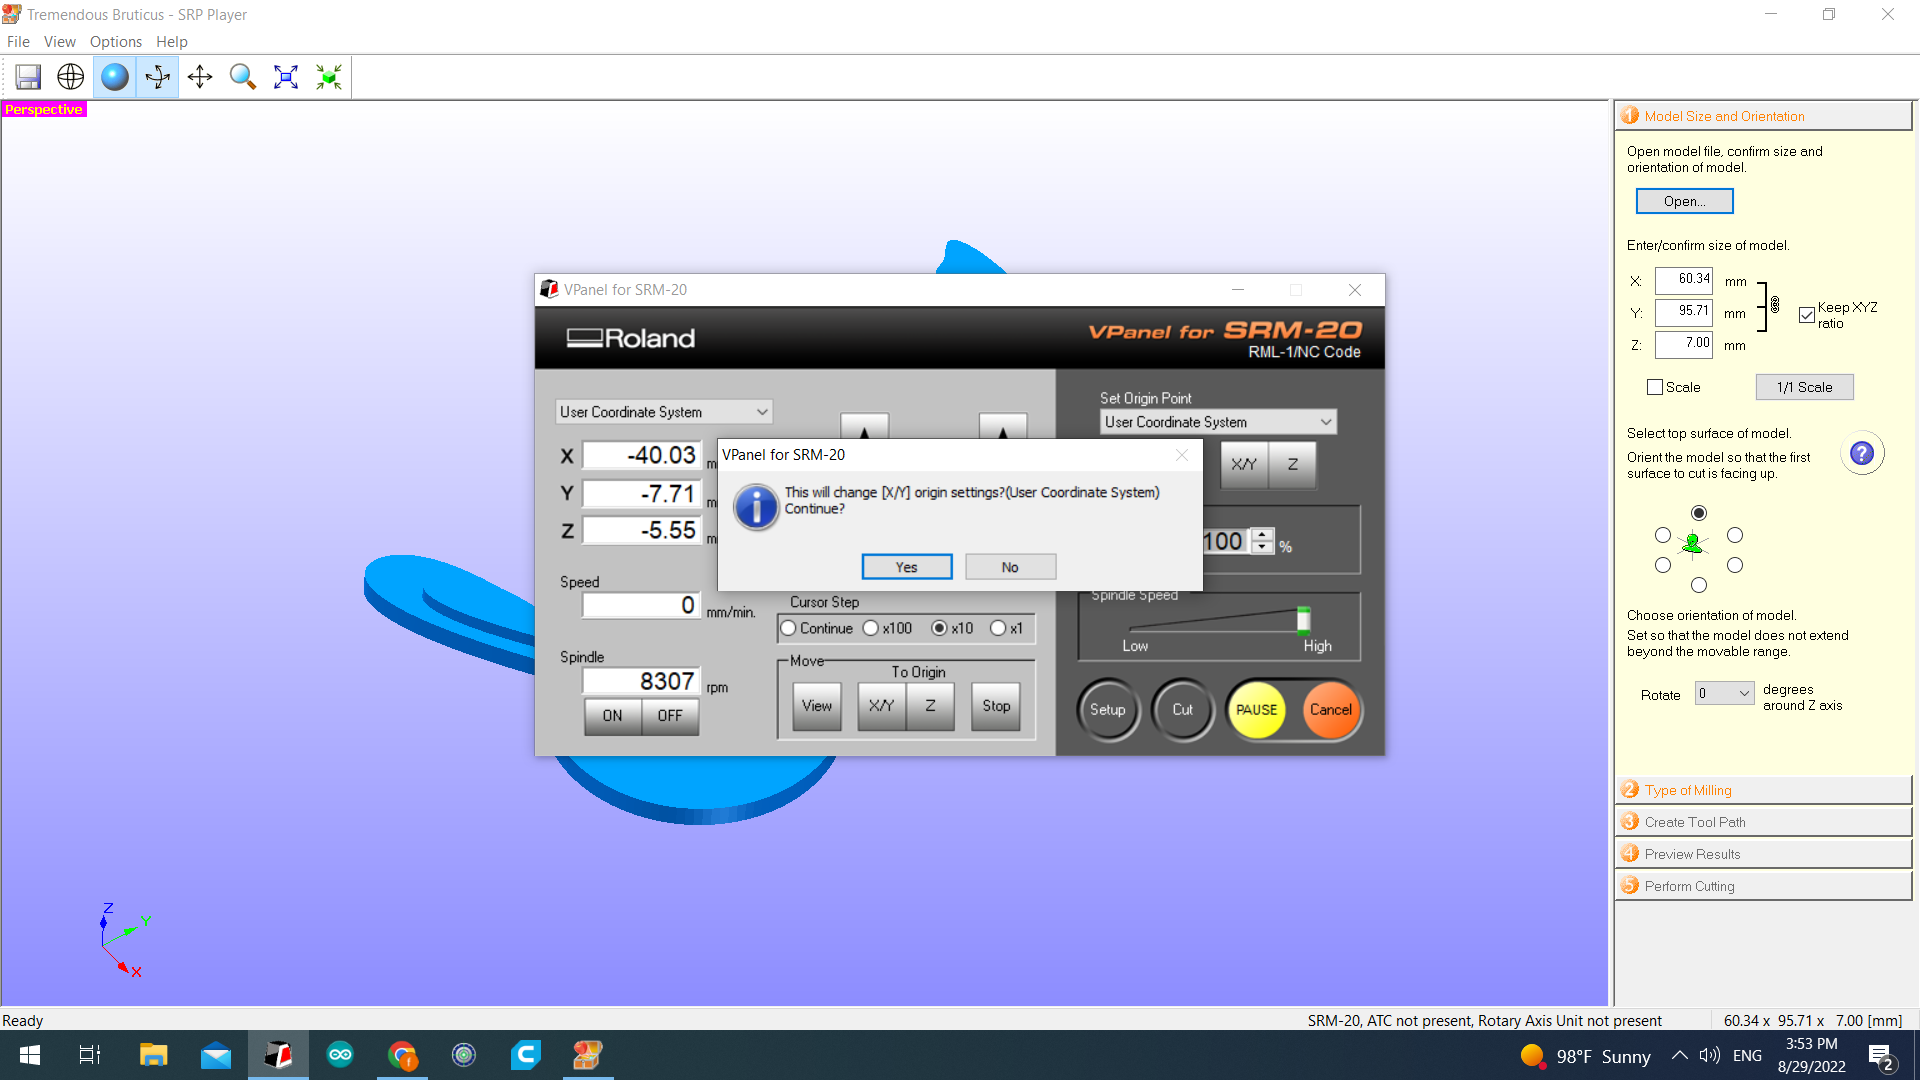
5) moving the axes so it would be directly on the middle point that been pointed above.
6) making sure the needle exactly on the point.
Device settings
1) This is the sizes of the needle.

2) the needle location away from the origin.

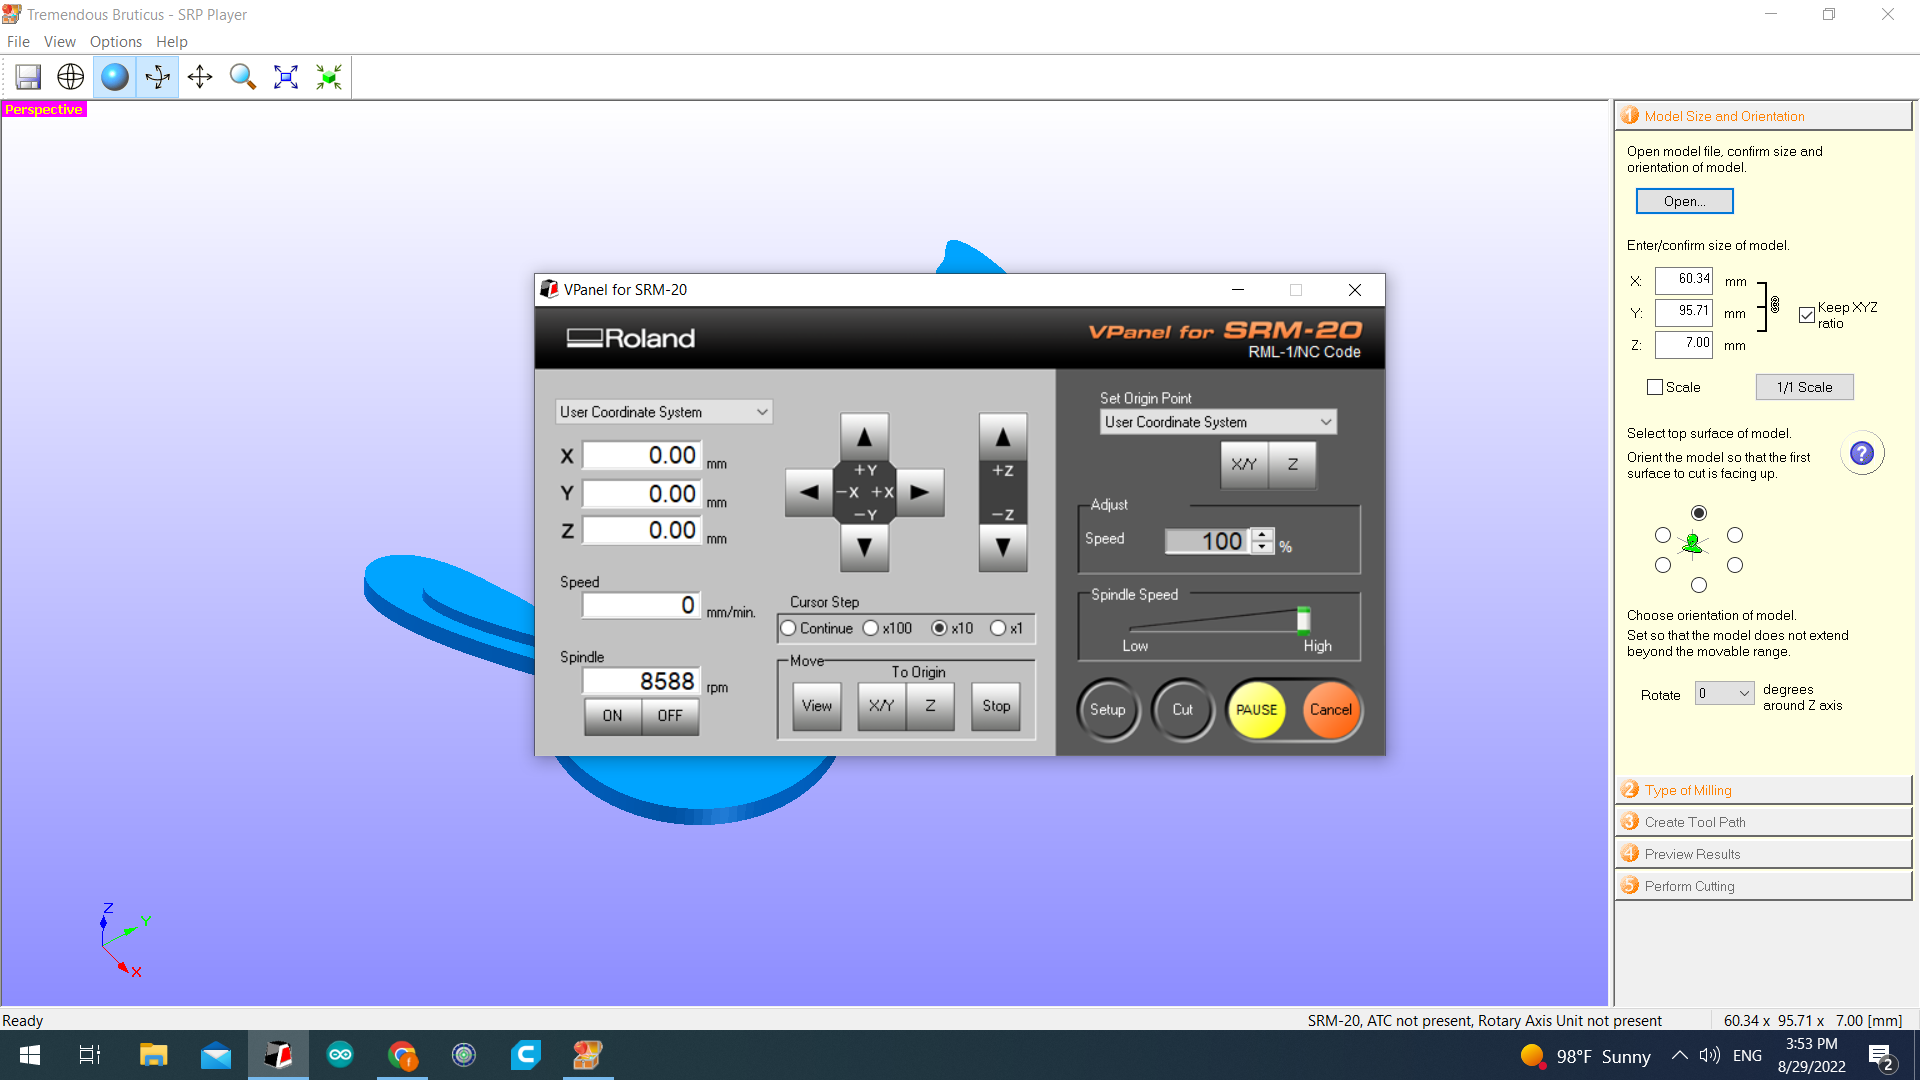
3) changing the needle location.
4) The new origin.
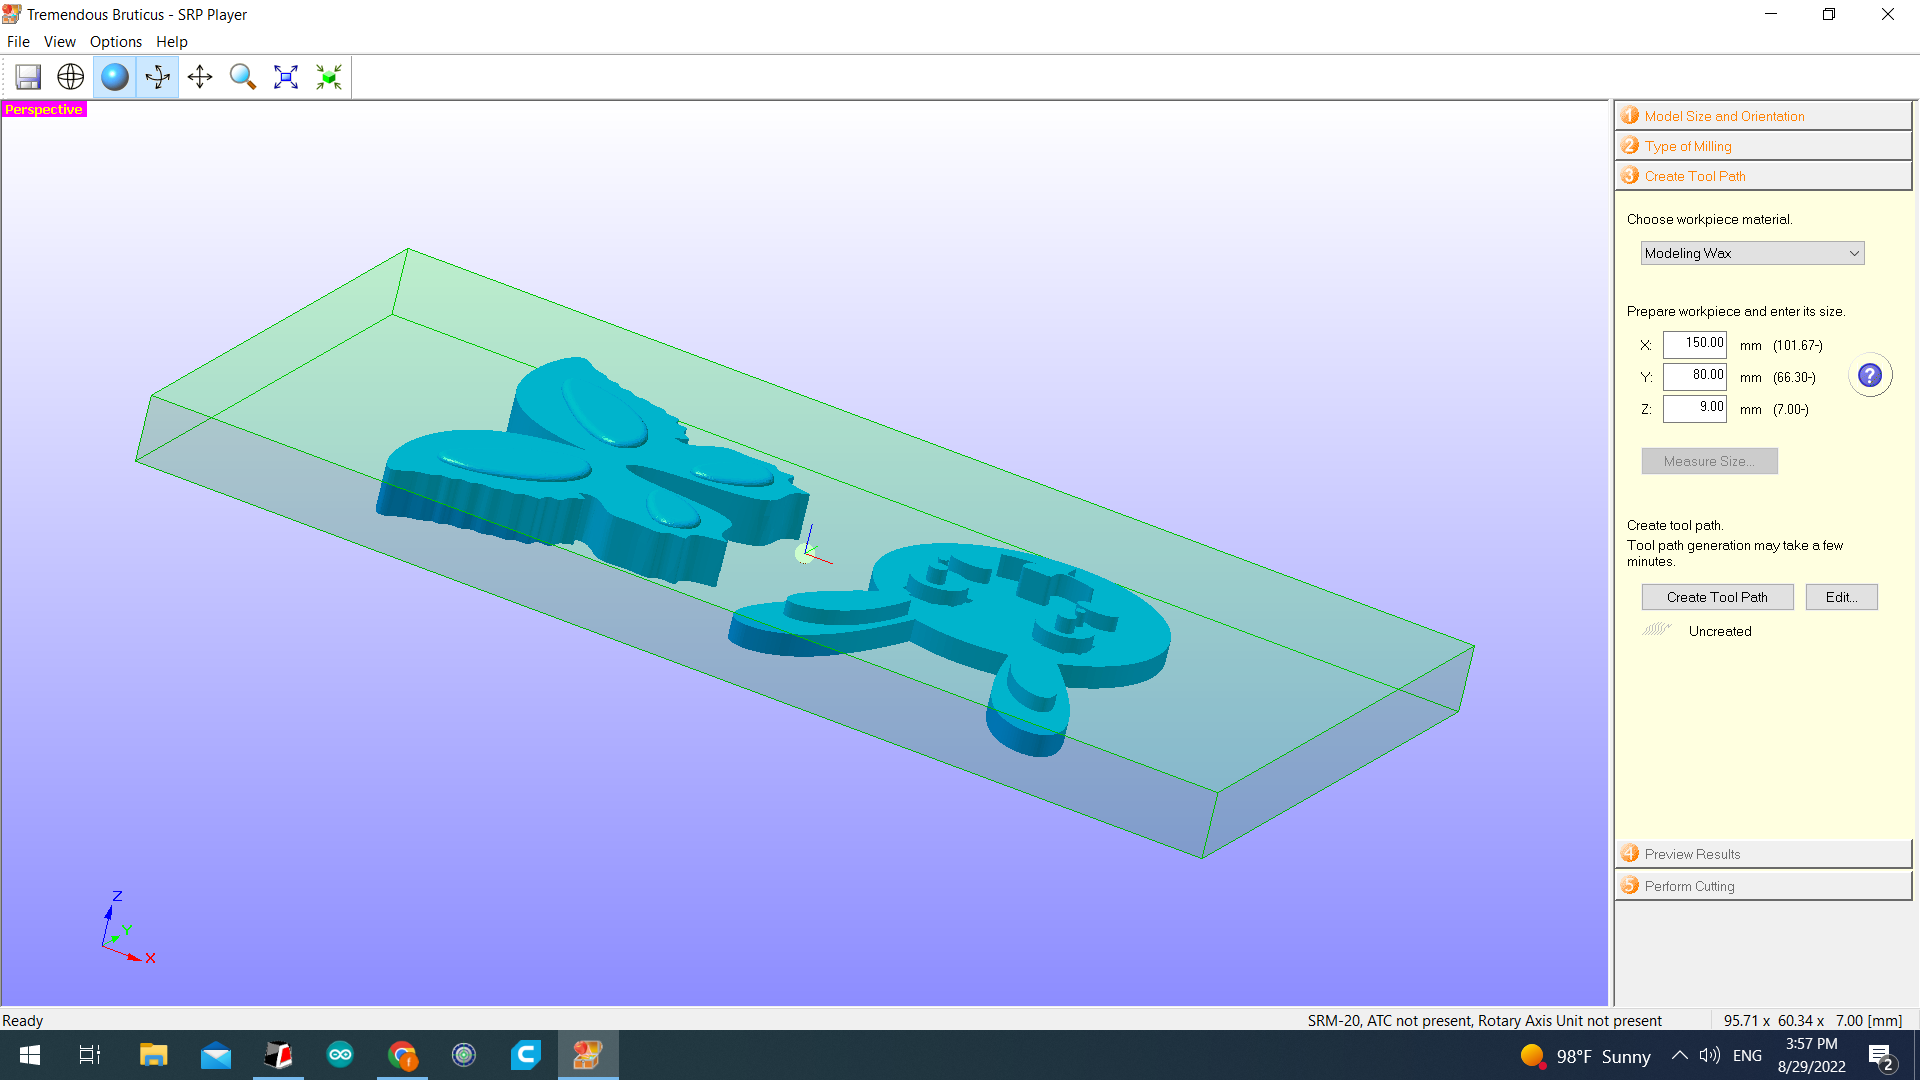
5) The sizes of the model in the x, y and z axis.

6) here the type of milling we want and we chose 1) Better surface finish. 2) Model with many curved surfaces. 3) Block workpiece then Cut top only.

7) The wax we are using size in the x, y and z axis.
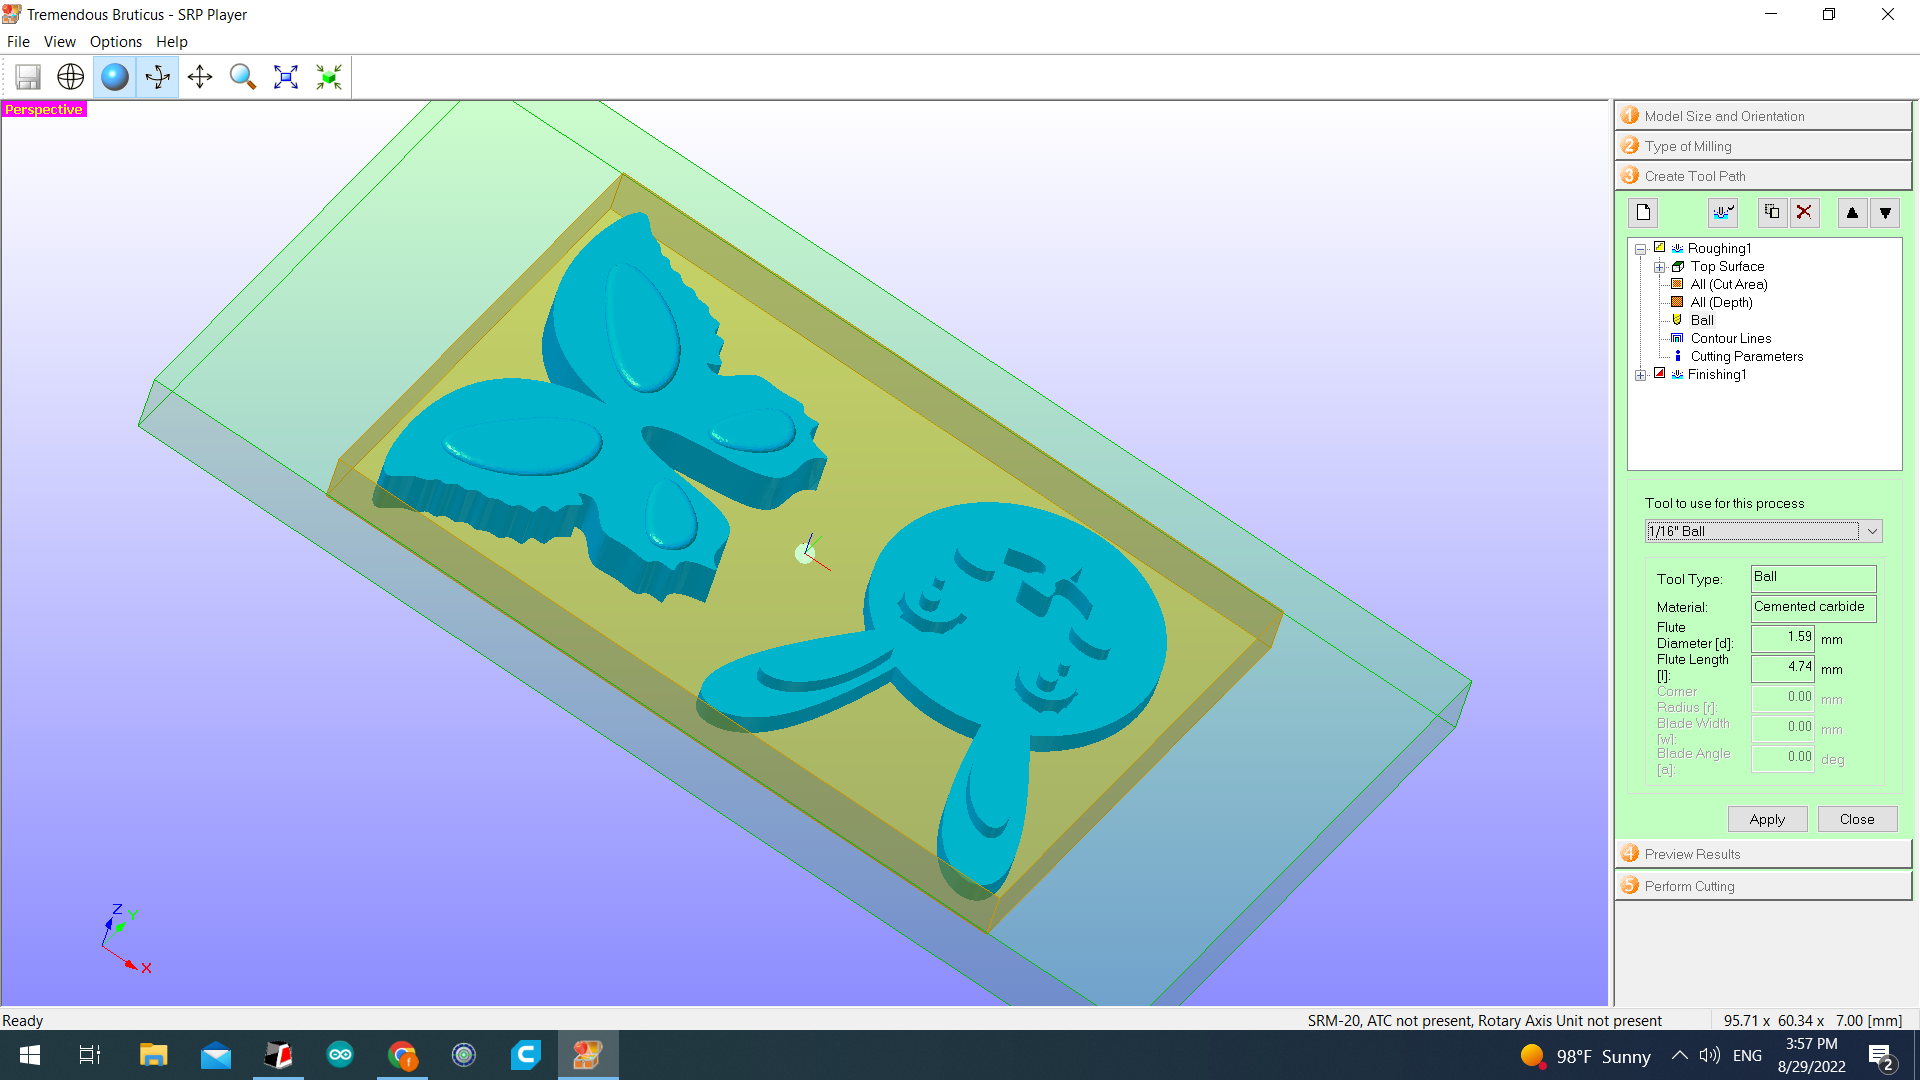
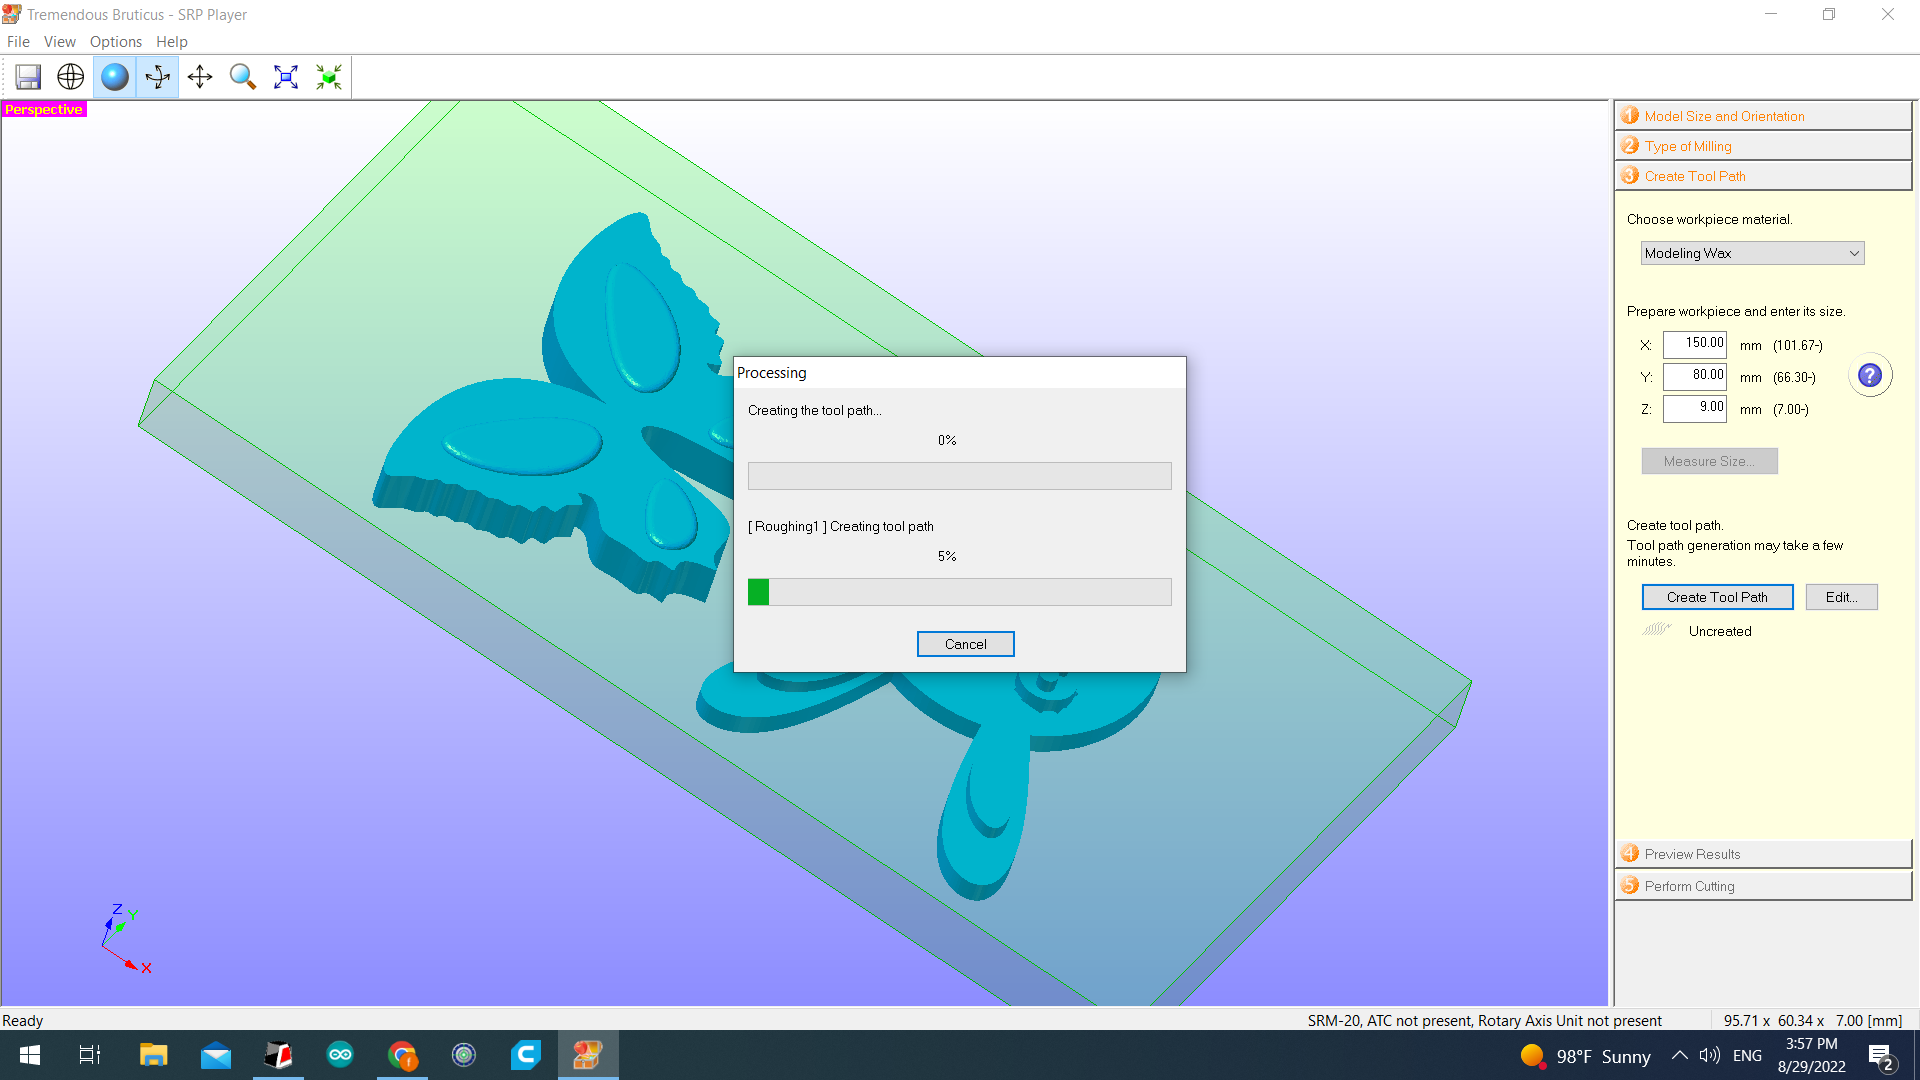
8) Tool size of it the diameter and the length.
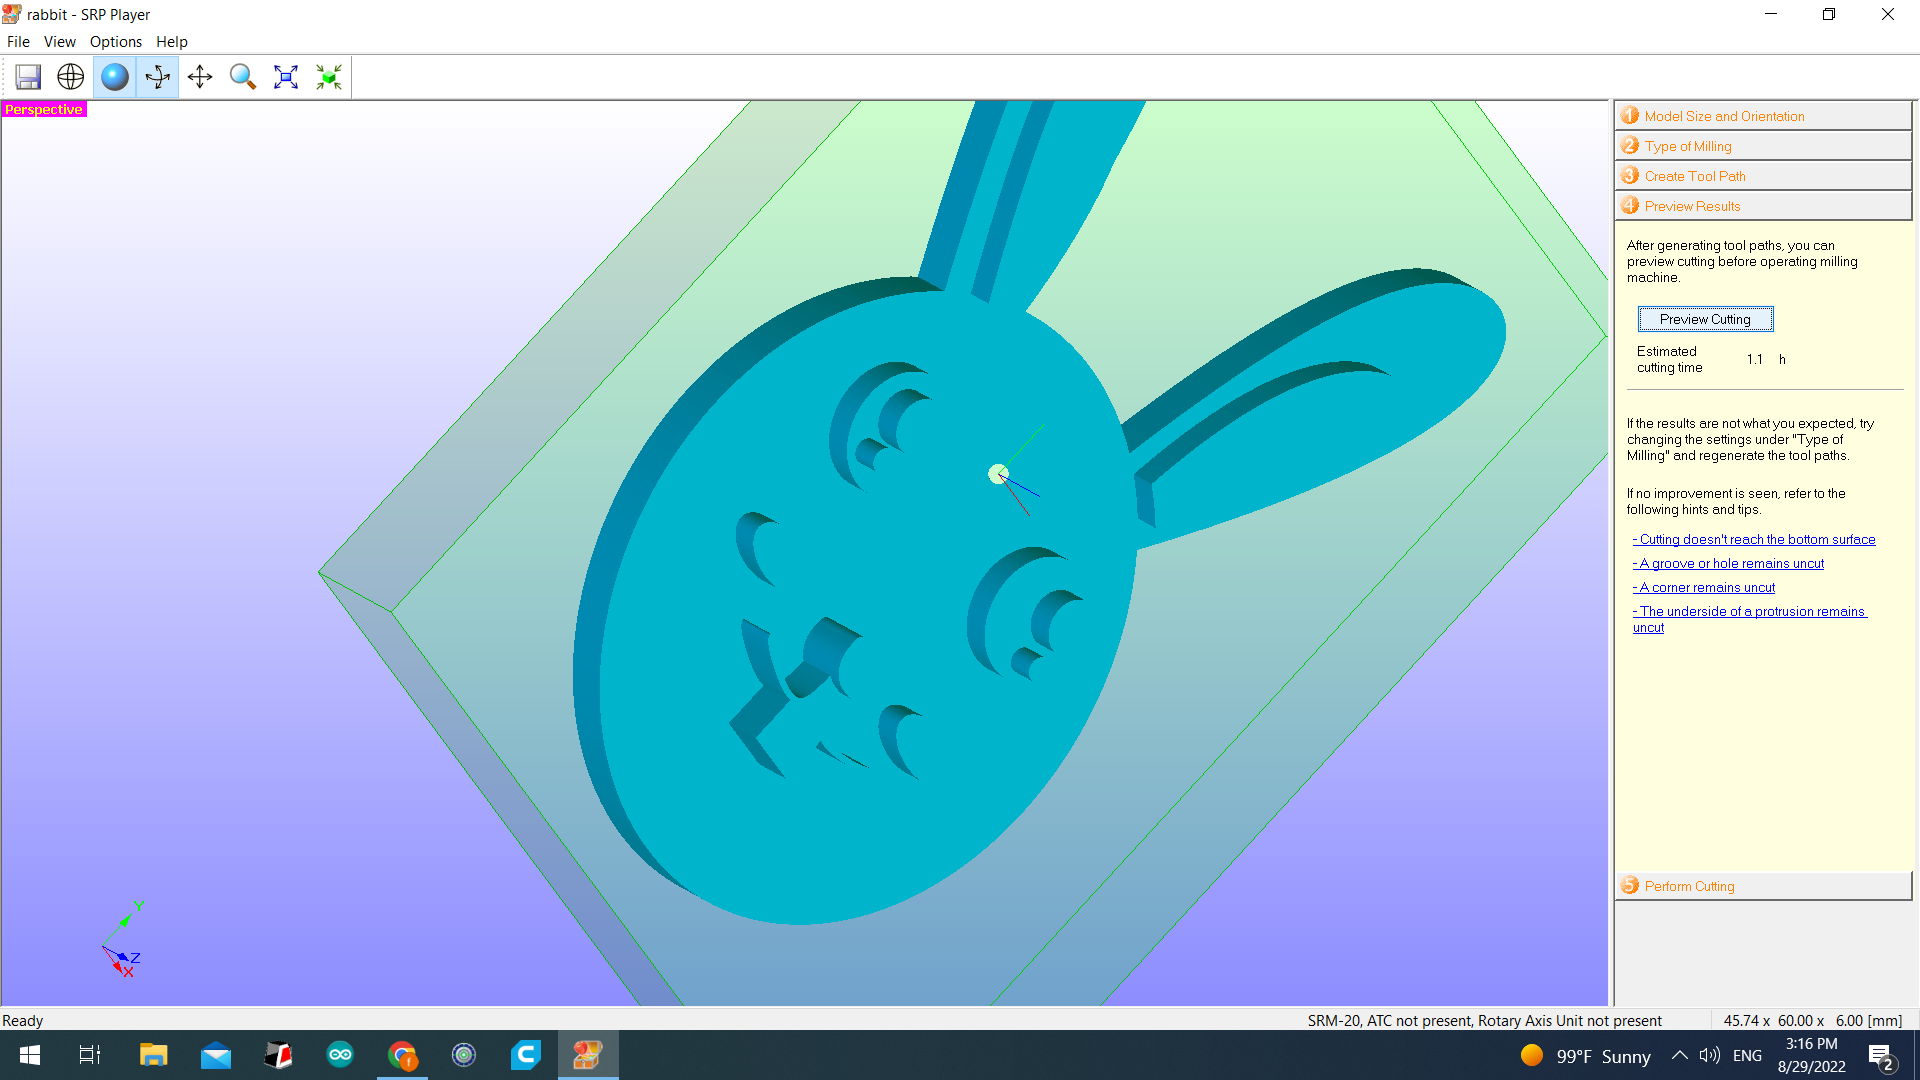
9) Clicking on “Create tool path”.
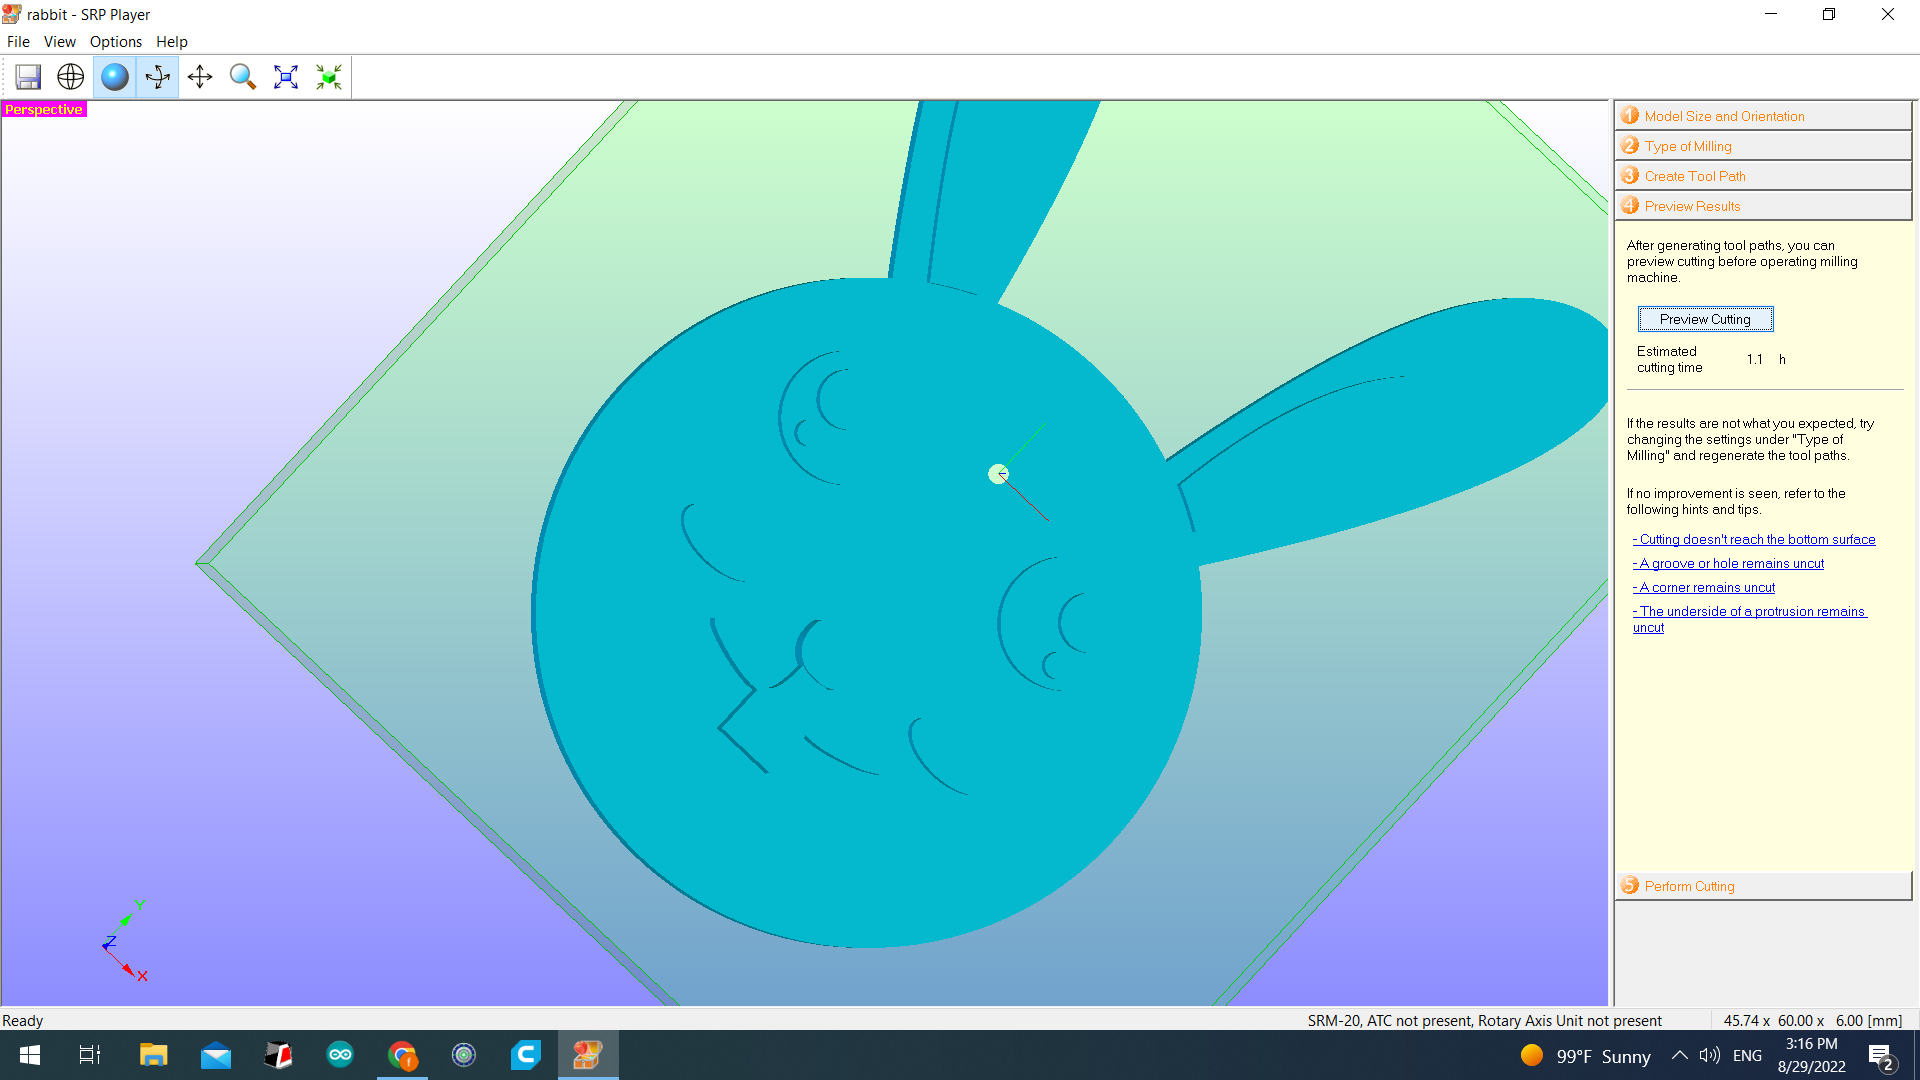
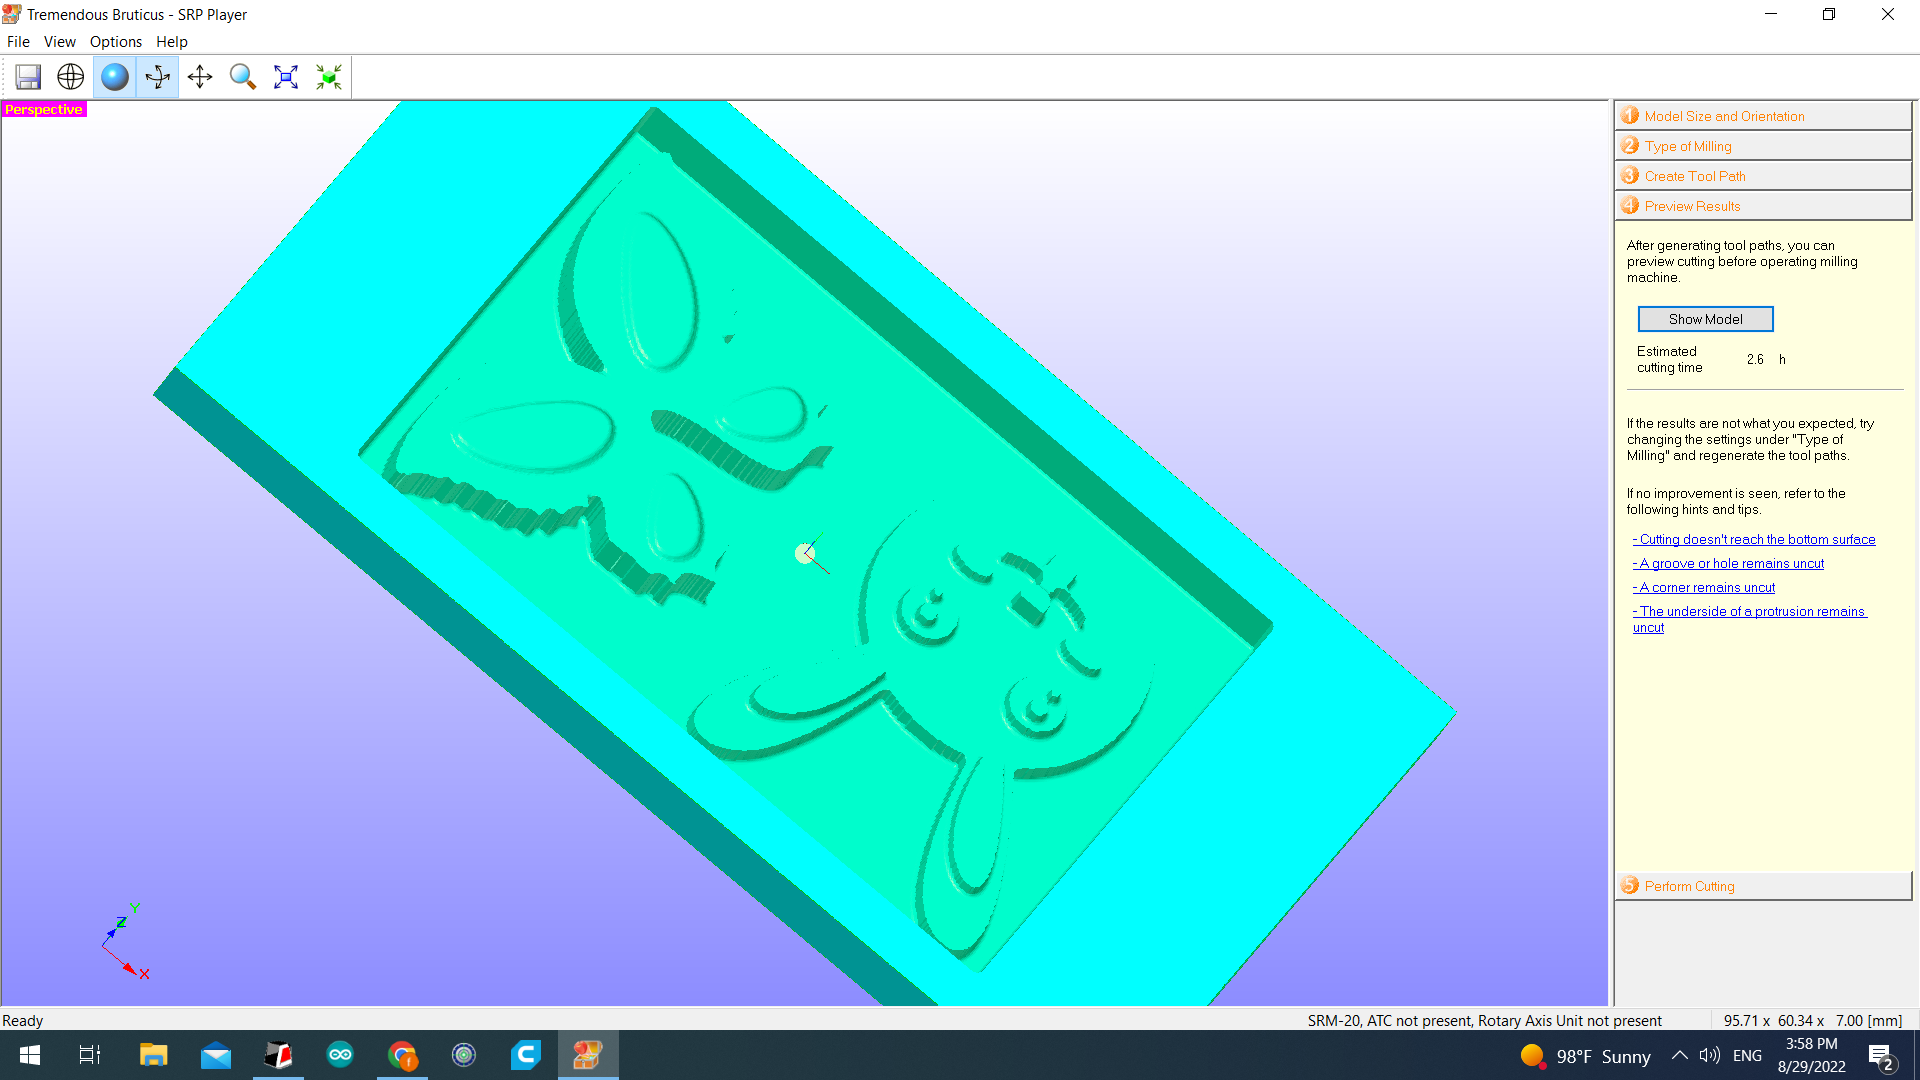
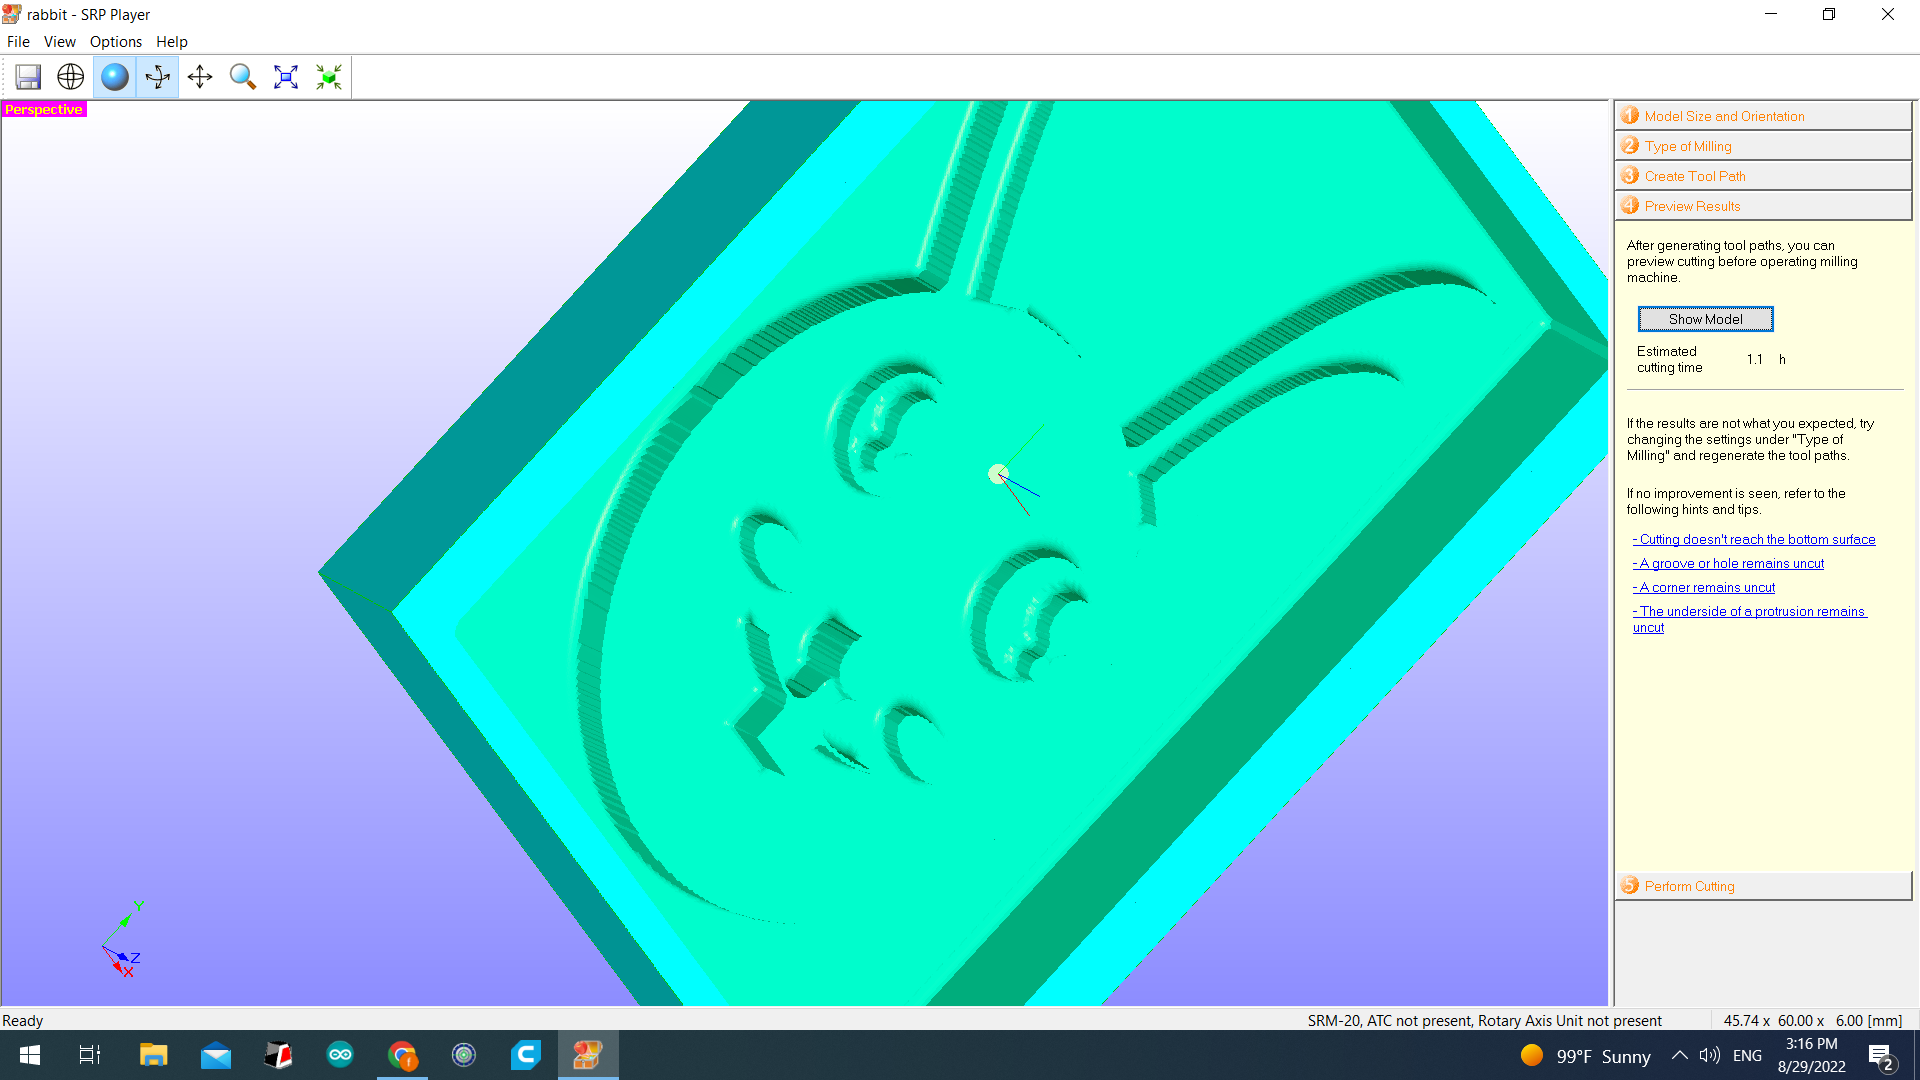
10) This is the preview of the model and what will look like after the milling.
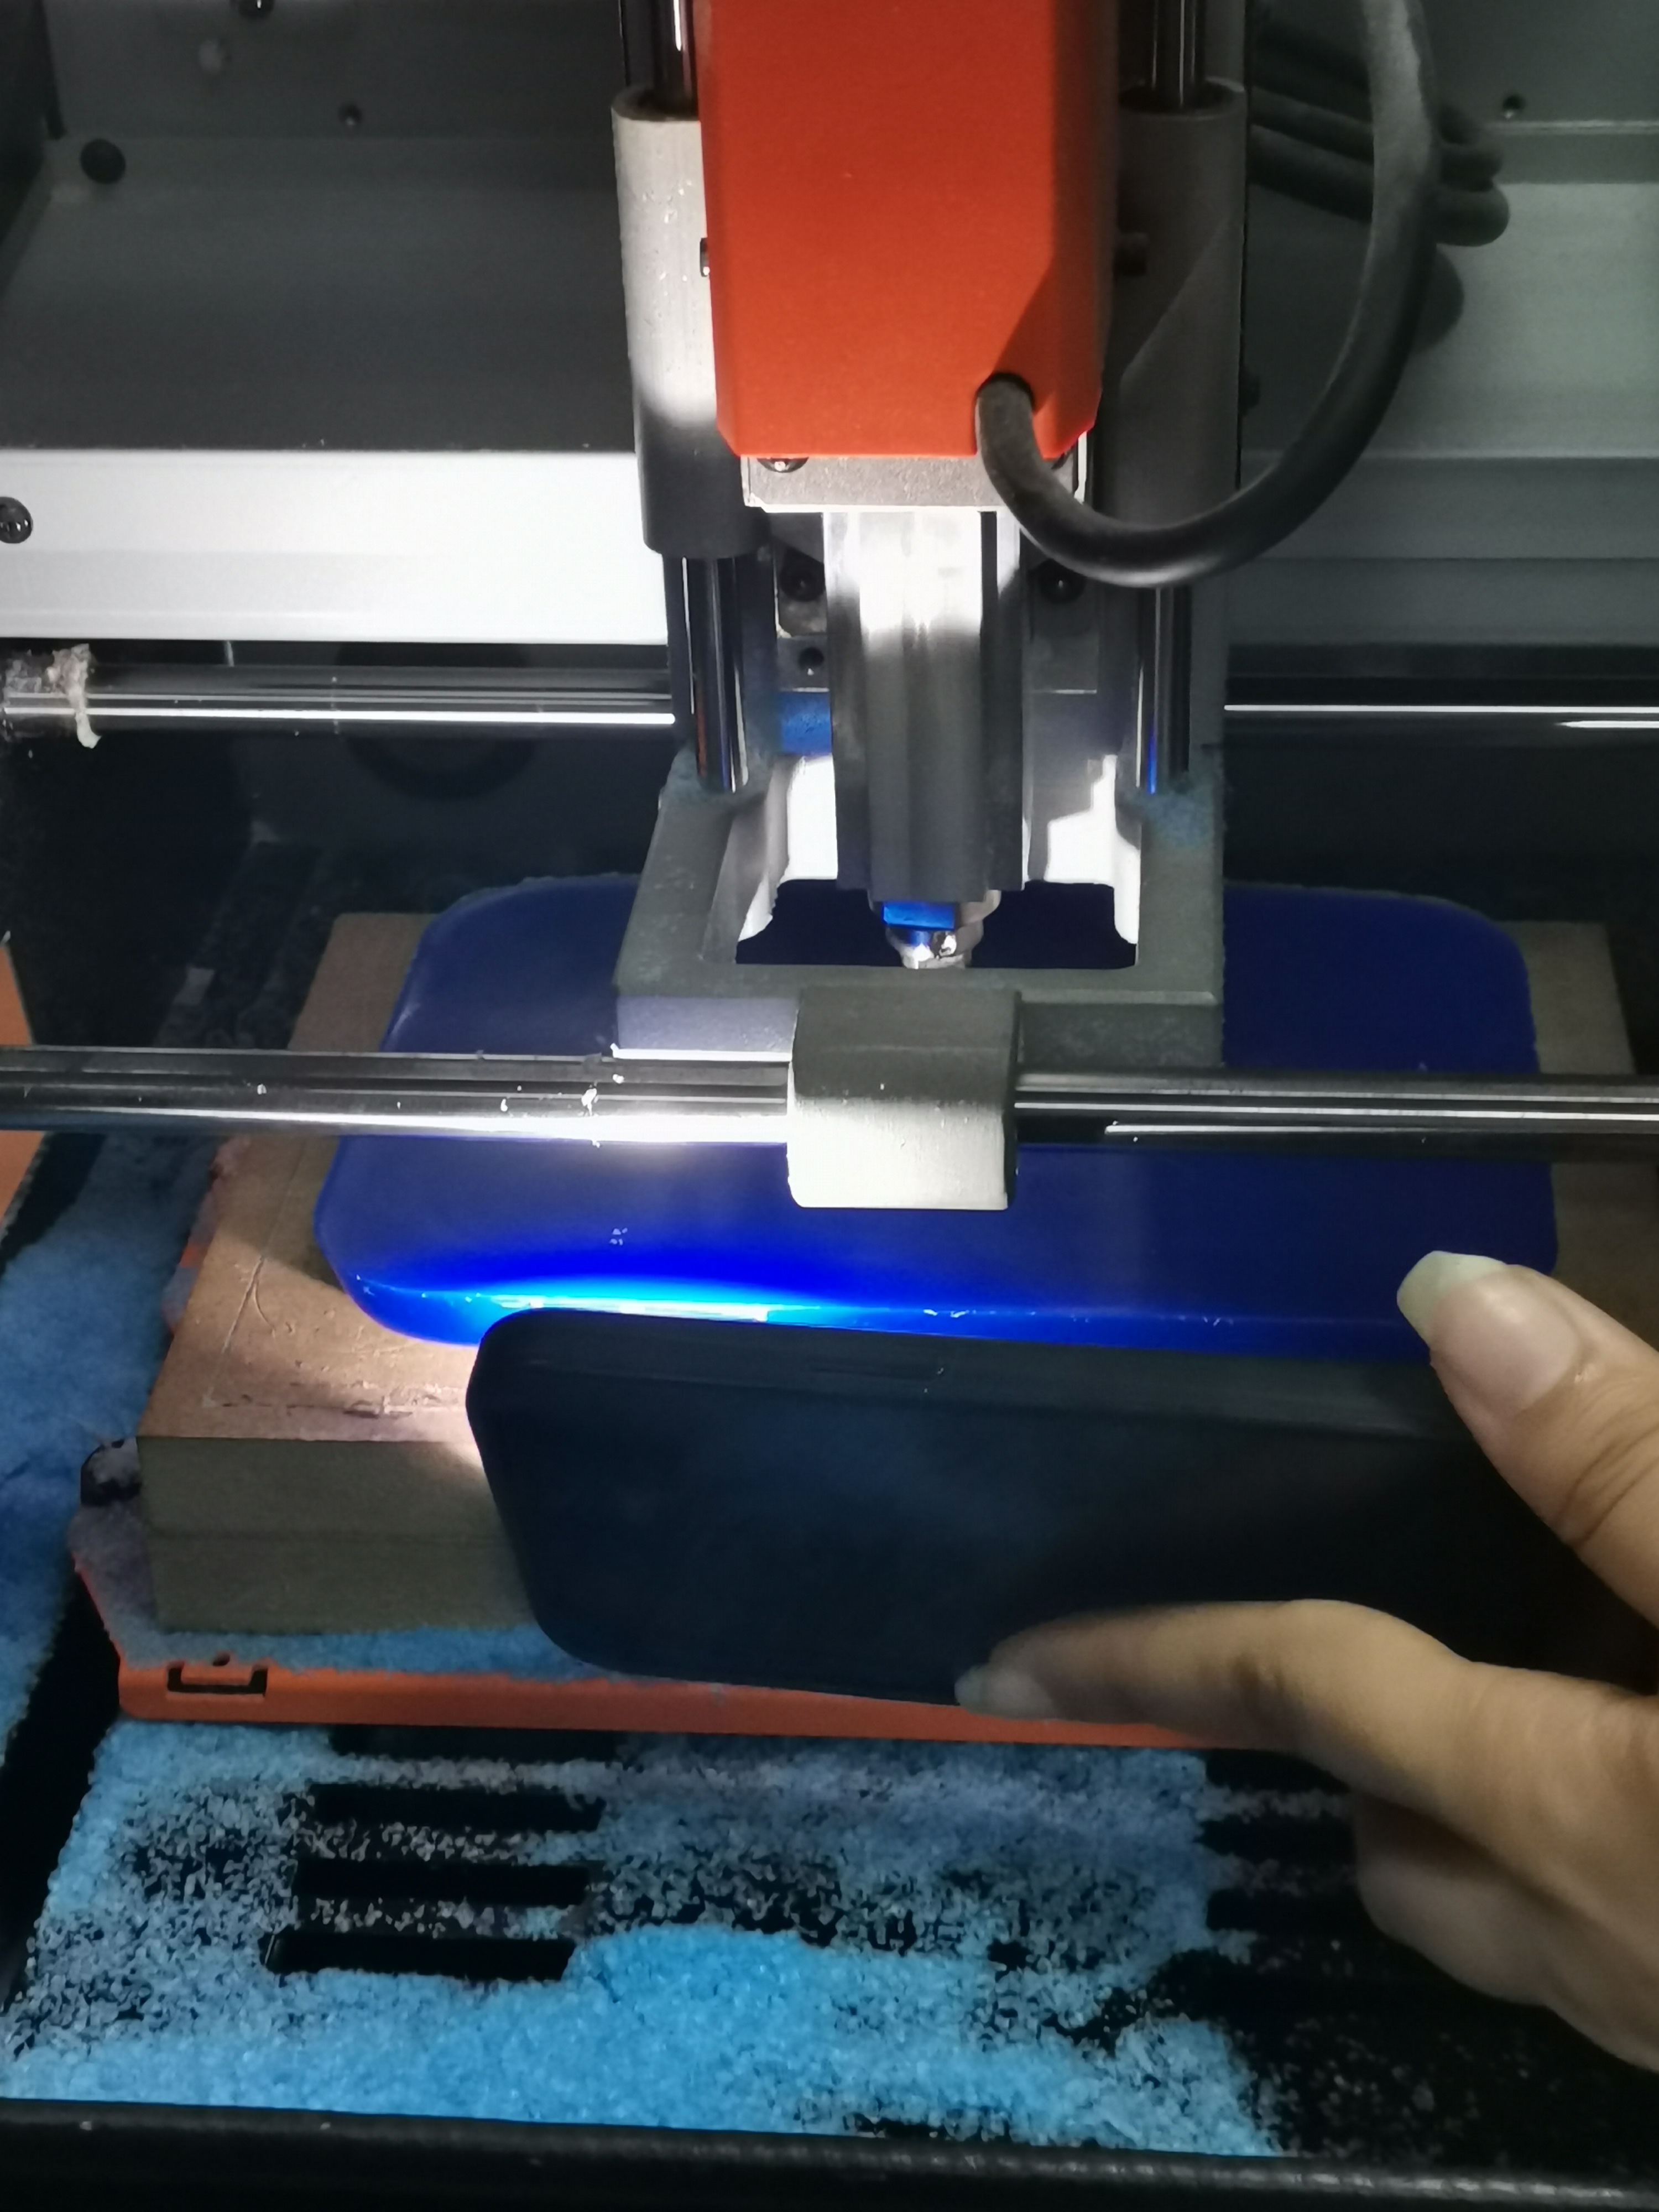
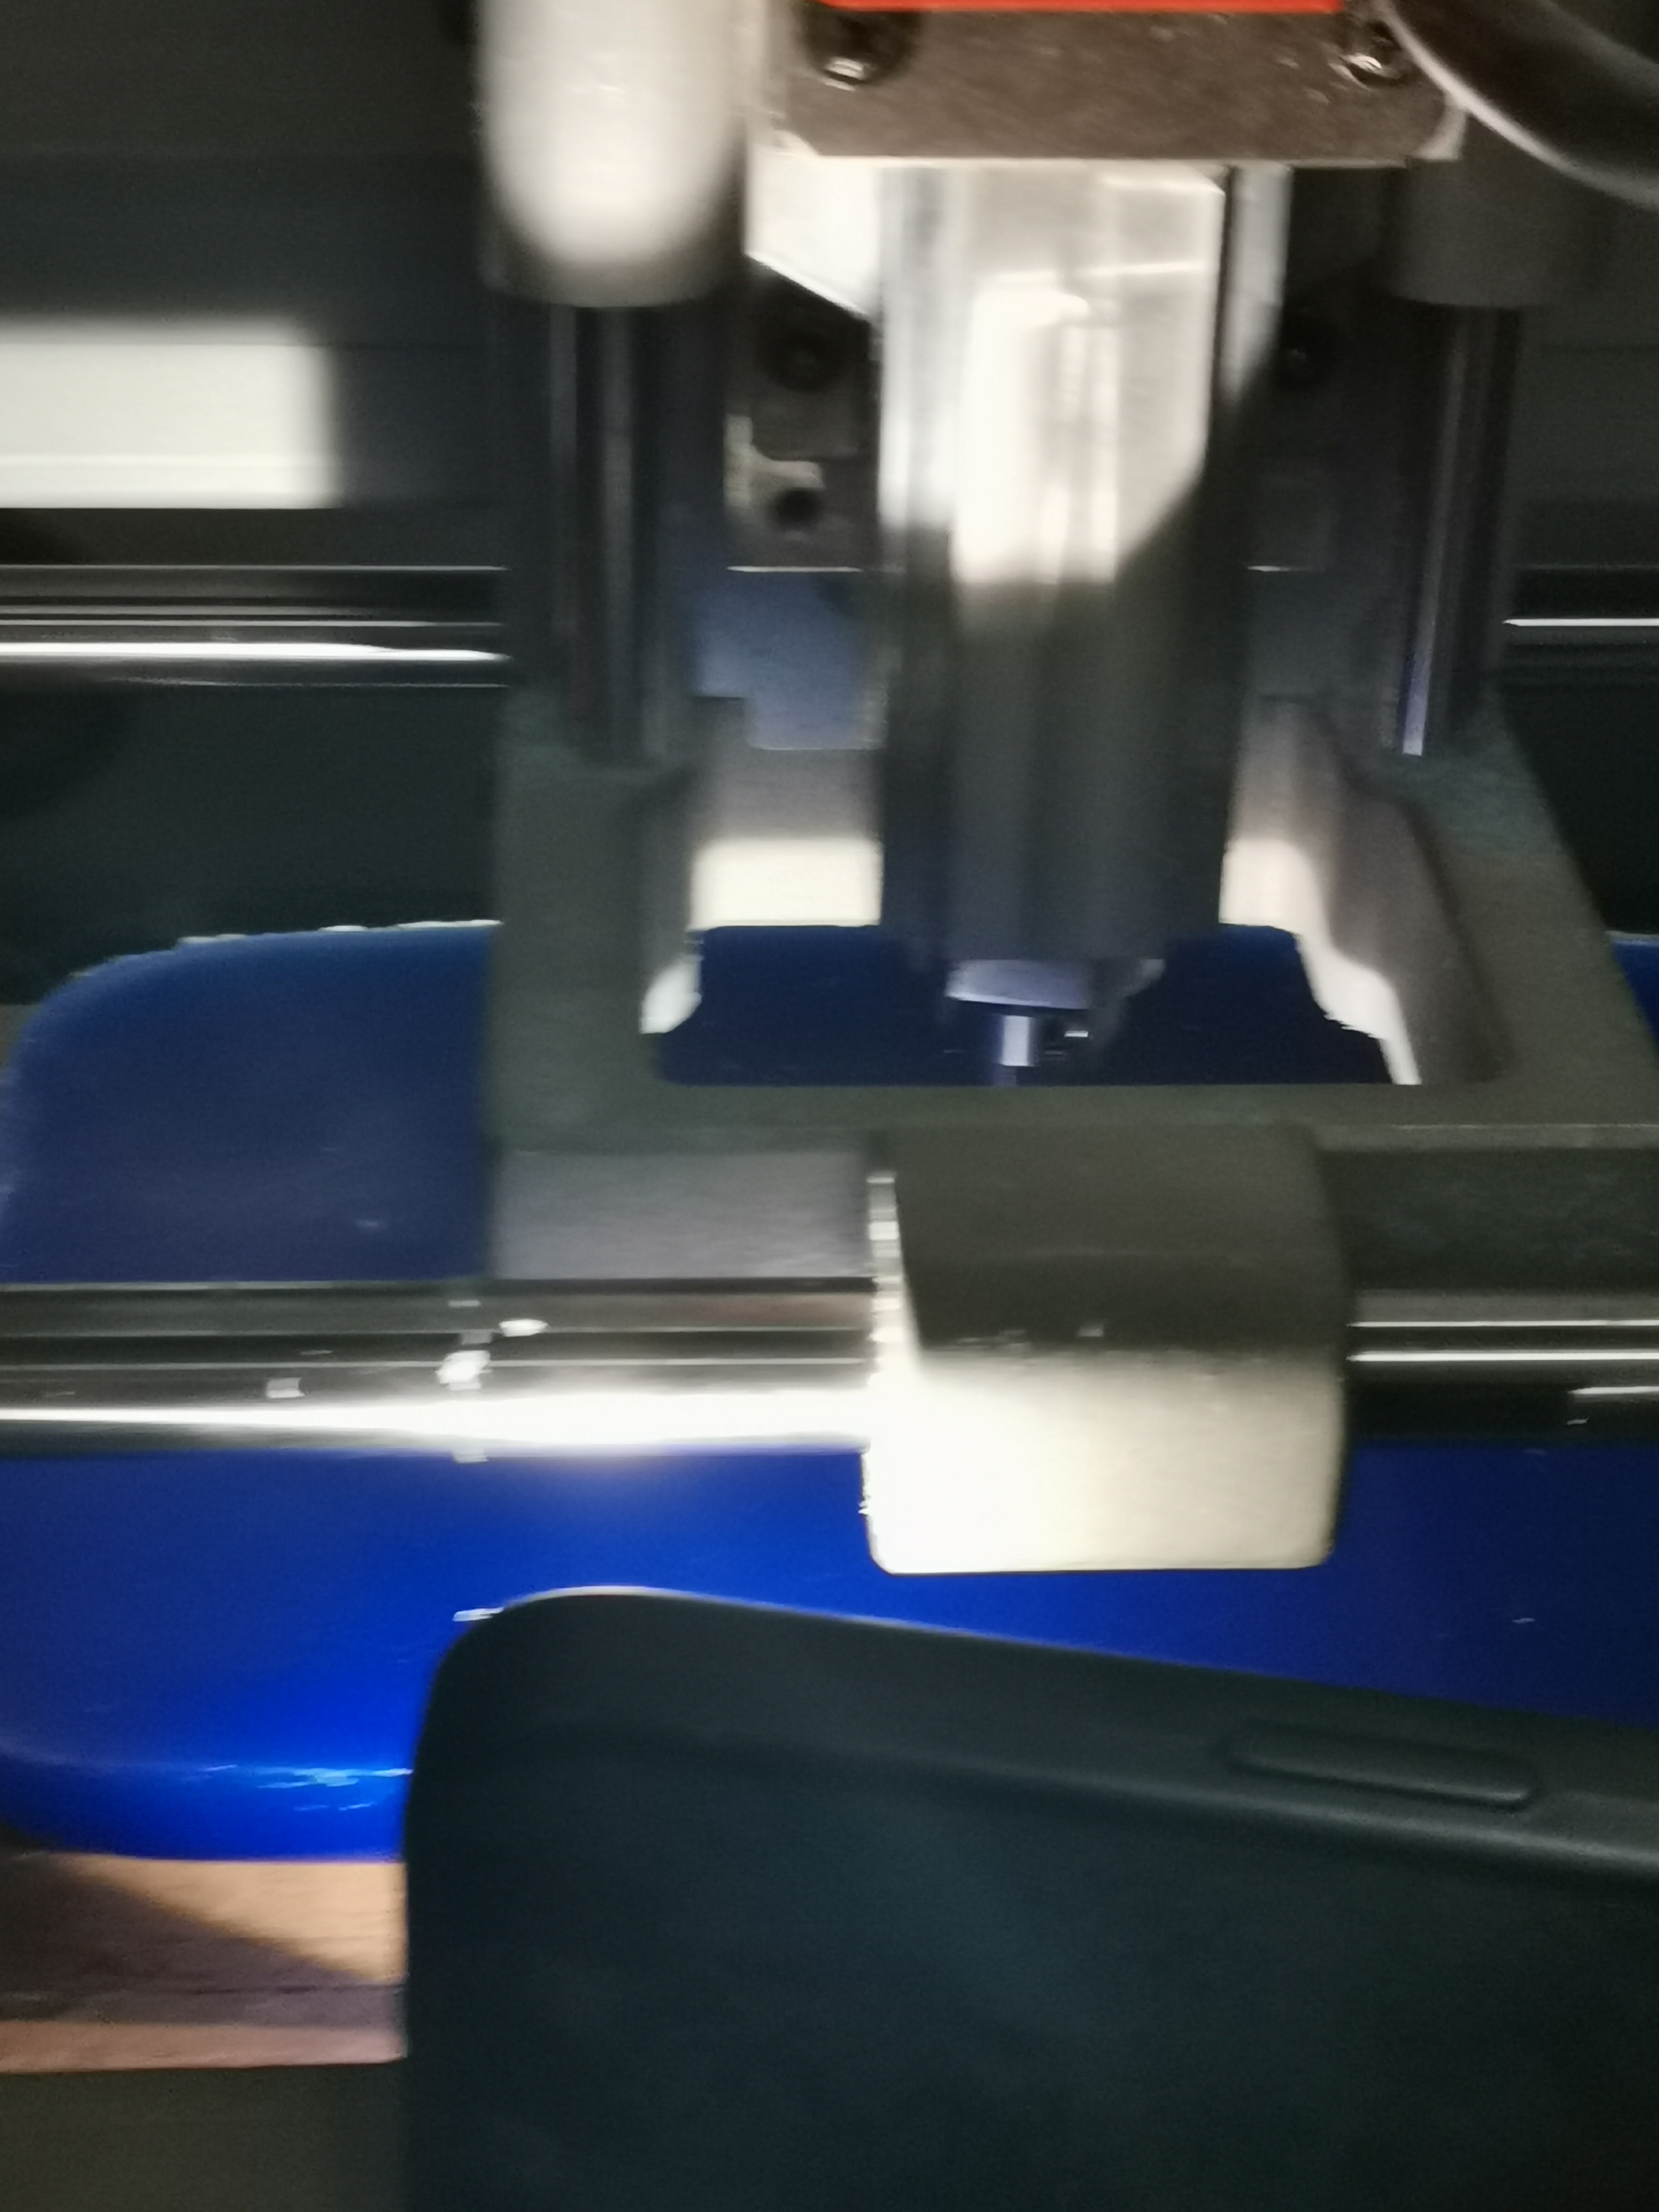
11) moving the tool or the needle to the origin poit that we measured above.
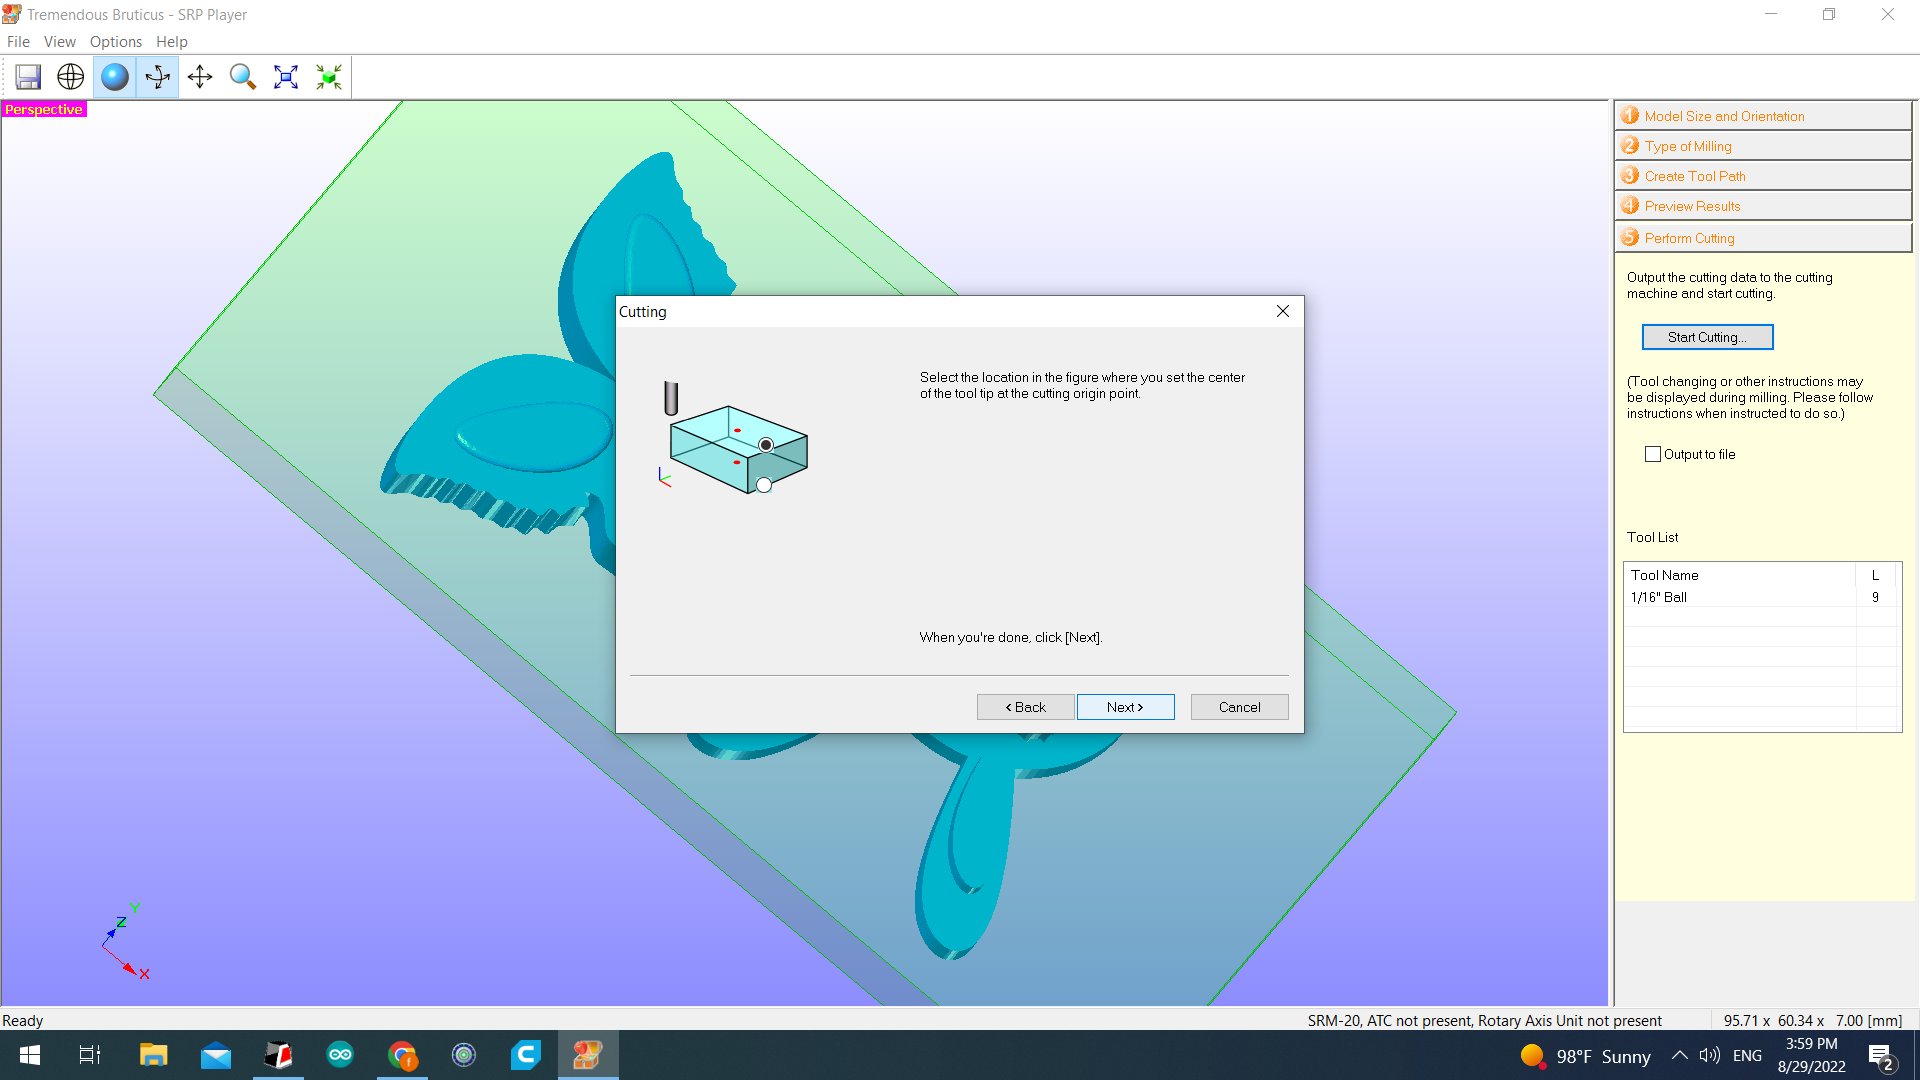
12) Moving the axes so it would be directly on the middle point that been pointed above.
13) Making sure the needle exactly on the point.
14) Selecting it
Casting
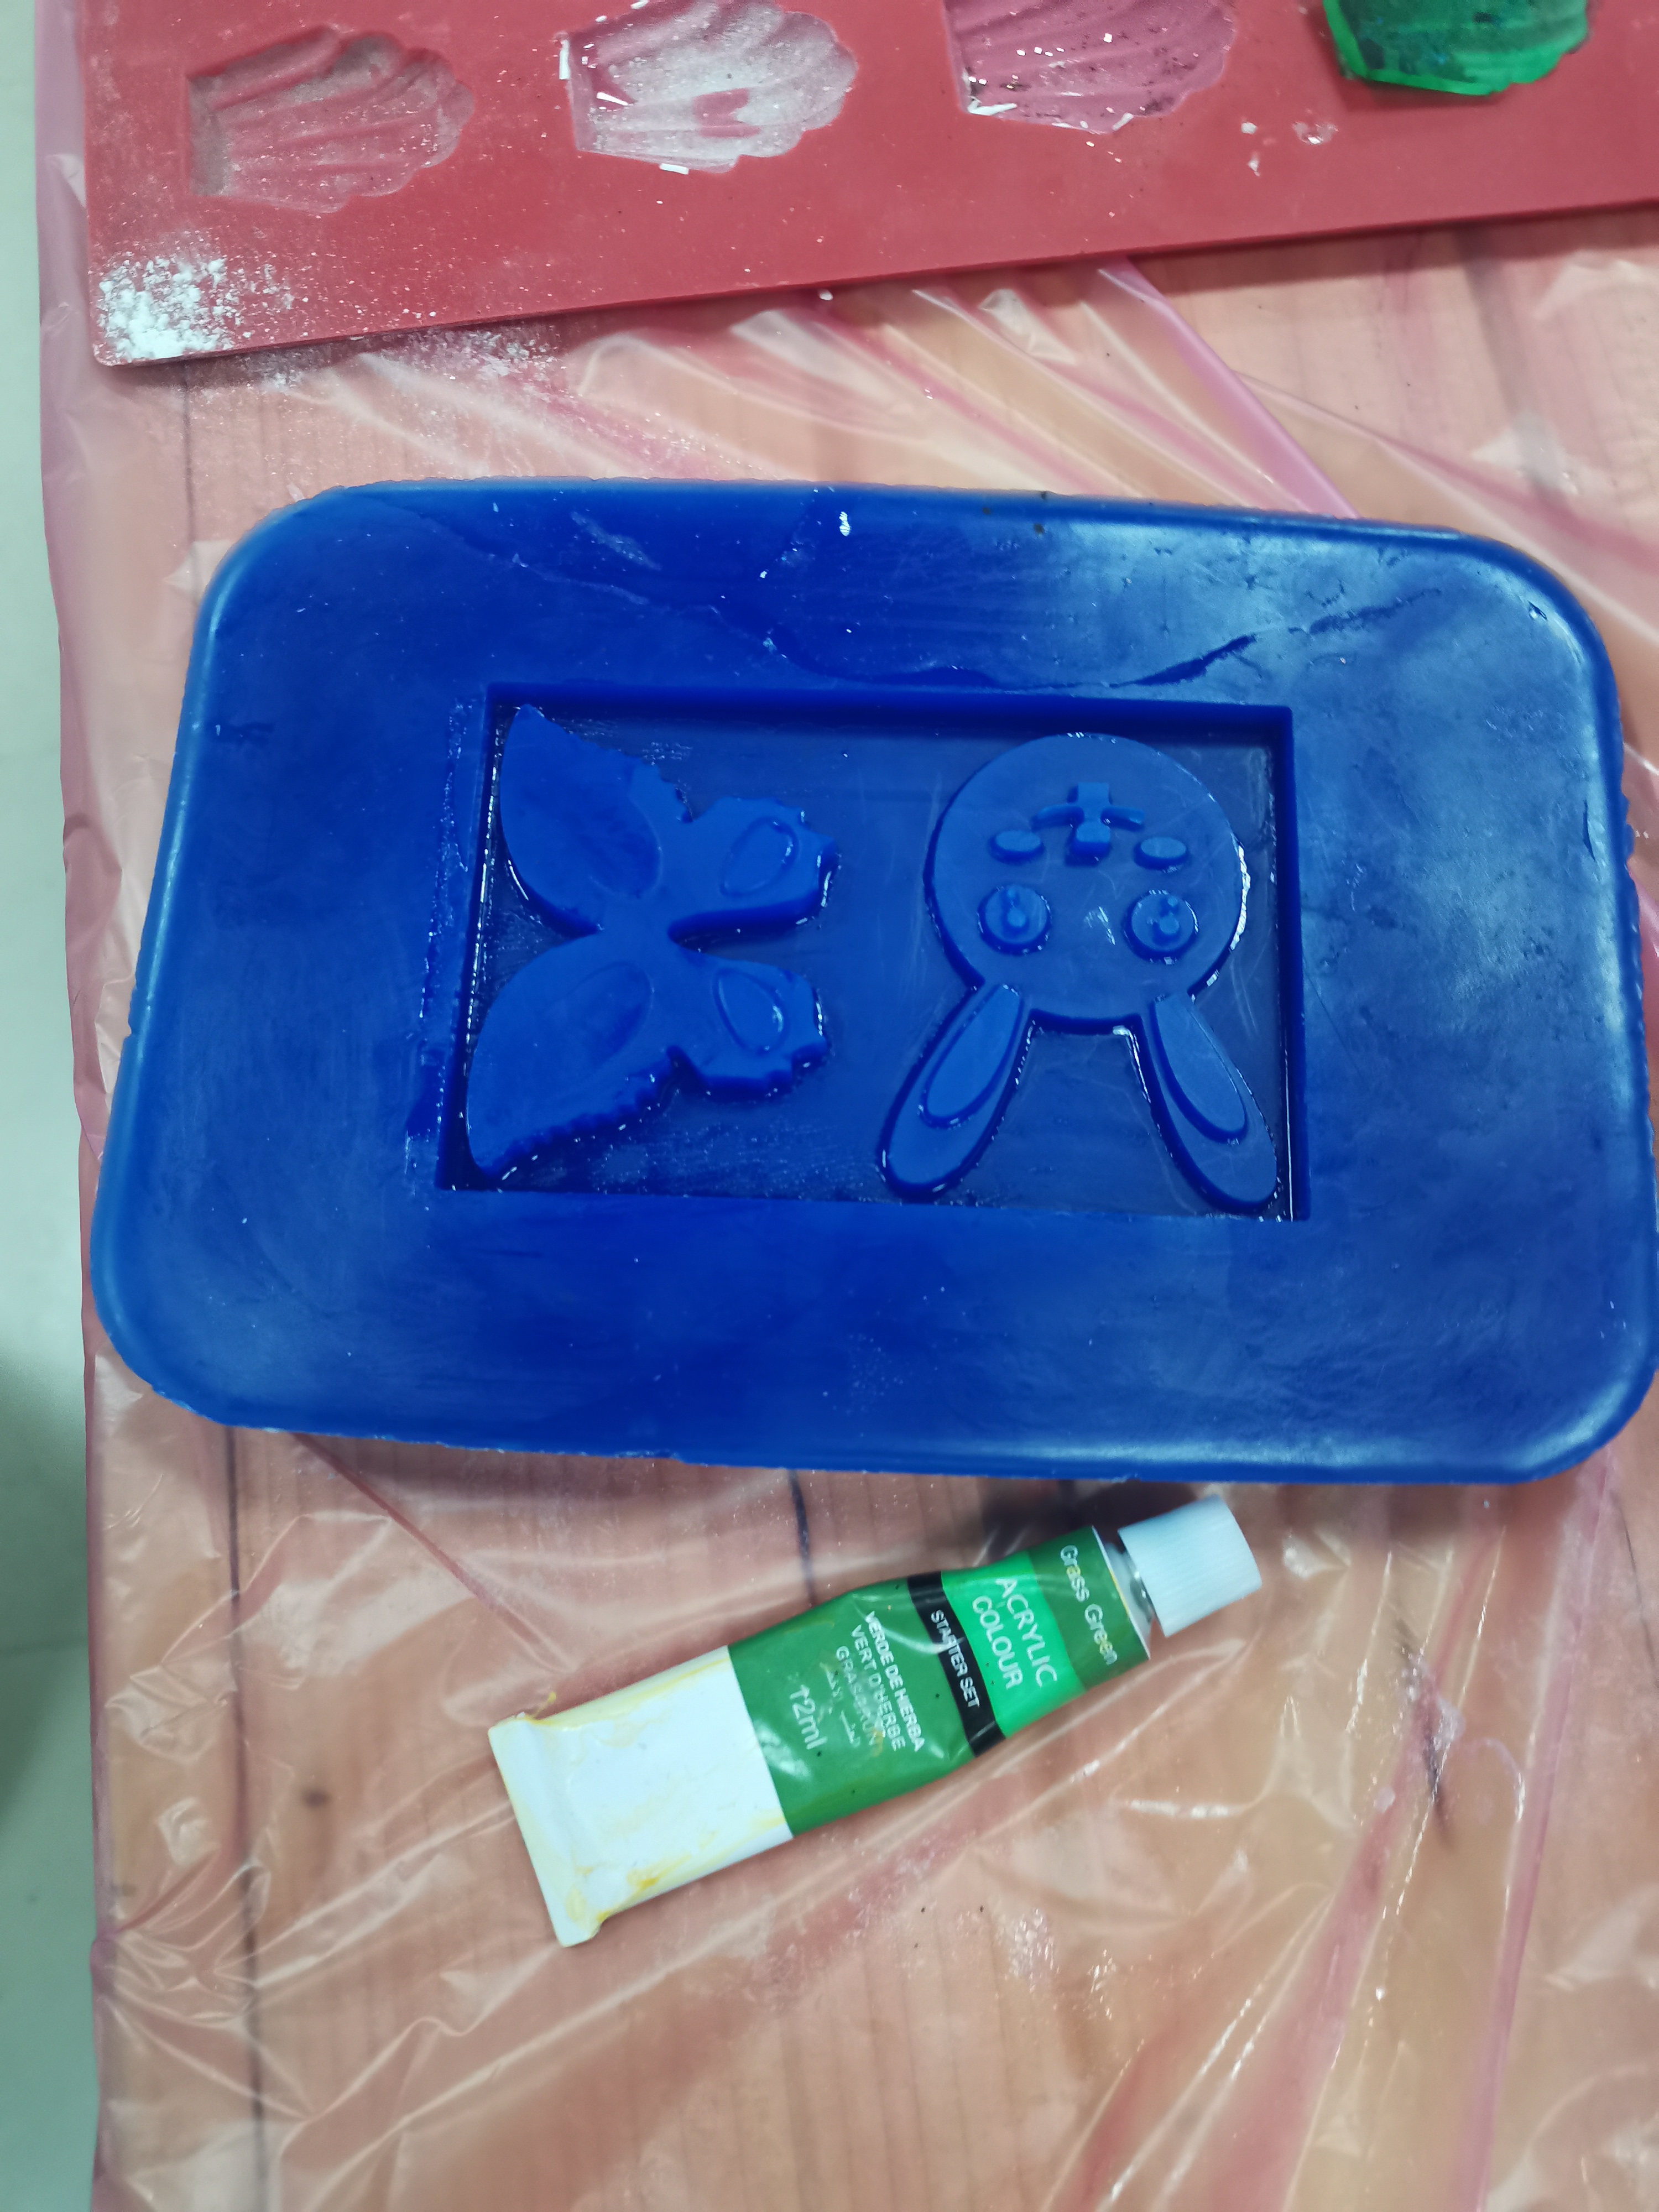
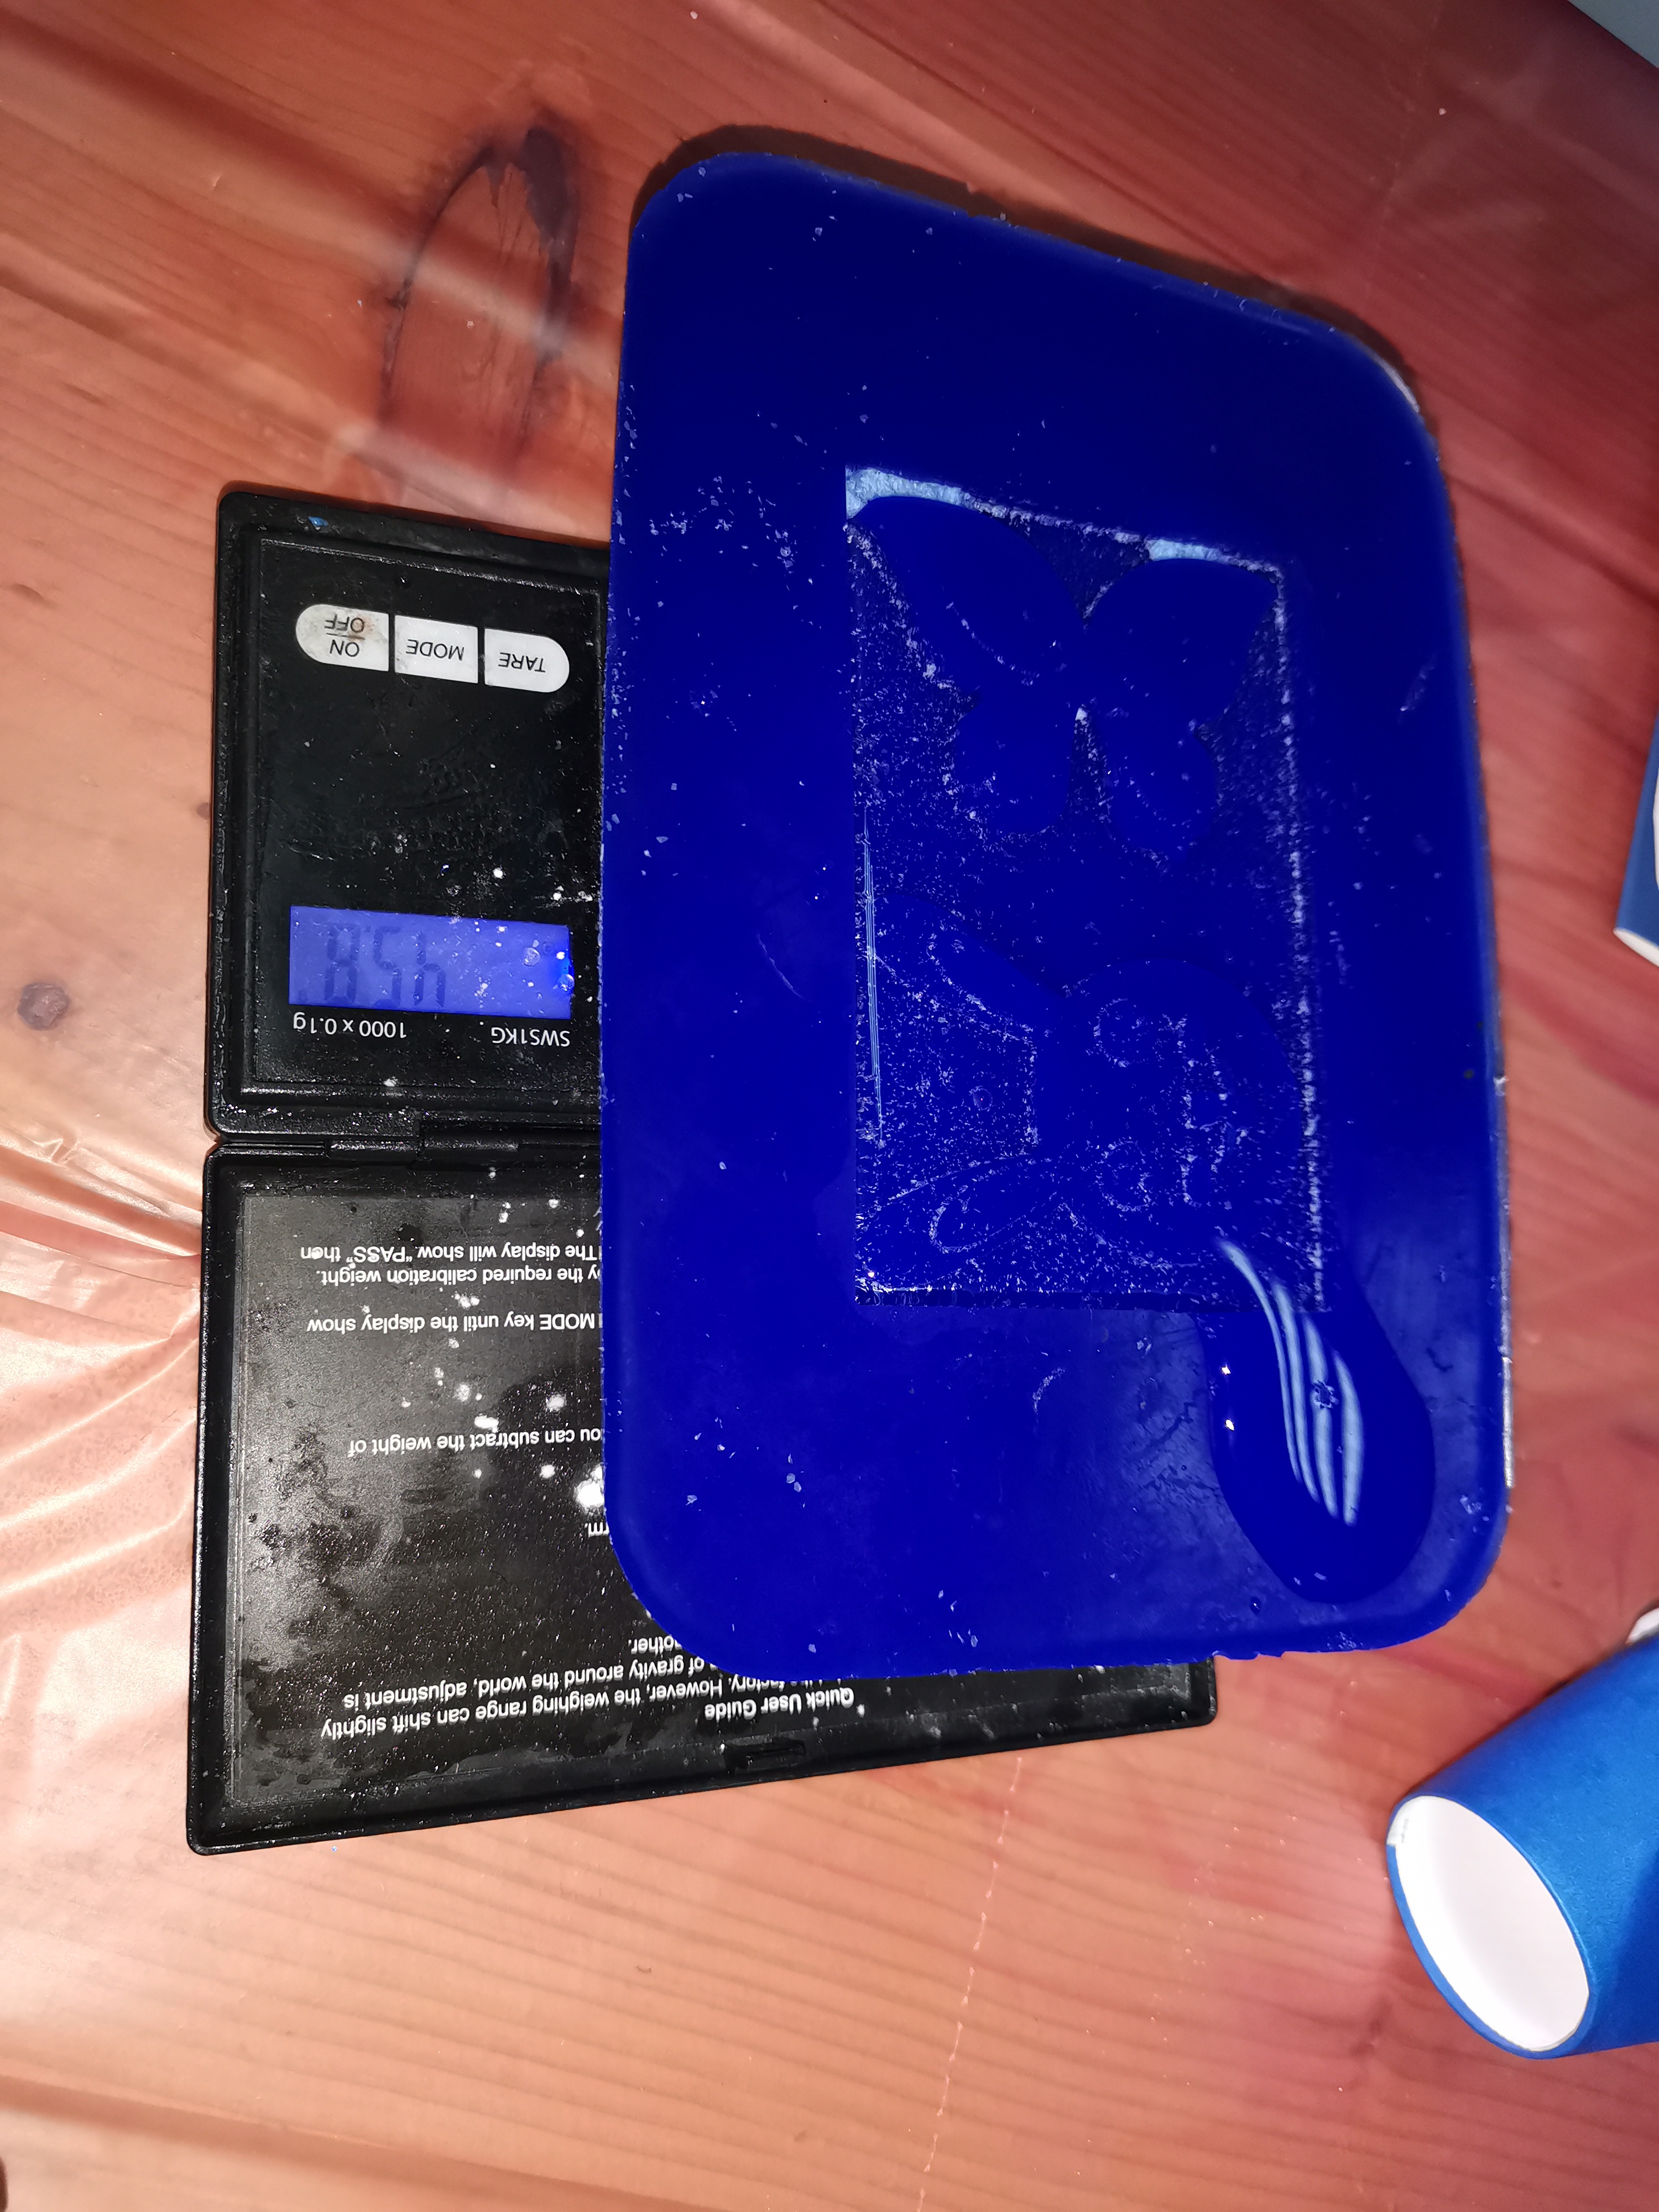
1) This is what it would look like after removing the excess wax we get a positive mould.
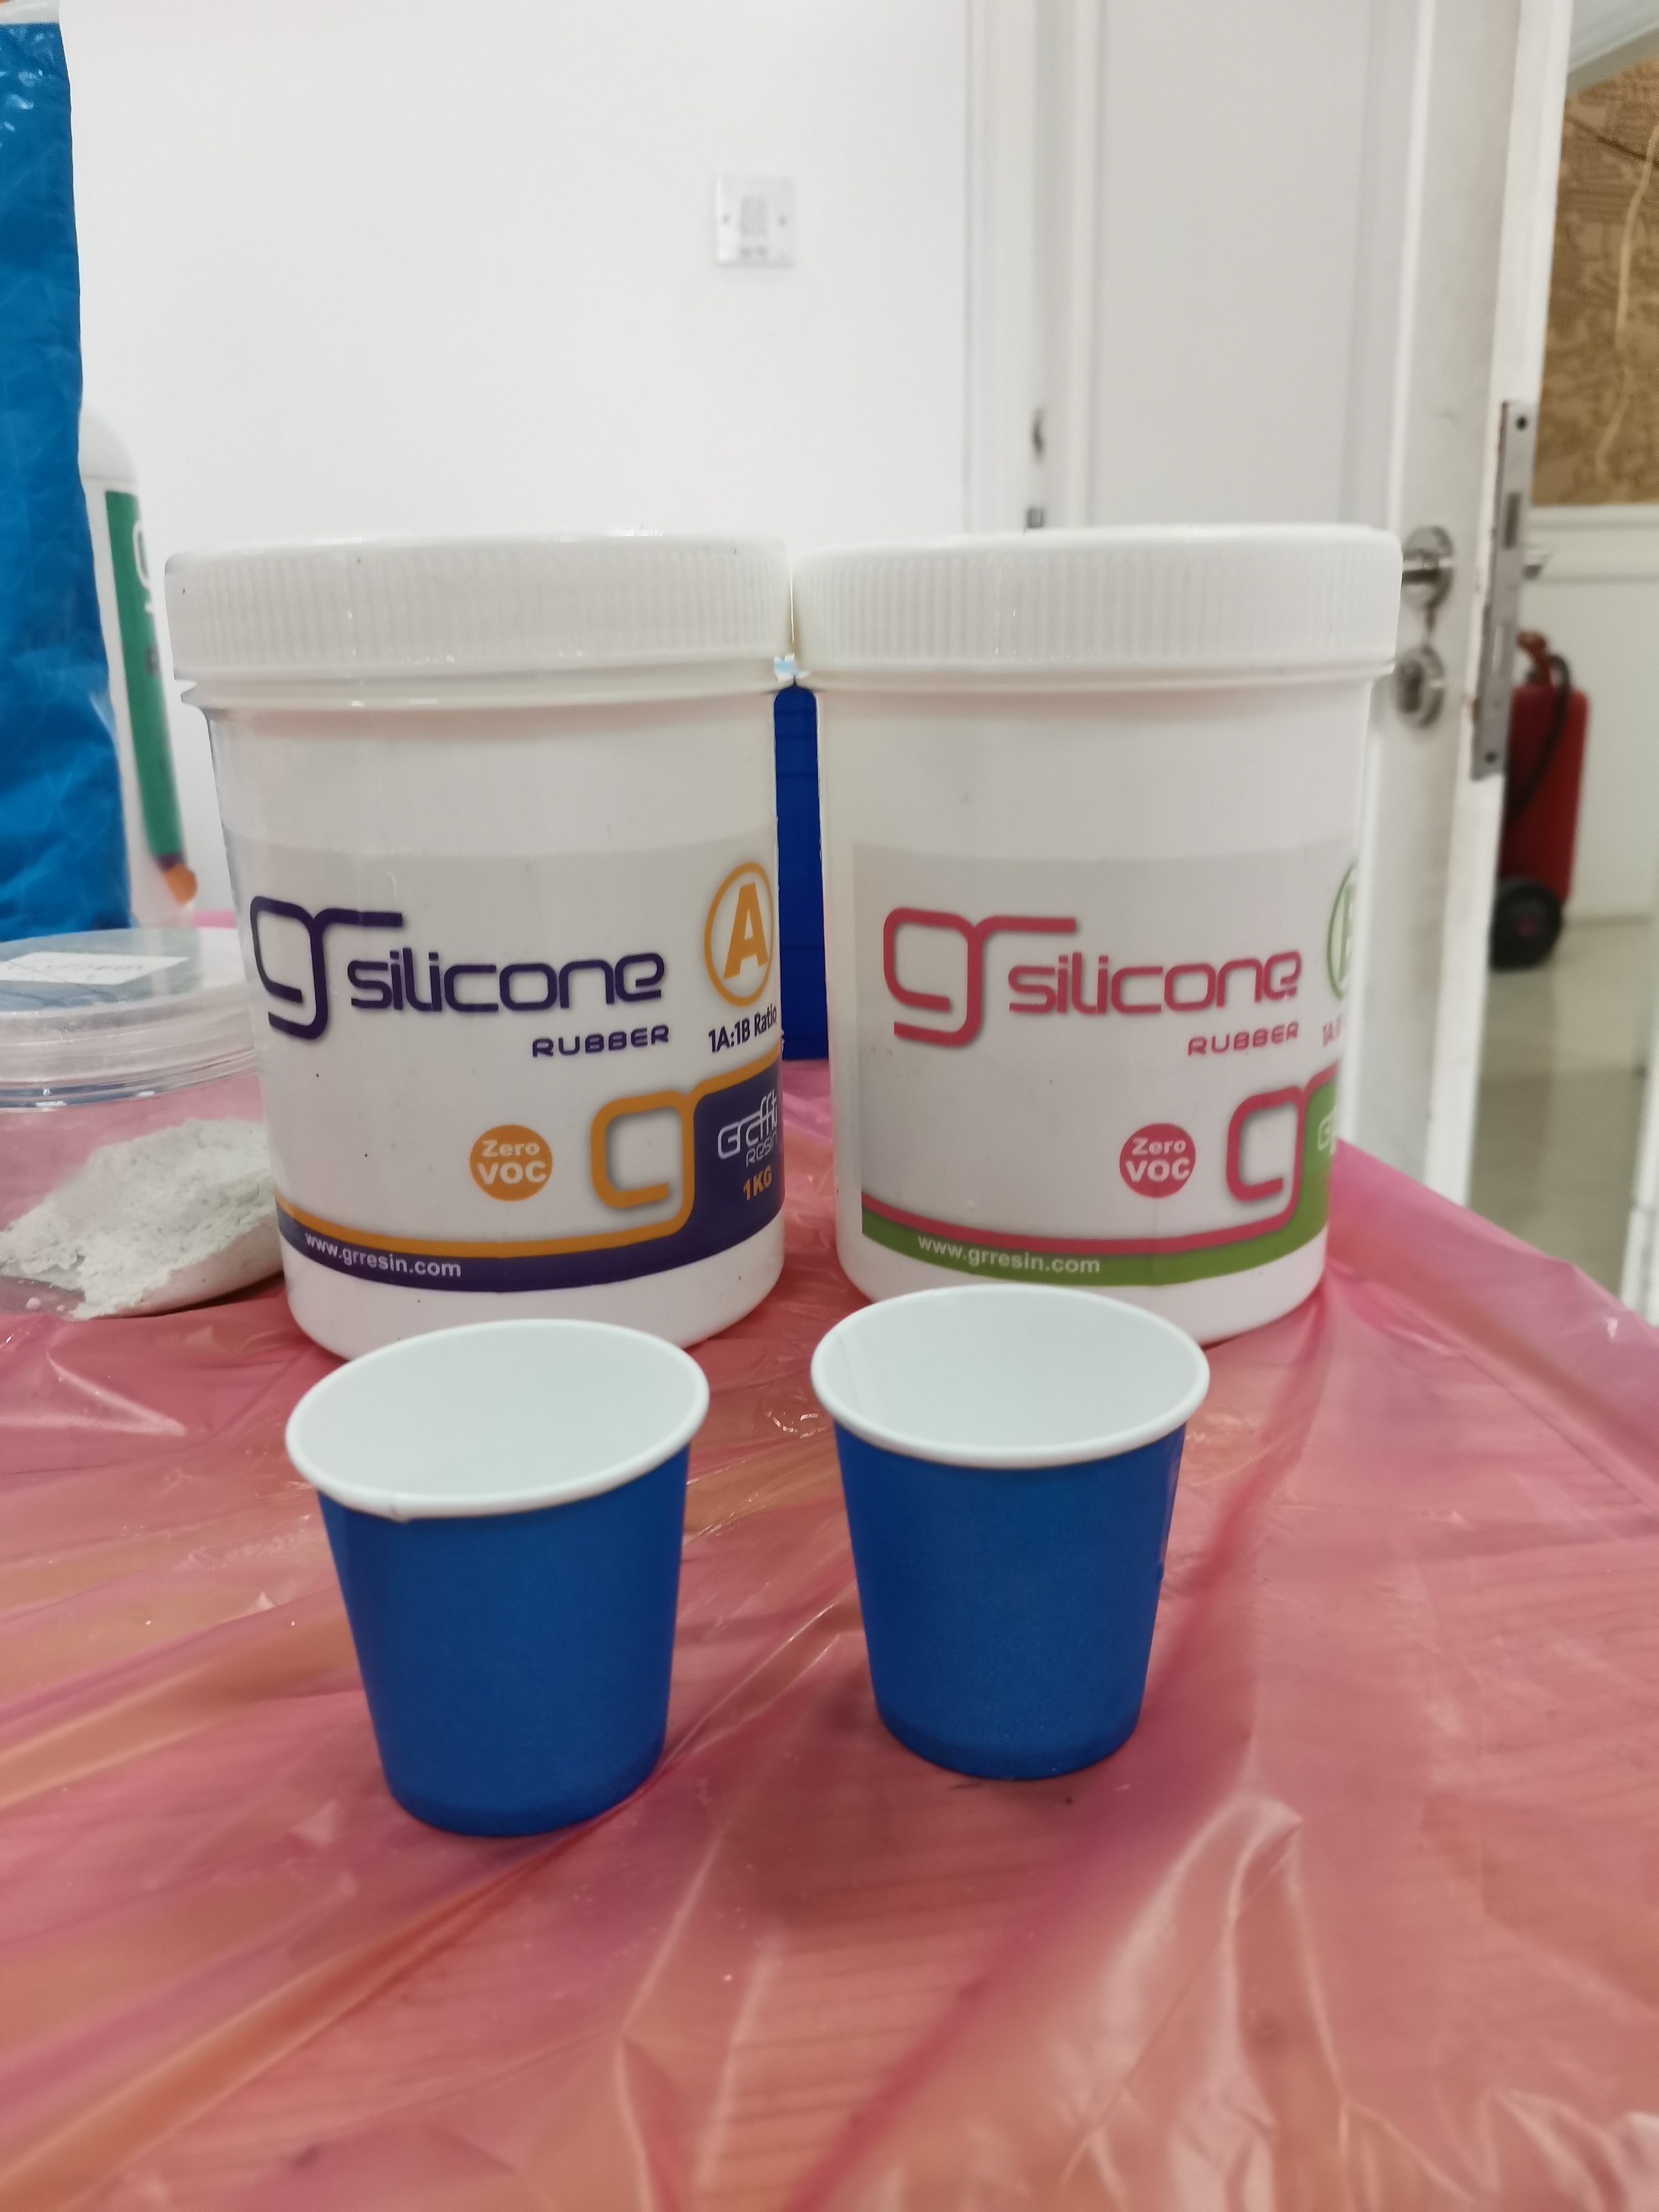
3) First putting the scale and zeroing it then putting water and taking the measurment of the water to get the weight needed for the silicon and adding to that weight a 10g since the water and silicon does not share the same density.
4) These are the silicon bottles A & B and there ratio is 1:1 and we decided to take 55g in total so each one will be weighted 27.5g
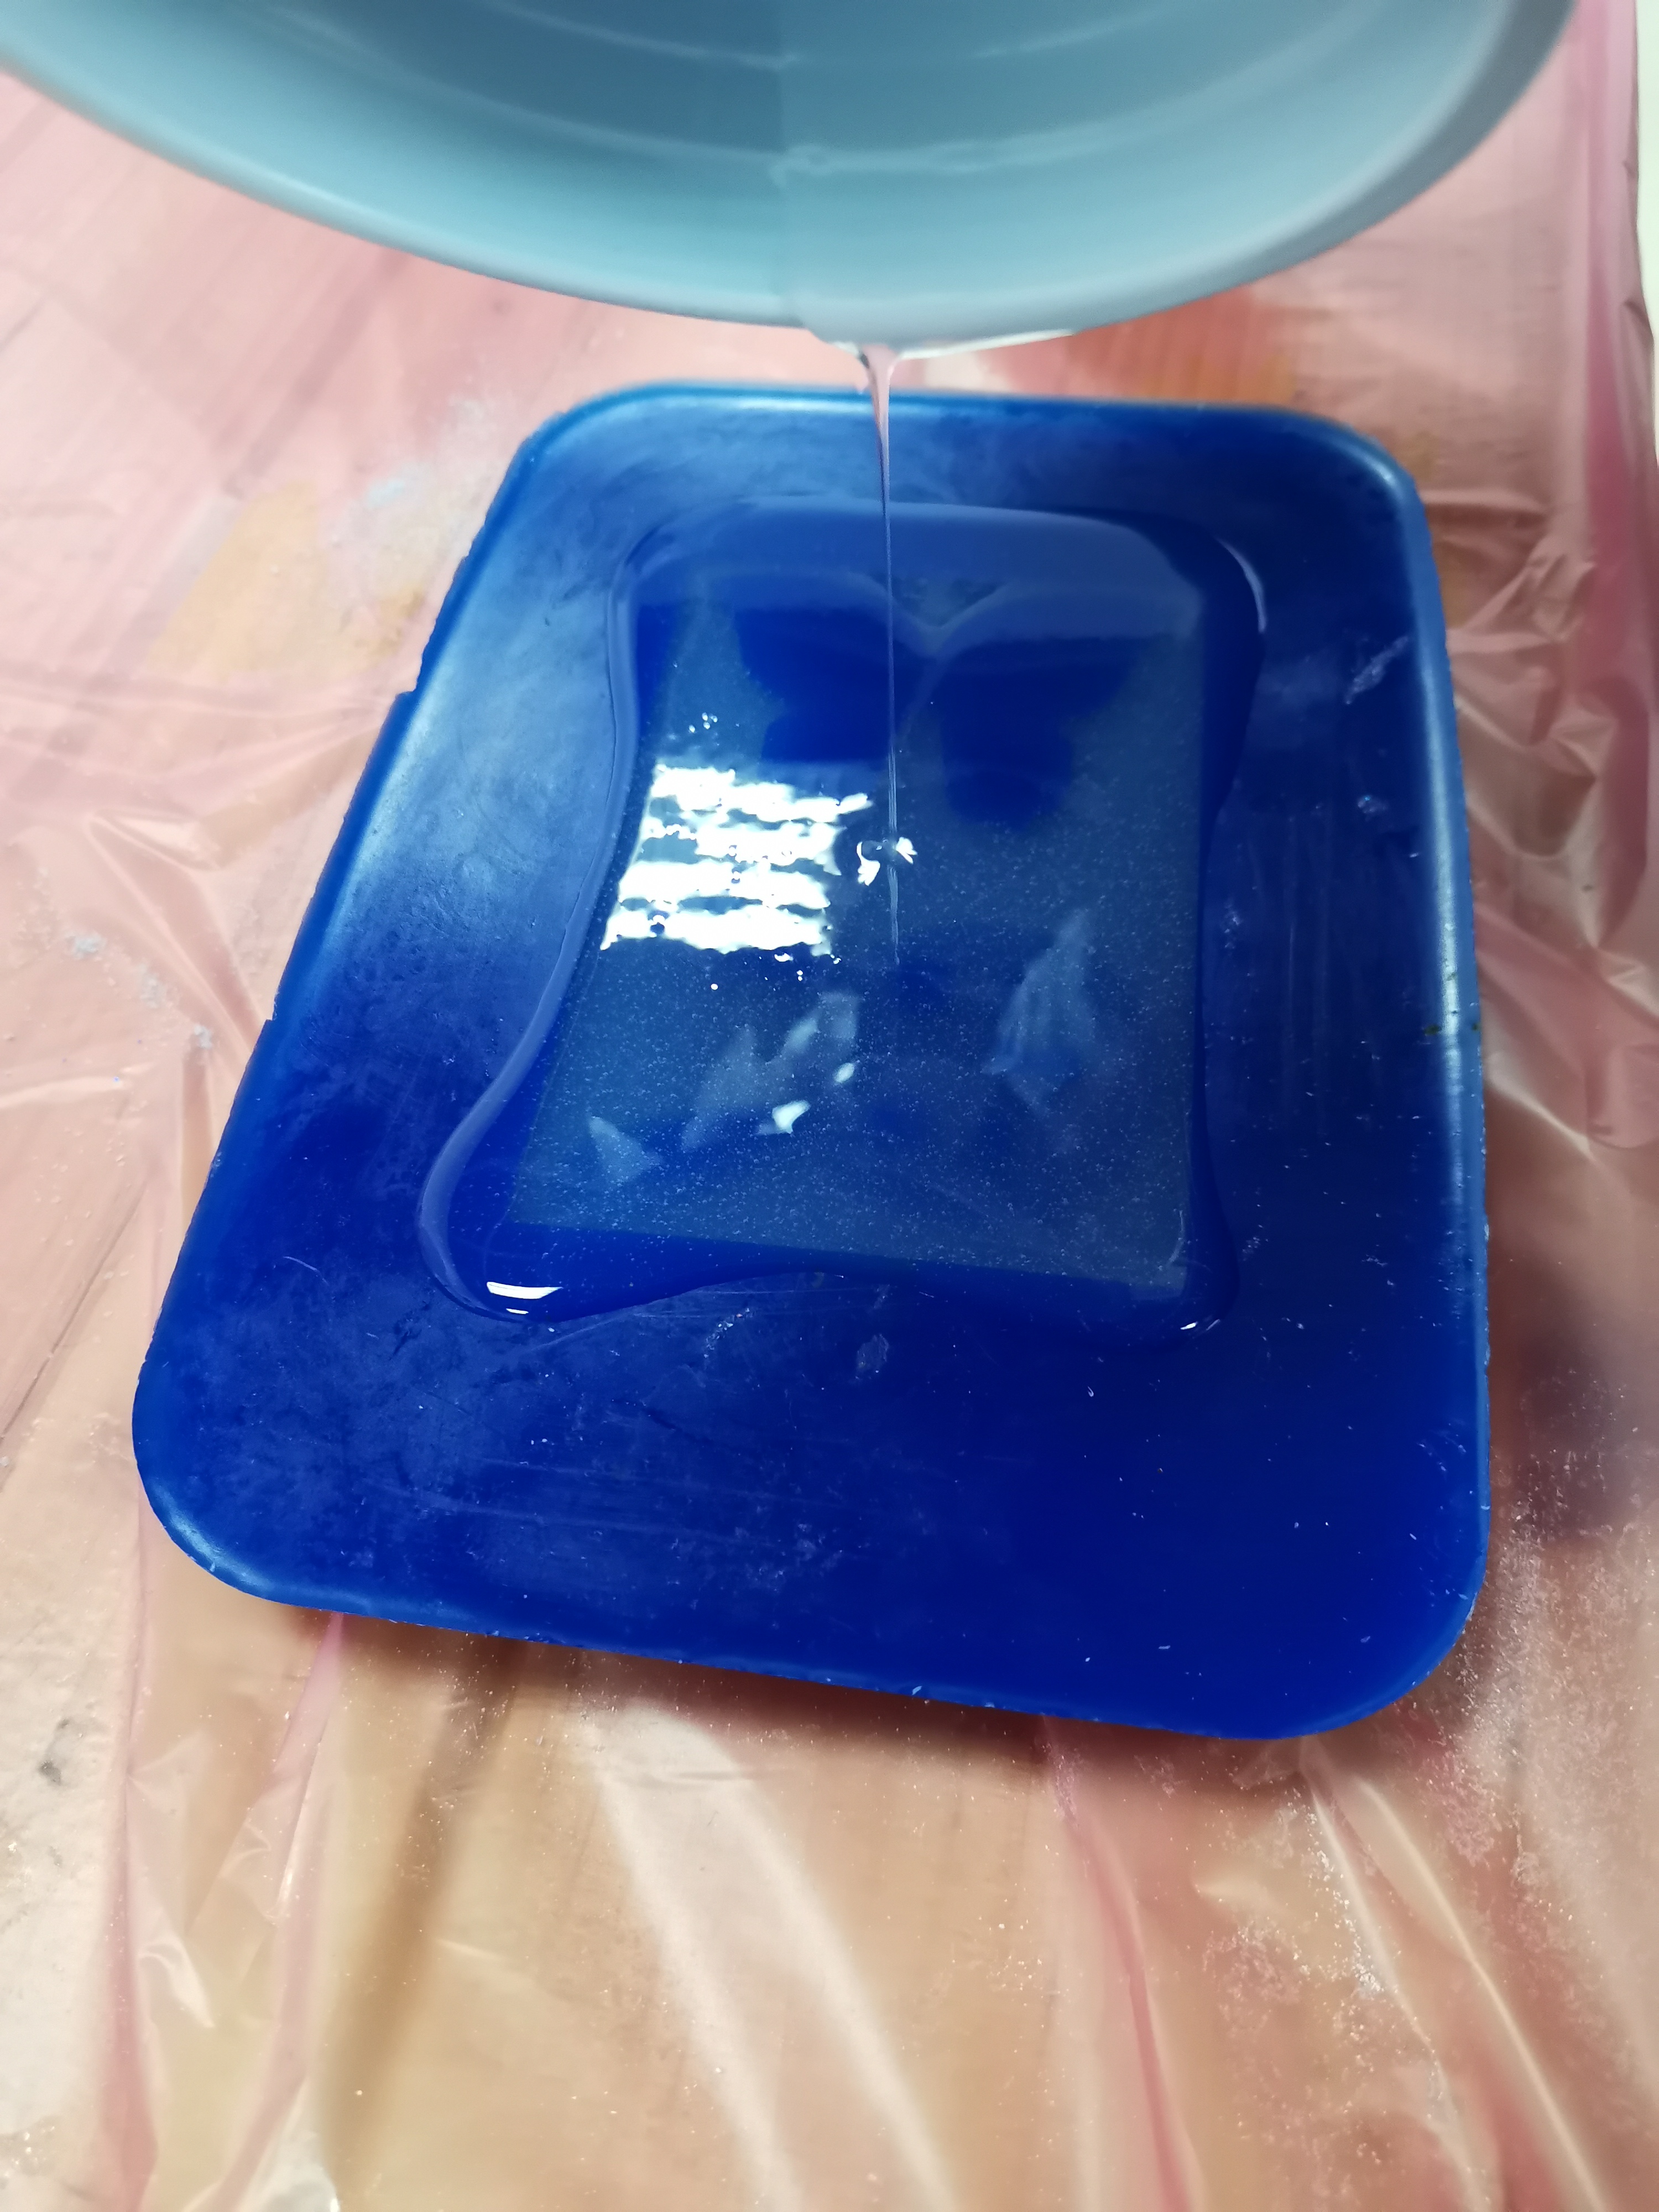
5) pouring the silicon mixture in the milled wax block to create the negative mold.
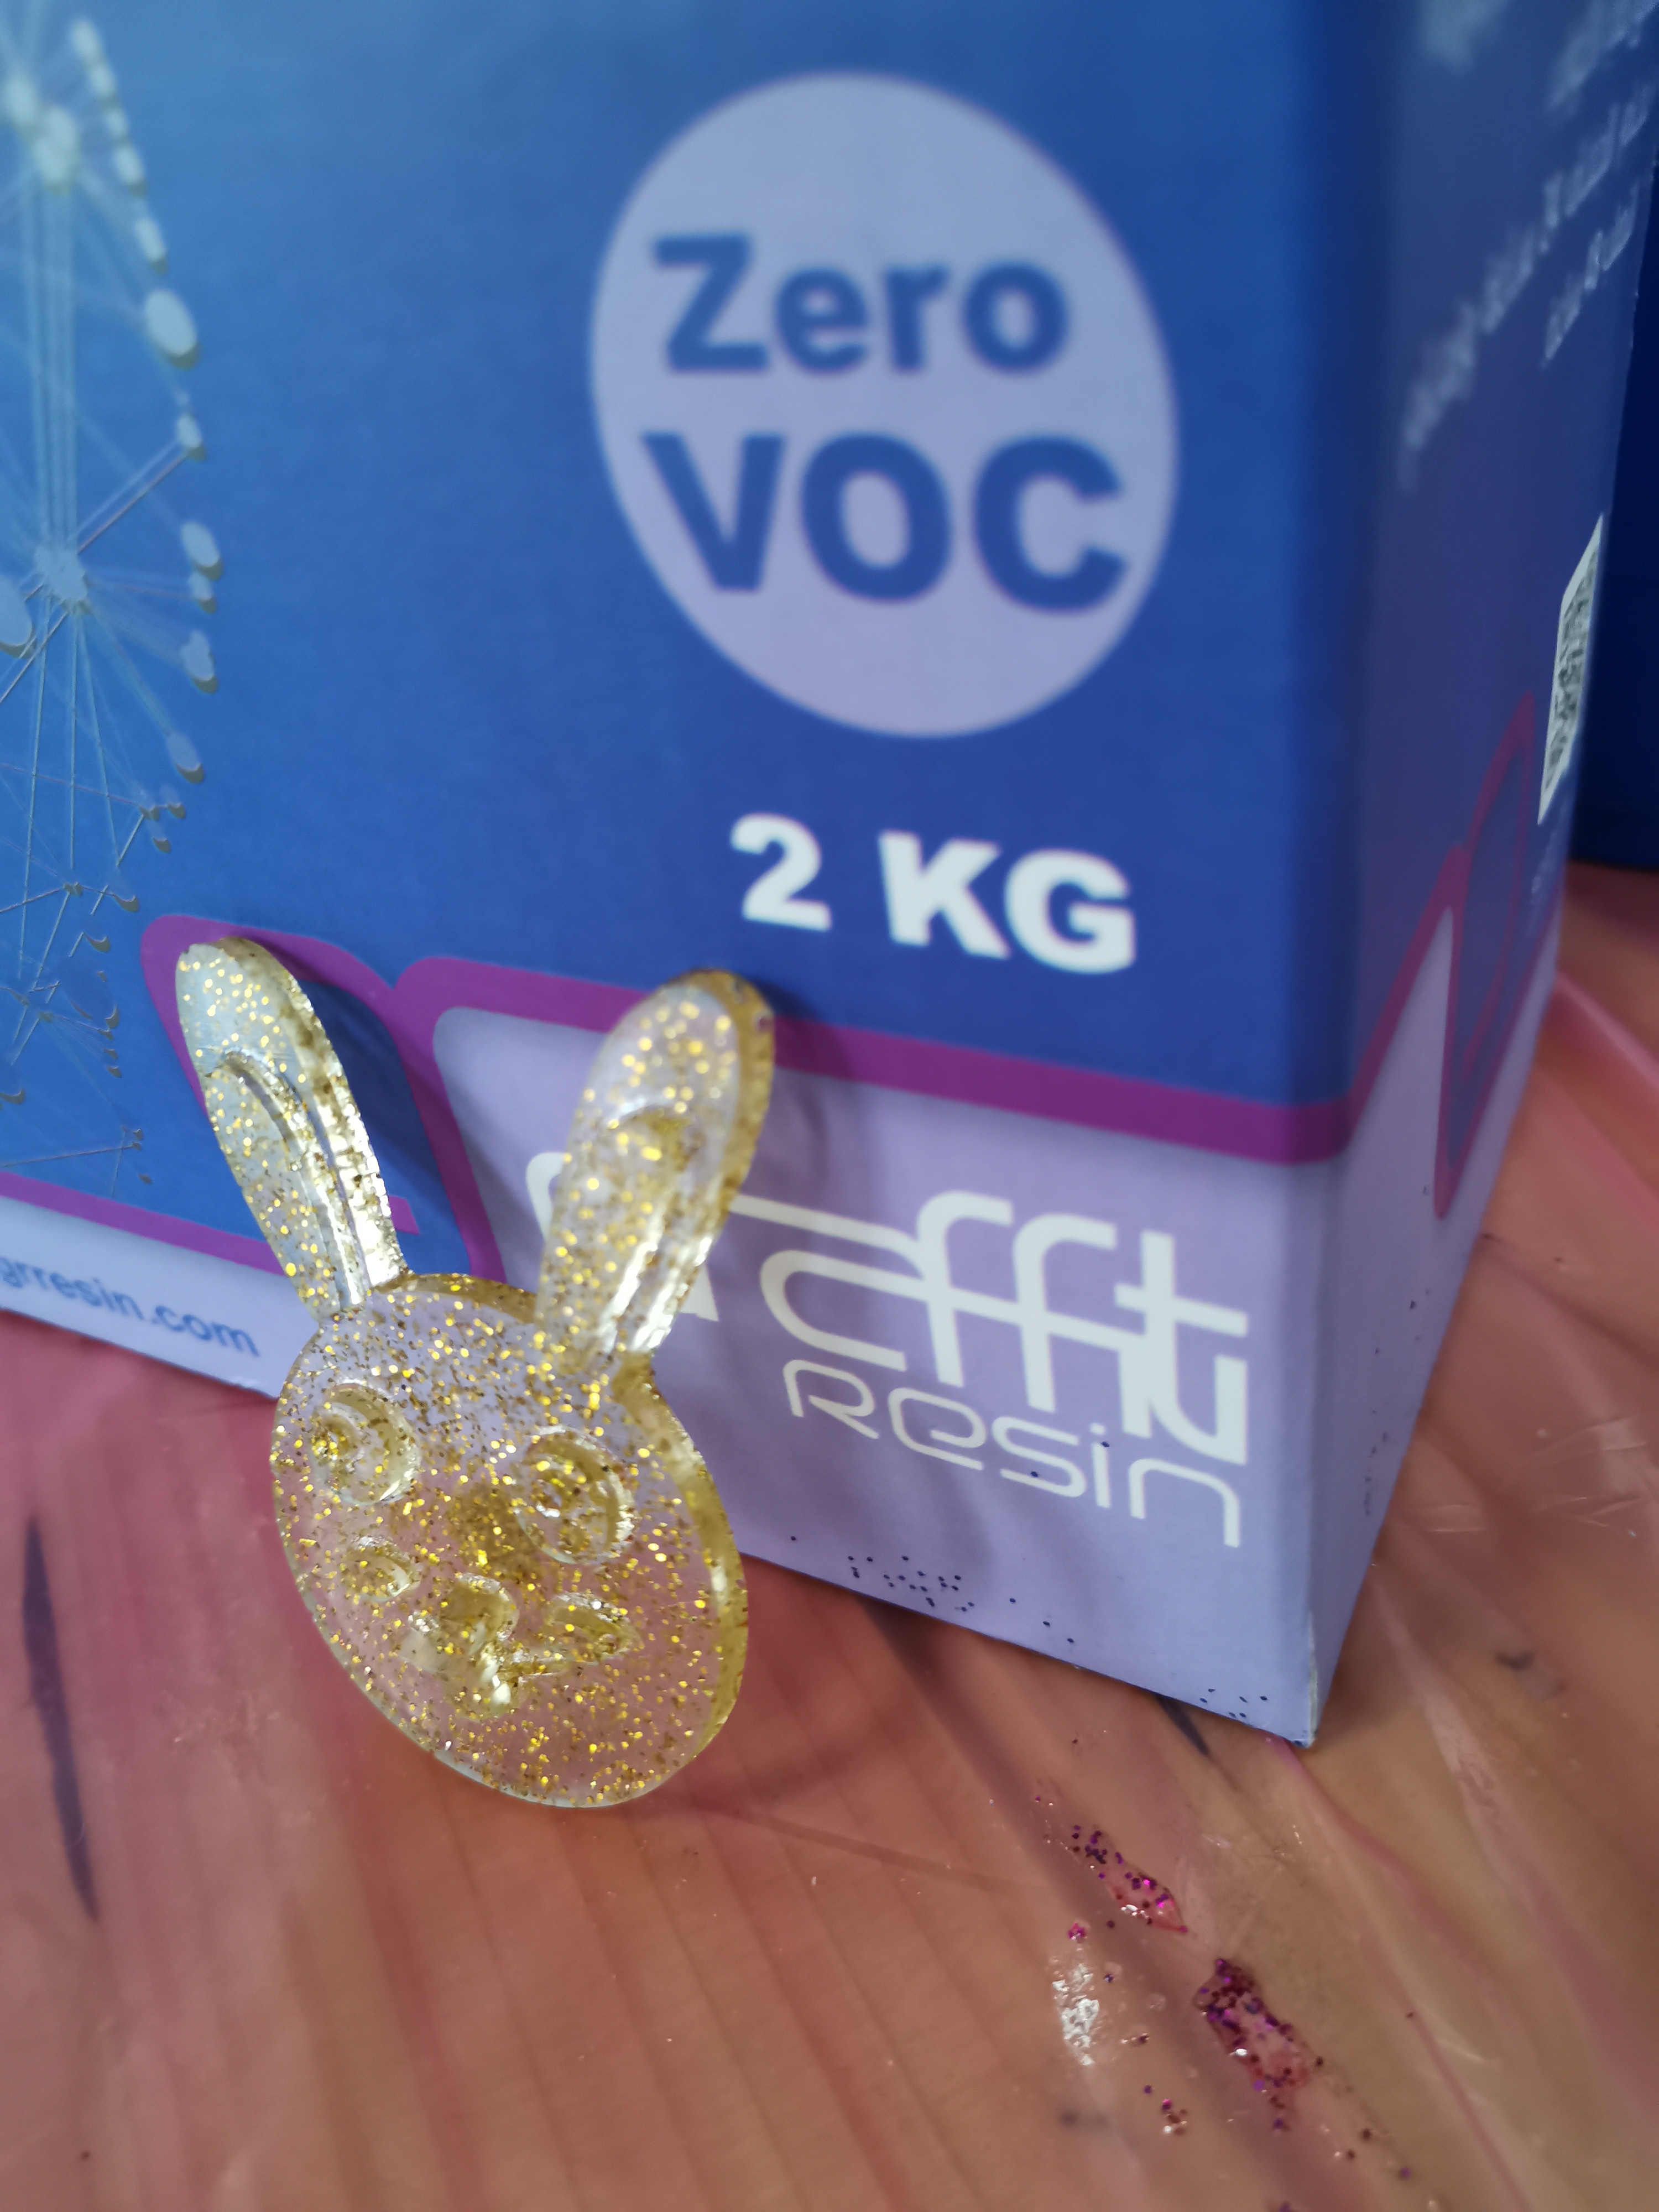
6) I chose the resin and to check the safety data sheets it is available here It is material 4.
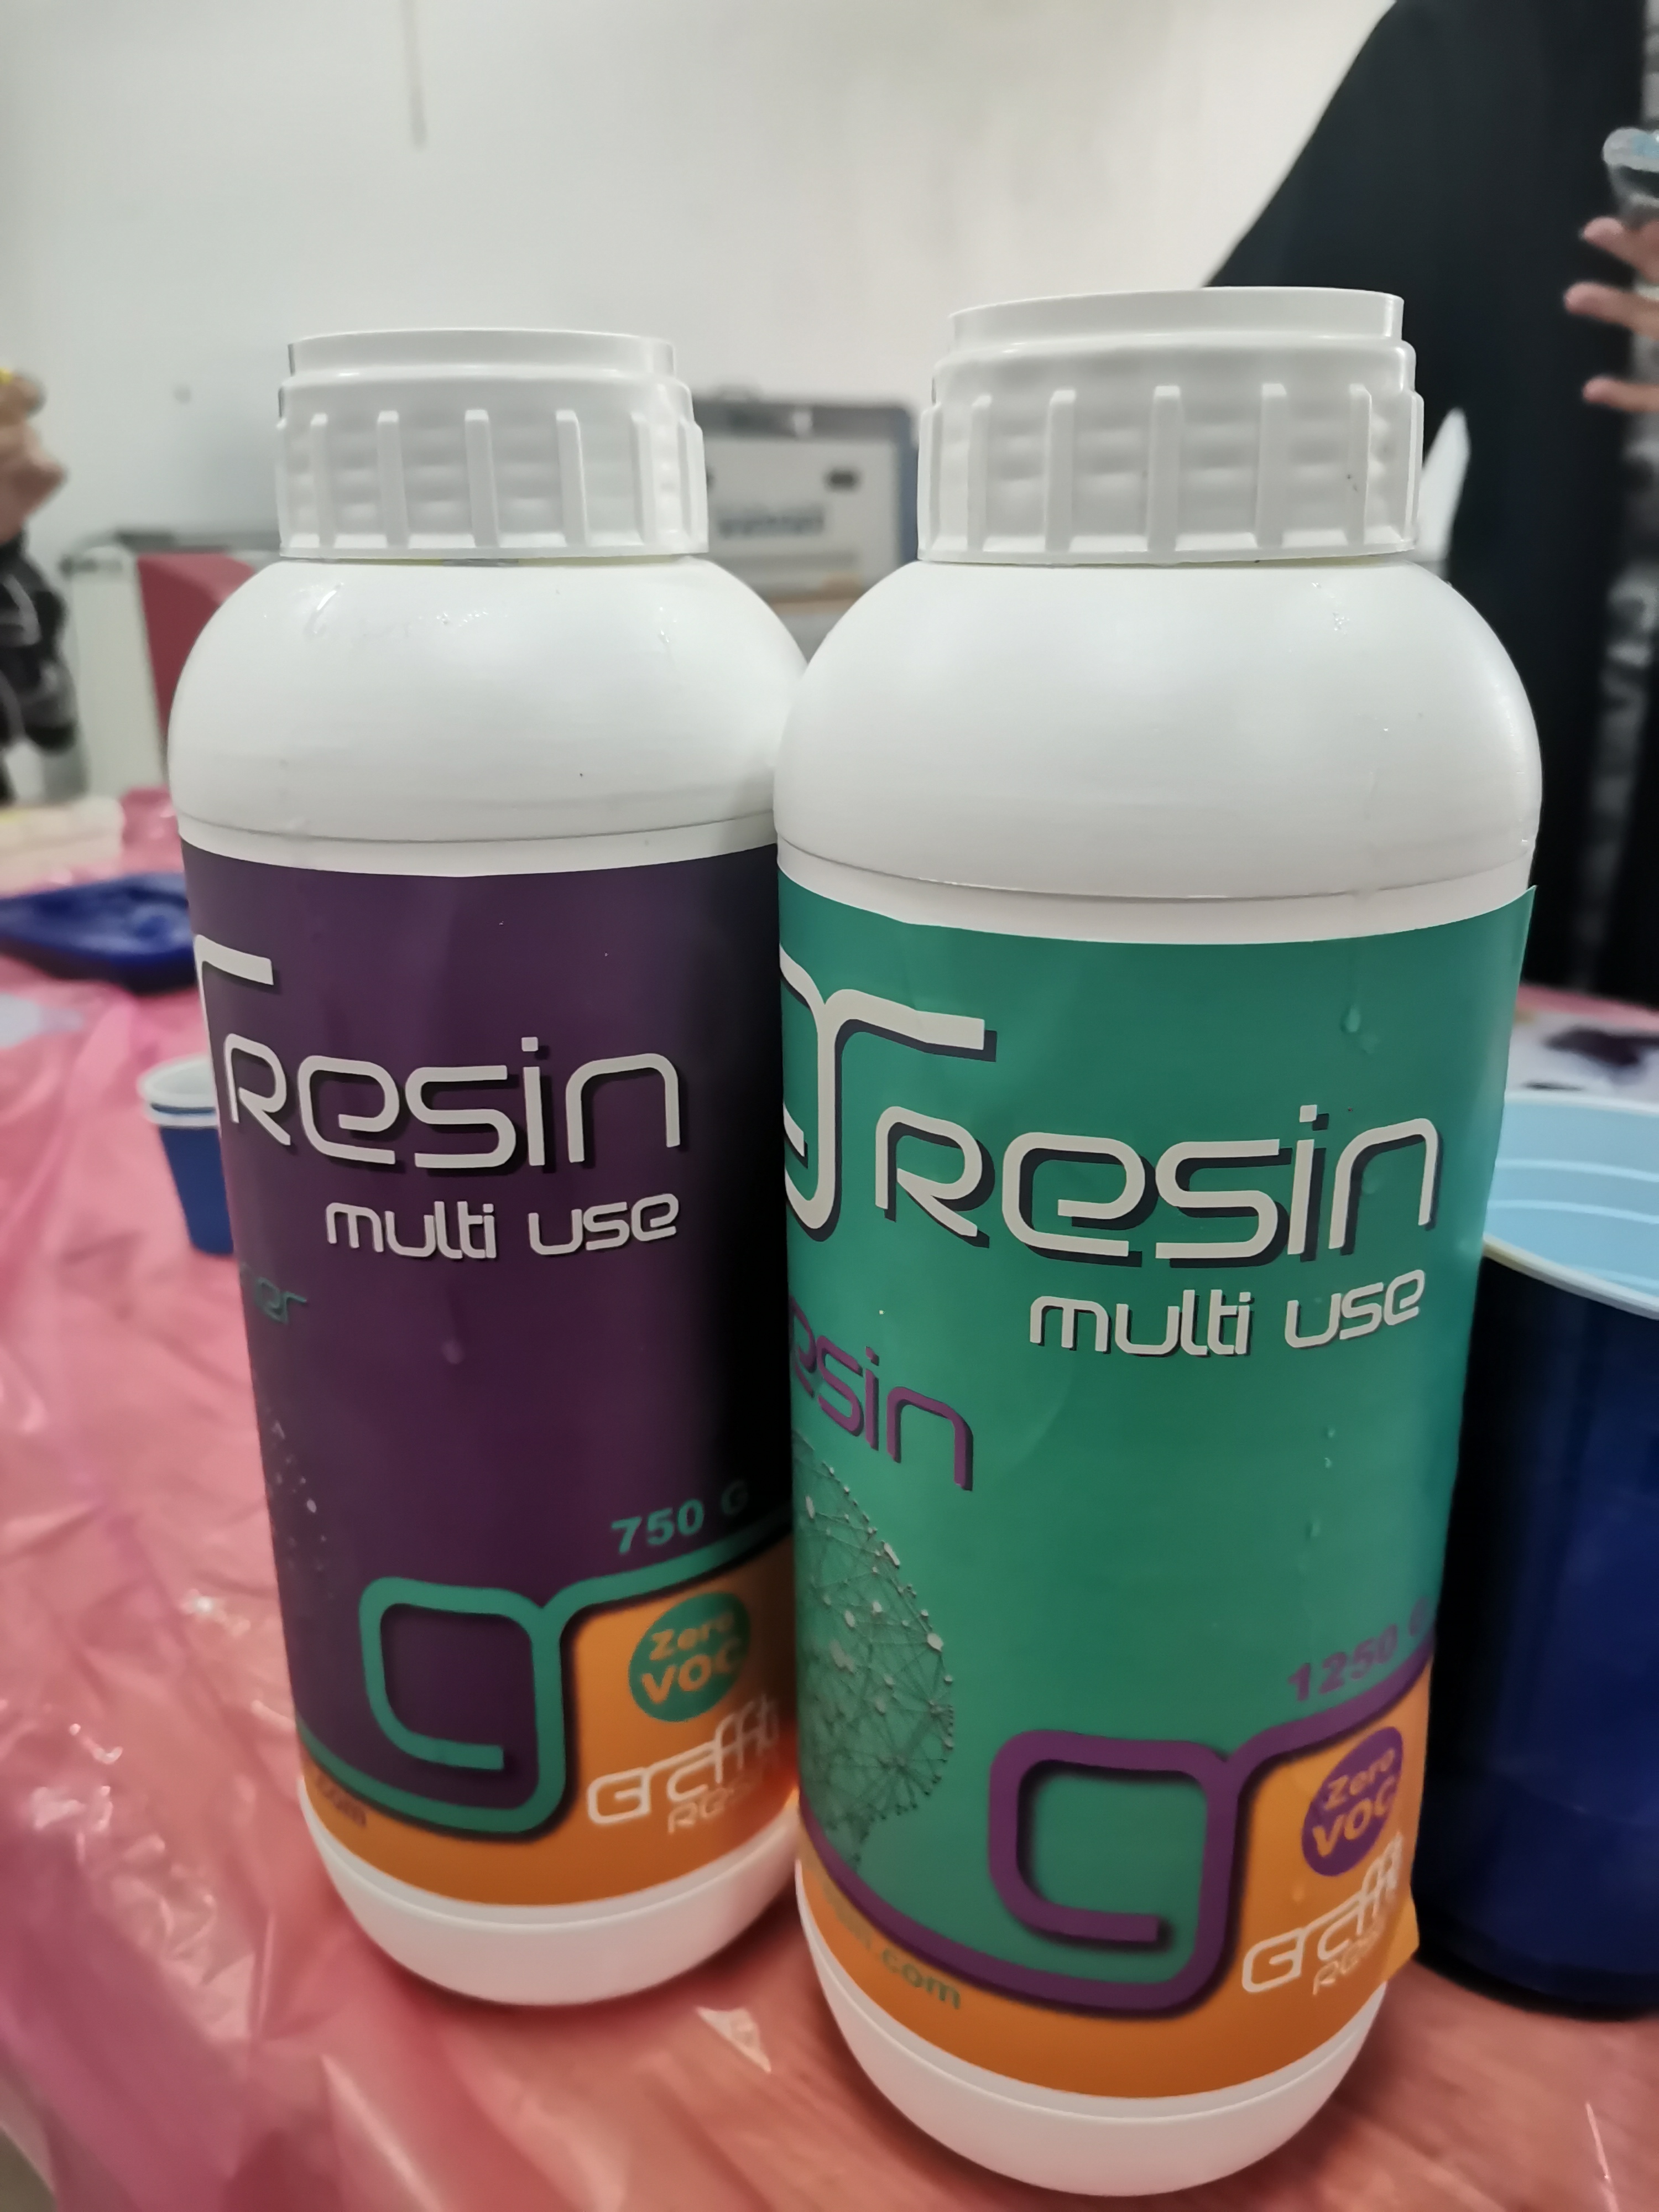
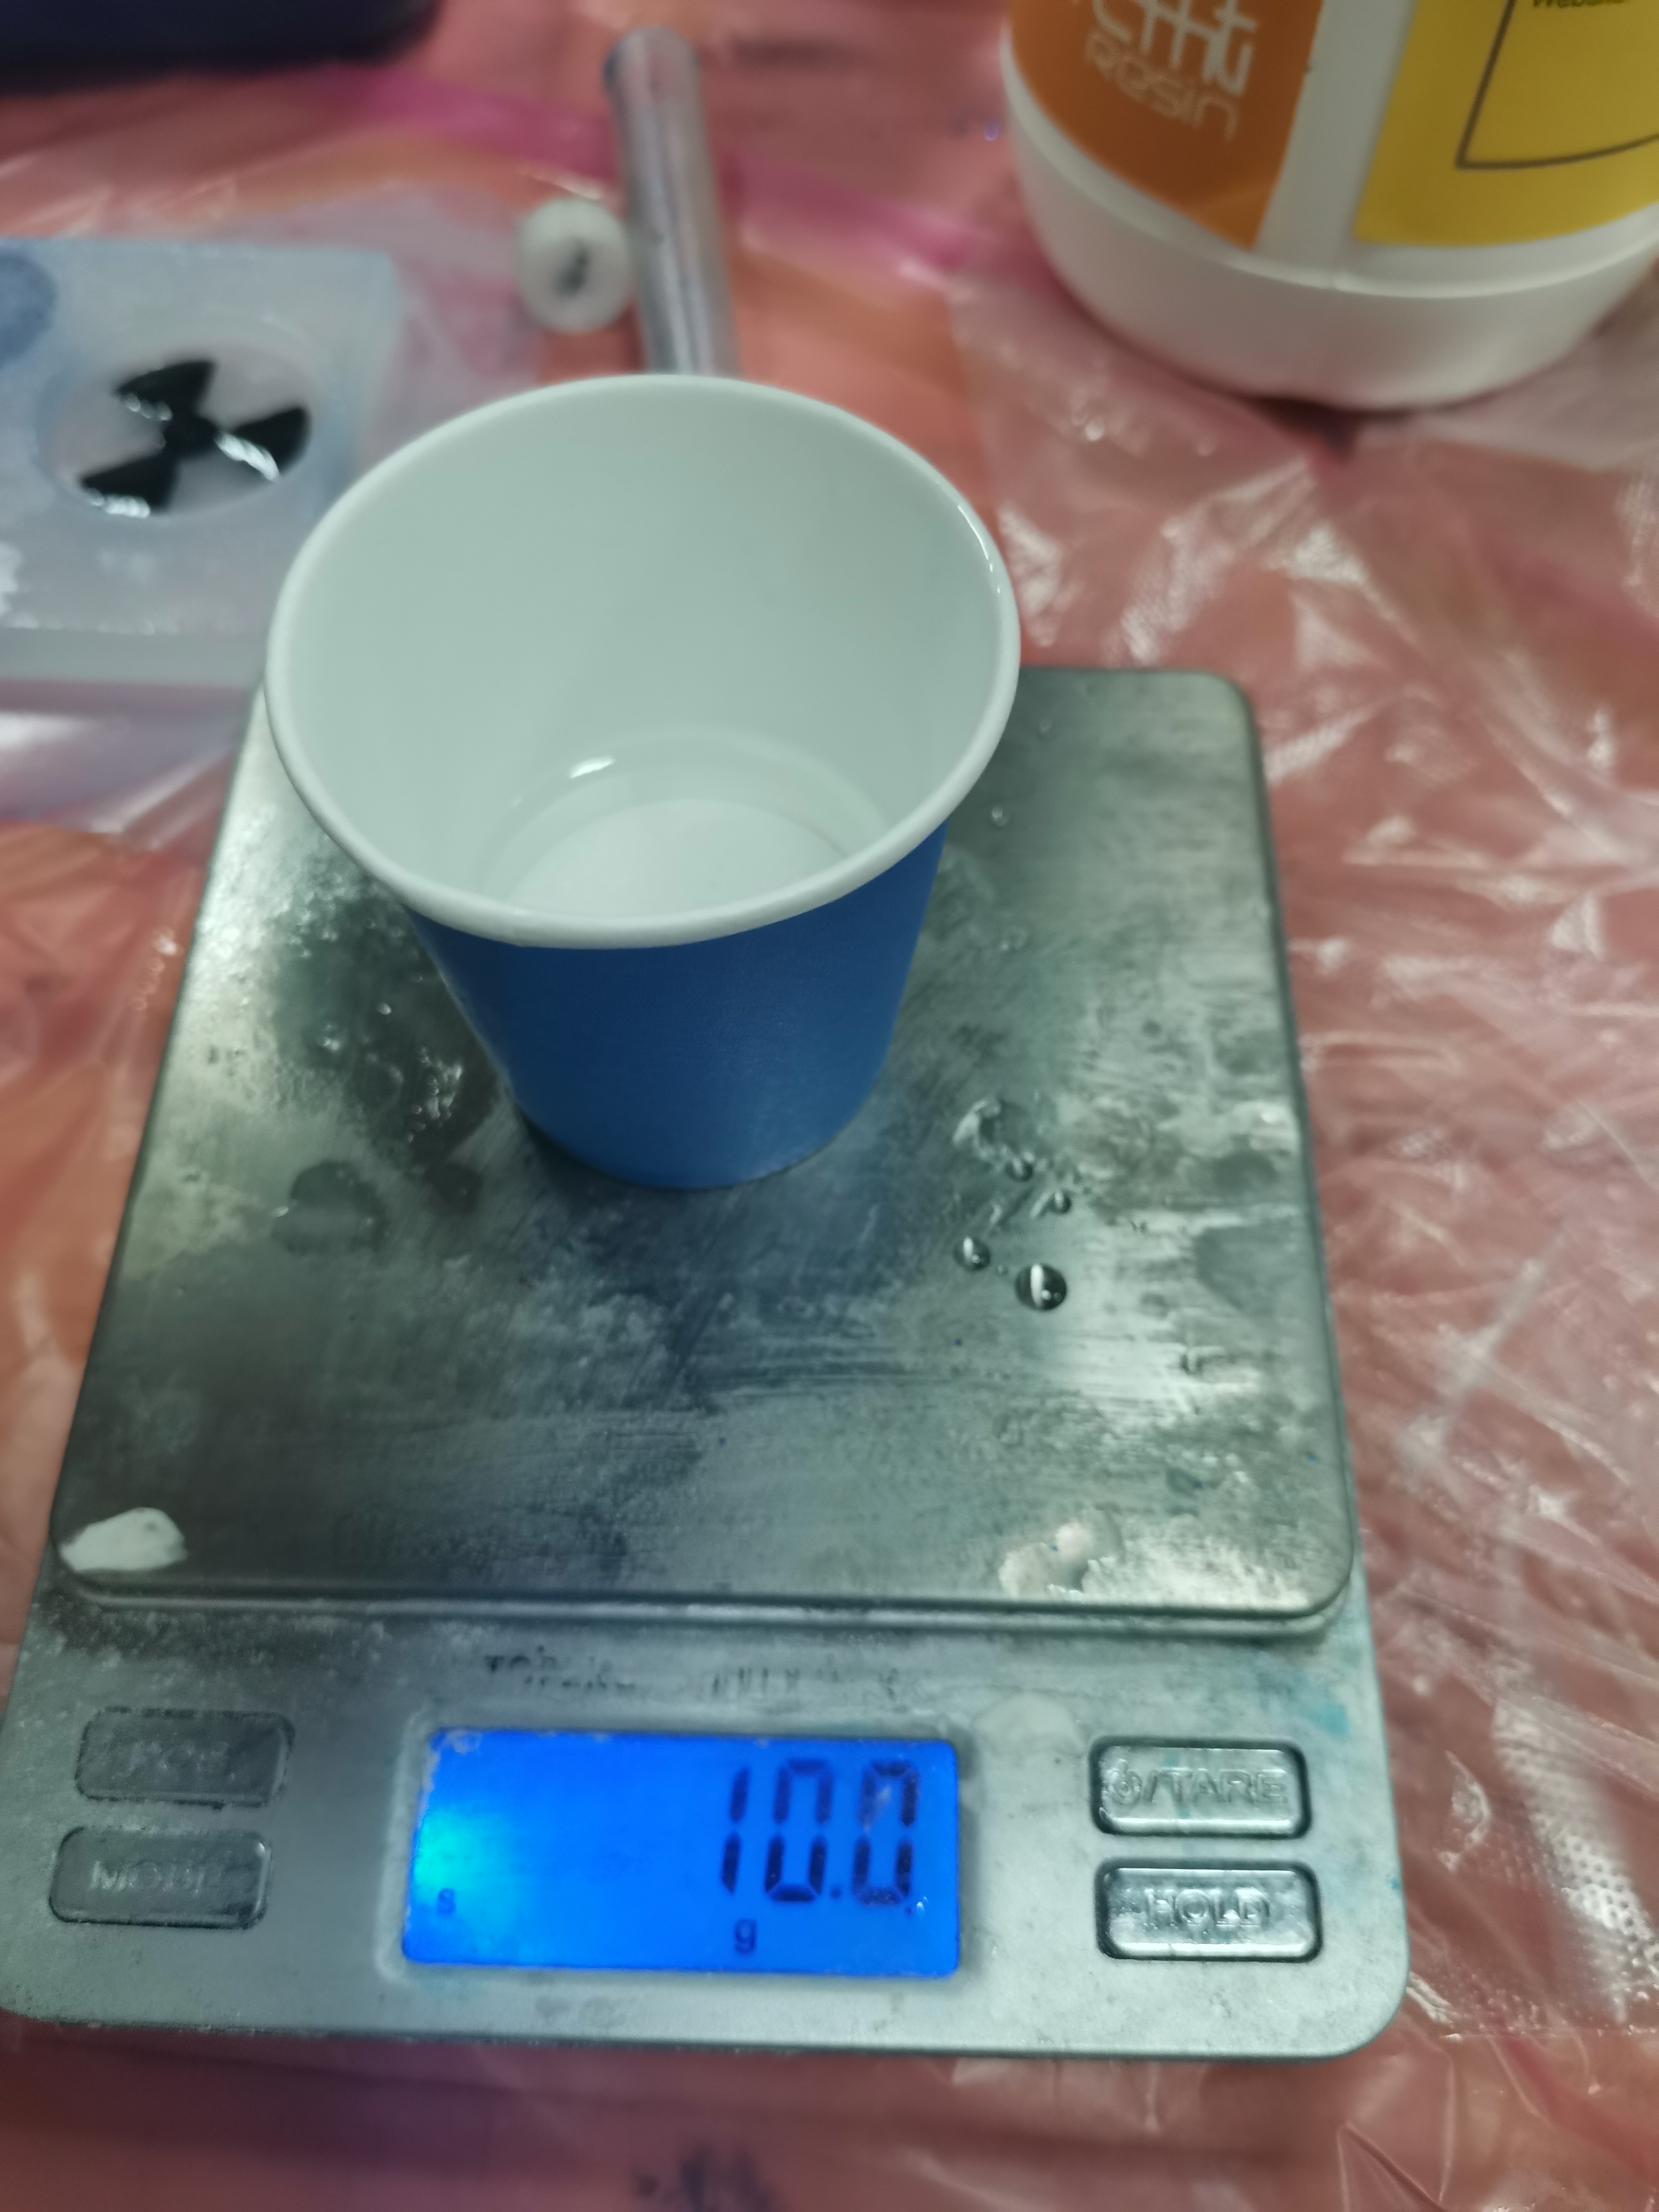
7) For this material the ratio it 10:6 and here is the bottle A which is the green one and the ratio of it is 10. so i took 10g.
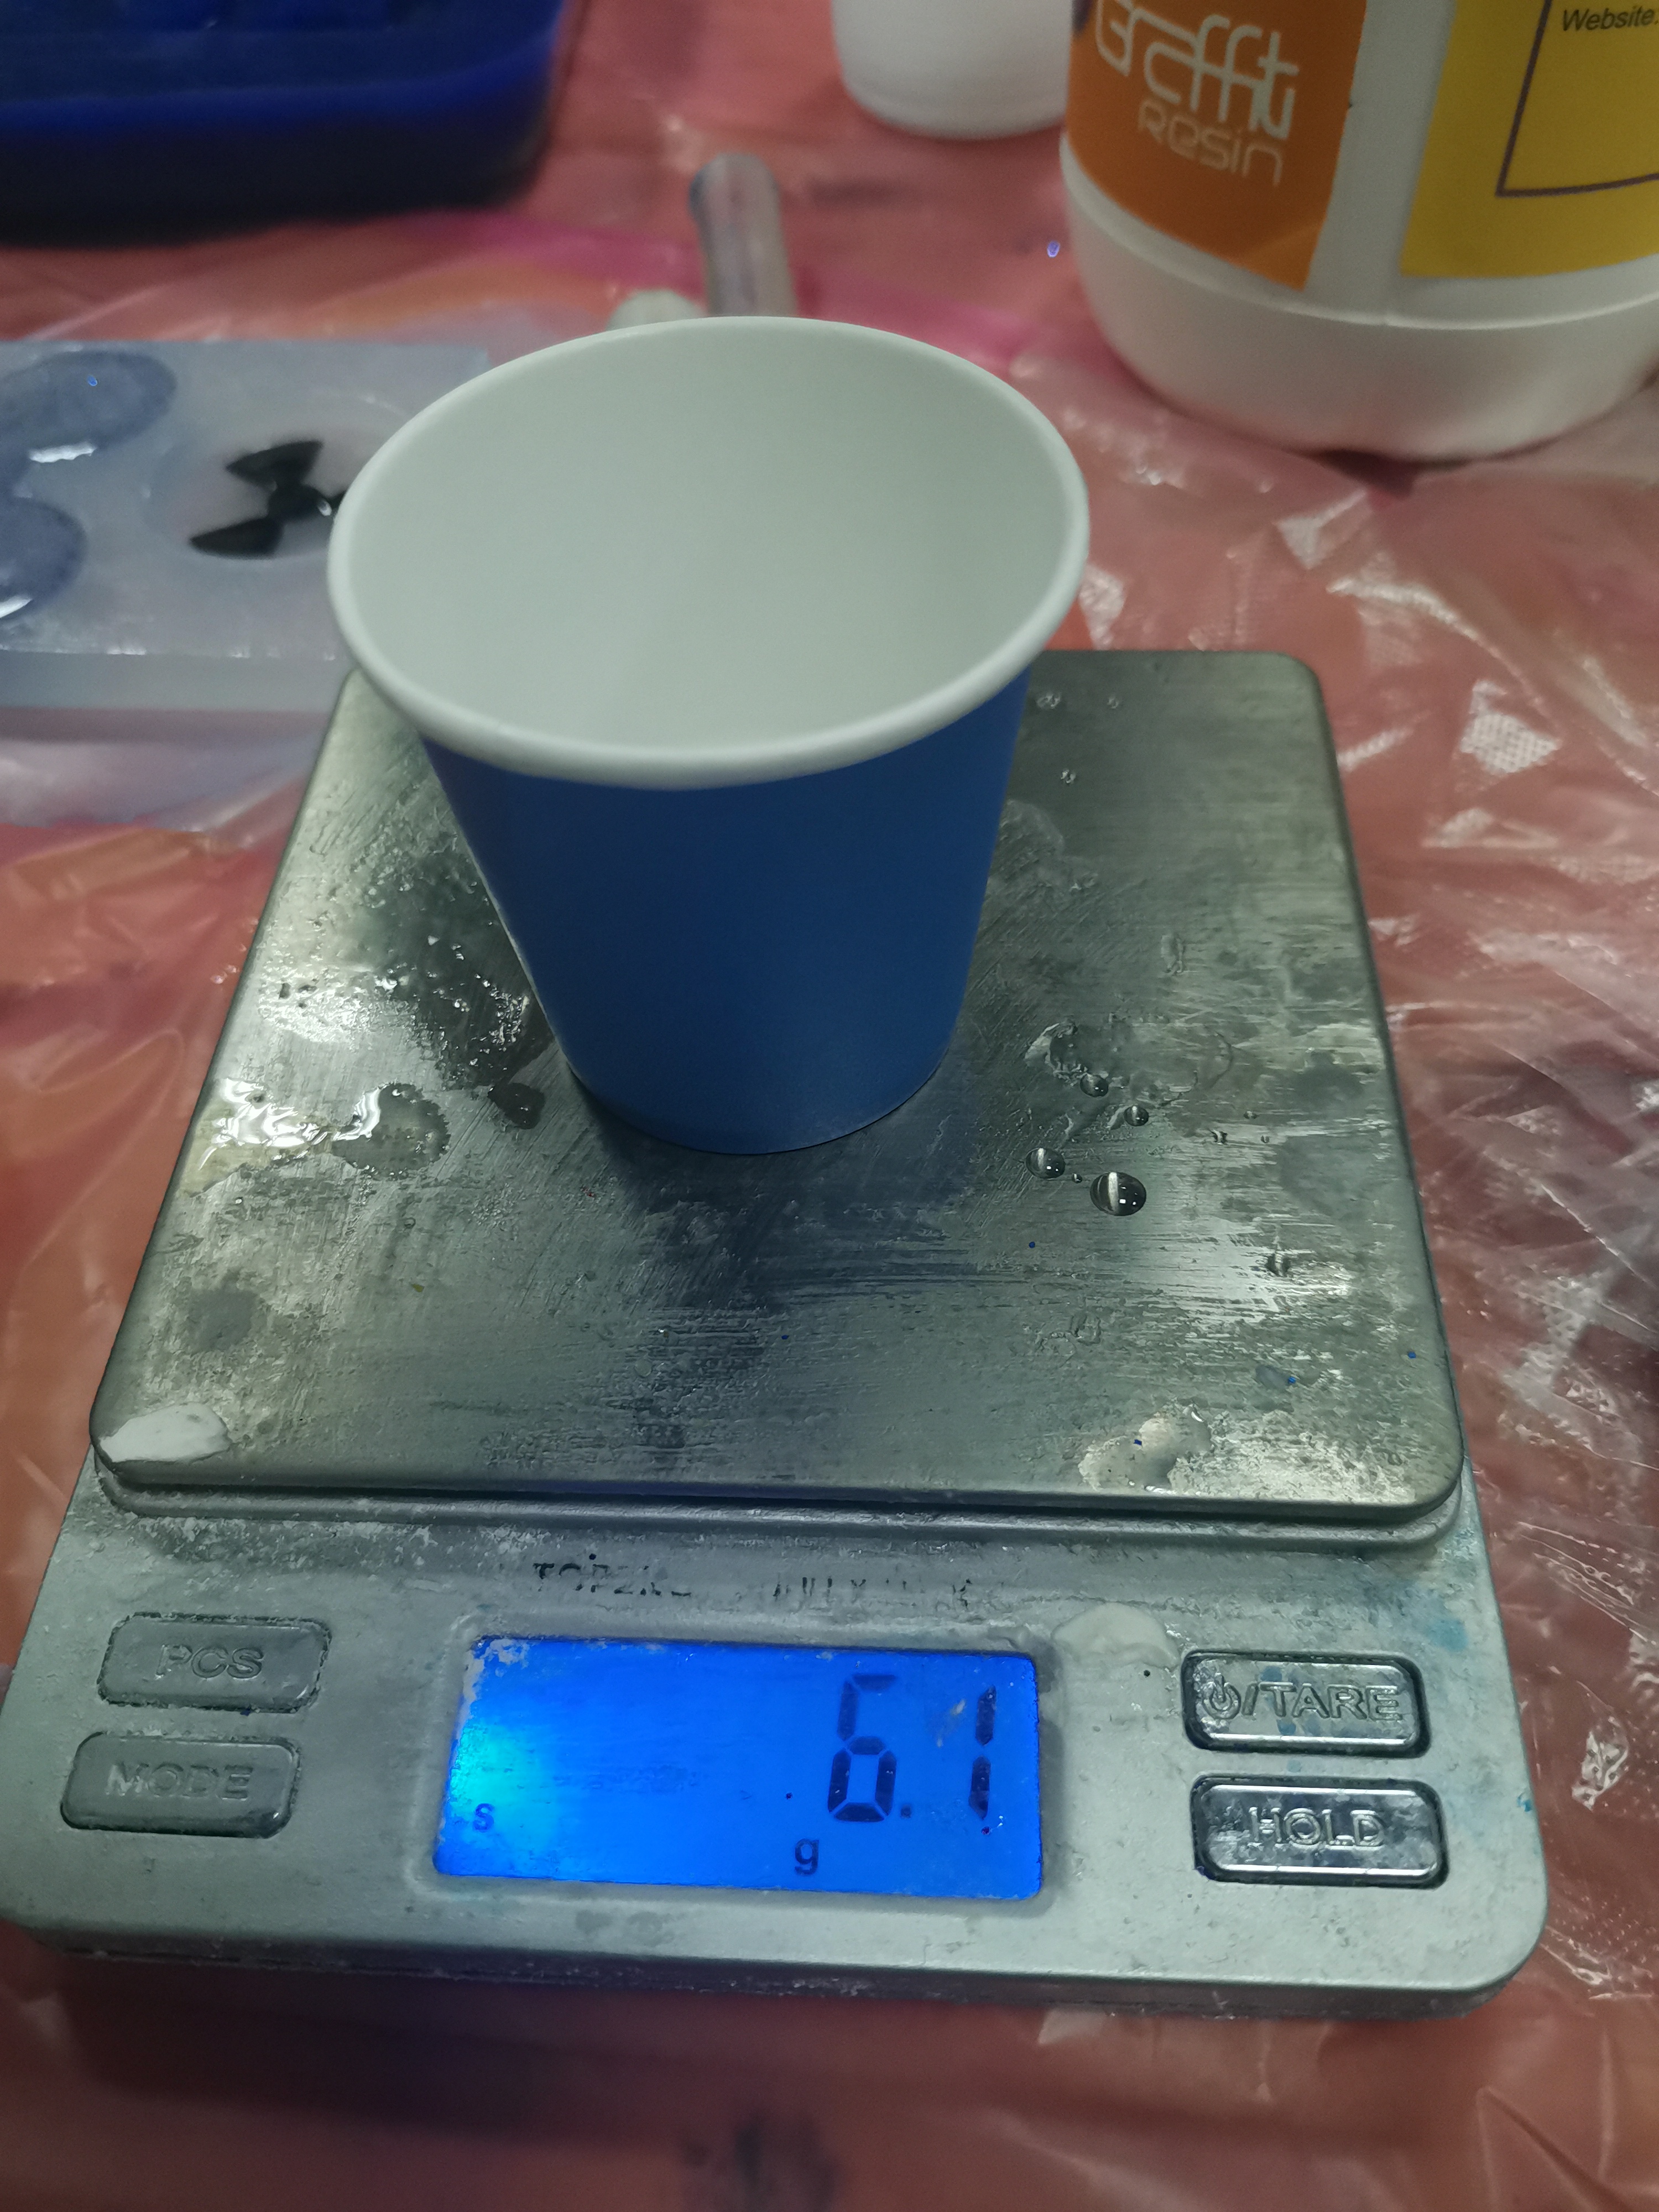
8) This is bottle B the purple one and the ratio of it is 6 so I took 6g.
9) I mixed both for exact 3 min as it says in the datasheet and then I added some gliter to it and mix it again and pour it in the silicon mold.

10) This is the gliter that I used.

11) as you can see above there was bubbles ontop of the mixture but after few minutes the bubbles are gone.
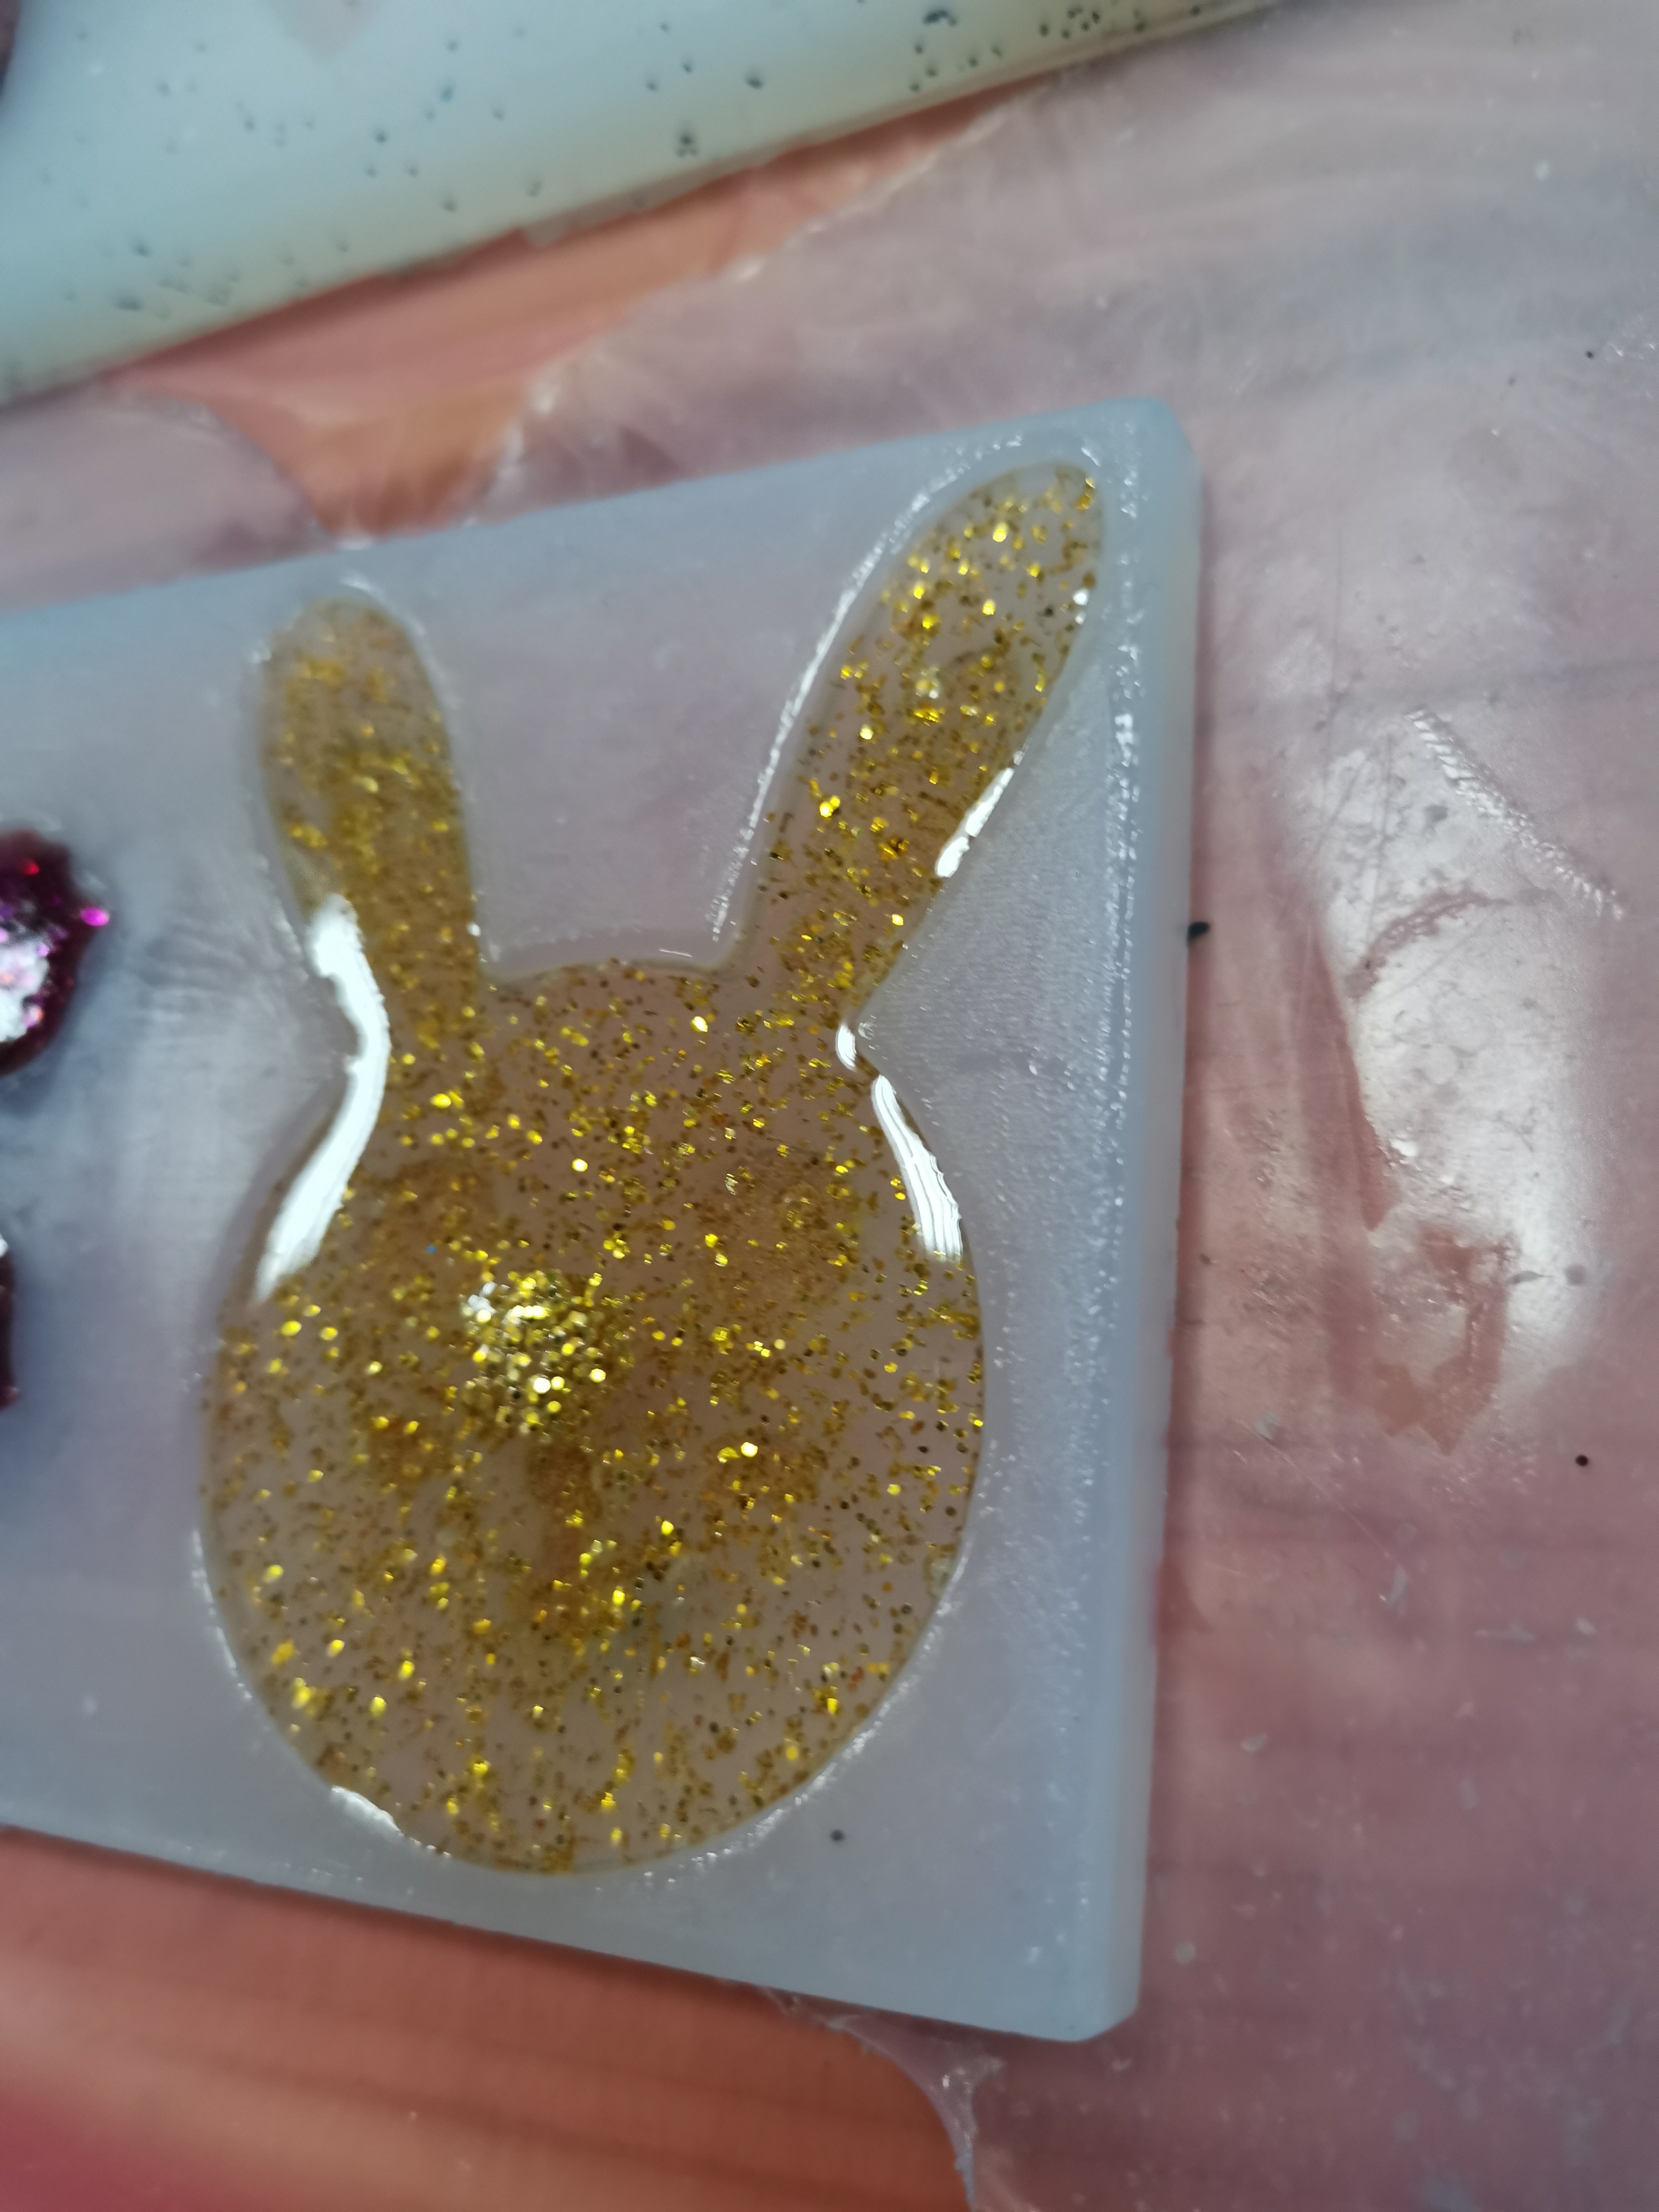
12) Finally we can get this cute rabbit
click to download my design click to download my design
Problem
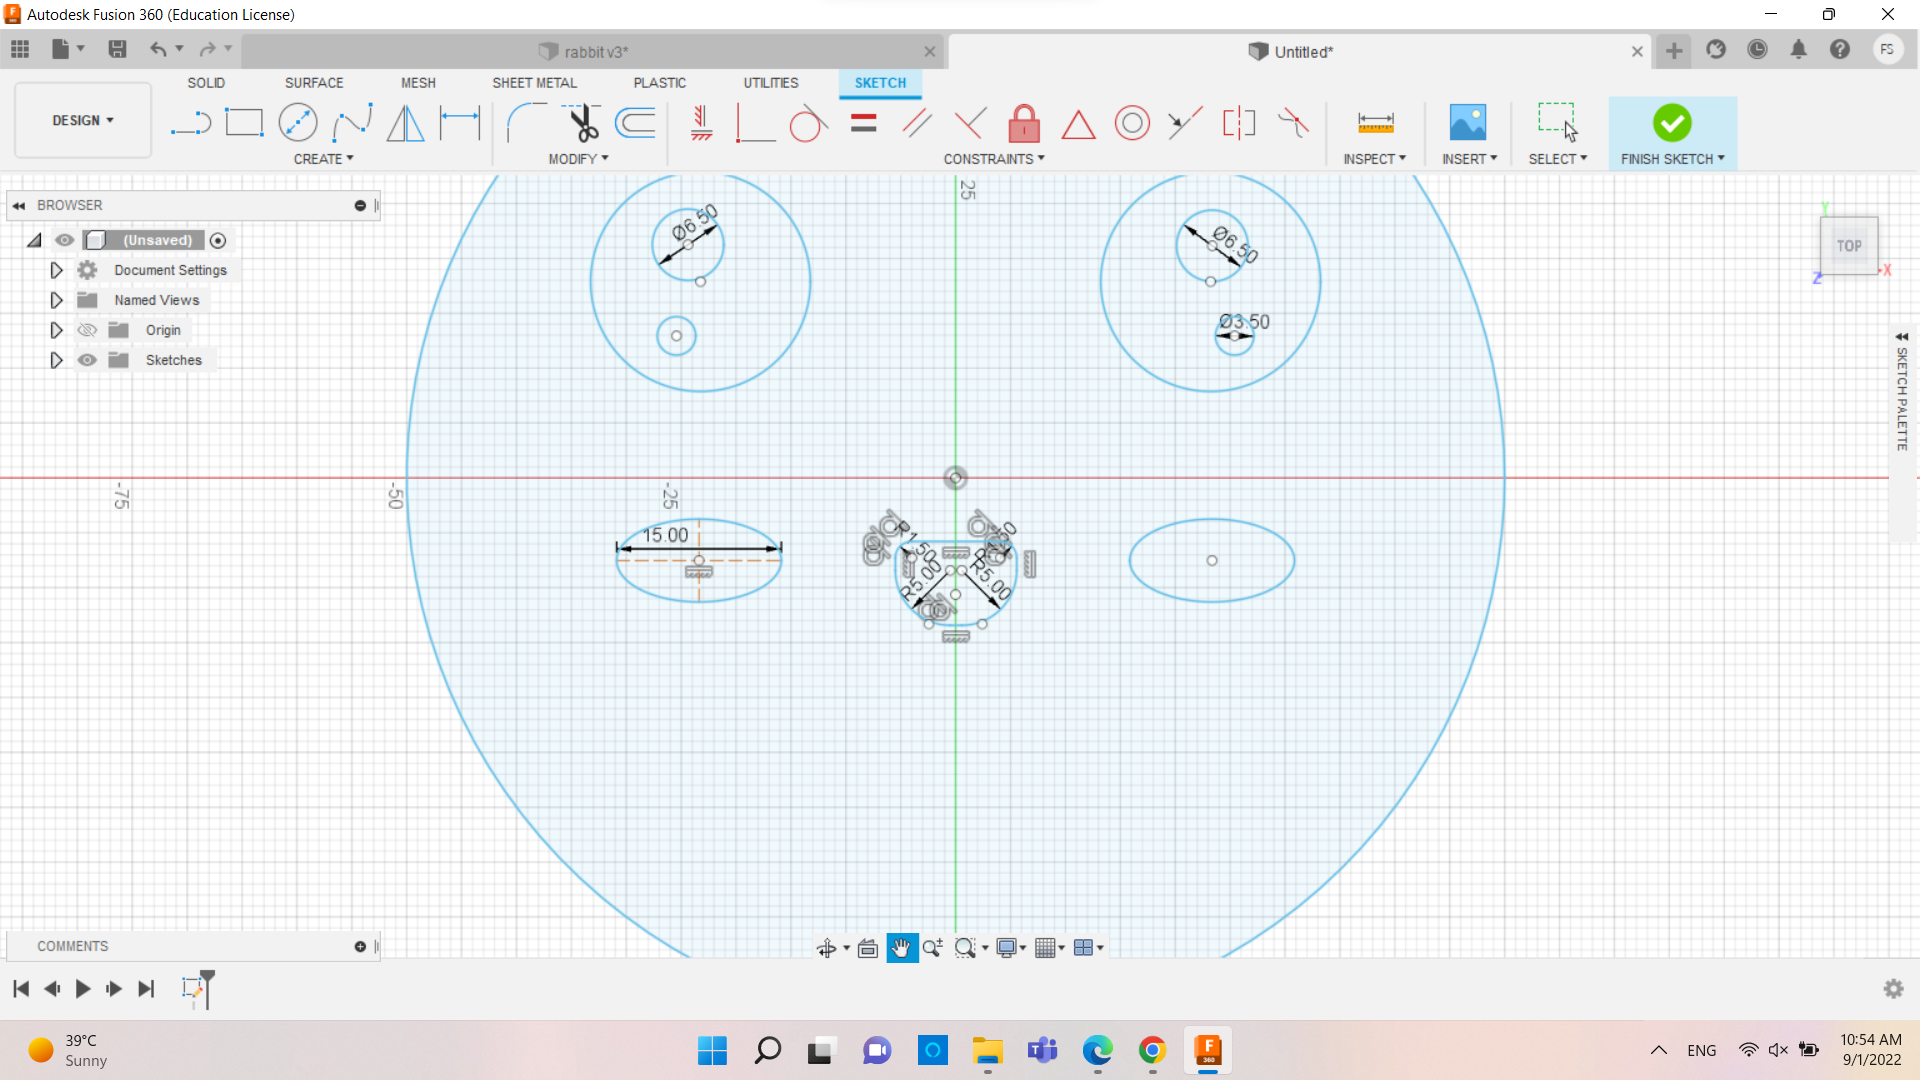
I faced a problem with the two circles in the eye the were 1.6mm from each other yet when we see the preview of the milling we can see that the machine will make them together maybe because the wall between them is very small that the machine is not highly precise and it will be as one piece and to avoid this problem I had to make them far from each other and made the diameter of both of the circles a 0.5 cm smaller.