5. 3D printing and scanning
This week I worked on an individual assignment creating a 3D model using Fusion360 and on the group assignment we worked as a group and downloaded a 3D model design and both were printed using a 3D printer. Then we worked on a 3D scan to object using the mobile phone apps.
group assignment
We worked as a two teams with two 3d model to print in 3D printing machine for more Info about this group assignment you should visit Behanz’s page
Individual assignment
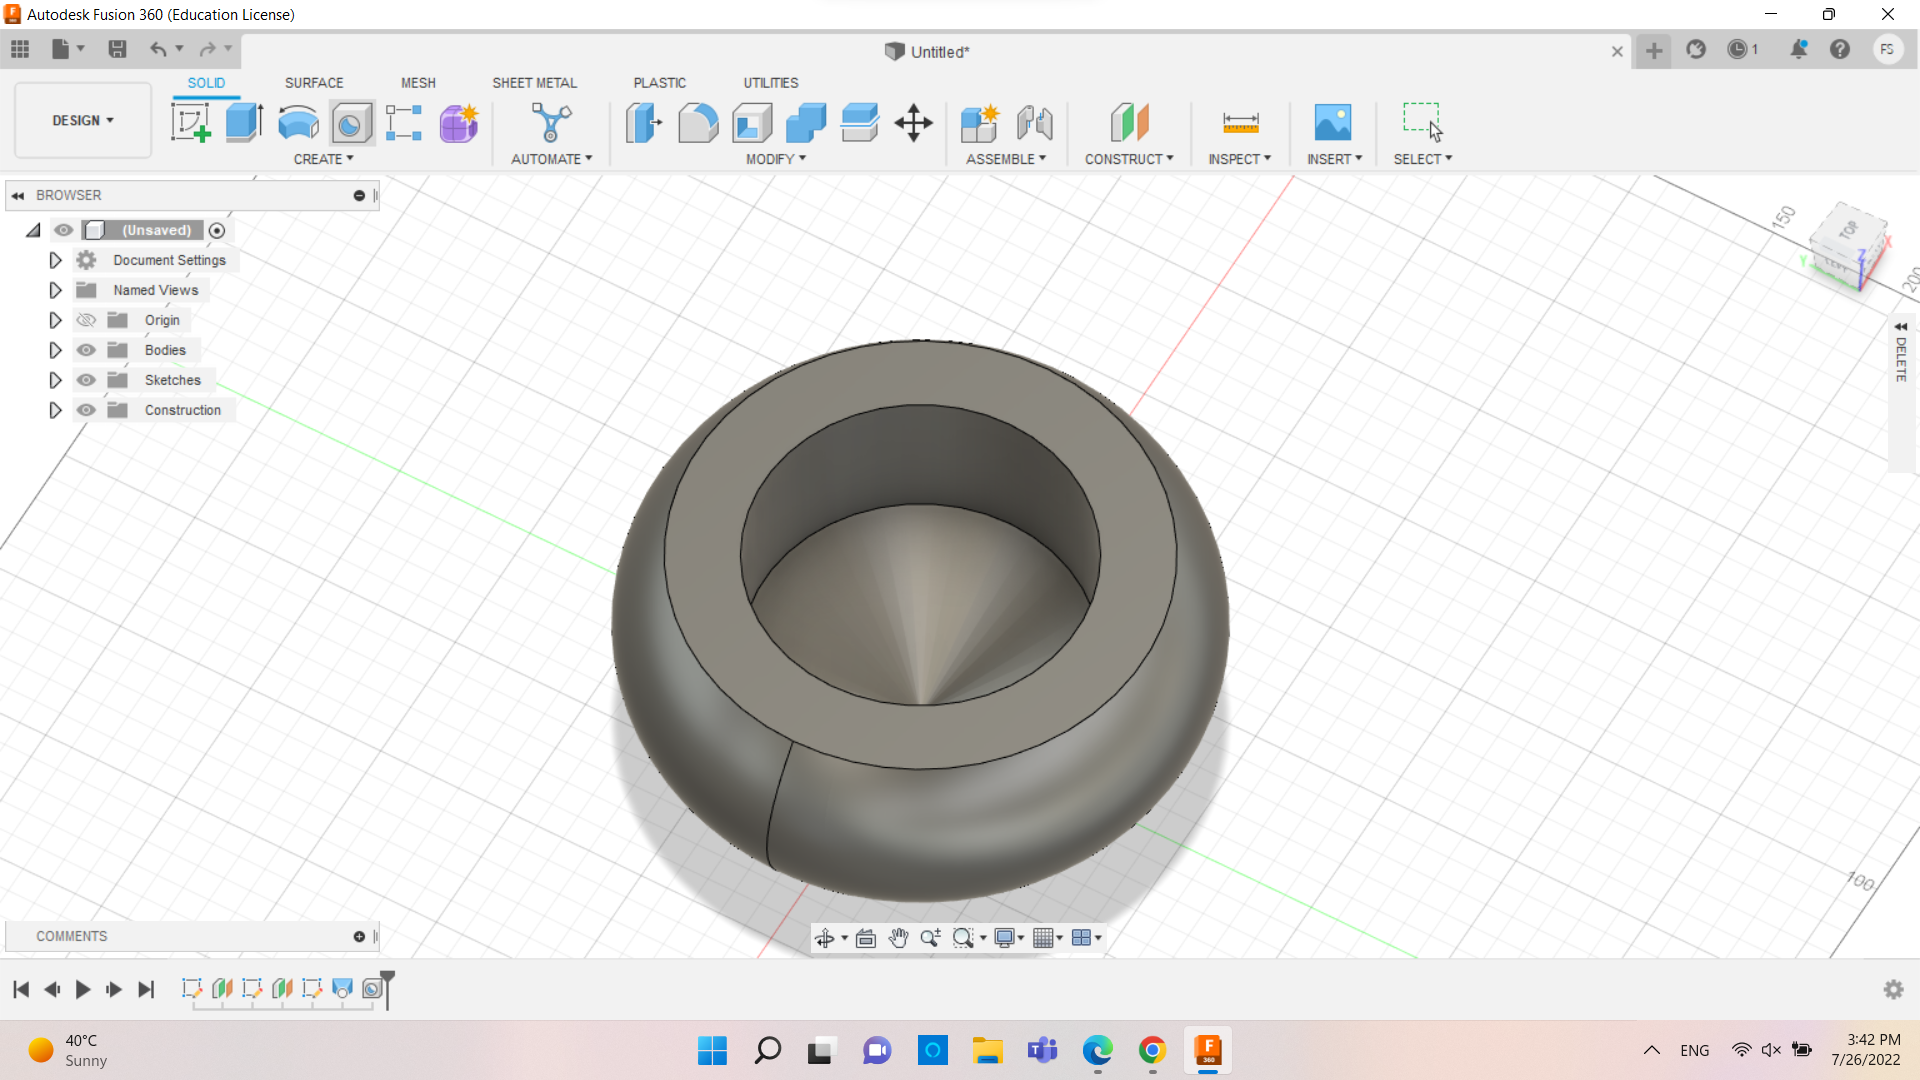
I designed a pot in Fusion 360 and printed it.
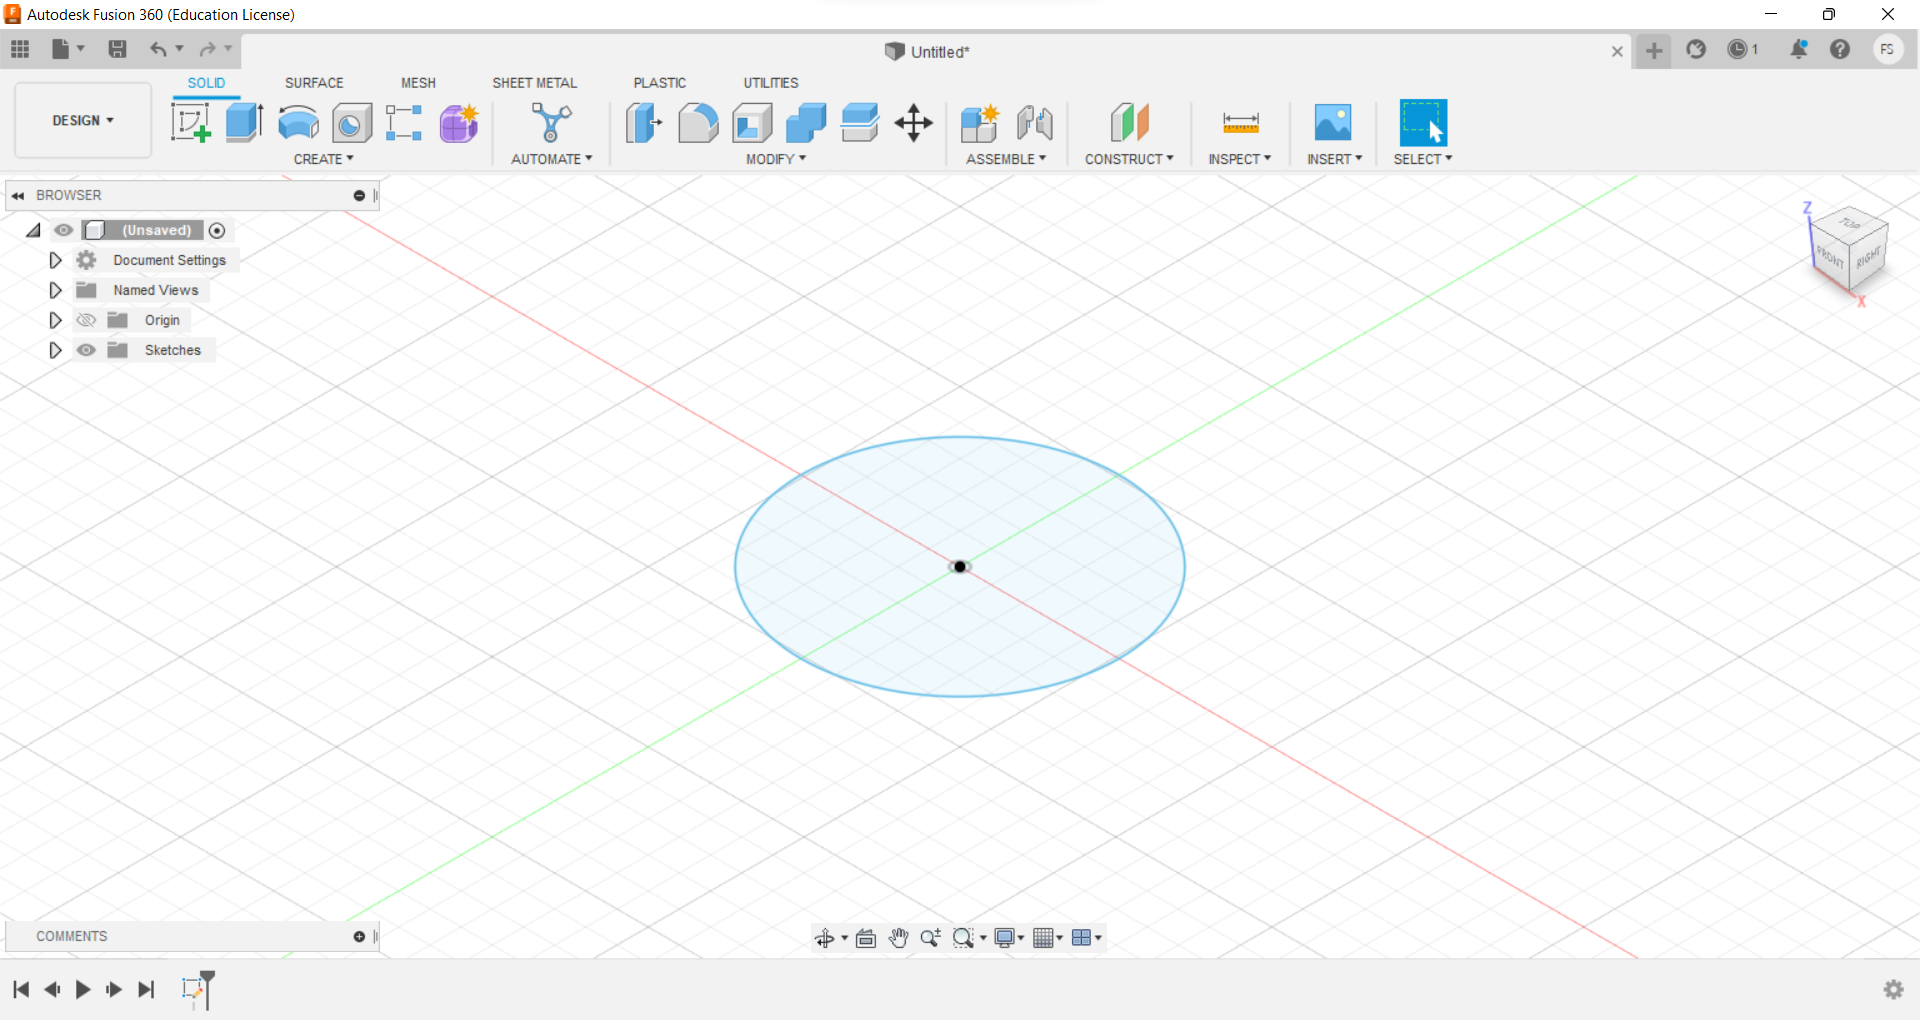
1) Going to create sketch then chosing a circle.
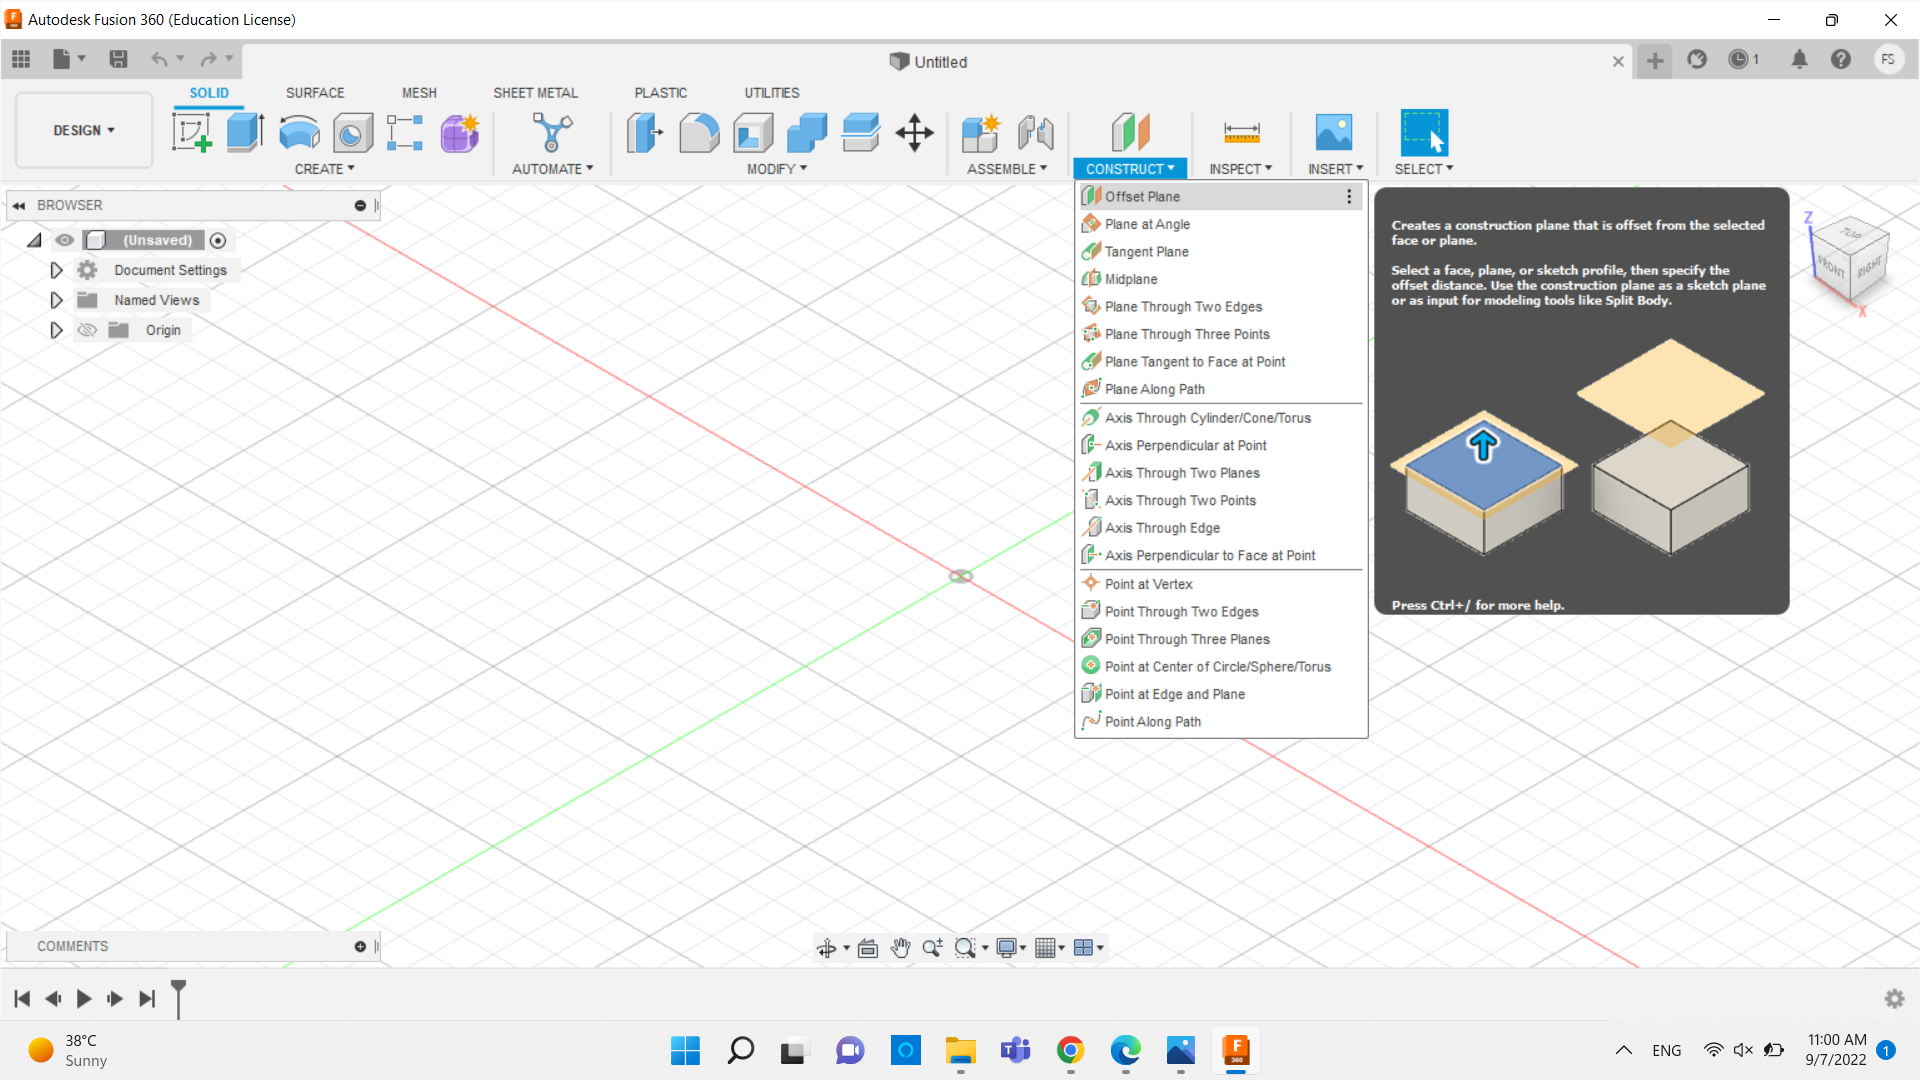
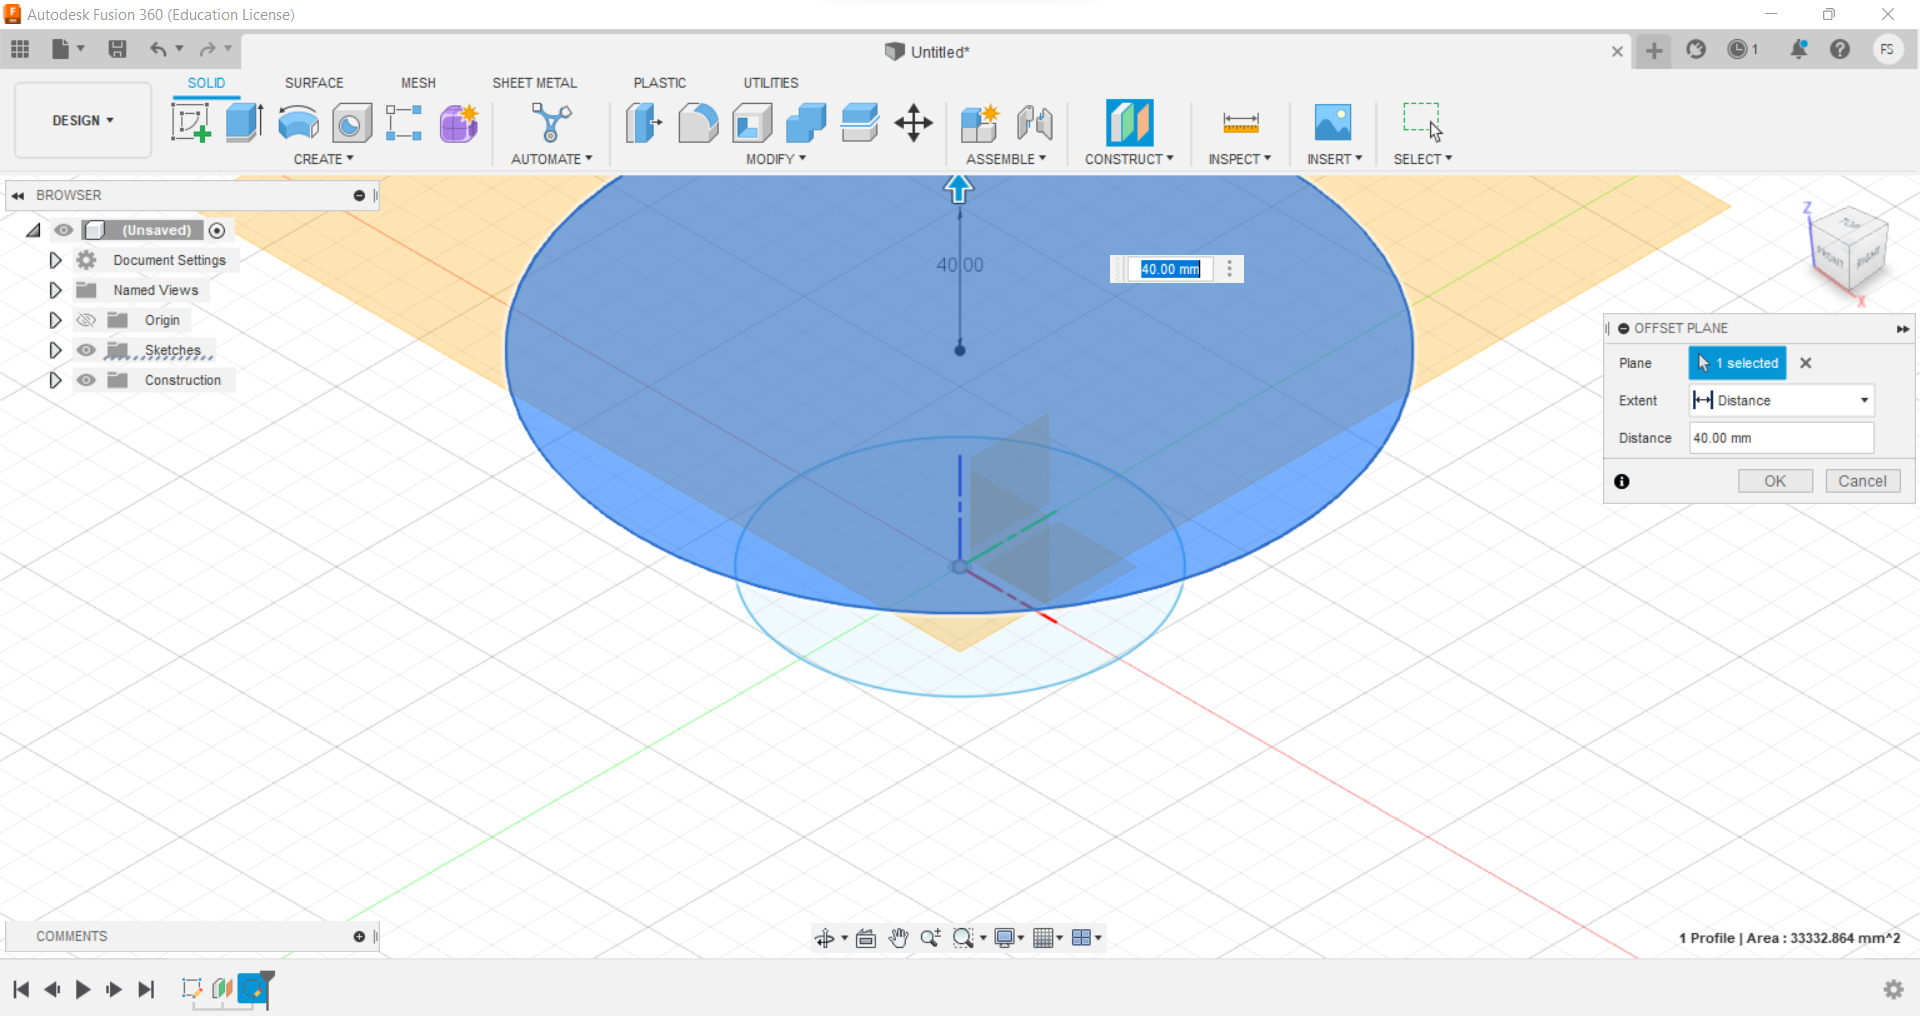
2) Selecting the circle then clicking on the “construct” then chosing “offset plane”
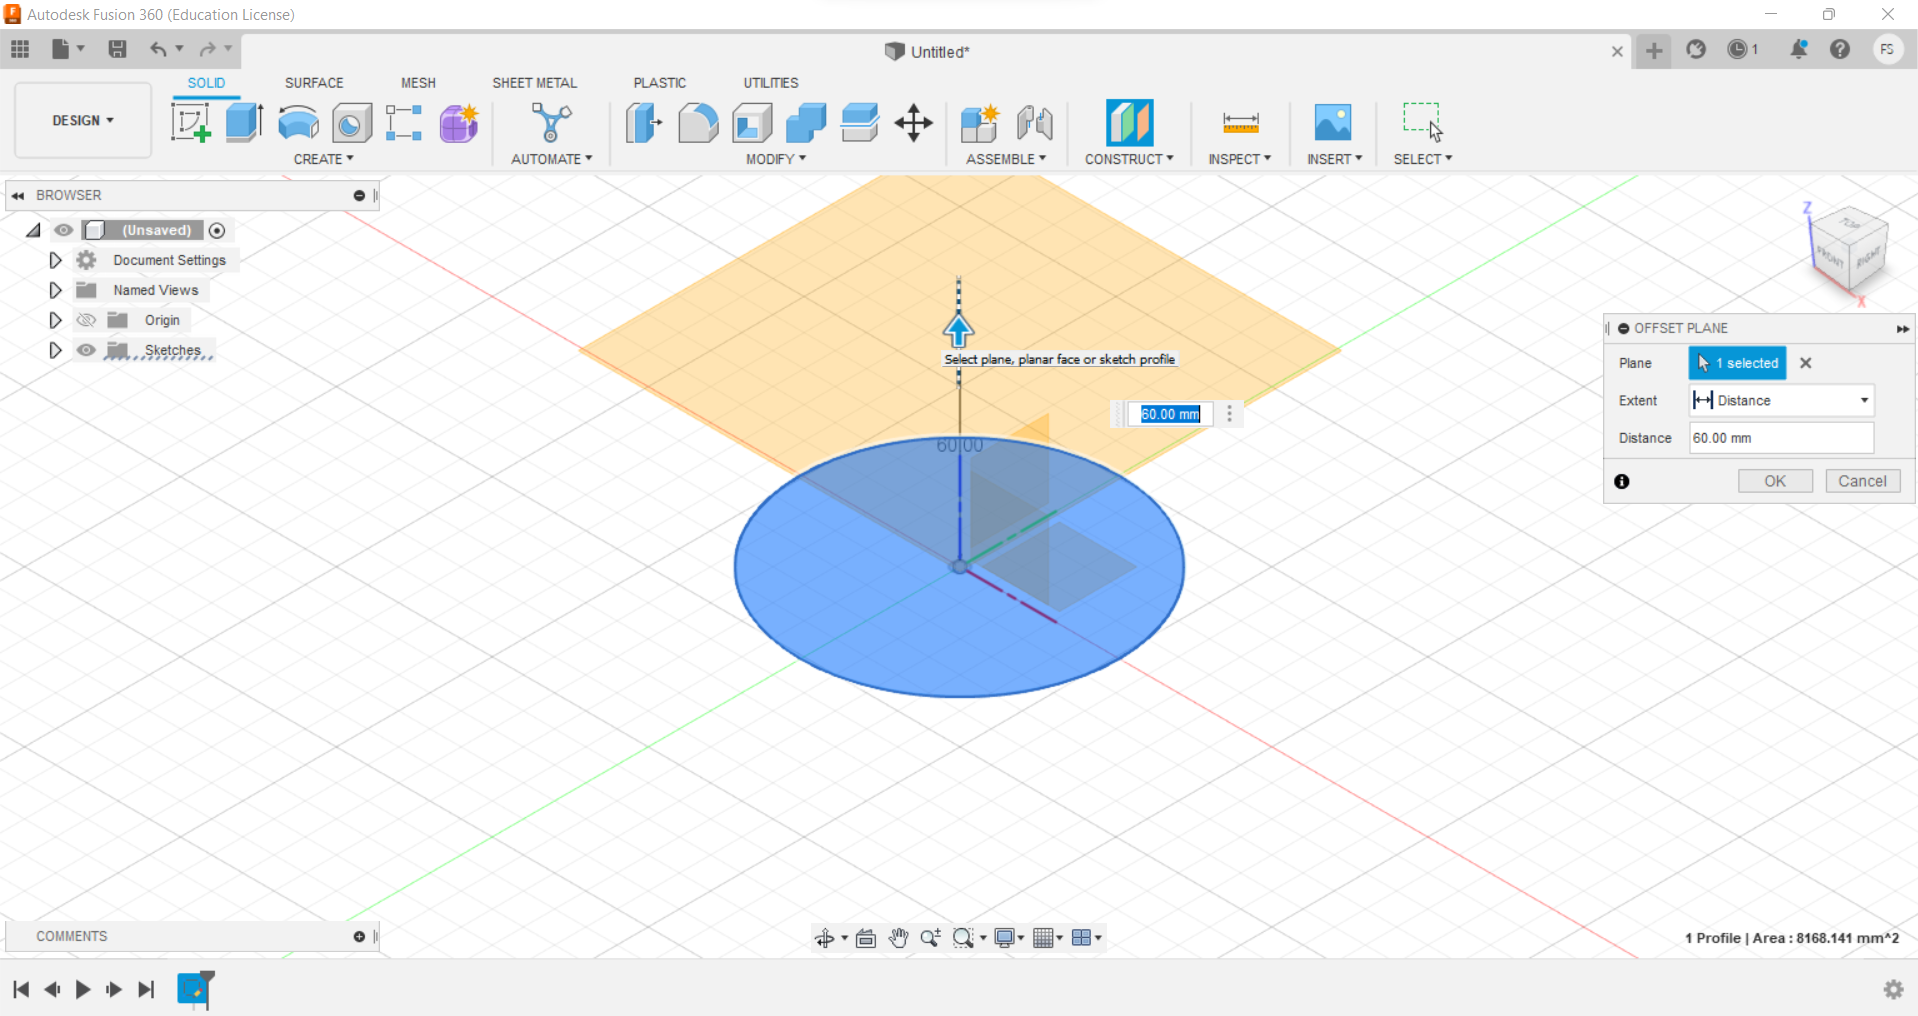
3) Here selectiing the location of the offset plane if it’s above or the under the circle. and the distance between the circle and the offset plane.
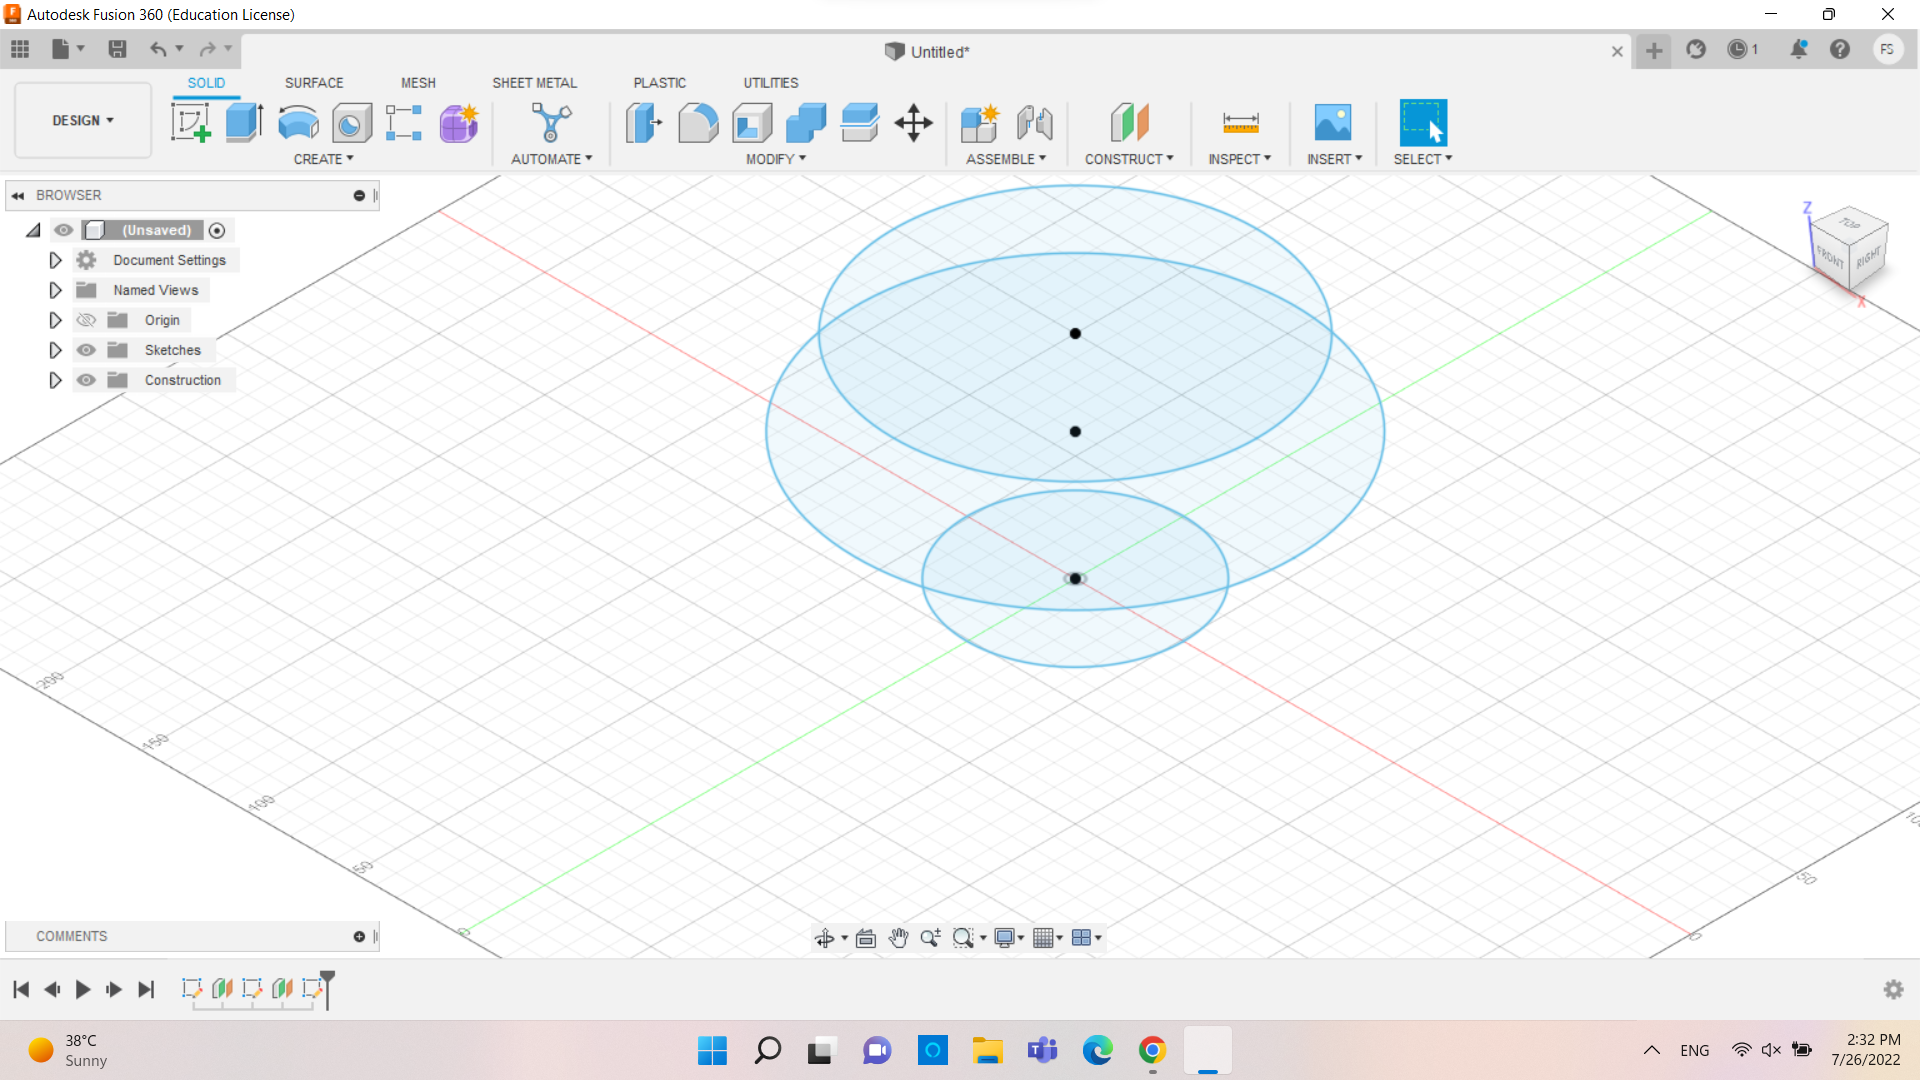
4) Making another circle in the new plane offset and I chose to be bigeer than the one below it.
5) repeating the above step and the size of the circle is the same as the one the bottom.
6) Selectin loft.
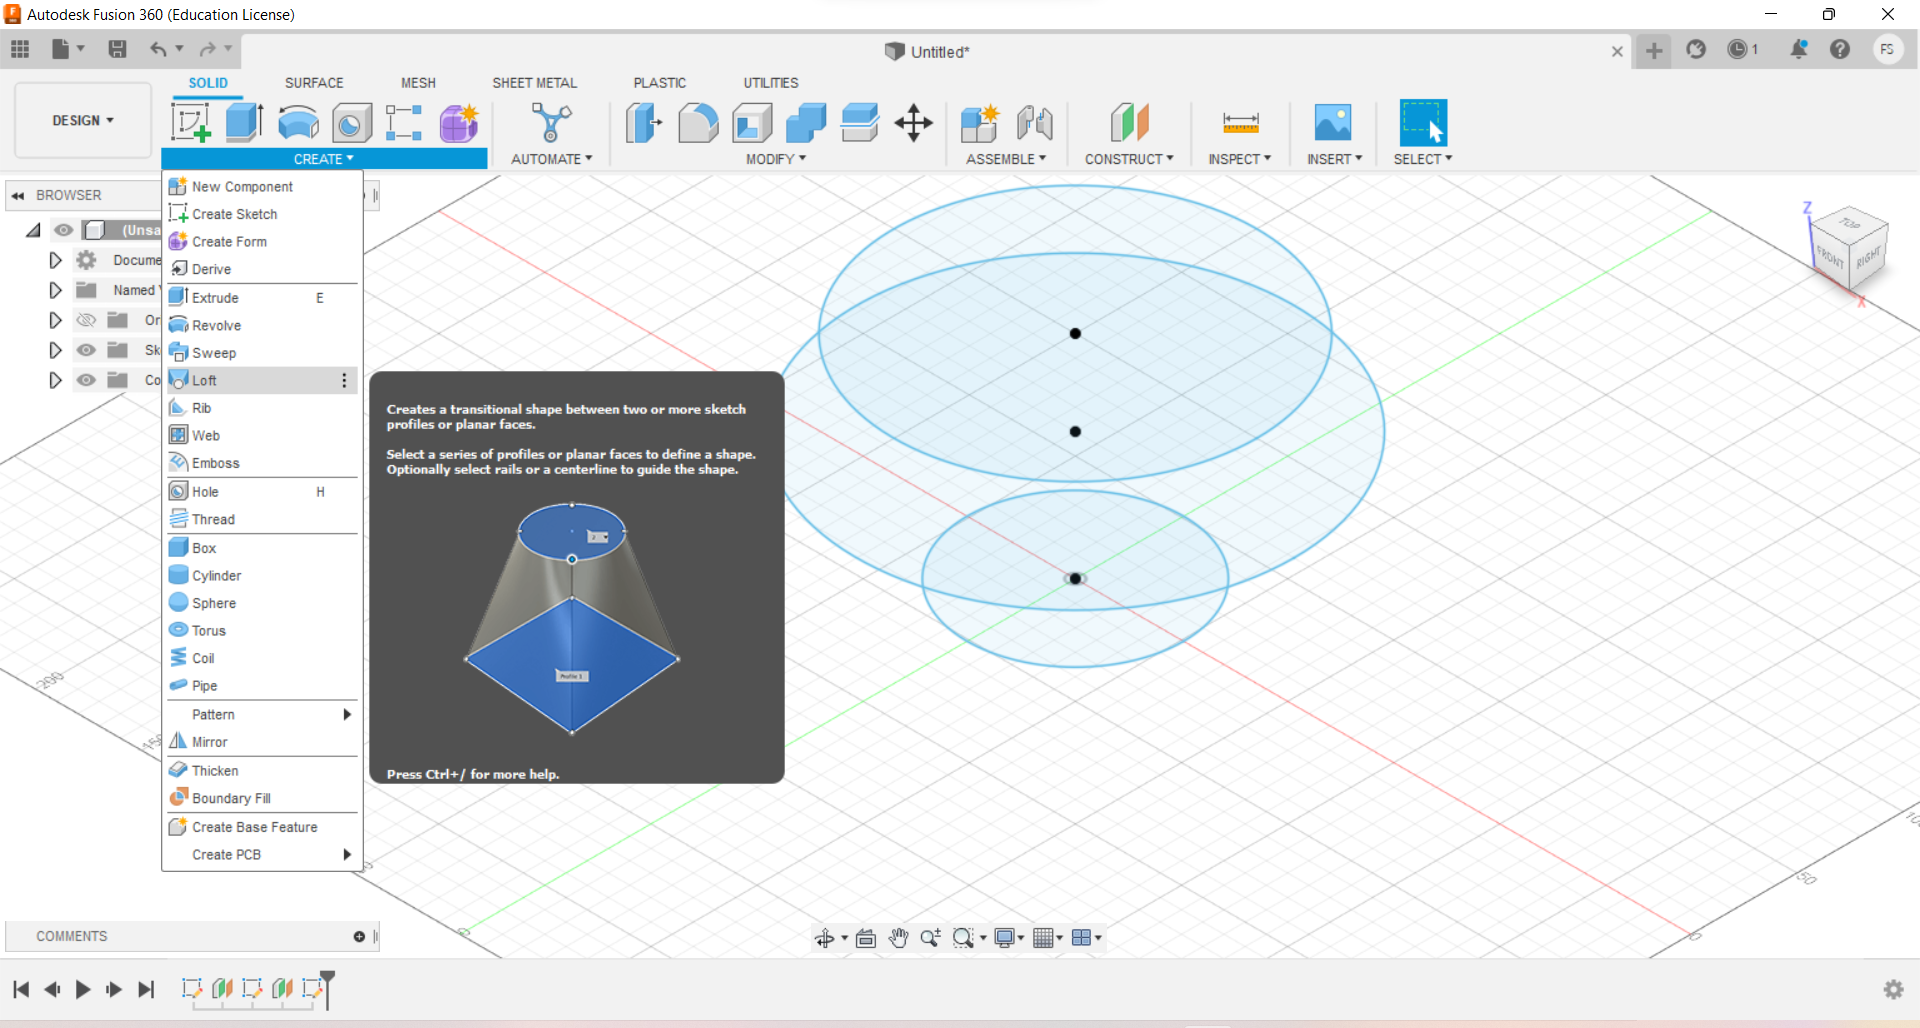
7) Here after clicking on the loft and chosing the three circles.
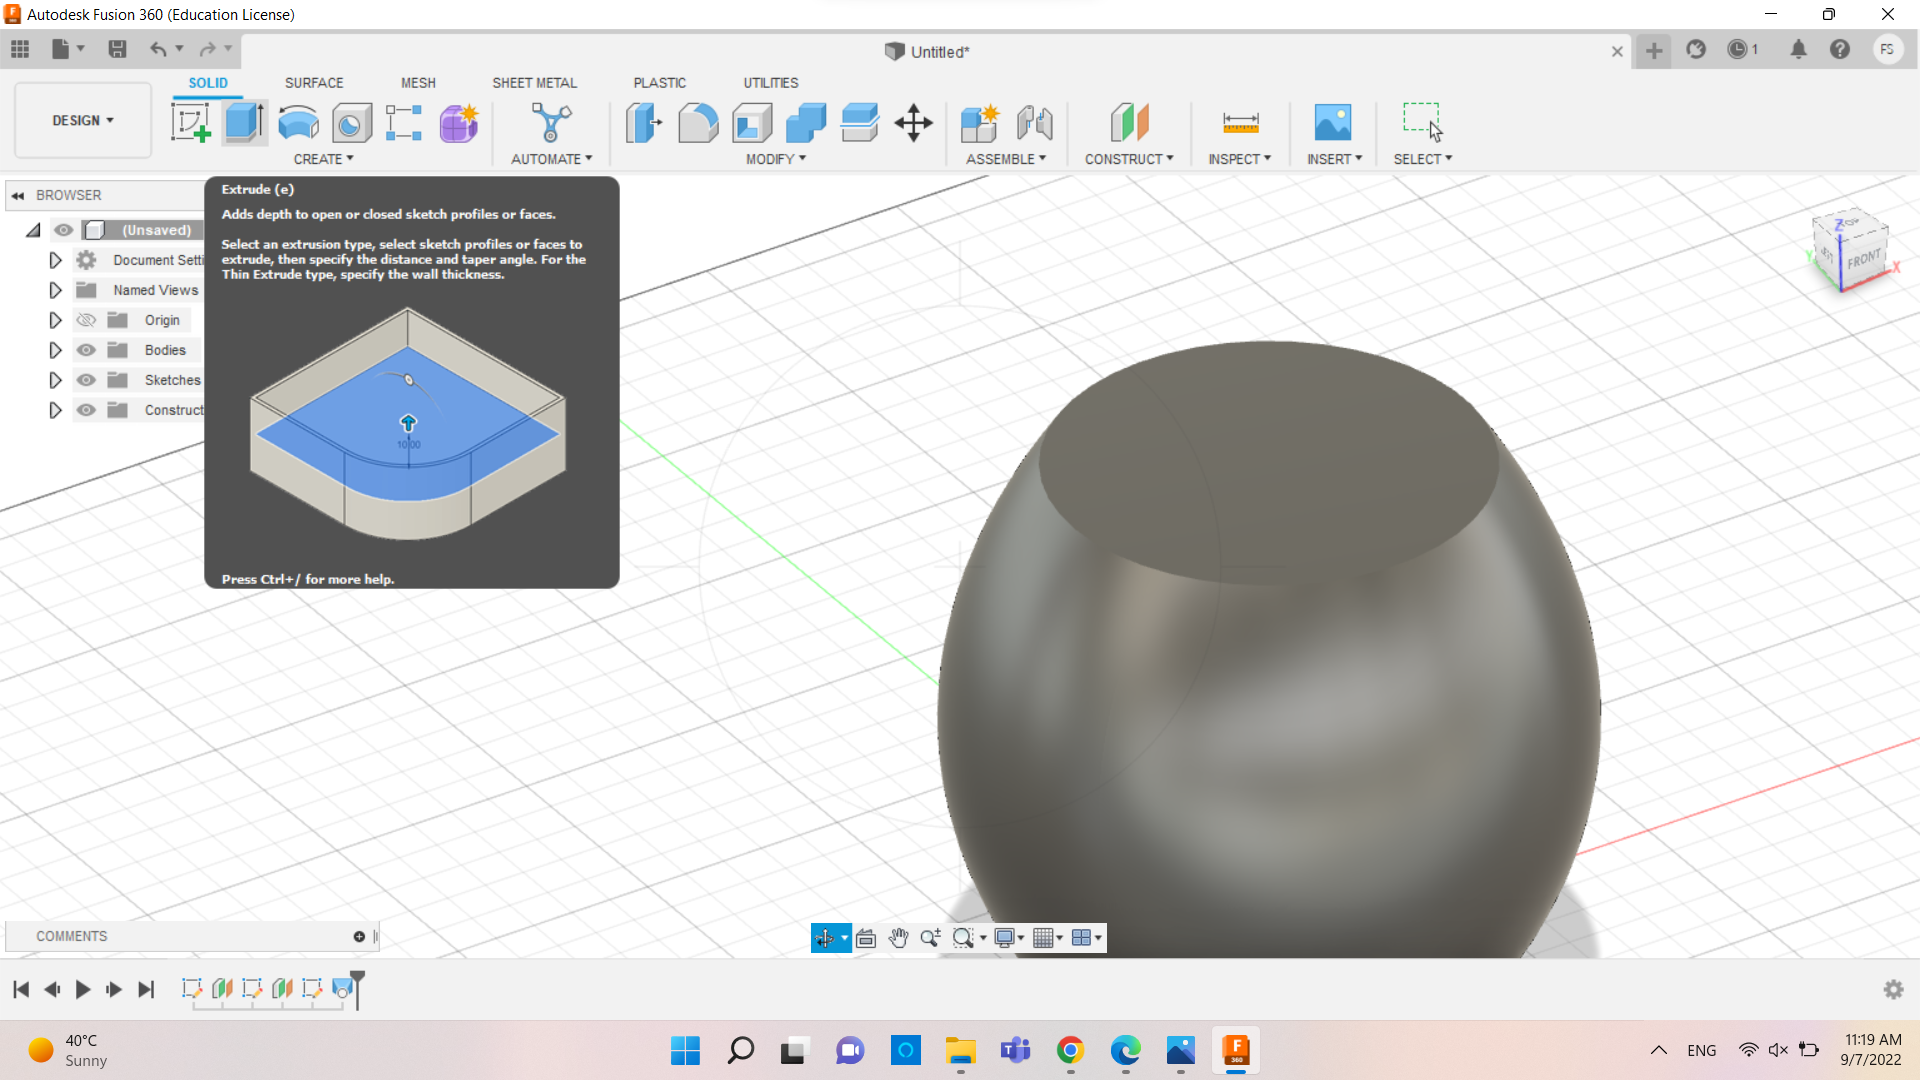
8) Clicking on the extrude then taking it down to get the pot shape.
9) Final look
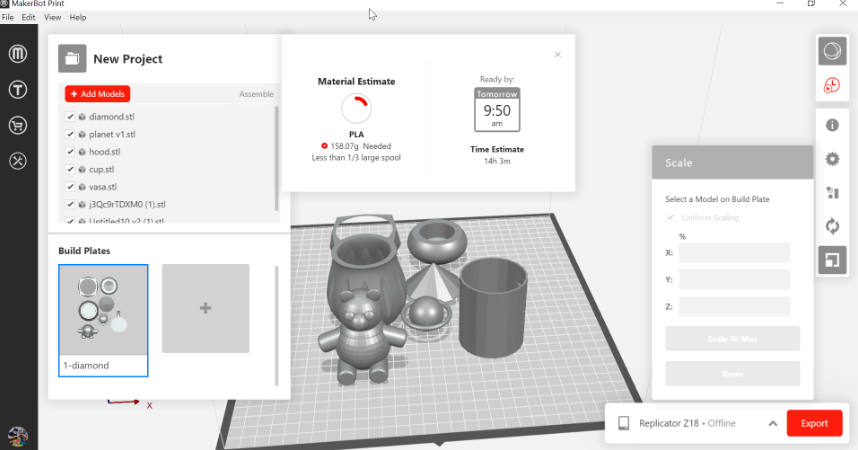
10) This is what it would look like after putting it in the app that we installed for the makerbot nad how long would it take.
11) After 14 hours
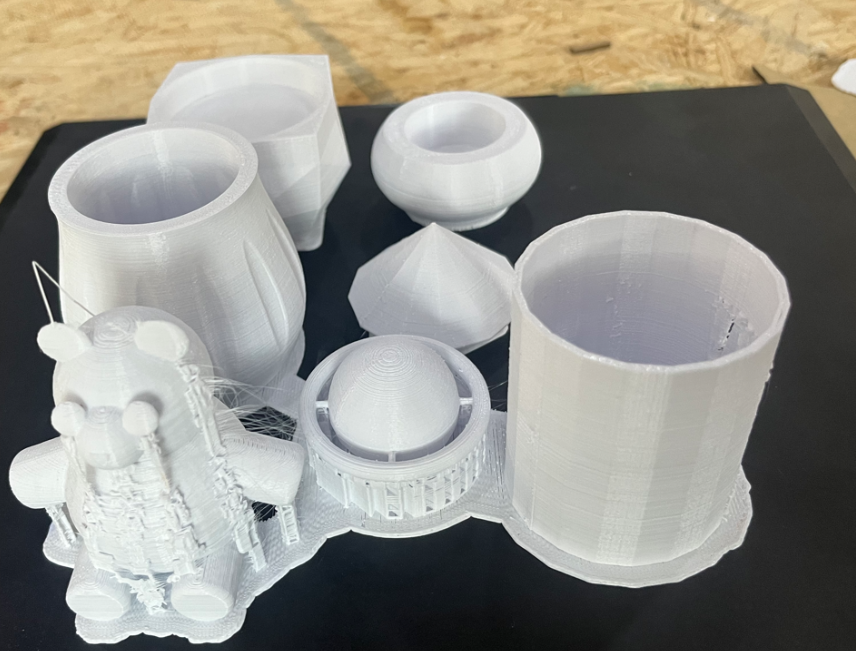
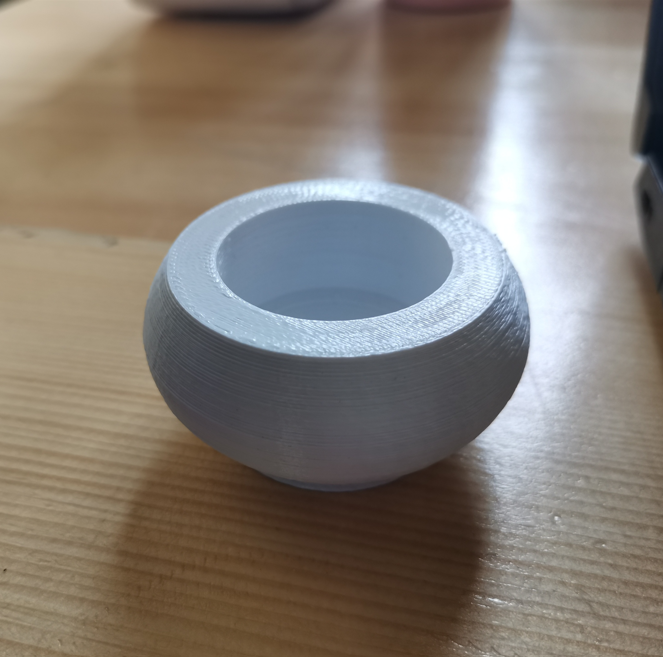
12) Final result
click to download my design click to download my design
3D design
In this assignment we used Makerbot Three-dimensional models, which are built from 3D scan data or produced using computer-aided design software, are the building blocks used in 3D printing to construct items. After that, the design is exported as an STL or OBJ file, which print preparation software can read. then the app will show me how it will buil the design i chose layer by layer. after that the machine will show me the exact timing it will finish creating the model. the polymer wire melts to create the model and the chamber helps keeping the tempreture at the desired level so it would not change if it faces the air of the room tempreture and change it. this design can not be done subtractively since it has angles because the pot is narrow from bottom and top but in the middle it has a bigger diameter so other machine can not create it since it needs the z-axis which most machines does not have. they only have the x-axis and y-axis and they can move up and down leaving the z-axis hard to design.
what I learned from testing the 3D printers
In the group assignment we used two diffrenet machines the makerbot printer and the Prusa and as we tesetd both I found out that makerbot printer since it has a heated build platform and it can change the tempreture to the desired level temperature so it would not change if it faces the air of the room tempreture and change it unlike the prusa it does not have this heated platform and this can the desired product less perfect since the PLA Material that is been heated get contact with the room temperature and change the melting point of the material so it will be less good looking than the object printed int the makerbot. For the price comparison the prusa is cheaper. there are several comparison between these two 3D printer such as Supports Wi-Fi ,Uses fused deposition modeling (FDM), Has plug and play feature, etc.
for more comaprison between the Prusa and the Makerbot click here
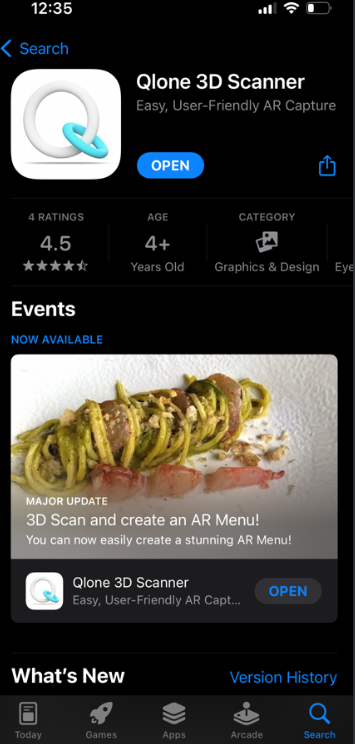
3D scanning
Qlone
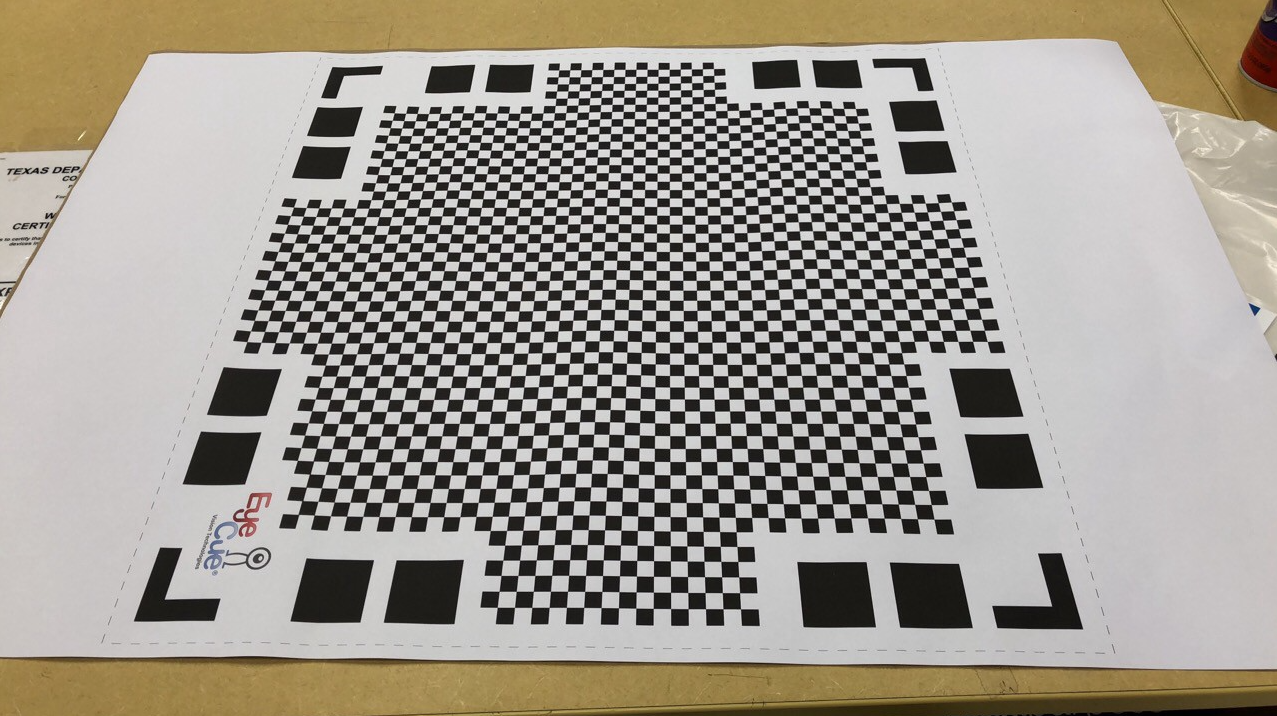
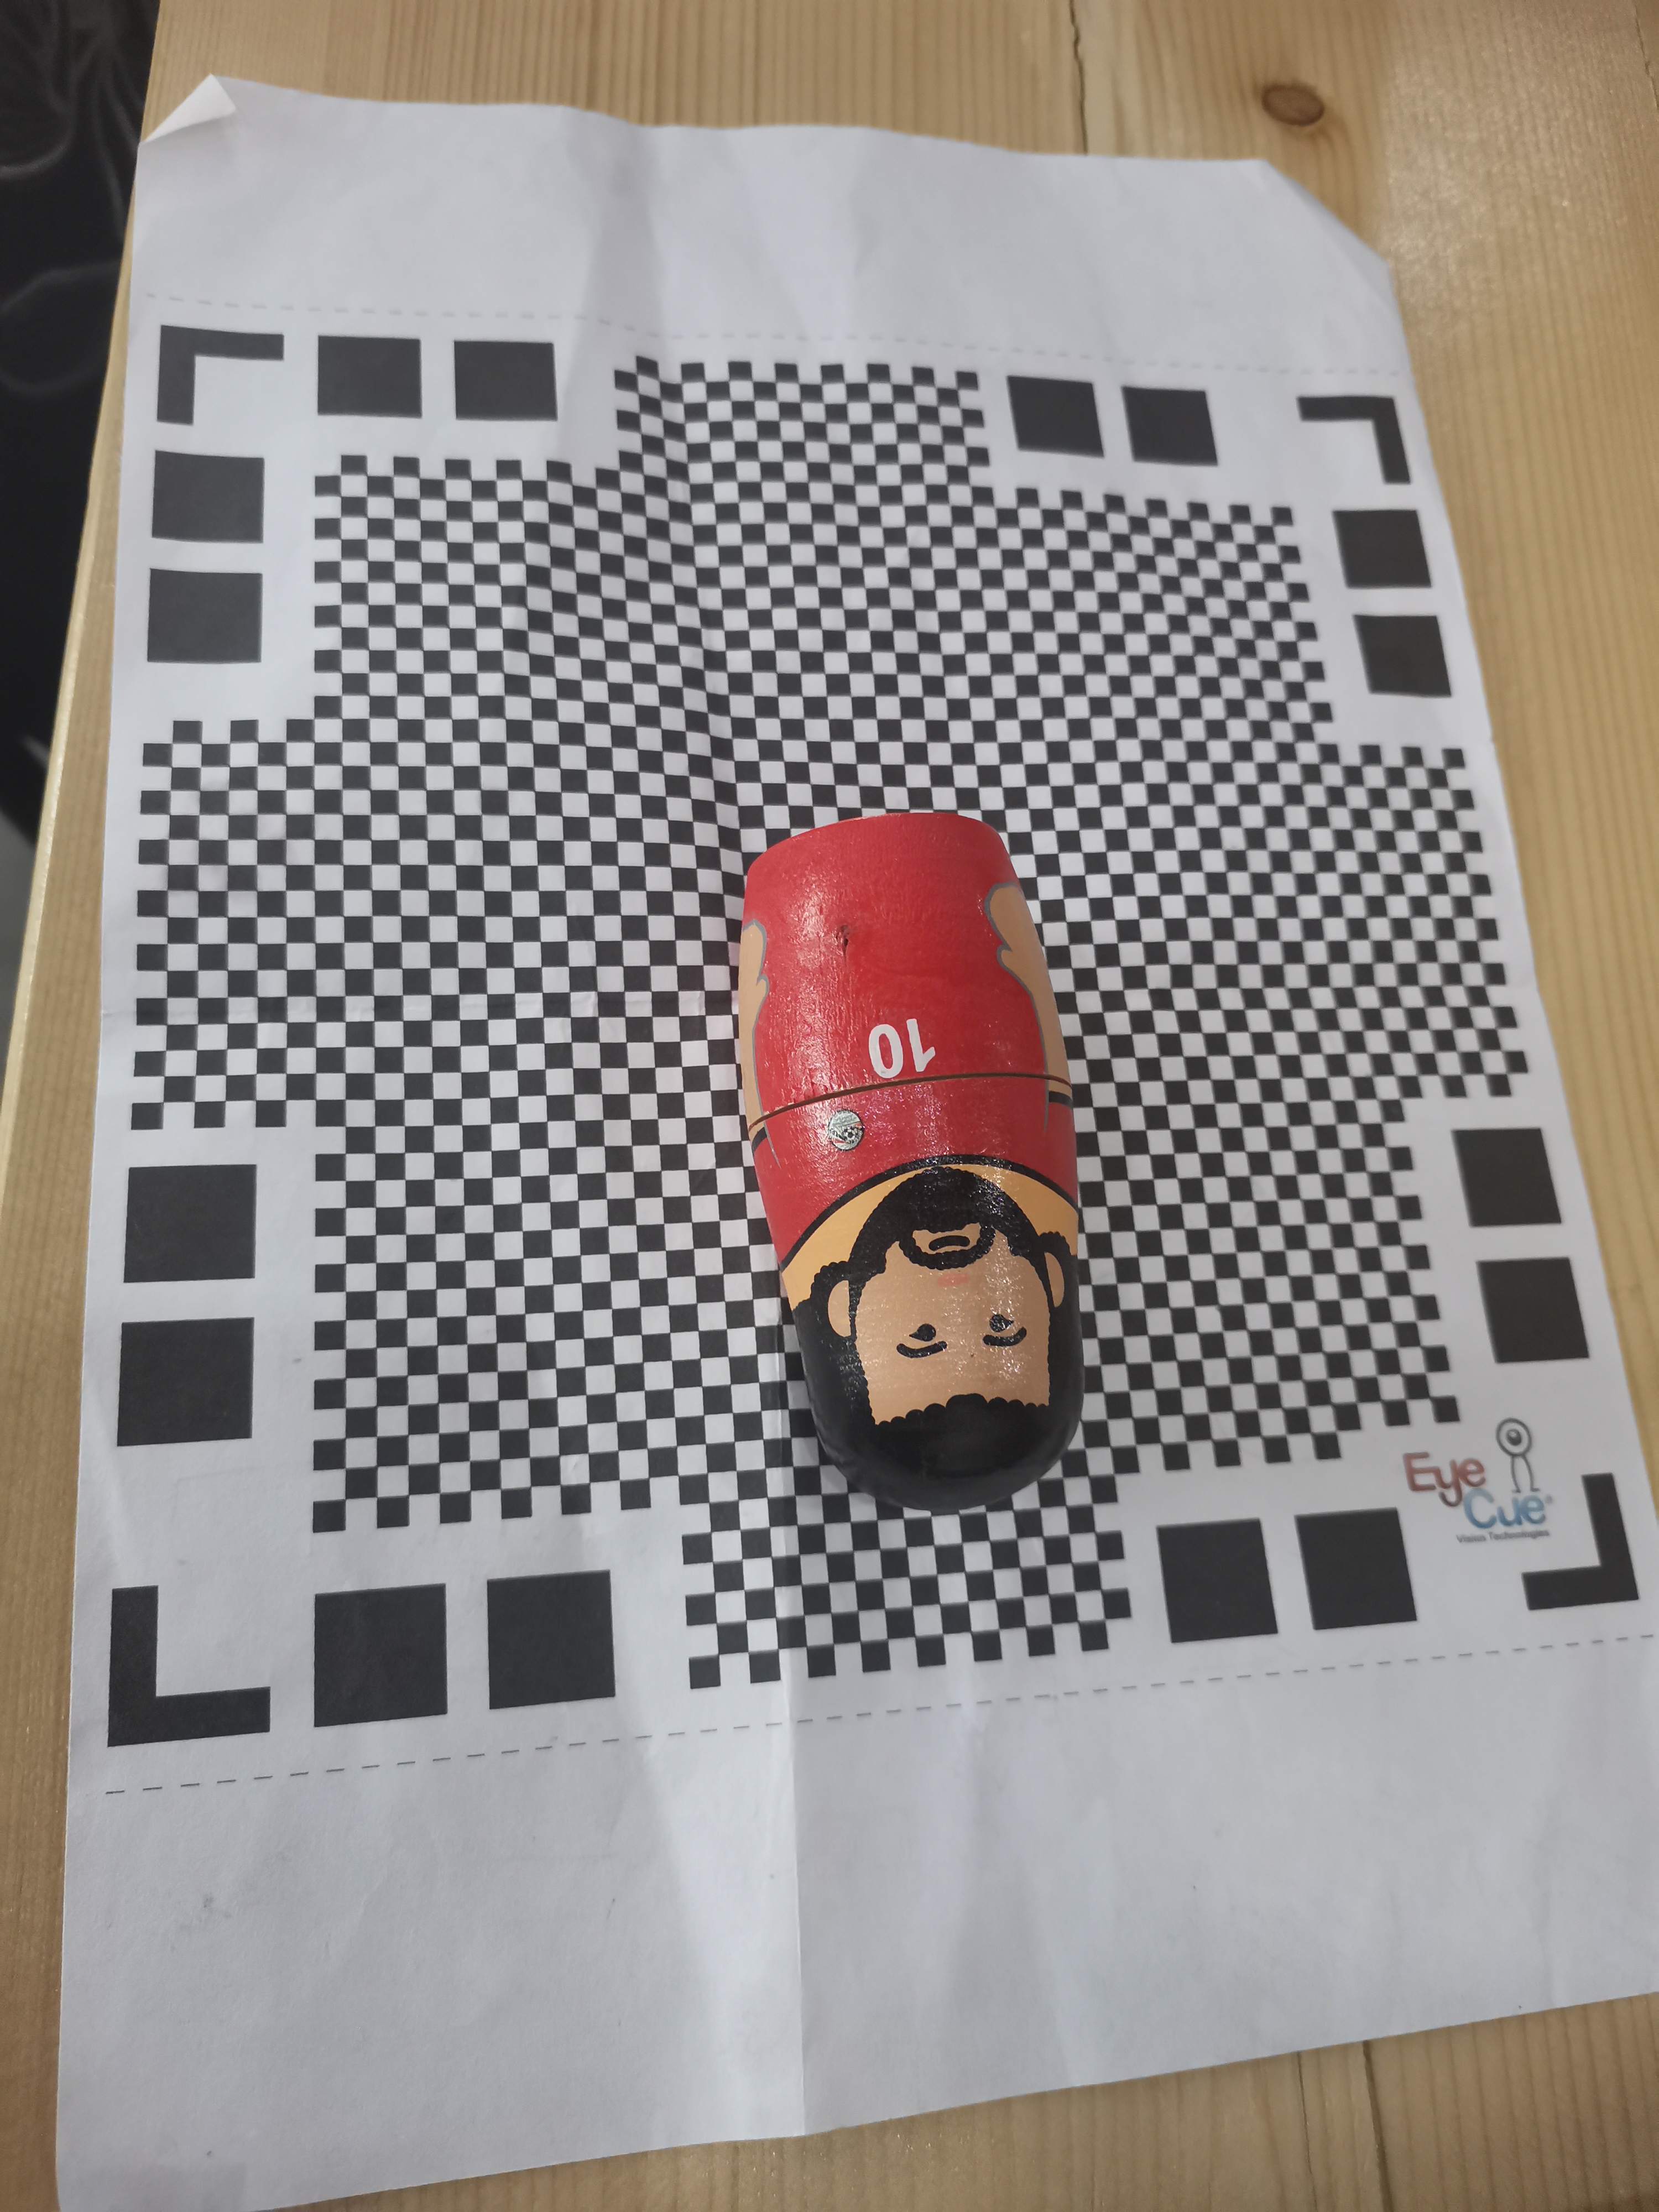
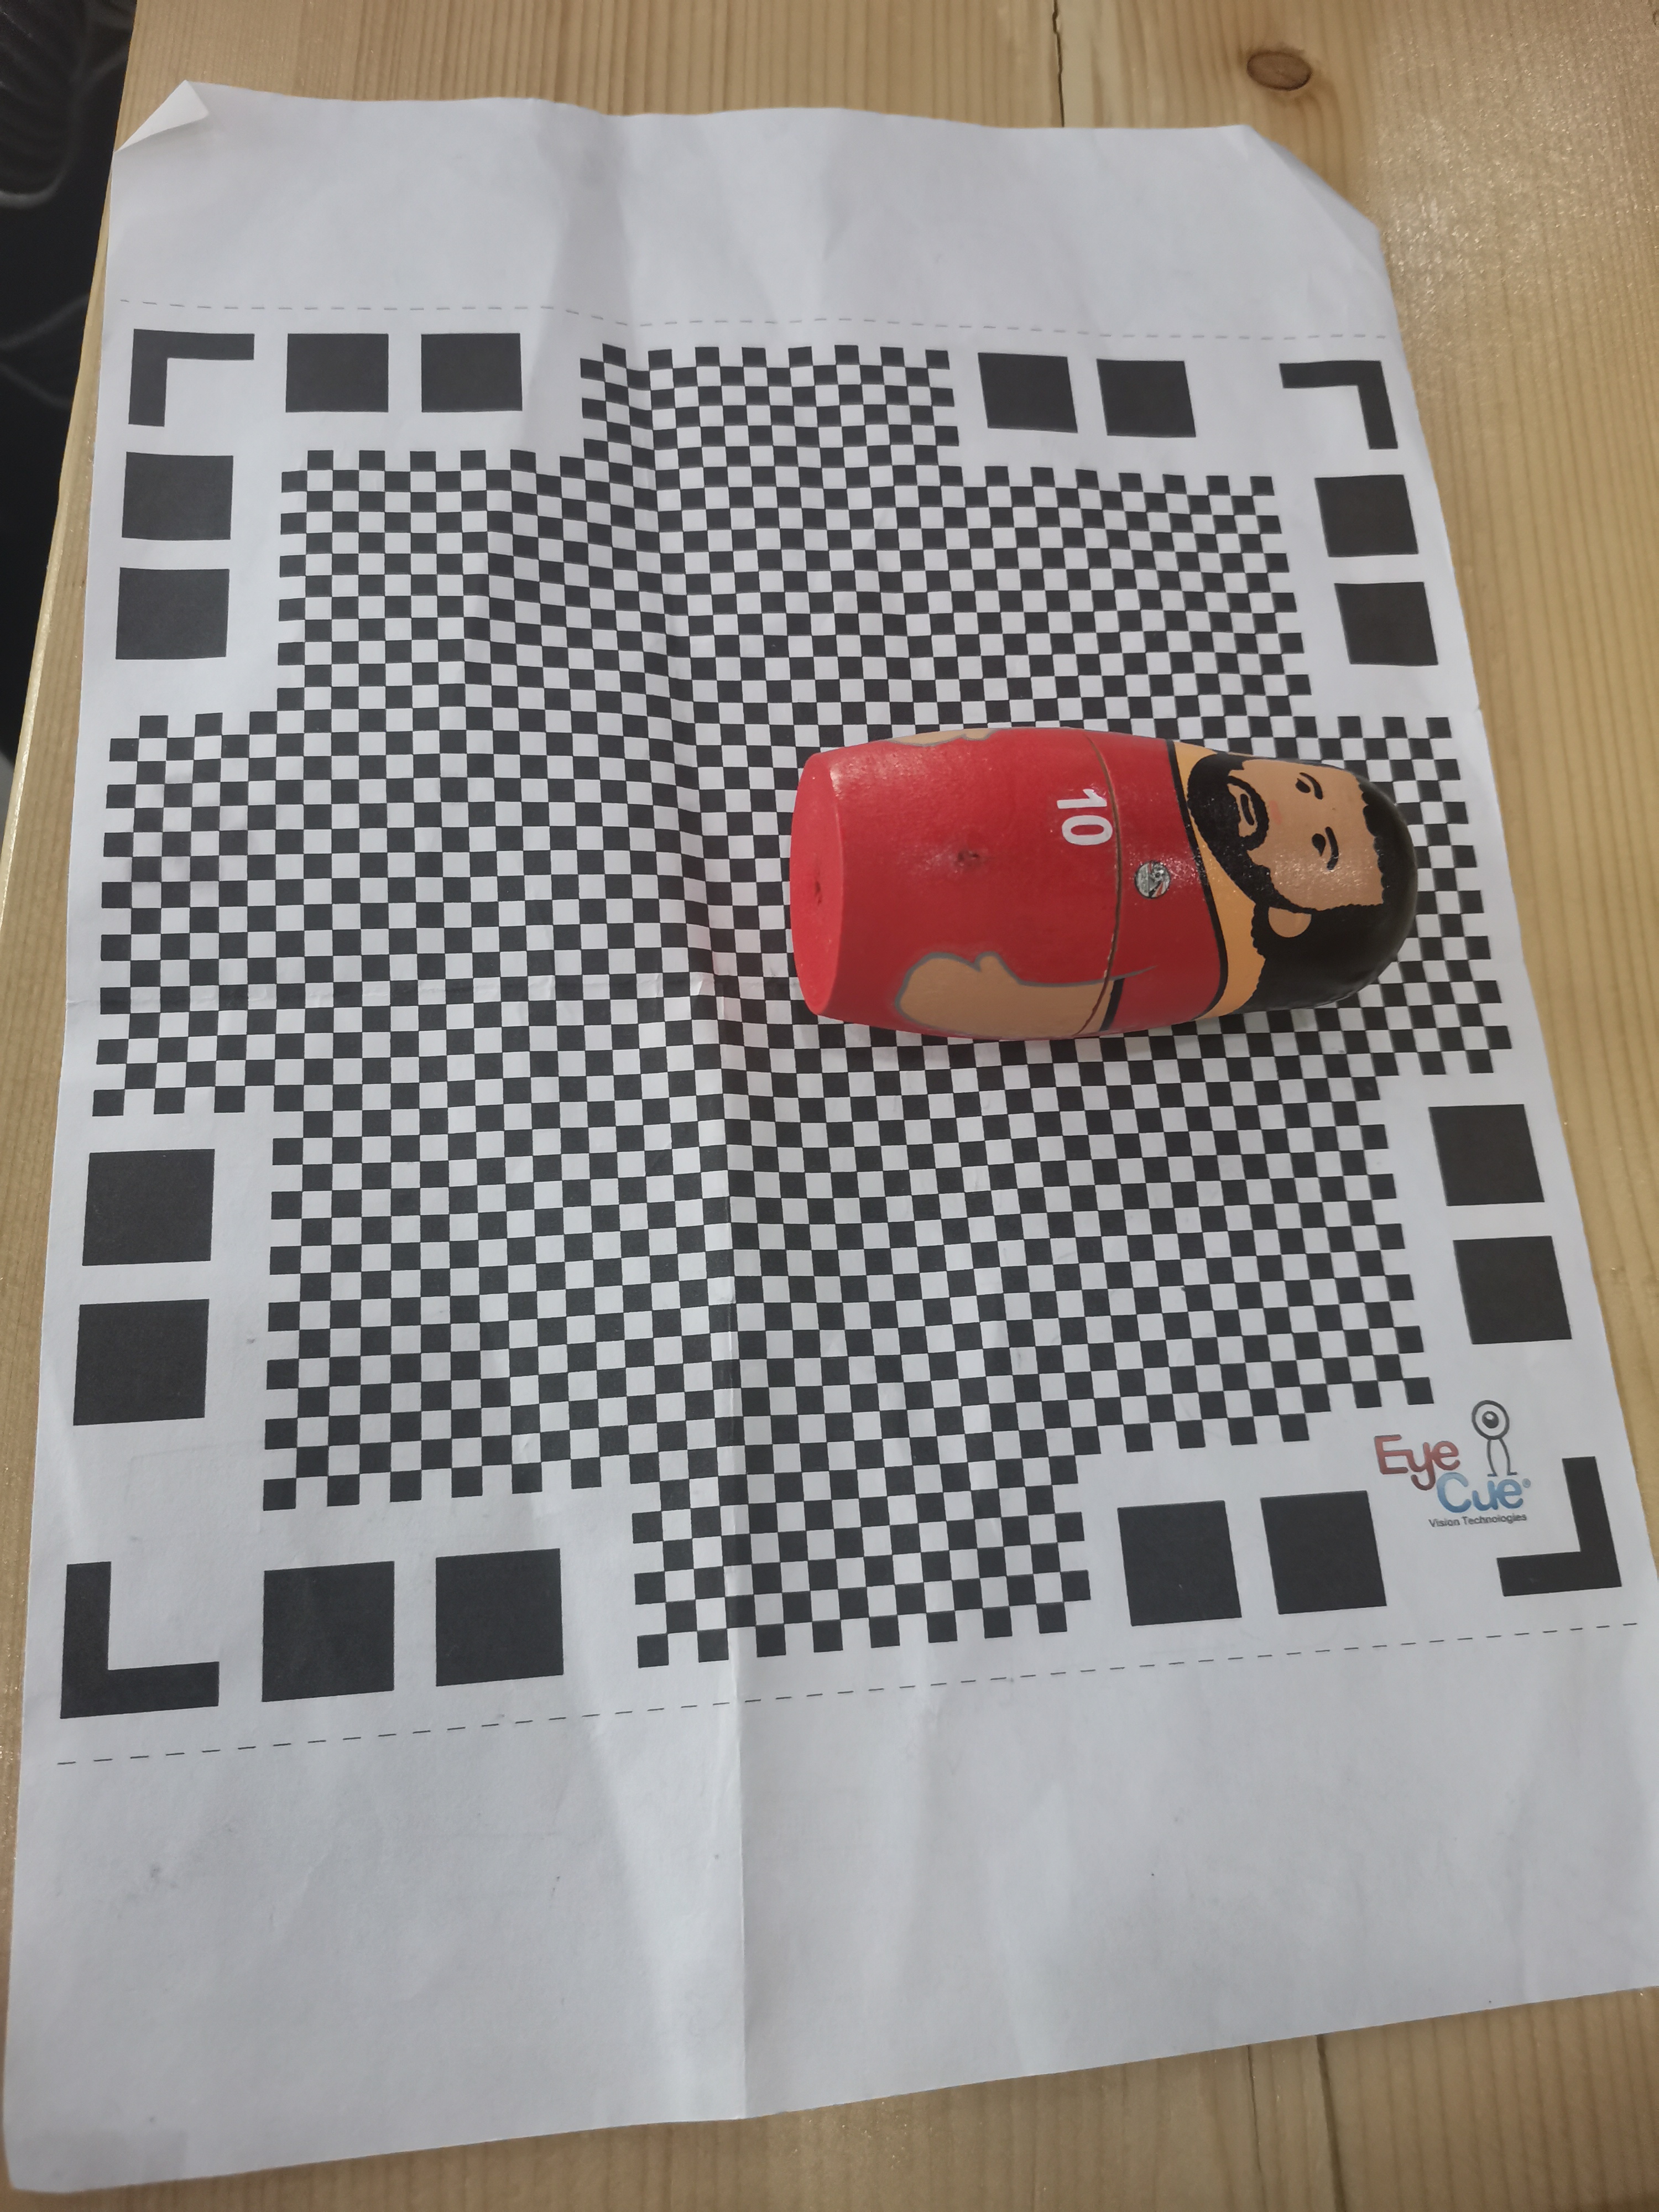
For the 3D scanning I used for the first one ‘Qlone’ app using a rotating matt. Qlone is a company that utilizes its own base board that looks like a giant QR Code, it is called the “Qlone Mat”. virtual dome surrounds the object being scanned, and by turning around the mat 360 degrees several times, the dome is cleared out, and the image scanned into your phone.
for the scanning below i used the Qlone mat so I could ude the Qlone app.
The Qlone mat that needed
2) making sure that the place we want to take the scanning has a good lightning.
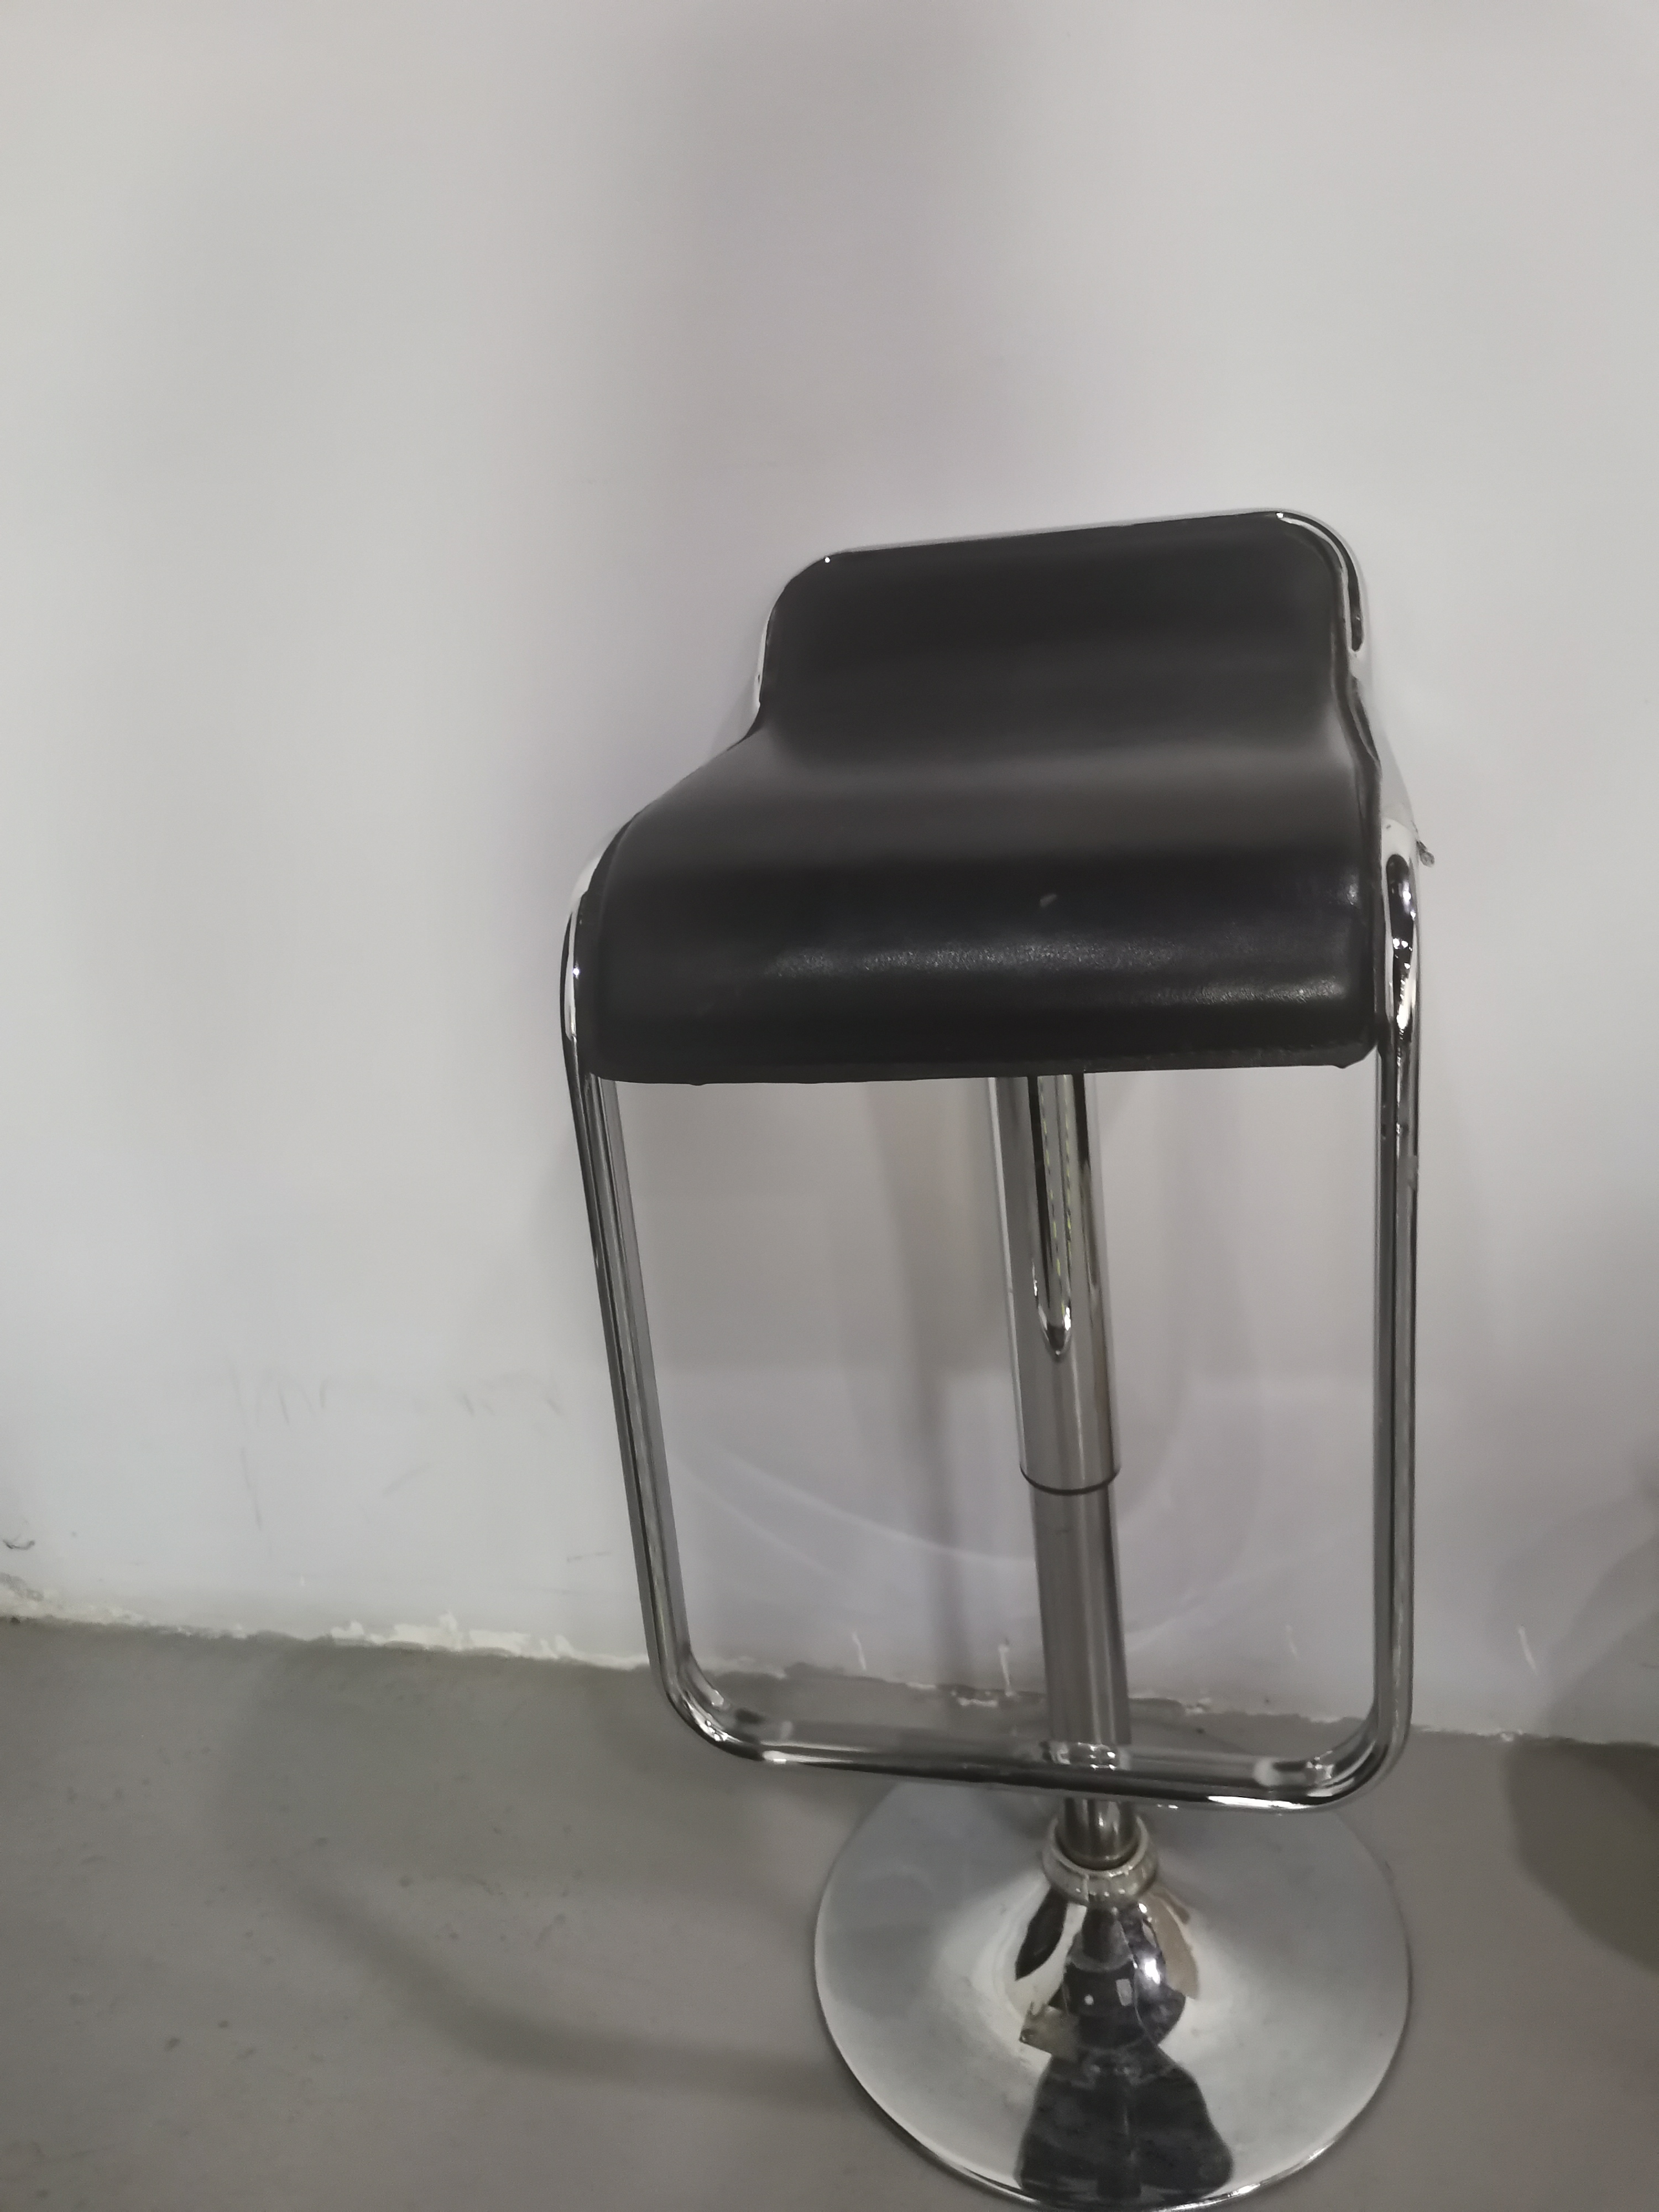
3) putting the mat on a smooth surface. which i chose a stool chair.
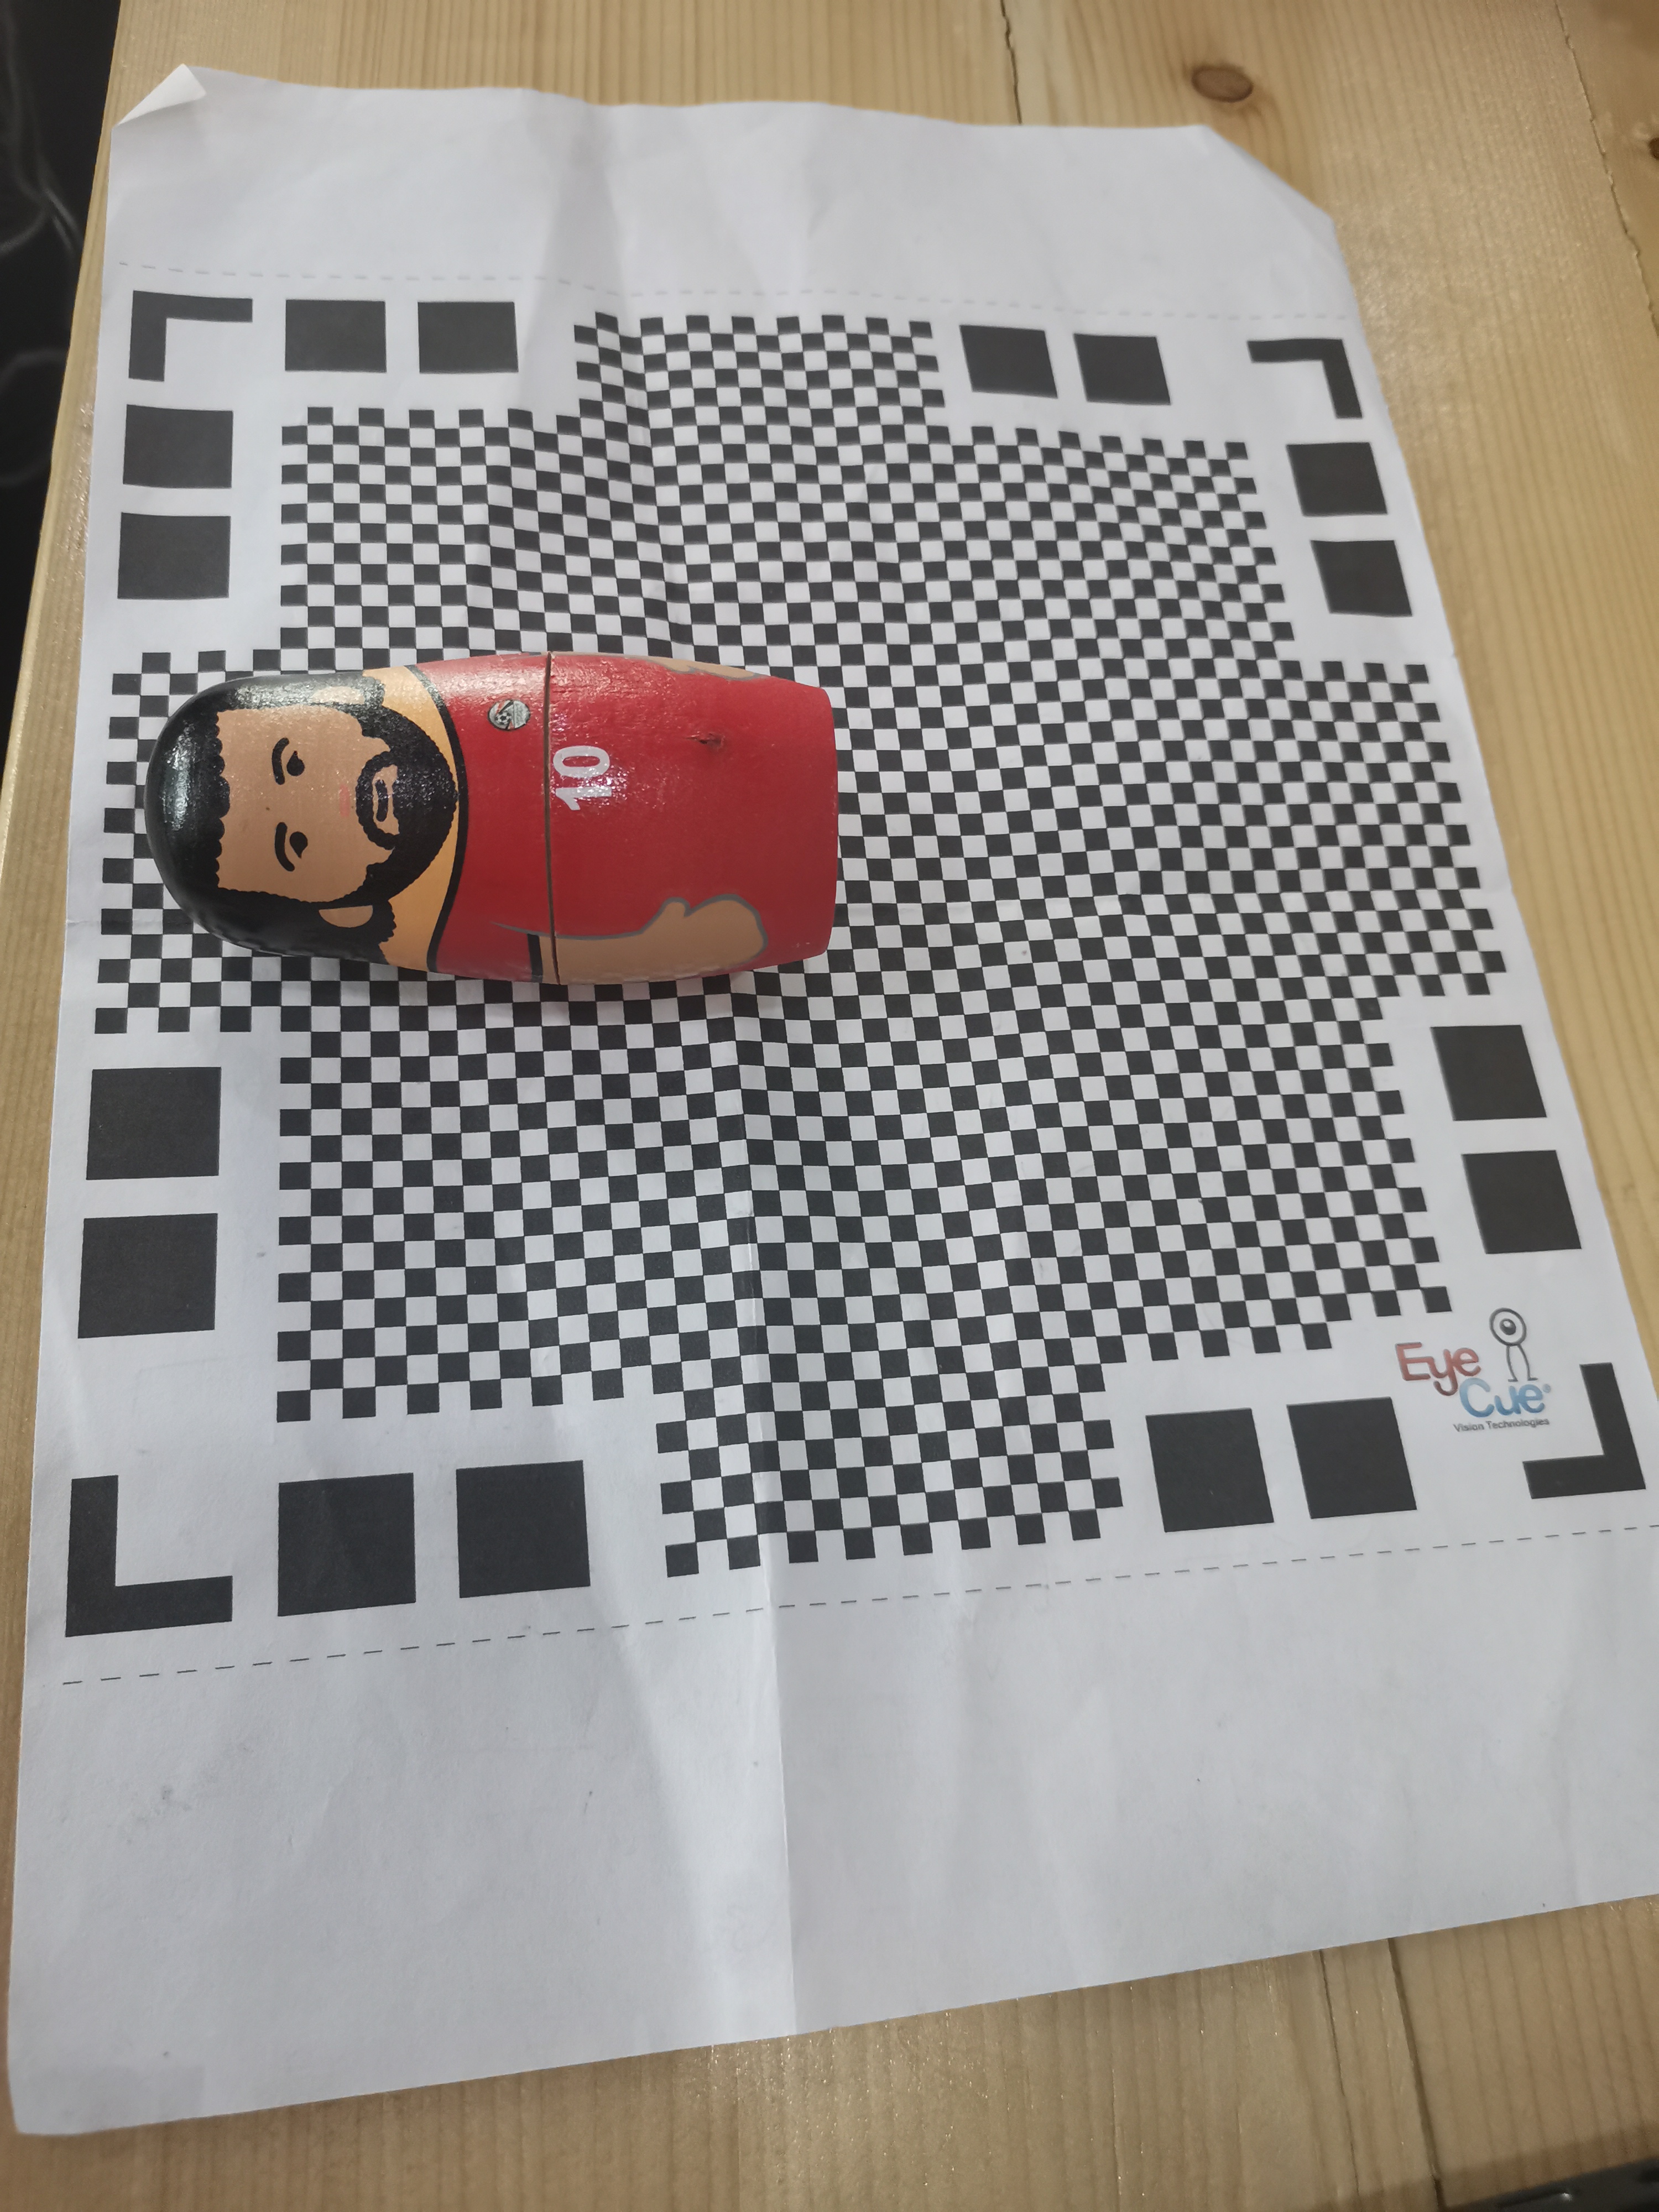
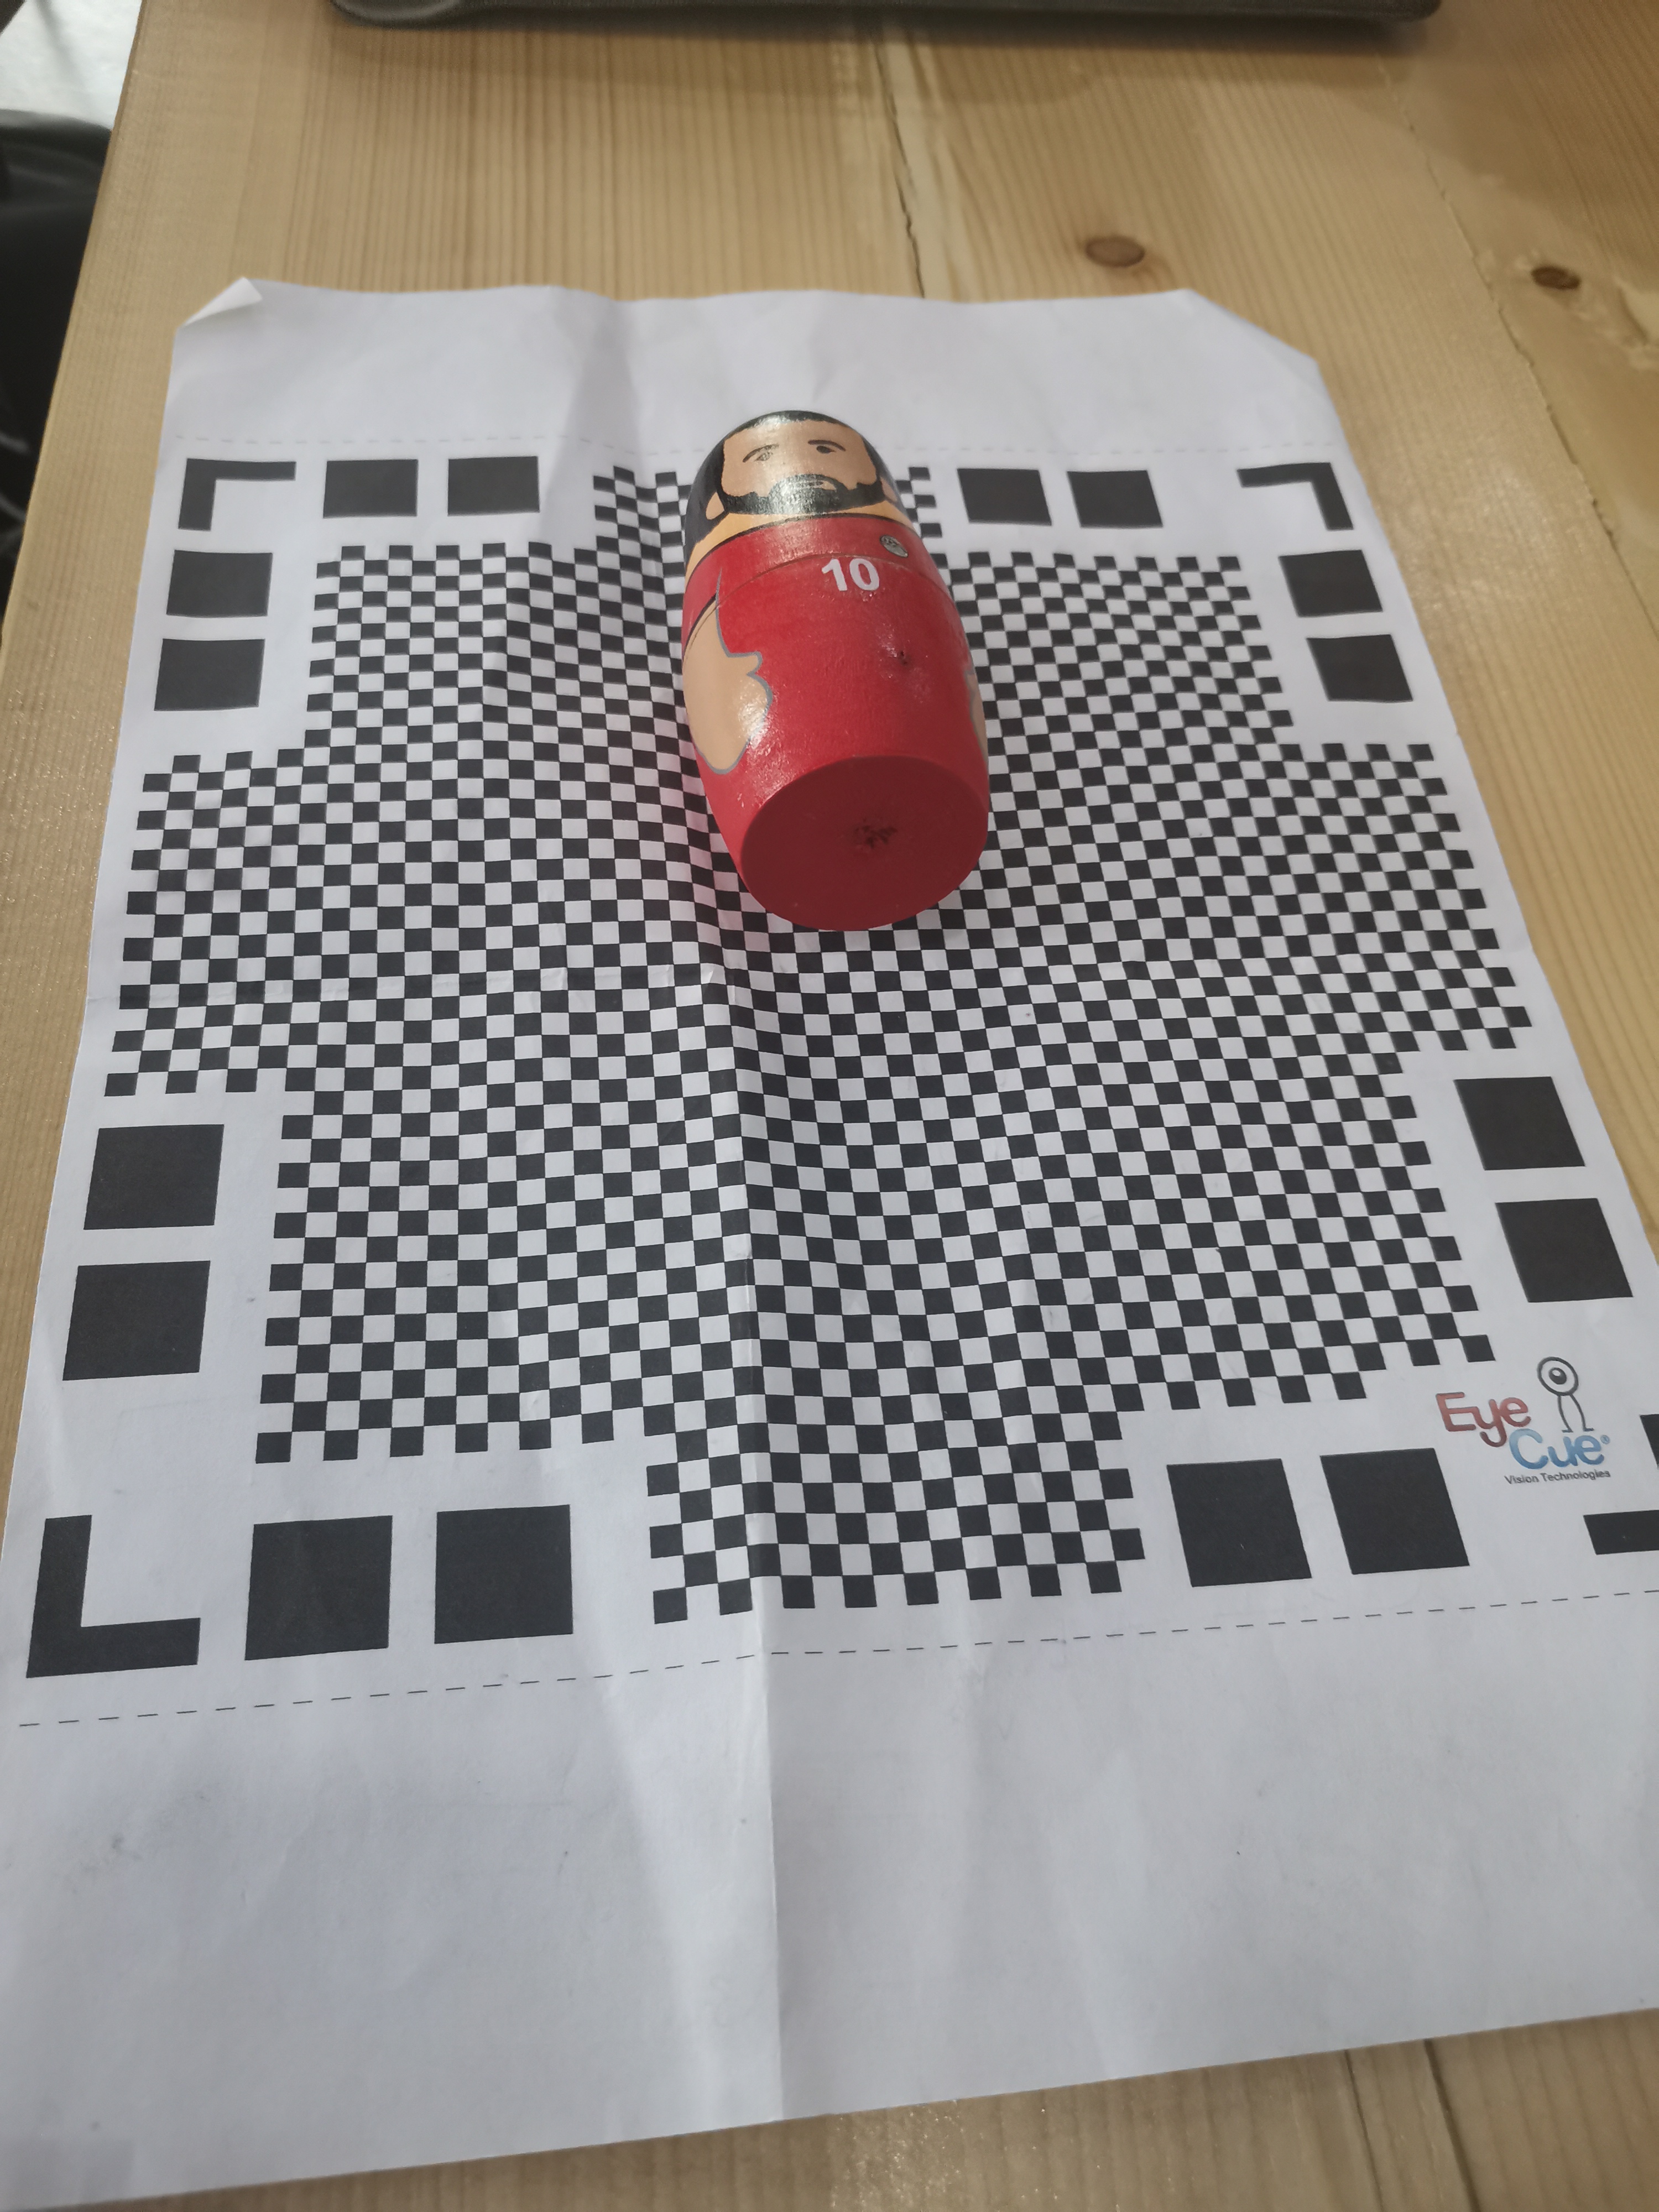
4) making sure the object we want to scan does not exeeds the dimensions of the mat. Knowing that the Qlone mat size is 19.5*19.5cm and the figure size is 8.5cm.
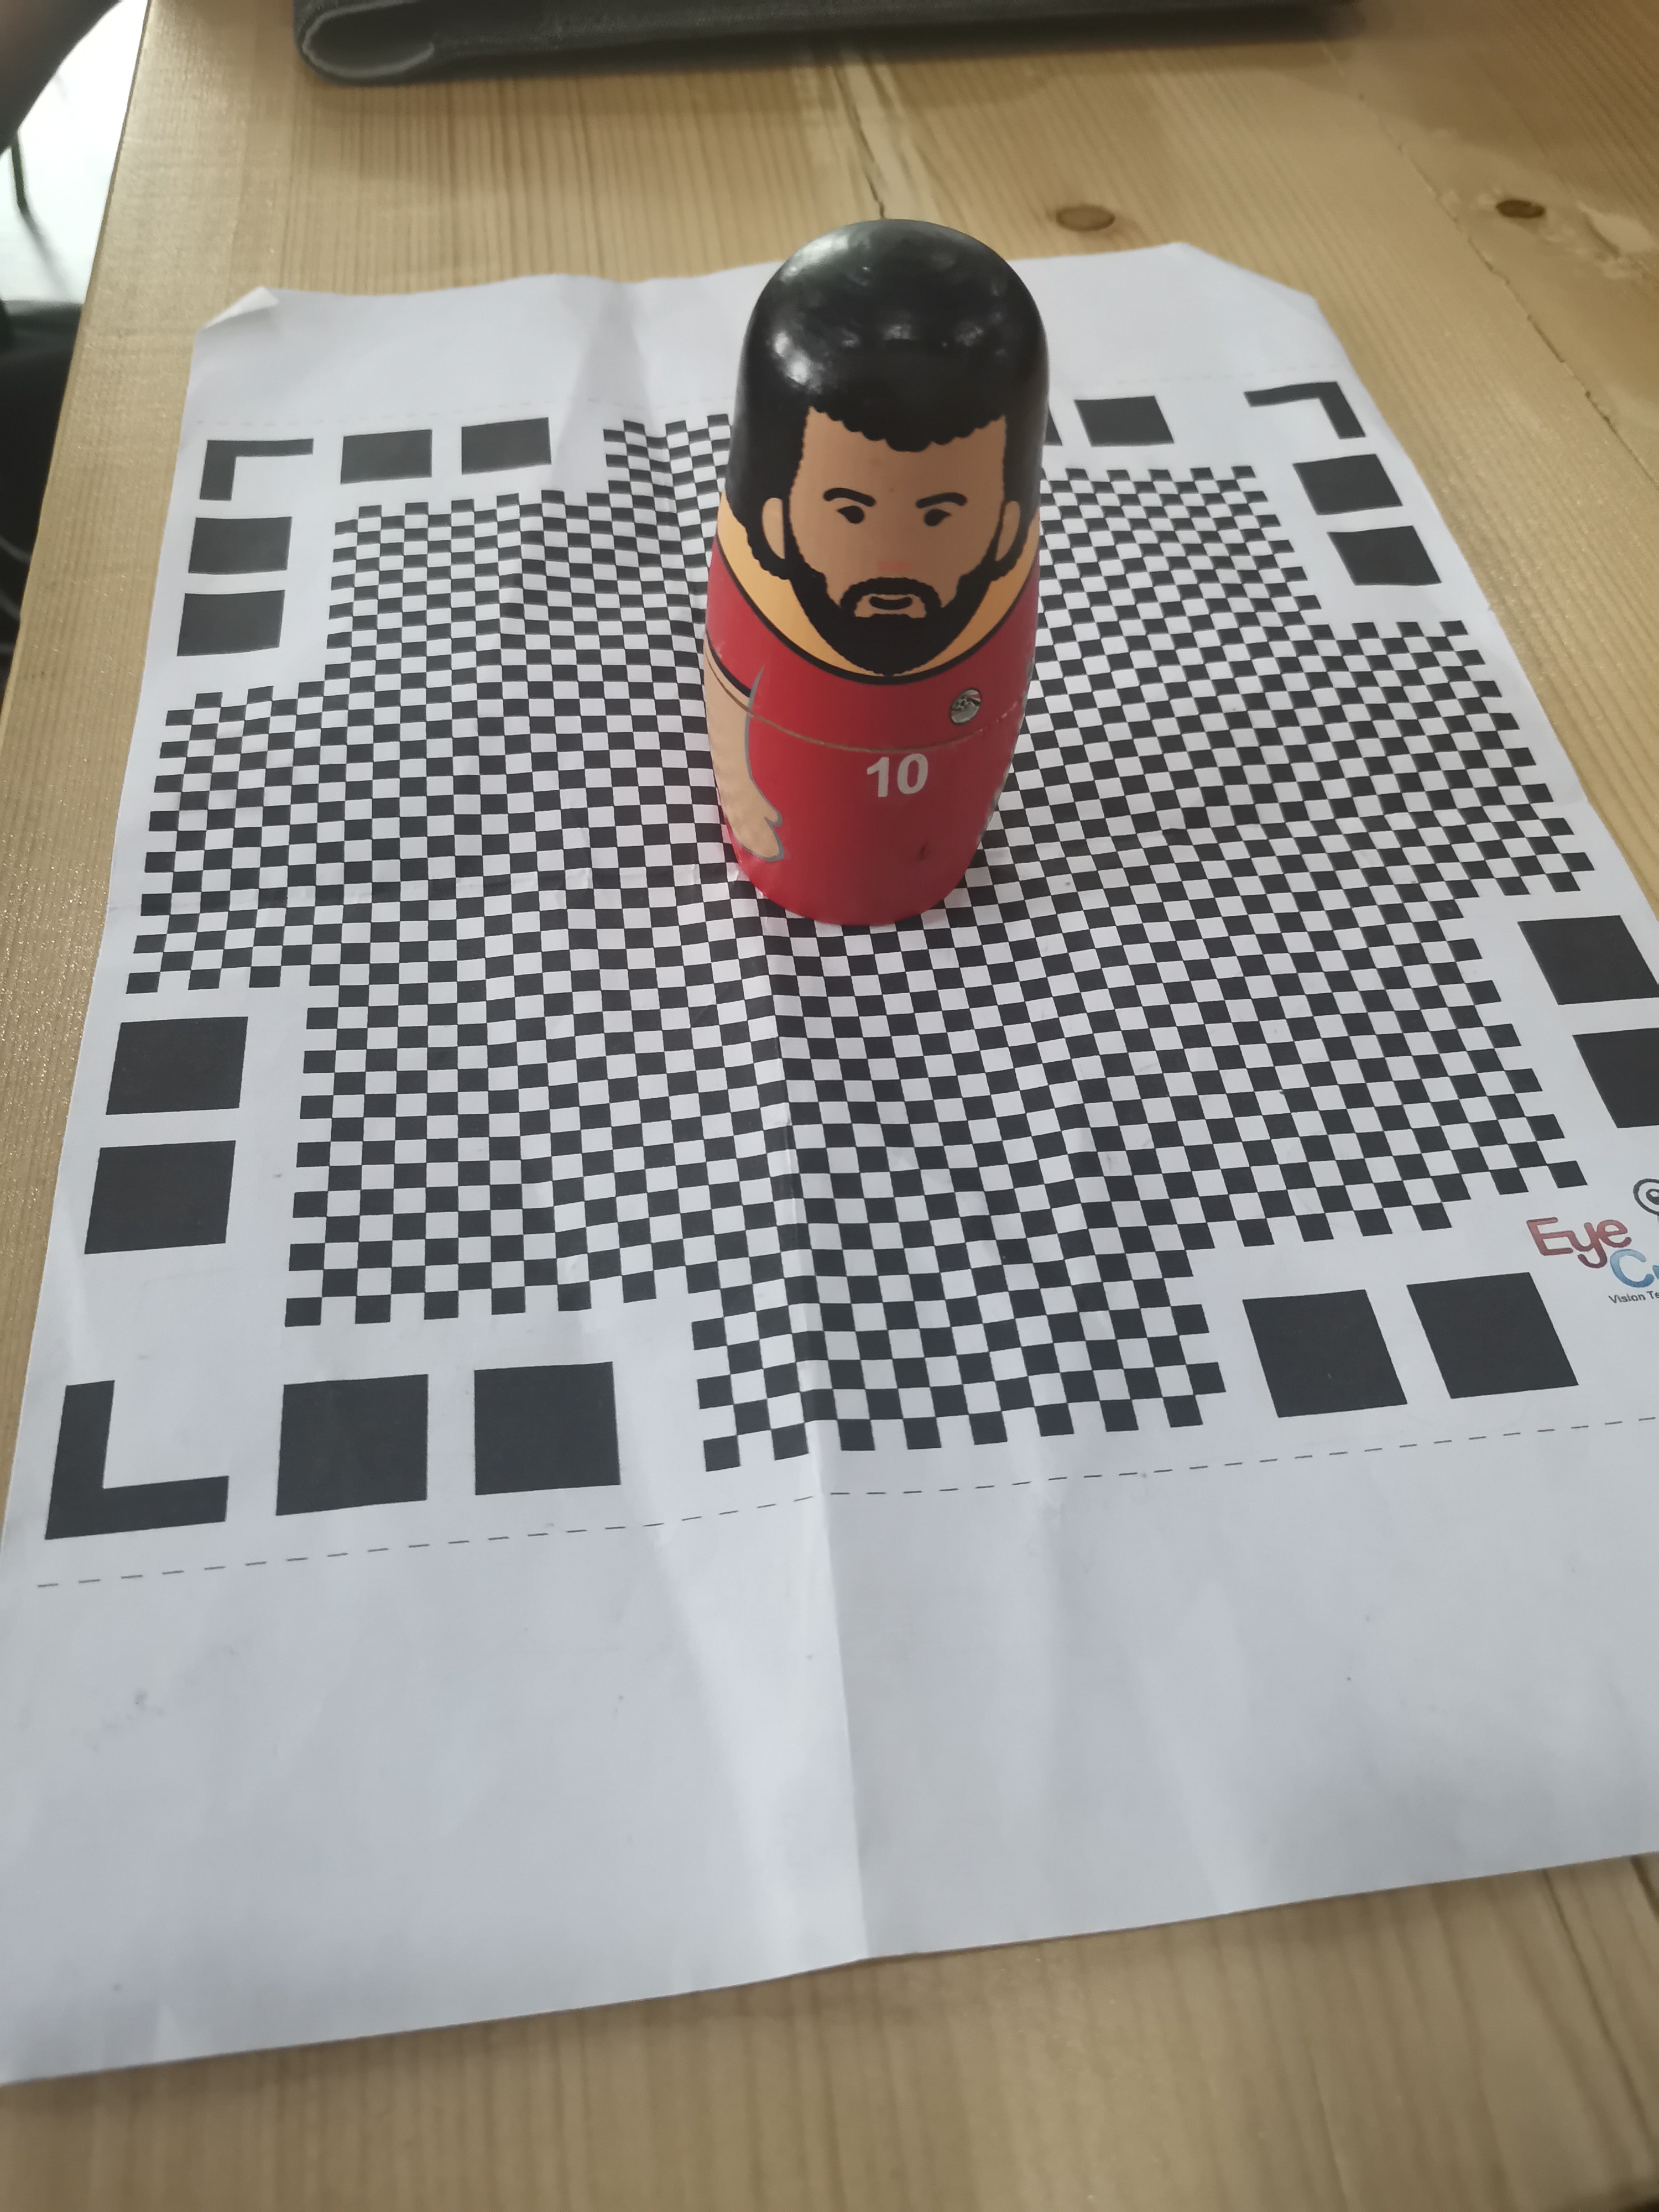
5) Here making sure that the size is okay in each side.
6) Downloading the app
7) going around the object till the dome shows transparent. means the blue in the dome turns transparent.


8) Final result
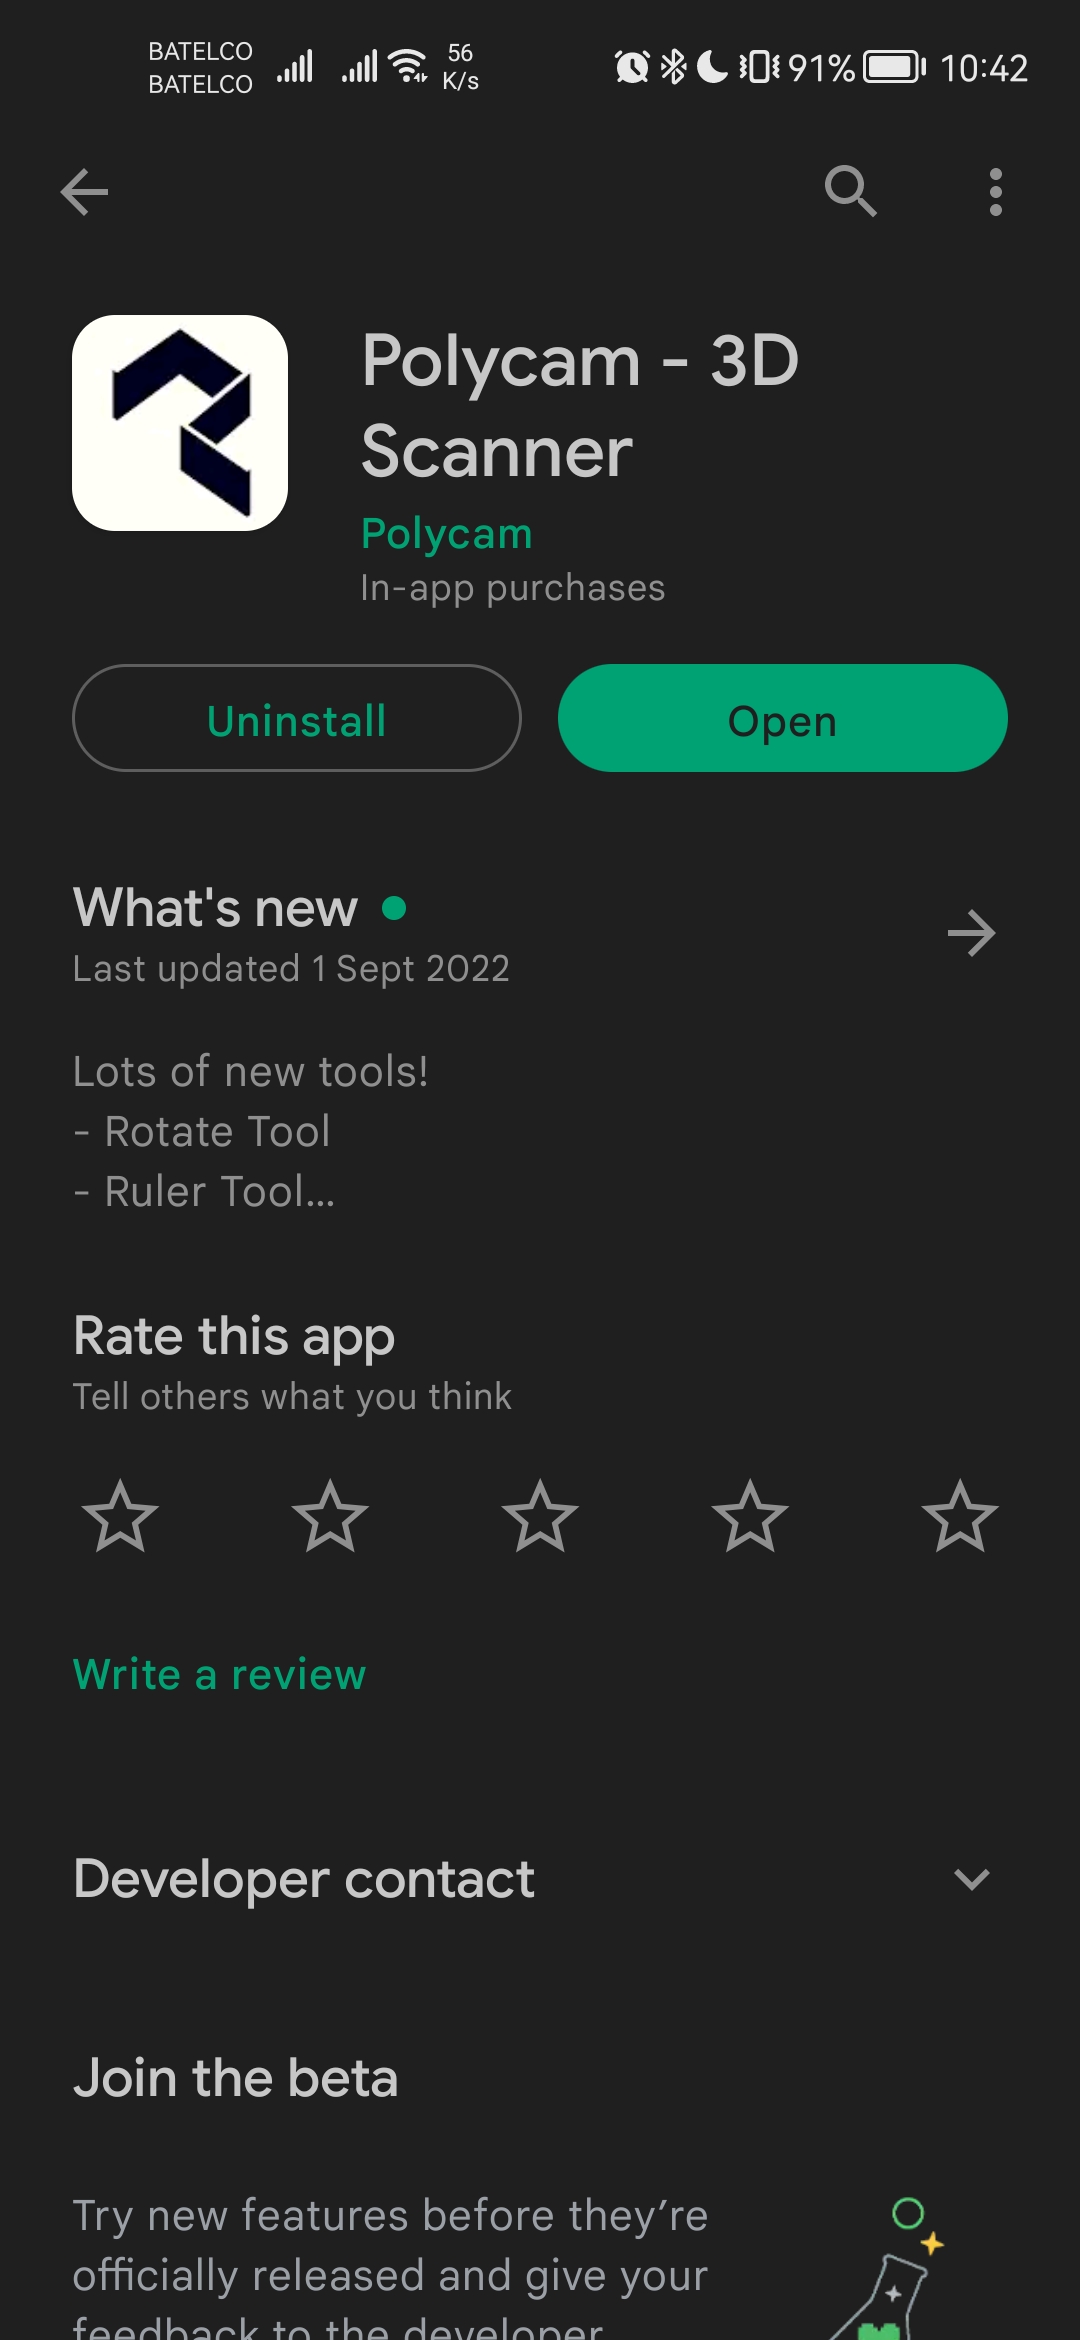
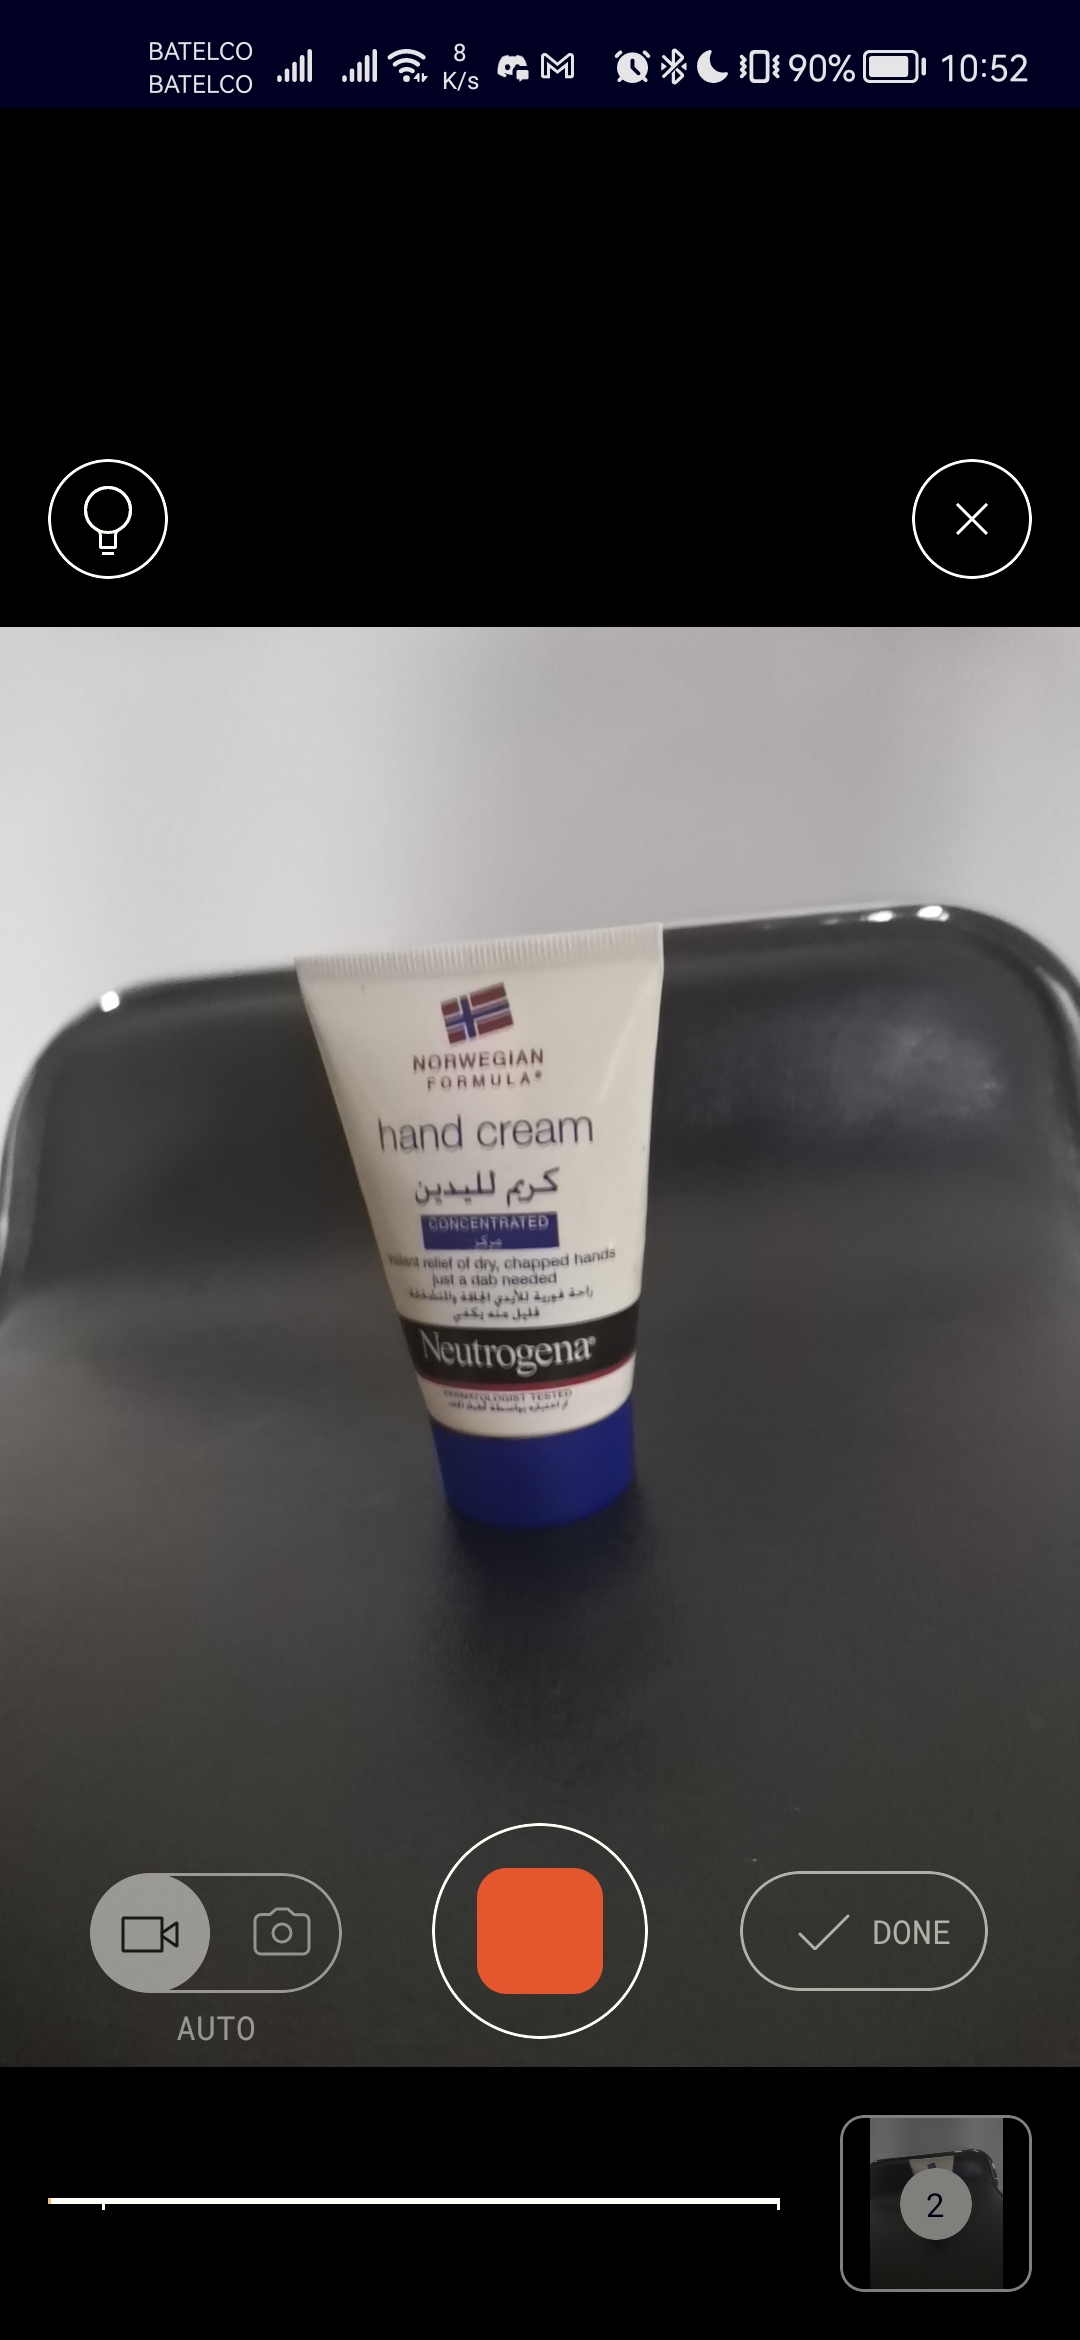
Polycam
1) I chose a stool chait with black colour on the flat area so it could give me a black background so it the scanning will focus on the object needed to scan only with no distractions.
2) Making sure that the place we want to take the scanning has a good lightning.
3) Downloading the app
4) Here as shown by clicking the red square and turning around the object it will automatically take photos and I took around 150 photo to get to this result.
5) Final result