2. Computer Aided design
This week I worked on 3D and 2D design using Tinkercad and Fusion360 for 3D and Inkscape, Vectr for 2D design. I will try to build some designs as training.
2D design
Inkscape
Inkscape is a very nice free program for the 2D design, you can create simple logos and animated cartoons with it.
donut
- 1-First, I draw 2 circle , big and small one.
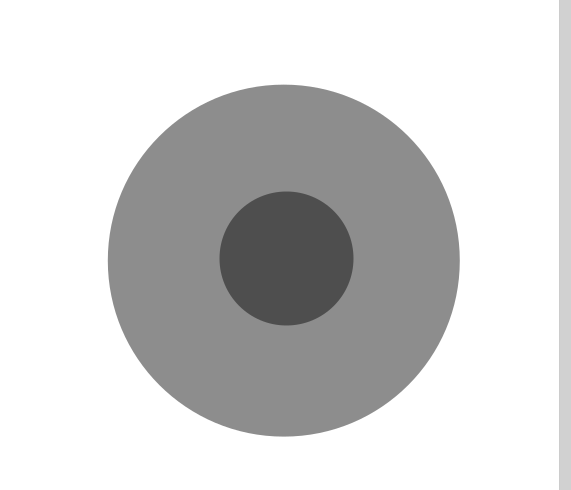
- 2- I cutted the small circle to creat a hall. Then I coppied the bigger circle, then made the new one bigger , and cut it a half to made the details of the sauce.
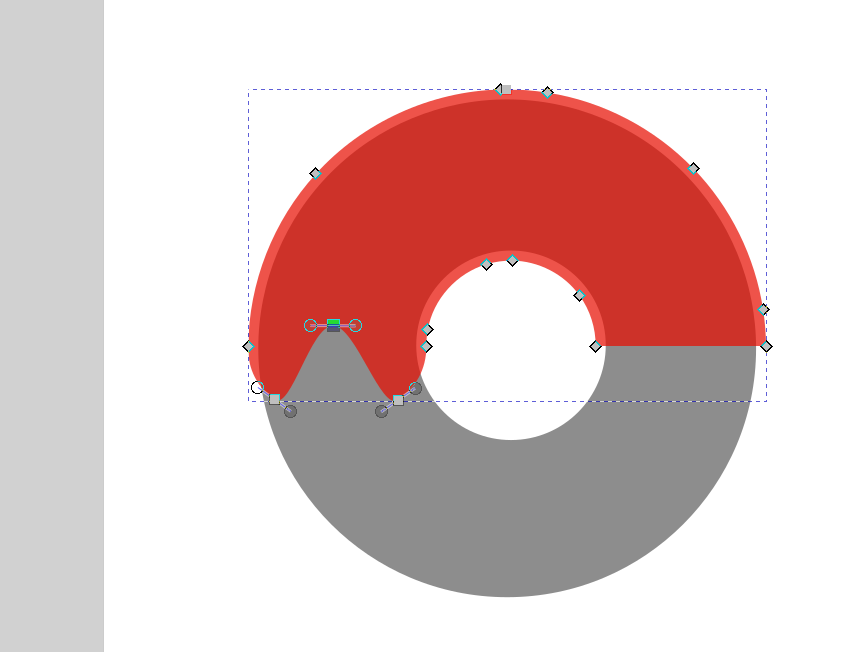
- 3-Changing the corner of the chocolate sauce then changing the color of the donut and the chocolate sauce.
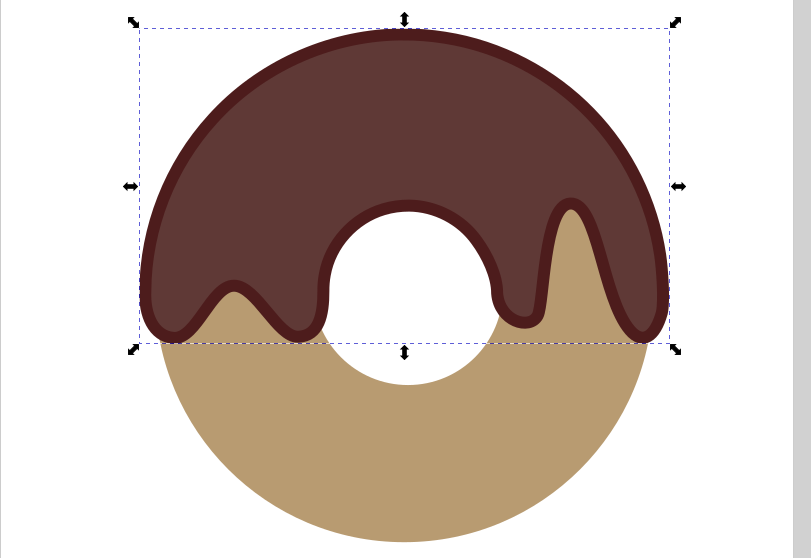
- 4-I Made a stroke for the souce.
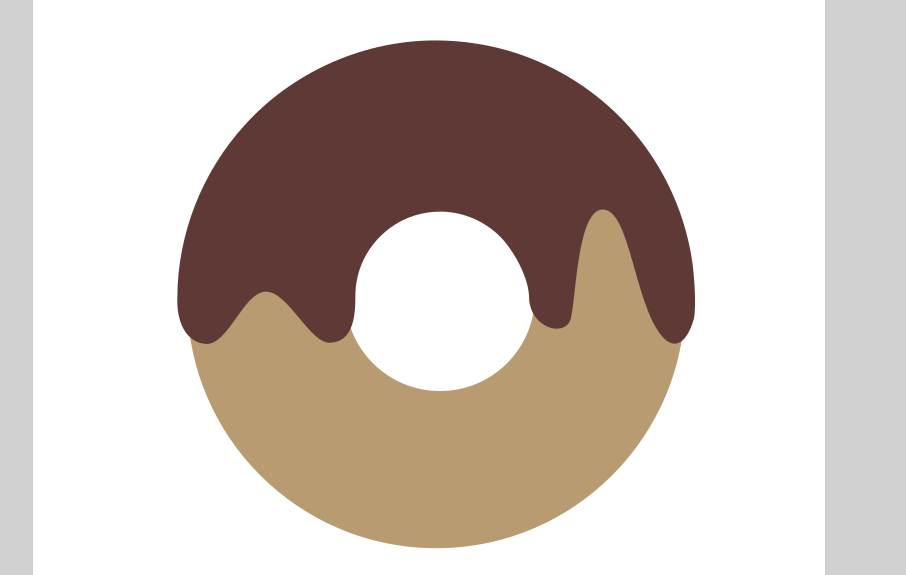
- 5-I Made some more details of the donut and add some shade.
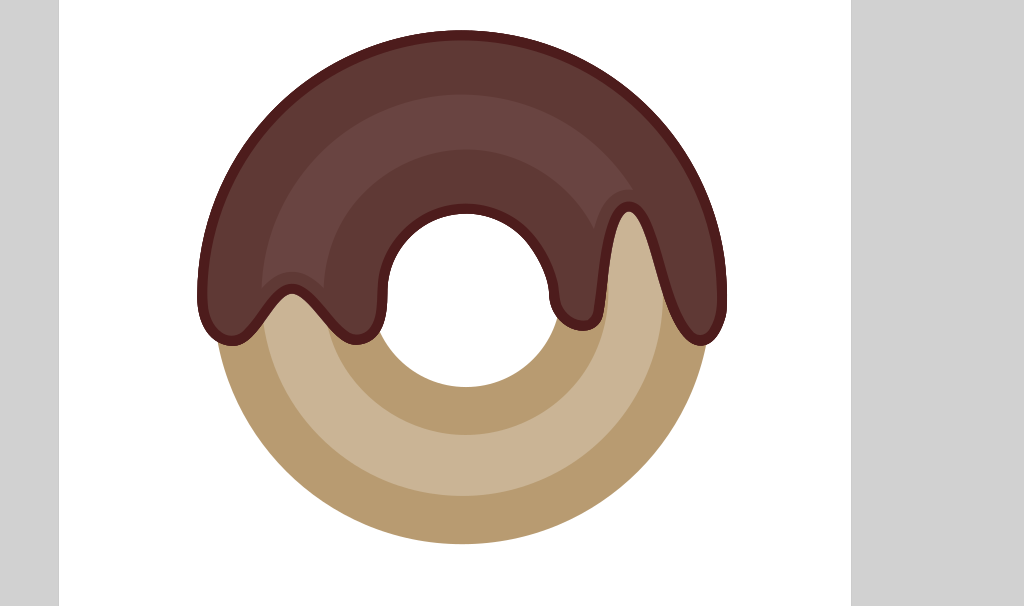
- 6- This is the final result. I added some candies.

Original file
Vectr
“Vectr is a free graphics software used to create vector graphics easily and intuitively. It’s a simple yet powerful web and desktop cross-platform tool to bring your designs into reality. I feel the vectr website was nice to desighn a simple logos.”
crown
- 1- drow an oval.
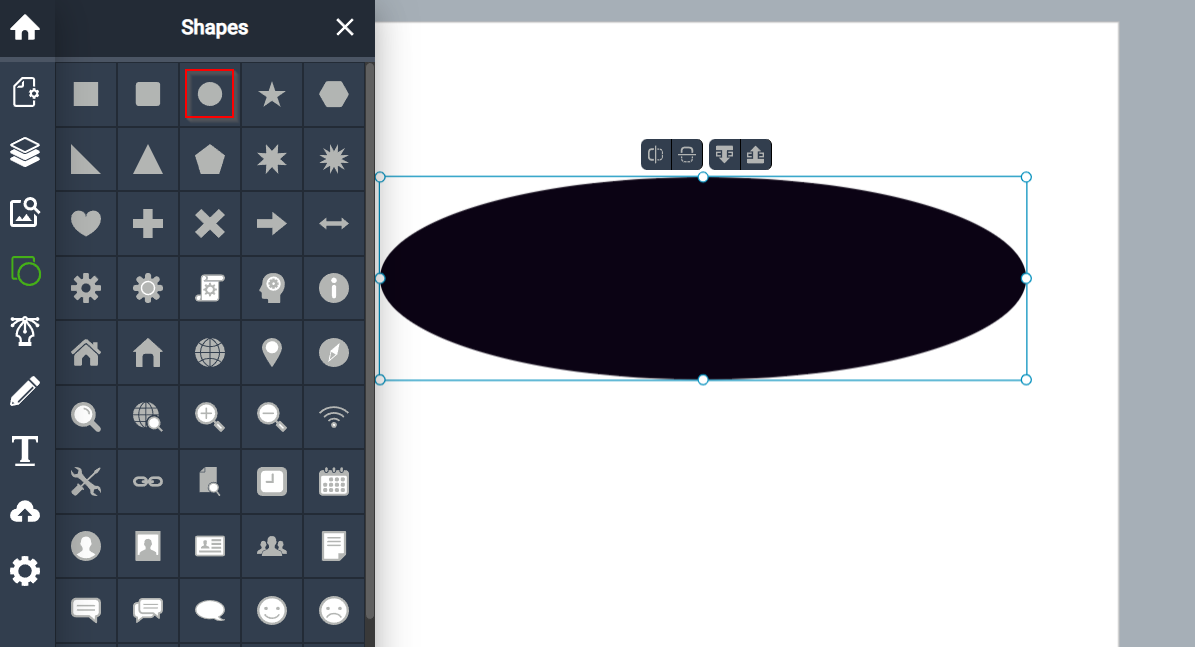
- 2-drow pentagonal shape obove the oval.
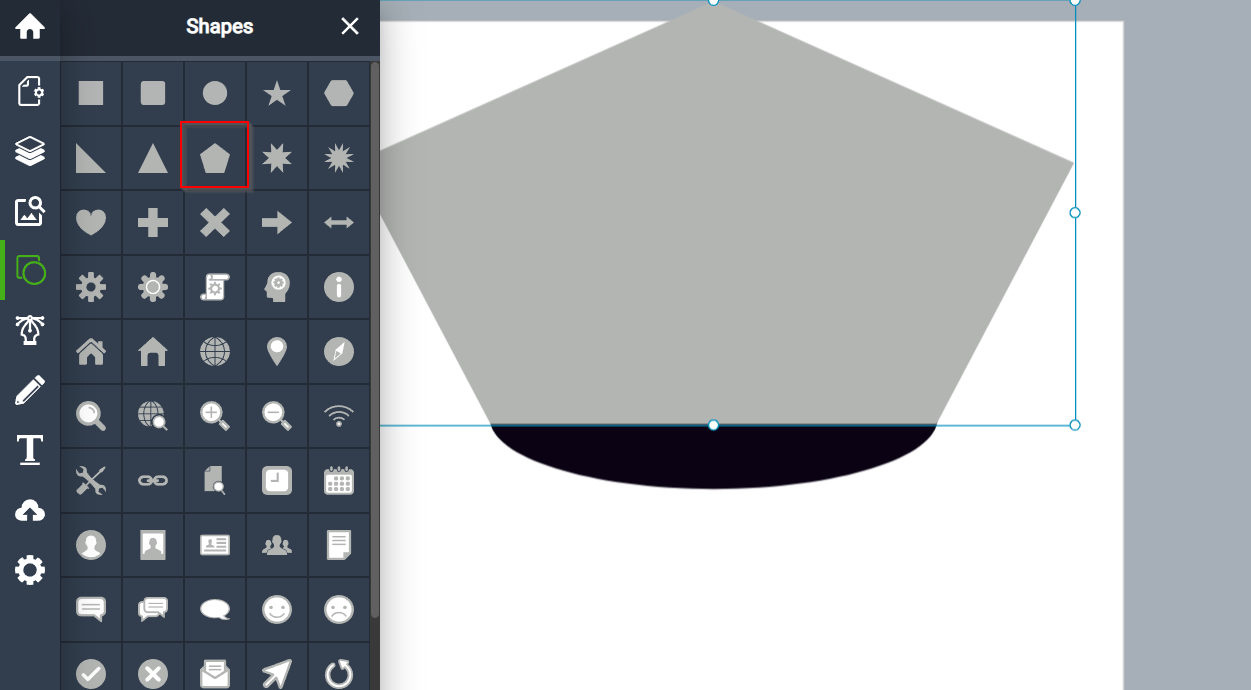
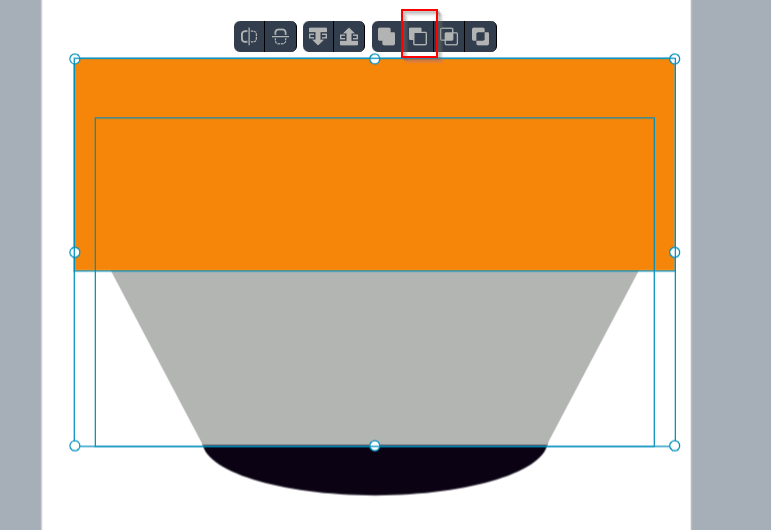
- 3-drow a rectangle above the pentagonal.
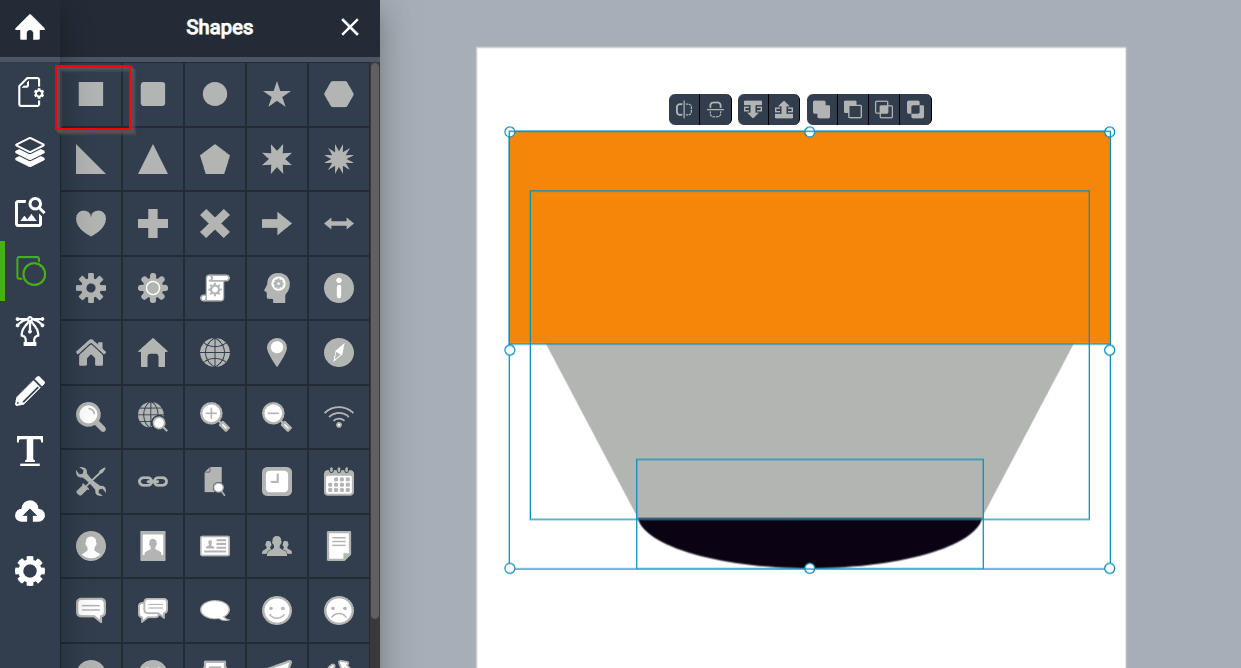
- 4- Then cut it with subtract.
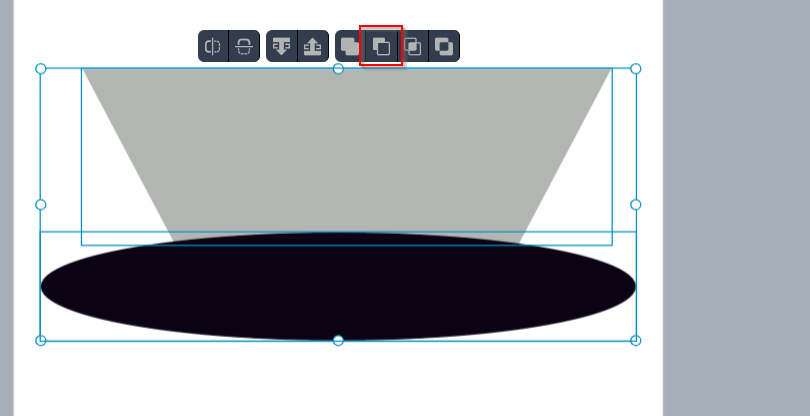
- 5-drow another oval under the shape and also cut it with subtract.
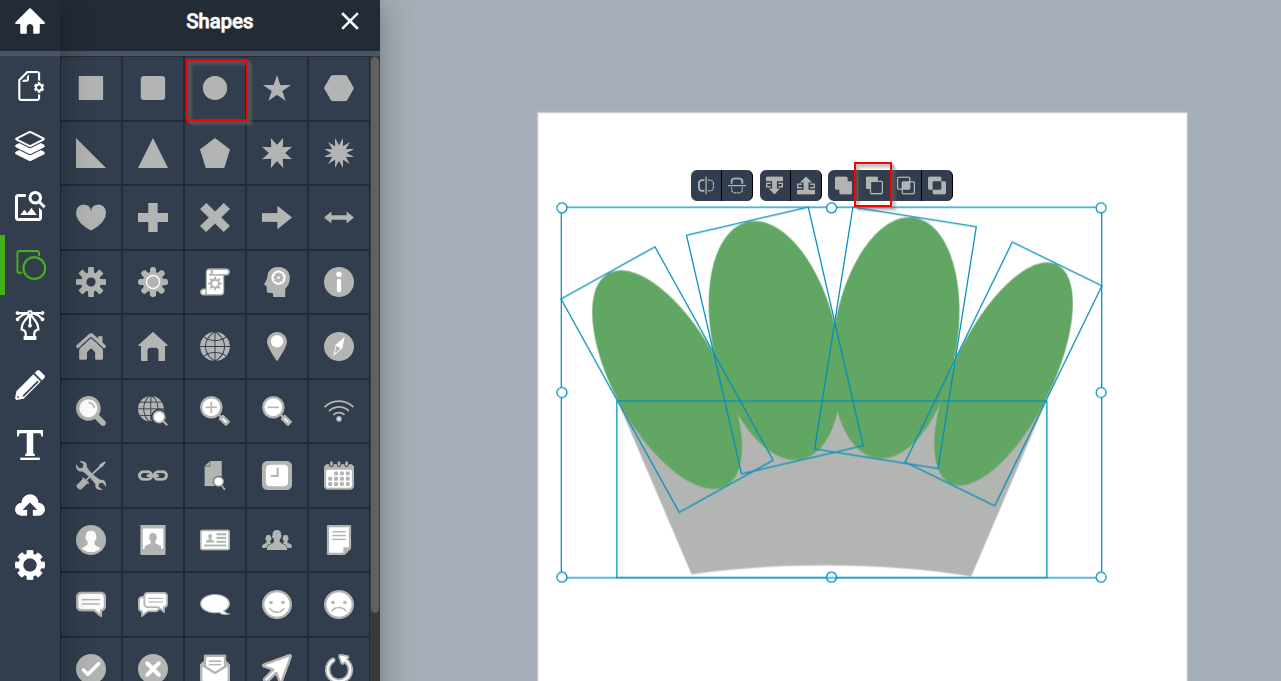
- 6- drow four oval above then cut it with subtract.
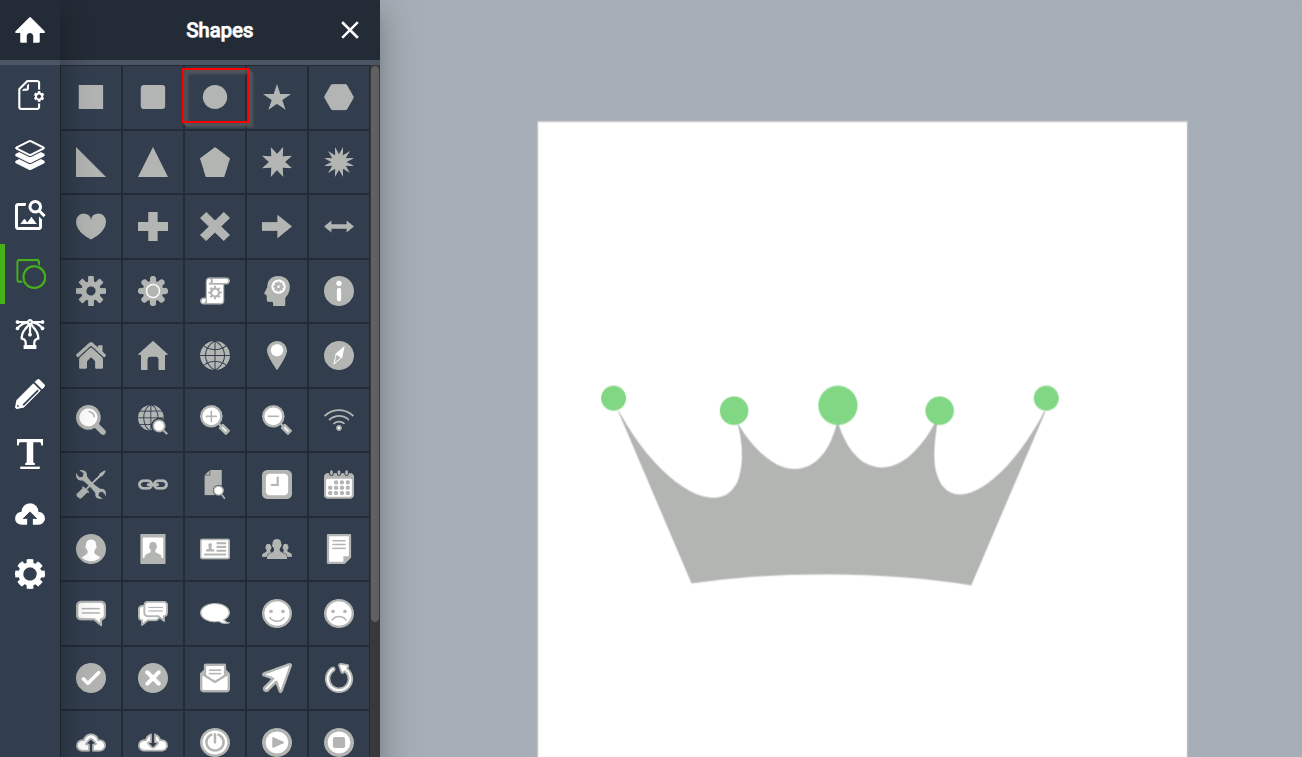
- 7-drow some circle for more details of crown.
- 8-changing the color to black.
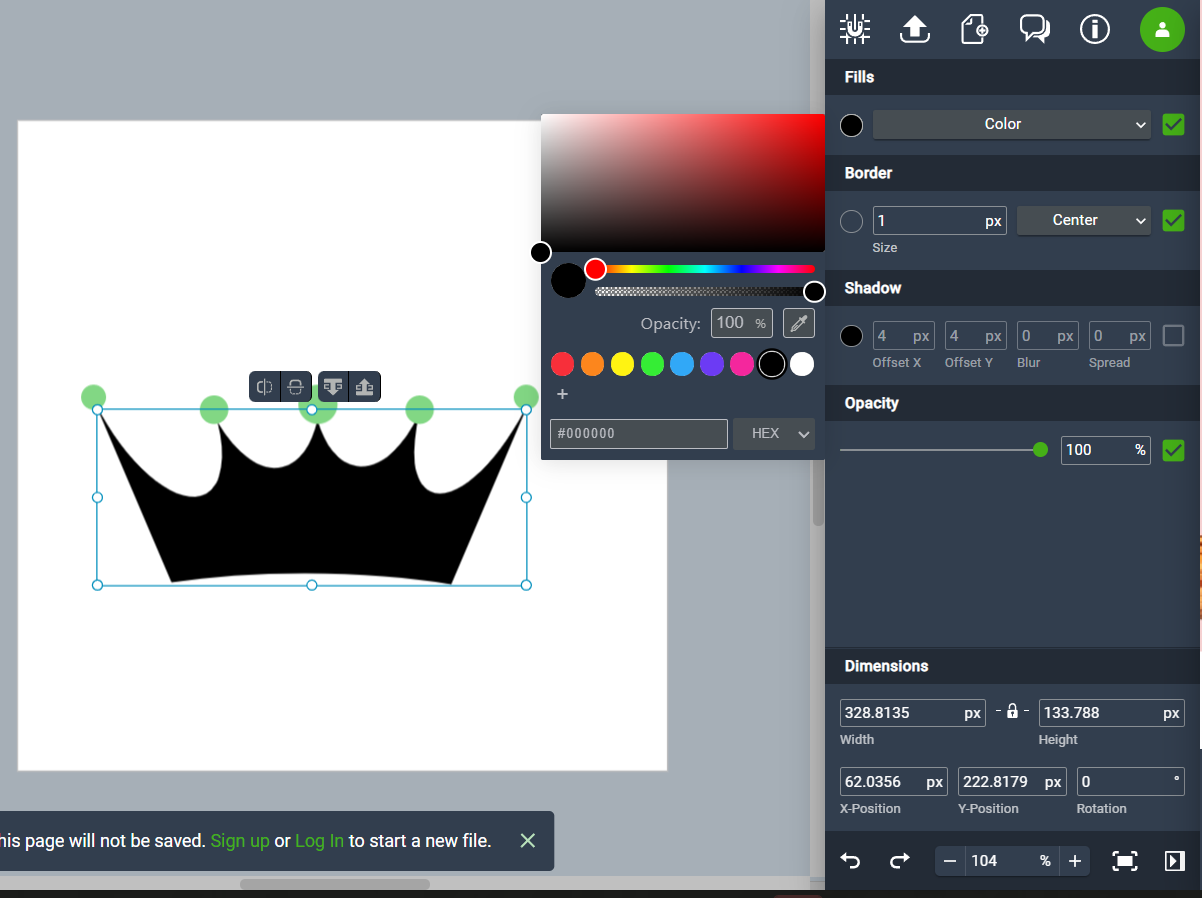
- 9-This is the final result.

Original file
3D design
Tinkercad
It’s the first time I use Tinkercad so it was a little hard for me in the beginning but then I feel it was fun and easy.
Panda
First, I try to design a panda and I get a nice result.
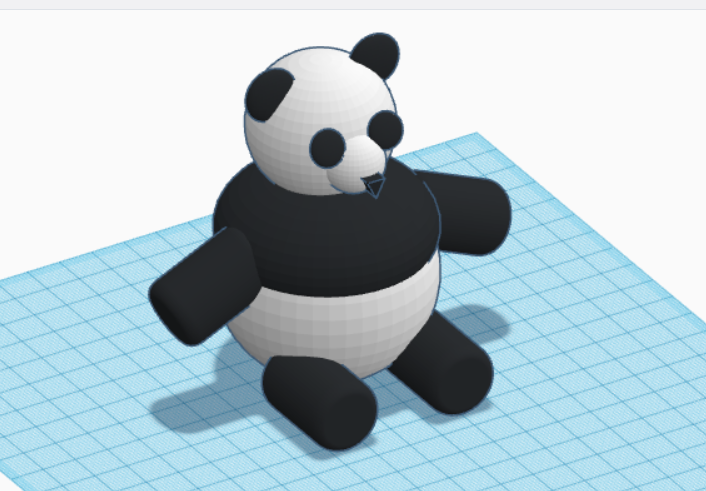
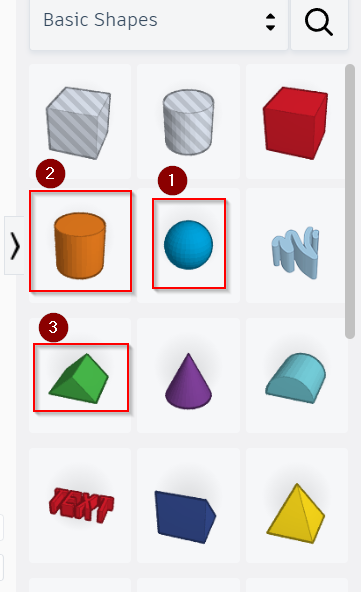
I used only three shapes to design the panda.
-
- ball for body, head, ears, and eyes.
-
- cylinder for legs and hands.
-
- roof for the nose.
Original file
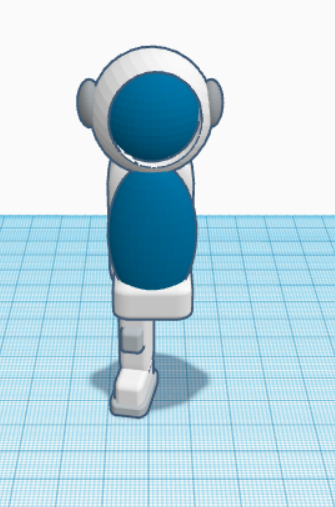
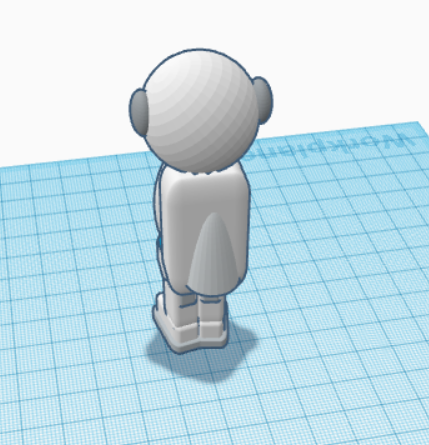
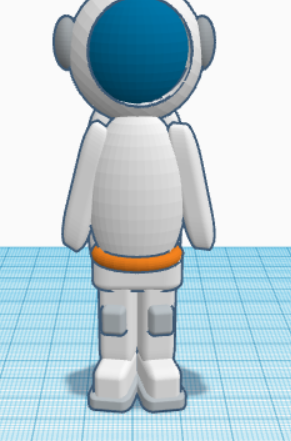
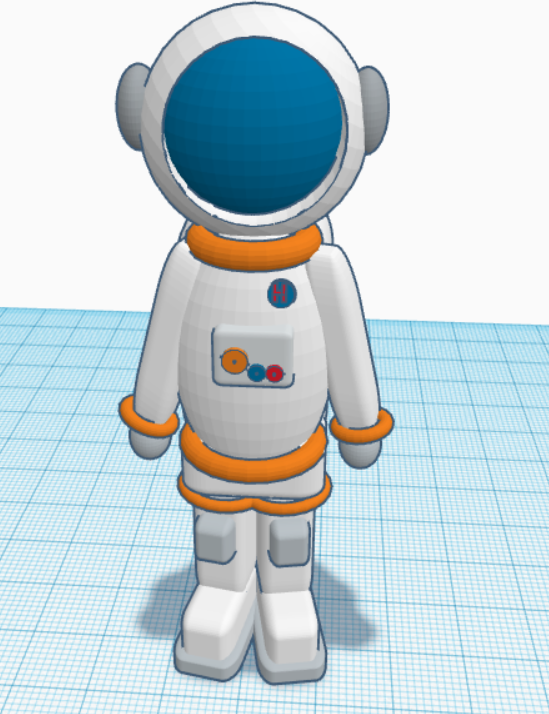
Astronaut
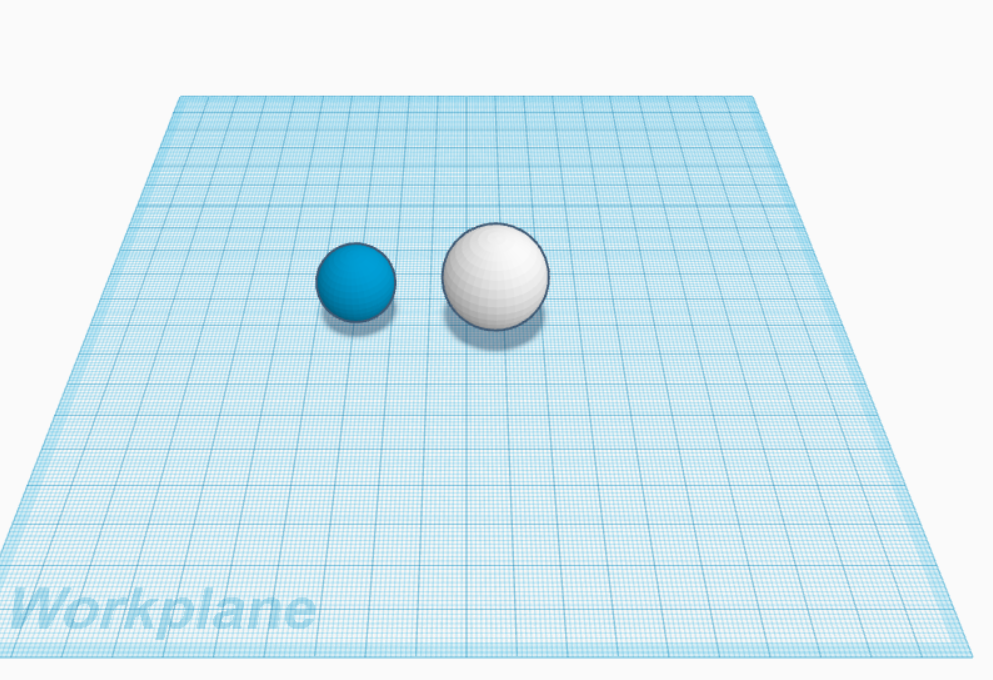
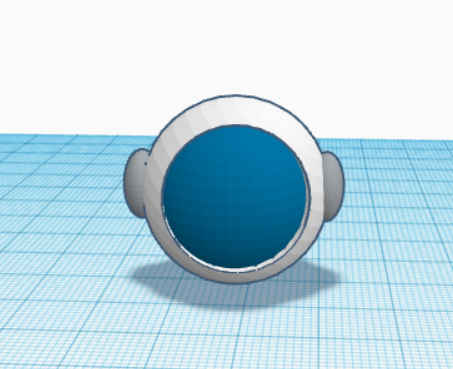
- First, I started with the head, so I build two balls, one big and another smaller.
 - Then, I tried to make some details in the head of the astronaut. by building another ball to hole the head.
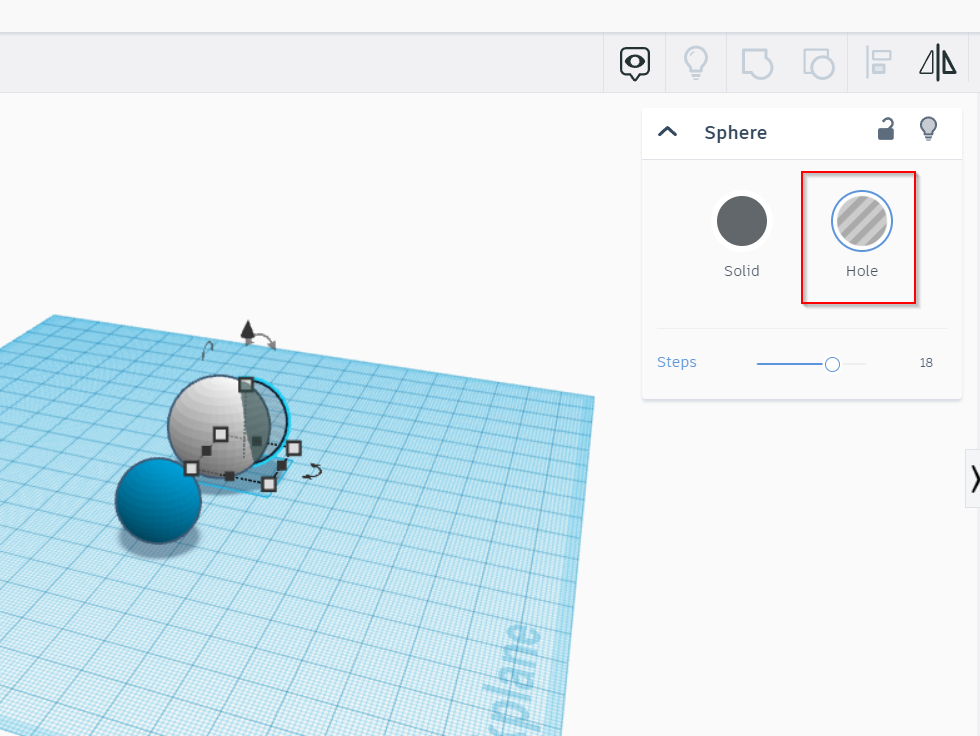
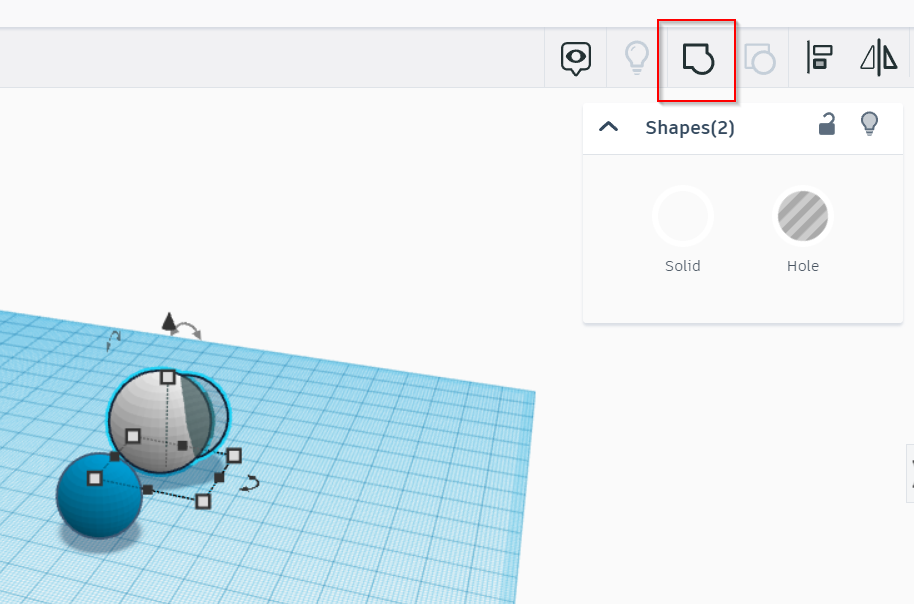
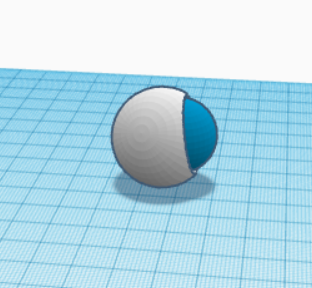
I put the small ball inside the bigger one like this.
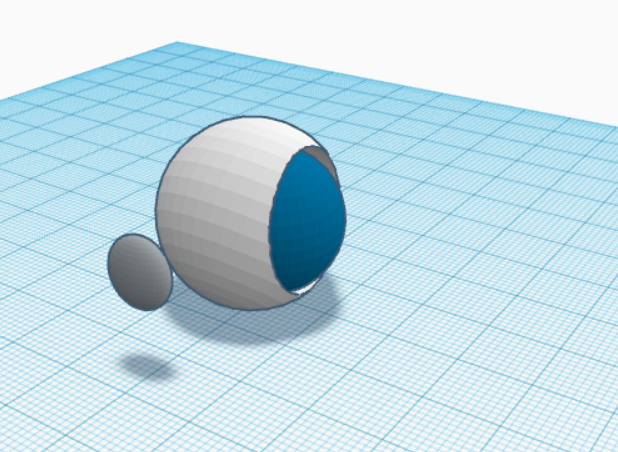
- To make the ear of the helmet. I built two flat balls.
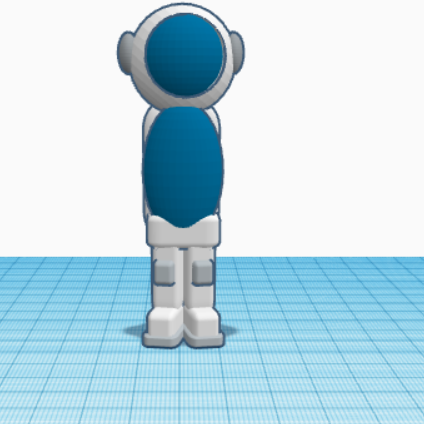
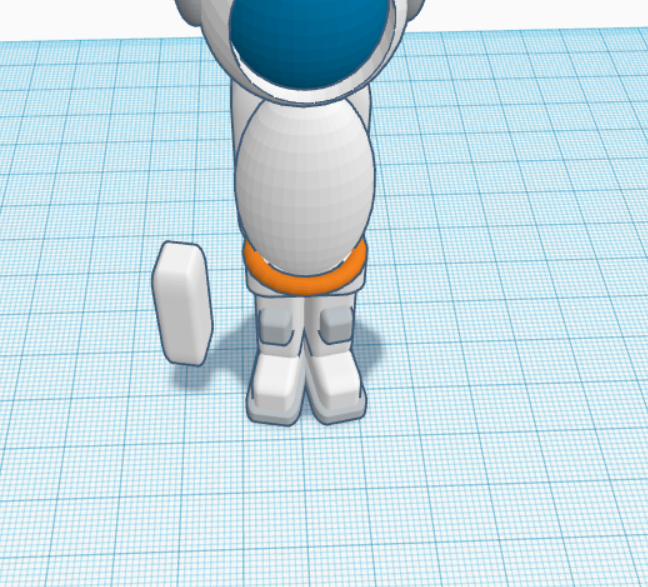
- For the body, I made a rectangle and oval shape.
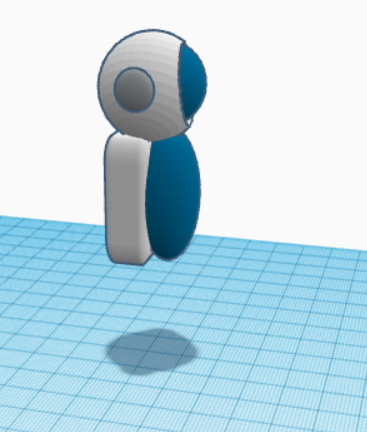
- For the leg, I built three different sizes of rectangles.
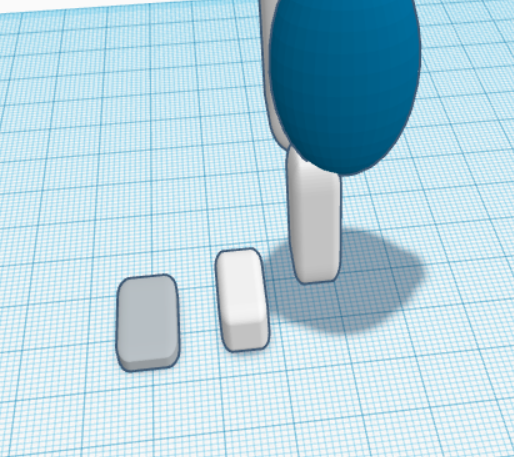
- Another two rectangles for some details of the body.
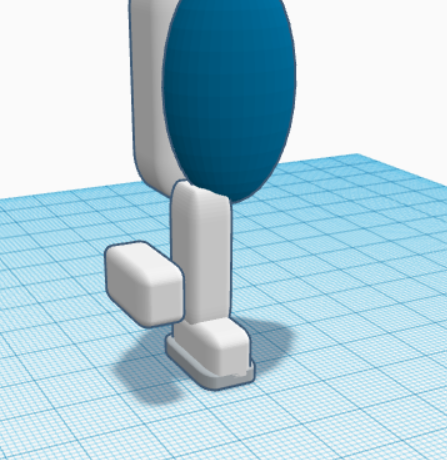
- Copy and rotate the leg.
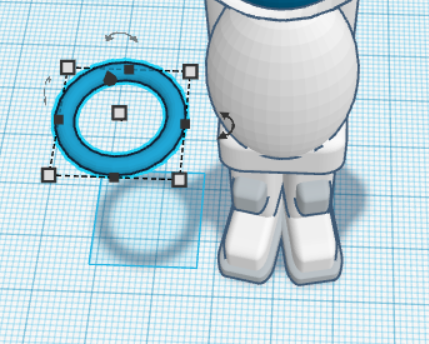
- Add an episode under the body for some details.
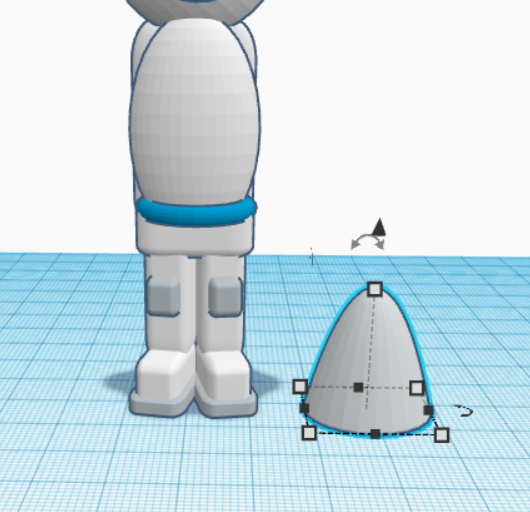
- For the back, I built this shape to add details for the astronaut.
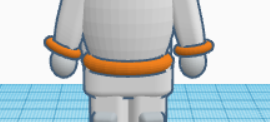
- For the hand, I added two tall rectangles on the sides.
- Added two episodes and two balls.
- Finally, I tried to make some nice details for my astronaut. And here is the final result.
Original file
3D model
fusion 360
Also, it’s the first time that I used Fusion360 but I feel that is so hard to use, it needs more and more practice.
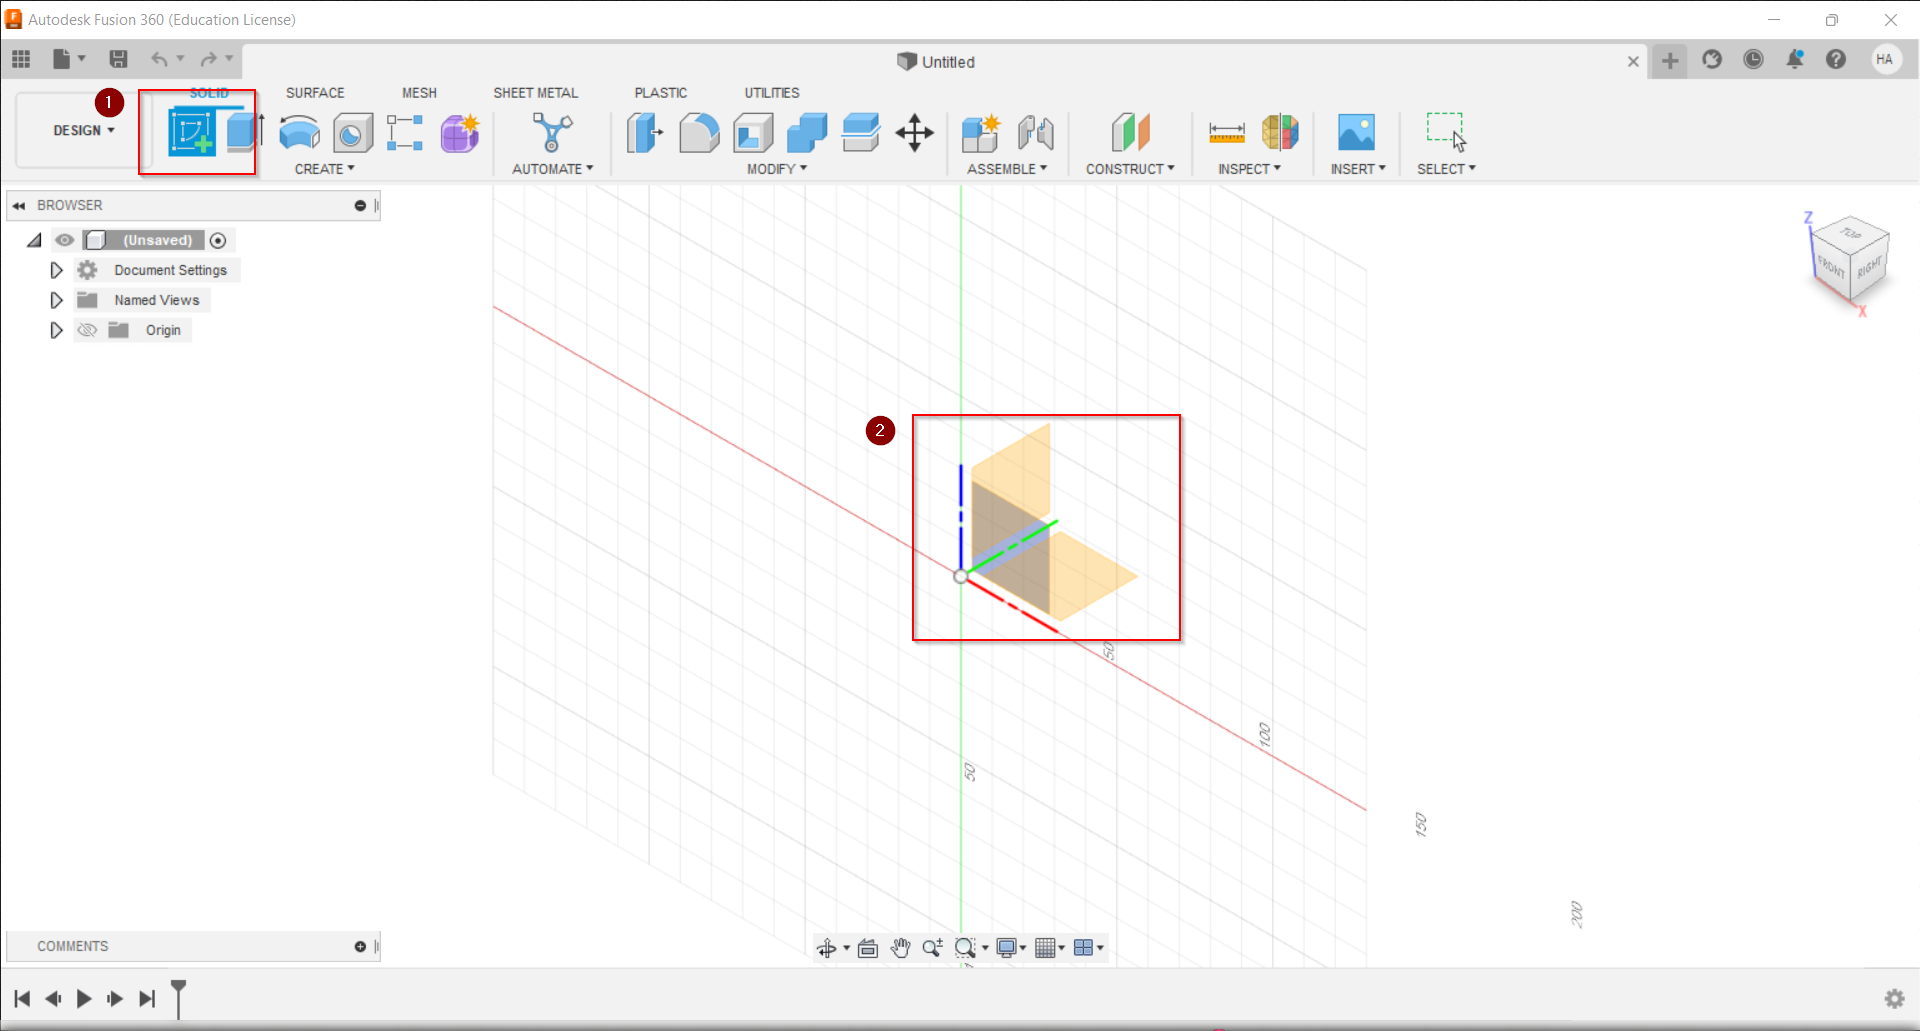
Diamond
- 1- I created a sketch and then selected the plane that I wanted.
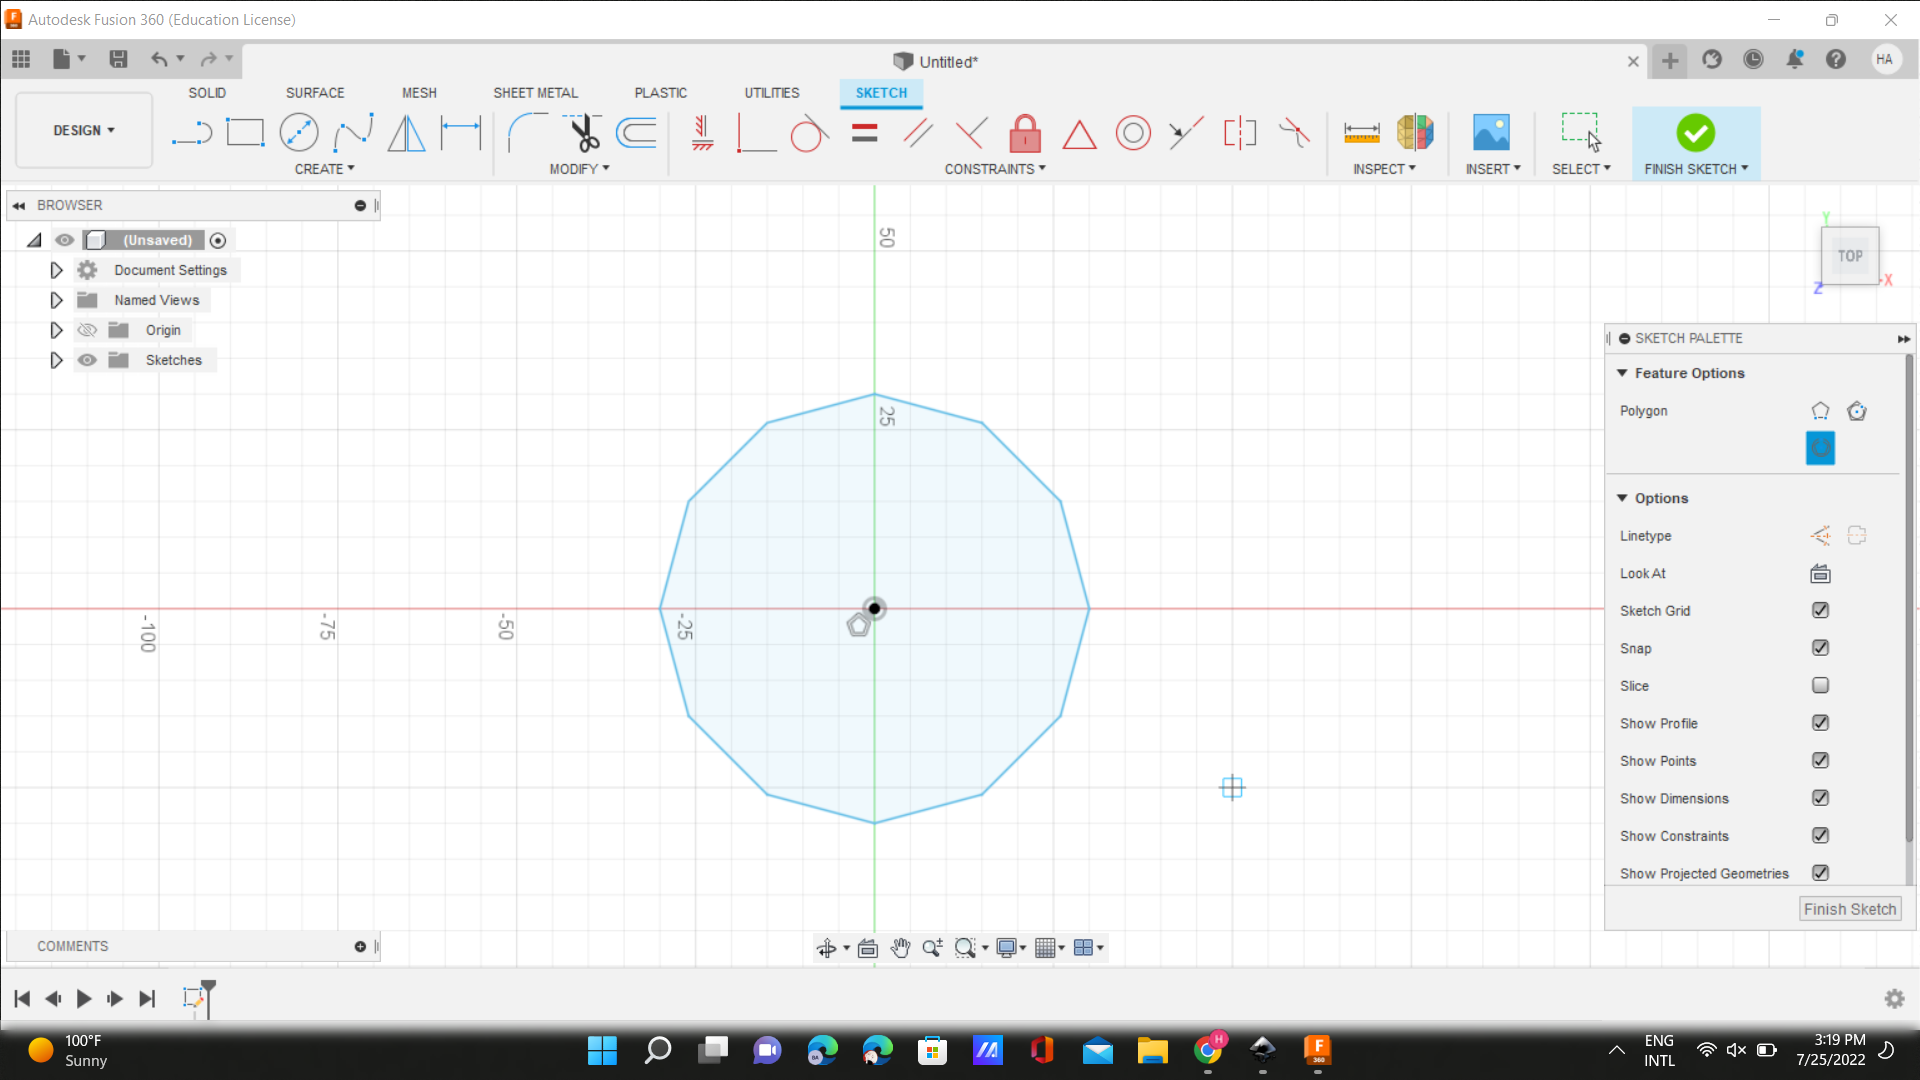
- 2- I Created an inscribed polygon with edge number edge.

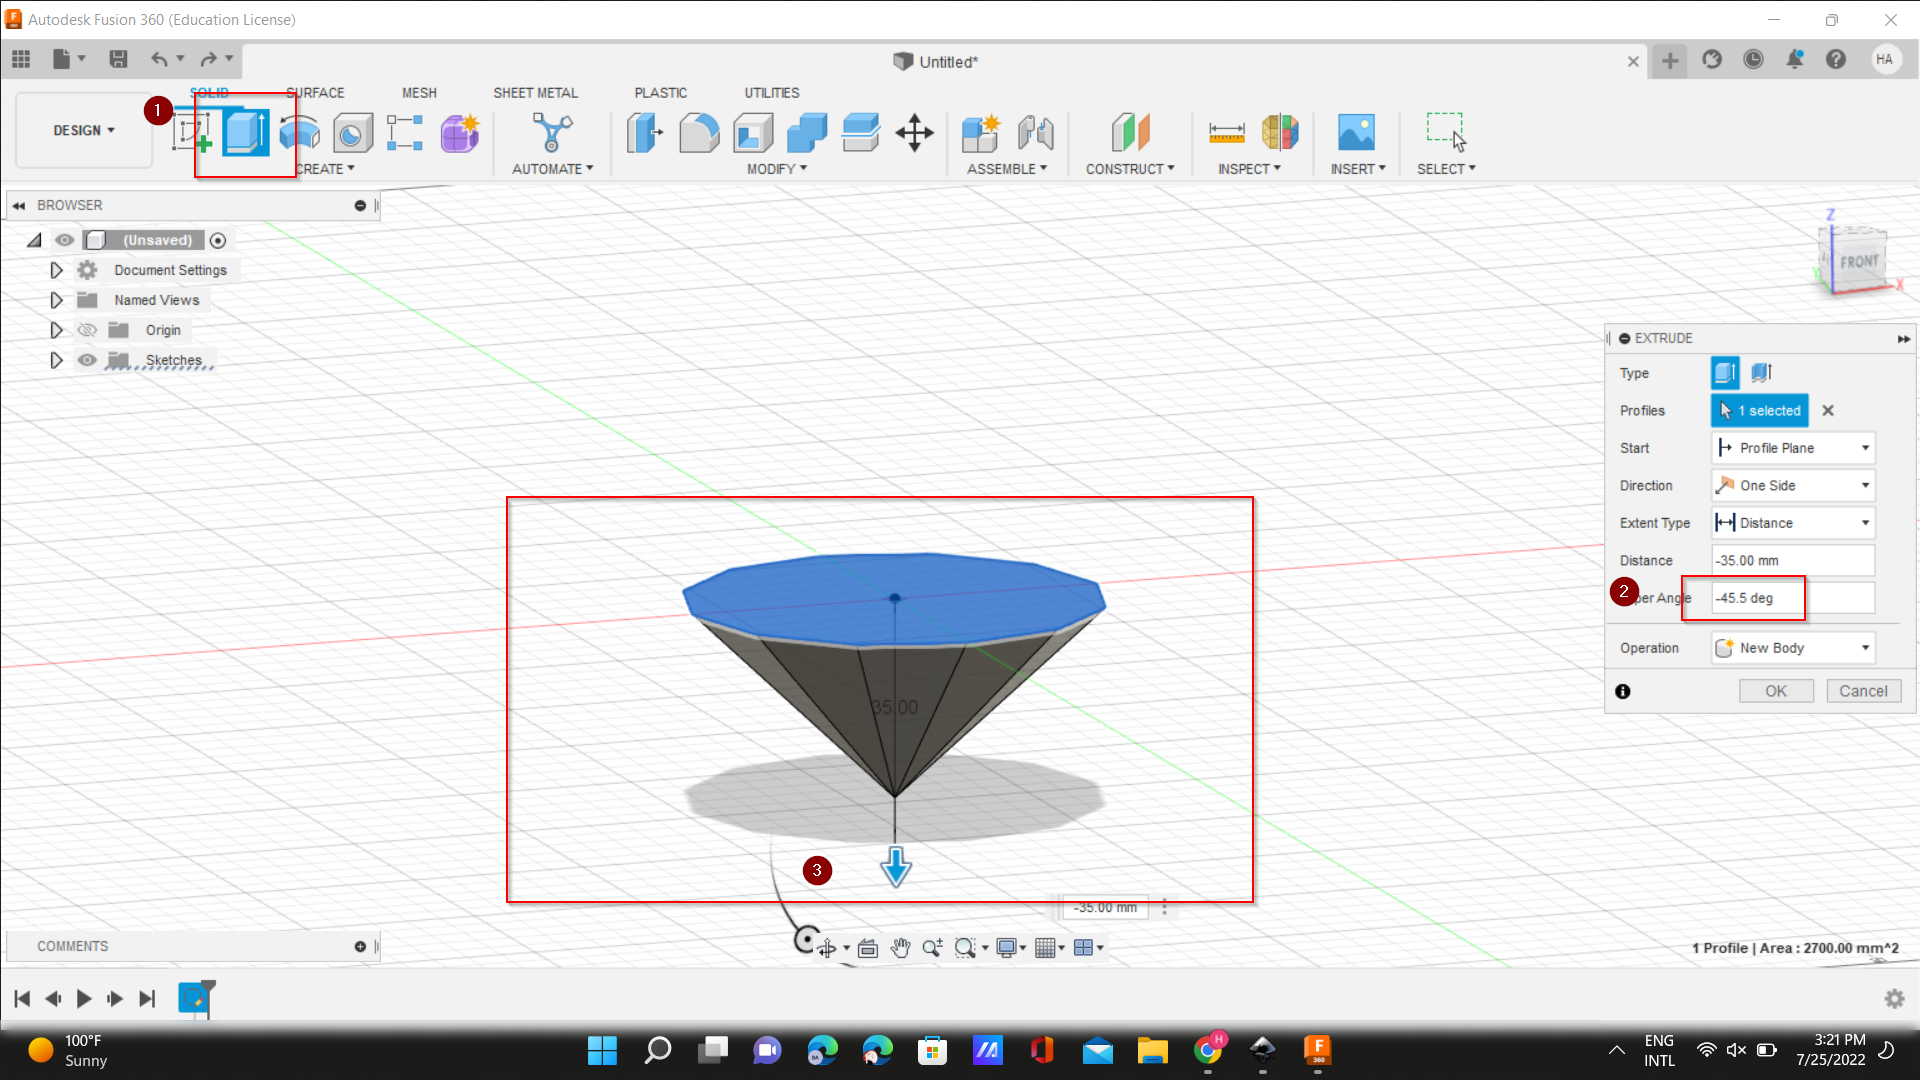
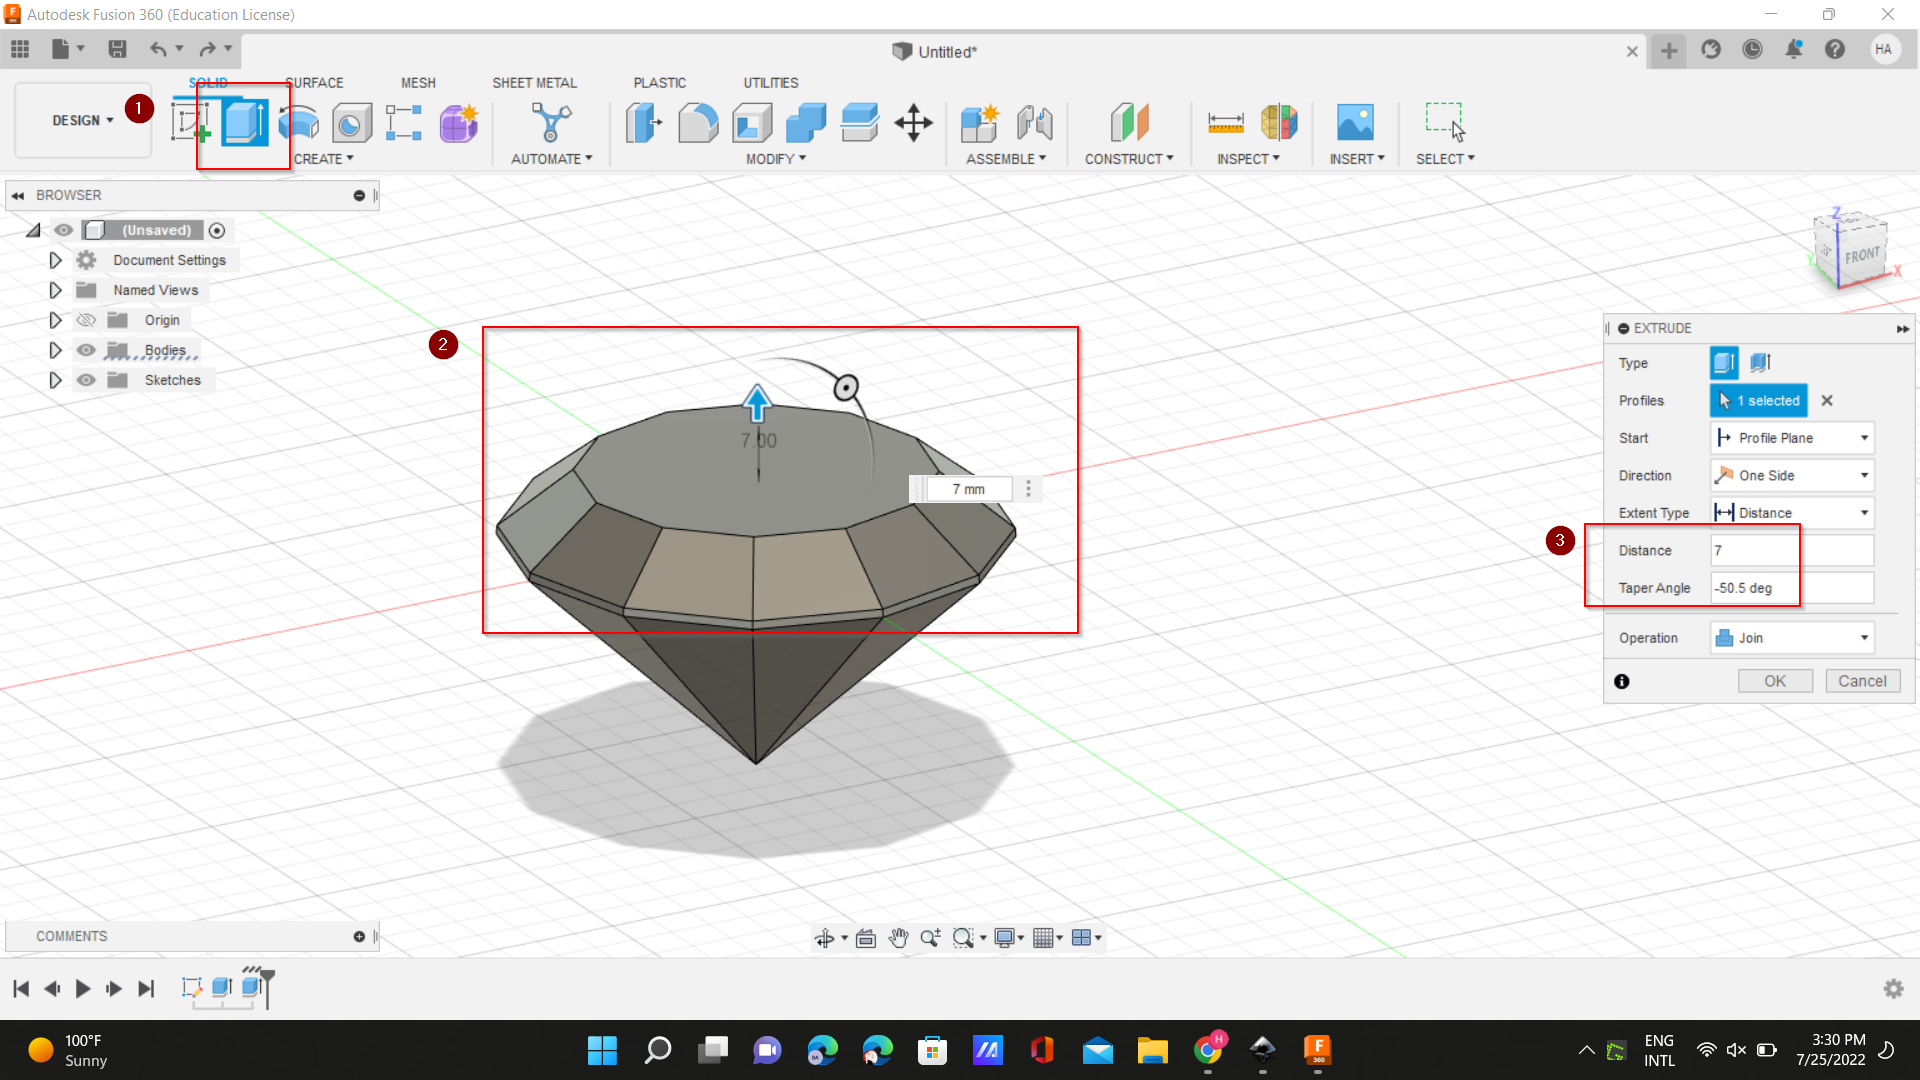
- 3- Go to the solid then Extrude to transfer the shape to 3D, and choose the angle i want.
- 4- Choose the topper area and pull it up.
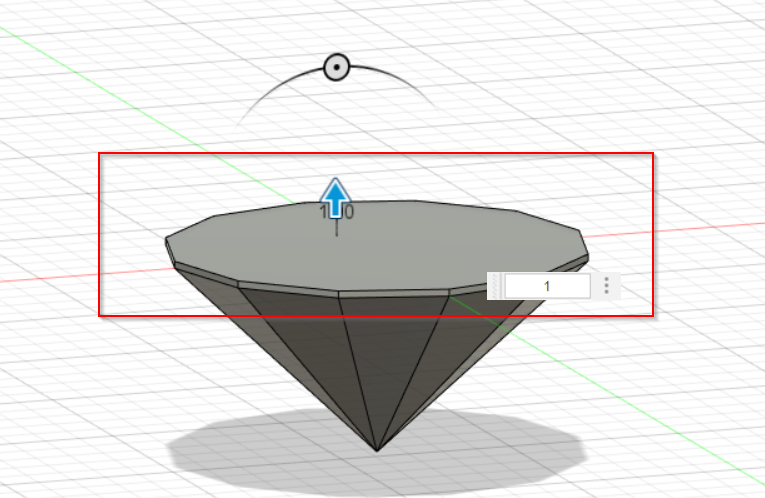
- 5-Also I waschoose the topper area and pull it up and and put the distance and angle i want.
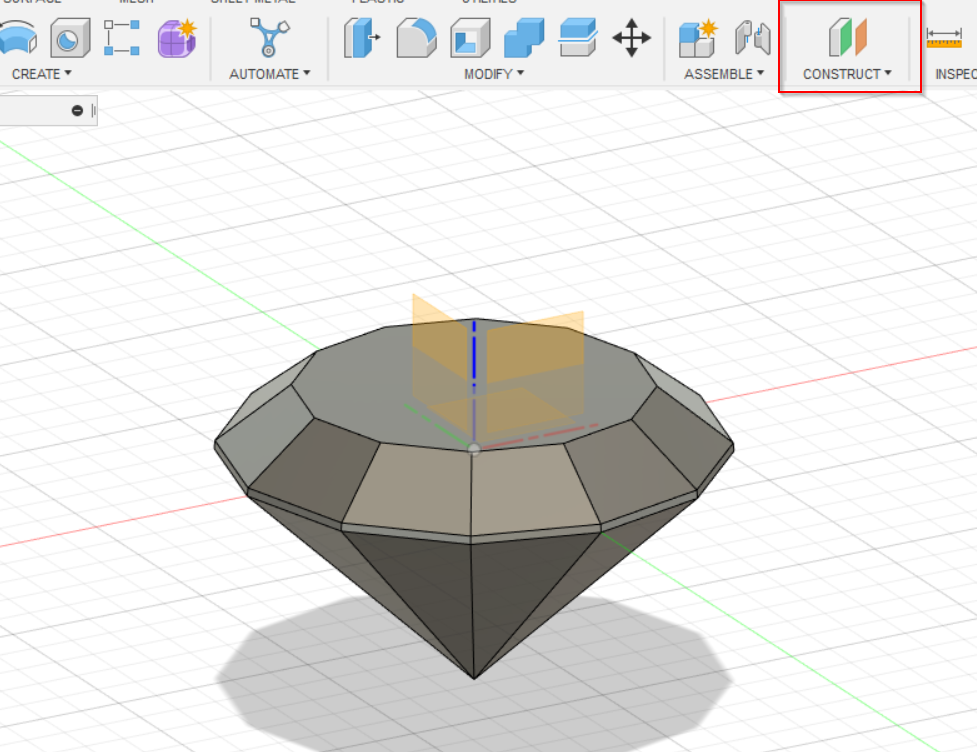
- 6- I created a plane through three points to draw a triangle using the line tool.
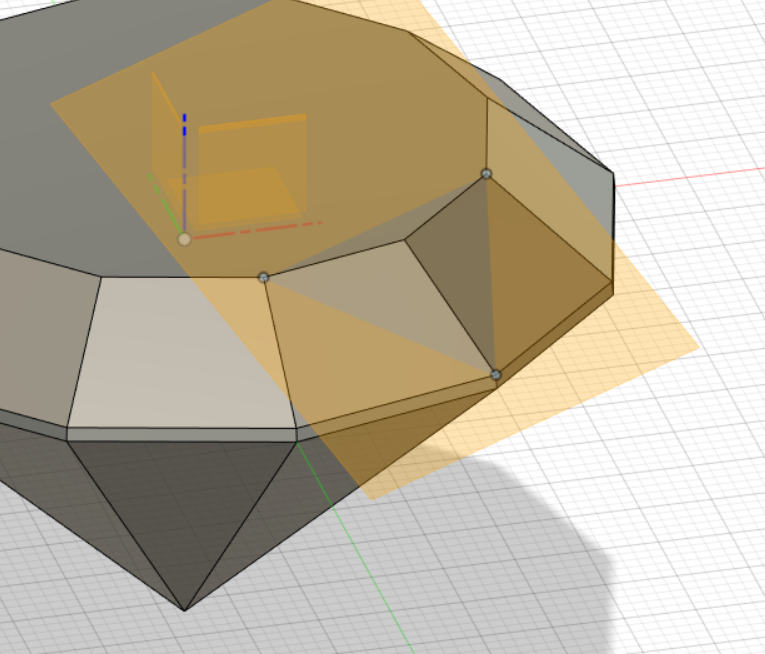
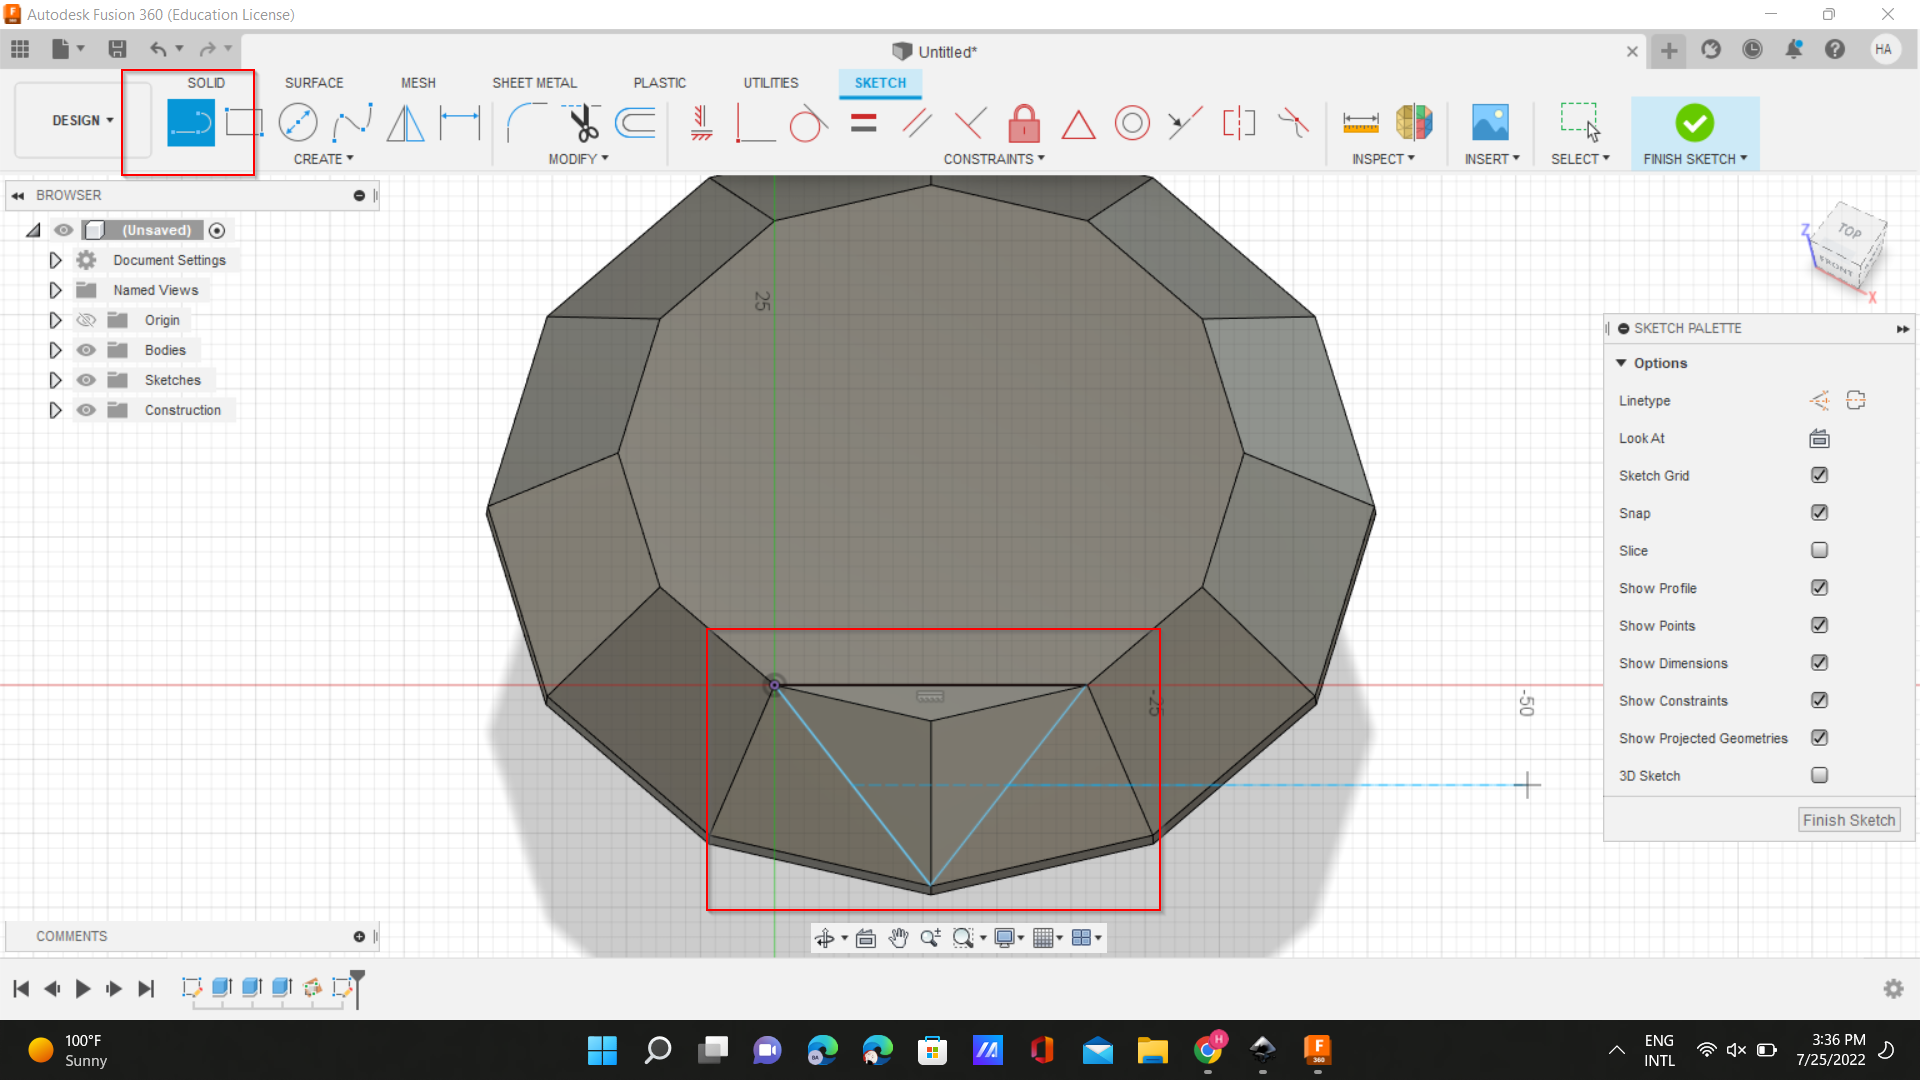
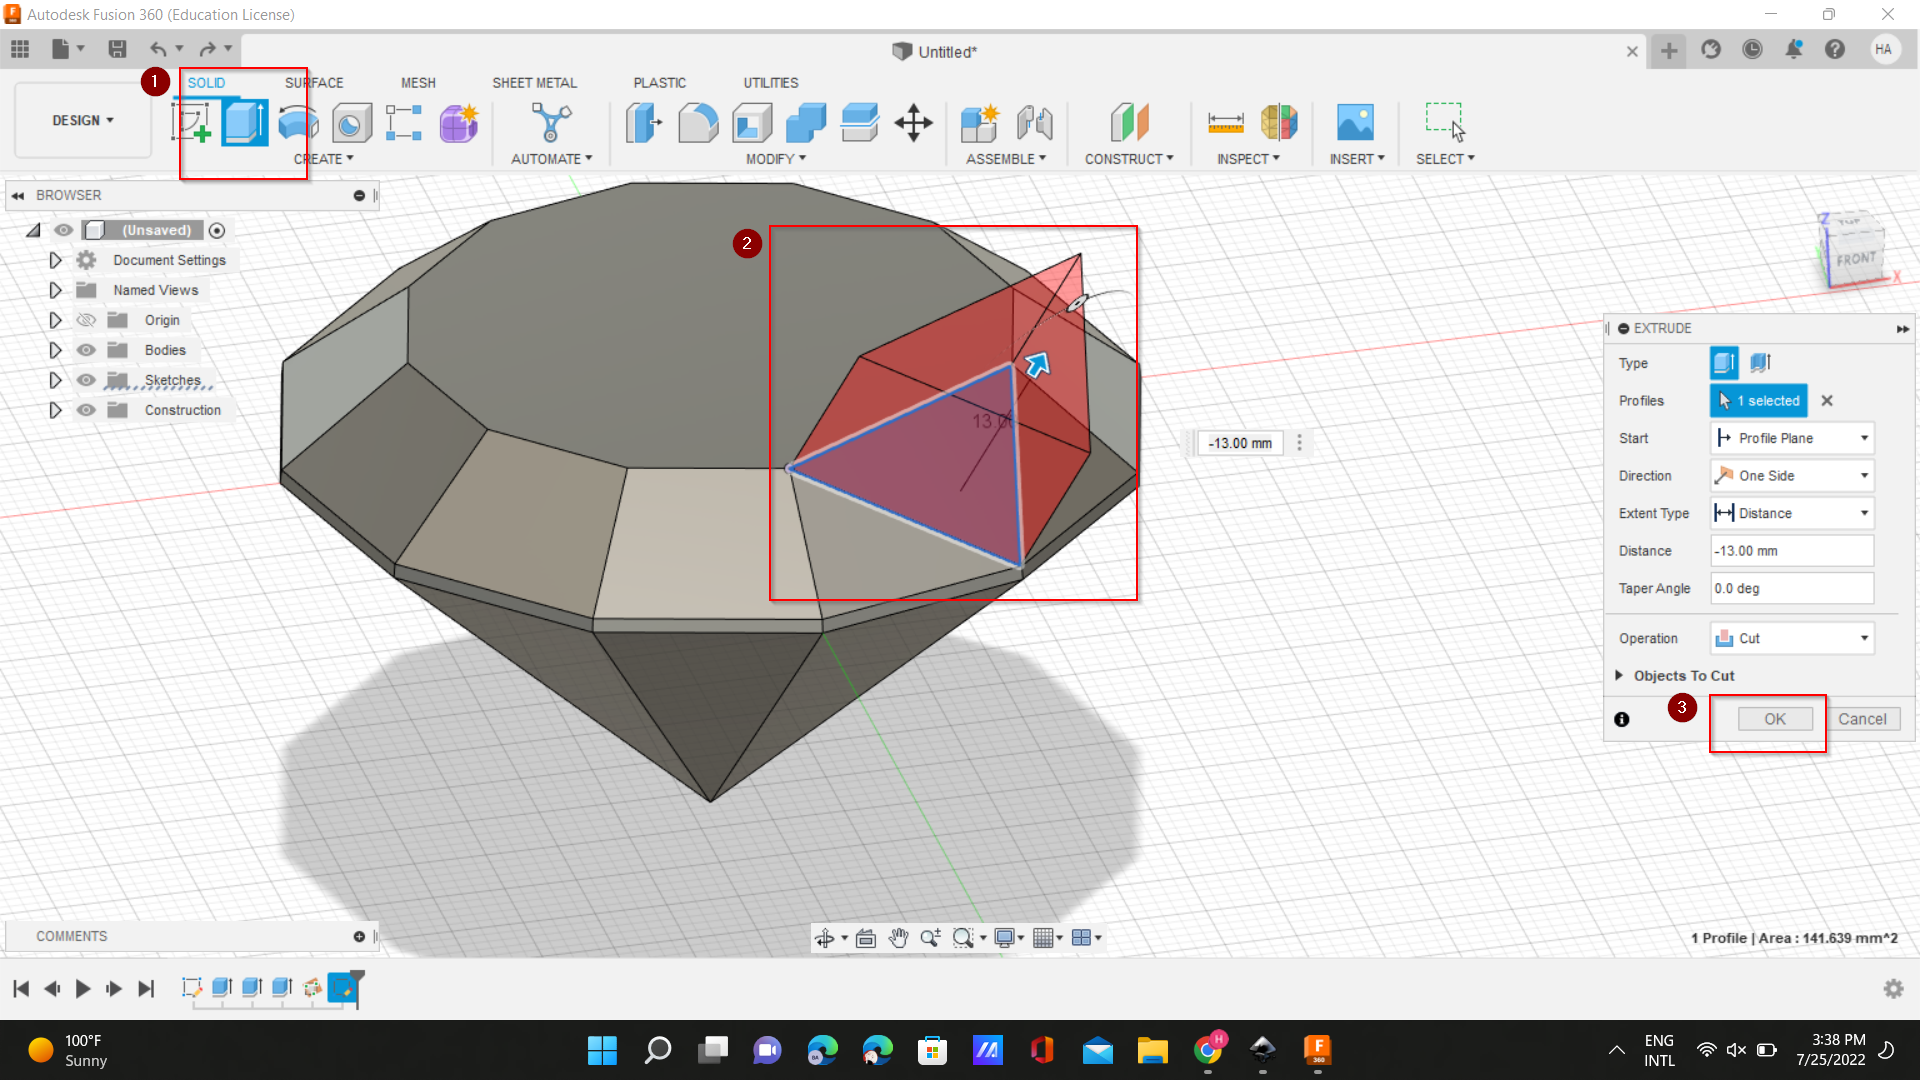
- 7- I Cut the triangle with Extrude.
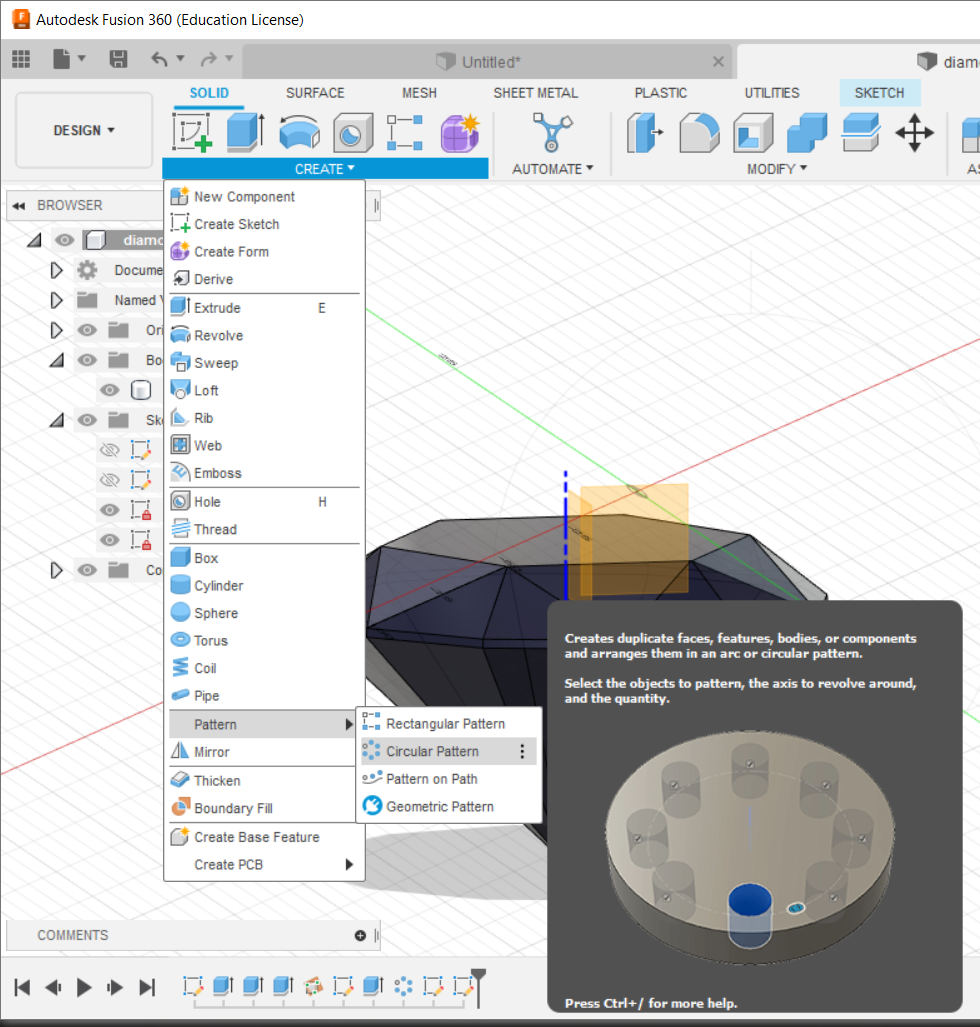
- 8- I Created a duplicate triangles with a circular pattern.
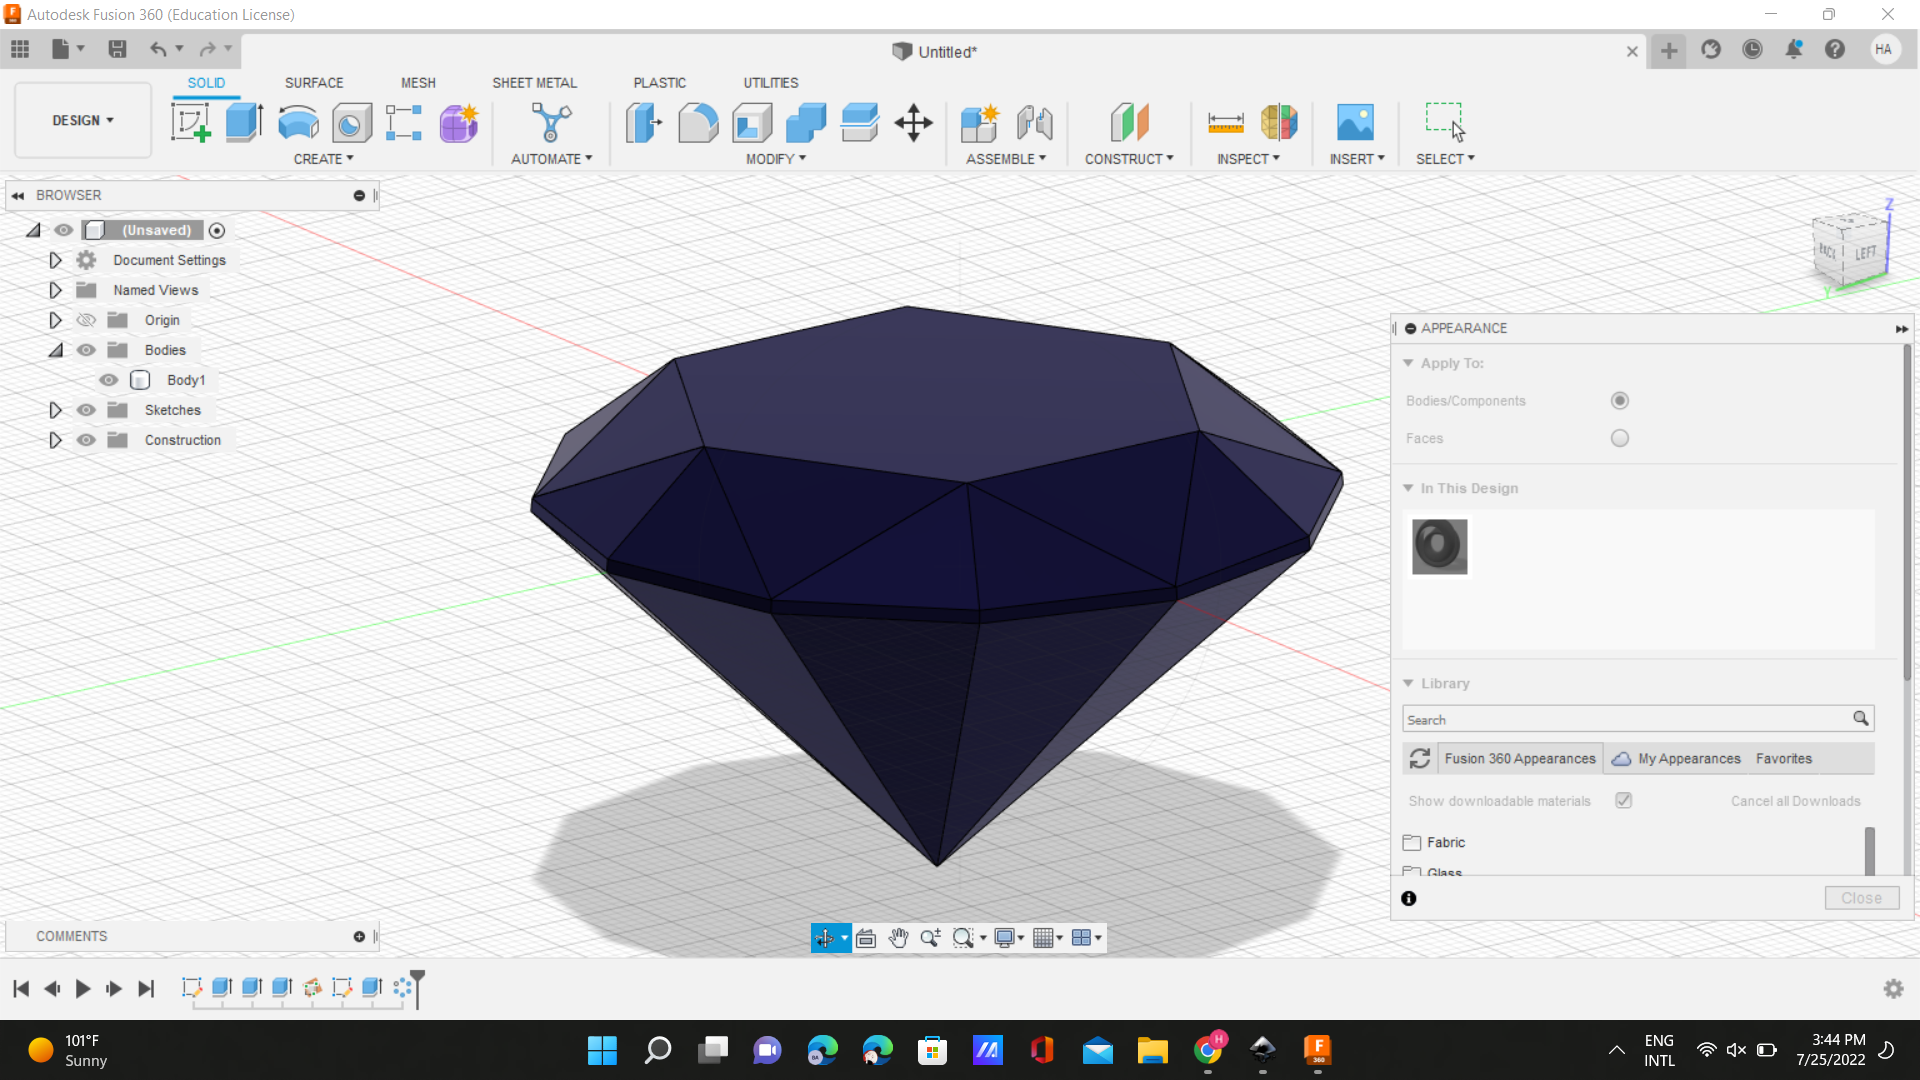
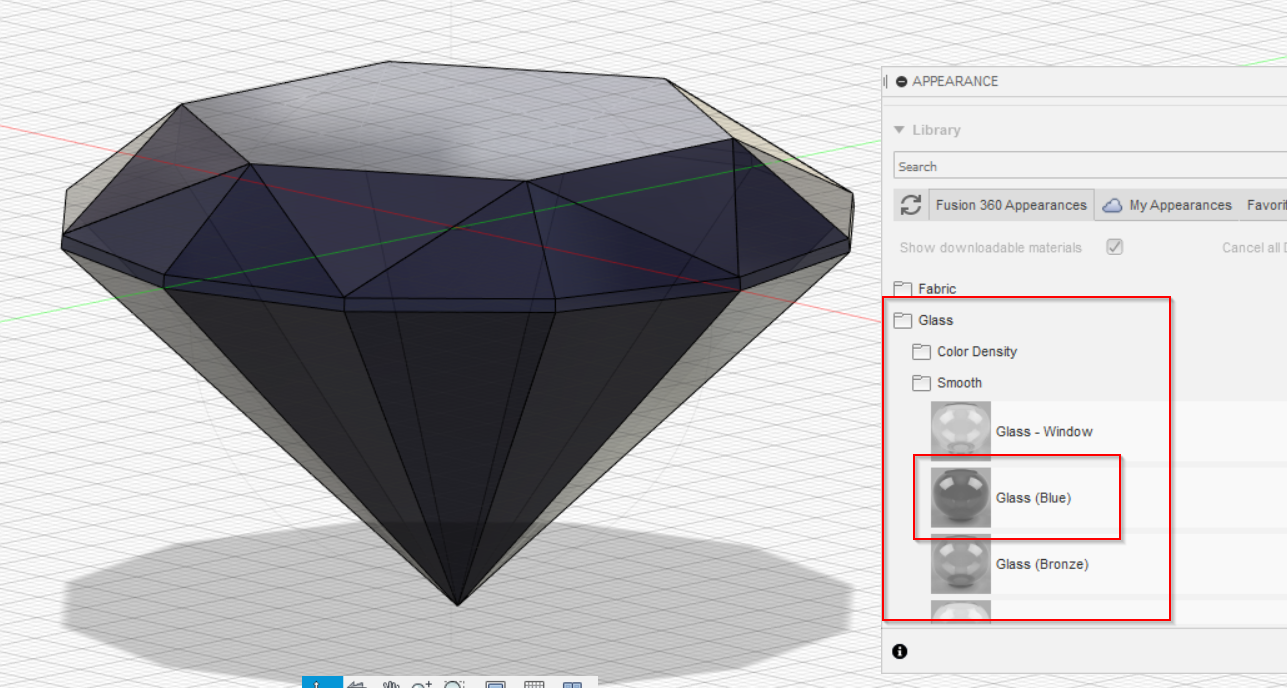
- 9- Go to bodies, Right click, appearance to change the color and material of the diamond.
Original file