8. Moulding and casting
I spent this week developing a mold, creating a mold, and casting it.
WHAT IS 3D CASTING AND MOULDING?
“It involves molding liquid or malleable raw material using a stiff frame known as a mold that is made using a milling machine.”
MILLING MACHINE
“A milling machine is an apparatus that revolves around a circular tool with several cutting edges placed symmetrically on its axis. The workpiece is often held in a vise or other similar device that is clamped to a table that may move in three perpendicular directions.”
Group work
we used four different materials for group work , click here for our group assignment
Individual work
Design
-
Regarding the design, I strive to construct something cool that can be molded and cast. So I created a small rocket using my preferred design application, Fusion360.
-
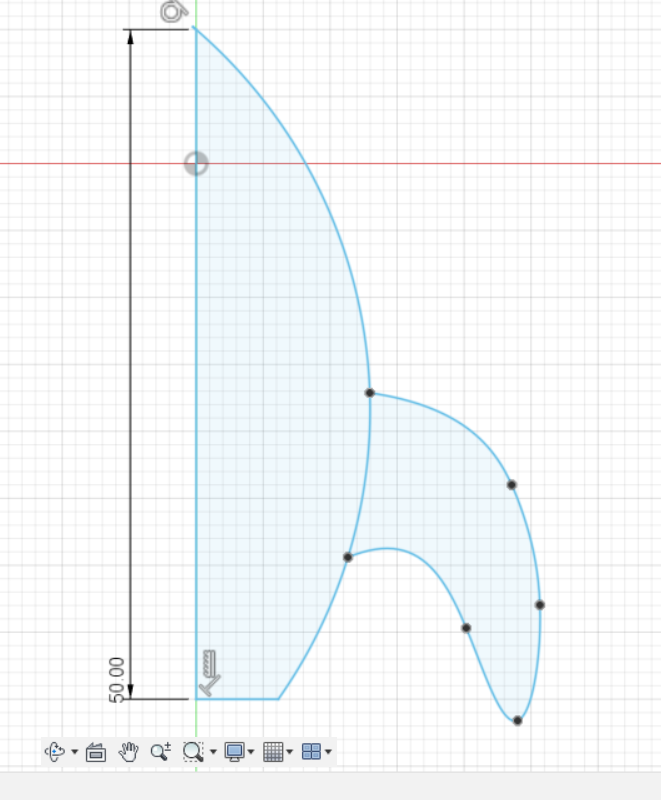
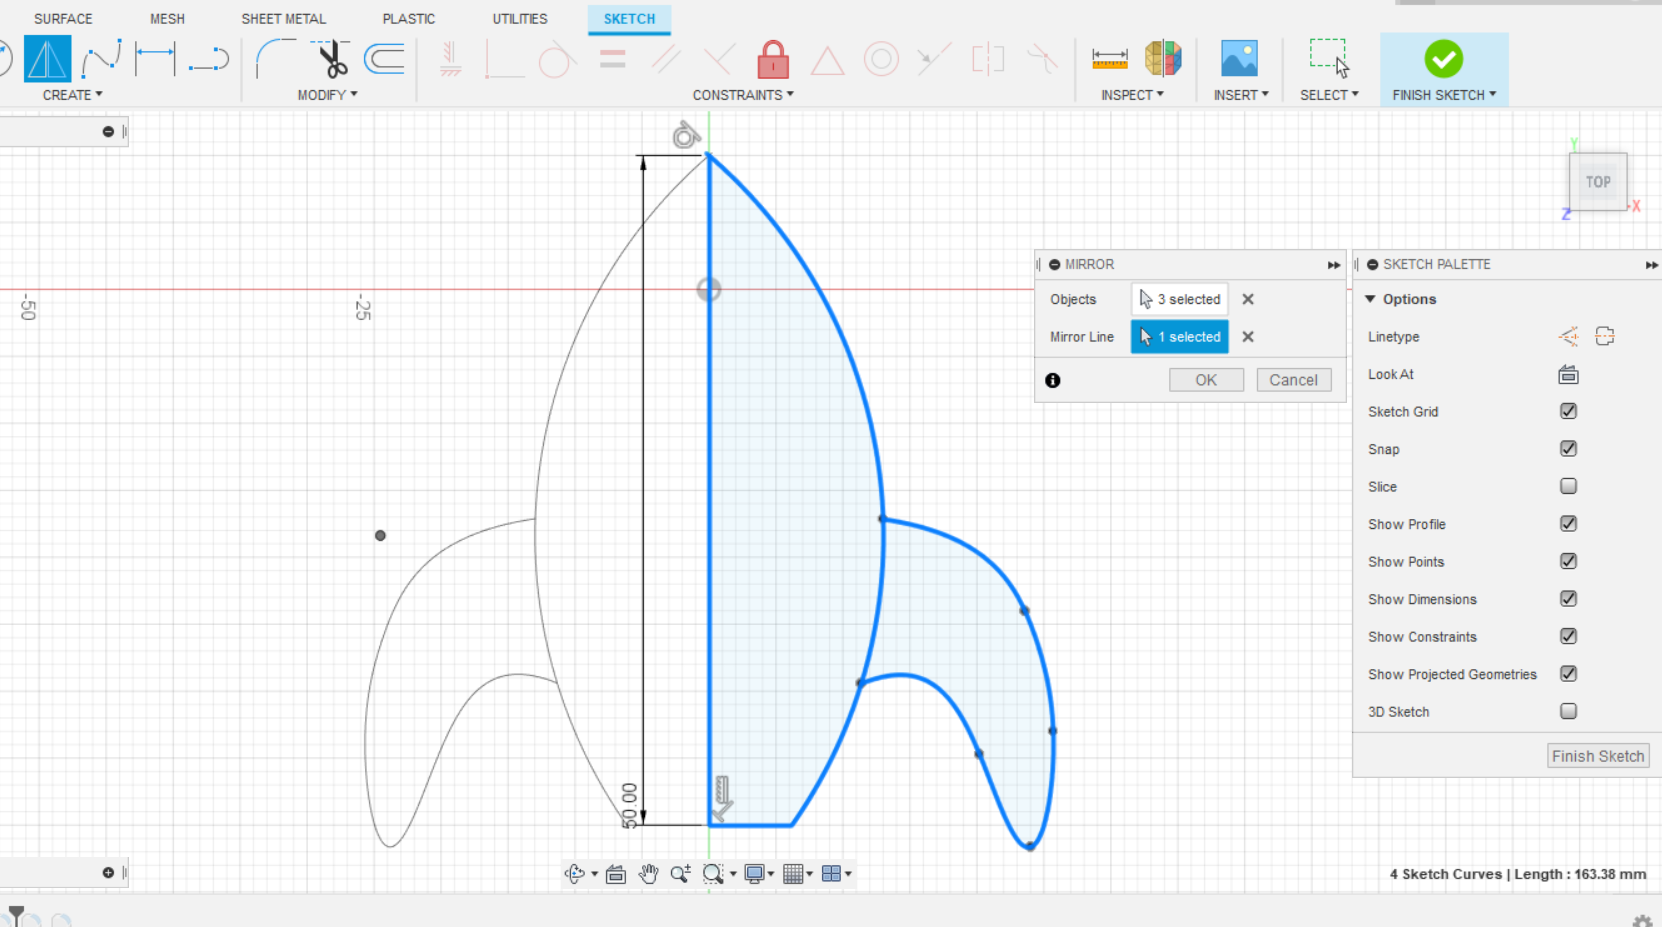
1- In the first step, I used line and arc to draw the sketch of the rocket. I sketched only half of the design I used the mirror option to duplicate the design.

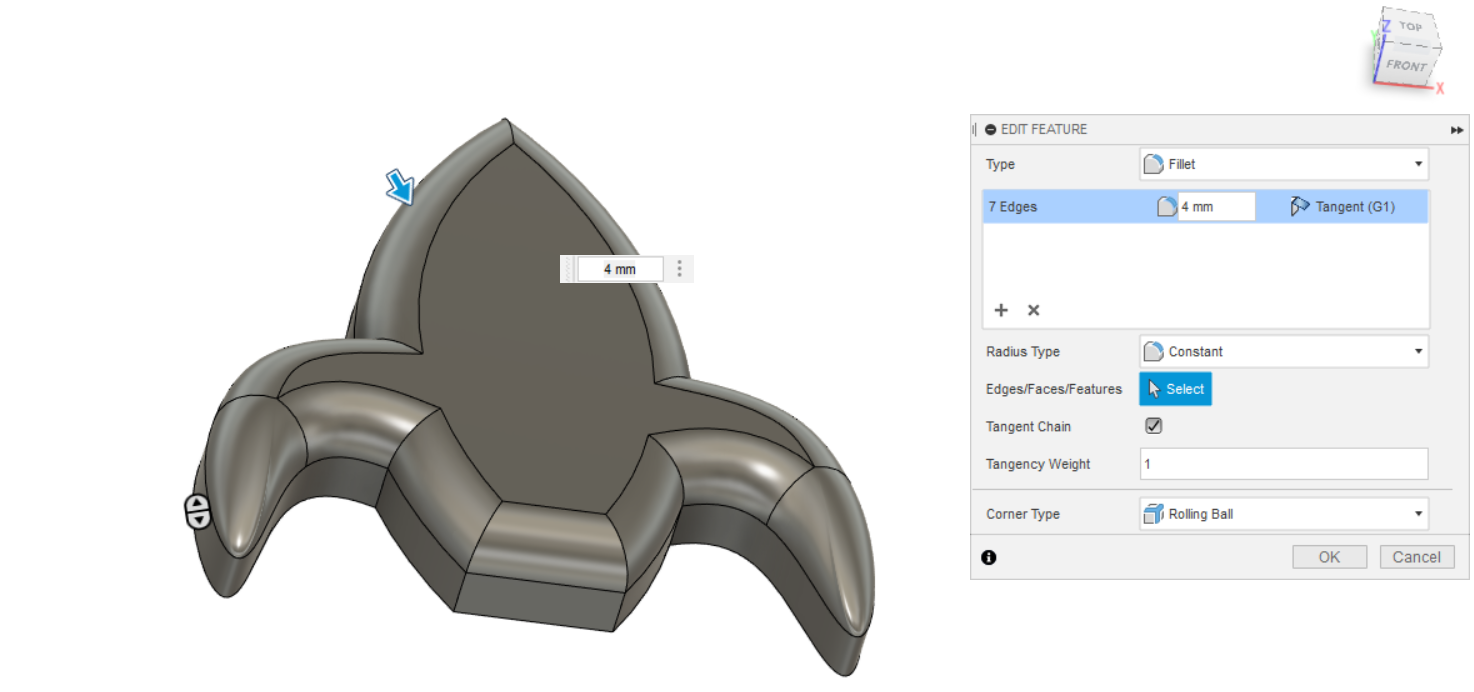
- 2- Then I extruded with 8mm and rounded the edges with 4mm.

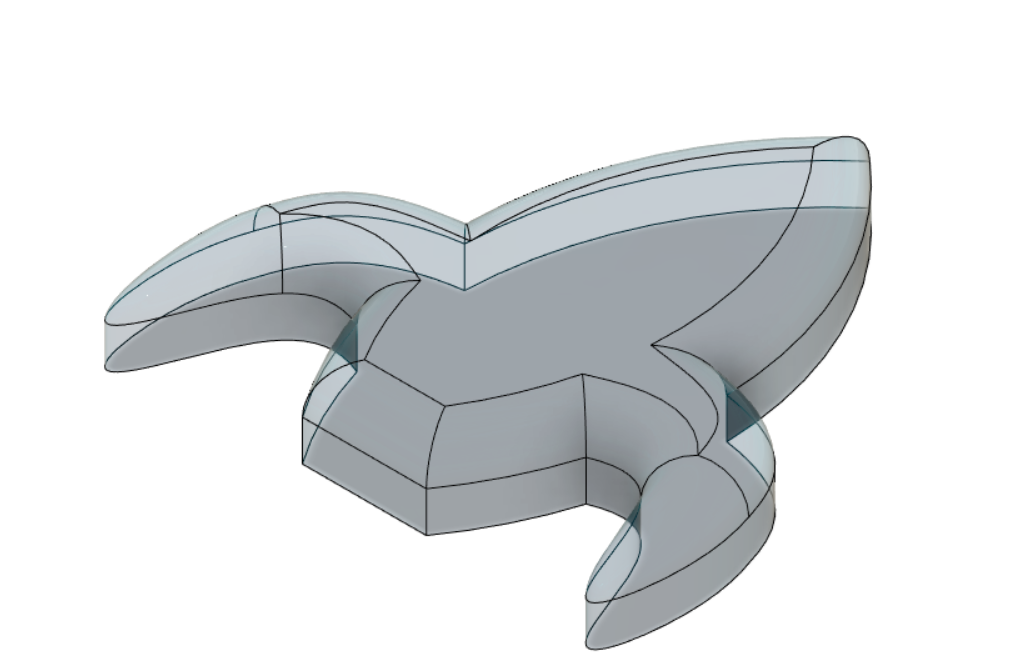
- 3-The final design result.
Milling machine process
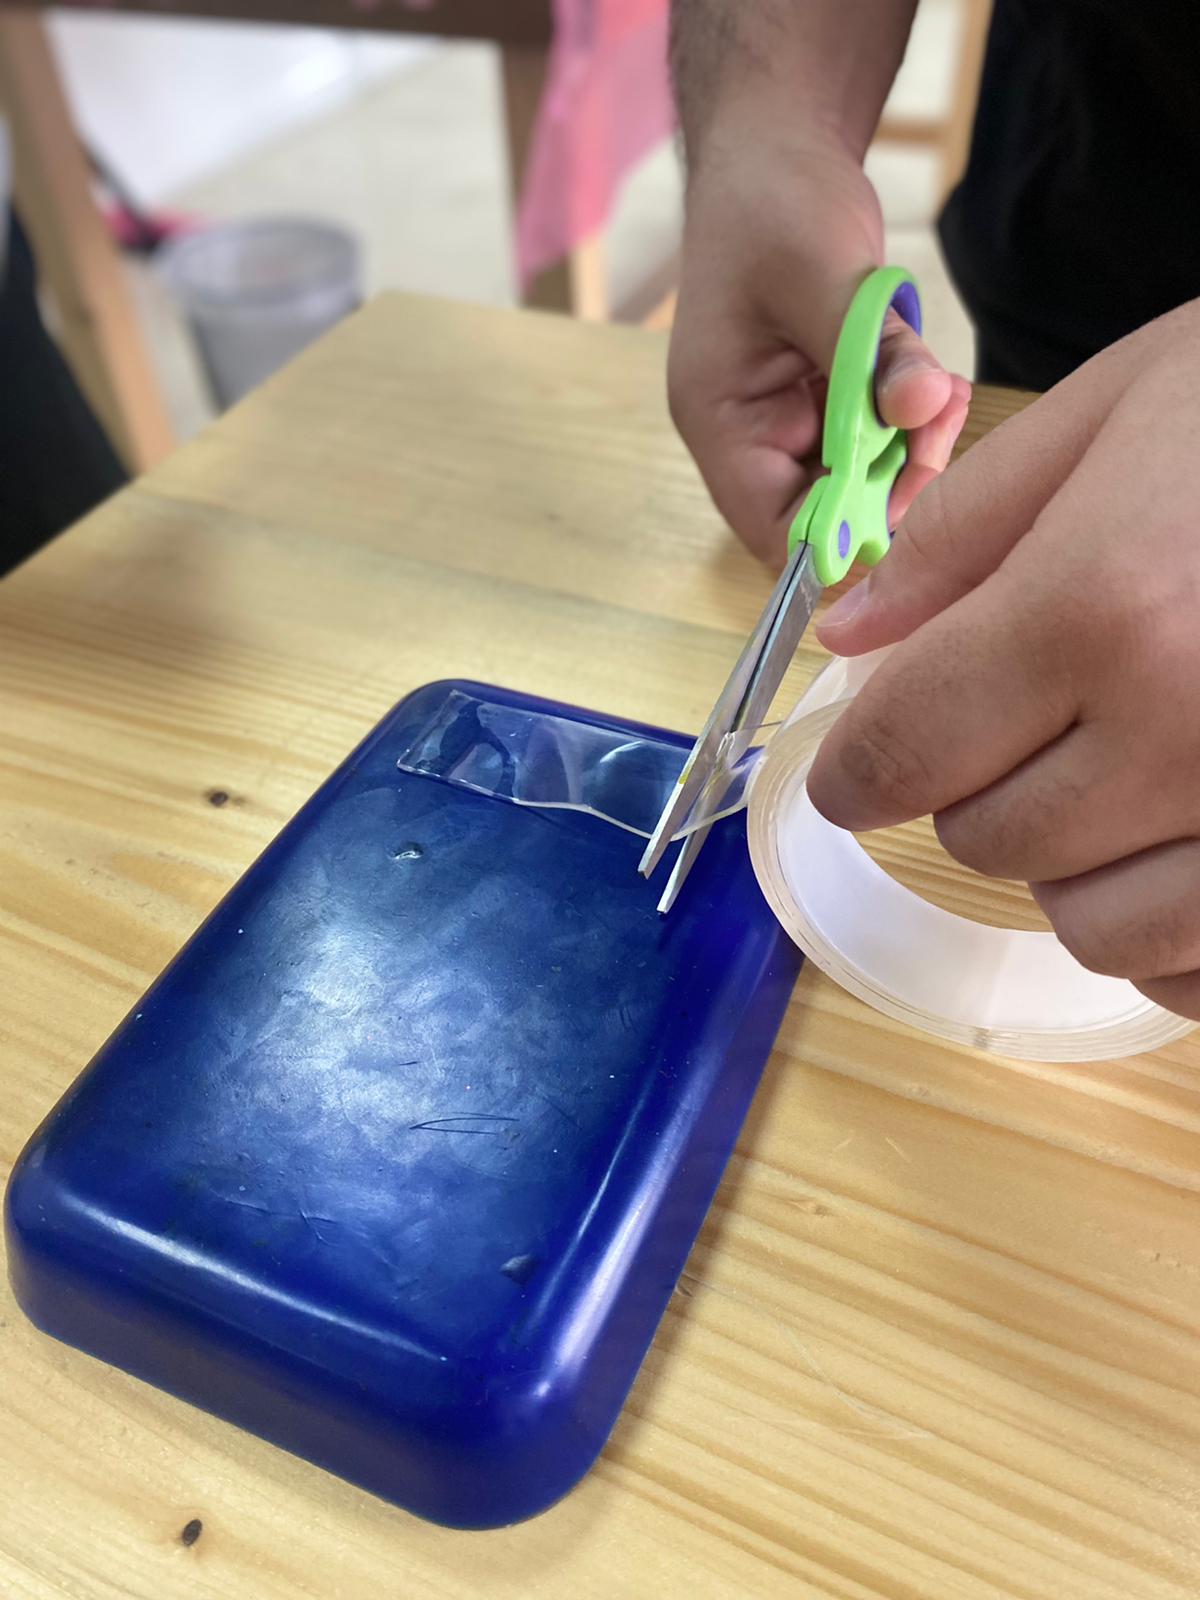
- We put a double sided tape in the material to stick it with machine.
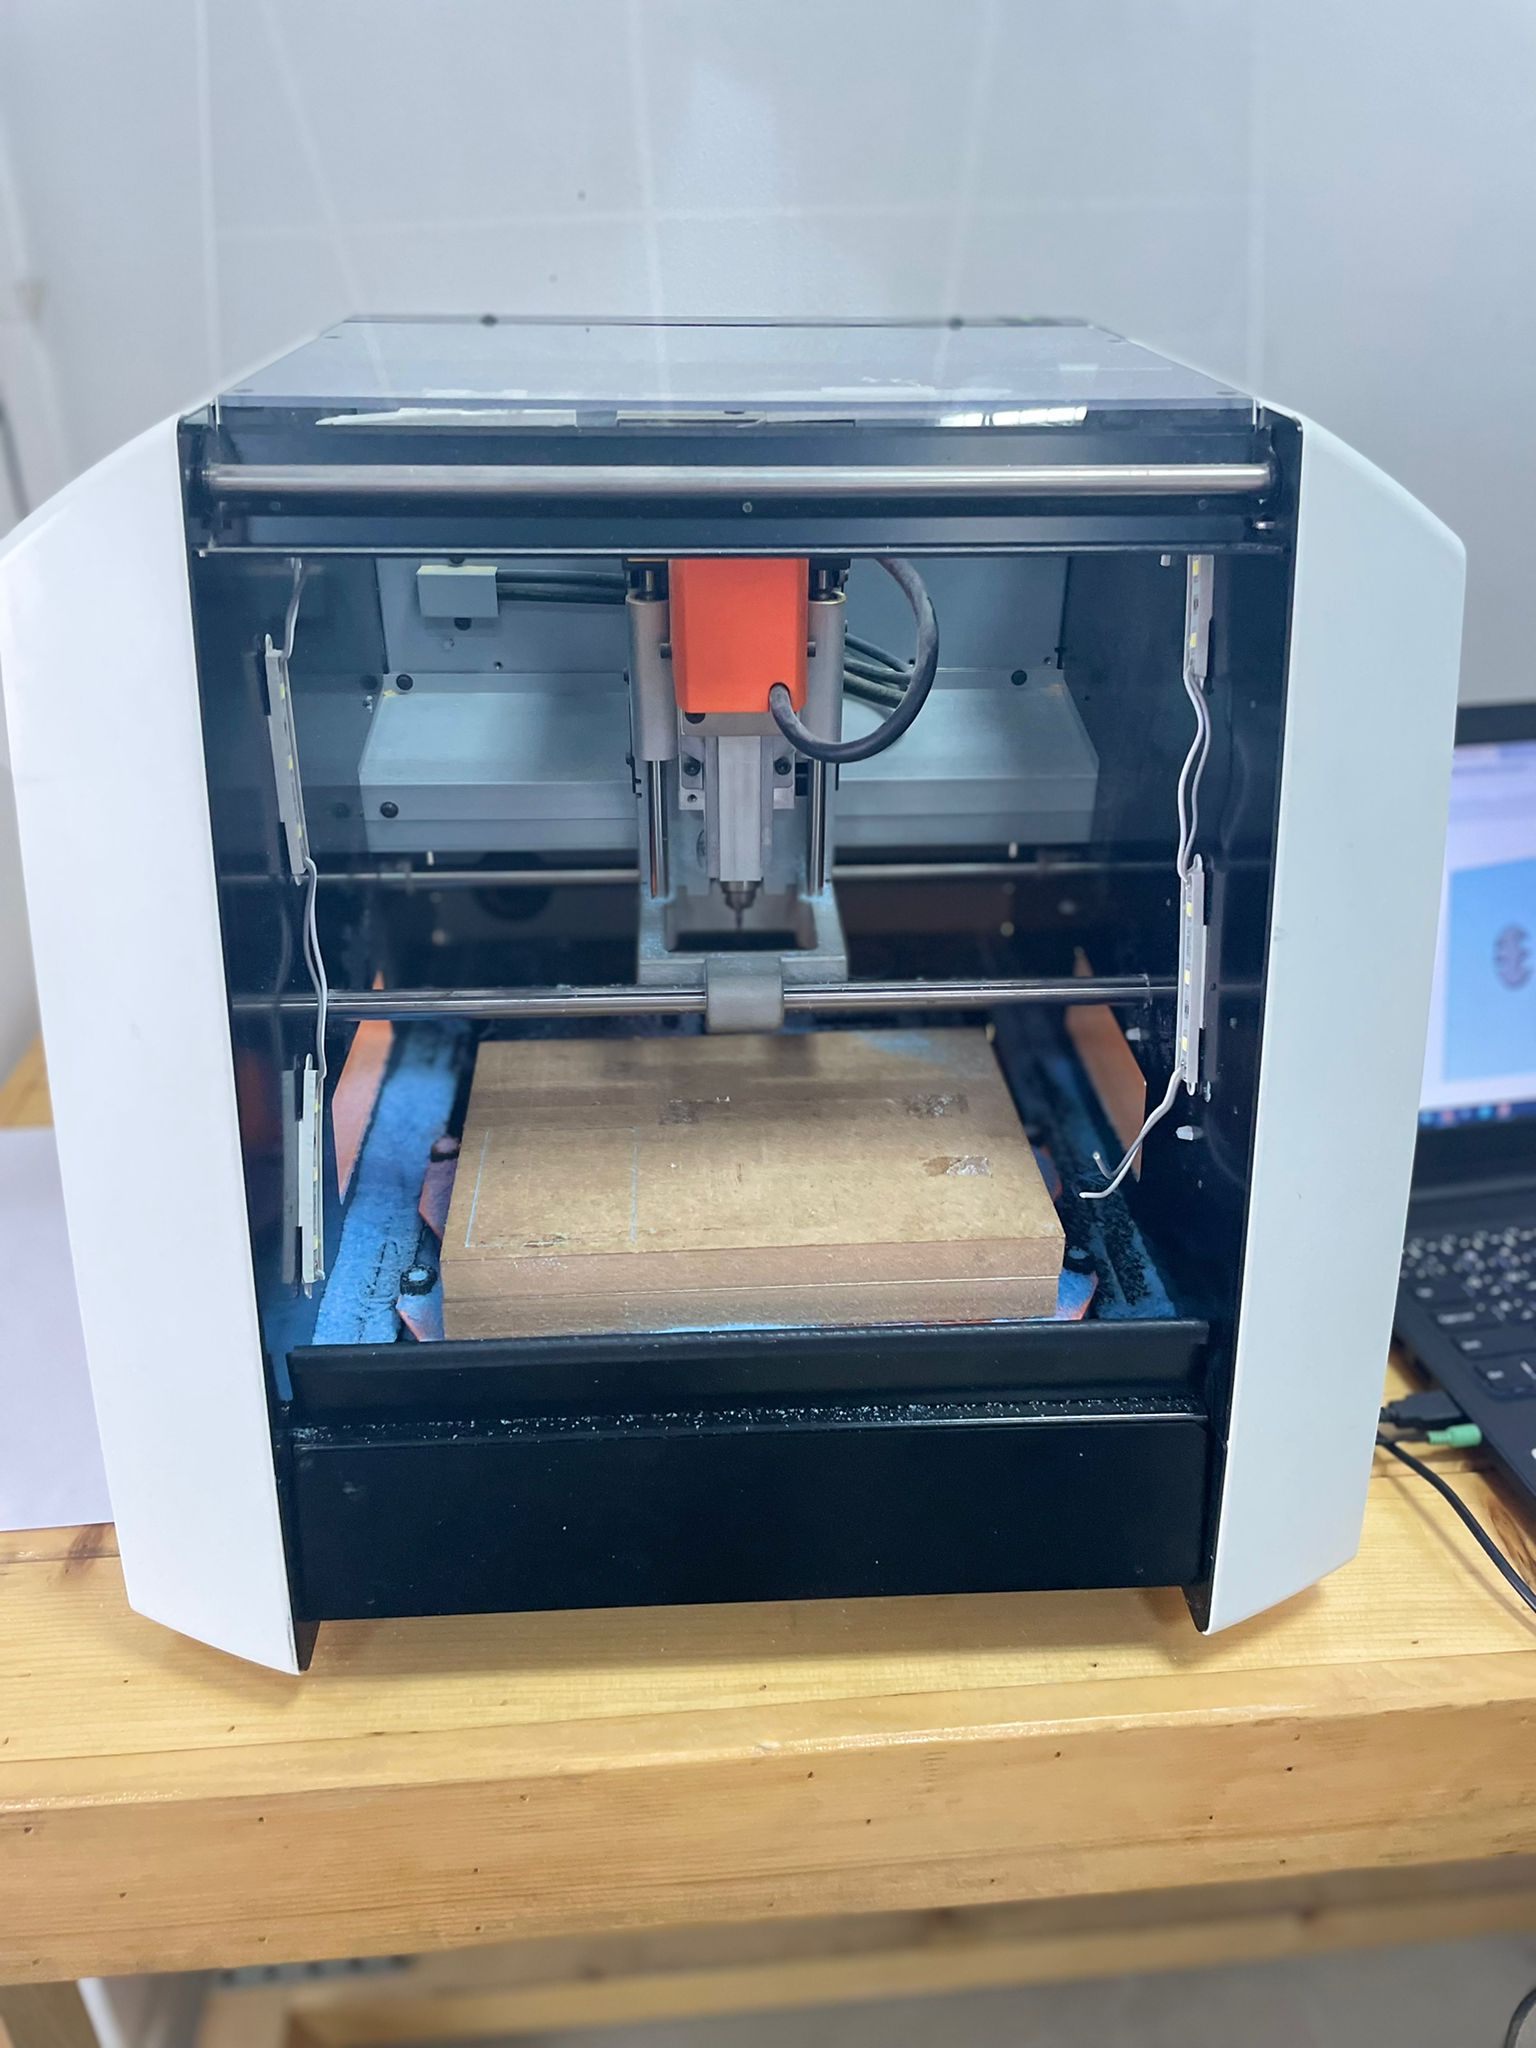
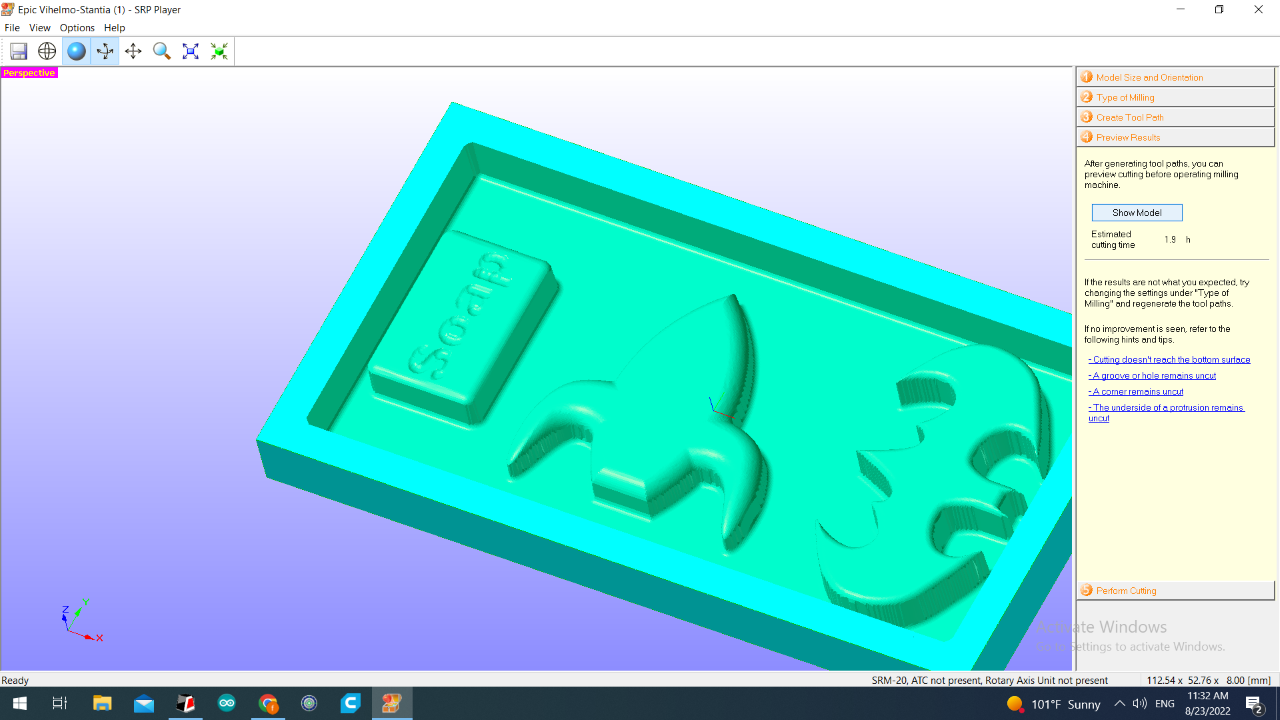
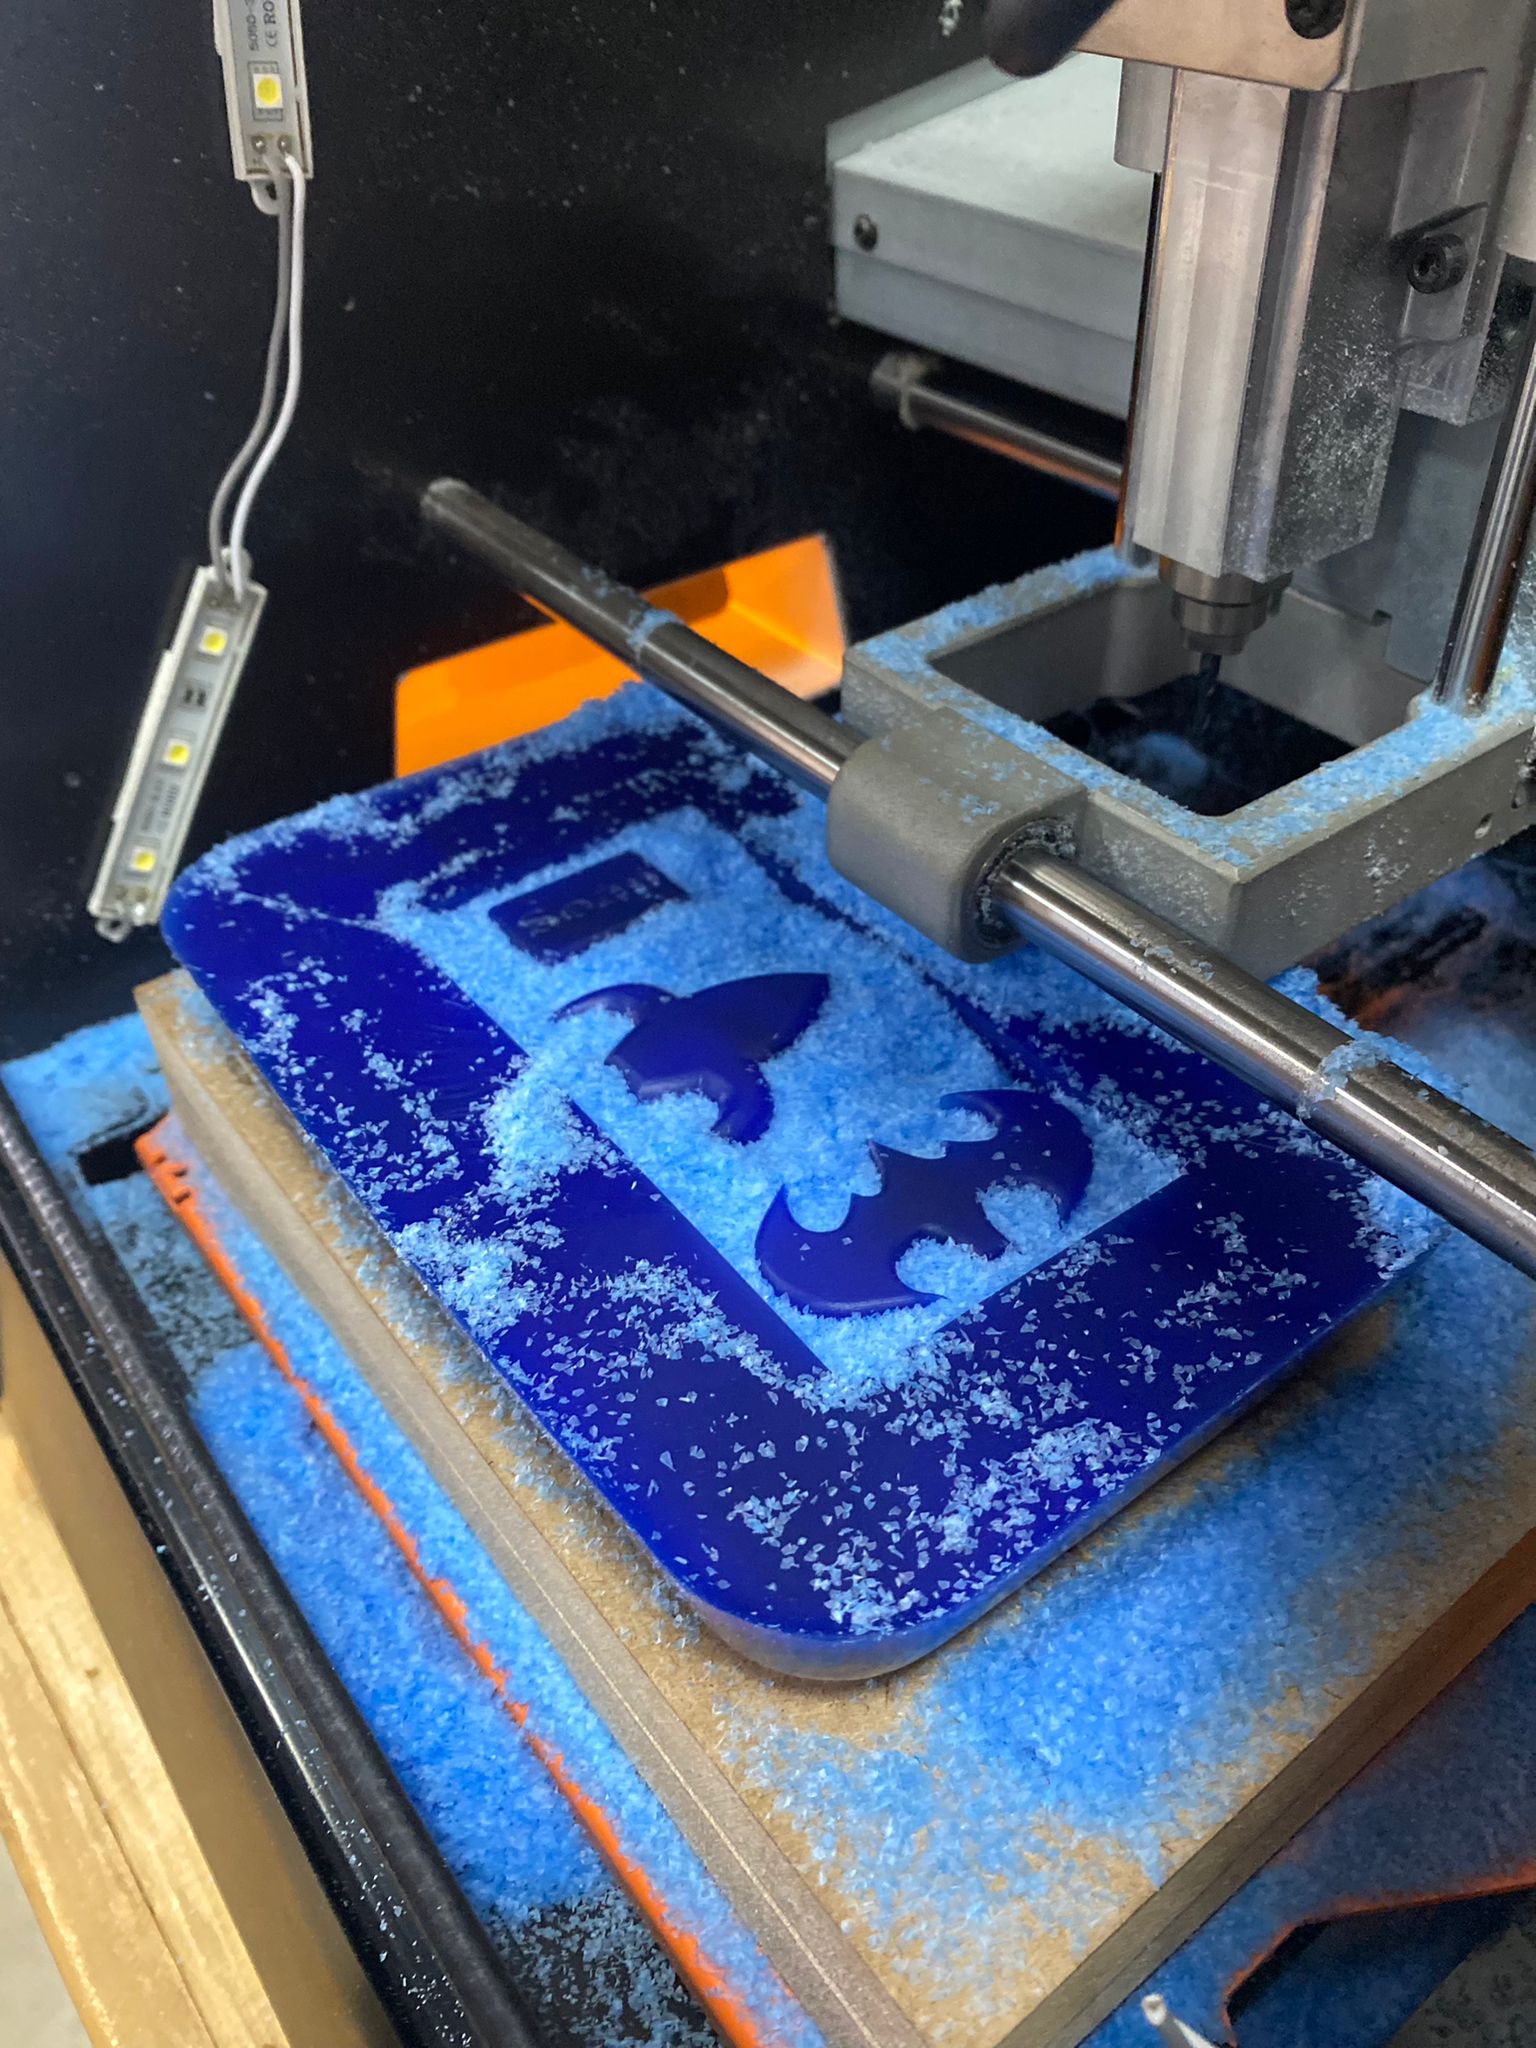
- The milling machine we used, the Roland SRM-20, is seen in the image. It is connected to a program called SRP player that was created specifically for the machine.
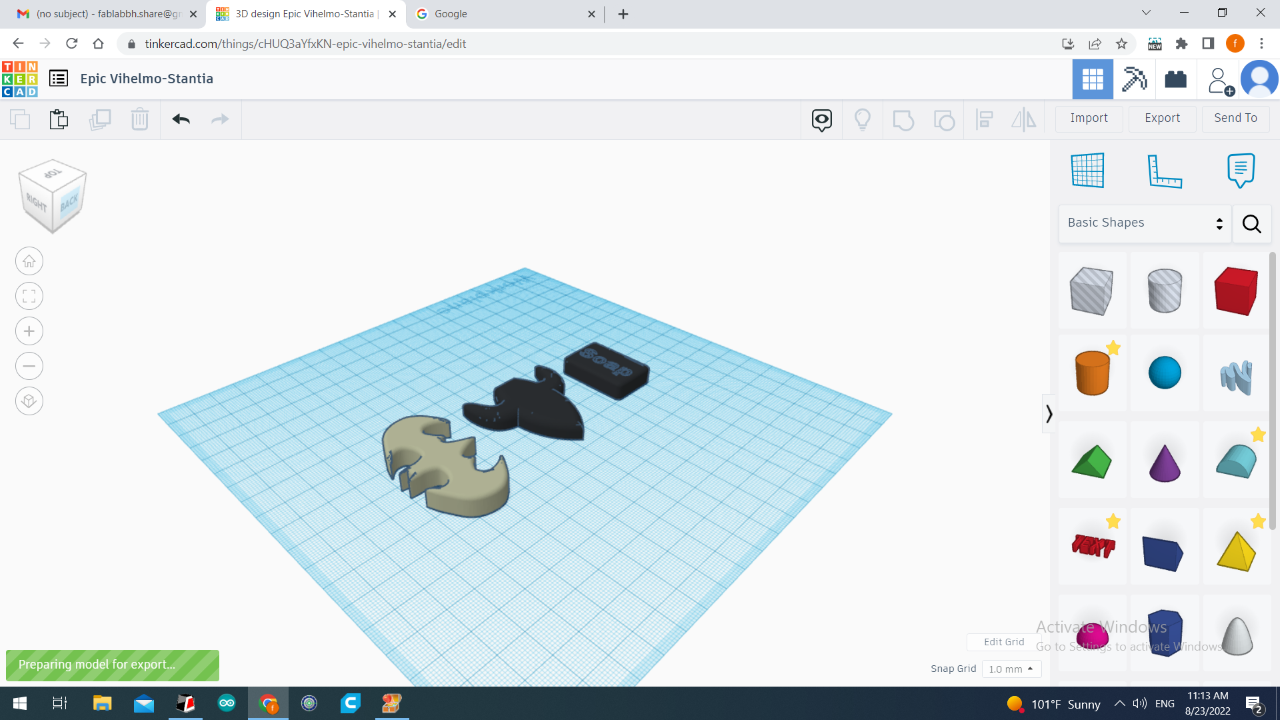
- Before starting, my colleagues and I must use Tinkercad to align our drawings on the same plane and then save them as STL files so that we can import them into the SPR player.
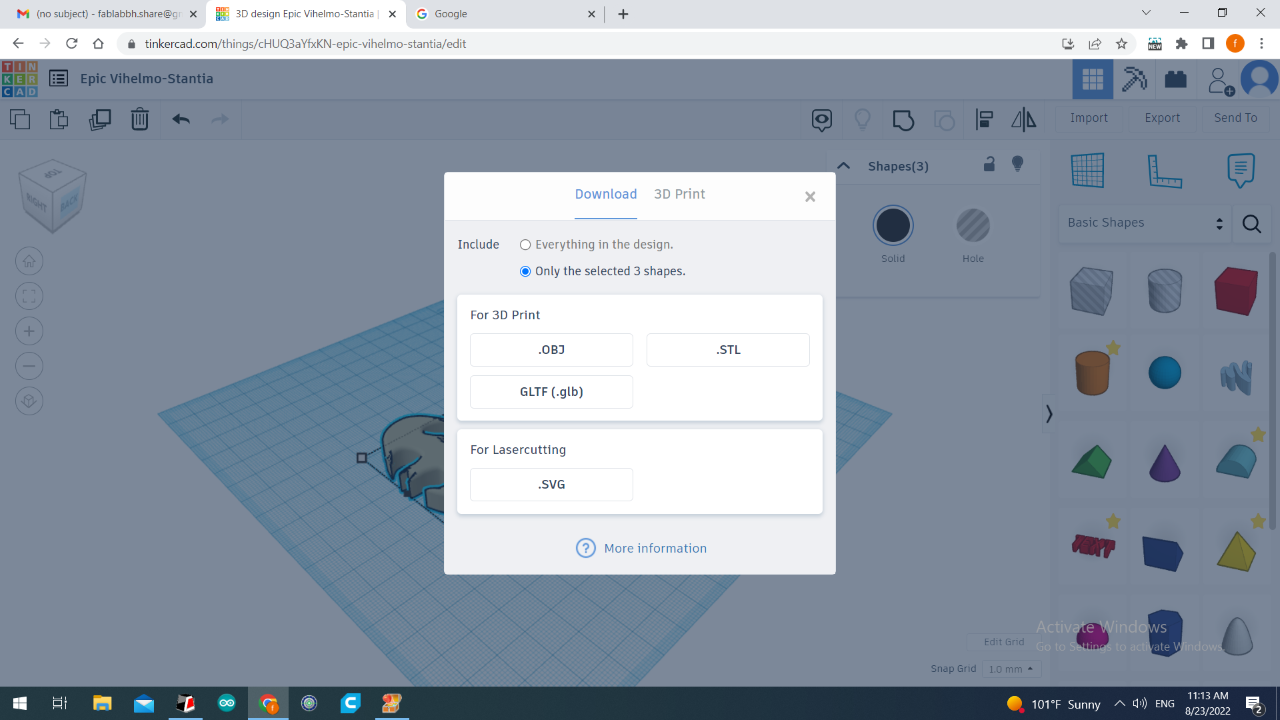
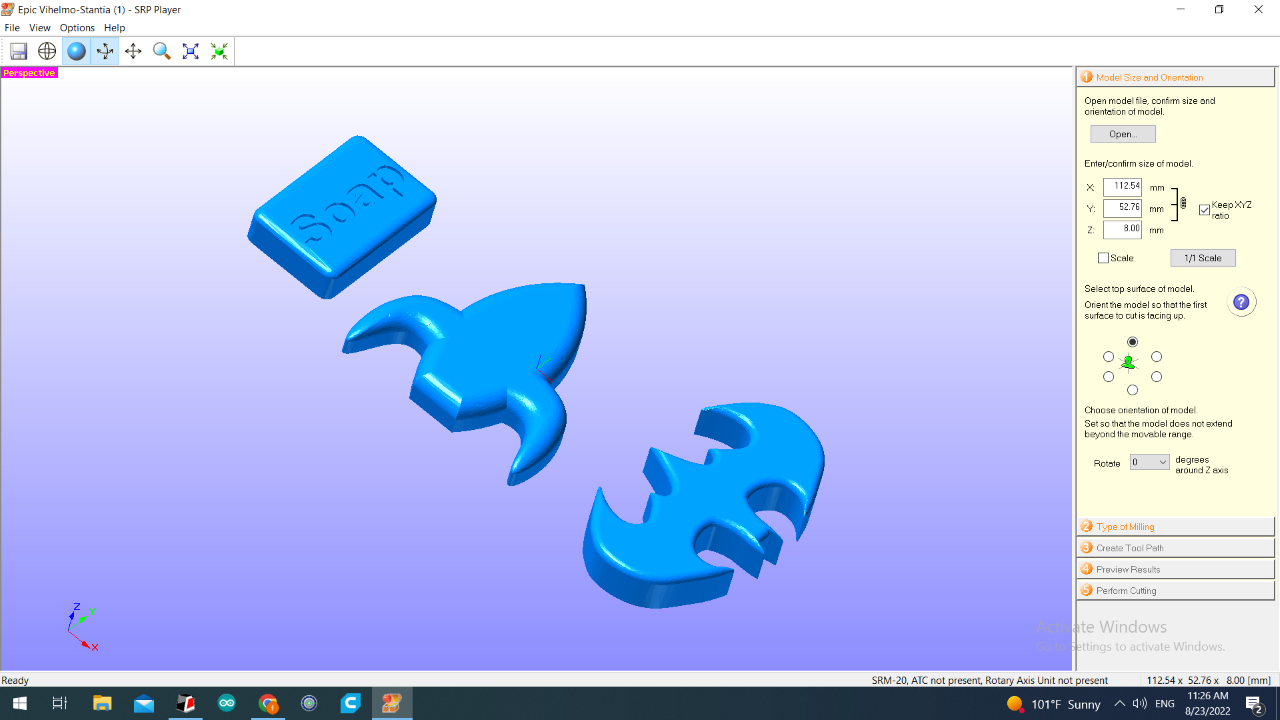
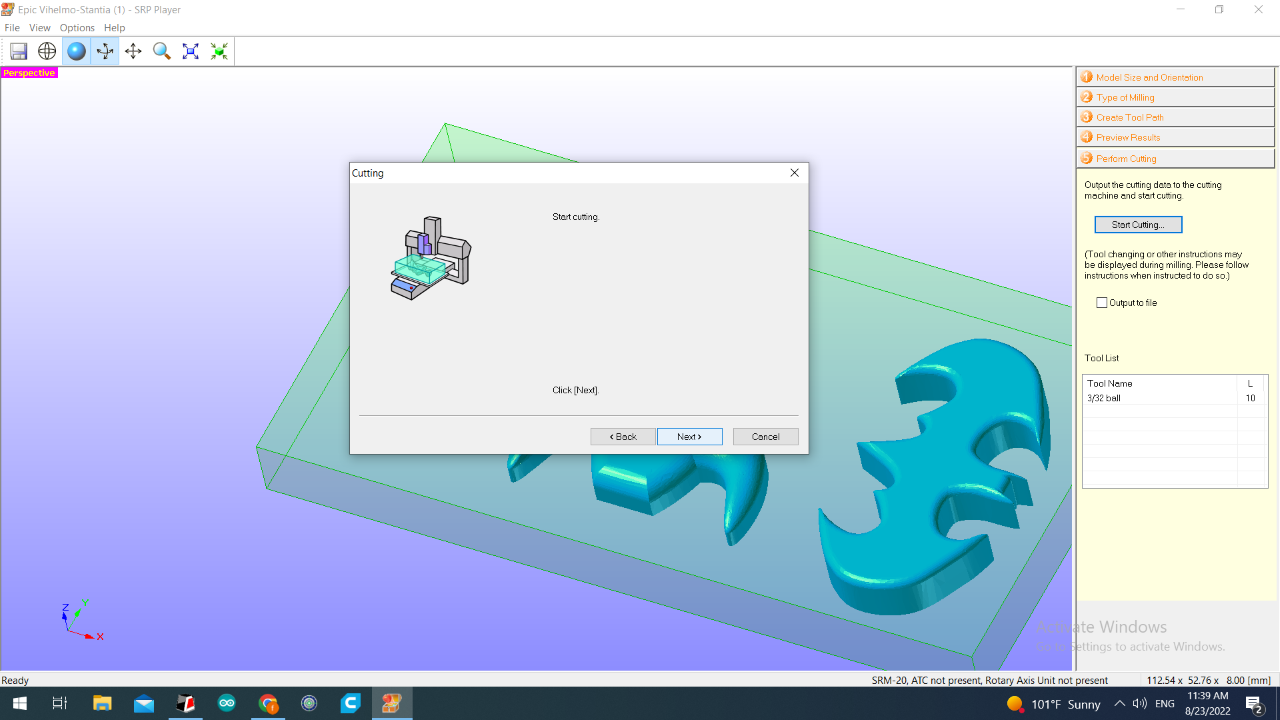
- Now export the design and proceed as instructed. The first step is to set the model size and orientation as seen in the image.
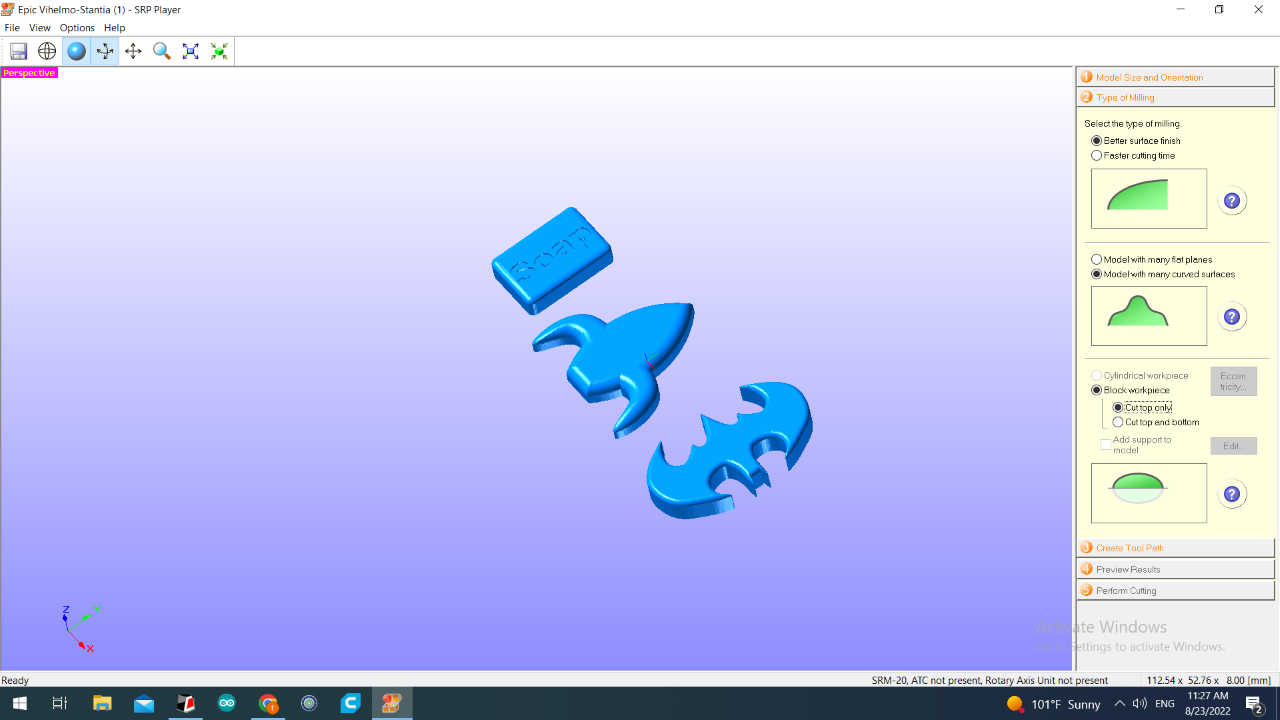
- The type of milling is chosen in the second step. I select it as it is shown on the right side.
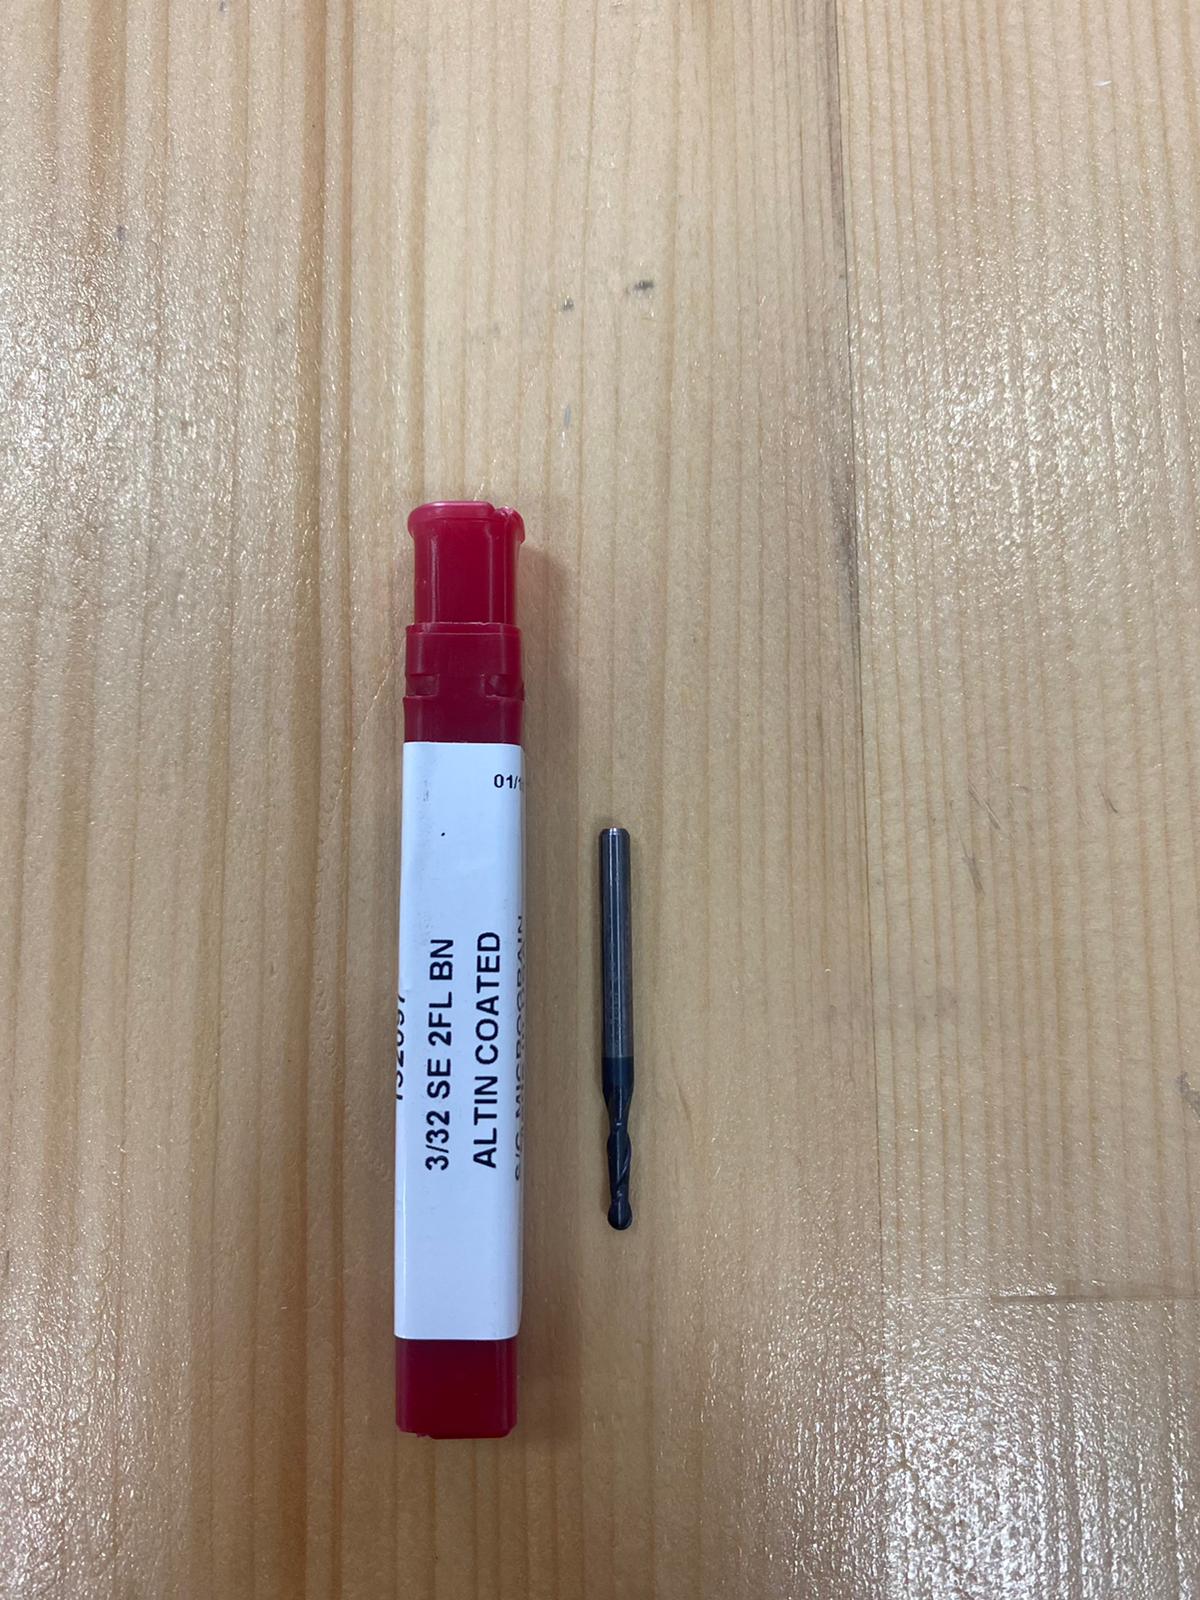
 - The tool path will then be created by the software. and then choose the 3/32 ball for size of drill.

- In this step, we can see the result and cutting time also.
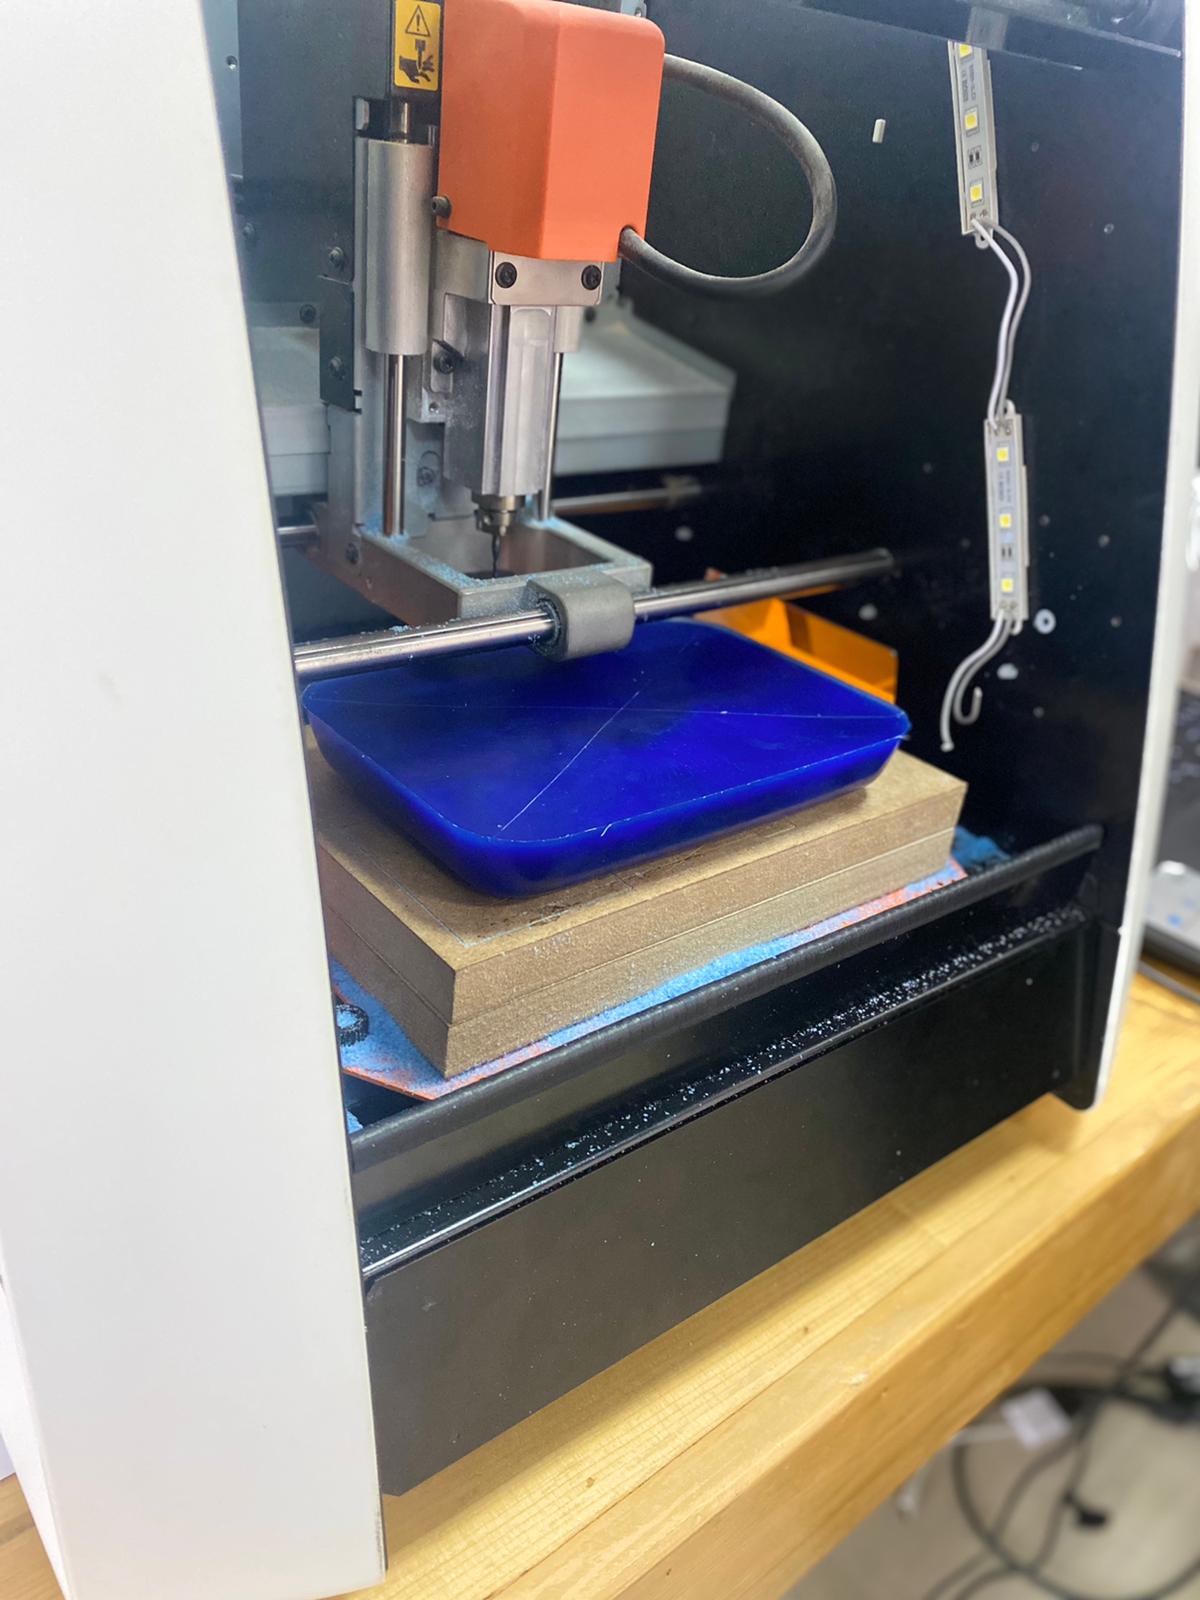
- The material we want to cut (wax plastic) must now be placed in the center. then fix the machine to its starting point. before that, we should mark the material with an x to determine its midpoint.
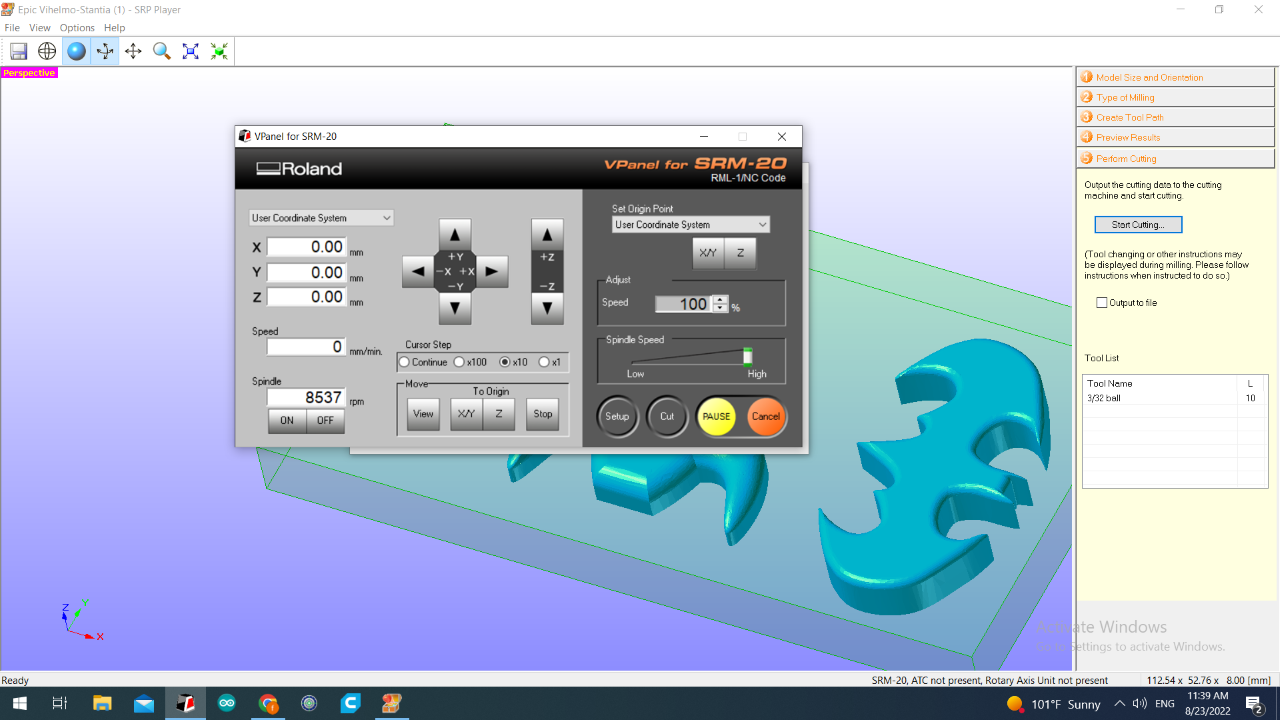
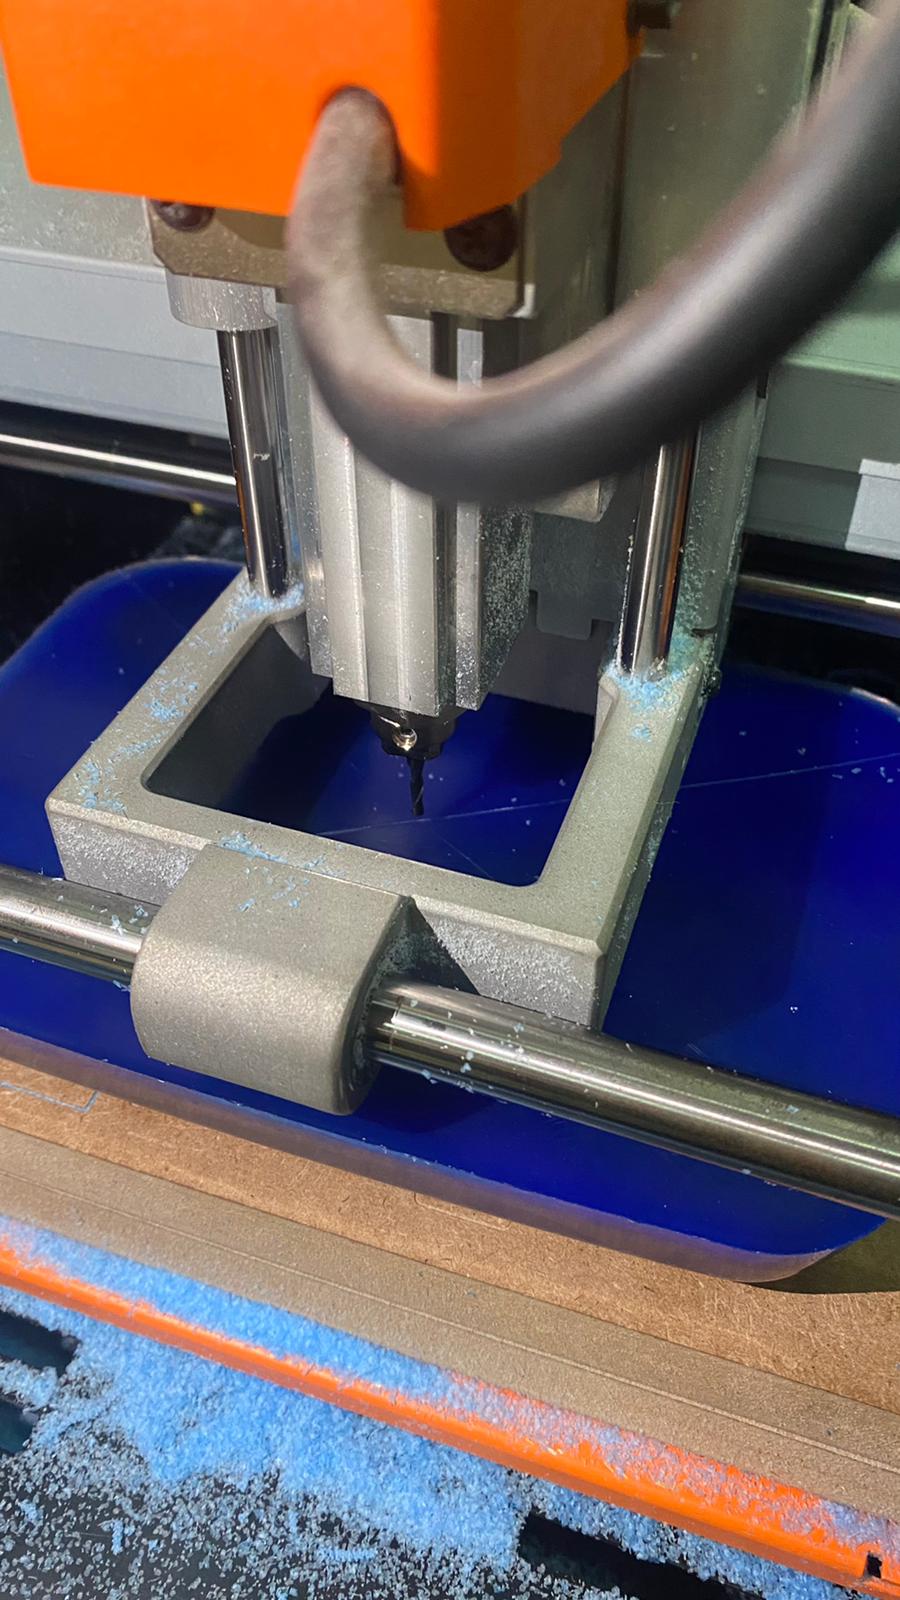
- Finally, Start cutting and waiting two hour to finish.
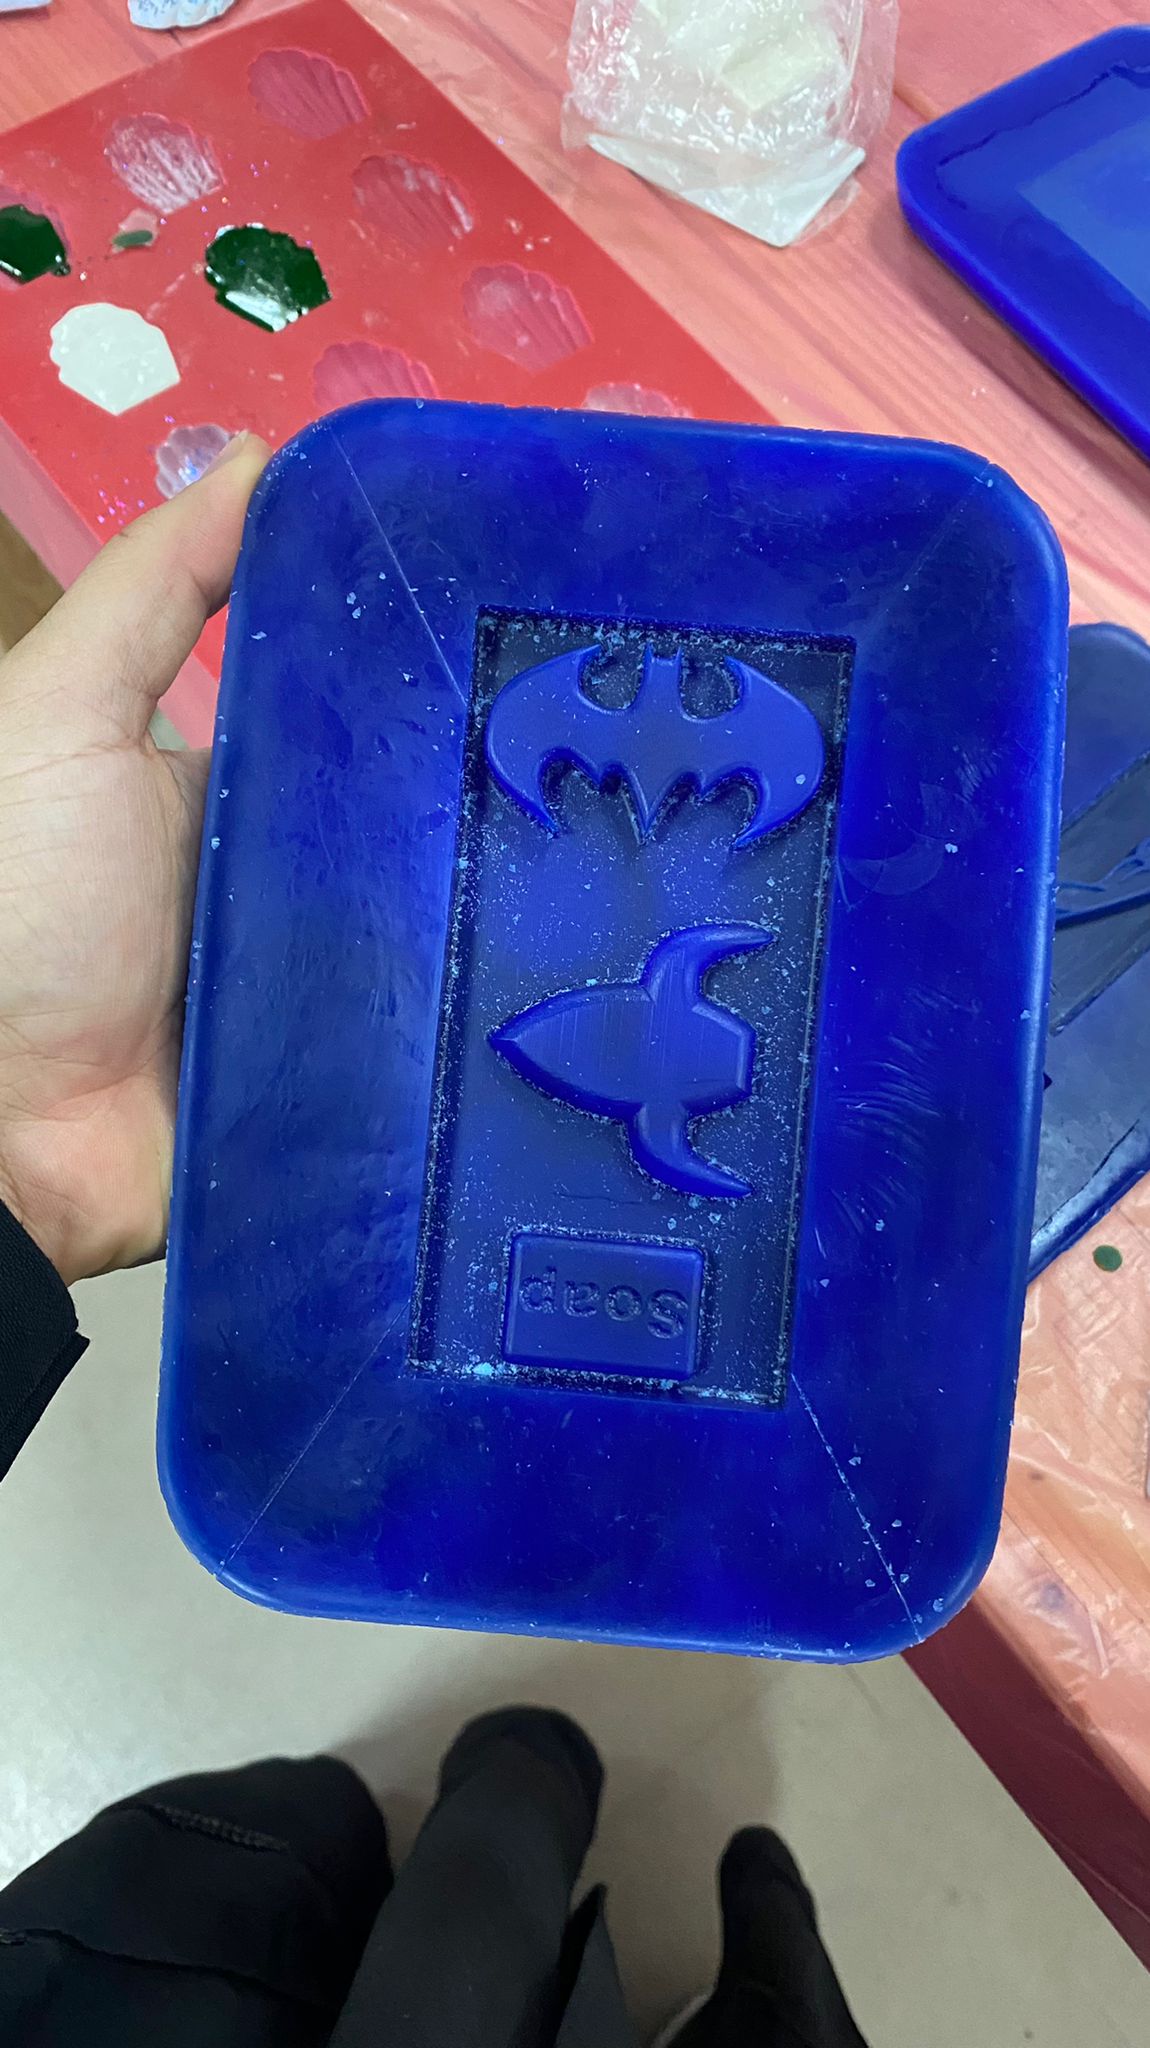
- There is the result. We have to clean it so we can fill it with silicon to make a cast.
Molding process
- There are safety and rules for using silicon:
Safety:
- Keep the container closed when not in use.
- Store it in a cool place.
- Keep it away from heat and flame.
- keep it out of reach of children.
Process steps:
- Mix both parts evenly according to the proportion.
- Pour the mix in vacuum, it can be poured into a mold to be heated and vulcanized.
- Let it operate from 30-40 minutes ,and cure from 3-12 hours ( the curing time is determined according to the curing temperature )
-
Mix ratio (if applicable): A:B = 1:1
-
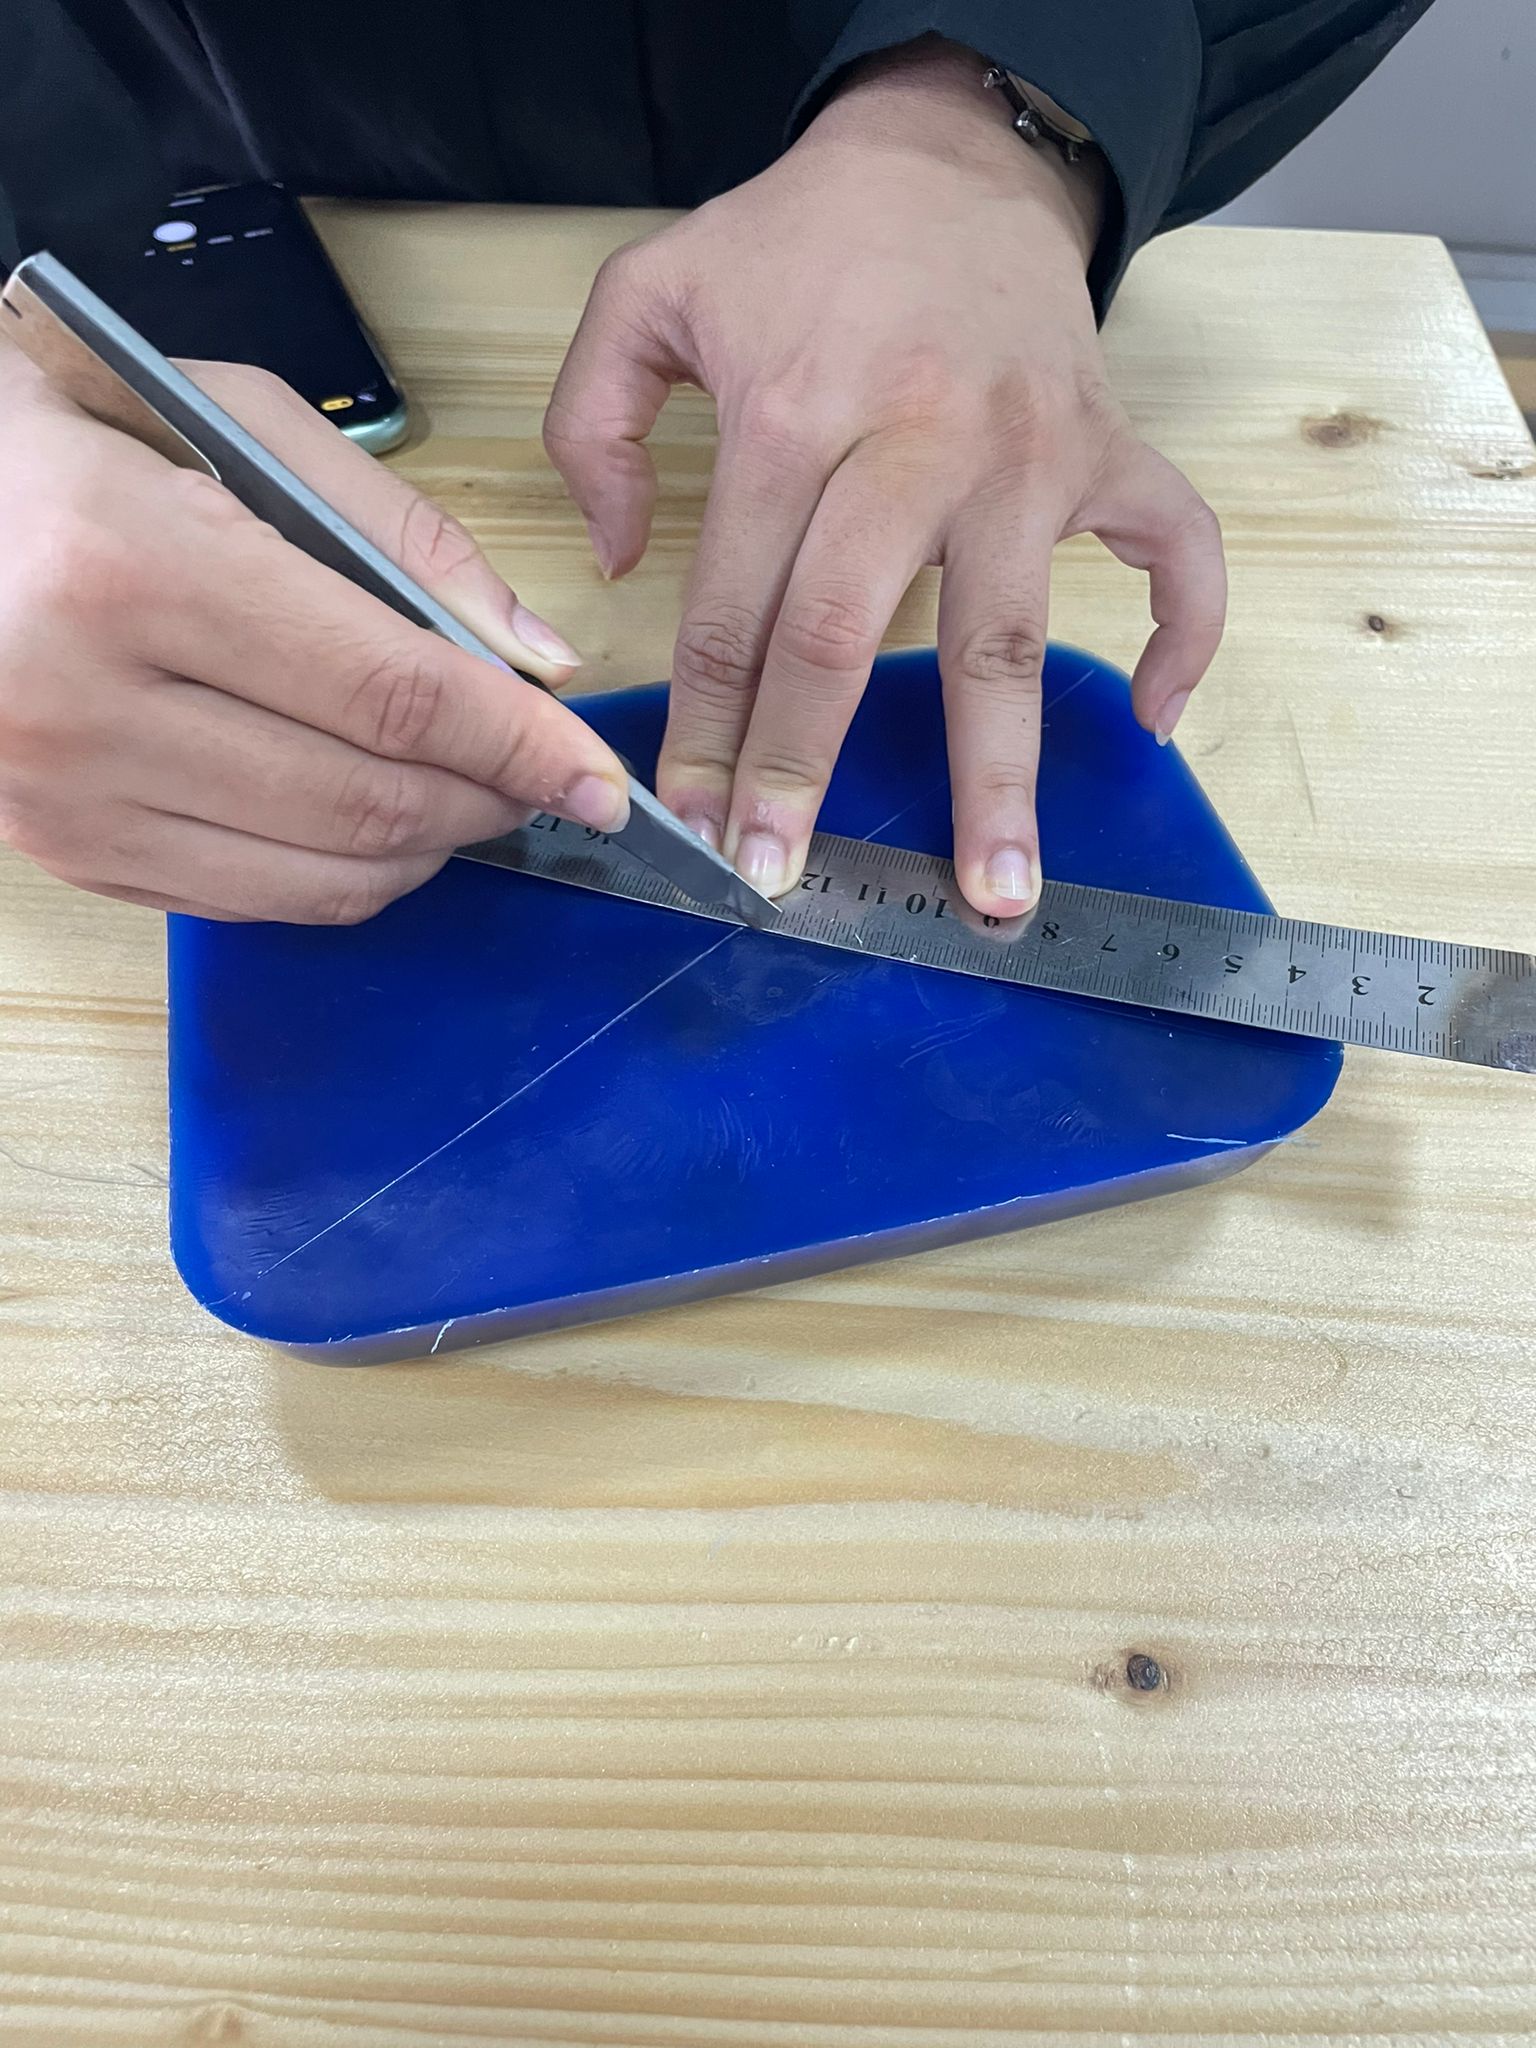
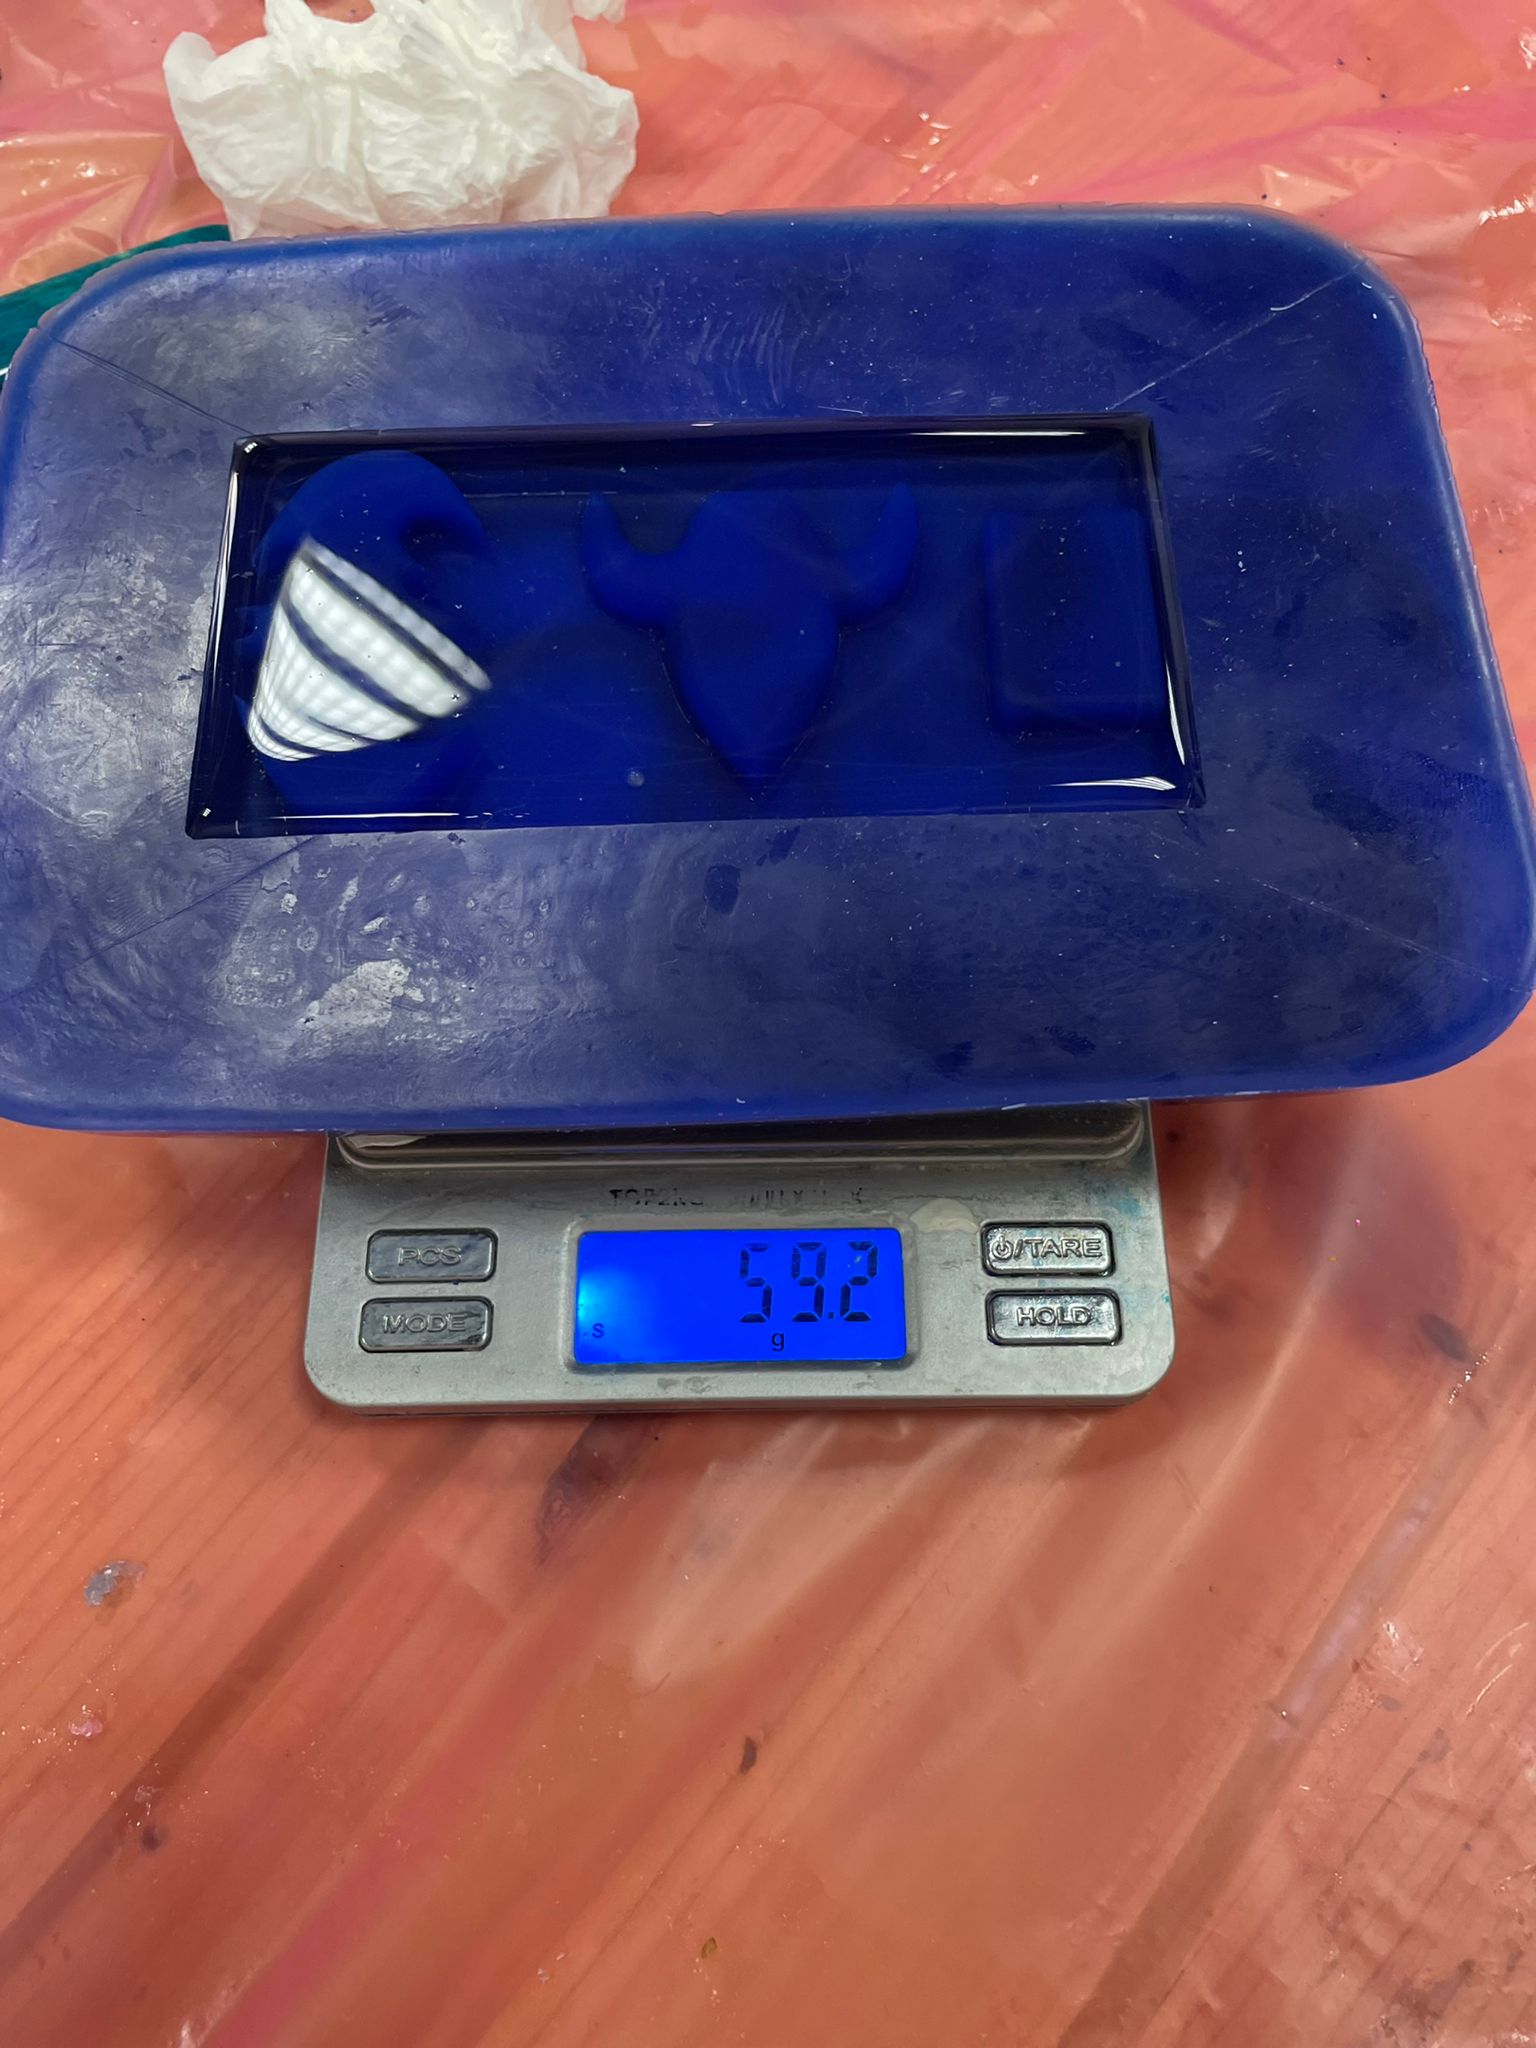
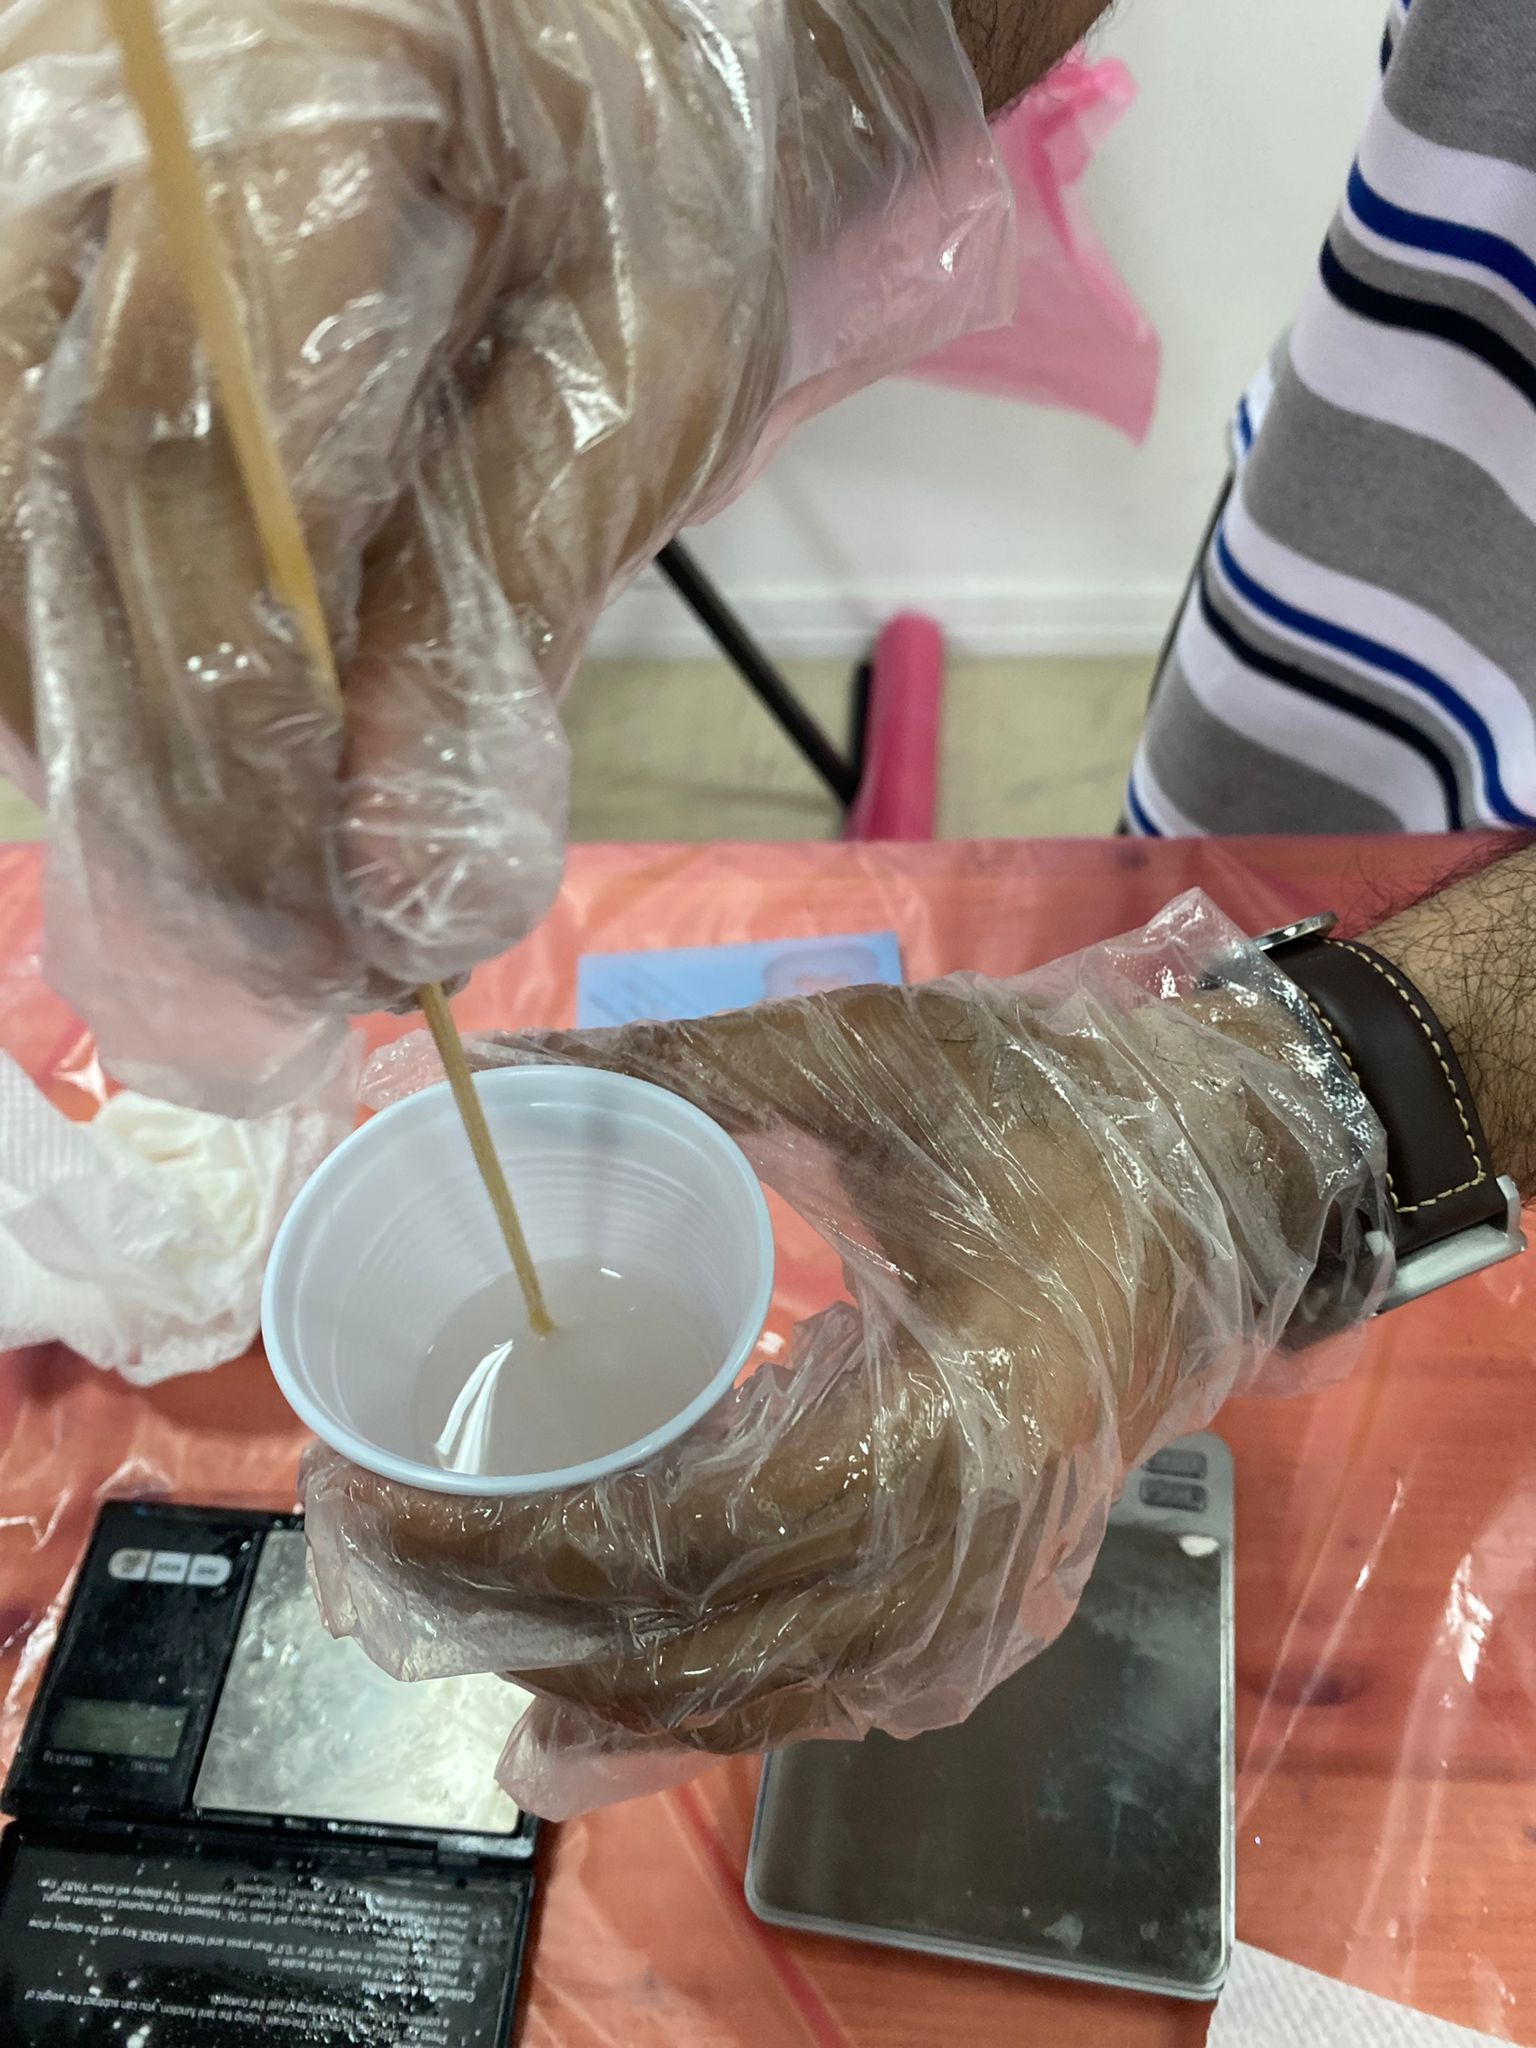
To know the amount of the silicon in grams, we should fill the mold with water to find the weighet which was 59.2g.
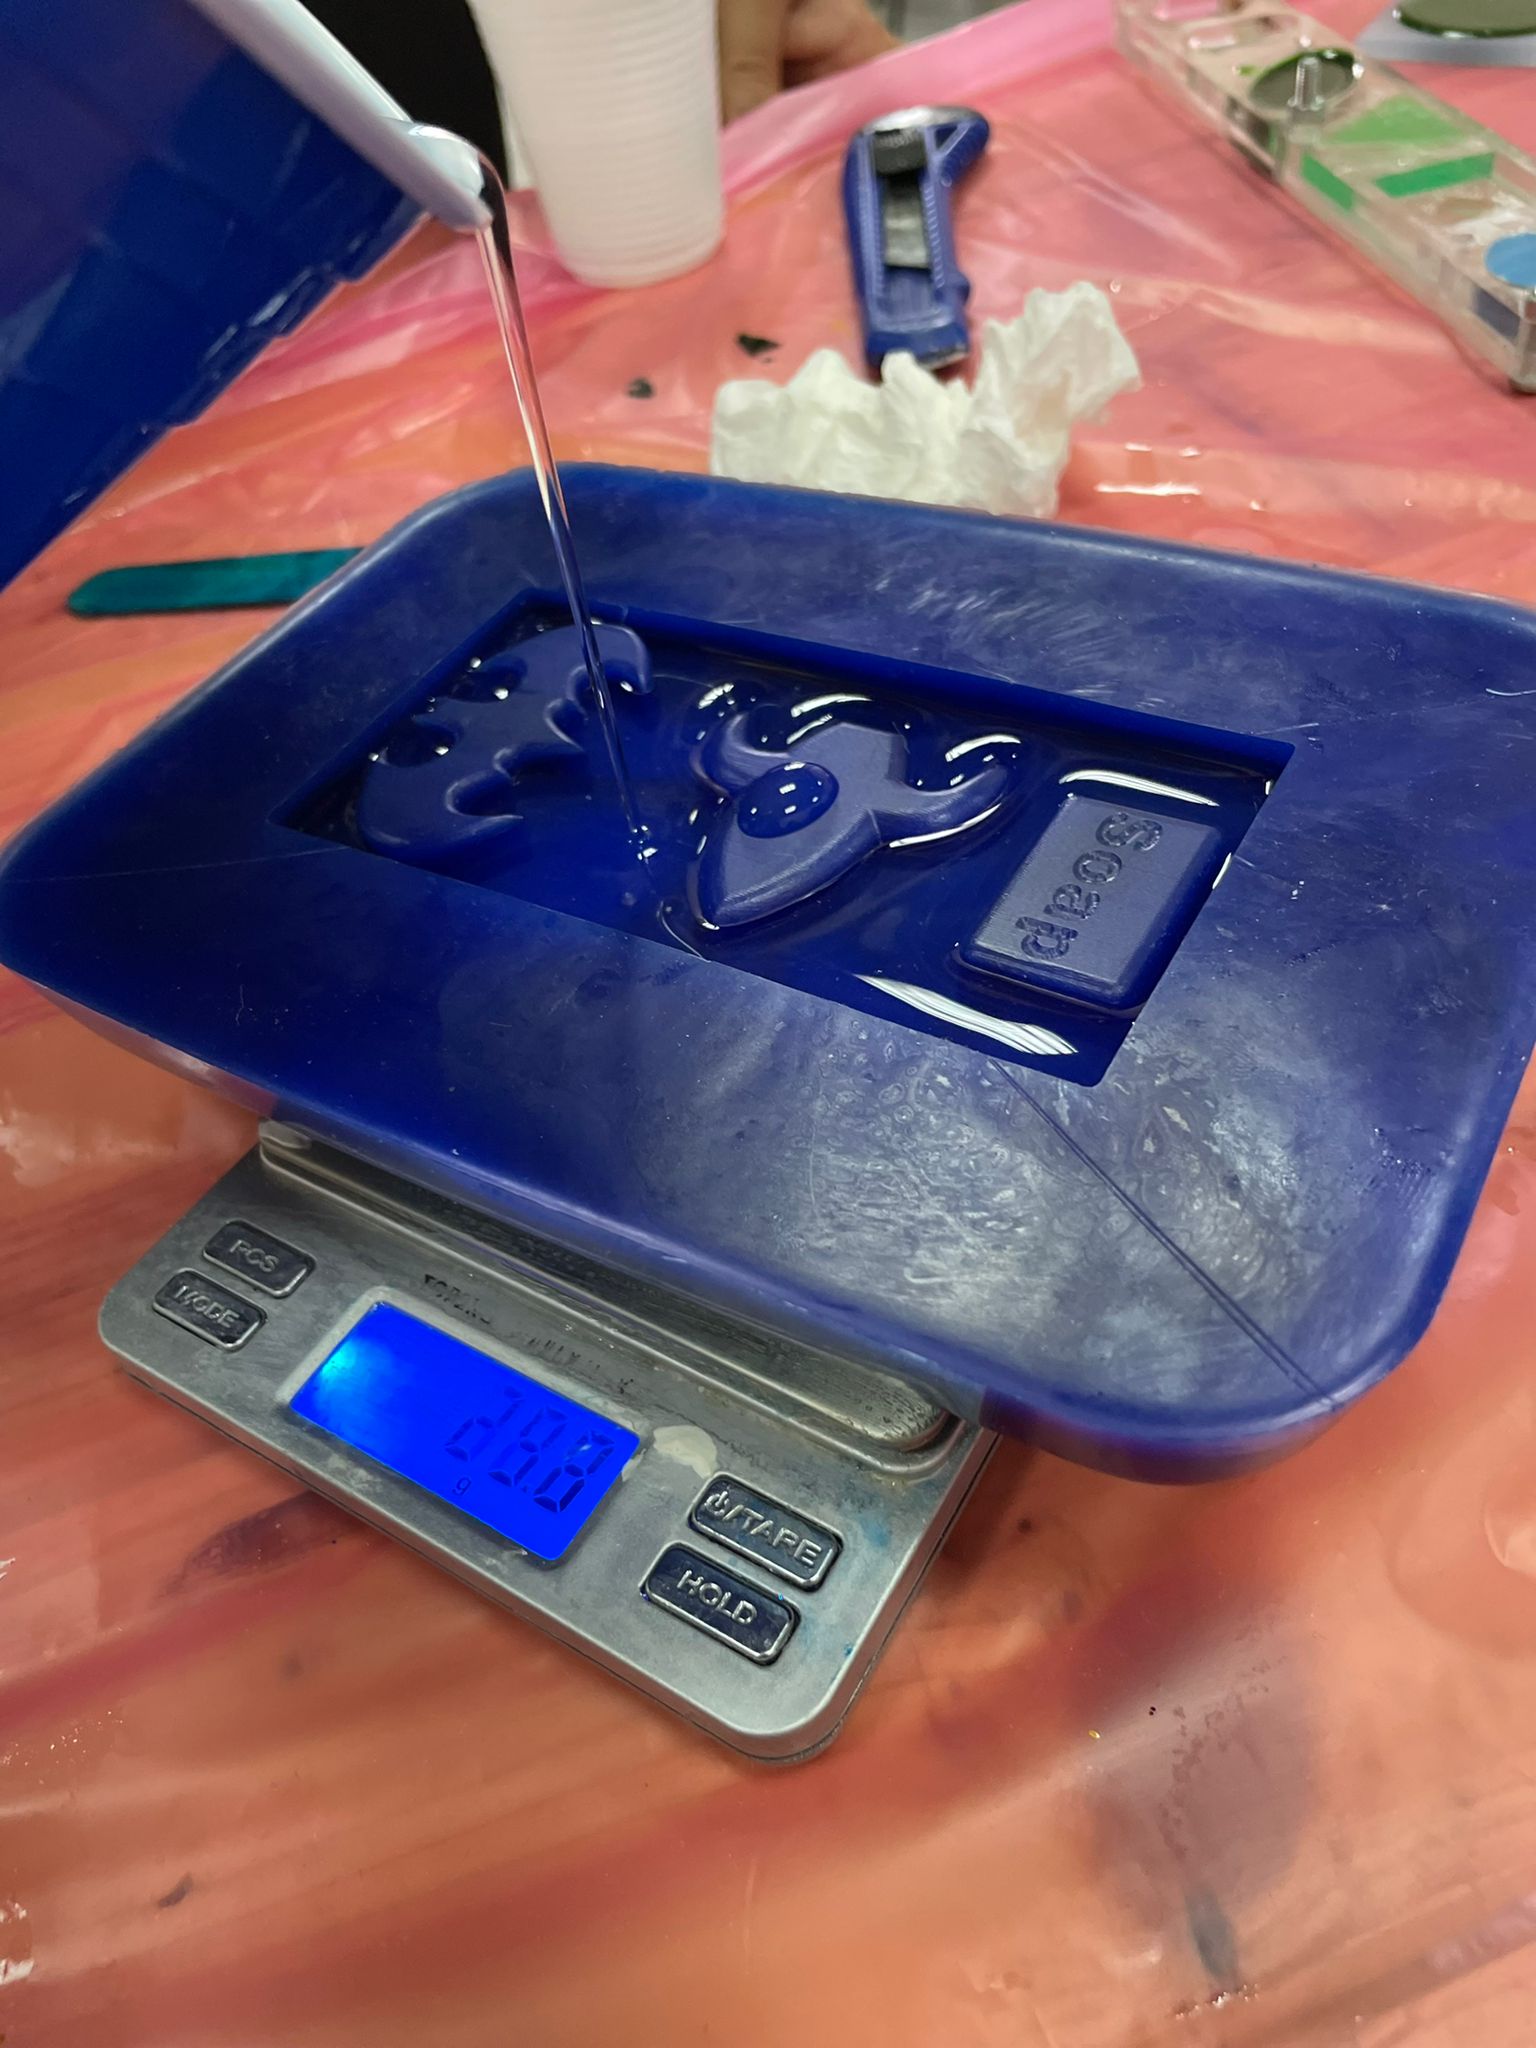
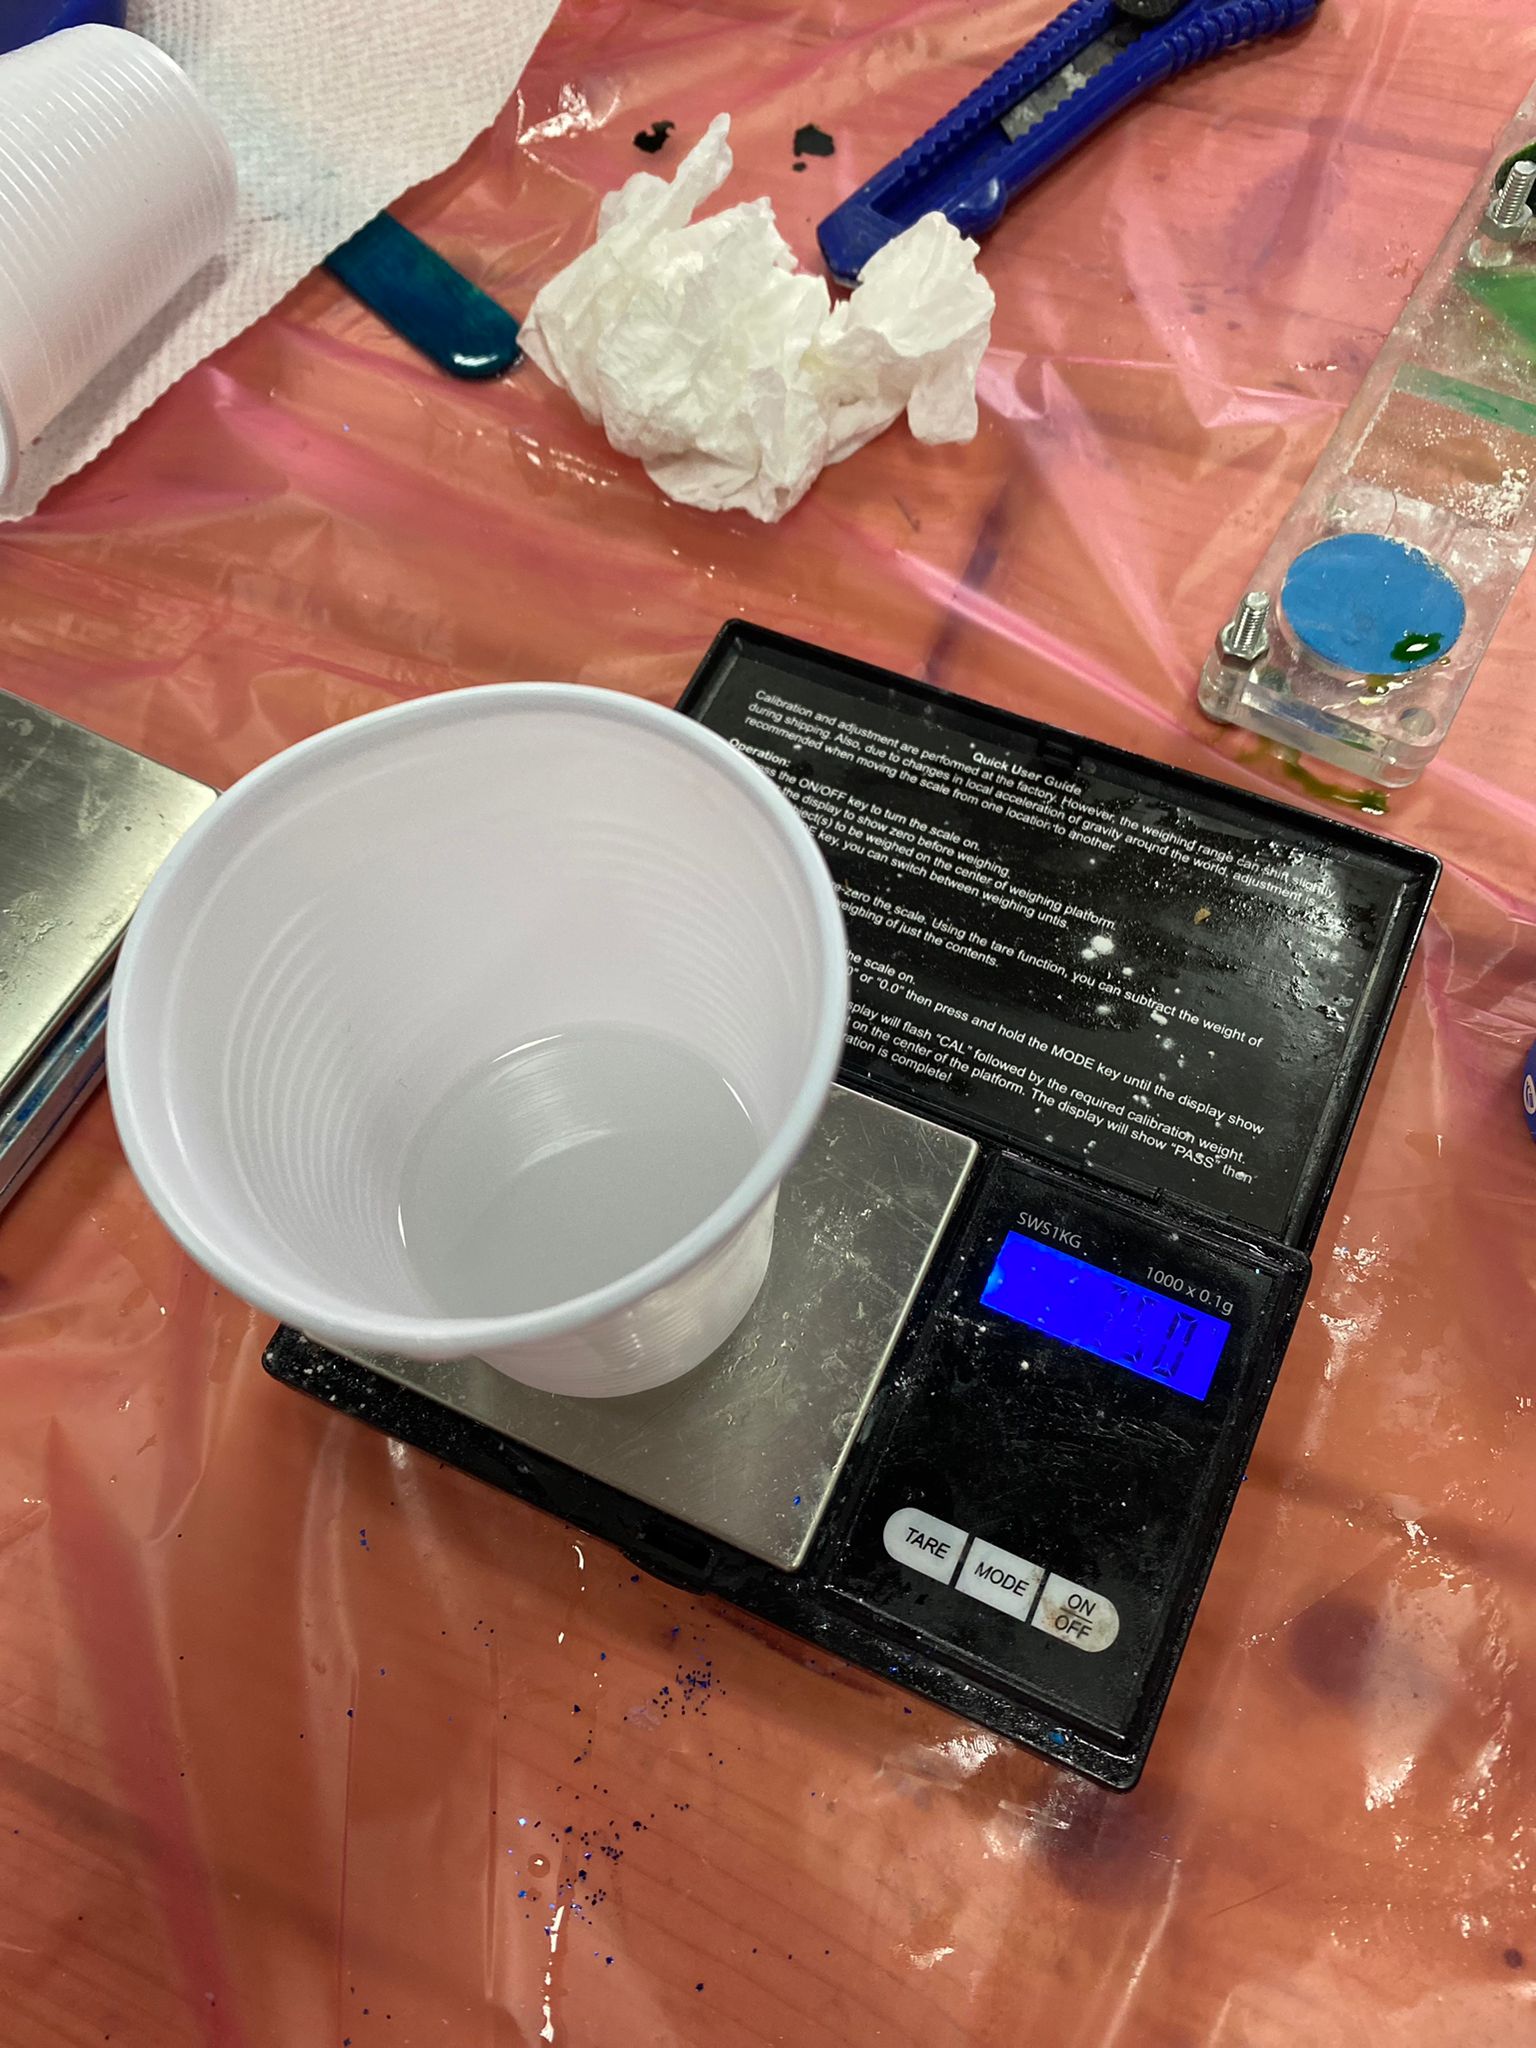
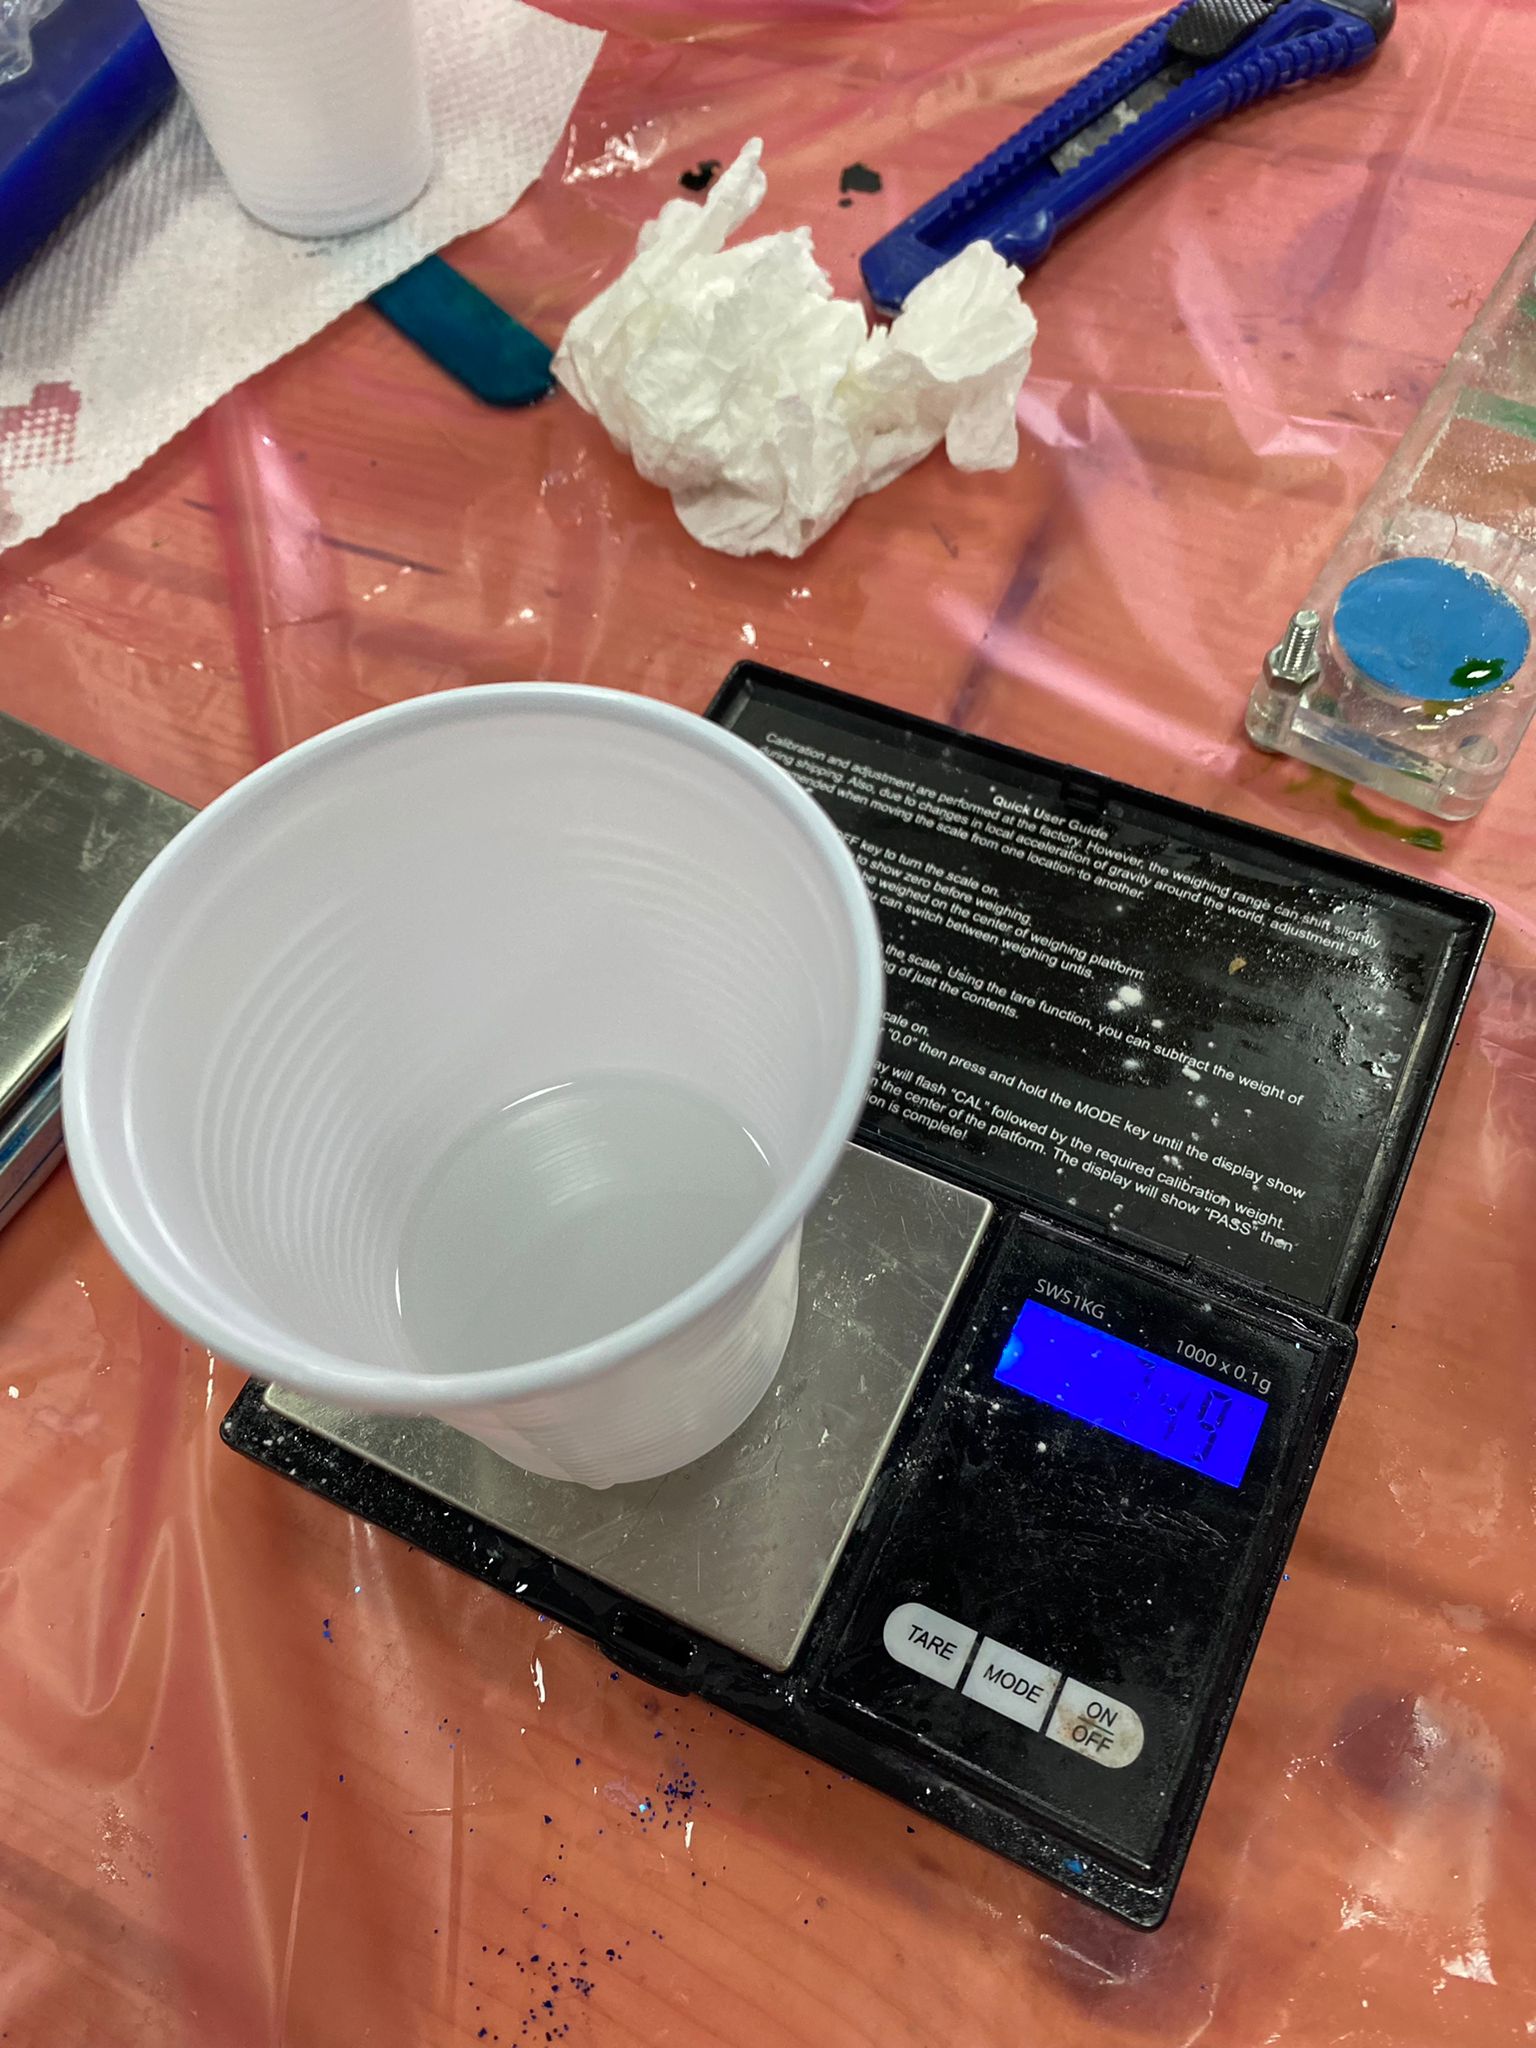
- Now, Start to measure the silicon. We measure the two types of silicon A and B with mixing ratio 1:1. we mesure 70g due to some errors and losses. ~35g of silicon A and ~35g of silicon B.
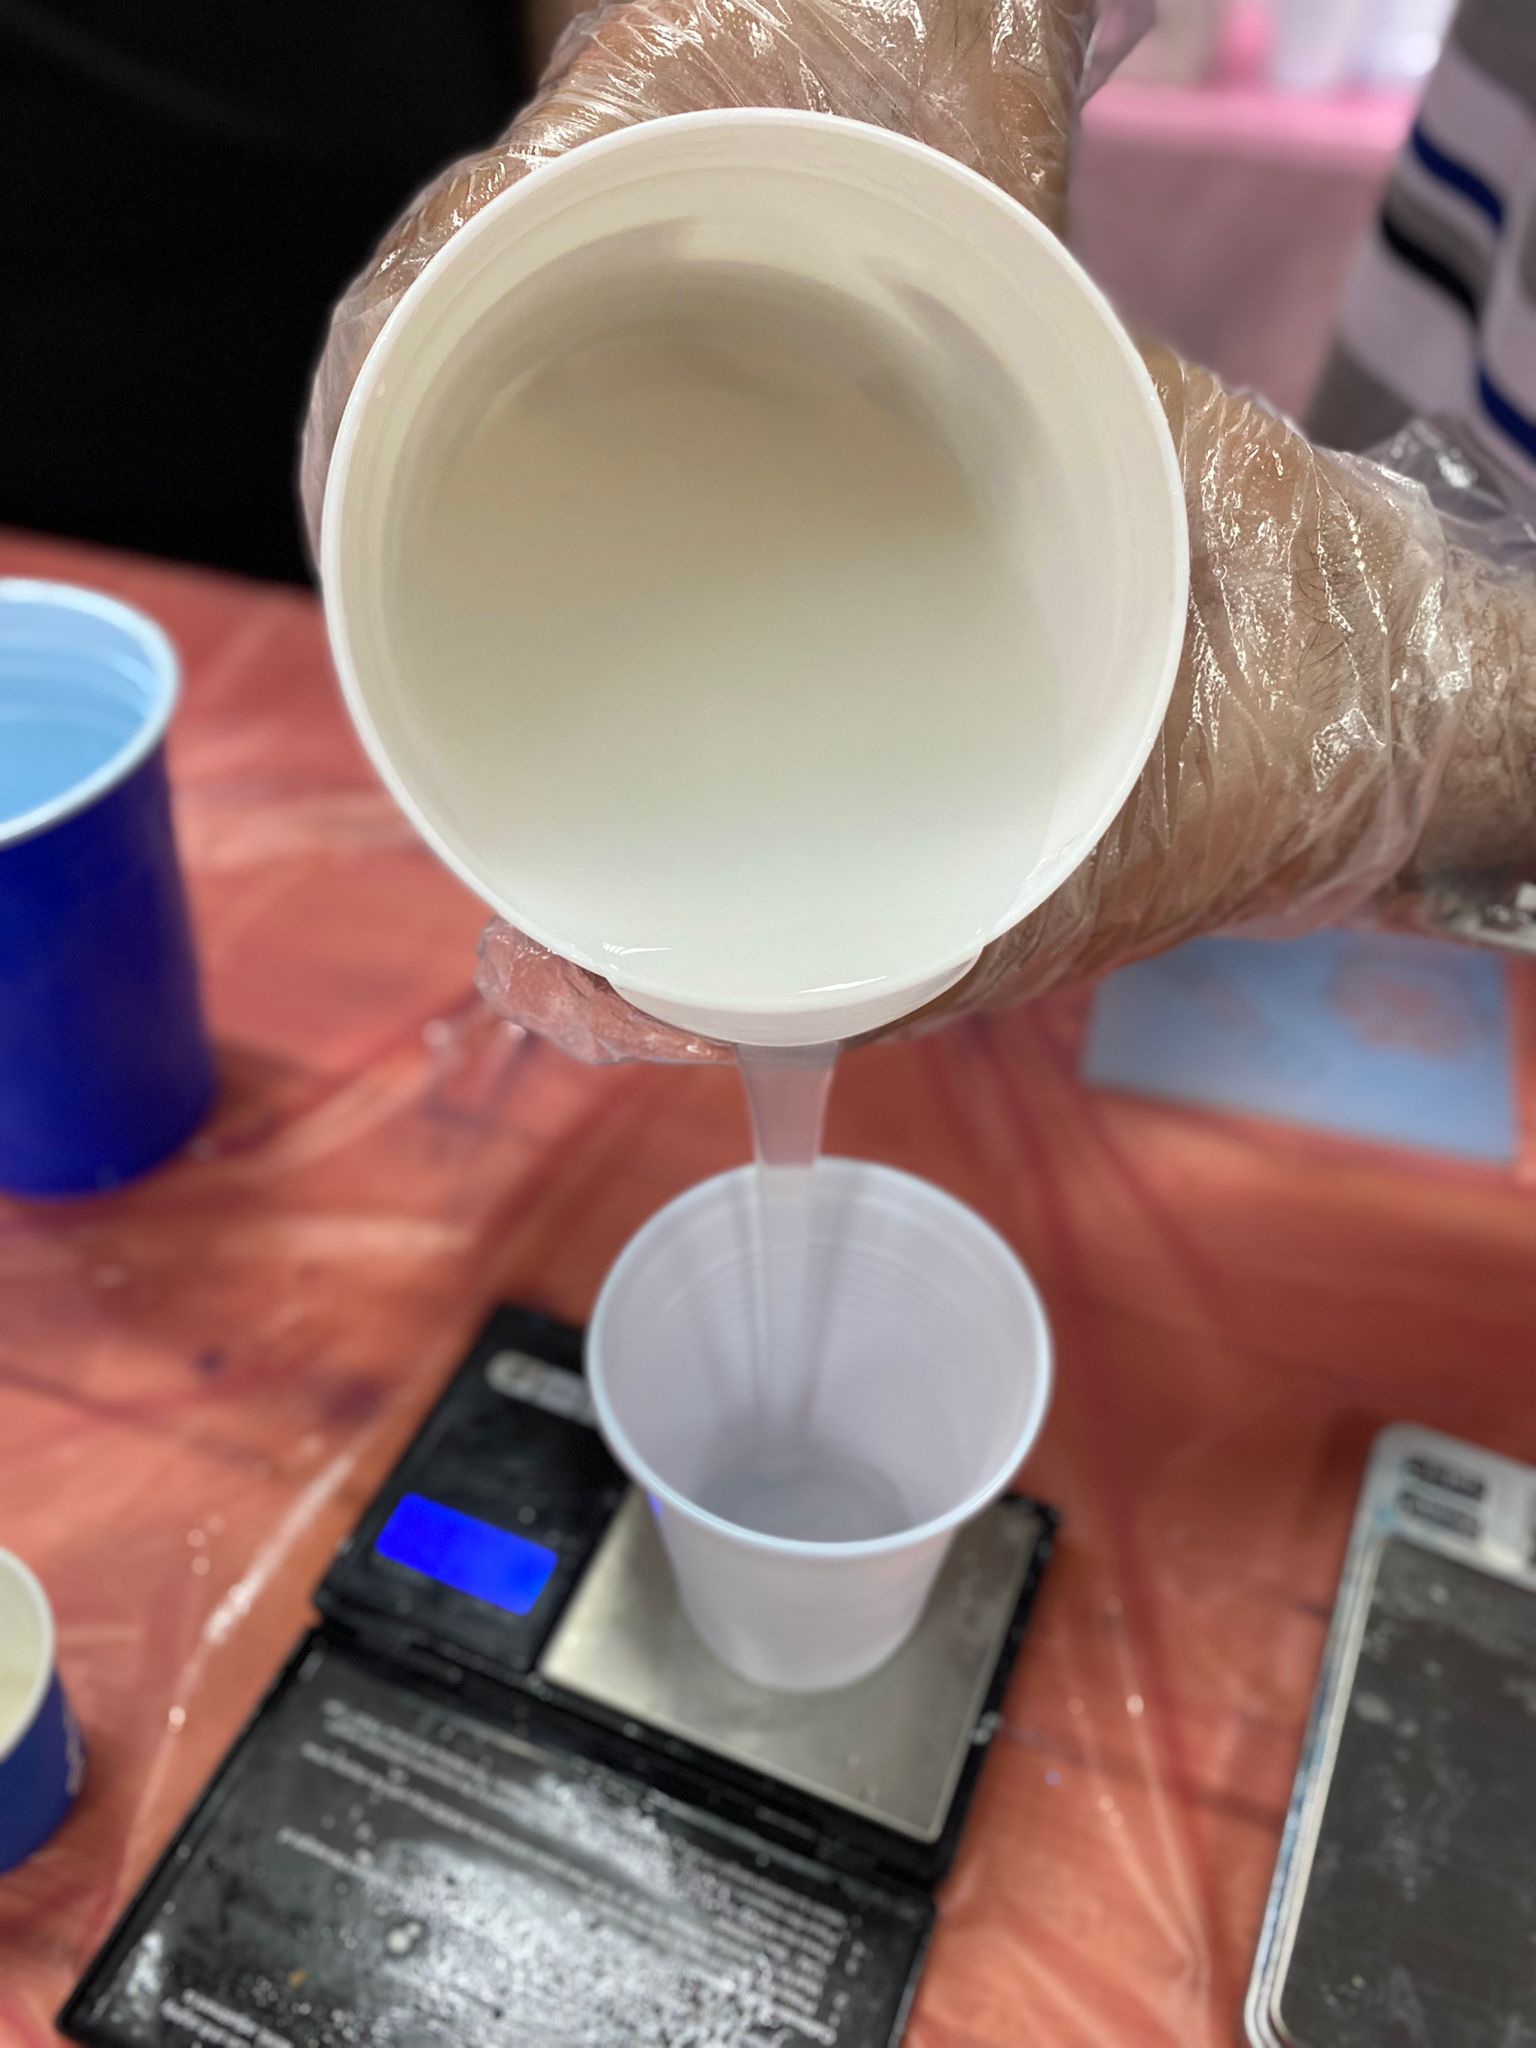
- Mixing very well.
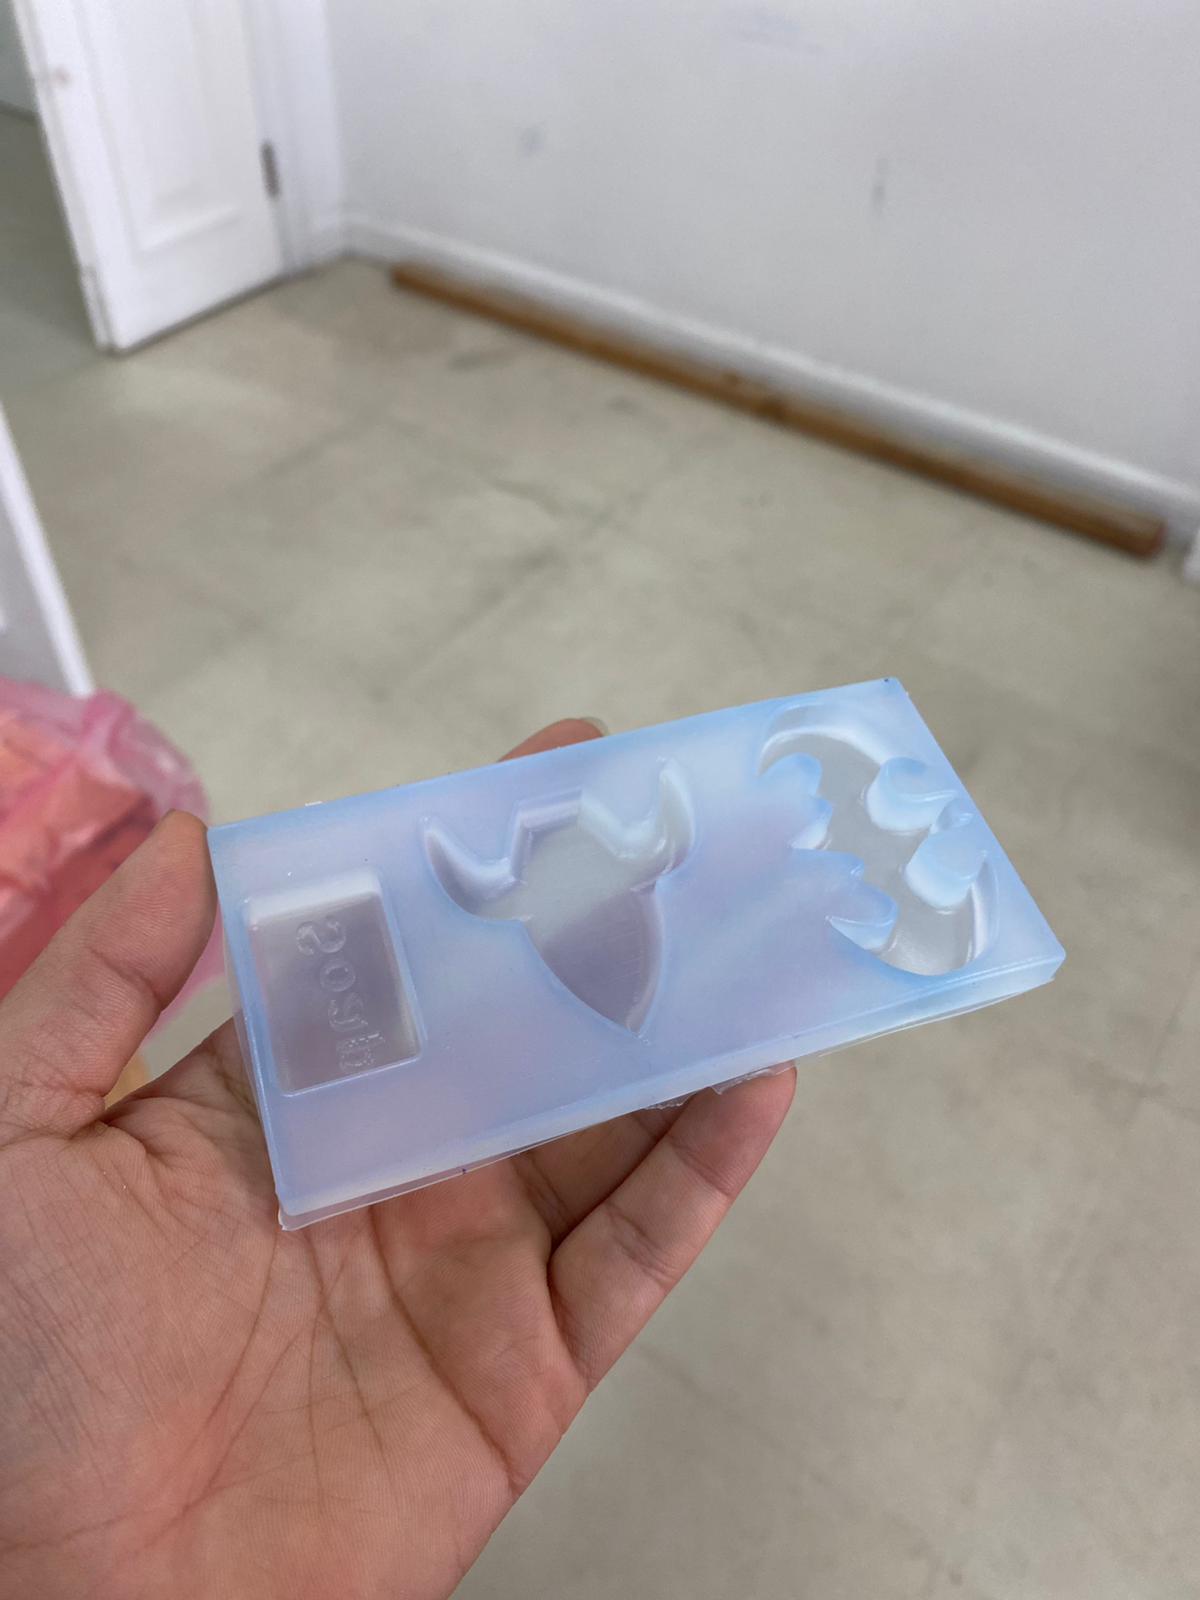
- Finally, the silicone was poured into the mold, and we waited 24 hours to see the outcome.
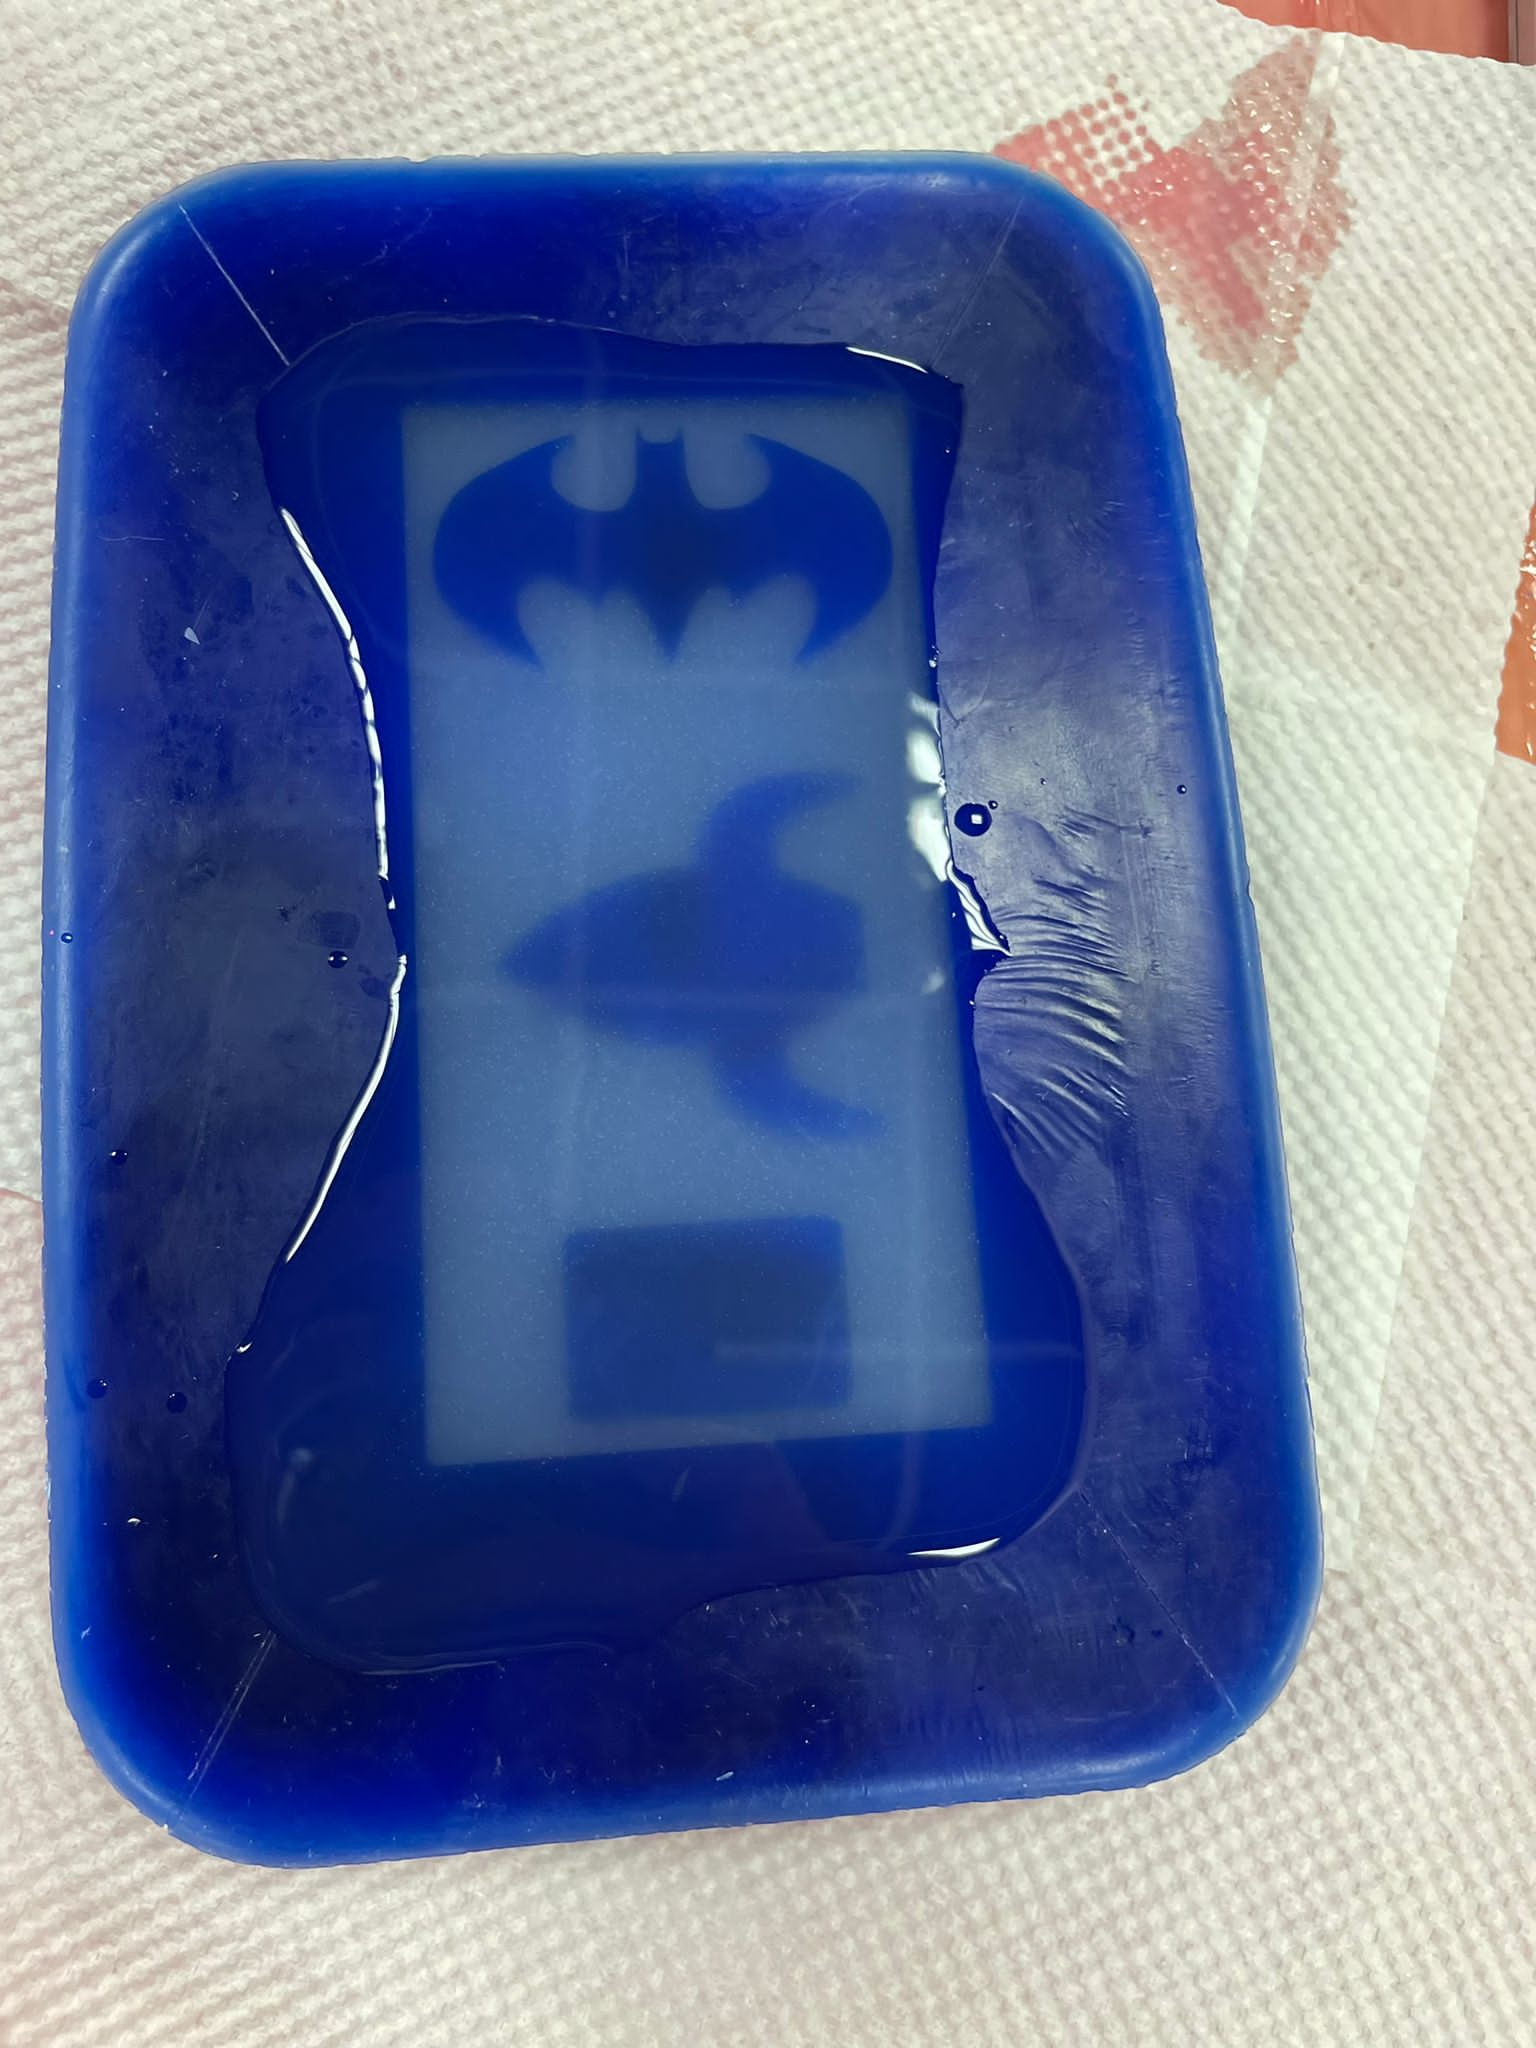
- Next day, Selicon result.
Casting process
-I will fill the mold with resin.
Safety:
- Keep away from children.
- Should be stored in a dry place and preferably in the original container (temperature between 20C-25C)
- Do not swallow, call a doctor immediately if you swallowed the product.
- Wear gloves when you use the product and wear masks for pregnants (it may cause an allergic skin reaction).
- In case the product comes in contact with eyes, rinse cautiously with water for several minutes.
Process steps:
- Creating the Preform.
- Preform Layup.
- Closing Mold.
- Injection Phase.
- Curing Phase.
- We mix resin with 10 epoxy resin:6 epoxy hardener
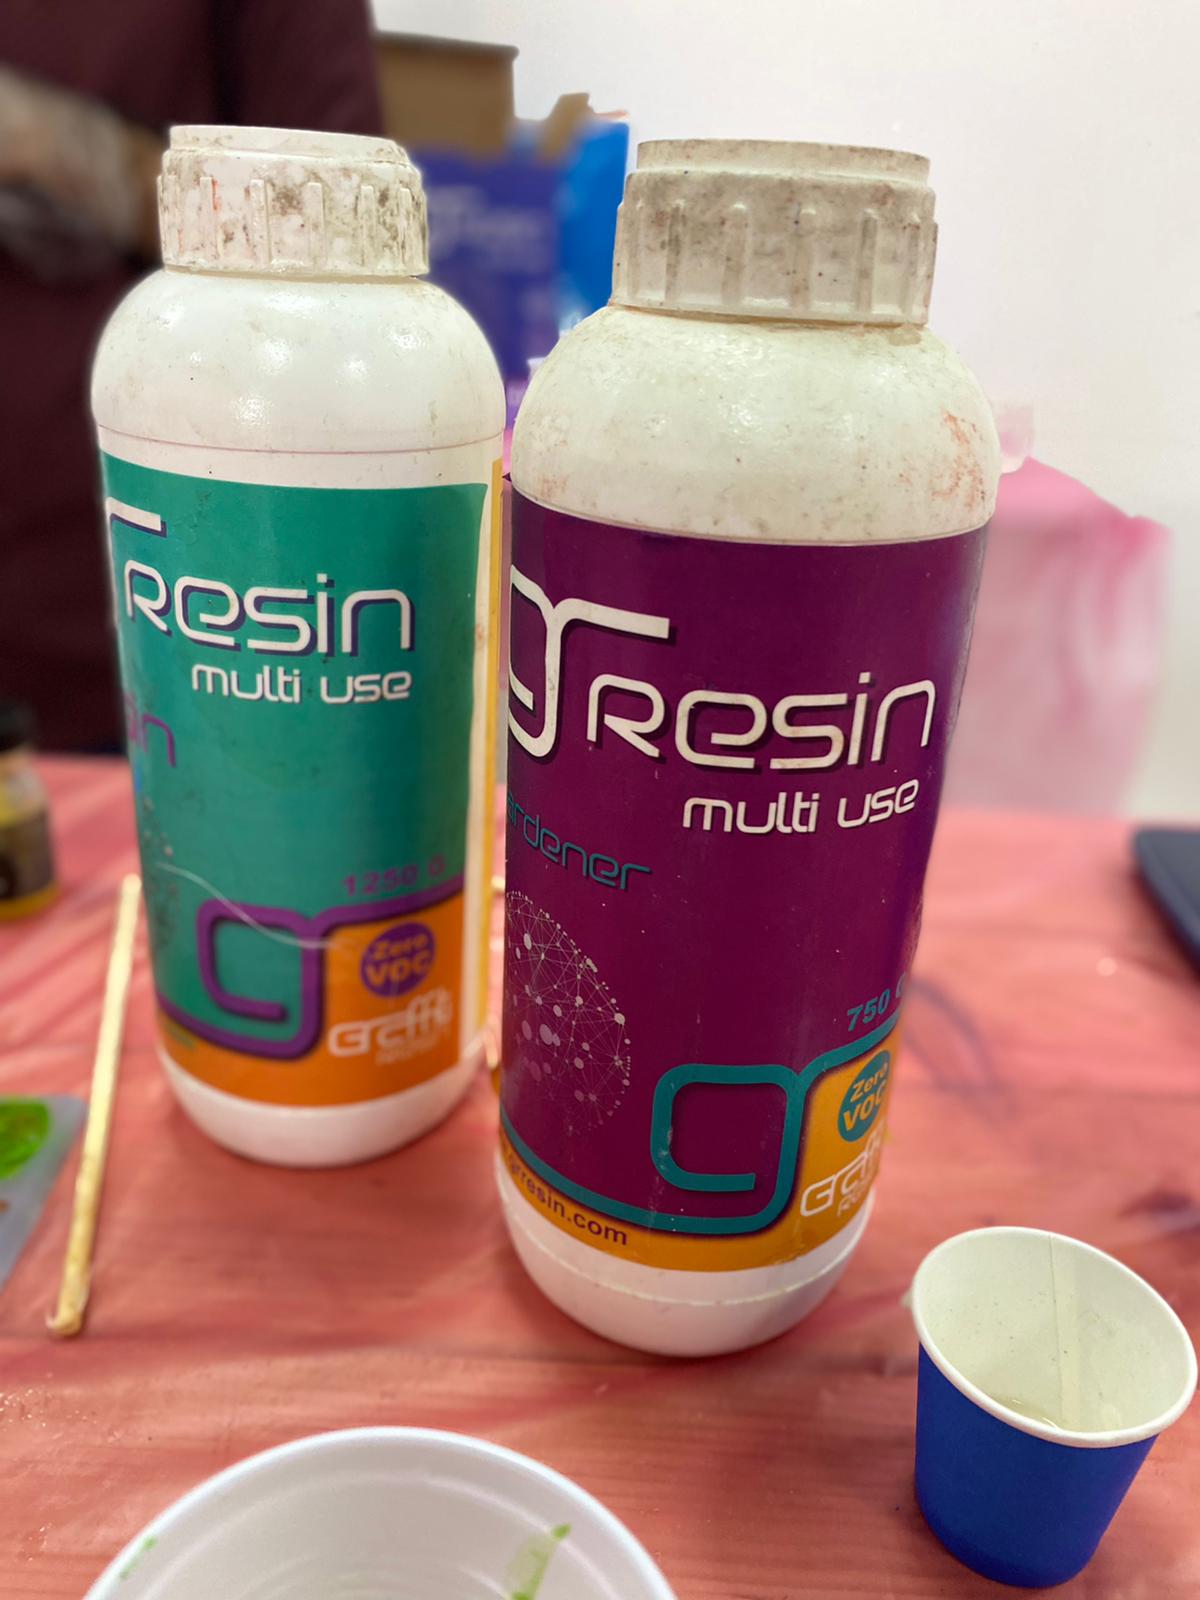
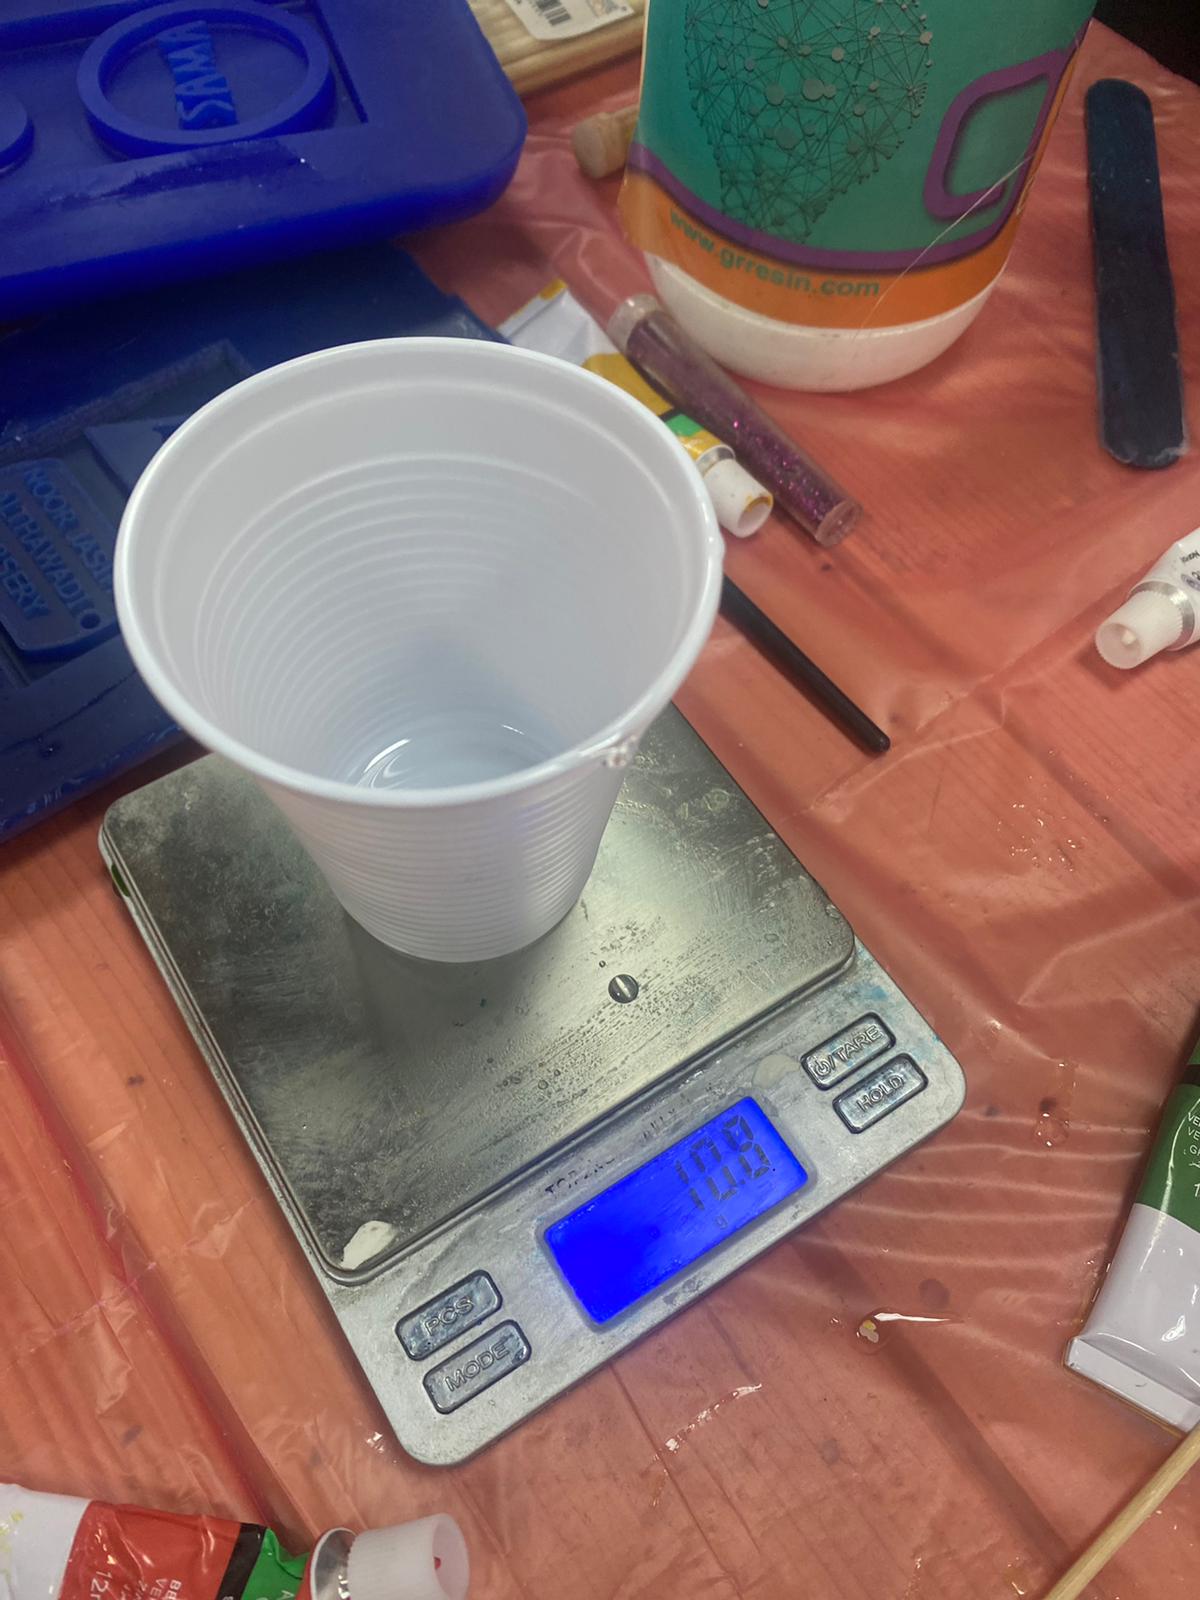
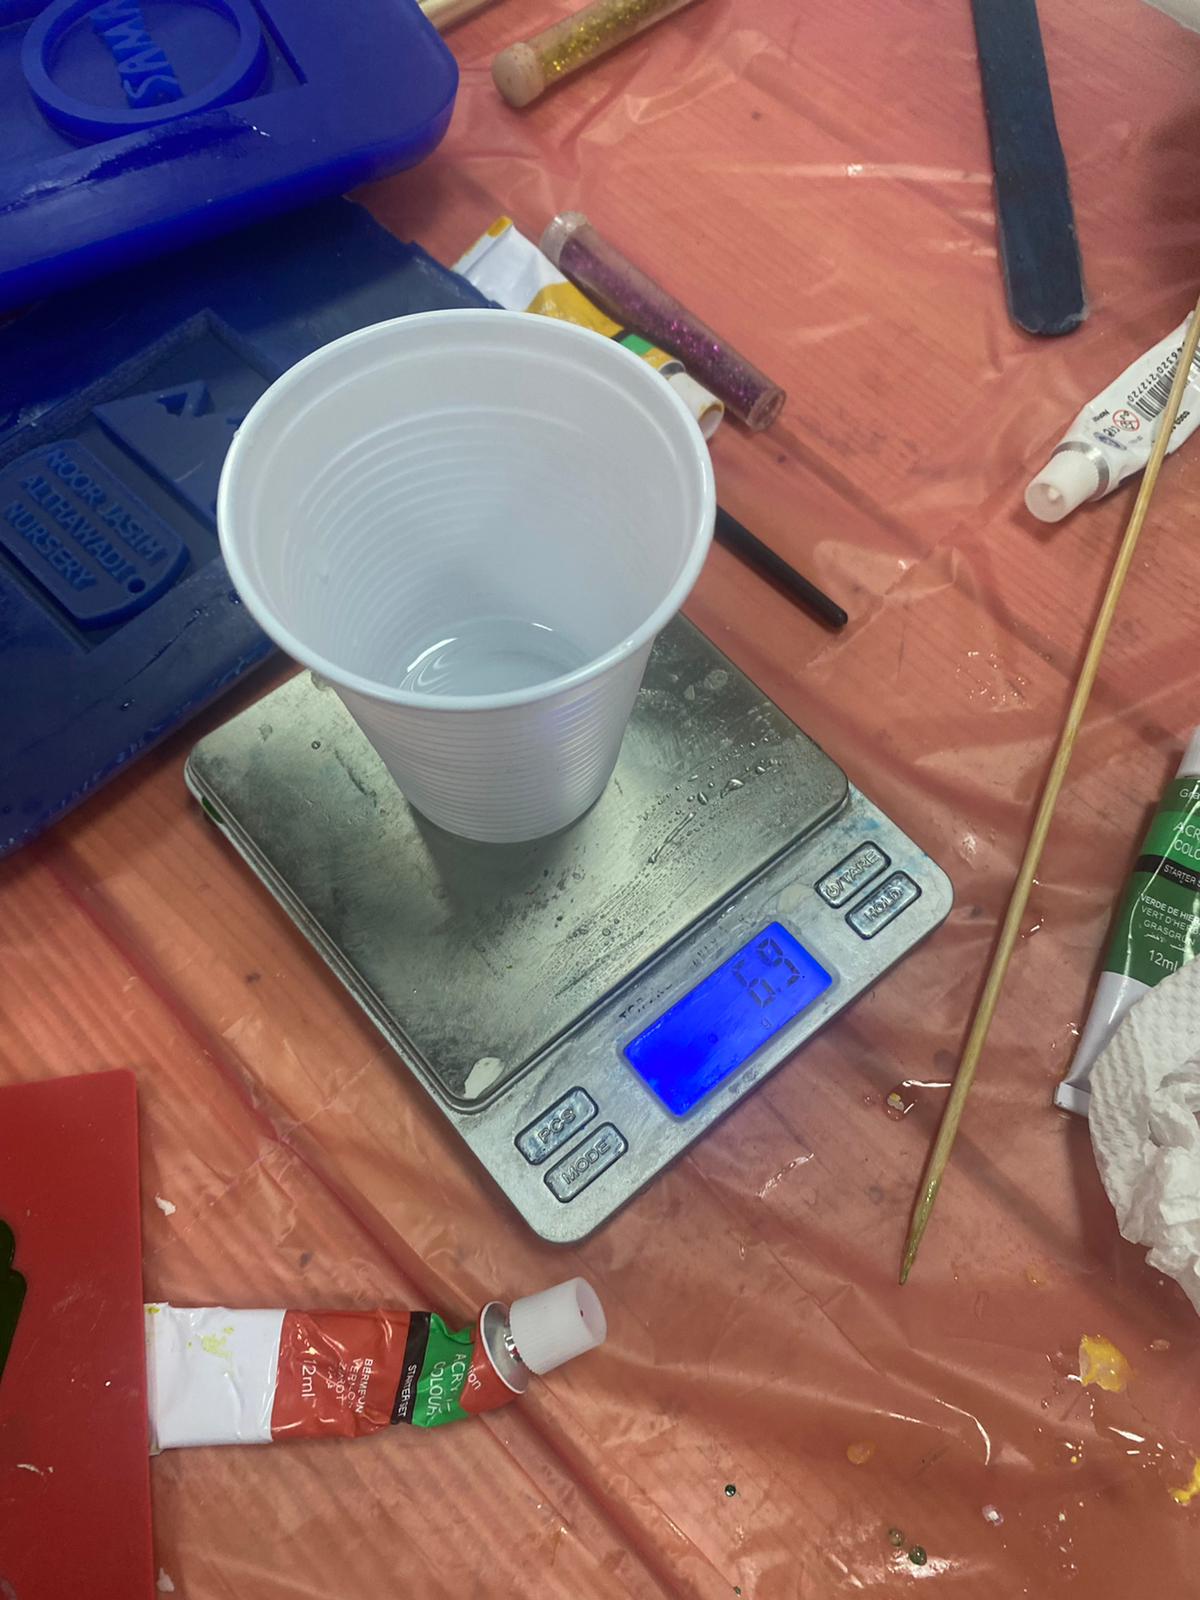
- We used 6.9g of resin B and 10.8g of resin A.
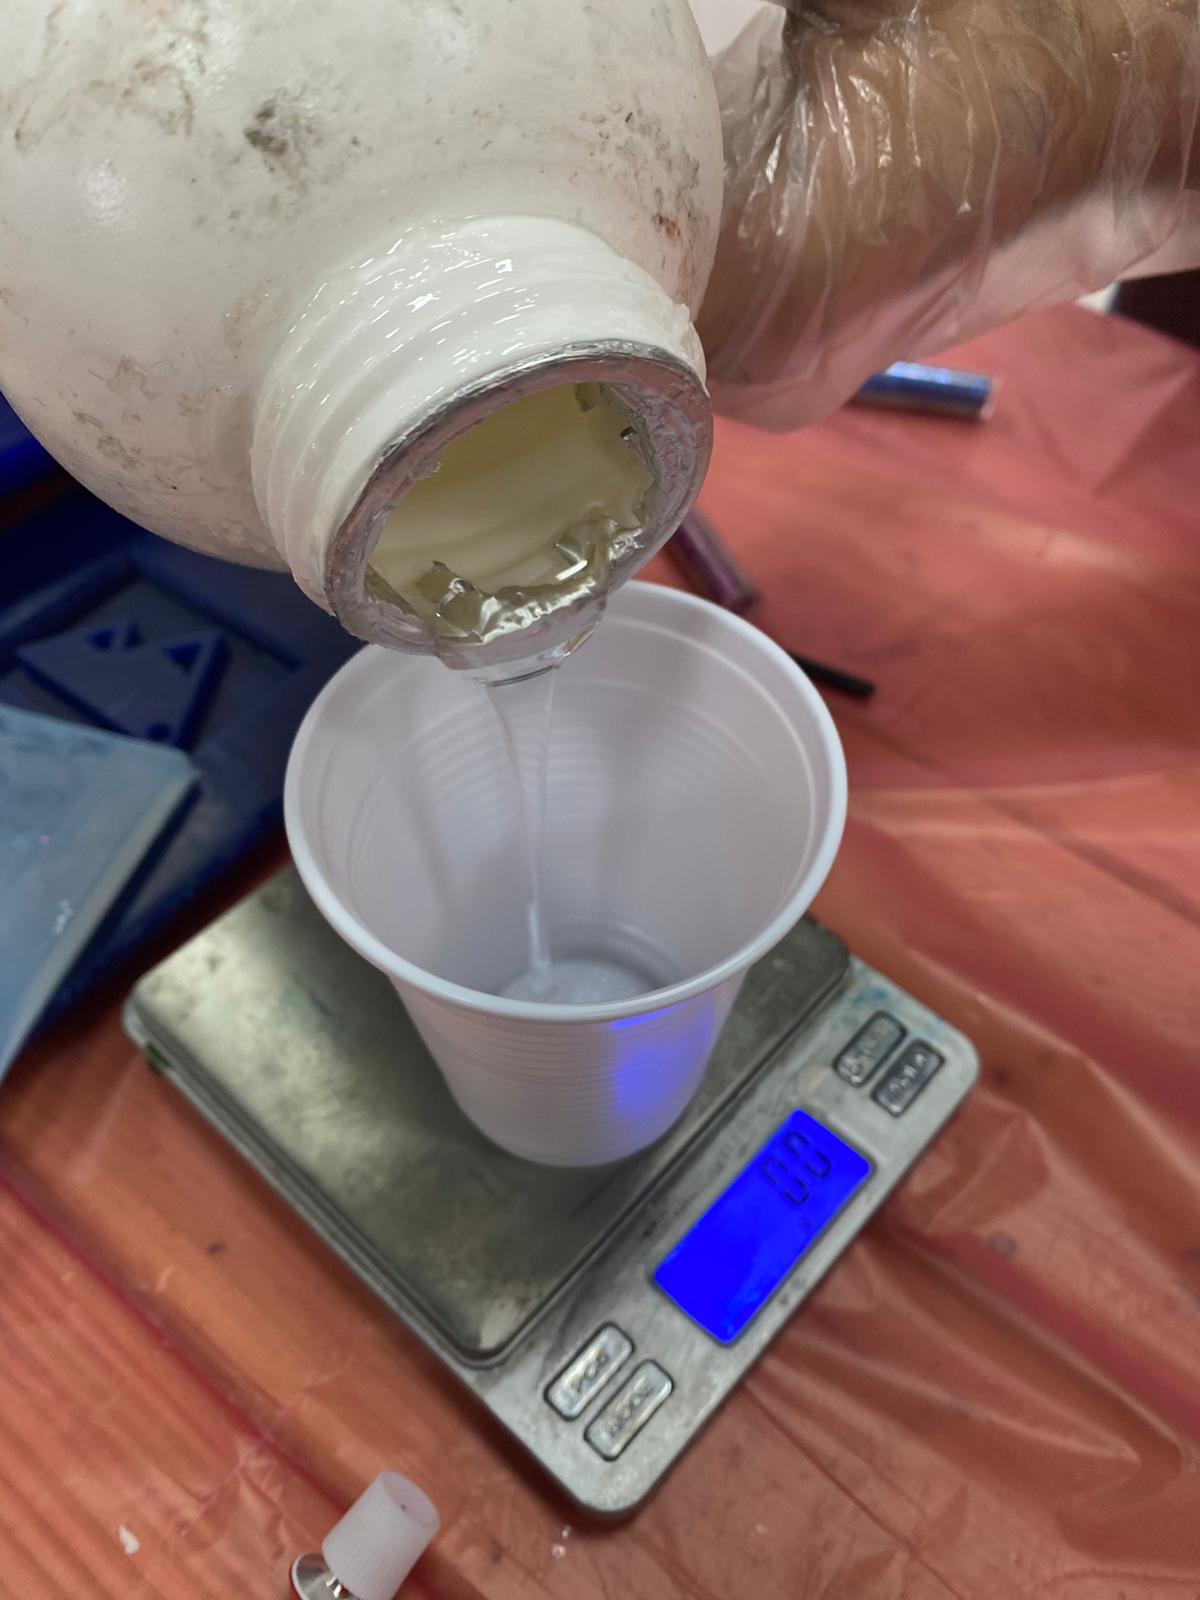
- Then both resin A and resin B are mixed for 3 minutes.
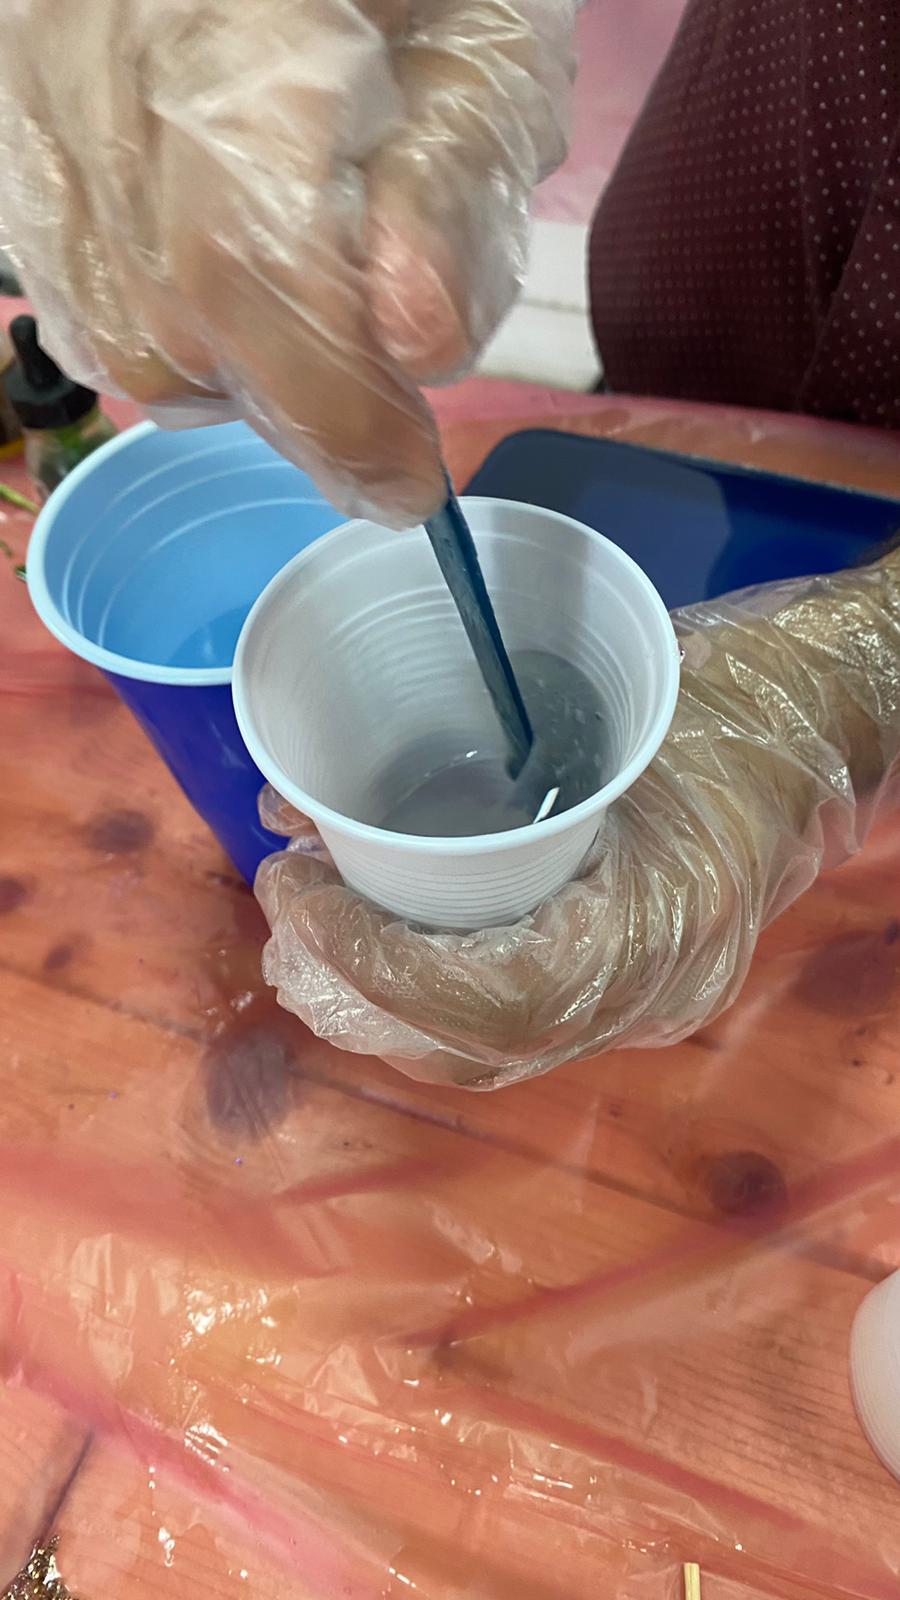
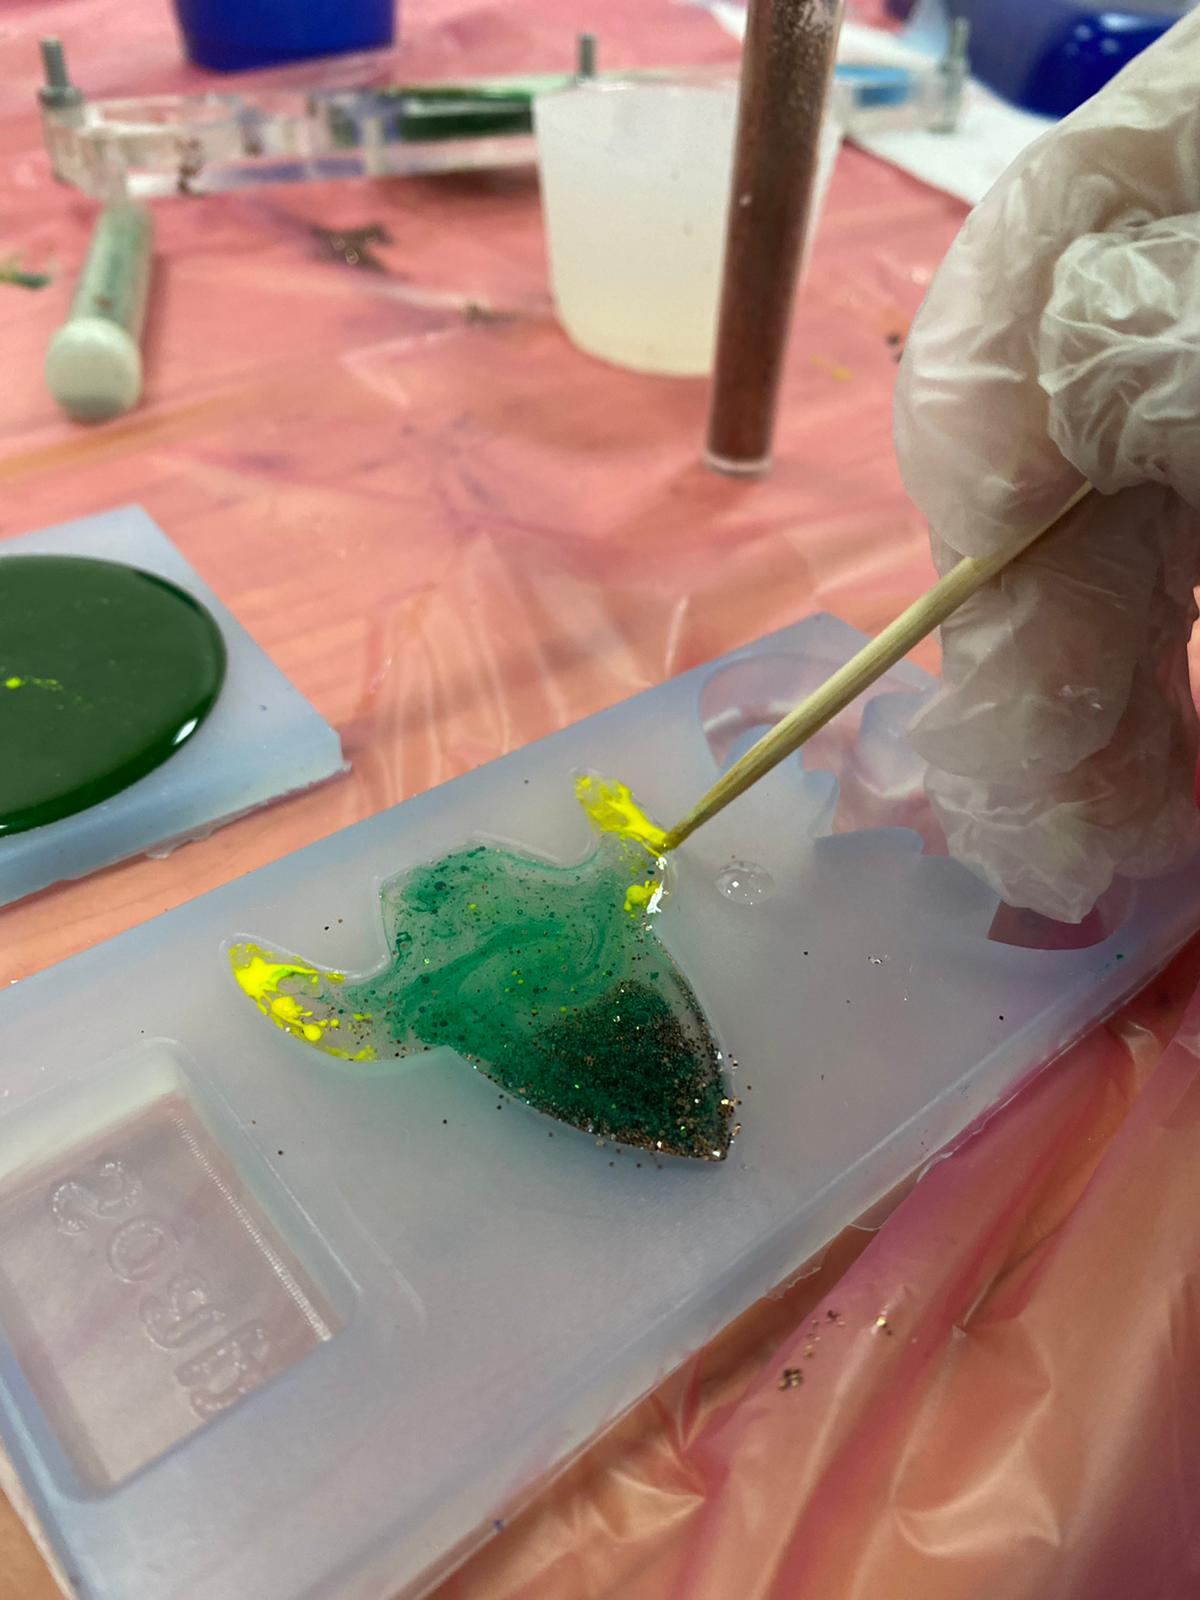
- Then glitter and colors are added to the mixture and casted into the silicon mold.
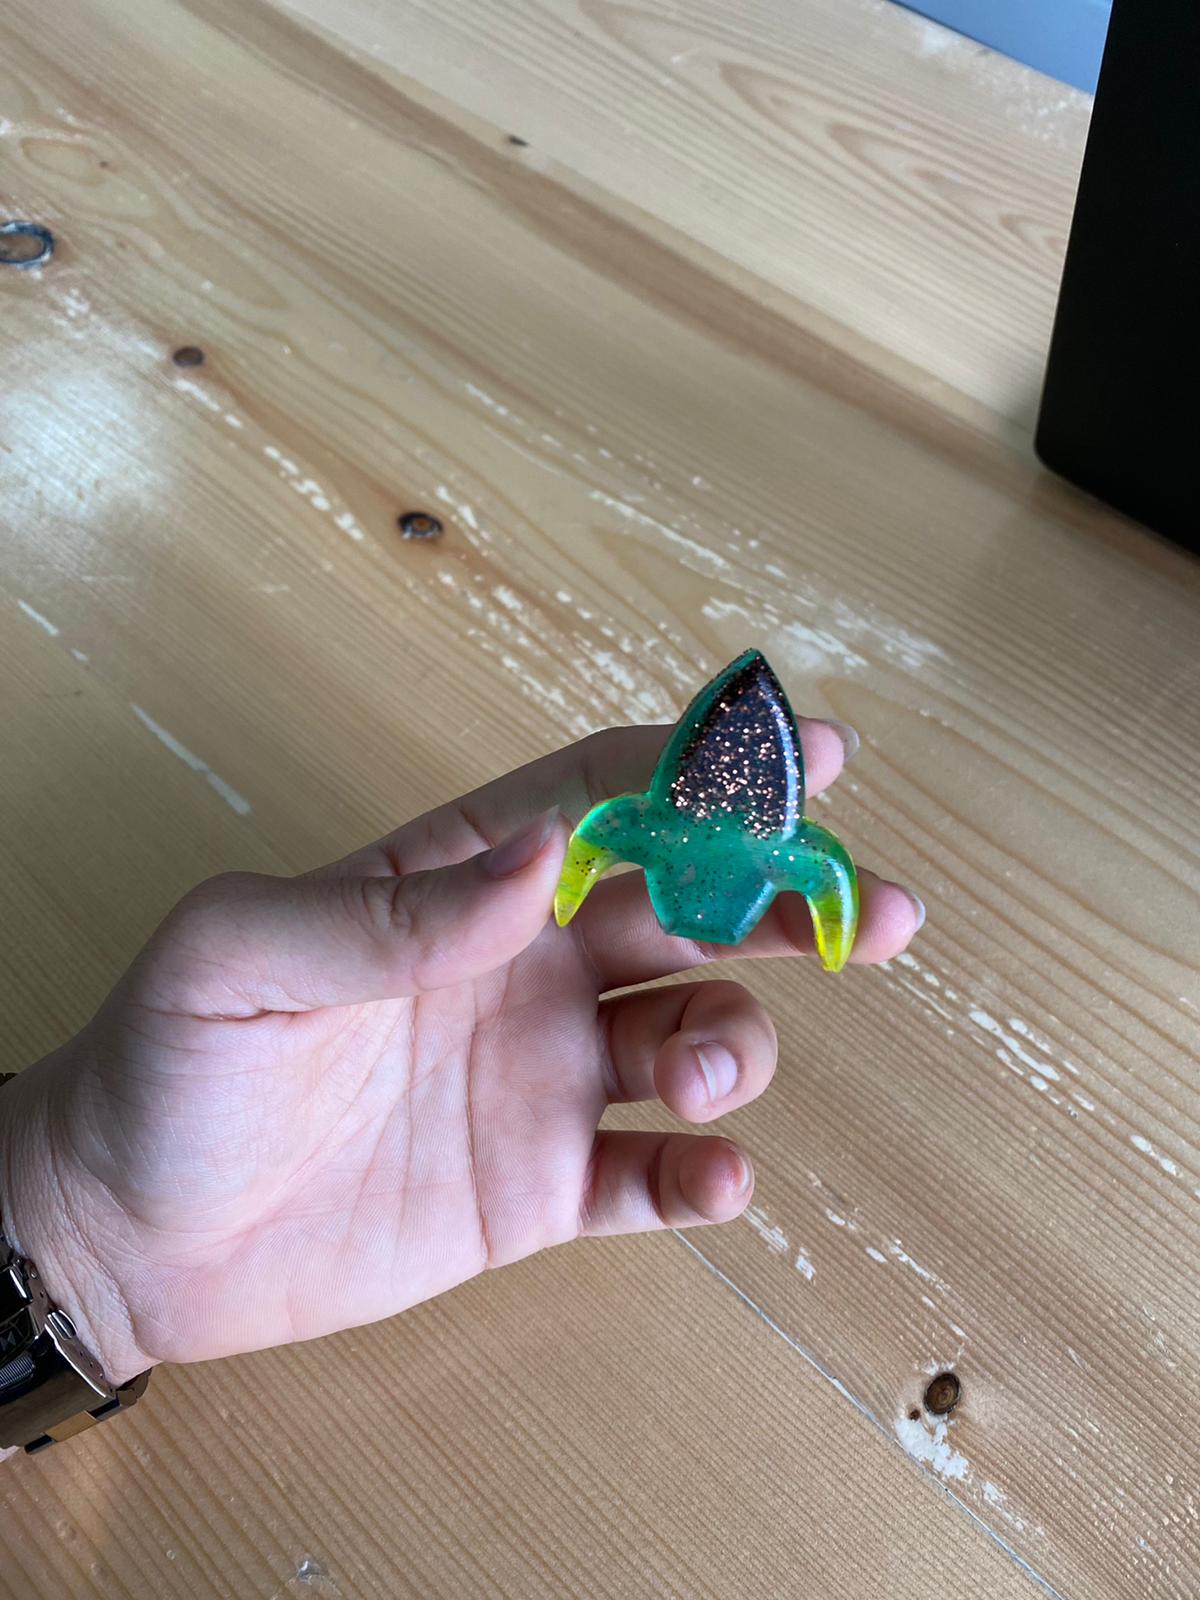
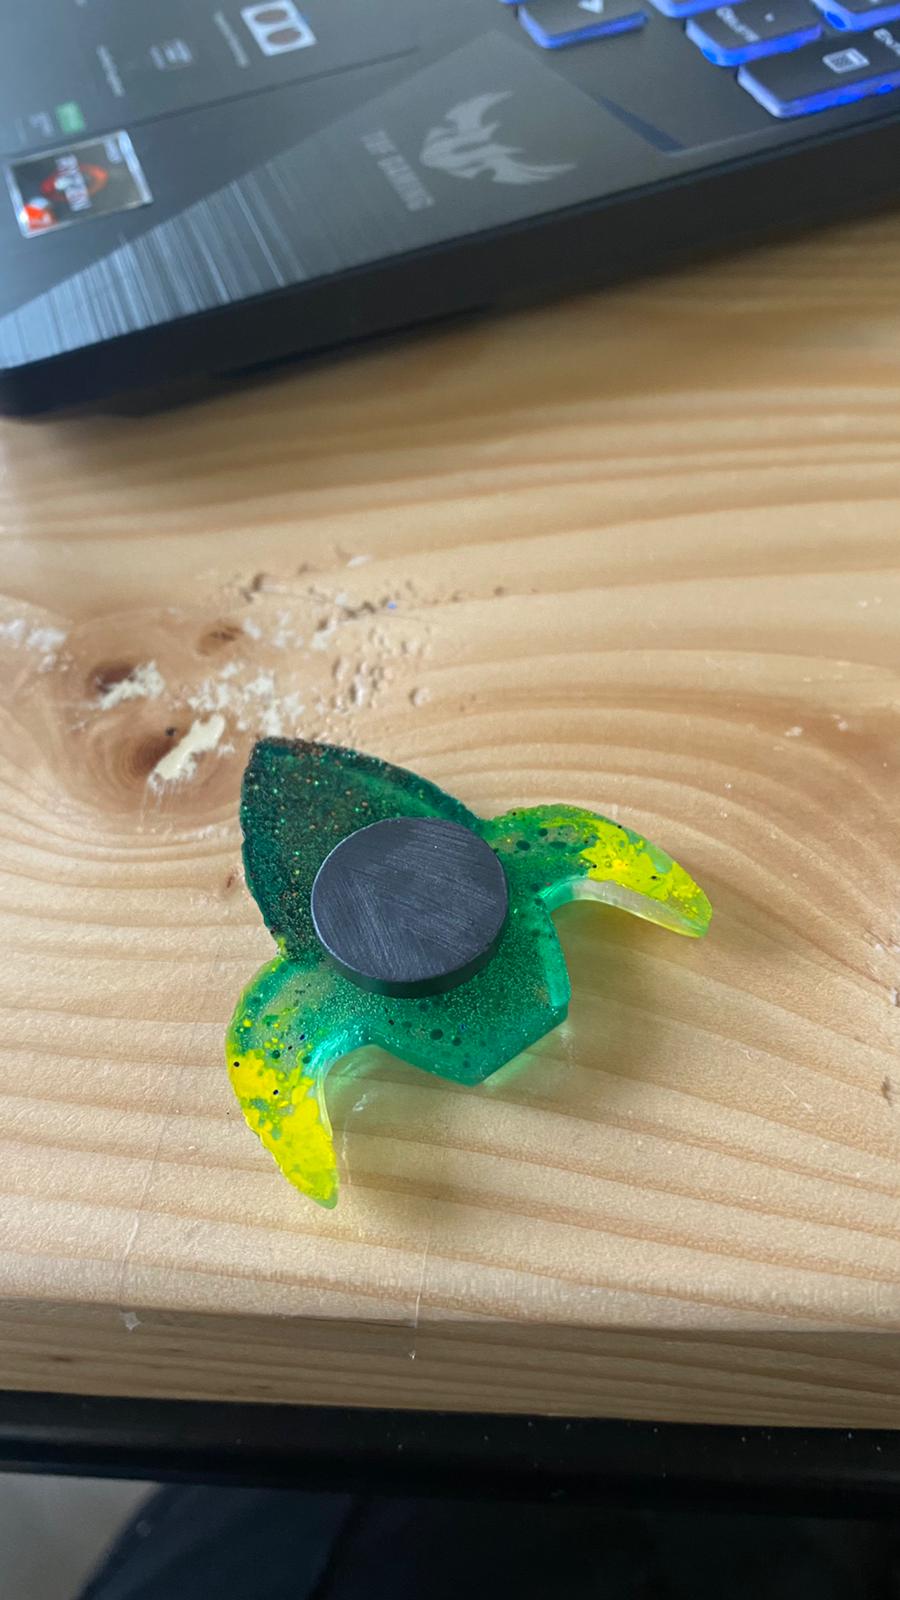
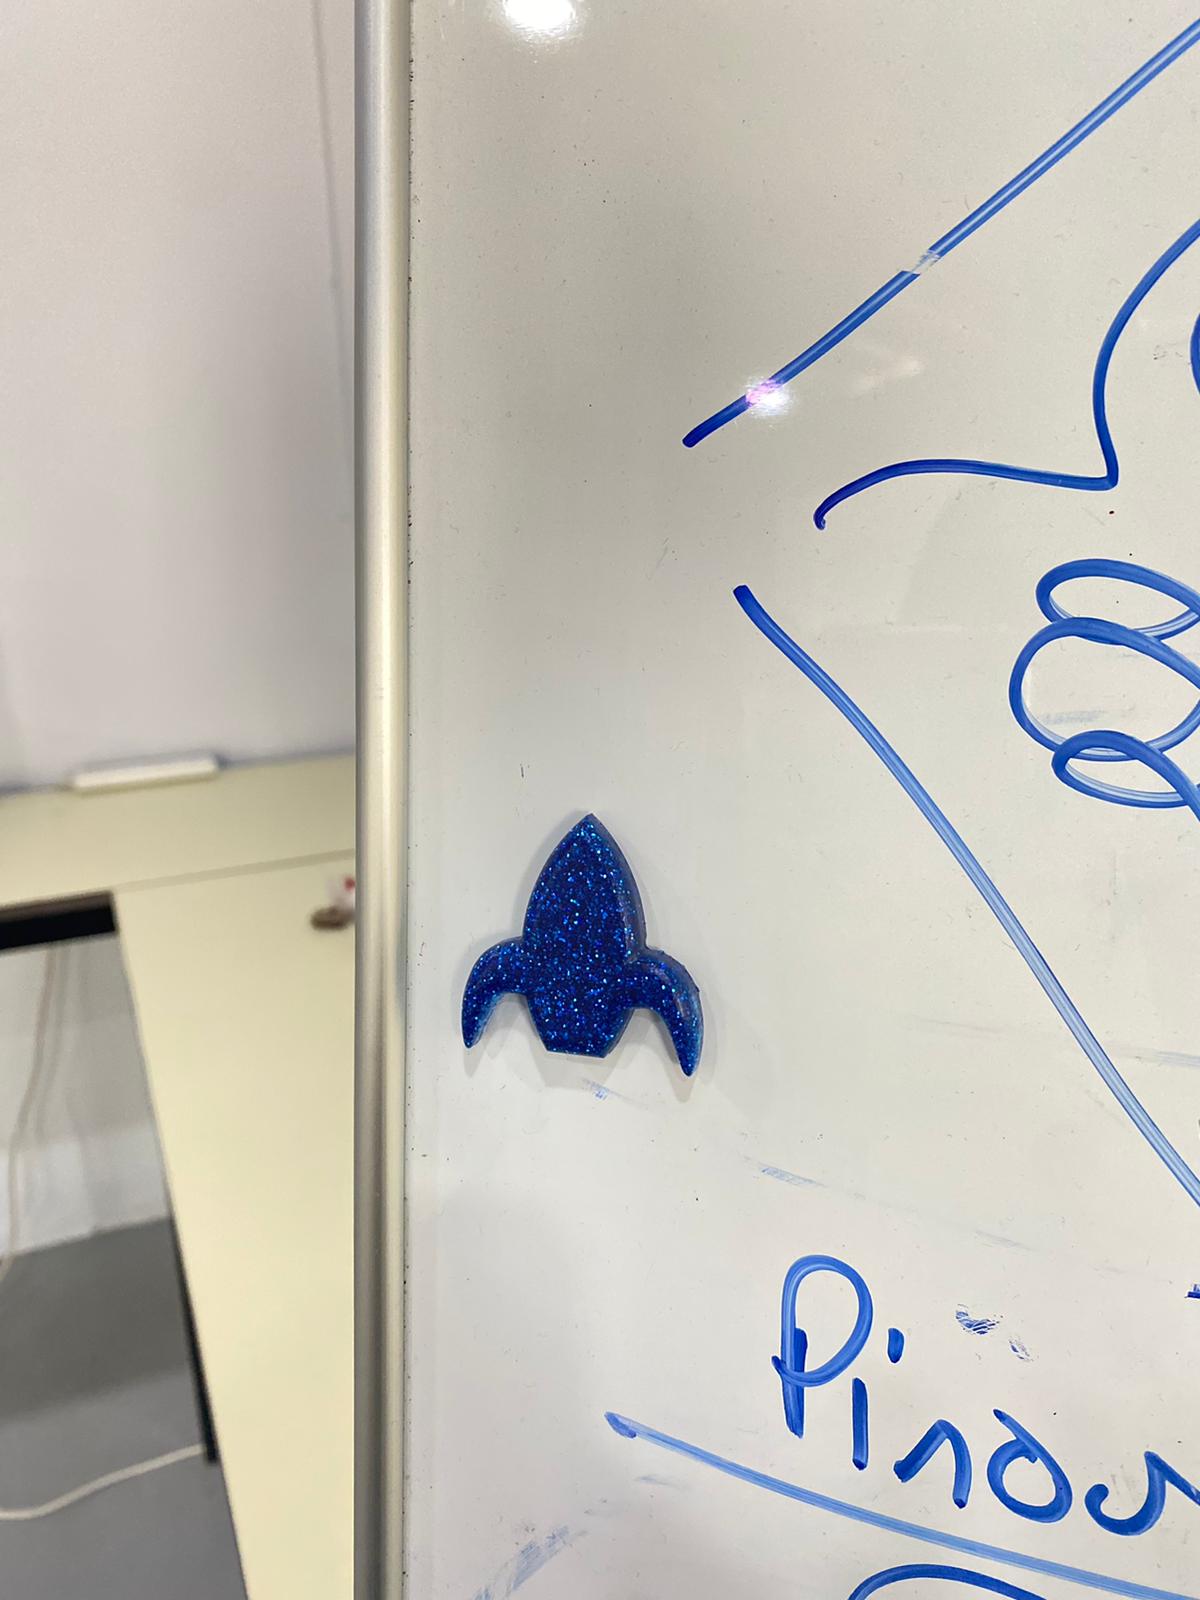
- The resin is ready the next day, we used the casted resin as a magnet decoration.
Original file
My feedback
I worked perfectly with my team work so the outcome was excellent and problem-free. The only issue I had with the colors throughout the casting process was that I didn’t mix them correctly on the first try. On the second attempt, I tried to avoid this problem by mixing the glitter with resin first before filling the mold.