3. Computer controlled cutting
For computer cutting I worked on vinyl cutting Co2 laser cutter
vinyl cutter
“Vinyl cutters are mainly used to make signs, banners and advertisements. Advertisements seen on automobiles and vans are often made with vinyl cut letters. While these machines were designed for cutting vinyl, they can also cut through computer and specialty papers, as well as thicker items like thin sheets of magnet.”
- 1-started with downloading CRICUT app, which is for the vinyl cutter I will be using.
- 2- Uploaded the picture I want to cut it.
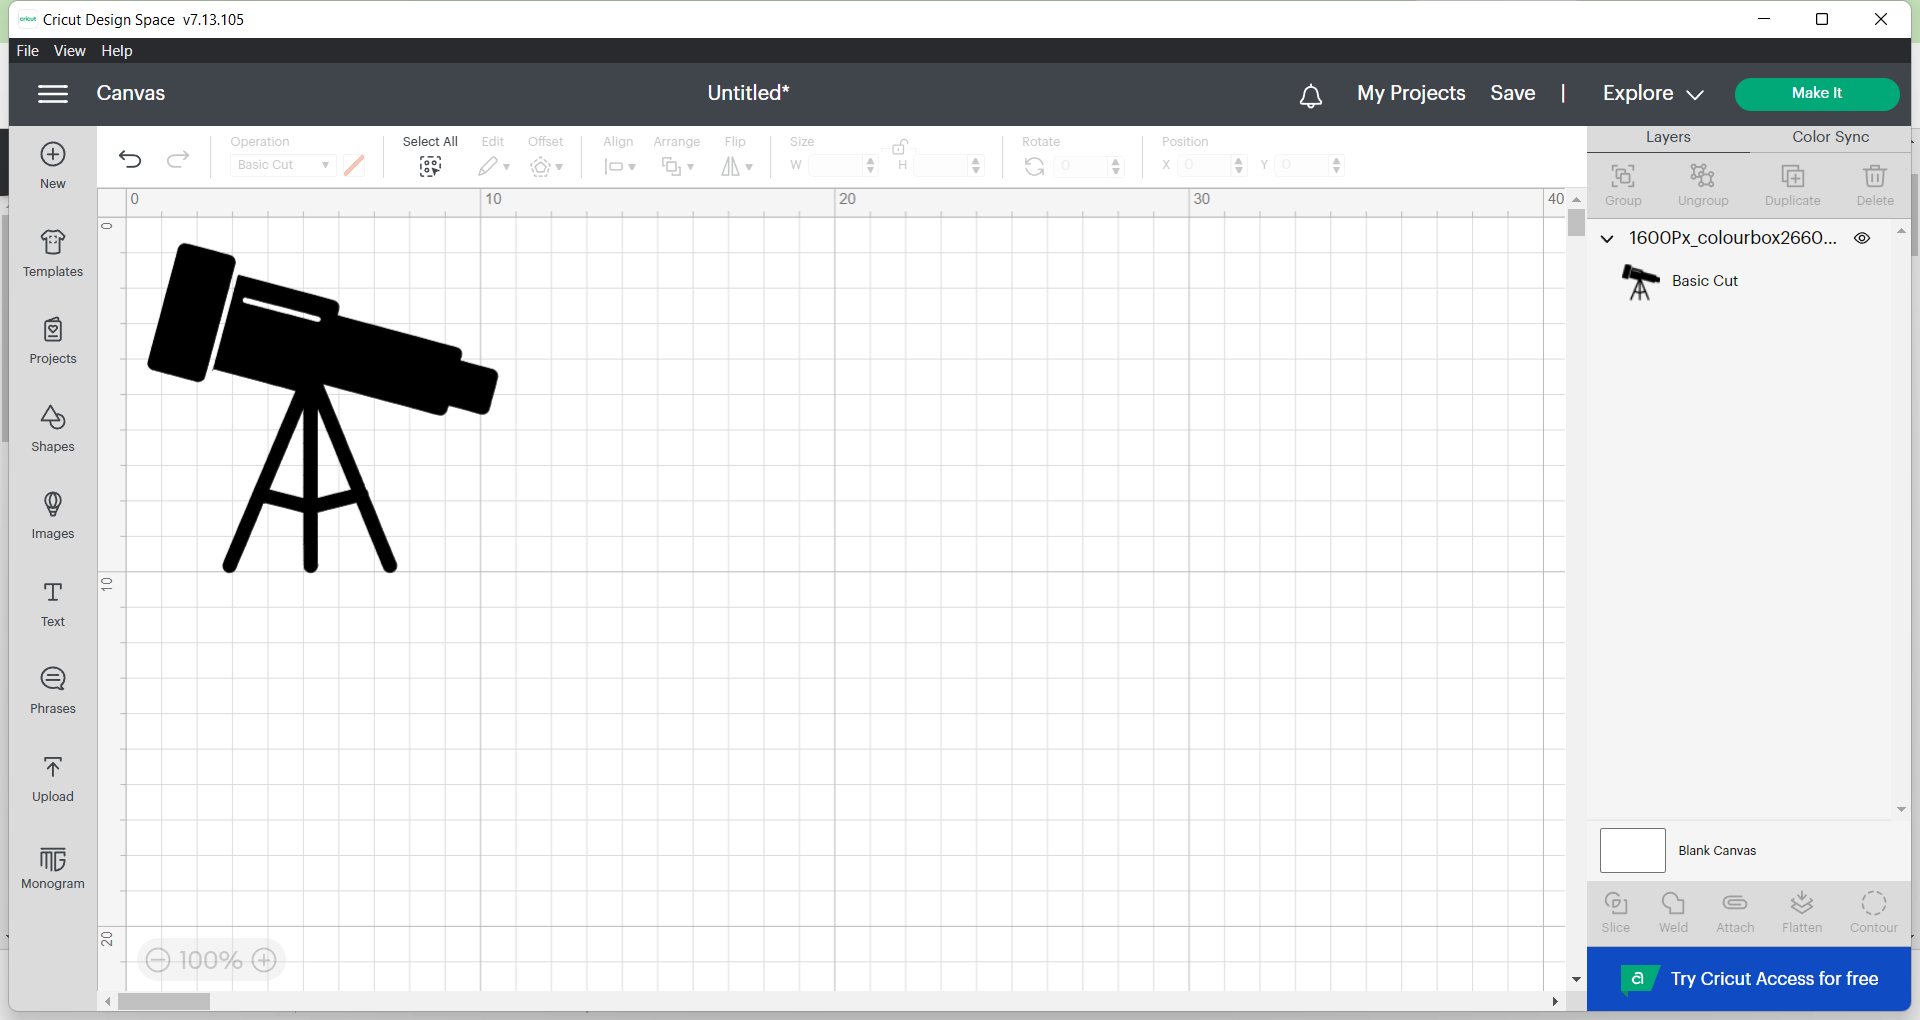
- 3-select image type.
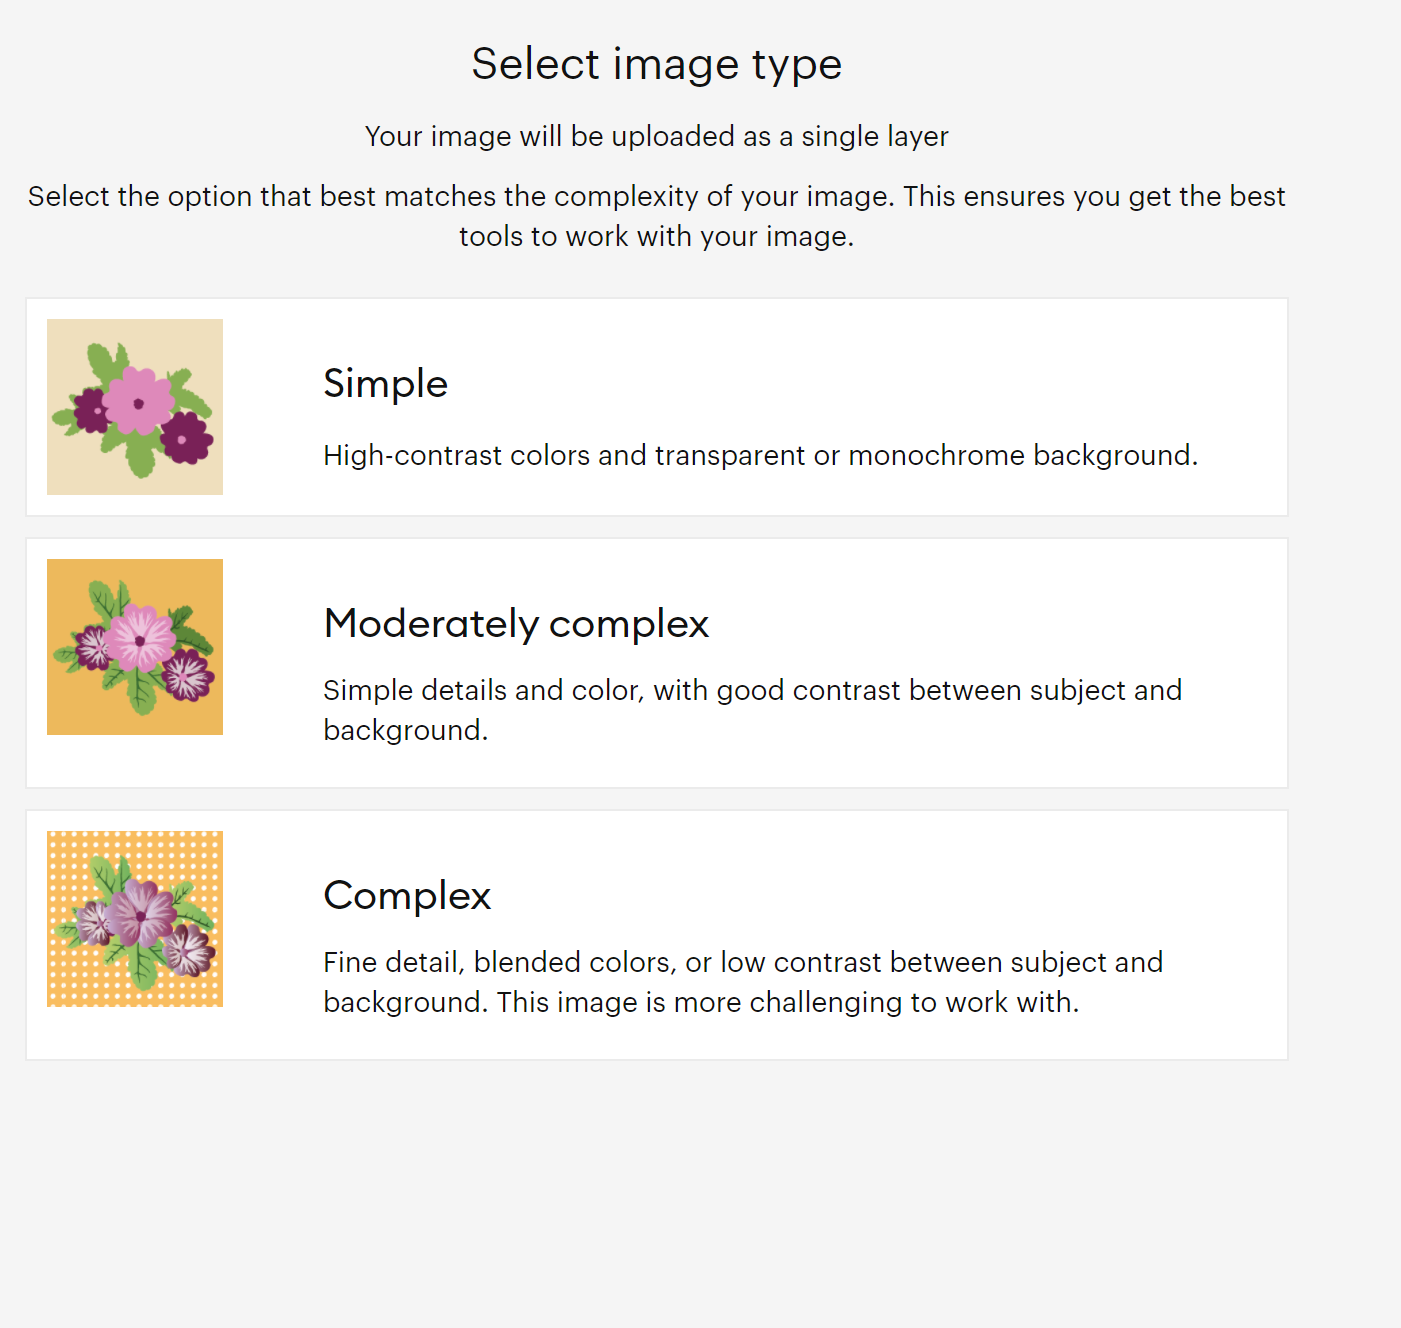
- 4- Select mat.
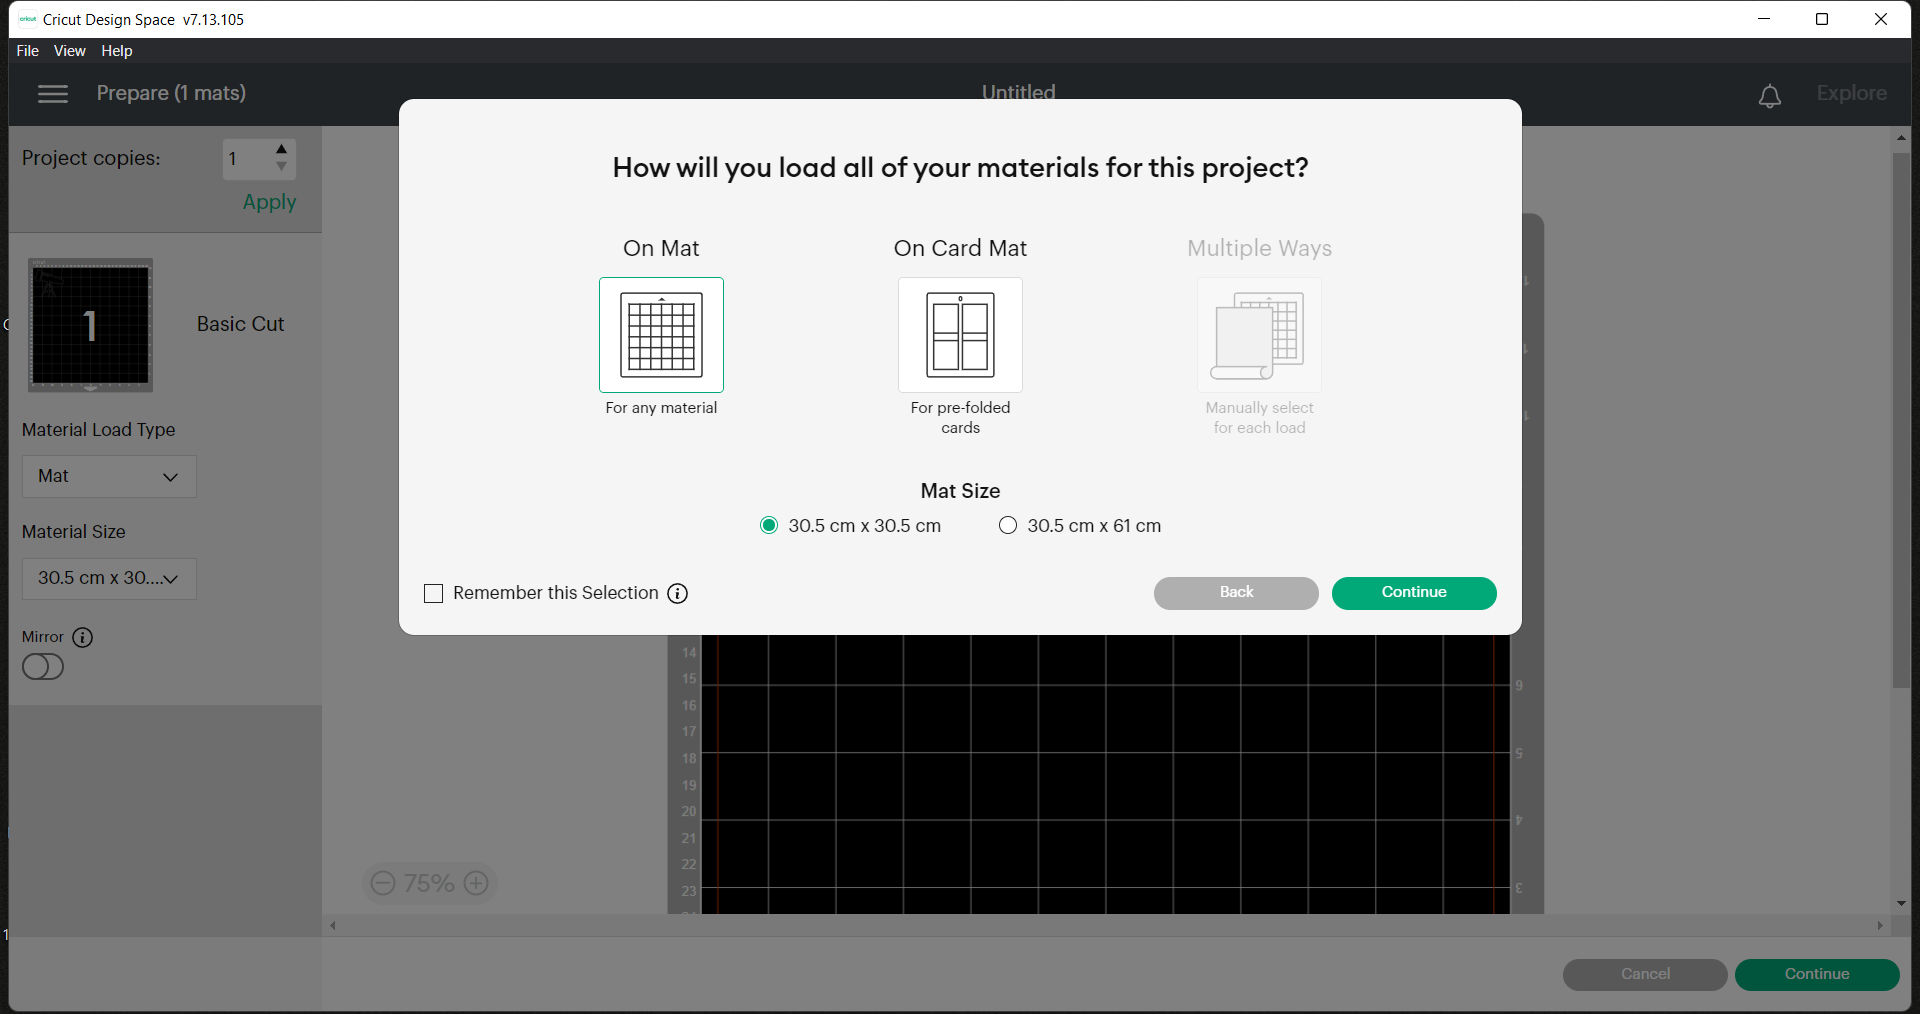
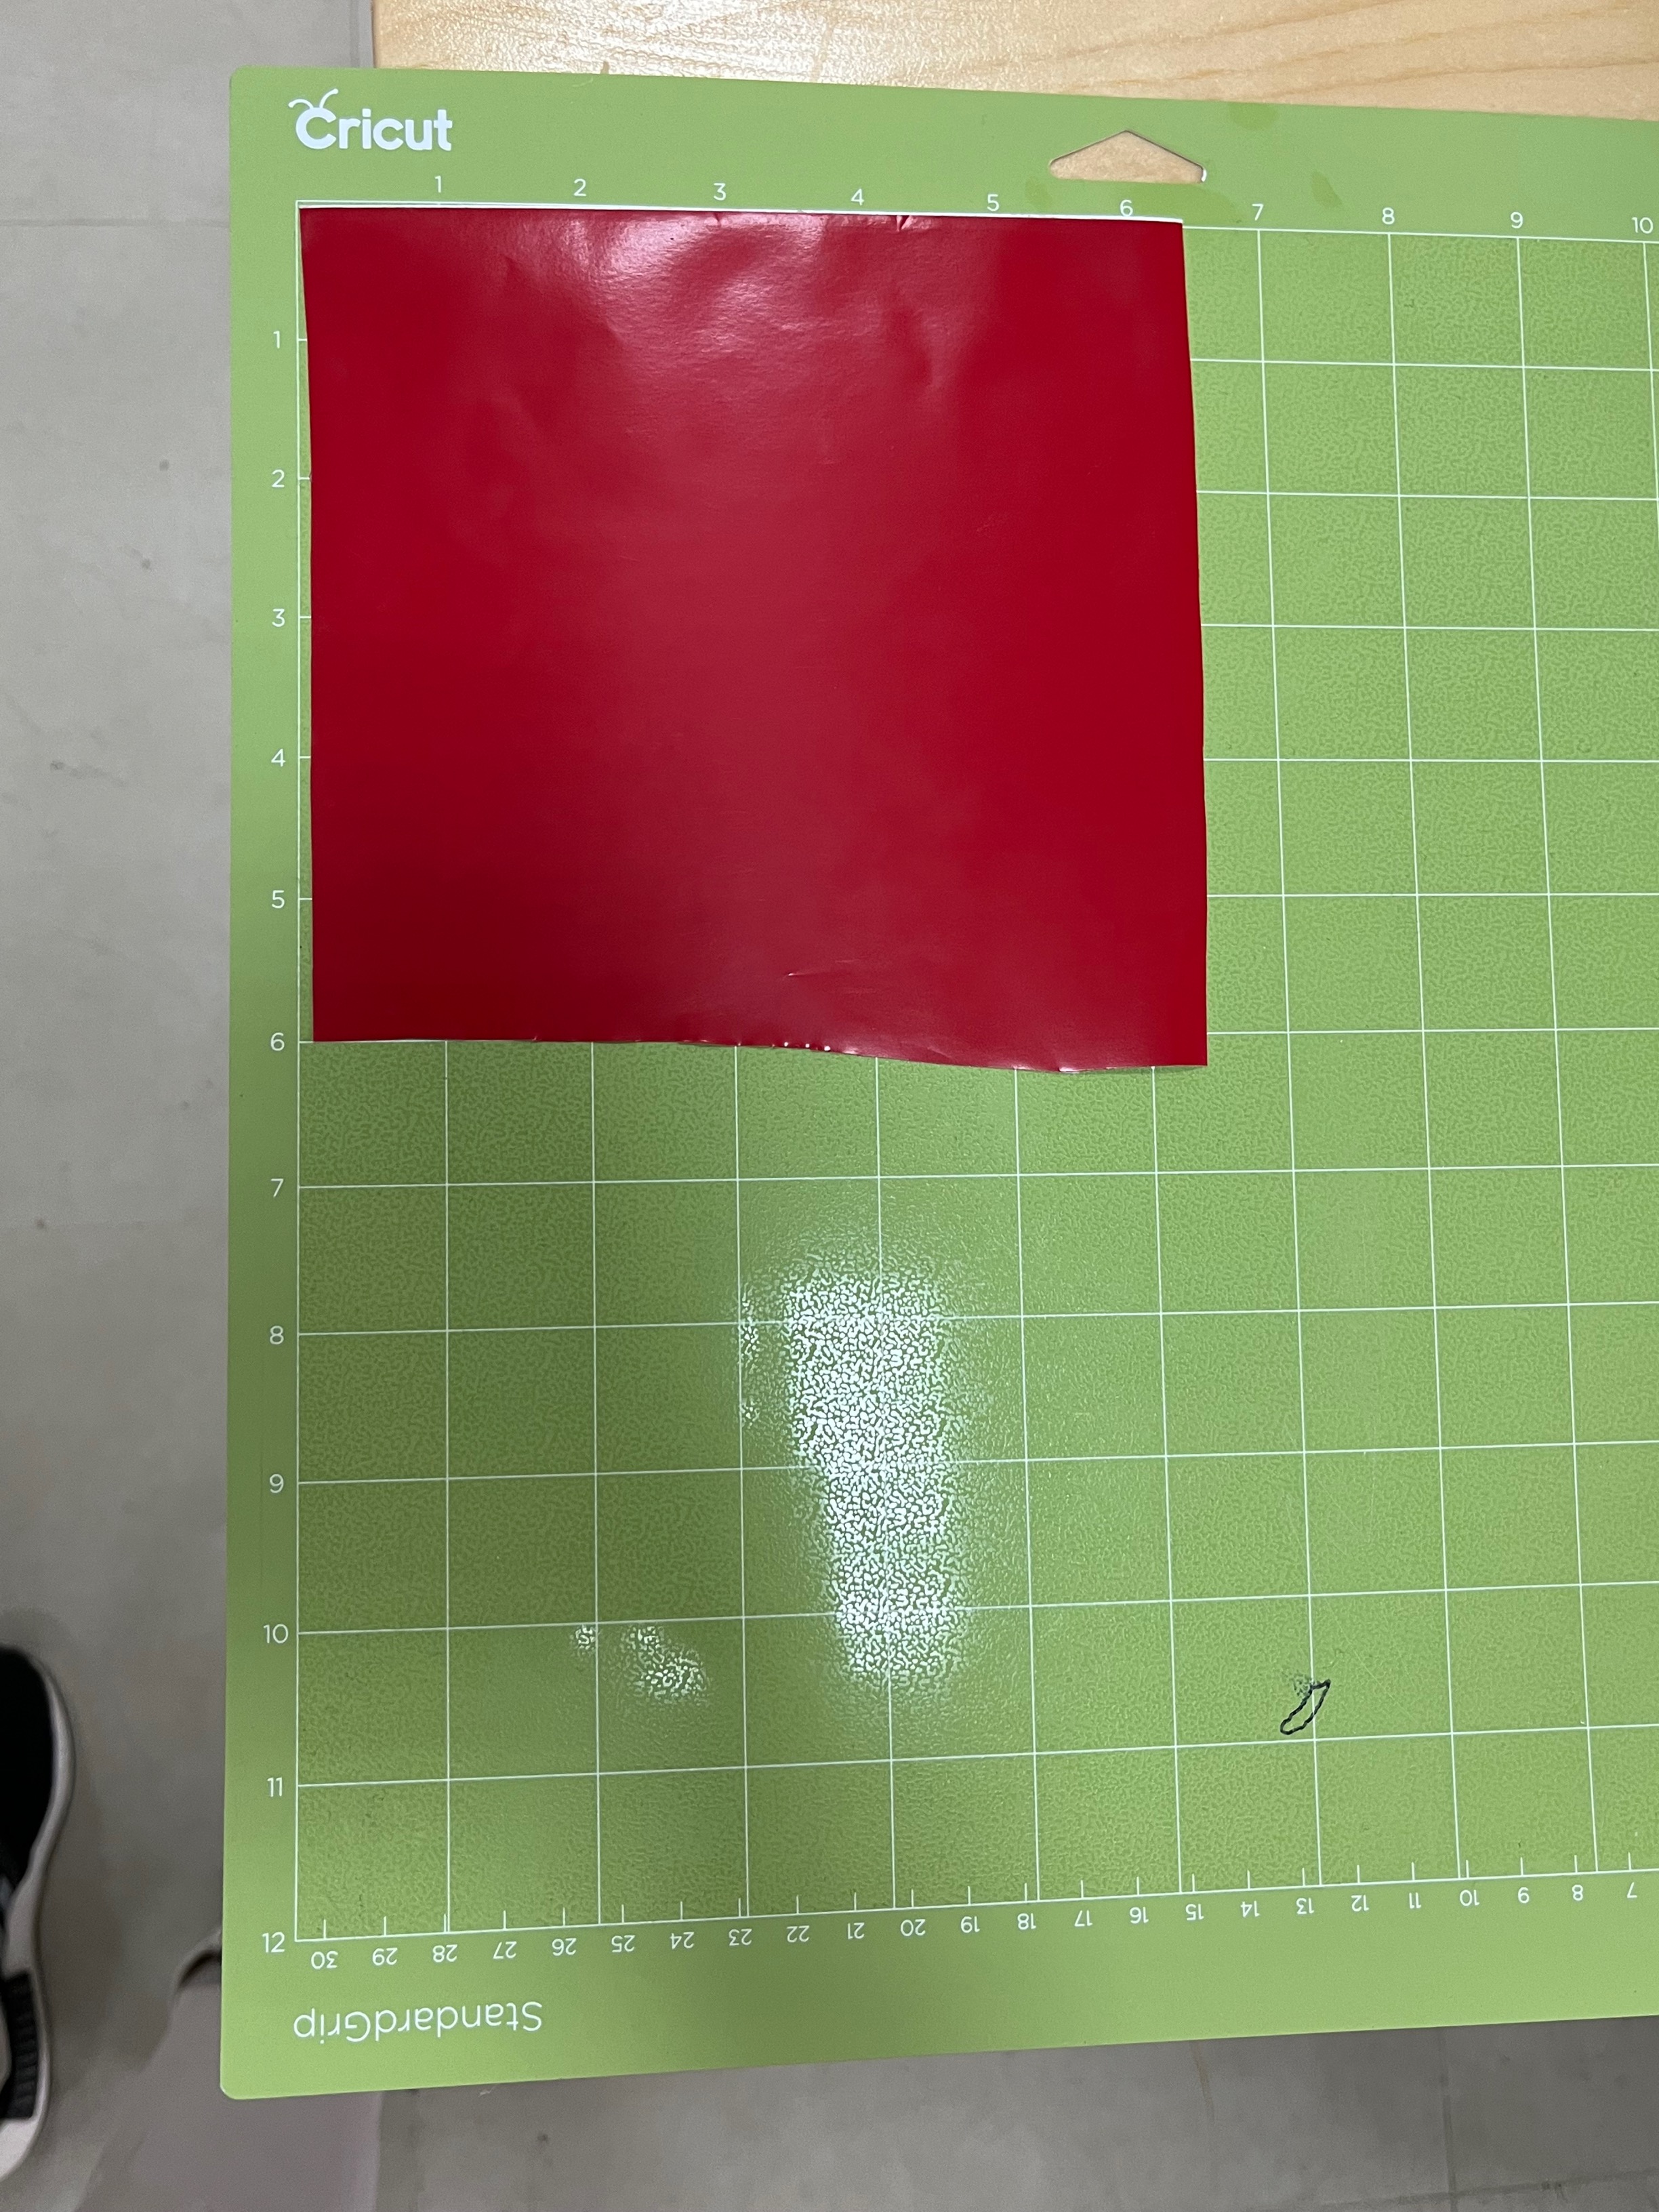
- 5-A sticky sheet is adjusted based on the dimensions of the design with an extra offset to make sure that the cutting procedure succeeds, and it does not go off the edges. Later on this sticker is put into the sheet used in the vinyl cutter.
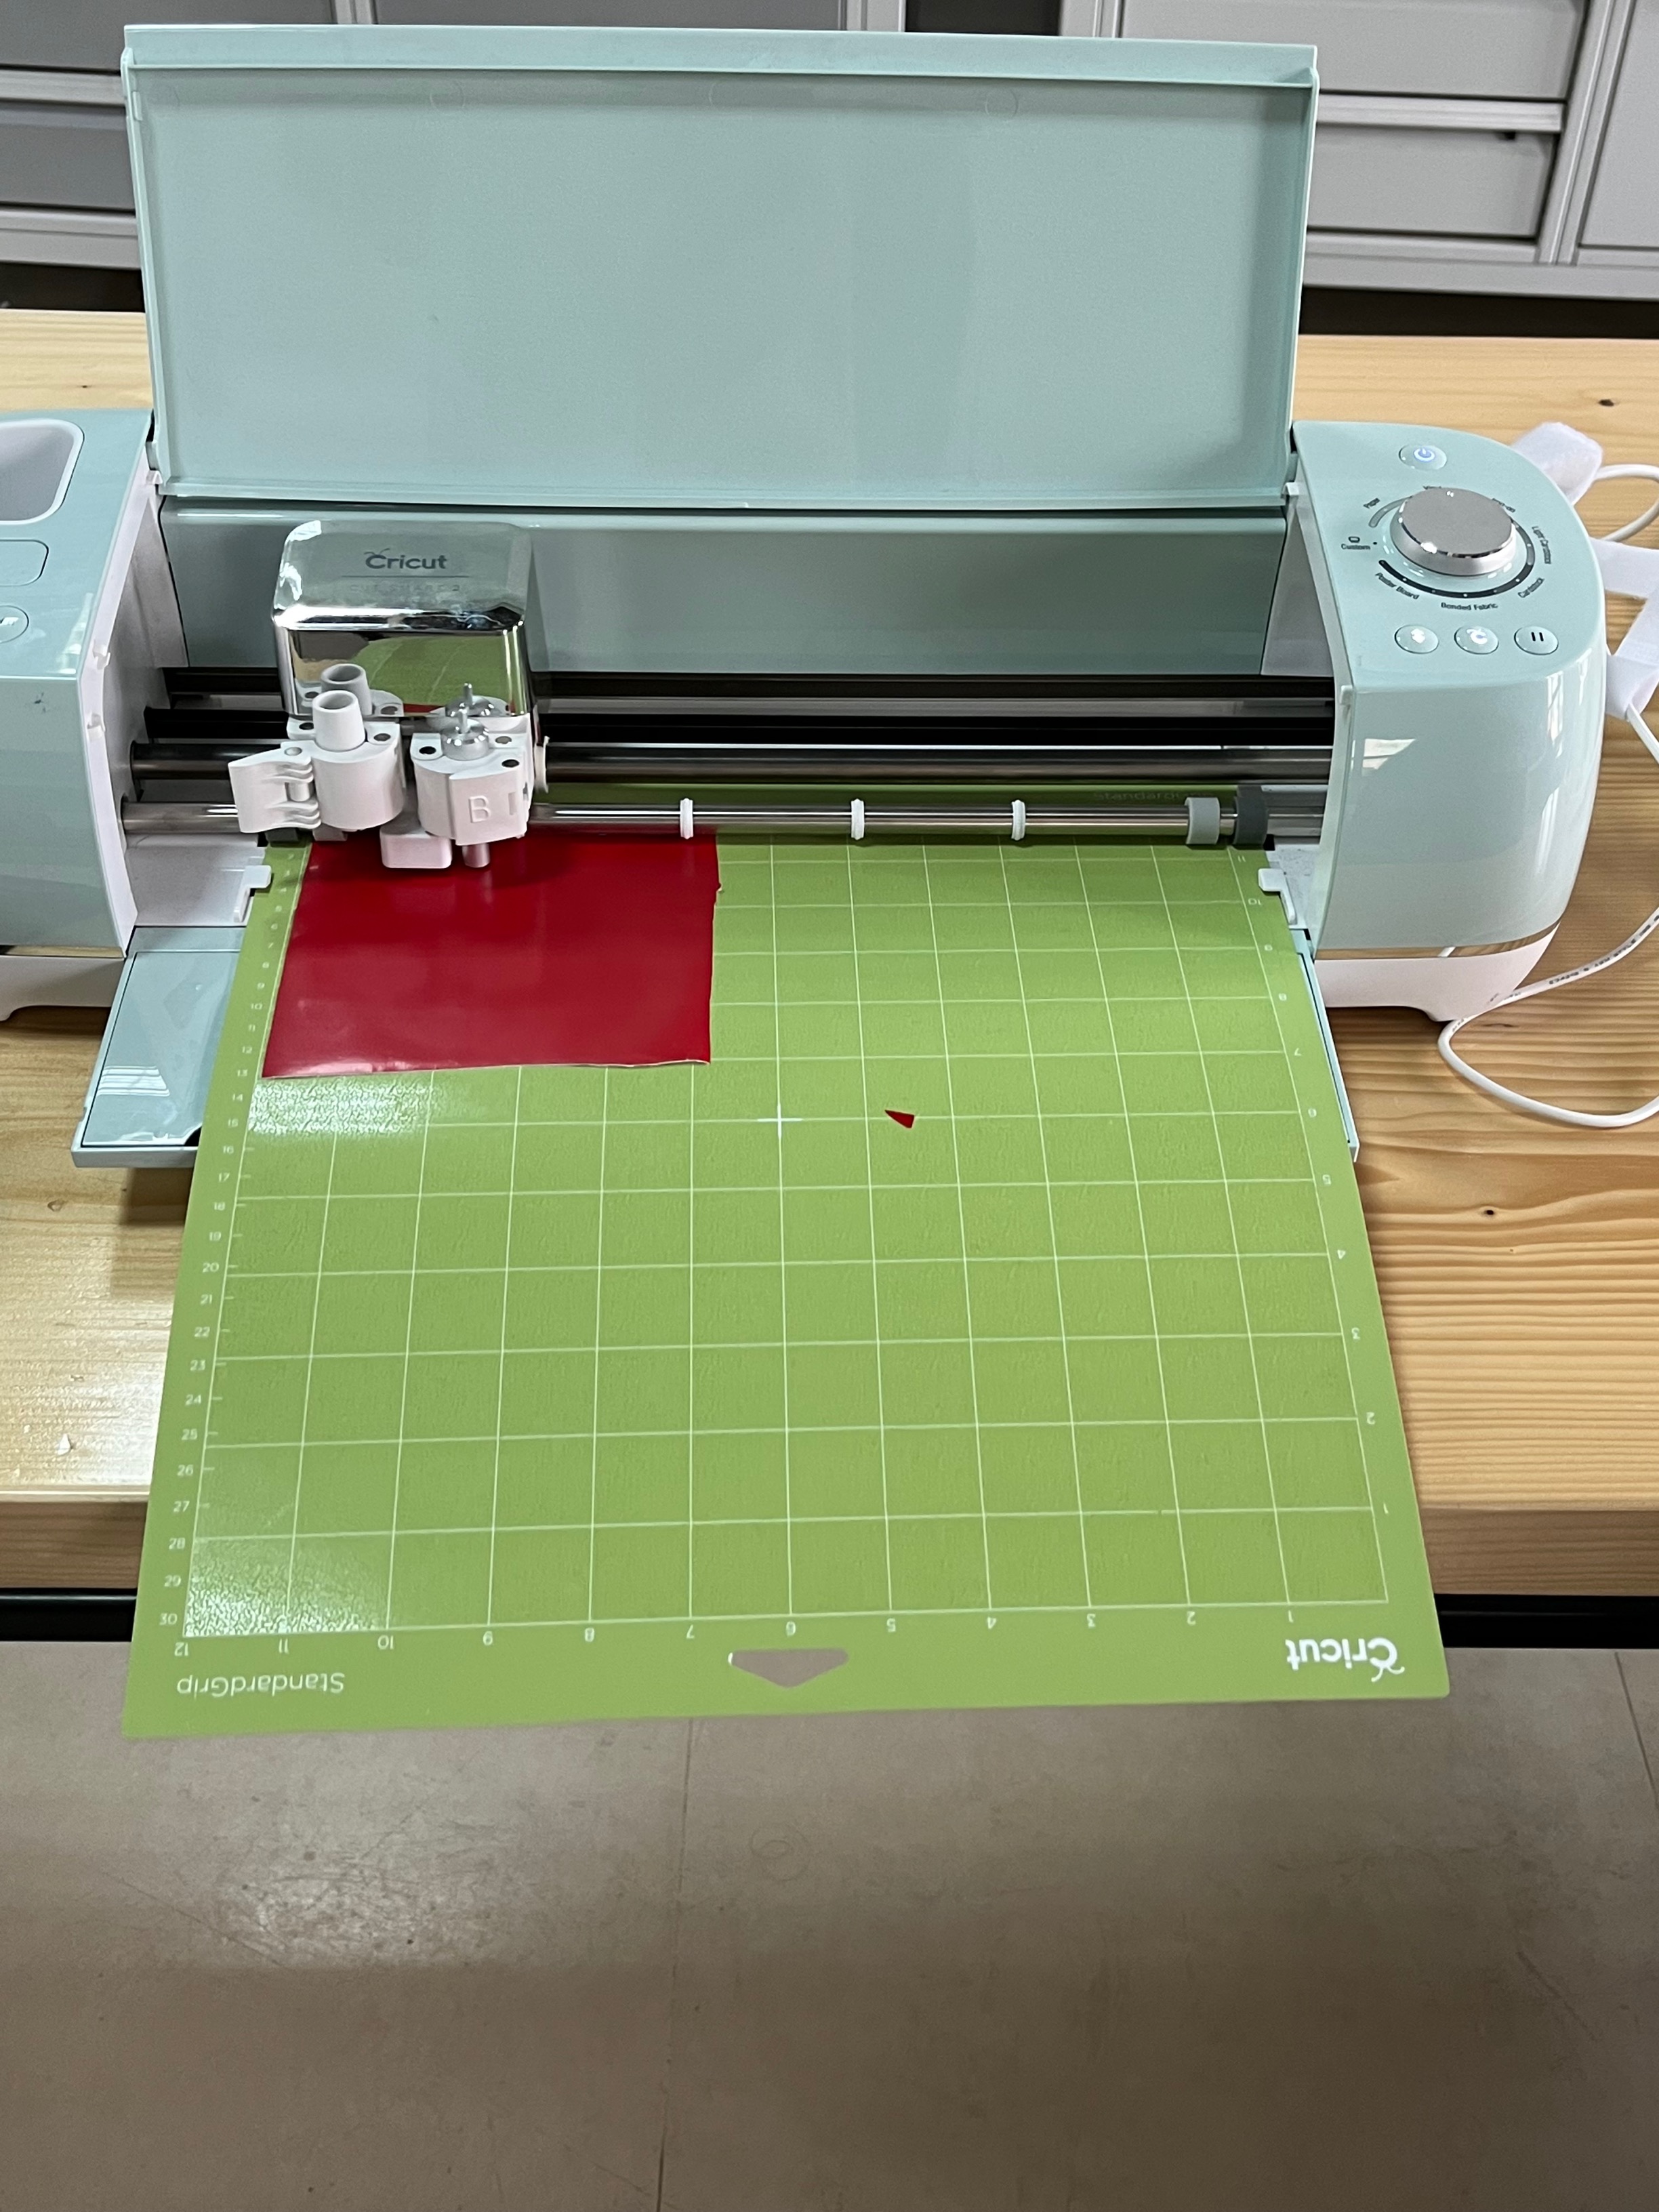
- 6-After that, the sheet is put inside the vinyl cutter to fit it inside the machine to prepare it for cutting.
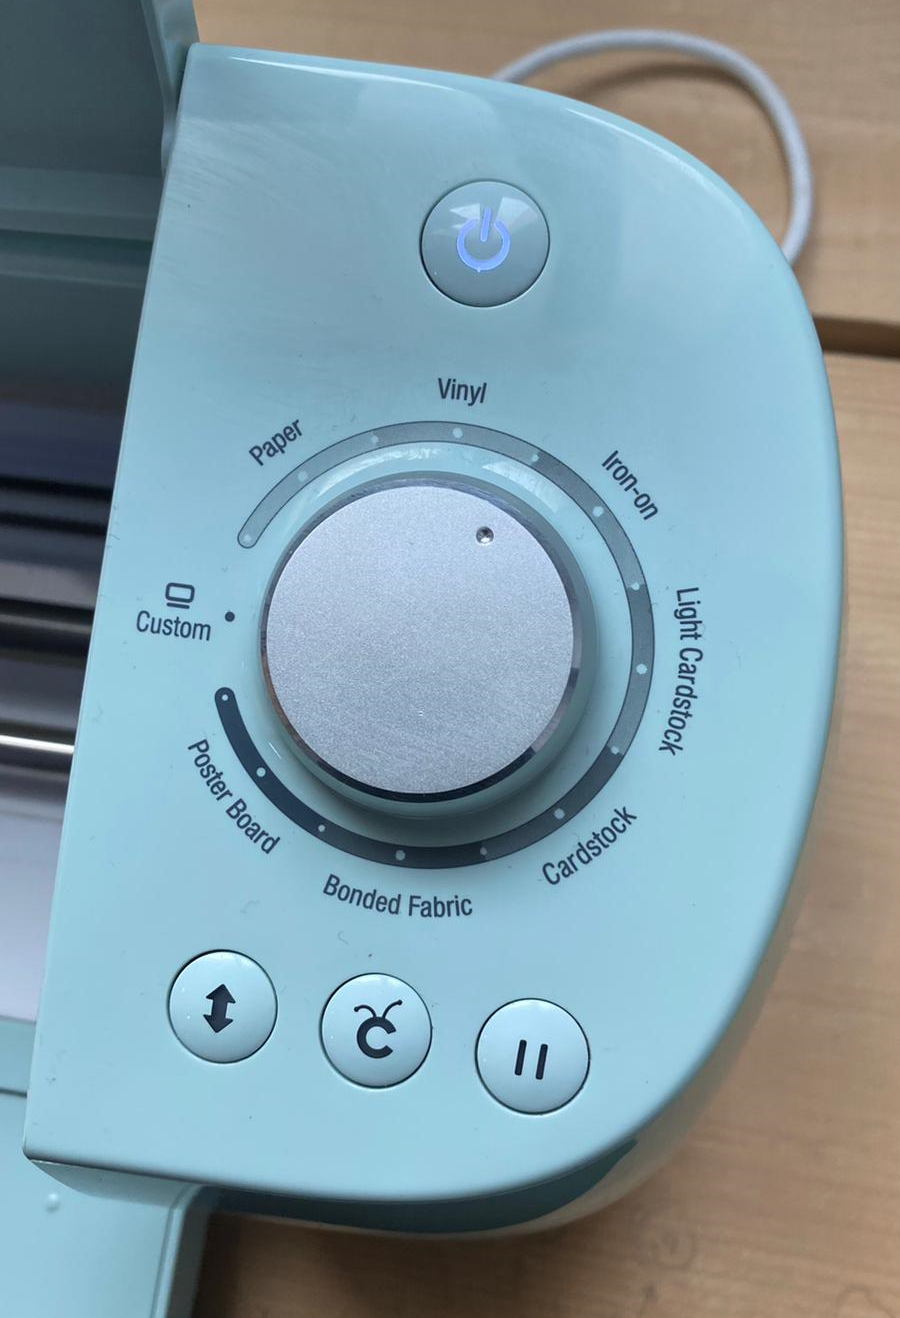
- 7- for vinyl we selected the vinyl option for the power.
- 8-The cut was done, the extra parts need to be removed.
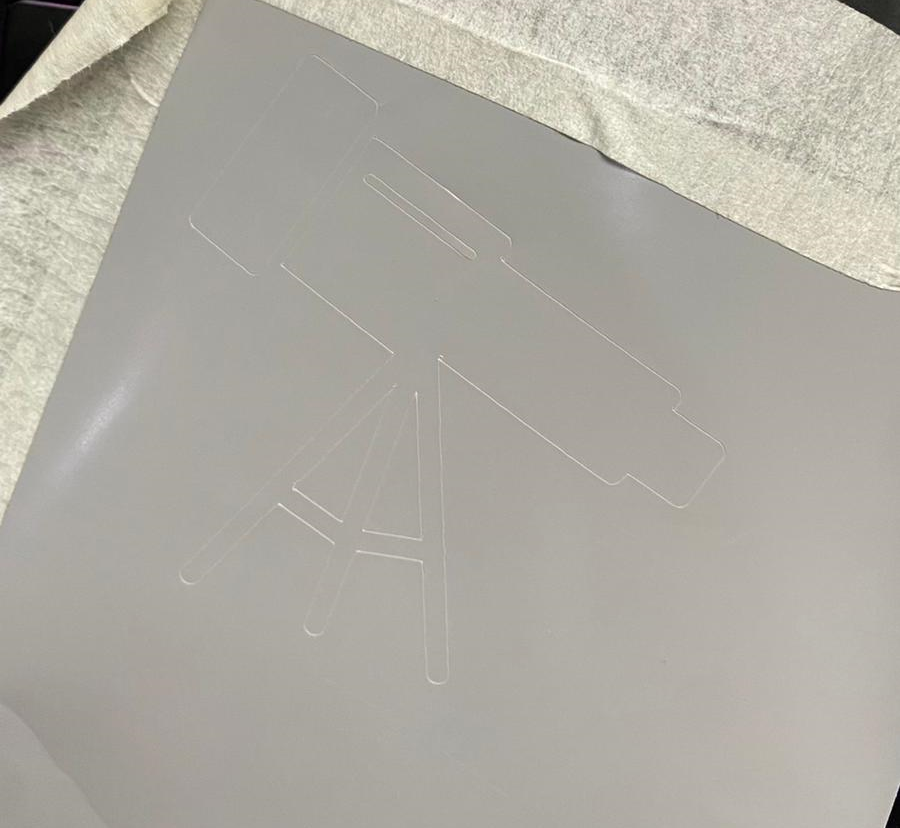
- 9-Final result.
Co2 laser cutter
“A laser cutter is a prototyping and manufacturing tool used primarily by engineers, designers, and artists to cut and etch into flat material. Laser cutters use a thin, focused laser beam to pierce and cut through materials to cut out patterns and geometries specified by designers.”
“CO2 laser is mainly for non-mental materials. Wood, paper, cardboard, plastic, PMMA. And also rubber, leather, metals, and ceramics. The potential applications of the CO2 laser are endless.”
Group work
The group work was divided to 2 tasks, practical one for determining the best power and speed of the laser, you can see our work in Jenan’s page
Individual work
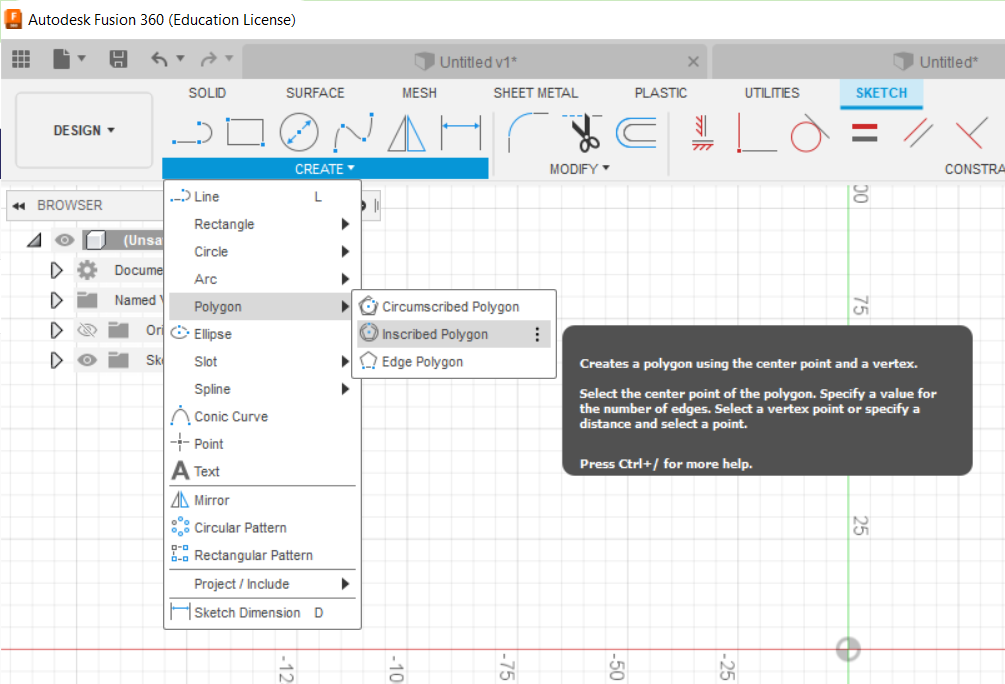
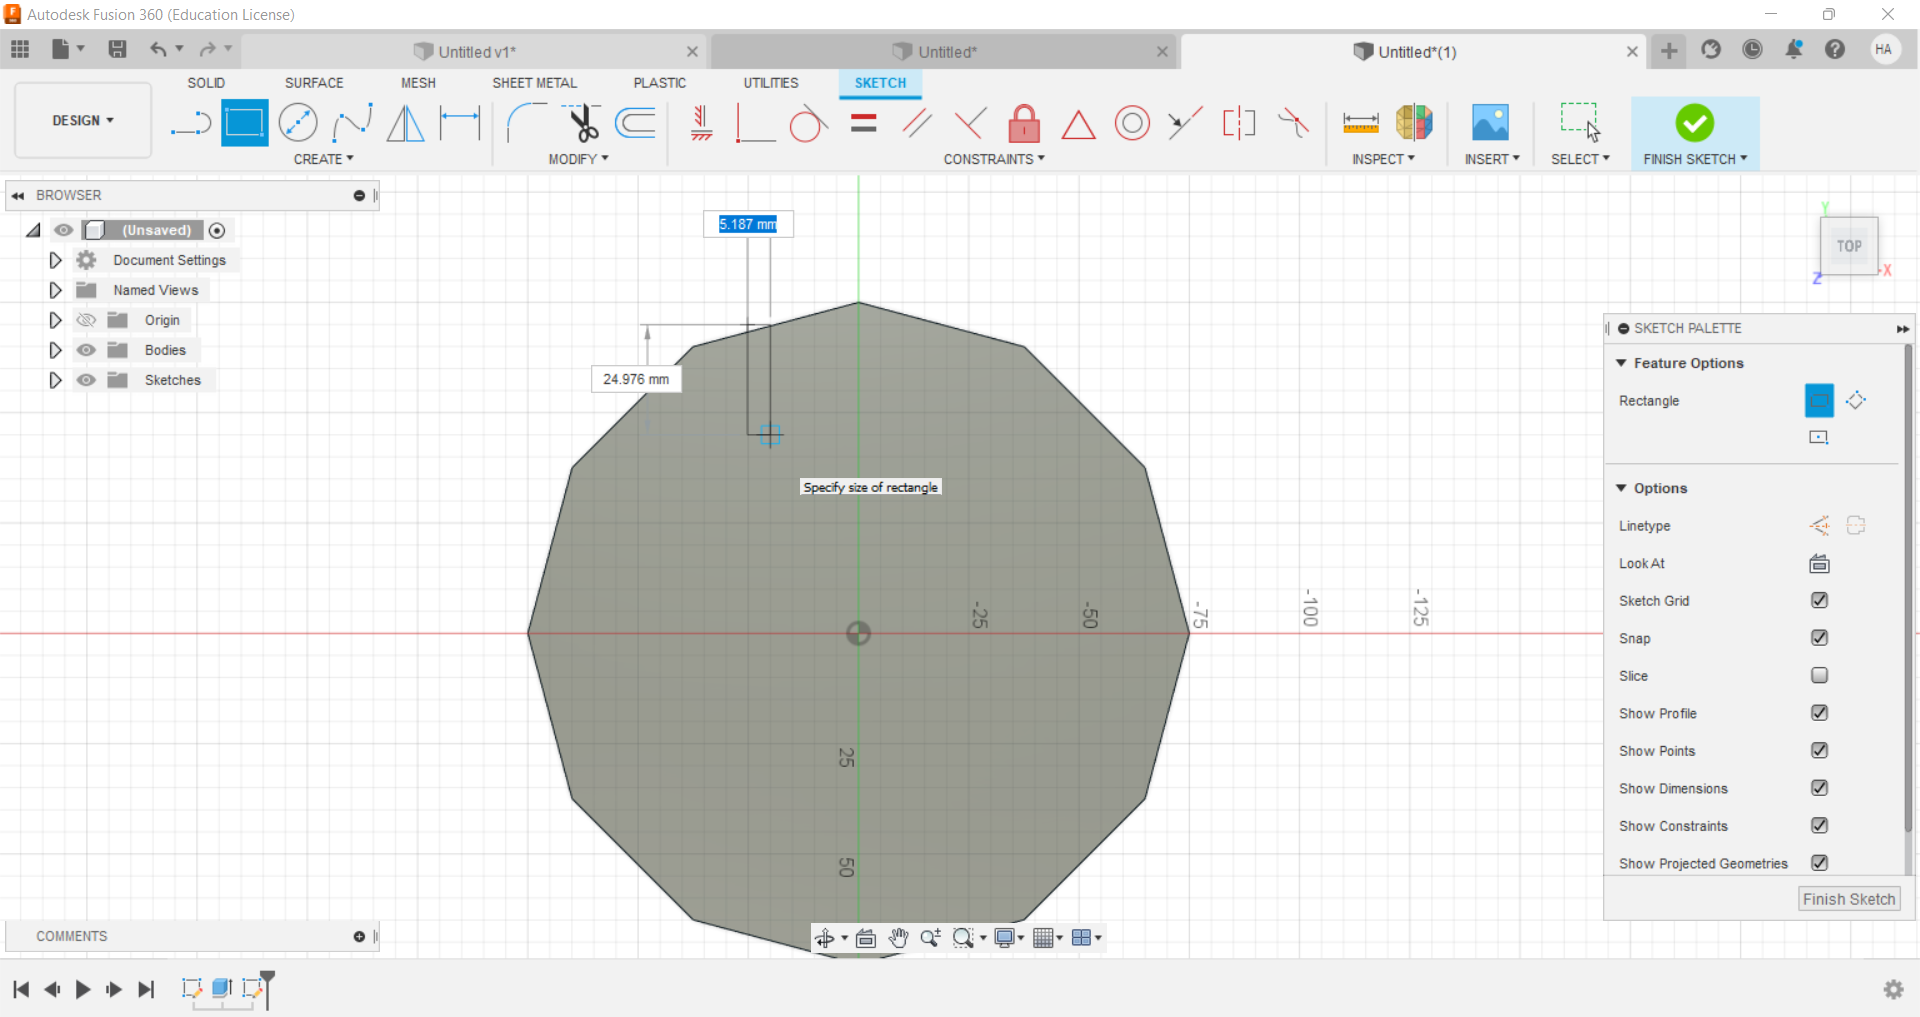
- 1- Stated to design something to cut it with laser cutter. I try to drow a ploygon.
- 2- make the shape as 3D then drow a rectangle.
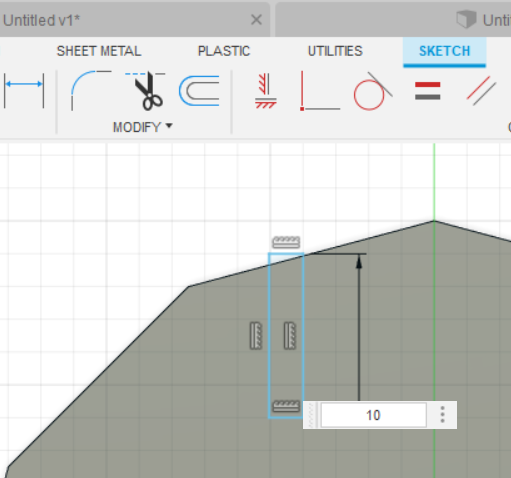
- 3- Changing the size of hight and depth with sketch dimention

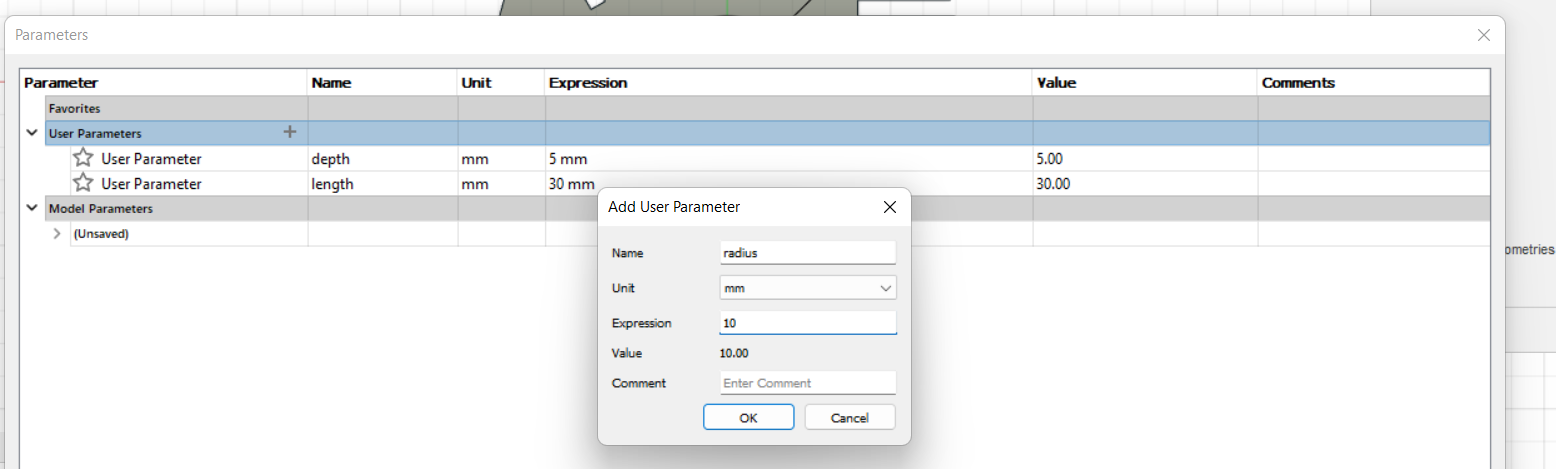
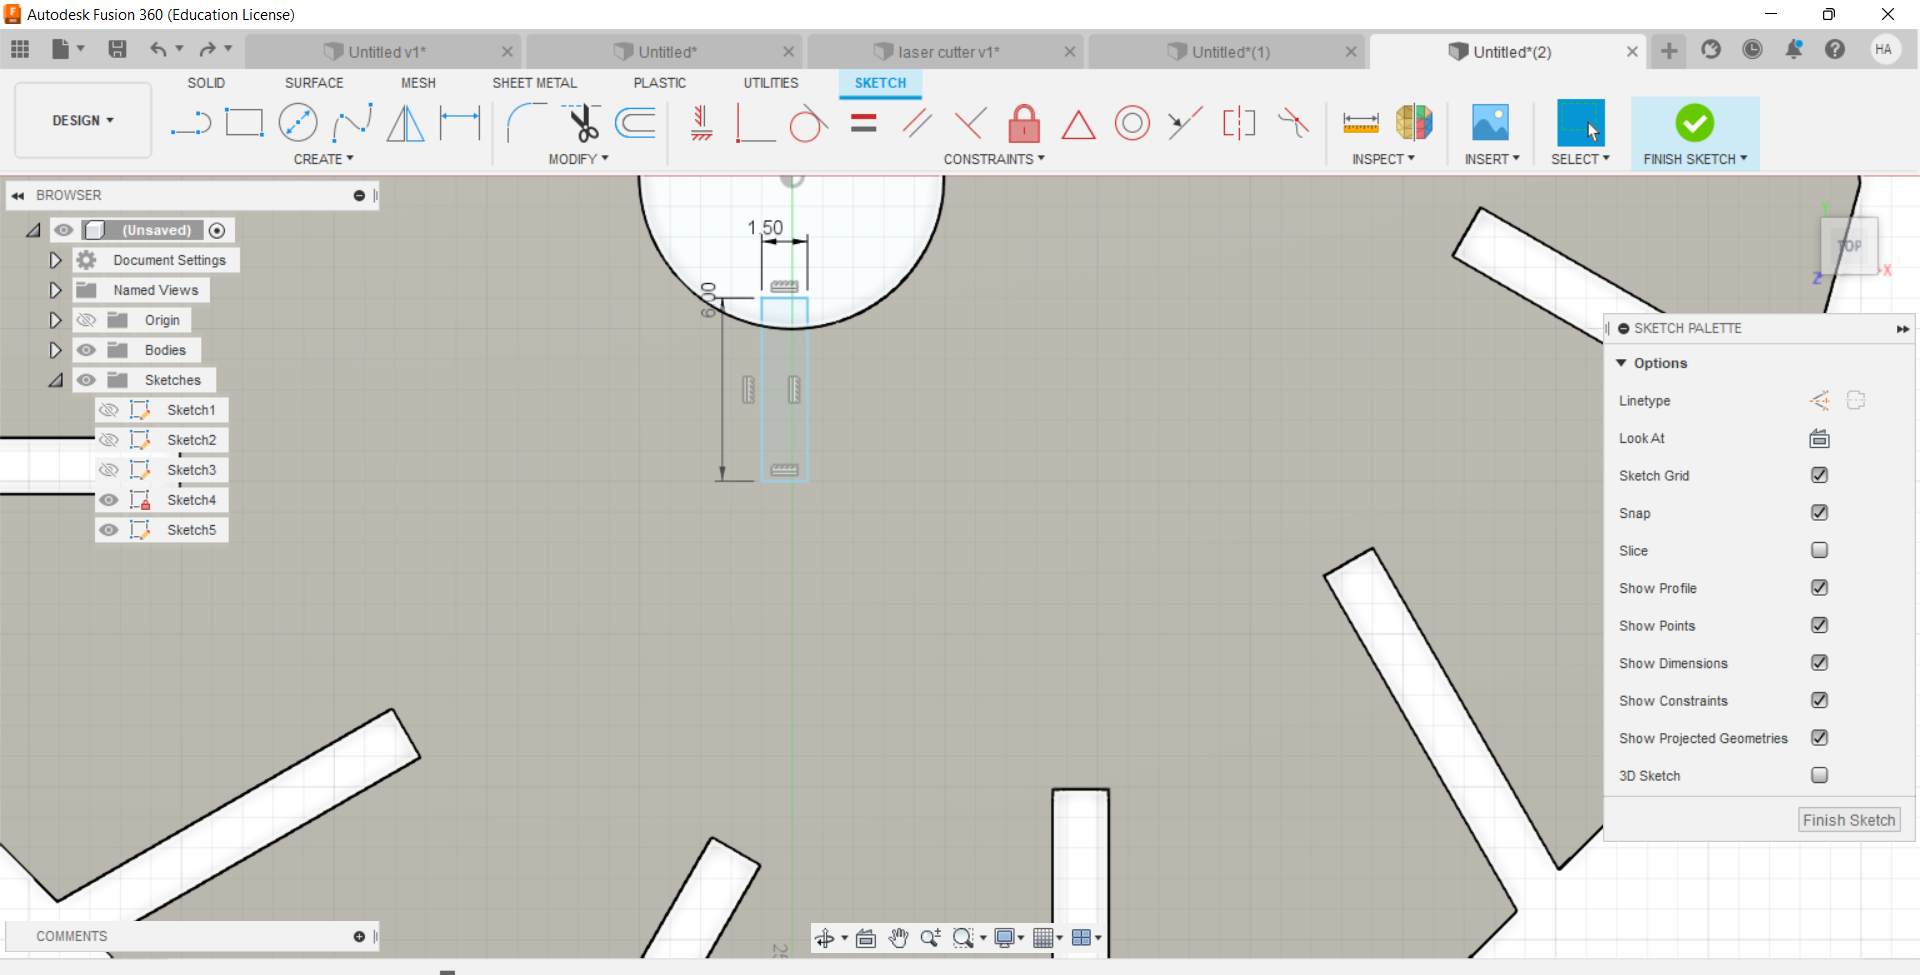
- 4-Now, add new parameter with modify.
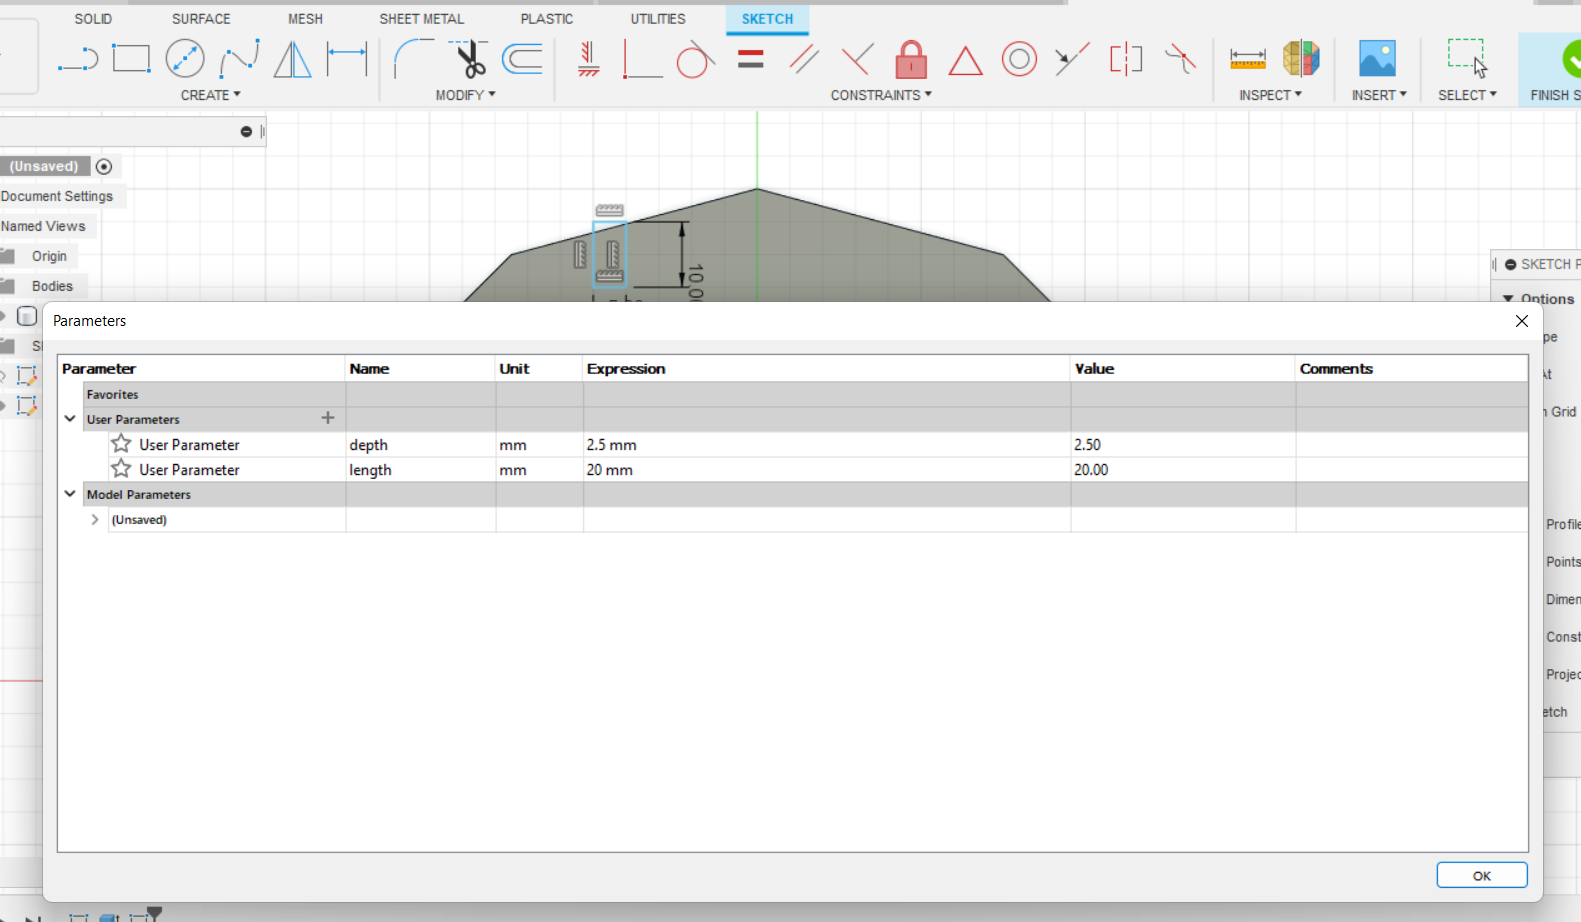
- 5- You will have to specify the Name of the parameter, the Unit and the Value.
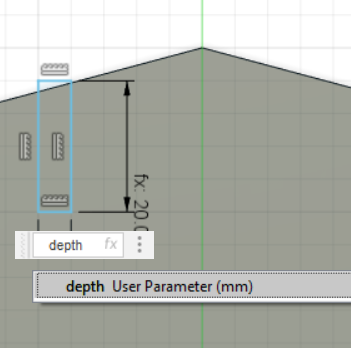
- 6- Set a dimension for hight and depth.
- 7- add another rectangle from pattern.
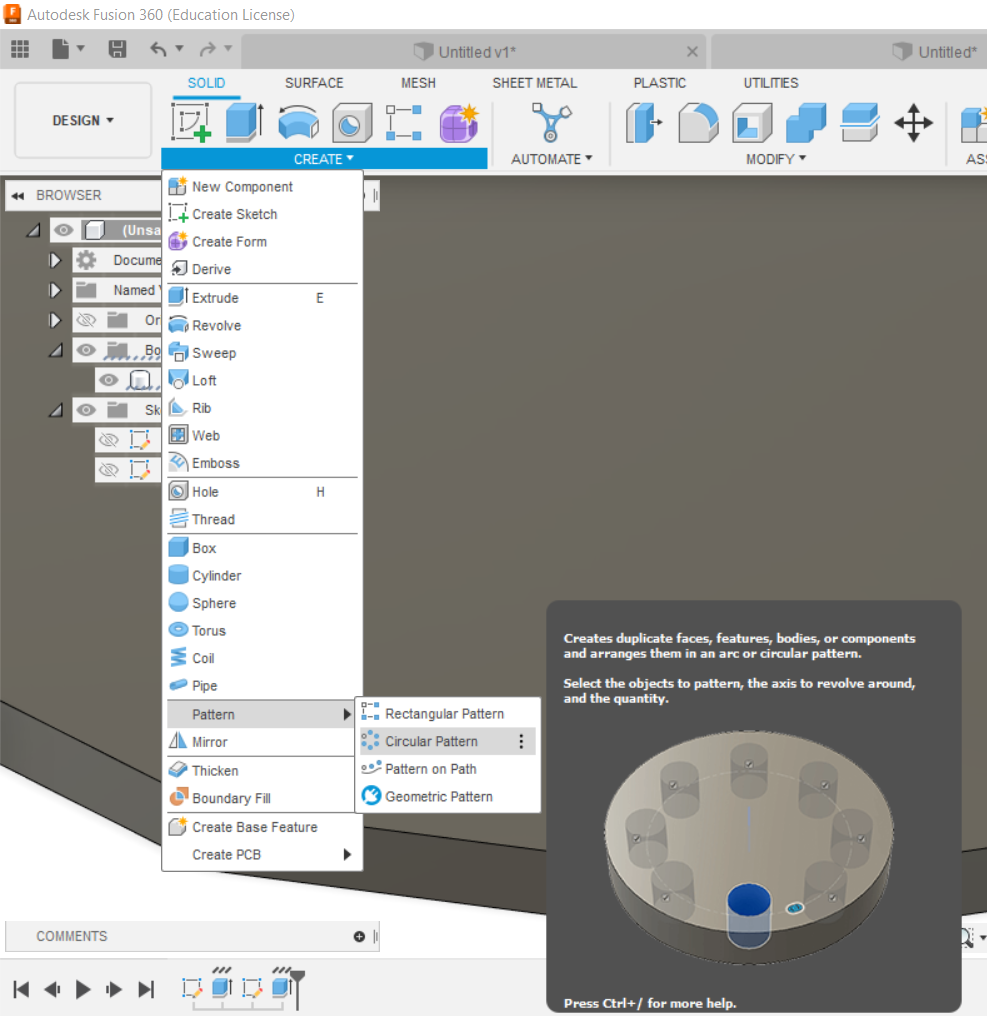
-
8- add a circle and some details.
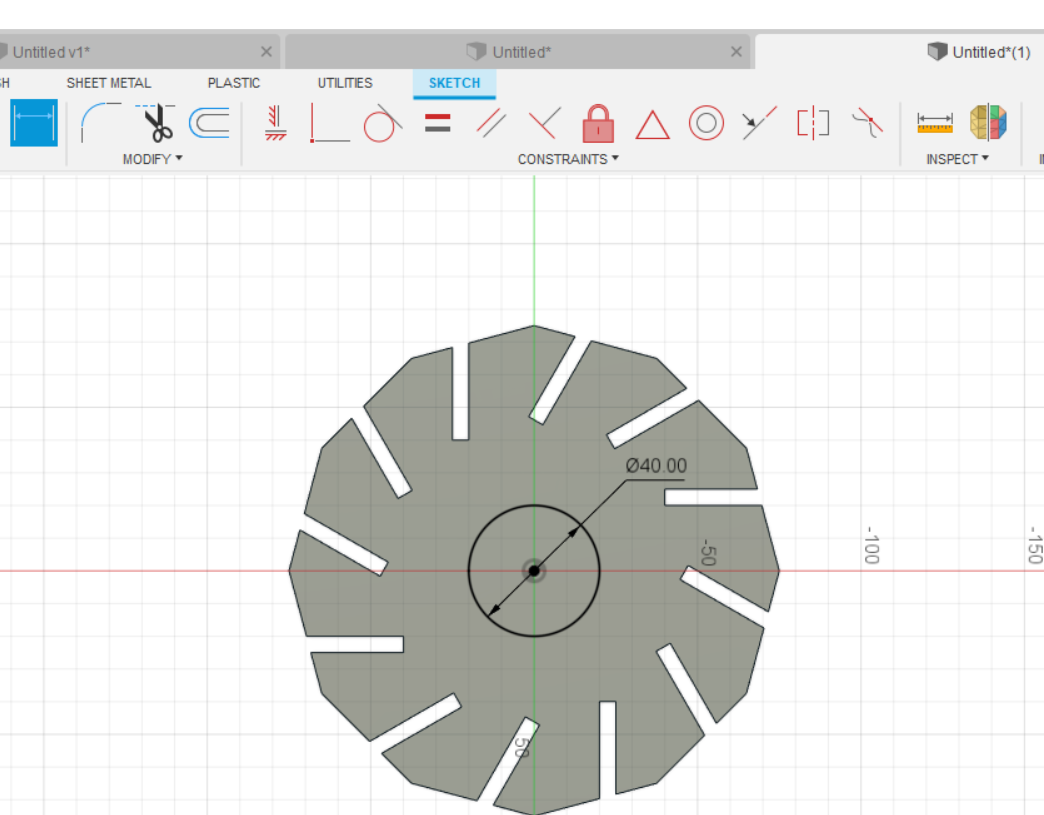
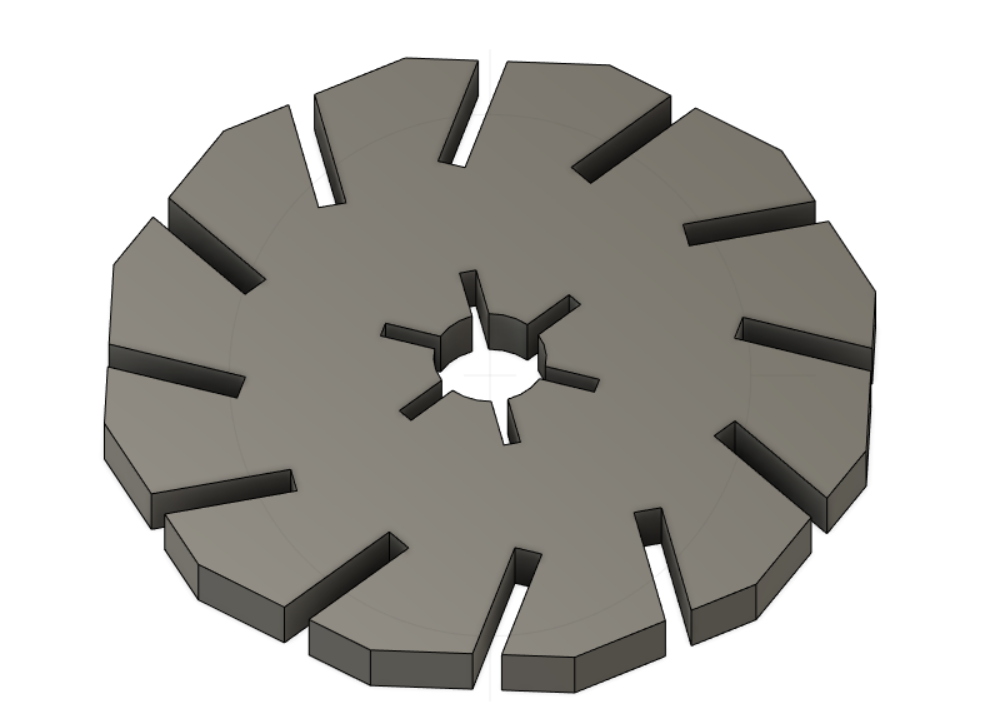
-
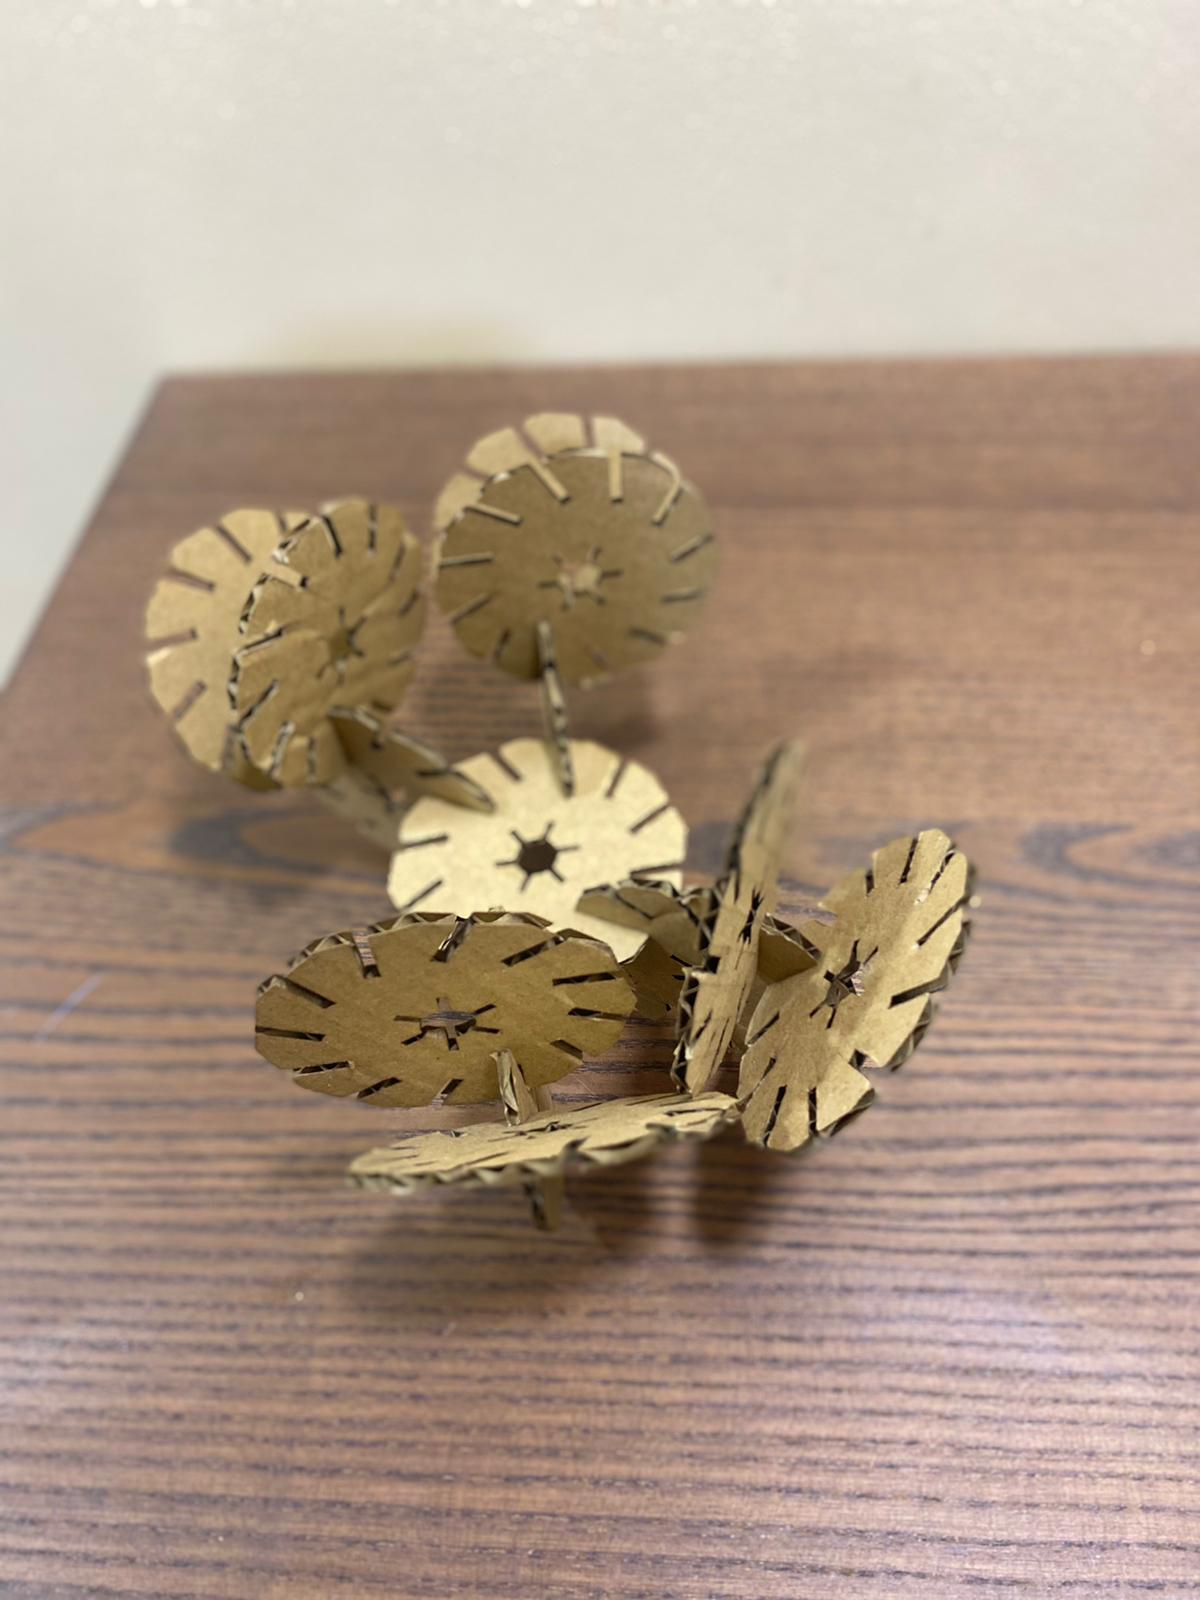
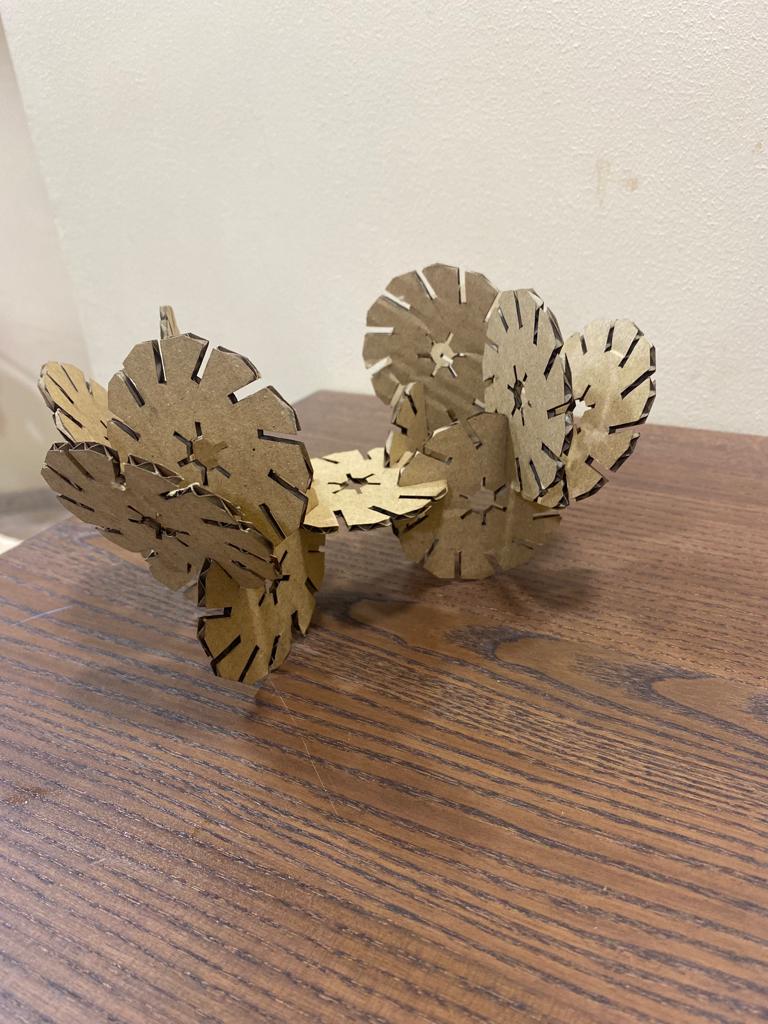
9- This is the shape.
- 10- then saved the file as DXF and opened it in the computer connected to the laser cutter. made a pattern of the shape.
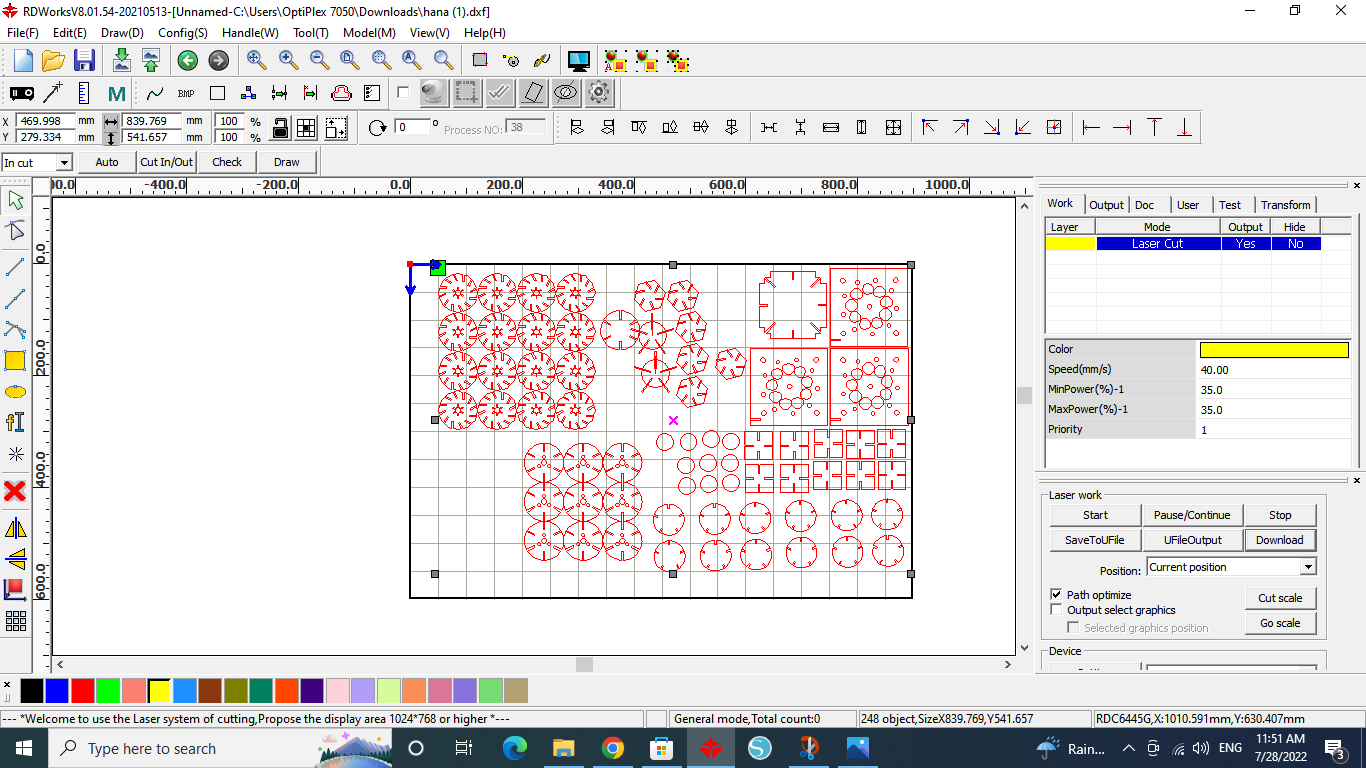
- 11- Then I set the speed to 40 and power to 35, which are the valued that we found perfect for the material we are using.
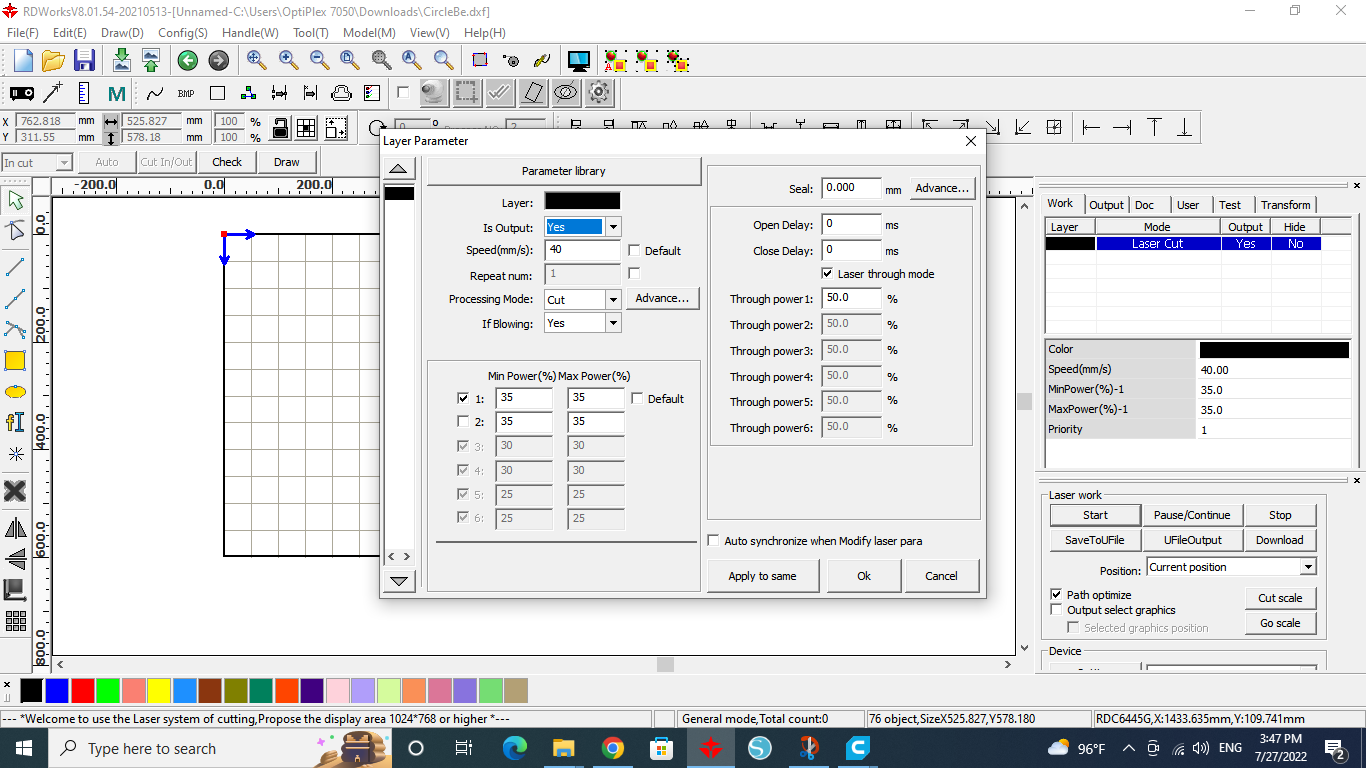
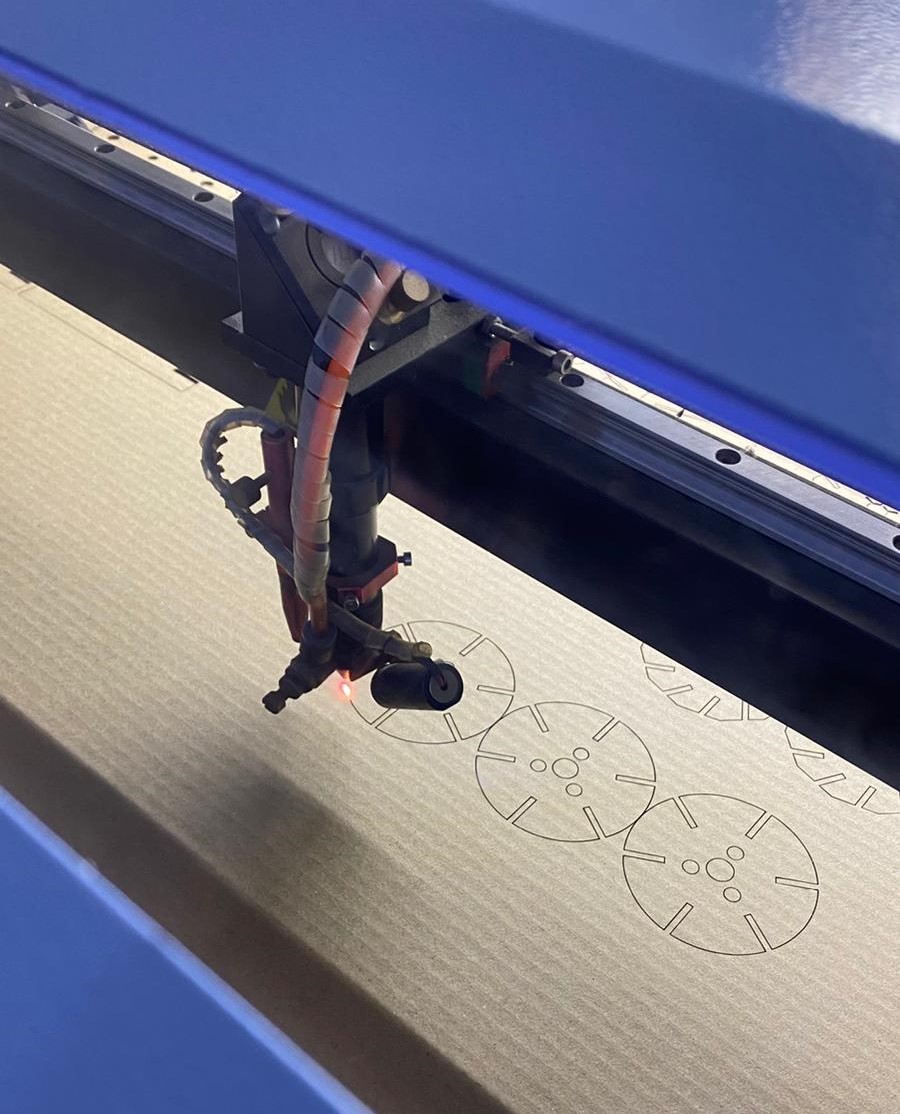
- 12-then start the cutting by pressing start, the laser will then start to cut.
- 13-adjusted the cutted pieces into a press-fit design.
original file