6. Large format CNC (computer controlled Machining)
I spent this week testing the CNC machine and using it to design and make a project for kids.
What is CNC?
“A CNC machine is one that is controlled by computer numerical control, which means that the computer provides input data to the machine, such as CAD designs and tool paths, and the machine reacts to the computer by reflecting the data.”
Group assignment
In the group assignment, we test the safety steps, tool path selection steps, feed rate, and speed settings. you can see our work in the Hood’s page
individual assignment
Design
I wanted to build a bed in the shape of a rocket because I preferred to base my design on my interests.
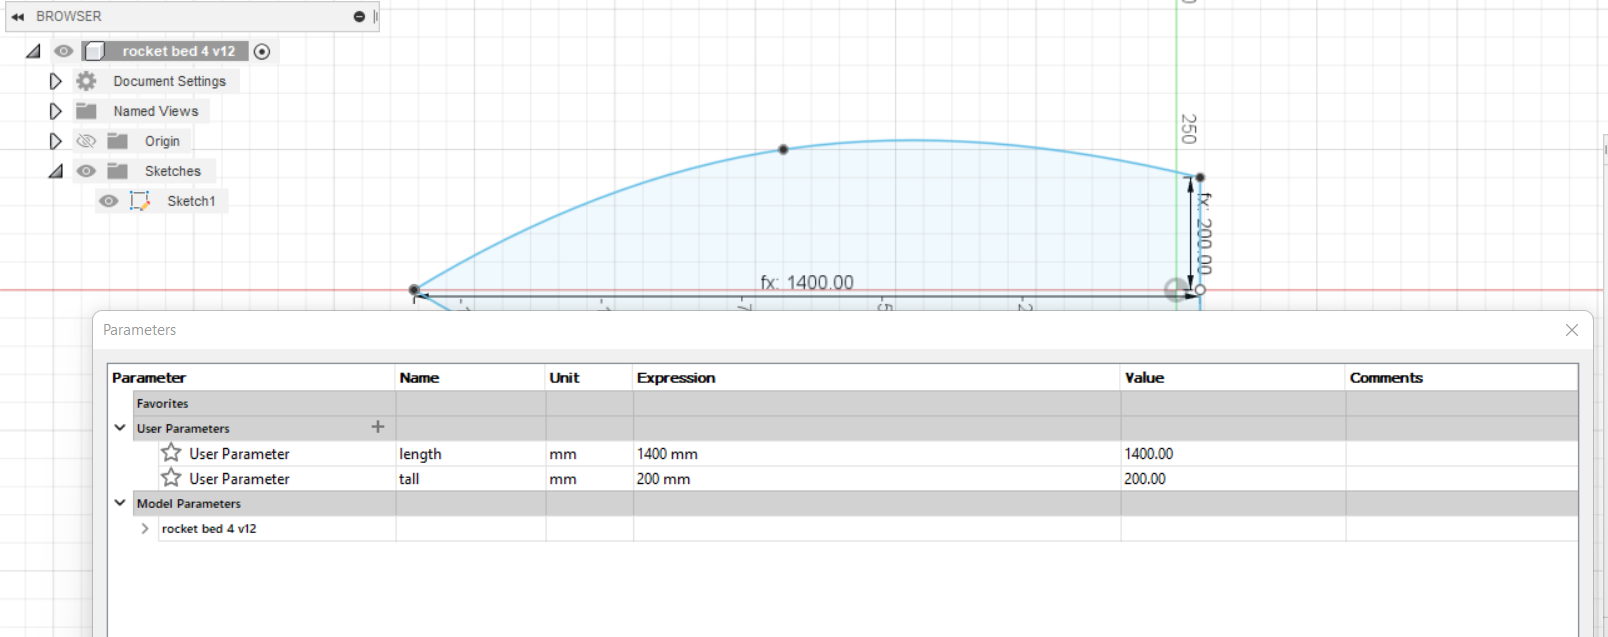
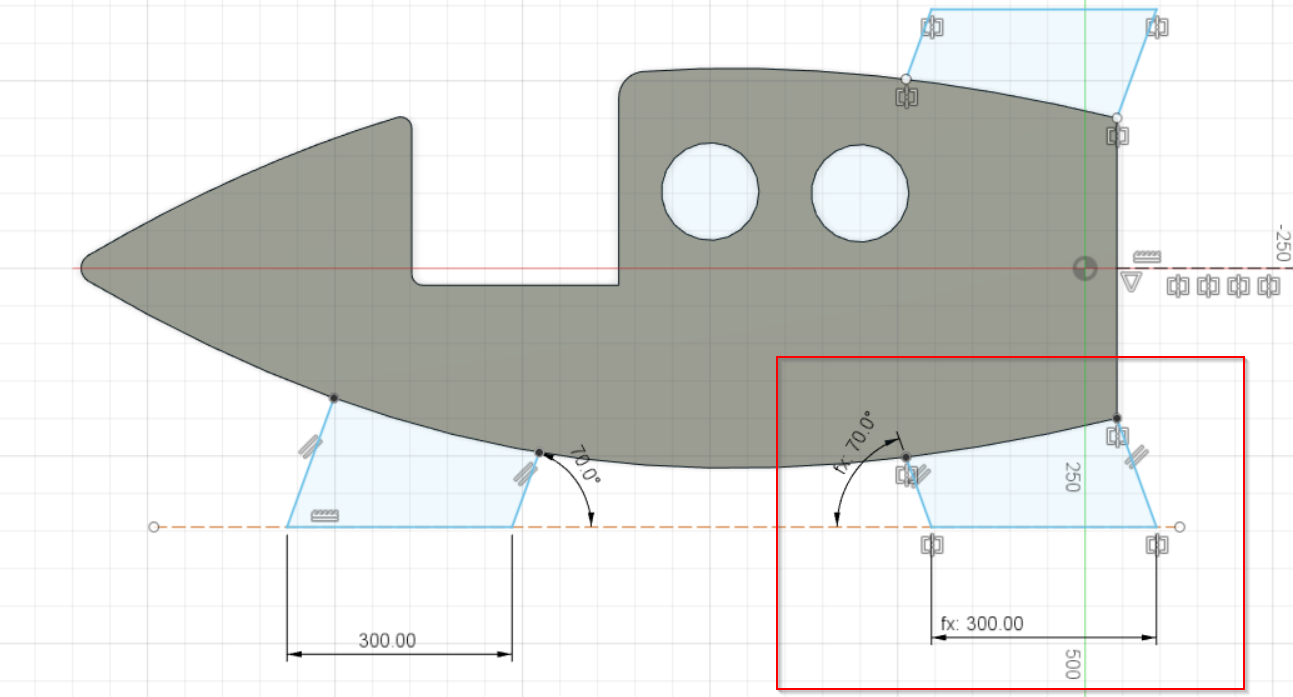
- 1- I begin by sketching the bedsides first, which are in the form of a rocket. I also set some parameters for length and height.

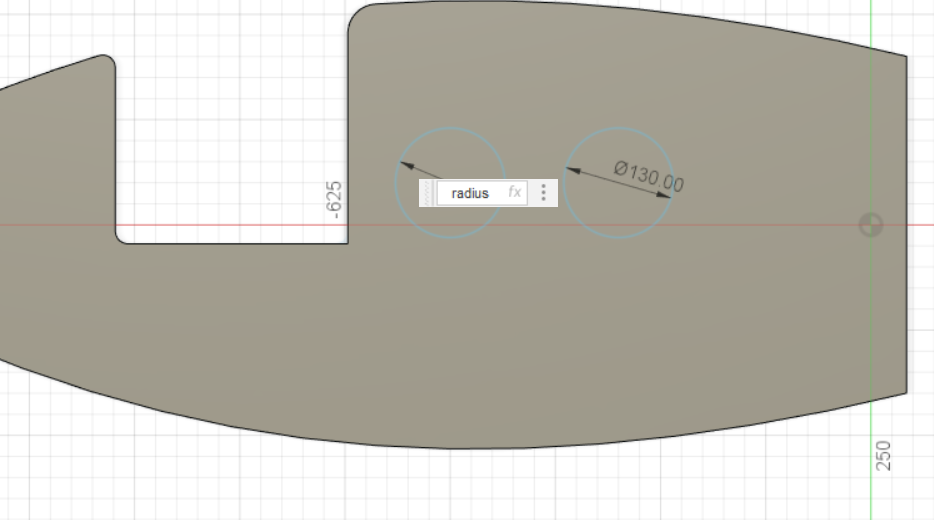
- 2- I then extrude it with a depth of 12mm because plywood will be the material I use for cutting. also, I make some details by drawing the door and two windows.
- 3- Here, I rounded a body’s edges to make the design kid-friendly and smooth.
- 4- I depict the rocket’s finer characteristics, such as the bed’s legs. I copied the shape inside the rectangle to the top of the bed using the mirror.
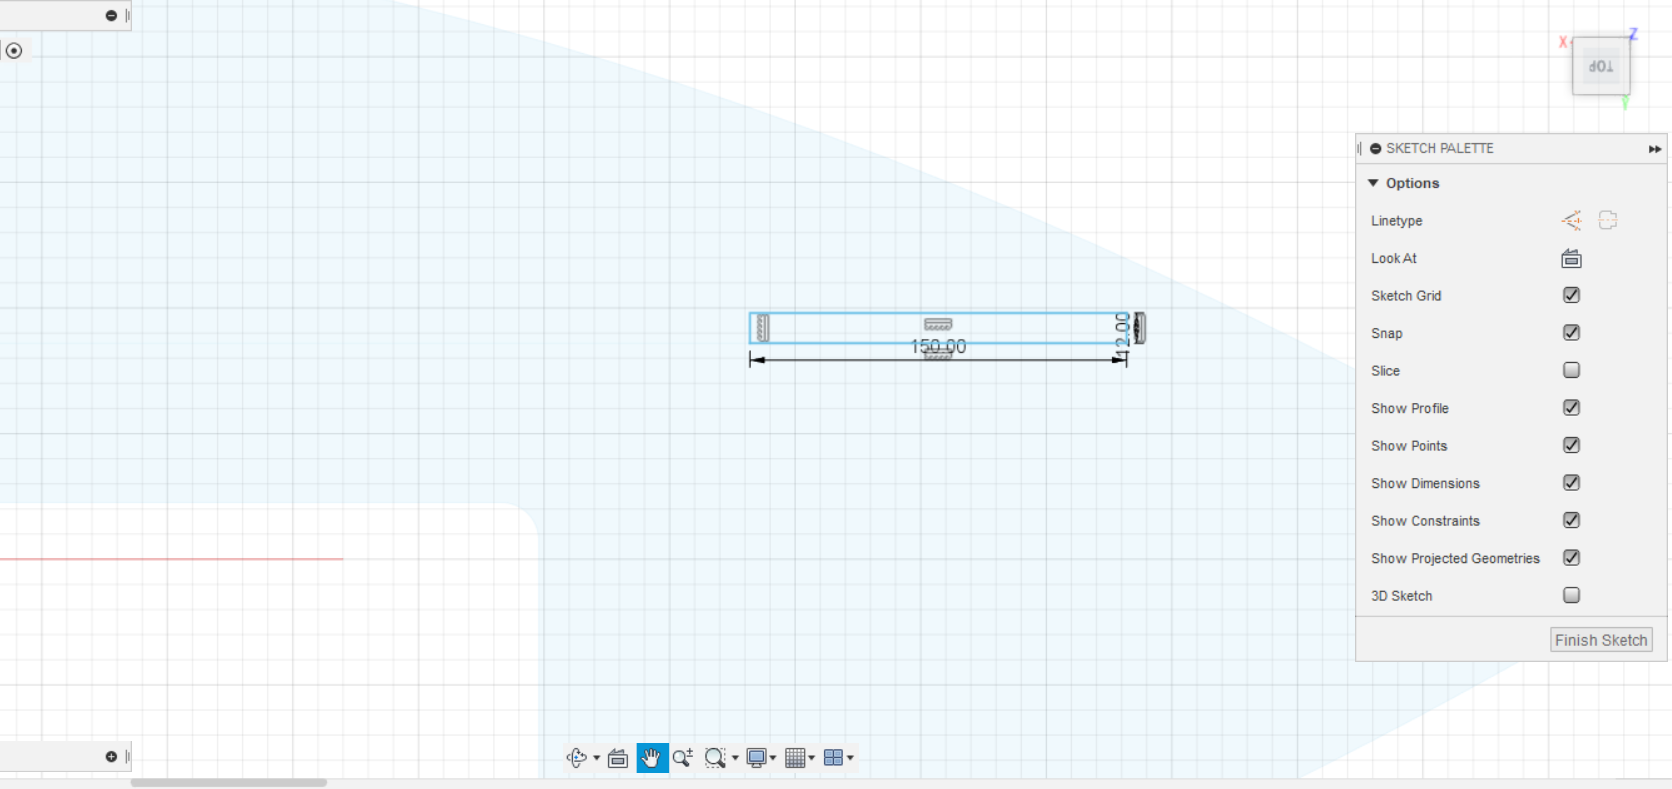
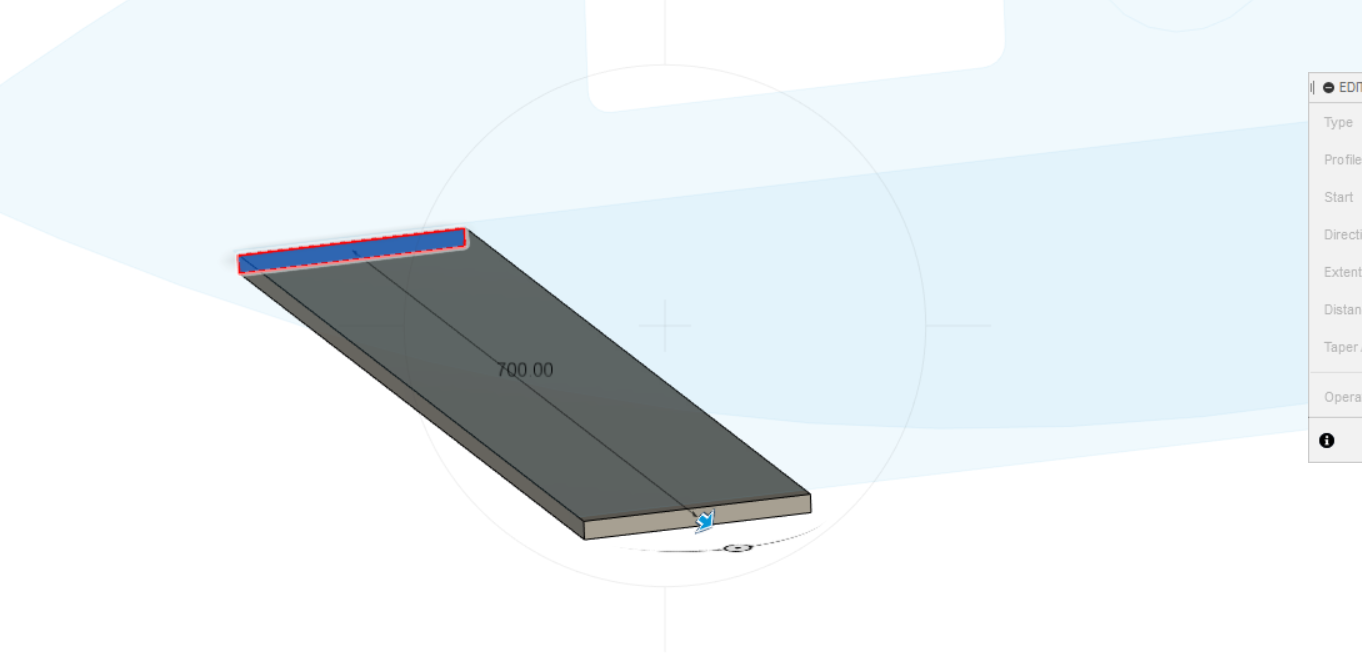
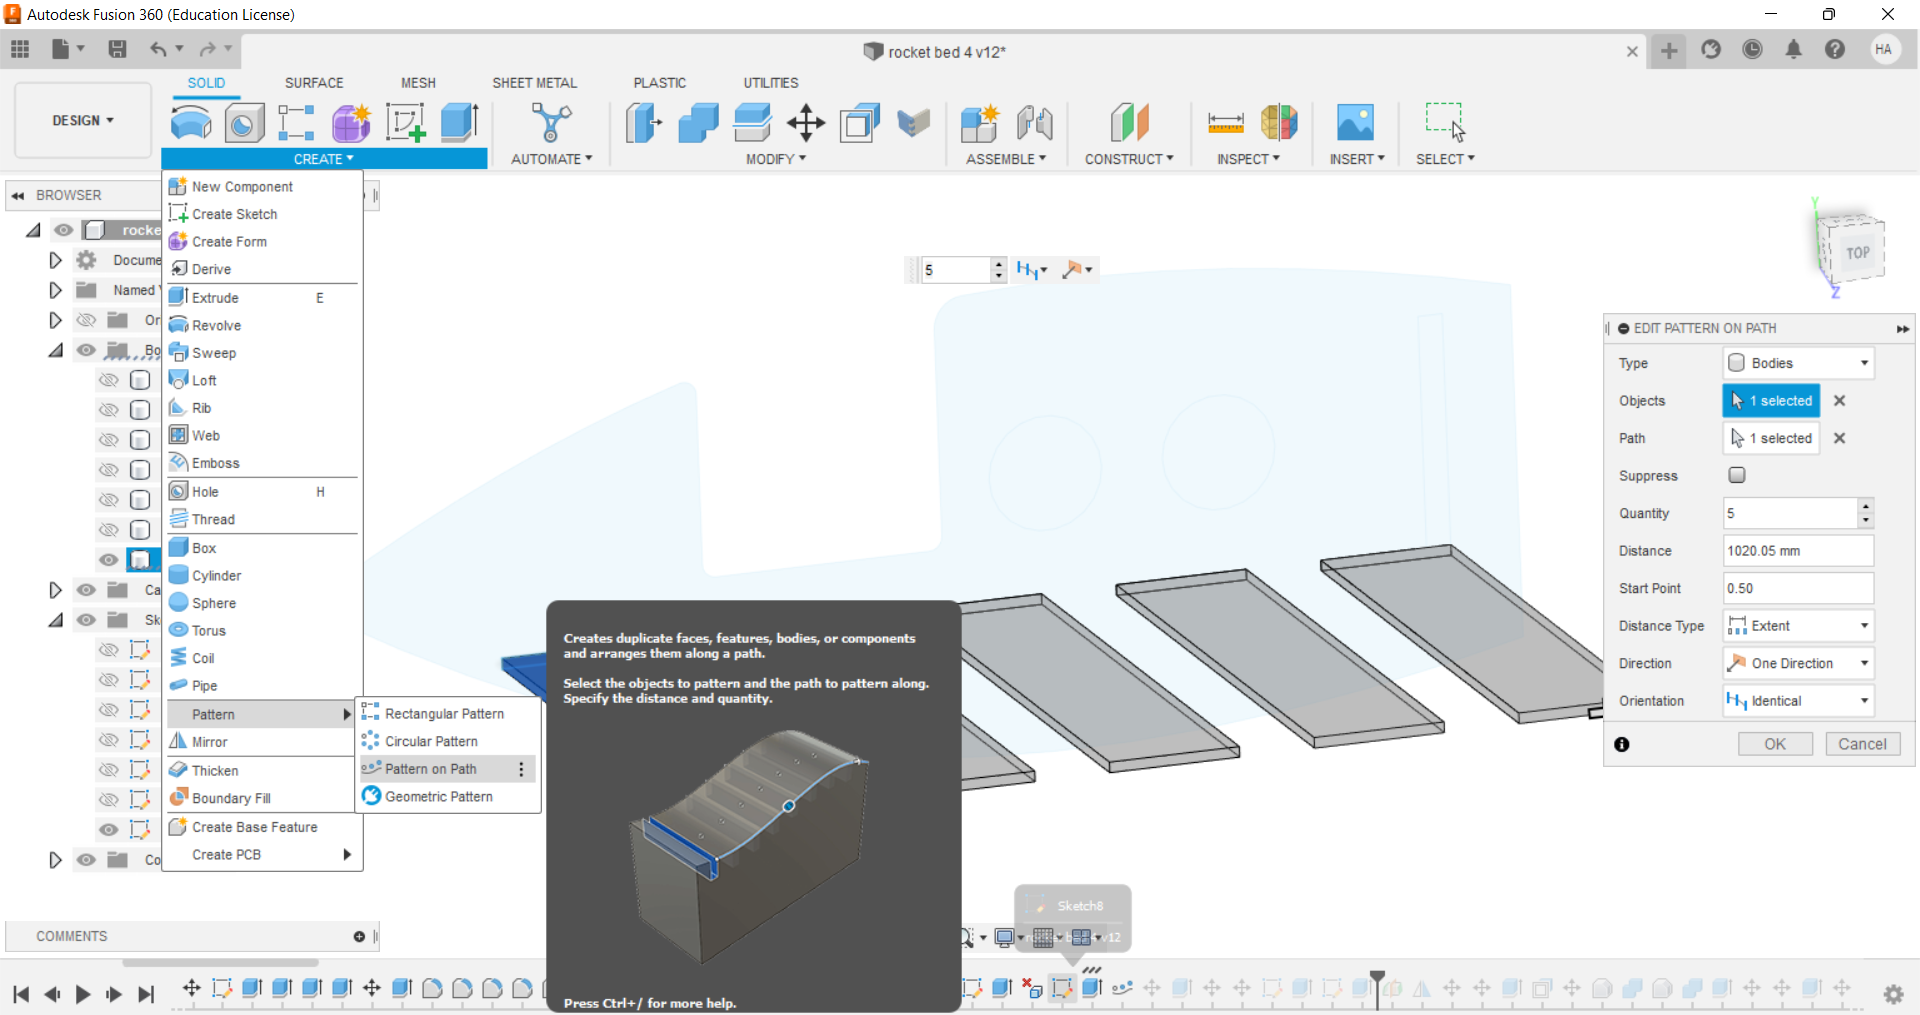
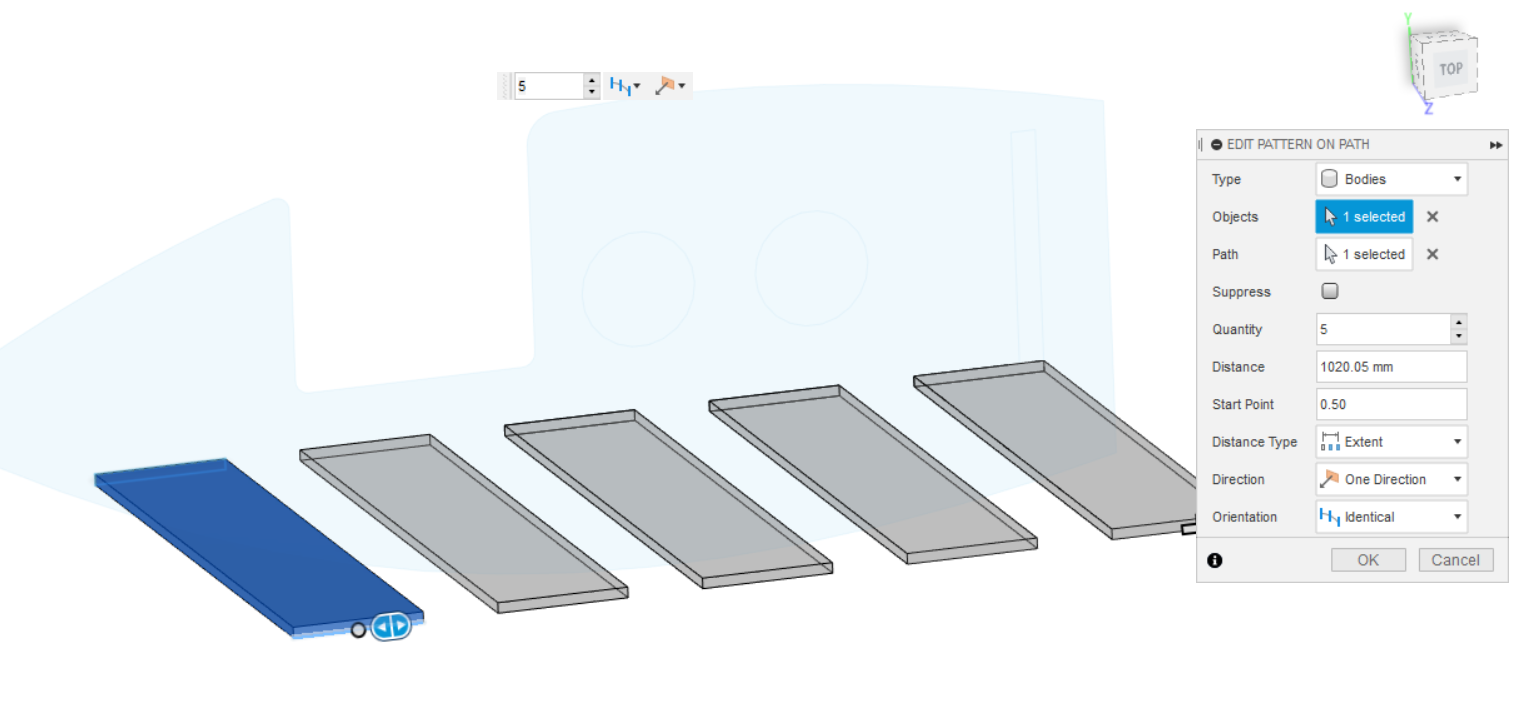
- 5- I should now create a new sketch for the bed’s base, draw a rectangle on it, extrude it by 700mm ( width of the bed), then use the pattern on path option to duplicate it five times.
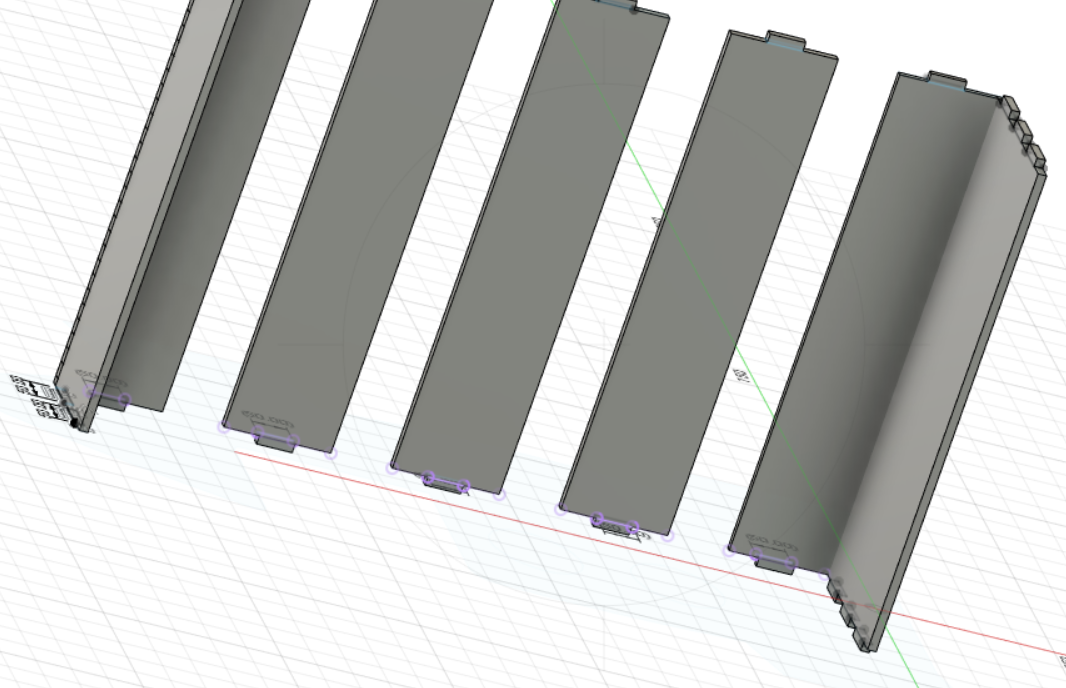
- 6-And in the same way also for the front and back ends of the bed.
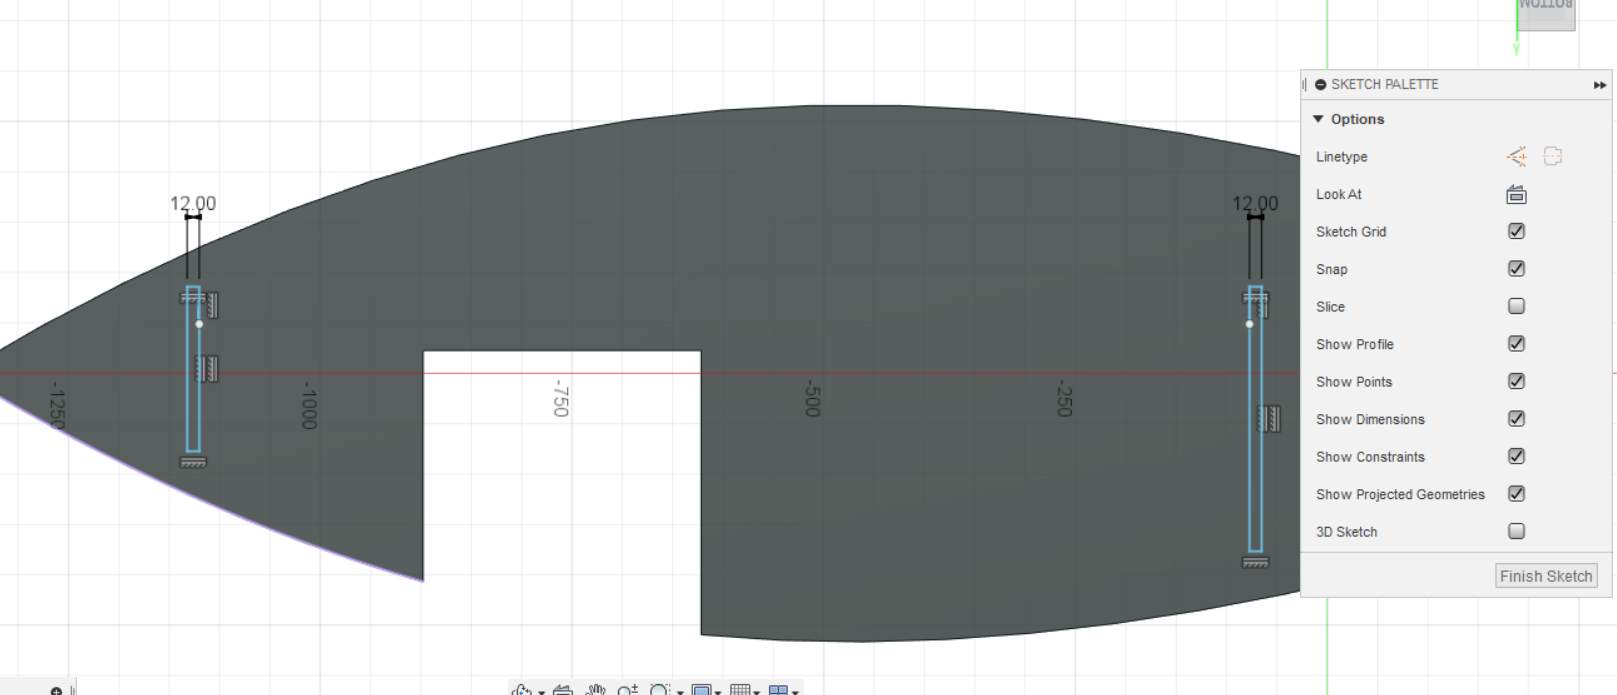
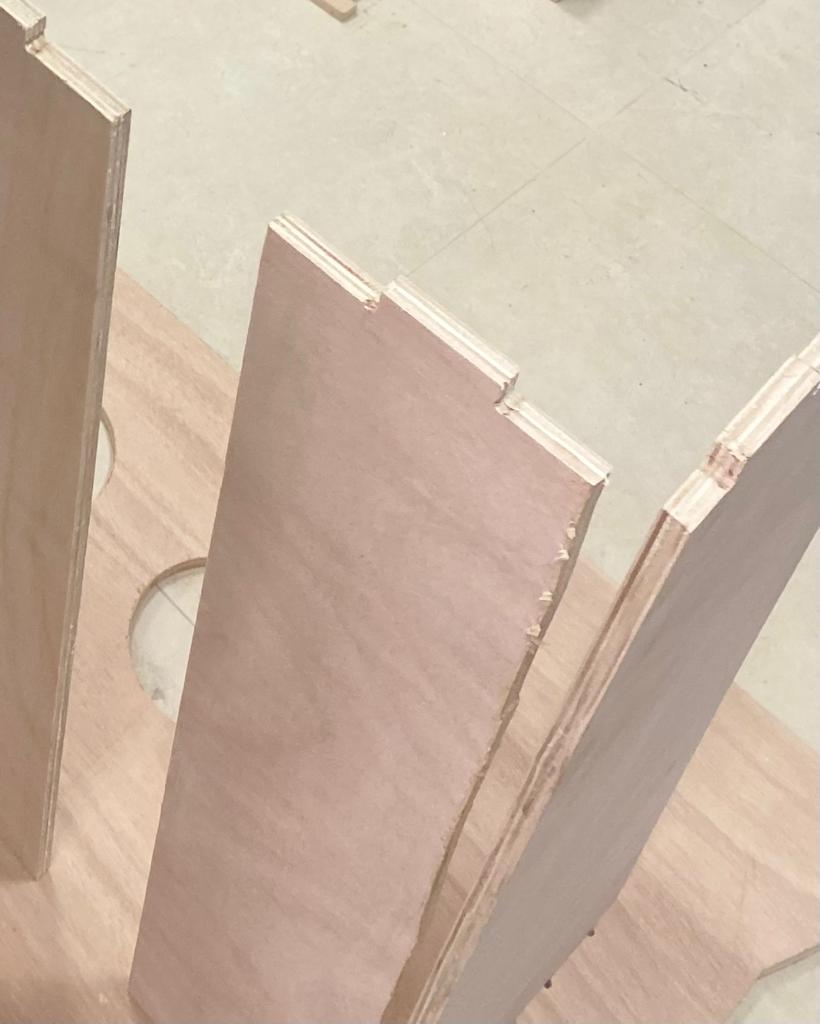
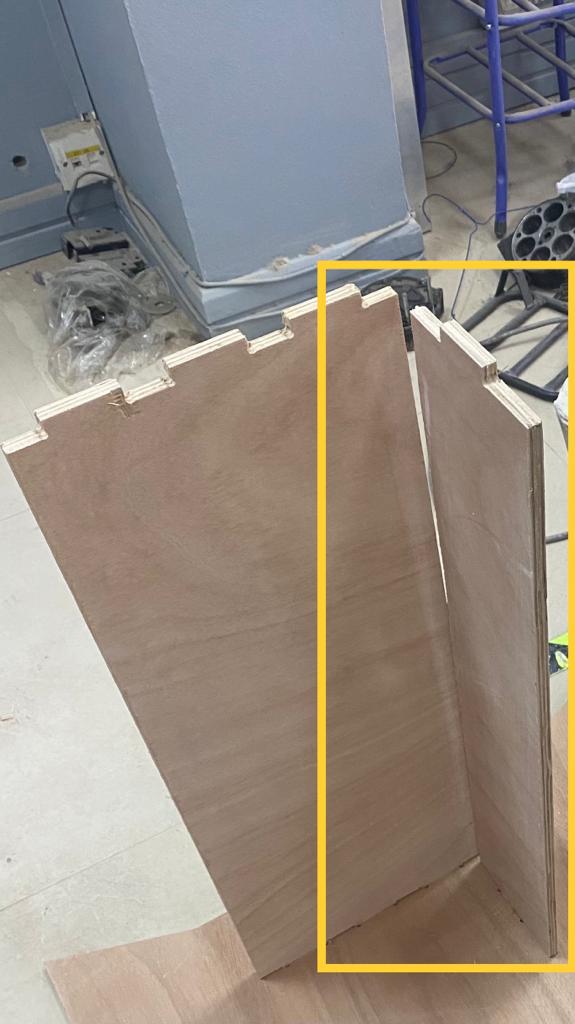
- 7- For the jointsThey were made with fit-in joints.To make the joints I drew identical rectangles on the bases of the bed with 50mm length each and the width of all rectangles is the same width of the wood which is 12mm. Also I drew 3 for the front side and two for the back side.I used the mirror option to duplicate the joint in the other side of the bases.

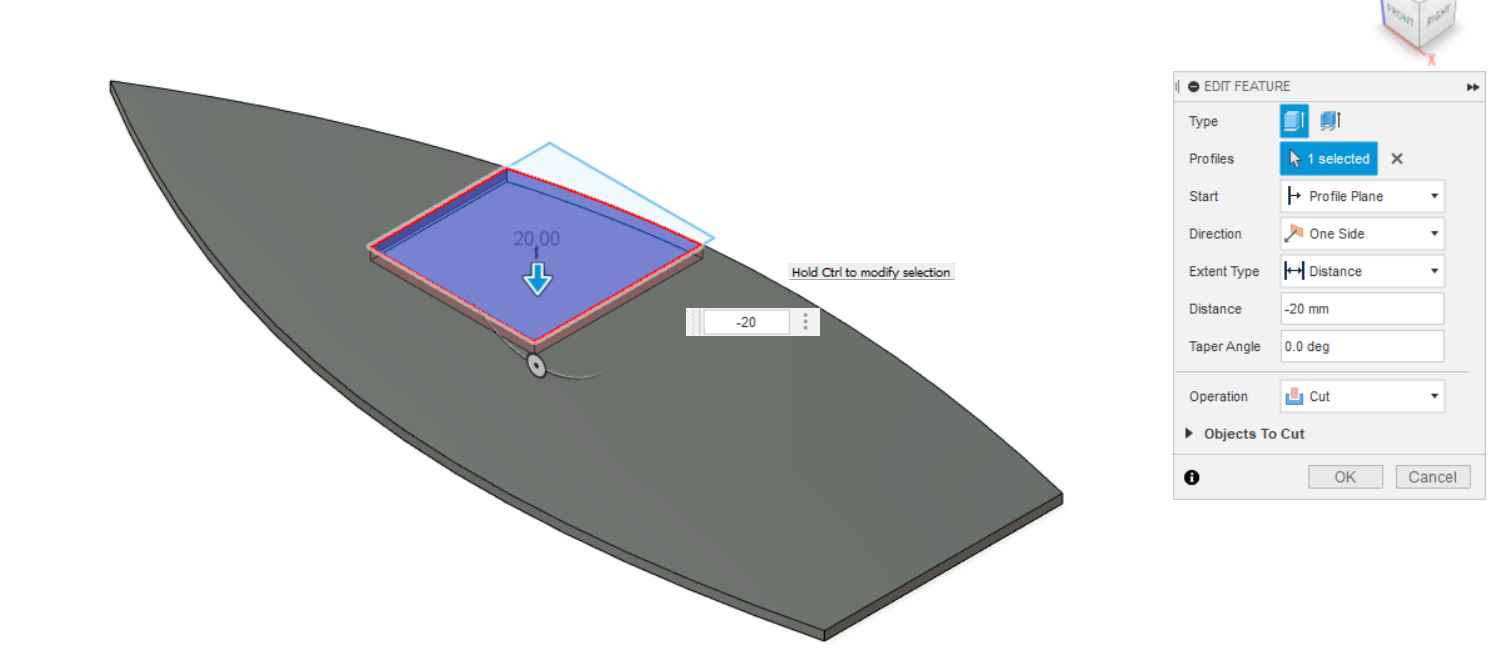
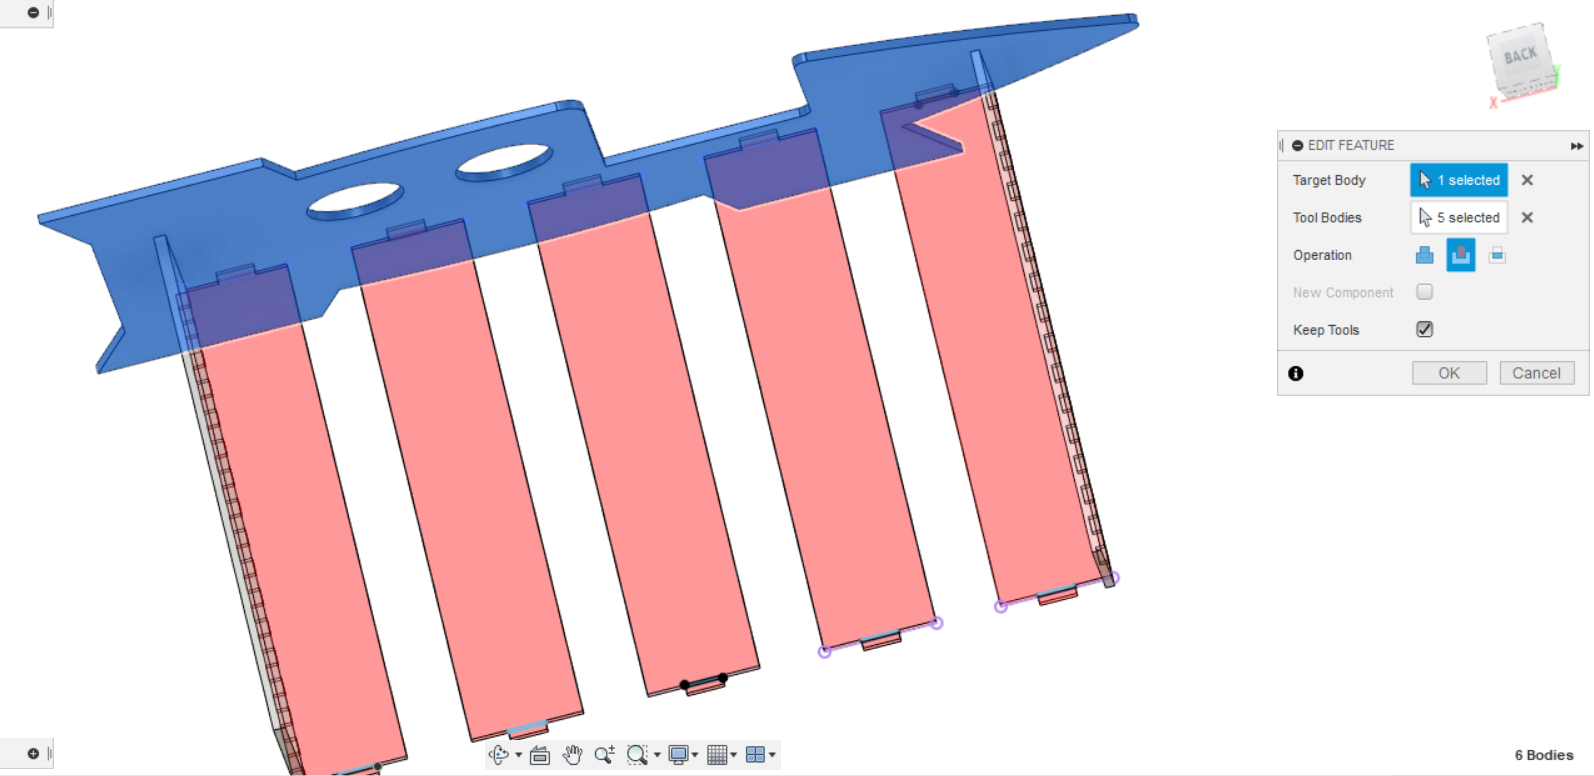
- 8- The bed’s sides were then cut for the joints using the combine option. Finally, copy the bedside to the opposite side.
original file
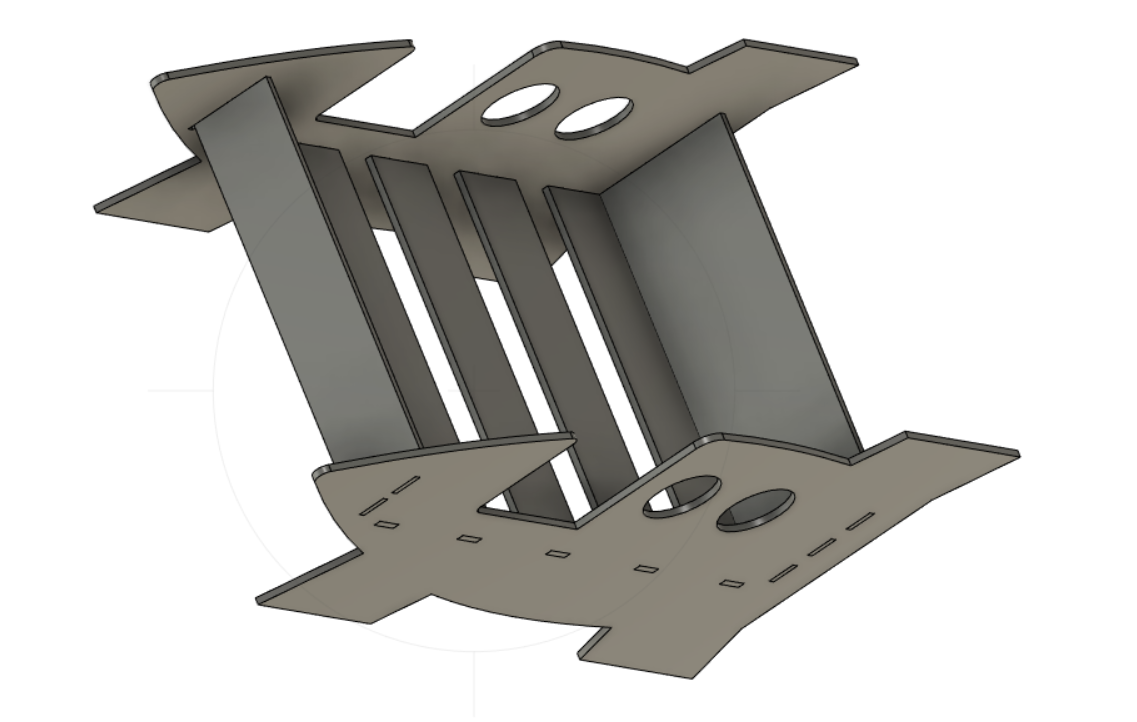
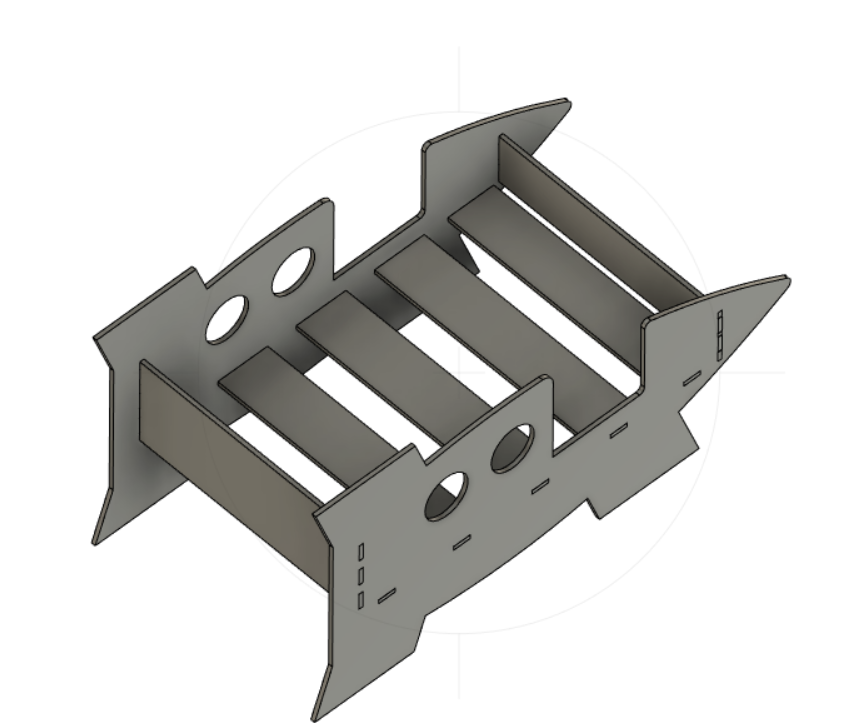
3D model
Cutting process
Vcarve pro
“VCarve Pro is a powerful but intuitive software solution for creating and cutting parts on a CNC Router. VCarve Pro provides a powerful but intuitive software solution for creating and cutting parts on a CNC Router.”
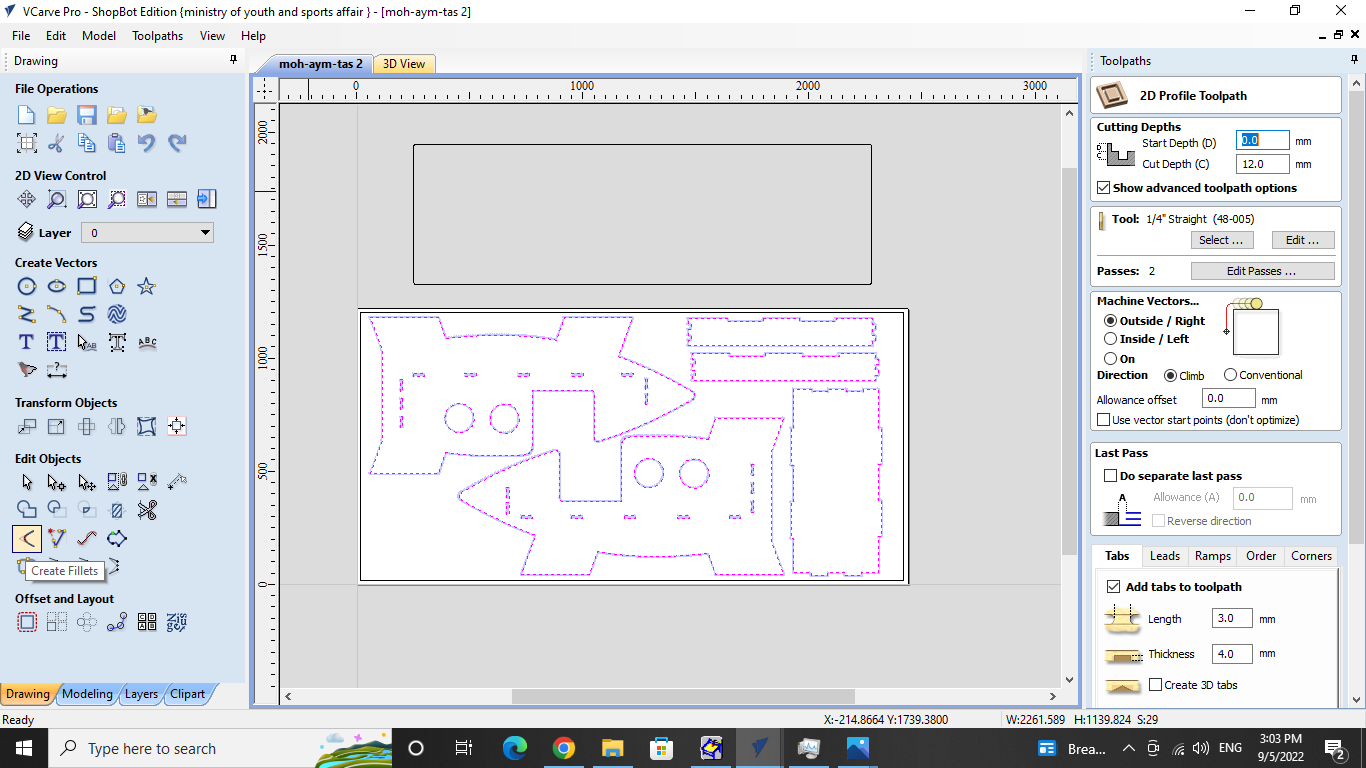
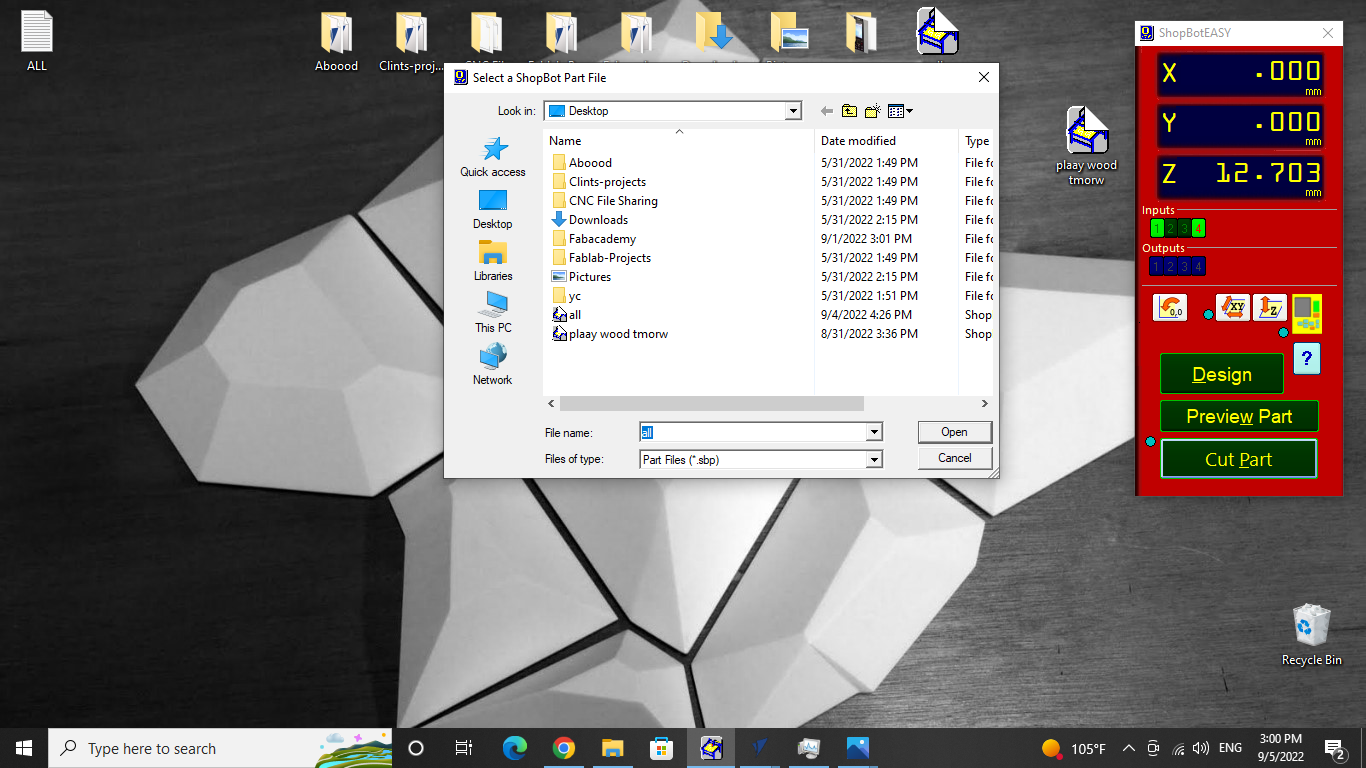
- 1- To create the toolpath, begin by open the dxf file to VCarve Pro.
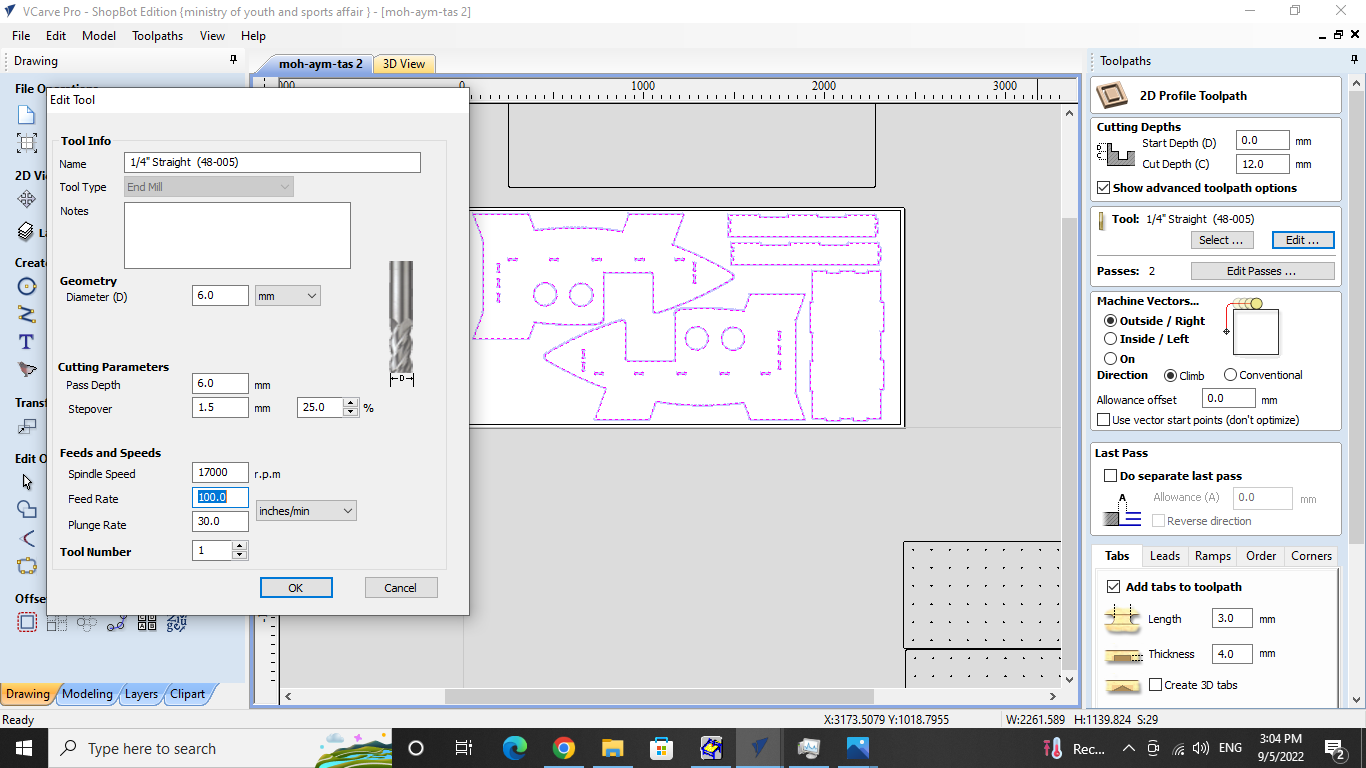
- 2- The drill rotates at a speed of 17000 revolutions per minute, which was chosen as the spindle speed. And The feed Rate was set to 100, which is the drill’s operating speed.
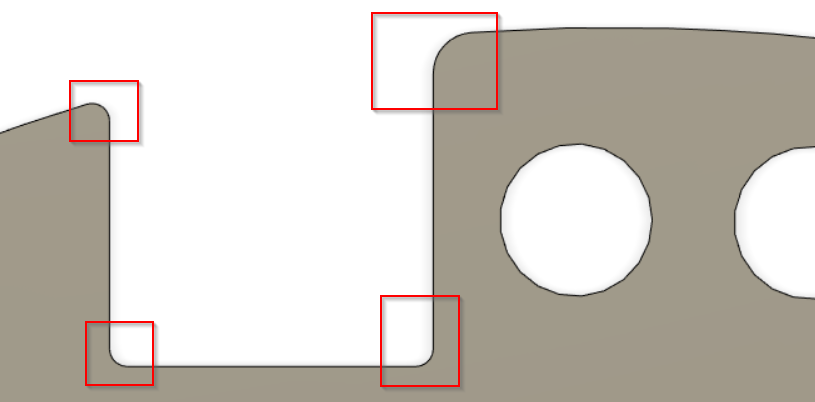
- 3- Make sure to add “Dog-Bone” fillets between your joints. The DogBone Fillet command makes a circular arc that is outside of the edges, which distinguishes it from a regular Fillet command. The center of the arc serves as the location where the two edges meet.
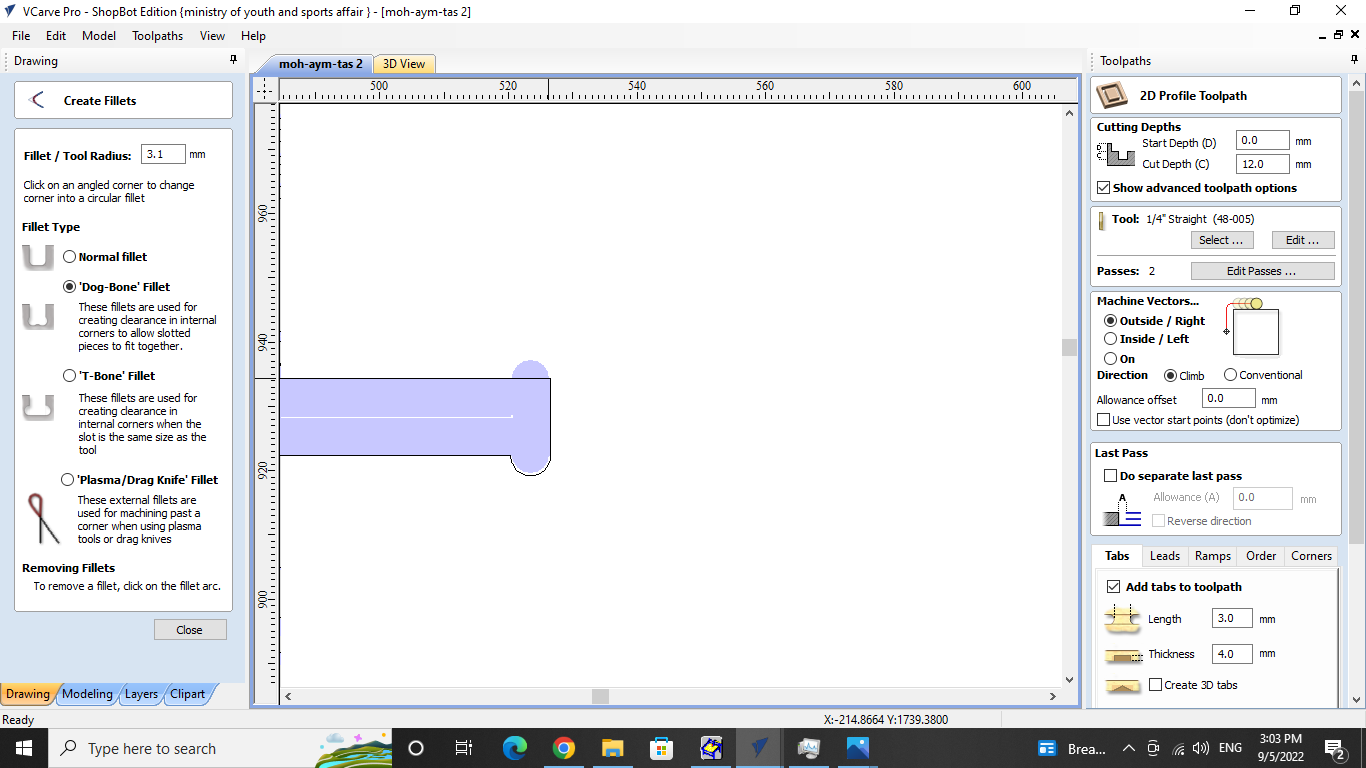
- 4- Add more tabs for the toolpath. We use these small tabs to hold your parts in place while being cut to ensure the best accuracy possible.

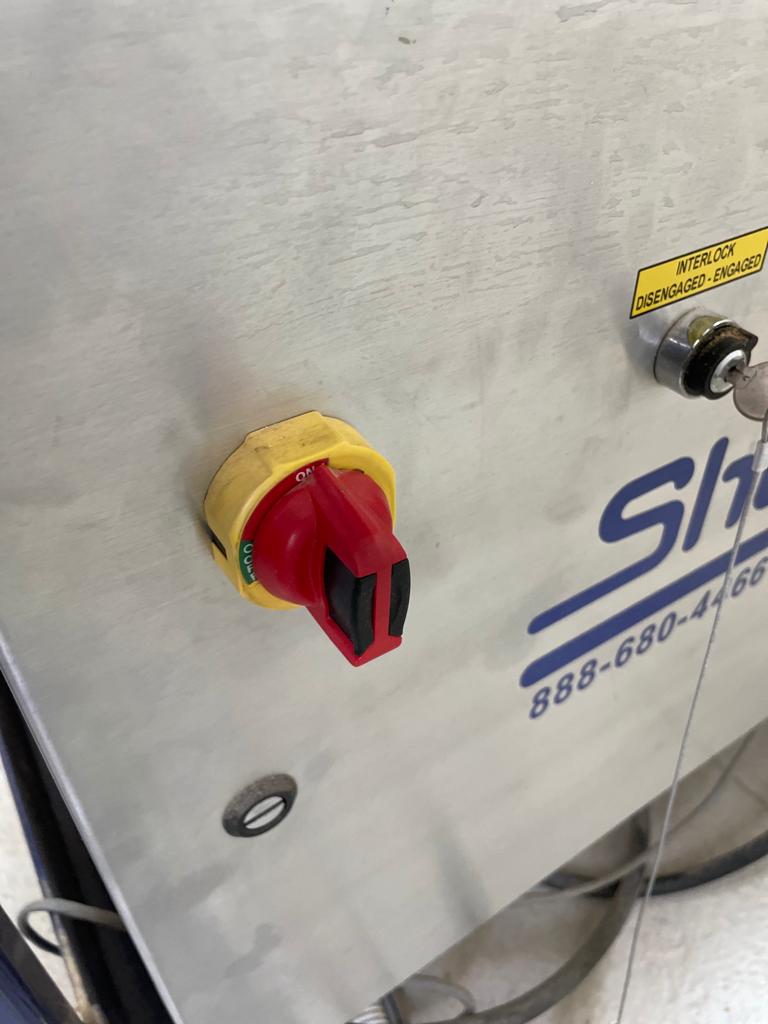
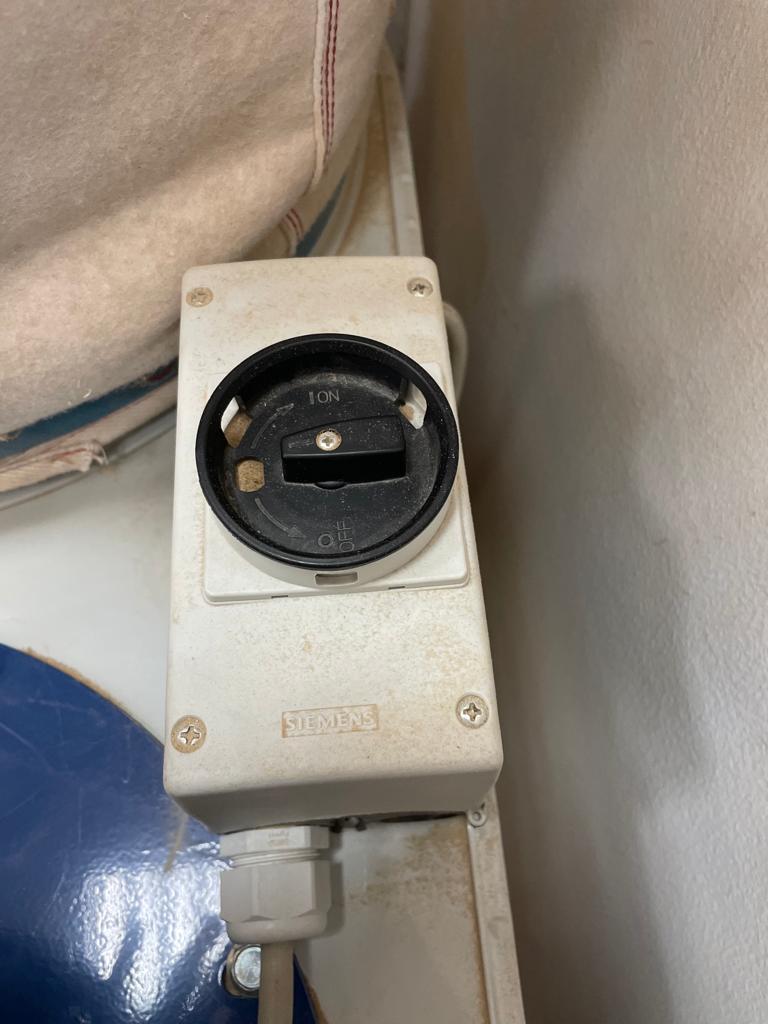
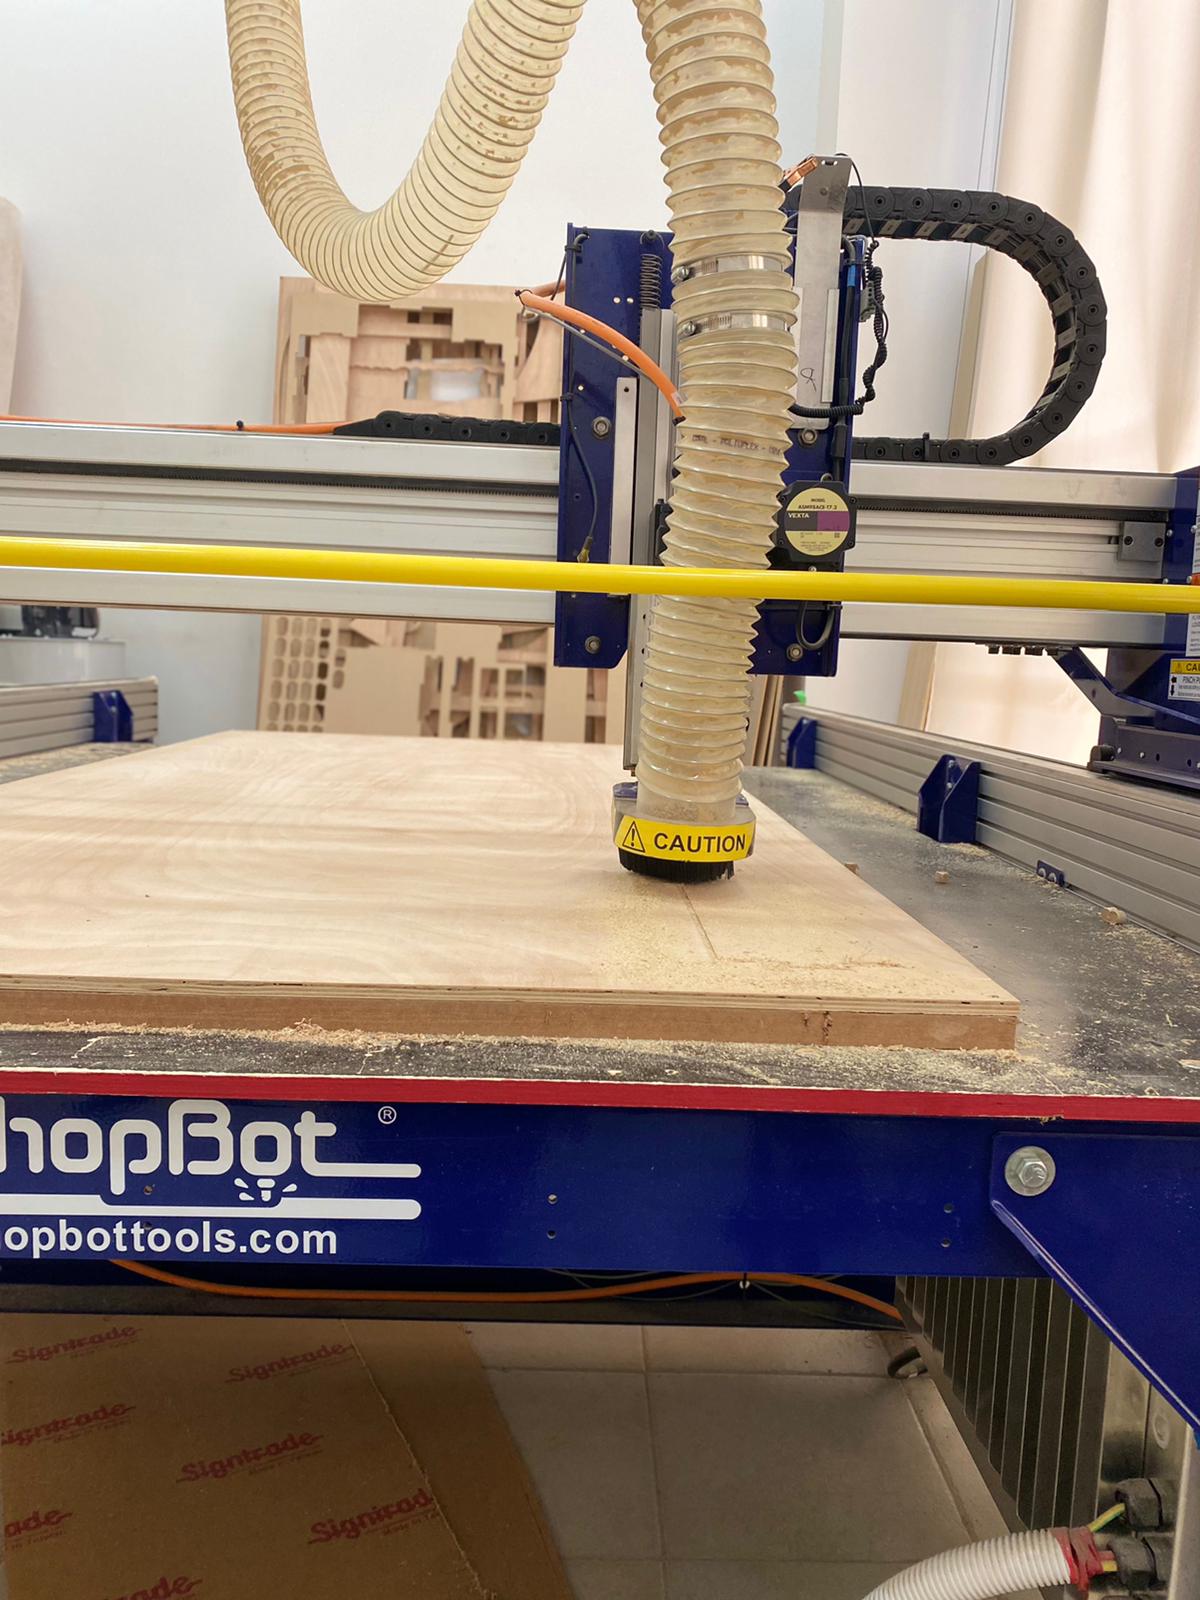
- 5- It may be activated with the red switch on the left.
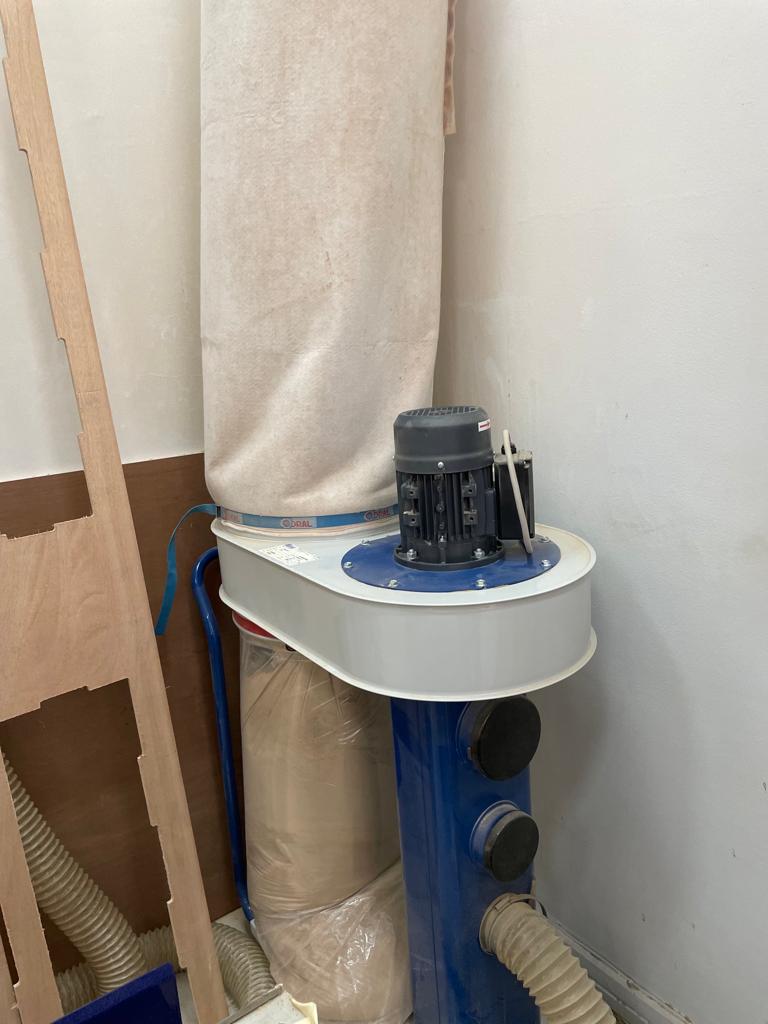
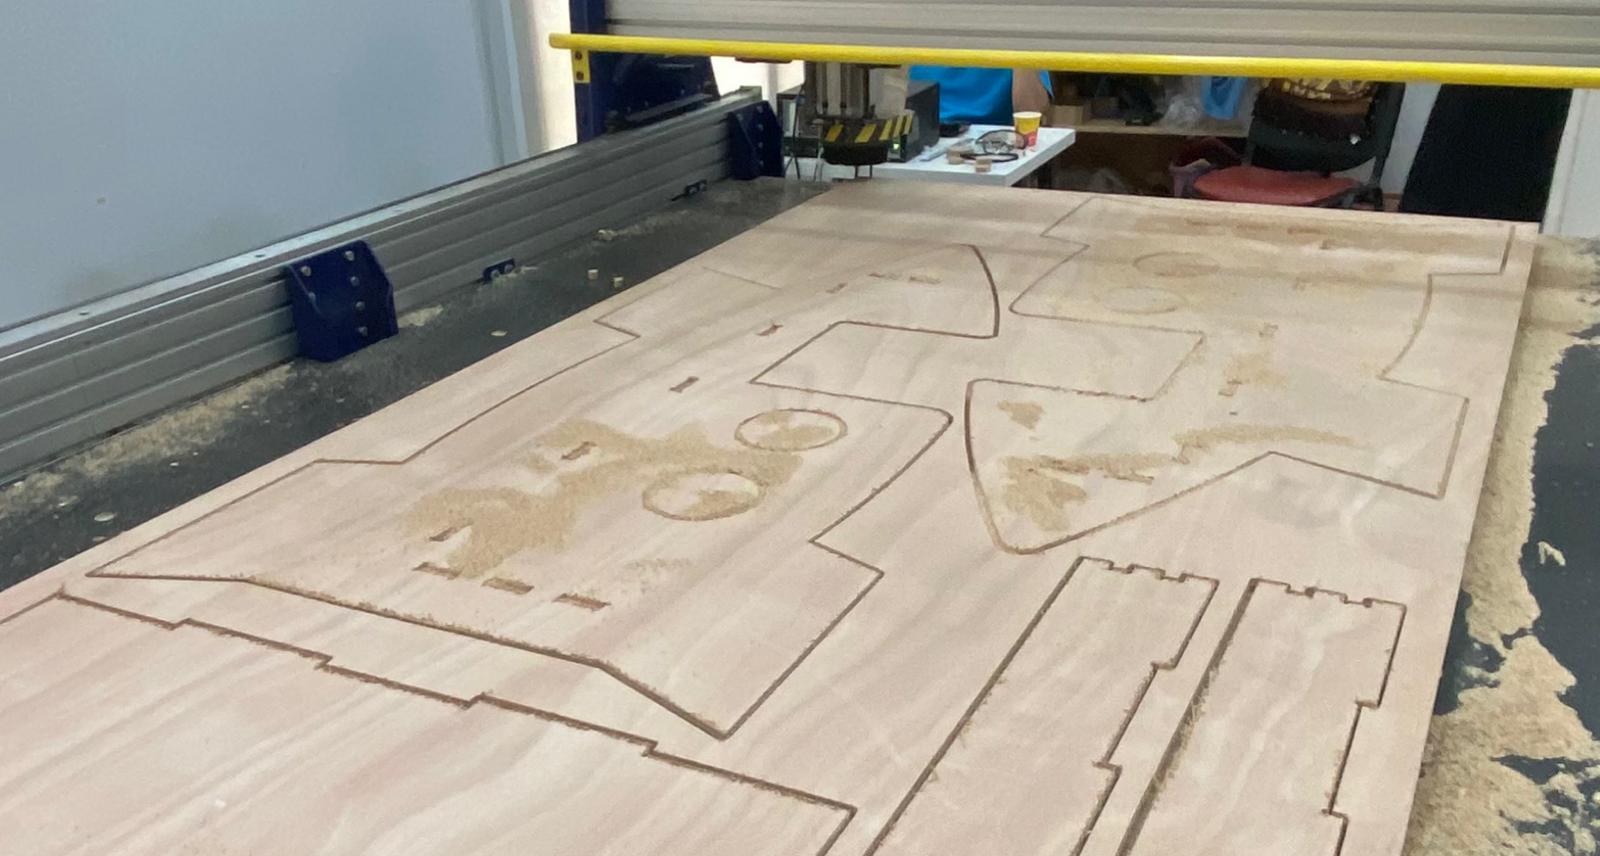
- 6- We must fix the plywood from the four corners using the screw.
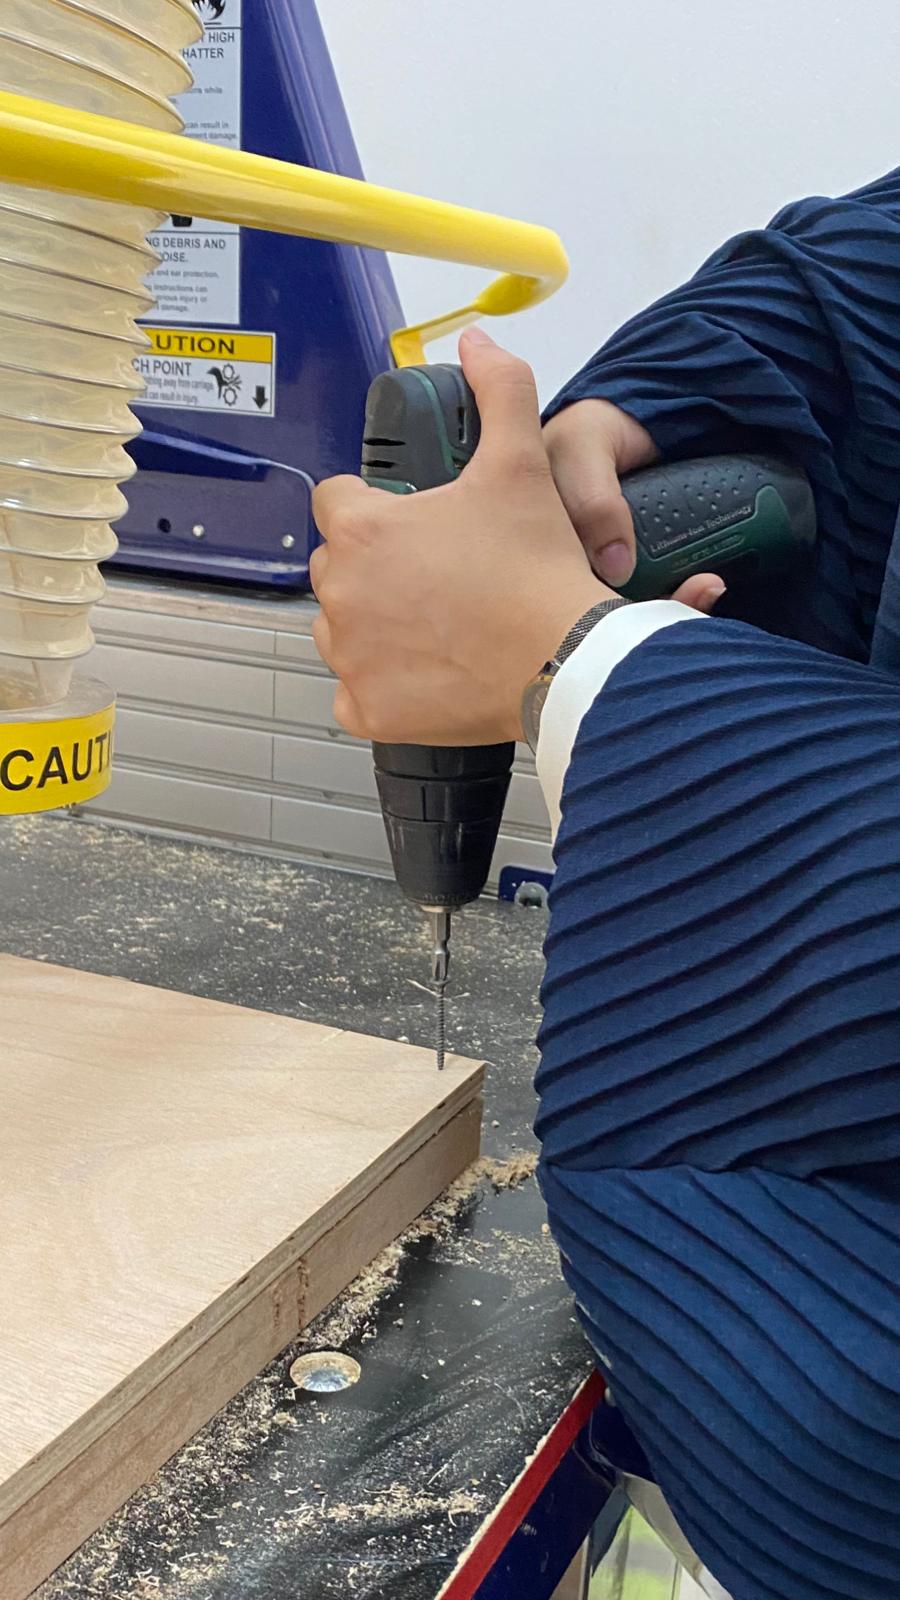
- 7- According to the safety, Make sure the vacuum machine is working. and wear goggles as well.
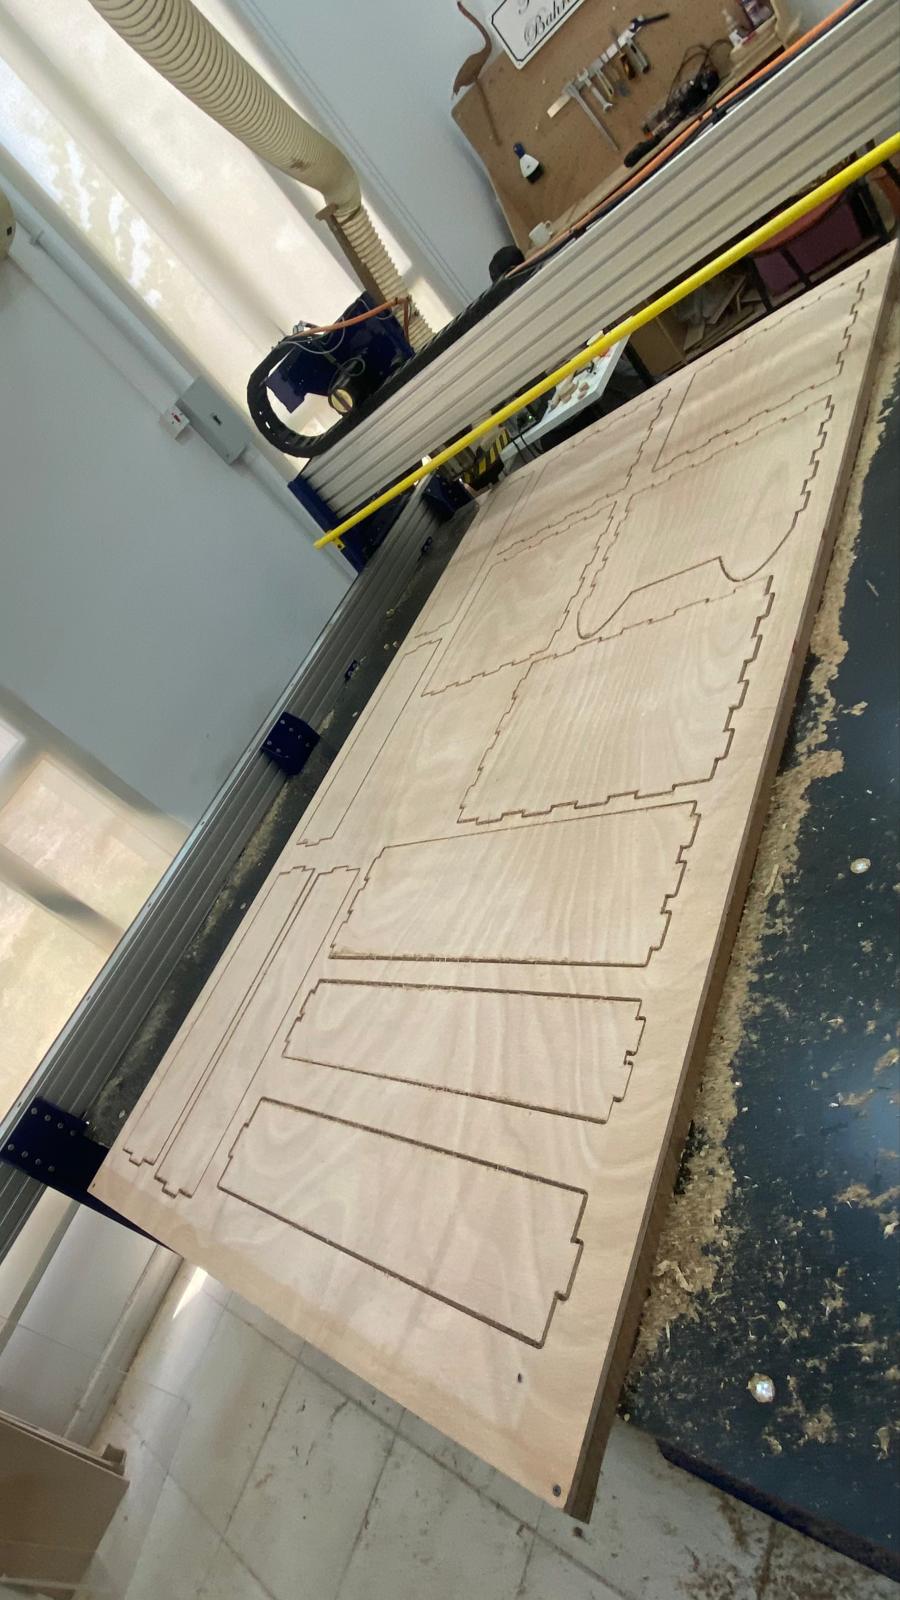
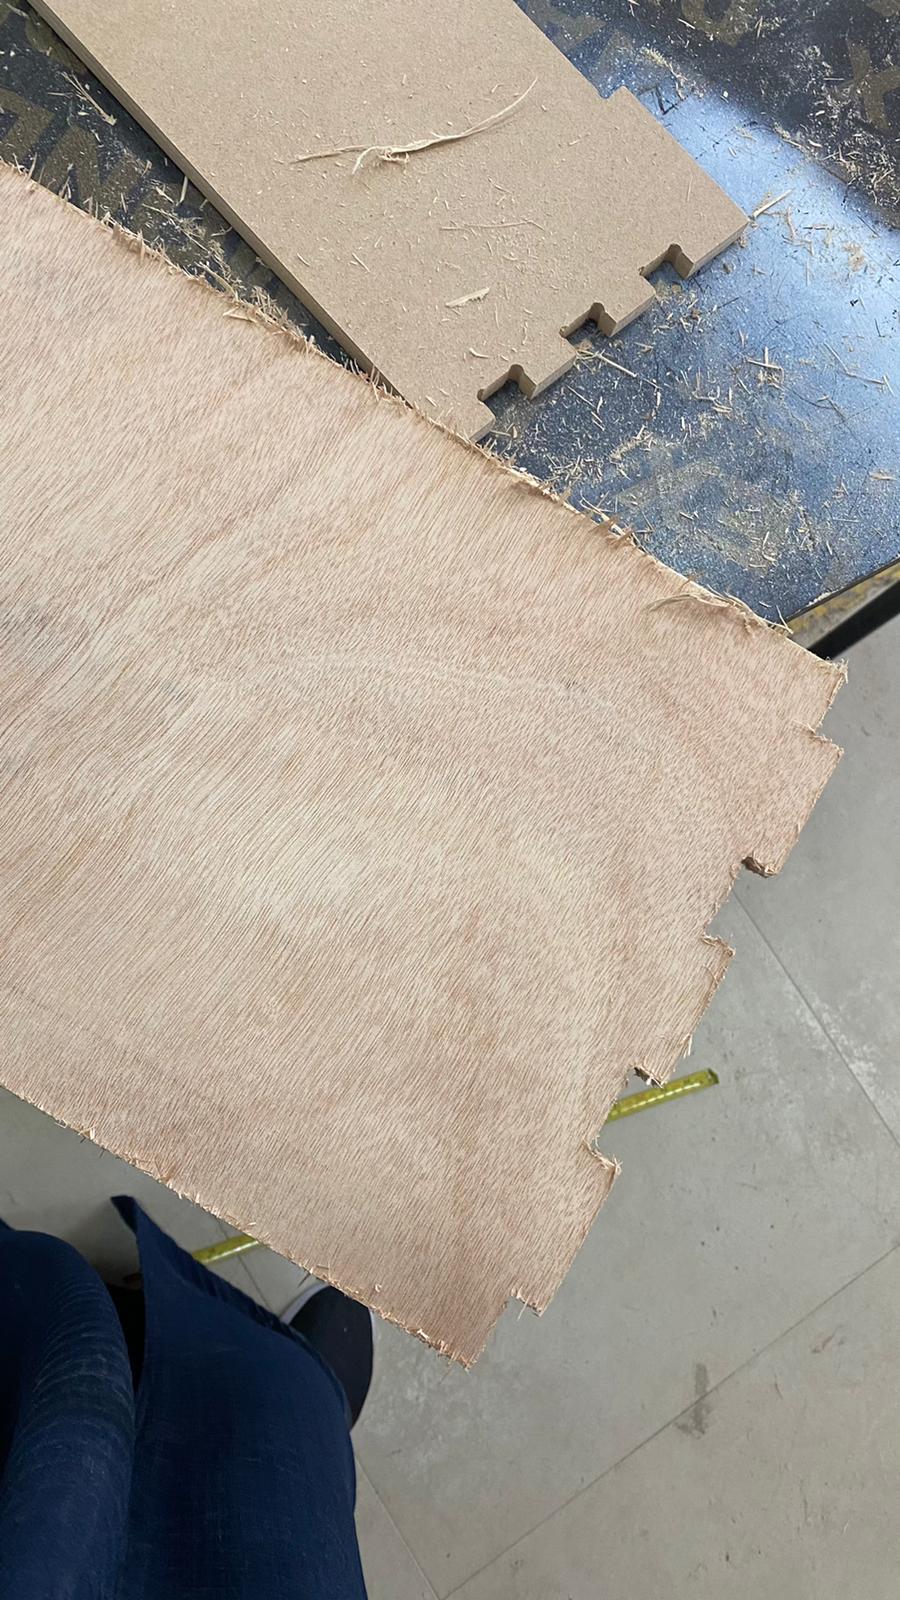
- 8- The machine start cutting.
Assembly process
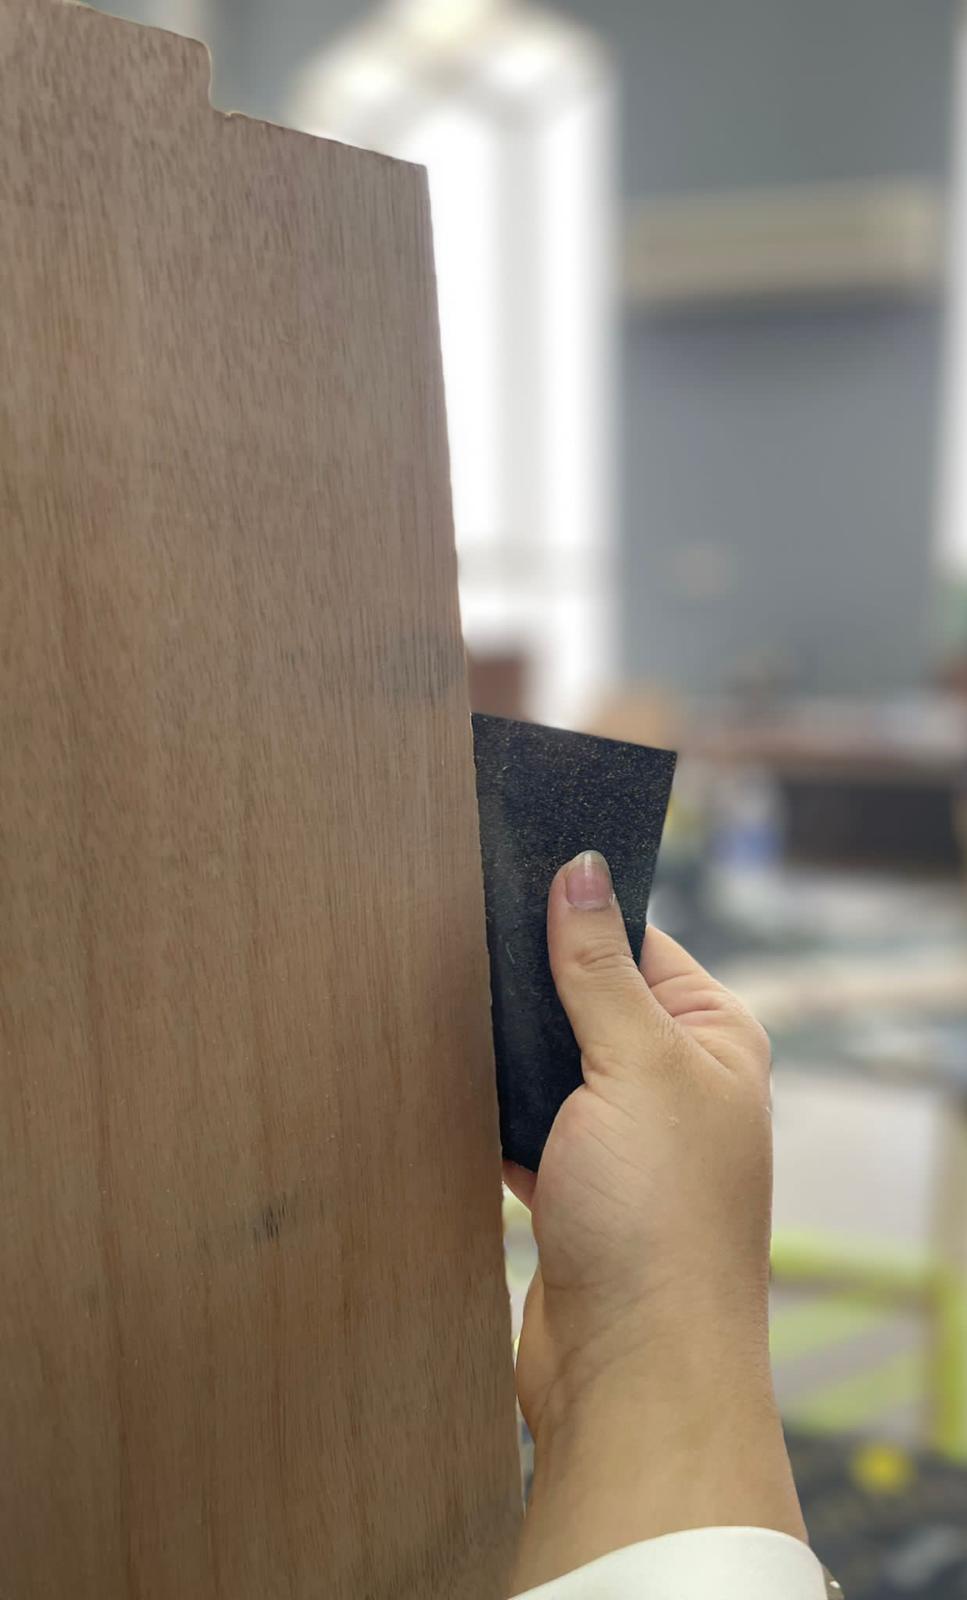
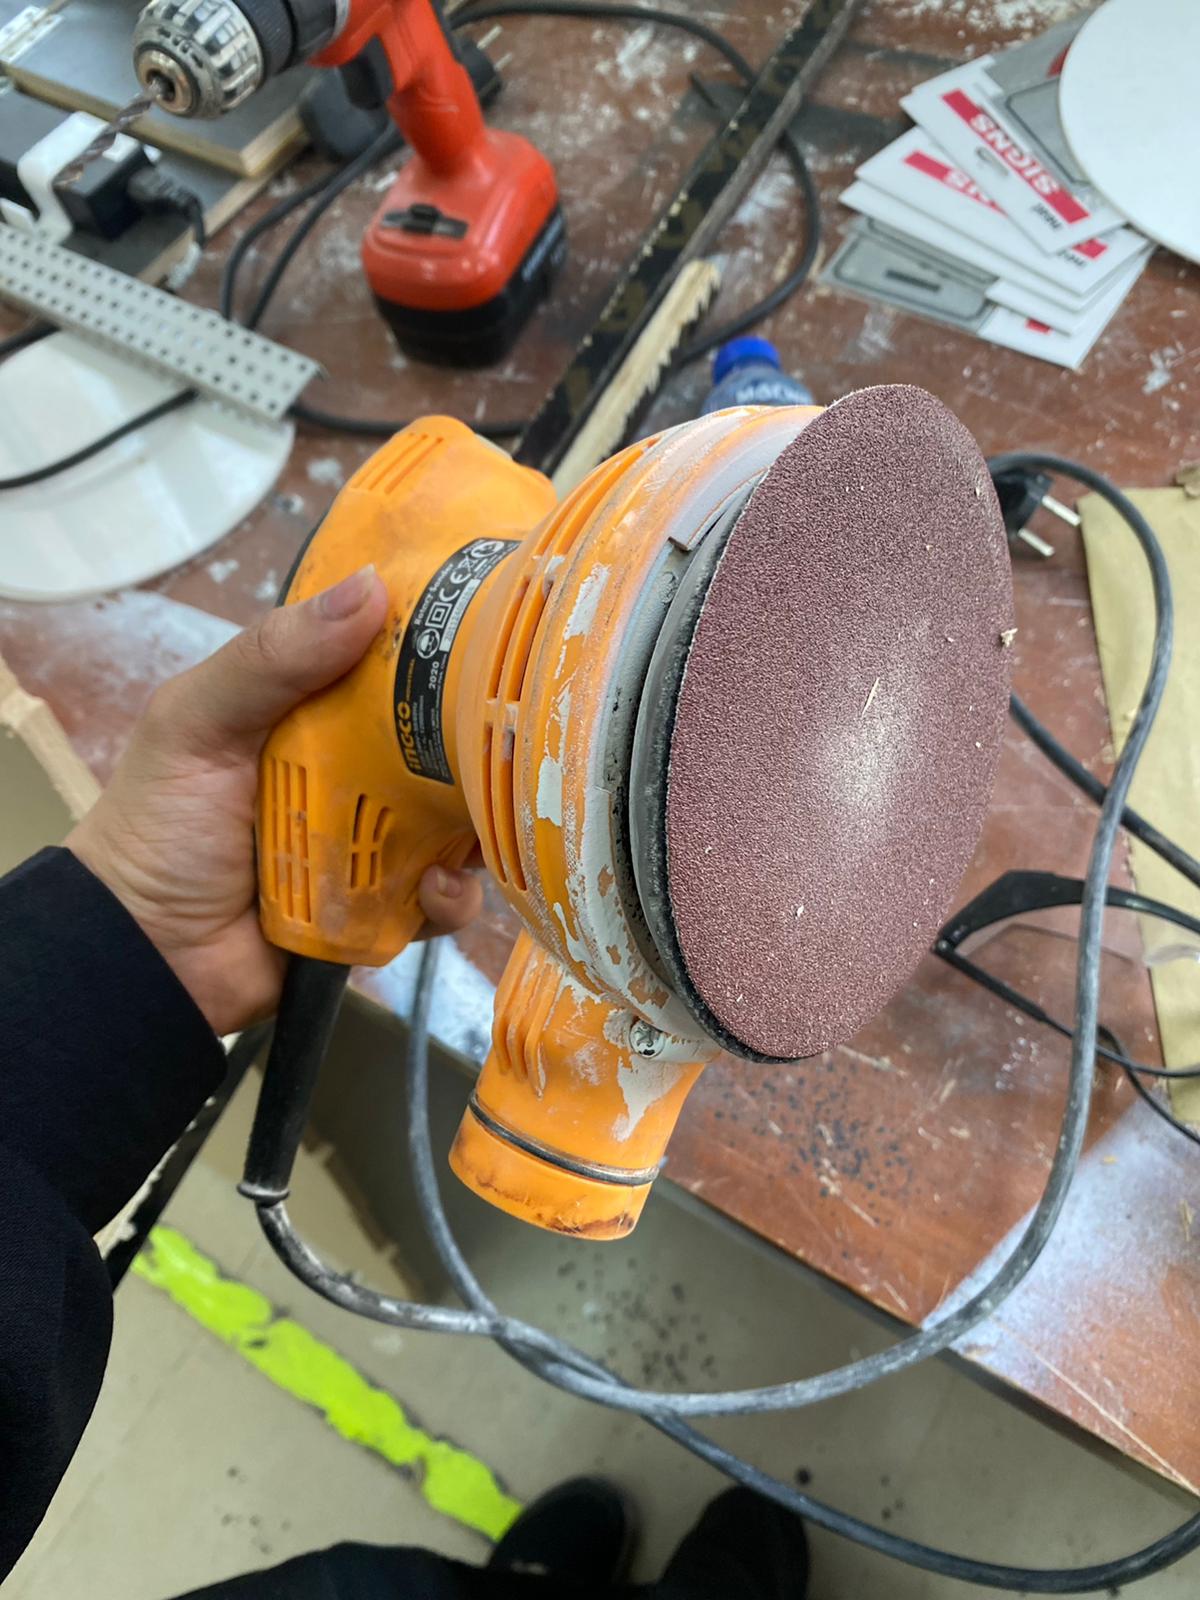
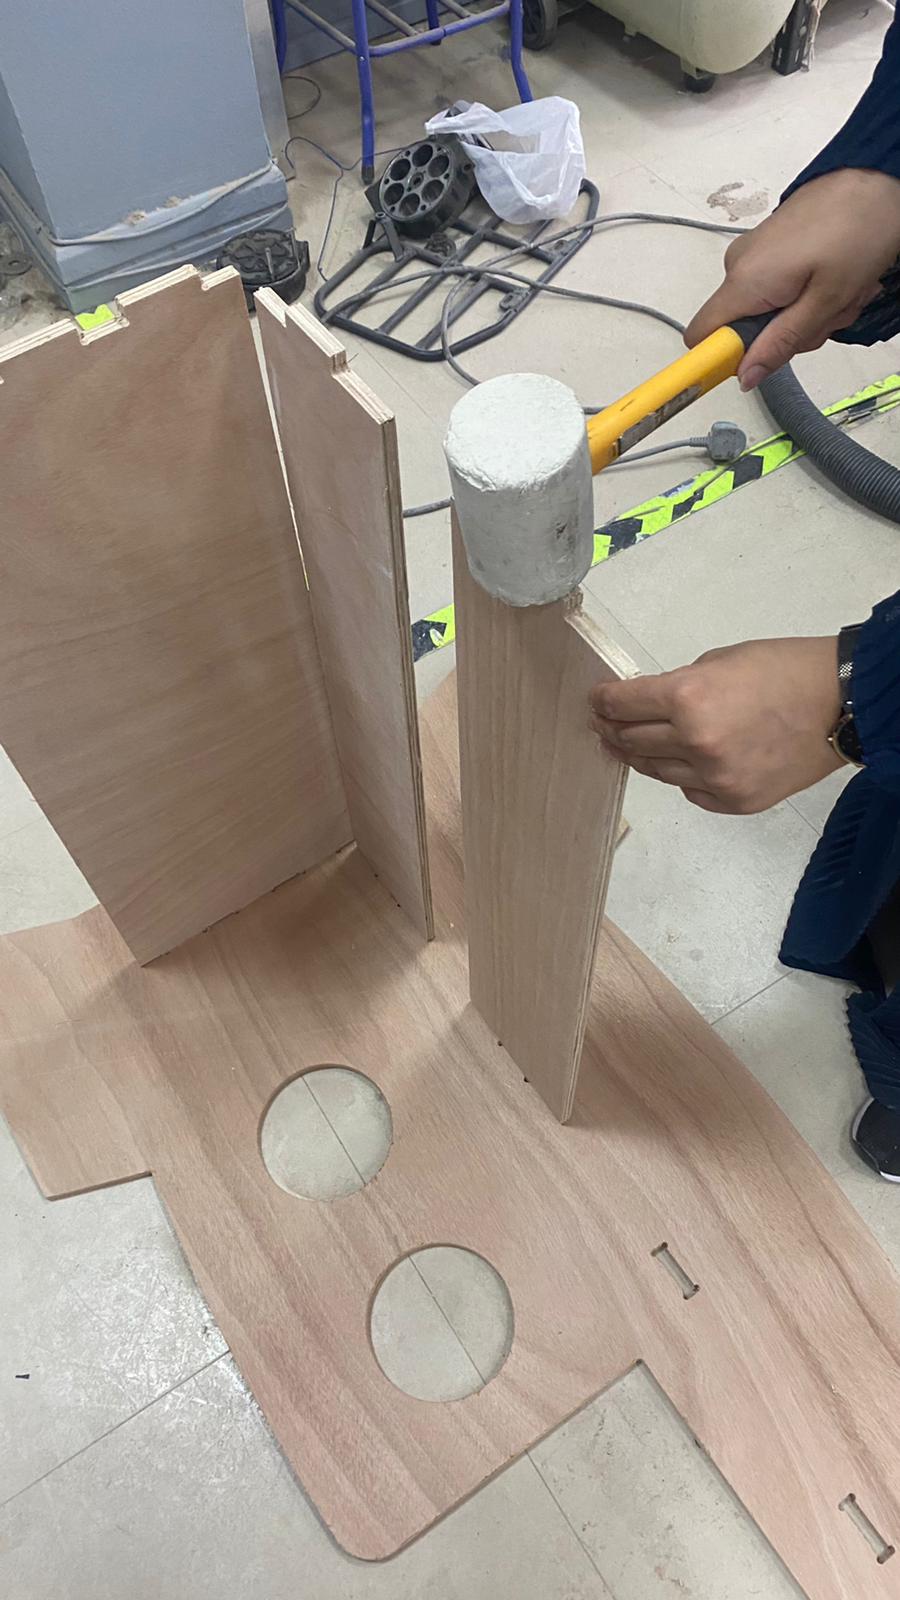
- First, The pieces should cleaning from impurities using sandpaper, sanding mechine and another tool.

- I then began using the rubber hammer to begin joining the parts. Since the plywood is so sturdy, there won’t be any damage.
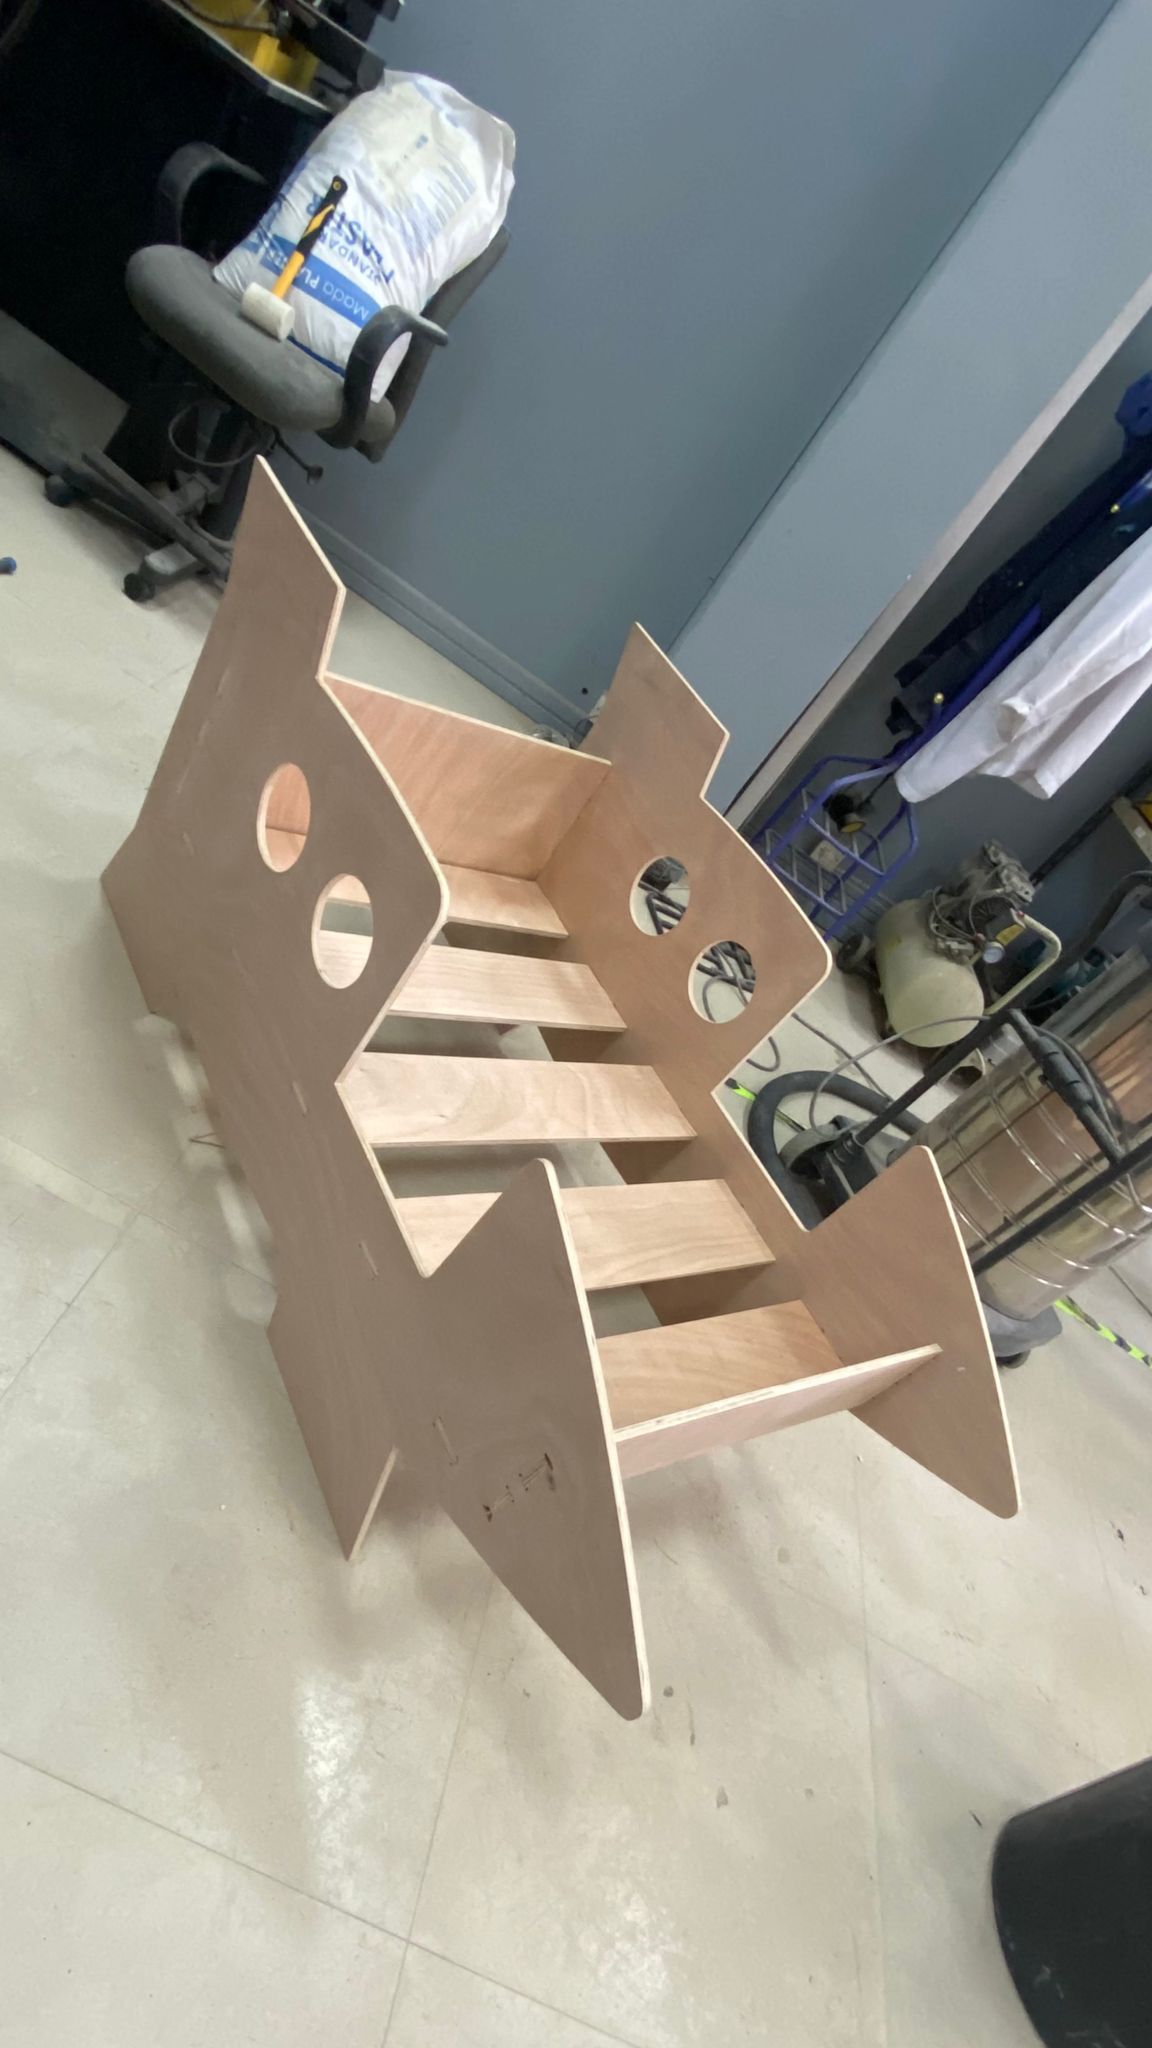
- Here is the final result, Abdul Ghafoor checks the strength of my bed and he gives me his approval :)!!!

My feedback
The design of the crib was distinctive and successful, but there was a small problem, When I was assembling the parts I faced an issue with the size of one of the bases of the bed due to wrong measurements in my design. So, I used the jigsaw to cut the extra part, Then it become perfect.
Referencess
-CNC