5. 3D printing and scanning
This week I learned how to fabricate 3d designs using 3D printing machine in addition to that I was able to do it reversibly as in scan 3d objects to have a digital copy of them.
5.1 scanning process
for the scanning process I used an app
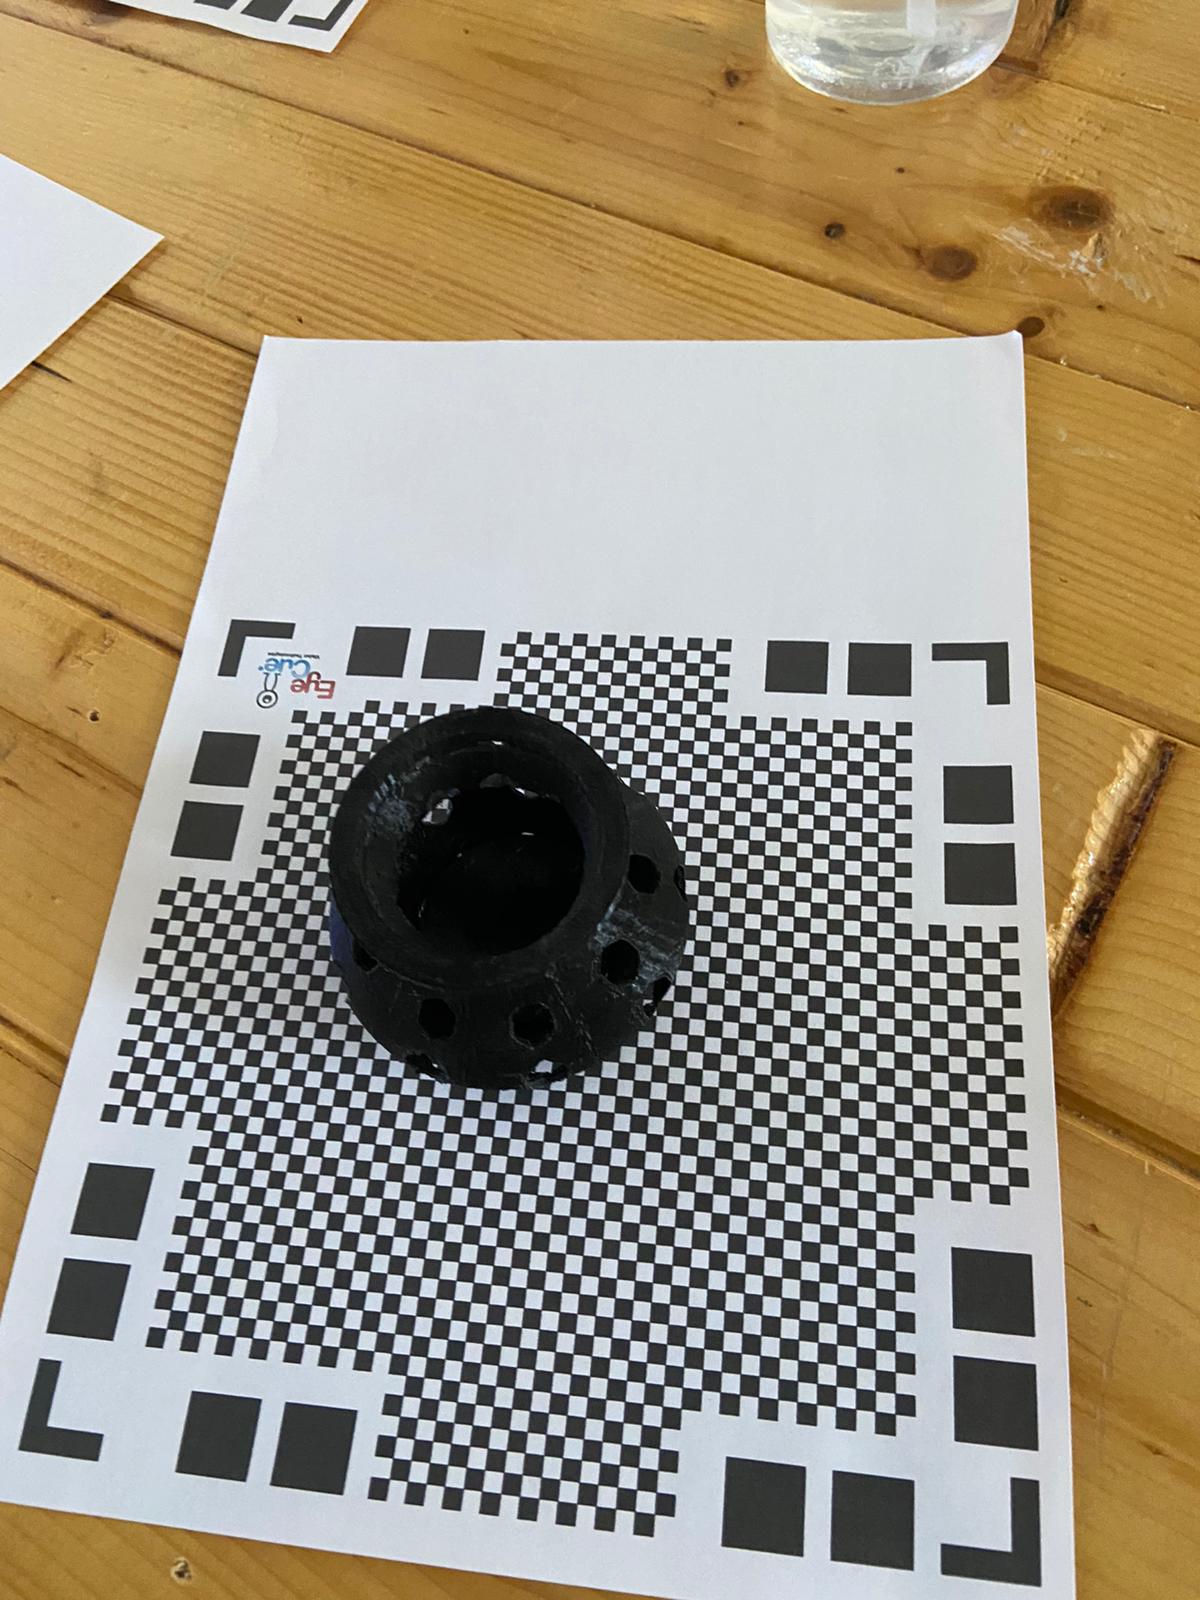
that allowed to scan the object in special sheet , although the sheet some how act as restriction its is essential and without it we wont be able to use the app and scan , because its act as coordinates in which the app will be able to understand the directions hence will be able to specify where is the object exactly is in space .
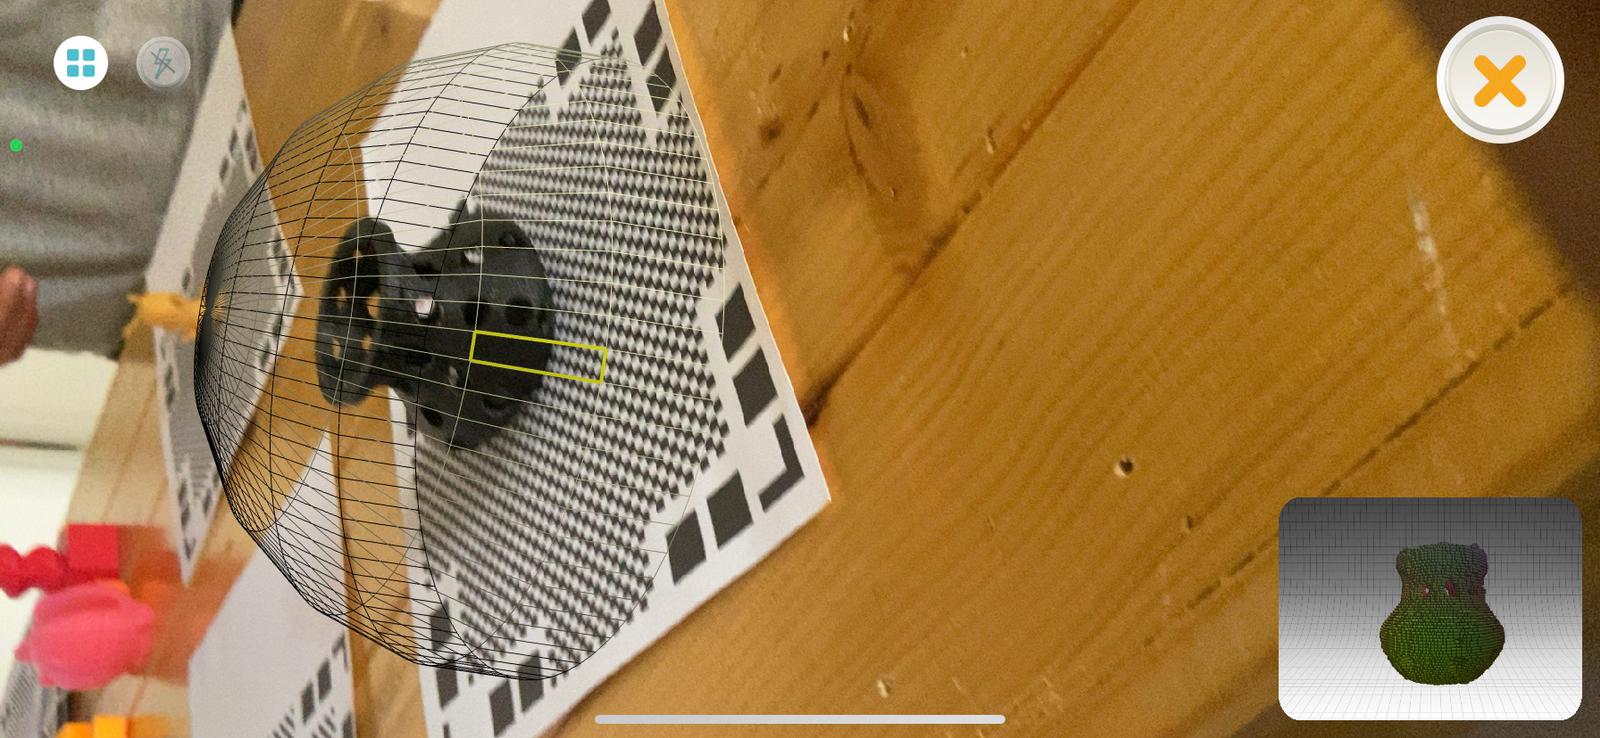
while scanning make sure that the sheet is bigger enough than the object , then move around the object until the scanning is complete and my final result look liked
you can see clearly that the scanning process here is not efficient , this could be because the shape I Choose to scan is only one color and had so many holes, hence the scanning process have errors. 3D scan
3D design and ADDTIVE manufacturing technique
What exactly is 3D printing? It is a manufacturing process in which the parts are stacked one on top of the other.
created by slicing their three-dimensional shapes into very thin layers with the help of computer programs, which are subsequently printed utilizing 3D printers, Printing one layer on top of the other until the desired shape is achieved.
Furthermore, 3Dprinters are frequently faster and easier to operate than other types of devices and the process is more faster than other types of processes.
how the process actually happen ?
group assignment
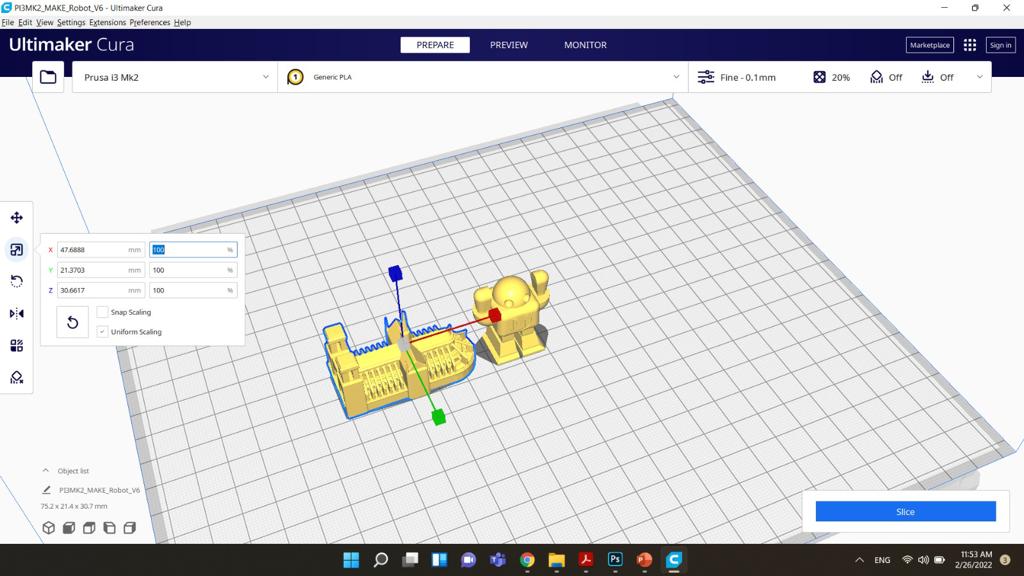
in the group assignment , we learned how to use the PRSUA 3D printing machine. to use it we first installed cura sofware in order to send the stl designs directly to the machine cura
tests
before preceding with the process several tests been discussed at the beginning of the class
The inner parts of a 3D printed solid is called infill. There were eight infill percentages tested: zero, five percent, ten percent, twenty percent, thirty percent, fifty percent, eighty percent, and one hundred percent.
Overhangs are a type of structure that protects the structure’s lower levels. This test was done to see whether there were any overhangs, and it was meant to evaluate angles from 20 to 85 with 50 degree in between
The ability of a 3D printer to print layers between free spaces in lower layers without support is referred to as bridging.
Printing process
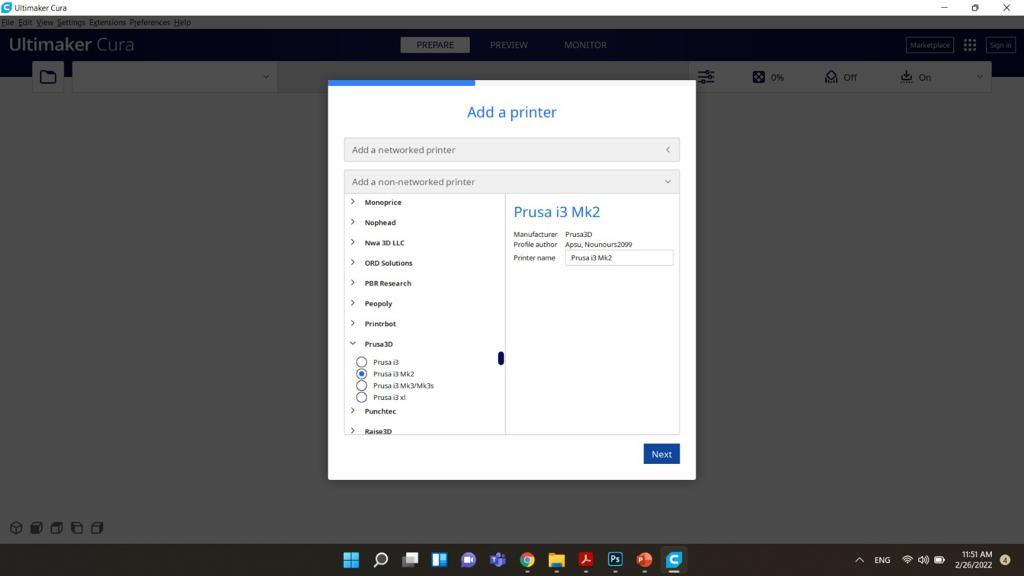
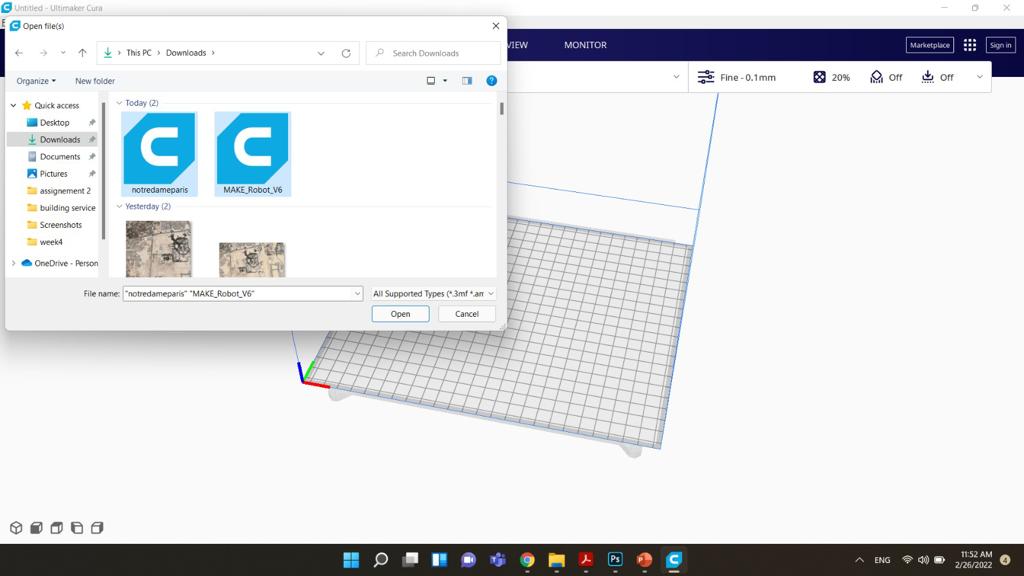
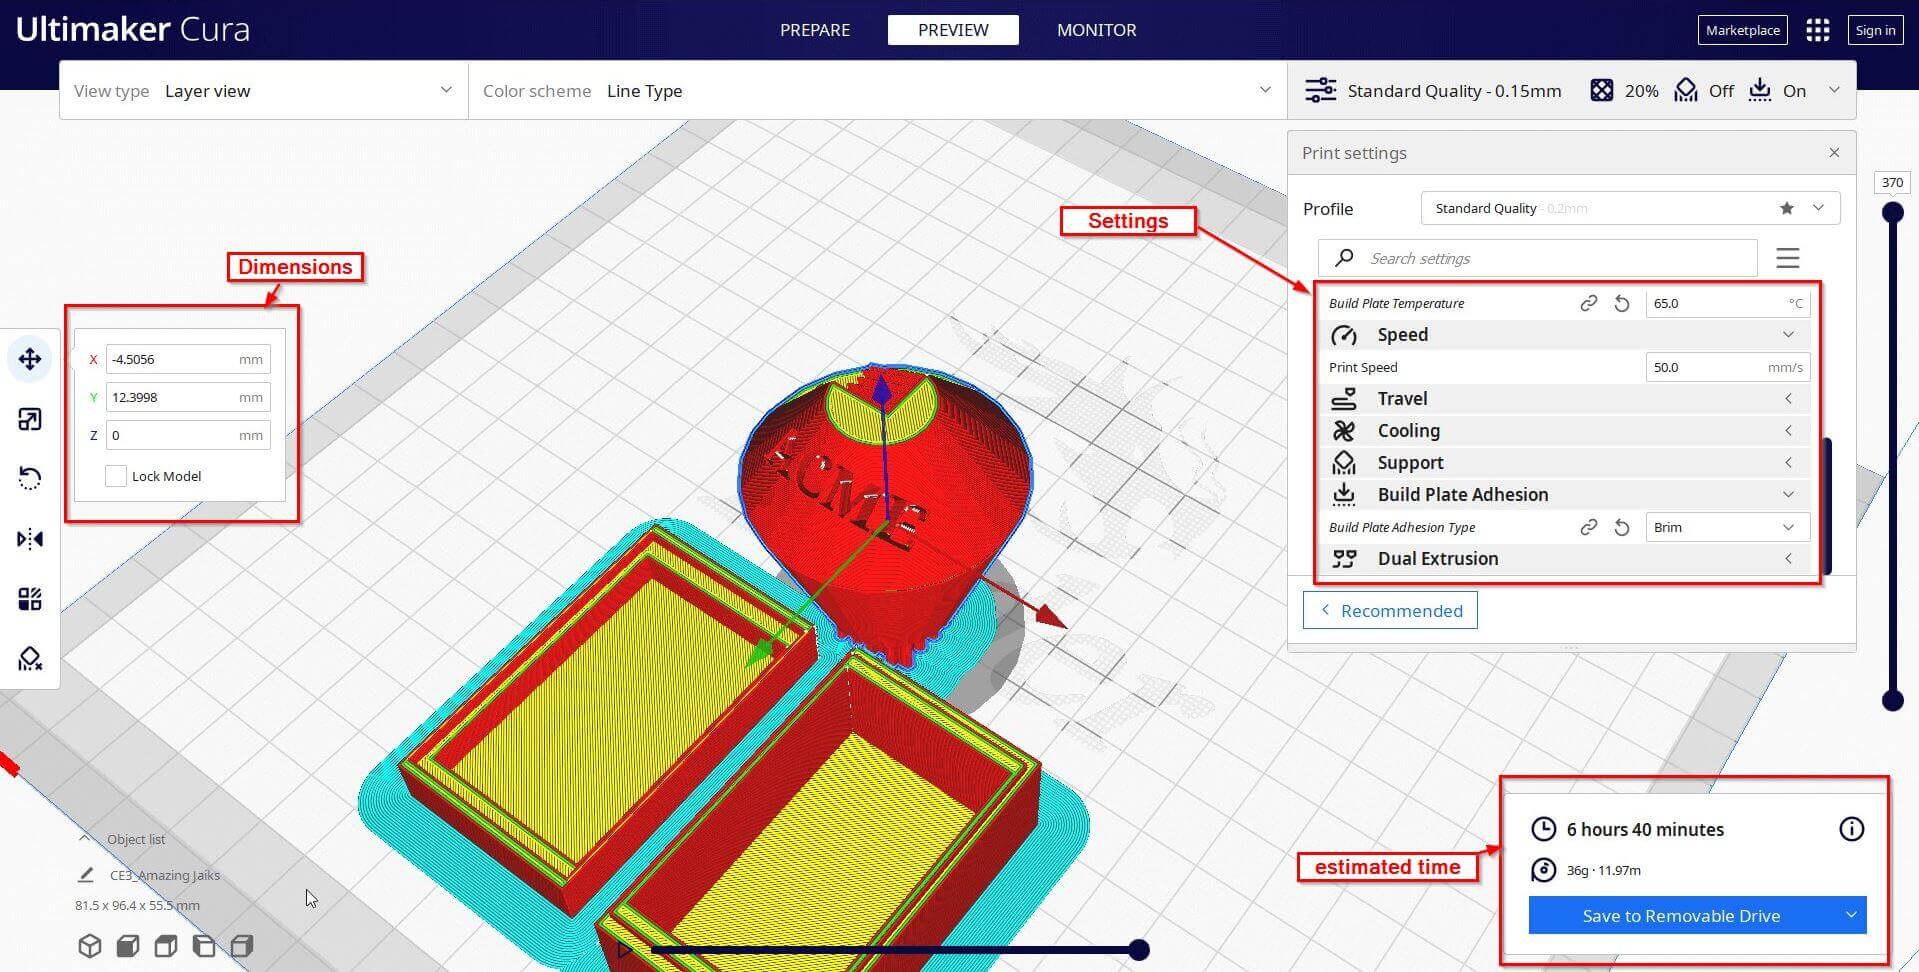
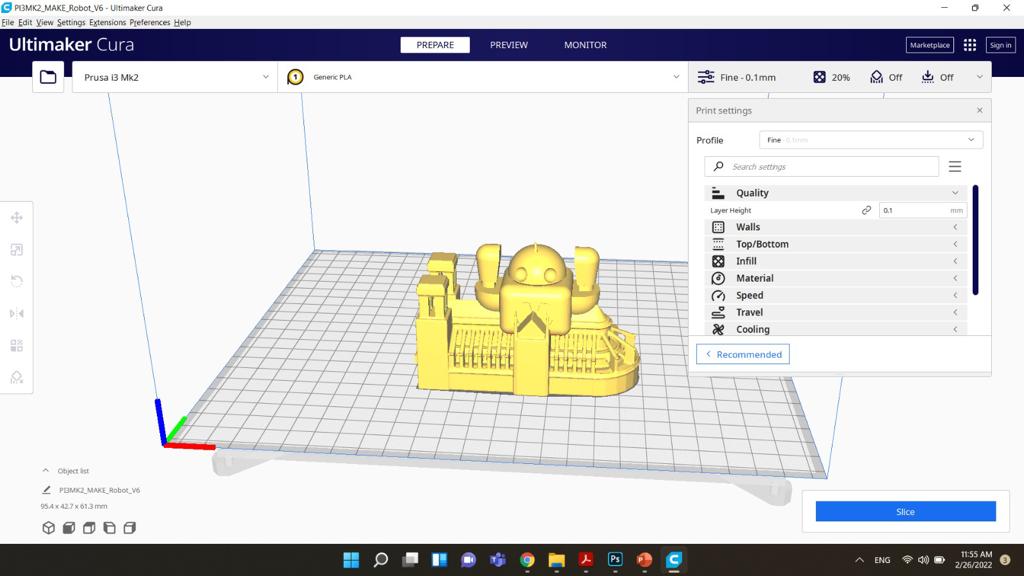
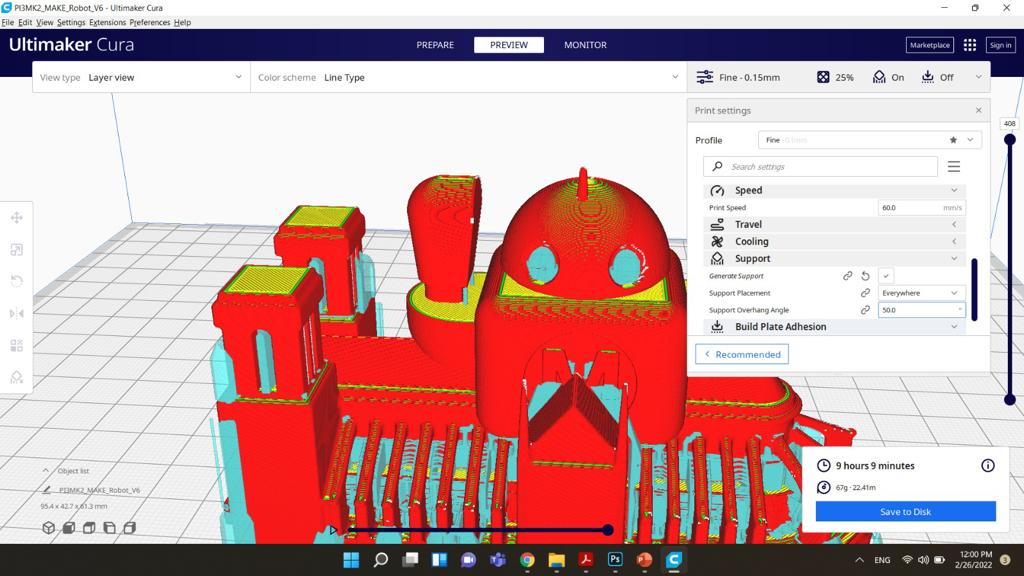
first we had set up the printer by choosing the suitable printer , and then we uploaded the STL files that we wanted to print in one go.
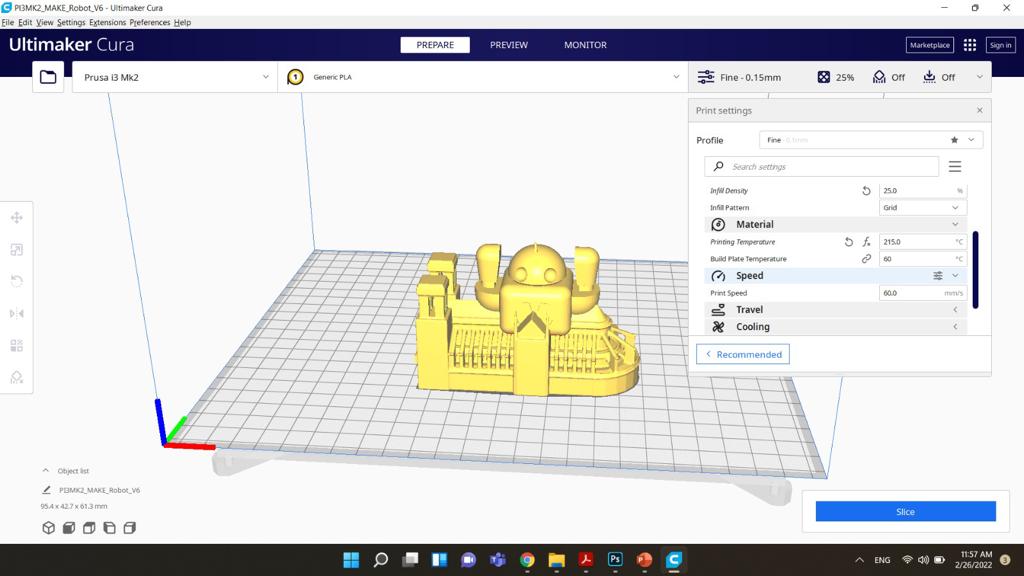
the first thing we wanted to adjust is the layer height , the smaller the height ” more layers” , the smother the surface gonna be and the longer the process would take , and better the finishing would be. Then we adjusted the temperature of the filament and the bed surface , speed in mm/s , also we generated support , because of the complexity of shape we added it everywhere ,and after that the infill percentage was adjusted to be around 25% and finally the slicing process begin and the file is uploaded to the SD.
additive manufacturing in PRSUA
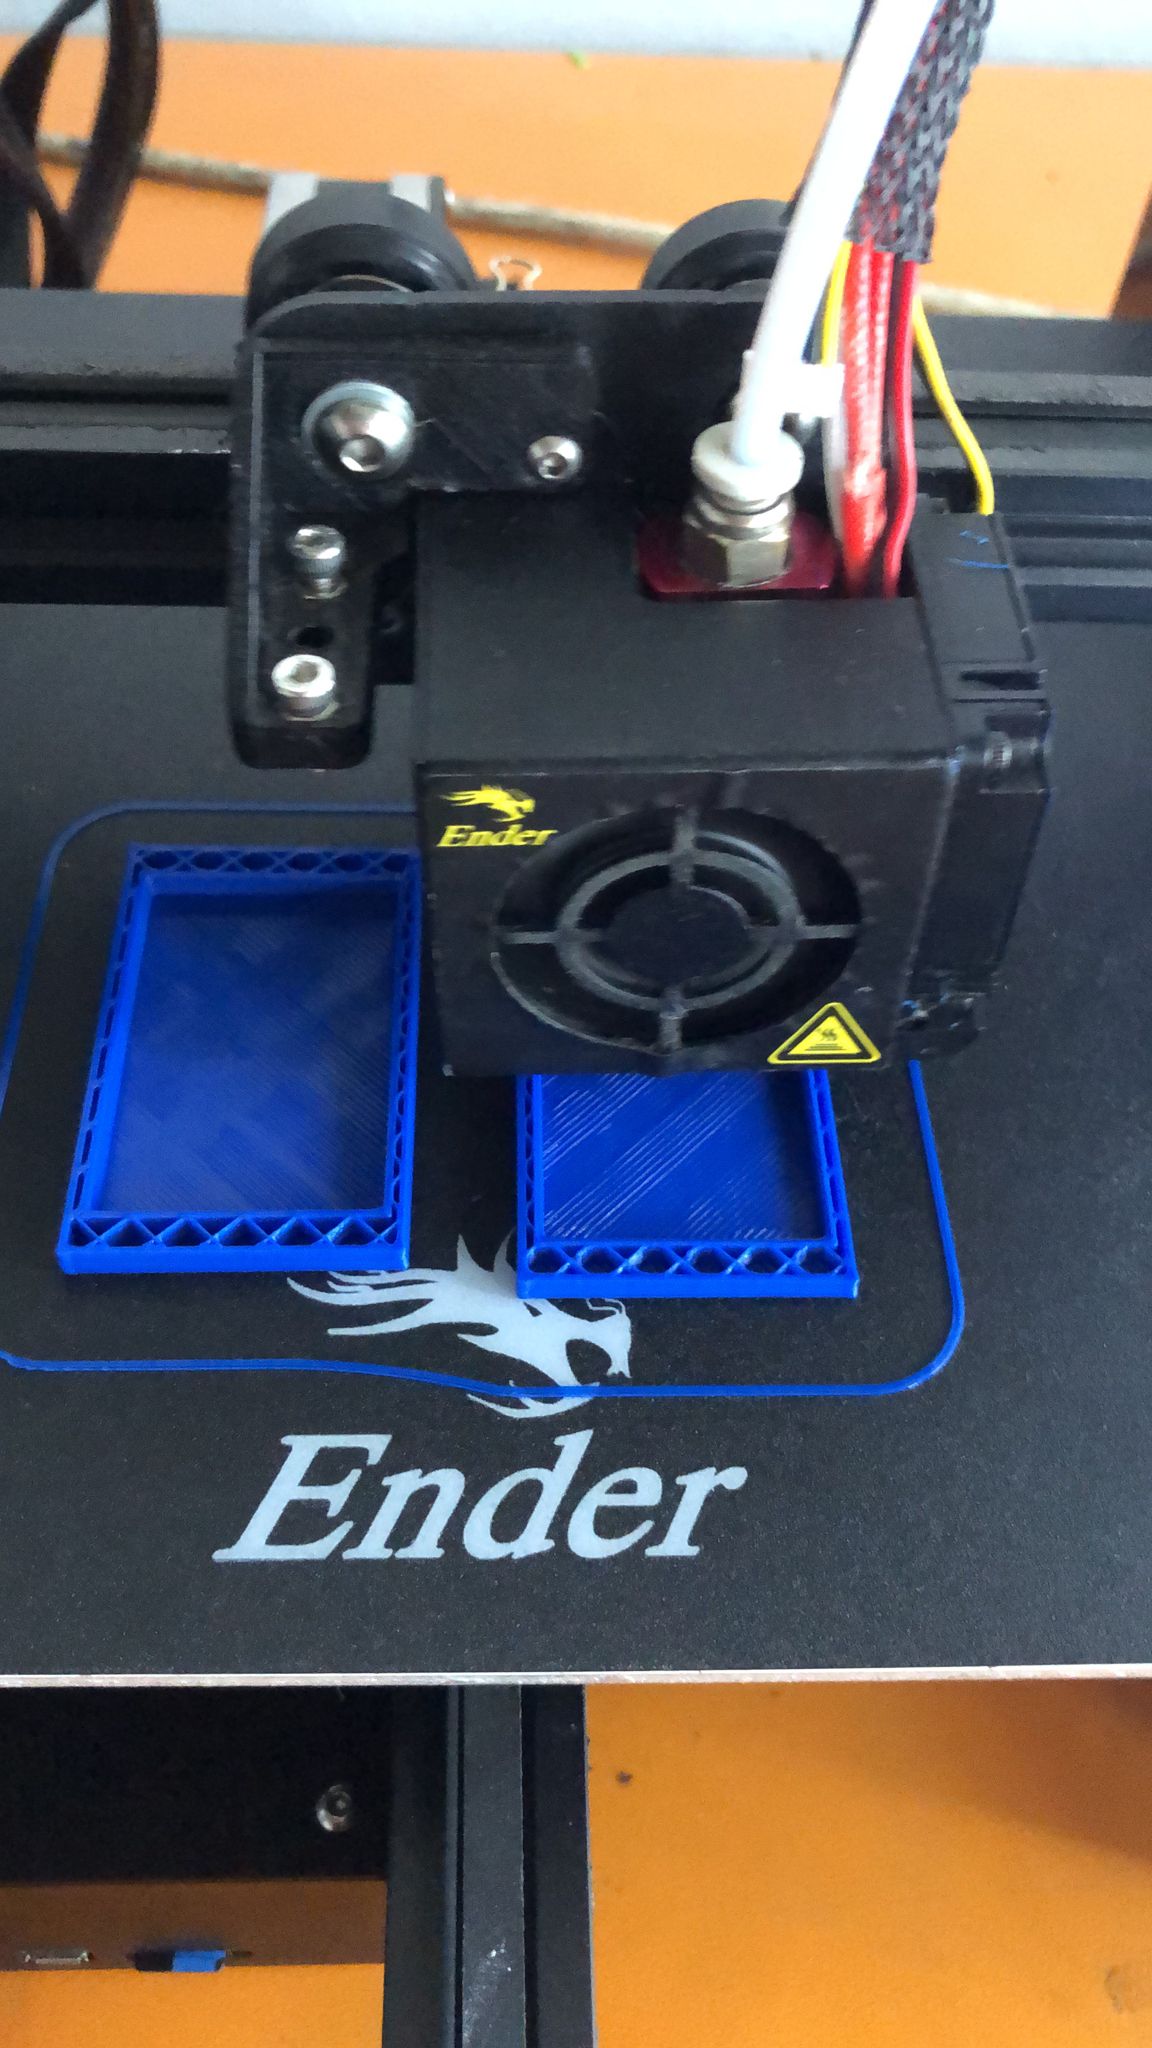
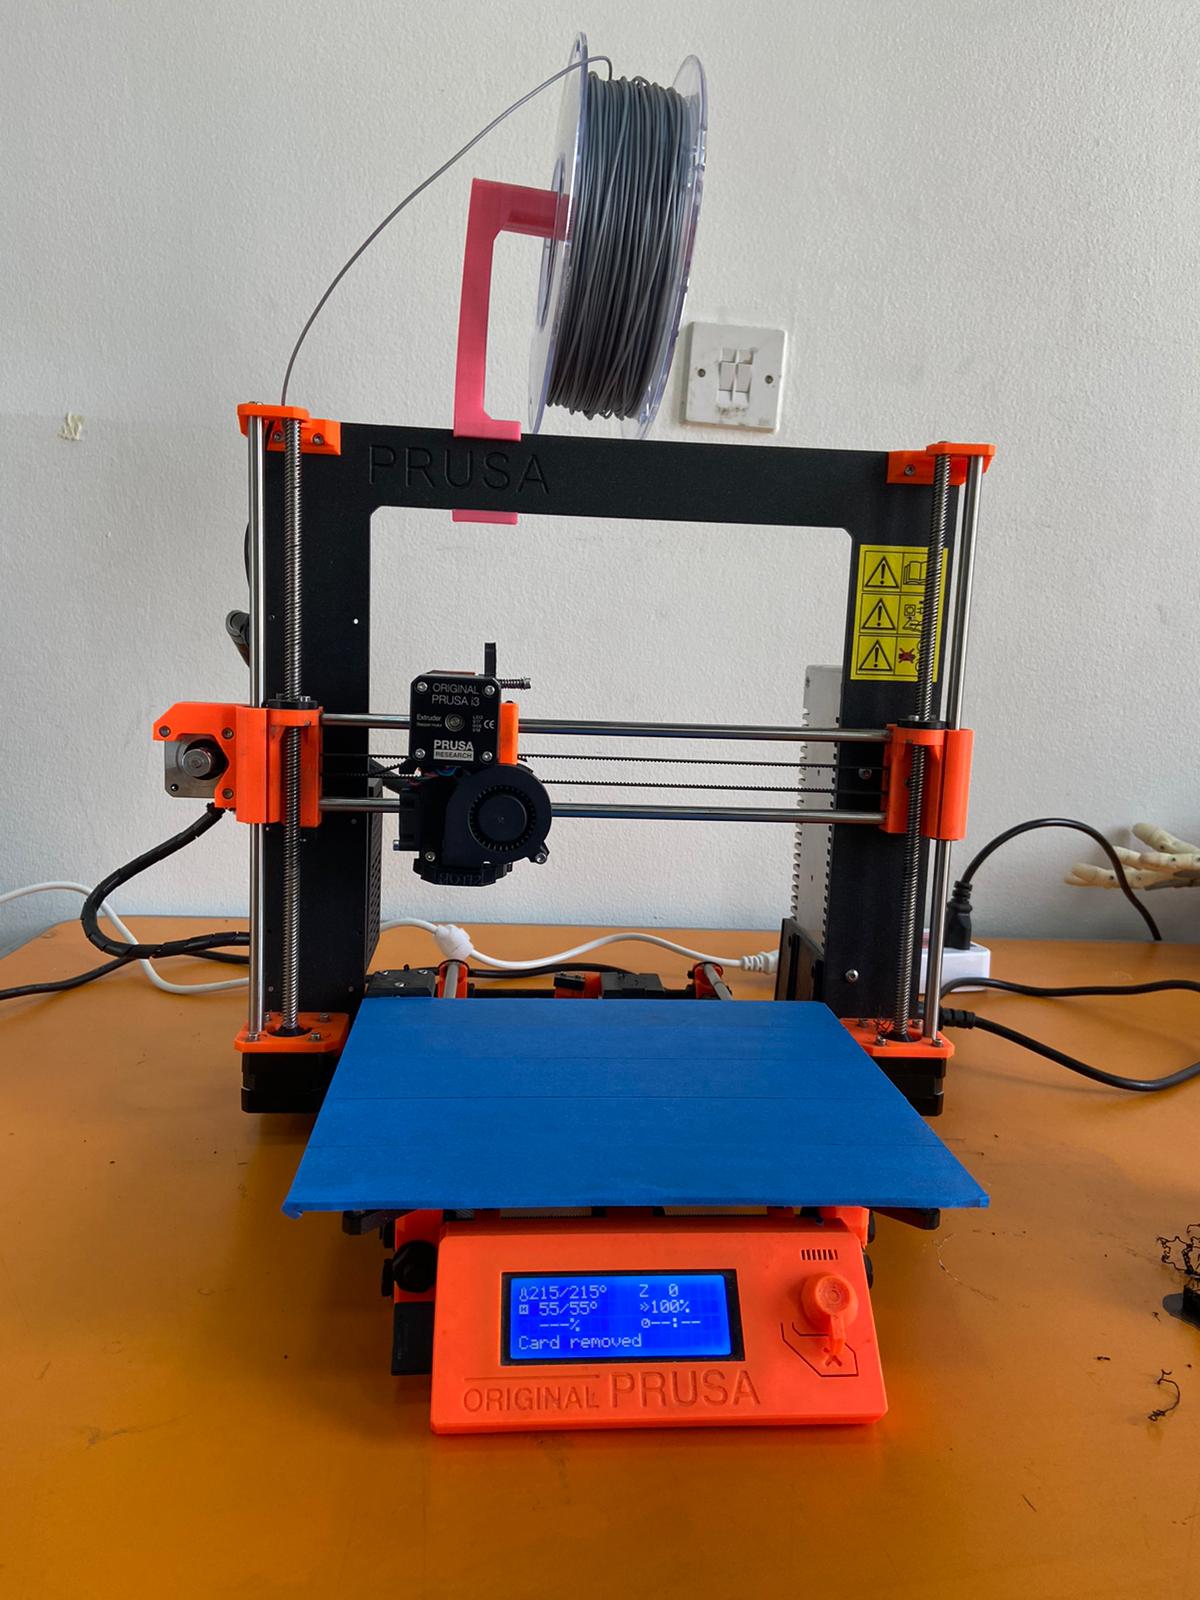
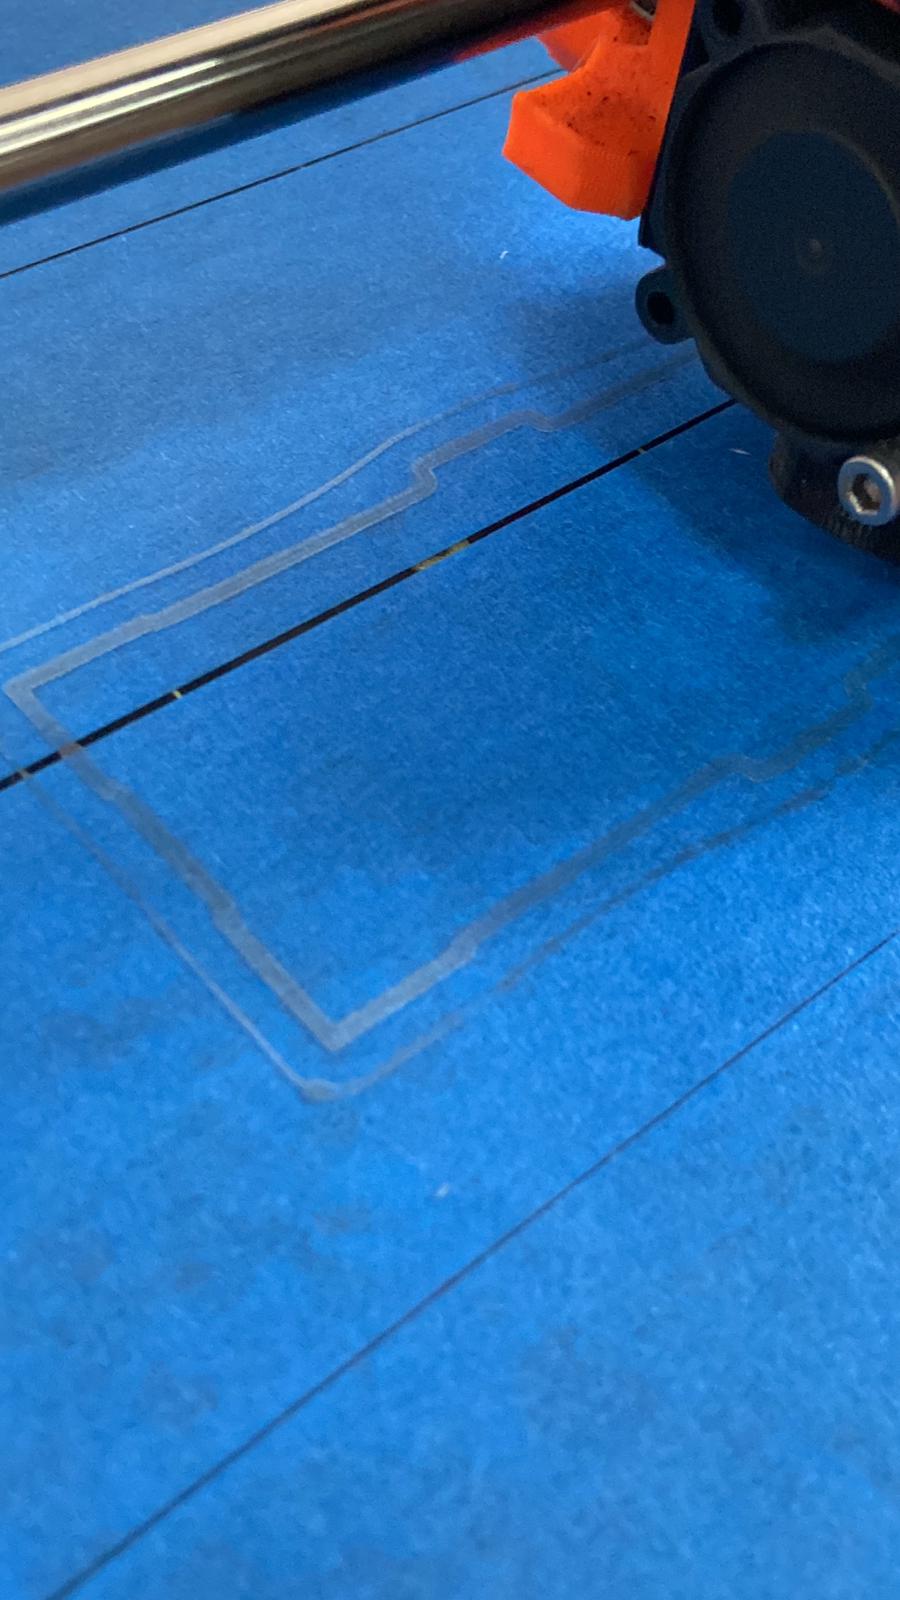
the bed is covered with a blue tape in order for the filament to stick and stay stationary , also one of the practices is spray it with hair sprayer to make sure that the bed is sticky enough and notice that because the filament material is hot , the bed temperature is also should be hot , for the material PlA used in this assignment the bed temperature was around 60-90 c. 3D printing process 1
and this video ‘process 2’ shows exactly how to upload the filament to the machine
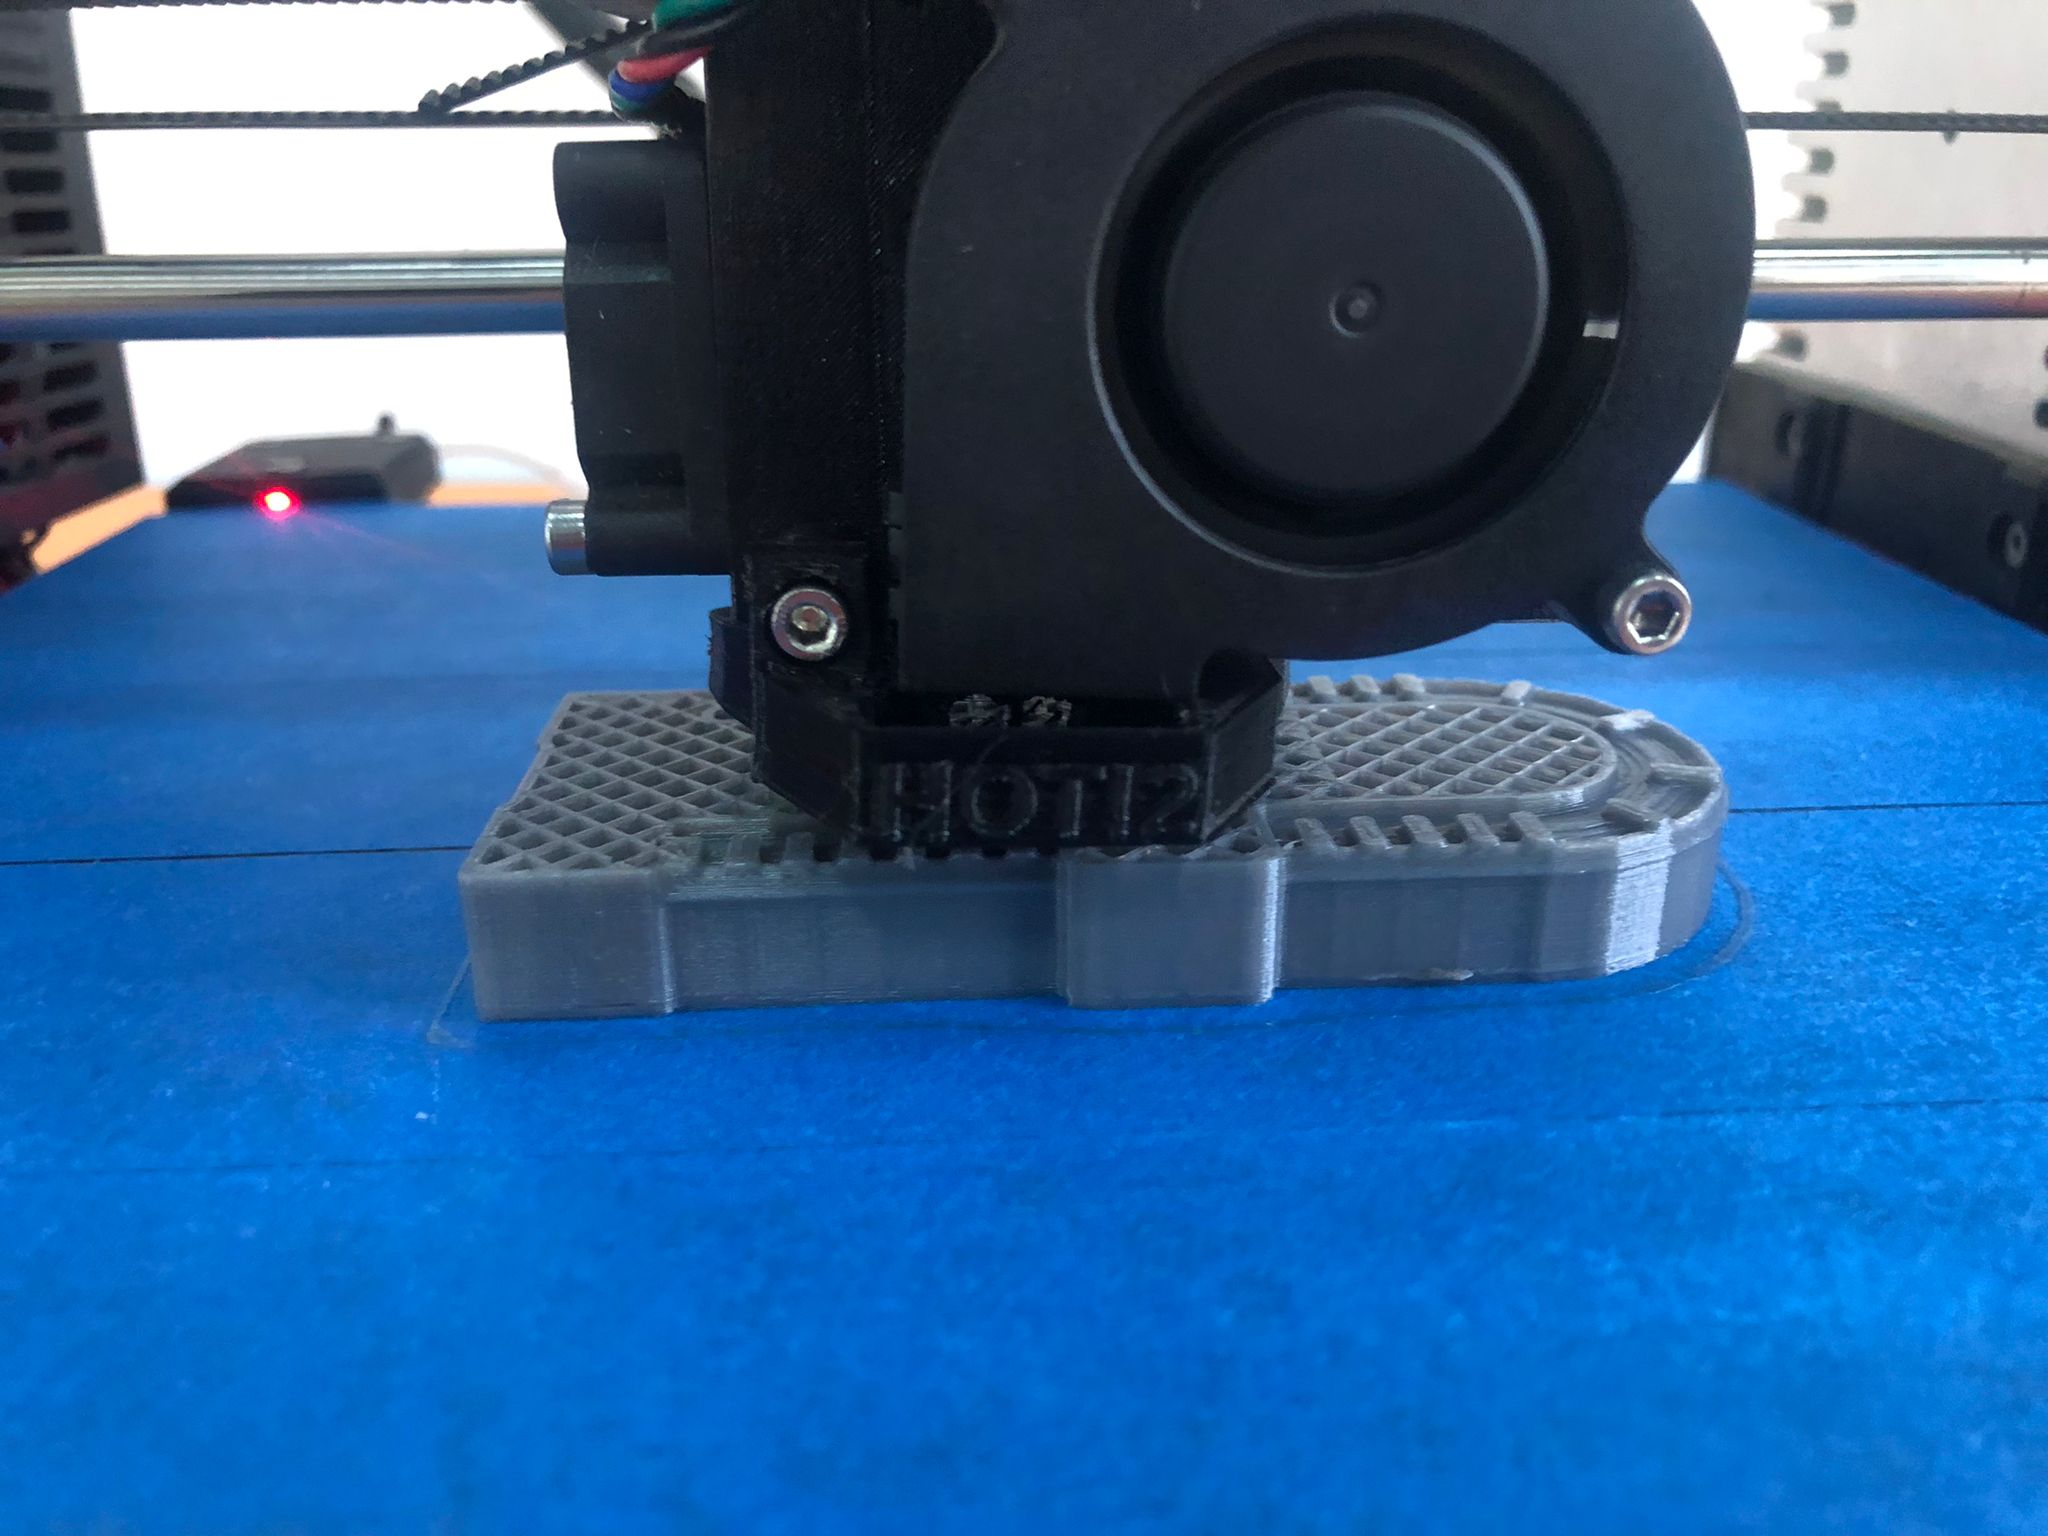
and once the machine is ready and we are comfortable with the flow of material , we upload the design from SD hardware and wait for the heating process to finish and always make sure that the bed is clean , if not use a plier to remove the dirt ” DONT TOUCH THE BED WITH YOUR HAND WHILE HEATEING “
the final result looked like

Individual assignment
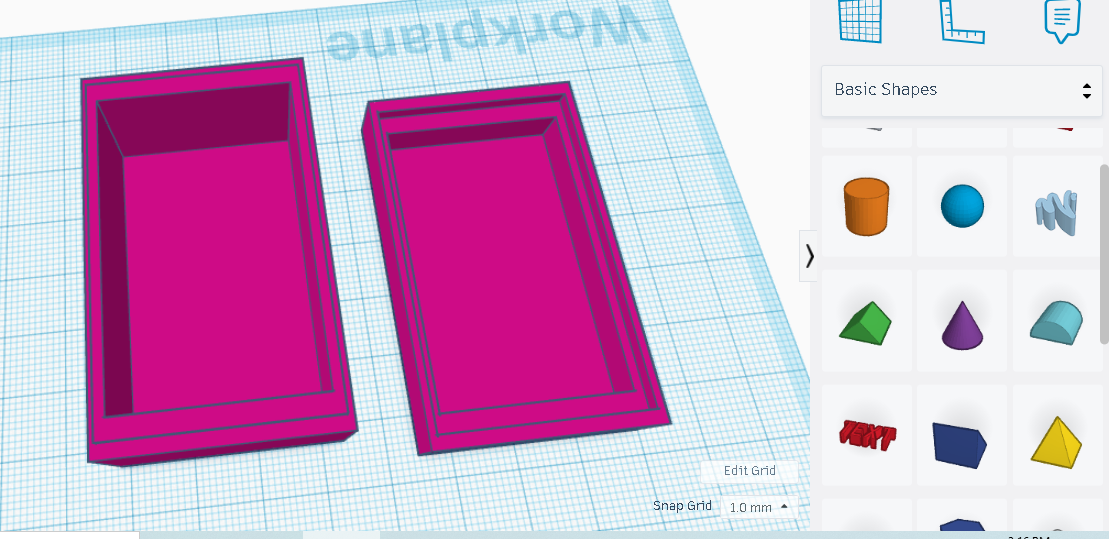
as Individual assignment I treid to design a two pieces box using tinkercad software the and the challenge was to make them fit nicely over each other , i copied the same piece
then I used the same box in two different sizes to cut through the bigger ones. then I saved the designs and moved the to cura to slice the design and make ready for printing
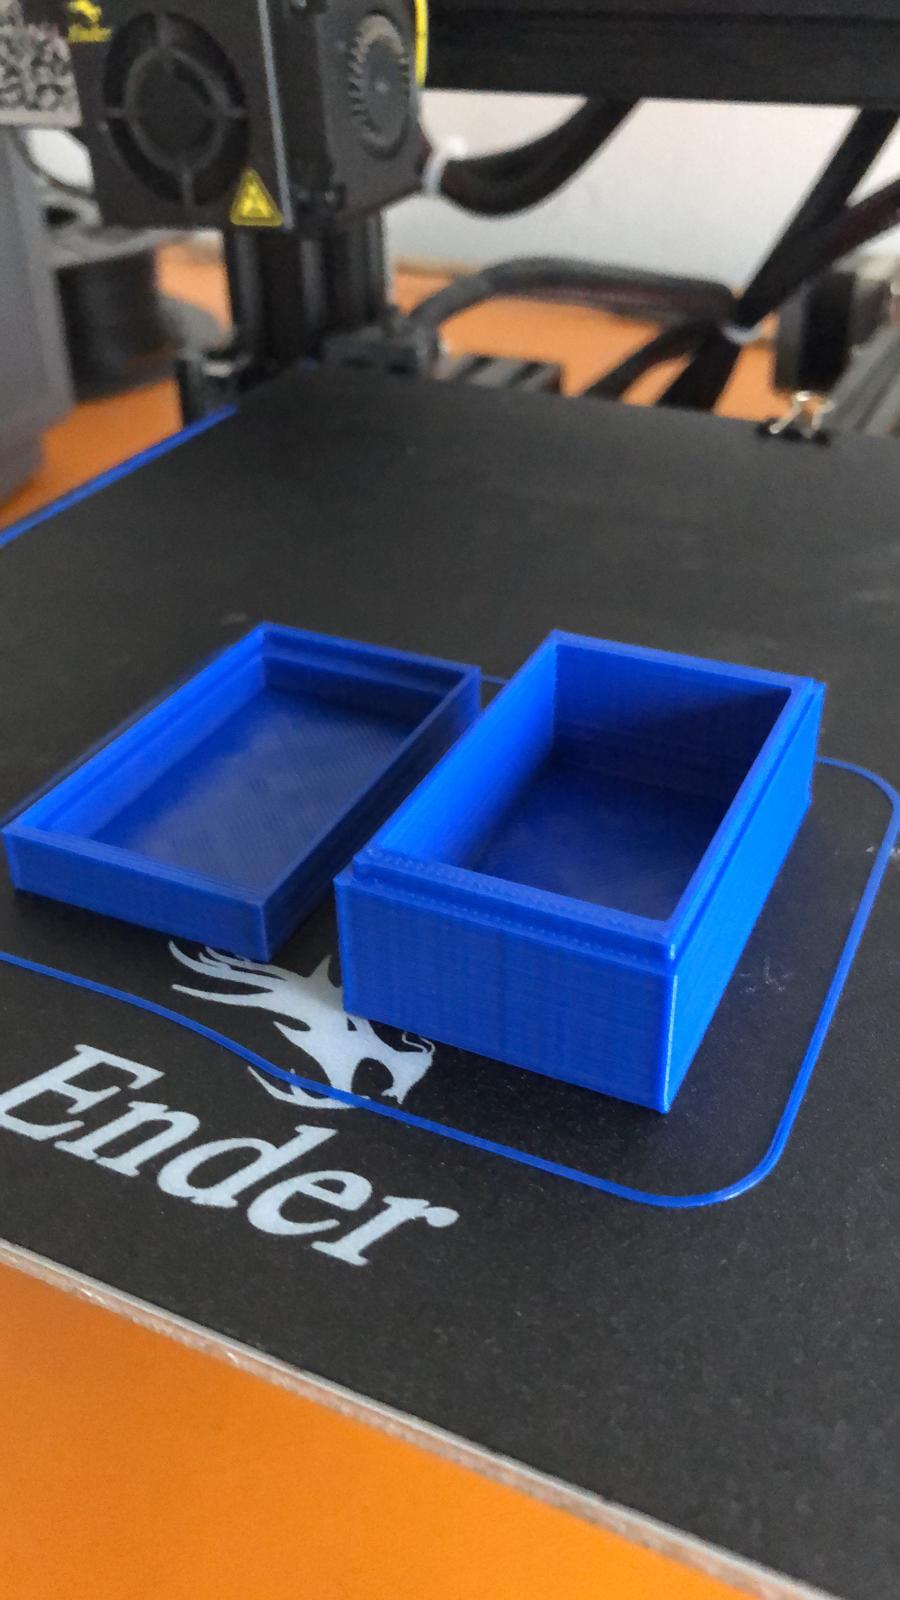
and the final result looked like