5. 3D printing and scanning
What is 3D Printing?
3D printing or additive manufacturing is a process of making three dimensional solid objects from a digital file.
The creation of a 3D printed object is achieved using additive processes. In an additive process an object is created by laying down successive layers of material until the object is created. Each of these layers can be seen as a thinly sliced cross-section of the object.
3D printing is the opposite of subtractive manufacturing which is cutting out / hollowing out a piece of metal or plastic with for instance a milling machine.
3D printing enables you to produce complex shapes using less material than traditional manufacturing methods.
Types of the printer we have in fablab :
1- Ultimaker
2- Prusa
3- Creality
4- Makerbot
What is the slicer?
A slicer is a program that converts digital 3D models into printing instructions for a given 3D printer to build an object. In addition to the model itself, the instructions contain user-entered 3D printing parameters, such as layer height, speed, and support structure settings.
Every 3D printing technology creates 3D objects by adding material layer-by-layer. Slicer software is therefore appropriately named because it virtually “cuts” 3D models into many horizontal 2D layers that will later be printed, one at a time.
What are the Slicer softwares?
1- Cura
2 - For Prusa printers use PrusaSlicer
3 For Makerbot printers use Makerbot slicer
How to start 3D printing?
1- Design a model
2- Export it as .stl
3- Run the file in a slicer software
4- Export the file as G-code
5- Transfer the G-code file into the printers
Group Assignment
check the group assignment in Hamad’s page group assignment
indivisual assignment :Designing the 3D Model (3D printing)
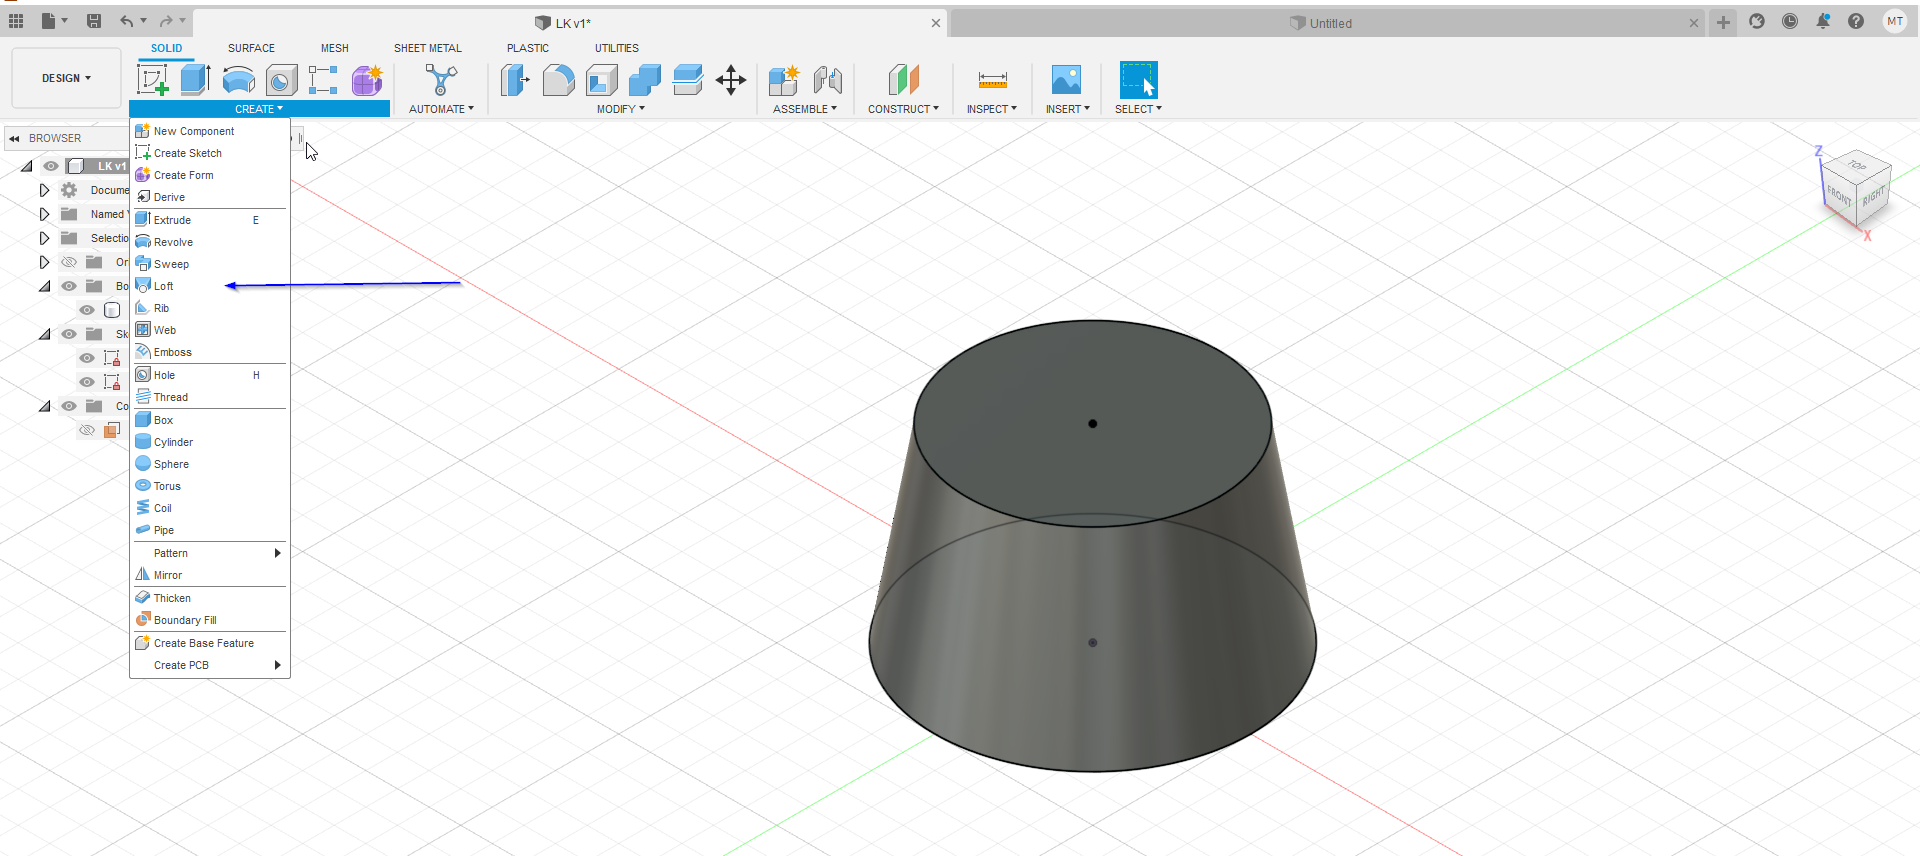
STEP1:I created 2 cricles above each other

STEP2:i used the tool “loft” which is tool that create complex objects by specifying cross-sections made from faces and profiles of closed sketches.
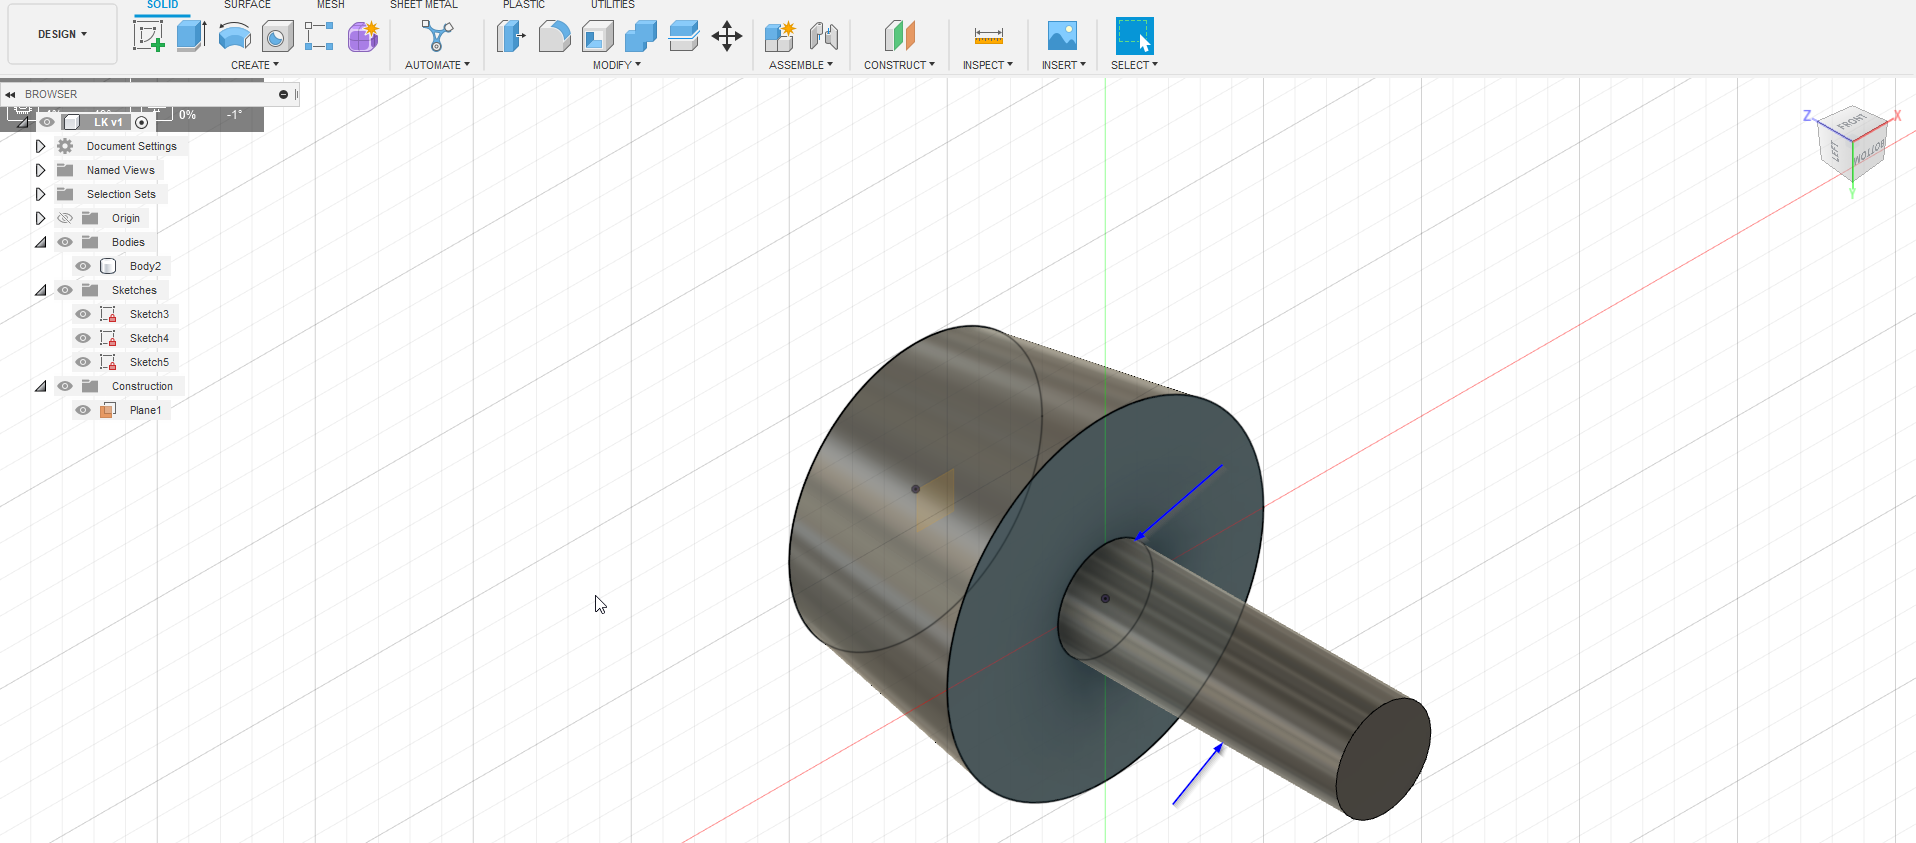
STEP3:I Created small circle in the bottom of the shape and extruded to act as stand for the object
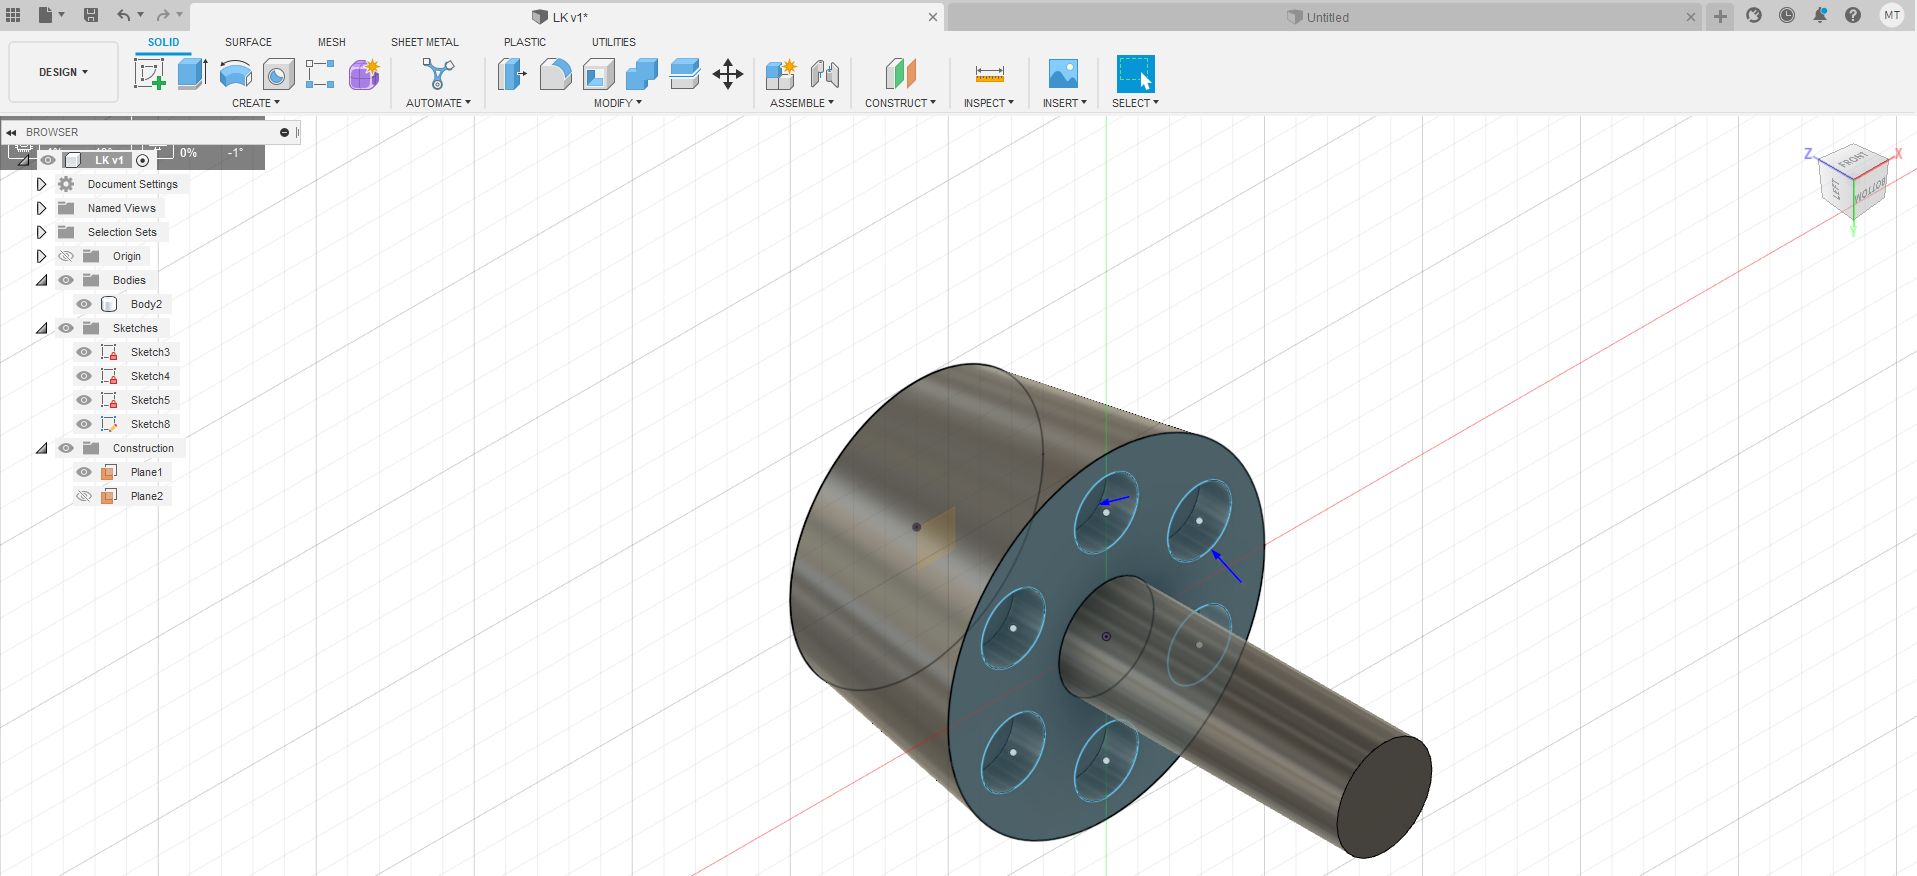
STEP4: I Created small circles and distrbute it arround the bottom of the shape using circular pattern tool
STEP5:I Created a circle above the shape and cut it down

STEP6:Here i made a circule in the bottom and cut it up for astherics reasons

STEP7:Finally i made some “fillets” for the shape to look better
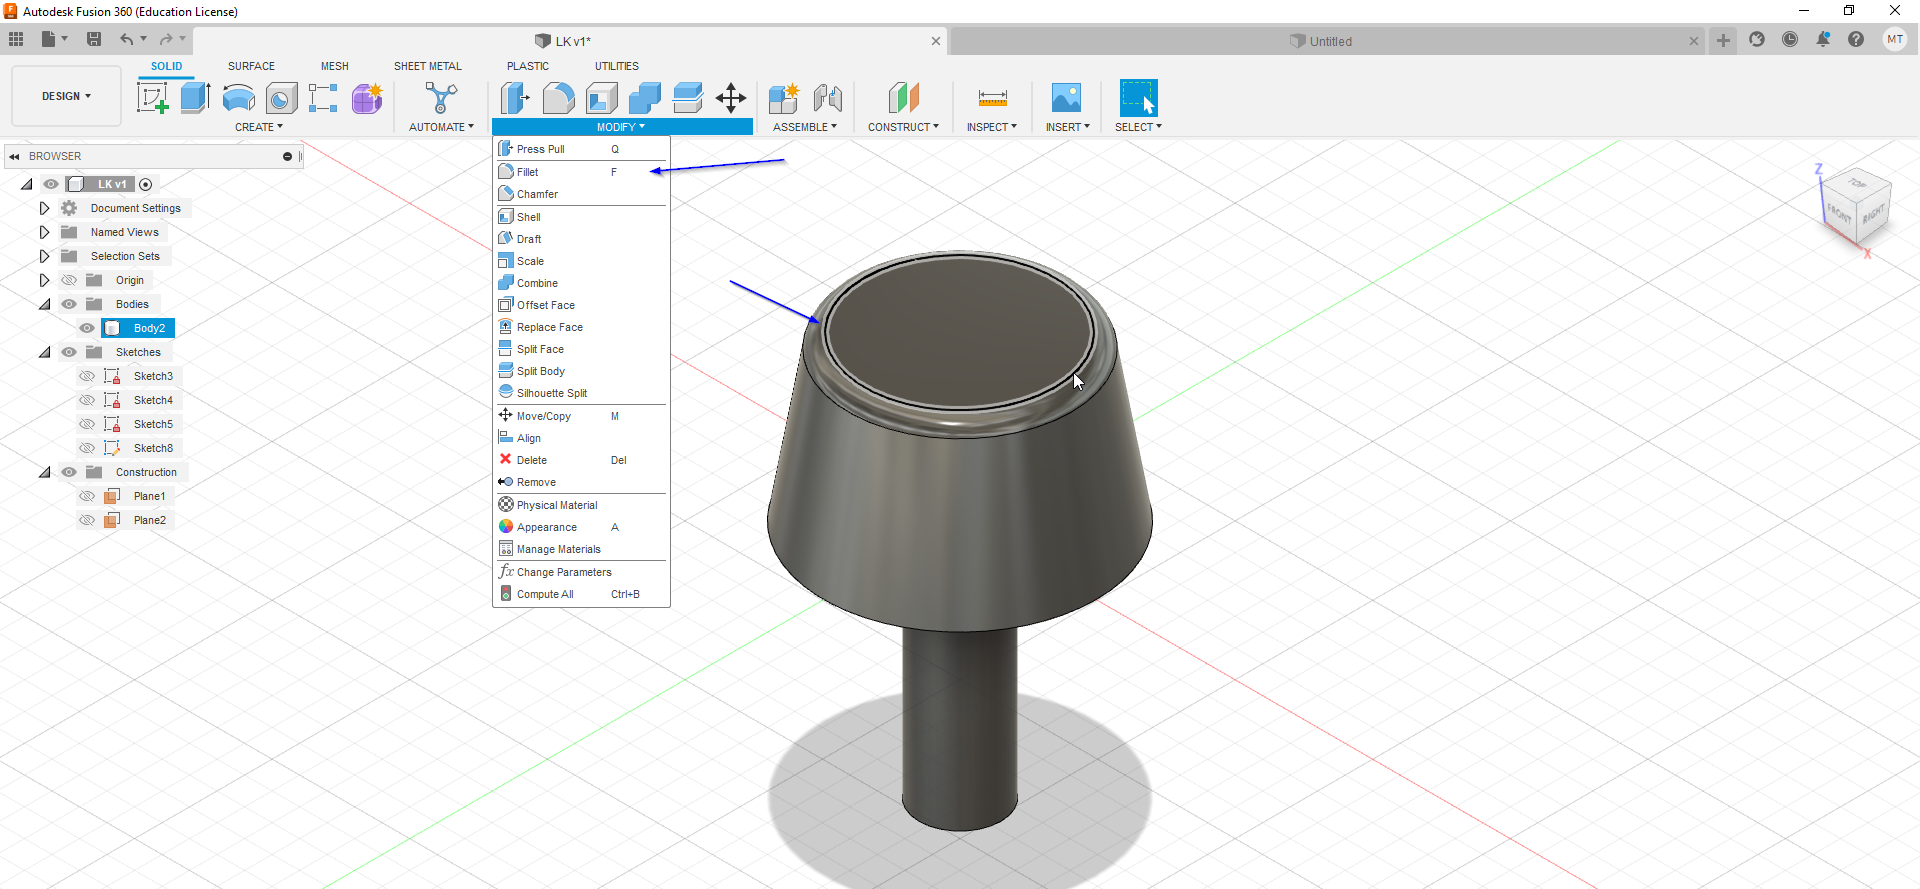
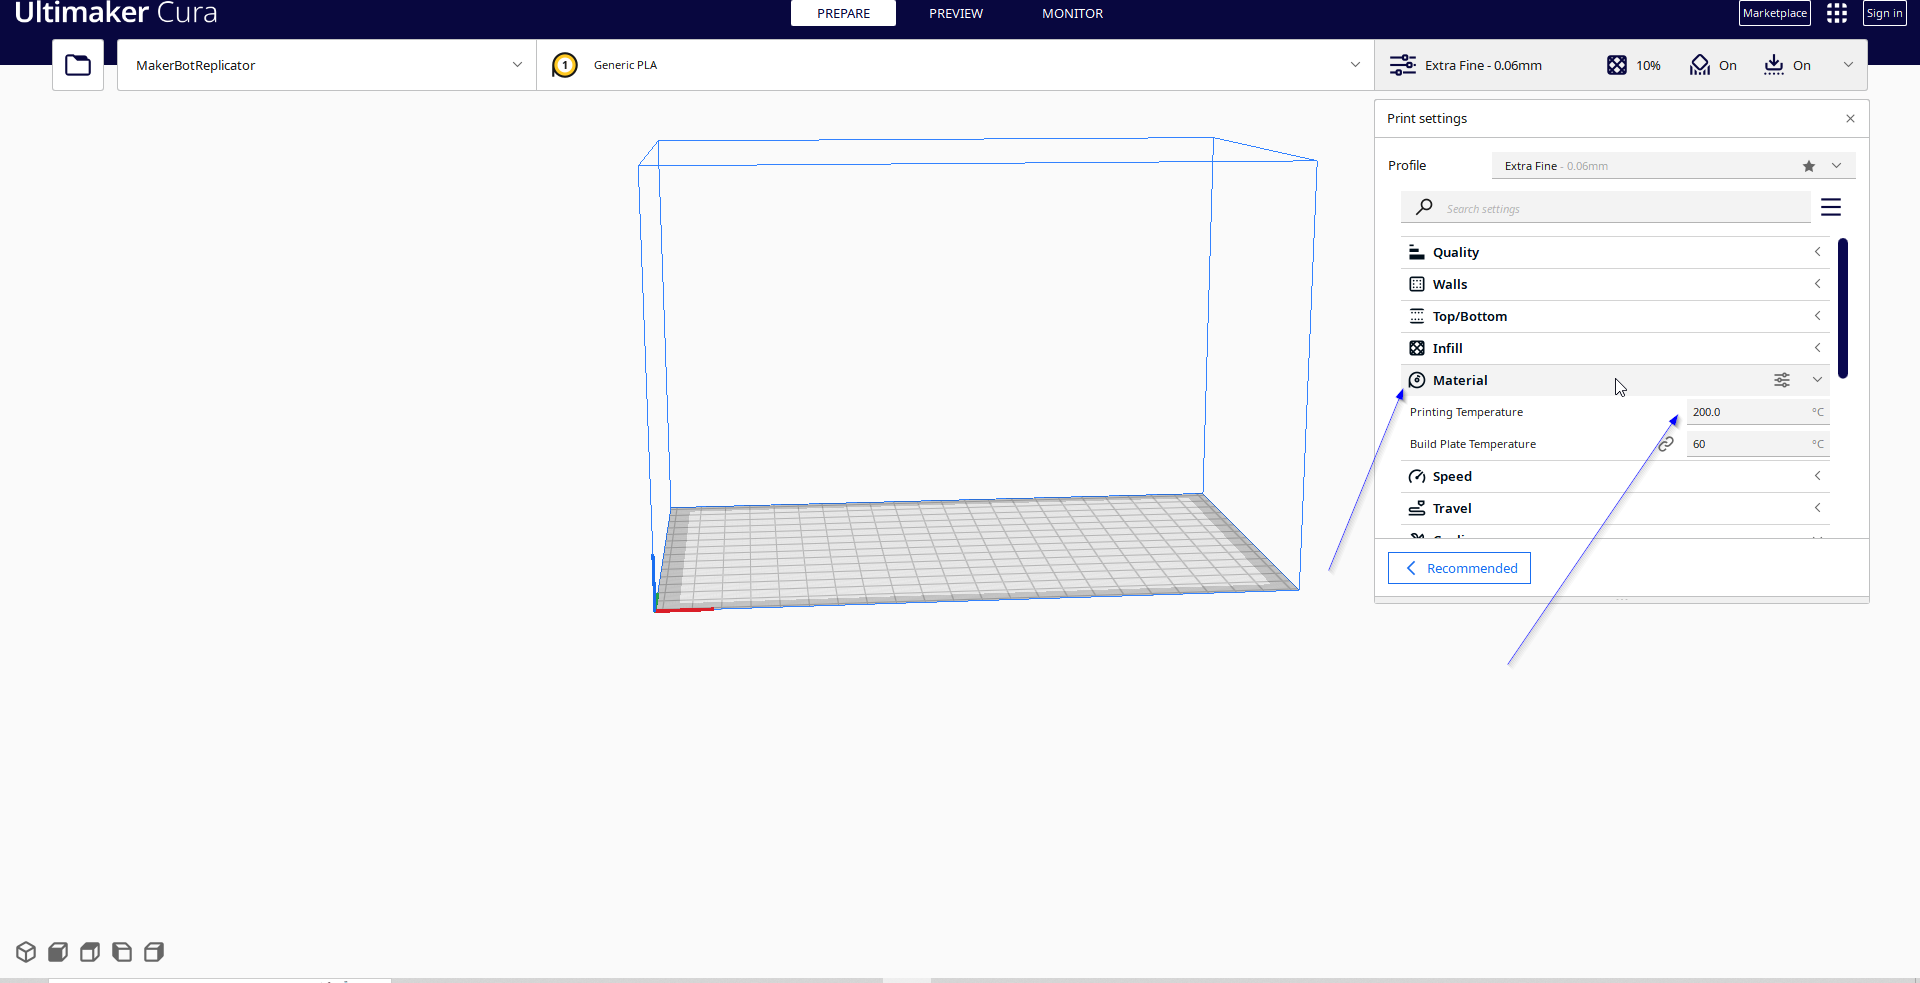
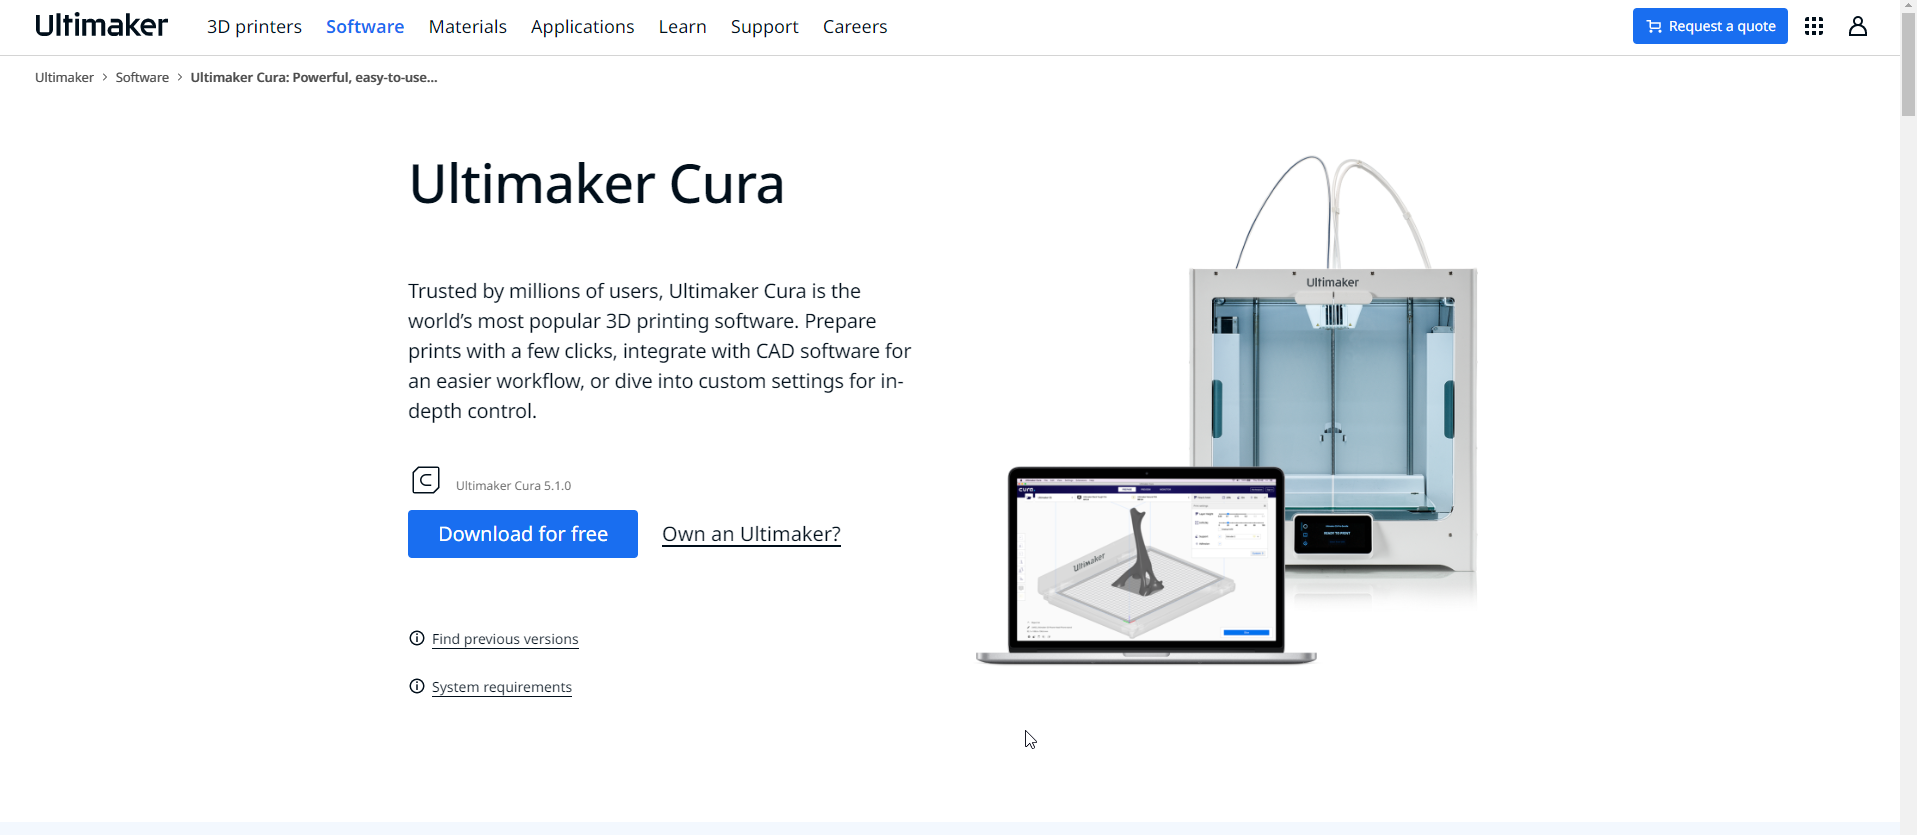
STEP8:I used the ultimkaer cura for silicing
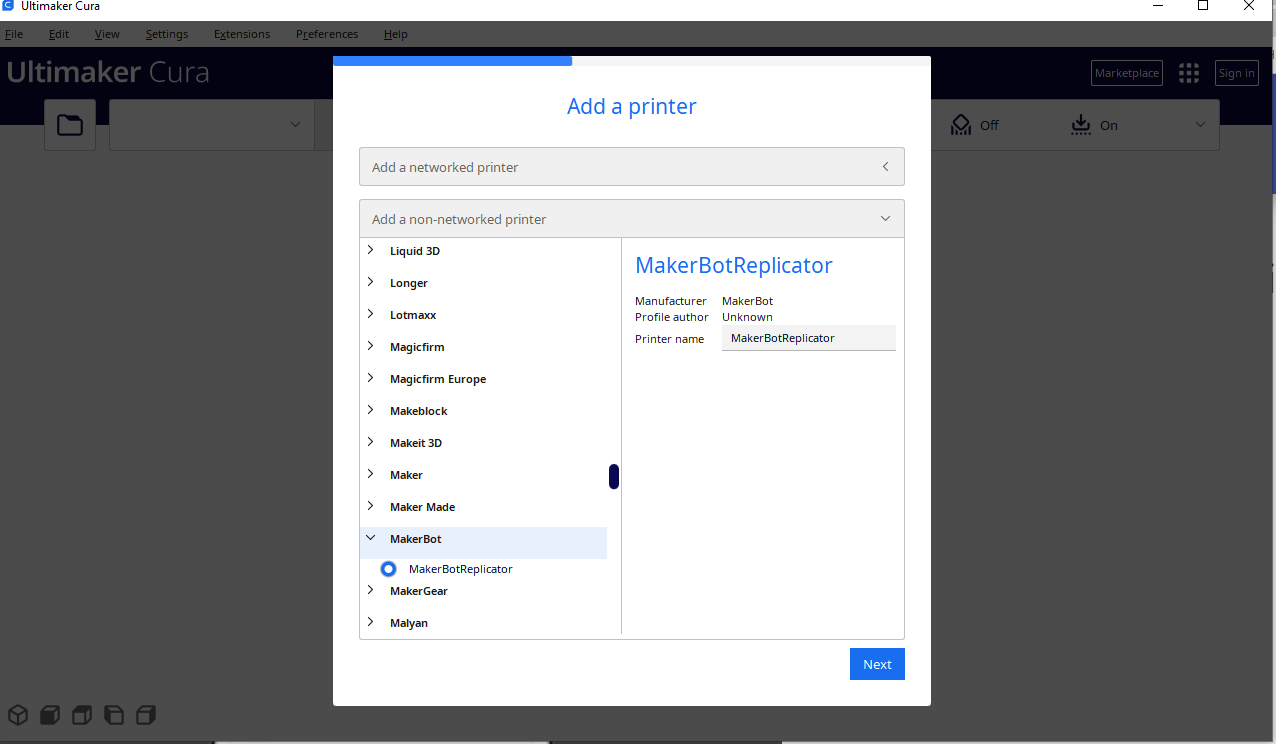
STEP9:Then i clicked on add non-network printer to add our printer

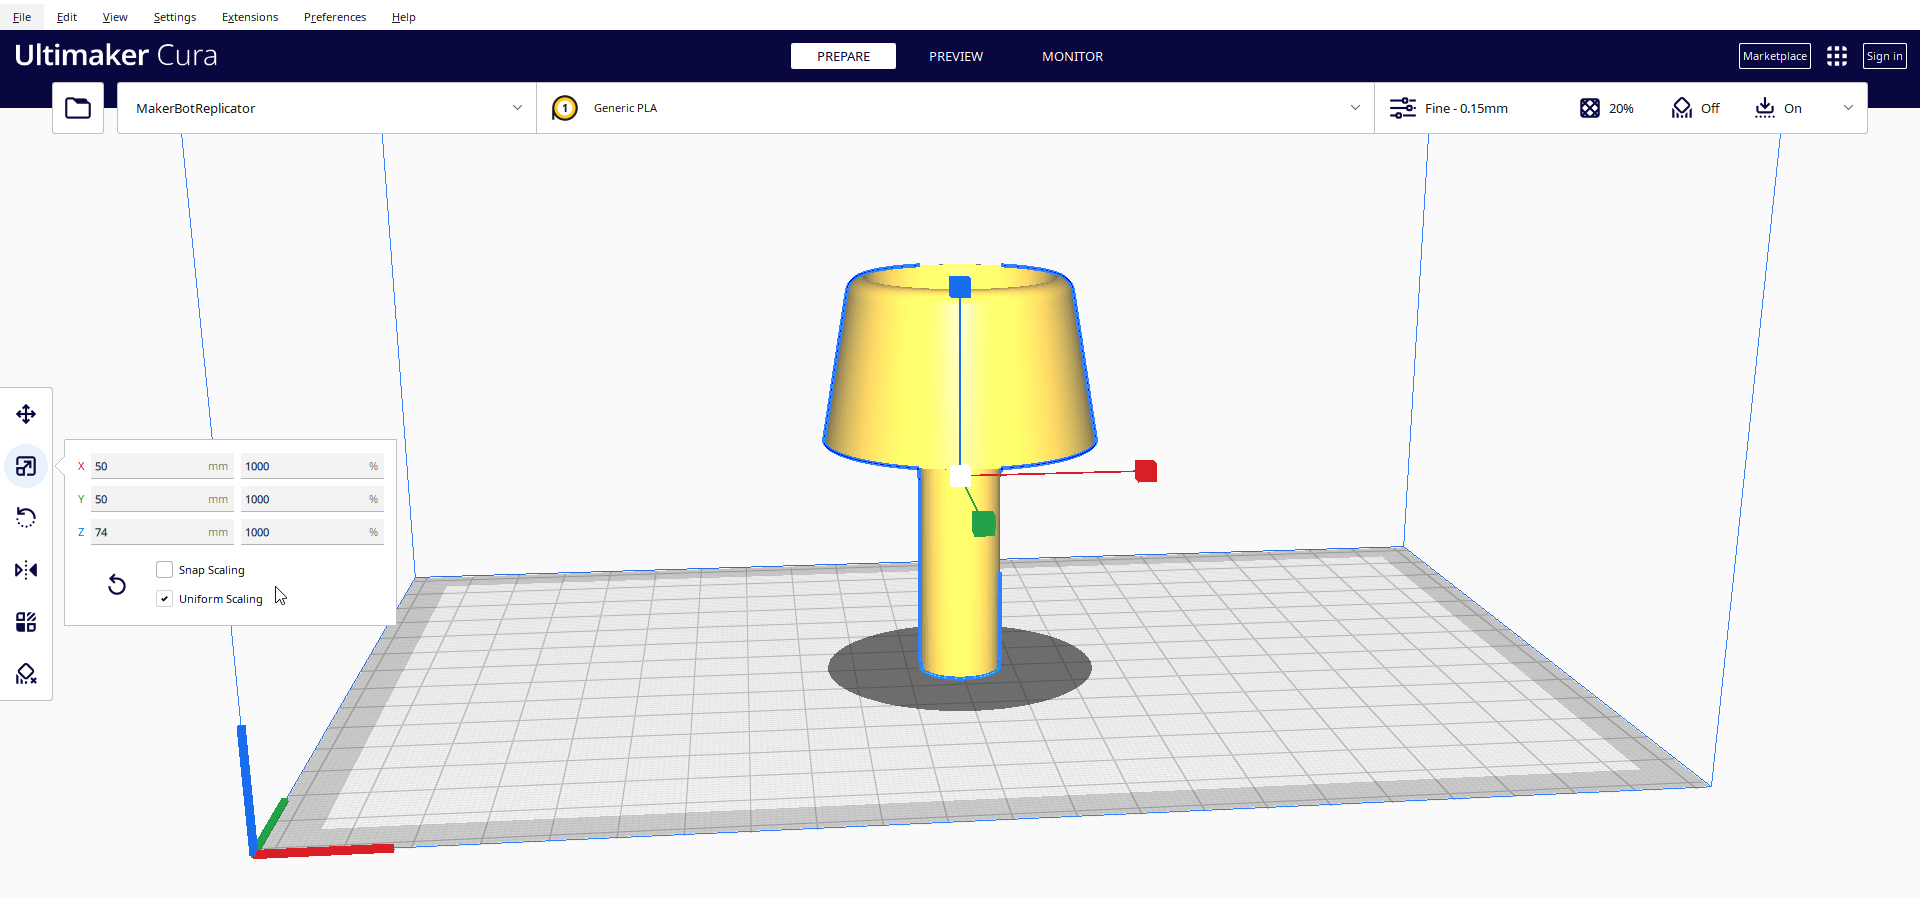
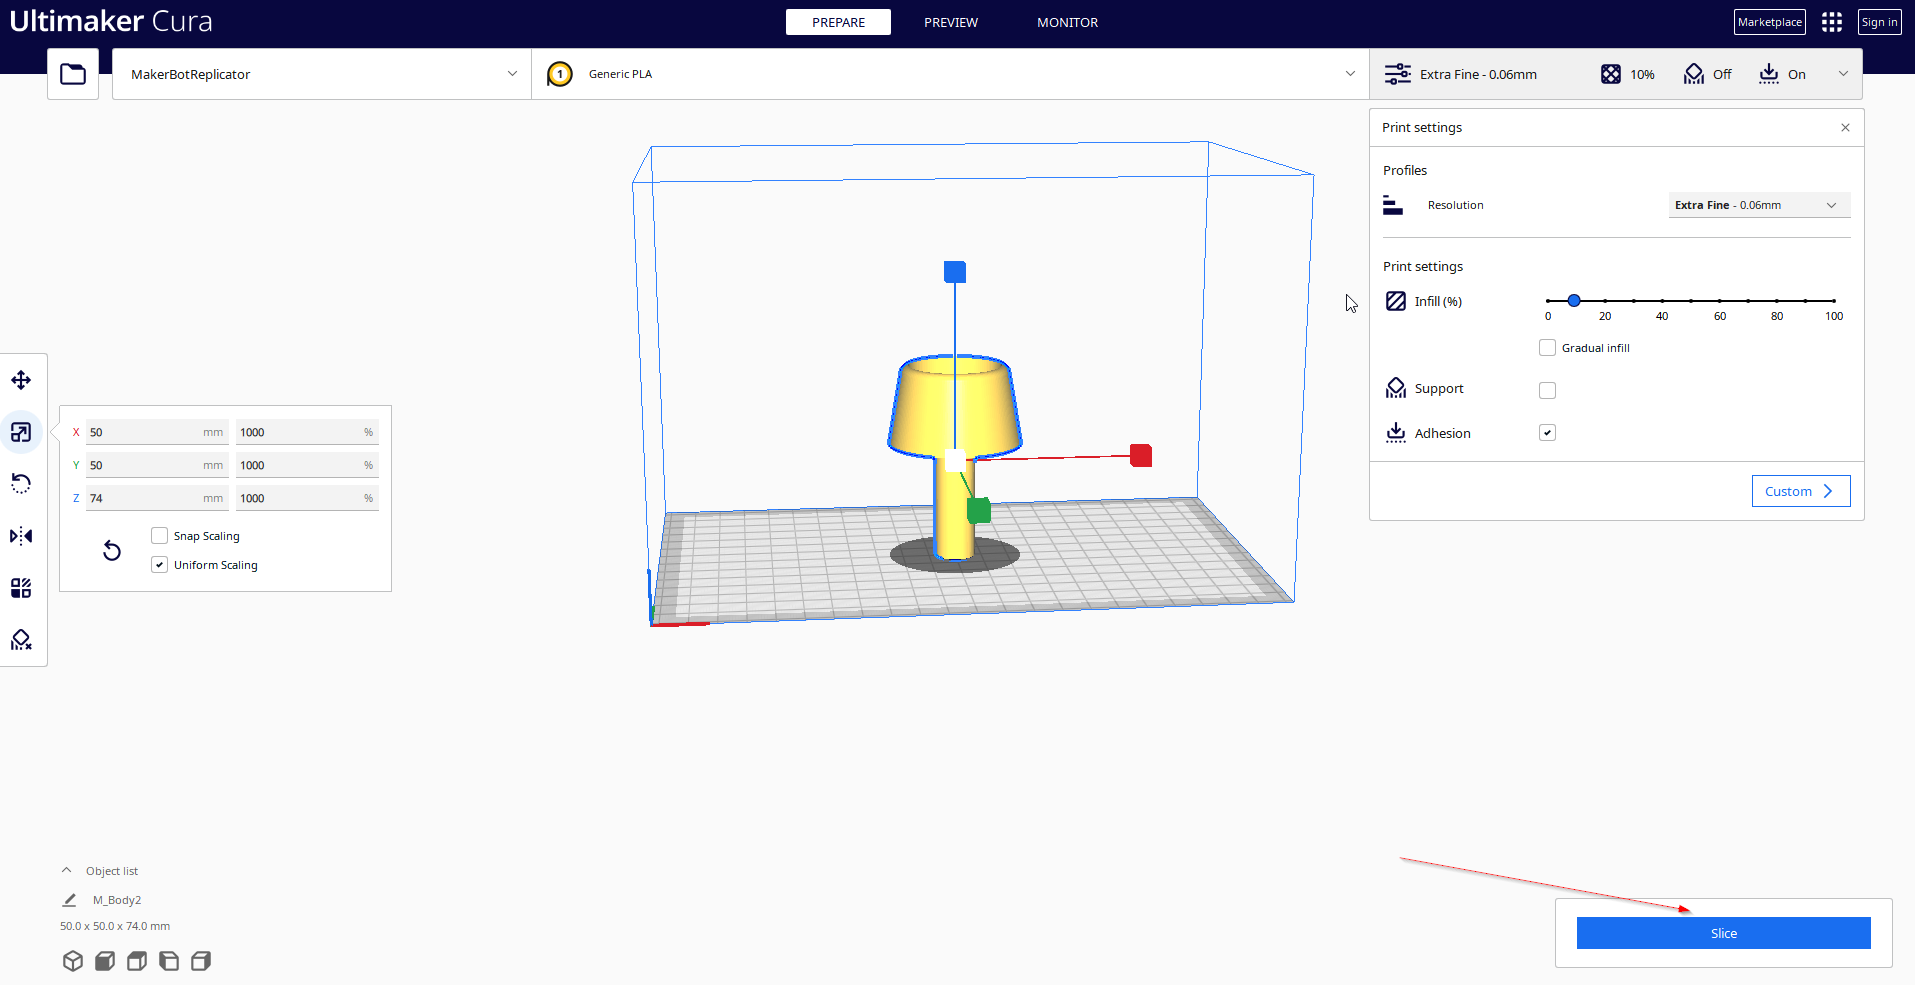
STEP10:Here i added some scaling to my design
STEP11:Then i clicked on Slice
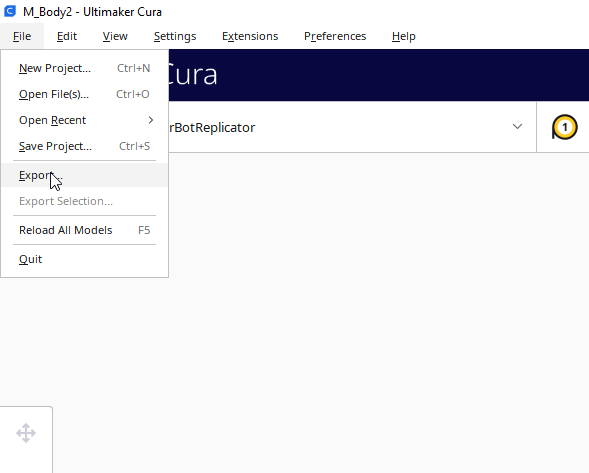
STEP12:After that i exported the file as G-Code File and put on flash memory
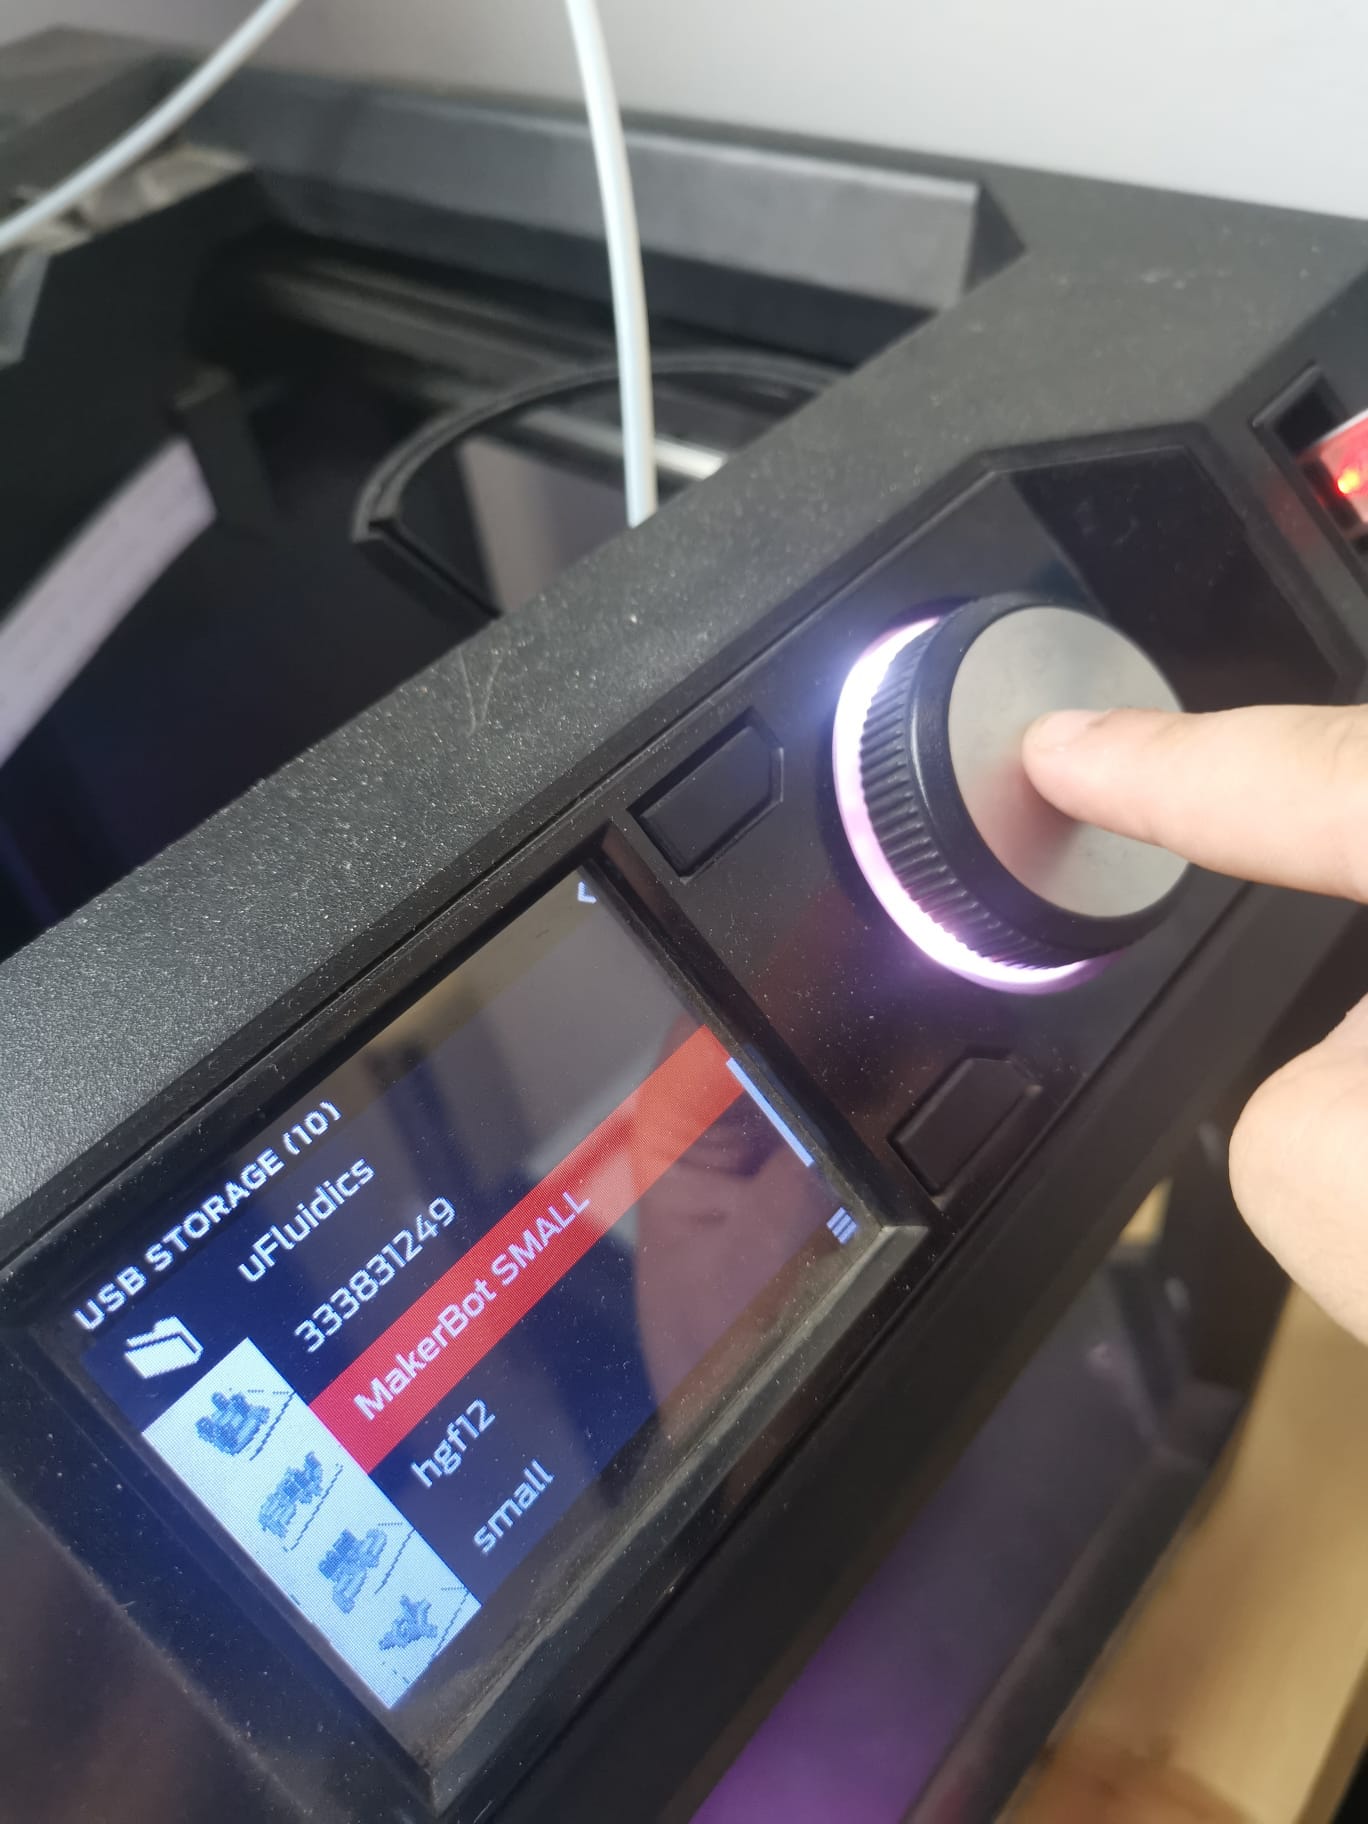
STEP13:After that i put the flash on the printer and click on “print “

STEP13:then i select “USB STORAGE”

STEP13:Then i choose the file i want to print
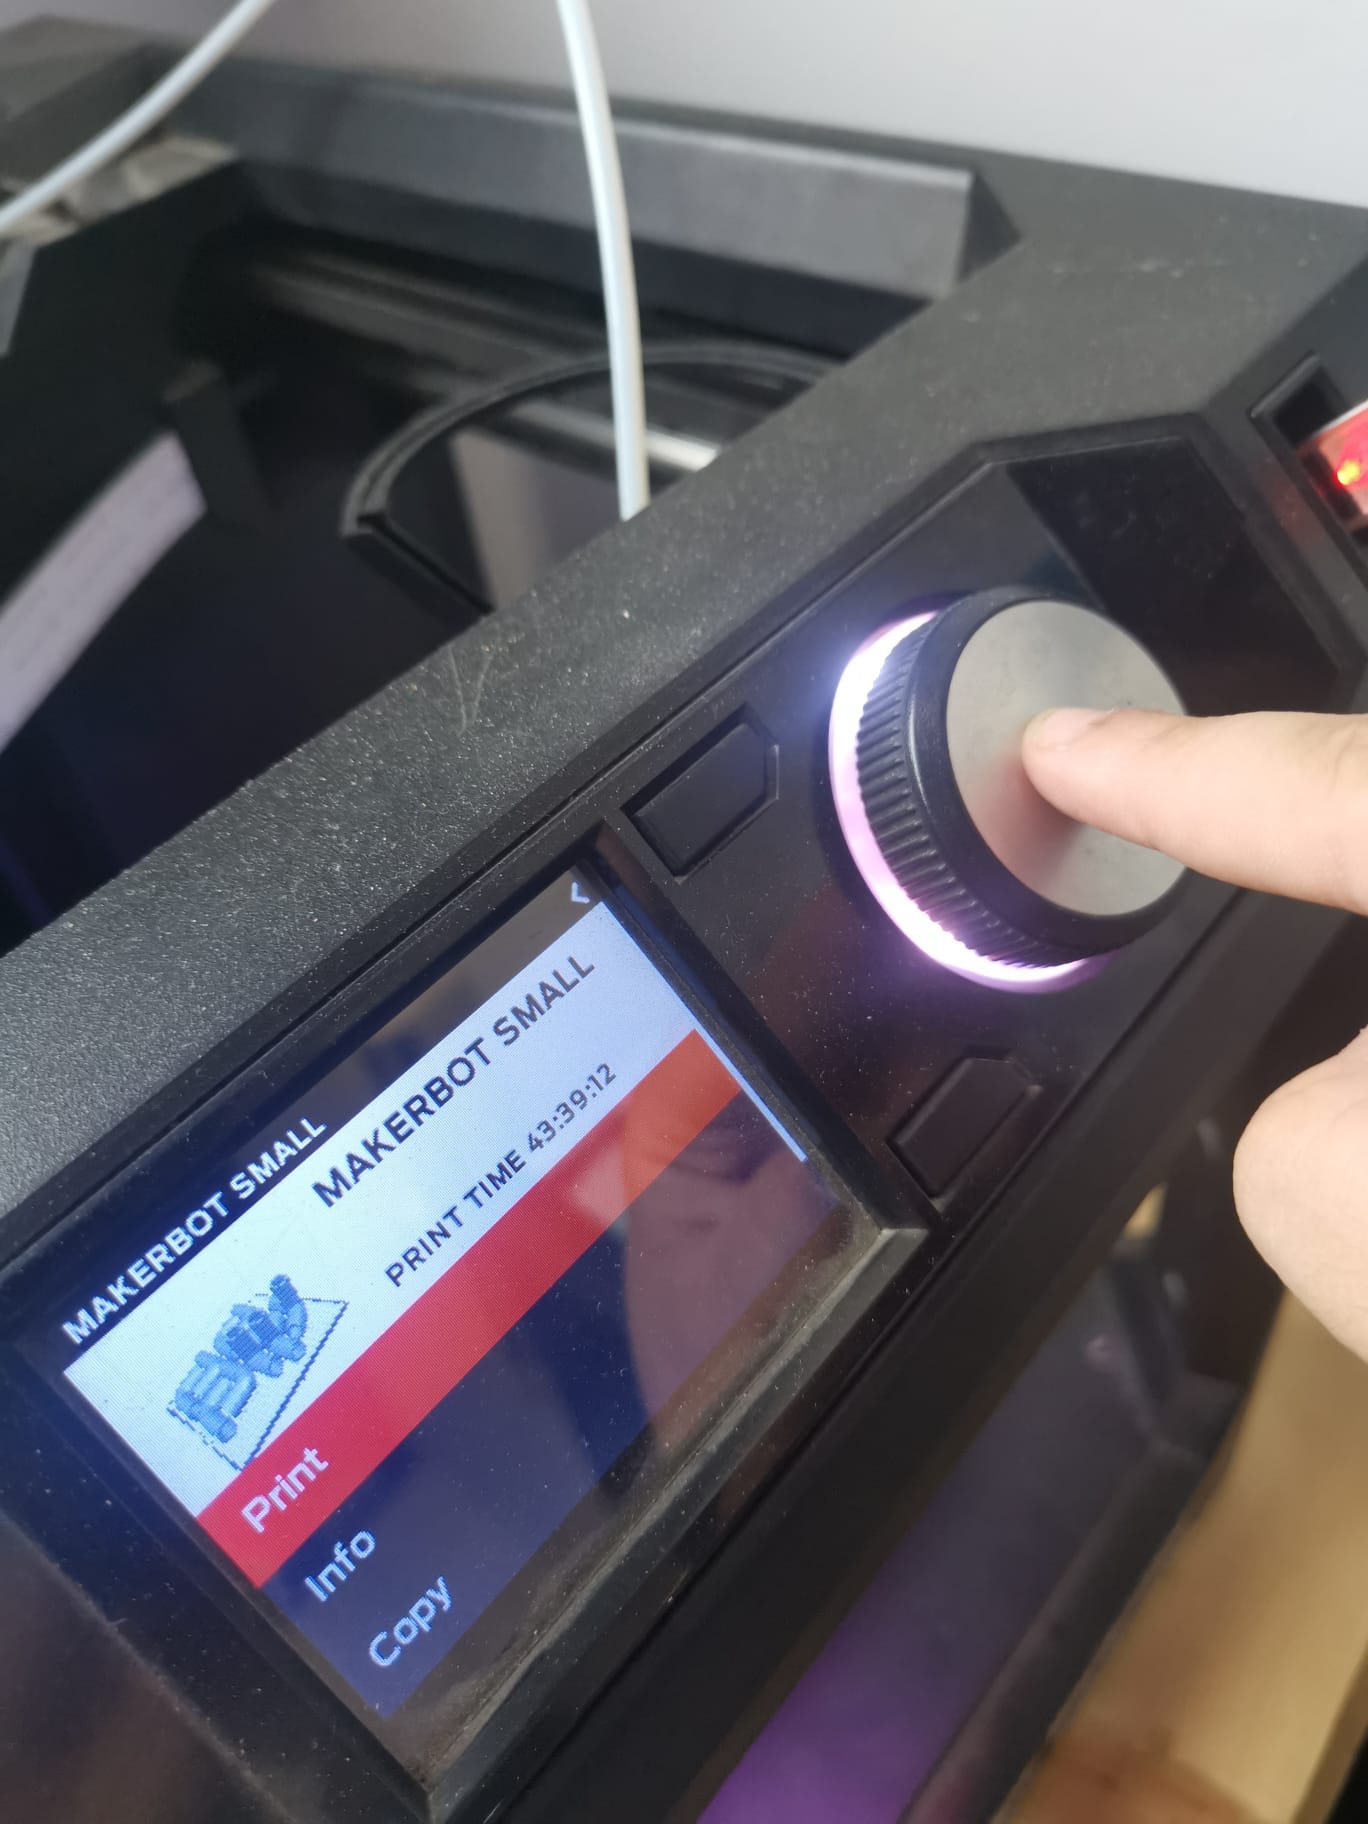
STEP13:Finally i click on “Print”
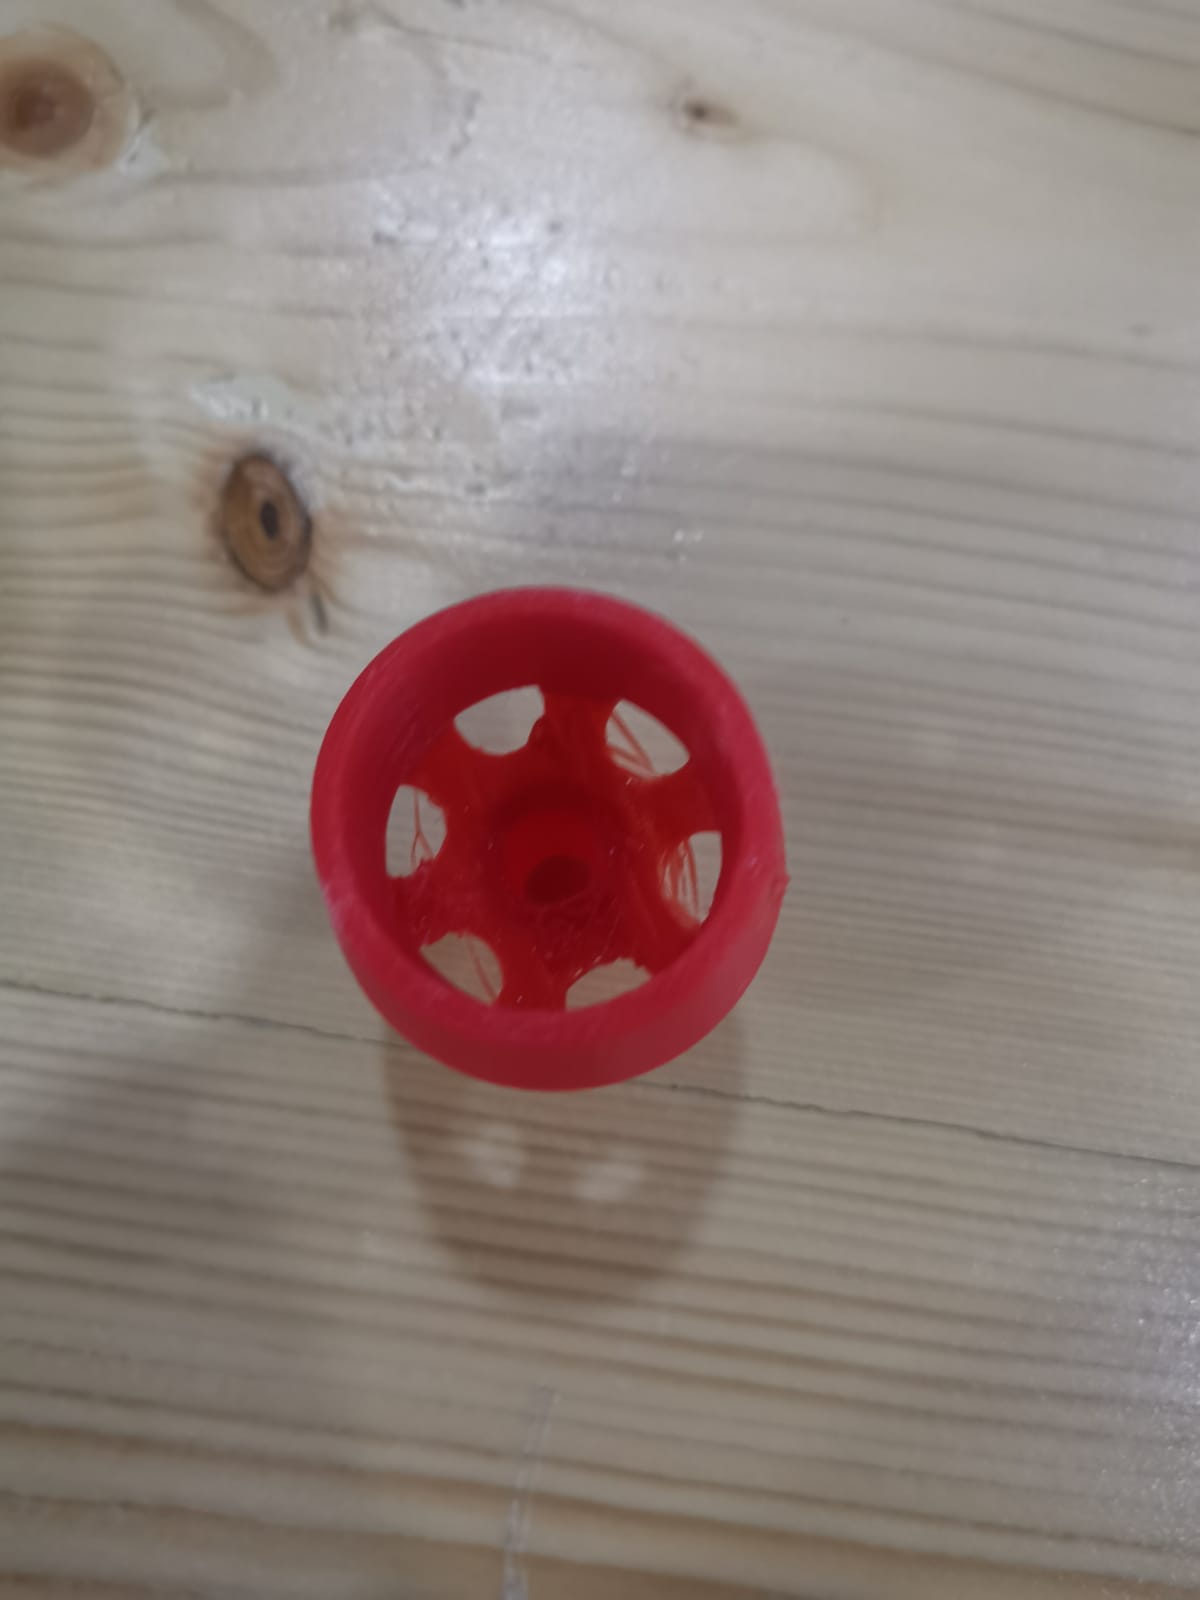
###STEP 13: Here is the design after it is printed


Is it suitable to do this design subtractively (1) ?
No,Becasue it has undercuts and machines like laser cutter or the CNC cant cut designs with undercuts.
Second:3D Scanning
STEP1:first thing i did was downloading an app called “Qlone”

STEP2:i started the scanning by simply recording from the app and rotating the object
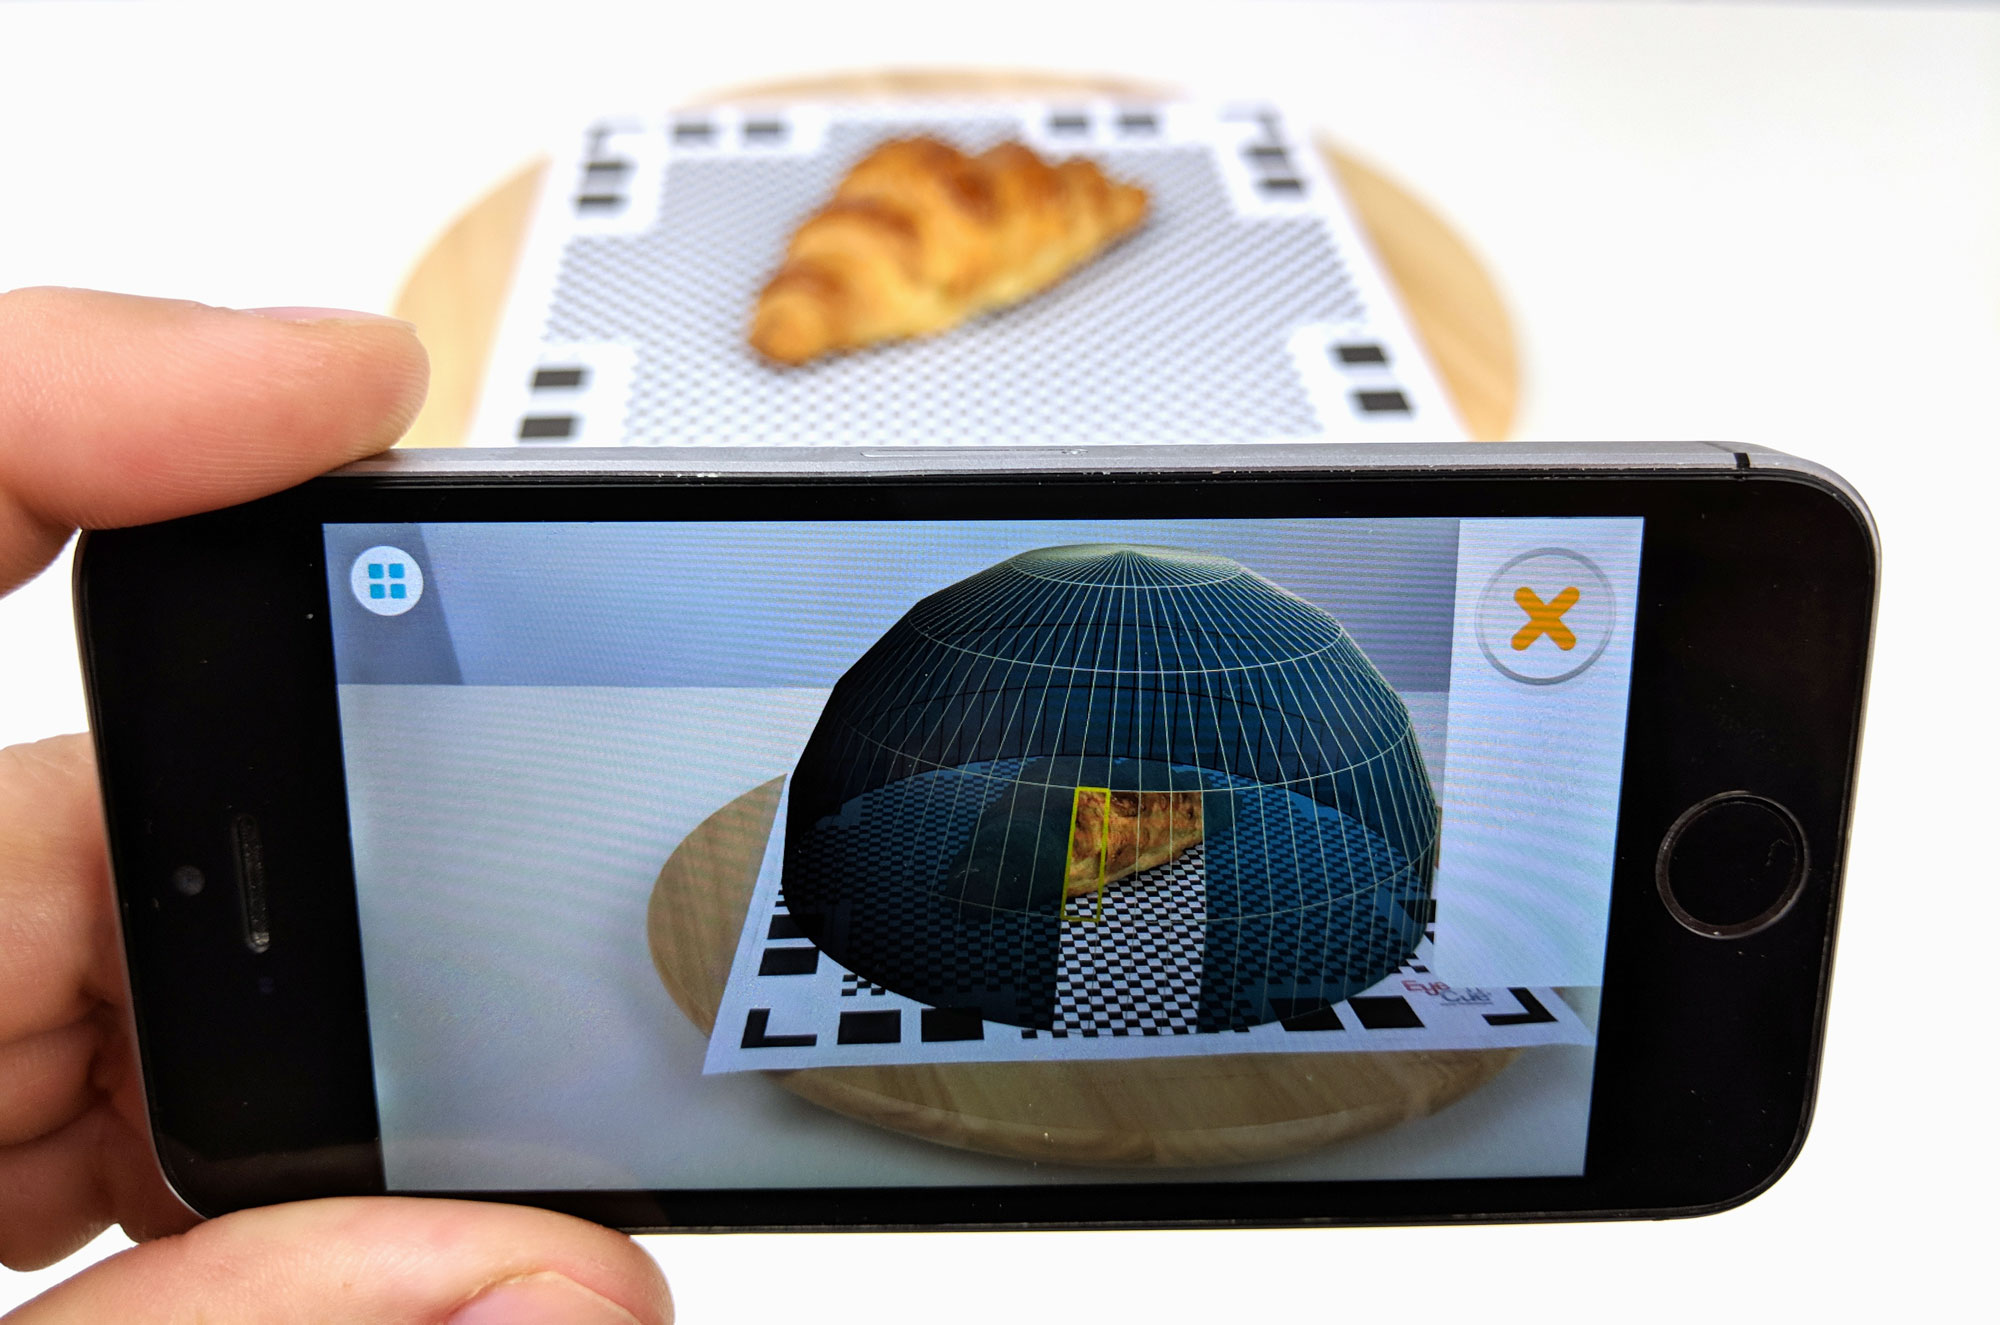
STEP3:After finishing the process my 3d object was scanned and it looked like in the following picture
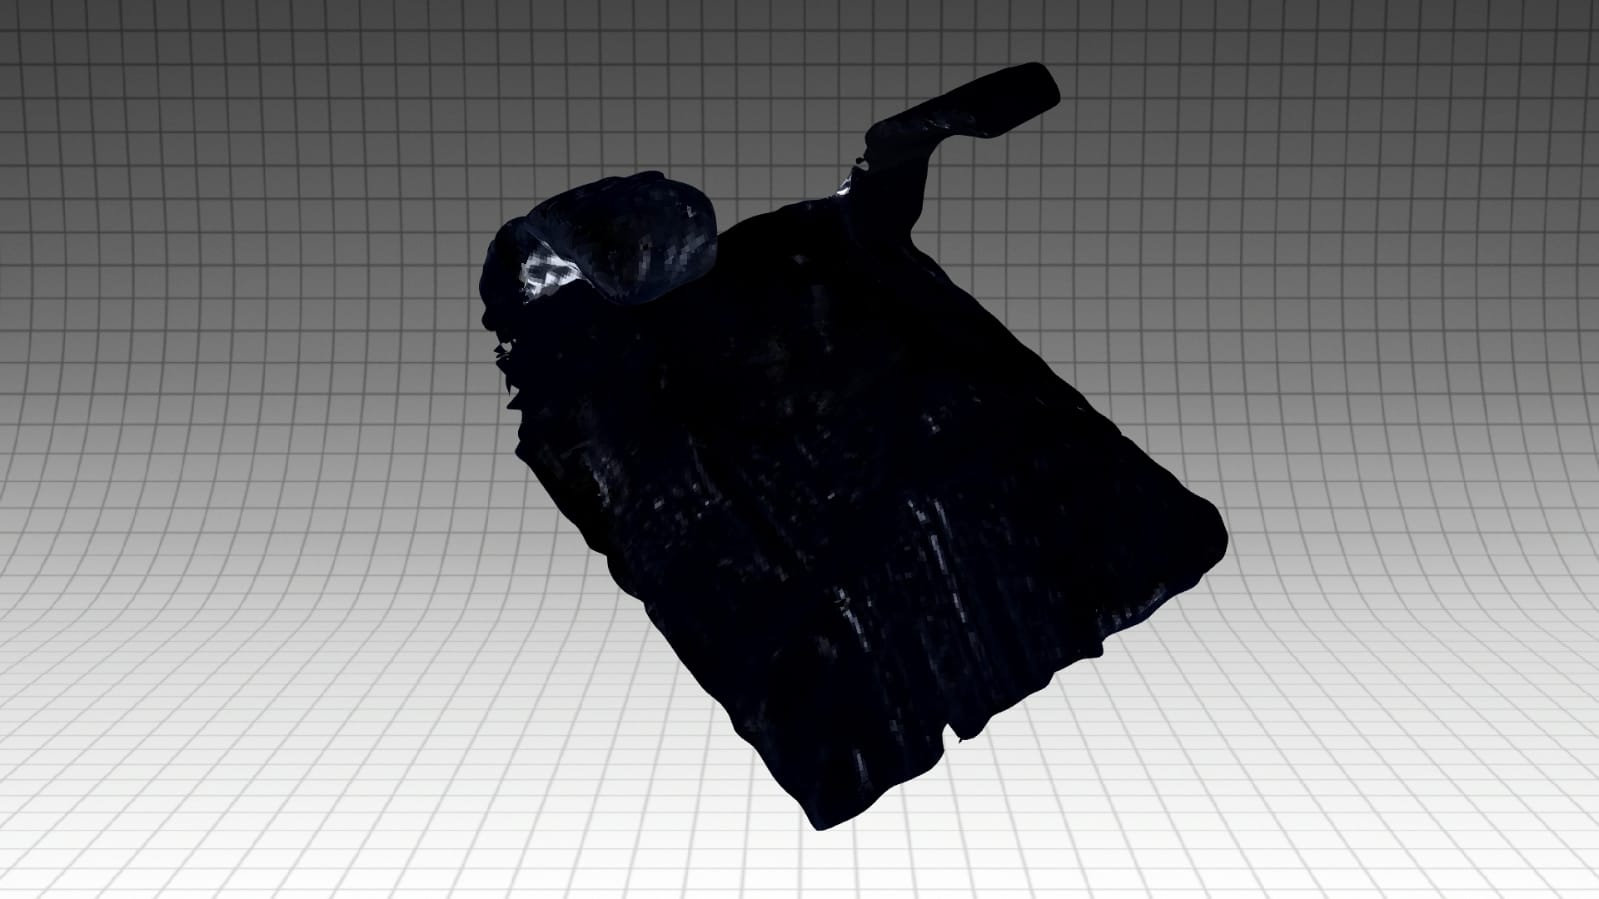
Is it suitable to do this design subtractively(2) ?
Yes and no, ideally since i scanned an object that is 3d printed i should be able to print it , but since the scan itself is not good and result quality is not totally perfect and has some defects , the 3d printing can not be performed
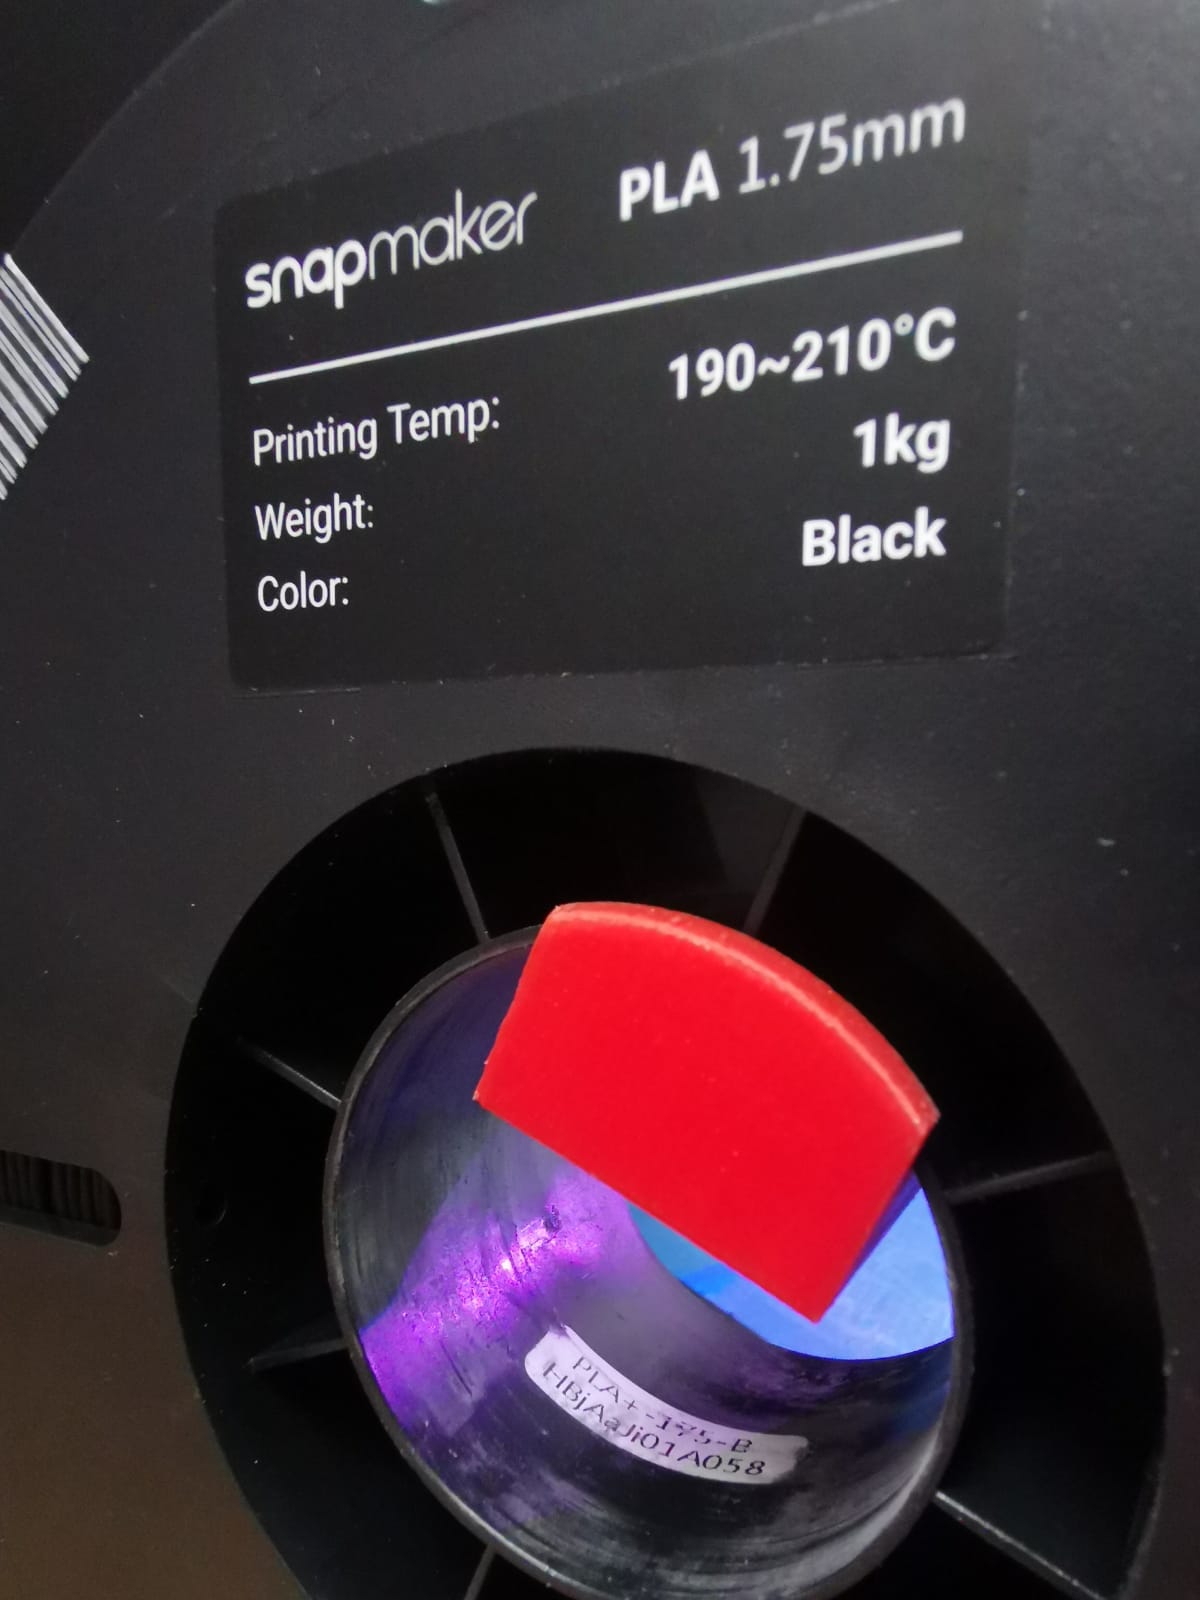
Setting printer temperauture
STEP1:since the filmant i used has a range temperature of 190-210 i choose temperature 200
 STEP2:From the app i clicked on the settings

STEP3:From material tab i can select the temperature i want