6. Molding & Casting
This week we learned about the different materials that we will use for molding and casting but each group will use one material. due to the total number of students, i didn’t have anyone so i worked solo and i choose Silicone as my material. Before working on Silicone, i learned how to work with Silicone safely and what not to do when using Silicone. This week assignment is to make a magnet design which we will stick to the board.
Group Assignment
for group assignment we searched about all the information we need to know about our material we are going to use. full details on this link: Group Assignment
Safety Silicone
DON’T INGEST , INJECT AND ABSORB SILICONE IN YOUR BODY!
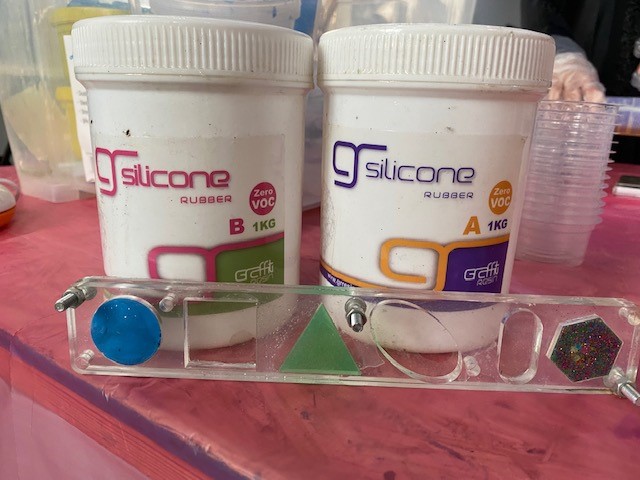
Silicone
Silicone is a rubbery material that can be used for many things and even implants in human body. However, there are many risks when ingesting, injecting and absorbing silicone in your body. my first time using Silicone i made a different shapes just for testing and to learn more about the surface, texture and state of the material when vulcanize.
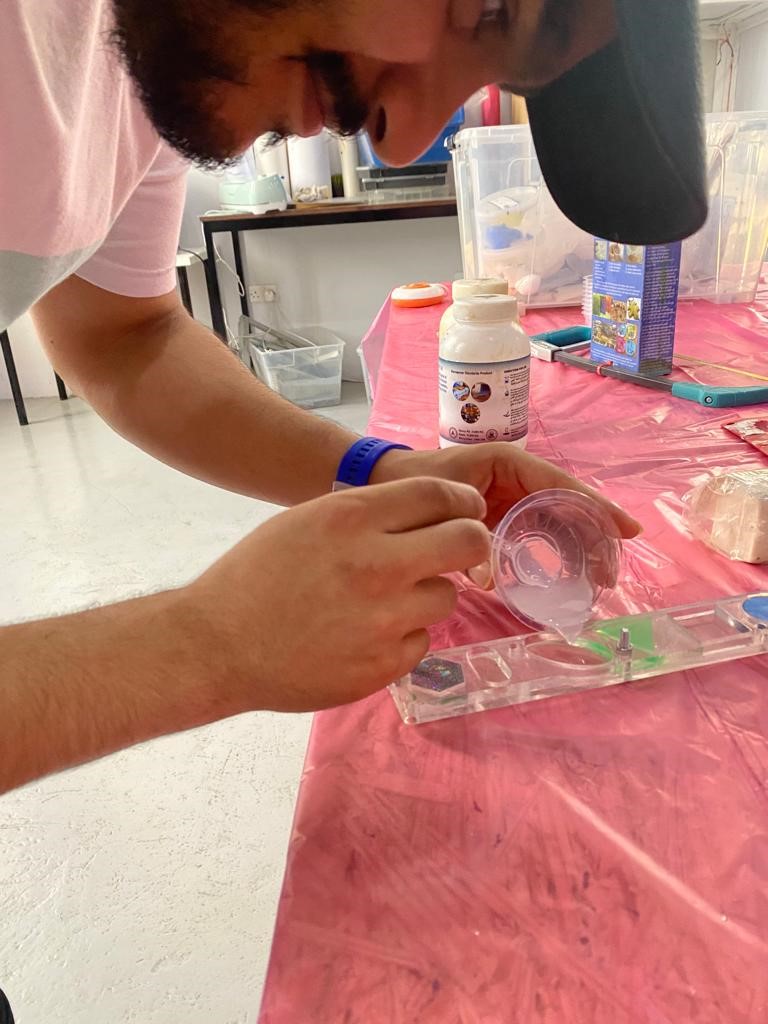
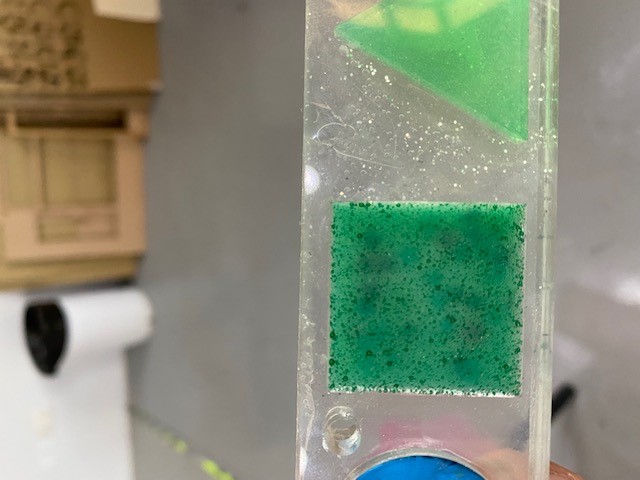
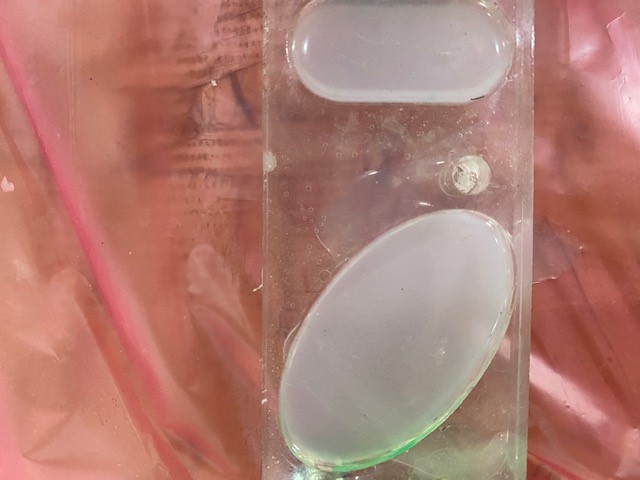
this is the final result when the silicone vulcanized after 24 hours.
Creating a mold & magnet design
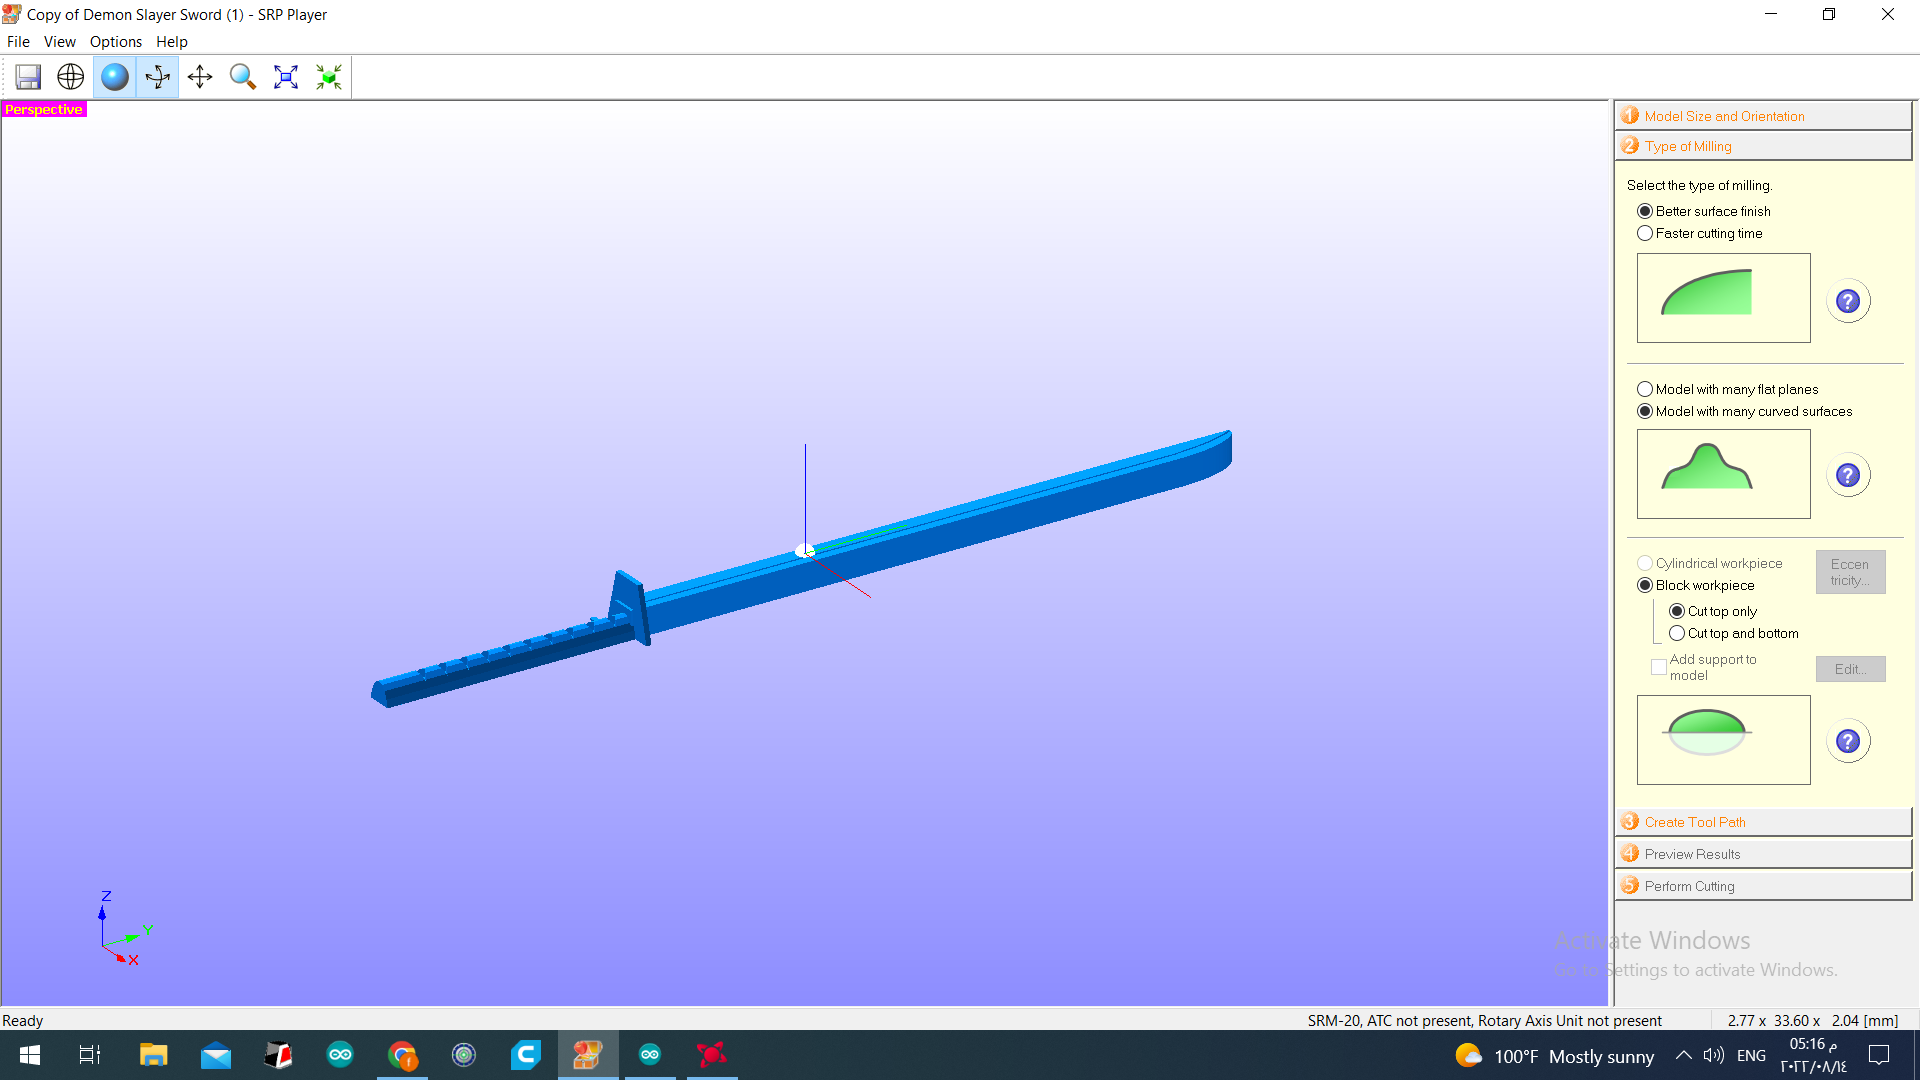
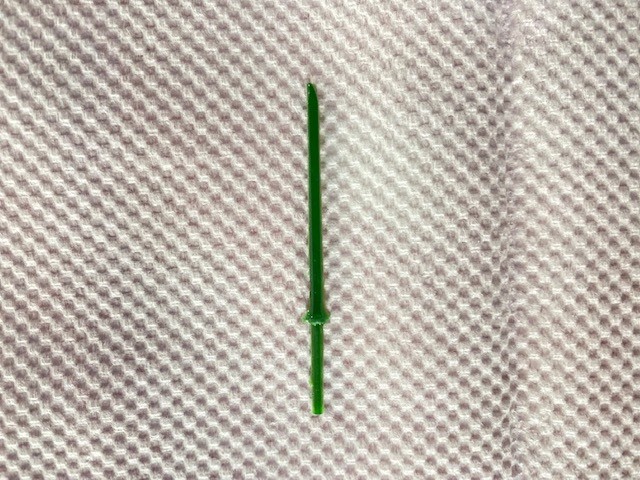
for this week assignment i wanted to design something that reflects upon my personality and to be something cool at the same time, so i love the Japanese culture like their food, traditions, history and TV shows. In my opinion, i think that the sword or katana is what represent Japan the most and that is why i tried to create a sword in TinkerCAD. the process in creating a sword is fun but i wanted the sword to be as original as possible to the real thing.
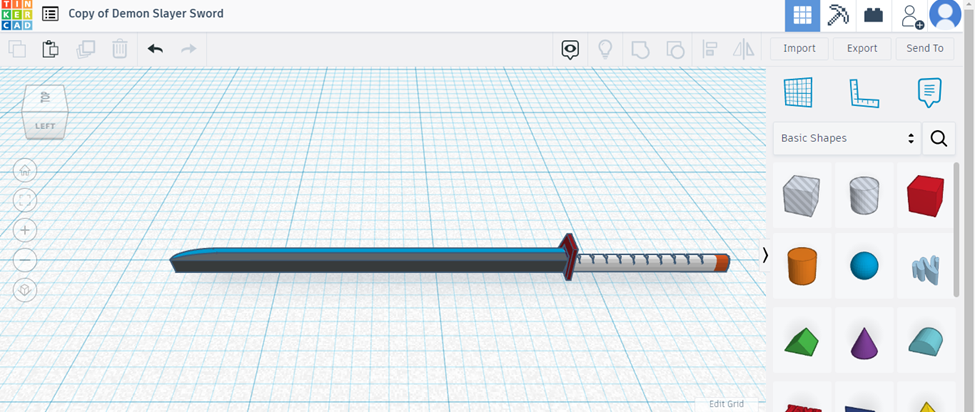
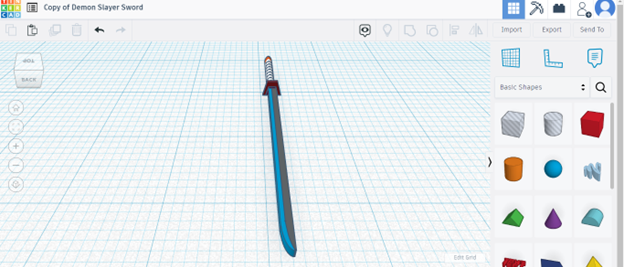
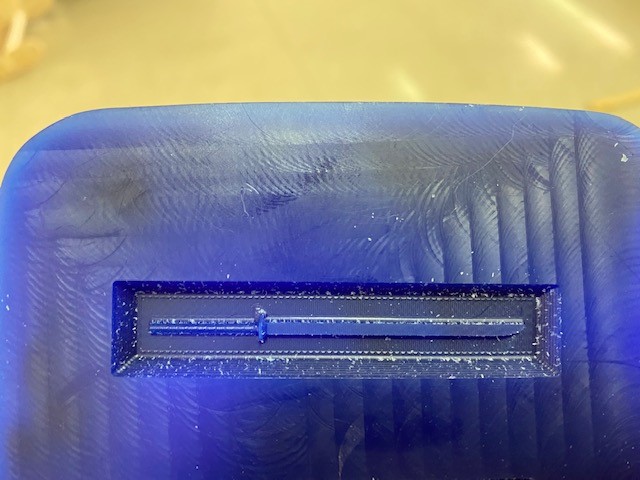
but due to the machine that will carve the sword on the mold i had to cut the sword in half because the machine will carve the sword from a top view angel.

RS Player
RS player is the software designated for uploading designs onto the milling machine. then i choose the preferable sitting for the milling machine to carve the design into the mold
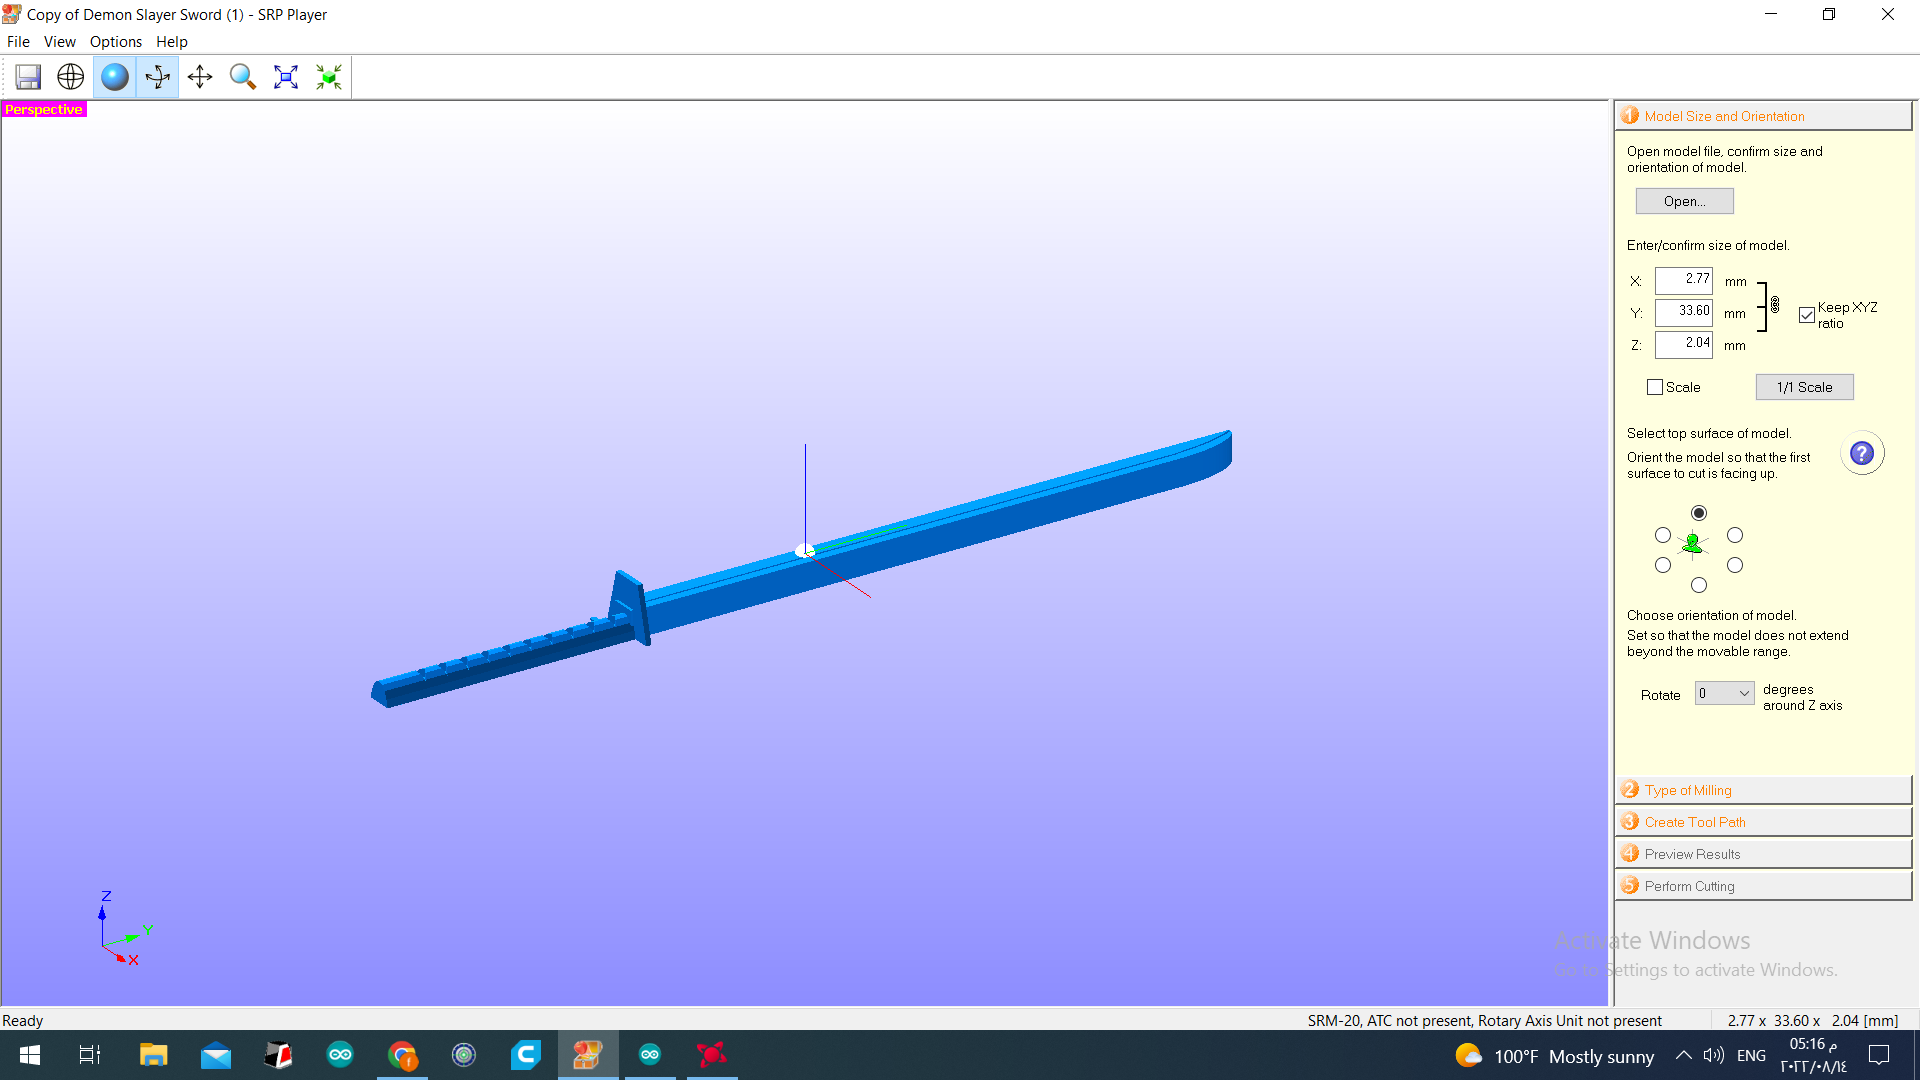
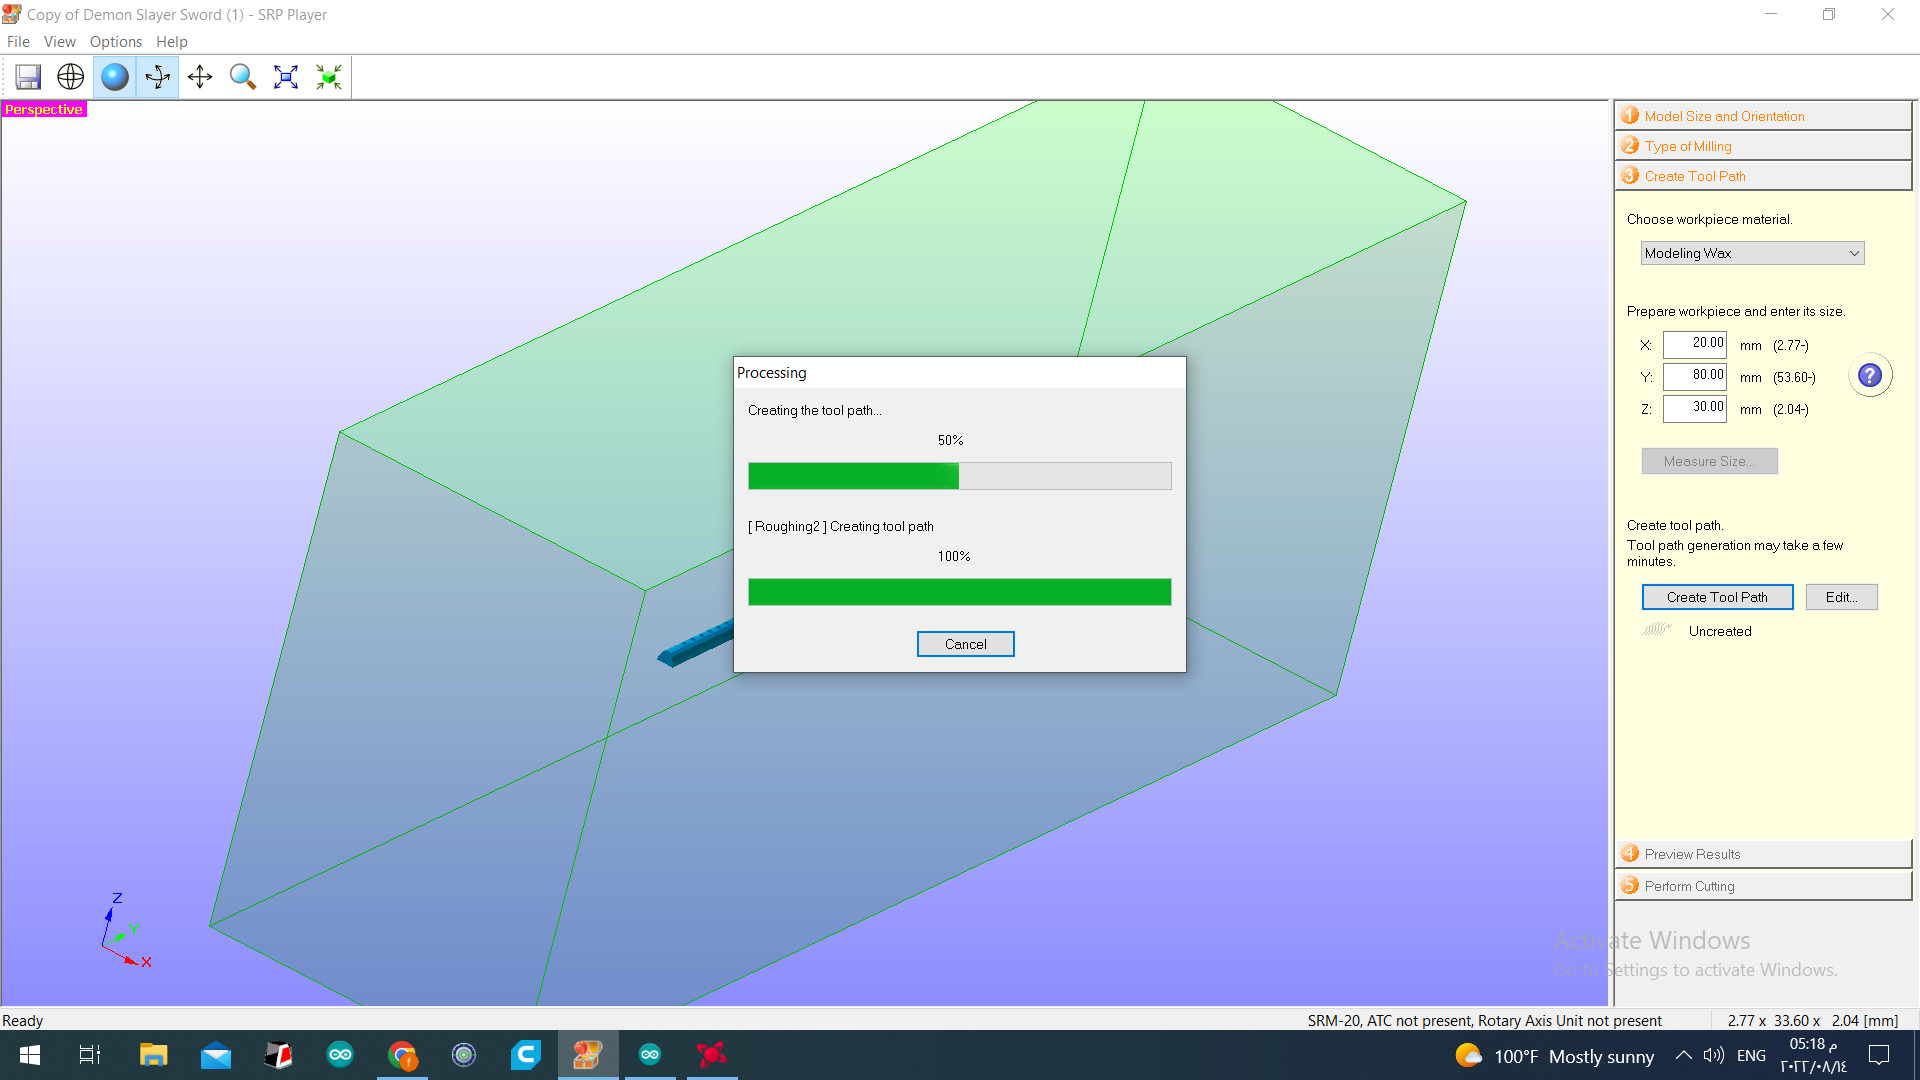
the carving of the design took approximately 20 minutes due to the final result of the sword is small and thin which was frustrating and shocking. on the other hand, the sword design set a record for the fastest design to be carved! XD. so for future reference, make your design as big as possible if the design is small.
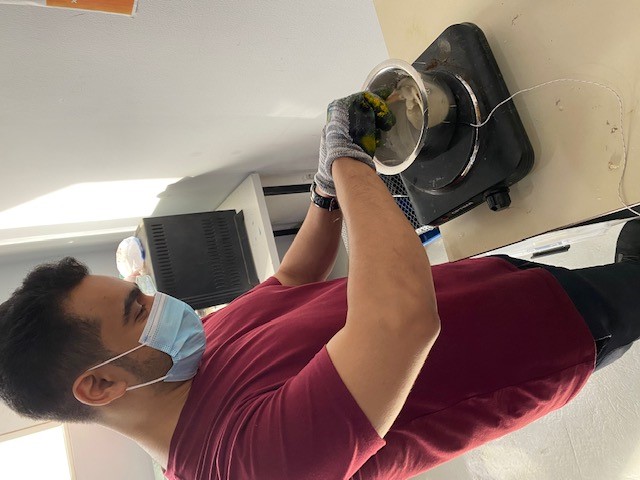
Safety Mold
WEAR GALSSES, MASK AND GLOVES. DON’T BREATH IN THE FUMES COMING OUT FROM THE POT
Molding
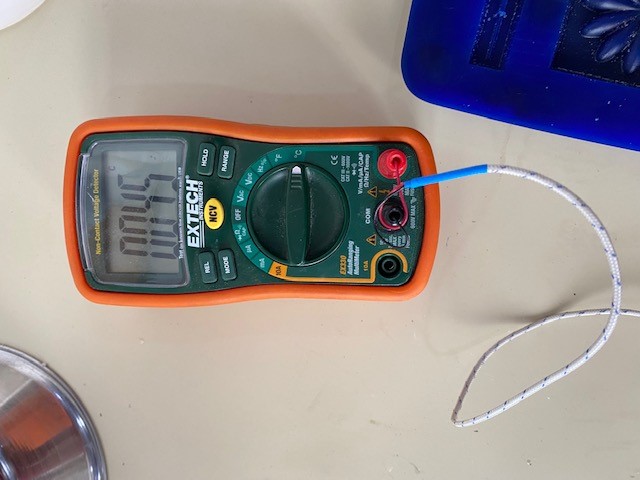
Creating a mold is a fun process because it is kind of like cooking. Firstly, you have to get the gel and cut it to small pieces so it can melts faster. Secondly, put the gel pieces in a pot and turn on the oven to heat it up till it reaches 200c and keep on steering.
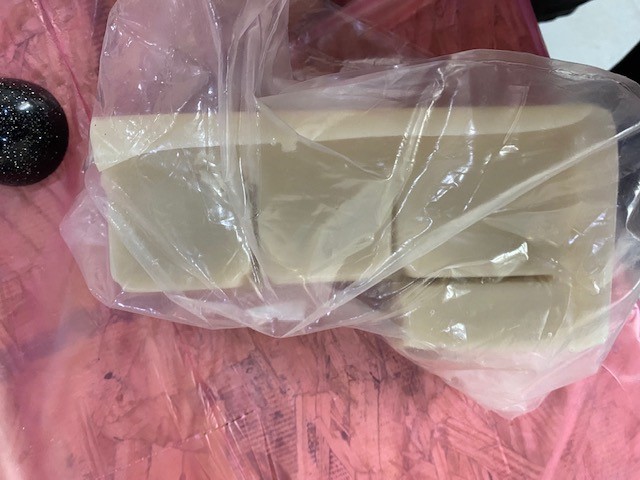
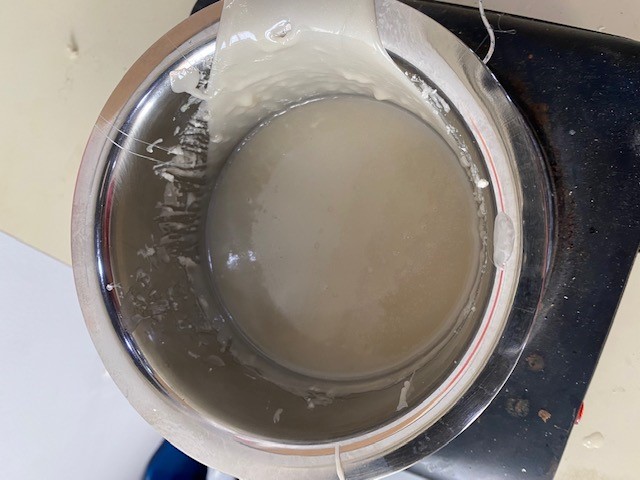
Thirdly, pour the melted gel in the mold and wait 15-20 minutes to dry then the gel mold will be ready. i used Resin as my material for the sword and i followed the instructions in the group assignment for the steps of the material. Finally, i poured the resin in the gel mold.
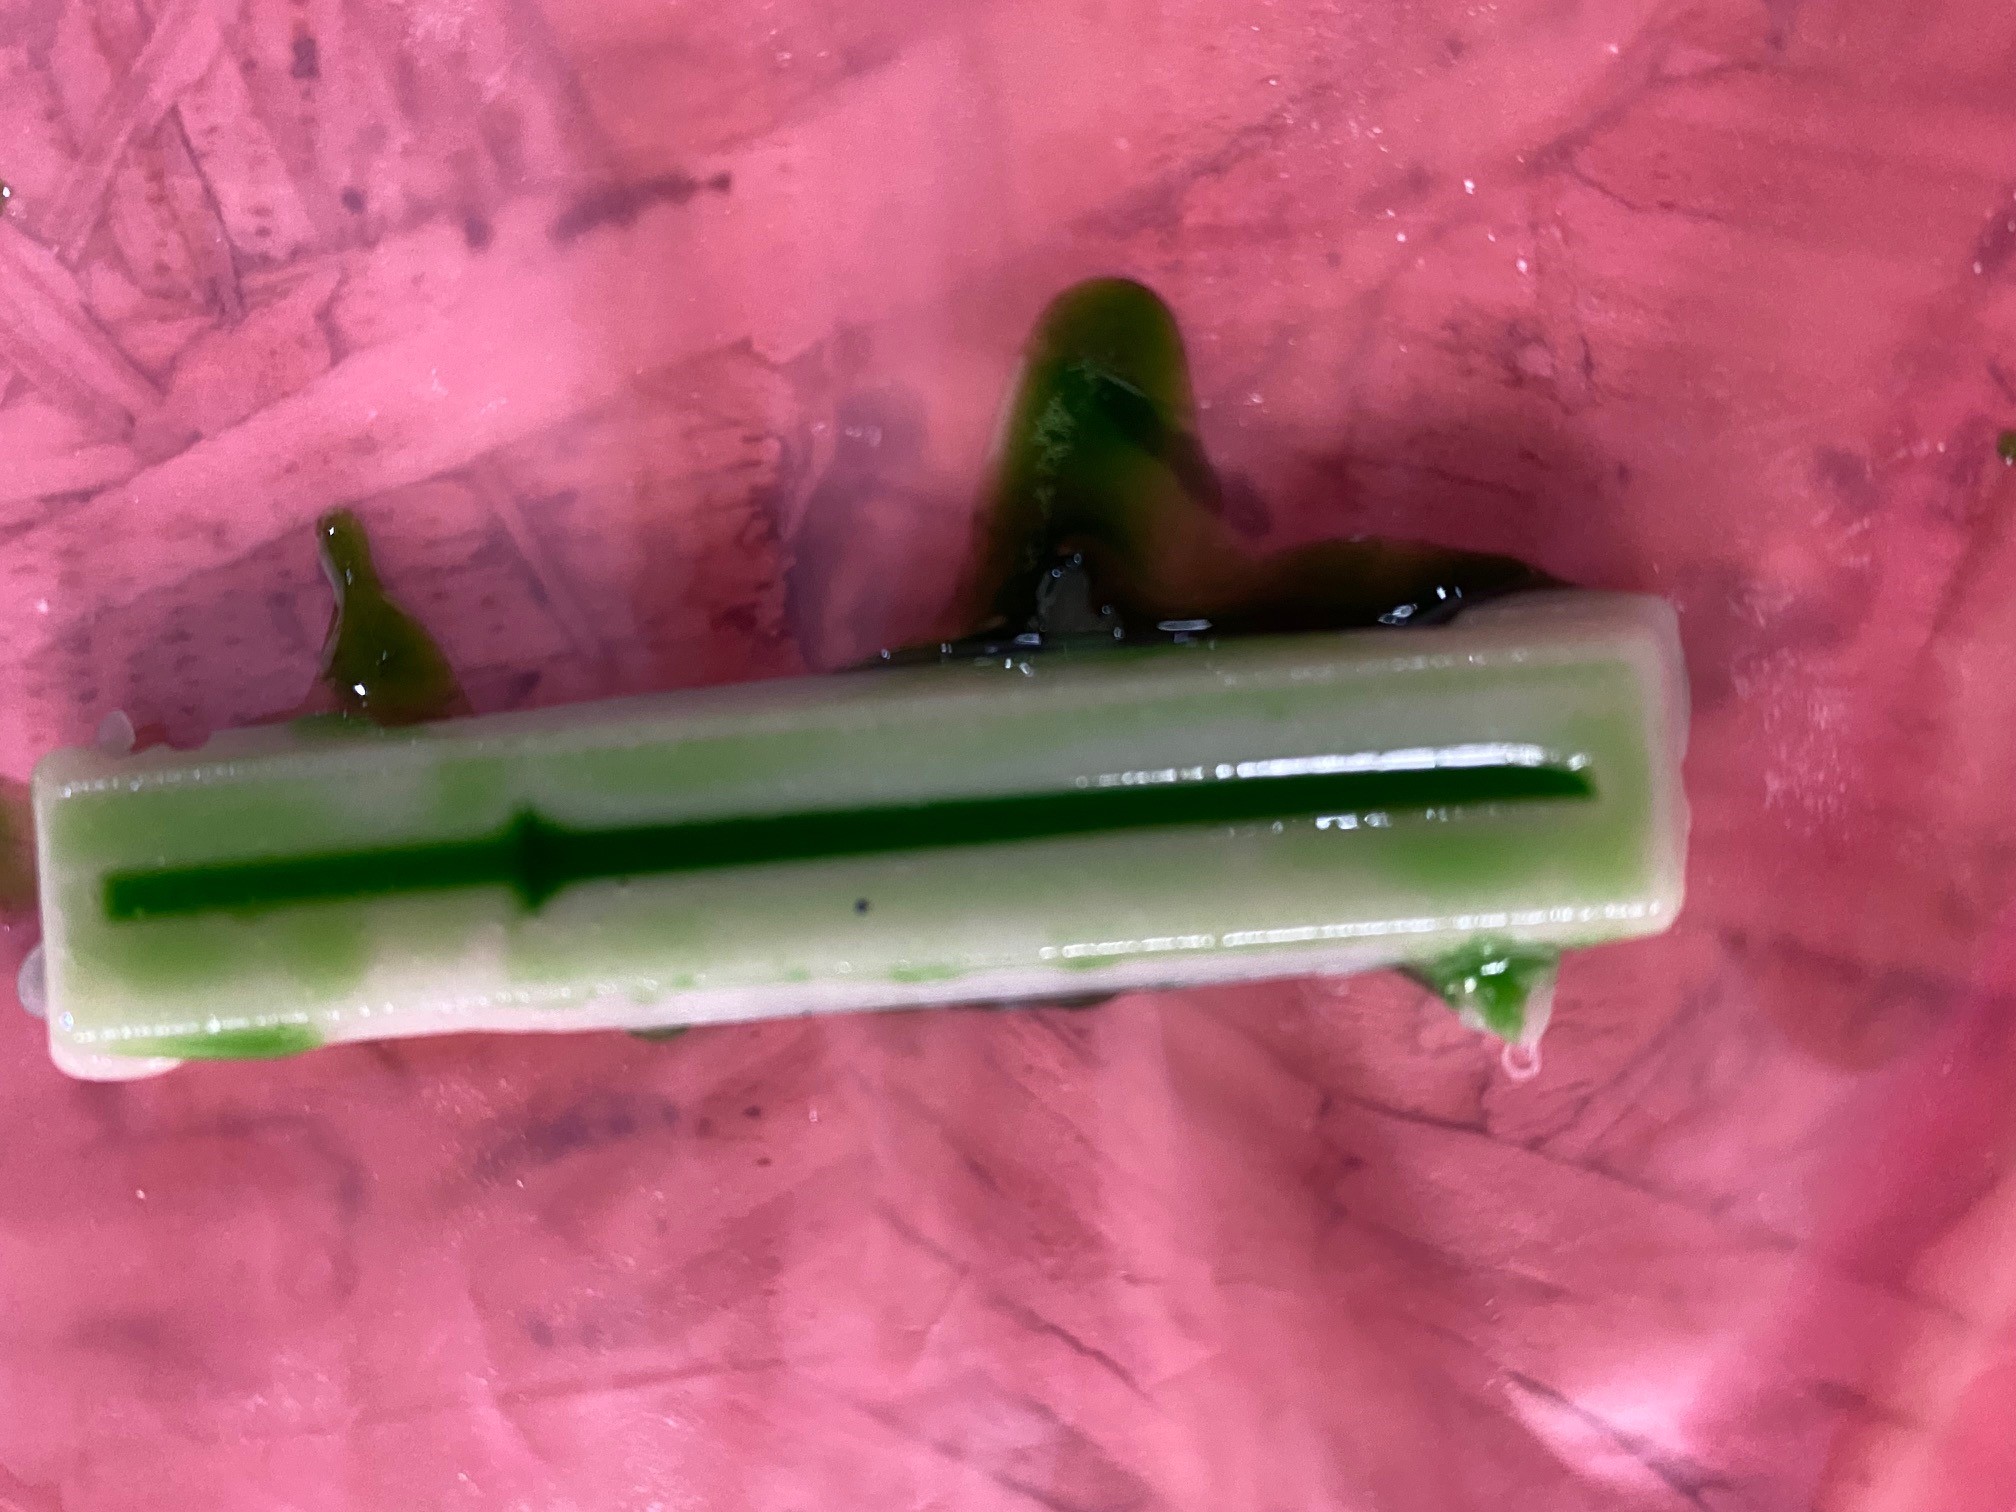
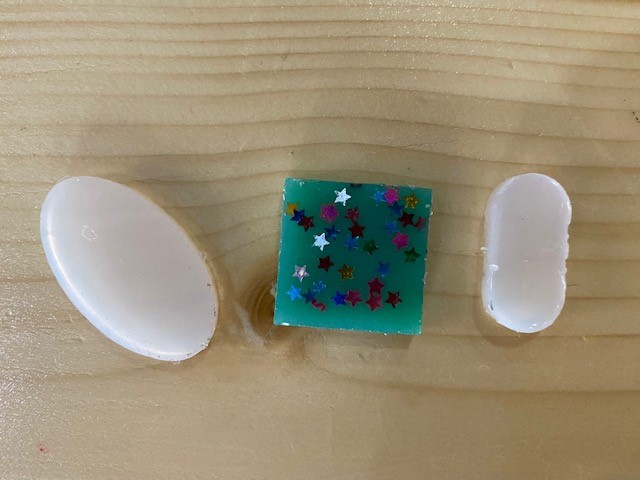
the final result after the resin vulcanized.