8. Large format CNC (computer controlled Machining)
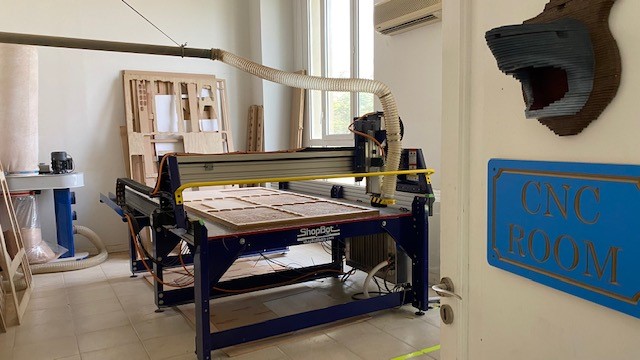
CNC is a machine that is used for cutting large wood designs thus CNC machine is the biggest in FAB Academy. Using CNC is an exciting experience because the final result gives a satisfying and accomplishment feeling. plus, you get to make your own design and get your hands a little bit of dirty to finalize the neatness of the wood.
Safety using the CNC
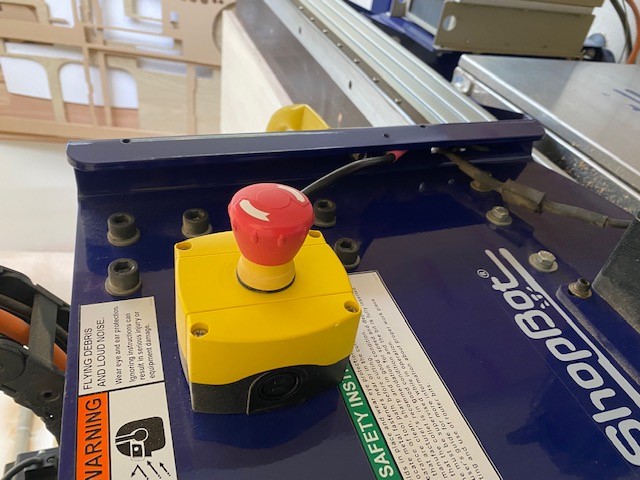
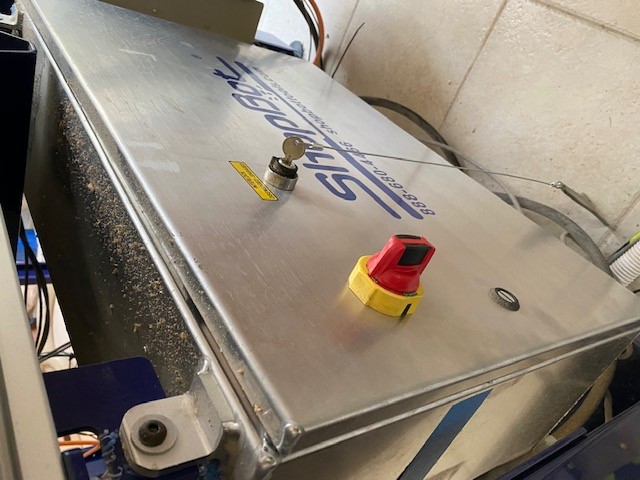
ALWAYS WEAR MASK, GLASS , GLOVES AND STAND BEHIND THE YELLOW LINE ON THE FLOOR WHILE OPERATING THE MACHINE. there are two emergency stop buttons: one on the right side of the machine.
and the other button is near the computer where you manage the CNC machine.
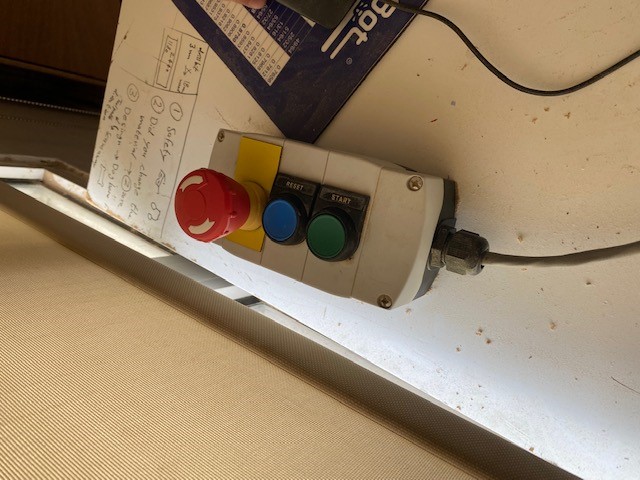
Operating the CNC Machine
First, you need to turn on the machine and you can find the switch on the right side of the machine under the emergency stop button machine above.
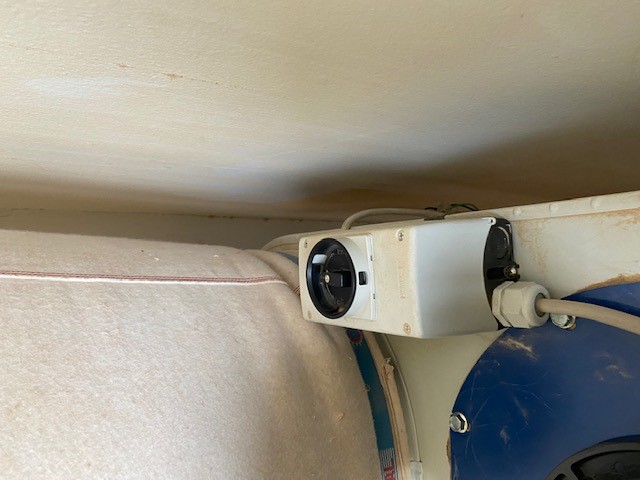
then you need to turn on the wood vacuum so the wood sand or dust gets sucked in a big rather than messing up and dirtying the place. the vacuum is behind the CNC machine just flick the switch to the right to turn it on.

finally, insert the desired wood sheet and drill it to the CNC machine surface so the cutting and carving is neat as possible when the machine is Operating. then, install your desired program in the CNC machine computer and you are good to go. below is video showing the CNC machine operating.
Group Assignment
for the group assignment you can find all the details in my class mate website here
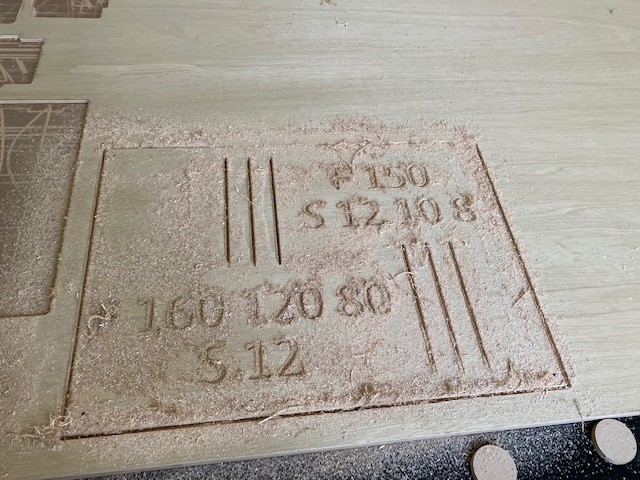
this is a quick brief about the group assignment. here is a picture of the sample test of the group assignment which shows the difference in milling pins and RPM speed of the pins rotation.
Individual Assignment
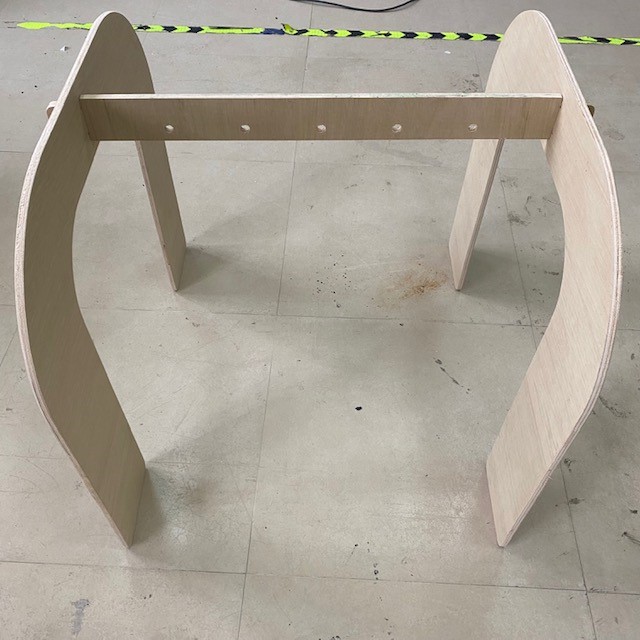
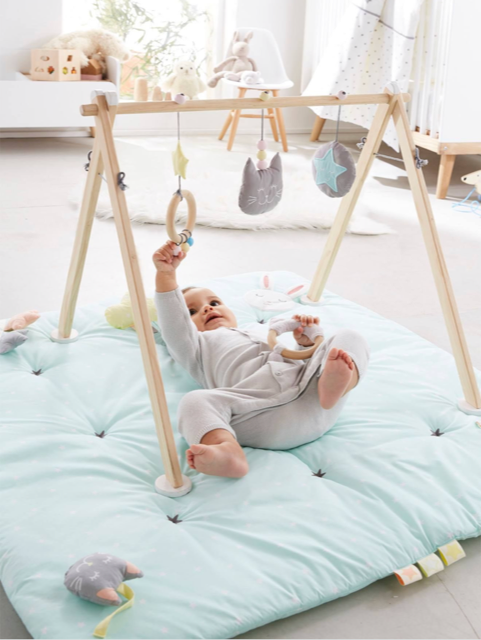
The task is to make a toy for the children orphanage so i decided to make a activity arc which is for baby’s manly but i put a little bit of a twist into it and made it for baby’s and kids. here is a similar idea to my design.
I tried to make the design in SketchUp but when i was about 80% done i learned that the program Vcarve that is operating the CNC machine does not support SketchUp files so i switched to Fusion360 which was a good thing because Fusion360 is so much better and easier to work with so for future references use Fusion360 for all projects.
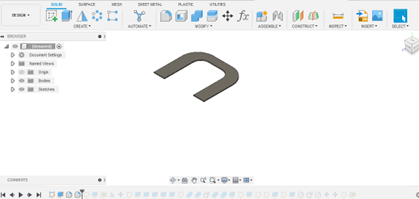
first, i made the right leg for the arc and you will notice that all the edges of the design have curves because it will help to prevent hurting the baby’s or kids when they are playing with it.
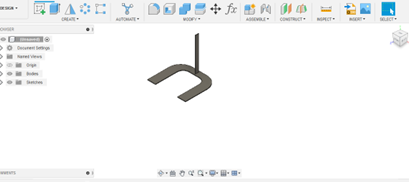
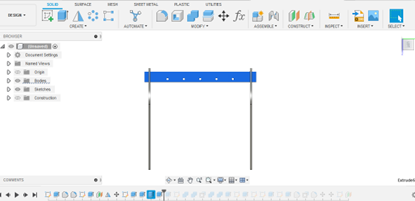
then i designed the stand or bridge to be 80 cm between them which will hold the toys. also, this will help adjusting the distance between the right leg and left leg of the arc. also, at the tips of the stand you will notice the shape of a T which will be inserted in the joint and hold the right and left arc together strongly.
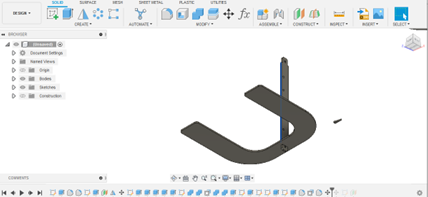
after that i mirrored the right leg of the arc to make the left leg.
and i made 5 holes in the stand or bridge which will holds the toys and i spaced them equally which makes the arc holds many toys without hitting each other.
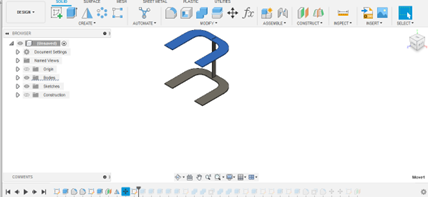
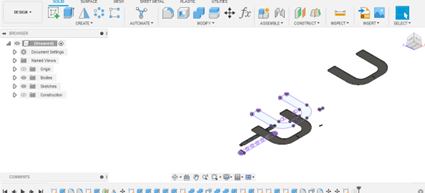
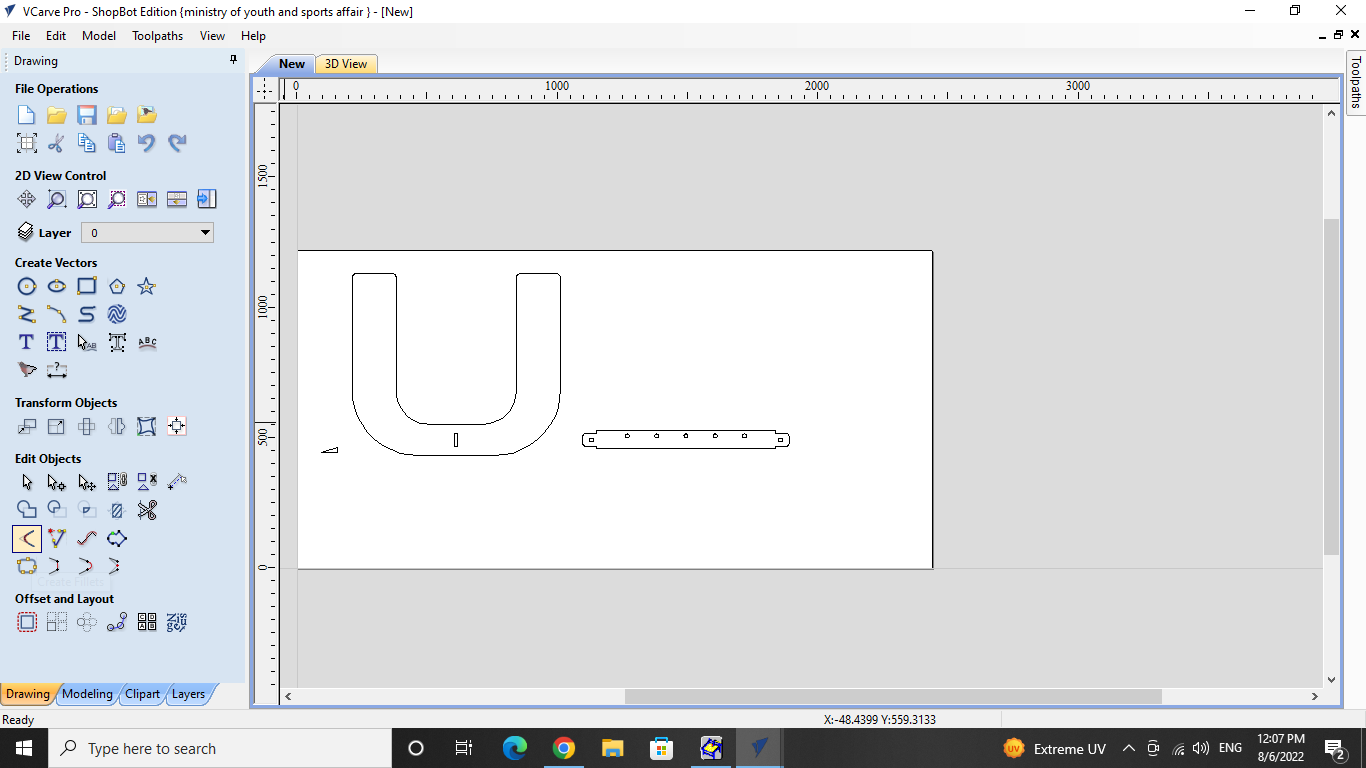
finally, to make the structure as one whole object plus being steady and solid. there is two key joints on the stand with the shape of a triangle. further more, i separated all of the objects and put them near each other so when i upload it to Vcarve the CNC machine can cut the objects in 2D form and then assemble them together manually.

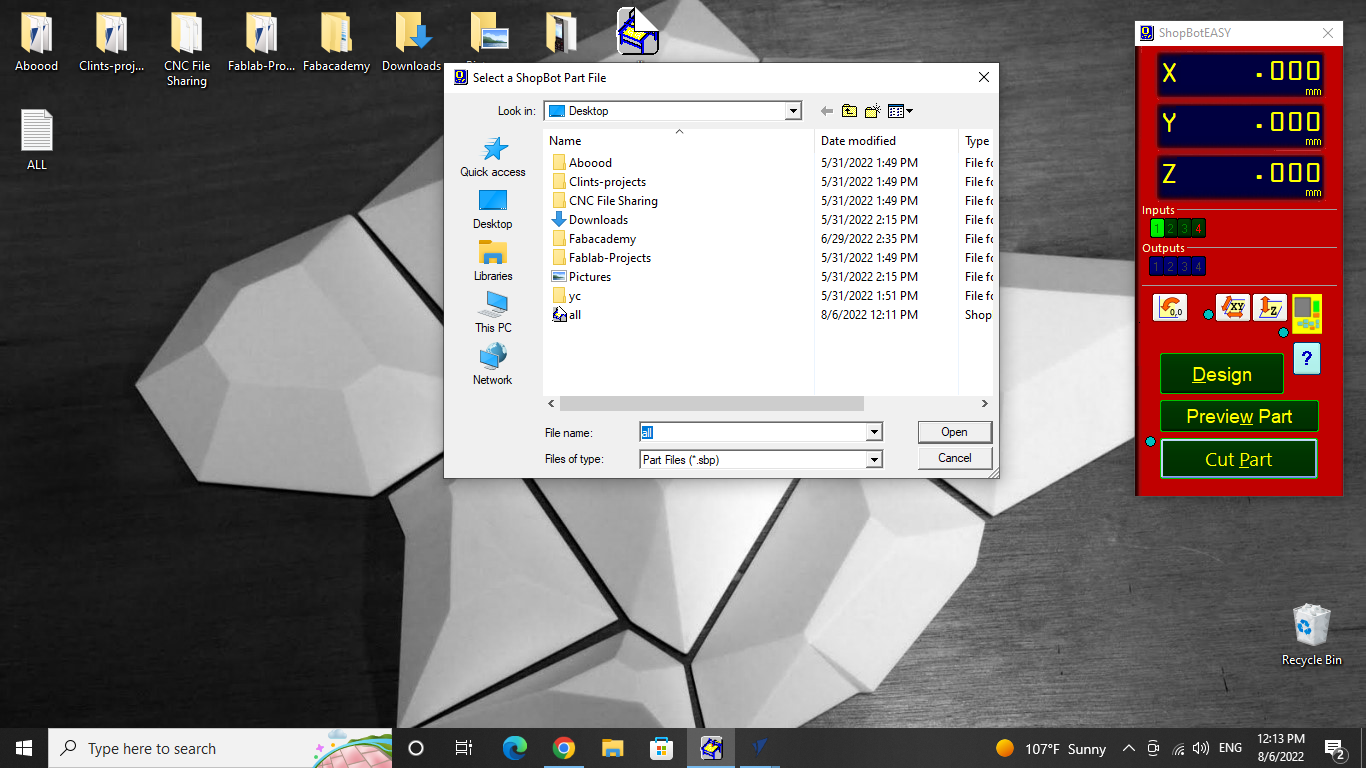
Vcarve Sittings
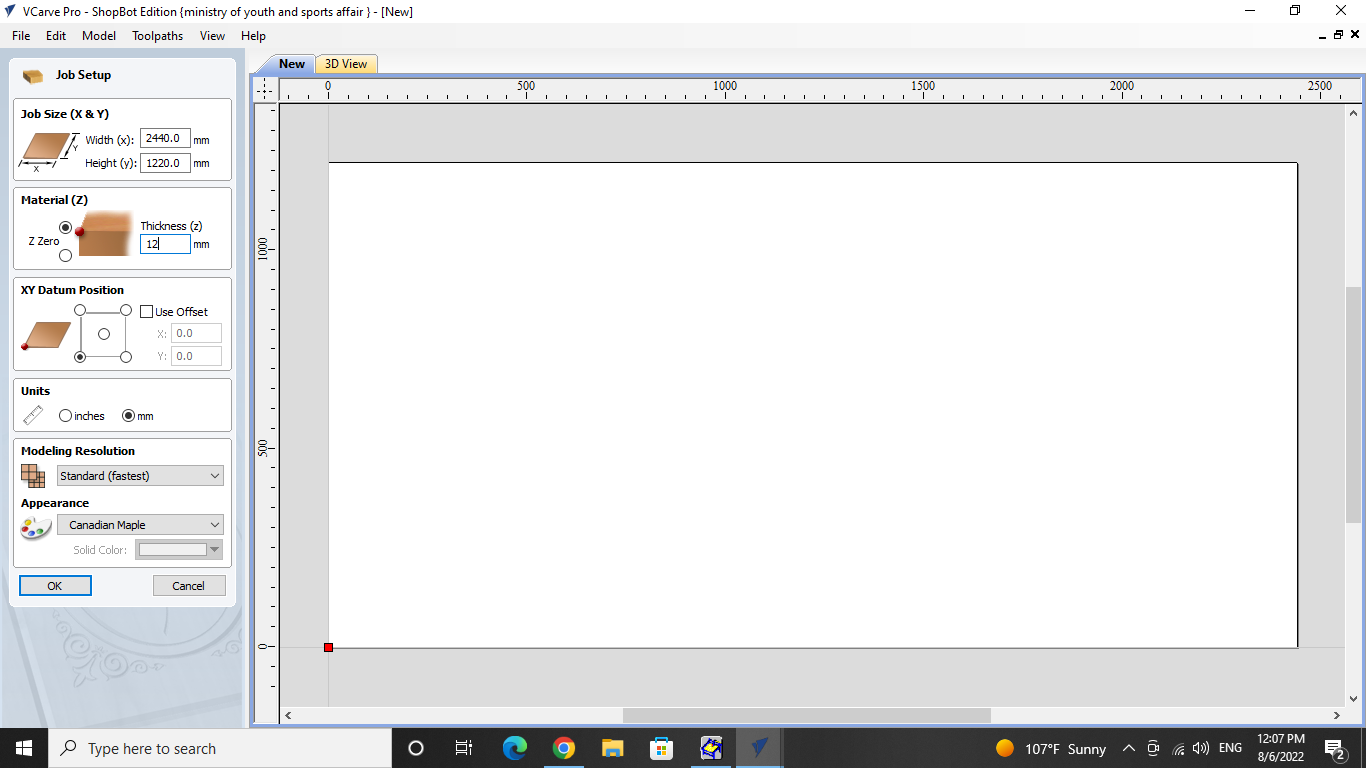
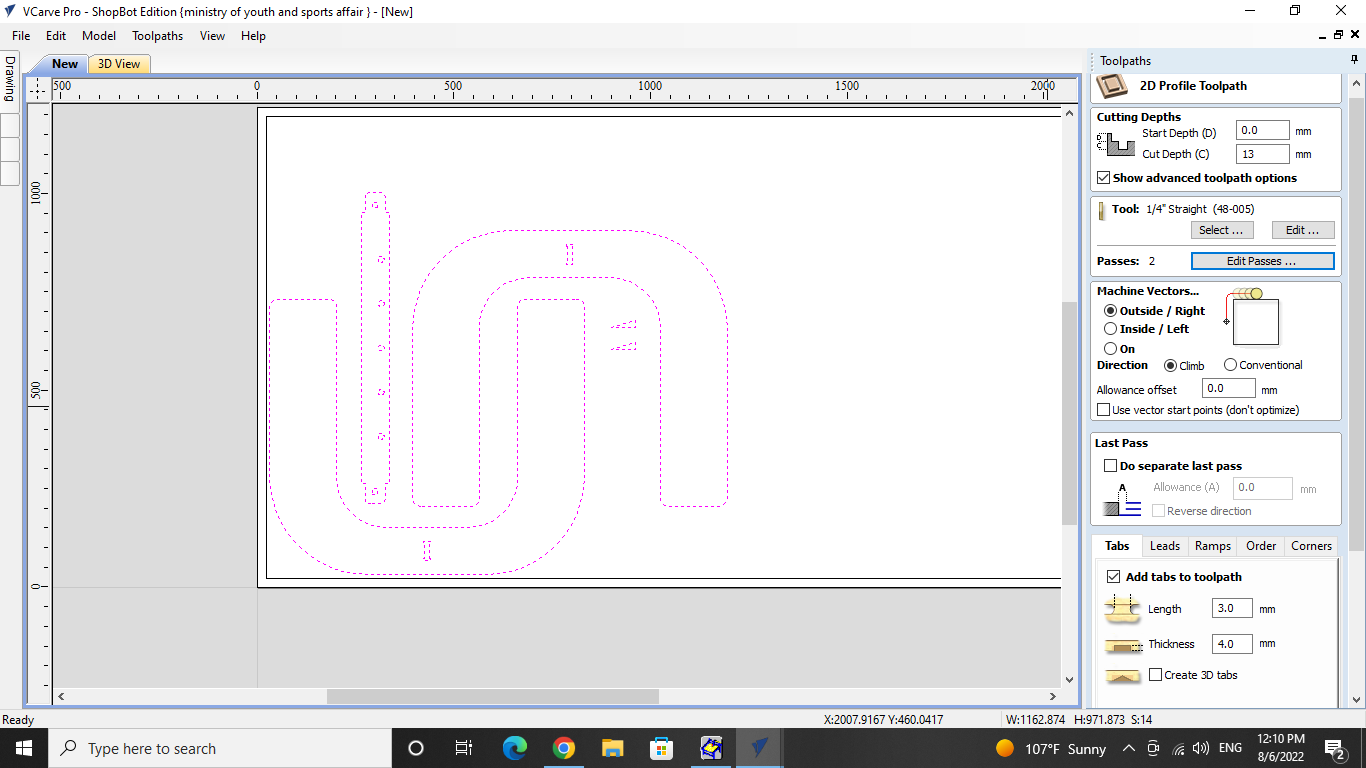
i installed my design in Vcarve and choose the following sitting:
first, on the right you will see that i choose 12mm for the material because i am using 12mm plywood
then, i uploaded the design
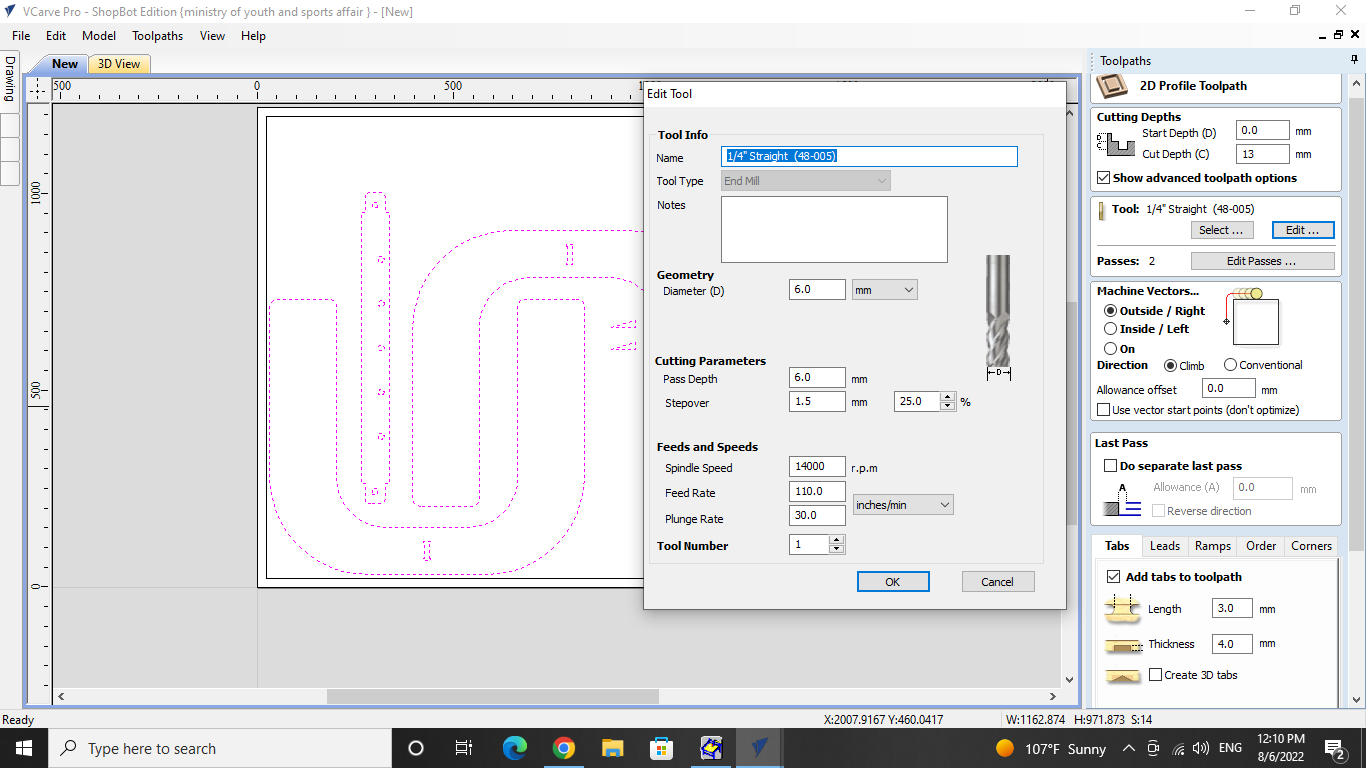
after that on the far right you will notice that i set the depth to 13mm so it can cut the plywood which is 12mm as i mentioned earlier. More-over, i set the Diameter to 6.0mm because this is the size of the pin i am using and set the spindle speed to 14000 and feed rate to 110.0 because these are the sitting that will cut the plywood is net as possible.
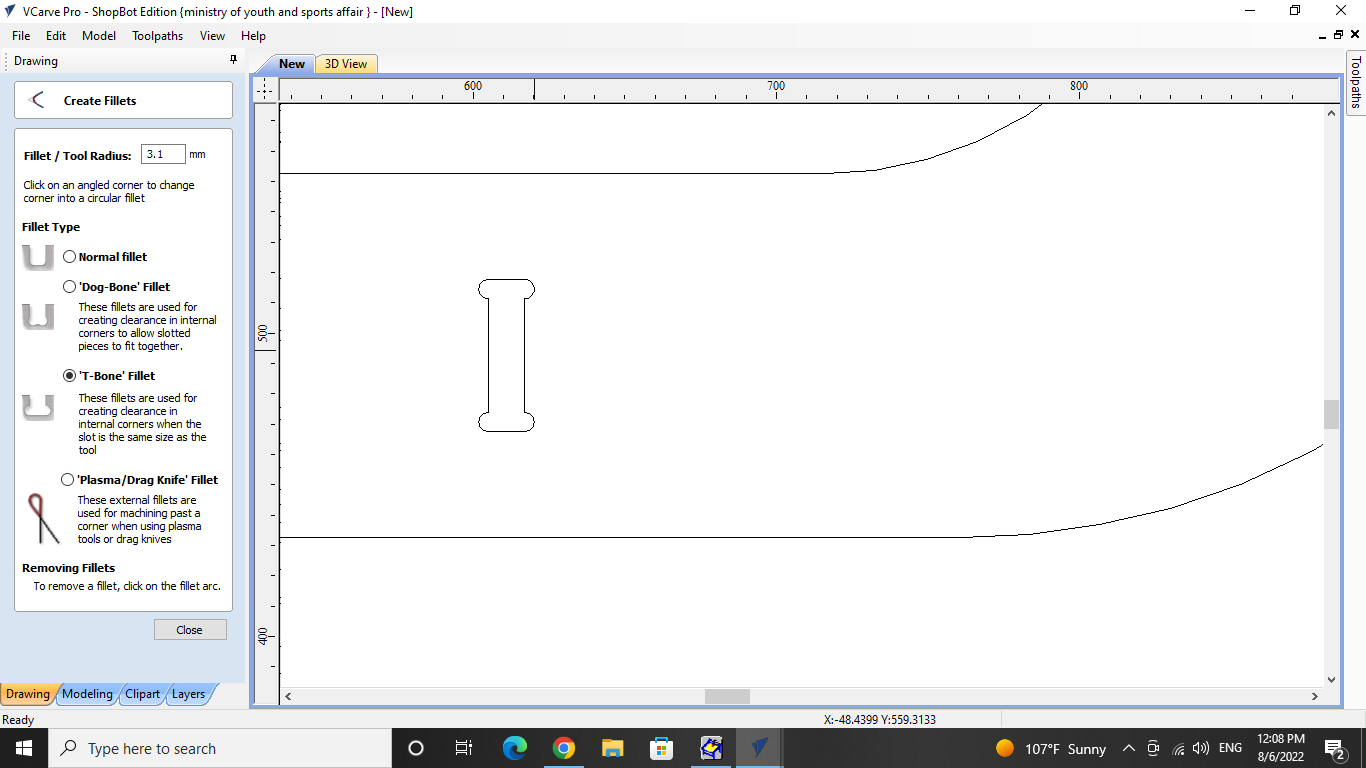
after that, for the joints i choose the option which is (T-Bone Fillet) which allow the joints to merge perfectly and make the structure strong.
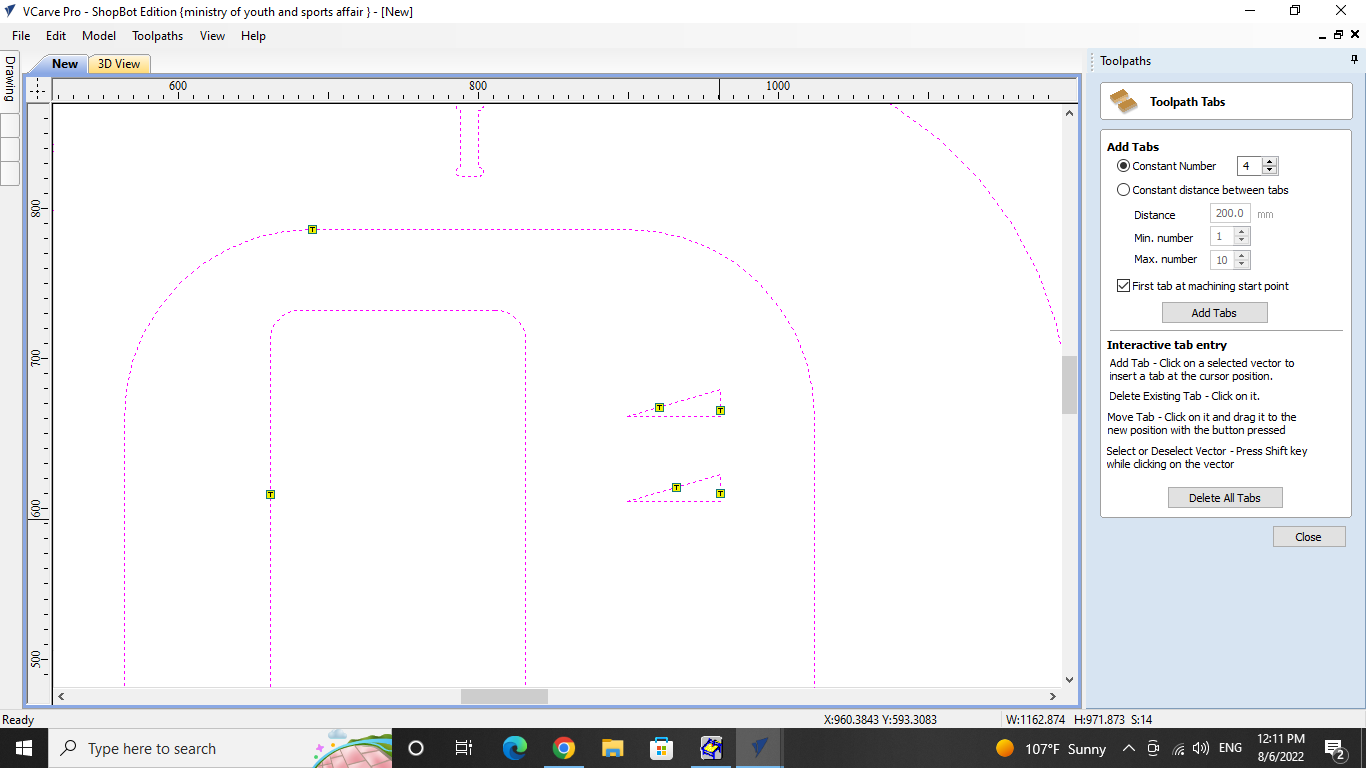
also i set up TABS, the tabs provide neatness and help the machine to pin down the design in one place temporarily.
finally, i choose all the required sitting and i started the CNC machine to cut the design part.
here is a video of cutting the design part.
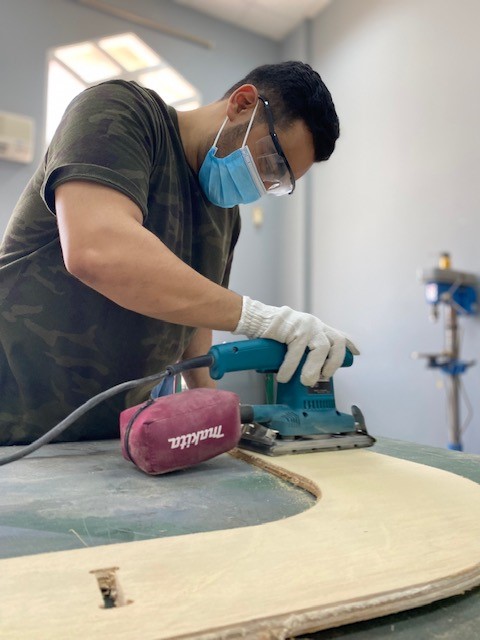
Sanding
when the design is ready to assemble you have to do some sanding to remove the extra wood form the design because the CNC machine does not cut the design 100% neat so you need to do the extra work manually. but, it is fun in my opinion and satisfying to do so sanding also provides the joints to be clean to assemble them together.
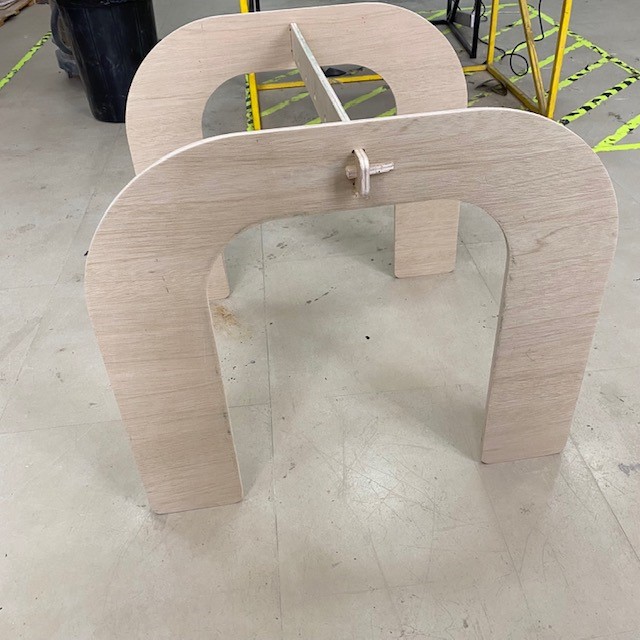
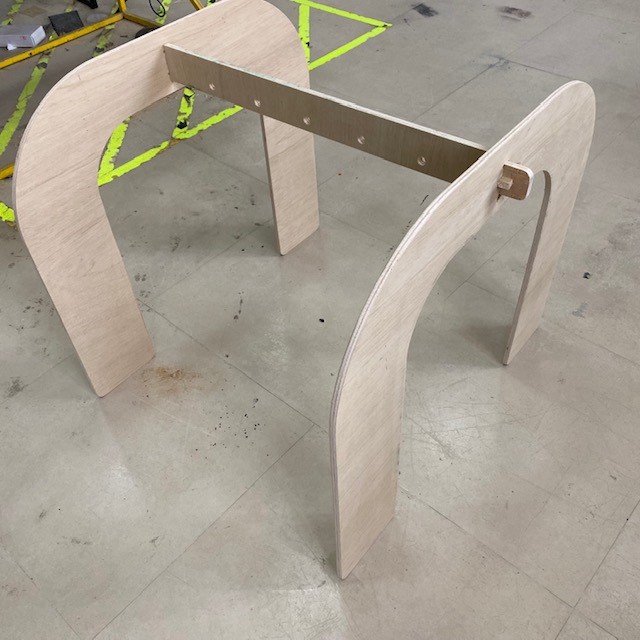
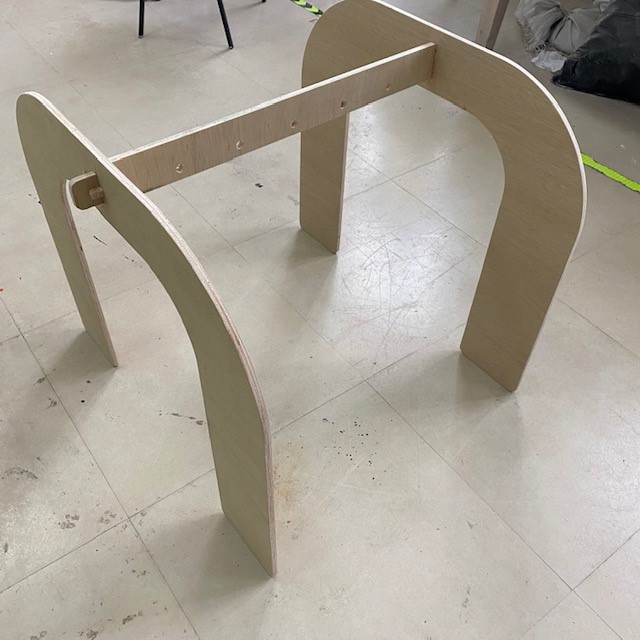
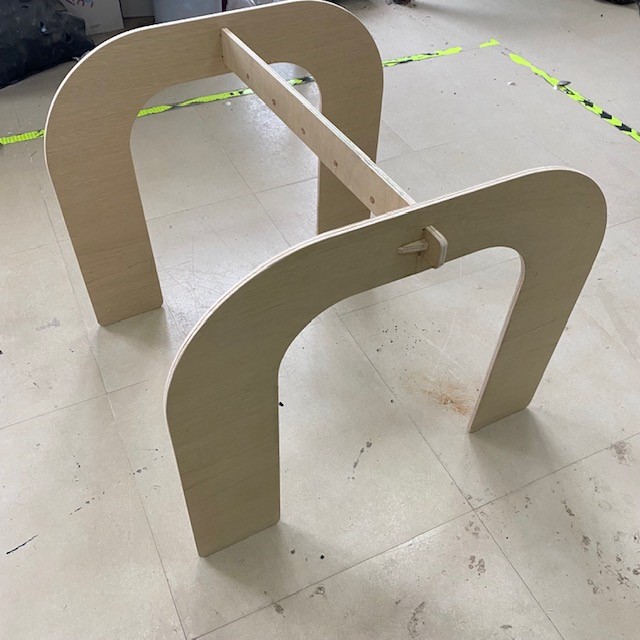
Hero Shots
here is the final result