7. Input & output devices
this week we are working with input and output devices. there are many input devices examples such as: keyboards, mouse, speakers…etc, basically anything that you connect to a CPU or electronic motherboard is a input device. on the other hand, there are also many output devices as well such as: the sound from speakers, the light from screens, the text you insert…etc, in a nutshell output devices is the result you get from electronic motherboard.
Input device
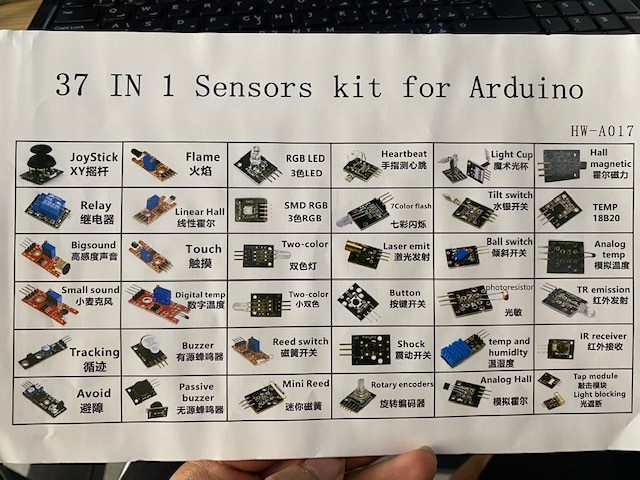
to know what are the input sensor devices we are working on, each and every student did a basic research for his own device. the sensor i picked is touch sensor which is a sensor that activates when you apply pressure on it. examples of touch sensor: musical instruments, touchpad, control panels…electronic.
examples of different types of sensors.
Connecting touch sensor to Arduino
to connect touch screen to Arduino, you can follow the steps below:
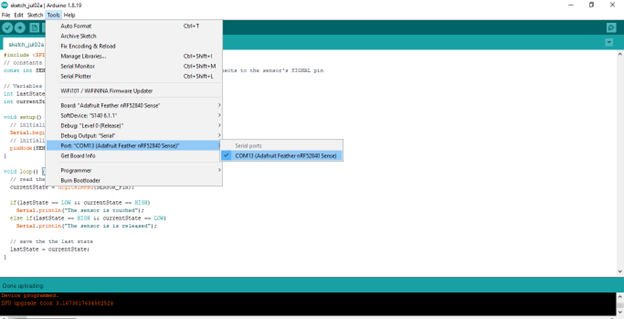
first, open Arduino and check if your microcontroller is connected.
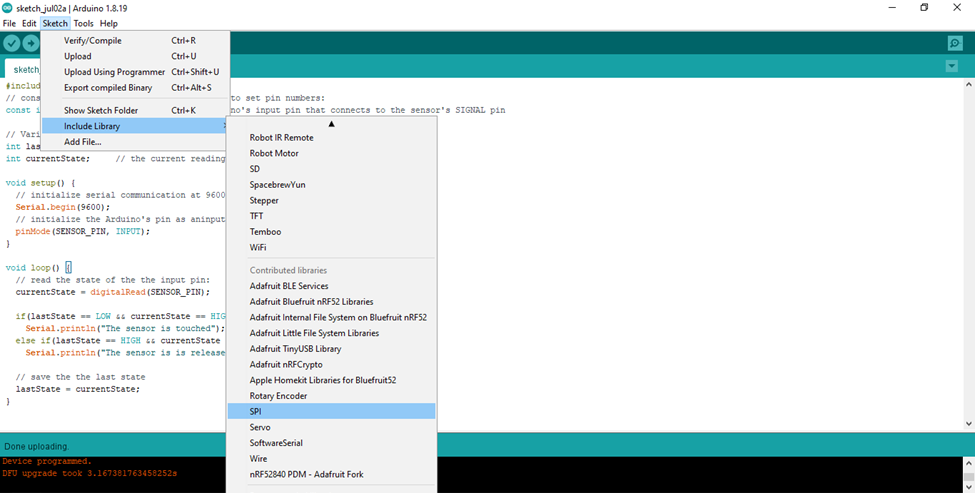
secondly, include the code variable (SPI) for touch sensor.
thirdly, use any code to check if the program is working properly. i used the code below.
example touch sensor code
#include <SPI.h>

const int SENSOR_PIN = 13;

// Variables will change:
int lastState = LOW;
int currentState;

void setup() {

  Serial.begin(9600);

  pinMode(SENSOR_PIN, INPUT);
}

void loop() {
  /
  currentState = digitalRead(SENSOR_PIN);

  if(lastState == LOW && currentState == HIGH)
    Serial.println("The sensor is touched");
  else if(lastState == HIGH && currentState == LOW)
    Serial.println("The sensor is is released");


  lastState = currentState;
}
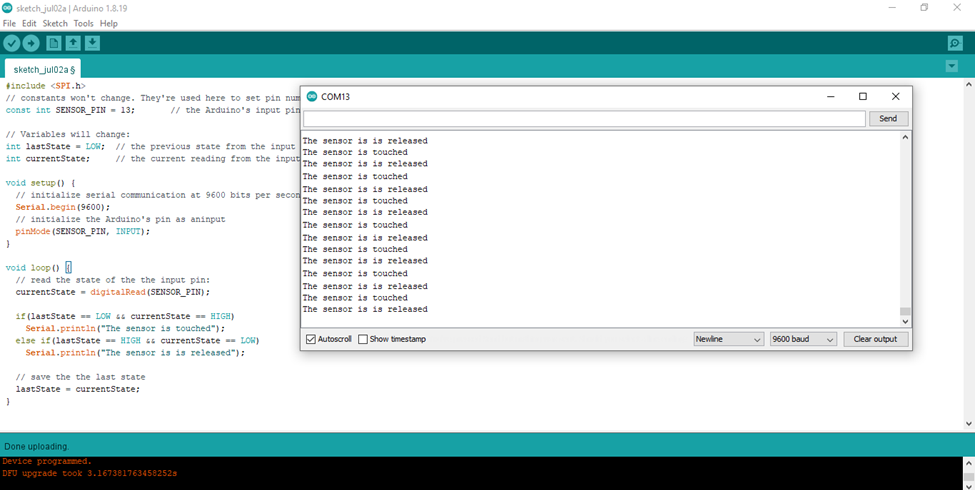
finally, check the activation of the touch sensor through serial monitor.
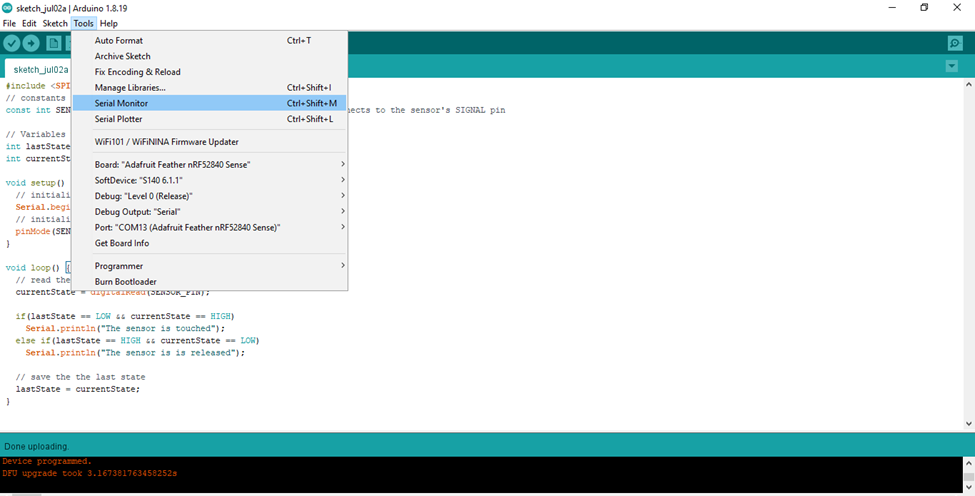
serial monitor page will pop up and it will notify you if you are touching or releasing the senor.
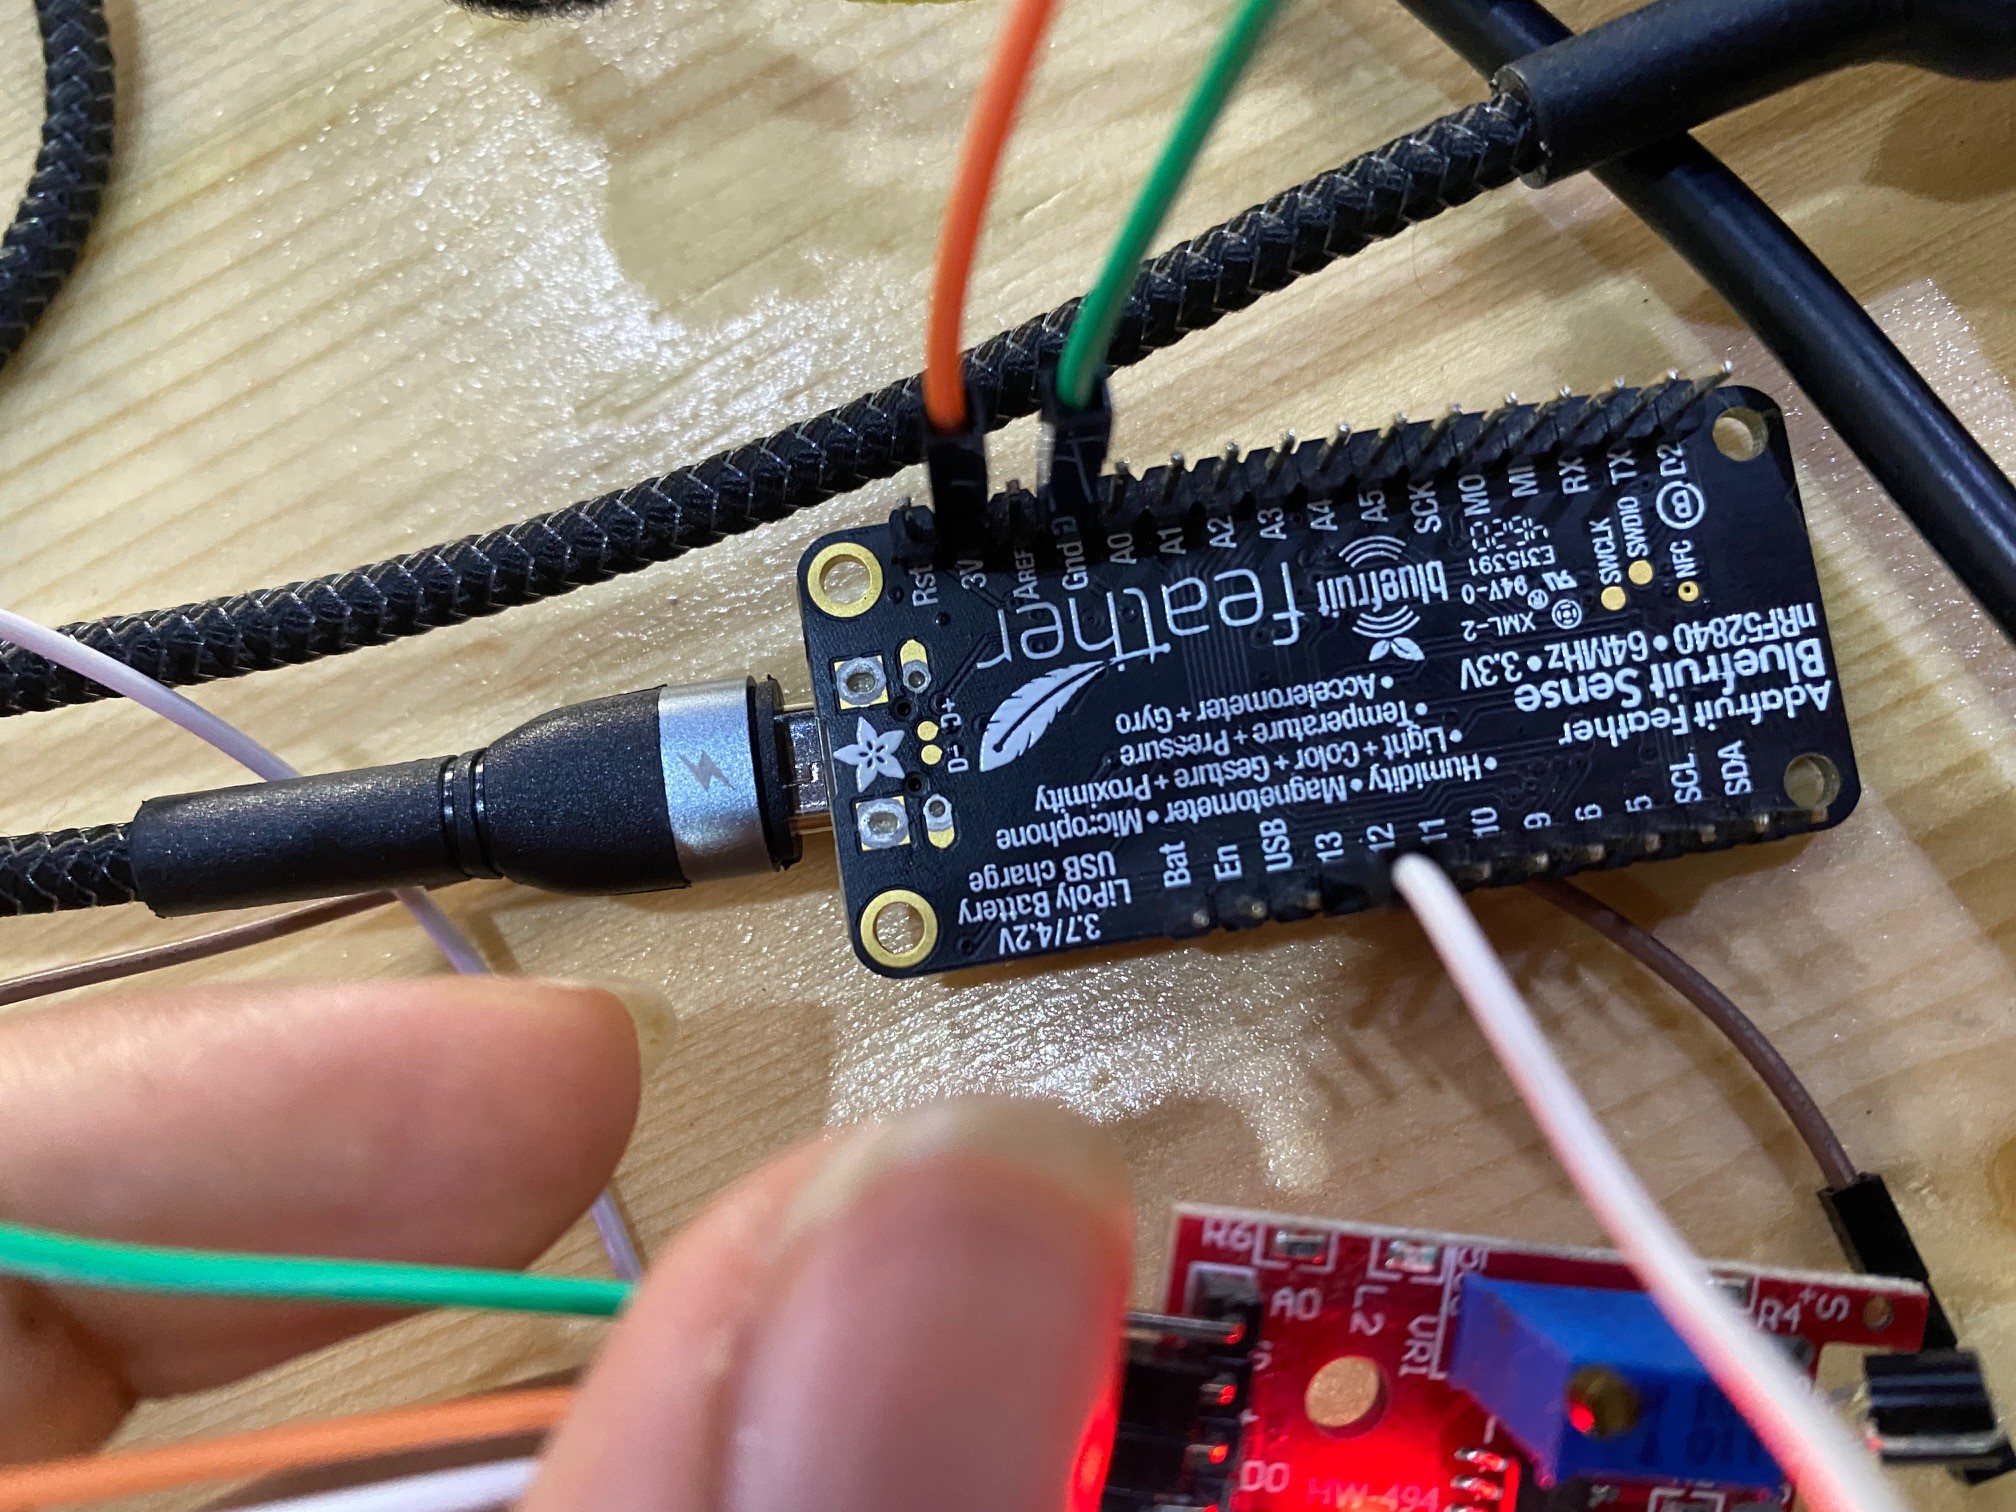
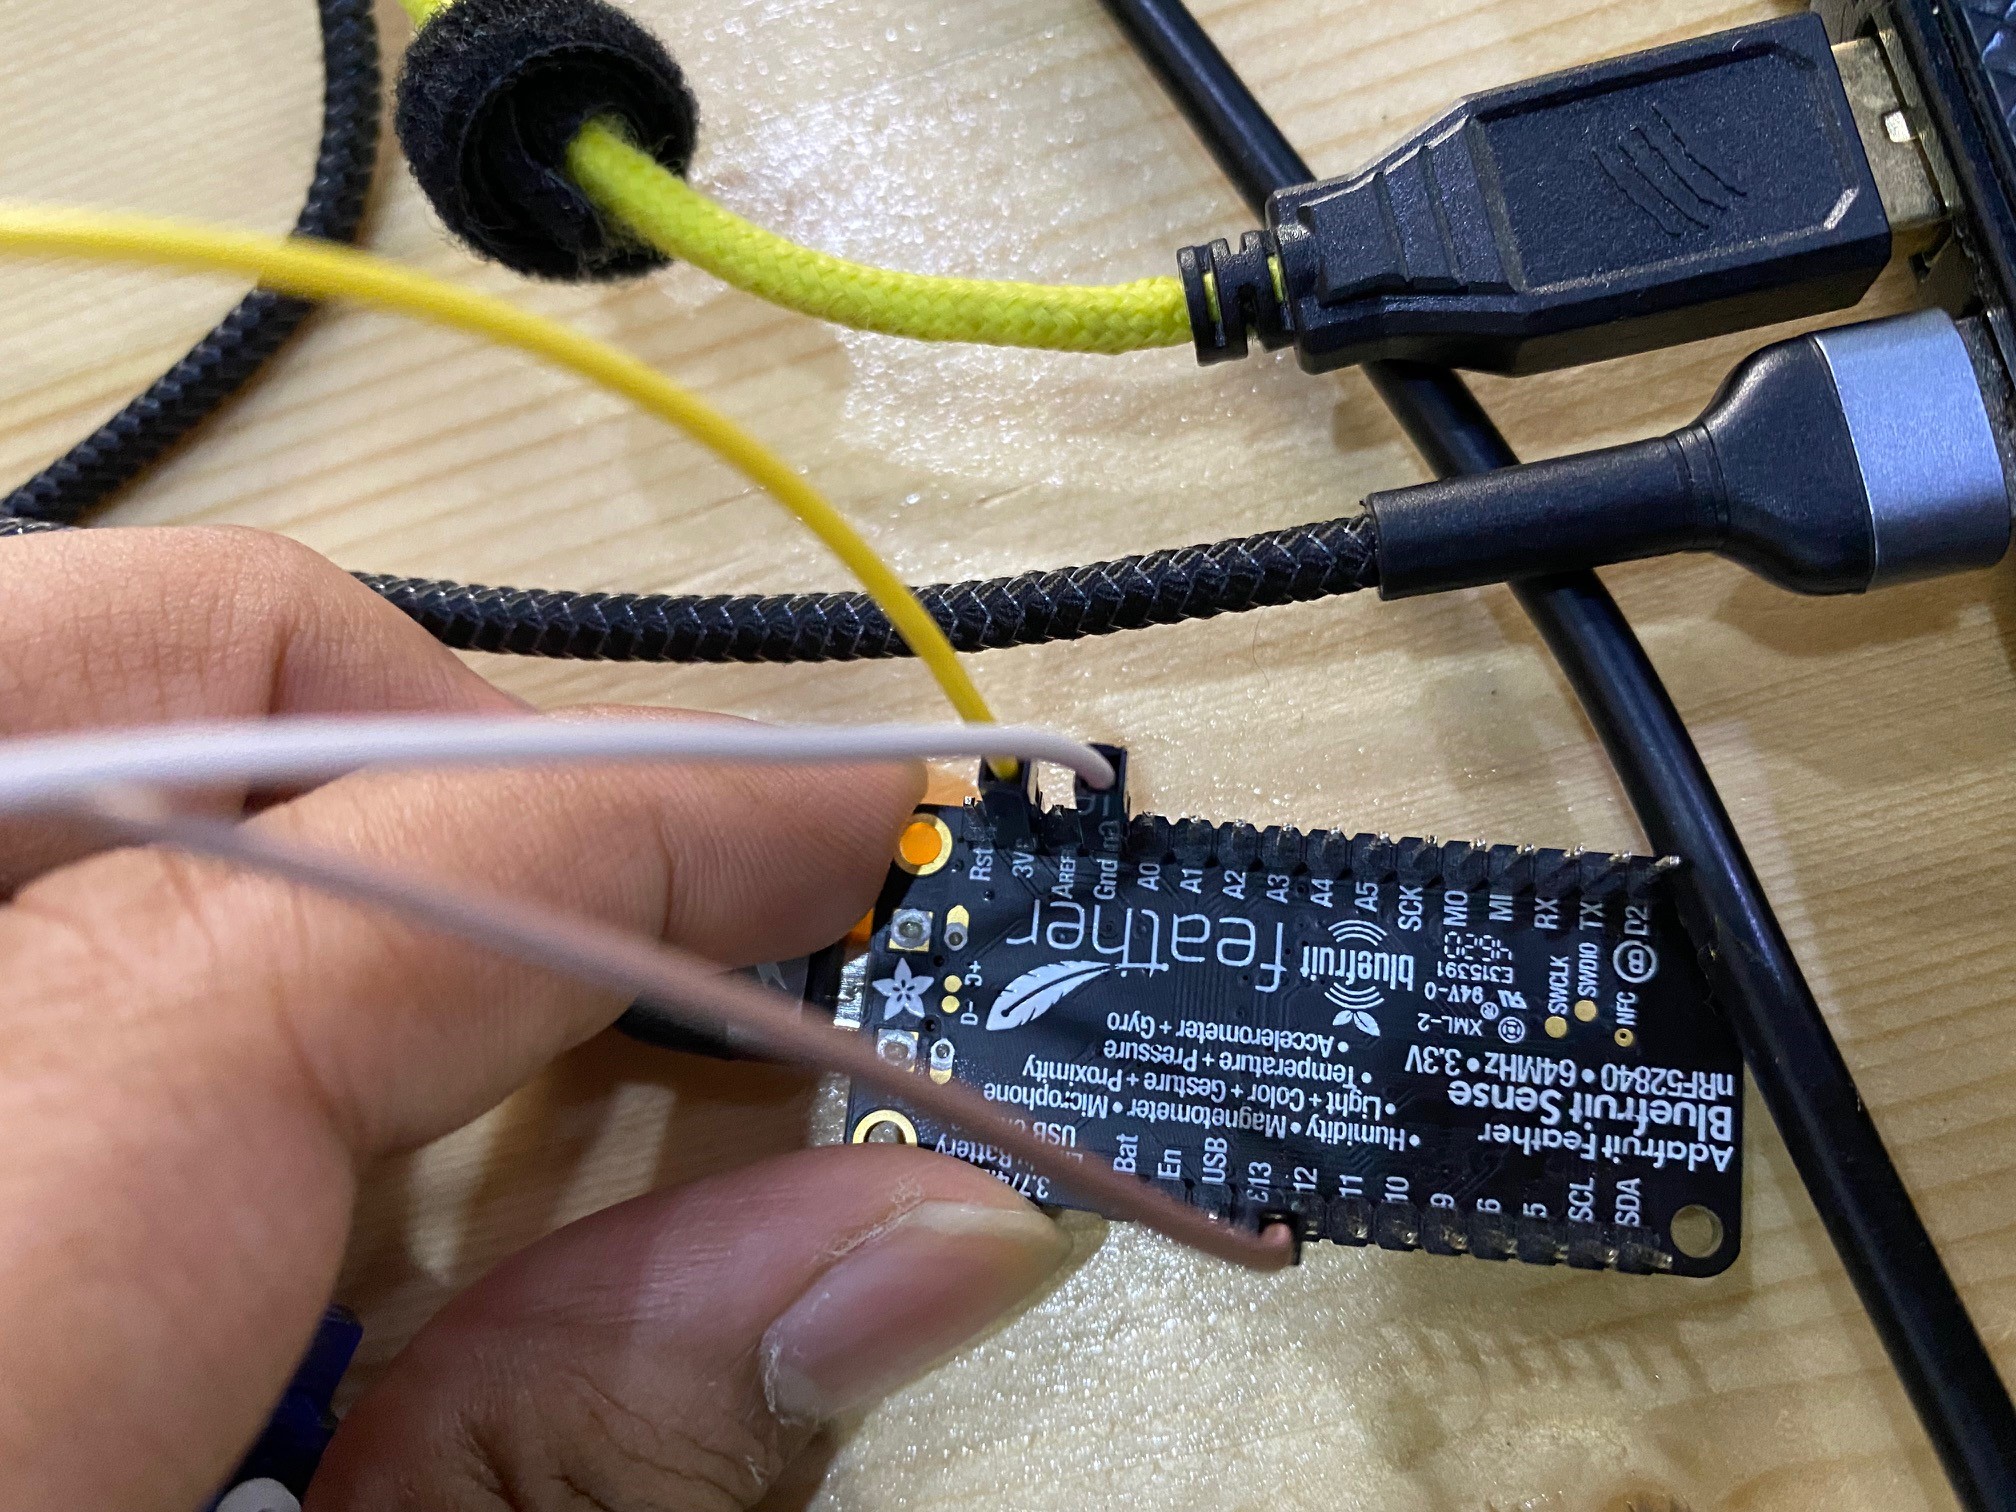
this is the wiring diagram for connecting touch sensor.
Output device
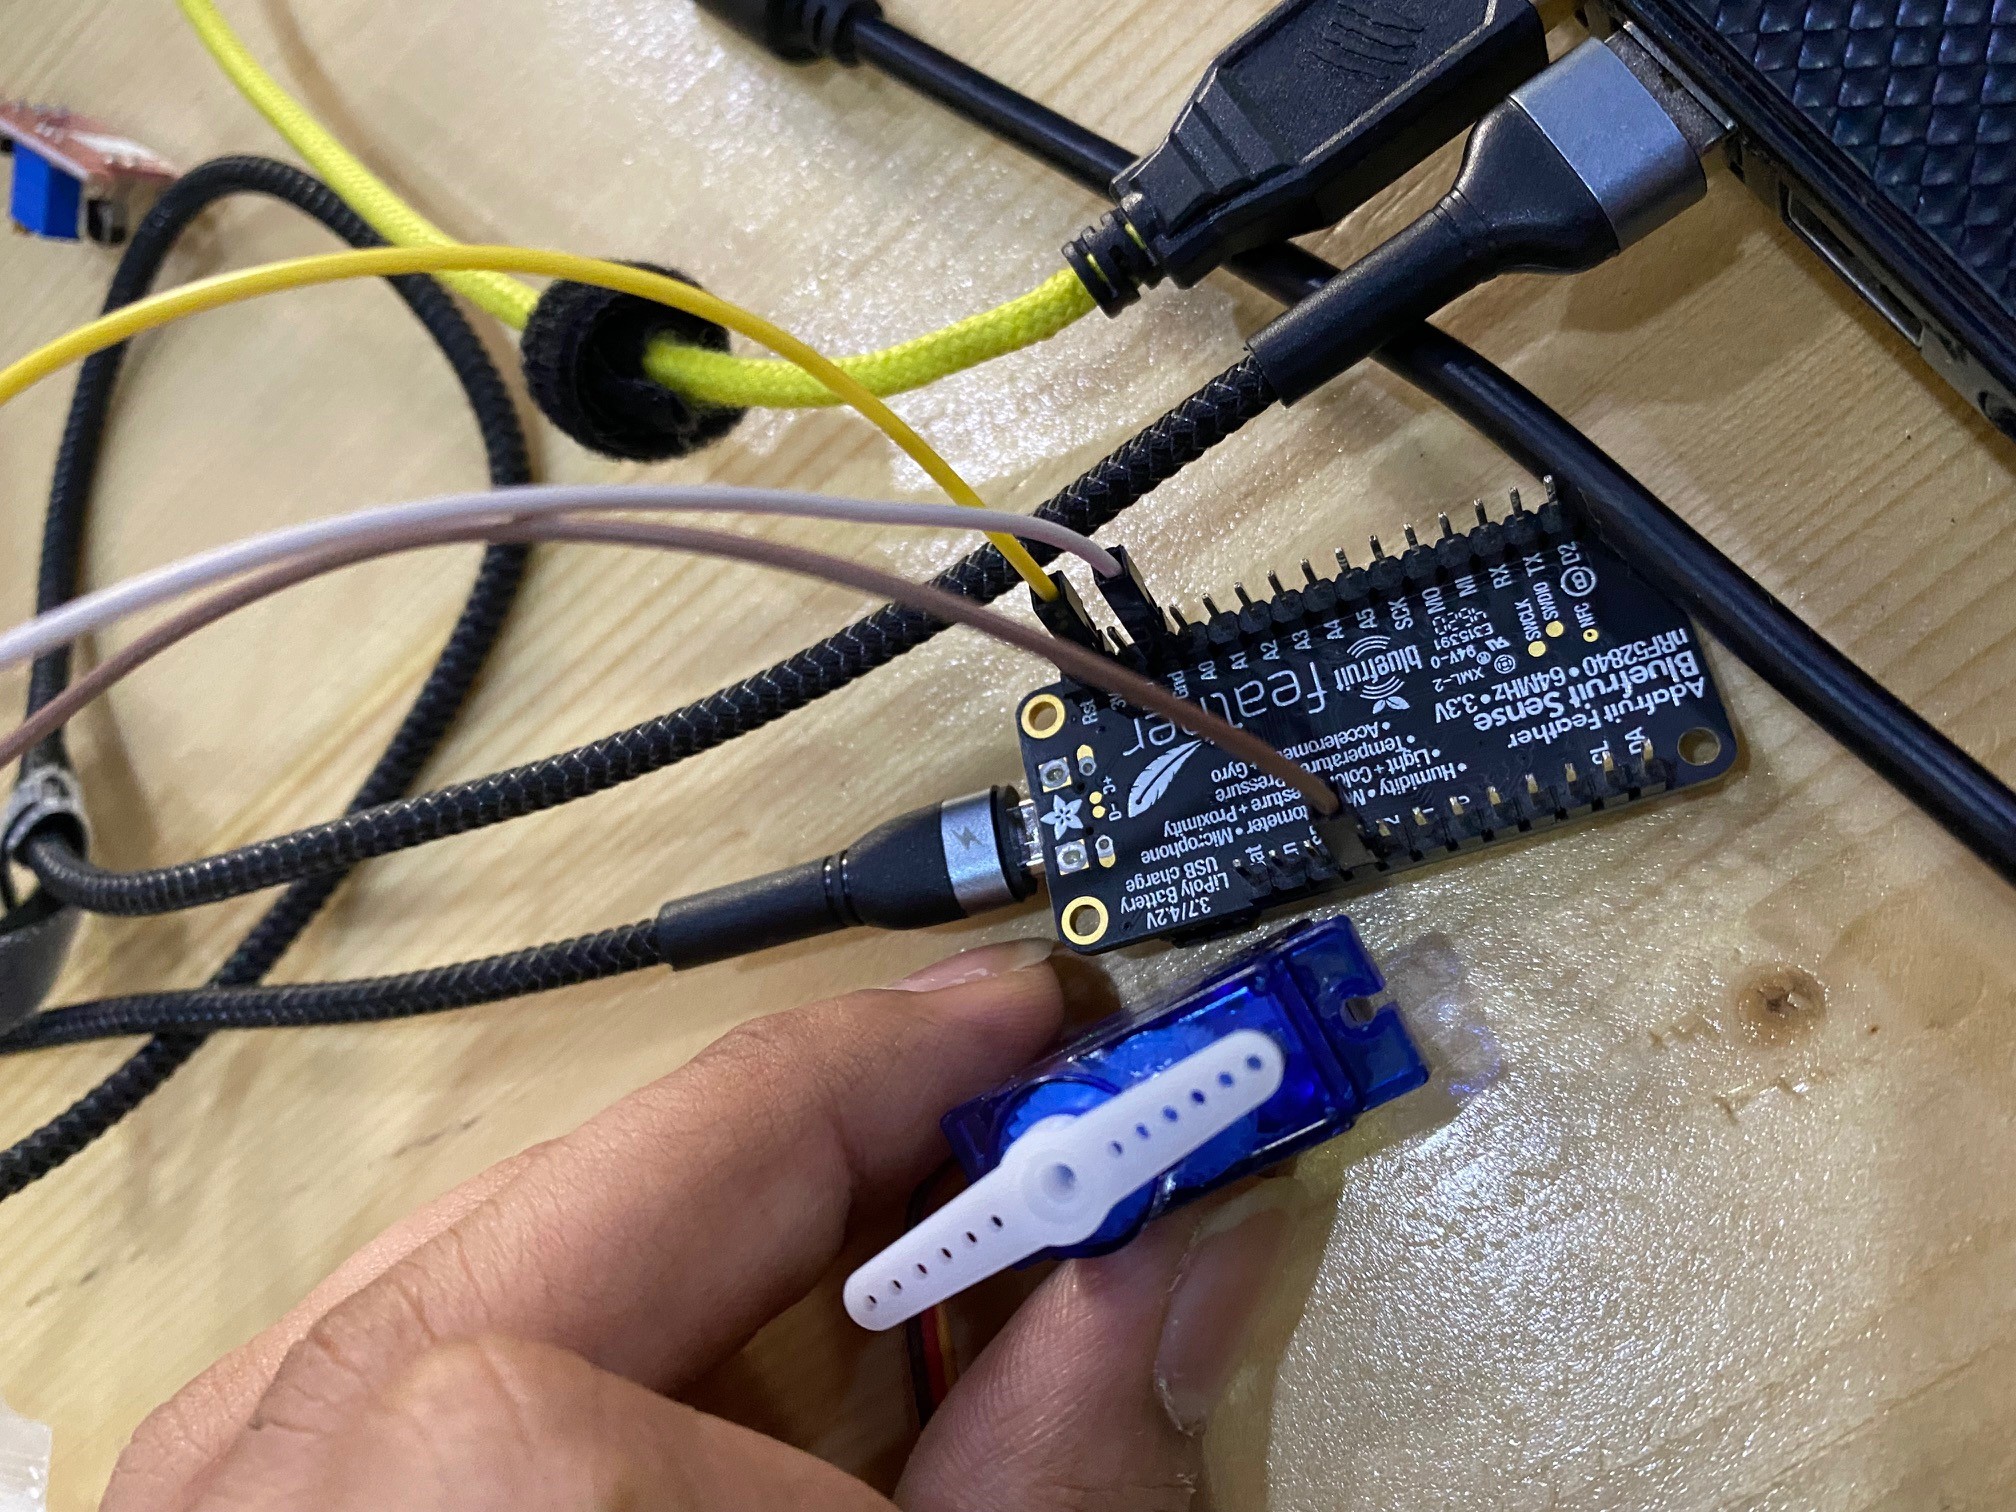
servo motor is a self-contained electrical device, that rotate parts of a machine with high efficiency and with great precision. The output shaft of this motor can be moved to a particular angle, position and velocity that a regular motor does not have. The Servo Motor utilizes a regular motor and couples it with a sensor for positional feedback.
this is the wiring diagram for servo motor.
to check the servo motor, i used the code below to rotate the motor 90 degrees.
#include <Servo.h>
Servo s1;
void setup() {
  s1.attach(13);
}

void loop() {
  s1.write(90);
  delay(1000);

}
for the code below, i wanted to practice more and learn how to program the motor. so i programmed the motor to rotate 90 degrees continuously.
#include <Servo.h>
Servo s1;
void setup() {
  s1.attach(13);
}

void loop() {
  s1.write(90);
  delay(1000);
   s1.write(0);
   delay(1000);

}
for the code below, i wanted to know if it is possible to rotate the motor 180 degrees continuously but smoothly.
#include <Servo.h>
Servo s1;
void setup() {
  s1.attach(13);
}

void loop() {
  for (int i=0; i<=180; i+=1){
  s1.write(i);
  delay(15);
}
for (int i=180; i>=0; i-=1){
  s1.write(i);
  delay(15);
}
}
Connecting touch sensor & motor to microcontroller
for the final assignment, we must connect the touch sensor and servo motor to microcontroller. this means that every time i touch the sensor the motor must move. i programmed the motor to move 90 degrees every time i touch it. to do that, you need terminal block which is a block that you connect multiple wires to it. the microcontroller cant power two separate devices so that is why the terminal block is essential to power up two devices.
this is wiring diagram for touch sensor and servo motor.

the code to connect the touch sensor and servo motor to microcontroller is found below.
#include <Servo.h>

Servo myservo;

int pos = 0;
int in = 2;
int out = 13;
int state = HIGH;
int r;
int p = LOW;
long time = 0;
long debounce = 200;
void setup()
{
  myservo.attach(13);
  pinMode(in, INPUT);
  pinMode(out, OUTPUT);
}
void loop()
{
  r = digitalRead(in);
  if (r == HIGH && p == LOW && millis() - time > debounce) {
    for (pos = 0; pos <= 180; pos += 1) { // goes from 0 degrees to 180 degrees
    // in steps of 1 degree
    myservo.write(90);
    delay(5);
  }
  for (pos = 180; pos >= 0; pos -= 1) { // goes from 180 degrees to 0 degrees
    myservo.write(180);
    delay(5);
  }
    if (state == HIGH)
      state = LOW;
    else
      state = HIGH;
    time = millis();
  }
  digitalWrite(out, state);
  p = r;
}