2. Computer Aided design
Week 2
This week is based on exploring 2D and 3D designs and trying new softwares for designing our projects.
2D software
Cuttle
Cuttle is a vector editor with features for cut design like live modifiers, parameters, reusable components and scripting.
Visit Cuttle
Sign up and get ready to be creative.
How to use Cuttle
- After signing in, click on New project.
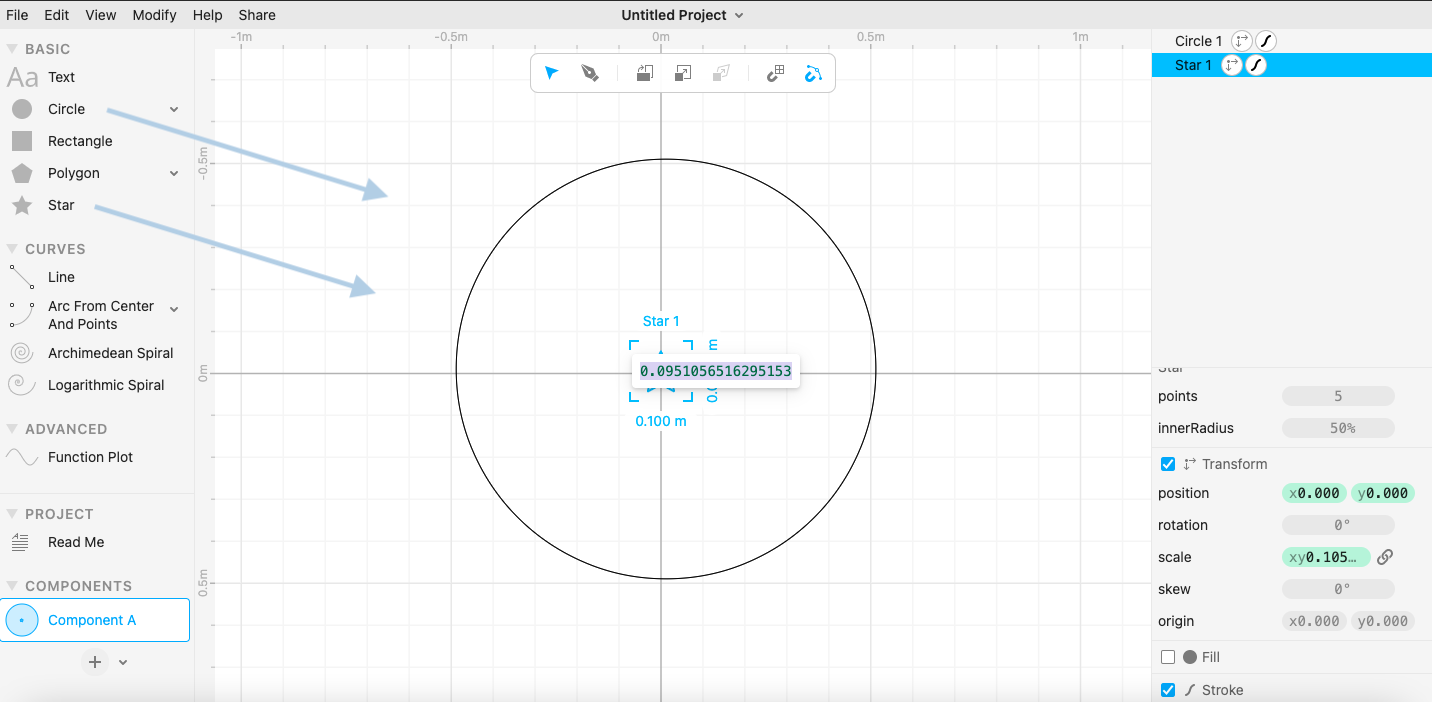
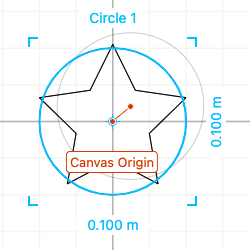
- Drag the required shape and type in the measurement needed.
- Move the shape by clicking and dragging the center.
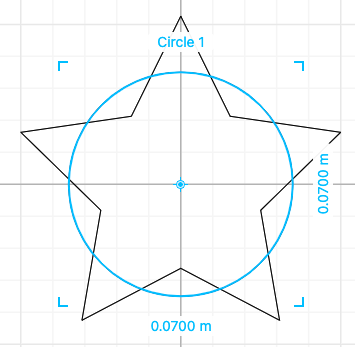
- The final shape.
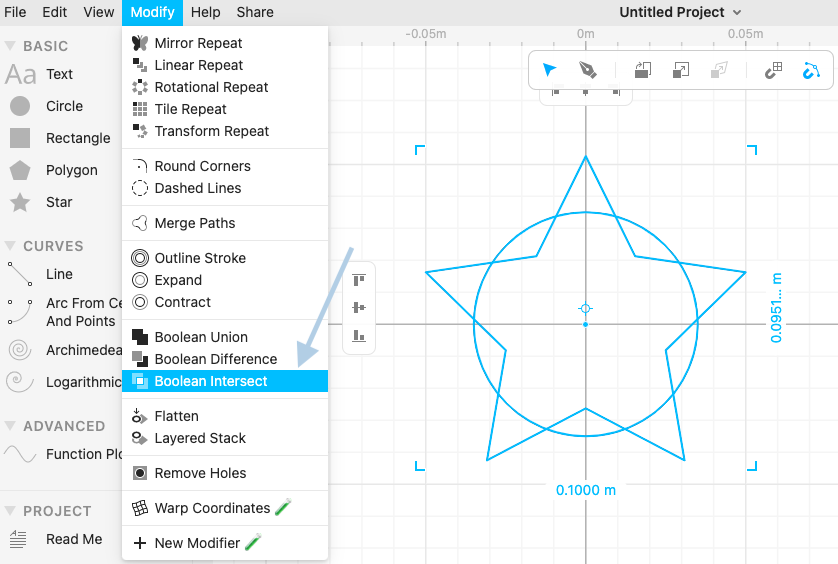
- To merge the shapes together go to Modify > Boolean Union/Difference/Intersect. (each option is different, I chose to intersect the shapes)
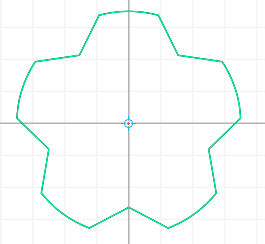
- The result.
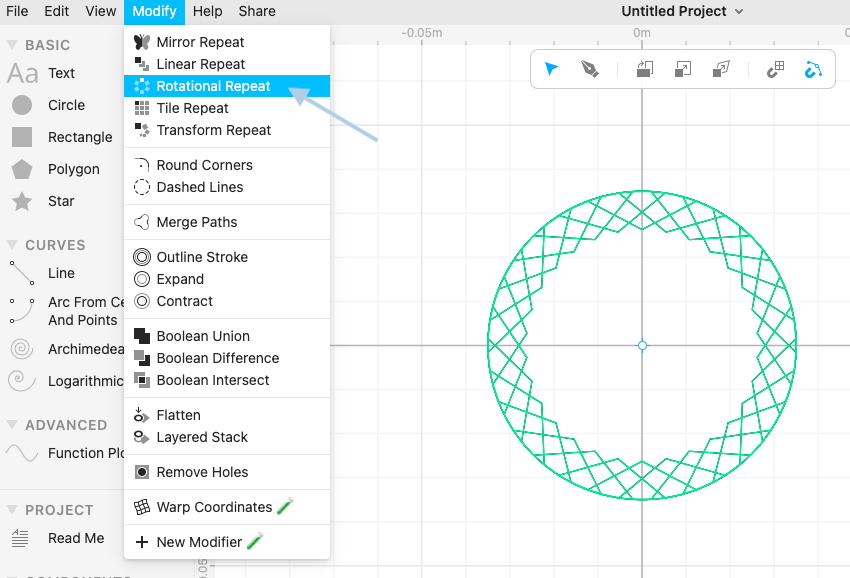
- To create a repeated pattern, there are options in Modify > Mirror/Linear/Tile/Transform Repeat.
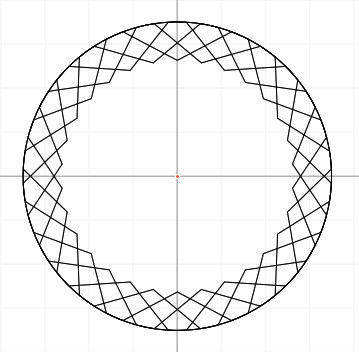
- The final shape/pattern selected.
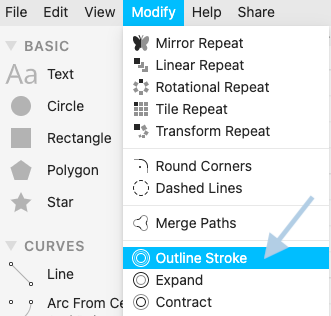
- To outline the final shape/pattern go to Modify > Outline Stroke/Expand/Contract.
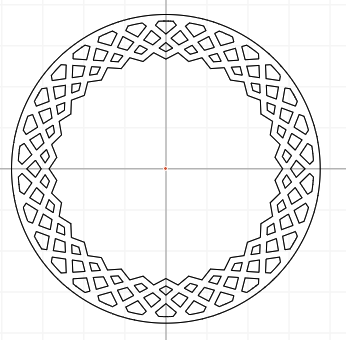
- The result after outlining.
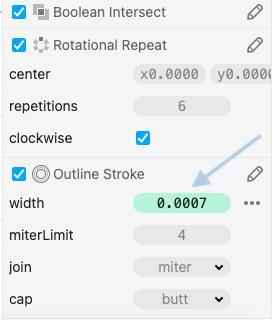
- To change the width of the outline select the shape, editing will be on the right side of the page. as usviusshown below
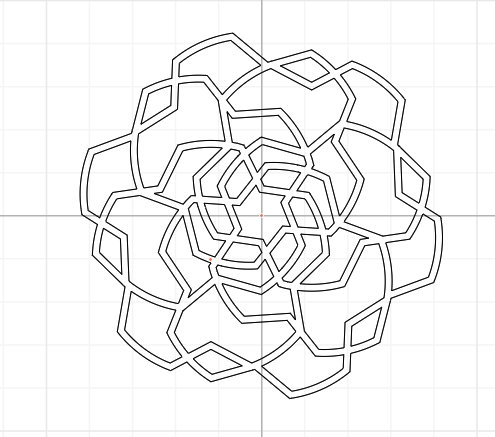
Created a coaster.
Inkscape
Inkscape is a free and open-source vector graphics editor used to create vector images, primarily in Scalable Vector Graphics (SVG) format.
Here are some steps to convert an image to vector :
- Open Inkscape.
- To upload an image - File > Import
-
Select the image.
-
To convert to vector - Path > Trace Bitmap.
- Click on Apply, bottom right of the page.

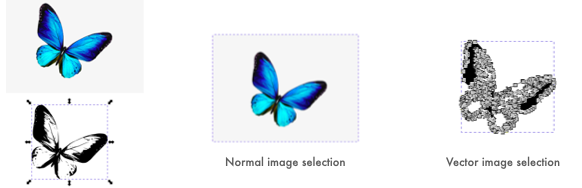
- Drag vector image to seperate them, the difference is shown in the image below.
Creating in Inkscape
- Draw a shape by dragging shapes from the left tab.

- Change shape colour from the bottom tab.

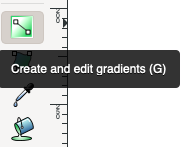
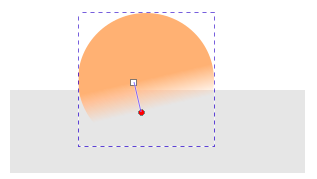
- To create gradients, Click on the icon on the left tab.
- Draw using the drawing pens.


- Imported png images.

3D software
Fusion 360
Fusion 360 is a cloud-based 3D modeling, CAD, CAM, CAE, and PCB software platform for product design and manufacturing.
Here are some steps on how to use fusion 360 as beginner like me :
- This is the playground of fusion 360!
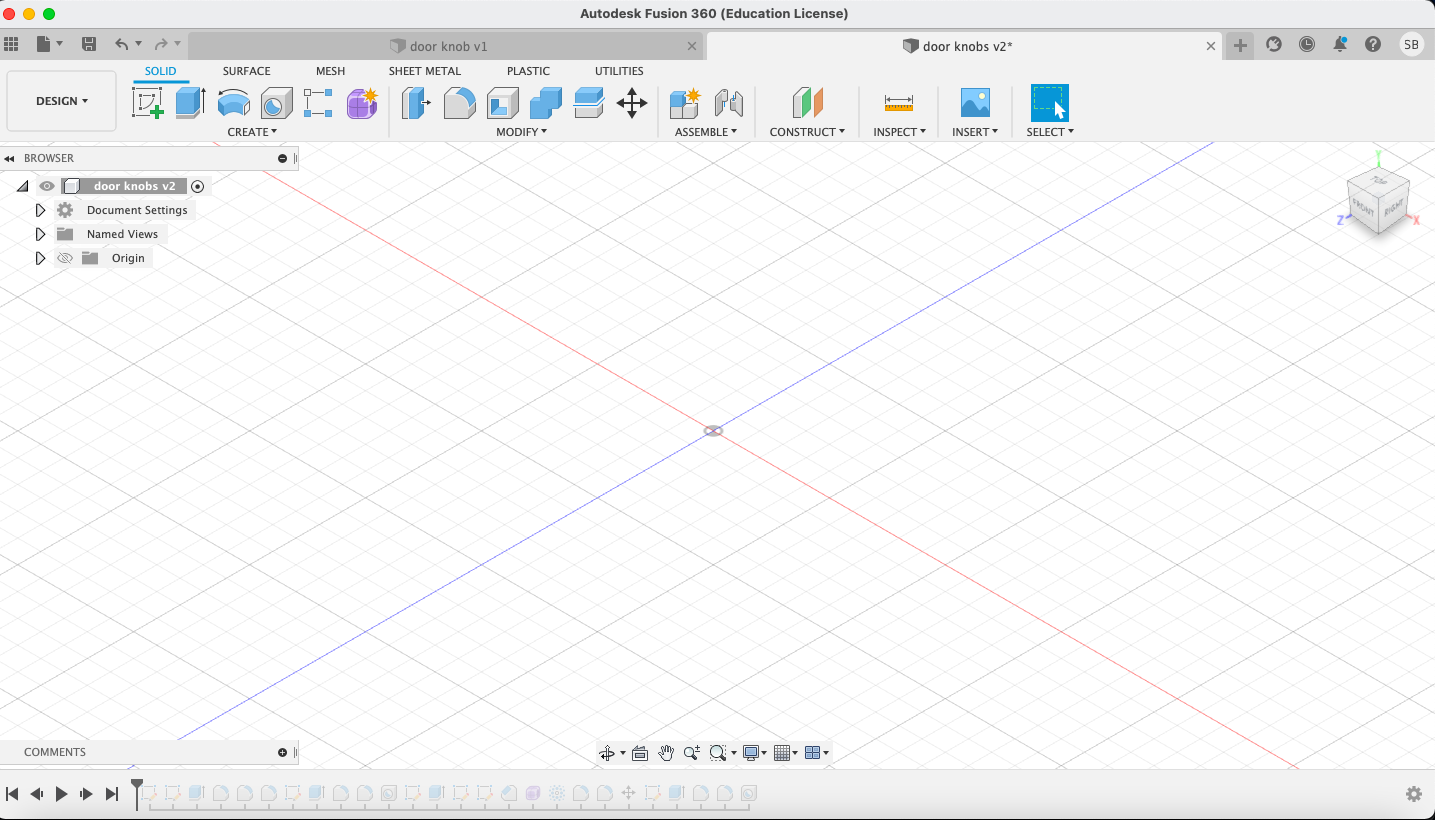
As you can see there are many options to play with.
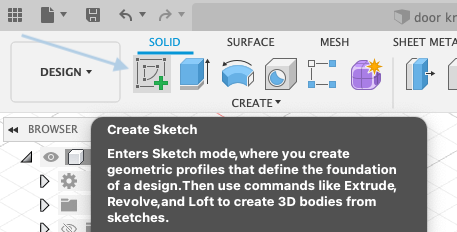
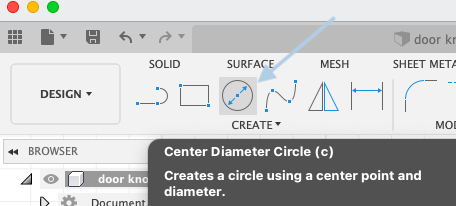
- Lets start sketching, Click on Create Sketch on the top left of the page.
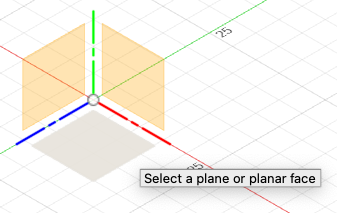
- Select the plan you wish to work on.
- Choose the desired shape, I went for a circle.
-
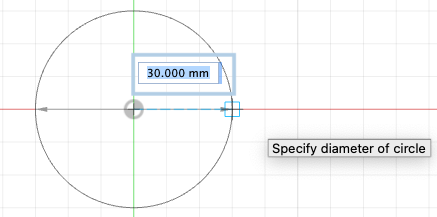
Click on the plane to start drawing the shape, the further you keep the mouse the larger the shape.
-
Specify the size of the shape by typing the size in mm.
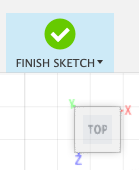
- Click on Finish Sketch.
- To solidify the shape, extrude it.
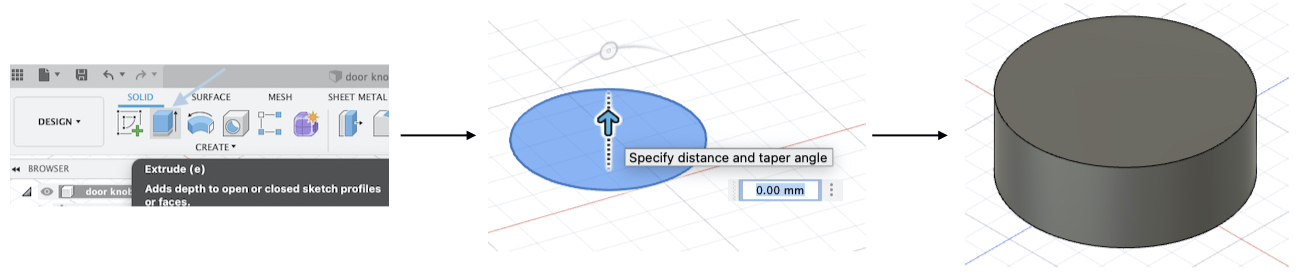
-
Click on Extrude > Drag the arrow upwards/downwards or type in the size > A cylinder.
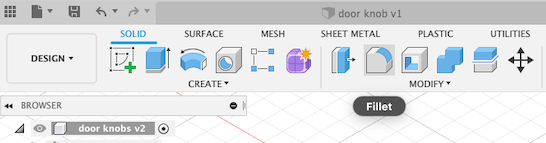
-
To smooth the edges, use fillet.
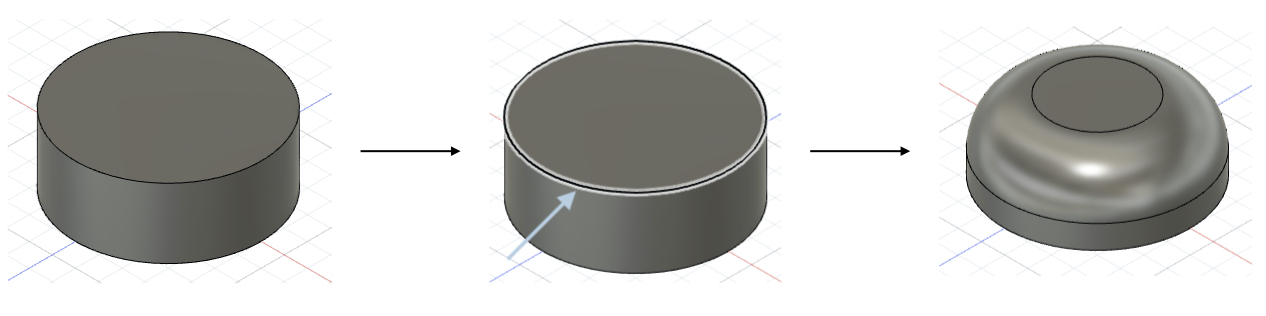
- Select the corner to fill, specify how much to fill.
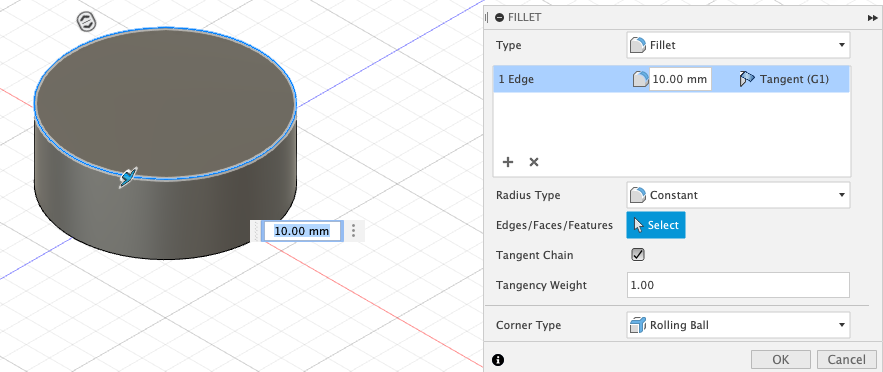
- Result of fillet.
- Selecting the top and extruding it.
- Using fillet to smooth it.
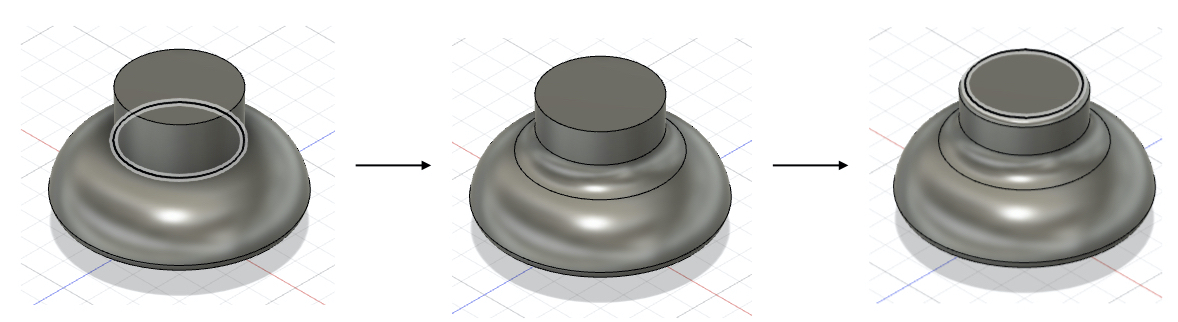
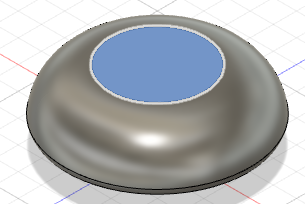
- Creating a hole to place the screw, click on Hole > Choose the plane.
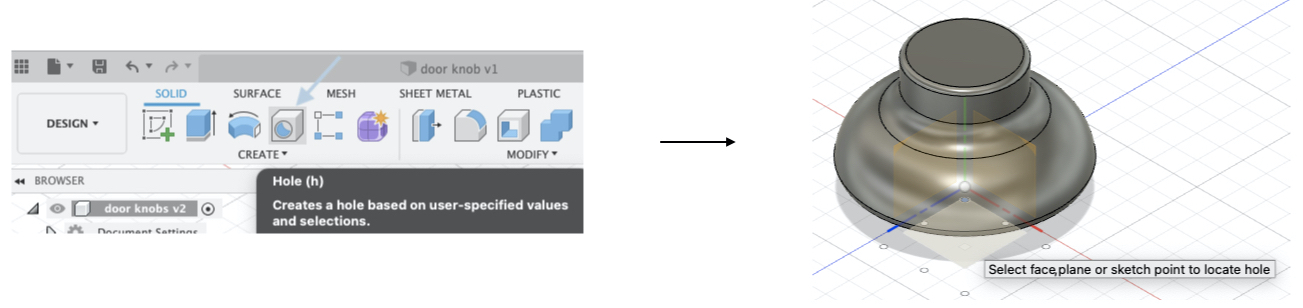
- Change the settings of the hole.

A close up showing the details of the hole created.
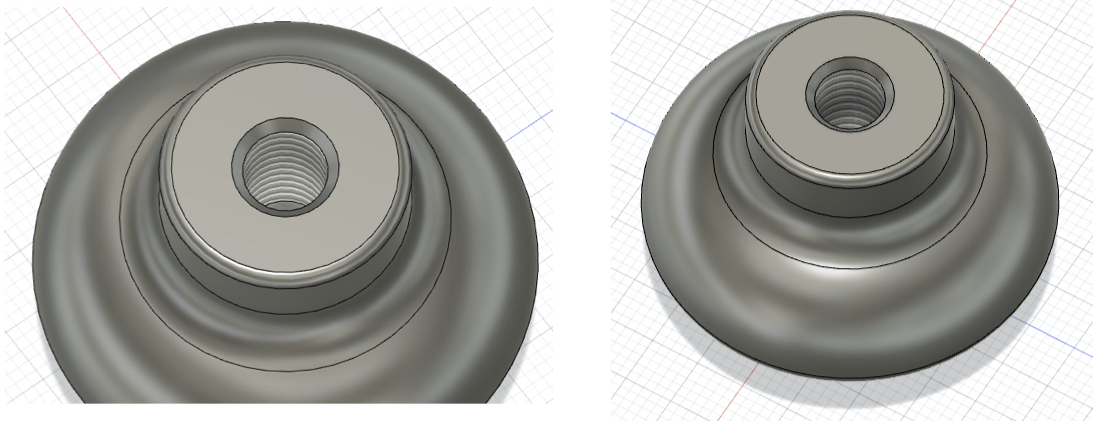
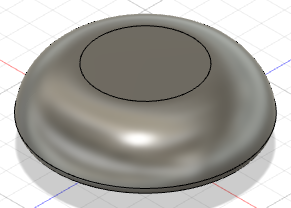
- The final result of the drawer handle/door knob.
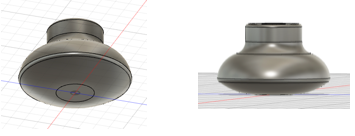
Check it out :
TinkerCAD
Tinkercad is a free online collection of software tools that help people all over the world think, create and make. It is the ideal introduction to Autodesk, a leader in 3D design, engineering and entertainment software.
How to use TinkerCAD?
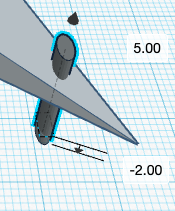
- Click on create new design.
- Drag shapes to start.

- Select the shape and adjust the size.
- Click on the shape colour to change the colour.
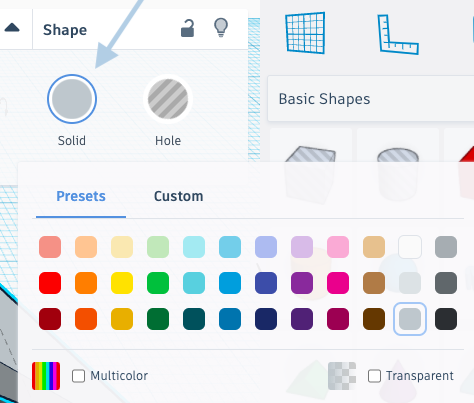
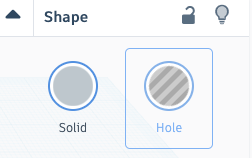
- To create a hole, select the shape and change it from Solid to Hole.
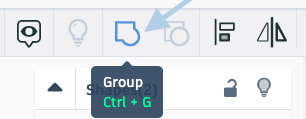
- Select the shape to create the hole in and the main shape then click on Group.
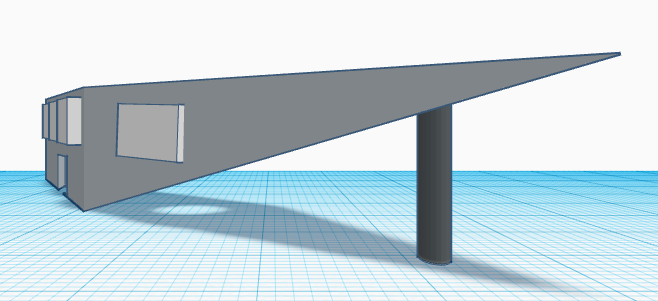
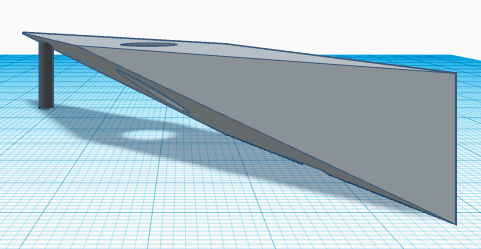
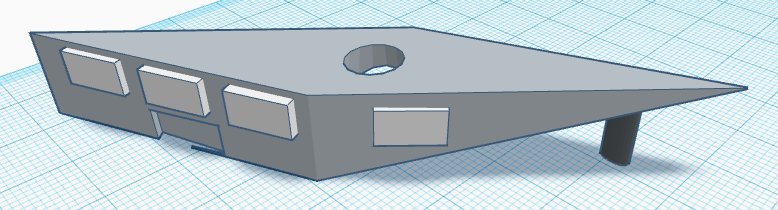
- The final design.
Front view
Back view
Top view
- To change the file name, click on the name on the top left of the page and rename.
- Export the file.

Check it out!