5. 3D printing and scanning
3D Scanning
The most User-Friendly 3D Scanning App.
Qlone
- Download Qlone from App Store.

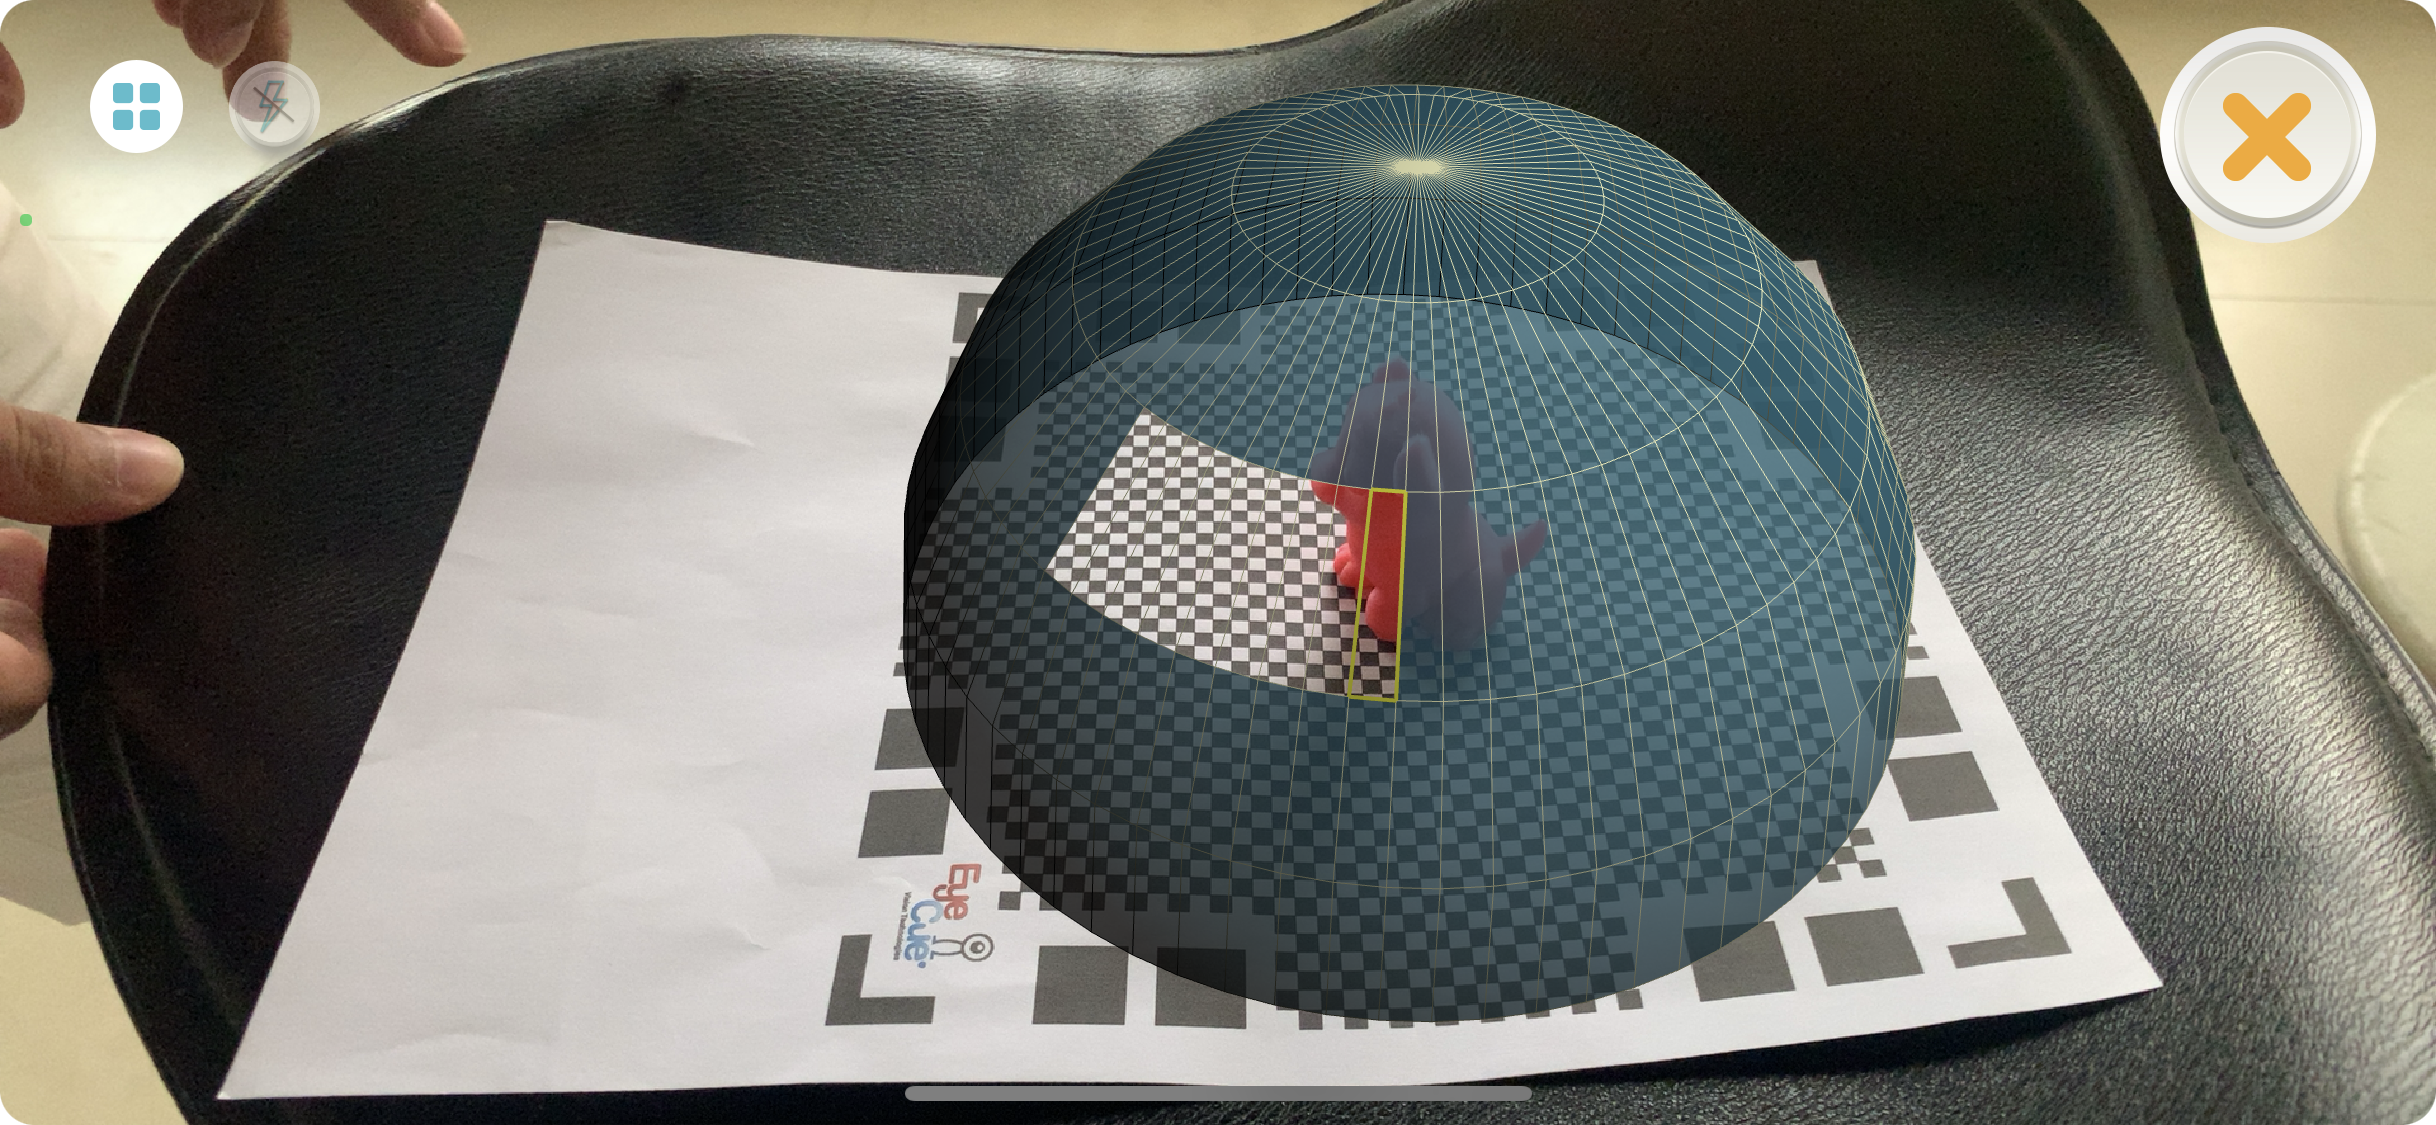
Scanning is super easy, just place your object in the middle of the mat and the AR dome will guide you through the scanning process.
- Print the Mat.
-
Place an object on the mat.
-
Open the Application.
-
Press on the (+) sign.
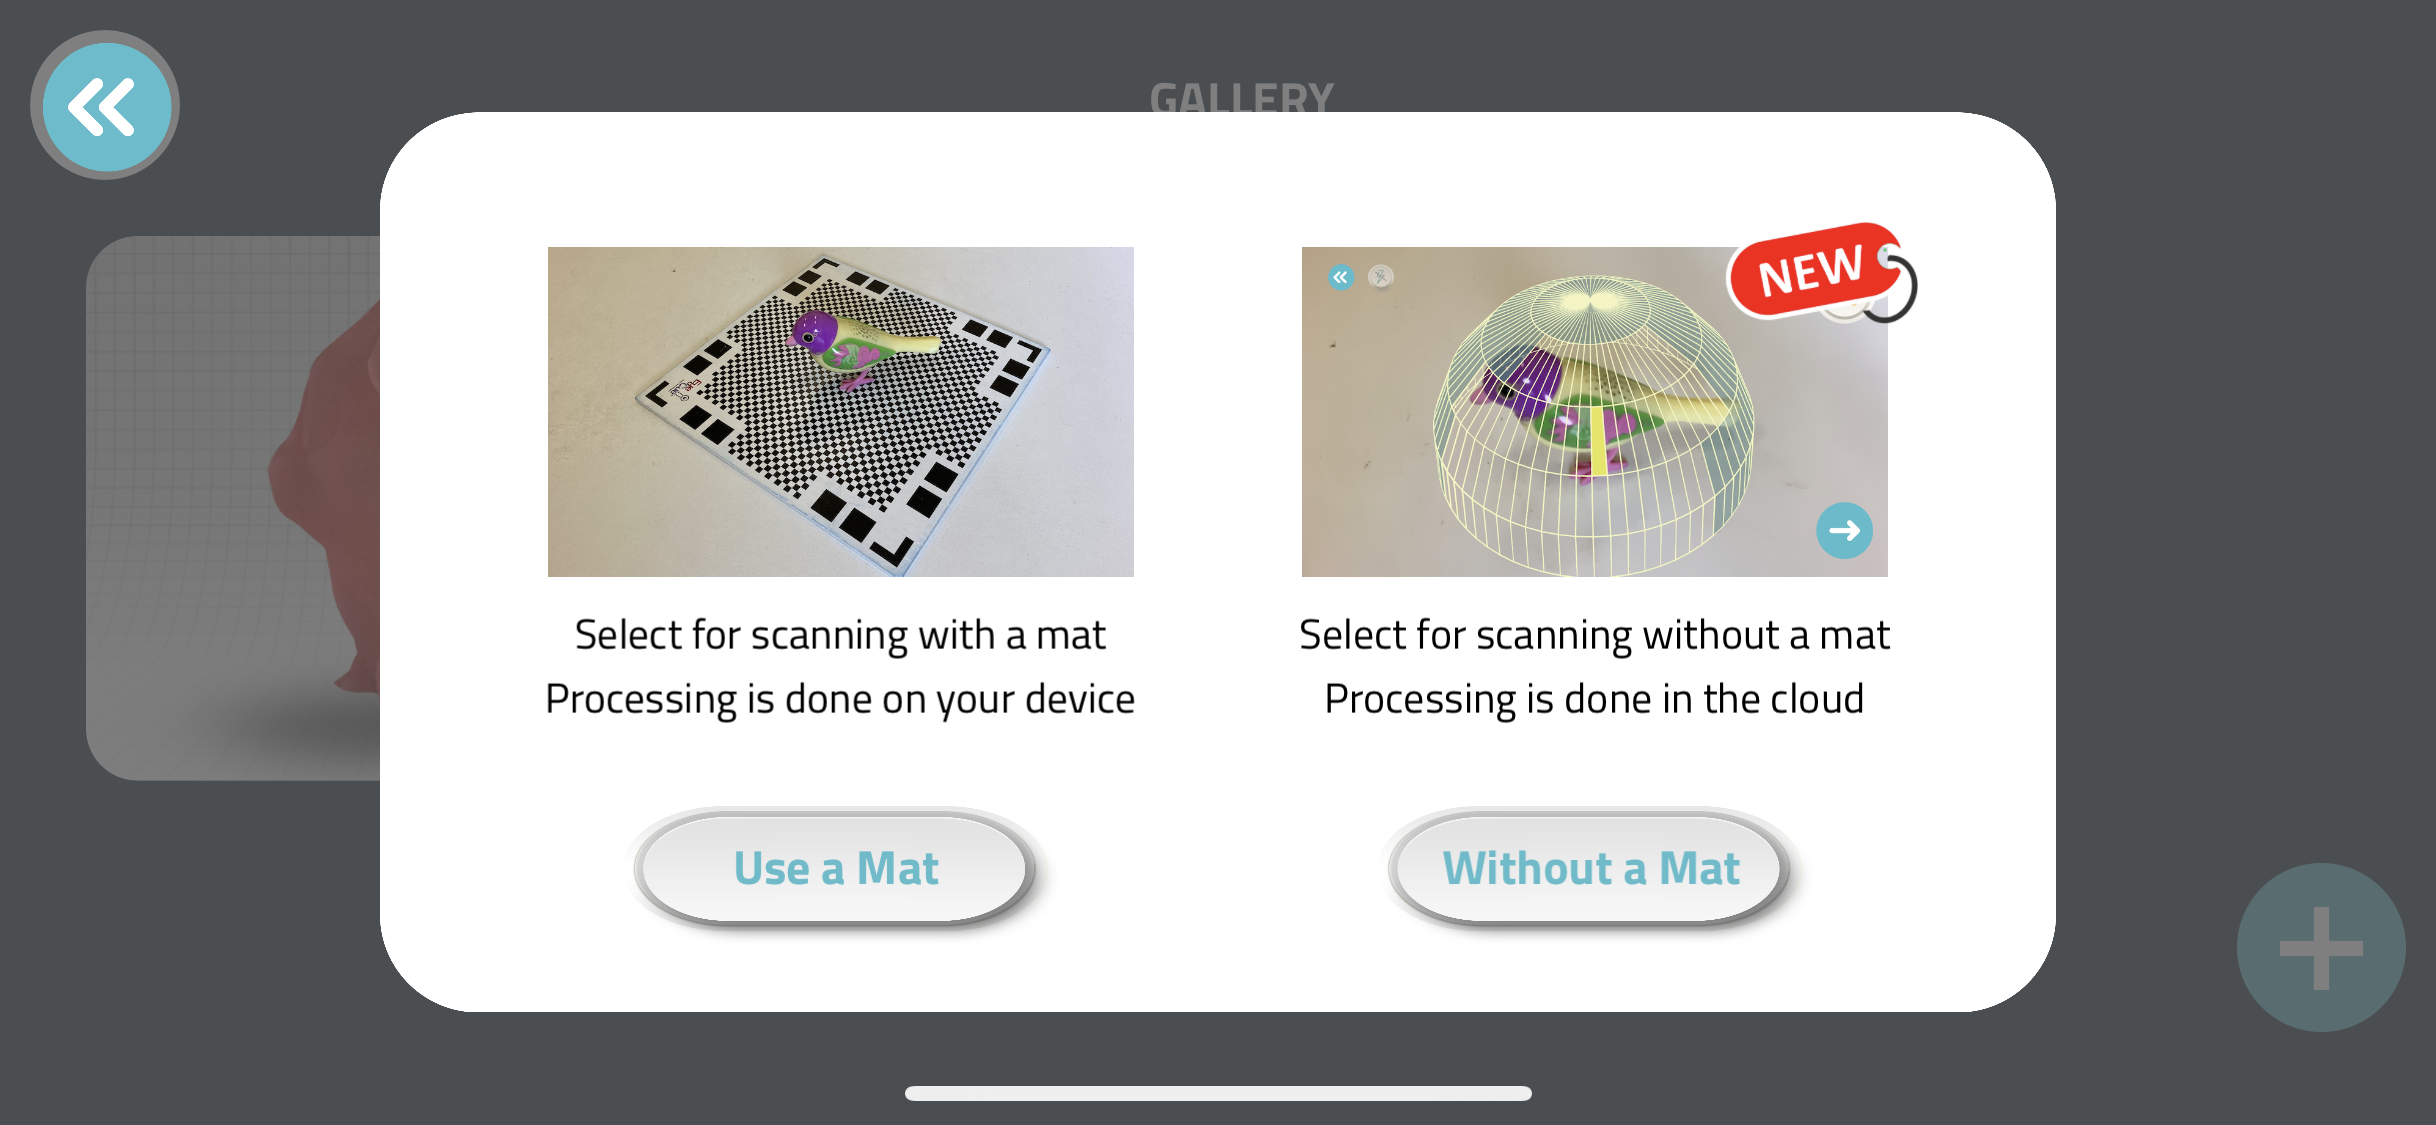
-
Press on Use a Mat.
-
Scan the object.
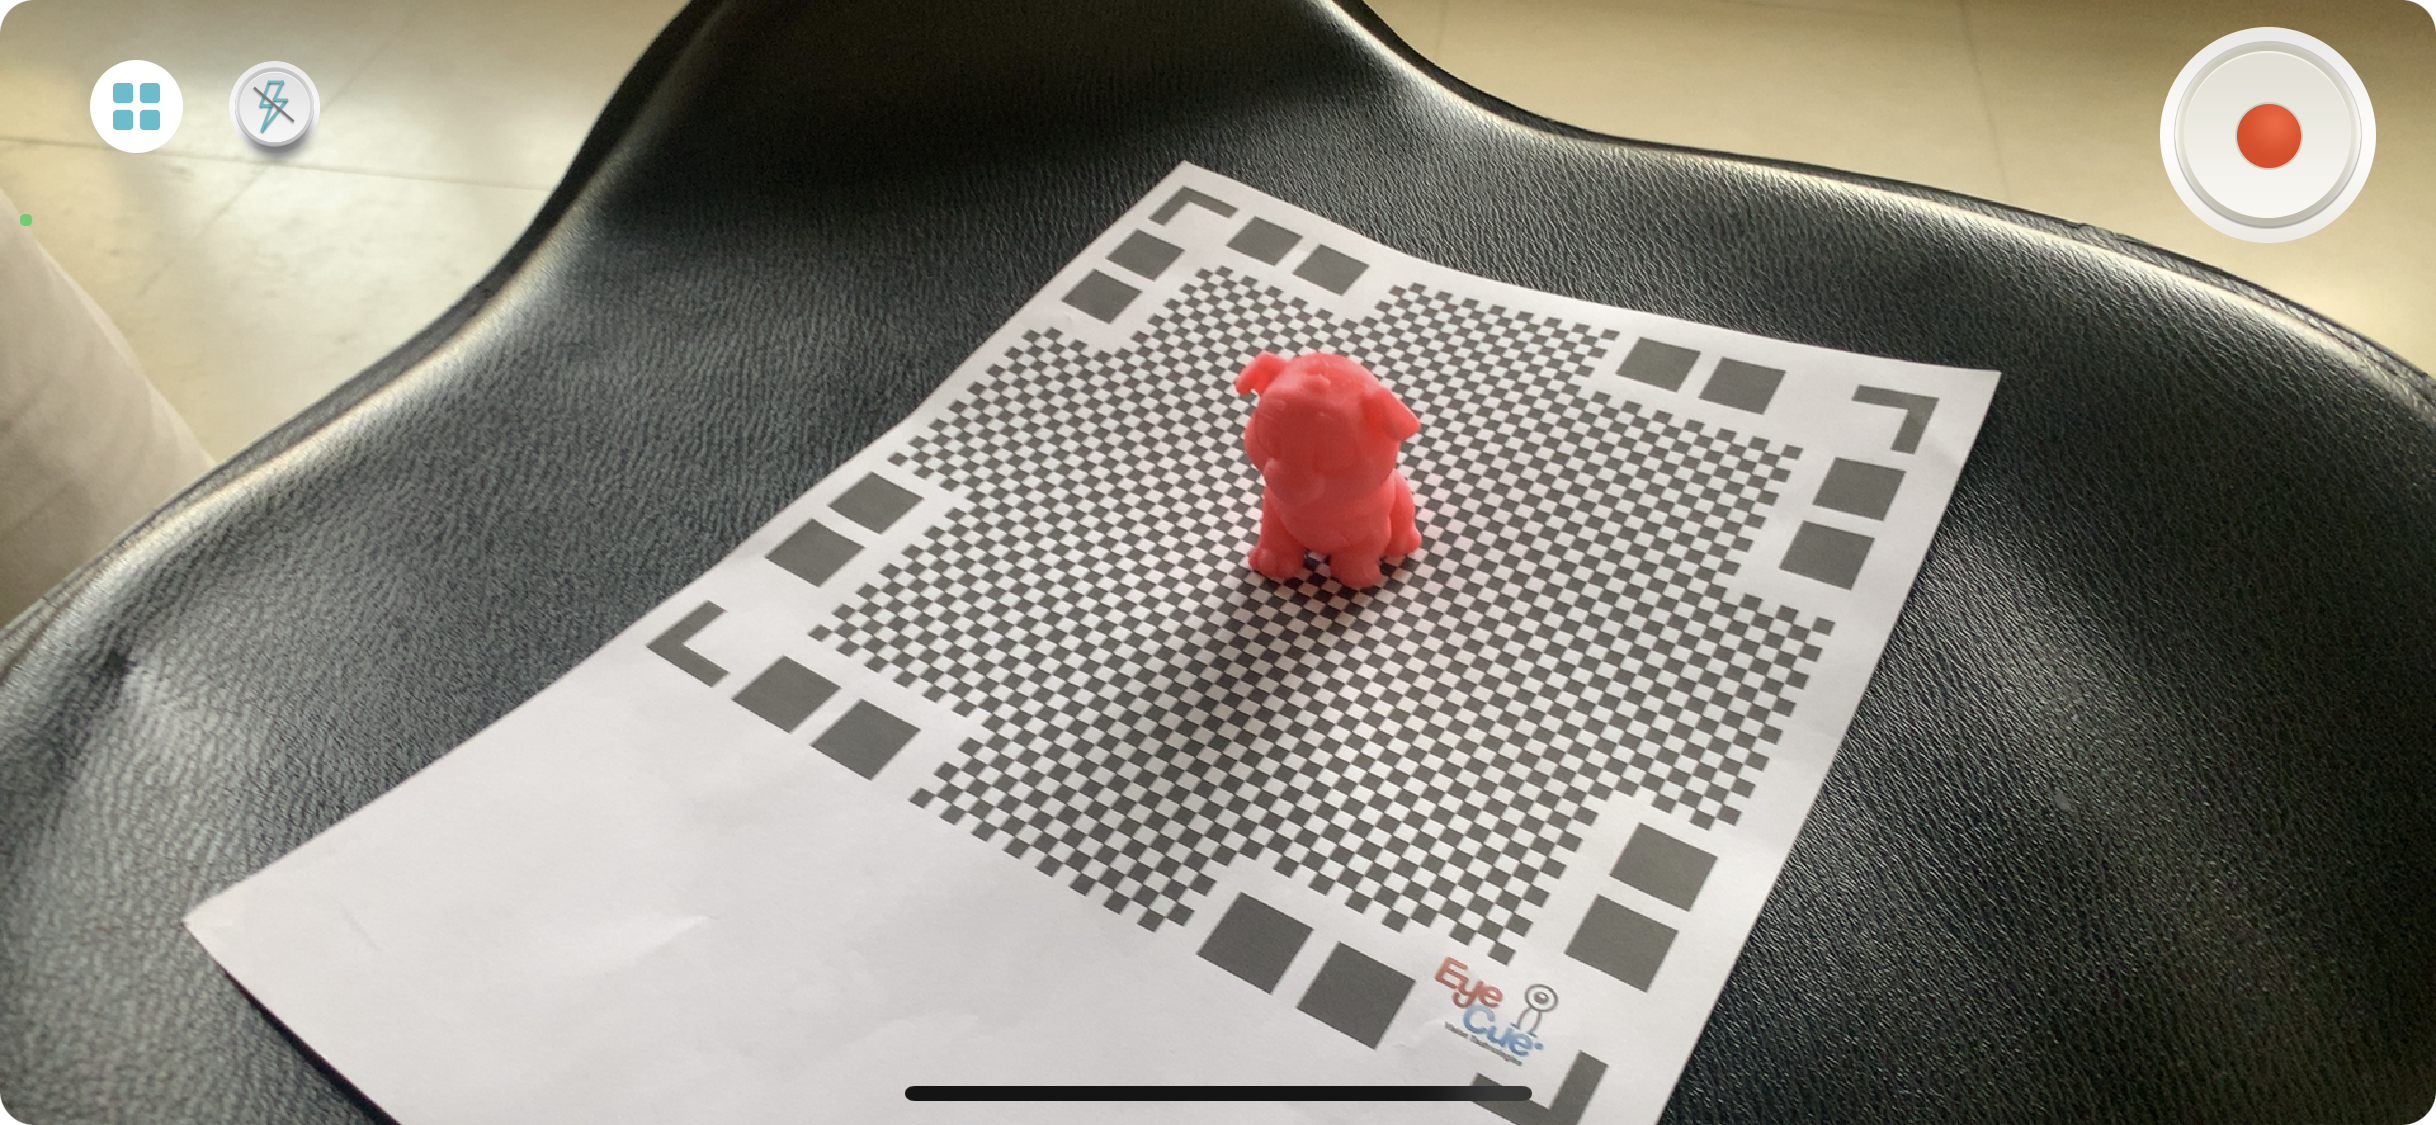
-
Make sure the AR dome is blue not red and follow the 360 degrees dome.
-
Press on record on the top right of the screen.
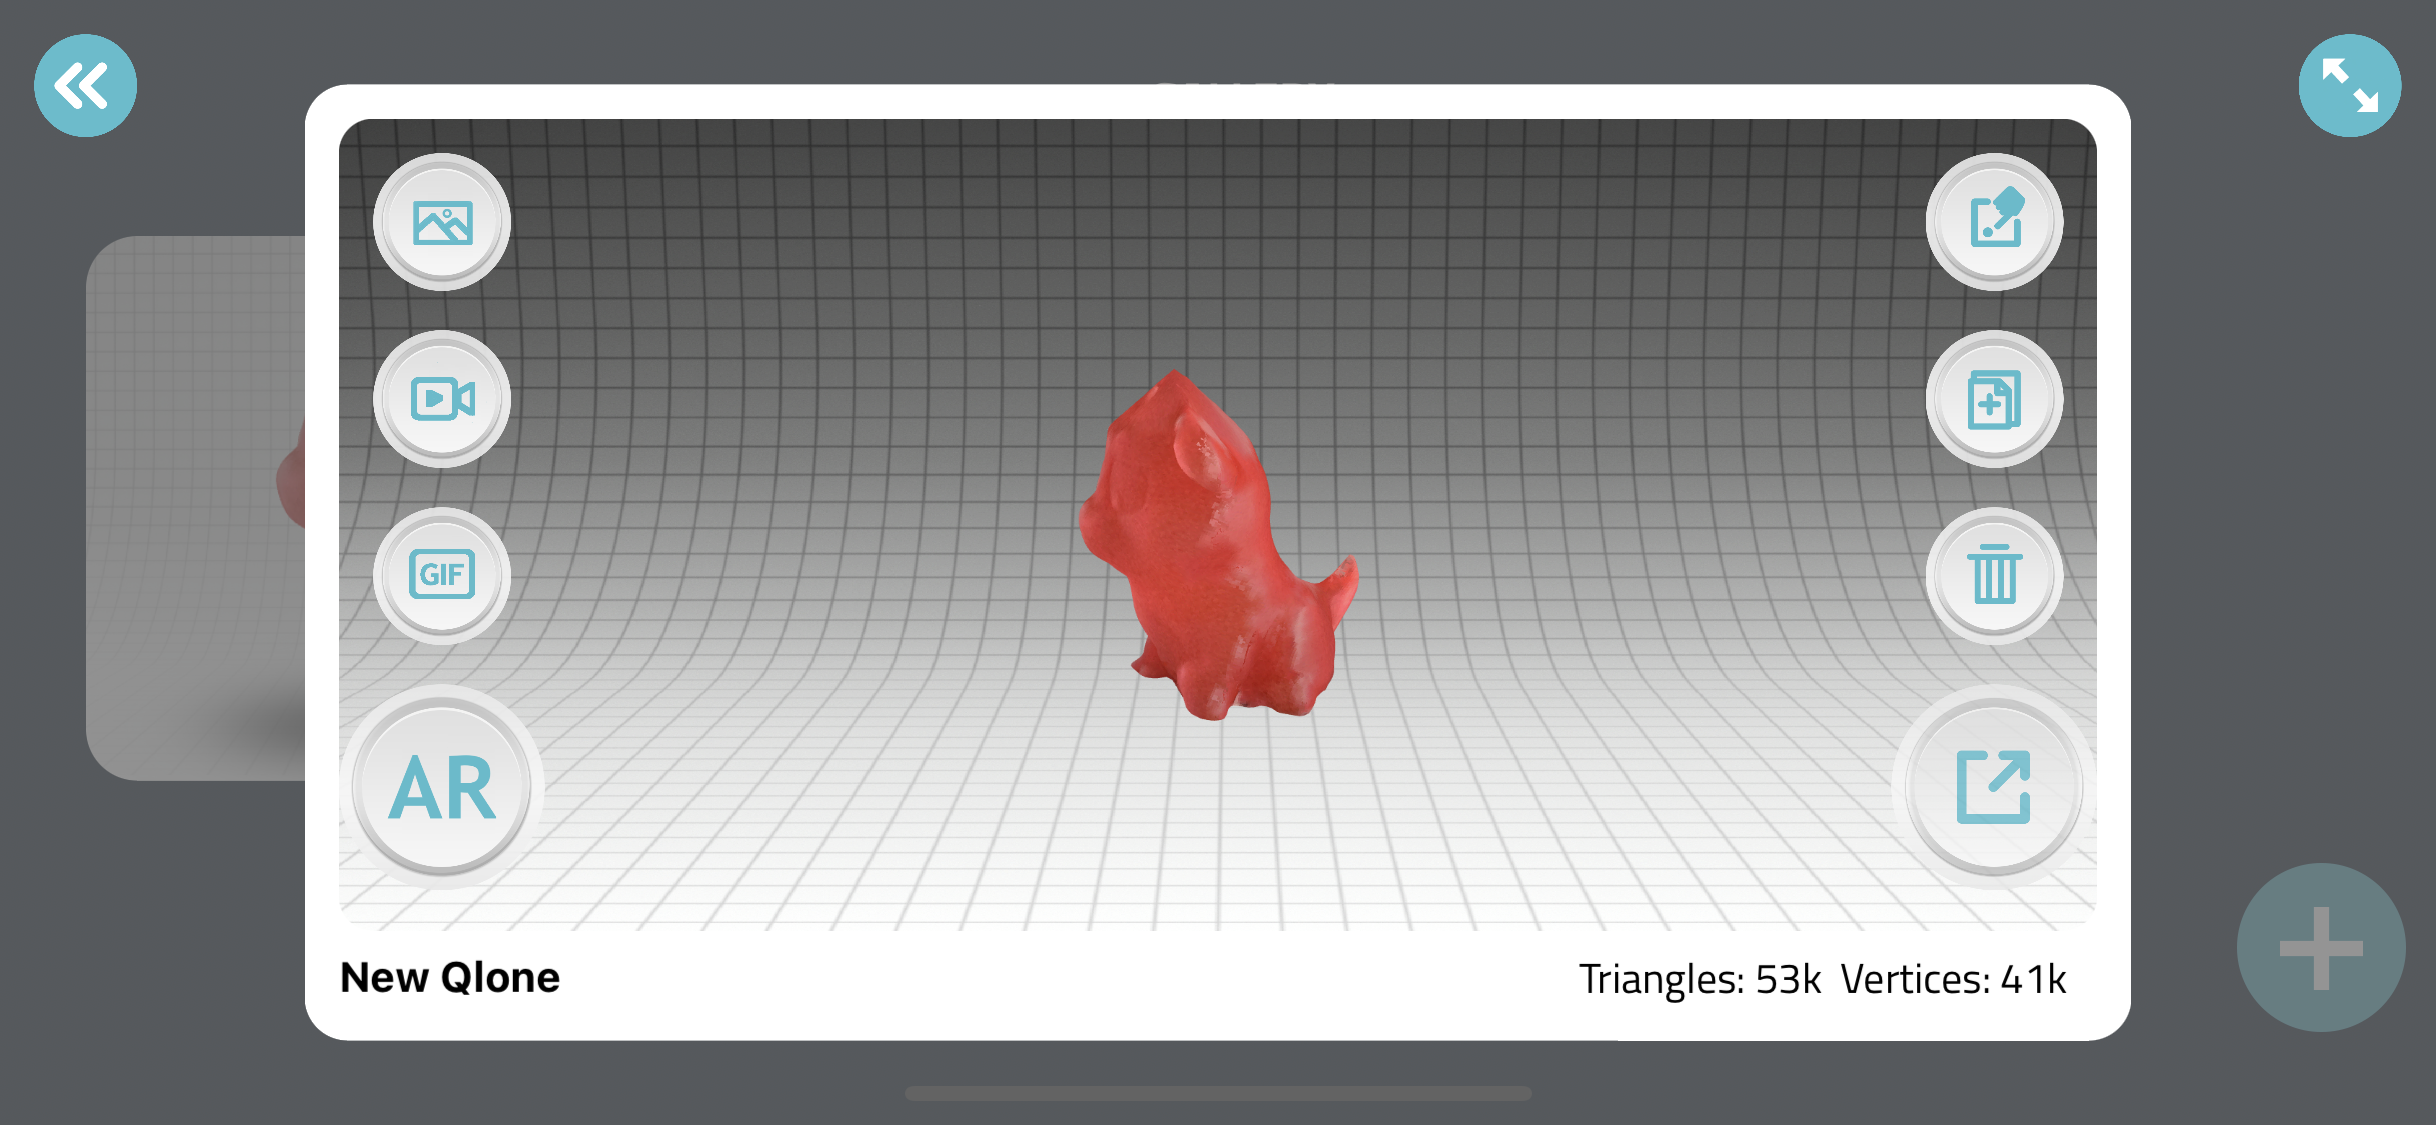
- After scanning, export the object to images or gif.
Hero GIF :sparkles:
3D Printing
Comparison
| Layers | Temperature | Infill | Accuracy | |
|---|---|---|---|---|
| FDM | Visible and thick | Should be static, if not hot enough object will bend | According to the details. example : If the design is only exterior - 5% infill | Lowest accuracy and resolution and according to the nozzle |
| SLA | Not visible | Temperature of 210 to 250 °C | Different infill percentages | Fine details, high accuracy and resolutions |
Support in 3D Printing is important, when designing try drawing supports to the object at right angles. Supports can be removed by cutters.
Materials
-
ABS Needs heat.
-
PLA Can handle heat up to 67°C.
-
Nylon Flexible.
-
PETG A mixture of PLA+ABS, food safe, good strength and easy to print.
-
TPU Flexible but not accurate.
-
PET Chemical resistant, can handle heat up to 400 °C.
Ultimaker 2+
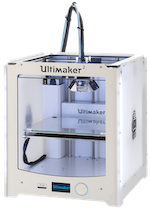
The Ultimaker 2+ 3D printer has a great compact design, uses standard consumables, and works very quietly. It has a large print platform.
Lets test the printer :
My team mates and I tested the printer together.
Choose a previous 3D file and save it in Stl. format.
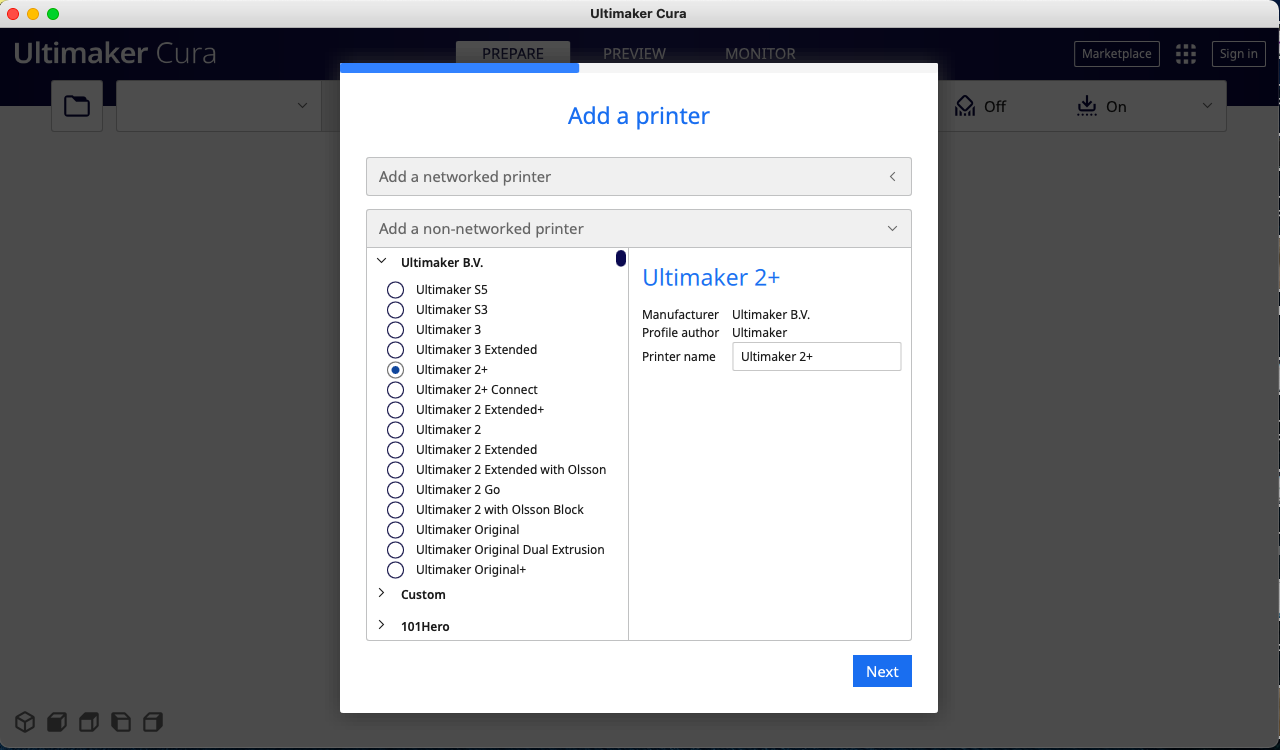
- Open Cura, add Ultimaker 2+ .
-
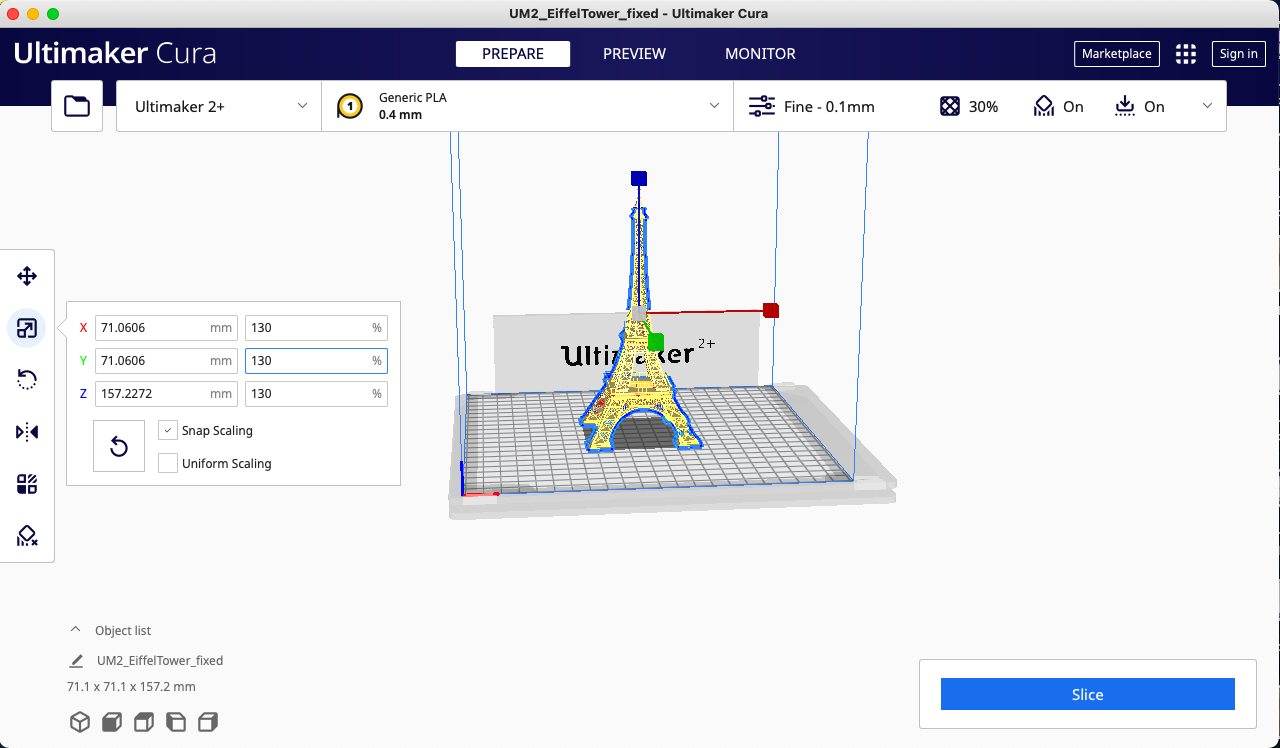
To get a front view of the printer, make sure the X,Y,Z axises are on the left of the screen.
-
Upload the Stl. file.
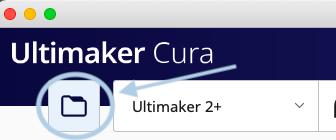
-
Move the object to the center of the bed, using the first icon on the left bar.
-
Scale the object.
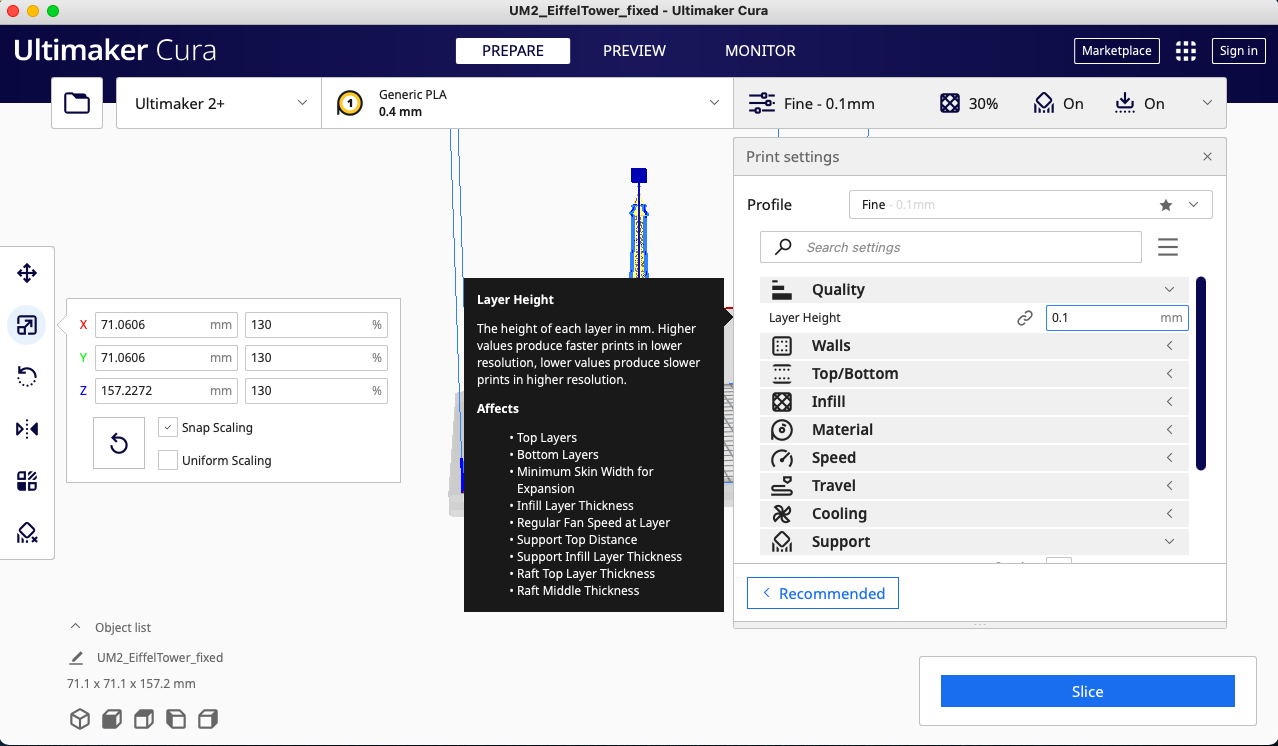
- Go to print settings, adjust the material, speed, infill and support percentage.
Support is one of the essential settings while printing. For complexed/imbalanced designs, based on its settings, printer adds thin layers of the filament over the design to stabilize it. This support can easily be removed later when printing is done.

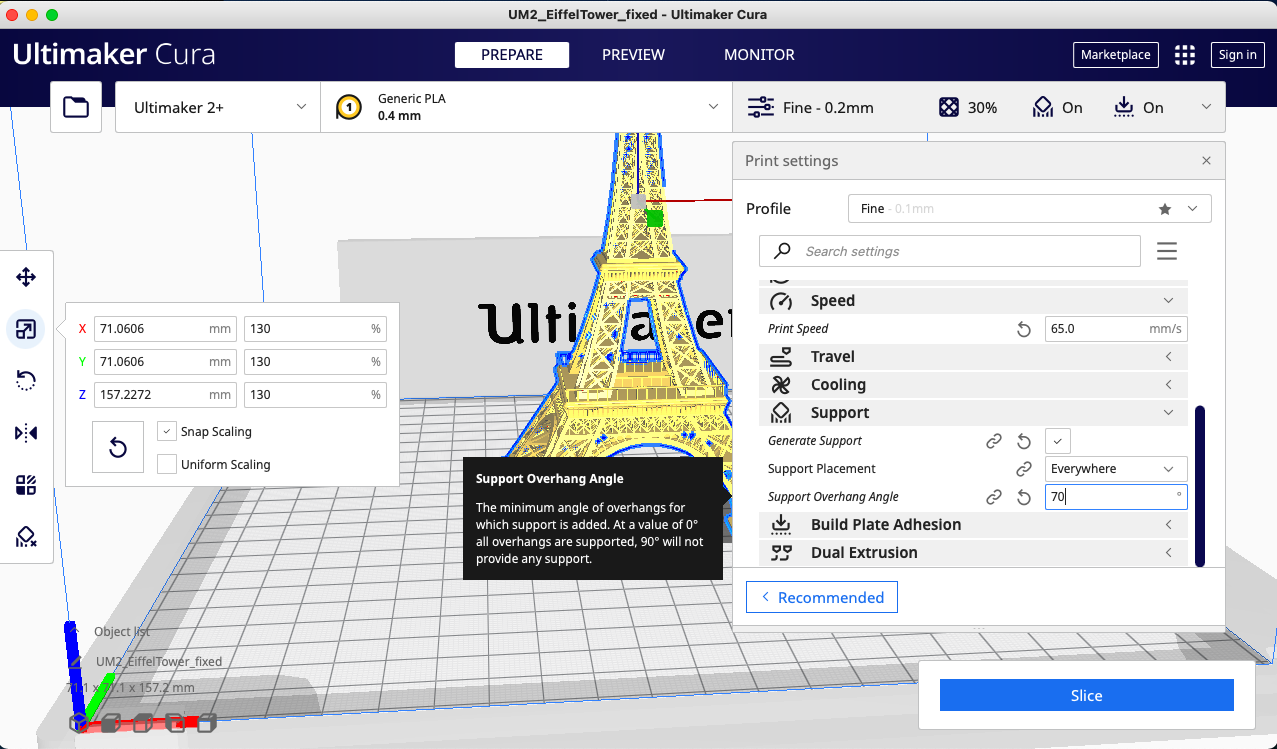
- Click on Slice.
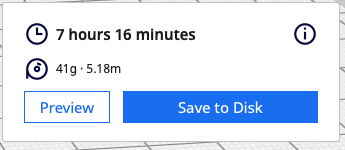
Our 3D drawing will take 7 hours and 16 minutes to print, click on > Save to Disk > Choose your SD Card.

-
Insert the SD Card to the 3D printer.
-
Choose the file through the screen on the printer, wait for it to heat up and it will start printing.
We were able to record a bit of the 3D printing process :
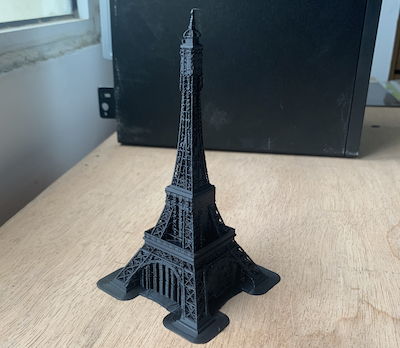
Hero Shots :sparkles:
With support
After trying to remove some of the support
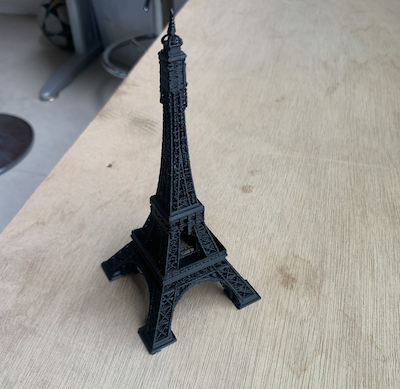
The support was hard to remove, we were not able to remove the top support because the top part of the object is narrow.
The Bowl
This is an individual 3D printing exercise where we design an object in 3D and print it!
To start up with, I designed a bowl in Fusion360 by creating the shape of the bowl then started to sketch a random pattern to extrude and cut through the bowl.
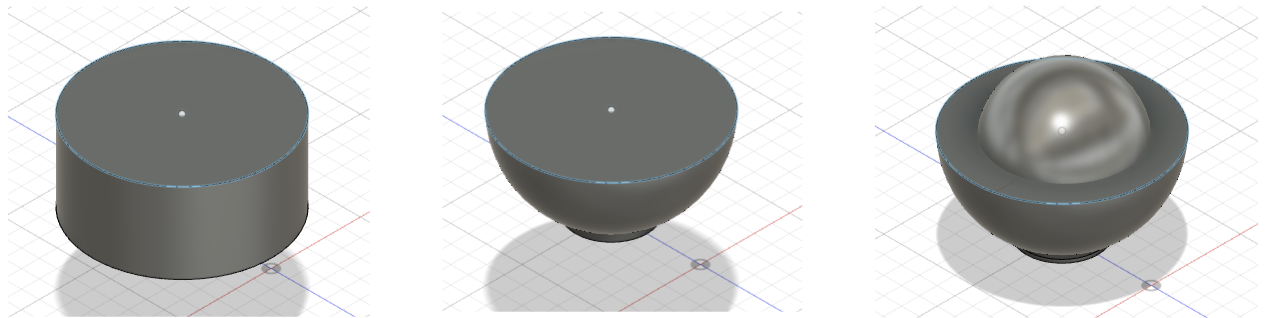
Extuded a circle, used the fillet tool to create the curve and added a sphere to combine and cut.
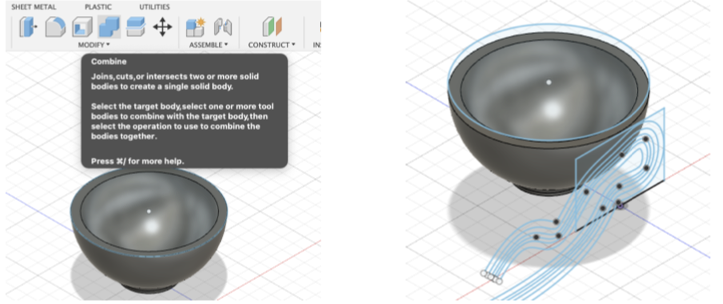
Used the combine tool to cut the intersection and started to sketch on a plane.
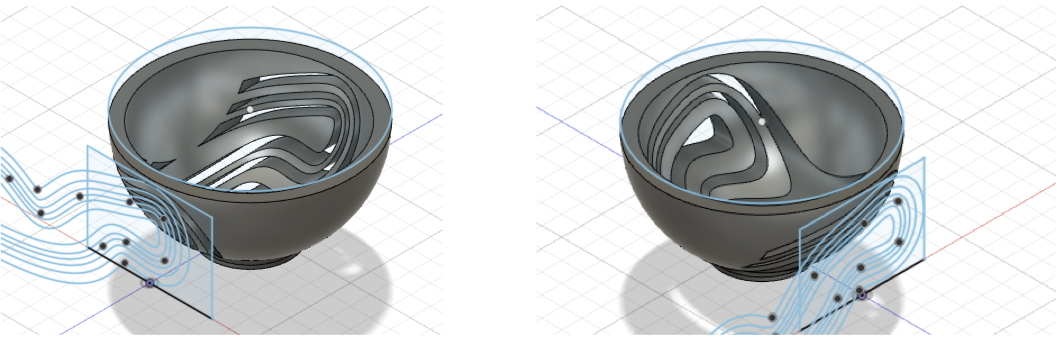
Extruded the sketch into the bowl to cut through it.
Check it out!
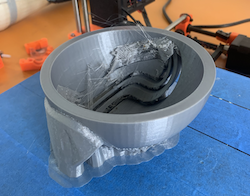
The bowl being printed. Could not record the whole process, this is just the beginning.
Once it got 3D printed :
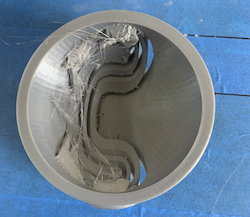
The support on the bowl was not smooth enough for this design. Its layers came through the curves and affected its appearance. It took a lot of time and effort in removing the support.
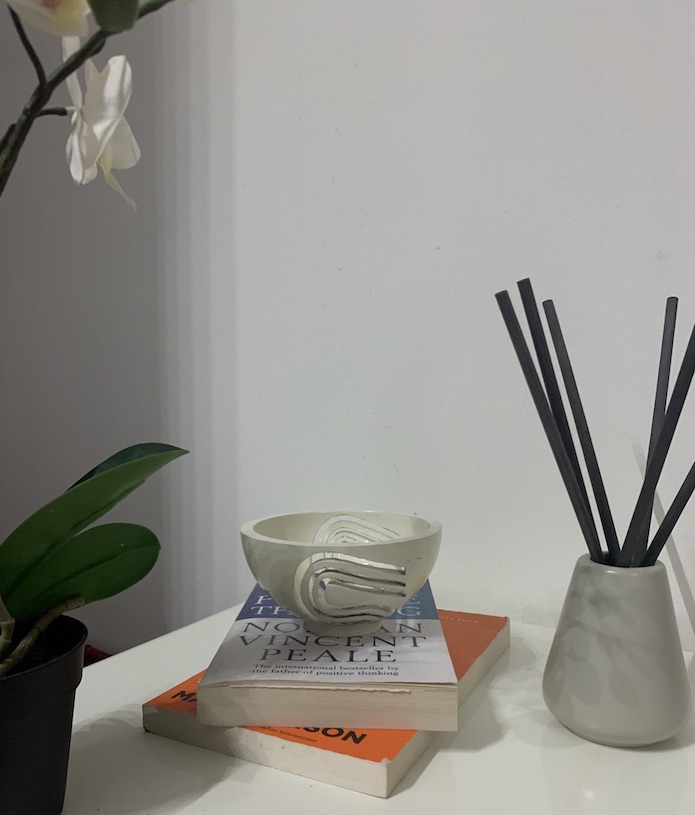
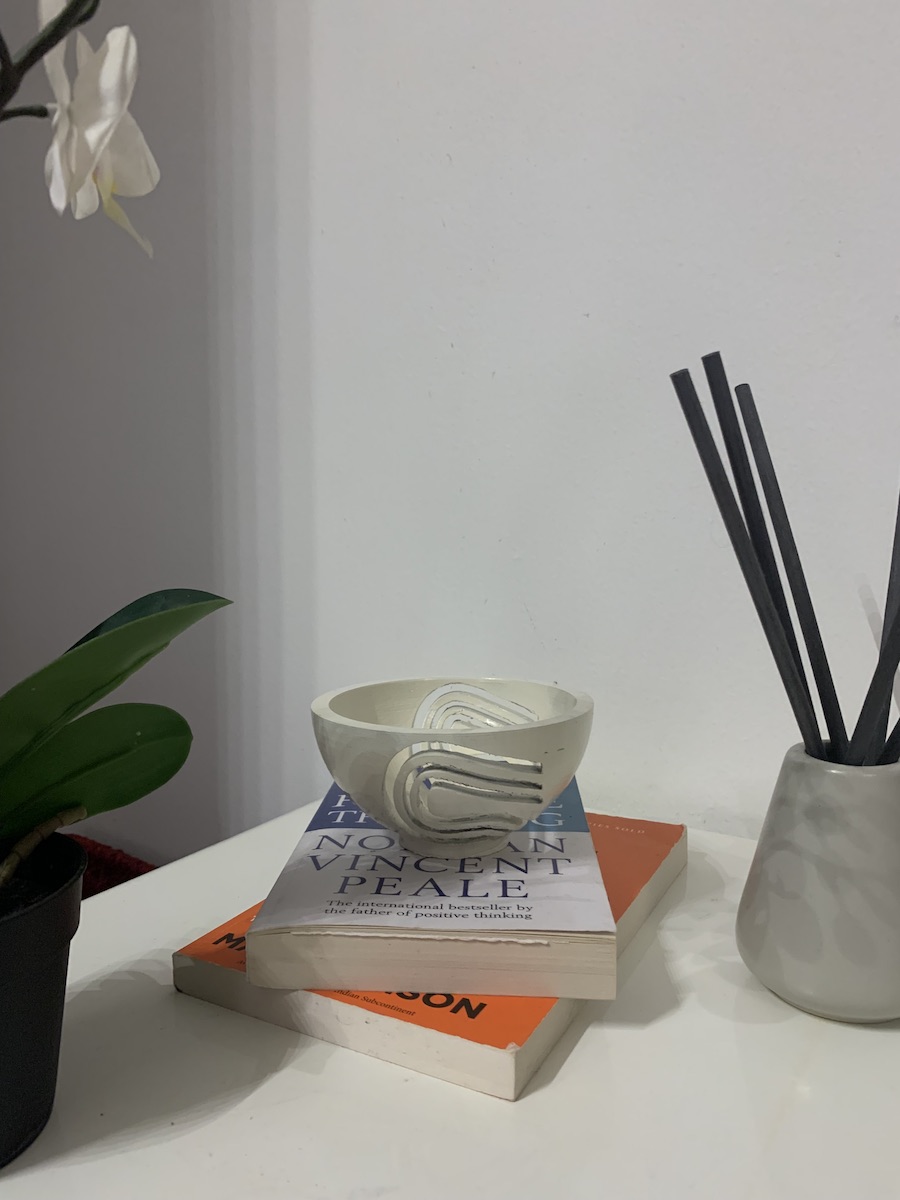
I sprayed it with white paint and used it as a decor.
Hero Shot :sparkles: