1. Project management
This week we worked on editing our website which we will document the work we did in every session in it. Moreover, we got introduced to GitLab and Atom which are the tool we are going to use in order to edit the website and document the work.
Session 1
This is the first session in the program which took place on May 16, 2022, At this session, we successfully created an account at the GitLab website and we learned how to edit our website there.
GitLab is an open-source code repository, which offers a location for online code storage and capabilities for tracking every change you do to your website. Basically, it is the place where the code lives, and the idea behind it is that if a large team working on the same project, they can have access to every change done and the whit it was before the change which is very beneficial.
here are the steps we did to achieve that,
Firstly, I accessed my page on GitLab through the link in this email and I logged into my account
Now we have access to our website file and edit either directly from the website or by cloning the files to our computer and using an editor.
Secondly, we edited the section that talk about me in the GitLab editor

This was the end of the first session in which we got introduced to GitLab and our website.
Session 2
In the second session of the program, we got introduced to Git bash and Atom editor which are the tool for editing the website locally on the machine.
To be able to edit the code available in GitLab locally, we should have a place or an environment where we will edit this code. Additionally, a software that can download the project code from GitLab and upload the changes done locally to the cloud.
For the environment, we will use software called Atom which we can edit the code there. Gitbash will be used in order to download and upload the code to the cloud which is in our case GitLab.
Firstly we downloaded the software from the official website, you can find them down below.
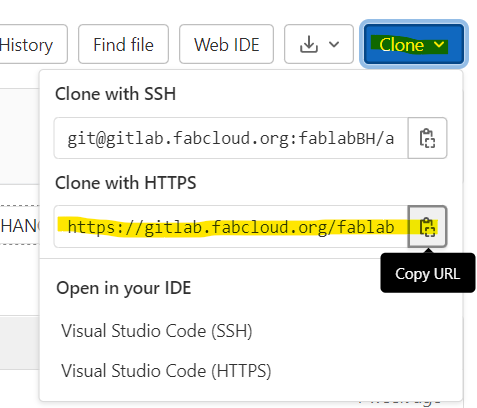
After that, we cloned the data of our websites from the cloud to our local machines using Git software.
Git repository was cloned to the local folder on the computer using the code ‘git clone “Address”’. The HTTPS link of the git repository was copied and pasted in the GitBash window. Upon running the code mentioned above, GitBash clones the GIT repository on the computer.

After we cloned the website, we opened it with Atom software which is a text and source code editor. A user can preview any changes made on the .md files (markdown files) at the same time. Multiple images can be added using this editor with image size being in the range of 100-200 kilobytes.
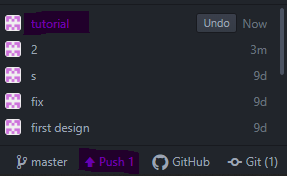
Then, we learned how to make a change to the website using Atom, in another word, how to push to the cloud.
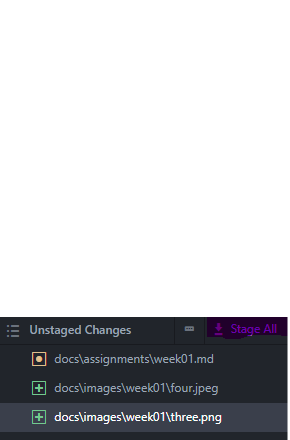
1- I saved all the changes made to the file using keys, CTRL + S. These changes then appear in the ‘unstaged changes’. By pressing the ‘stage all’ changes will shift to the ‘staged changes’, which means they are ready to be pushed to the website.

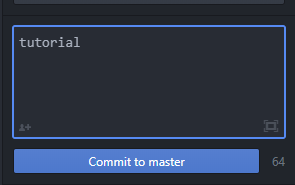
2-Upon adding a comment in the ‘Commit Box’, a push-button appears at the bottom. Pressing the ‘Push’ will make changes in the ATOM appear on your website.
This was the end of the second session which was very beneficial and we learned and got introduced to a lot of things.
Session 3
In this session, we started by revising what we learned in the last session and we started the documentation in the first week such that if we face any problem in the process of documentation we can get help directly from the instructor.
Moreover, we learned how to add photos to our website using Atom software.
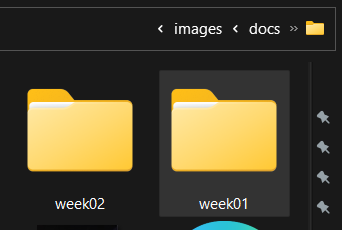
1- To add an image, first, it should be added to the repository files which there is a folder called ” images” we can add the photos there.
2- Then, we can simply add it using this code ” ![] ” followed by the address of the image in the machine.
This was the end of the first week.