Week08
This week, we were introduced to the process of creating things using molding and casting. Molding is the process of printing the design onto a wax that can be cut, after which you cast or pour the material to create the three-dimensional design. The procedure consists of three steps: milling, molding, and casting.
Group assignment
We were split into teams of two for our group assignment, and we were free to choose any of the material to explore. We were also asked to fill out the necessary information in a Google document that we would all have access to. Click here to access the group assignment
Individual assignment
The goal of this assignment is to design a 3D model within specific dimensions and then print it using the CNC milling machine.
The design
I decided to design using fusion 360 for the entire design which is very powerful software.
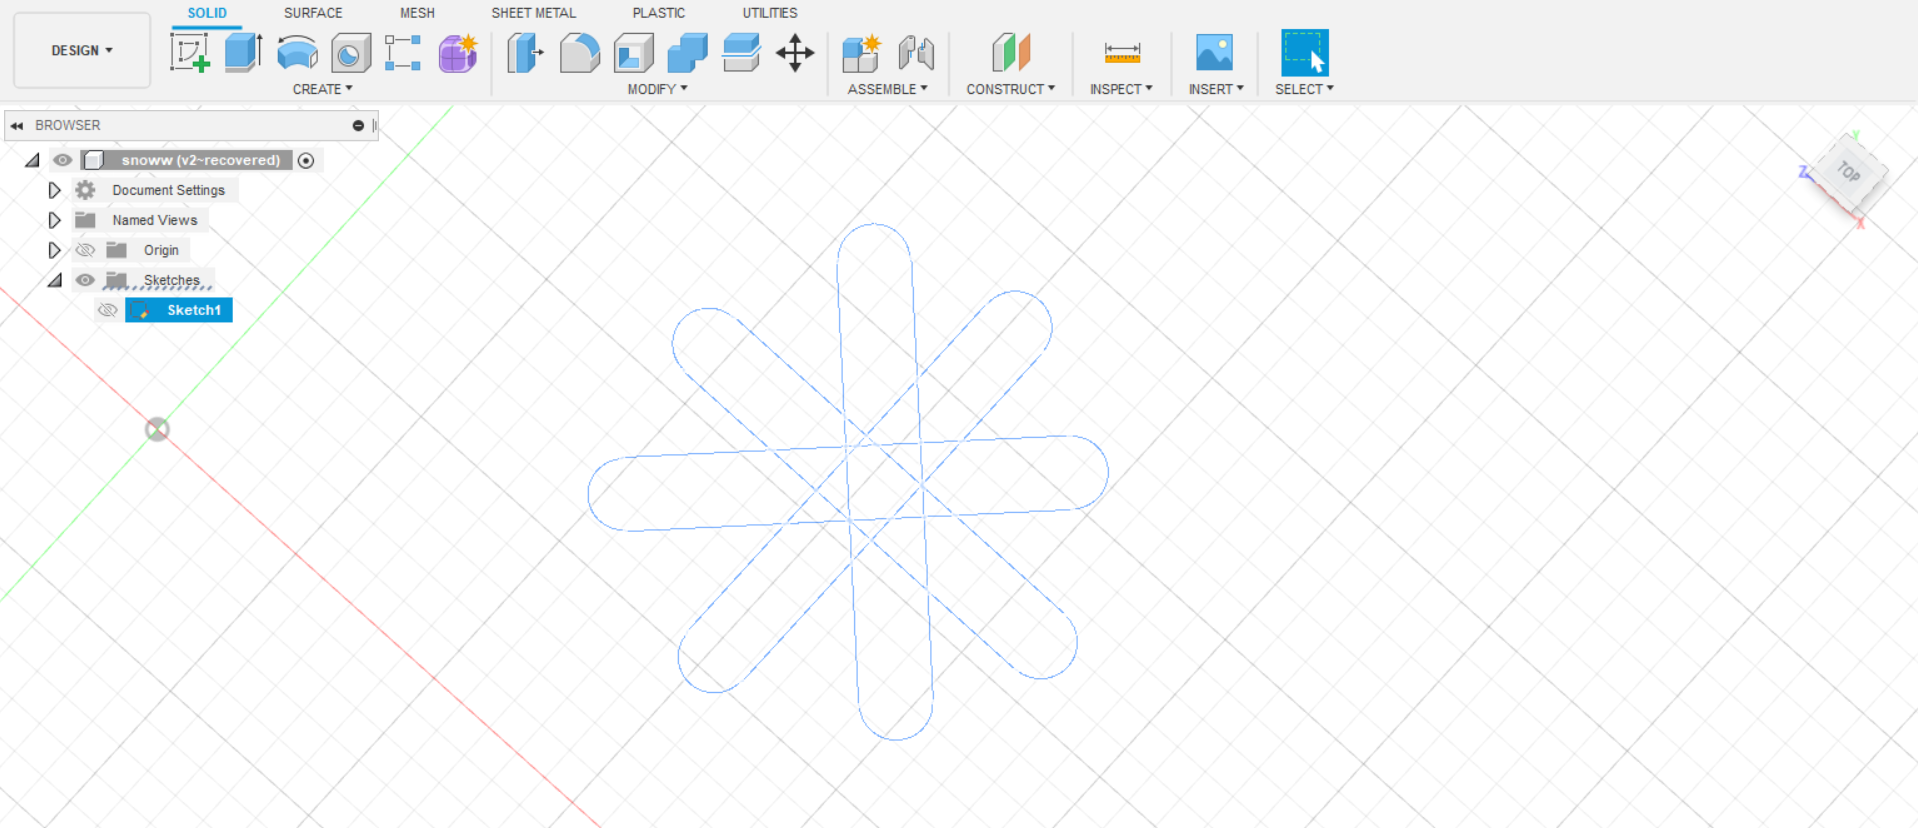
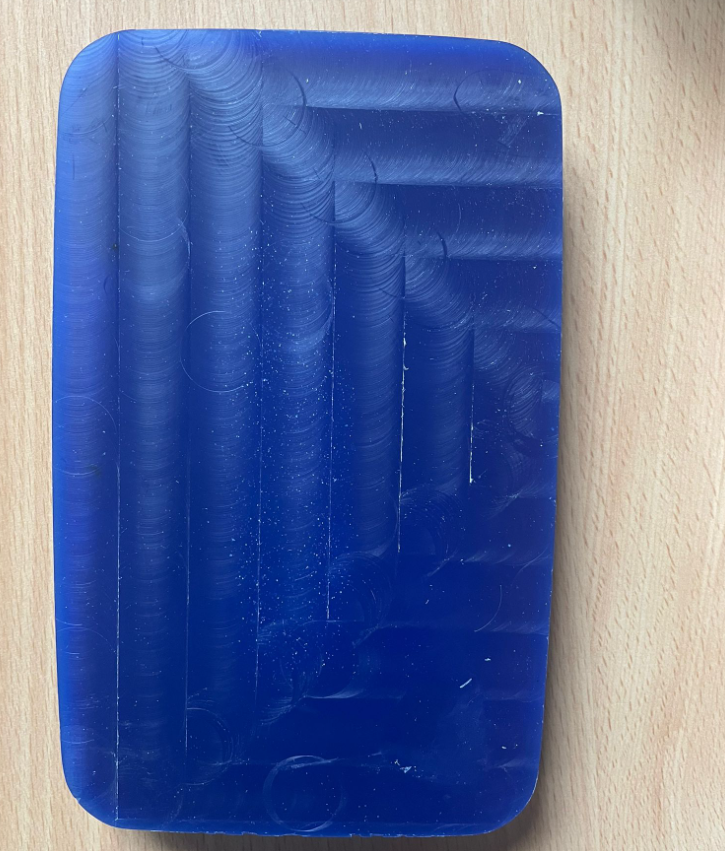
My idea is to design a snowflake l as same as The image down below such that it has two layers.

I started with a sketch for the first layer of my snowflake
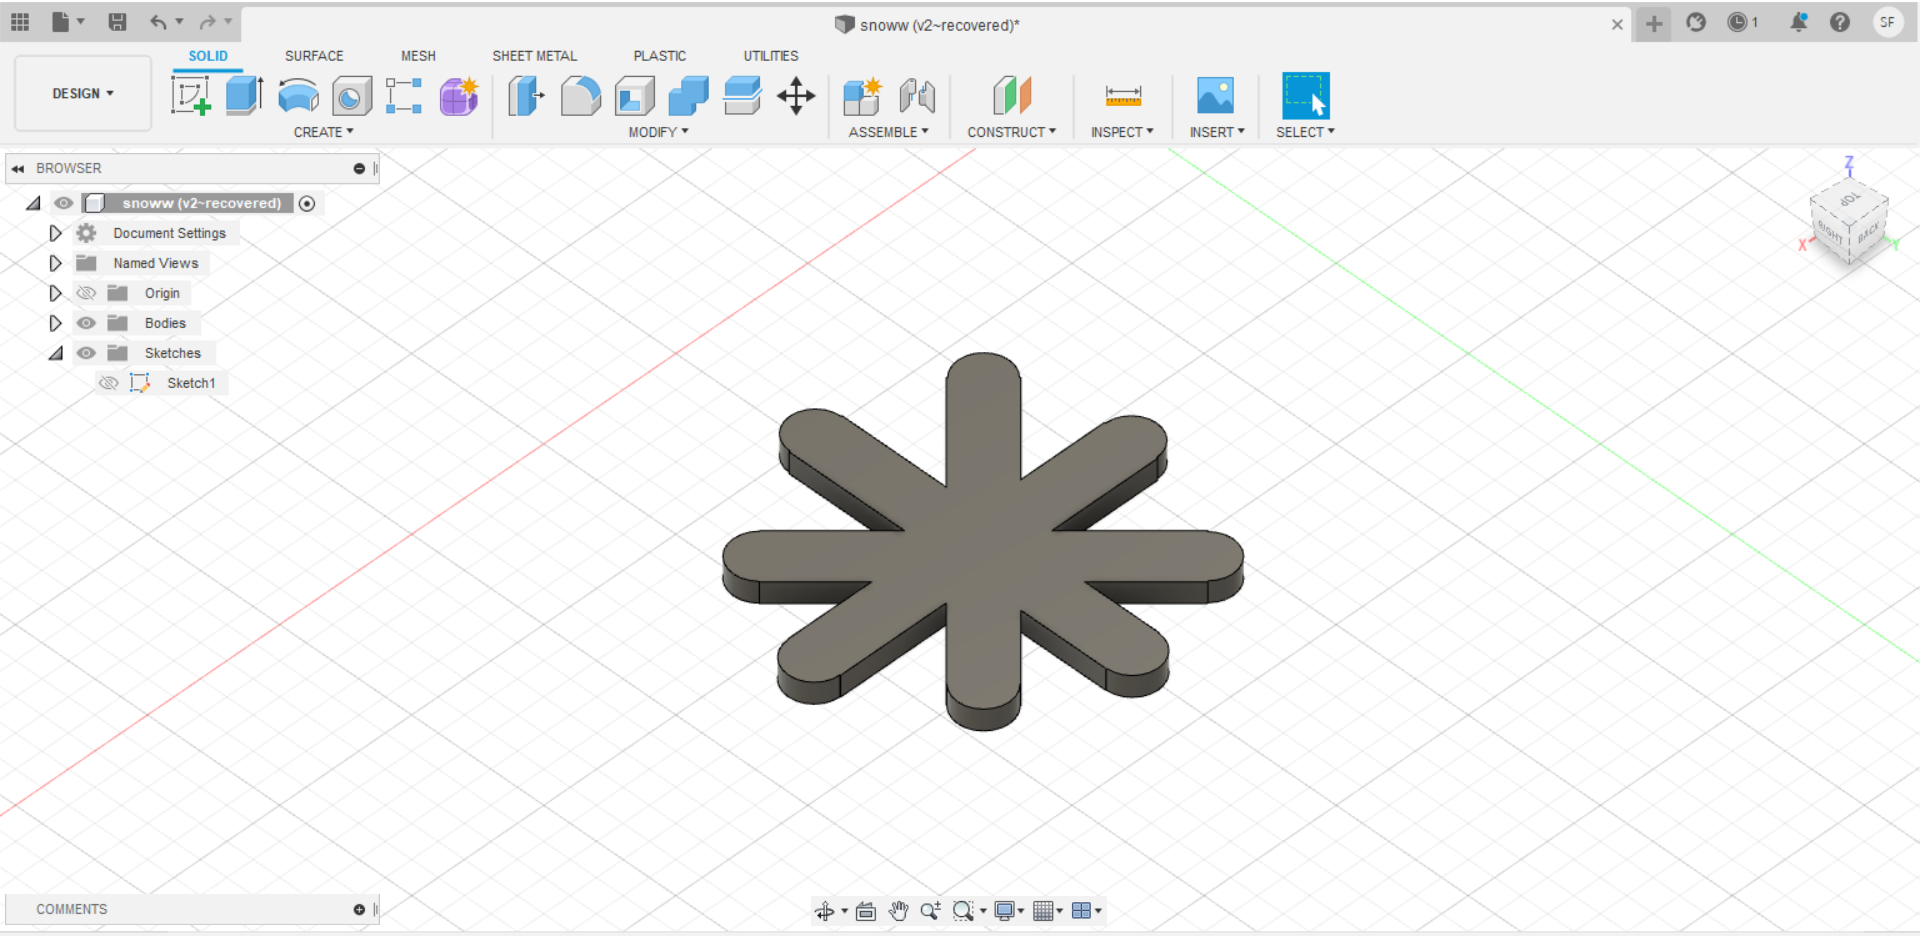
After that, I extrude it by 4mm.
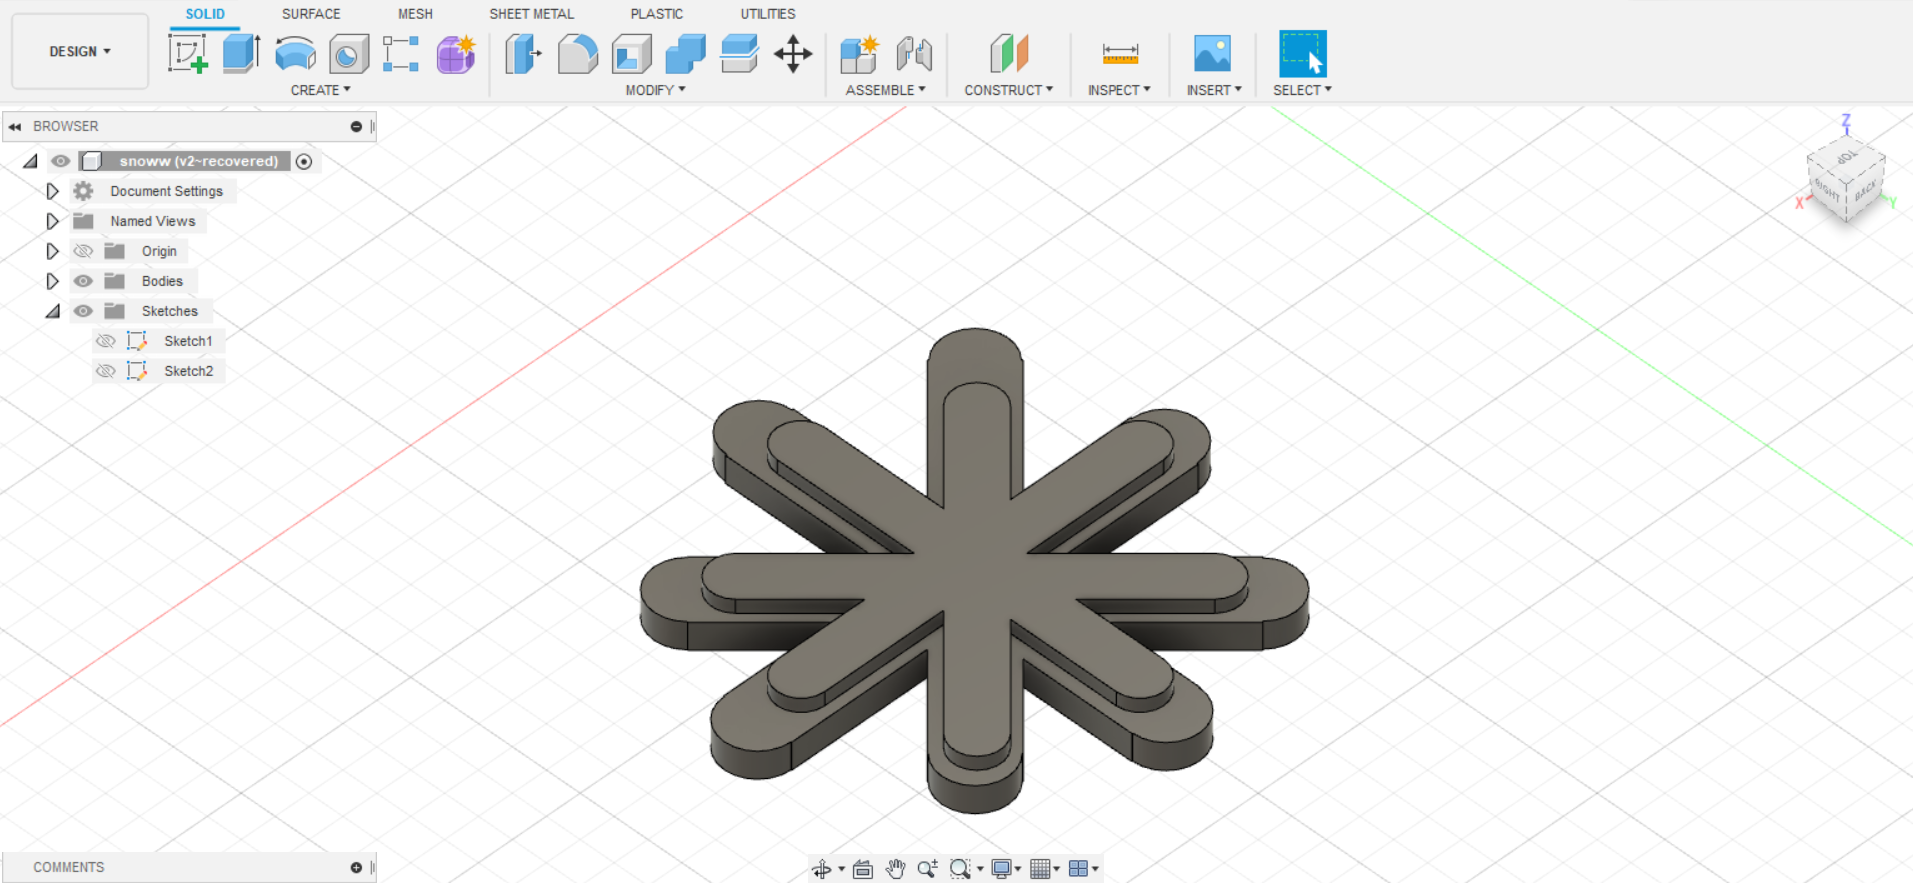
Then, I draw the second sketch on top of the first layer.

After that, I extrude it but by 2mm this time.
-Click here to download the snowflake design -Click here to download the fusion360 file
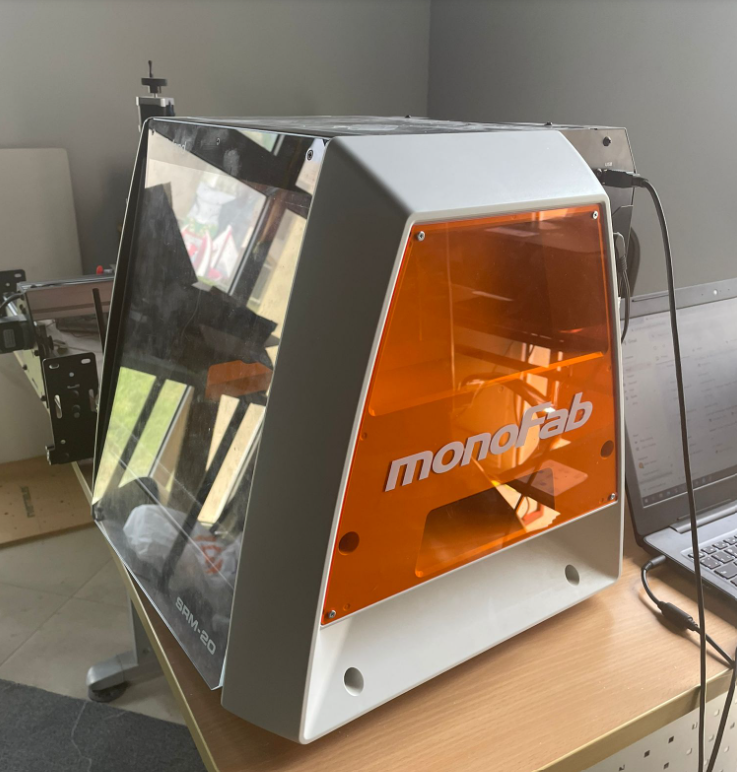
CNC milling machine
The fusion360 design was transmitted to the CNC milling machine in an STL format so that it could be etched in a wax block that would then be used to create the mold and the cast.
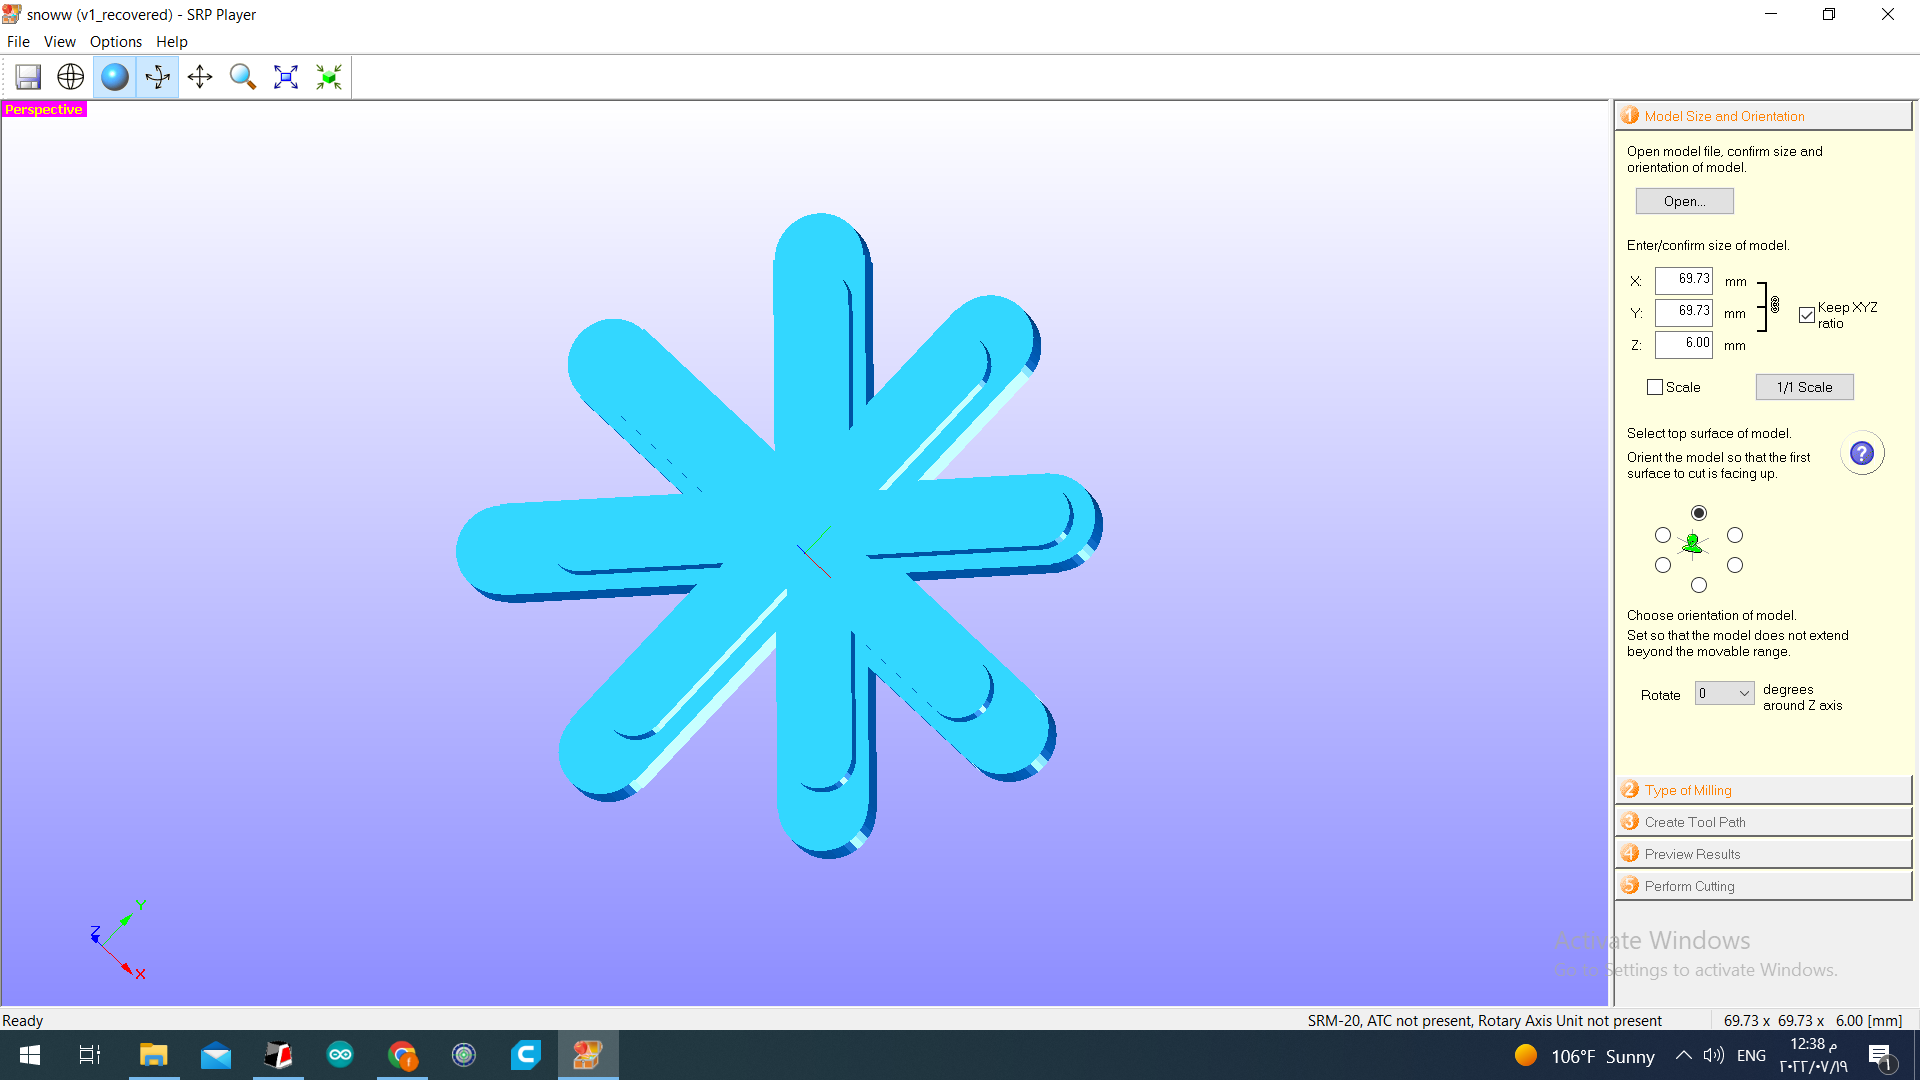
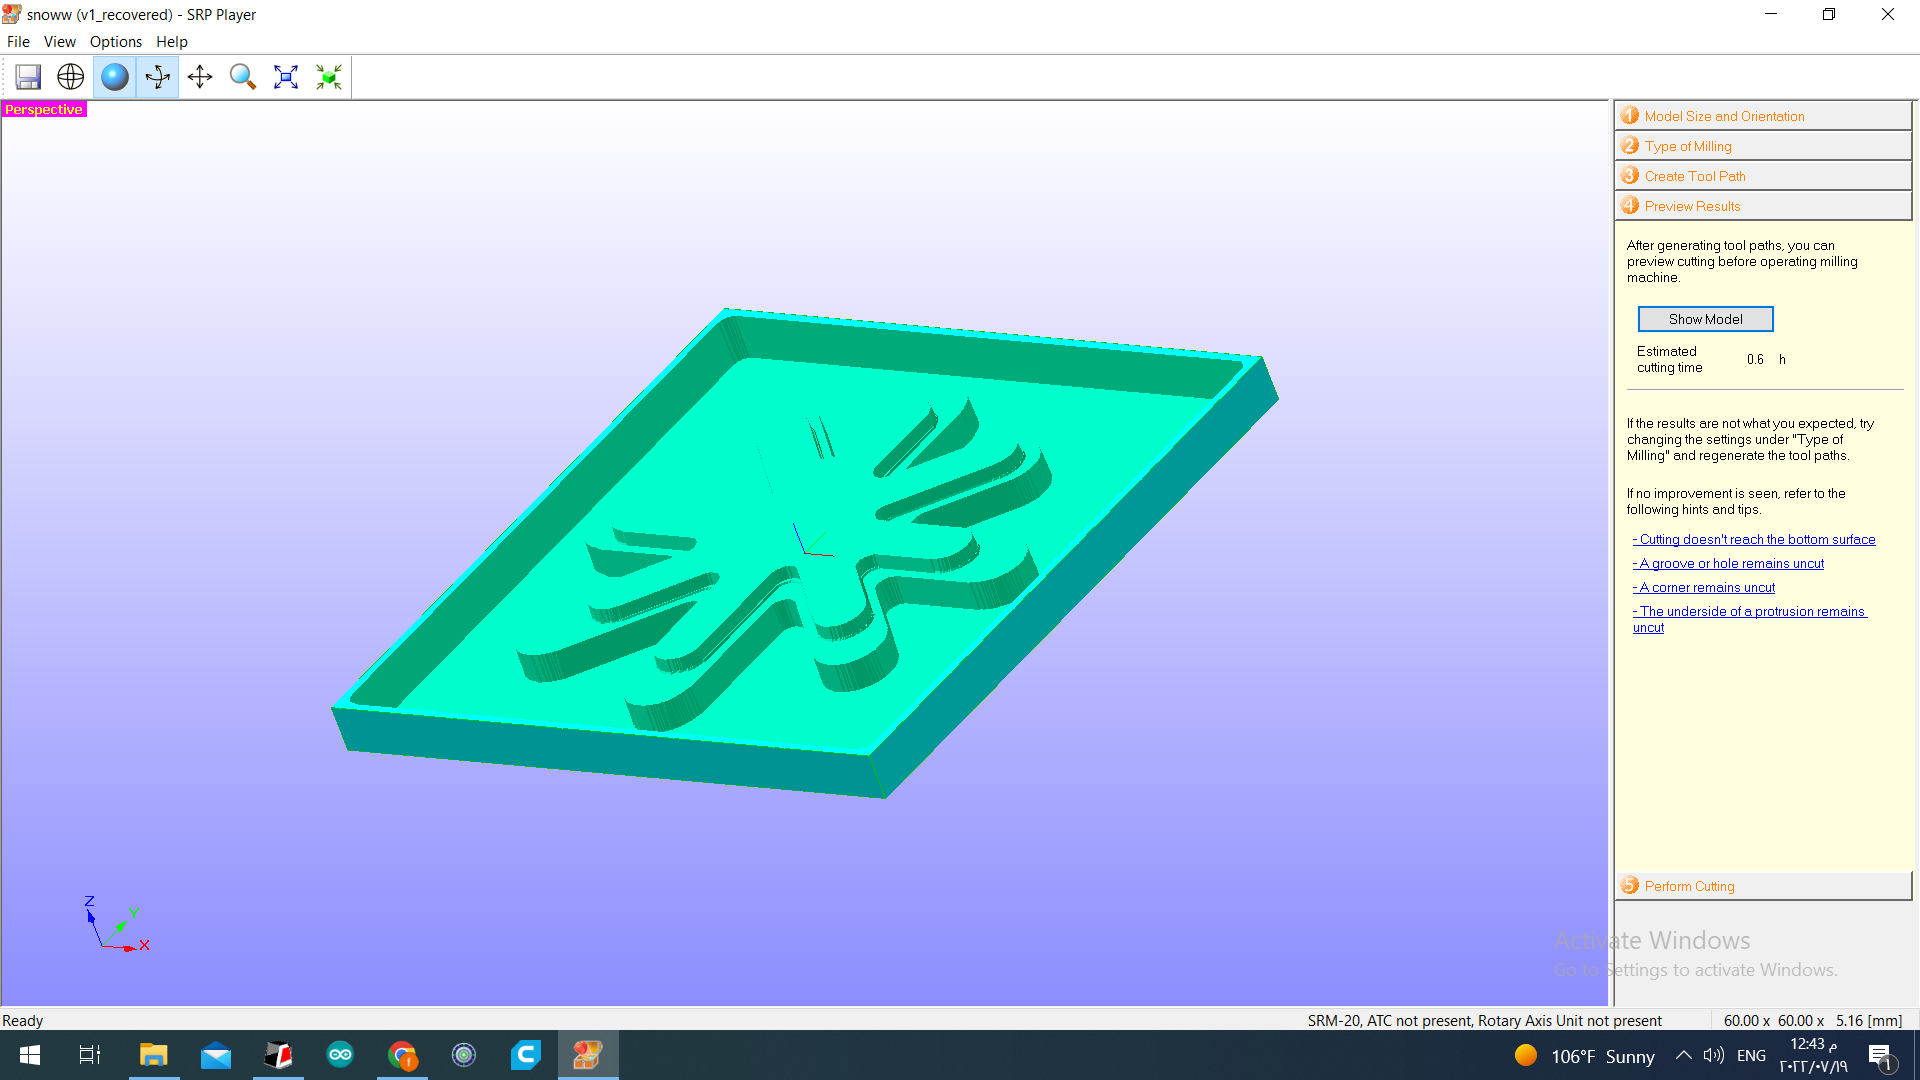
After uploading the design, the first step is to edit and enter the model size.
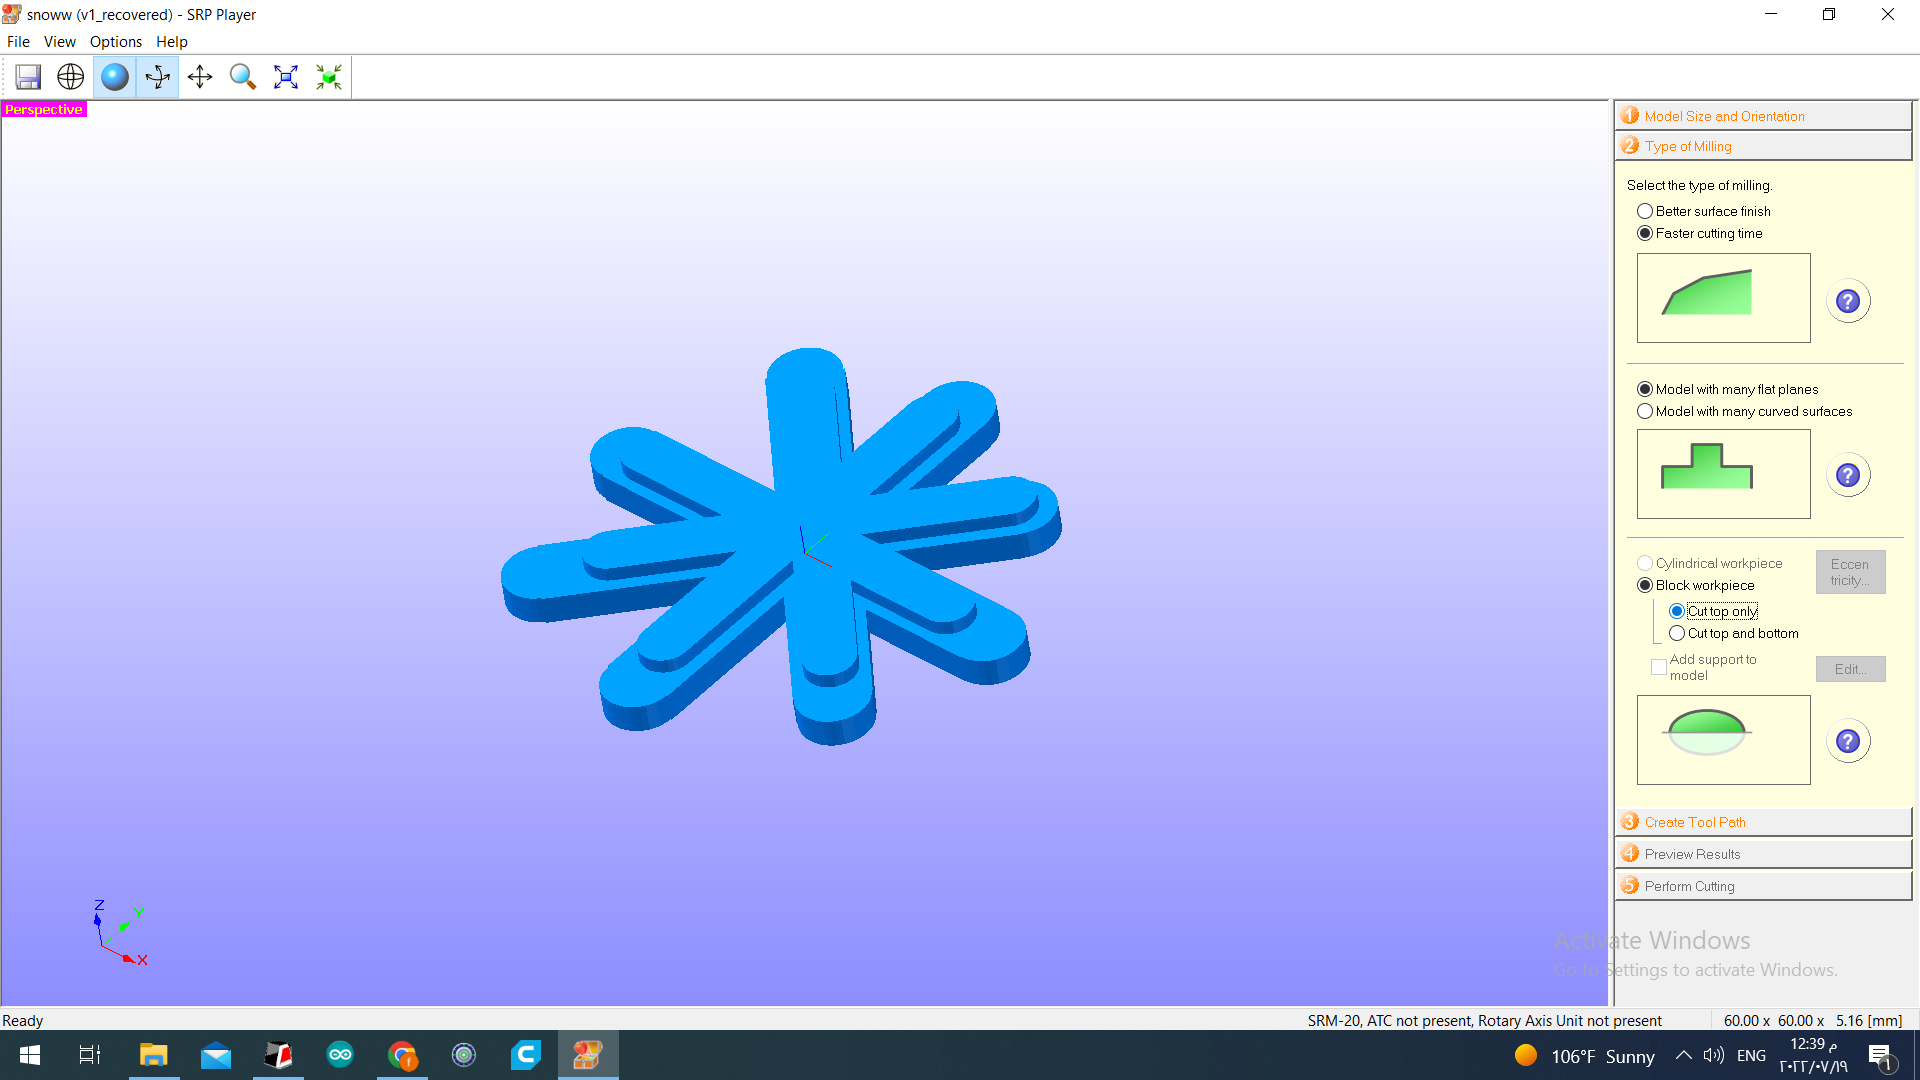
In step 2, we should specify the type of milling which the first thing to choose is between less time or batter quality. In my case, there are not lots of details in my design so I choose less time. The second option is to choose based on your design if it is containing any curve or just a flat surface. And the last one is that you want to cut the top only or top and bottom.
Next, The wax board’s size will be set in the Create Tool Path sector. A wax board should have a size that is greater than or equal to the design dimensions.
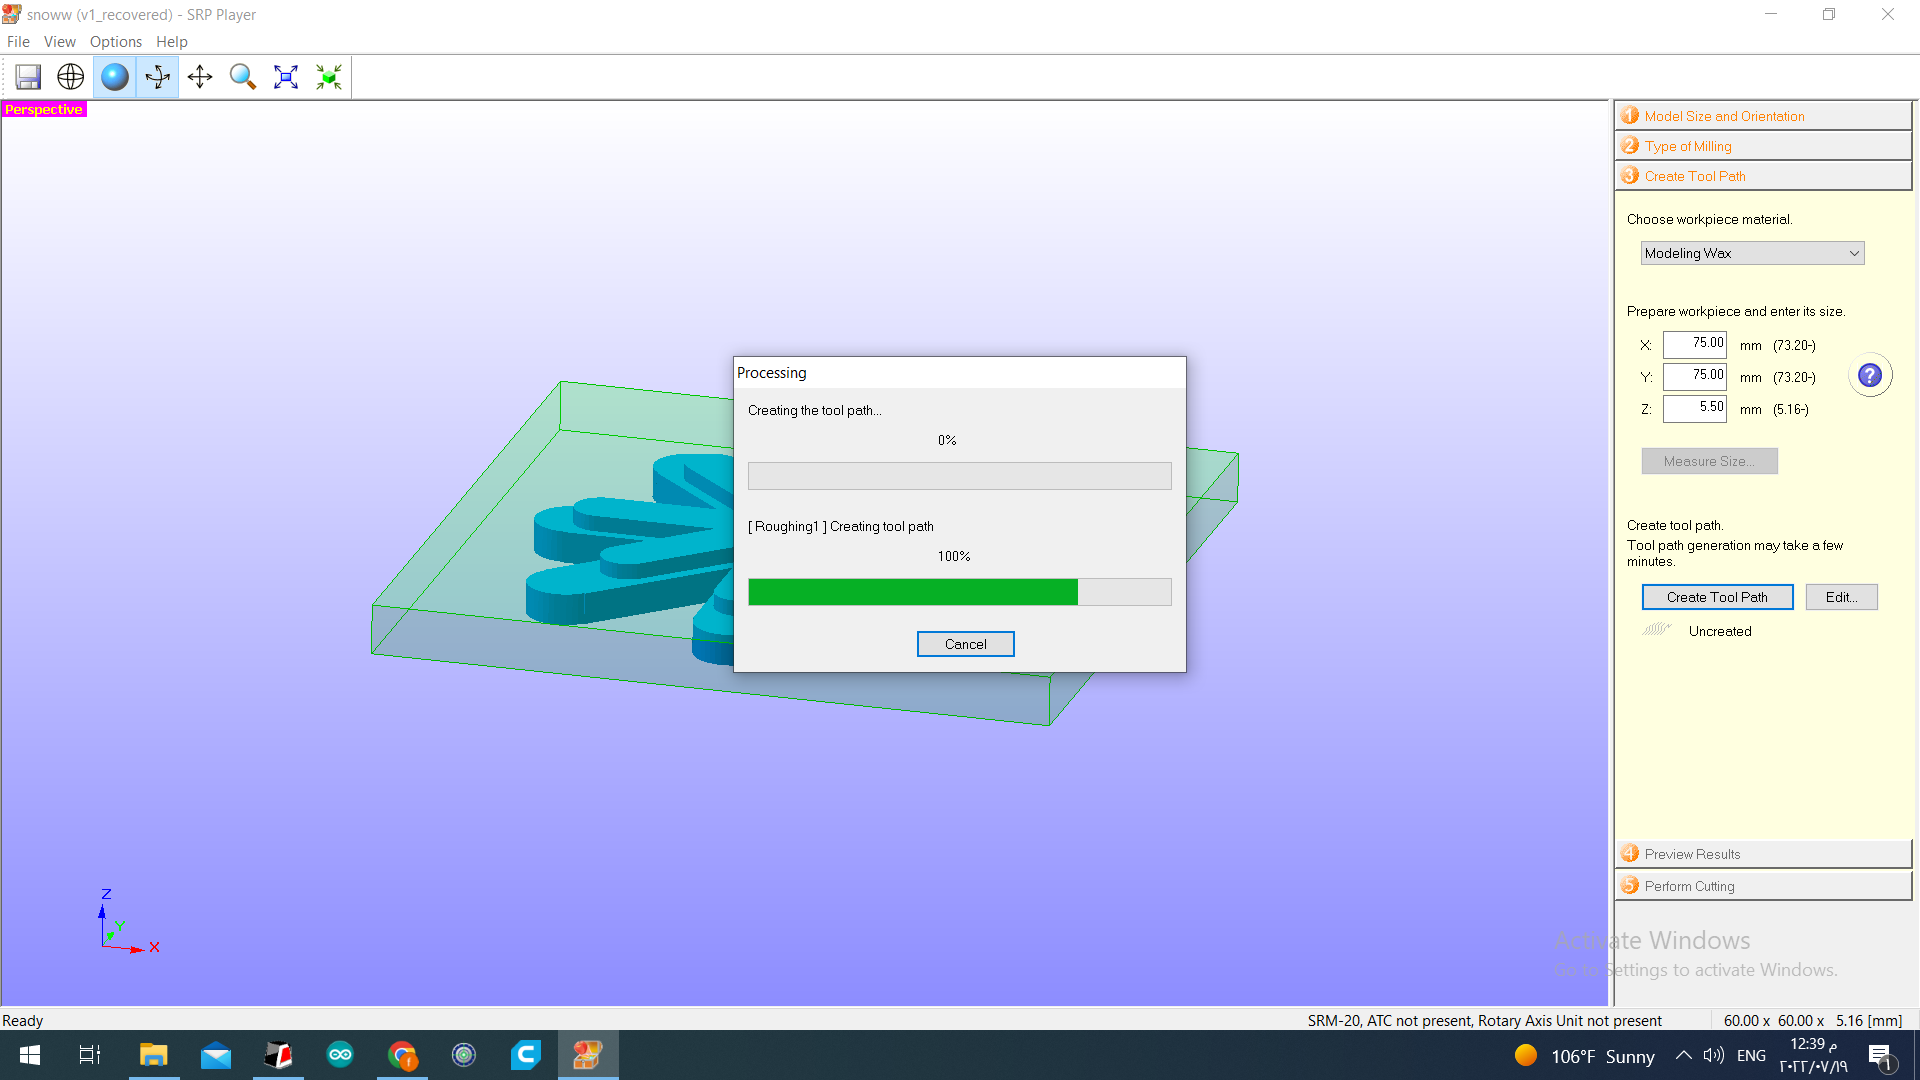
After that, we should create the toolpath

Here is the final result that will appear and the time it will take to finish
Molding
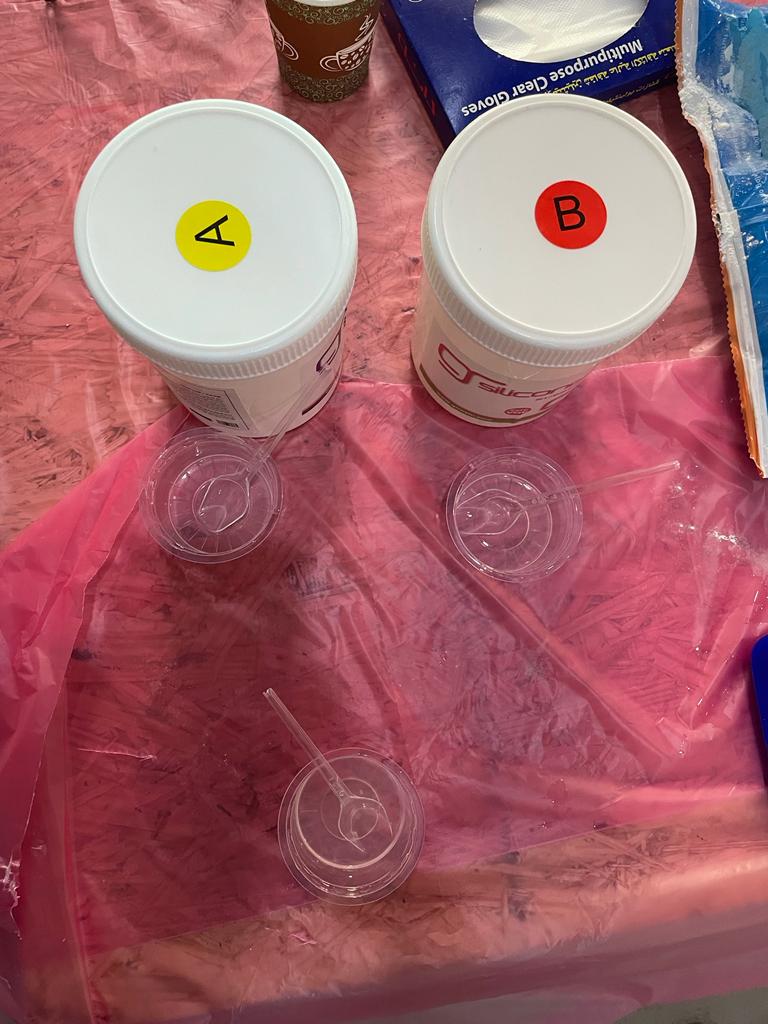
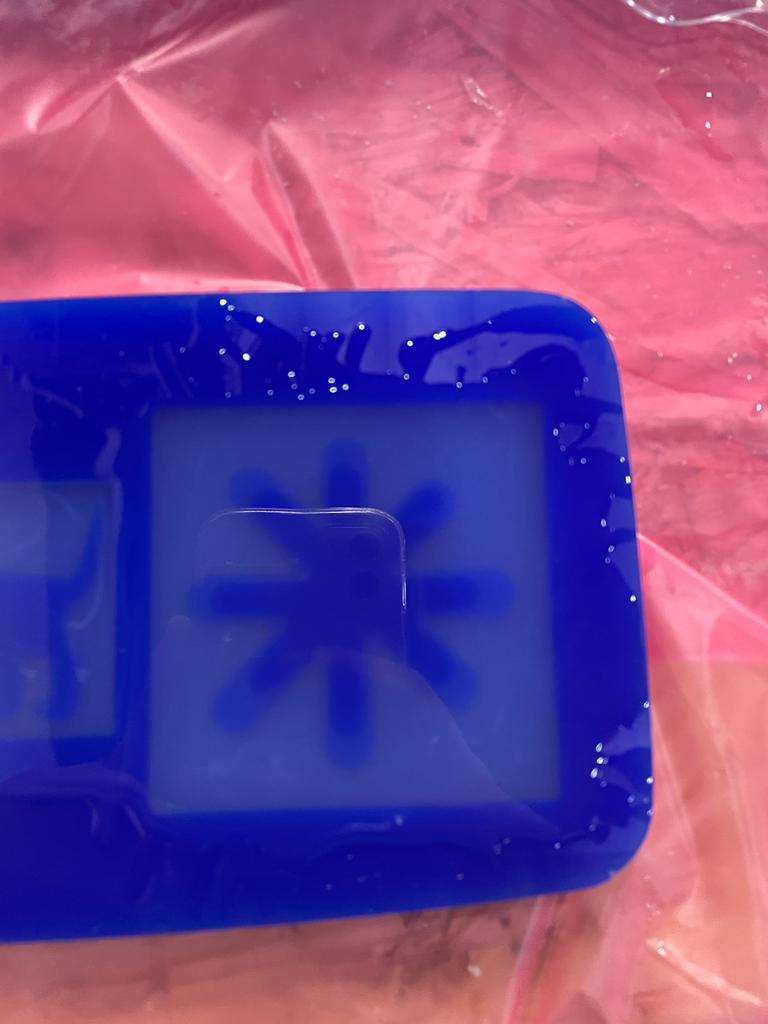
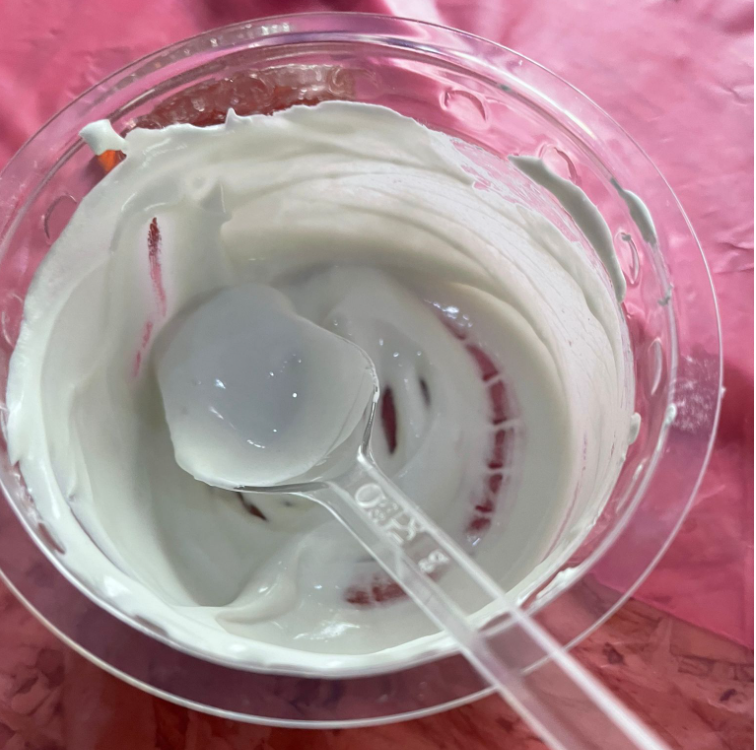
The first thing we did was pour water into the positive wax mold to measure the amount of silicon we need to create the negative silicone mold. Then, we mixed material A and B together and we poured the mixture into the wax mold and left it to dry.
Casting
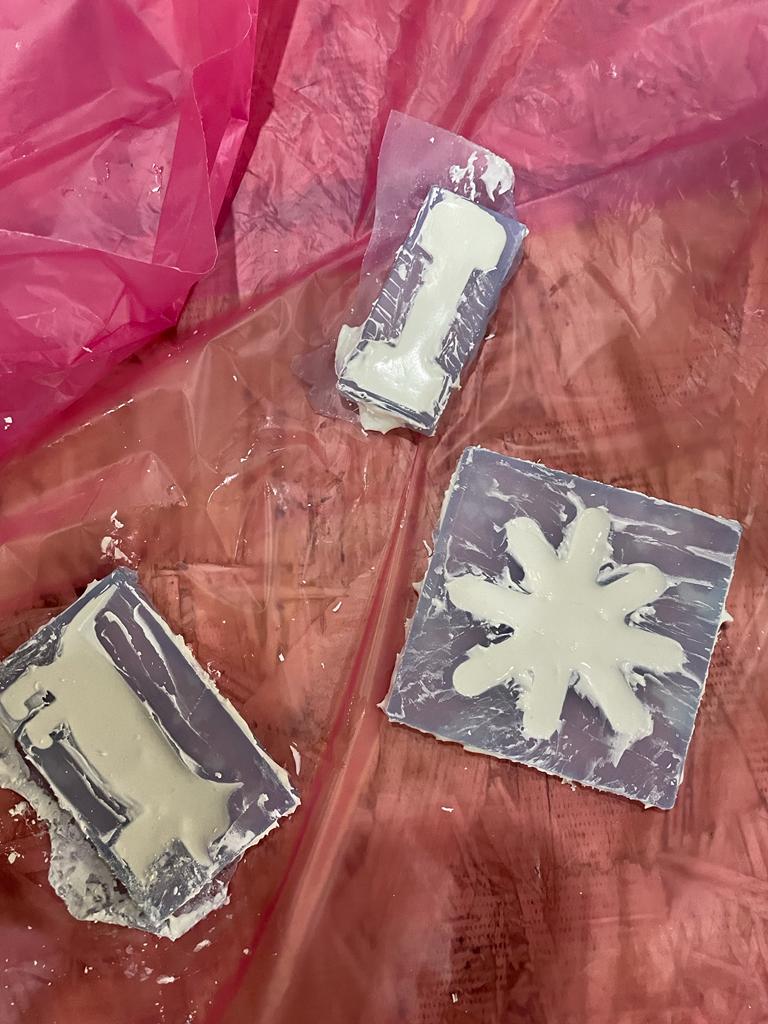
After we had the ready silicon we prepared our dry petty mixture, mixed it for 5 minutes, and poured it into the negative silicon mold.
Here is how it looks after putting the dry petty
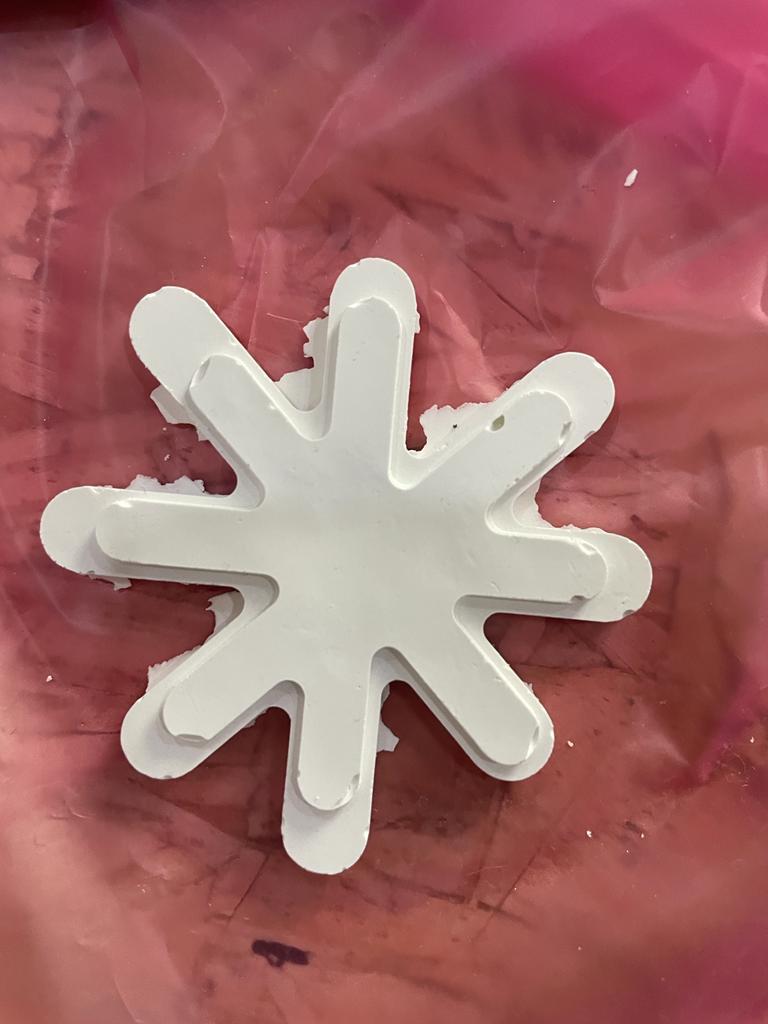
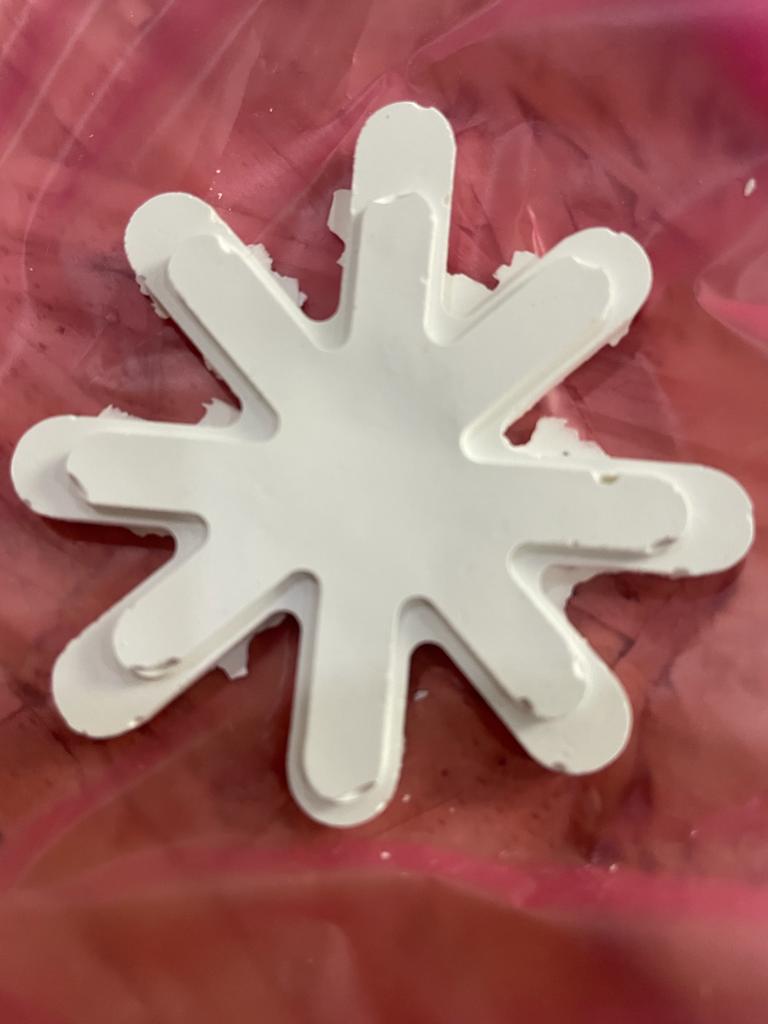
Hero shots
- My opinion
This week was very easy and straightforward, but it took a lot of time since each step takes time and we can not do two steps on the same day.