5. 3D printing and scanning
We started week 4 by taking a brief introduction to 3D printers and how they work. Then, we started work on the group assignment.
Group assignment
In the lab we have three types of 3D printers, so the group assignment for this week is about testing the design rules of the 3D printers.
To find the details click here.
I gained knowledge by trying out several 3D printers. Different speeds and melting temperatures can significantly affect the printing process. Also, Parafilms are offered in a variety of colors, sizes, and prices, each one has its usage and the most common material is PLA.
Individual assignment
For the individual assignment we a required to design and print a 3D design that could not be easily made subtractively.
The Design
I decided to use fusion 360 for designing a stand for my phone.
I started the design by creating a sketch for the main body of the stand which I created multiple lines and connected them in a way to represent my stand.
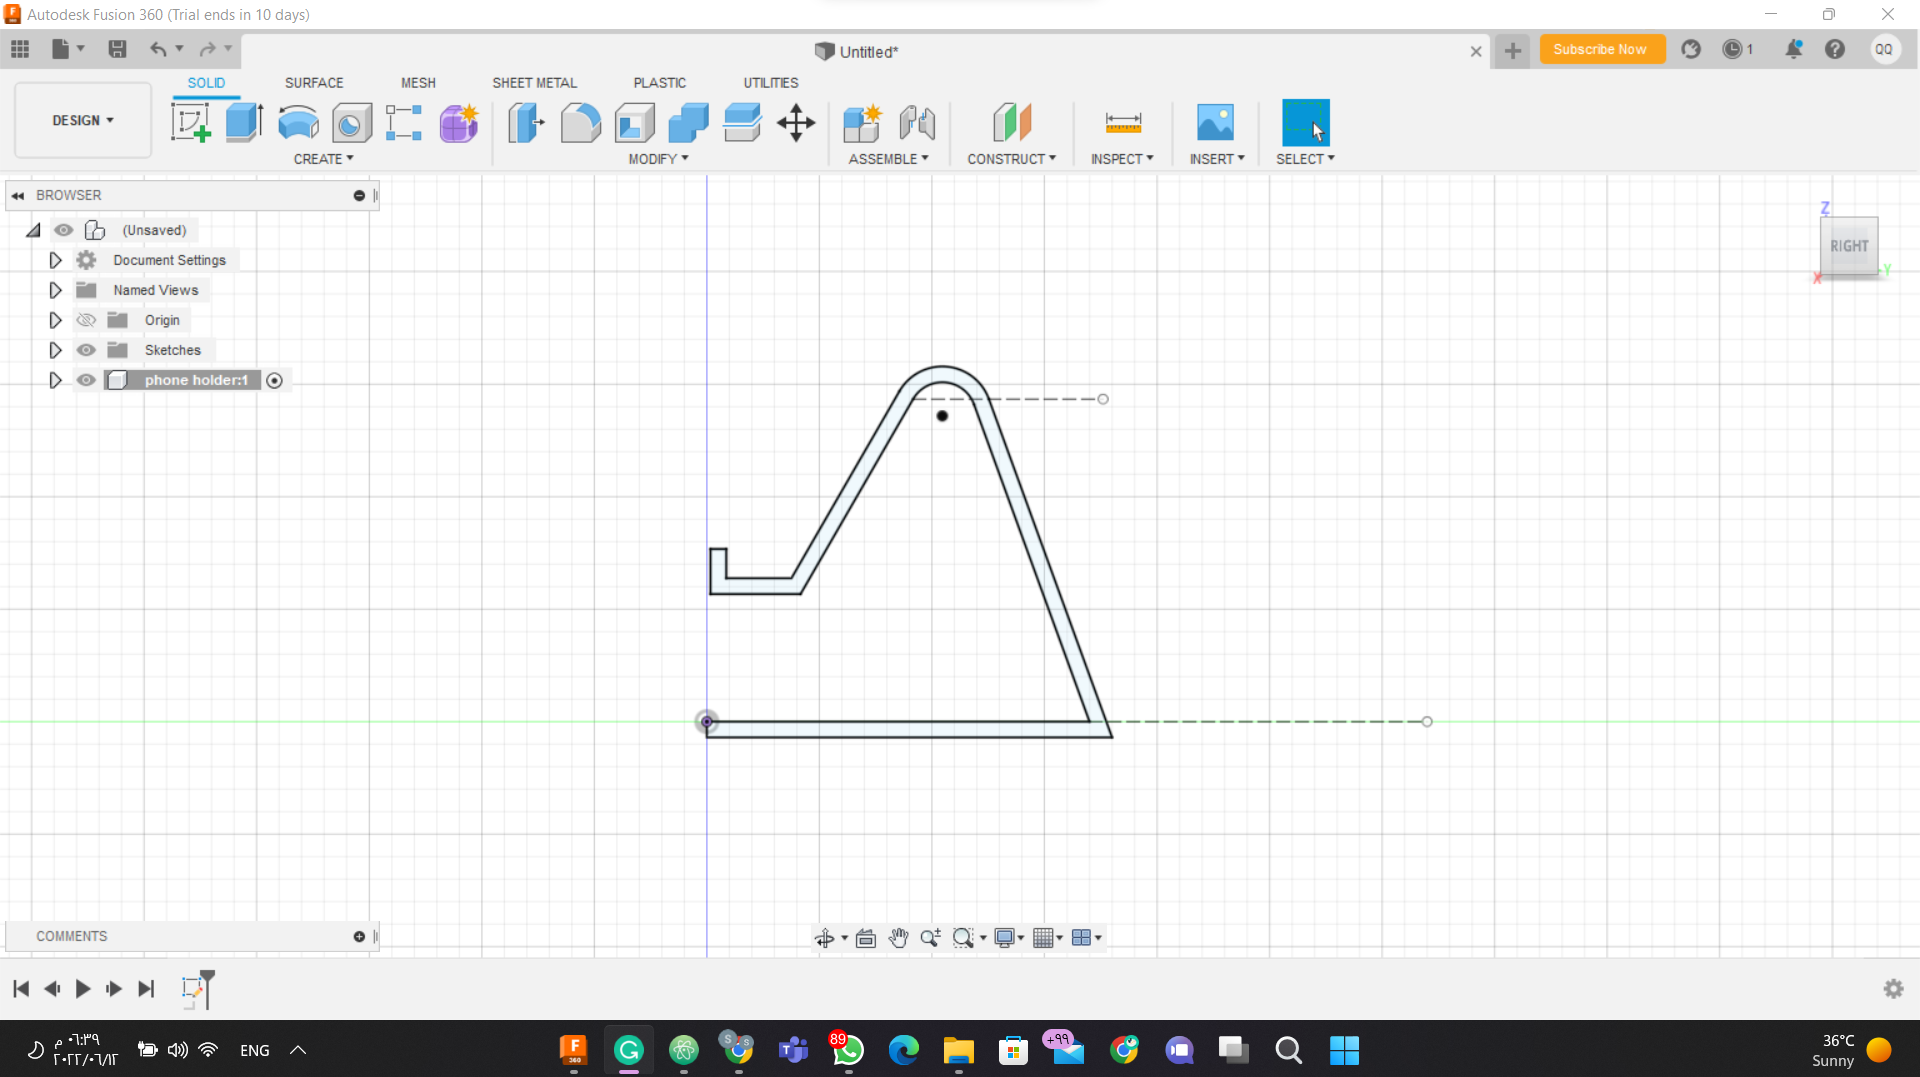
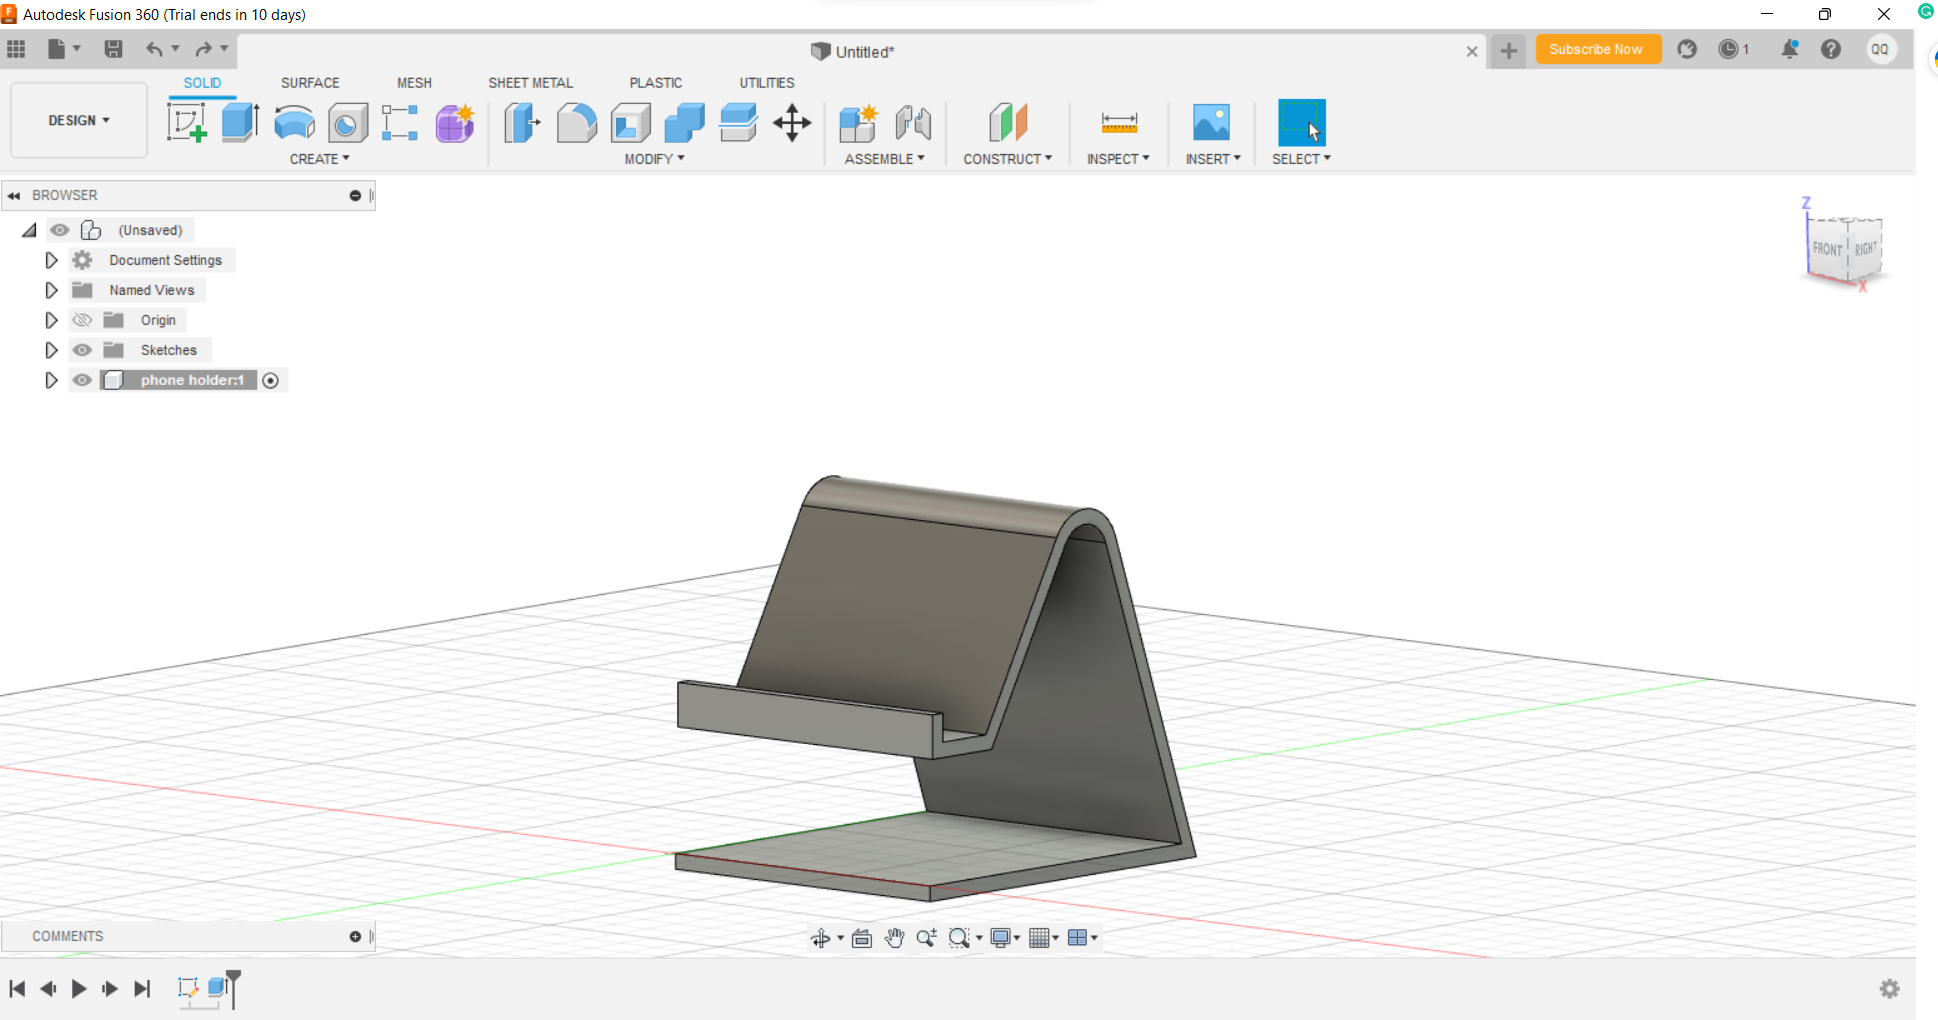
After finishing the 2D sketch, I extrude it to be as a 3D design
Then I created a hall from the back to connect a charging cable if needed. I did that by creating a slot and extruding it.
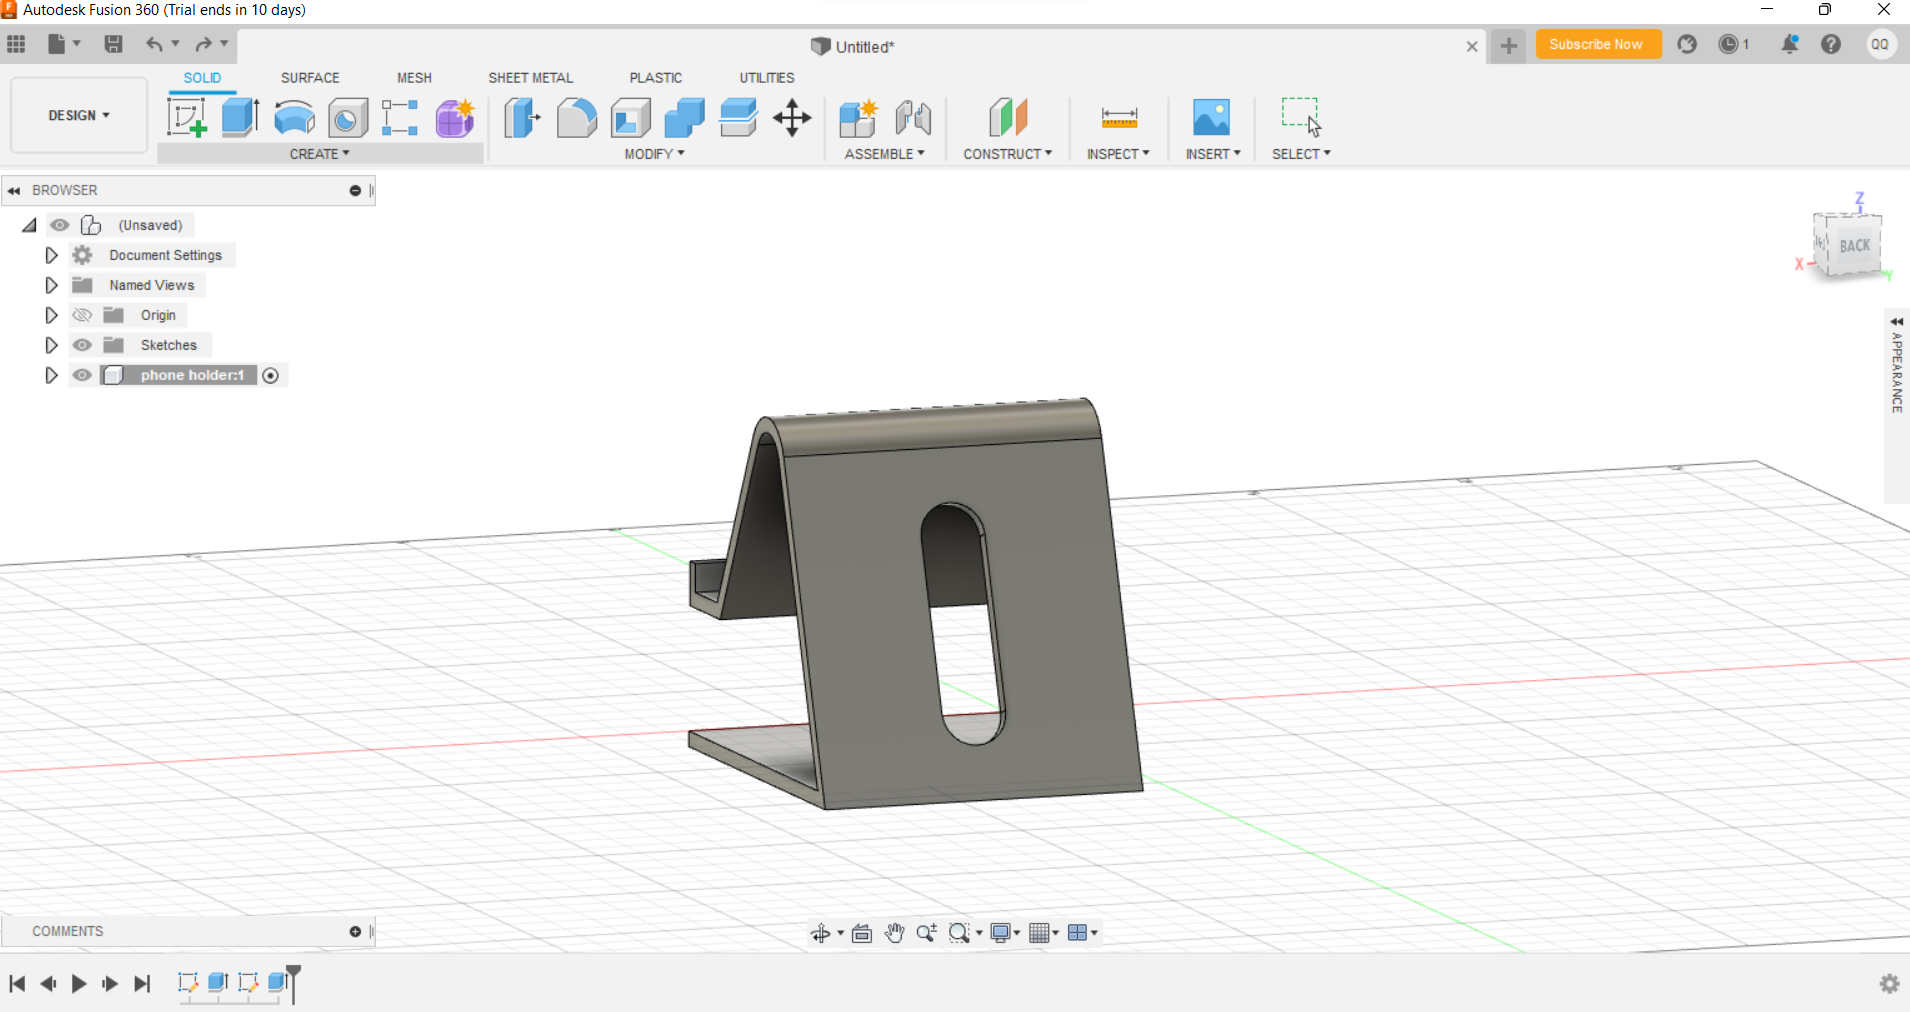
After creating the first hall on the back, I created another hall on the front so I can easily charge the phone if it is in a vertical position.
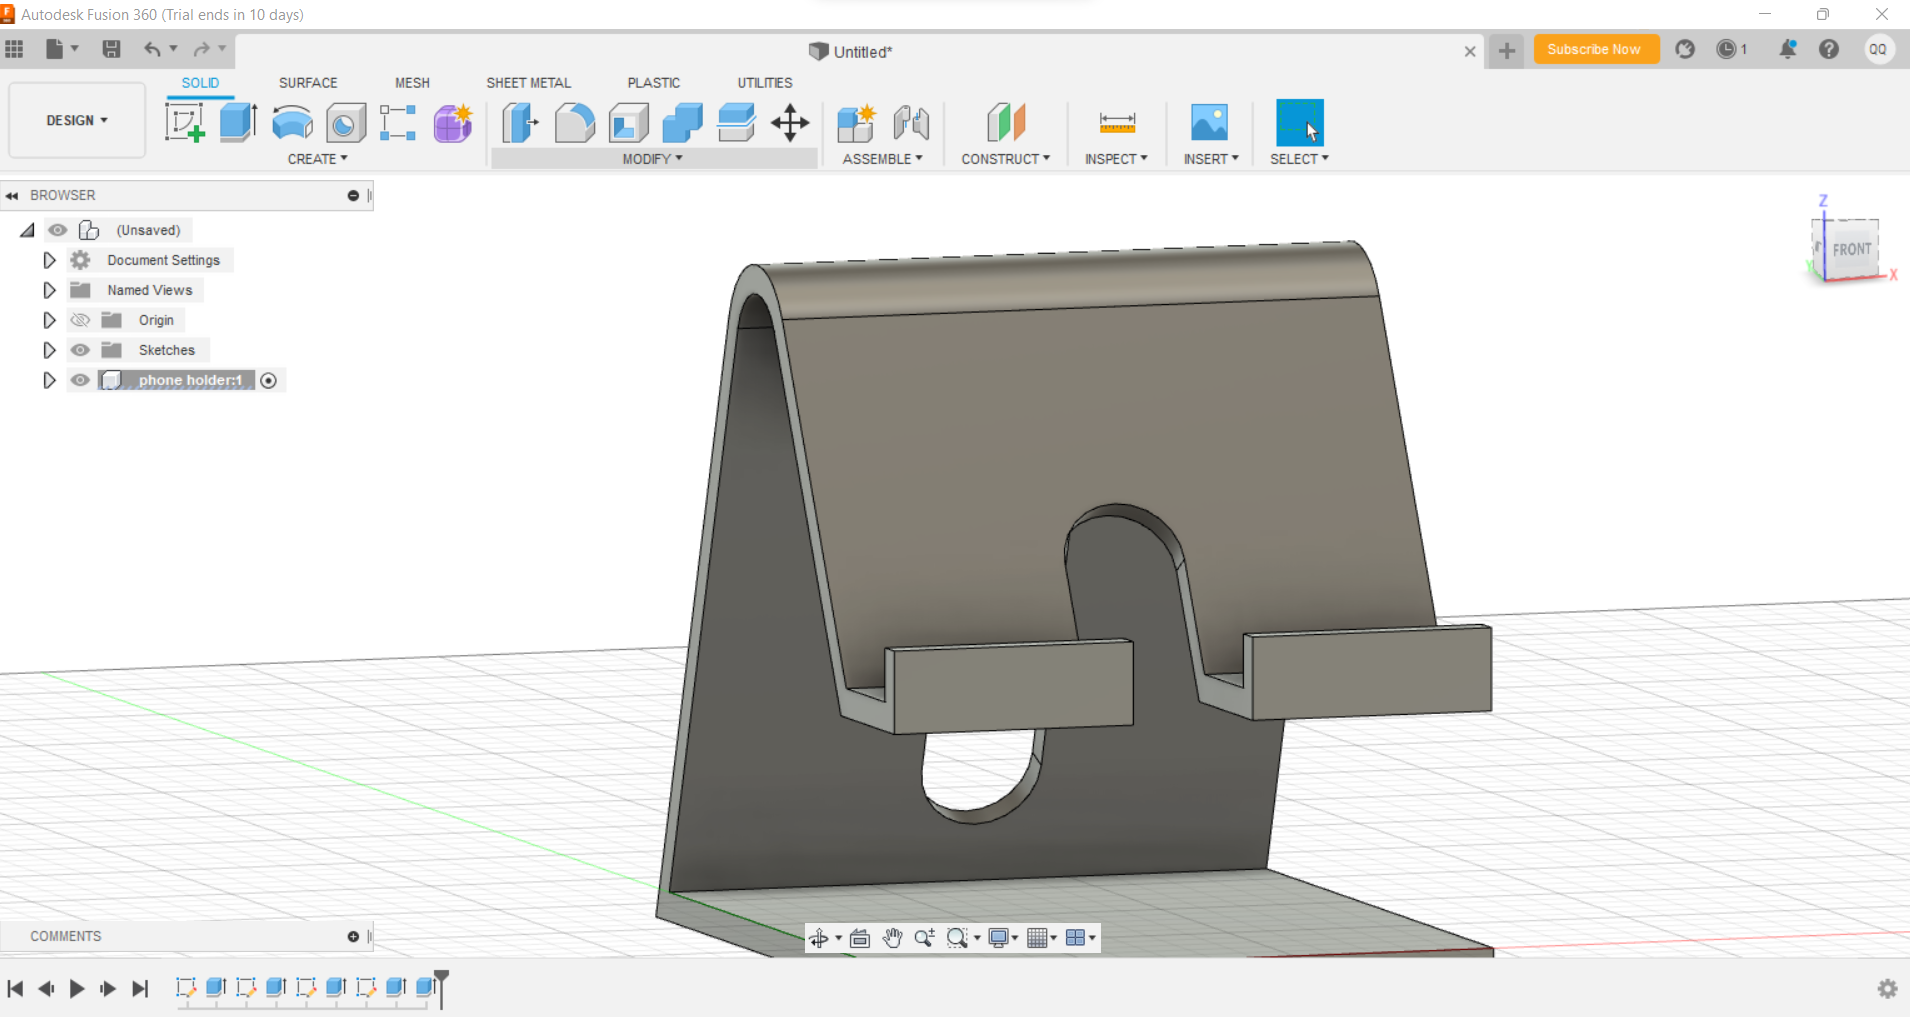
Finally, I filled the edges of the stand.
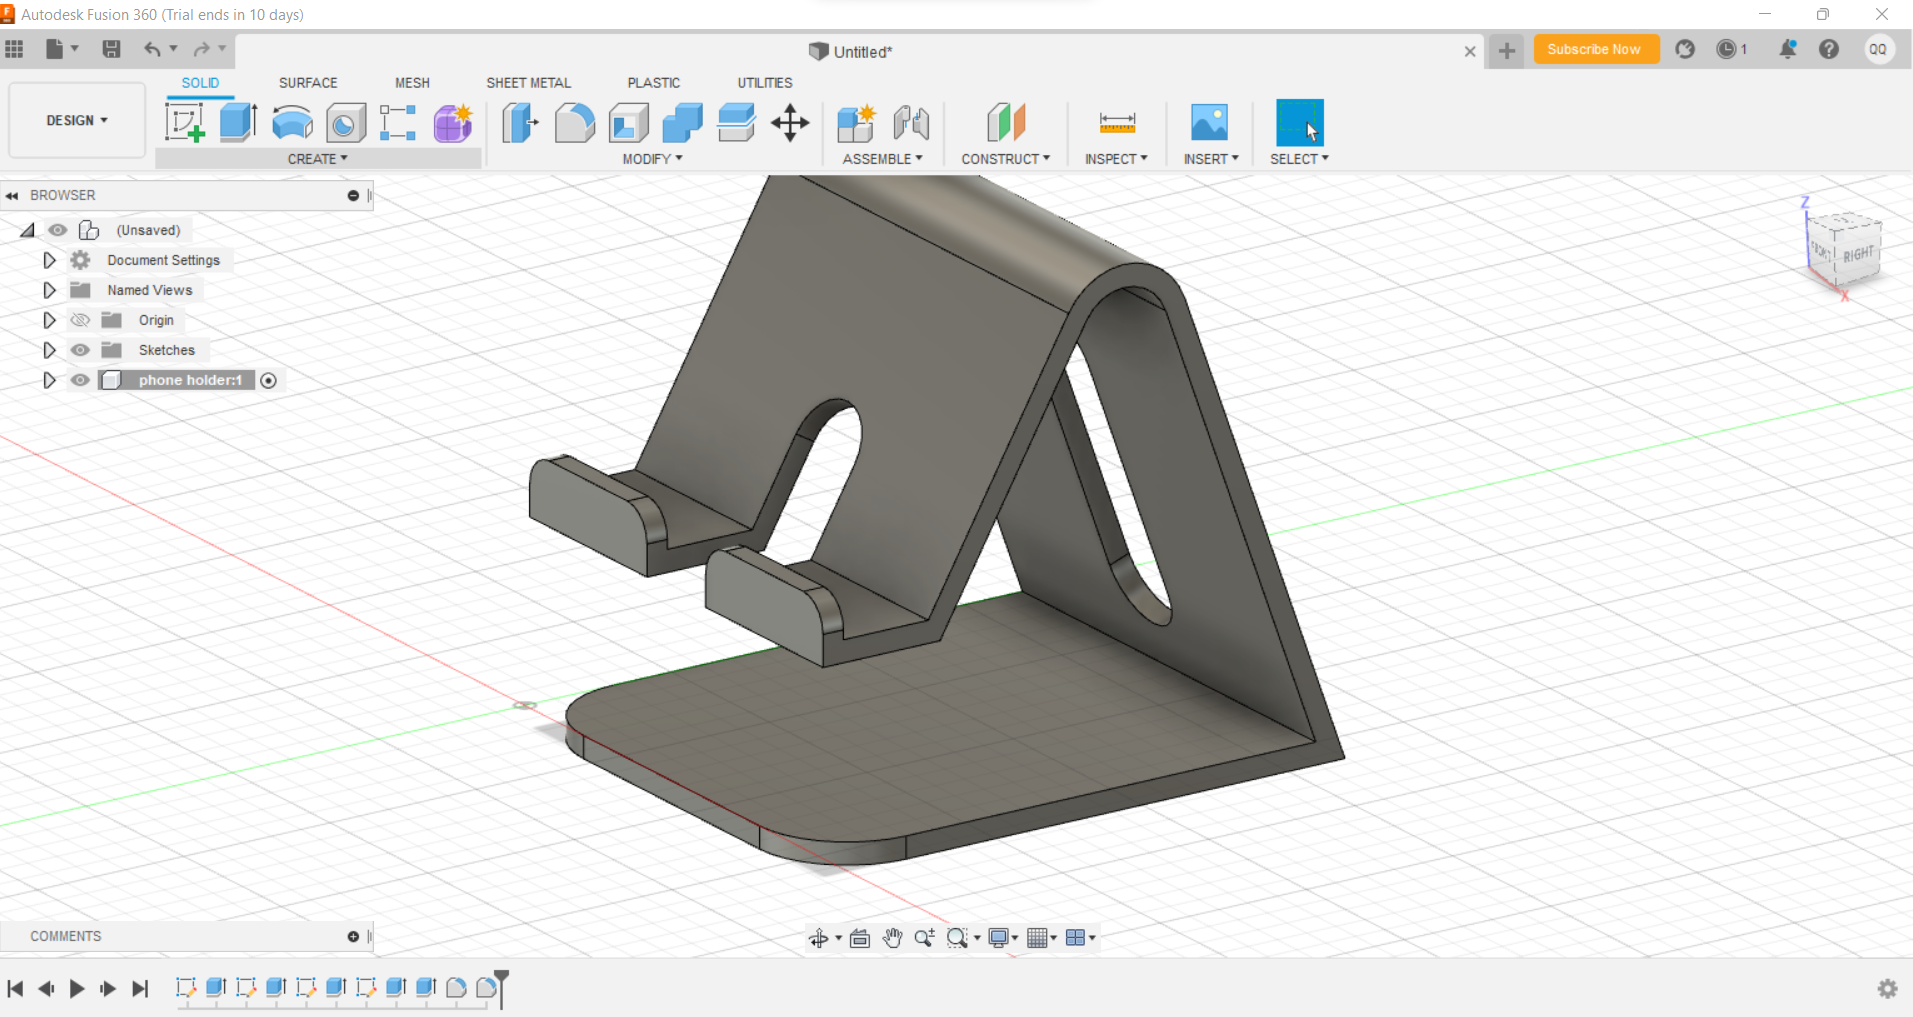
The final result:
Click here to download the design
3D printing
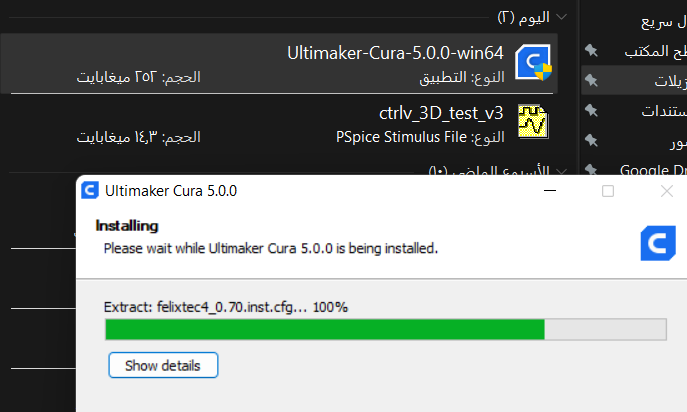
To start using the 3D printer we downloaded an app called cura click here to download. We used this app to edit the settings for the 3D printer and to convert the design to a form that the printer can understand.
then I uploaded the design and I edited the sittings

After that, we save the file and save it on an sd card and give it to the printer.

hero shots:
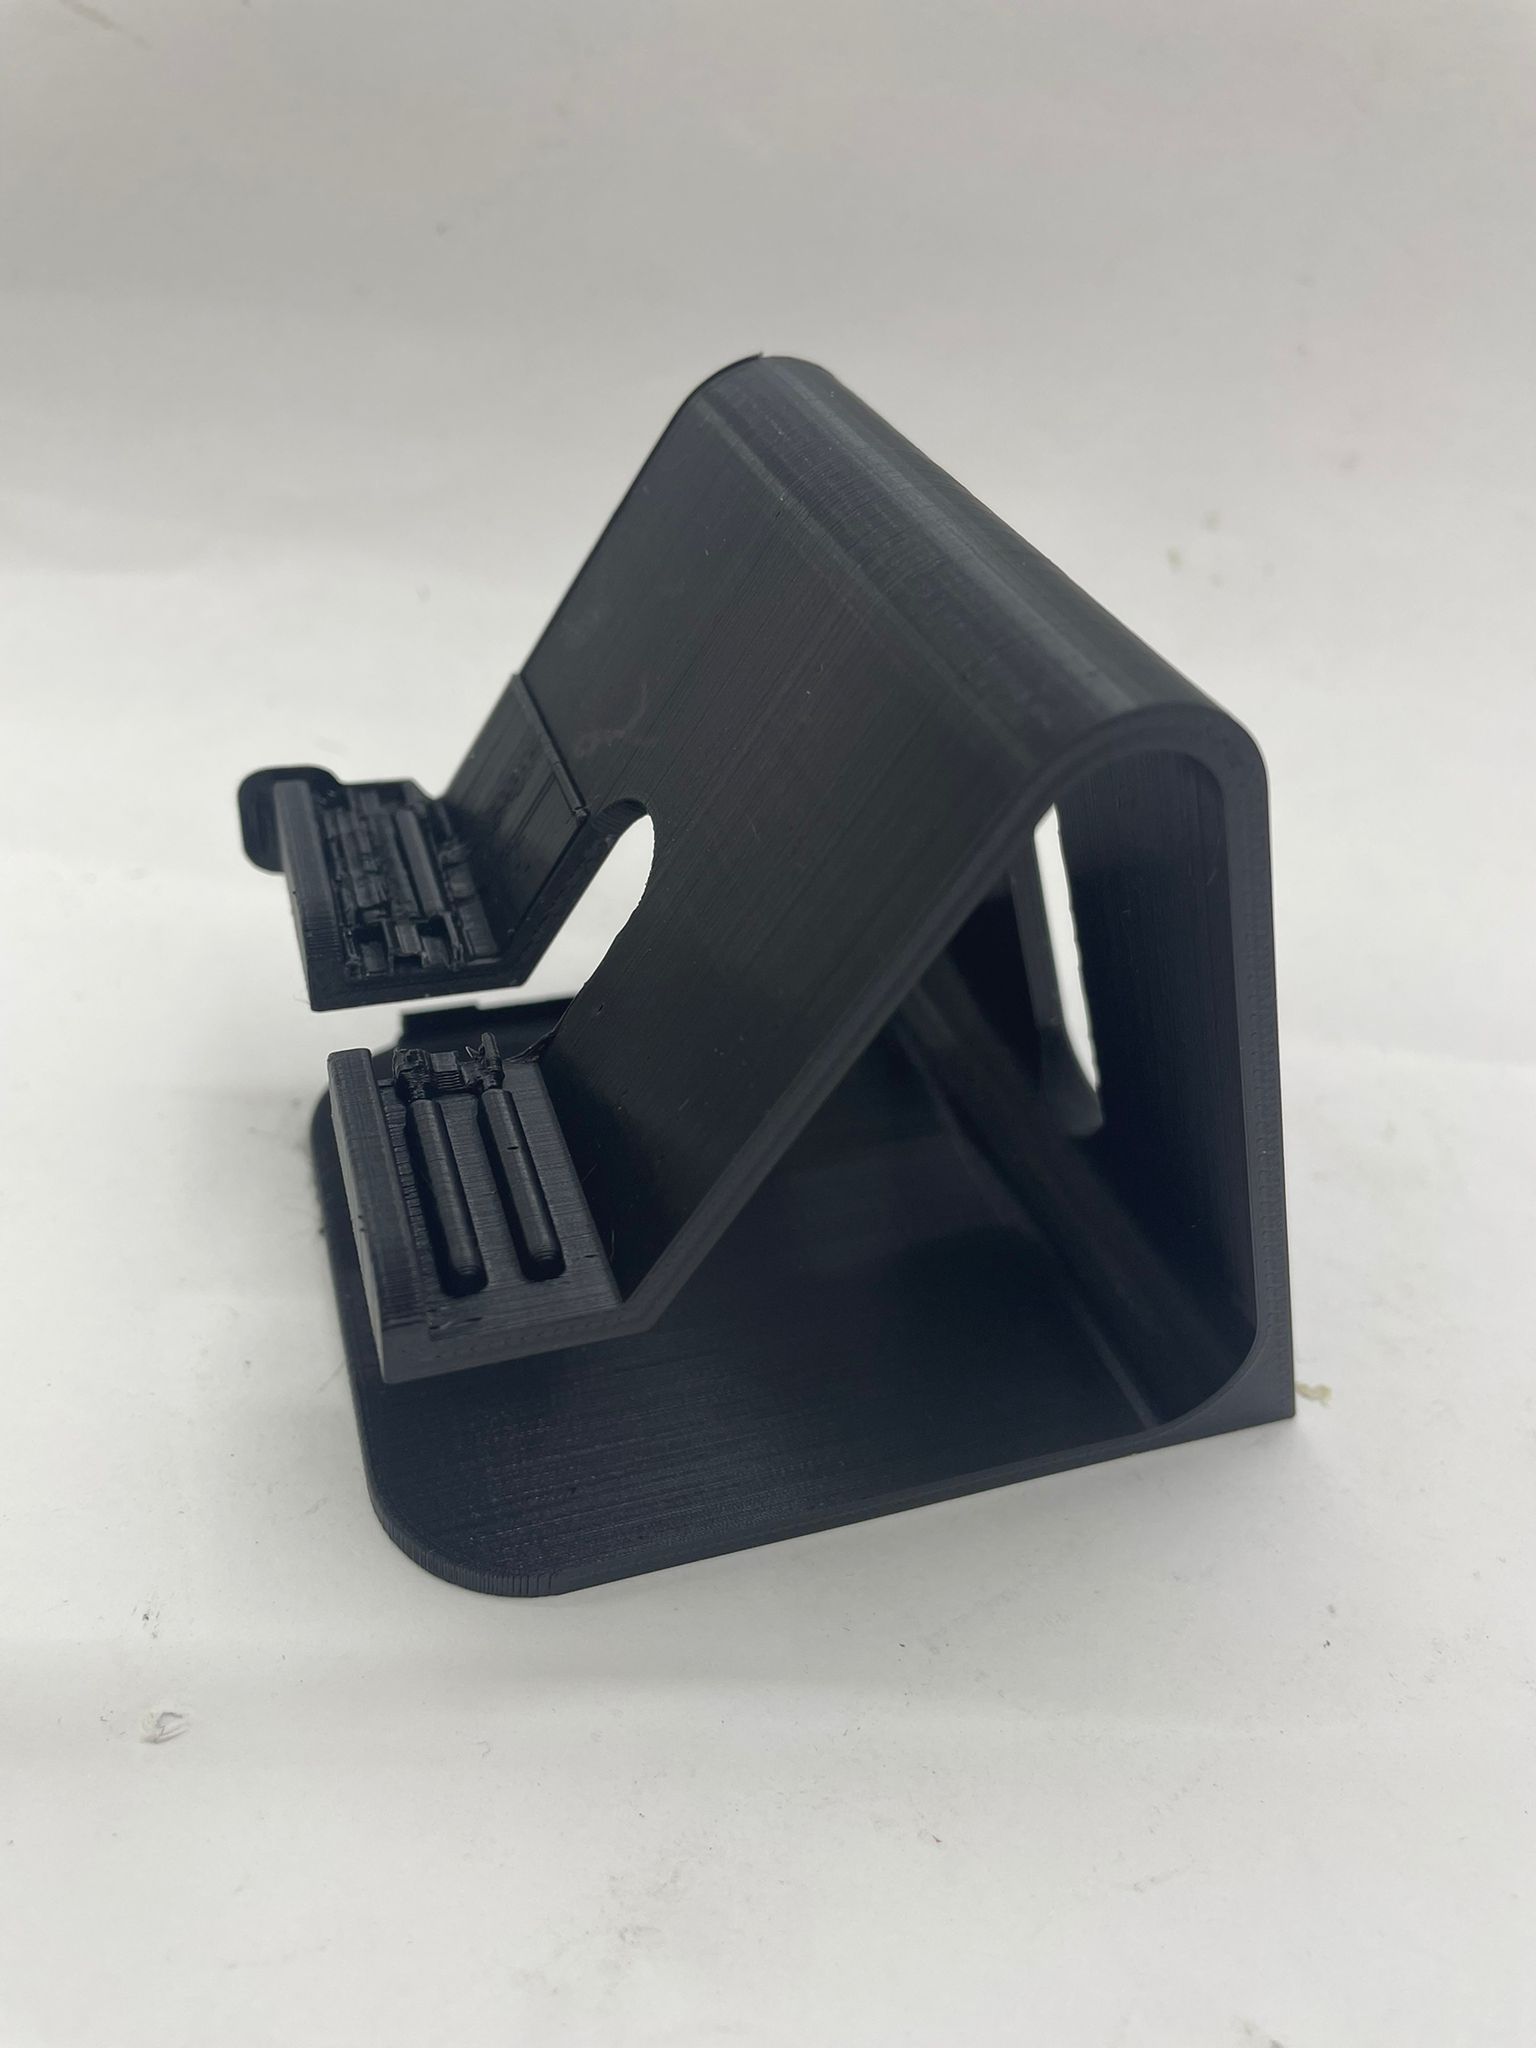
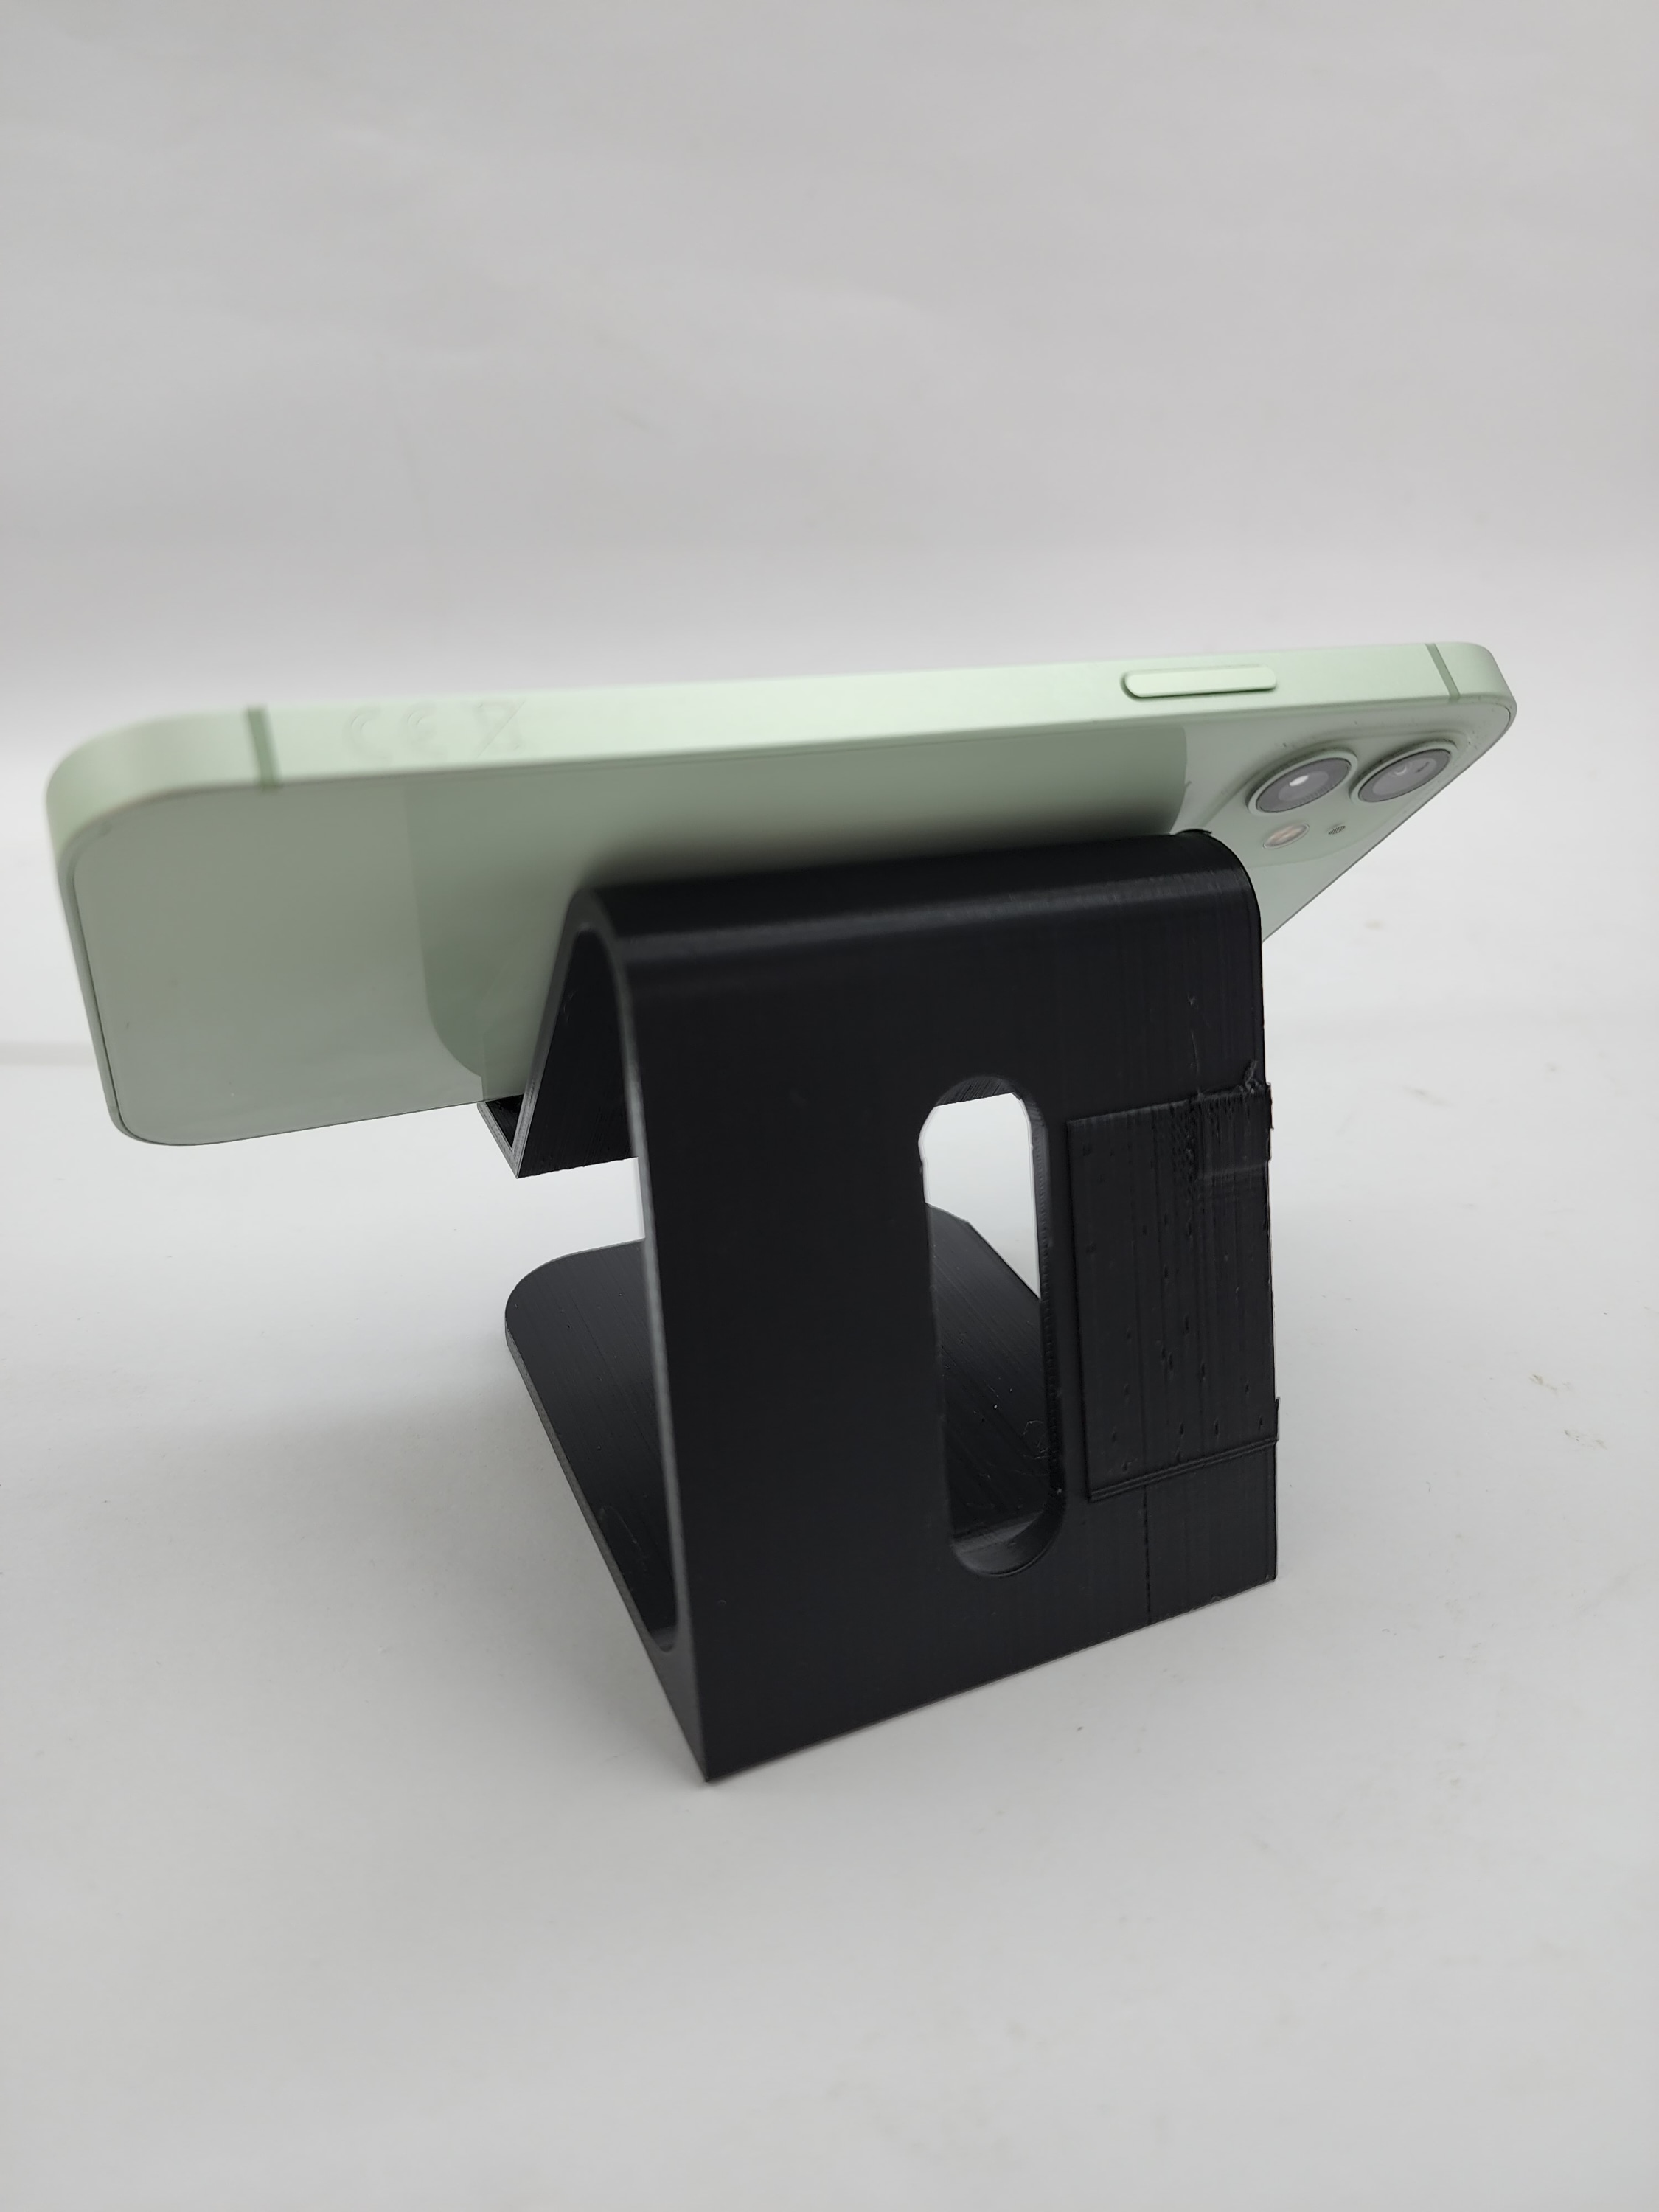
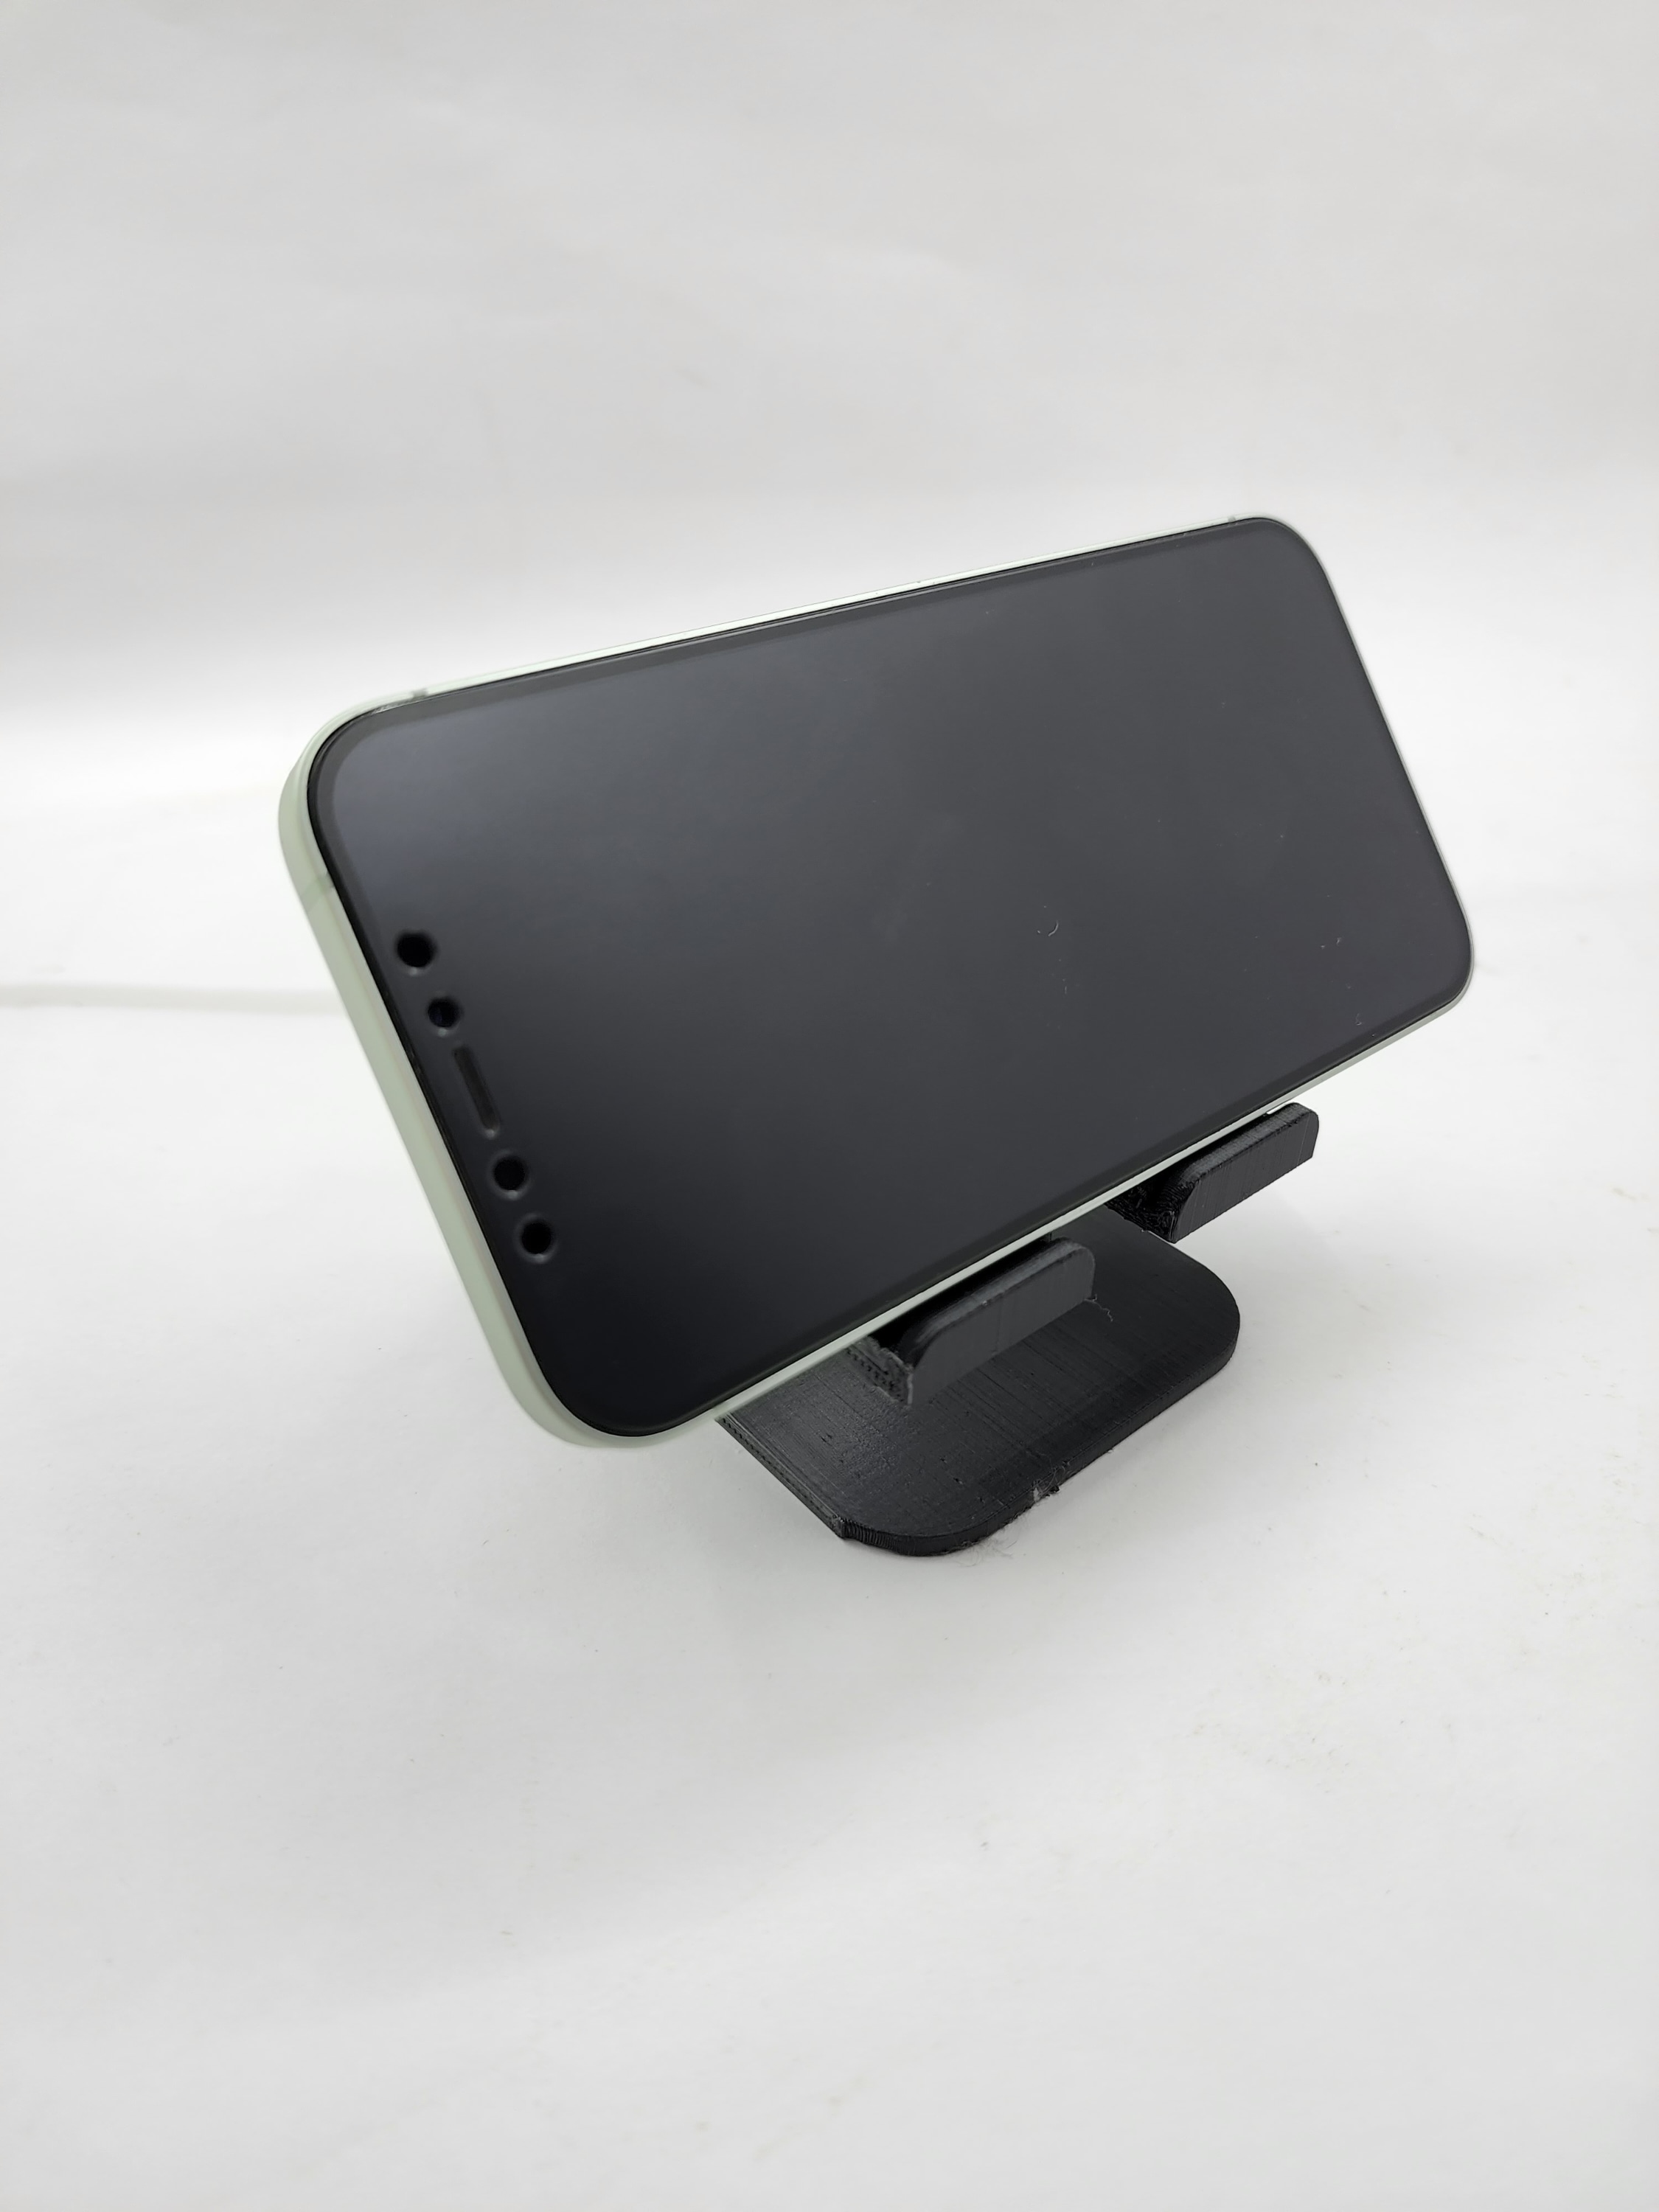
I loved the final result and I believe that I got a well-printed design.
Click here to download the design Click here to download the fusion360 file
3D scanning
Basically, 3D scanning is scanning any object around us using a camera and having it in a 3D file that we can print it using 3D printers or editing the file. To start scanning, we downloaded an application called Qlone on our smartphones.
Qlone
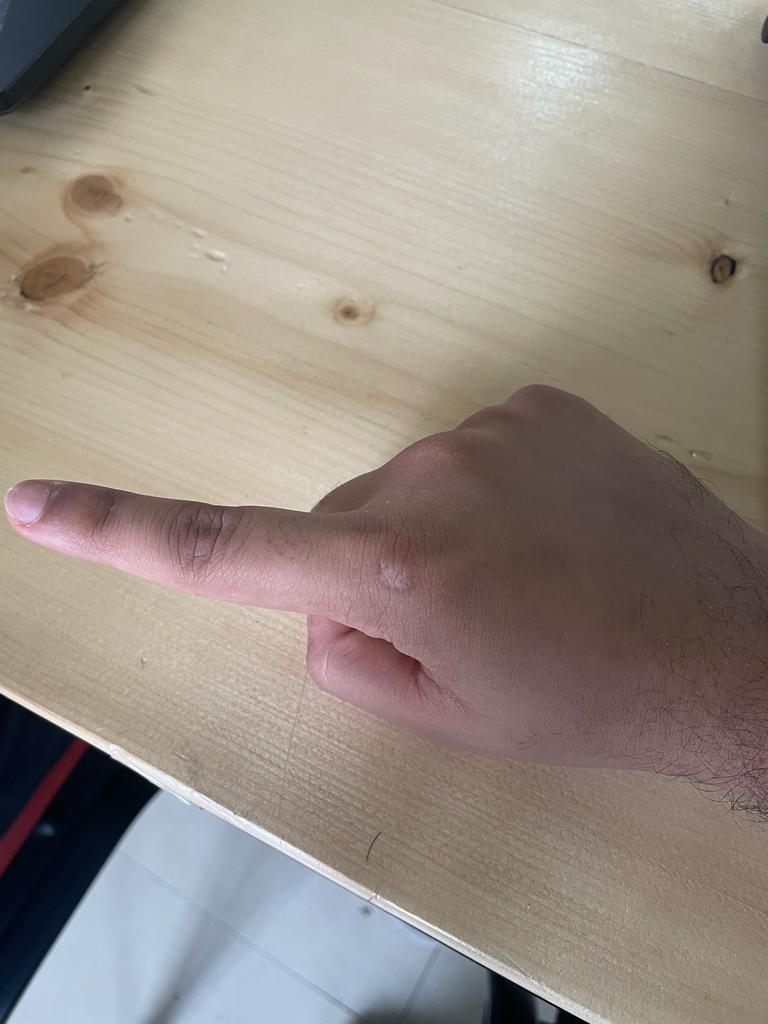
Here is the original photo of my finger and the paper mat that I was to start scanning
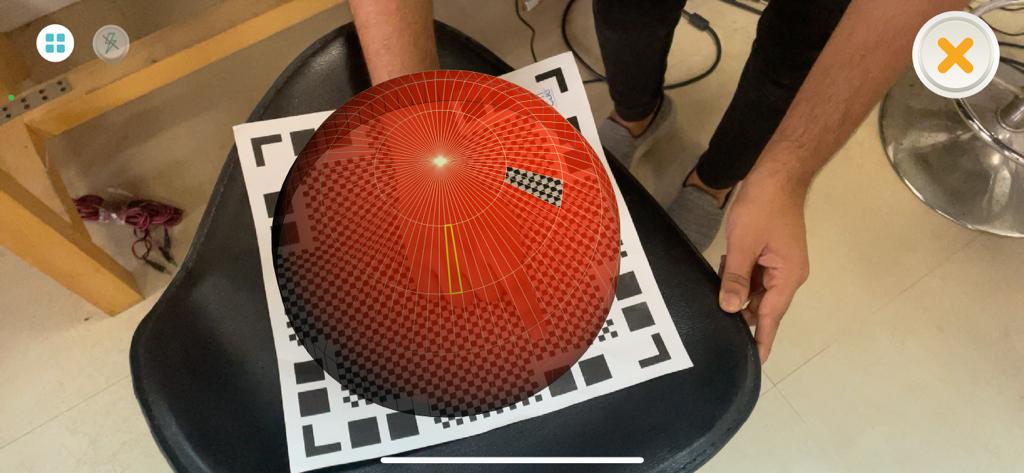
When the shades surrounding an object turn red it means that the 4 corners of the mat paper are not showing and I show readjust my distance
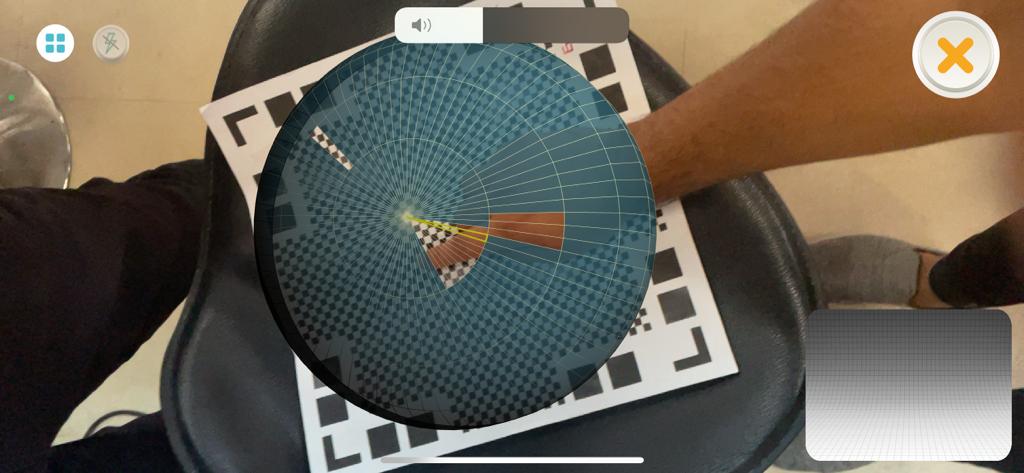
Here how it is look when everything is ok and it is scanning.
Heroshot
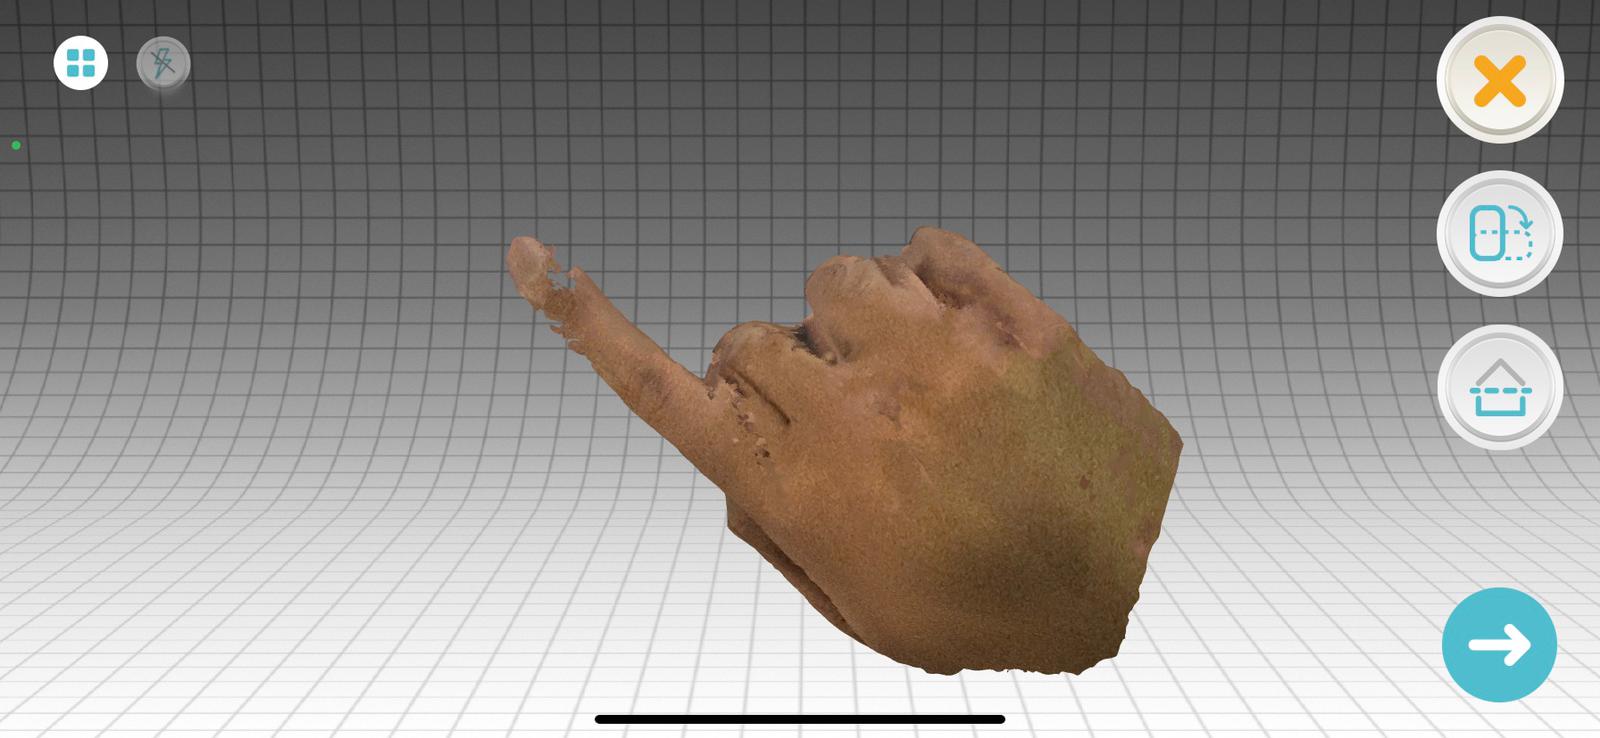
it does not like to be a good result because not all of the details are clear but at least it appears like a finger