3. Computer controlled cutting
This week we were introduced to the laser cutter machine. First, we took some theories about the machine and how it is work. Then, we started working on the group assignment.
Group assignment
In the group assignment, we should find the characteristics of the machine, more details in here
Individual assignments
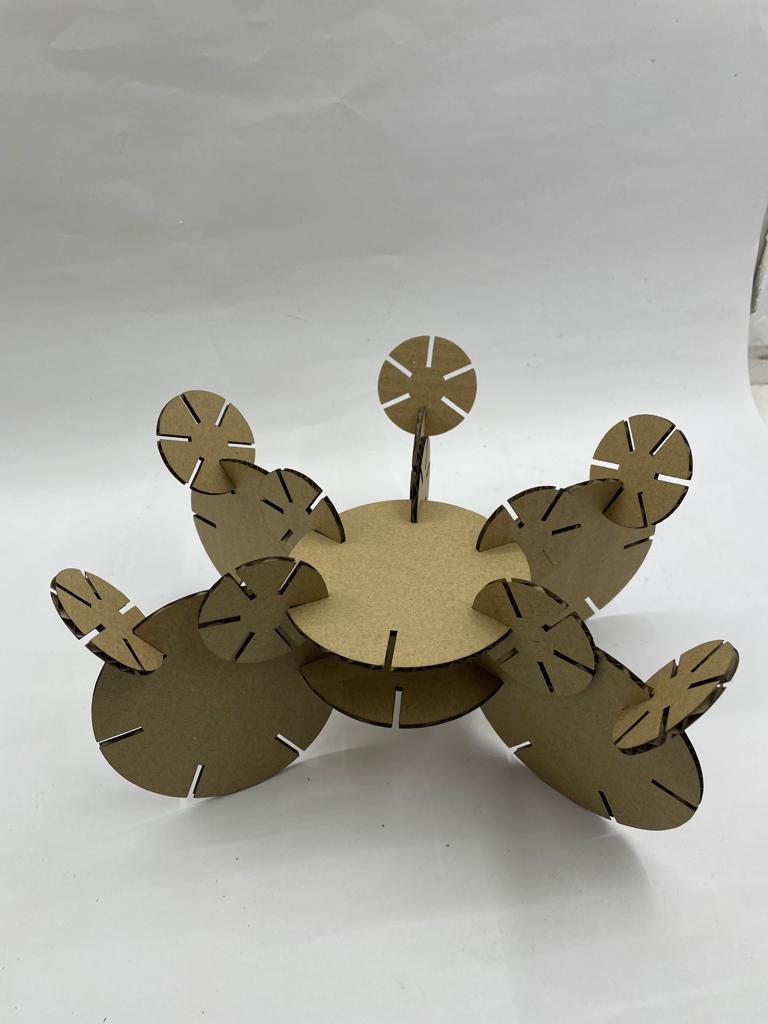
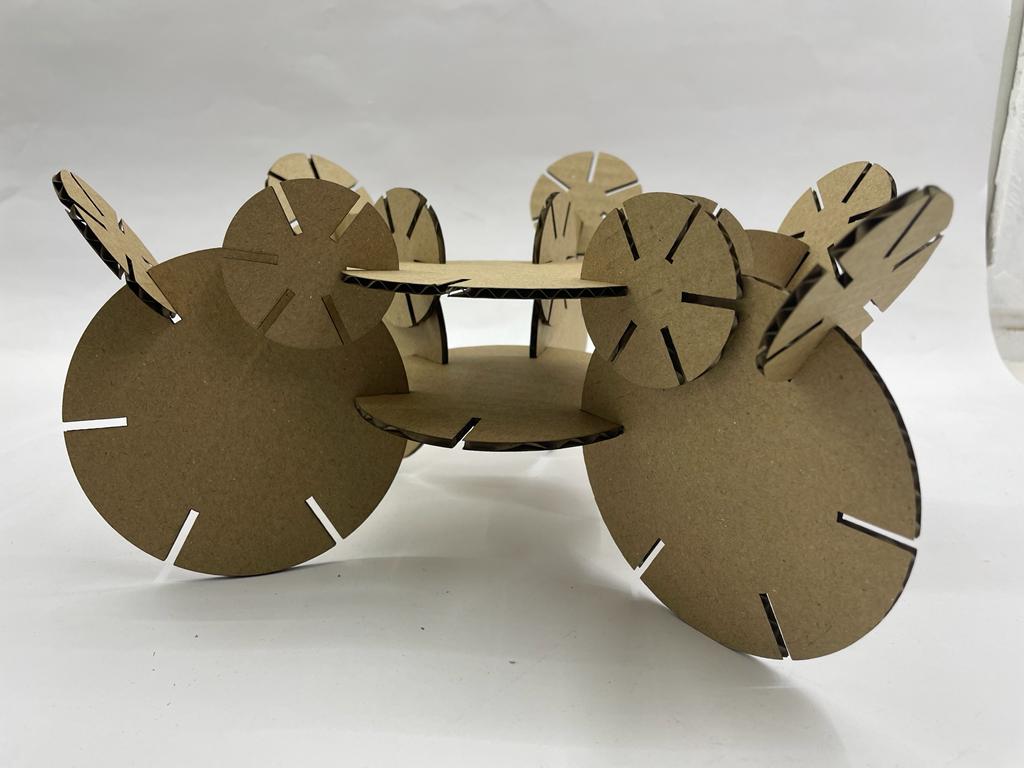
For the individual assignments, we were asked to Design, laser-cut, and document a parametric press-fit construction kit, which can be assembled in multiple ways.
Design
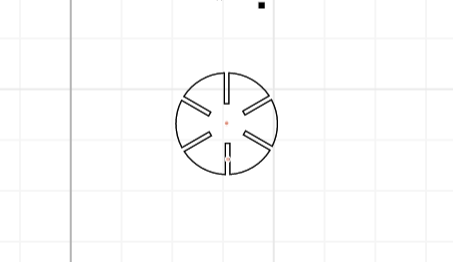
I decided to use cuttle for my design because of its simplicity. For the press-fit idea, I designed two circles the second is smaller than the first such that they can fit together.
Firstly, I dragged and dropped the circle and give it a size of 100mm. Then, I made another component and created a rectangle in it, and then place it on the edges of my circle. The reason why I made another component is to make this design parametric such that if I changed the size in the original version, the size in every other version will be changed also.
This is the final result for the first circuit.

For the second circuit, I repeated the same steps but with a smaller size, and here how it is look.
Click here to download the design
Laser cutting
After finishing the design, to be able to contact the machine we should use specific software which we will upload the design in it and specify the characteristics and upload it to the machine.
Here is a screenshot from the software which shows the characteristics and my design with the designs of the rest of the group to be cut together.
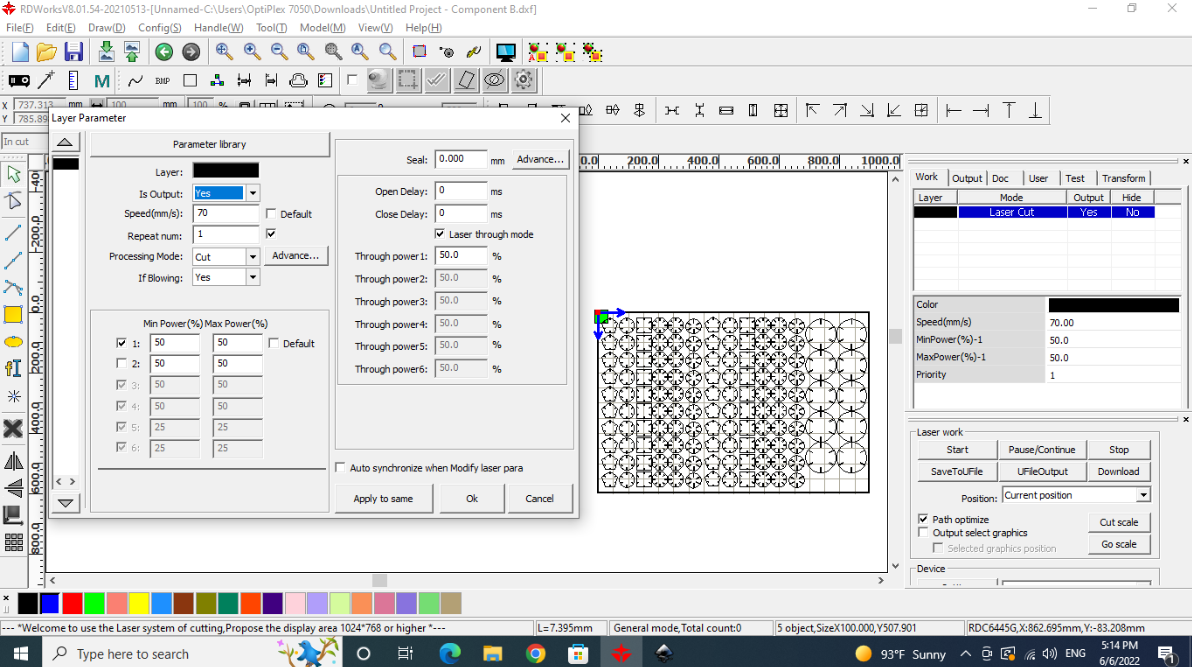
As we can see from the image above, we assigned the speed to 70mm/s while the power was 50. Also, we designed the press-fit to be with a 2.2mm gap such that the parts can join together. We assigned all of these values based on what we got from the group assignment.
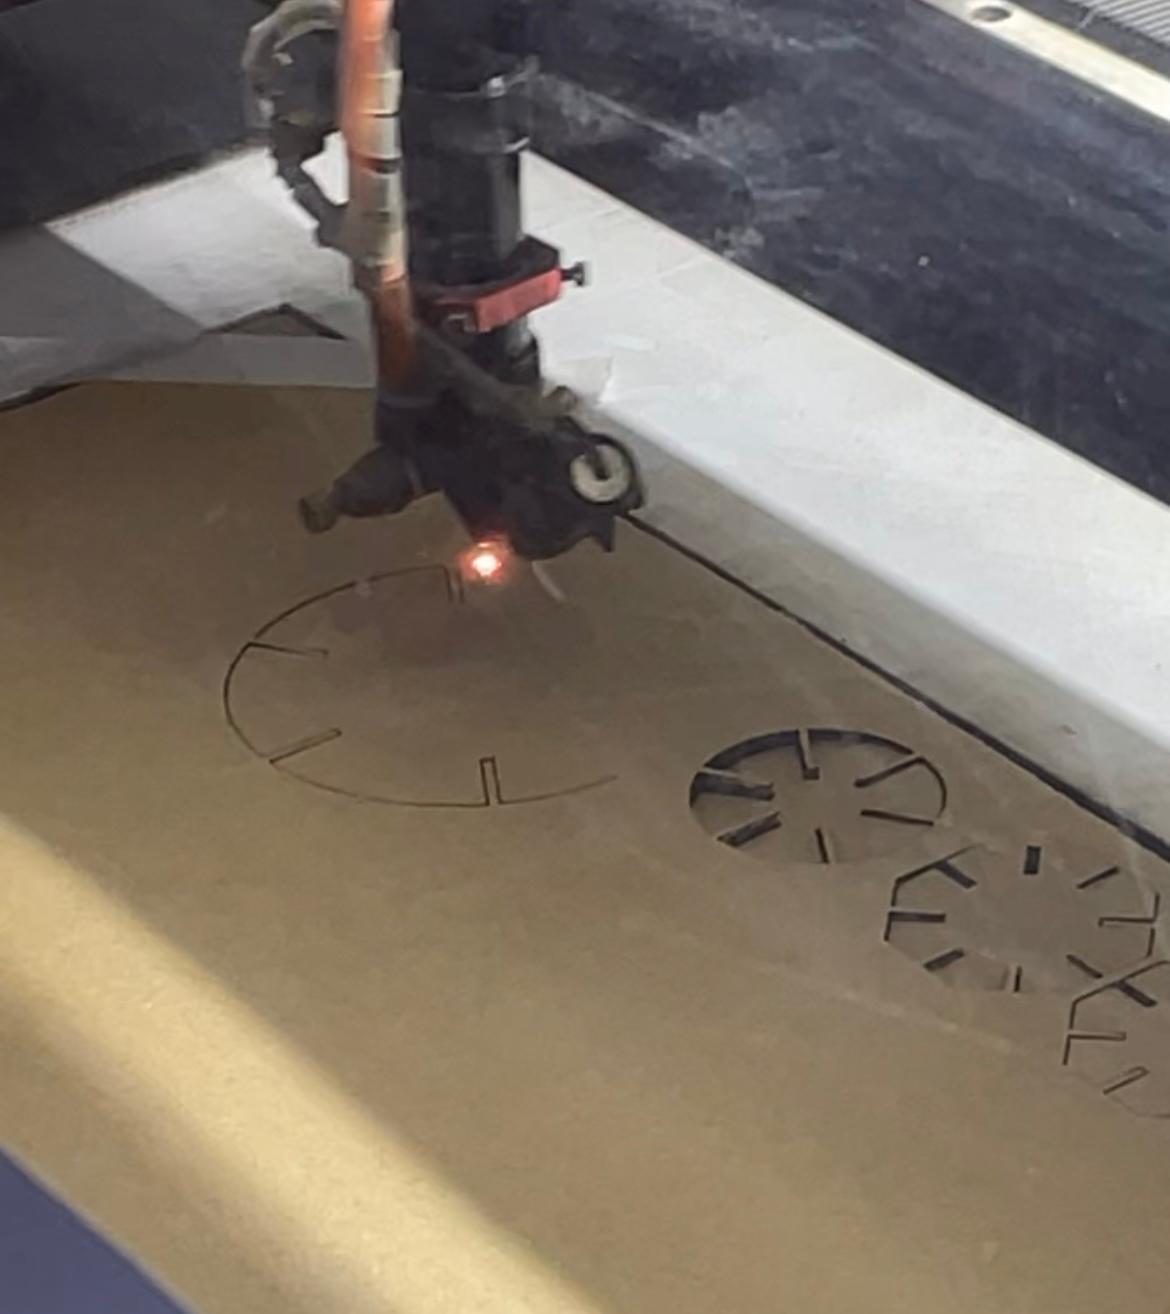
The laser cutter cutting off the pieces of the press fit design
Hero shots
Vinyl Cutting
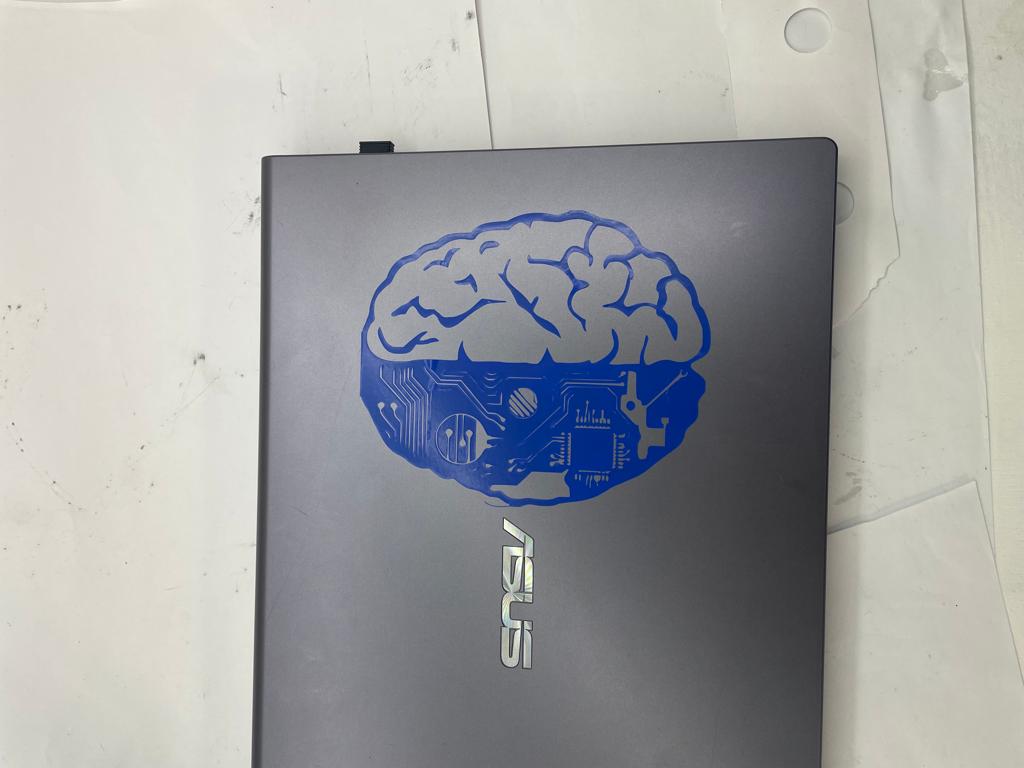
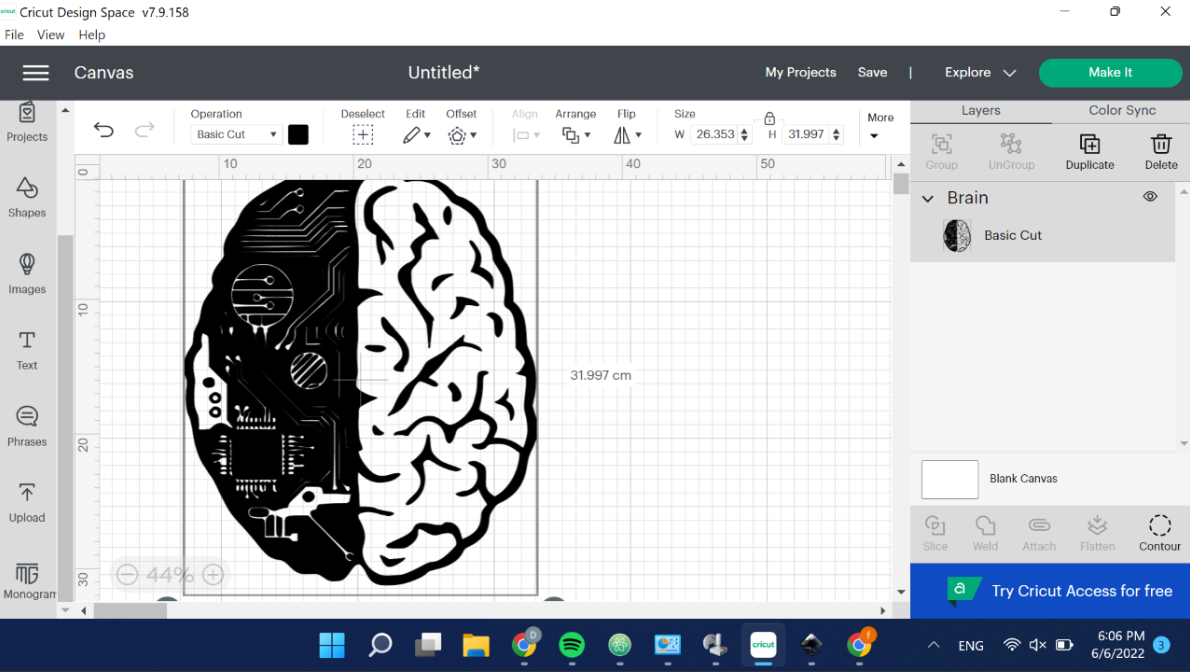
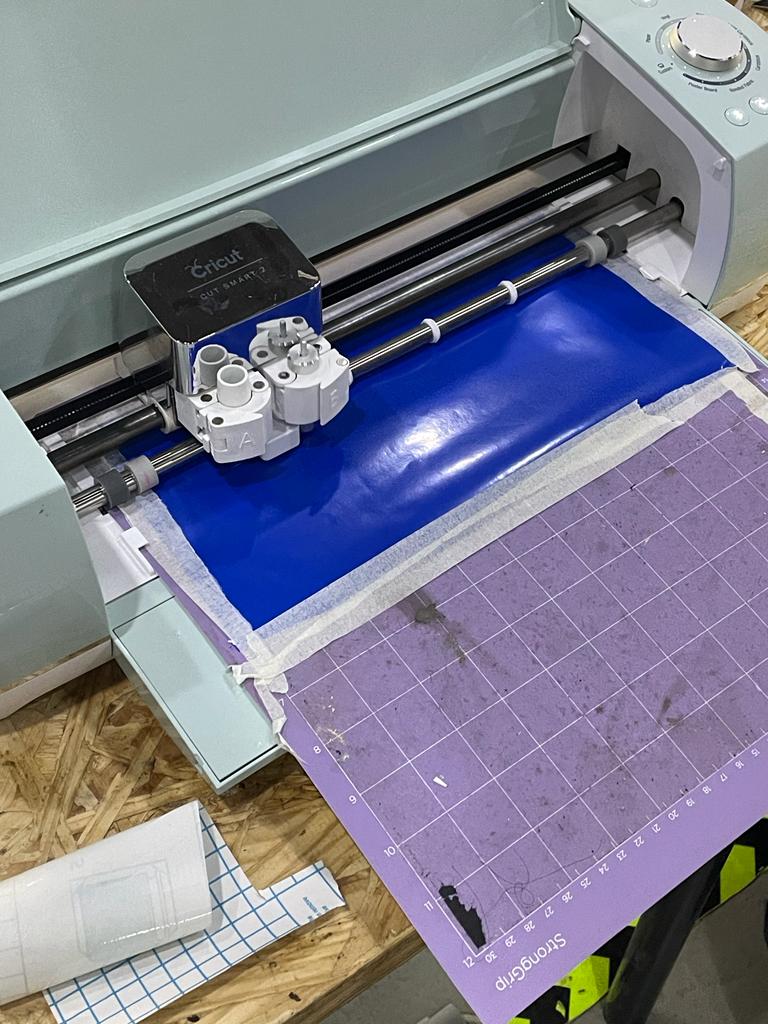
The vinyl cutter basically can cut anything you want on any material with small thickness. I choose a “CPU brain” to be cut.
I started by uploading the photo to the software which this software can talk with the machine.

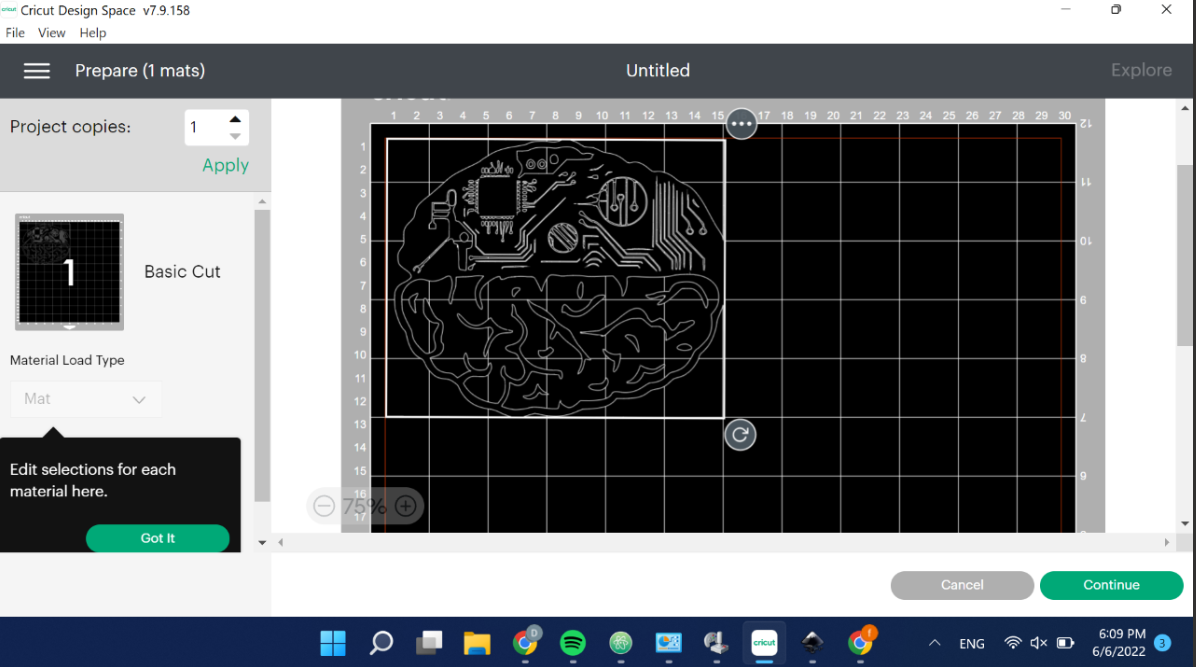
After confirming that the image was successfully uploaded I selected the area that I wanted to be printed:
Below is the selected area before I printed it out
This is a photo of the machine while cutting the design
This is how it looks after finishing cutting
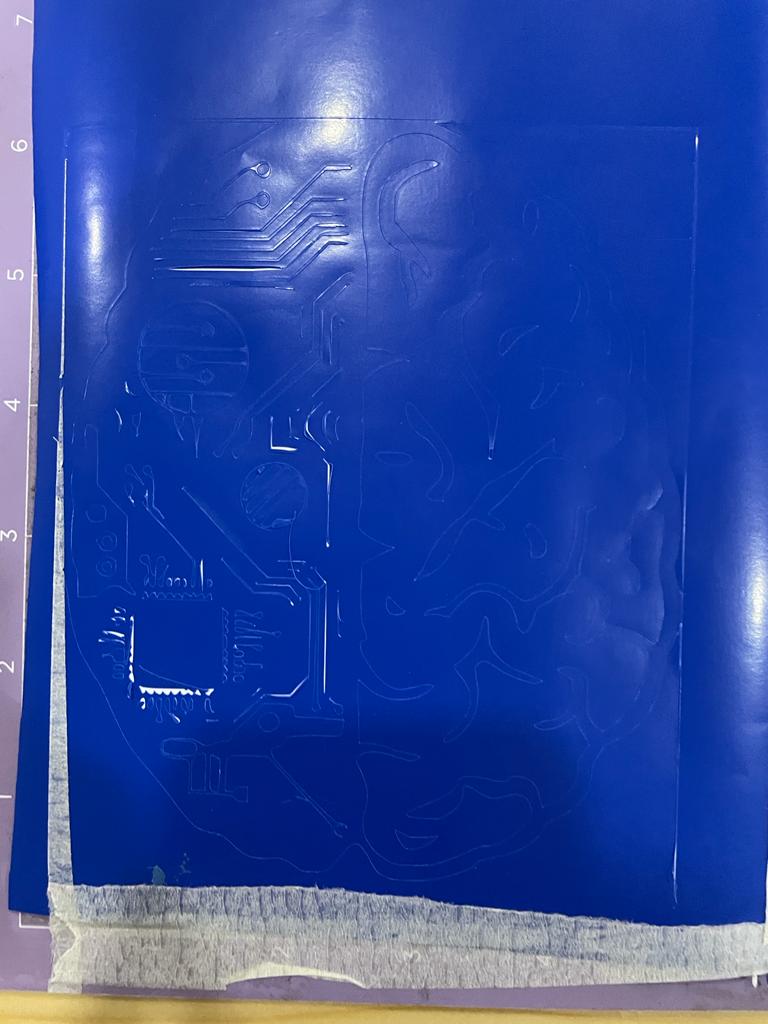
Then, it is time for removing the unwanted parts which took some time because my design has a lot of details.
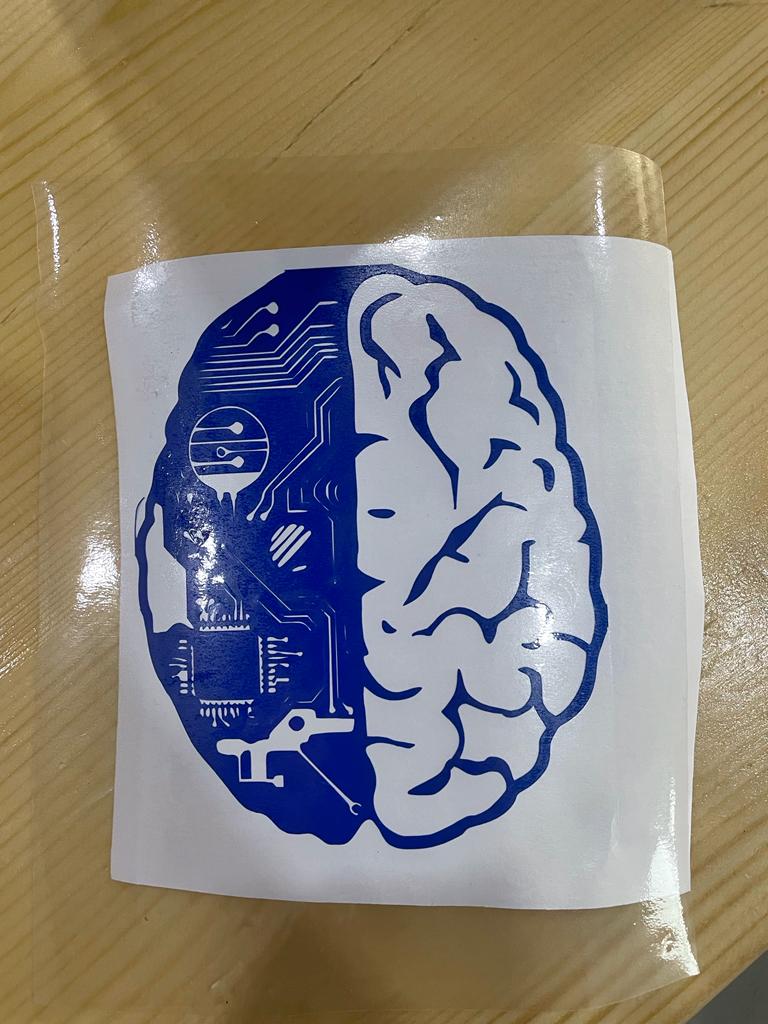
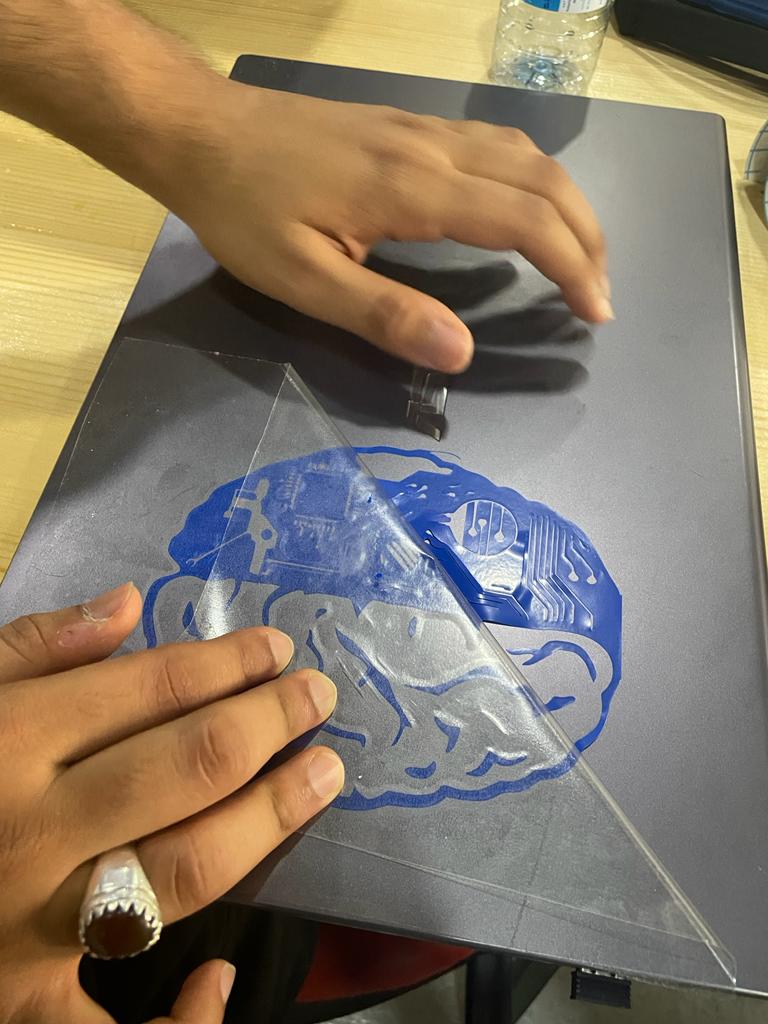
After removing the unwanted parts, now Transferring the sticker onto a transparent paper which allowed for a more efficient transferring method of the sticker.
Heroshot