1. Project management
This week I worked on creating a website in git lab where I can upload my weekly work in. I also knew how to edit the website locally from my computer by using git bash and atom, and finally got used to the documentation process.
Introduction
Git is the most commonly used version control system. Git tracks the changes you make to files, so you have a record of what has been done, and you can revert to specific versions should you ever need to. Git also makes collaboration easier, allowing changes by multiple people to all be merged into one source.
Editing through GitLab
I received a GitLab invitation from my instructor and then I signed in by the email that I have received the invitation from.

We tried to make simple changes through GitLab itself such as adding images and texts but the process was little bit complicated. For example, if I want to add an image to my (About me page), I have to go to images file on my website to upload the wanted image, then I have to move to the page that I want to add this image to, click edit, add images command and write the name of image that I have uploaded in the blank.
Editing locally
After trying editing in GitLab, we moved to editing locally from computer and here we have the steps mentioned below:
(STEP 1)
Download Git bash and Atom.

(STEP 2)
Clone files to your computer, we can do it with SSH or HTTPS. I chose HTTPS and copied the link from website.

(STEP 3) I found this useful video on YouTube and it helped me to go through the following process.
(STEP 4)
I created a new folder for the course, pressed on right click - Git Bash here

(STEP 5)
Once the Git Bash page appeared, I wrote (git clone), then pasted the link that I have copied before, and finally clicked enter.

Folders are on my computer now

(STEP 6)
Opened my files on Atom and started to edit my personal information.
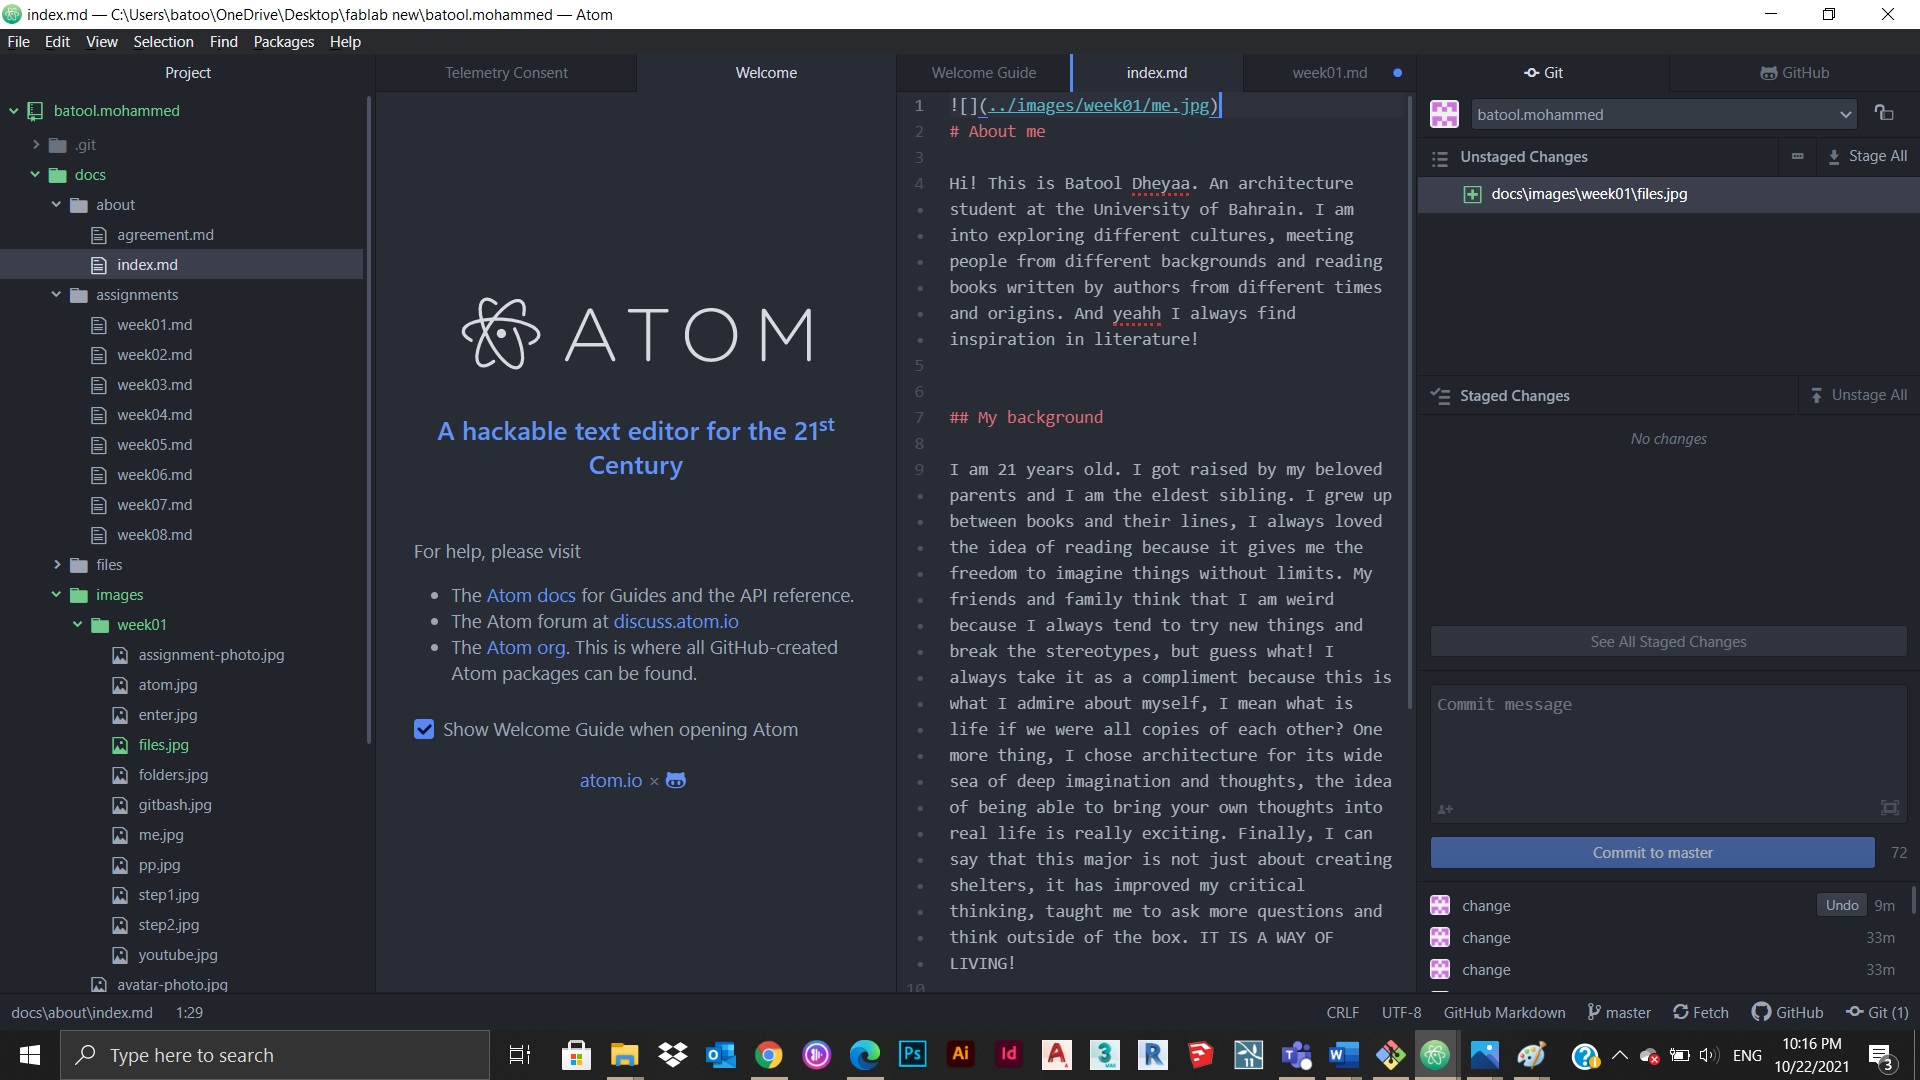
(STEP 7)
To apply images I had to keep my screenshots inside the (images folder),(week01 section) and convert them all to jpg.
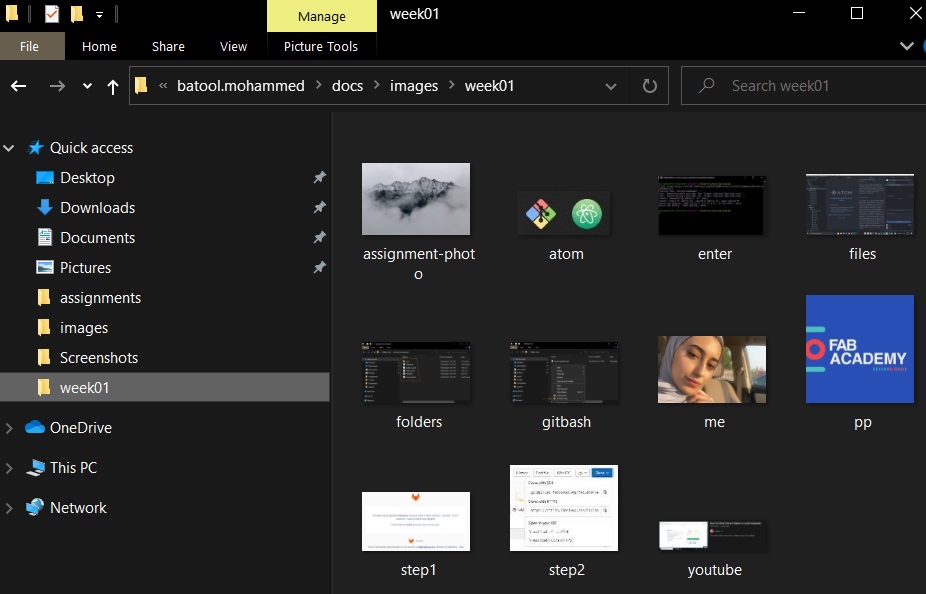
then I had to type the images command with the name of the wanted image and its location. Example:

(STEP 8)
To apply these changes on my website I had to click save, stage all, type any approval comment inside the (commit message box), click commit to master, and finally click push.

Changes applied successfully on my website.

FINAL RESULT

McDocs
MkDocs is a static site generator designed for building documentation websites. Written in the Python programming language, MkDocs is an open-source project with a lot of community support. A variety of themes are available. In terms of Markdown support, MkDocs does an excellent job supporting the basic syntax elements.
Markdown Cheat Sheet
Basic Syntax

Extended Syntax
