4. Embedded programming
This week we worked on programming a microcontroller board by using different environments such as Arduino and Tinkercad.
What is embedded programming?
Some experts define embedded programming as the dominant methodology for microcontroller programming. Essentially, embedded programming involves programming small computers that drive devices. In terms of its practical implementation, embedded programming is useful in the design of software for automotive features, small facilities-handling devices like thermostats, handheld games or other small devices.
Microcontroller board
The type we are using is Arduino Nano 33 BLE. The special thing about it is that The communications chipset on the Nano 33 BLE Sense can be both a BLE and Bluetooth client and host device which is something pretty unique in the world of microcontroller platforms. Here is an image below showing the pinout diagram of the board.

Arduino
The first program we used was Arduino IDE, so we started to set it up to connect it the microcontroller board and here are the steps below: 1.Install ‘nano 33 ble’ from boards manager.
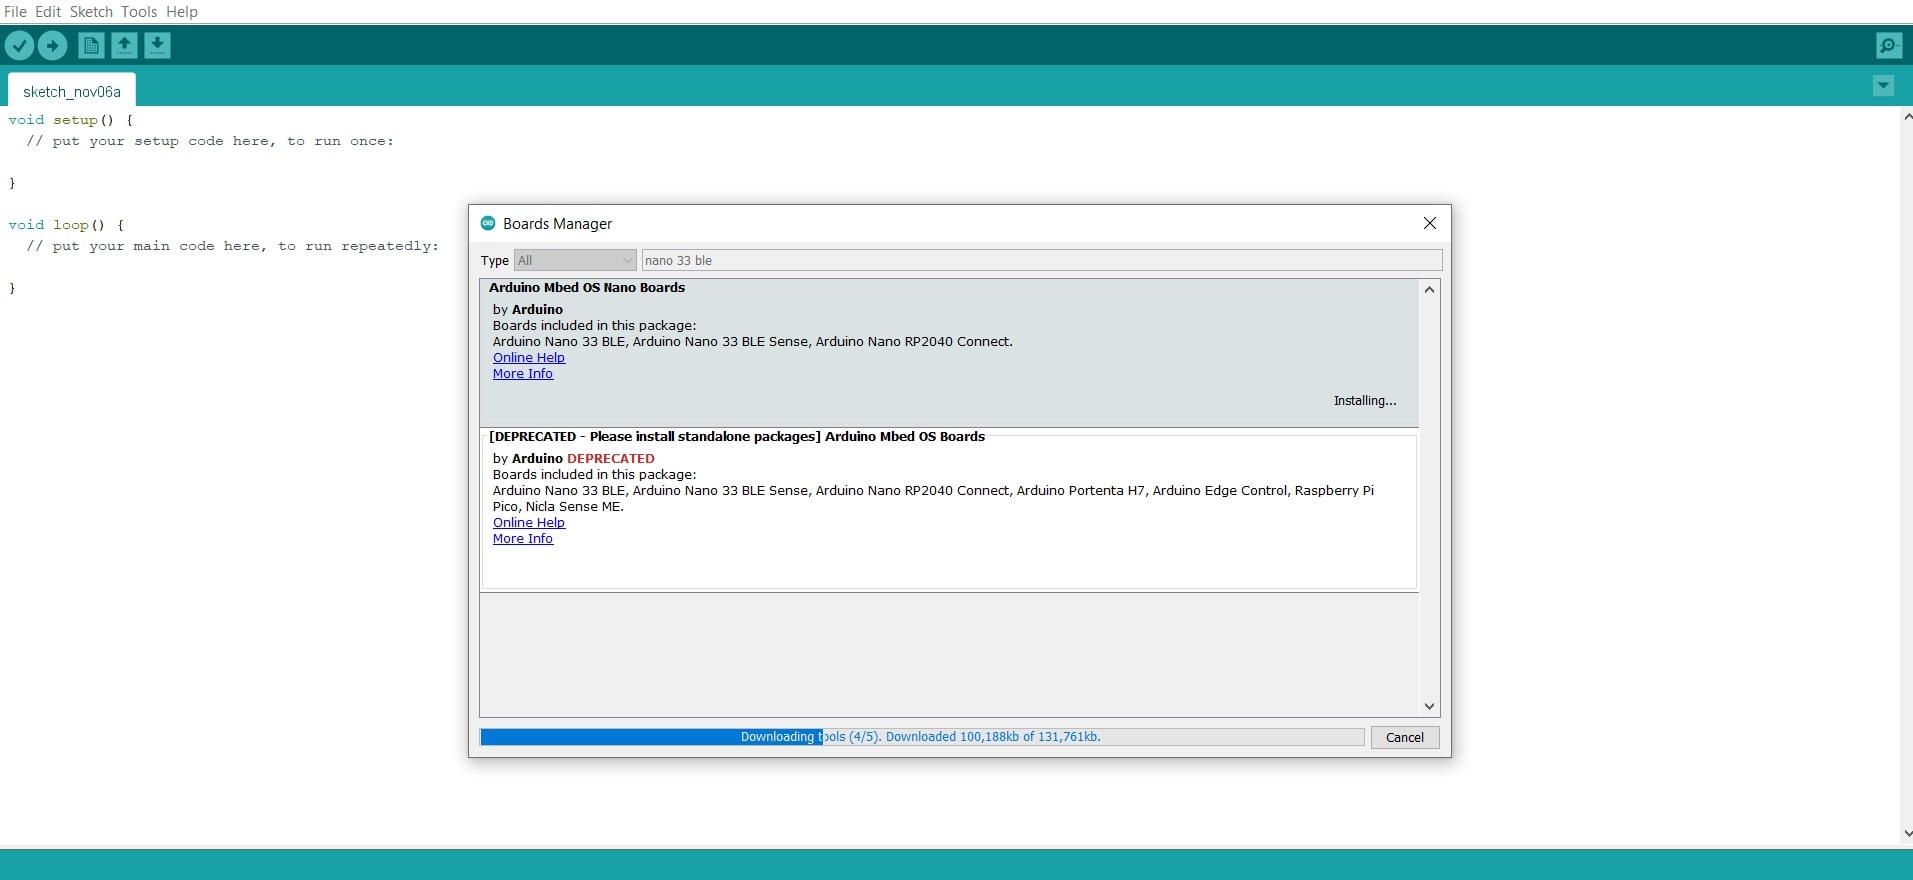
2.Go to tools > board and select Arduino Nano 33 ble
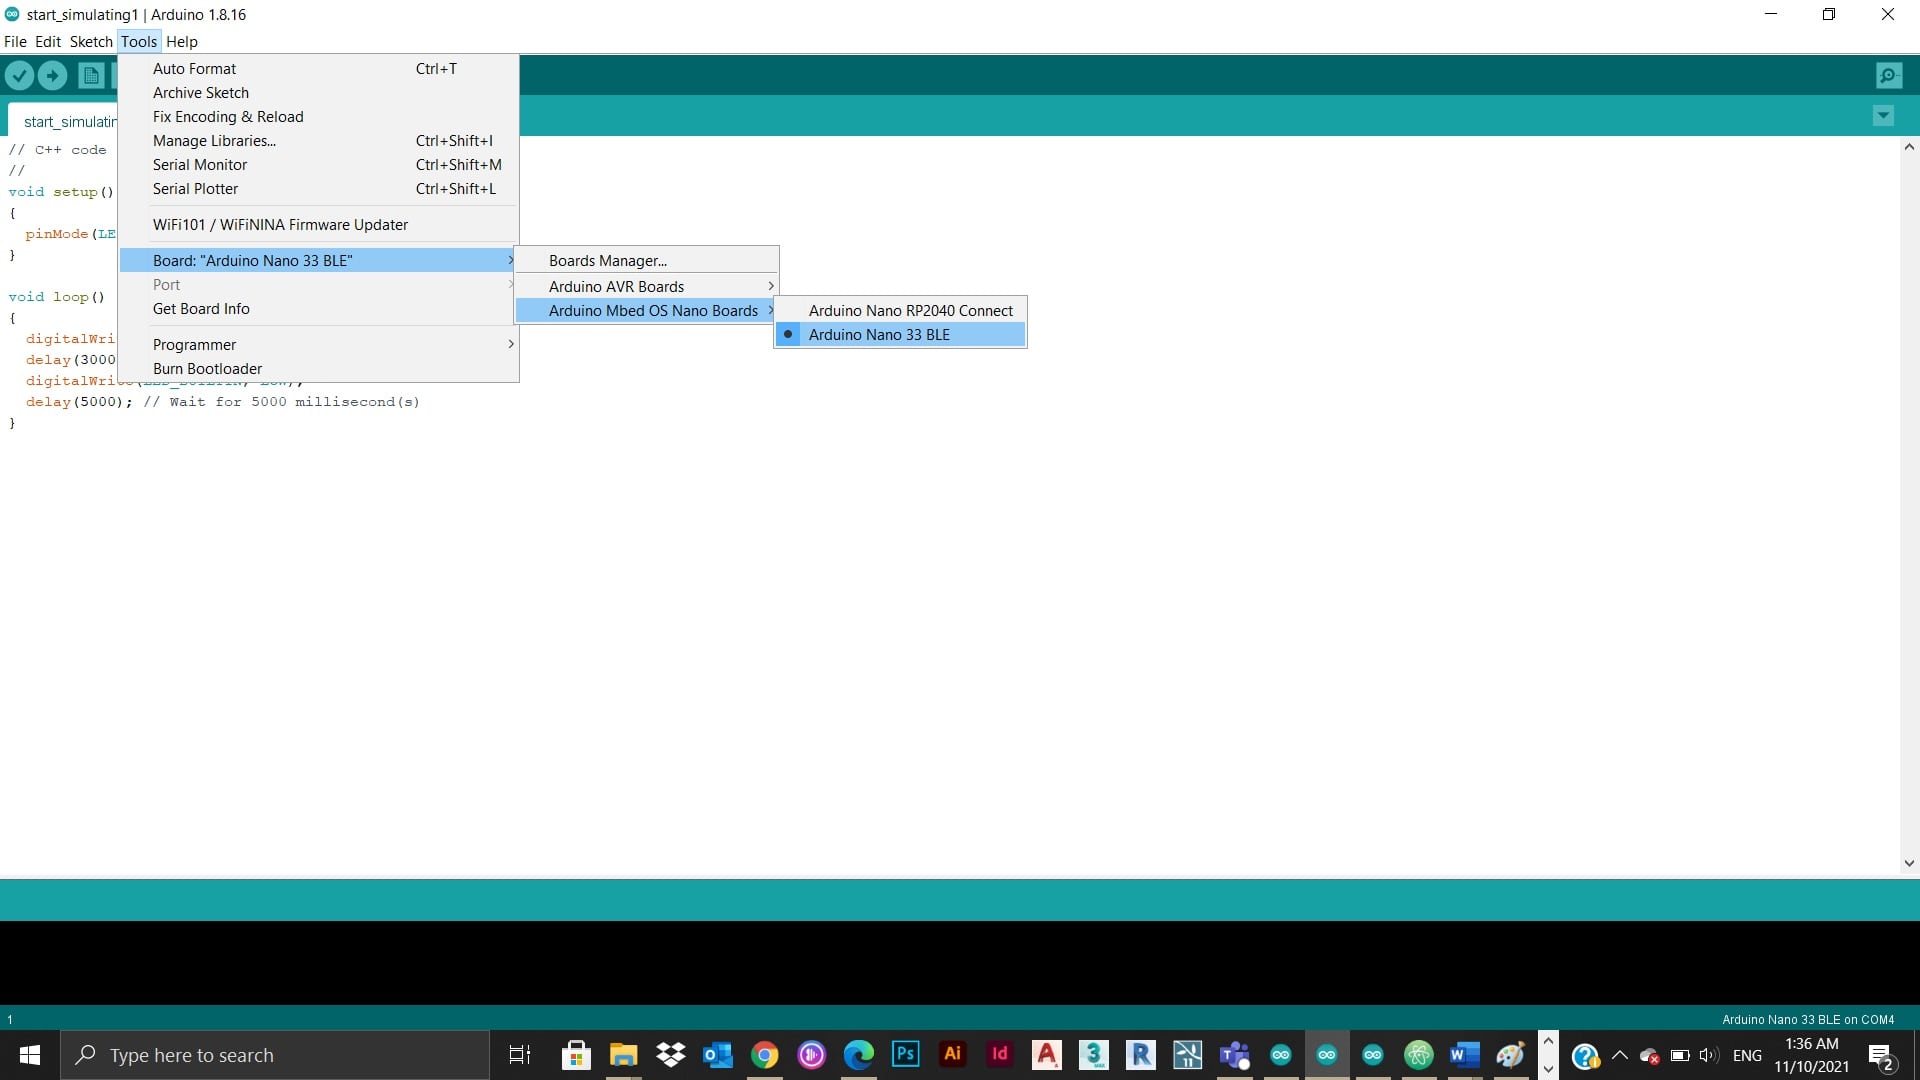
3.When I wanted to adjust the port I noticed that it was blocked and found out later that I had to connect the microcontroller with the computer to be able to do it.

NOW IT IS READY TO BE PROGRAMMED!!
Basic experiment
for me, it was my first time entering programming world so I faced many obstacles trying to understand the language and codes, but there was something very helpful and cool about Arduino, it provides examples for beginners acting like code templates and you can edit them so I decided to try the blink example.
Everything was there and I just had to change the blinks periods and press upload.

RESULT
Optional task
Blink your led but have your blink delay periods be randomized values between 1 second and 5 seconds.
I chose the task that you can see above, made some research about “Random function LED”, and found the code online so I used it and adjusted the periods to be between 1 to 5 seconds.

RESULT
RESULT
Tinkercad
Tinkercad was the second program that we have used and depends on blocks system instead of coding.
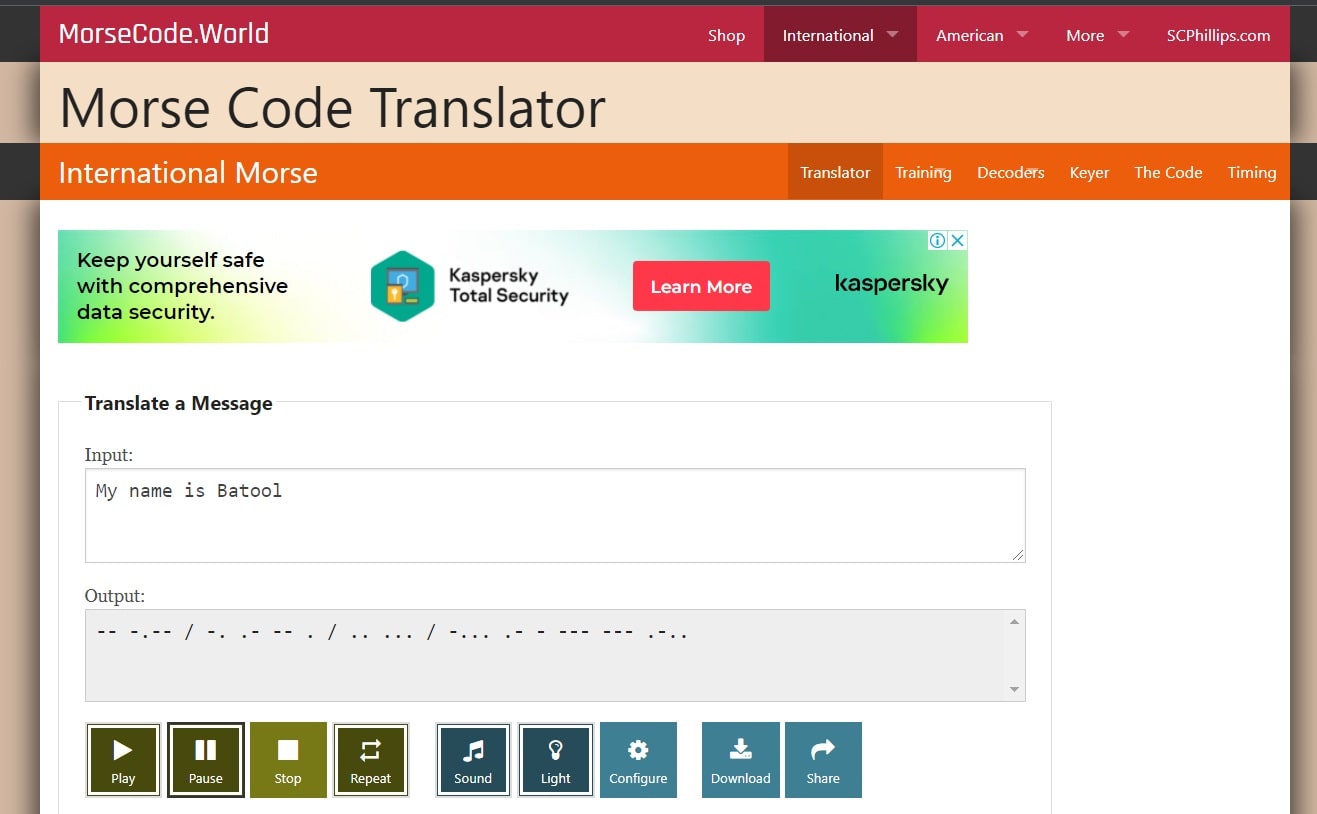
I wrote a sentence in in Morse Code translator and got the output, sound and light blinks.
Then, I tried to translate it into numbers
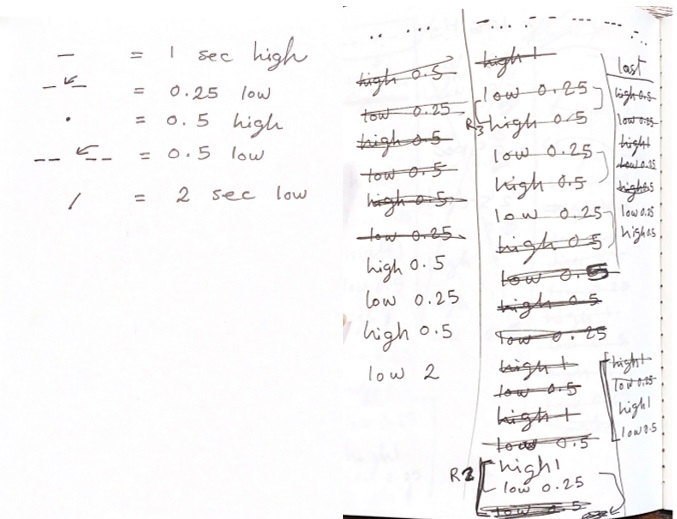
Turned numbers to blocks in Tinkercad and downloaded the code to open it in Arduino.
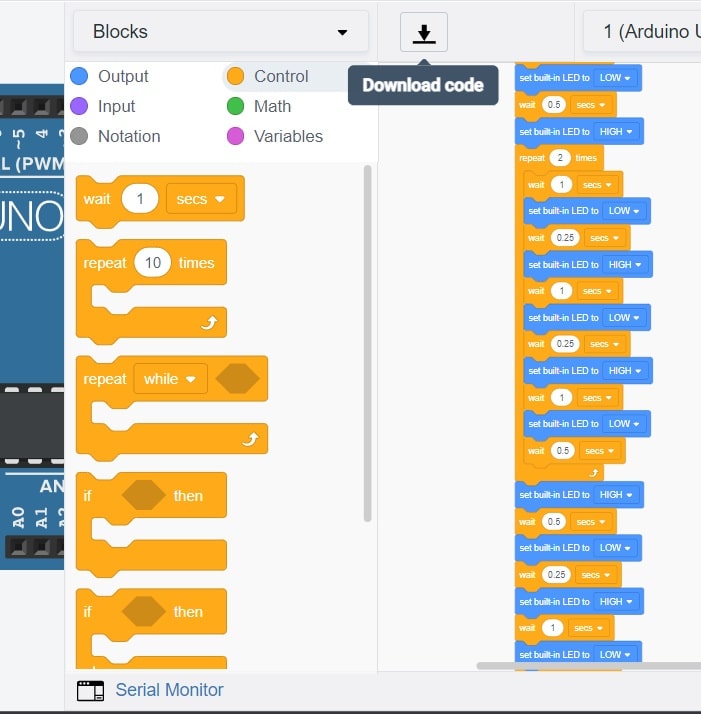
One more thing! I noticed that there are many repeated patterns of blocks so used the repeat block available in Tinkercad to minimize their number
RESULT
I used the light testing option offered in Morse Code translator to compare it with the blinks of my microcontroller and make sure that it is working right