3. Computer controlled cutting
TASK1 (INDIVIDUAL)
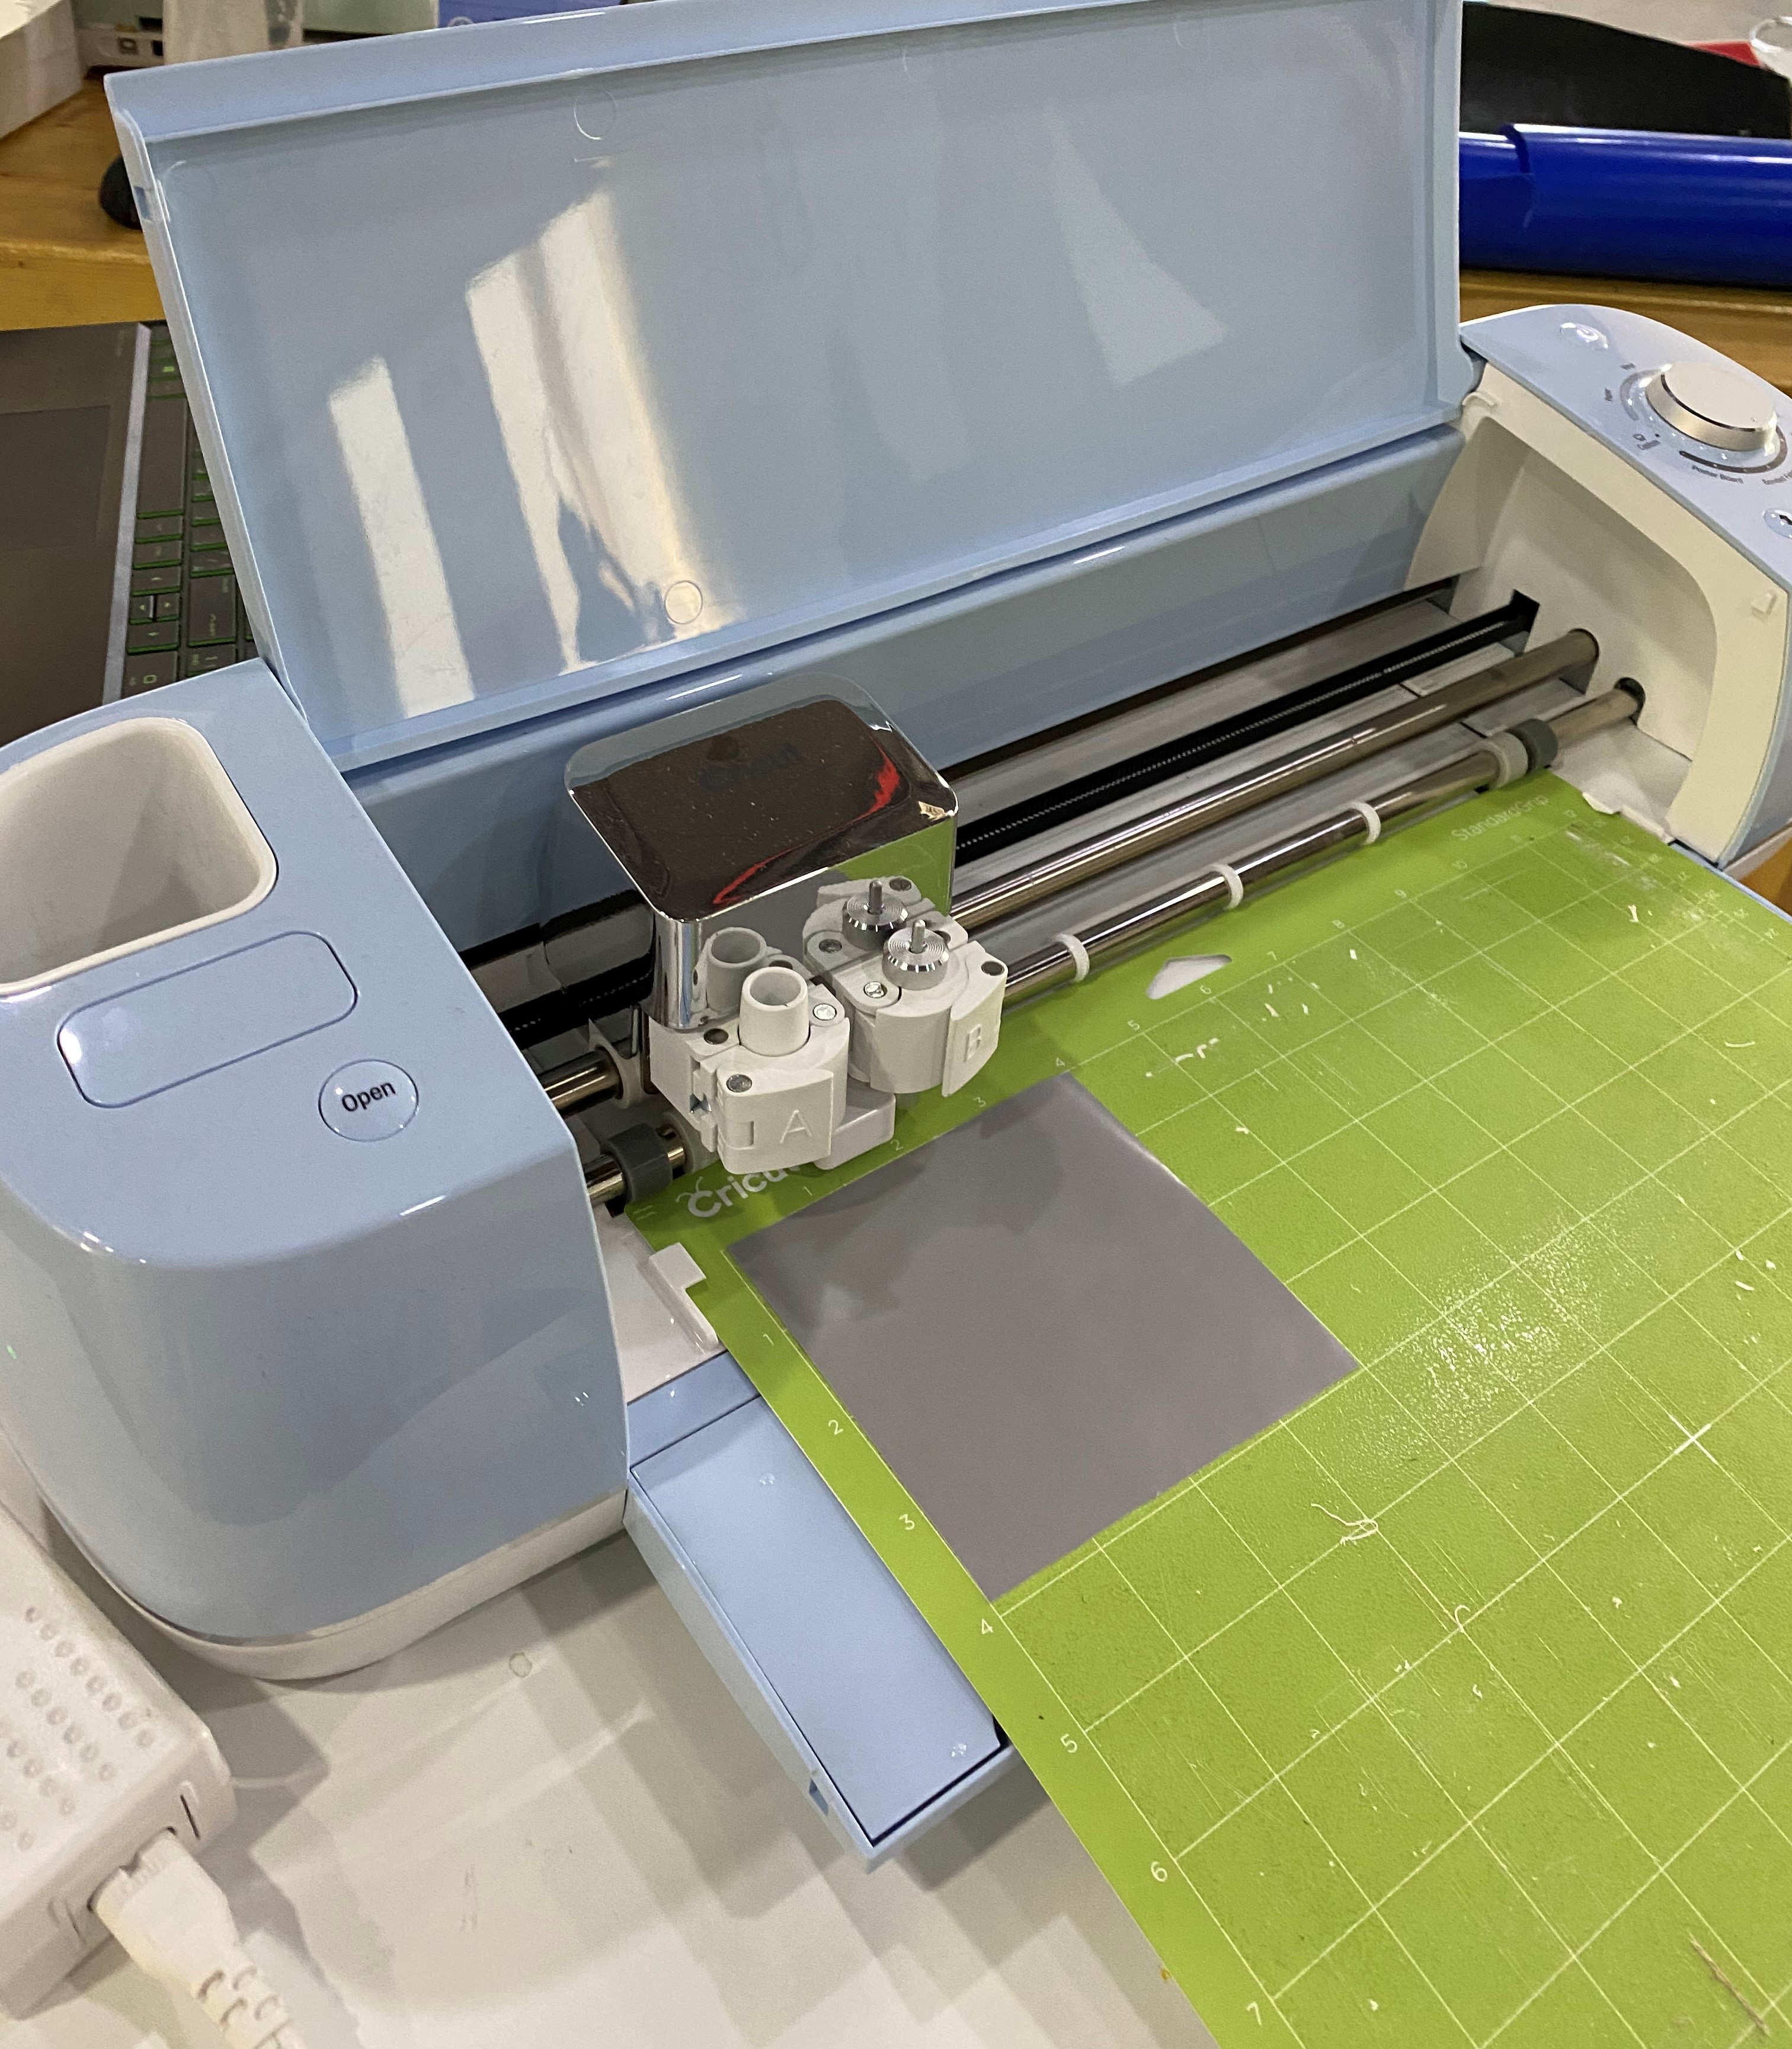
We learned how to use the Cricut machine, is an electronic cutting machine that can cut all sorts of designs from materials like paper, vinyl, card stock, and iron-on transfers. Find the steps of my experience below:
STEP1: I had to download the Cricut app before doing anything to connect the machine with my laptop

STEP2: I prepared my design by using Photoshop
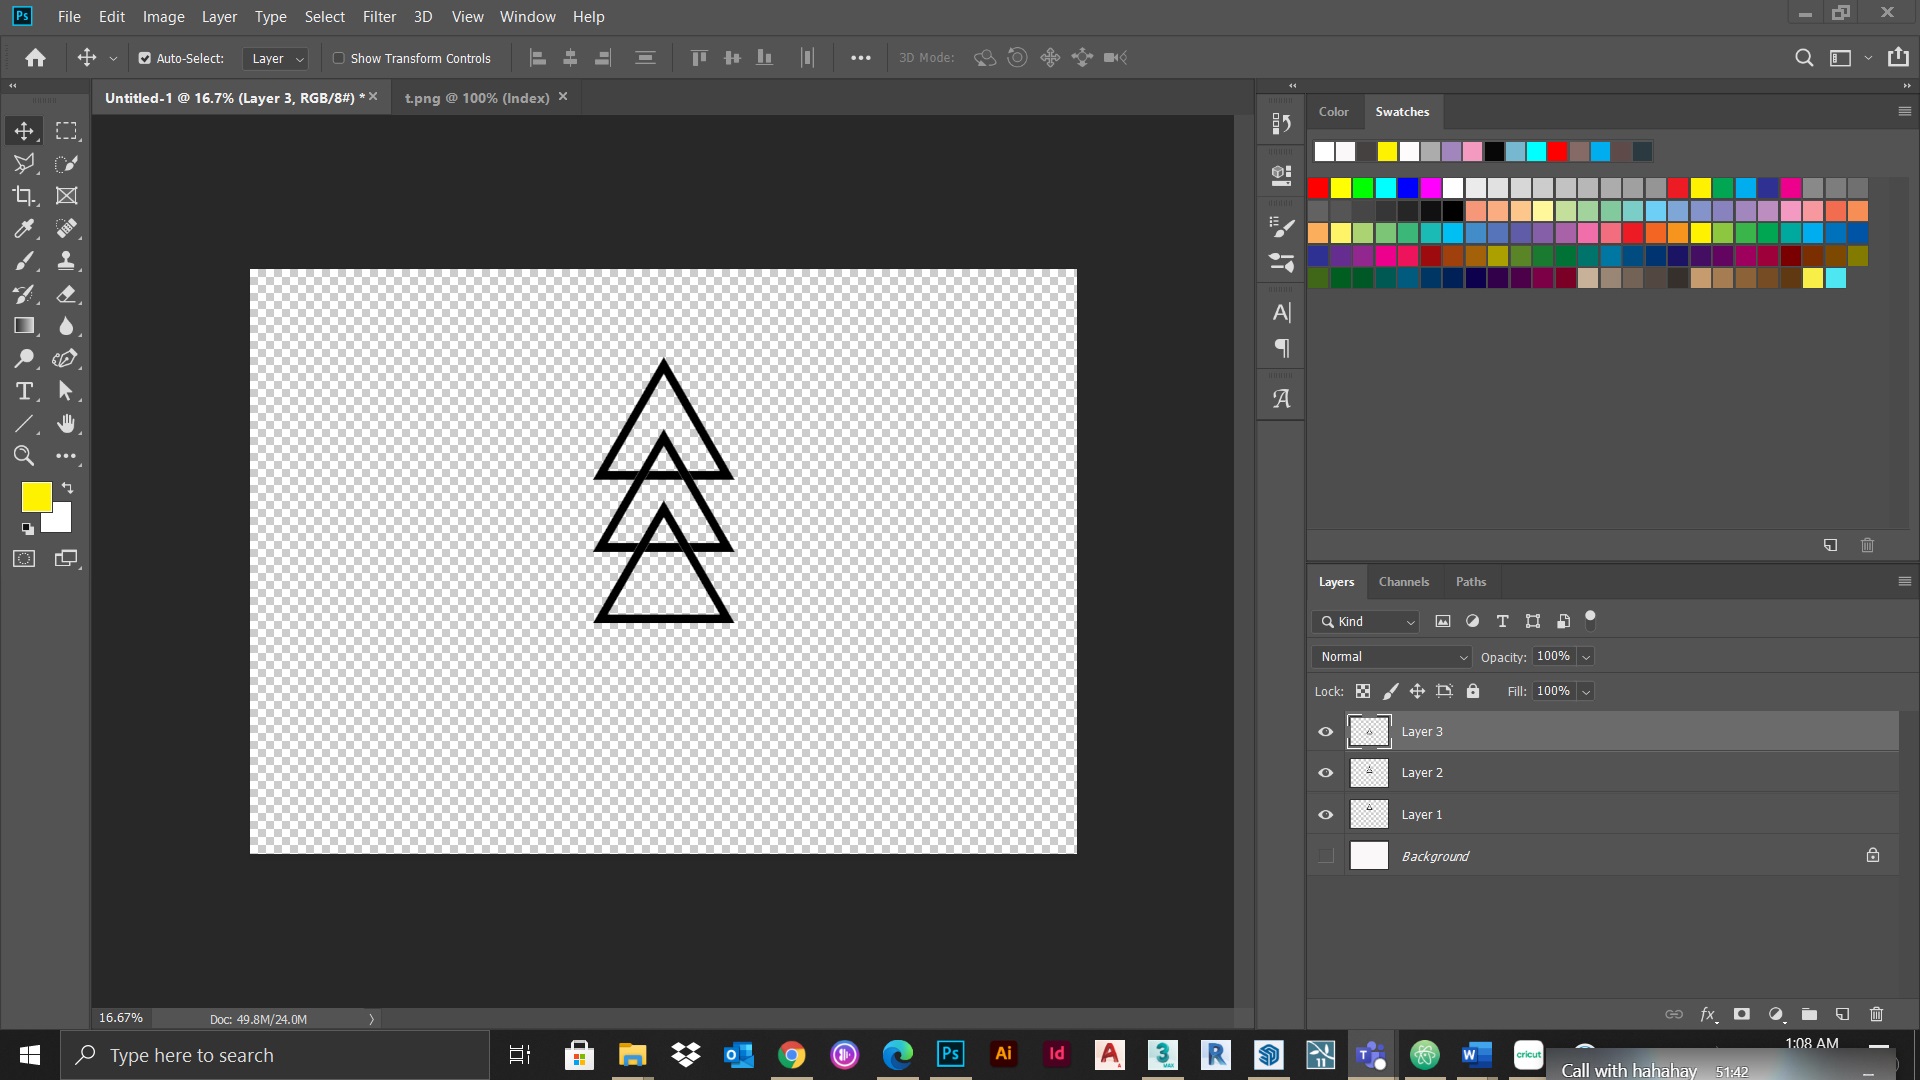
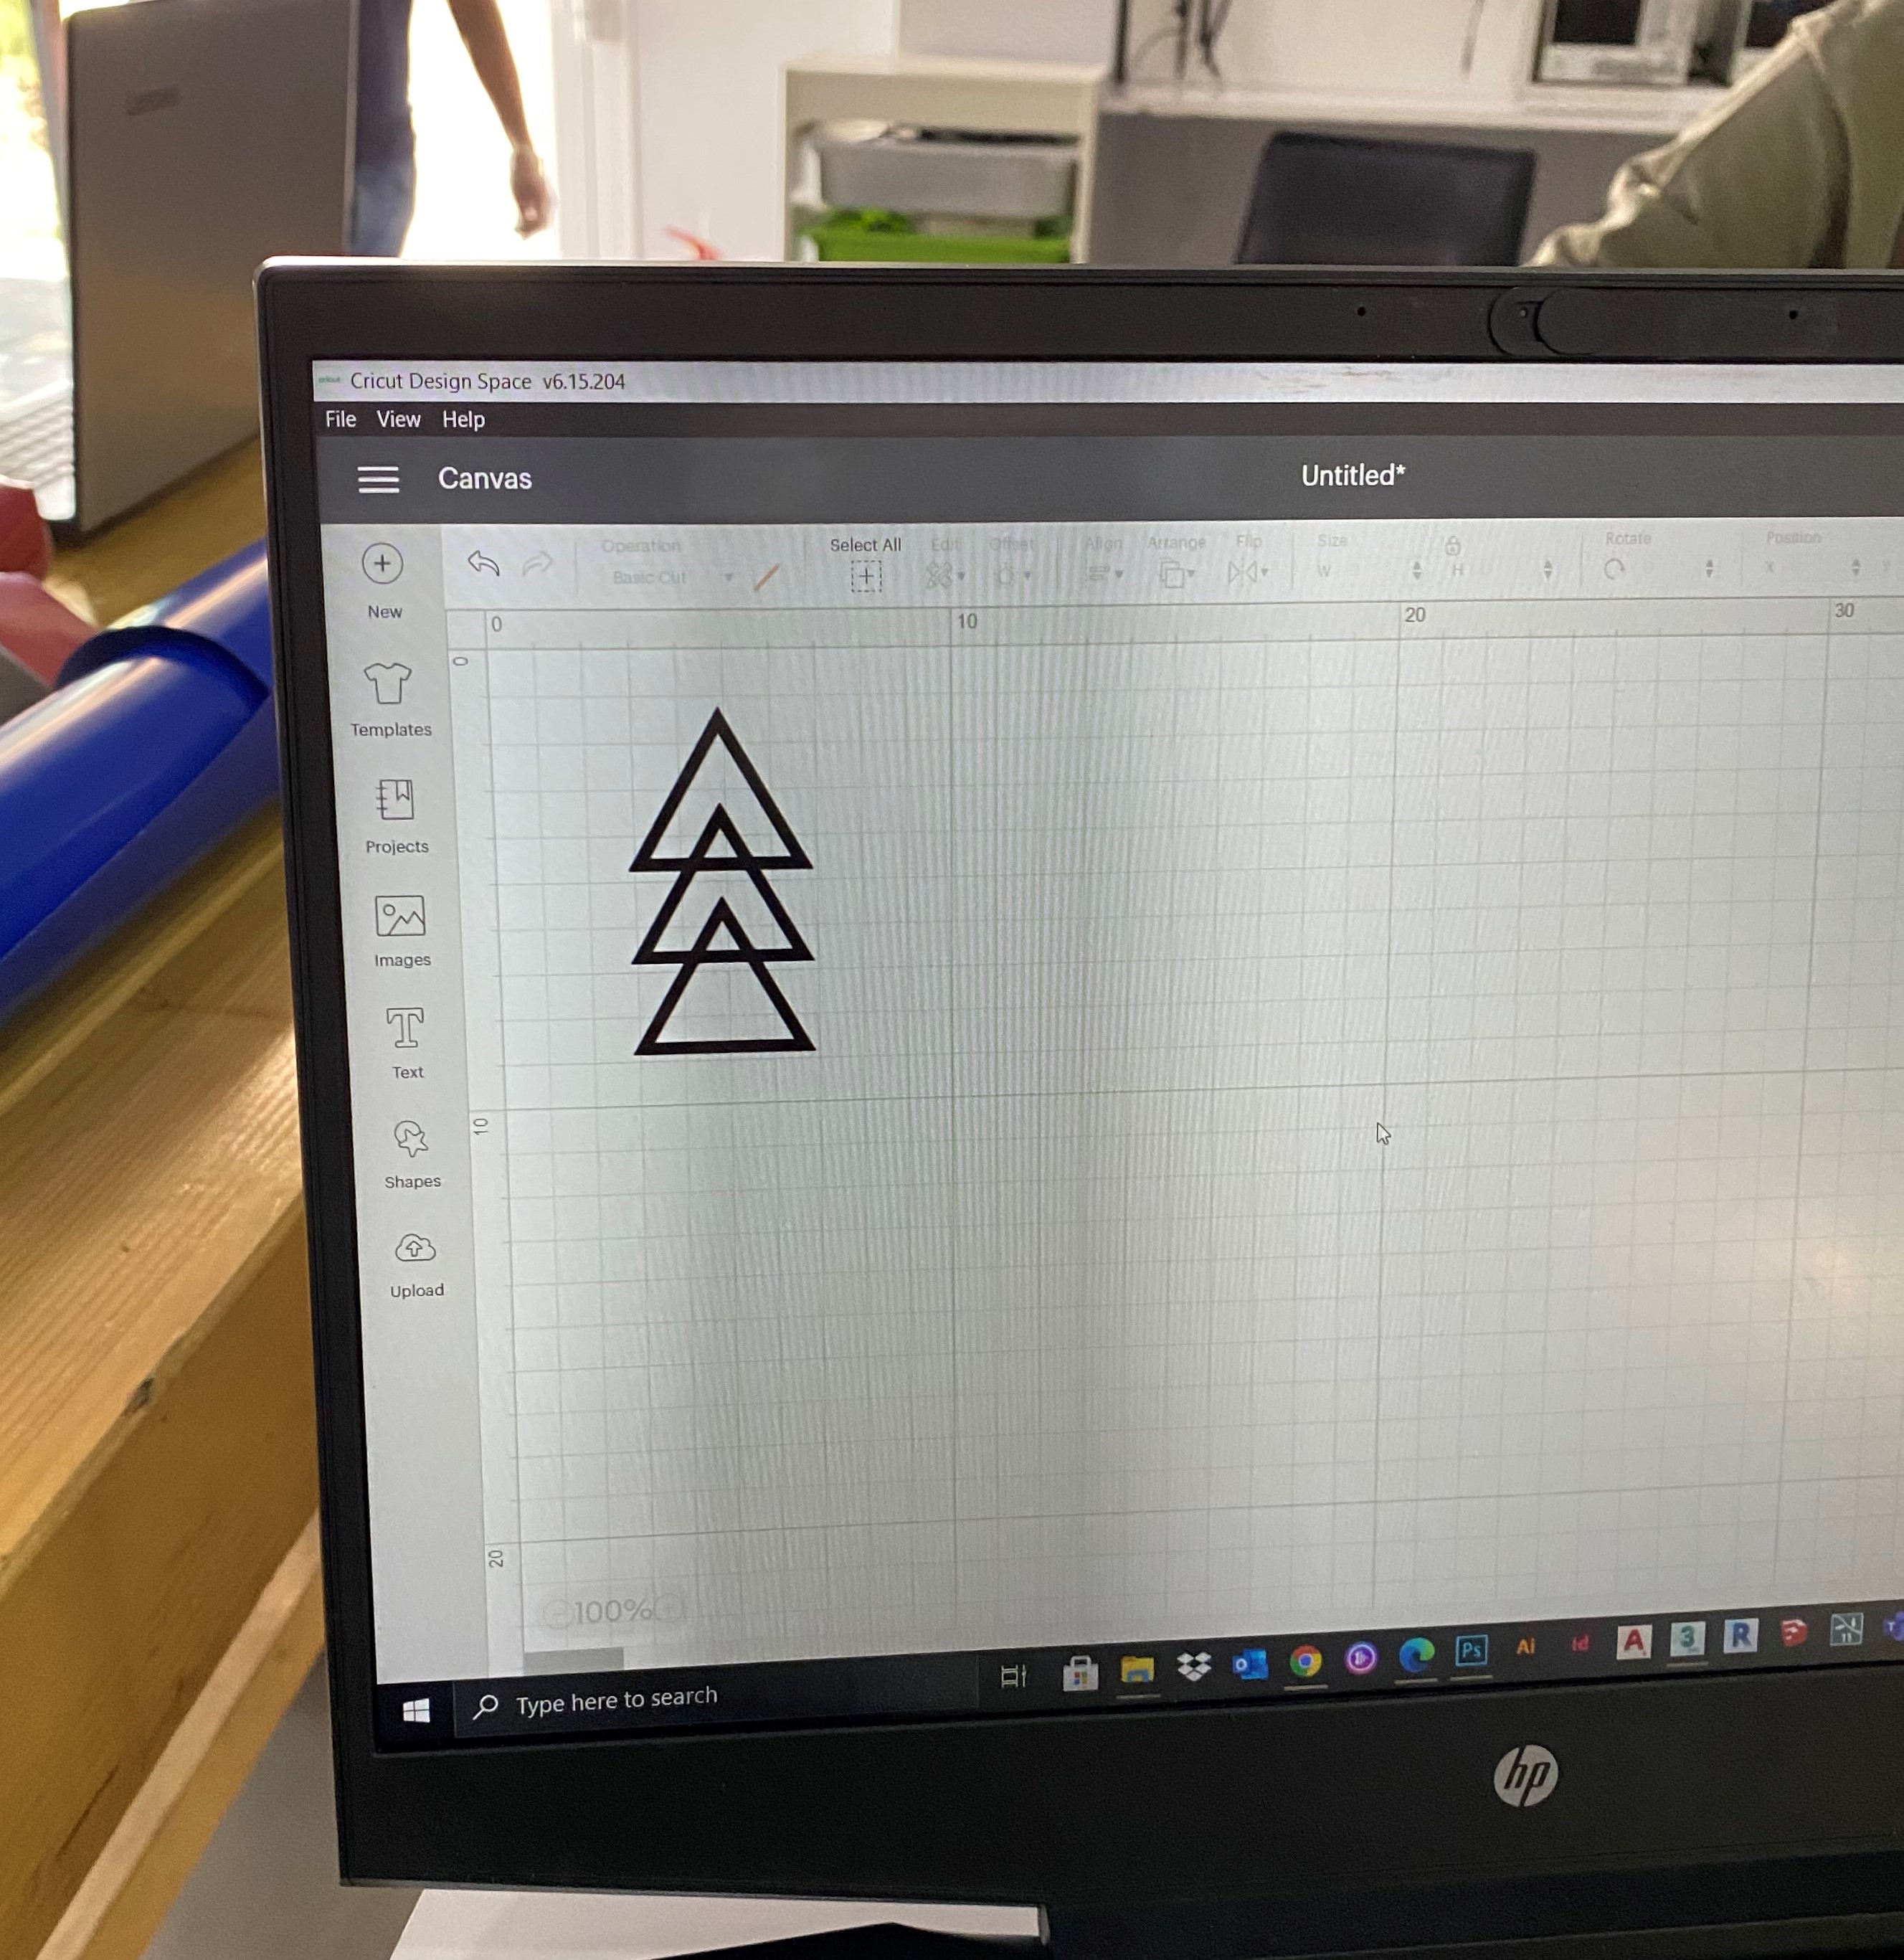
STEP3: Transferred it to Cricut app and adjusted its size
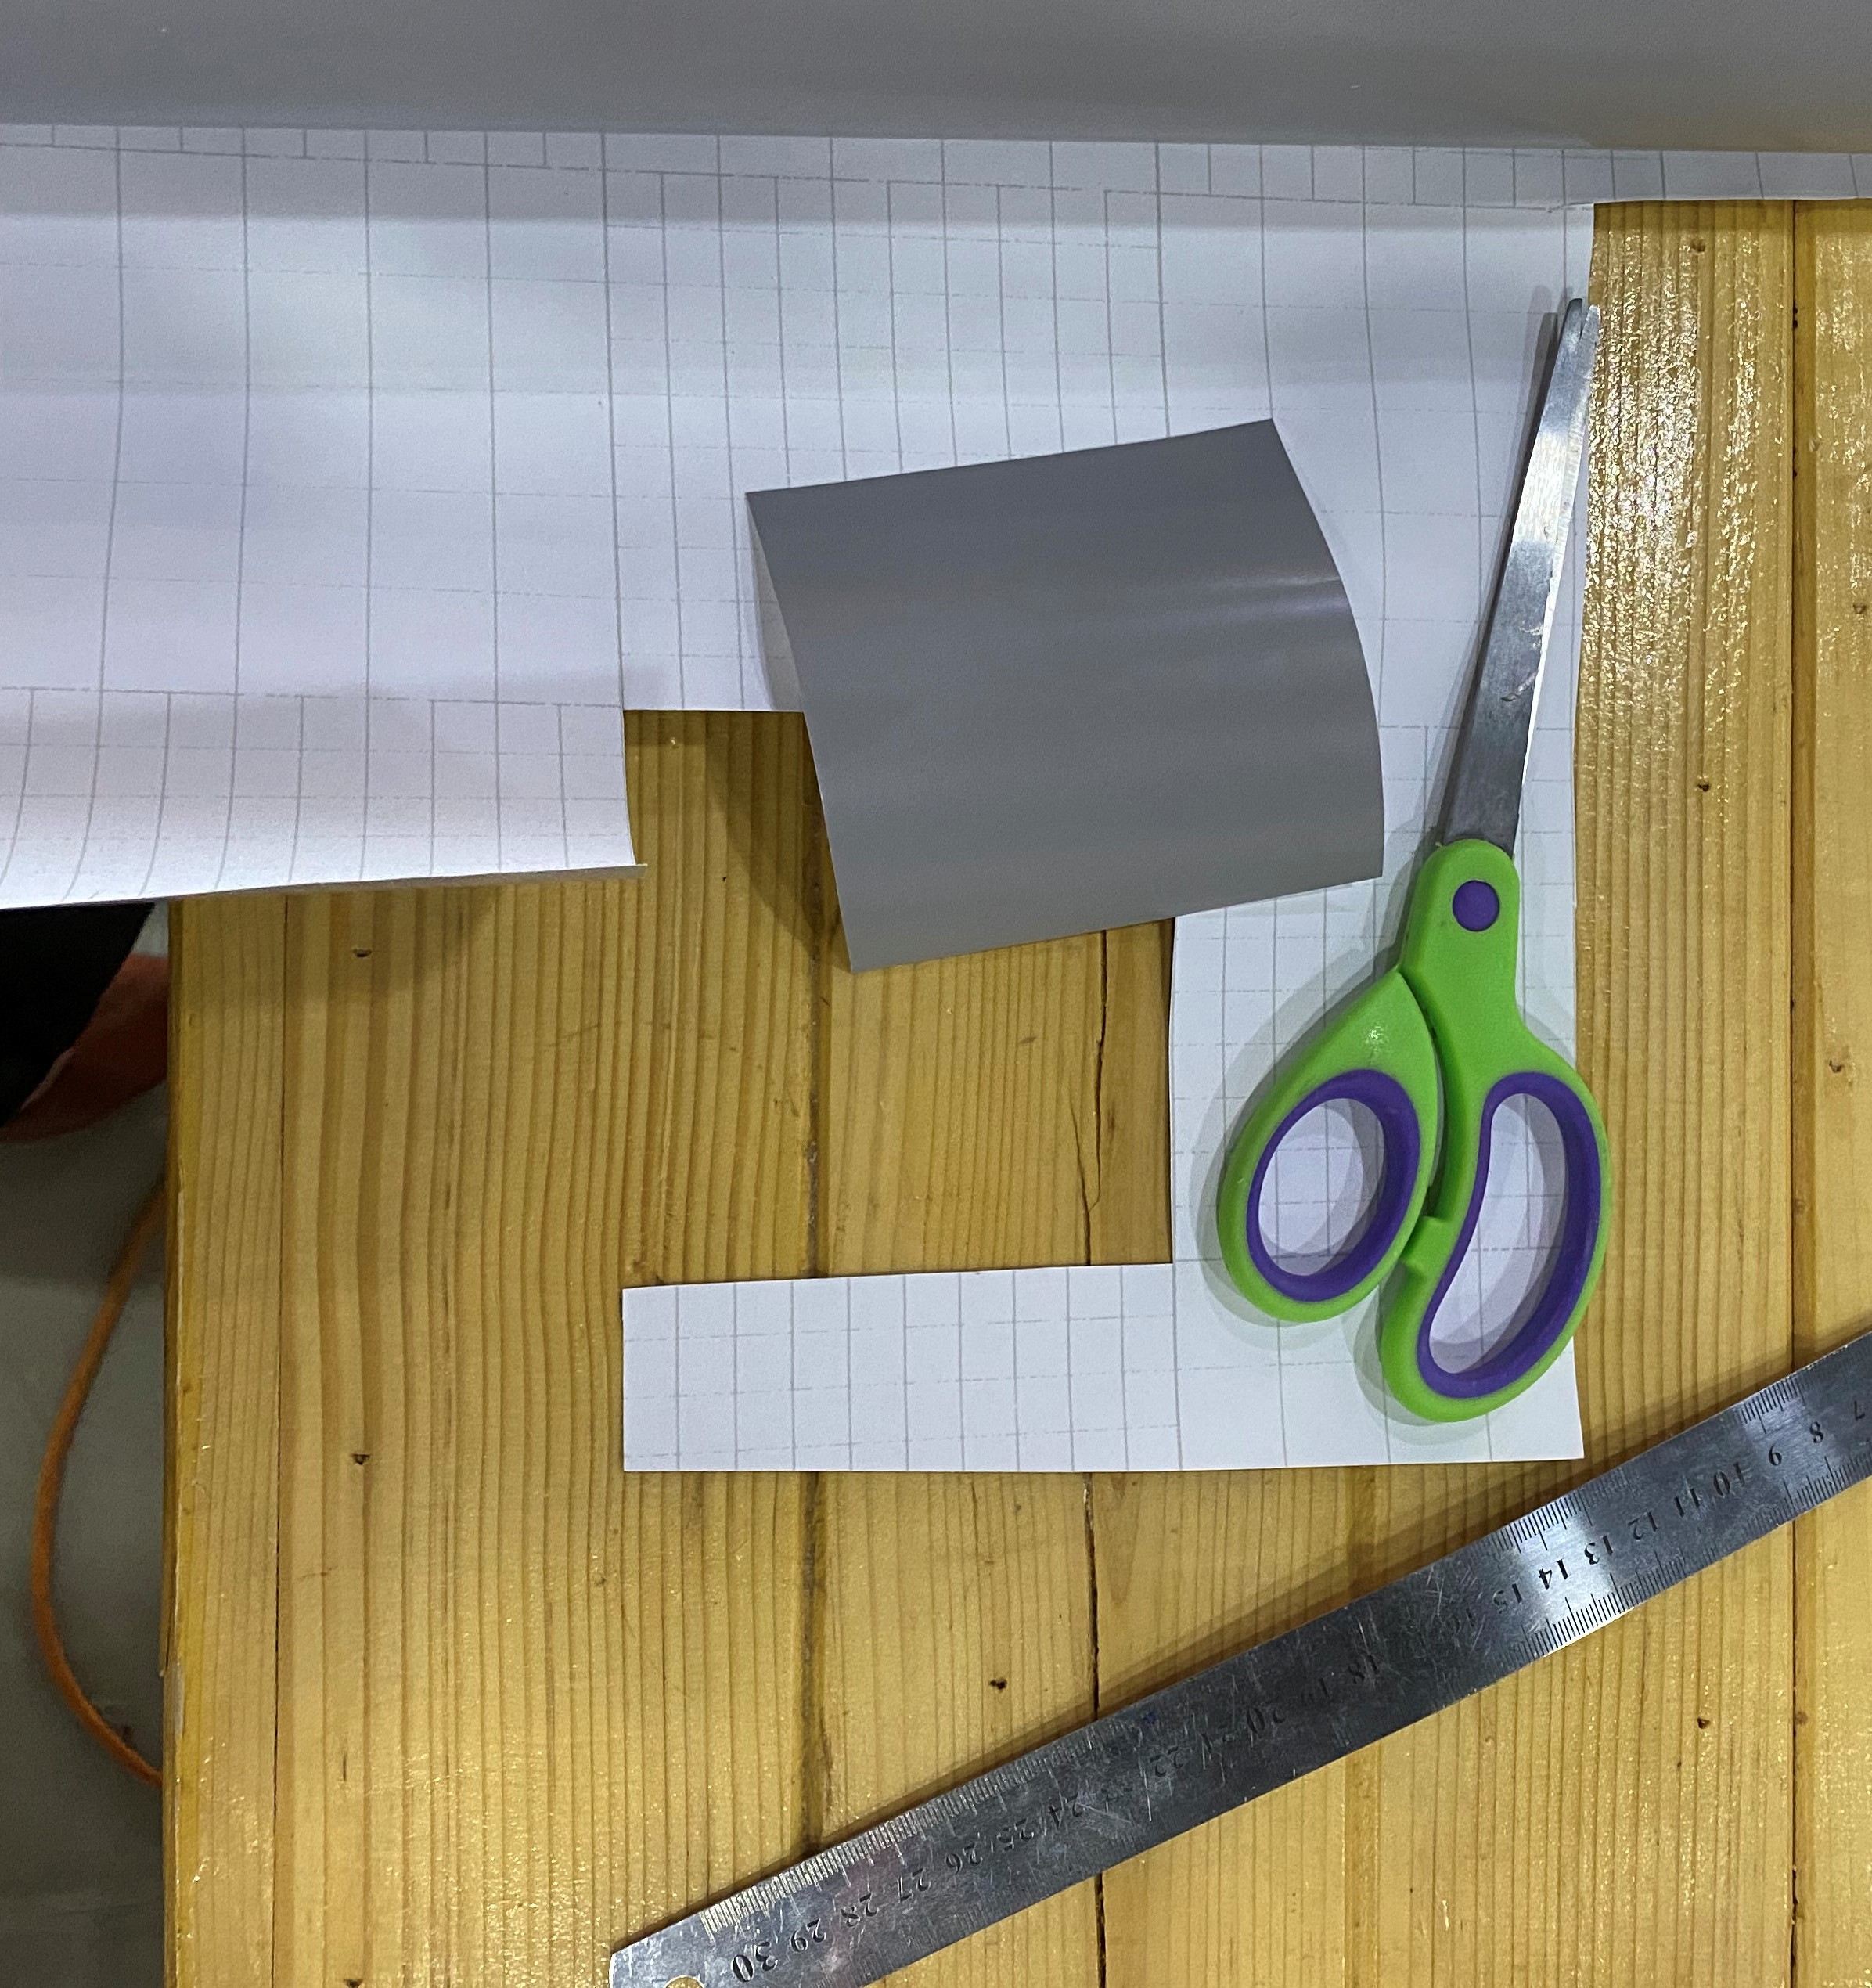
STEP4: I chose the surface I wanted which was a grey sticky sheet and prepared it to match the size of my design
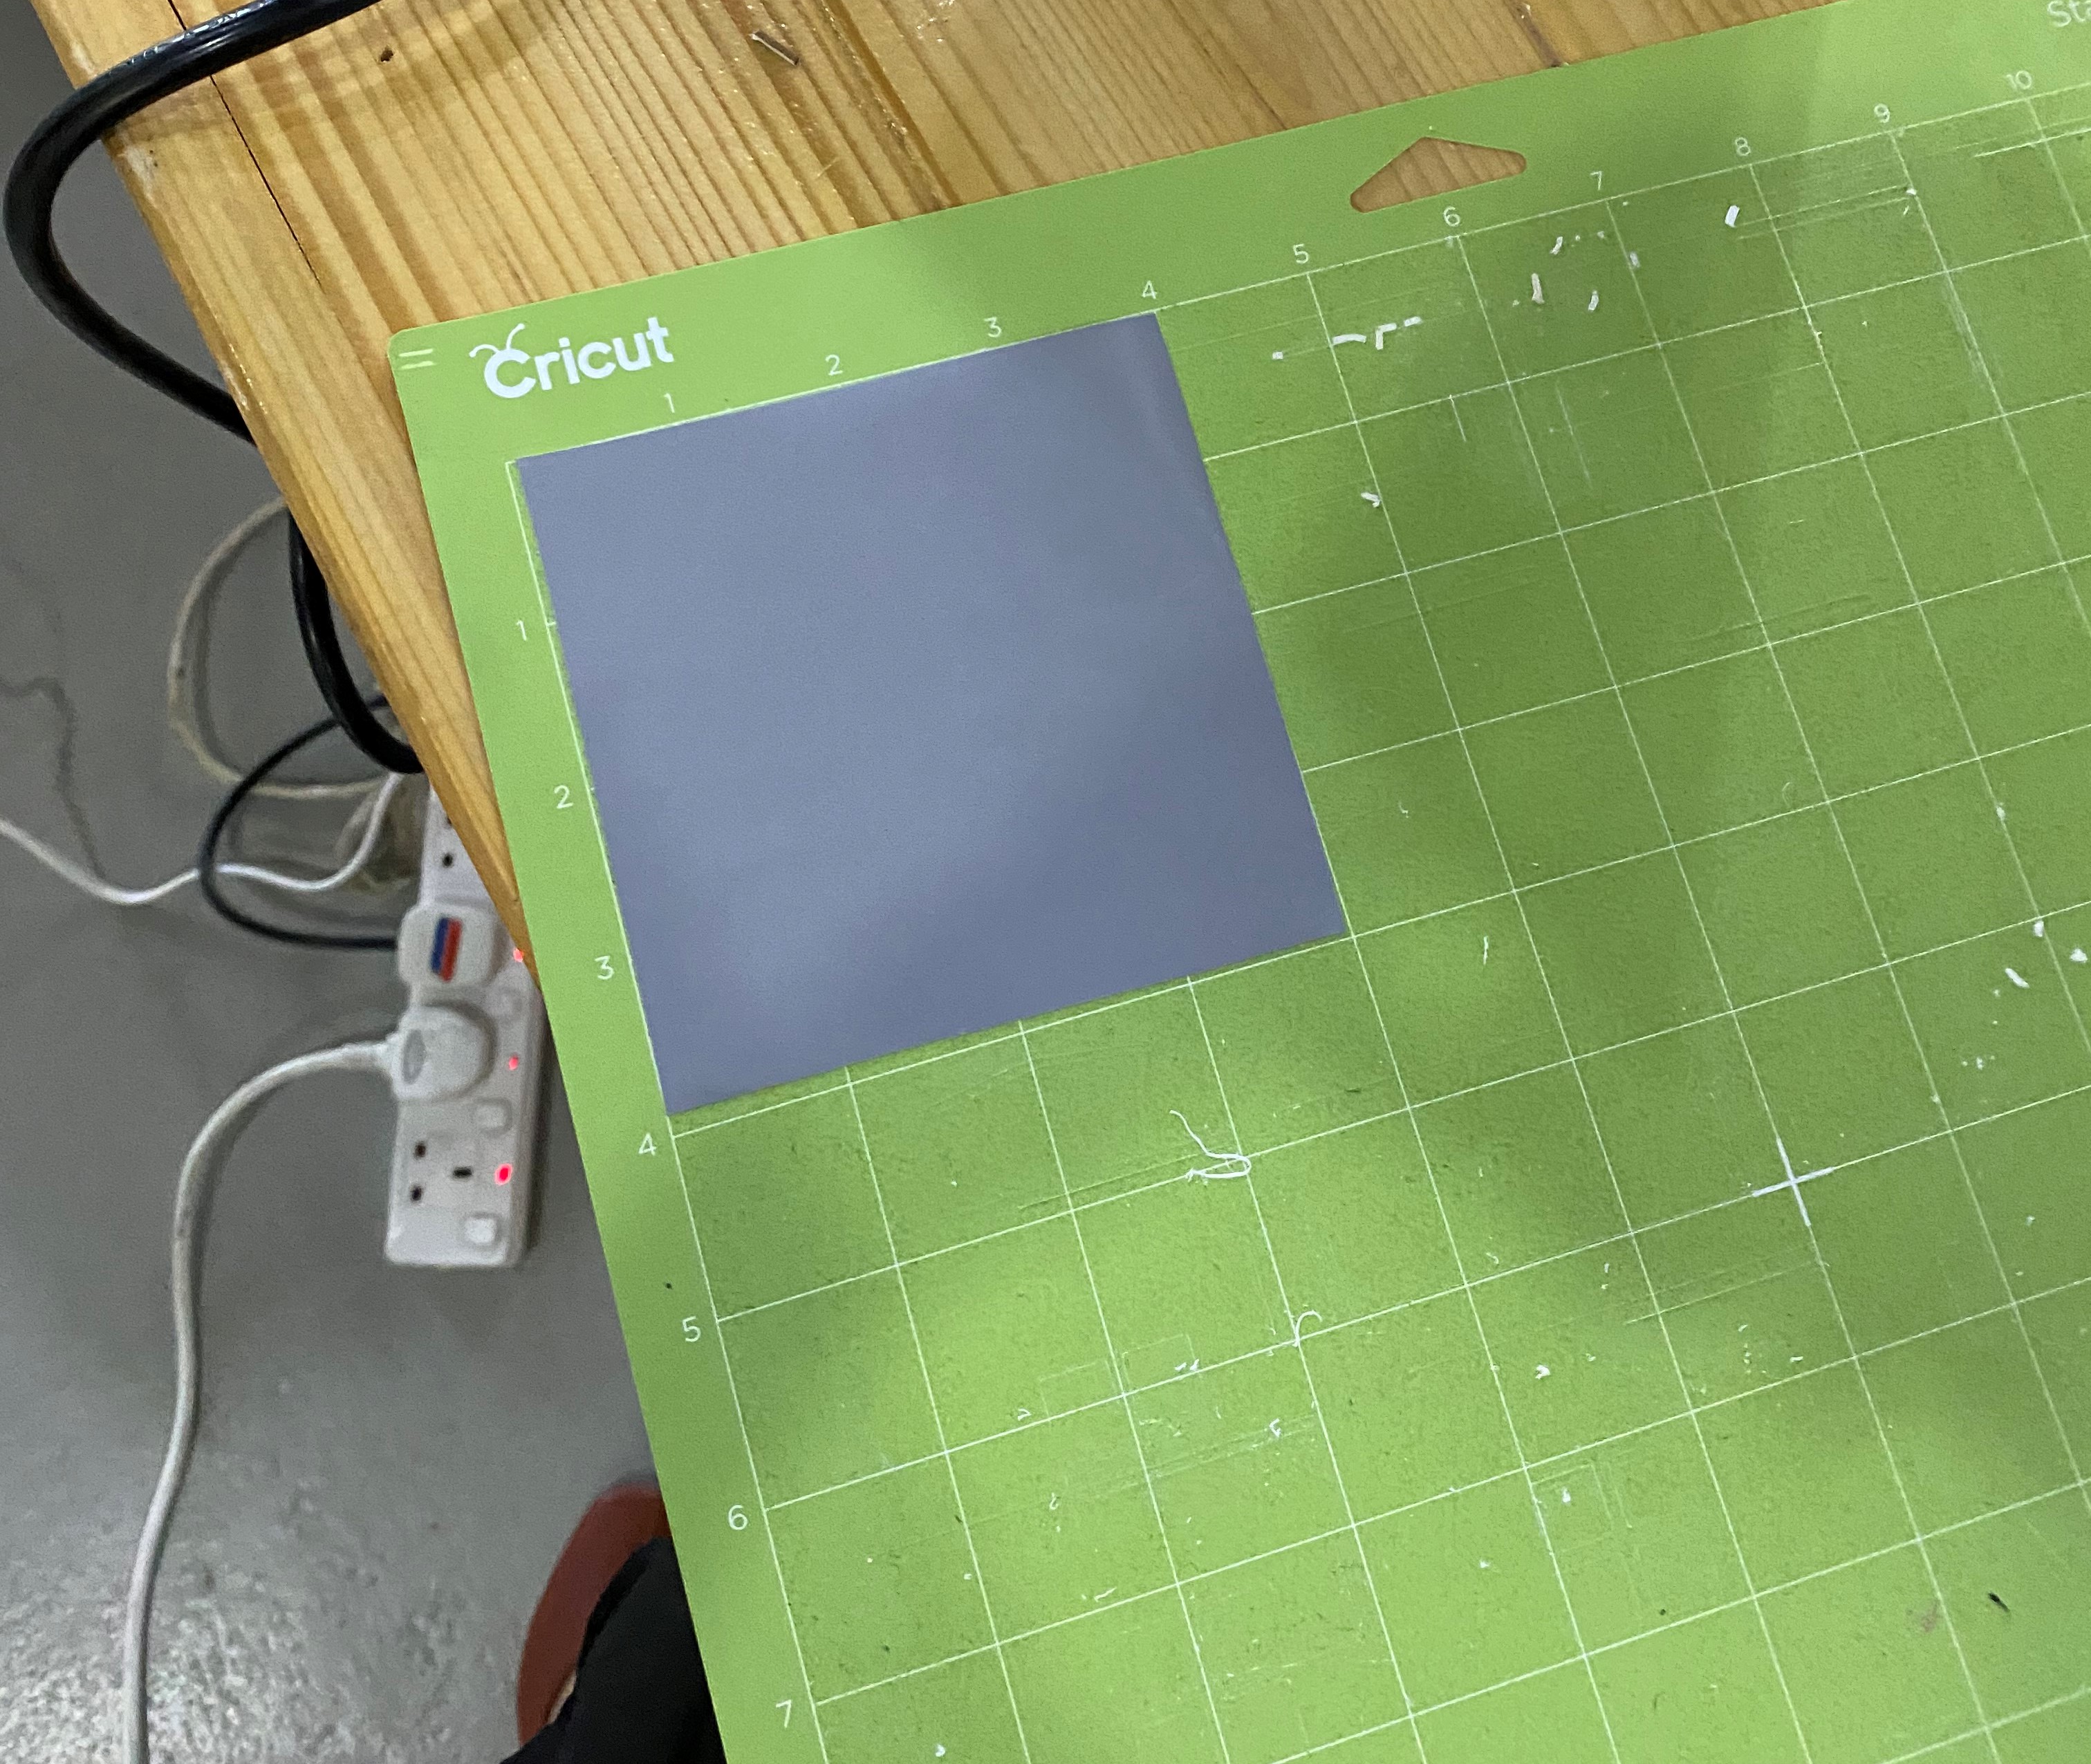
STEP5: Pasted the surface on Cricut’s sticky sheet to prevent it from moving during the cutting process
STEP6: Put it into the machine
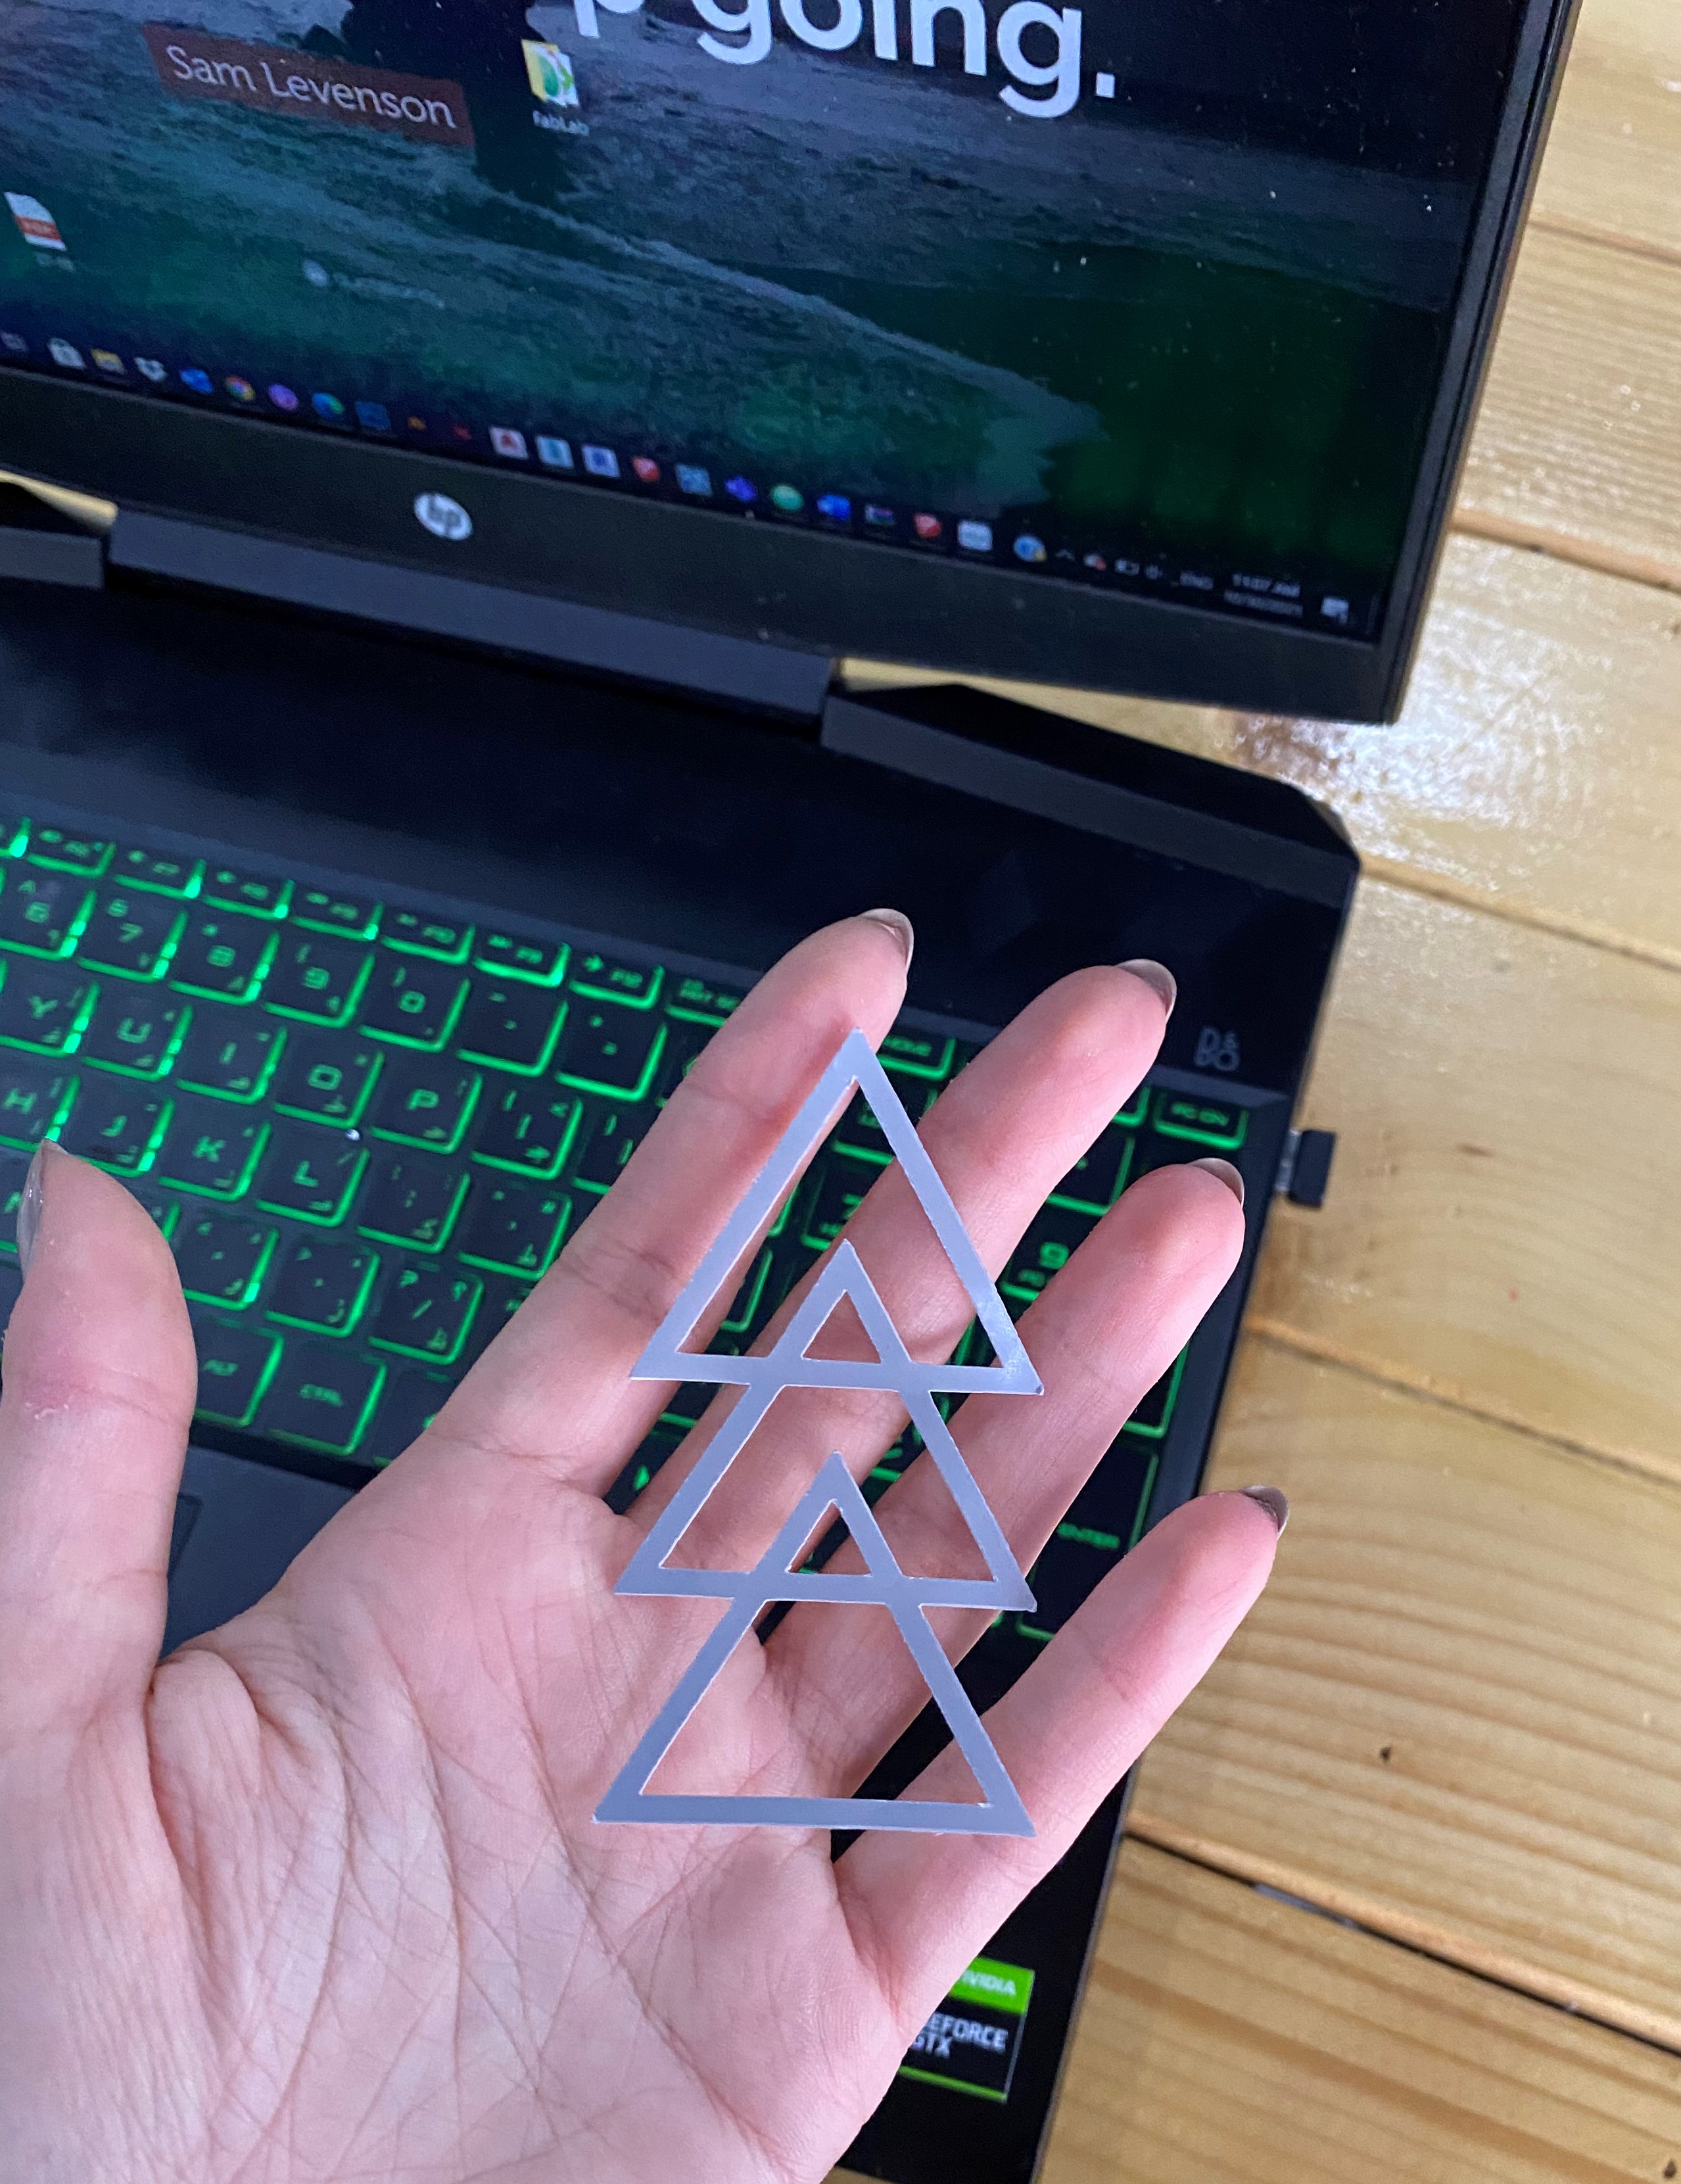
Le voilà!!!
TASK2 (GROUP WORK)
 Our second task for this week was related to laser cutting machine, we got to know how to adjust the sittings to end up with the best cutting results by going through a number of experiments. Find the steps of our experience below:
Computer Sittings
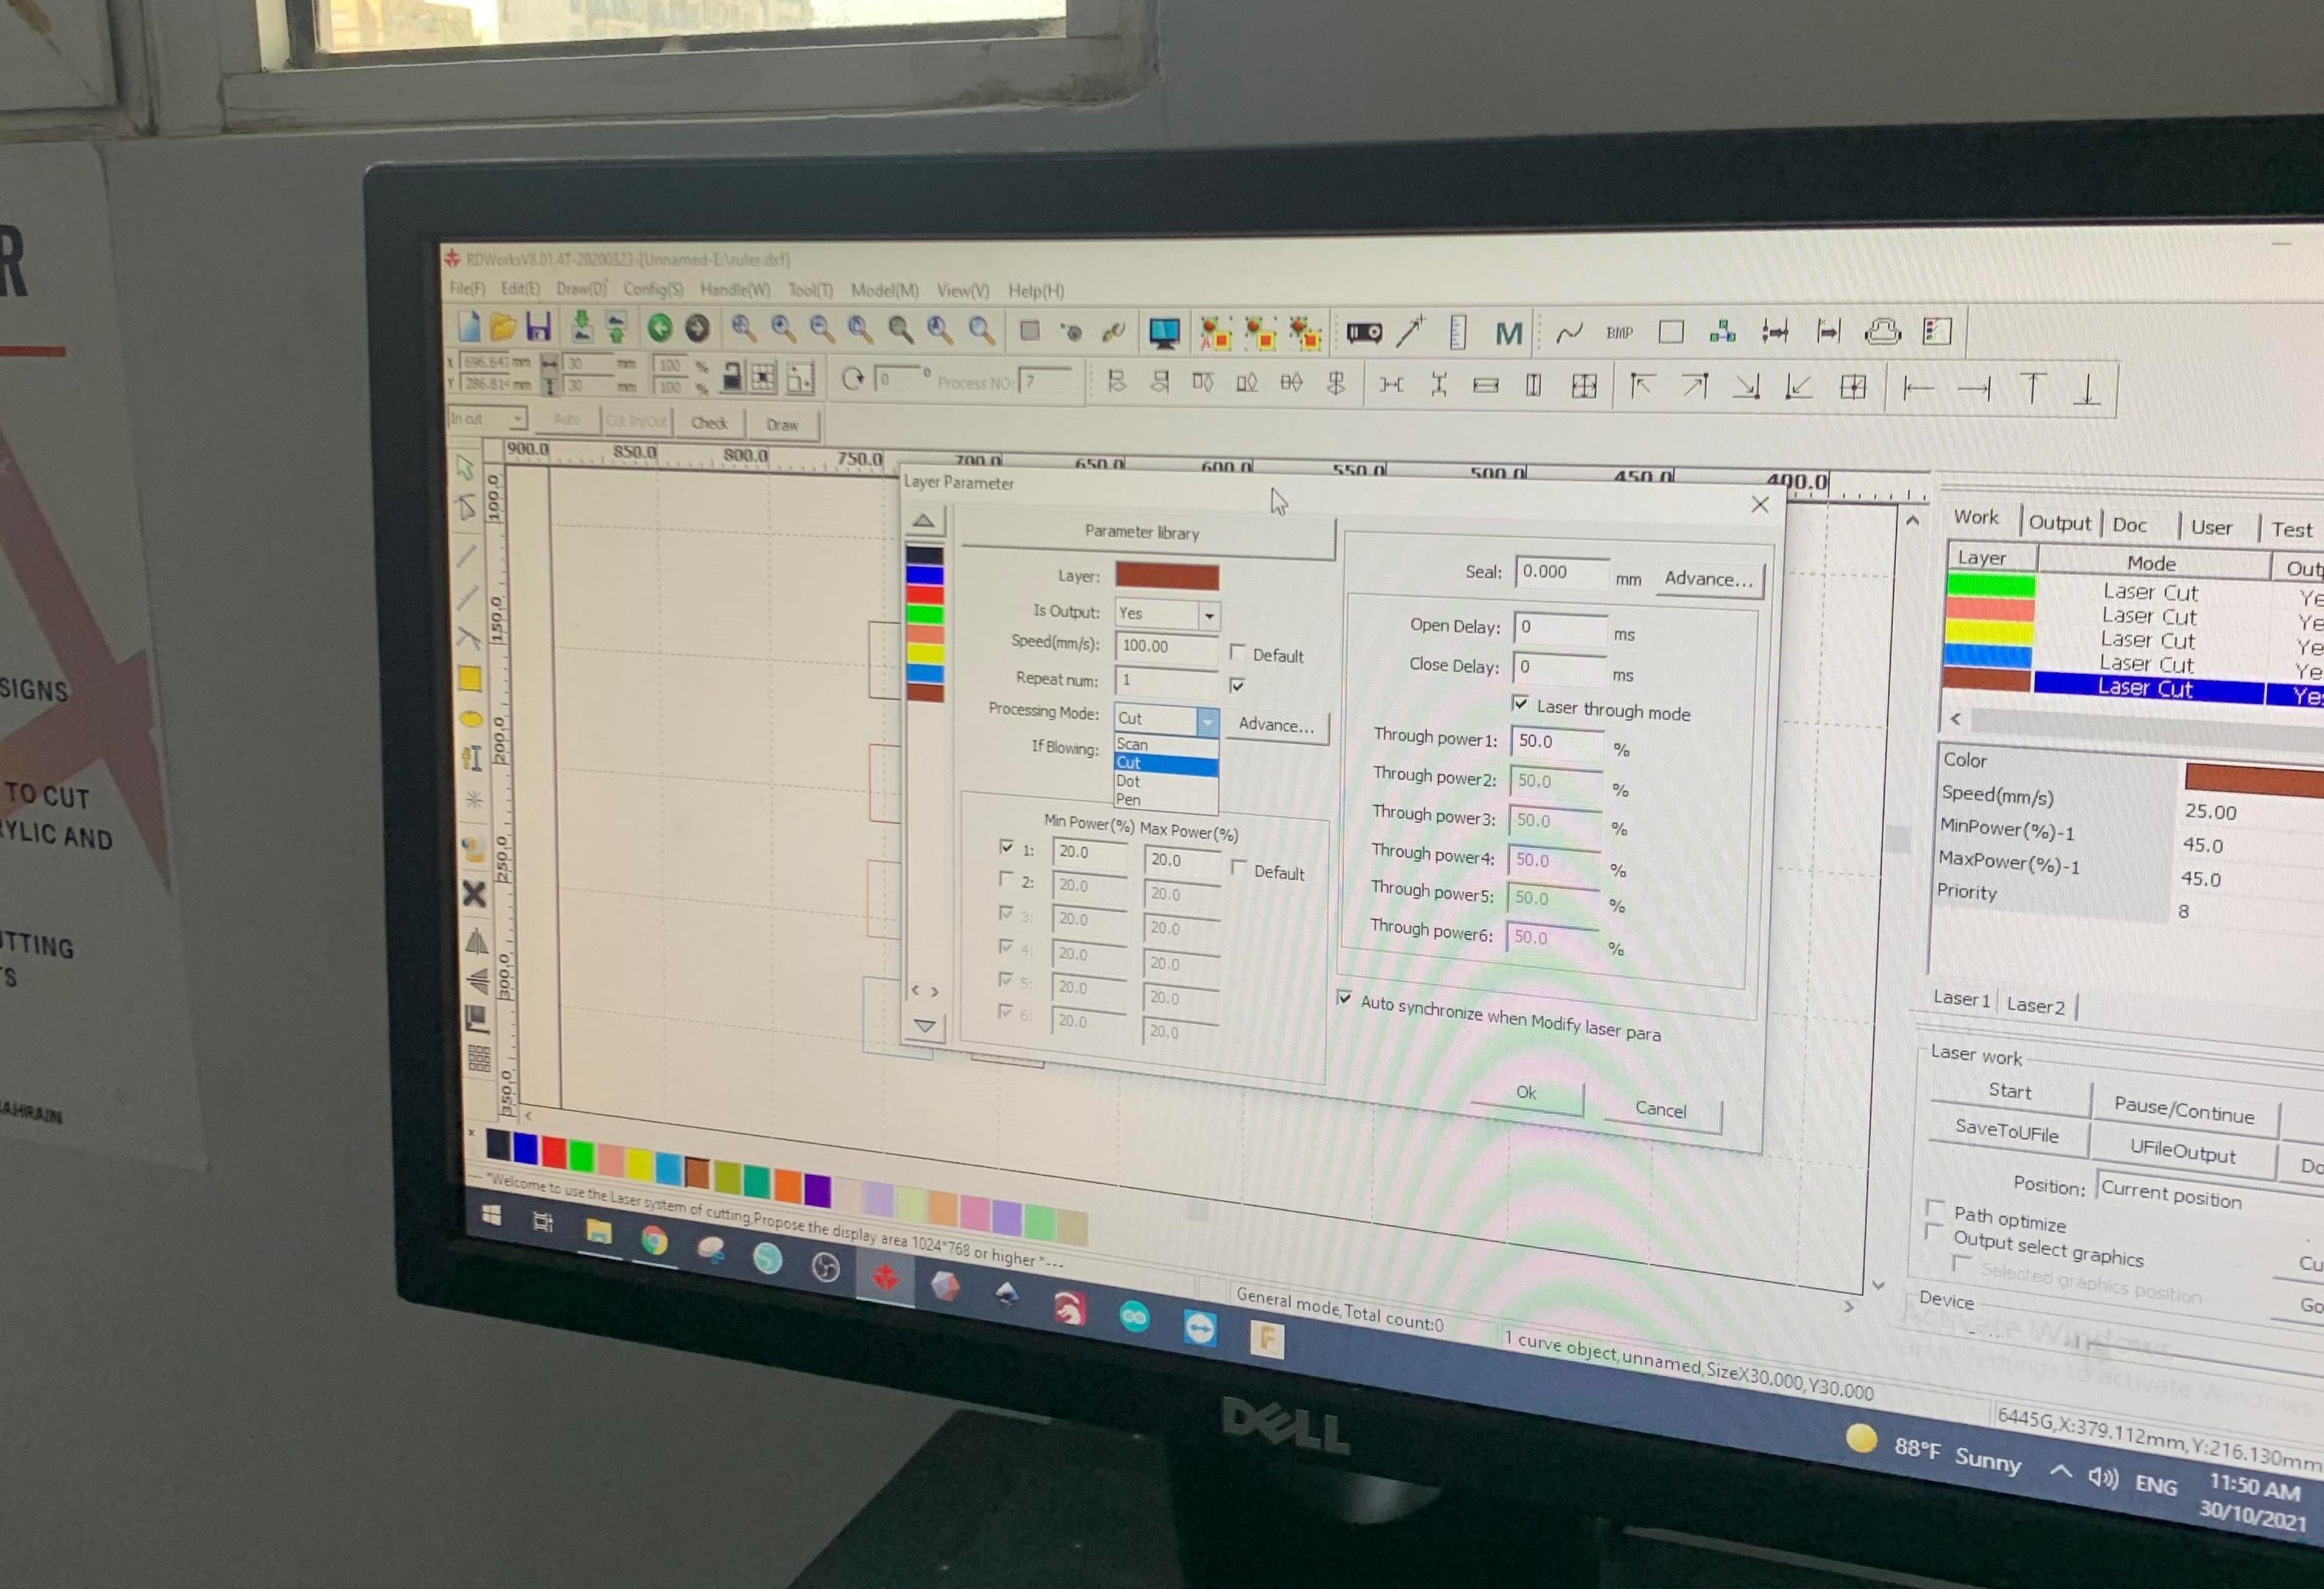
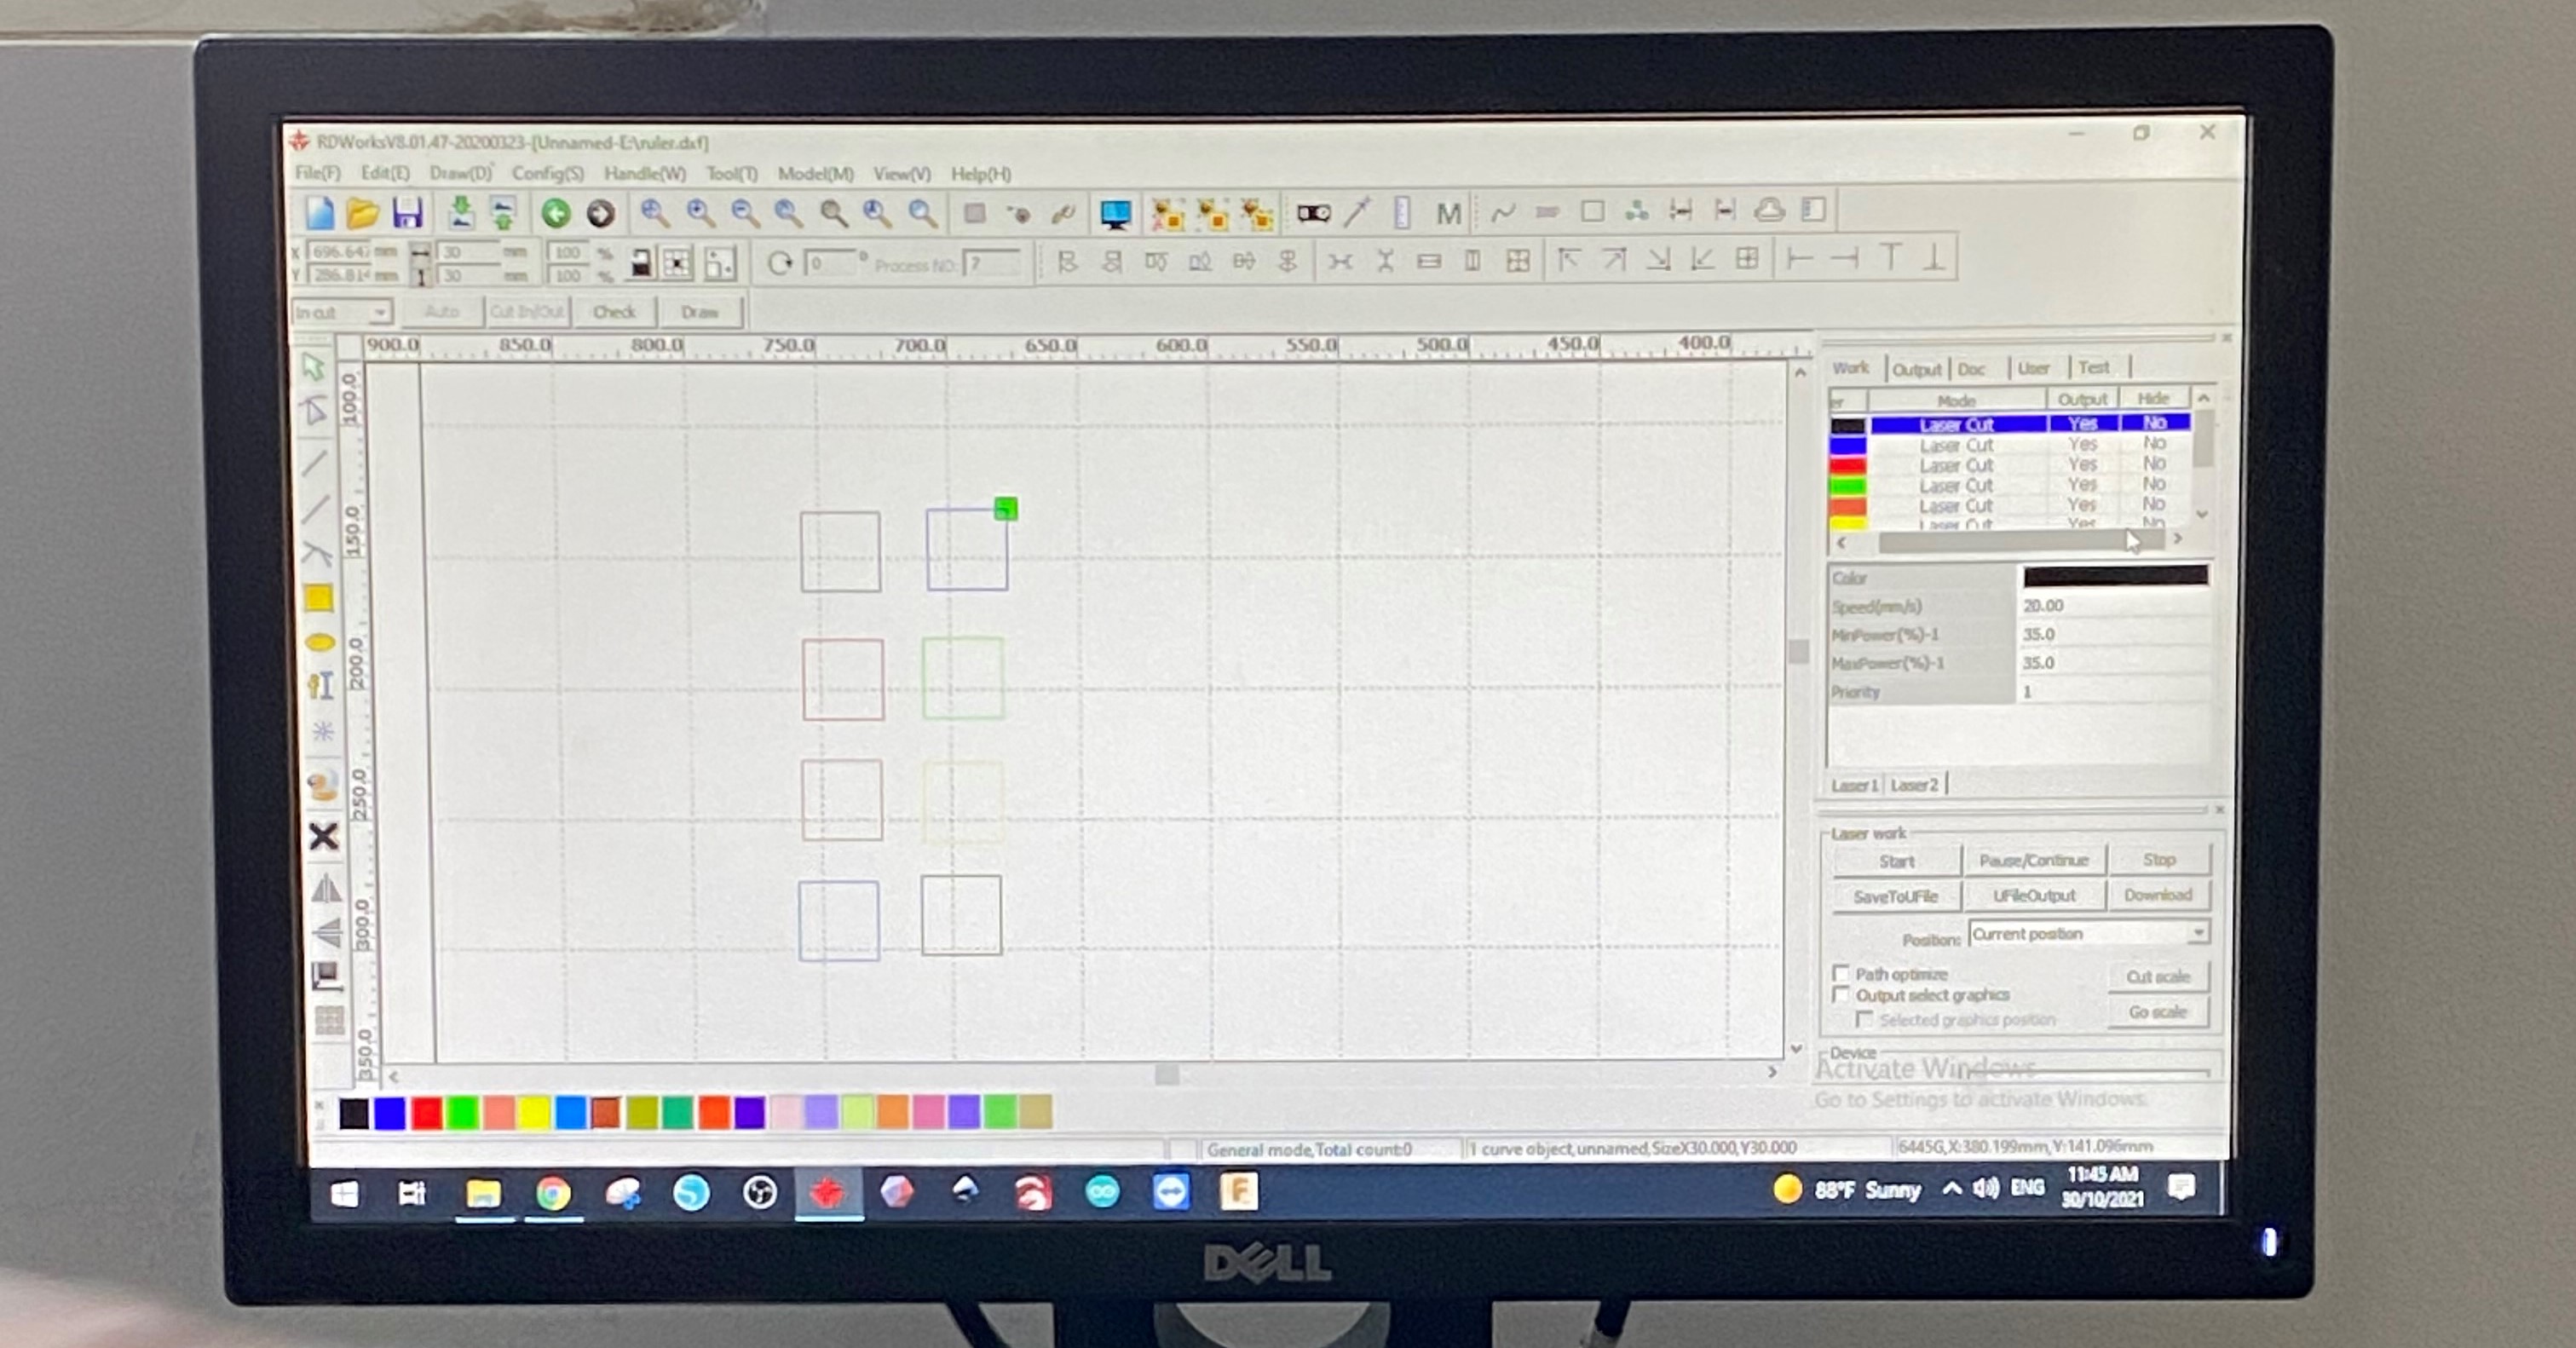
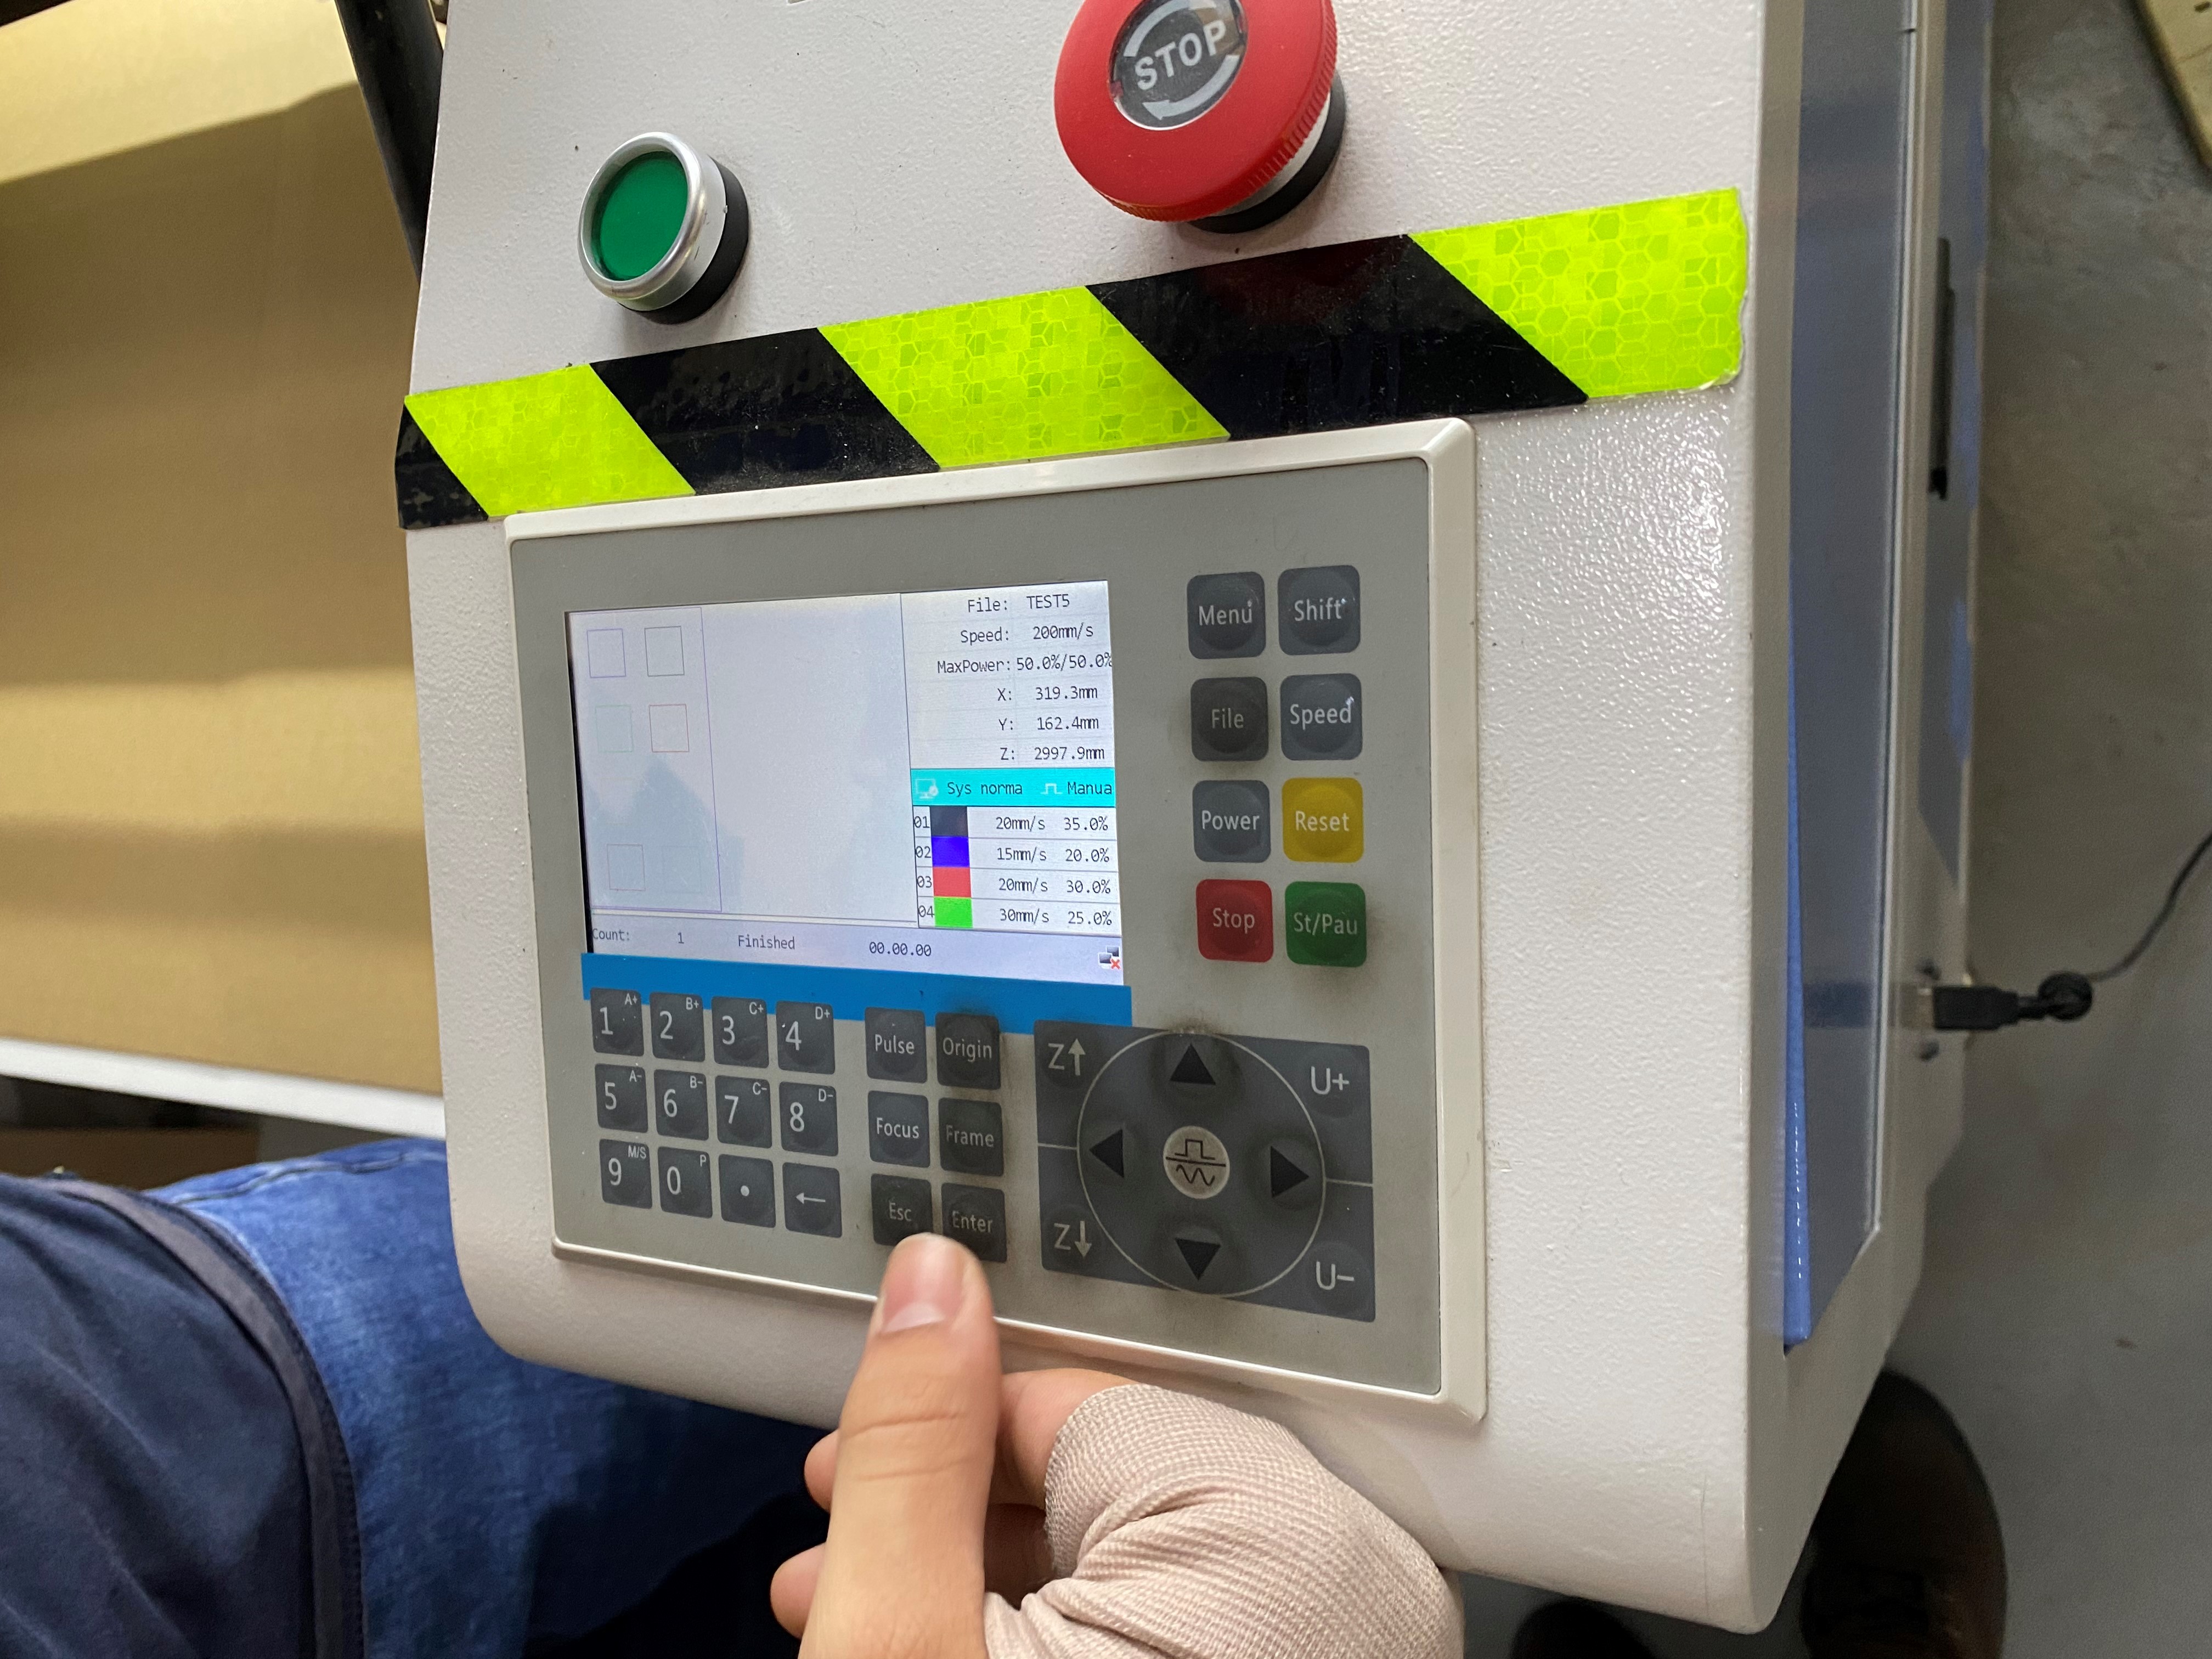
The first thing we did was preparing a basic testing sheet that includes a number of squares, then we adjusted the sittings where every square got a different colour with variable speeds and power. For example, S20 and P35. Finally, we uploaded the drawing to the machine. The propose of this experiment was to figure out the best power and speed options for laser cutting.
Machine Sittings
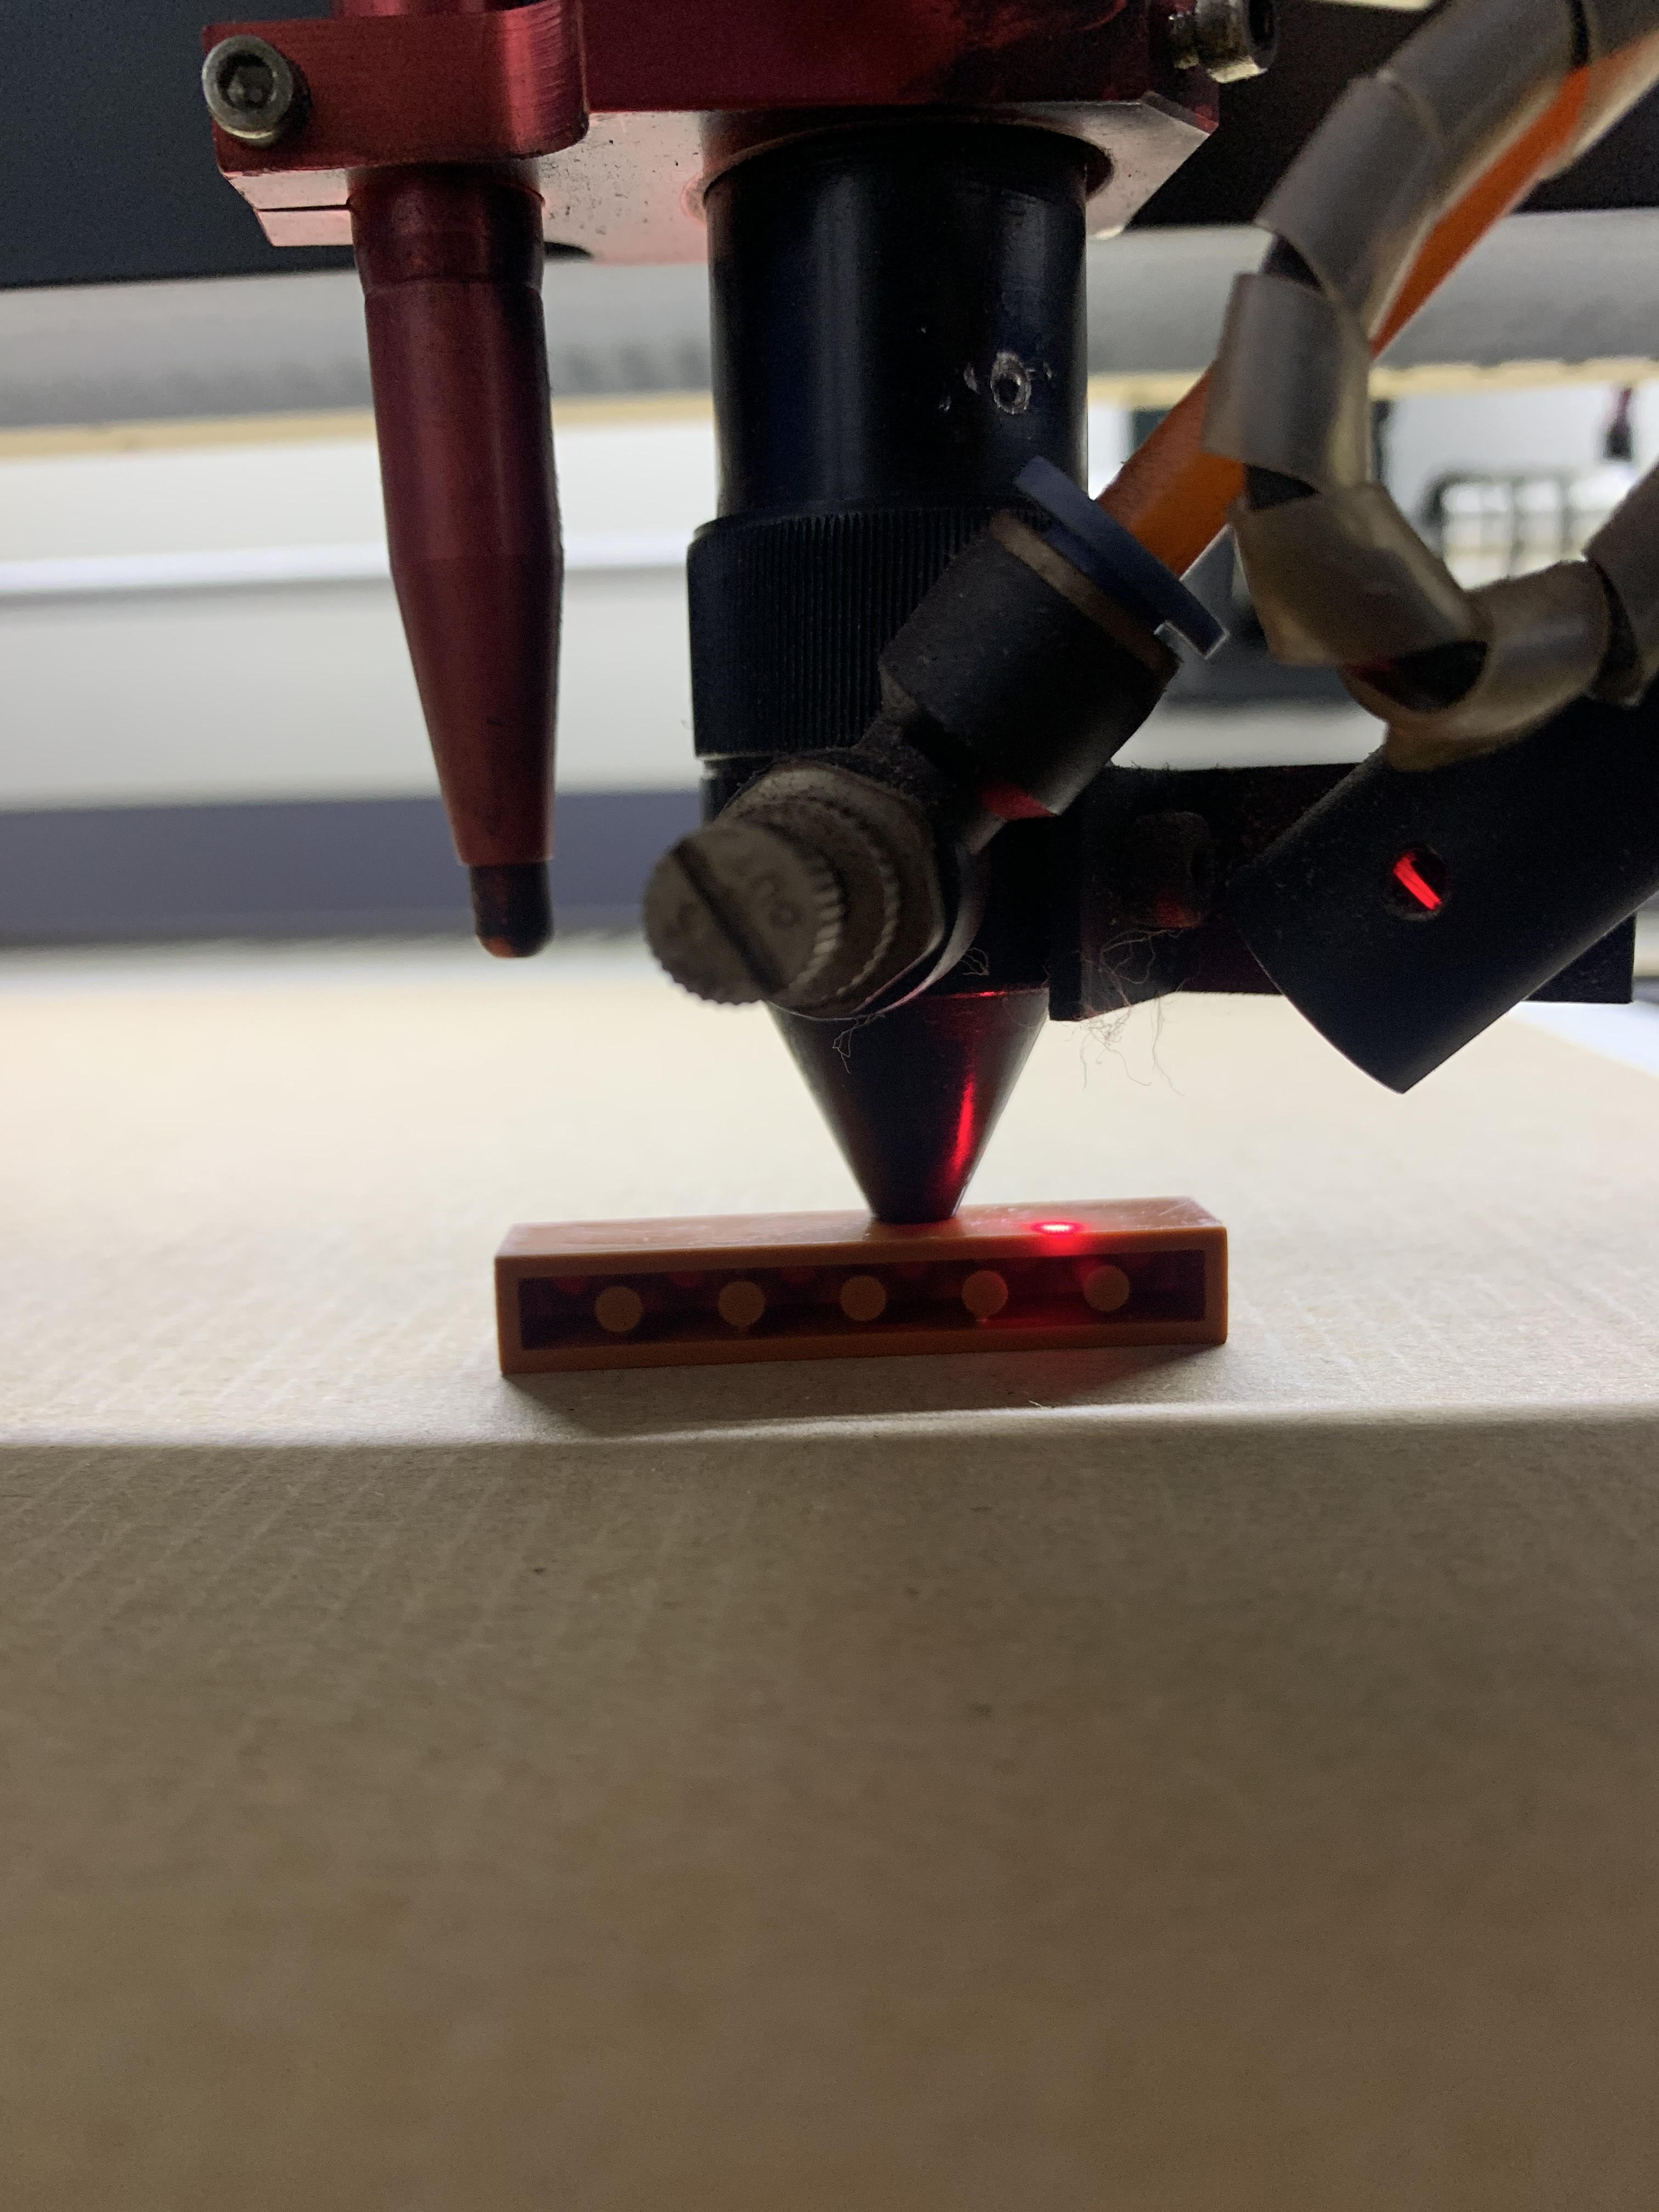
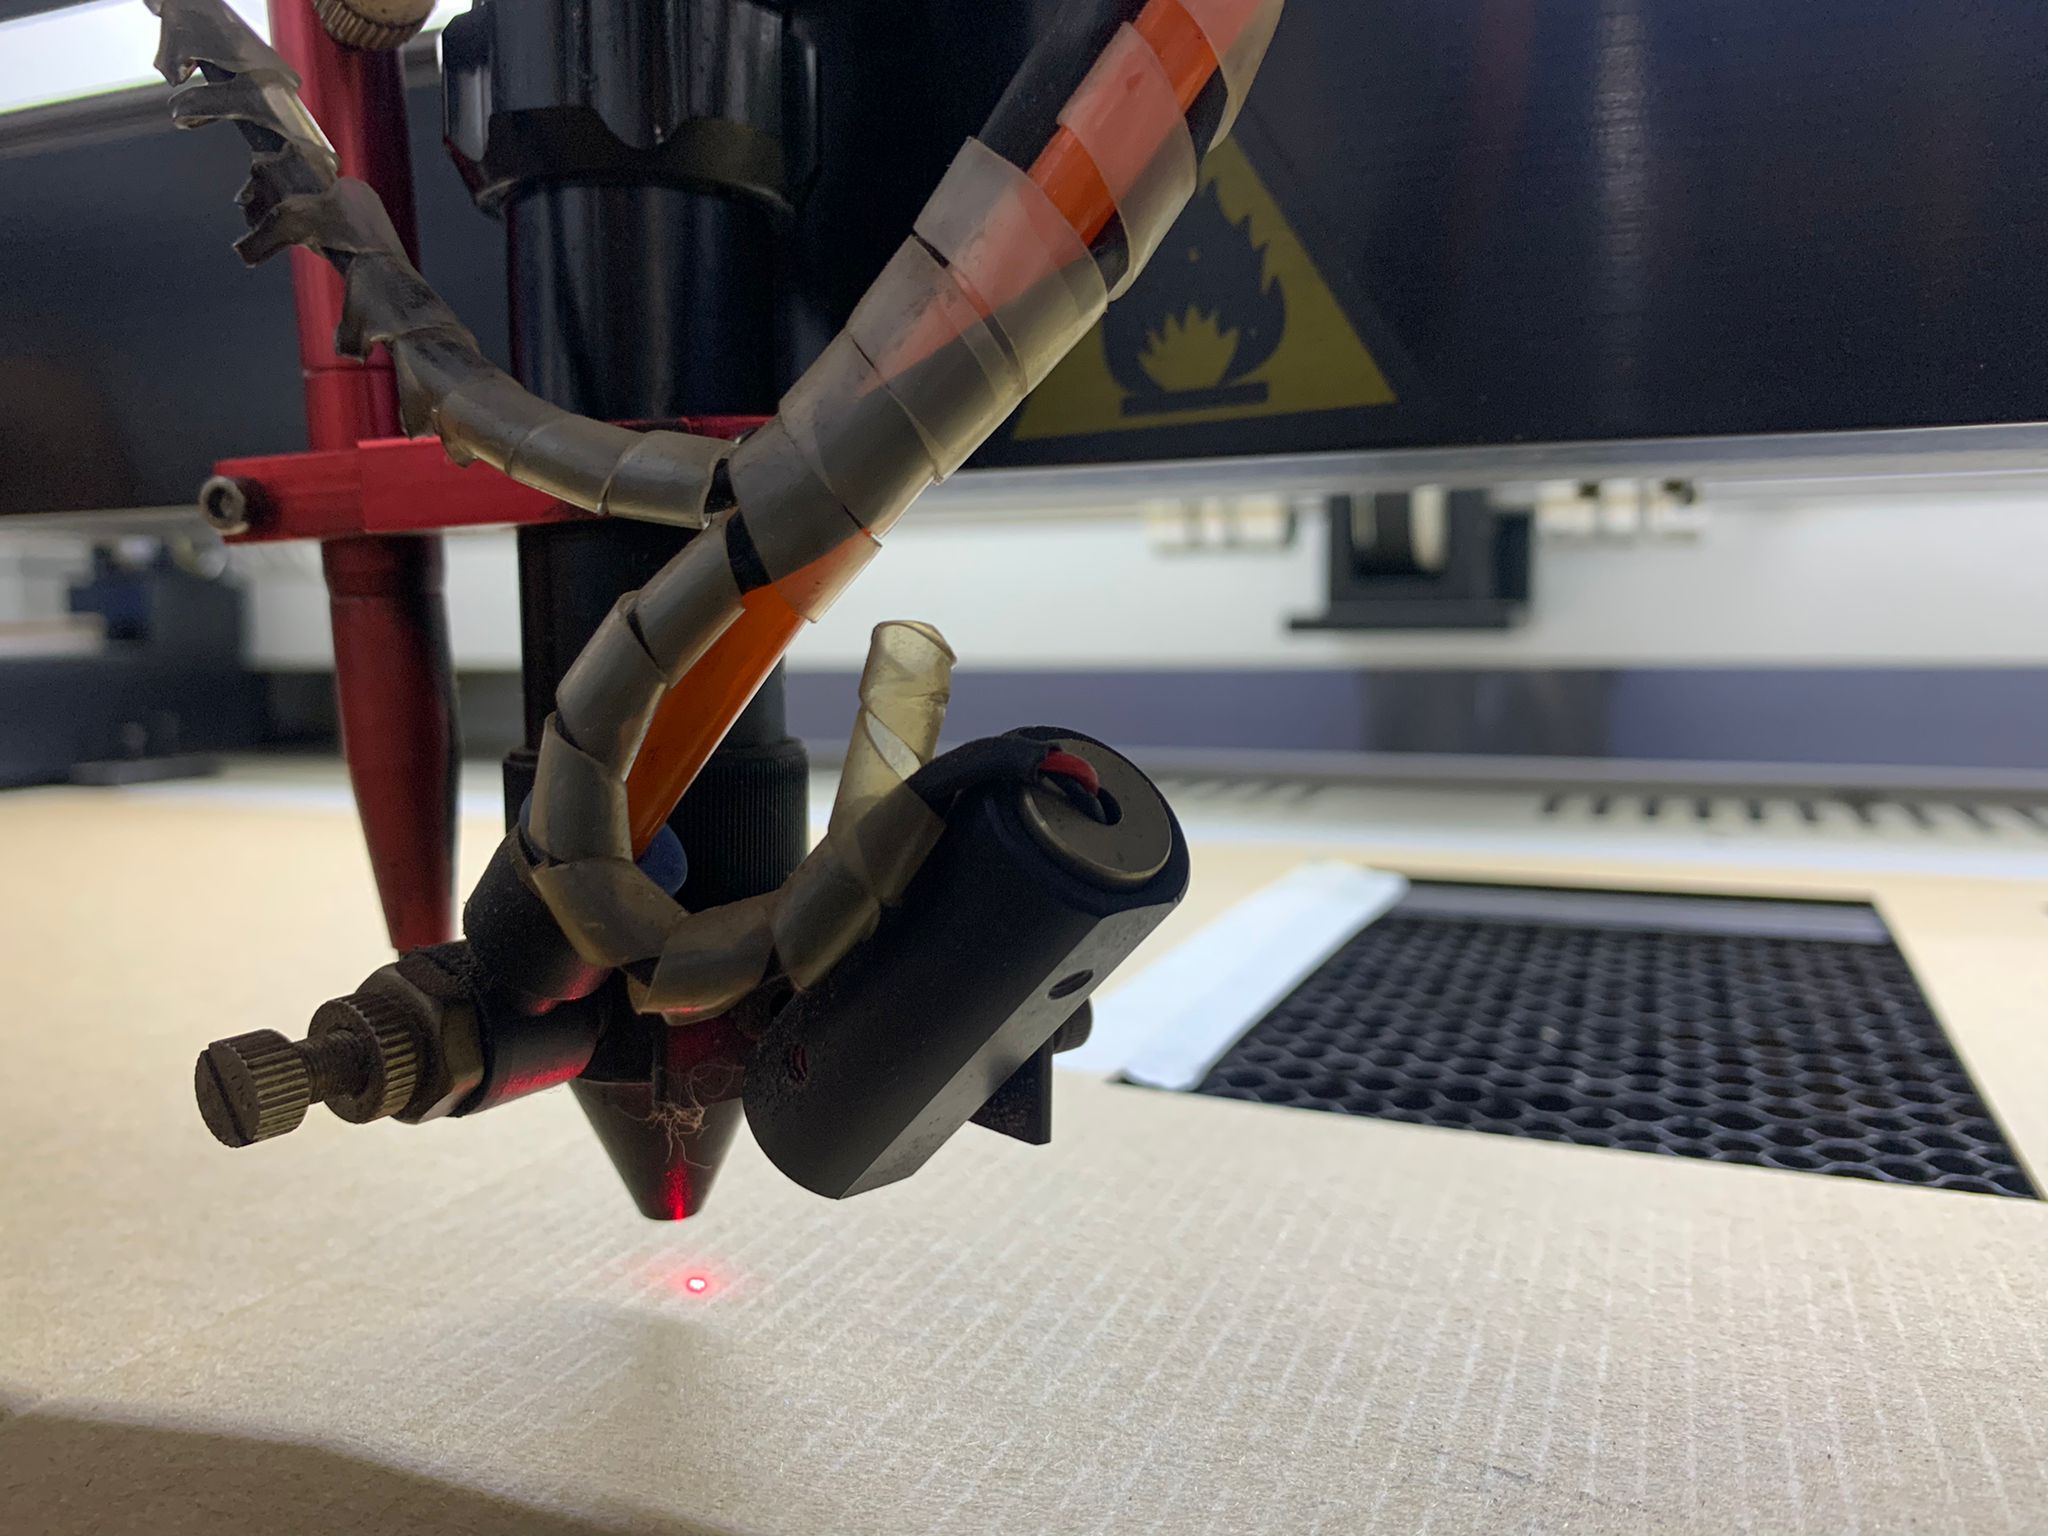
After adjusting computer sittings, we moved on to machine sittings. First, we used a small lego piece to adjust the distance between laser cutting head and the surface of cardboard to get the ideal distance (focal length).
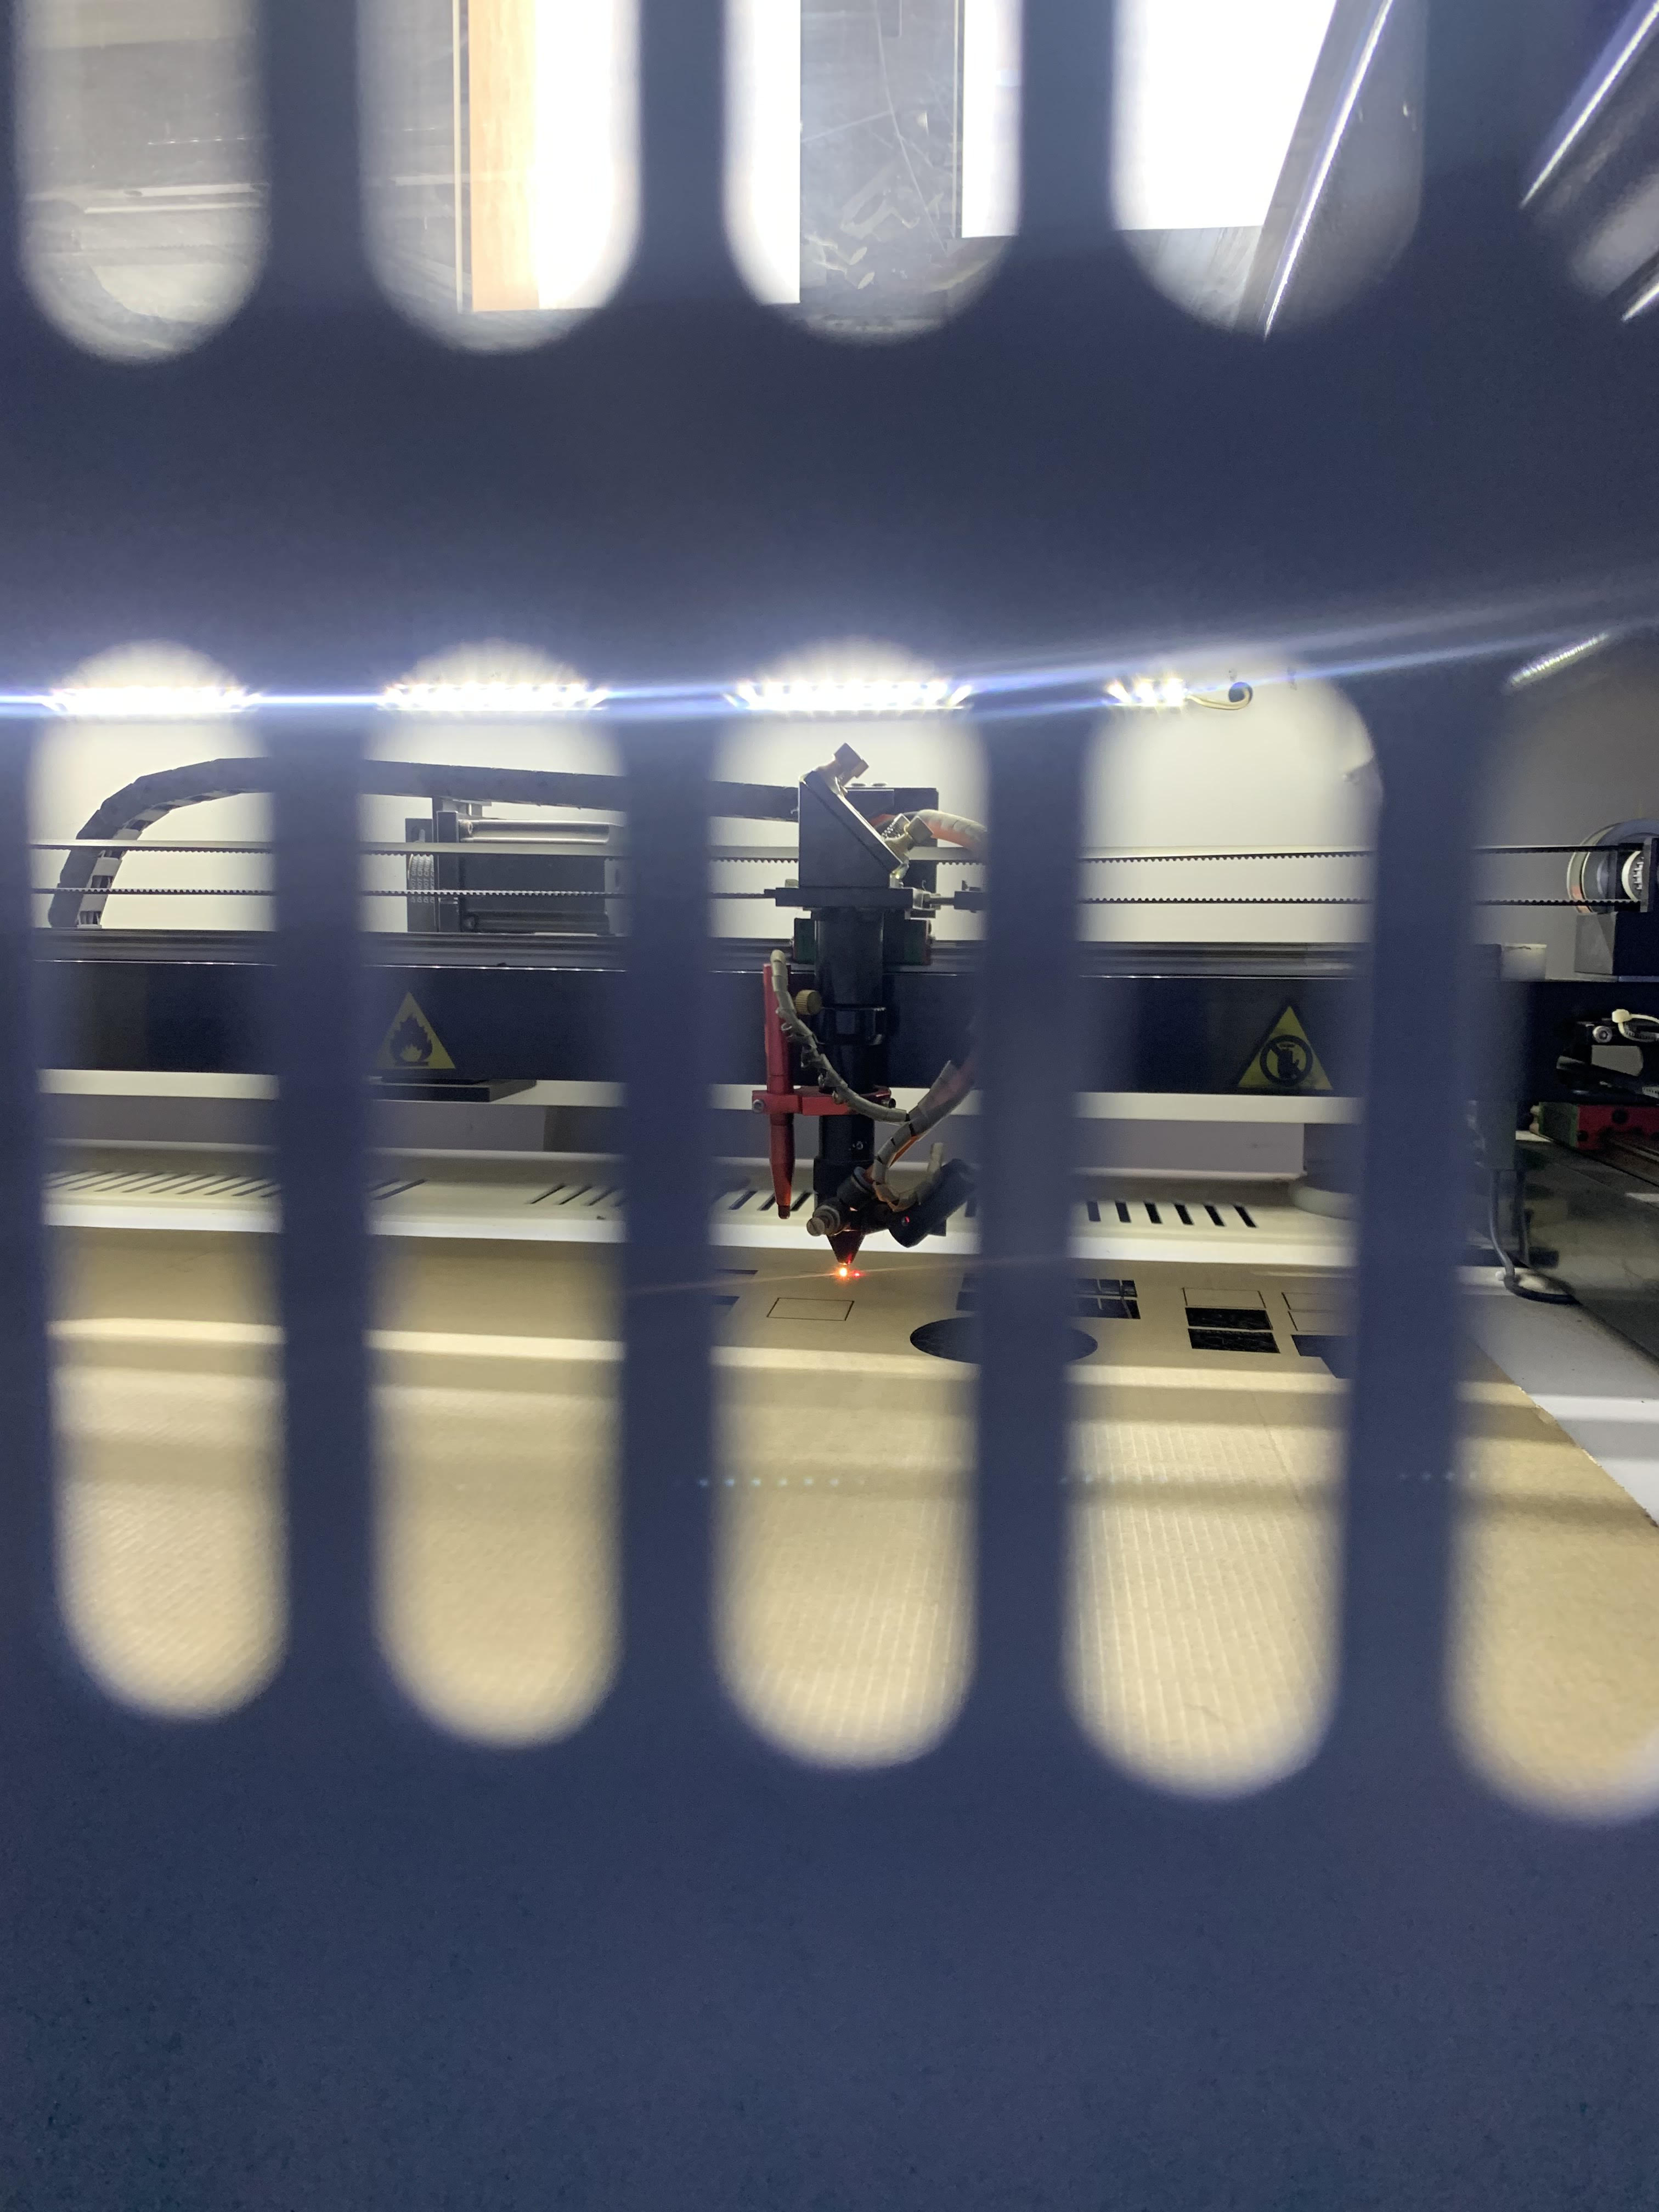
Second, we had to select the location of the drawing on the cardboard sheet by using direction arrows, then press origin and frame to make sure that the machine is going to cut the drawing in the right location.
Finally, we pressed on start button to begin the cutting operation.
First Test
When we came to actually test on the machine, we noticed many materials available there. We decided to go with the most available material (cardboard) as a first try
When we did all the steps that are mentioned before, we closed the cover of the machine and pressed start
After the machine is done with the cutting you will hear a notifying sound
After that we got our results out from the machine and we labeled each one with the exact settings that were applied on before
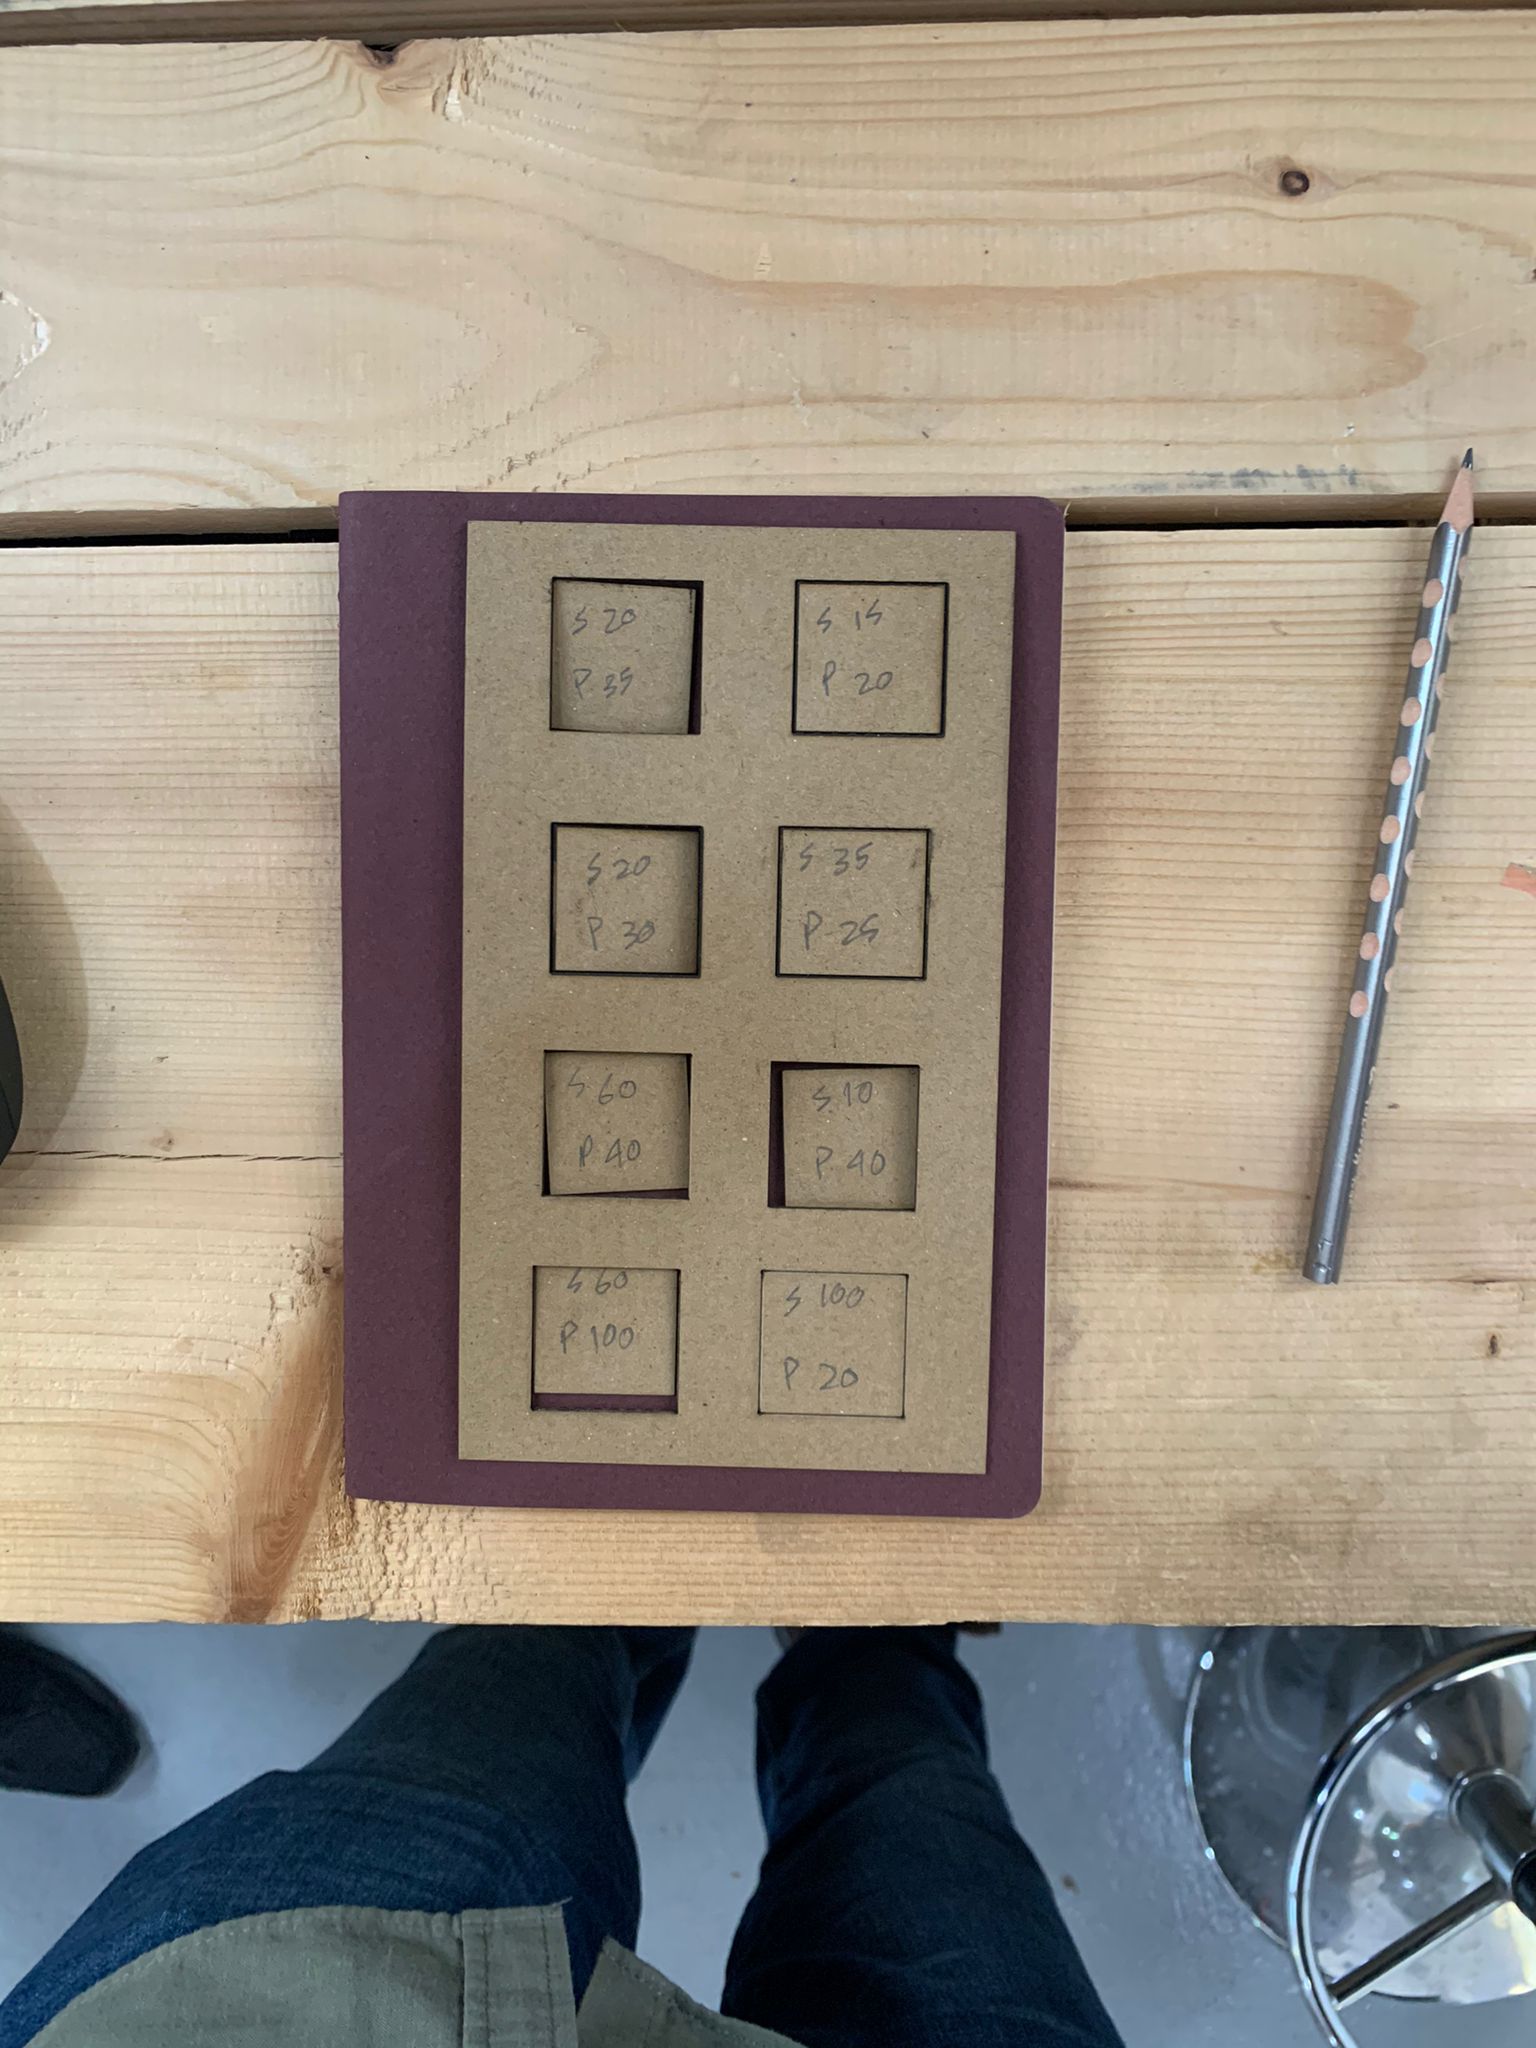
We noticed that (S20 P35) is the best setting to cut cardboard without any burns, and it is used to cut the upper left piece and also the frame
Here are also some notes we took during the process
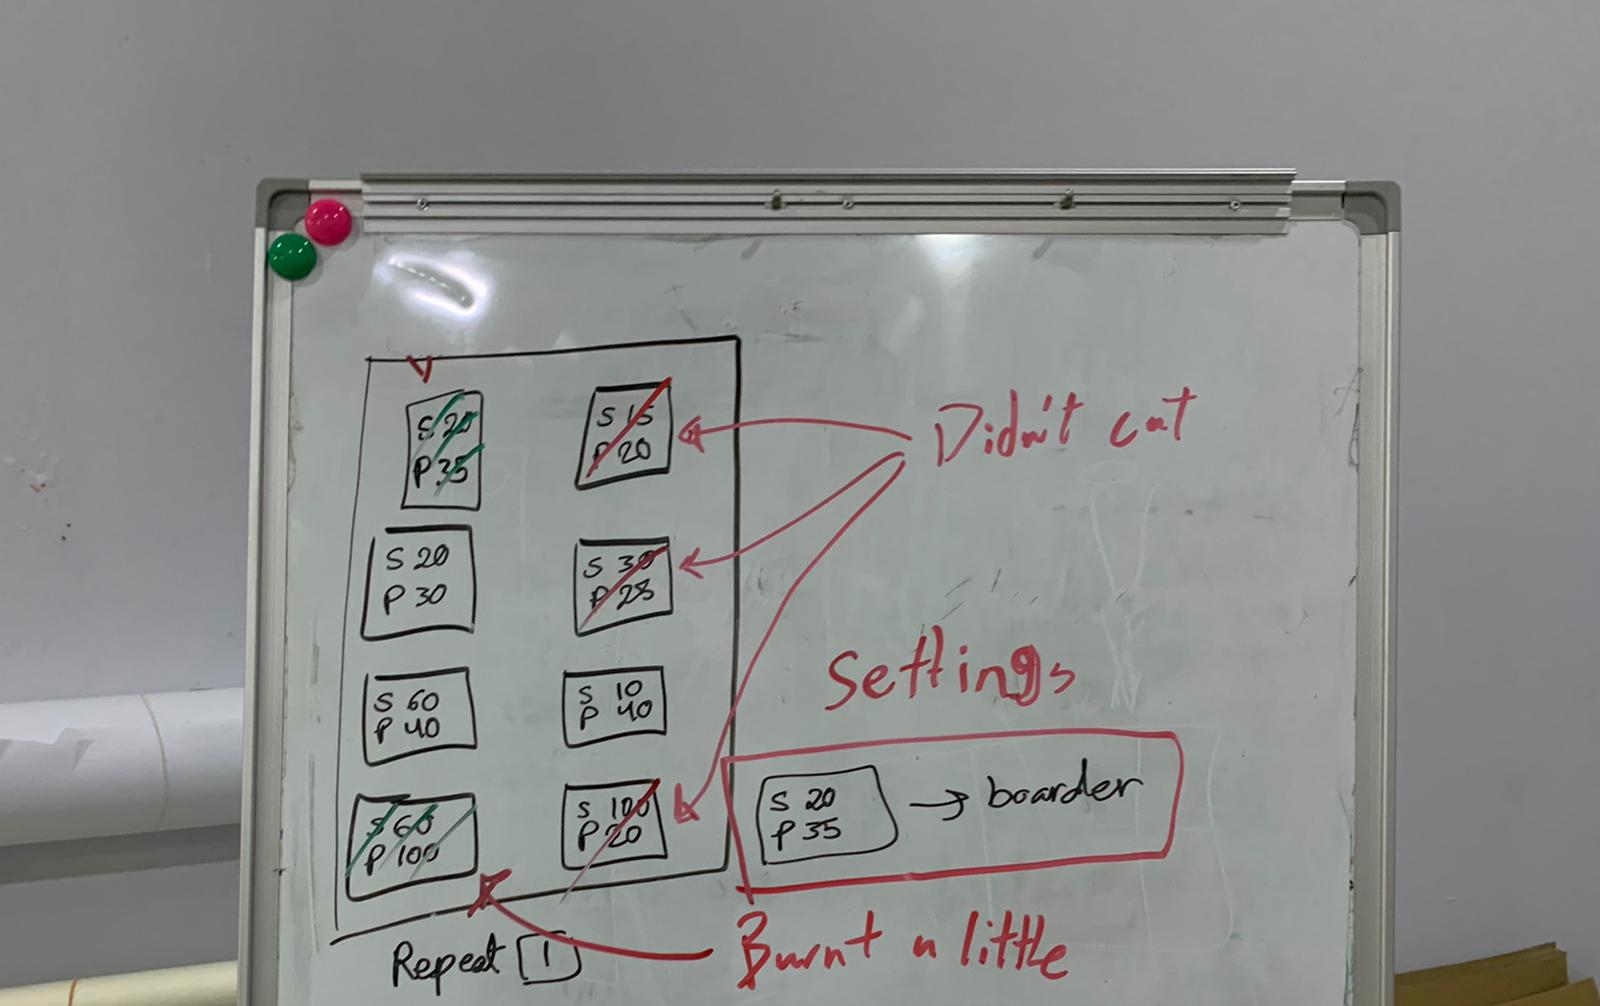
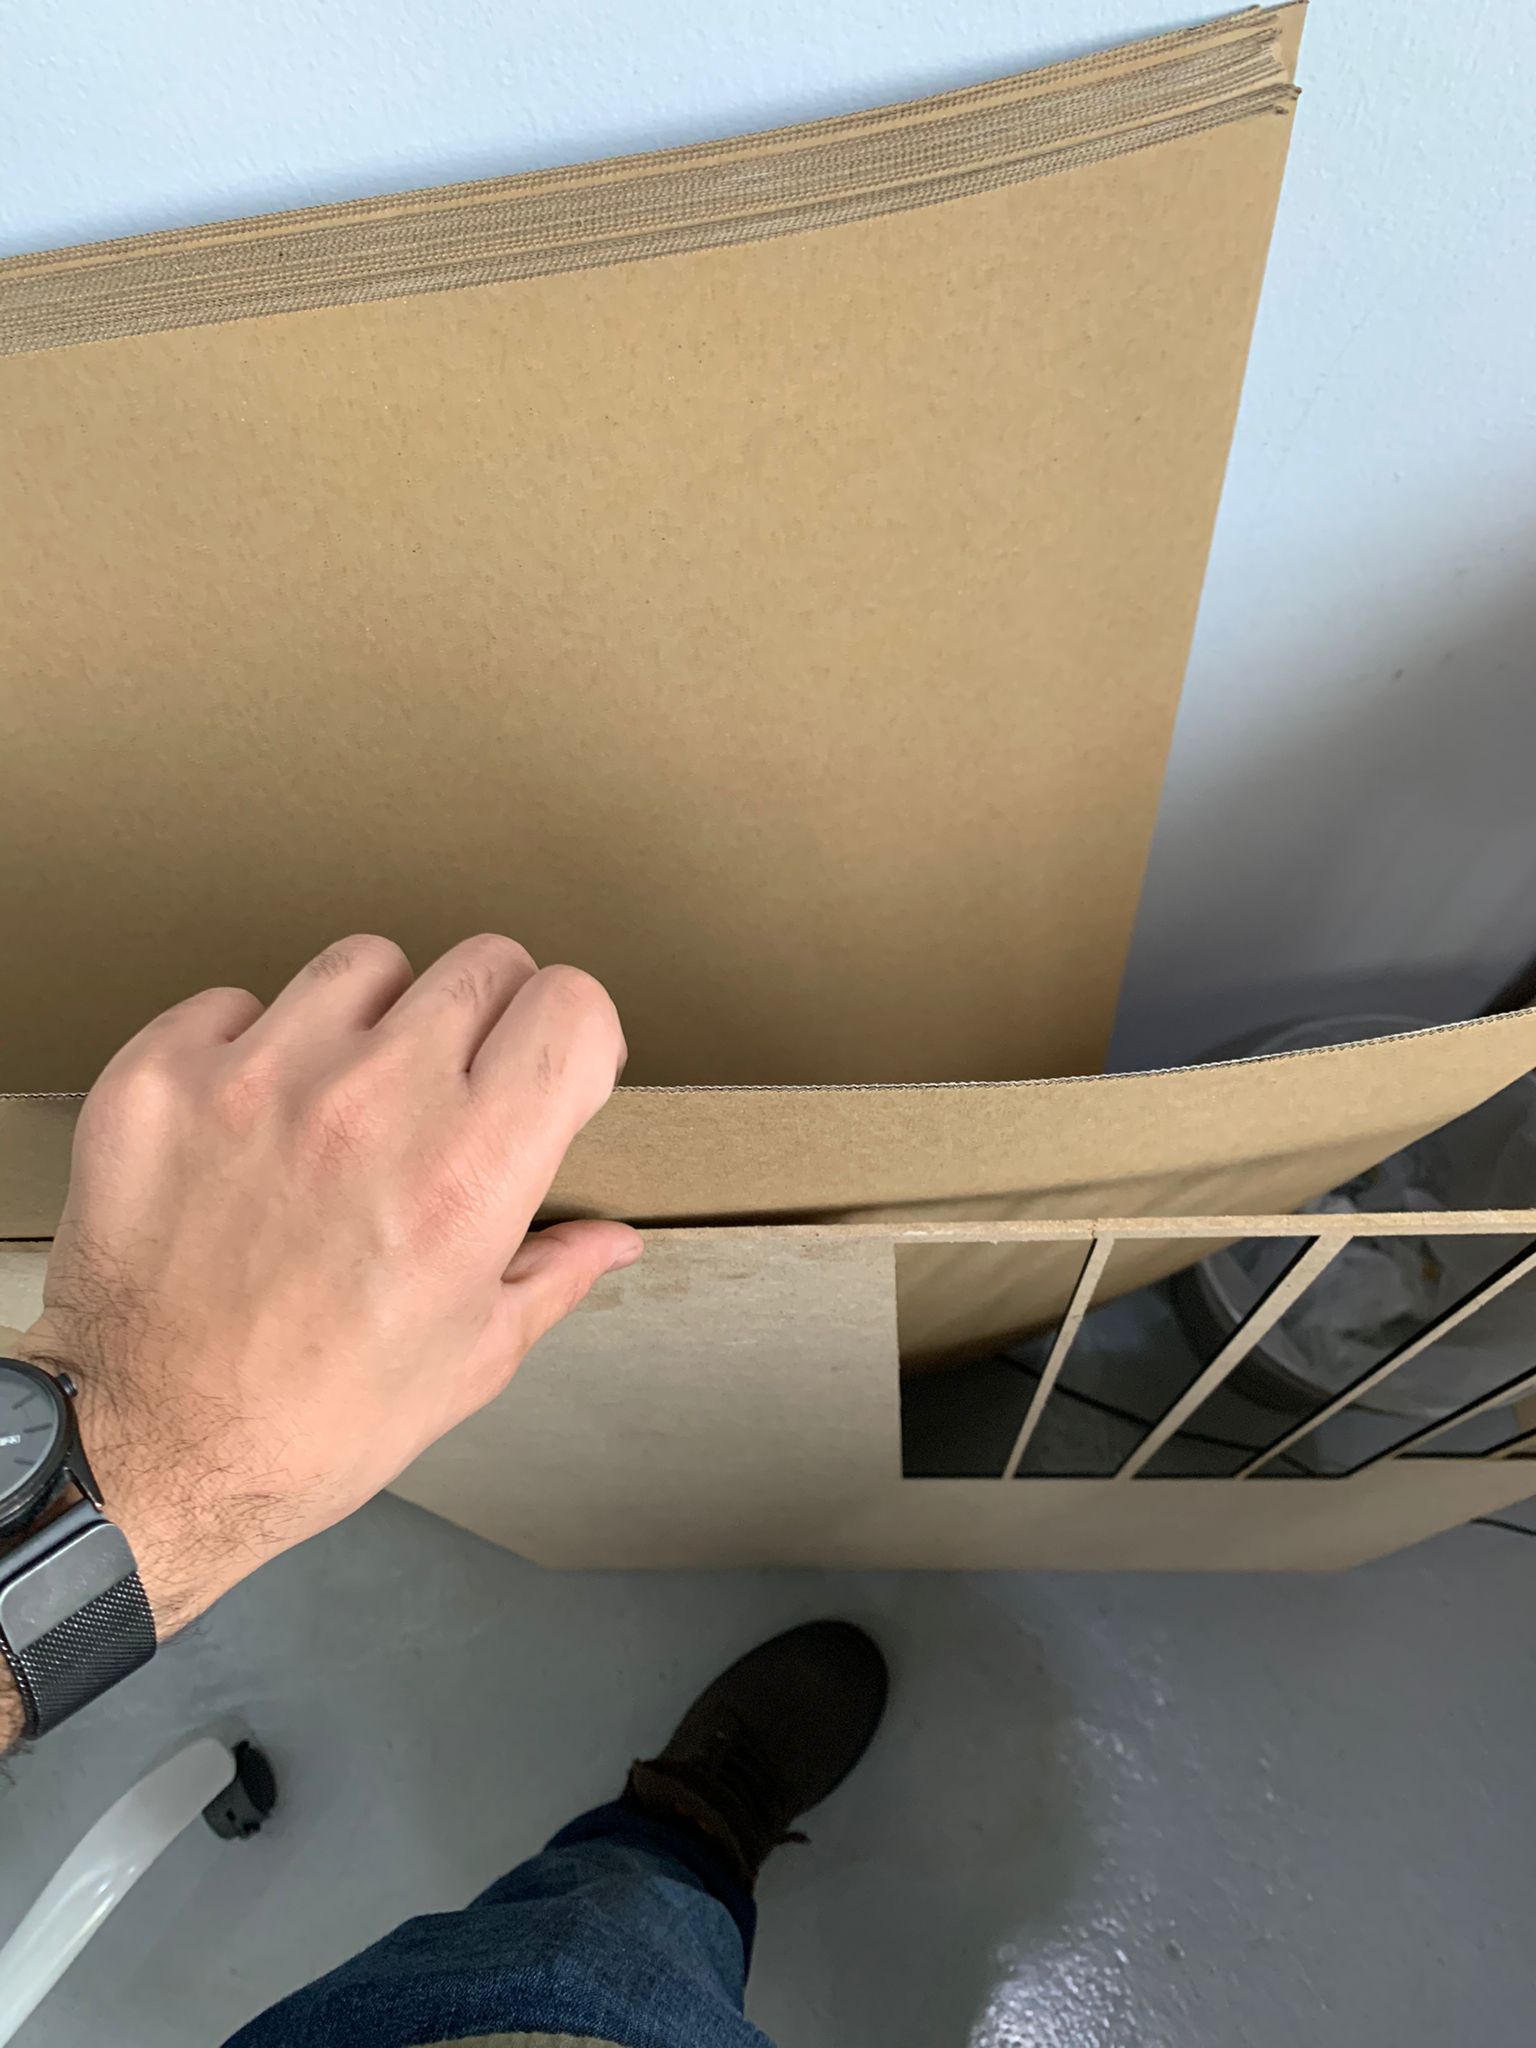
One of the problems we faced during the process was that the cardboard sheet is not straight and curved a little bit so some of the parts were close to the laser cutting head so they got burnt
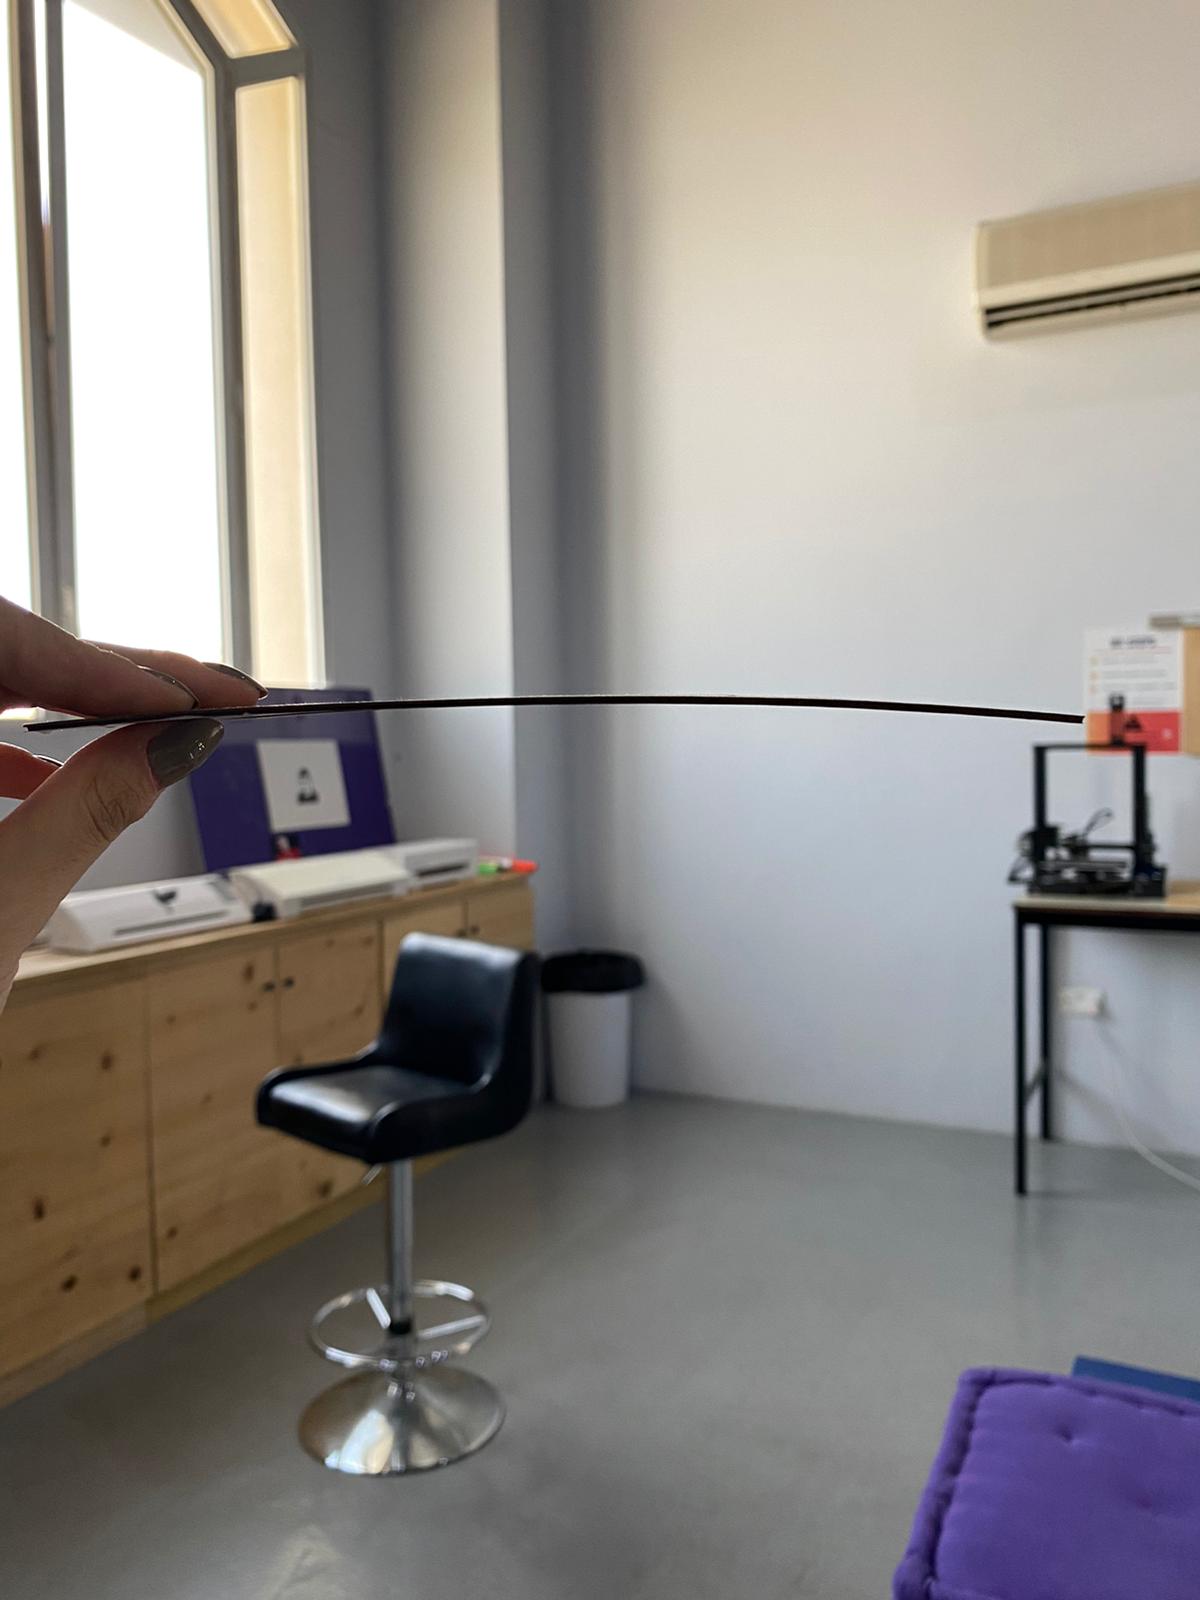
There are two solutions to this issue, one is to tape down the curved parts of the cardboard, and another is to put weights like acrylic pieces just to straighten down the curvature of the cardboard and to make it an even surface
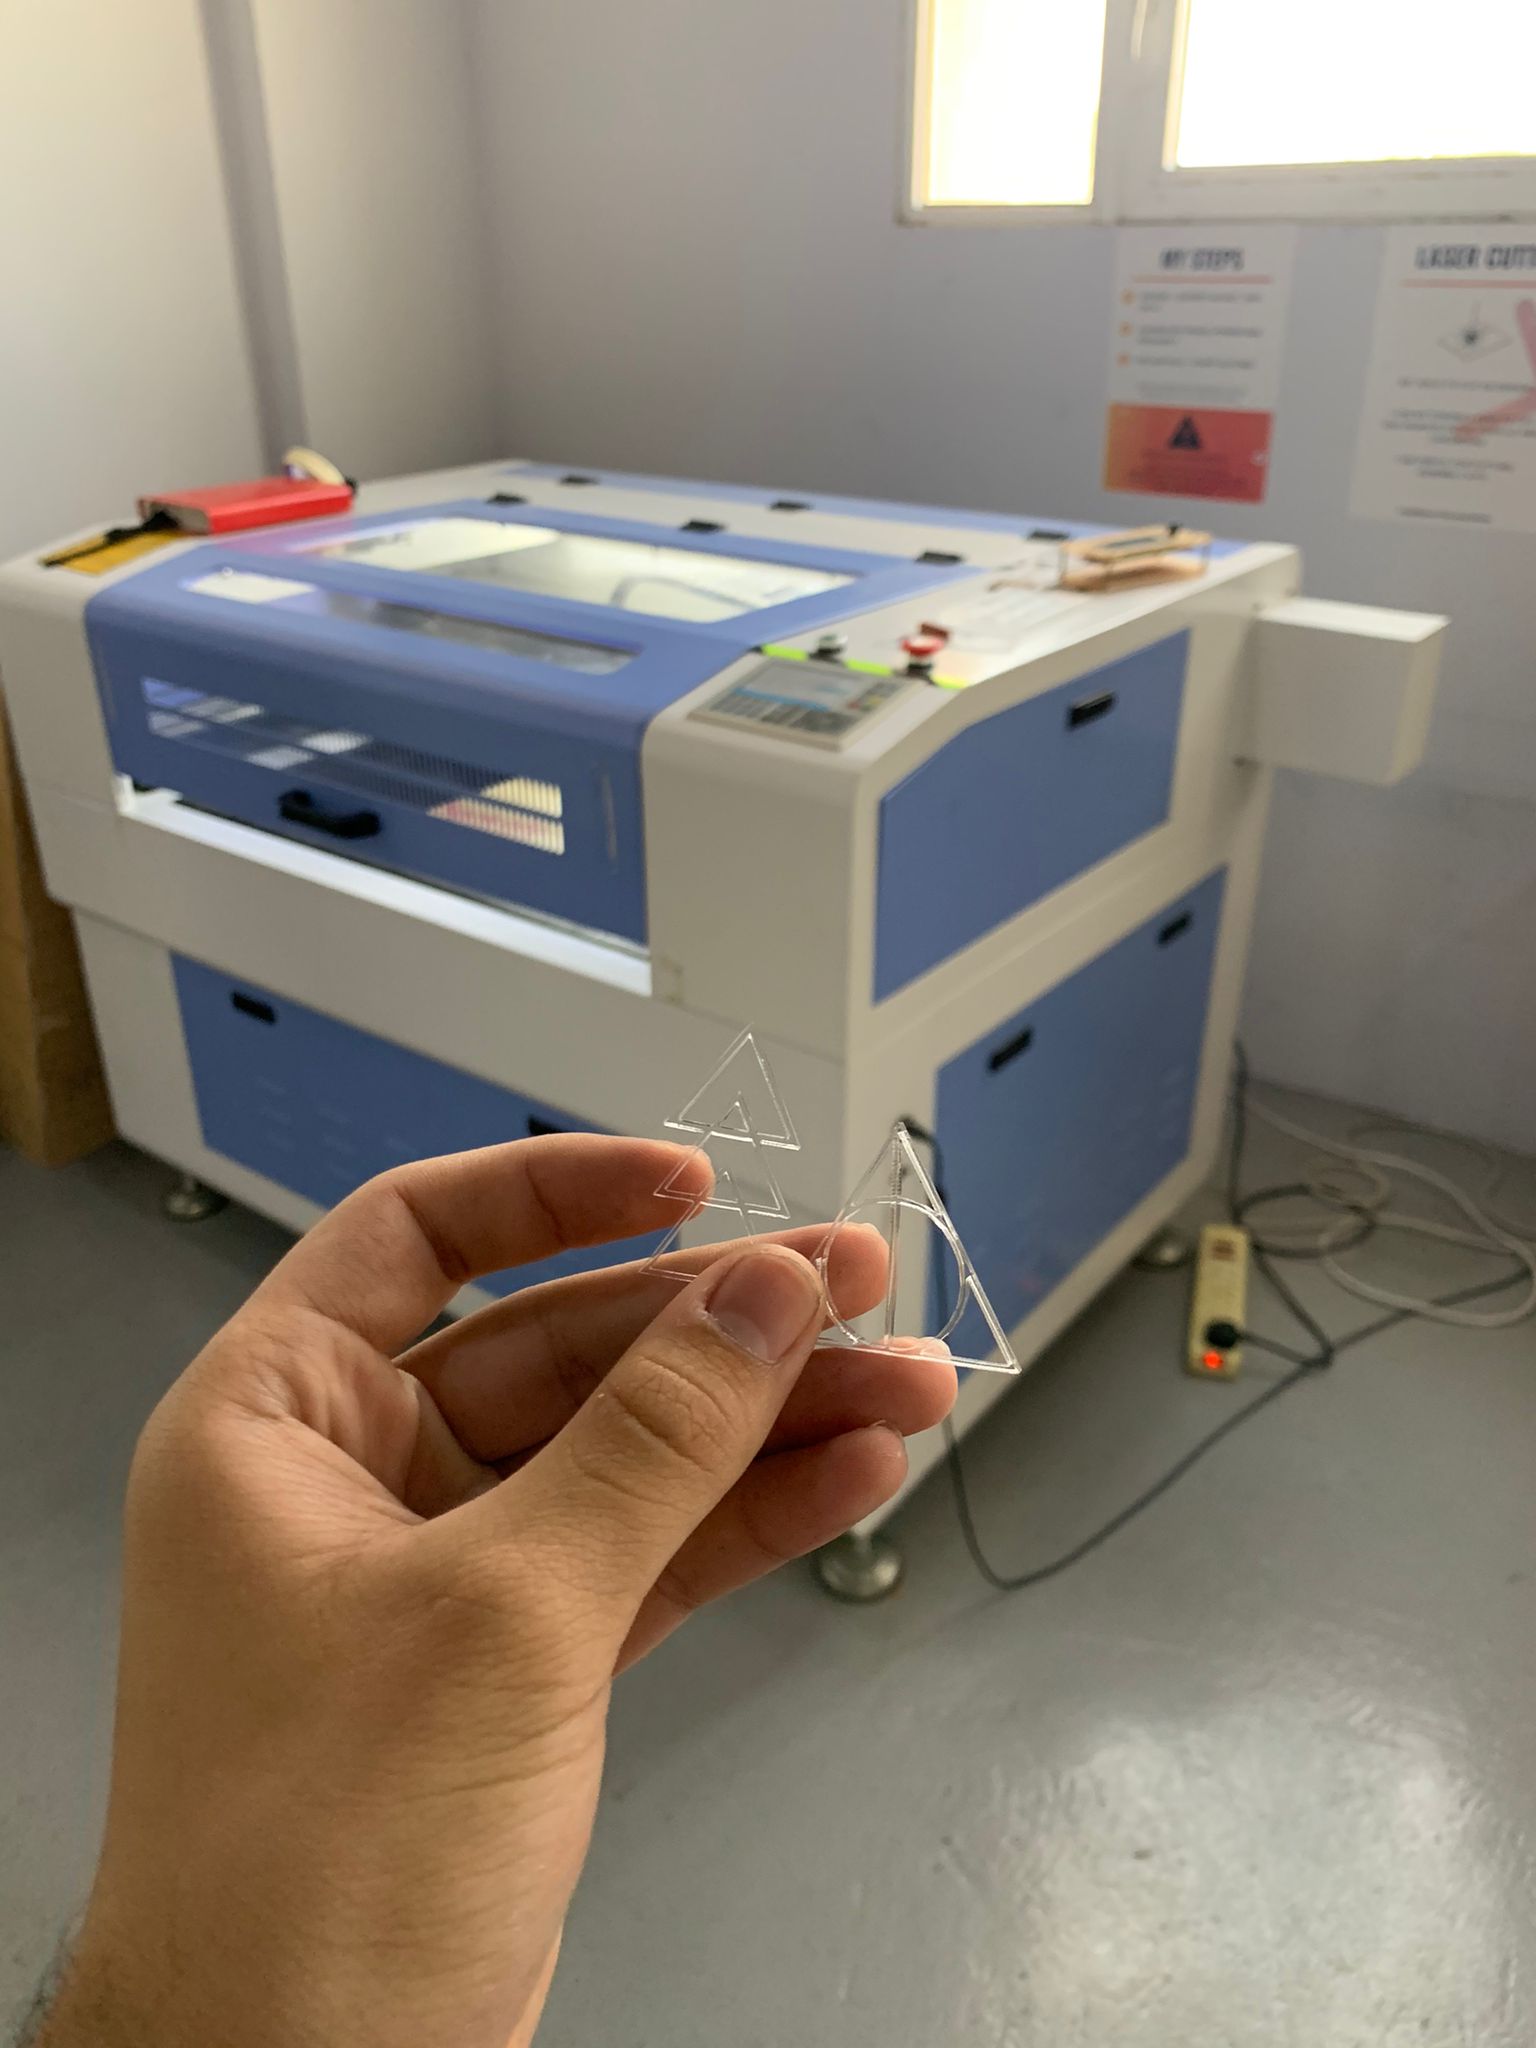
Acrylic Test
As an additional experiment we tried cutting on acrylic instead of cardboard, and we noticed that the settings differ from the cardboard settings
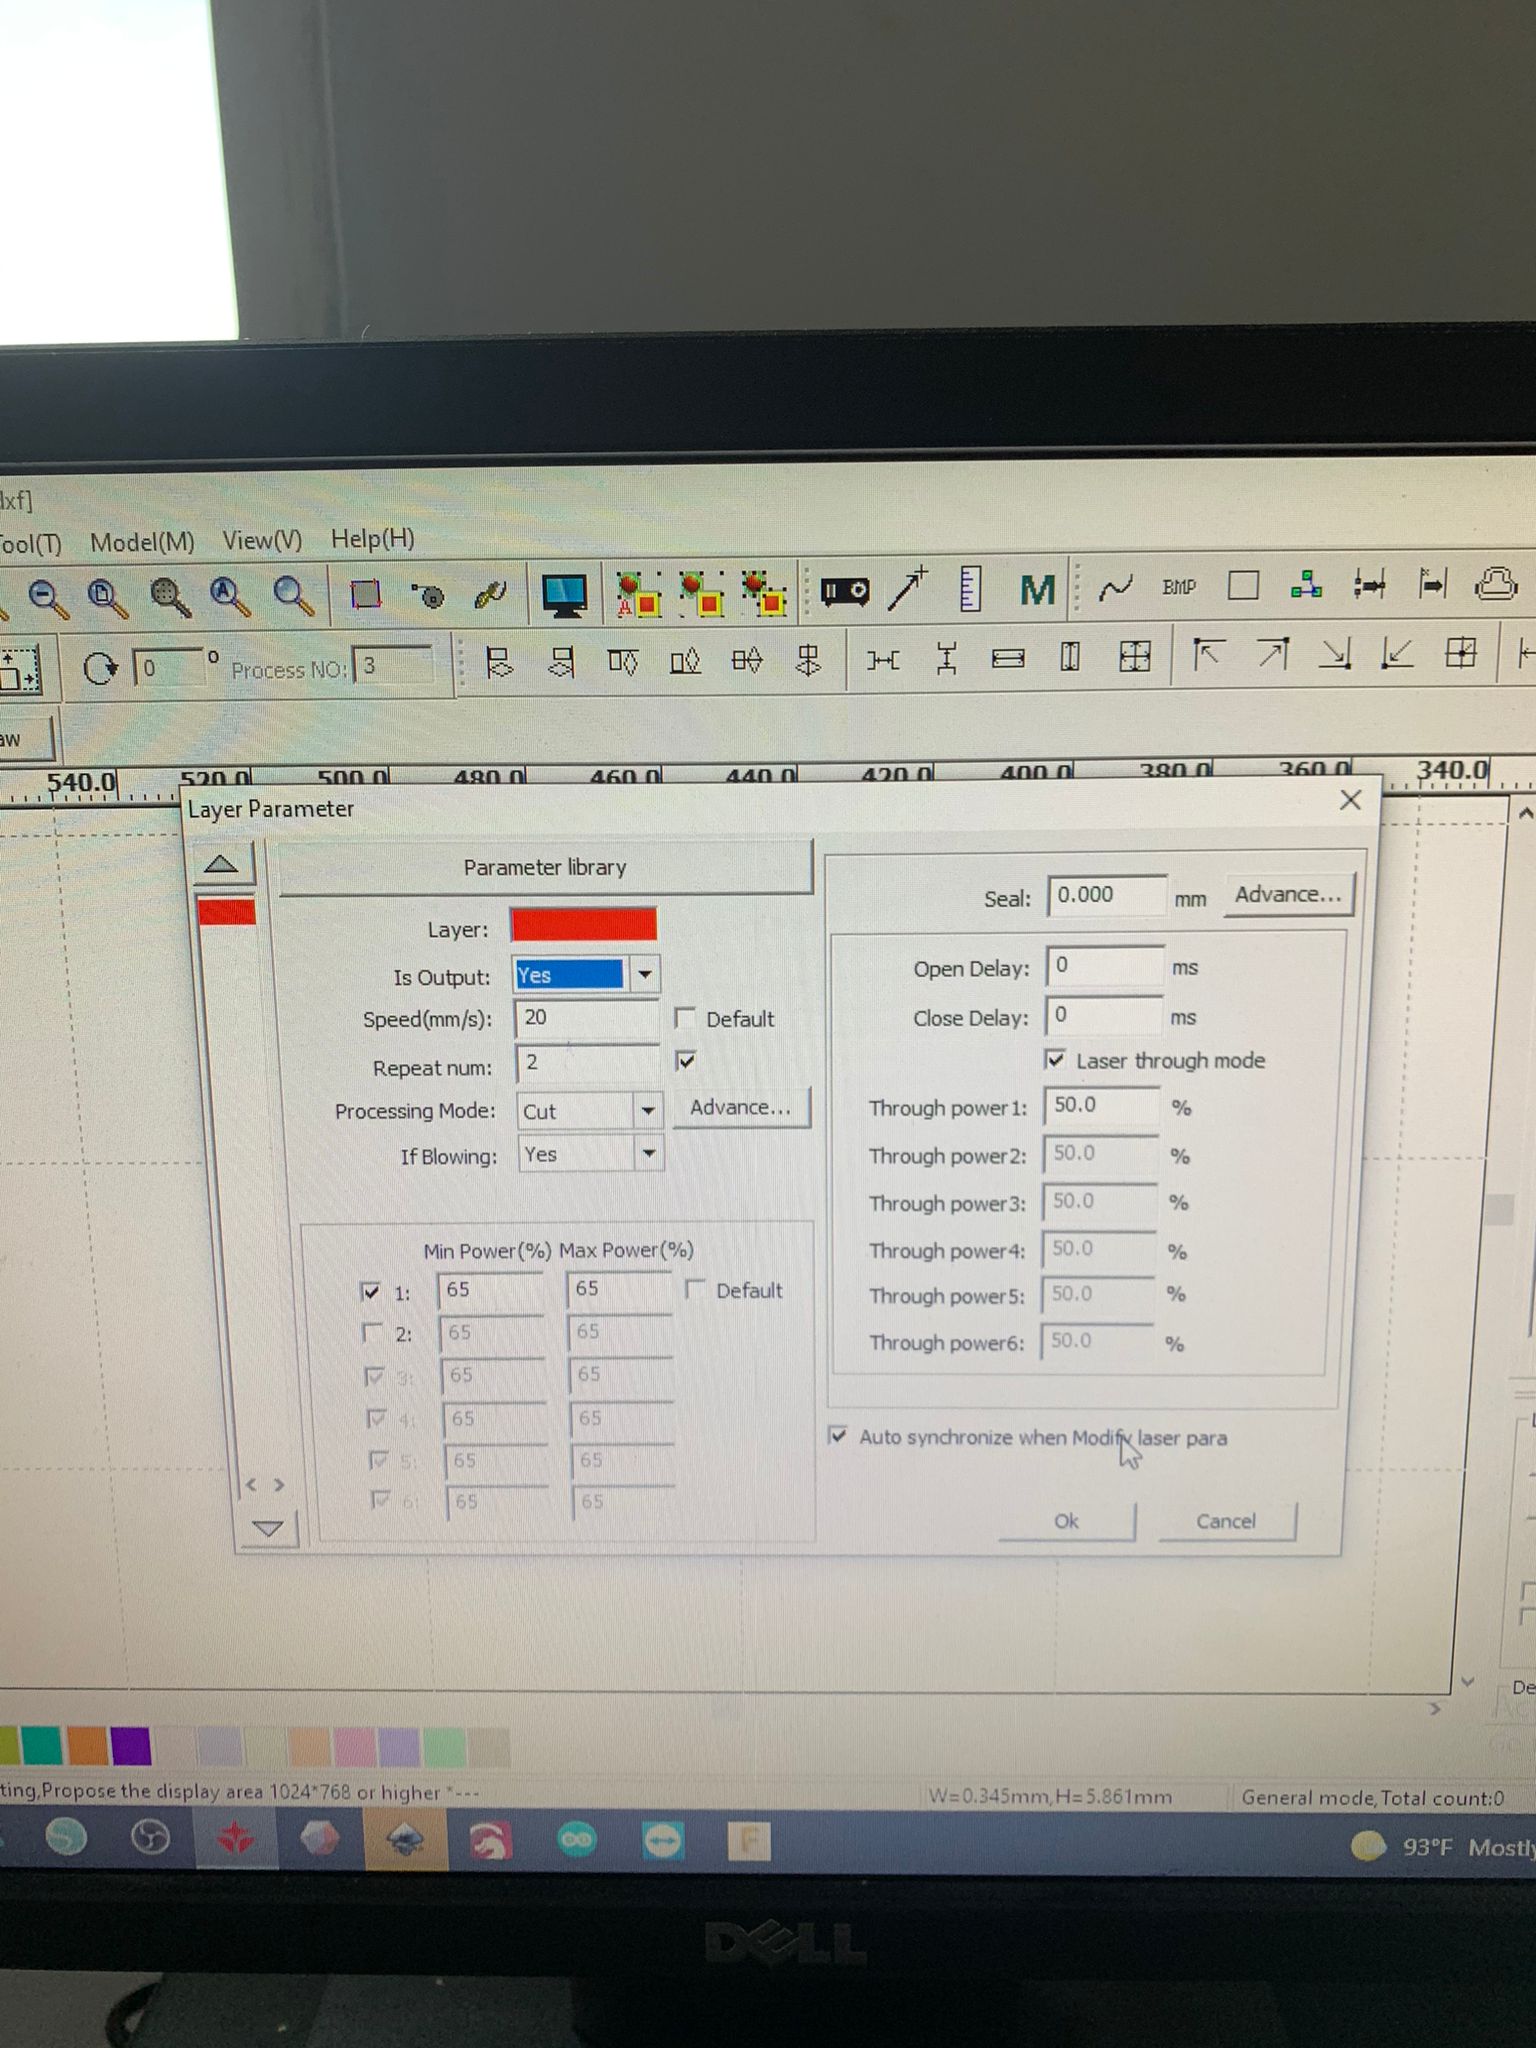
Acrylic mostly needs 2 rounds of cutting, and you can refer to the photo for 3mm acrylic settings
And here are the final results!
TASK3 (INDIVIDUAL)
For our last task for this week, we were asked to design our own press-fit kit and it had to be parametric. The parametric drawing is a method of making geometries with geometrical or dimensional constraints or restrictions. These constraints are applied to the geometry with respect to certain references or other geometries.
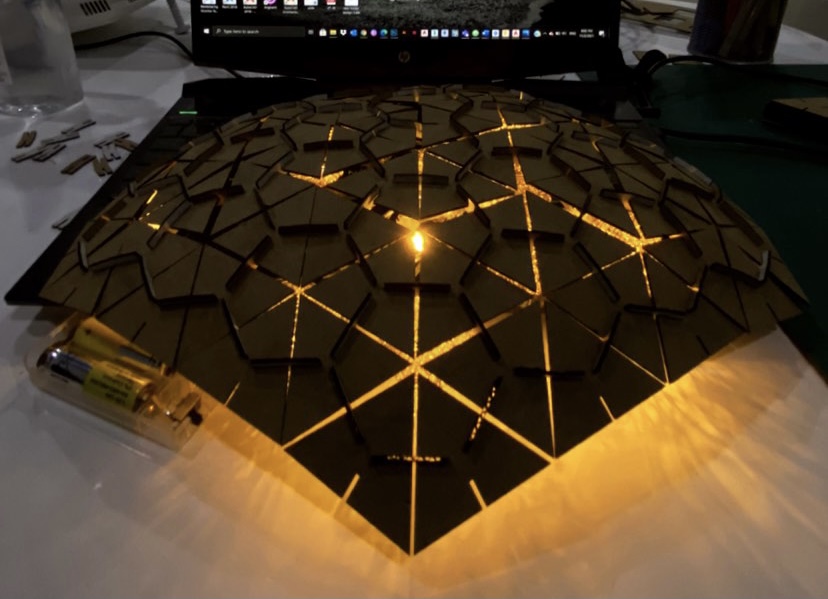
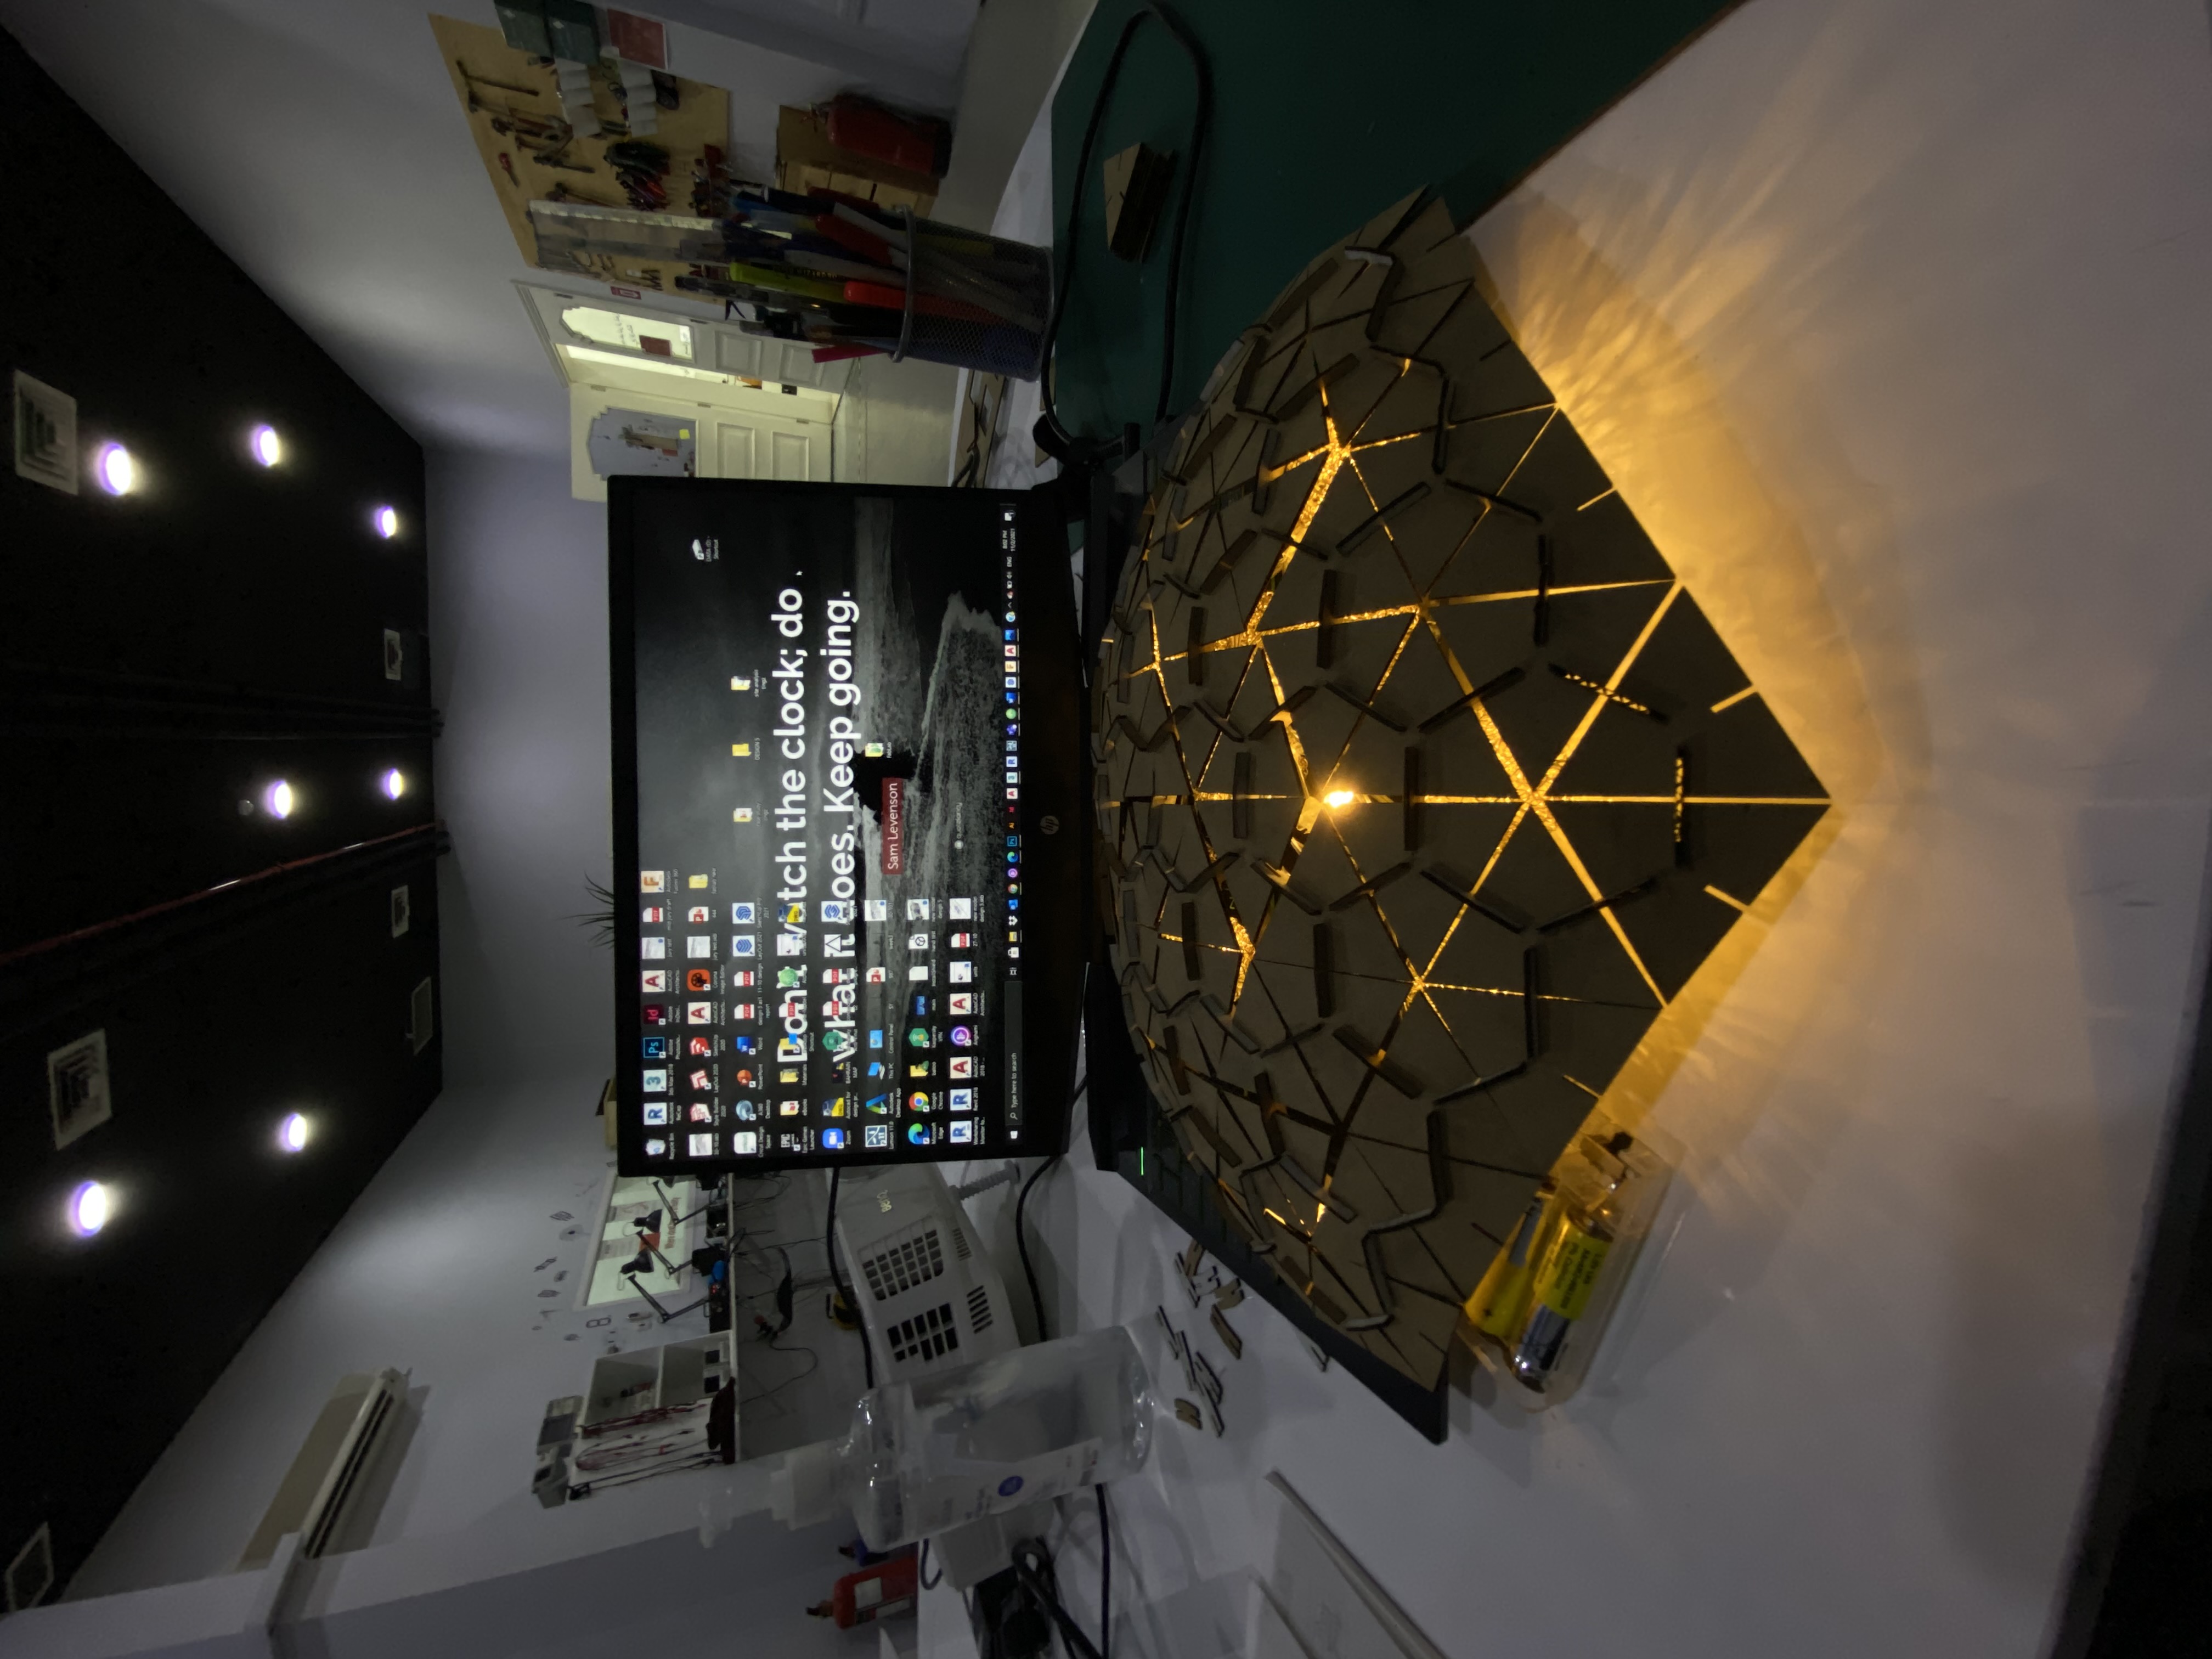
I created a dome with diffused light
To make a parametric design, I chose Fusion 360 to draw my design since it has this option.
I had to go to Modify > change parameters
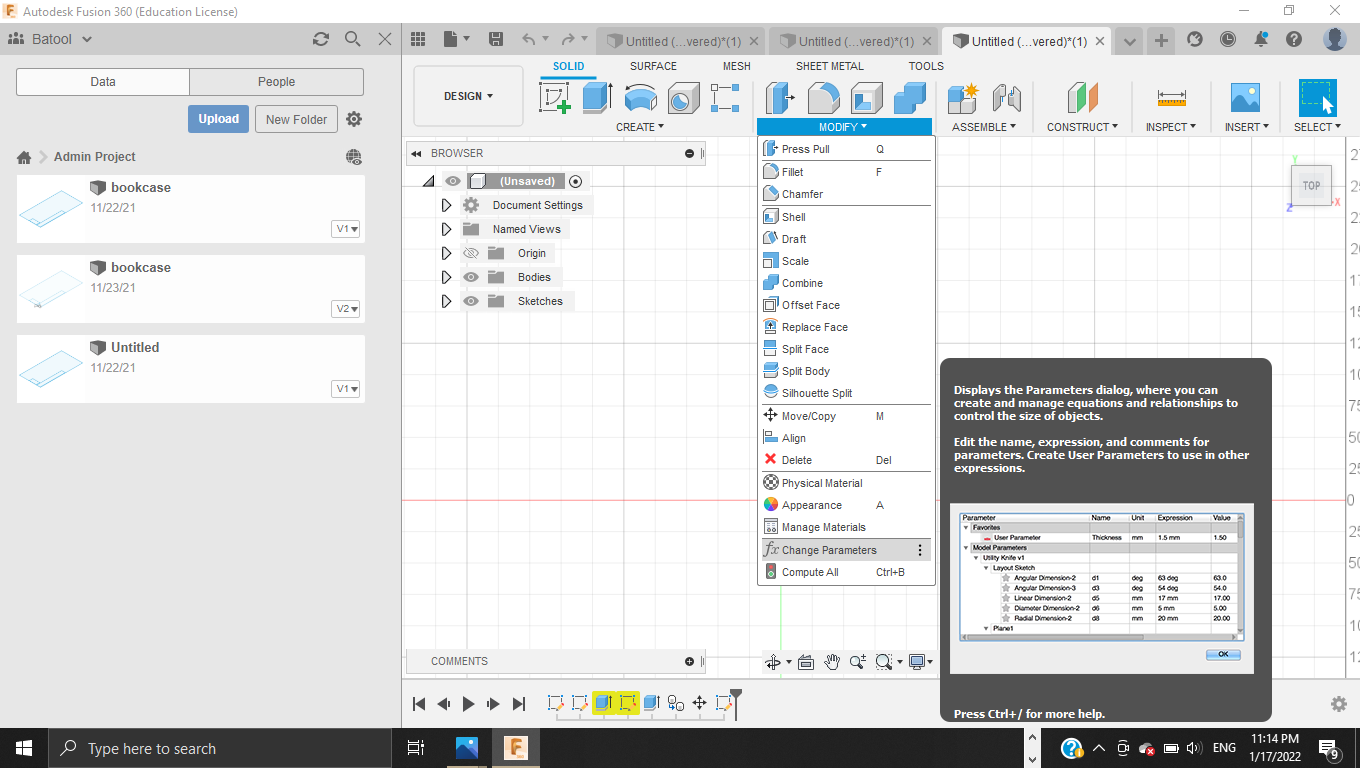
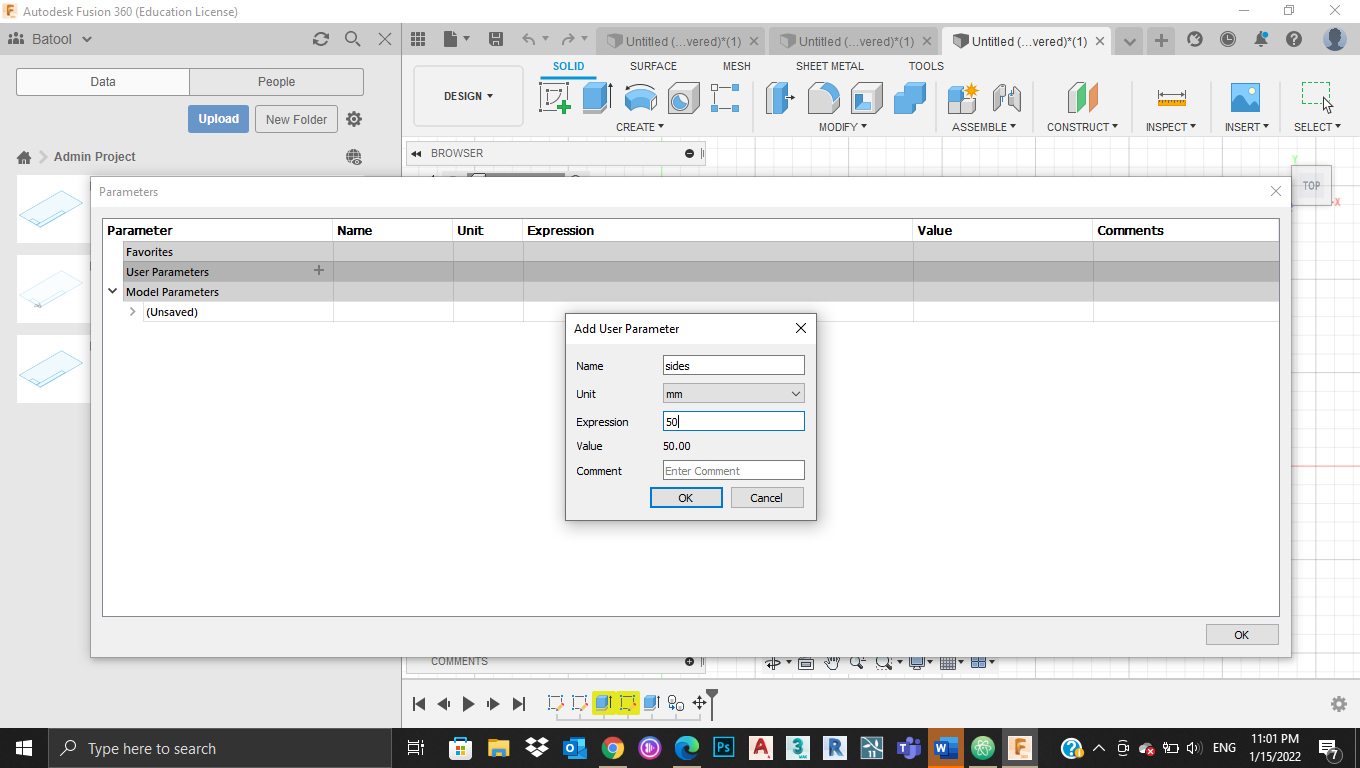
Add user parameters
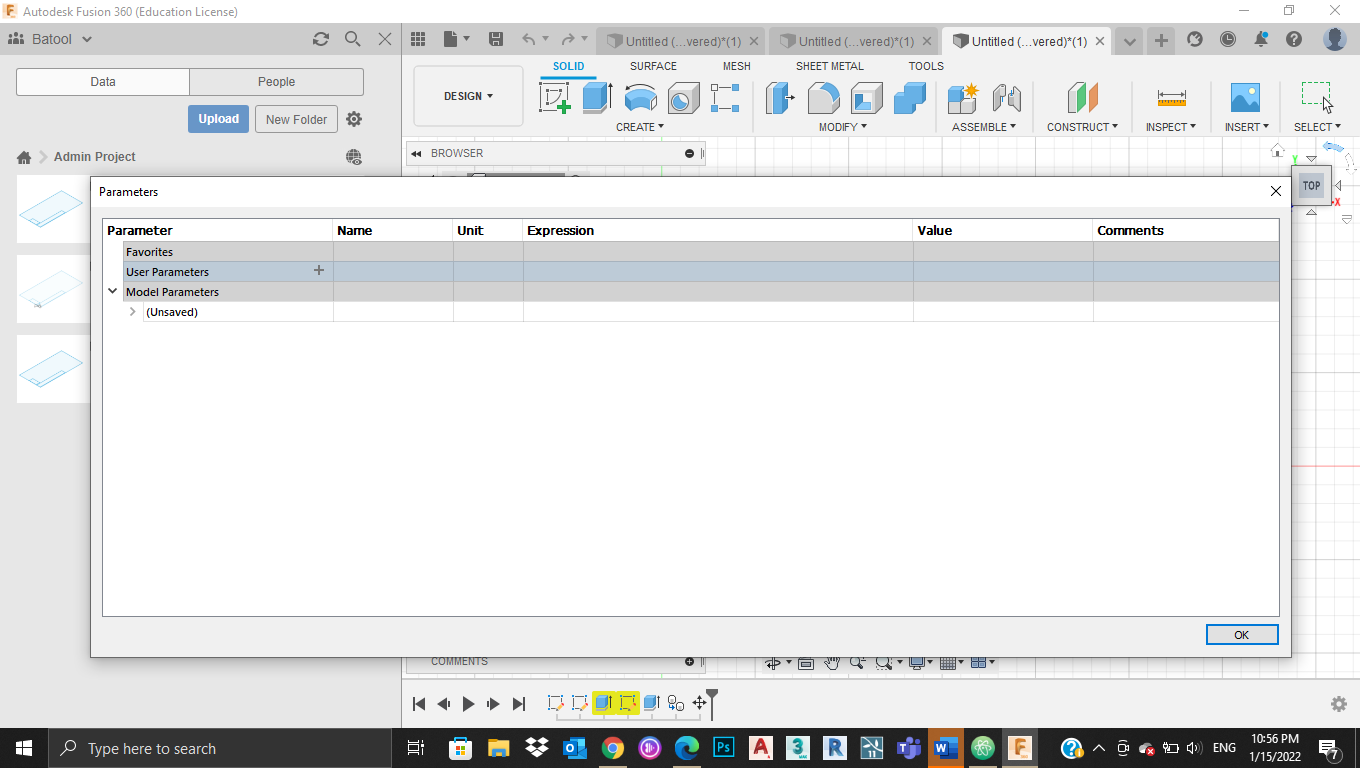
write the desired values
Then, I drew the pieces I need

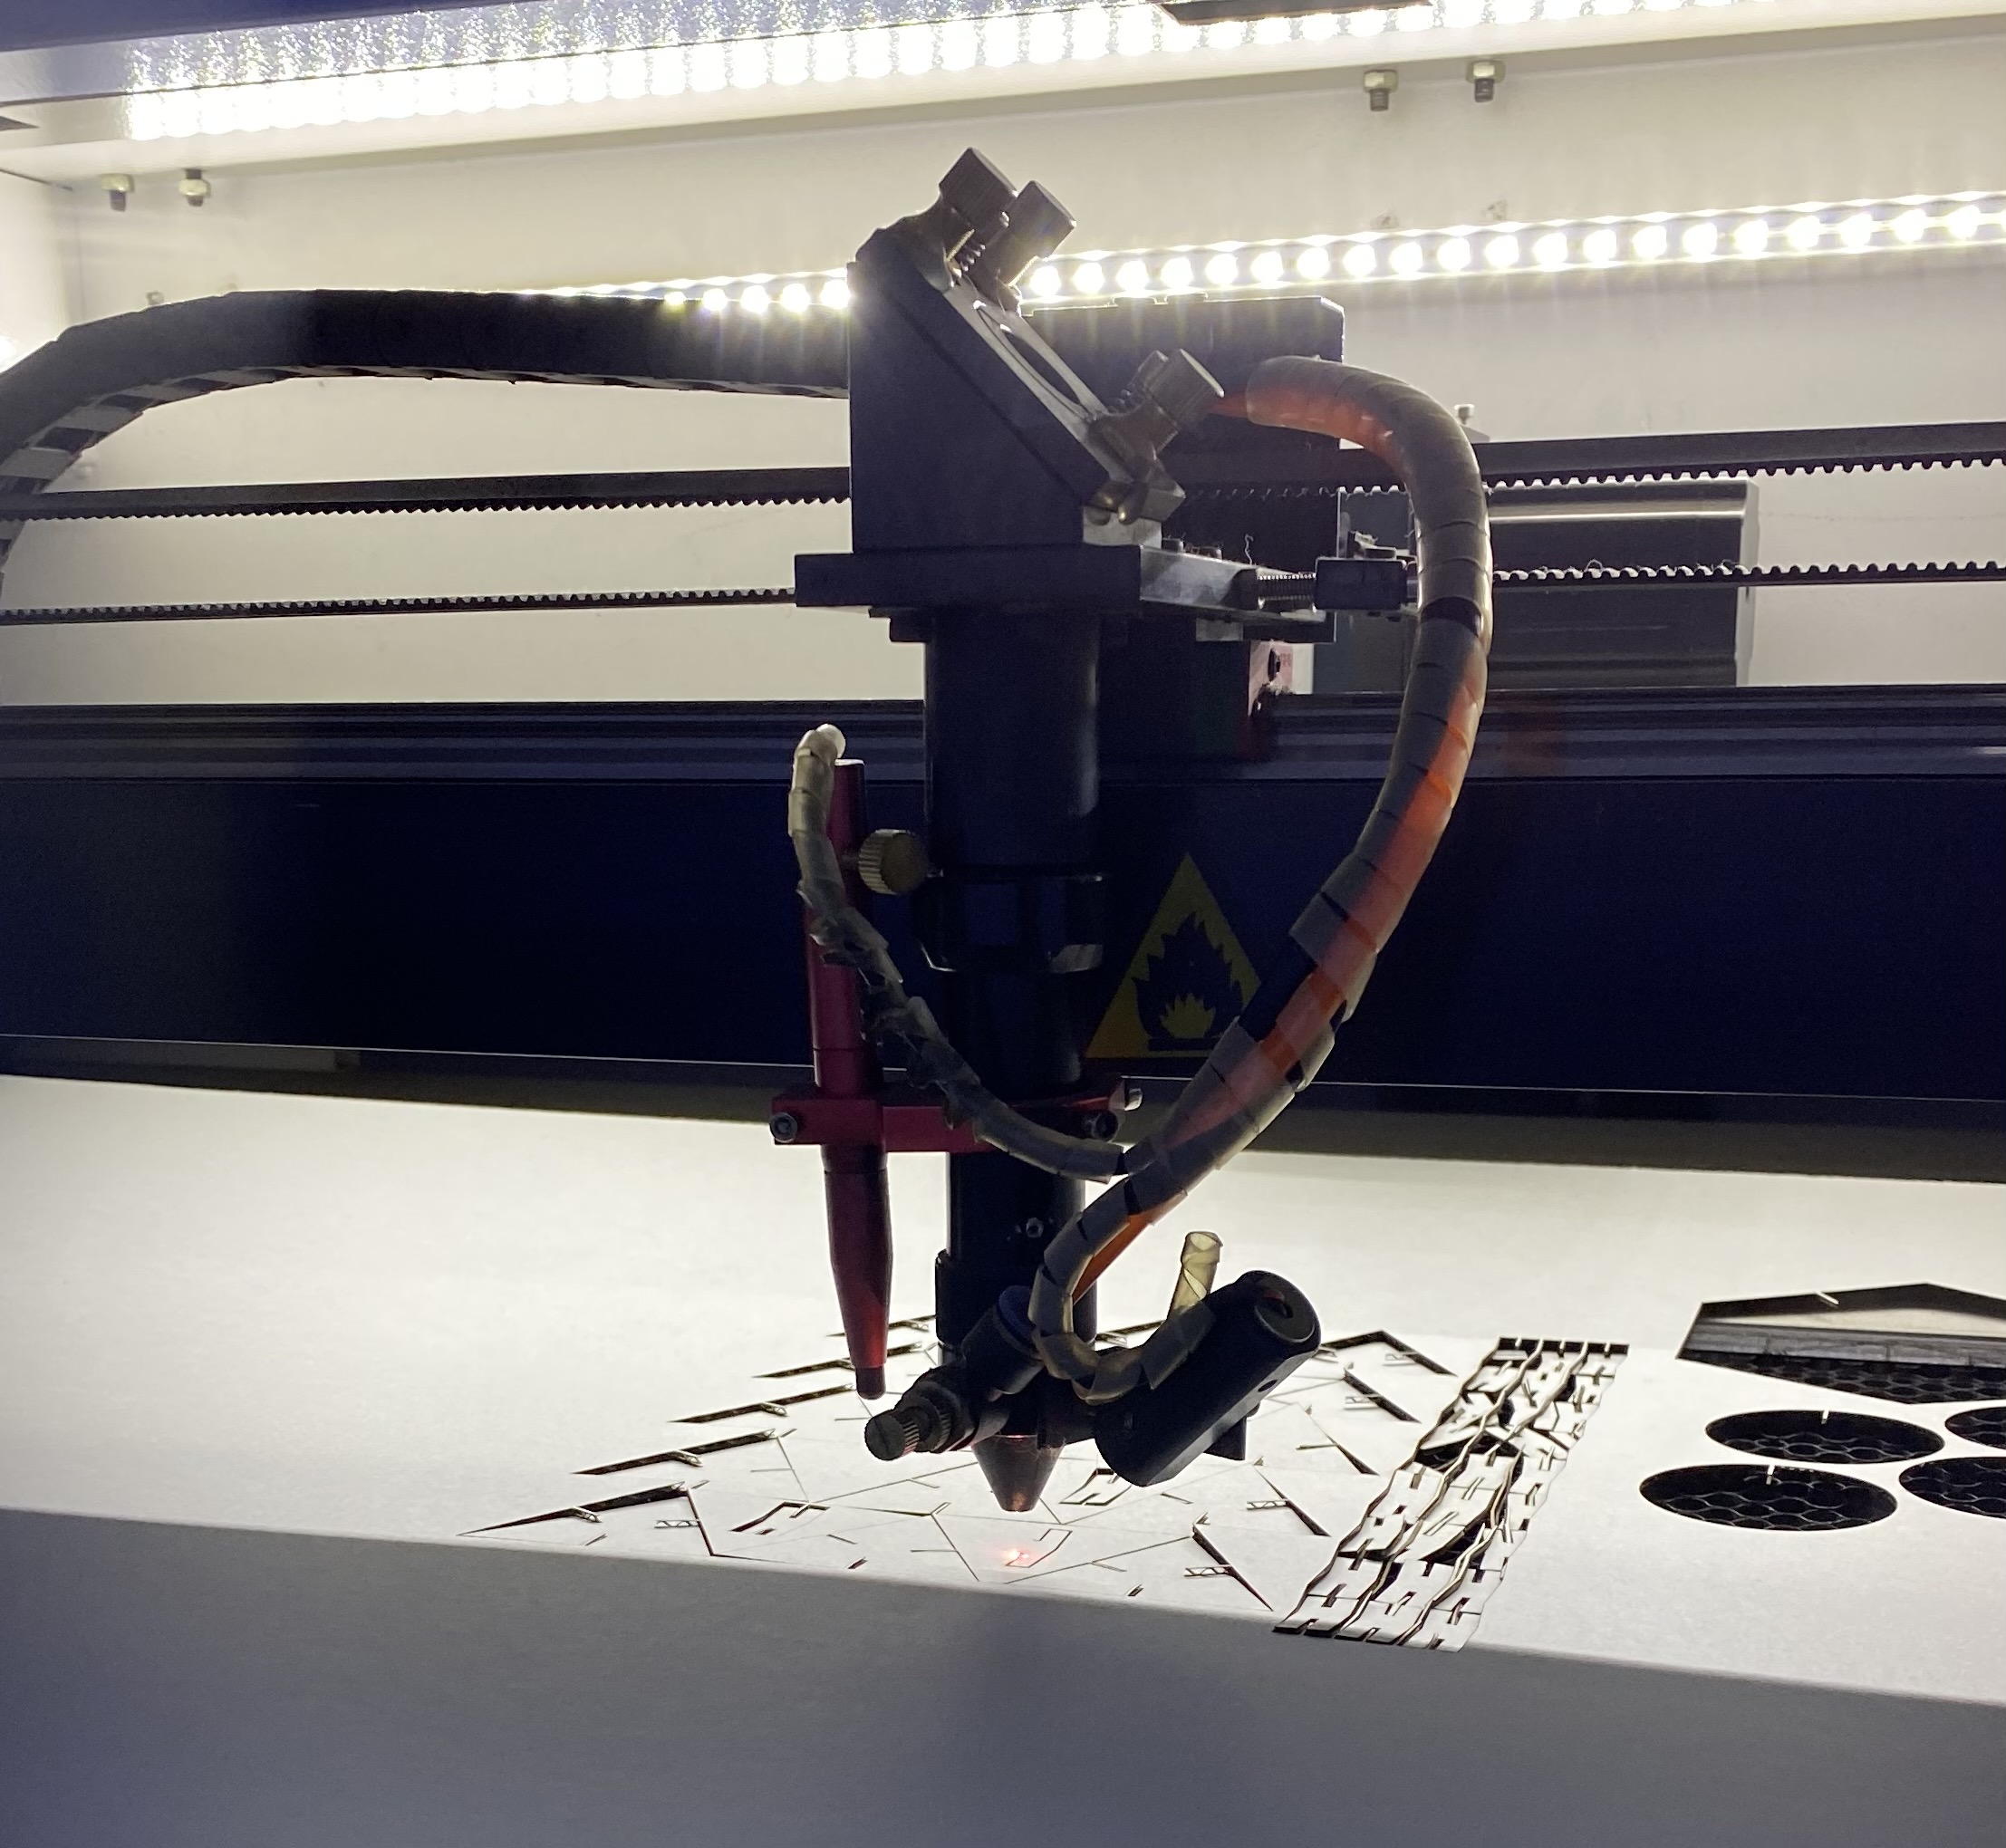
Saved the file as DXF, uploaded it to the laser cutting machine and adjusted the power to be 35 and speed to be 20 since we found out that they are the best options during our group work experiments for task2.
Finally, I combined all pieces together and got this amazing final result!
Useful links
For more info click here to check our colleague’s work