5. 3D printing and scanning
This week I worked on scanning different things by using two different methods, and then worked on 3D printing in groups.
General information
Xbox KINECT 360 SCANNER USES
 The Kinect 3D scanner uses the same technology a mid-range 3D Scanner might have, a camera, and an infrared camera used to calculate the field of depth of and around an object. These two “cameras” used by the Kinect allow it to make a decently accurate 3D scan of almost any object you wish to scan.
3D PRINTER USES
 3D printing is used to manufacture moulds for making jewelry, and even the jewelry itself. 3D printing is becoming popular in the customisable gifts industry, with products such as personalized models of art and dolls, in many shapes: in metal or plastic, or as consumable art, such as 3D printed chocolate.
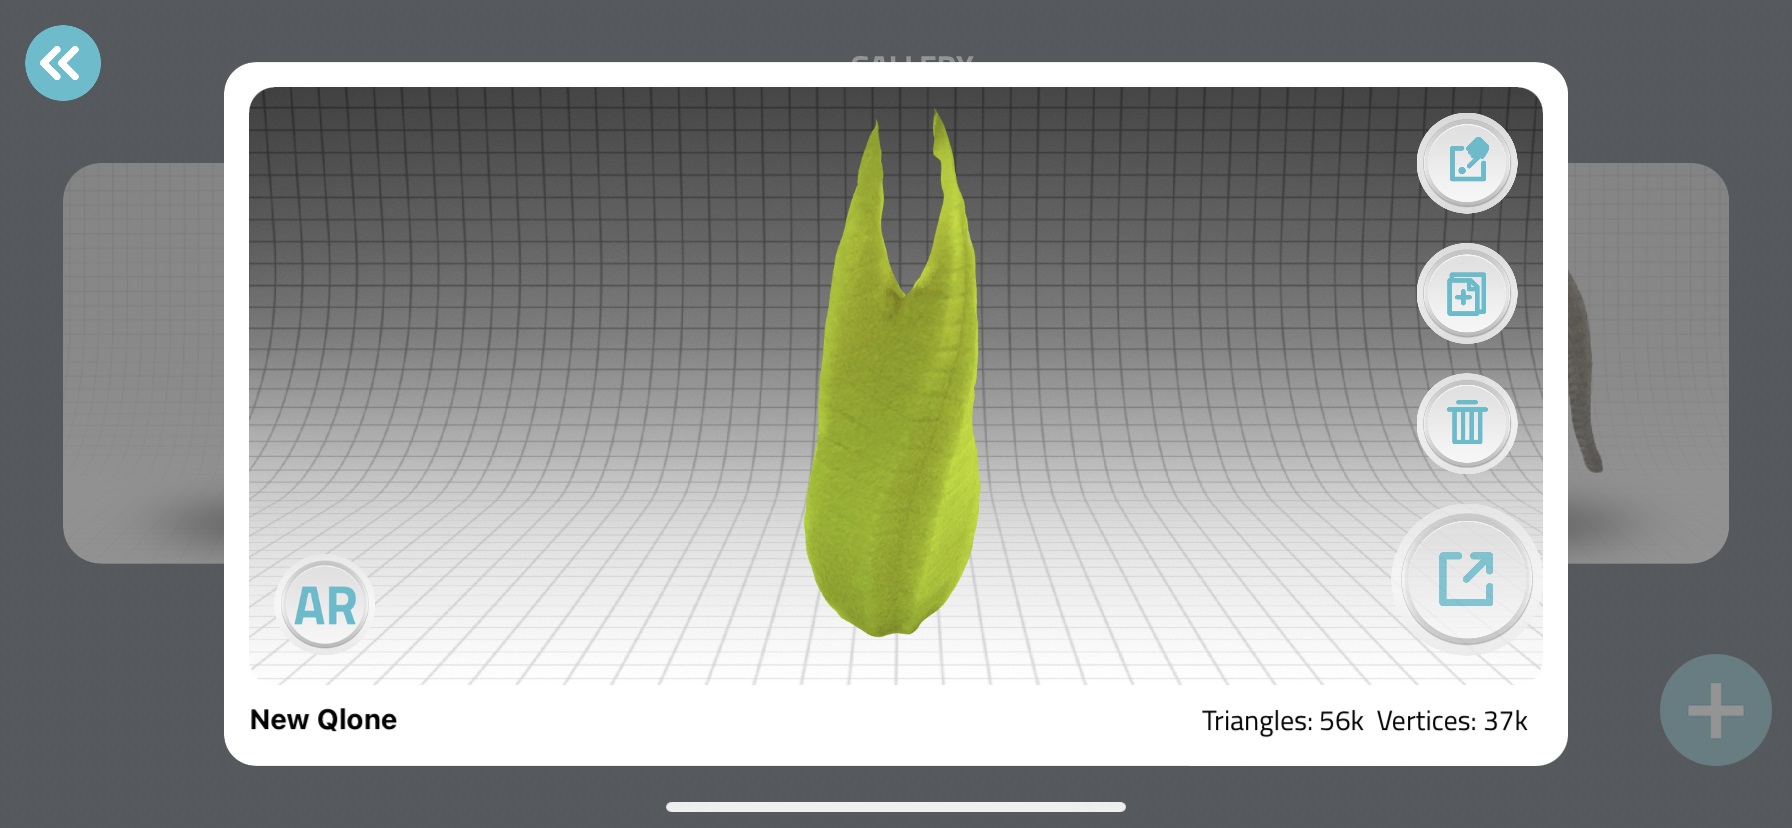
Scanning by using Qlone (Individual)
The first thing we did was choosing any small object from our surrounding space and place. I downloaded Qlone app on my phone

then, I placed the object on the mat (we can print the mat from the app itself) and the size if the object must fit inside it

I started to scan the object by using the app, my first attempt failed where some parts of the mat showed on the object and I think this happened because I moved the mat while scanning.
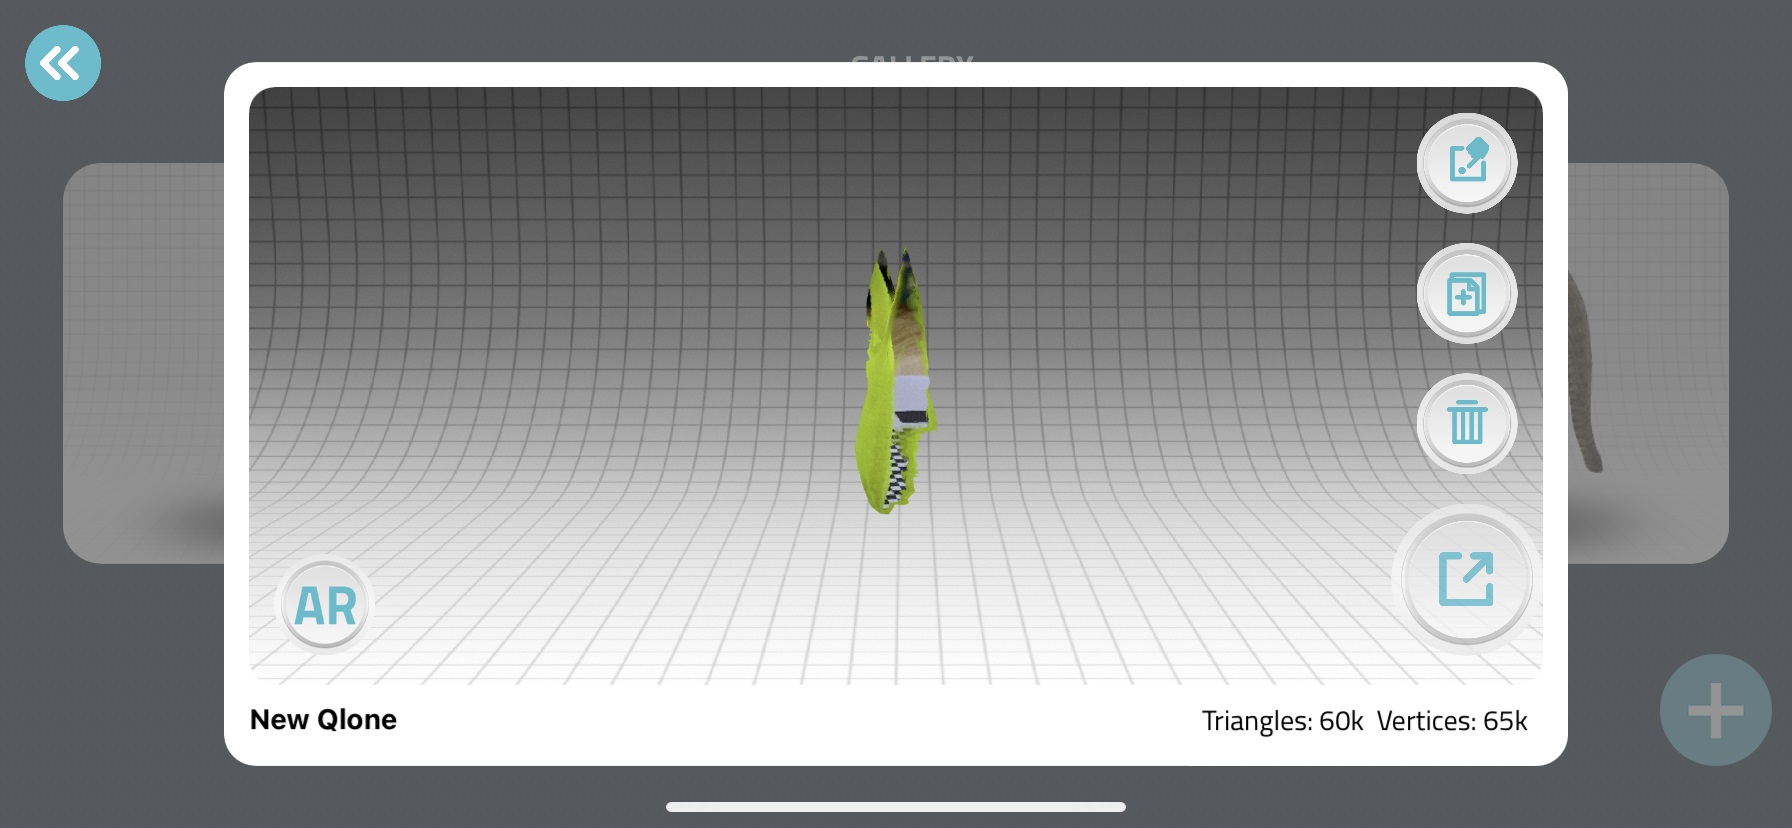
My second attempt succeeded as shown in the image below
Scanning by using Xbox Kinect 360 (Individual)
We tried to get a 360 scan of ourselves by Kinect scanner. First, we prepared the sittings

Sat in front of the scanner and took a 360 round (slowly). I noticed that there is a hole in some parts of the 3d model
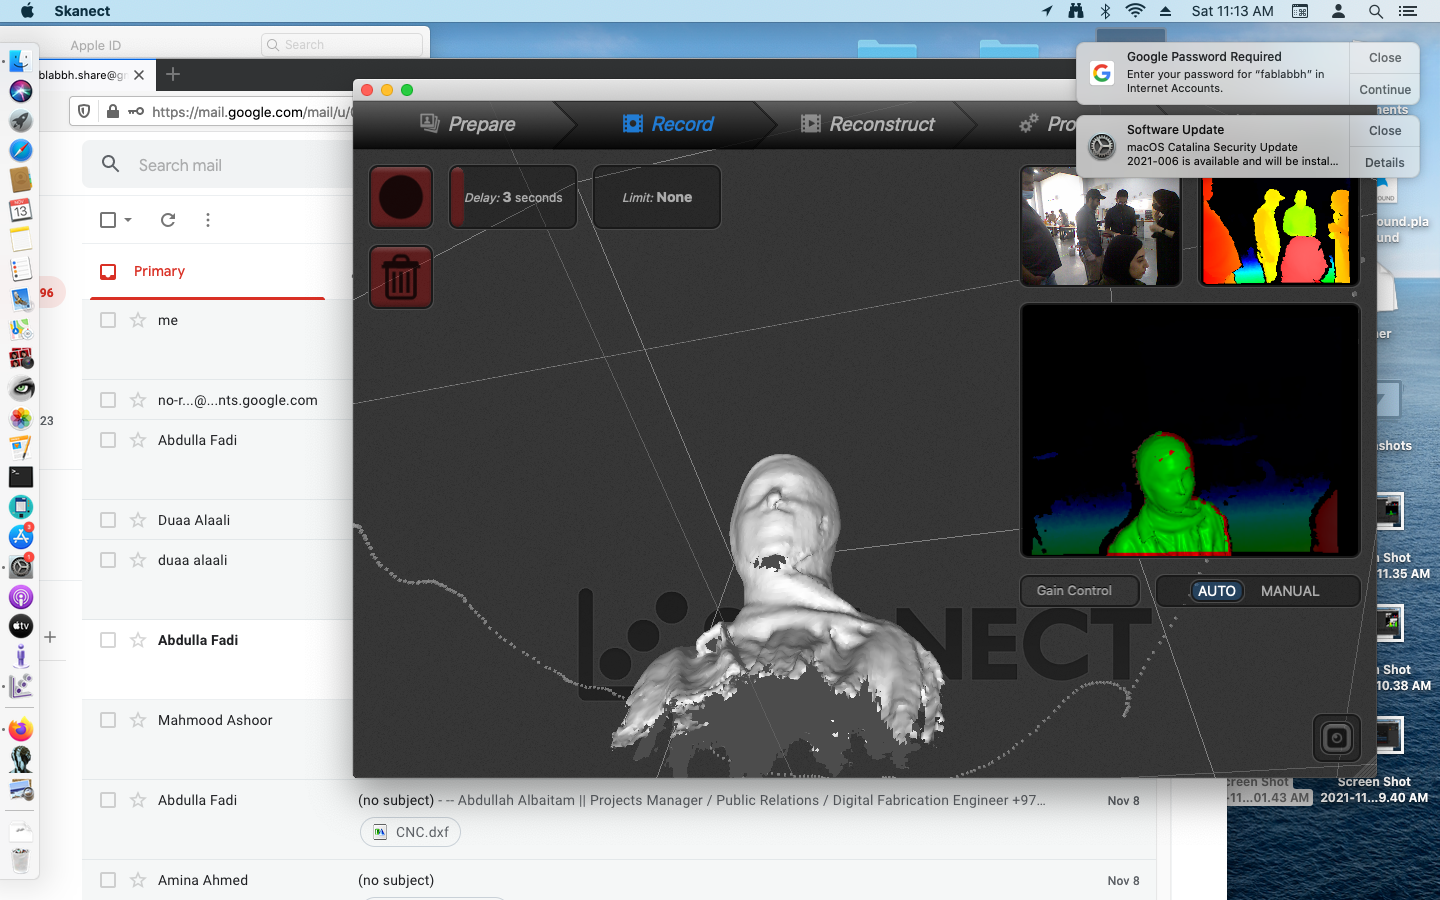
I fixed it by using the fill holes option

Final result

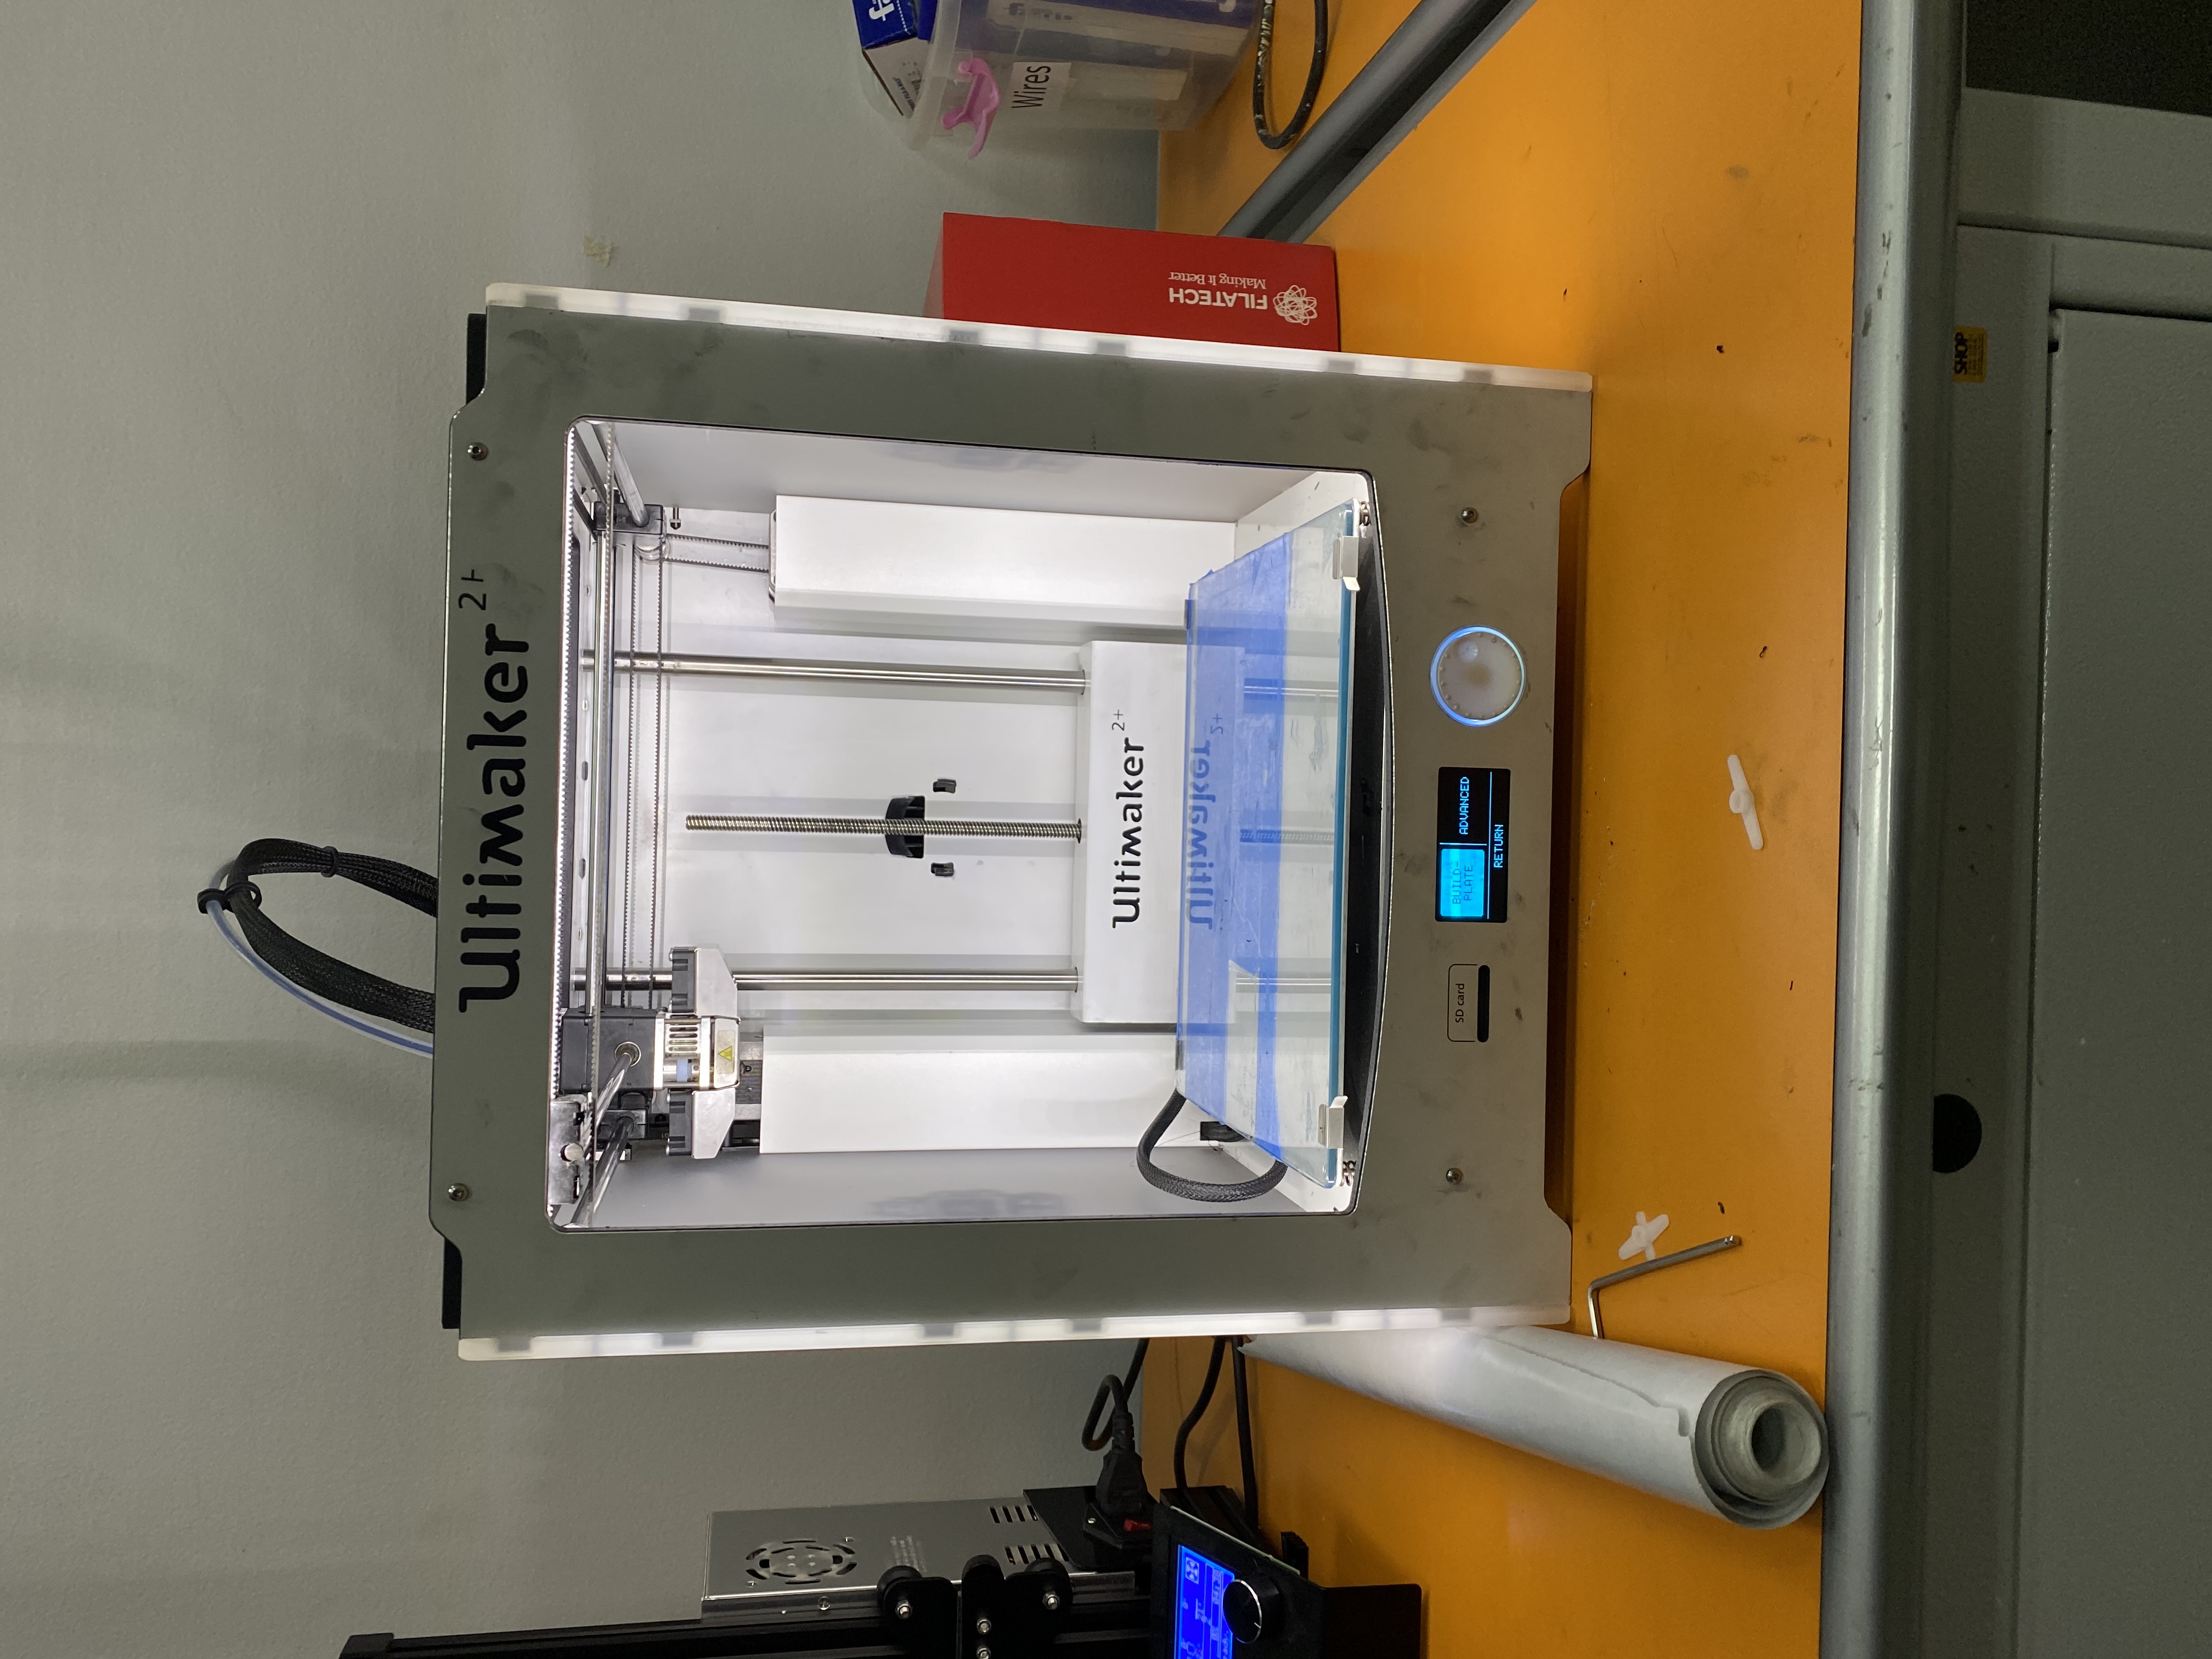
3D printing Test (Group work)
Pre-printing Cura sittings
1.We dowmloaded Cura and added our printer name which is Creality Ender-3

2.Uploaded our test files that we found online and adjusted their sizes
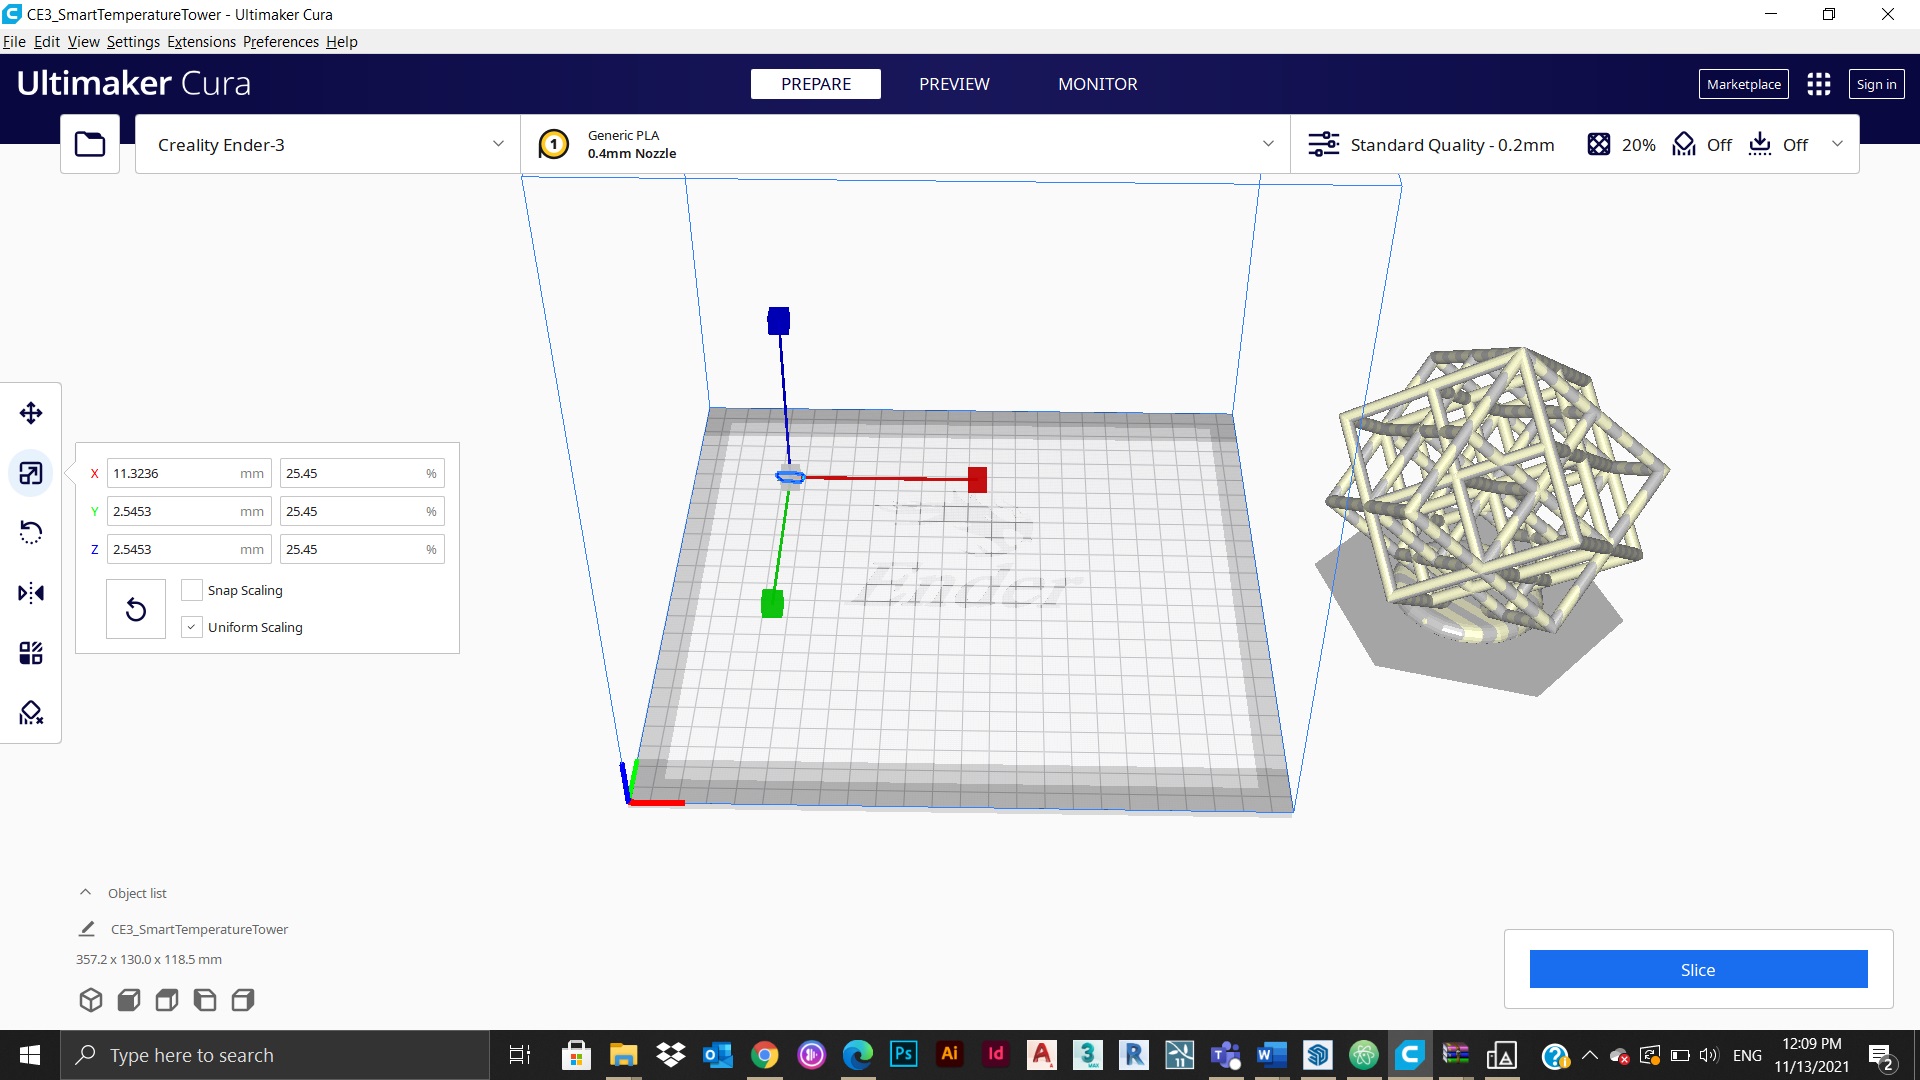
3.Adjusted the sittings from computer before printing


4.Pressed to know how long the printing phase is going to take (around 5 hours)

NOW WE ARE READY FOR PRINTING PHASE
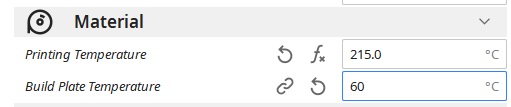
3D printing machine sittings
Click here to see the sittings
Results and comments
3D printing (Individual)
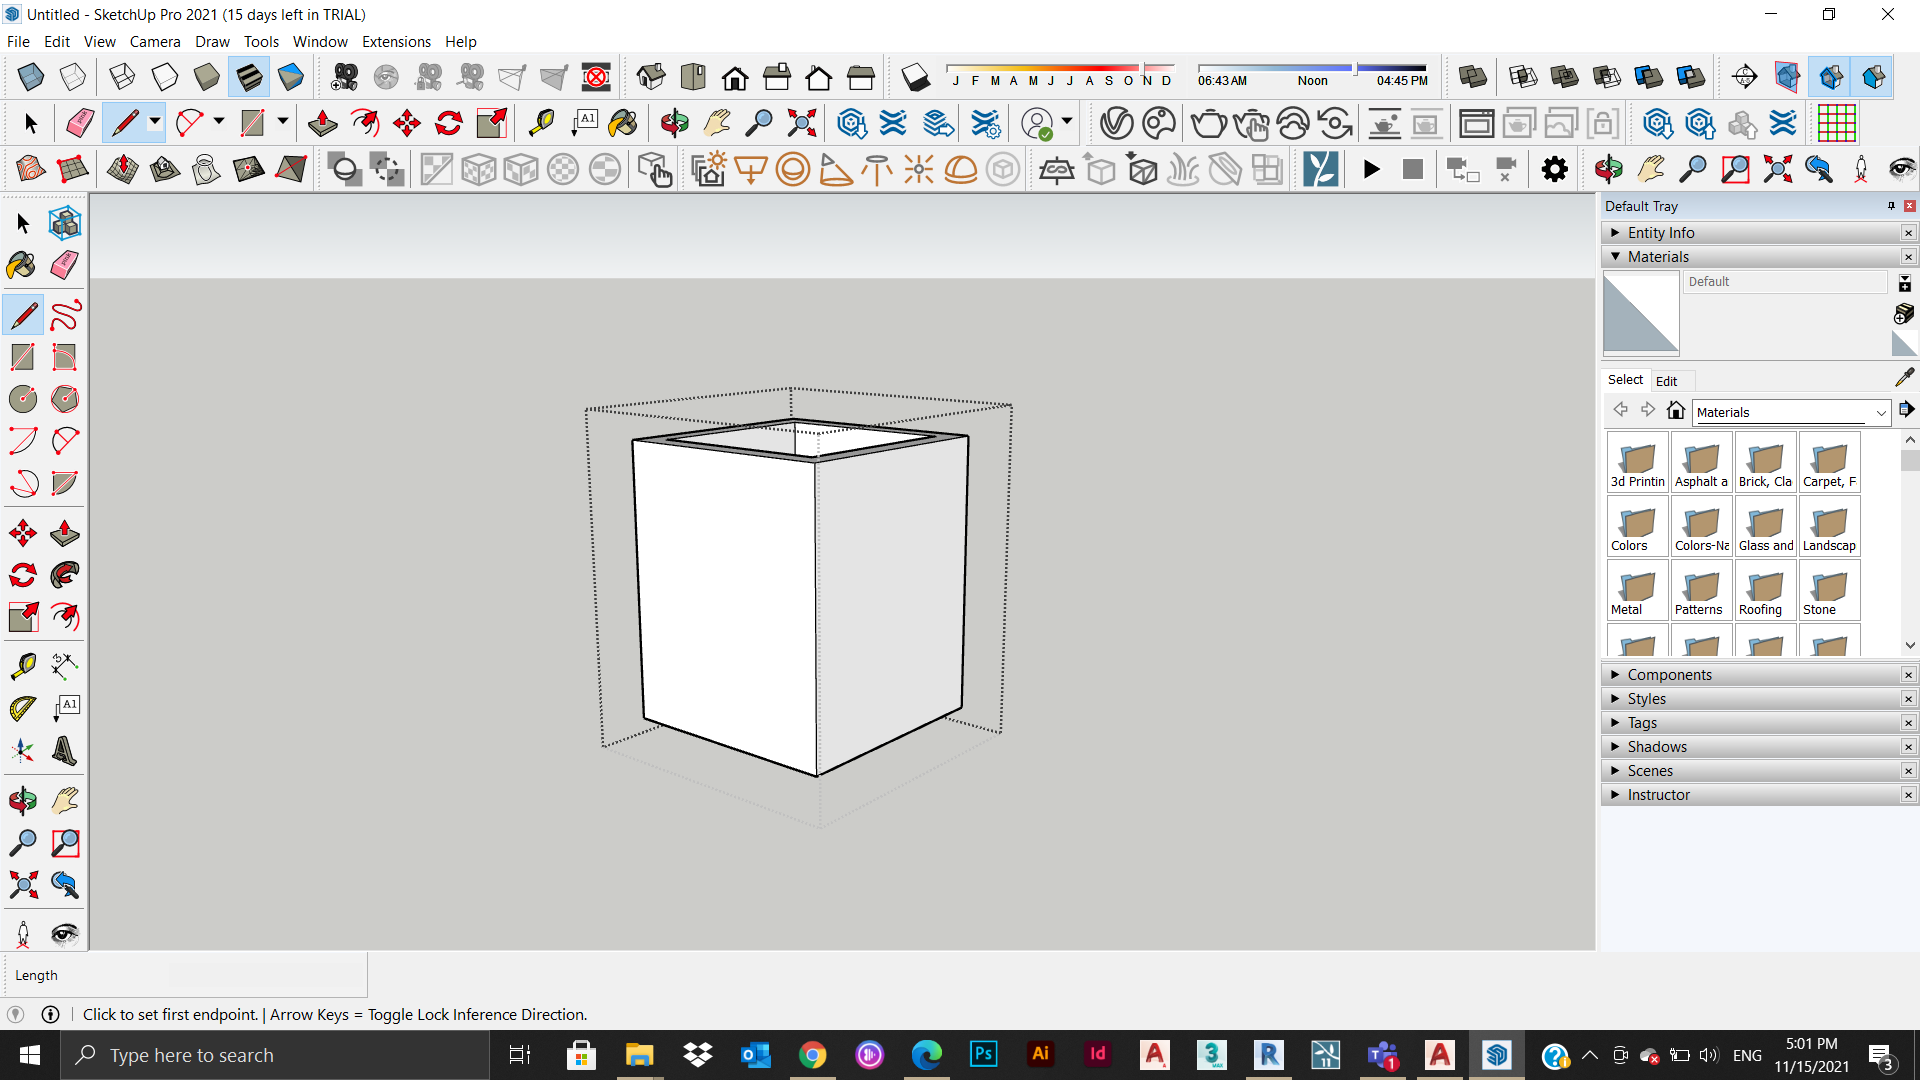
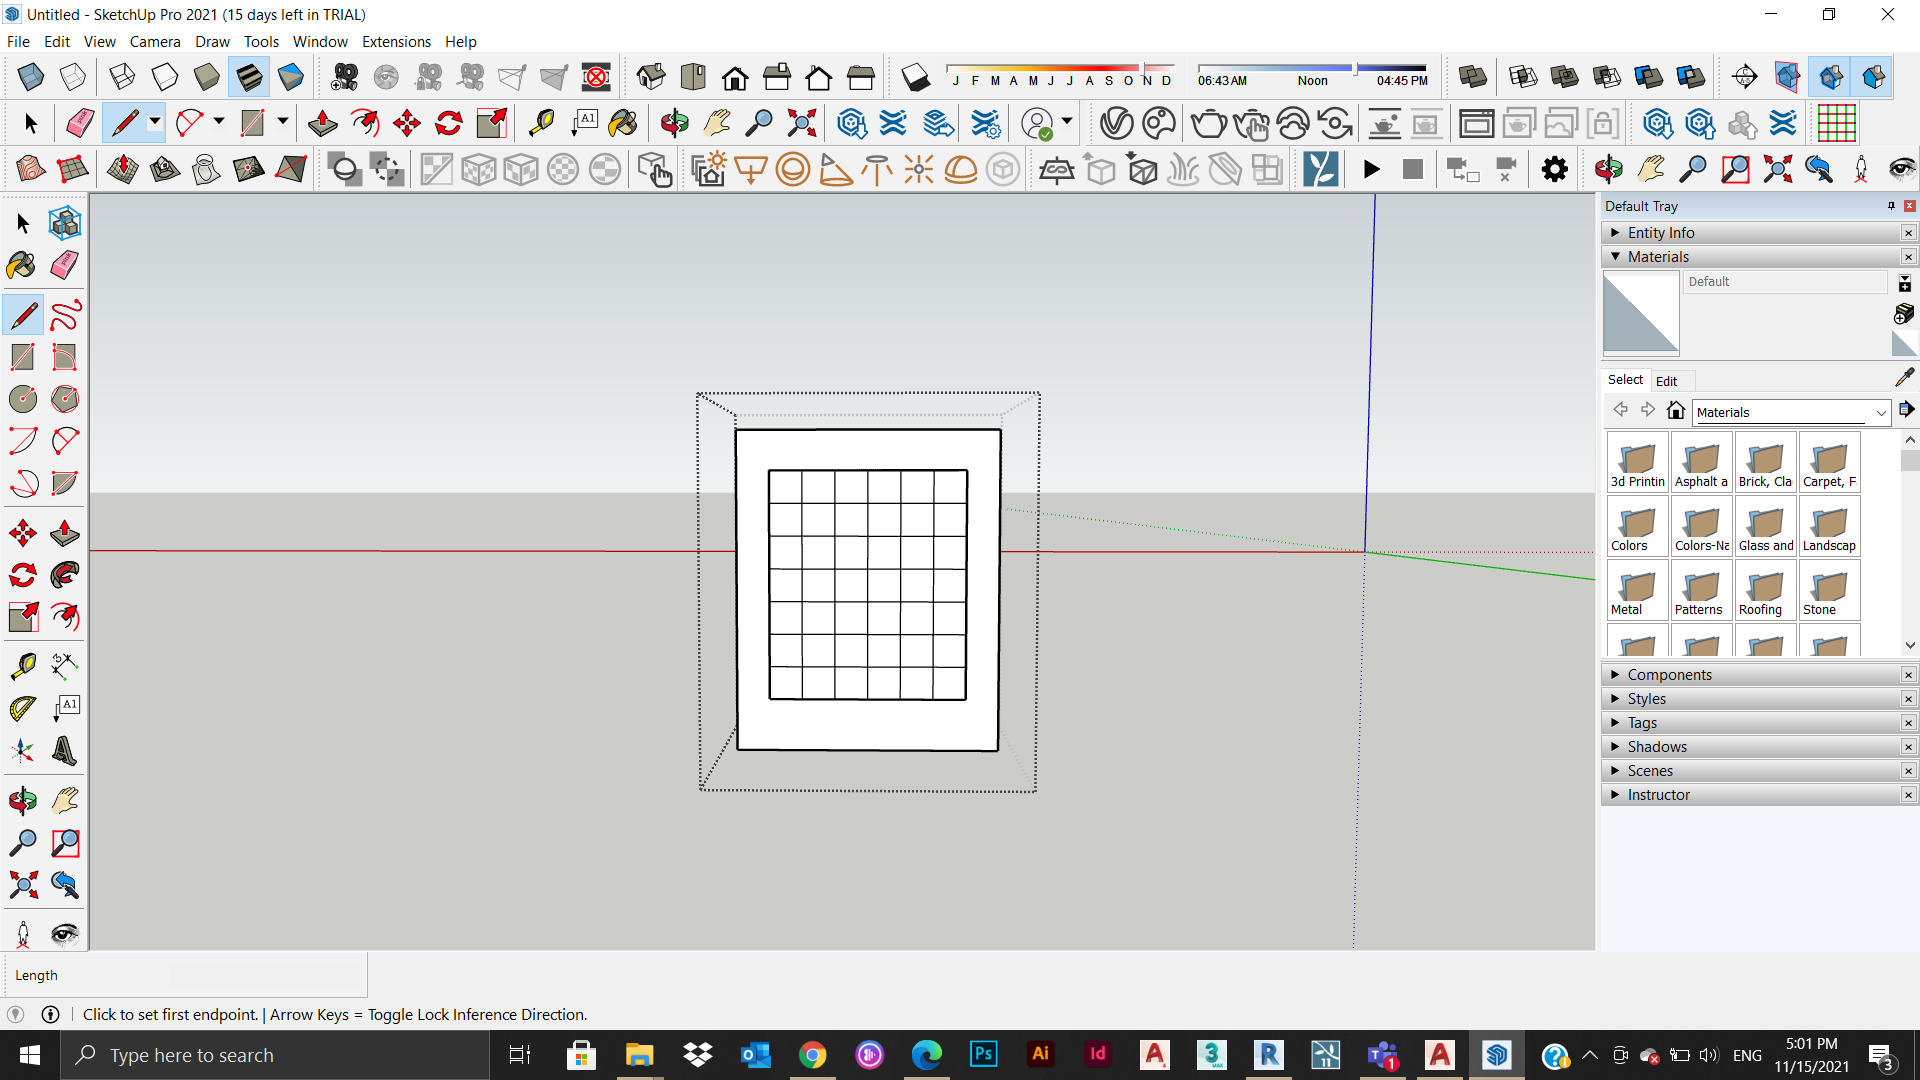
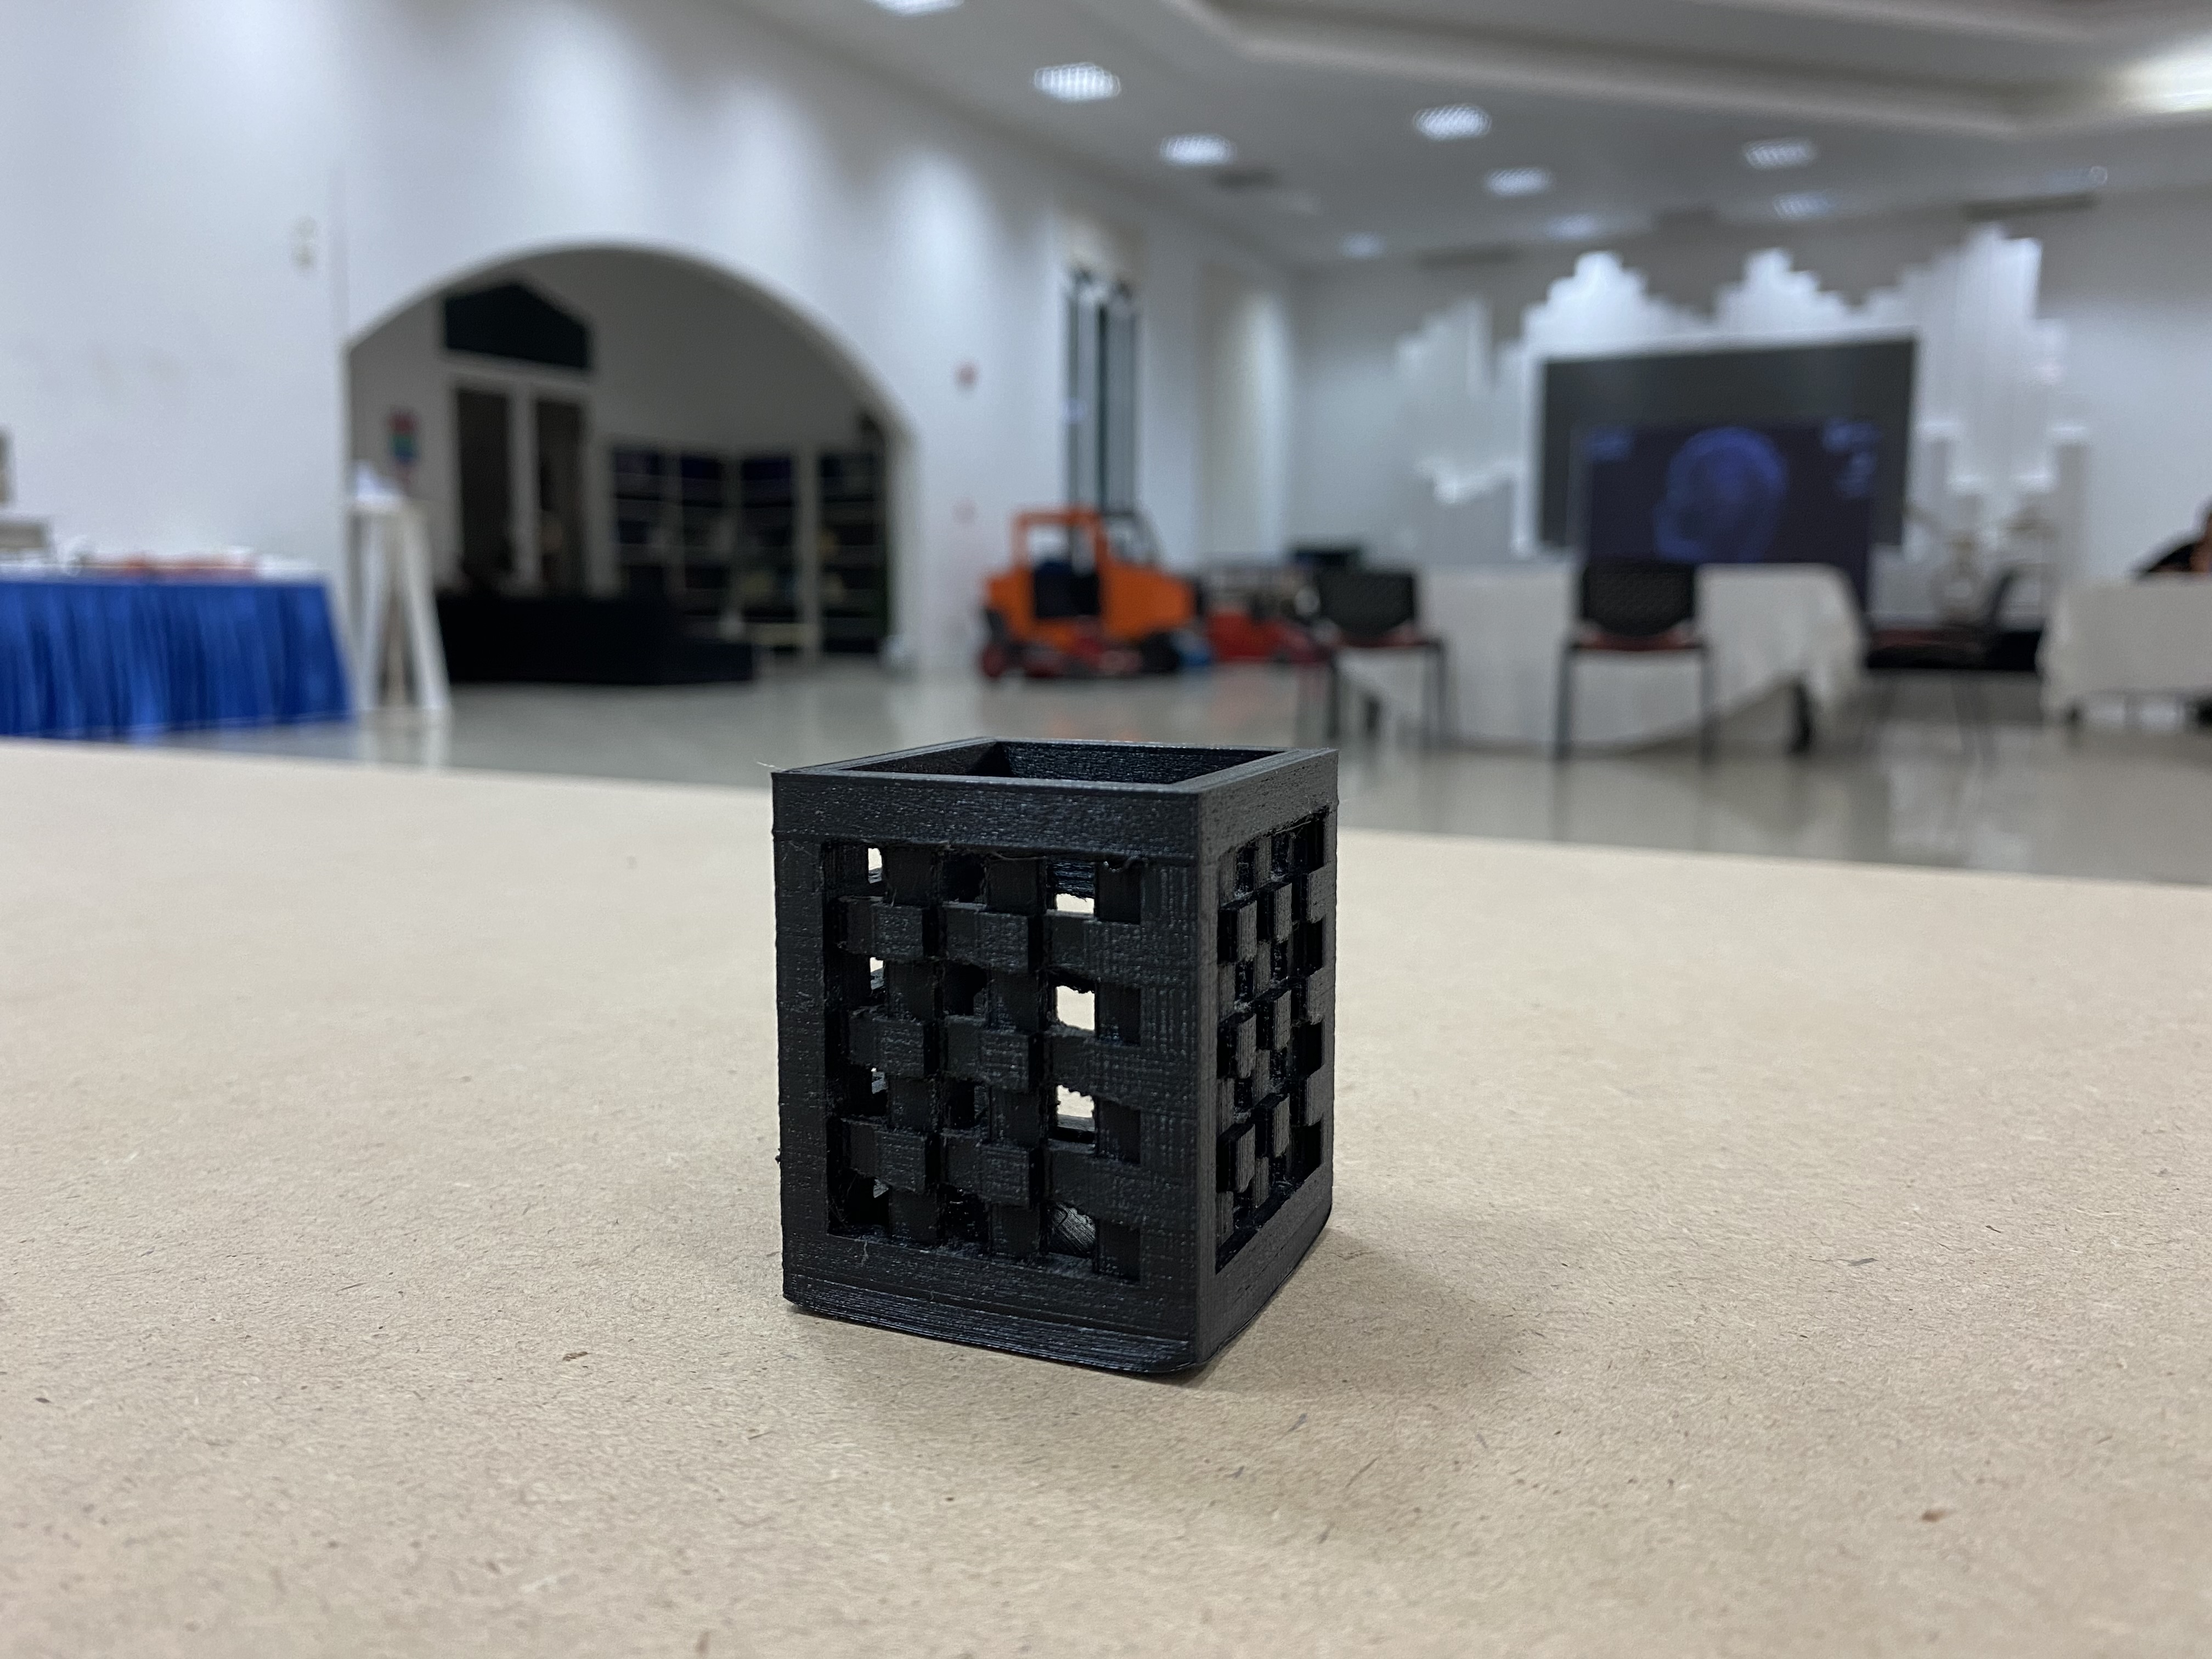
In this task we were required to design our own object to print it in the 3D printer. I designed a textured box with small sized extrusions and holes to reduce the need for supports and end up with neat results.
I used Sketch up to model my design


Then I used the same sittings that we have used in the group assignment and started the printing operation (this time we made sure that the temperature of the room is higher to avoid the failure that low temperature caused during the test printing)

It was easy to fabricate the box for many reasons and the main two are:
- It has a wide base
- Has no huge holes
- It is made out of straight lines
which gave me the chance to avoid the use of supports and get a neat and clean result.
THE AMAZING RESULT!
Why 3D printing instead of laser cutting?
Laser cutting machine is not able to make undercuts and complex shapes (only 2D), while 3D printer is able to print from bottom to top following the object’s shape.