1. Project management
In this page I will be explaining the basics of using atom to document my work on my gitlab repository. git bash and Atom are the softwares needed for this guide.
What is Git Hub?
Git Hub as described by wikipedia: GitHub, Inc. is a provider of Internet hosting for software development and version control using Git. It offers the distributed version control and source code management (SCM) functionality of Git, plus its own features. It provides access control and several collaboration features such as bug tracking, feature requests, task management, continuous integration and wikis for every project. Headquartered in California, it has been a subsidiary of Microsoft since 2018.
Before Fab Academy, I was familiar with Git Hub as a website that hosts open source projects. A lot of open source projects I have seen uses Git repositories to host their data.
Git bash
Git Bash is an application for Microsoft Windows environments which provides an emulation layer for a Git command line experience.
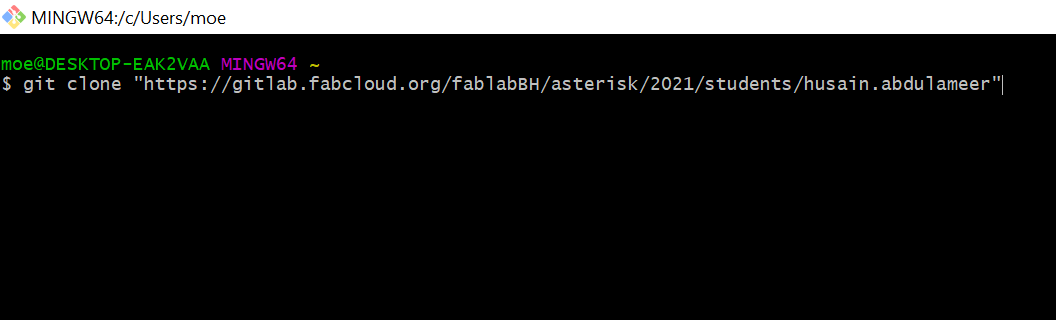
The repository can be cloned to hard drive using the git clone command in Git bash alongside the address of the repository. It will be saved in C:\Users by default. This step is necessary in order to use Atom for editing the repository. This step basically creates a copy of the repository on your own personal computer, and makes editing it easier.
Atom
Atom is a free and open-source text and source code editor for macOS, Linux, and Microsoft Windows with support for plug-ins written in JavaScript, and embedded Git Control, developed by GitHub.
Atom can be used to make various changes to the repositry with relative ease.
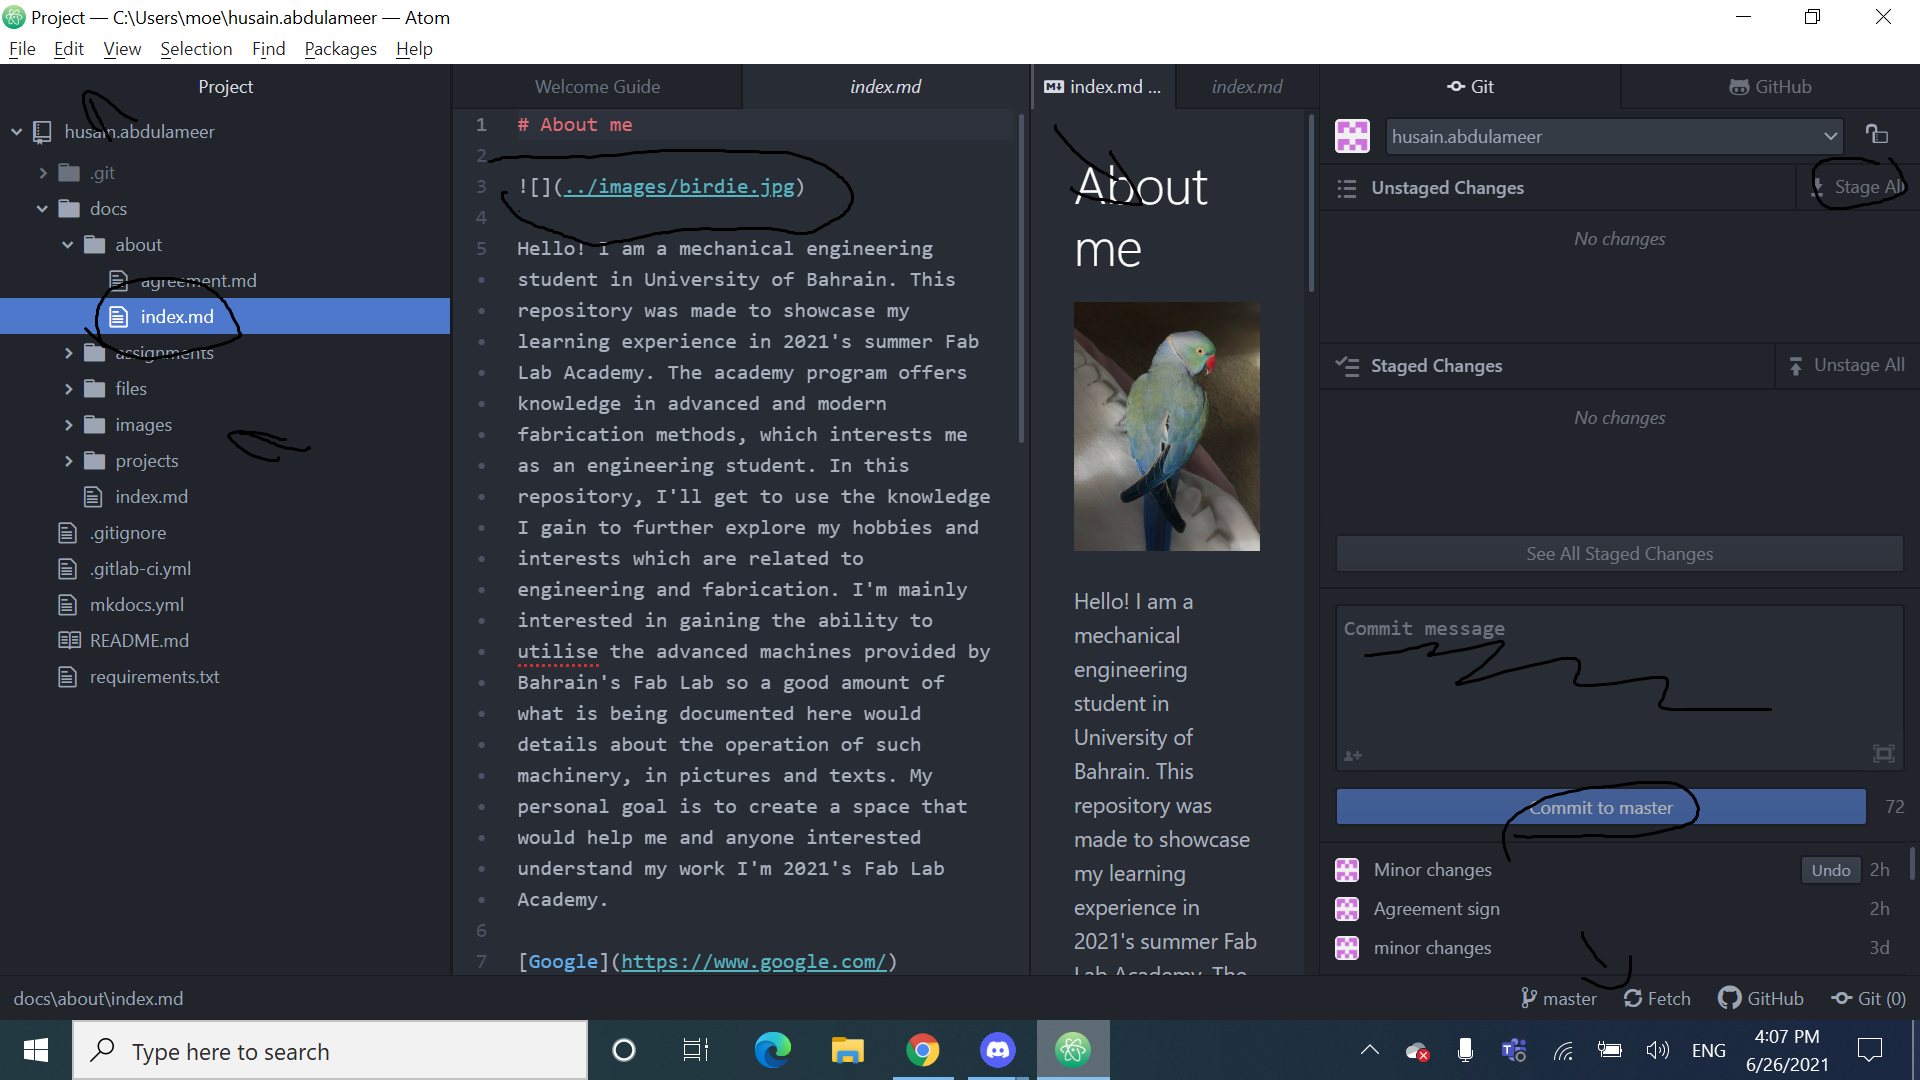 First step is clicking on version control and opening gitlab panel which is used to push changes to the repository. Logging on here is necessary in order to be able to successfully edit the repository.
Next step is open the page that is to be edited. In this case week01.md.
After changes are made, save from file, at the top left corner.
Changes will appear in the gitlab panel, where they need to be staged. This can be done by clicking stage all button.
Changes need to be commited afterwards. This is done by clicking commit to master after including a commit message.
The final step is pushing the changes to the repository which is done through clicking push in the bottom right.
The website can be preview by right clicking the webpage file in the left panel and clicking markdown preview.
Images can be included by using this line  in the case of this example. Images need to be hosted externally or be used from the repositry folder which was cloned to the hard drive using git bash. Comments can be included in images as shown in the example before the address of the image.