4. 3D scanning and printing
The learning outcome of this week is 3D printing. 3D printing, to put it in layman’s terms, is creating detailed three dimensional objects, layer by layer. From what I have seen, 3D printers either use filament, or epoxy resin.
Filament 3D printers extrude a filament of plastic, PLA in my case, and melts it and use it to shape the object layer by layer. It’s a simple process, though it can take a long time. The process can be sped up by increasing the size of the filament, but this needs adjustment to the machine and while it’ll significantly speed up the process, the level of detail that can be present in the object is often inferior to smaller sized filaments. For my work, filament 3D printers were exclusively used.
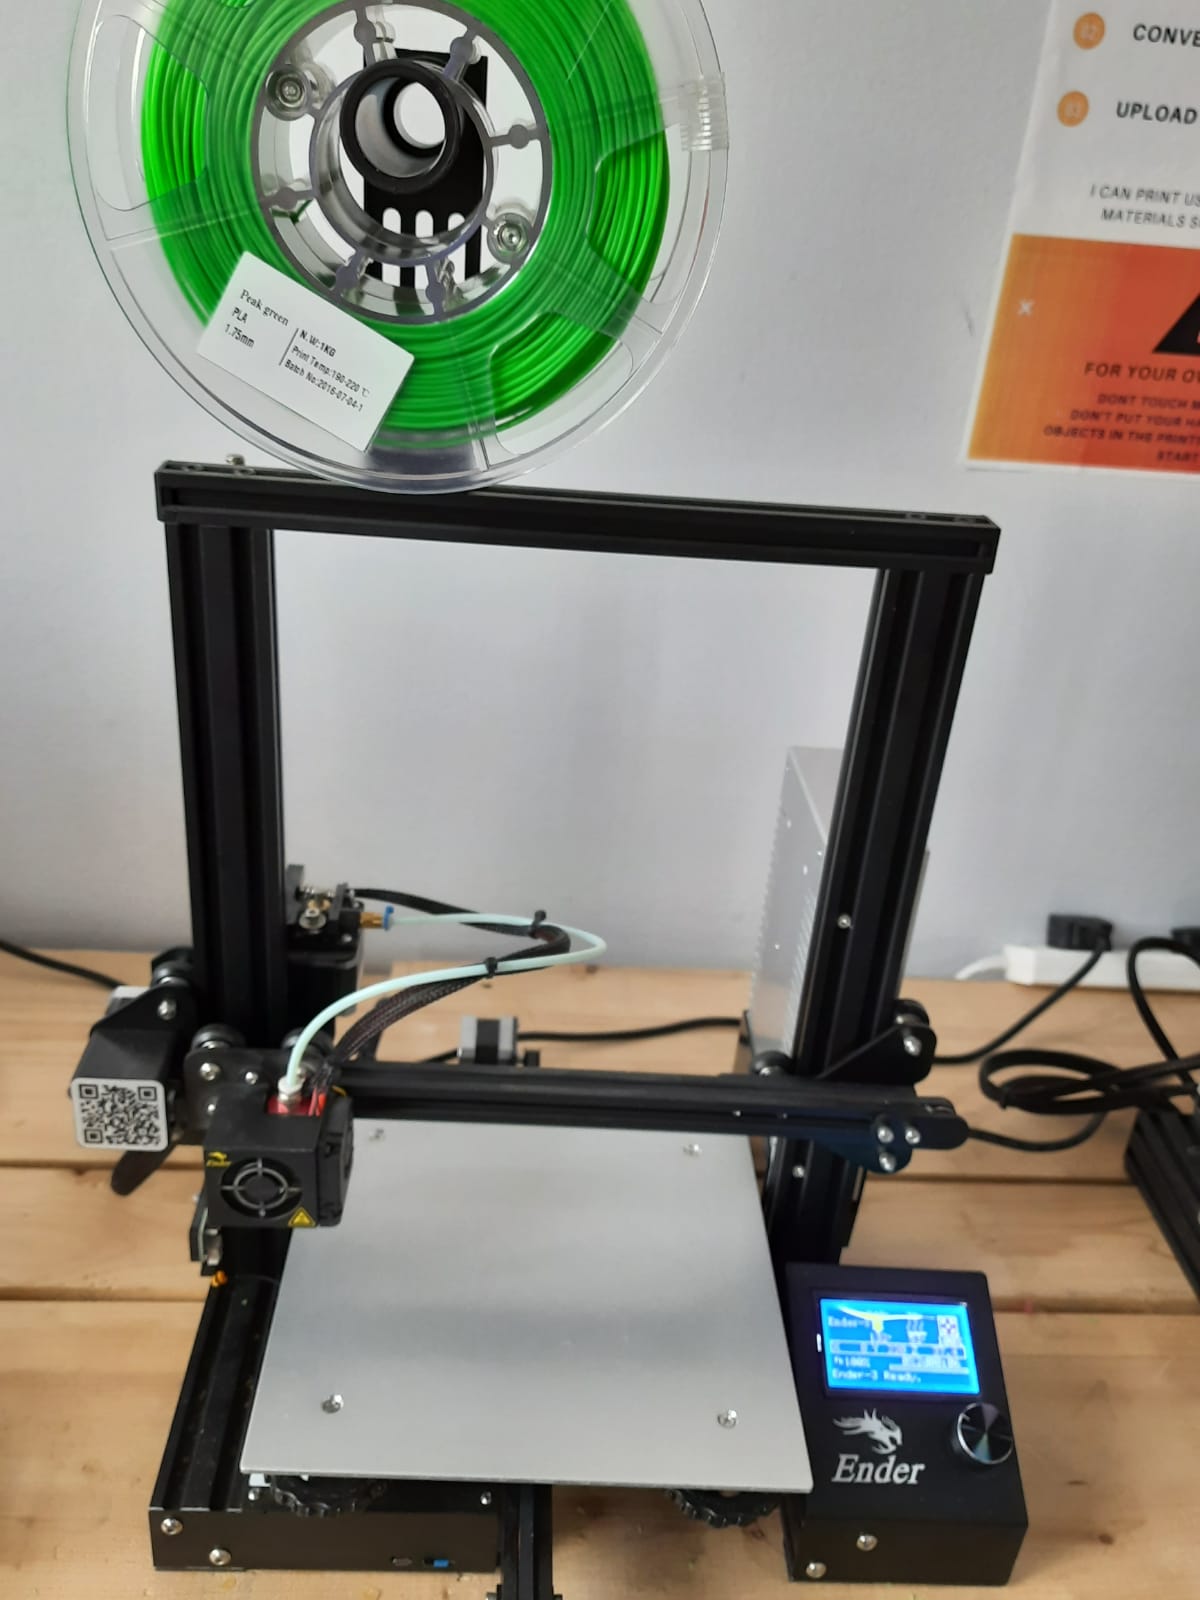
This is an example of one of the many filament 3D printers. Filament roll is attached to it, and filament gets fed into the extruder of the printer to be turned into designs on the printers bed. For this particular printer, the filament must manually be inserted in the nozzle. The printer automatically runs a test which can be used to examine the quality of the filament.
The other type of 3D printers, epoxy resin, is more impressive, at least for me. It works in a rather different manner to the filament 3D printer. The technology behind most resin 3D prints is known as Stereolithography. Razor thin liquid polymer is spread out evenly. This liquid is UV sensitive, and when struck by a computer controller UV laser it will change from liquid state into solid state. UV laser is used to draw the outline of the design, and harden it. The remaining part of the liquid that is not touched by the UV laser remains in a liquid state. This is done over and over again, layer by layer. When this is done, the design is extracted from a tank of liquid polymer, so that it can be properly finished. The remaining liquid can be extracted to be used again for another design. The design is manually removed and the remaining liquid flows out automatically. Manual finishing touches often include removing support structure, smoothing the surface and painting.
The advantage that epoxy resin 3D printing has over filament 3D printing is that it produces better surface finish, however the process is far more complicated than the simple filament process, and oftentimes you won’t be able to see the machine processing your design unlike the filament counterpart. Moreover, handling the epoxy resin 3D printing machine is quite more dangerous than the filament 3D printer.
3D printing also has an interesting history. A lot of 3D printers contain 3D printed parts themselves, so you can essentially say that those 3D printers were 3D printed themselves. The first generation of 3D printing machines were used to mass produce the parts for the next generations of 3D printers.
Moreover, many if not most of 3D printer machines are open source, meaning that any person can produce them should they desire to, or improve upon them as both the software and the design specifications can be available.
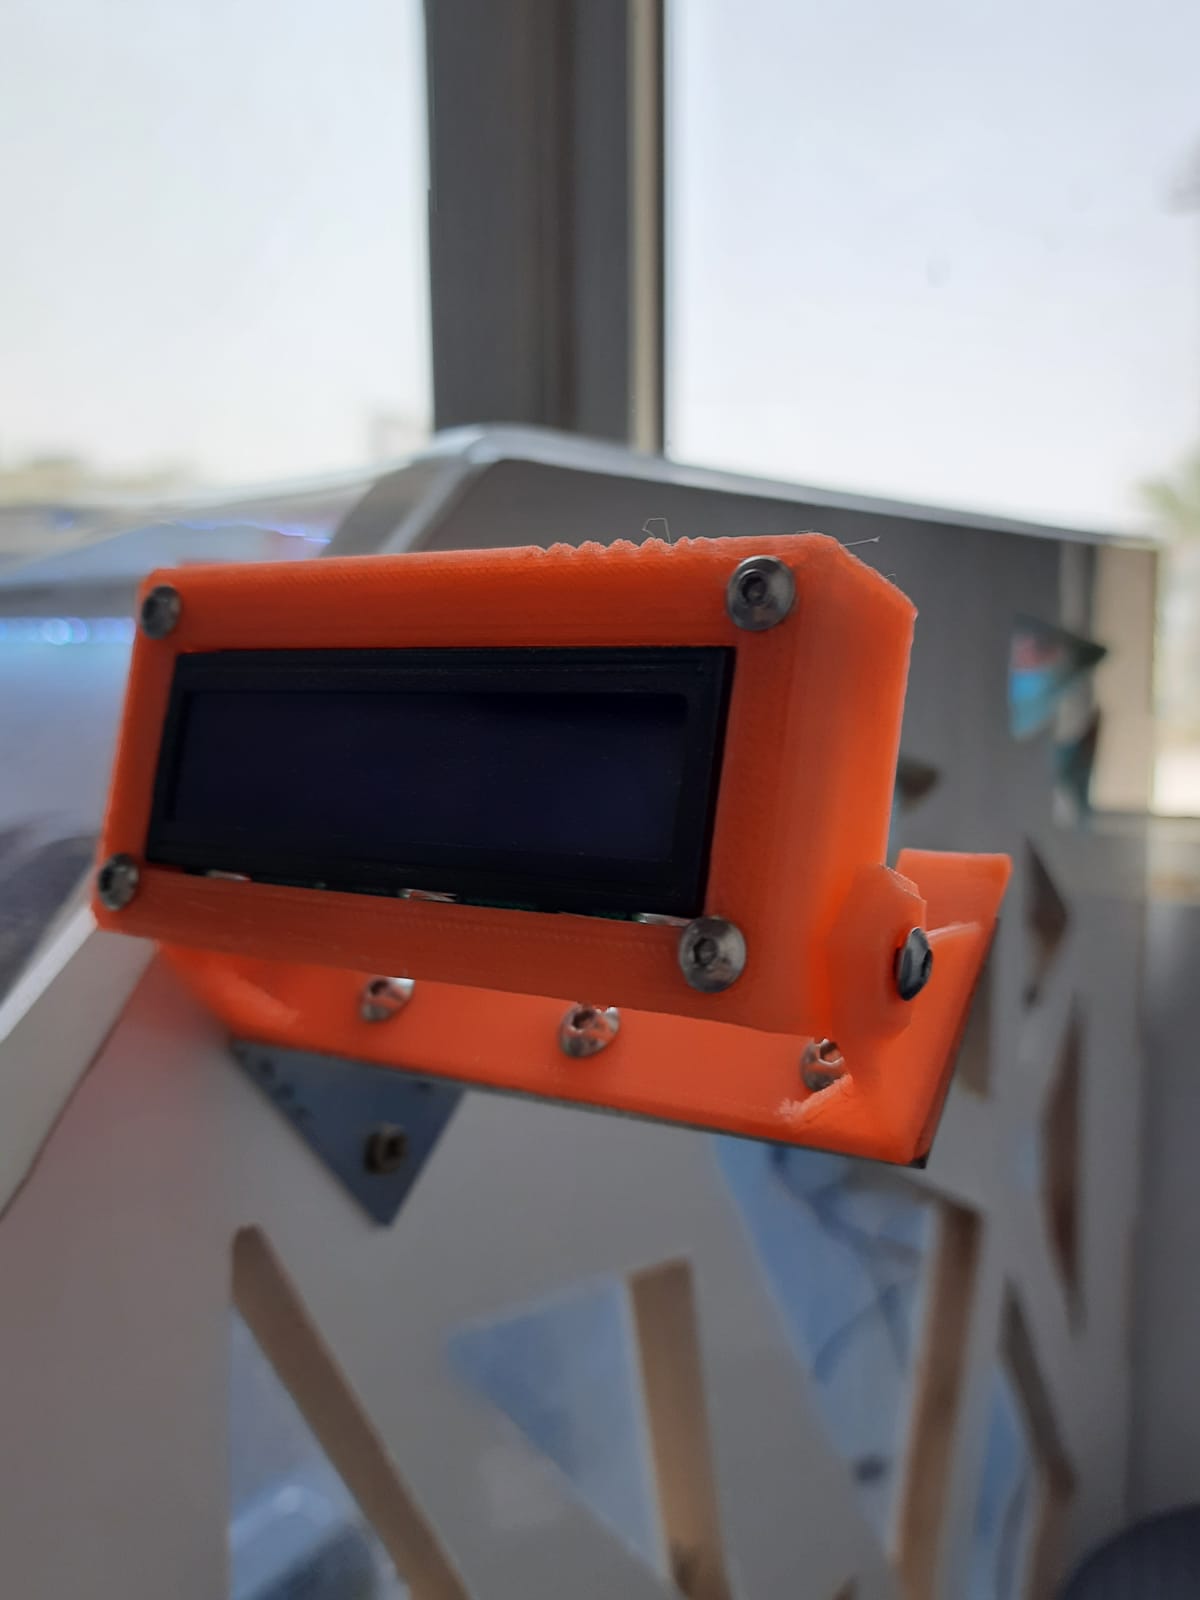 This is an example of a 3D printed part that is used to support the display of another 3D printer.
The process began with designing a 3D object, which I have done using TinkerCAD as it is a simple to use tool. The design was basically a christmas tree made out of blocks with a start at the top, similar to what you’d see in the popular video game Minecraft. After that, the design is exported to be used for printing. Ultimaker Cura was the software used for the printing operation. Ultimaker Cura is an open source software that is compatible with most printers. The left interface of the software features options that can alter the design in a minimal manner, such as moving, scaling, mirroring and rotating. None of those options are more difficult to use than the ones we have learned to utilize when it comes to 3D design. An important thing to note is that sometimes objects need to be rotated to ease the 3D printing process.
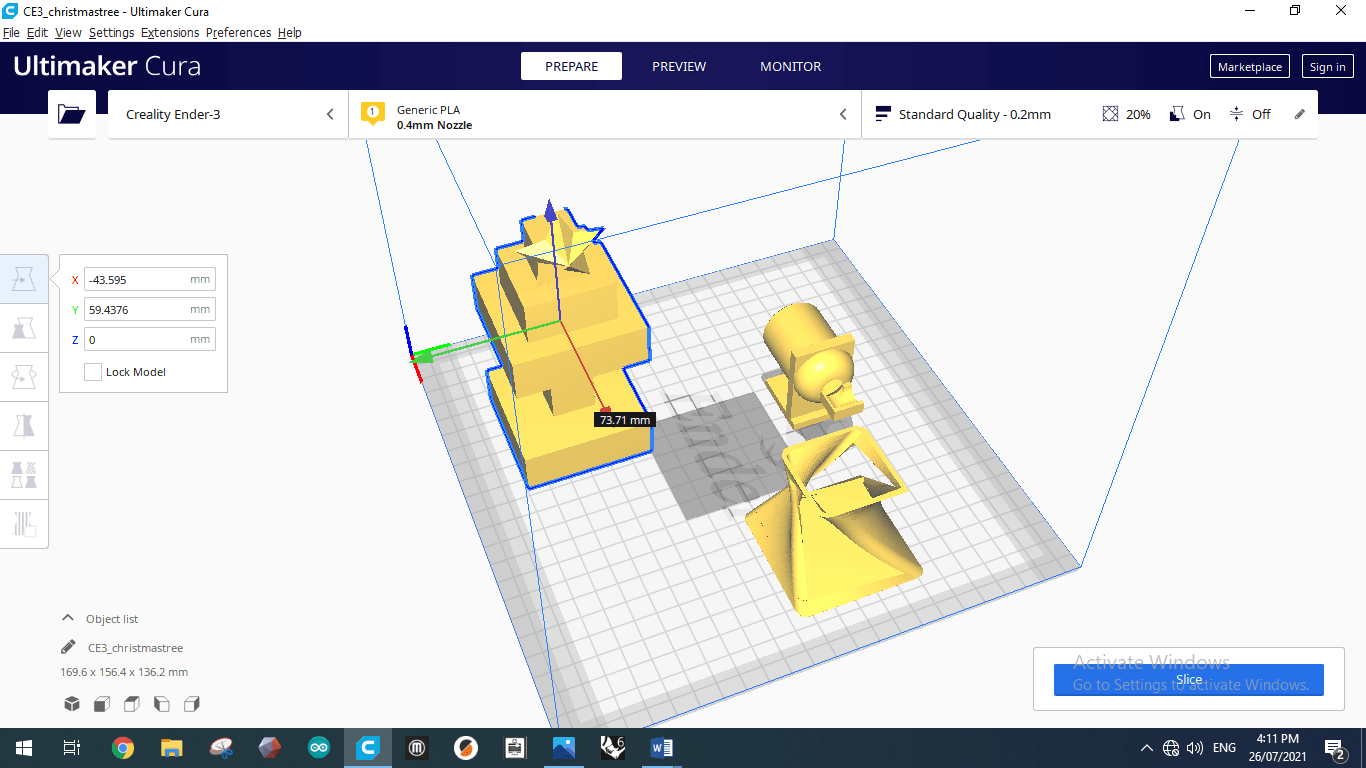
Here we have our designs, nearly ready to be printed. They’re kept close together to save time as the nozzle doesn’t need to travel far between each design while working on the layers. Do note that any design outside of the specified area will be greyed out, and will be considered invalid. For even more precaution, it was suggested to keep a distance from the edges of the bed, to ensure better print quality.
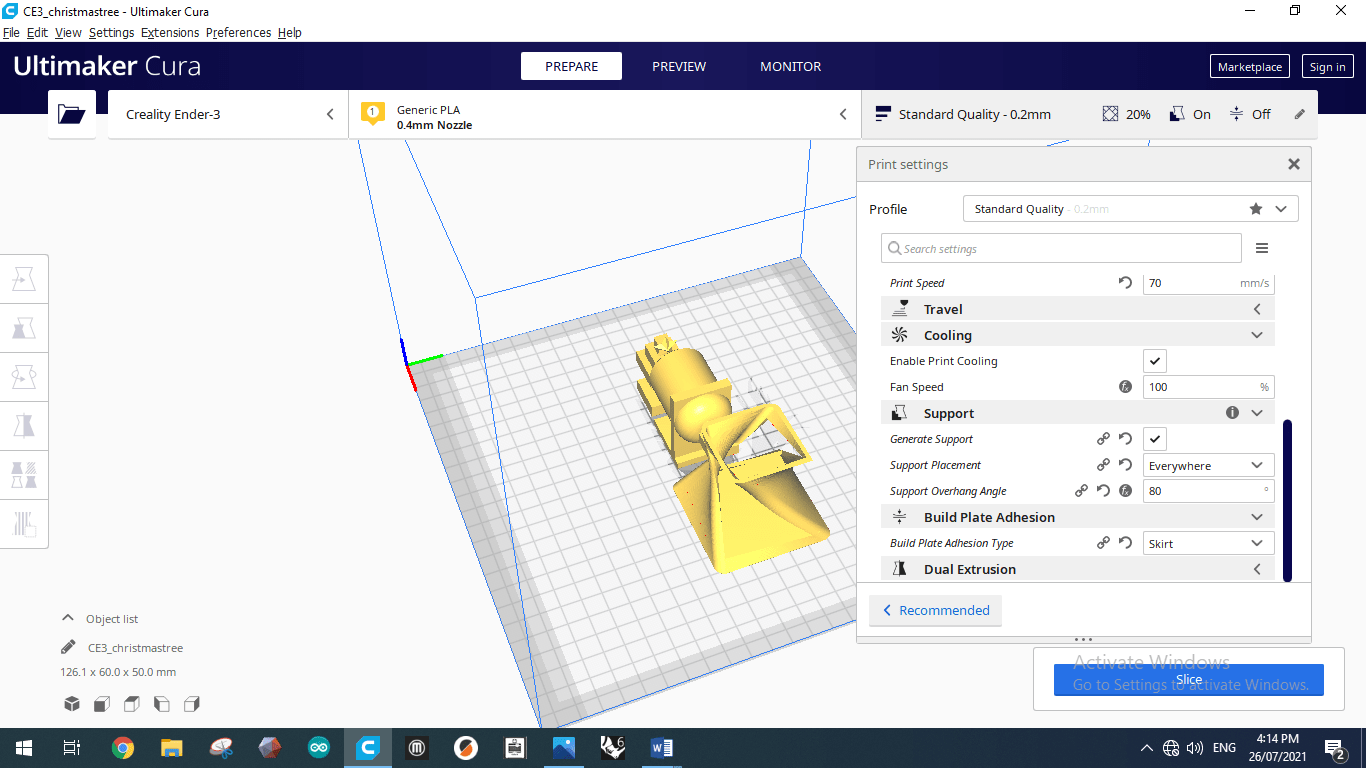
The next part of the software interface that is worth mentioning is the print settings, in which the printing parameters can be changed.
Quality, or layer height, is set to 0.2mm by default. Decreasing the number would increase the print quality as the 3D printer prints layer by layer, and decreasing the size of each layer would increase the quality, at the cost of time. 0.2mm is a good balance between the time and quality.
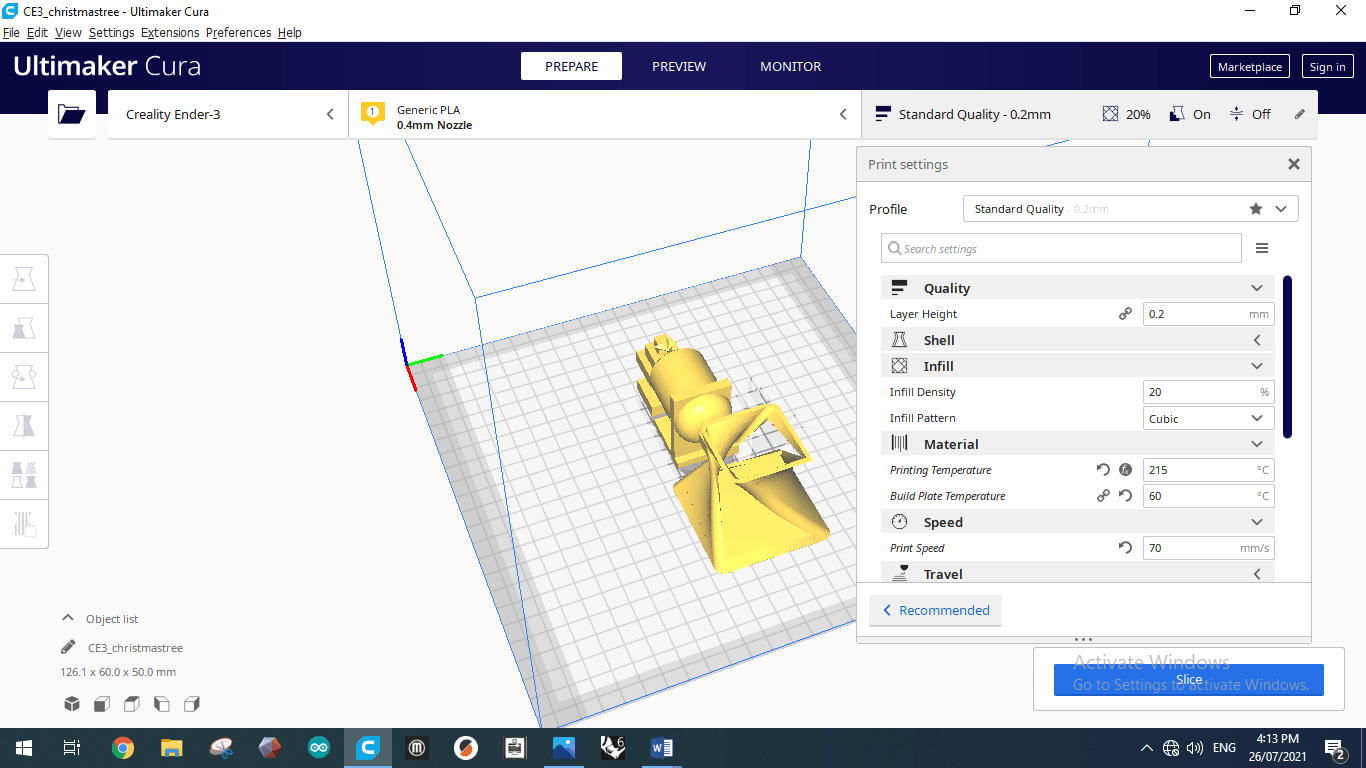
Next are shells, which are basically the thickness of the outside walls on X/Y axis of the design.
After shells we have infill. The solid parts of the 3D printed object aren’t typically produced with a solid interior. Instead a pattern such as crosshatch pattern is used, and the density of this pattern is referred to as infill percentage. Infill can have several effects on the print, but as with quality, increasing it can be a waste of time and material at the same time.
The software also has a feature to automatically provide support where the design needs it, and can also be used to preview the printing process.
After adjusting the design in Ultimaker Cura, it is now transferred to the 3D printer. Some 3D printers feature a port for sd cards only, so the files must be transferred into an sd card beforehand. The 3D printer itself needs to be adjusted for printing as well. In particular we need to calibrate the extruder, and set up the nozzle and bed temperature. Some of the printers already have presets depending on the type of the filament to be used. In my case we used 60c temperature for the bed and 215c for the nozzle. This is the standard for PLA and will differ for other materials. PLA was used because it is easy to print, although it is not the most durable material.
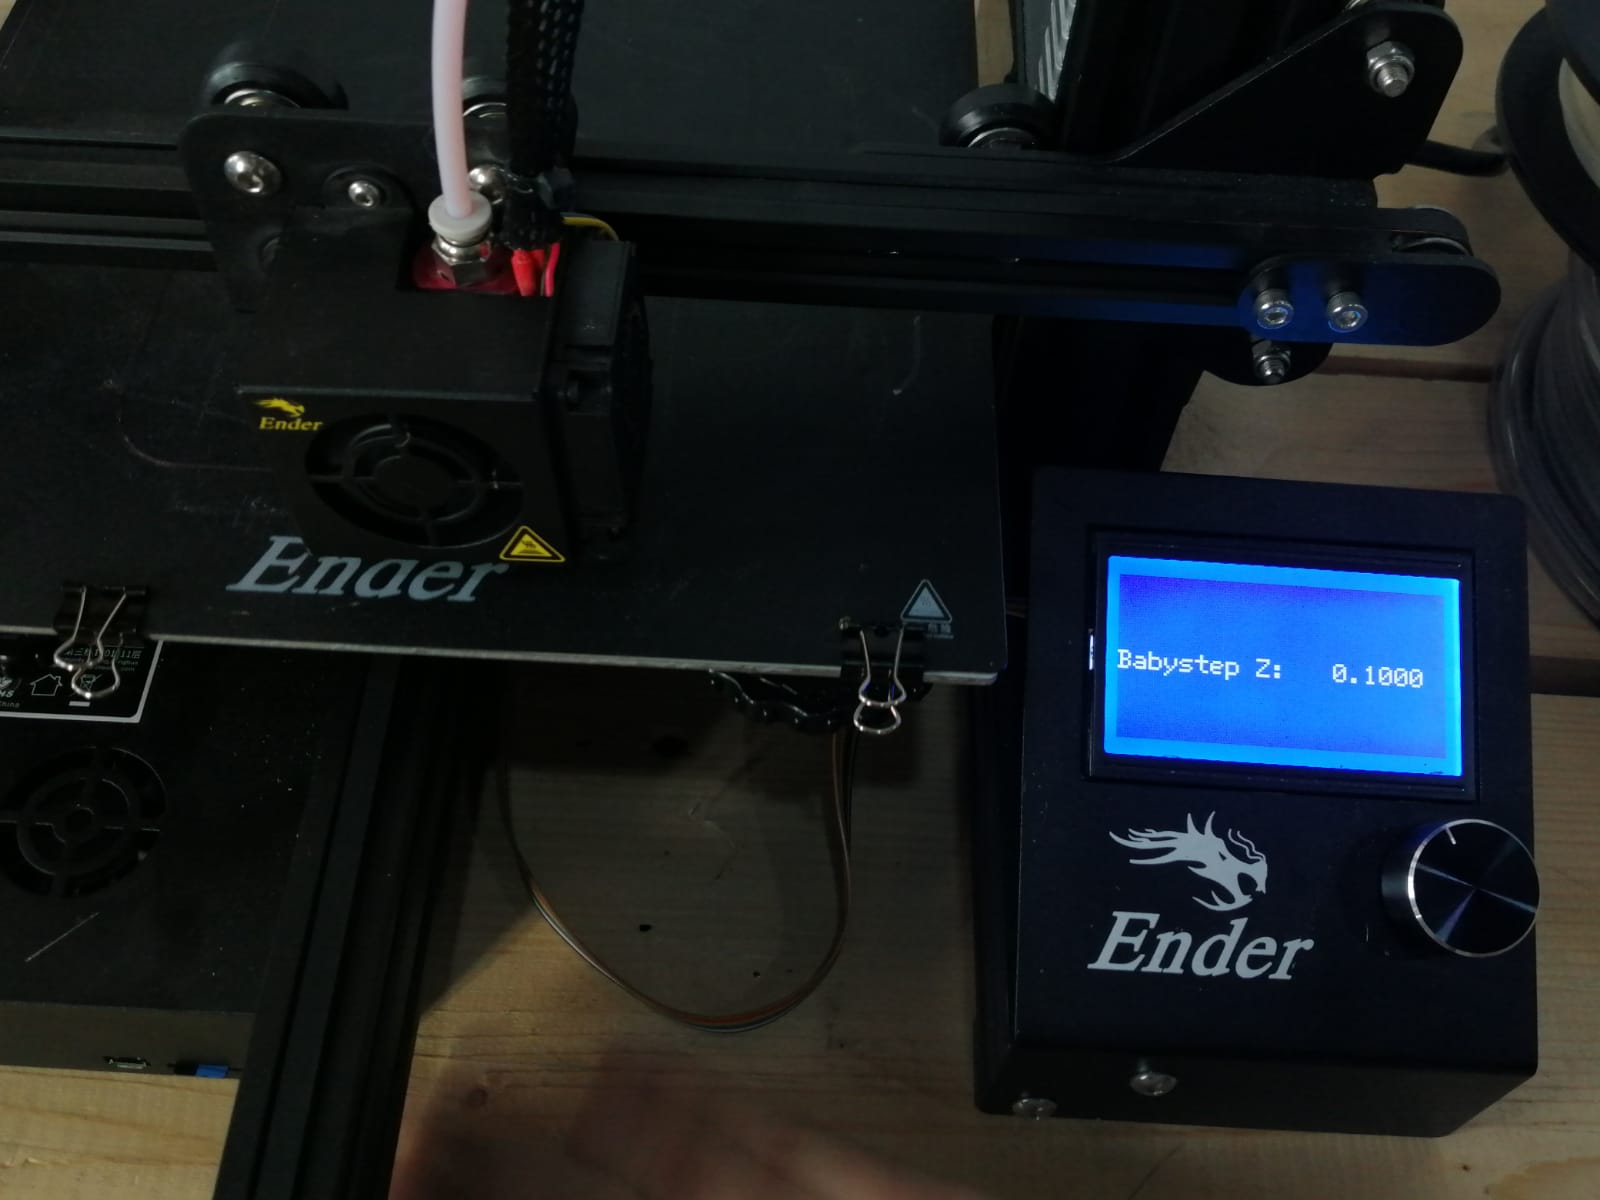 calibrating the 3D printer.
The 3D printer then starts printing, but first it extrudes some of the filament in an area around where our designs would print before starting the printing itself. This process can be used to ensure that there would be no problems in the printing process. The actual printing process starts after this step. Upon completion, all that is left is to take out our designs and clear out the support.
 Here is my design as it was printed.
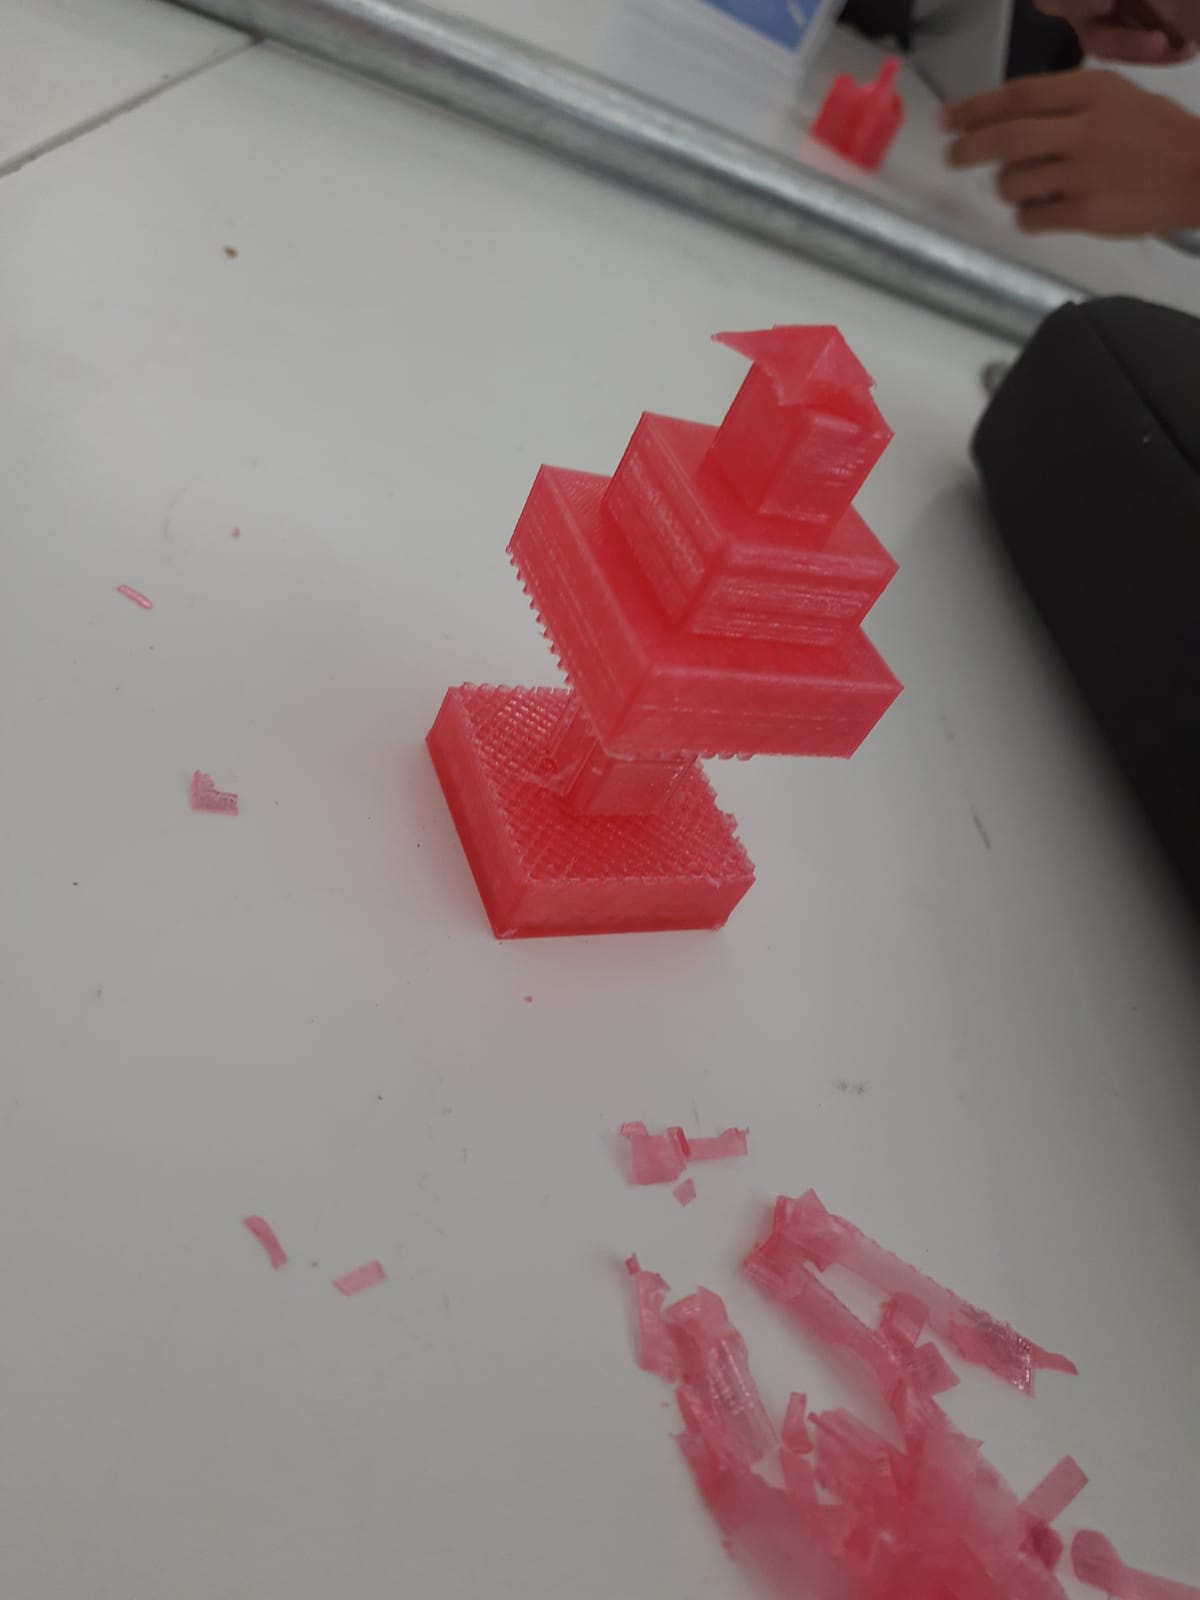 My design after removing the support, and how it is supposed to look. Unfortunately, the star at the top fell as it wasn’t properly supported.
Moving on, we studied a bit about 3D scanning. 3D scanning is basically cloning an object or a creature from reality into a virtual copy. This process has multiple uses ranging from conducting architectural surveys to arching historical artefacts to aiding in prosthetic designs to full body scans to creating textures for video games and many more uses.
The first 3D scanner started as a machine that can be moved across the 3 axis of XYZ, and tracking locations to simulate them virtually, and the technology has evolved into featuring multiple methods of 3D scanning each with their own advantages and disadvantages.
Photogrammetry is an example of 3D scanning, where images of an object are taken and are processed through a specialized software to create a 3D design of it. This process is advanced and can be used to scan large objects, even mountains and rivers.
Another example is 3D scanning using structured light. Patterns of light are projected into an object which deform due to the structure’s surface geometry. Analyzing these deformities allow us to produce 3D geometry of an object. This process however has the disadvantage of needing dim light or complete darkness, and doesn’t allow scanning large objects.
Naturally, these are only two examples of several methods of 3D scanning. 3D scanning is divided mainly into two categories, Contact or no Contact scanners. Basically in contact machine, physical contact is necessary to create a 3D digital file of an object, though the objects can be damaged during this process, and it is very time consuming. Whereas the other form of 3D scanners emit some form of light or radiation, and converts the reflection into a 3D digital file of the object.
Here in Fab Lab Bahrain, our first introduction into scanning was using the software Qlone to produce a 3D copy of an object, but first we needed printed papers with special patterns to surround the object and allow the process to occur.
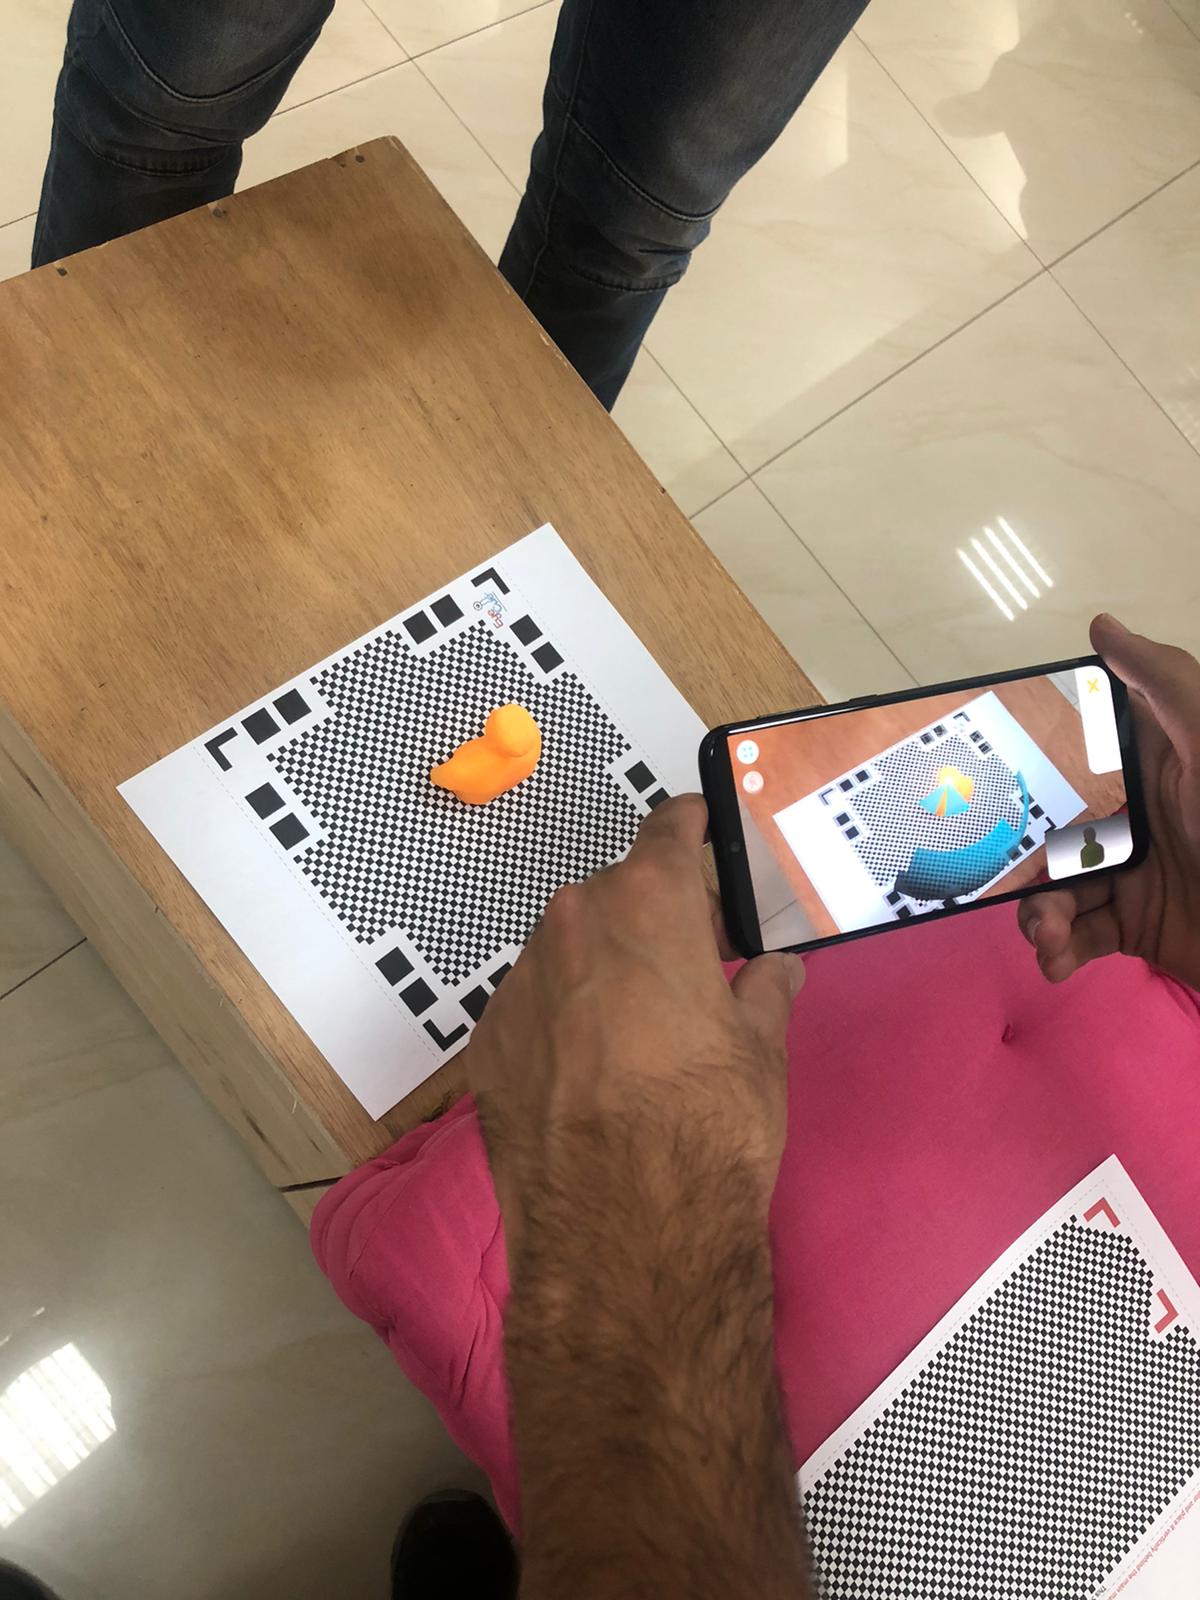 Scanning an object to generate a 3D shape of it on our phones.
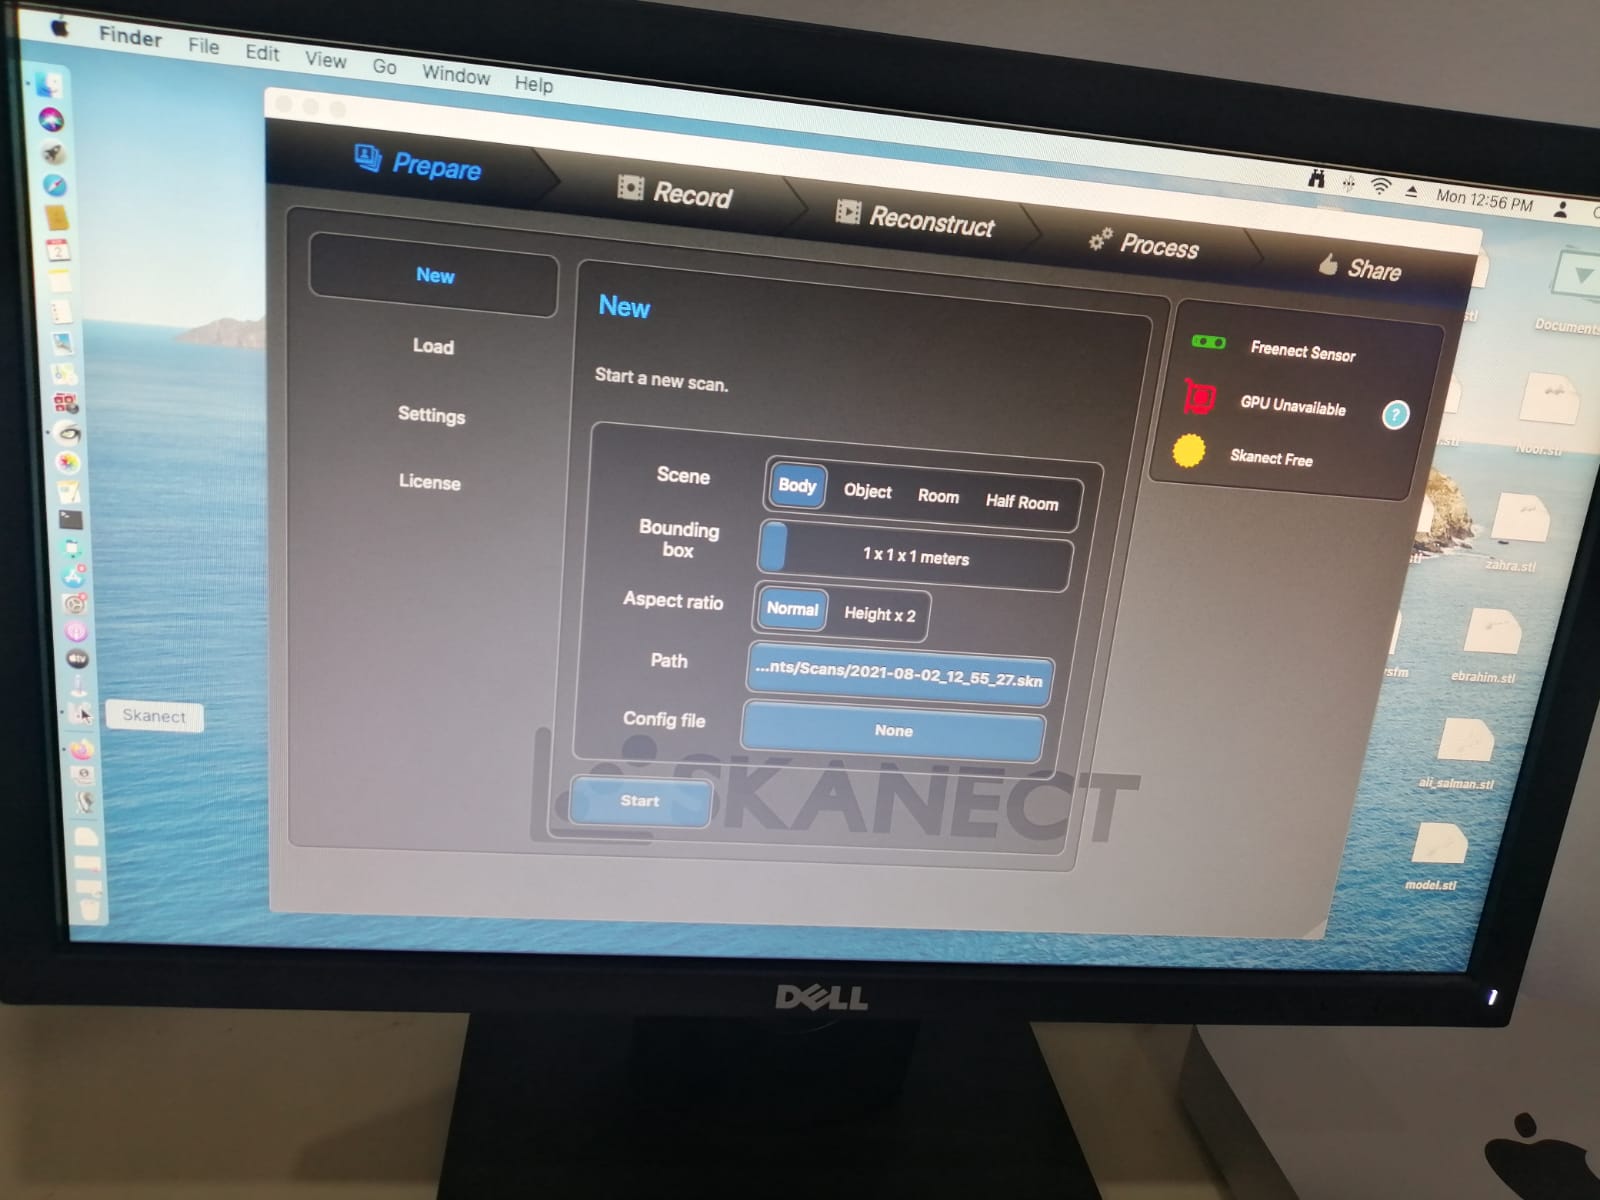
We also used another form of 3D scanning to create 3D shapes of our head area. The process is quite simple. We had to face a 3D scanner and rotate slowly for a few seconds before it recreates the shapes in 3D on a software. Errors in the recreation process can occur, but the software features tools to rectify these errors.
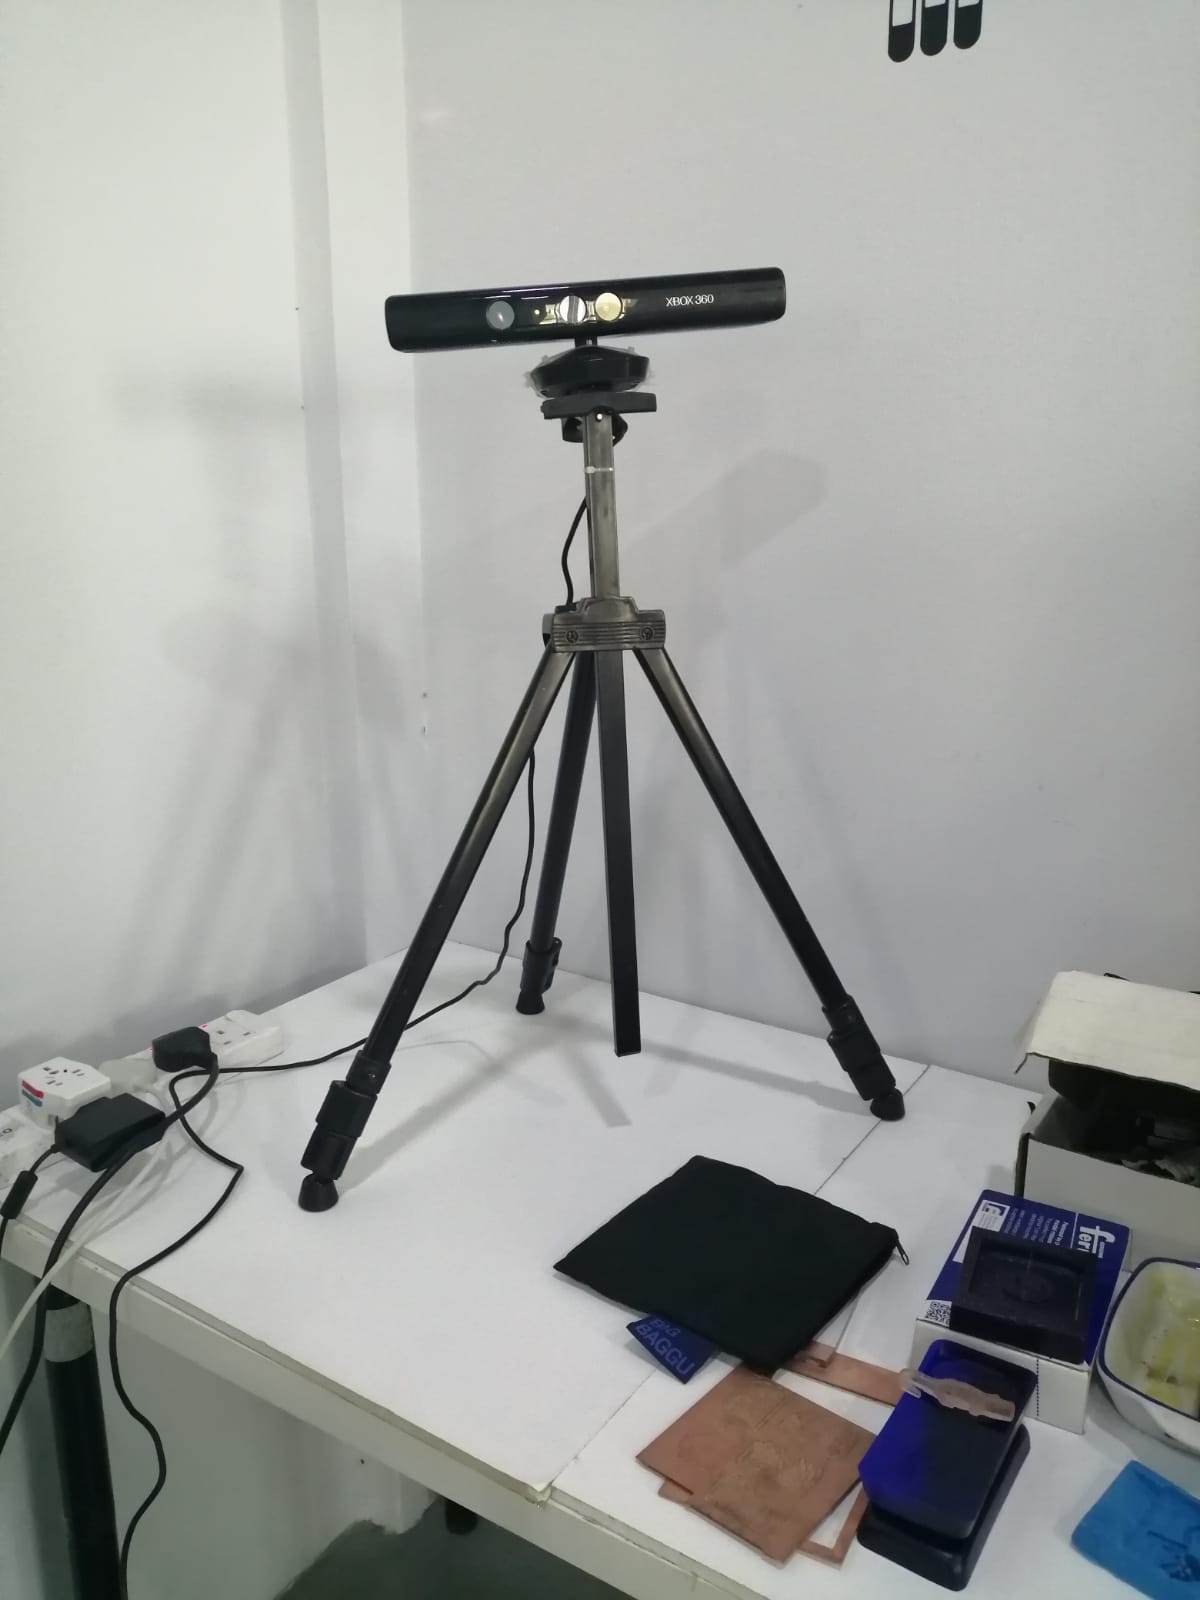 The scanner we have at Fab Lab Bahrain. It takes photos of us in multiple angles as we rotate infront of it, and then converts these pictures into a 3D file on the computer.
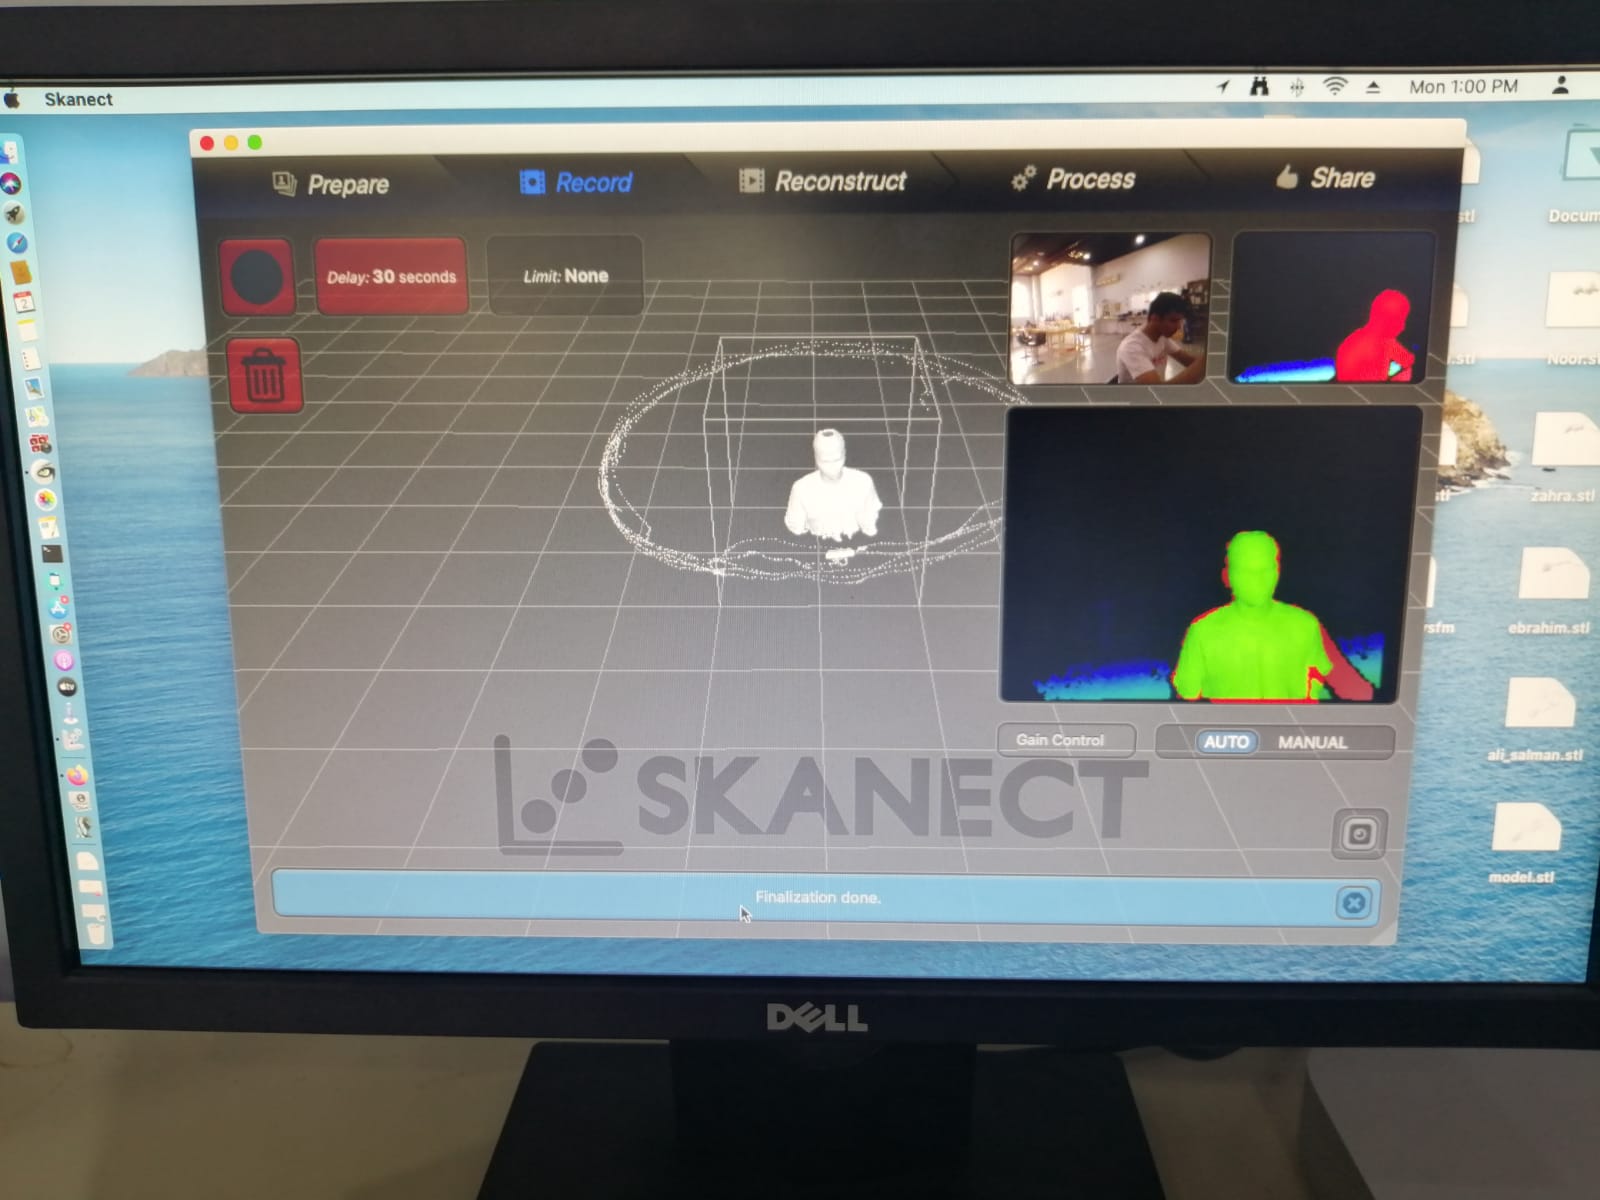
 Finalizing the scanning process.
 Here is the result of one of my colleagues 3D scanning. There is a gap at the top of the scan, but this can easily be rectified.
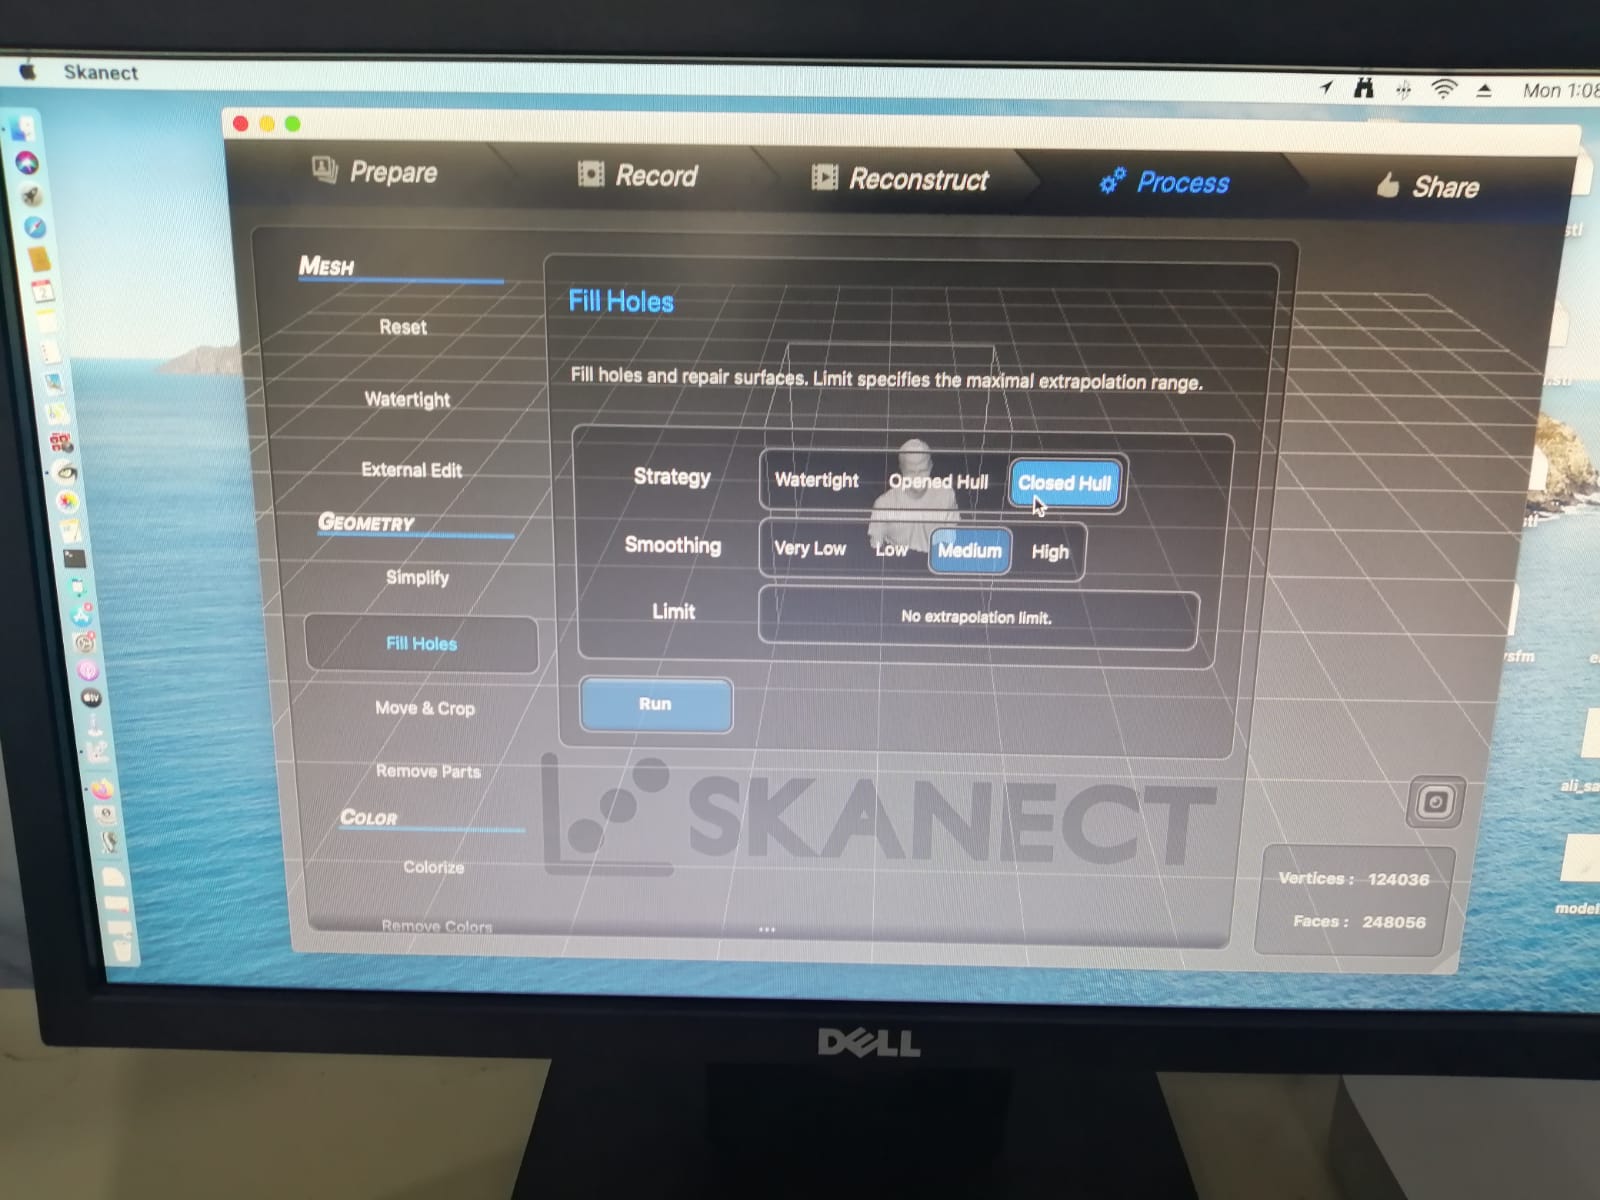 In the process menu, fill holes can be used to rectify such problems. After this was all done, all we needed is to export our scans. STL was chosen as the format to export as because many of my colleagues chose to print the scans they took of themselves.