3. Computer controlled cutting
this week I explored different cutting machines Like the vinyl , laser cutter.
1. vinyl cutter machines
these machines can be controlled by a computer and they are basically a cutting devices that use something similar to a knife or blade to cut and trim different 2D shapes. These razor-sharp blades are responsible for cutting letters and other shapes from sheets of sticky Vinyl material or paper. When you cut these letters or shapes with a vinyl machine, you may stick them on any surface you like.
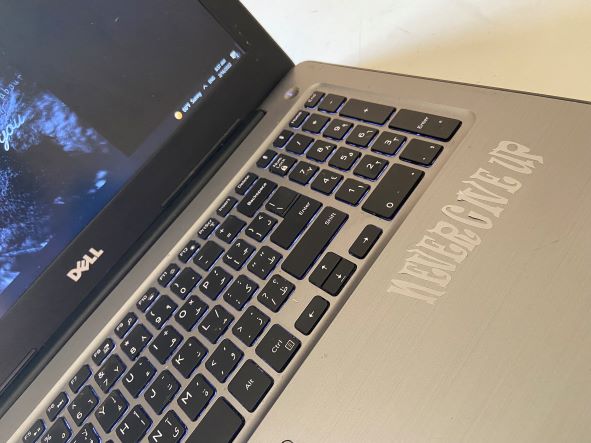
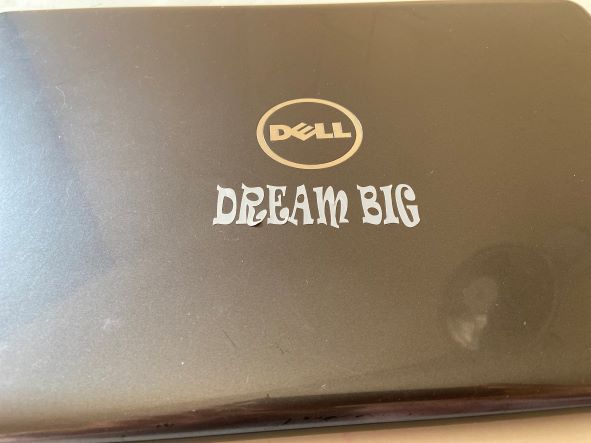
in this week I tried one of these machines.
first I installed design program “circut” from the manufacture “company” website. the program was surprisingly similar to the normal printing software’s , I navigate my way through the software easily , and then I used the type tool , and made sure to unlock the dimension of the shape. then using my iPhone I Measured the length of my laptop free space , then I attached all the pieces together and pressed make it.
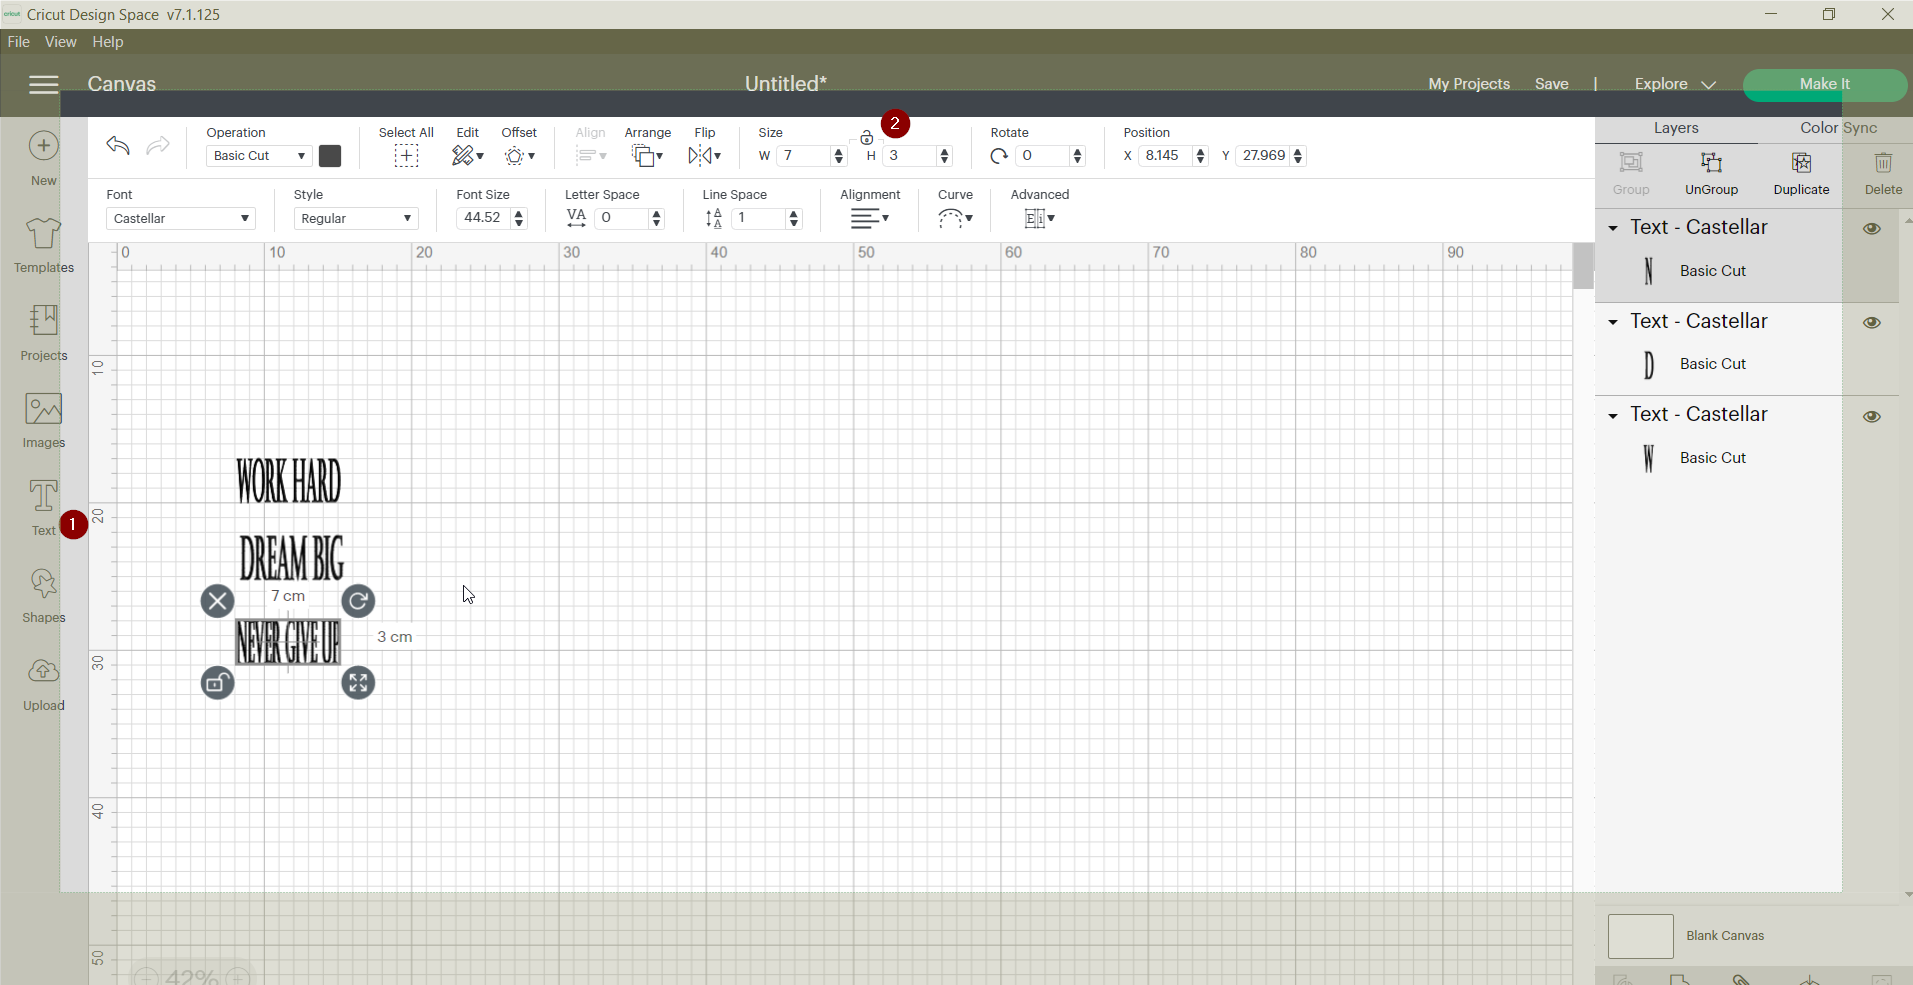
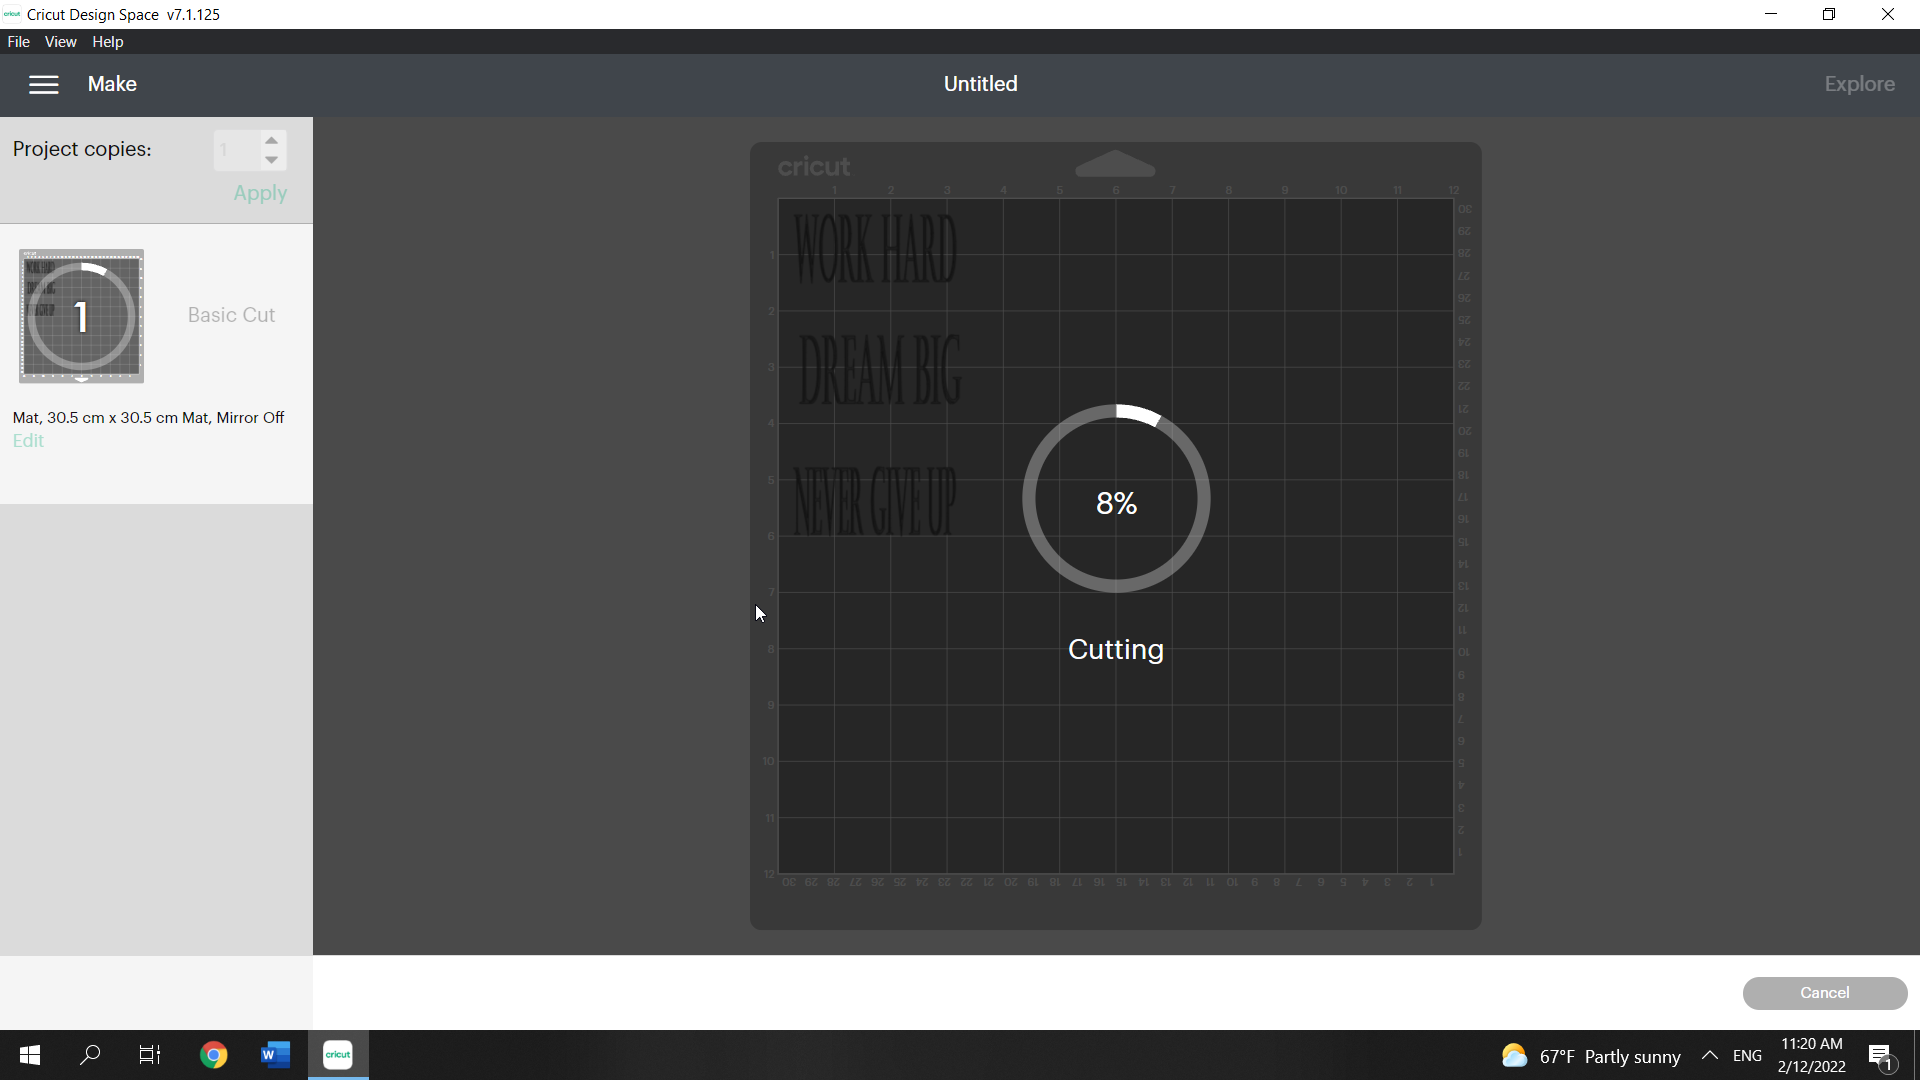
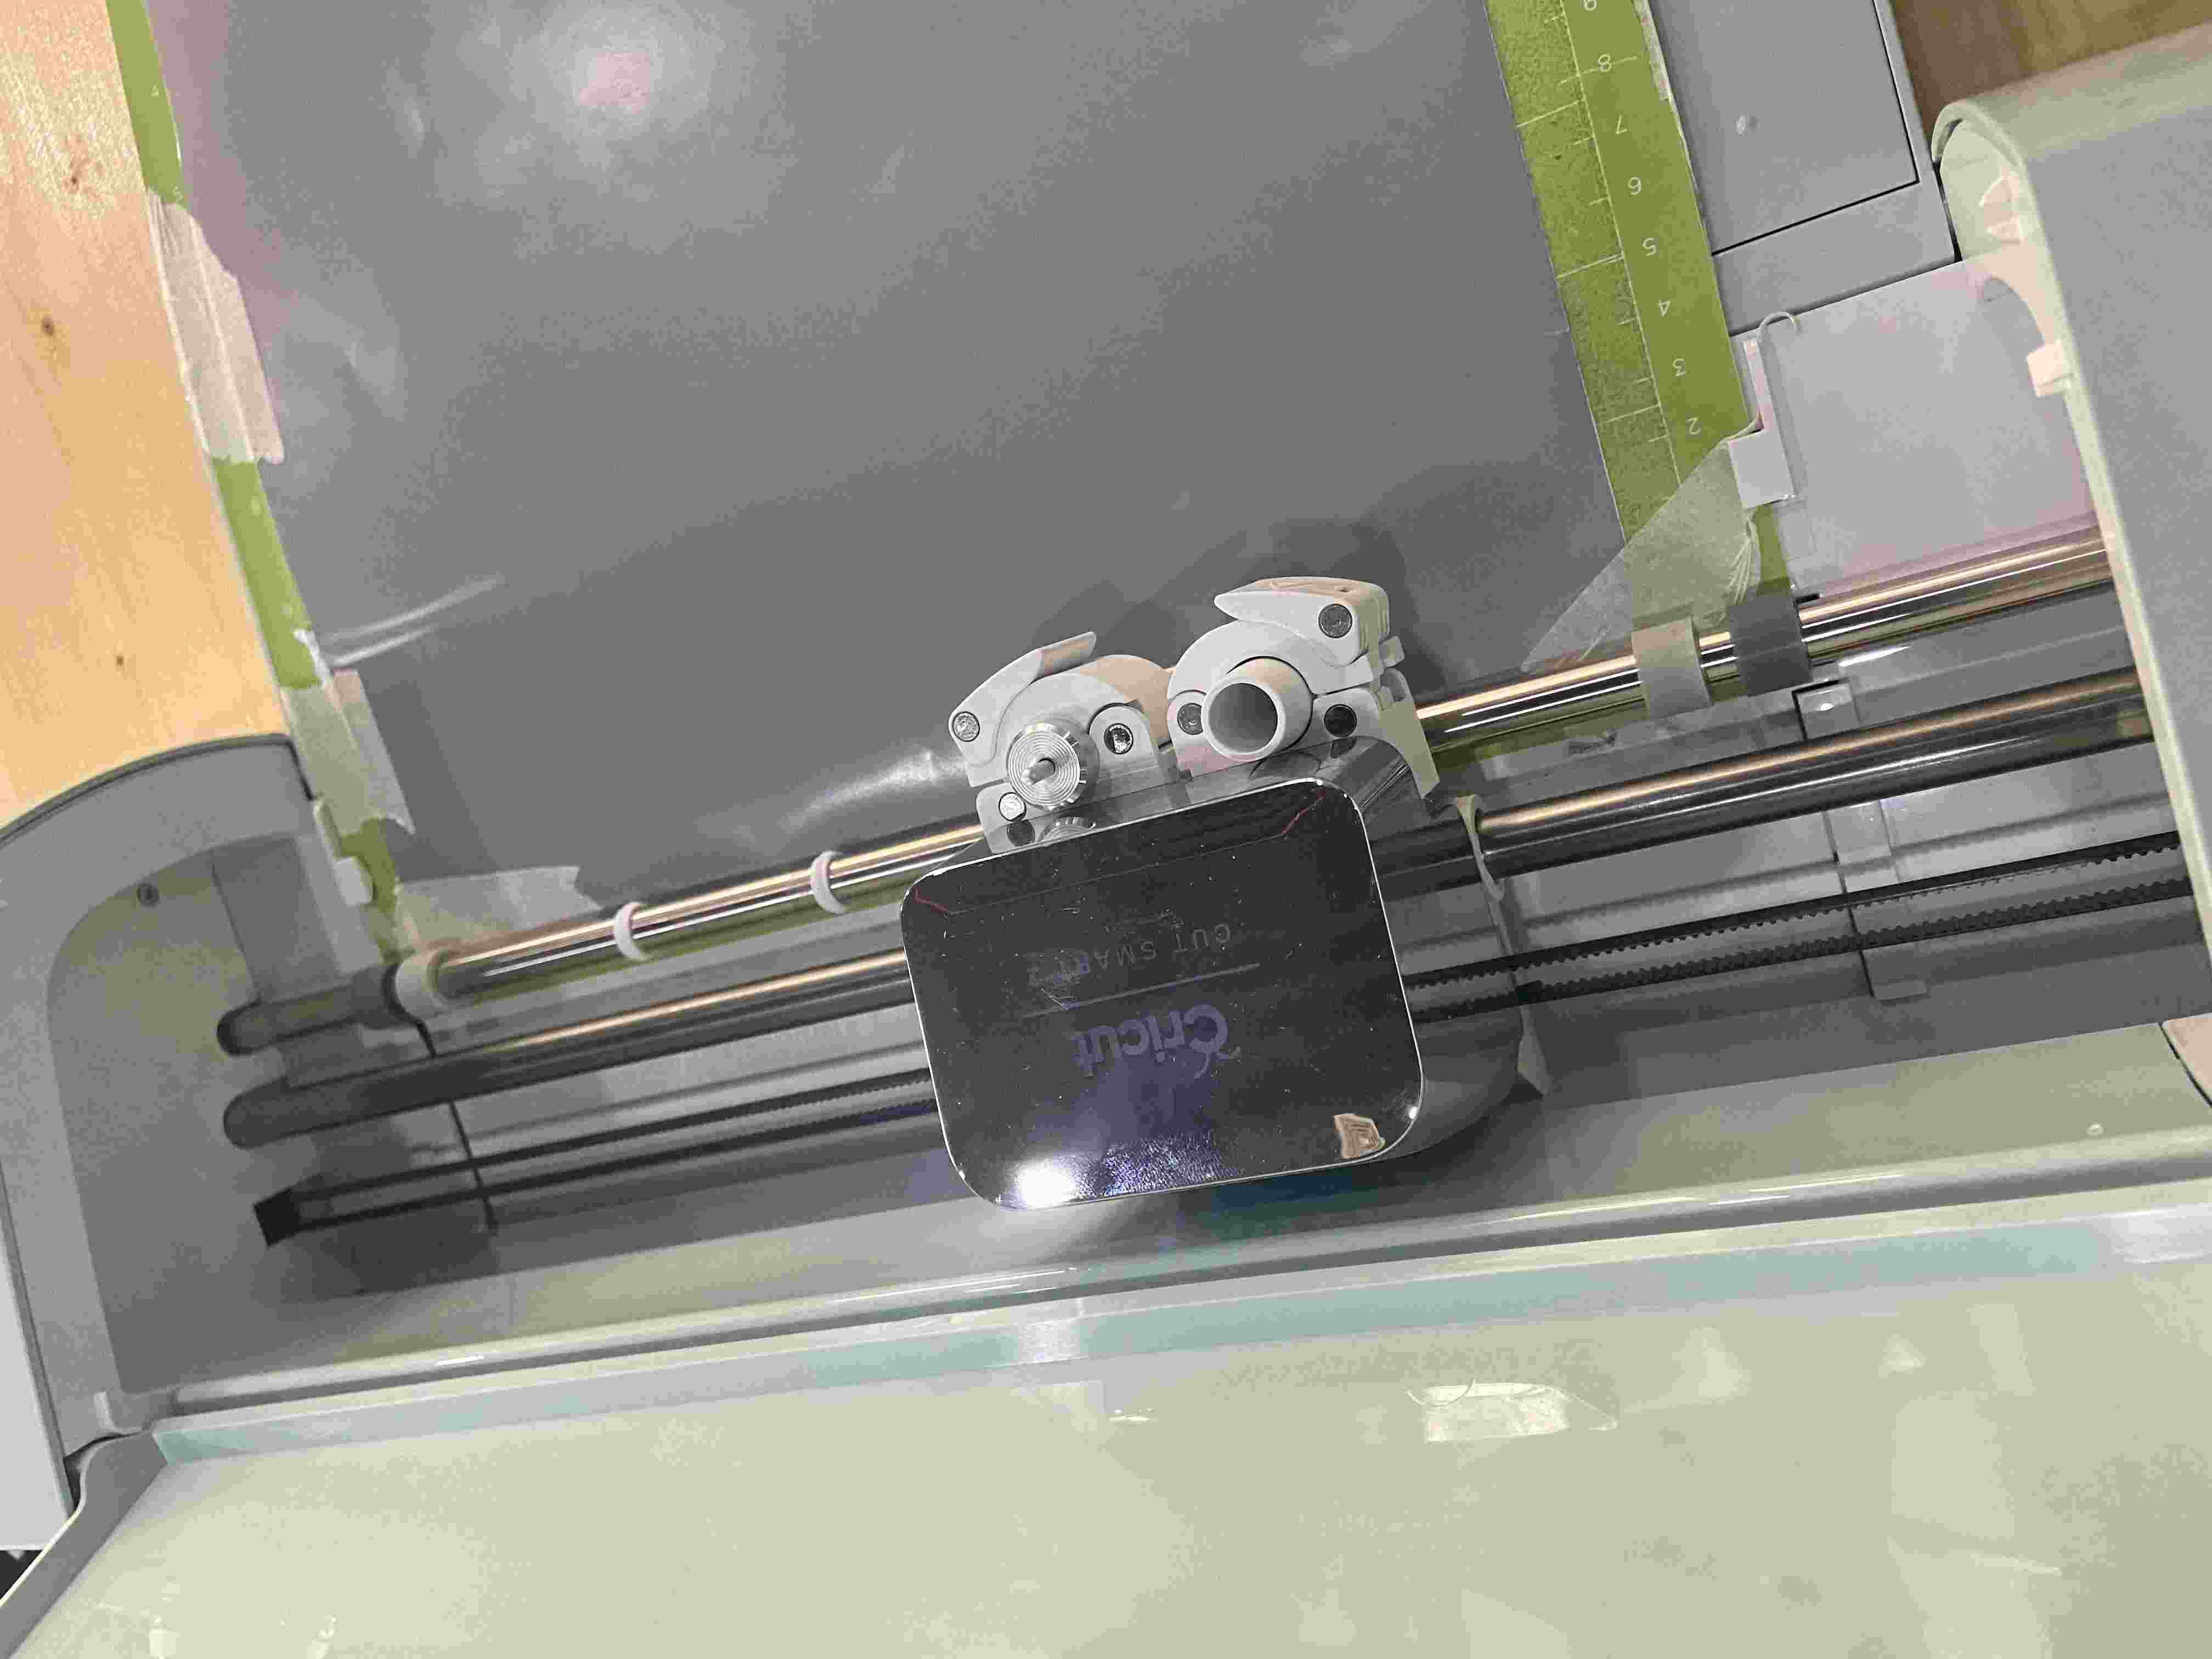
the location of the design in the board was specified by the software , and when I linked my computer to machine everything went smoothly and few minutes later , the design was done. and in order to separate the design from the vinyl paper and stick it to the laptop I used an ” adhesive book cover ” and the final result was like

2. laser cutter machines
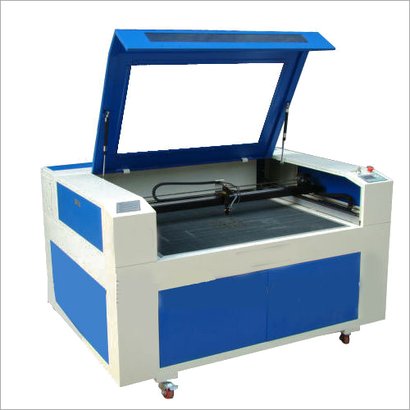
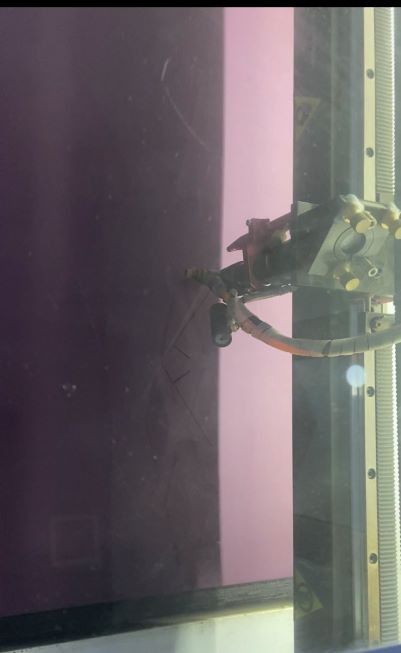
Laser cutting is a thermal separation technique . When the laser beam collides with the material’s surface, it heats it to the point where it melts or vaporizes. When the laser beam passes through the material fully at a specific location and cuts it as it passes.
2.1 Individual Assignment
2.1.1 Design
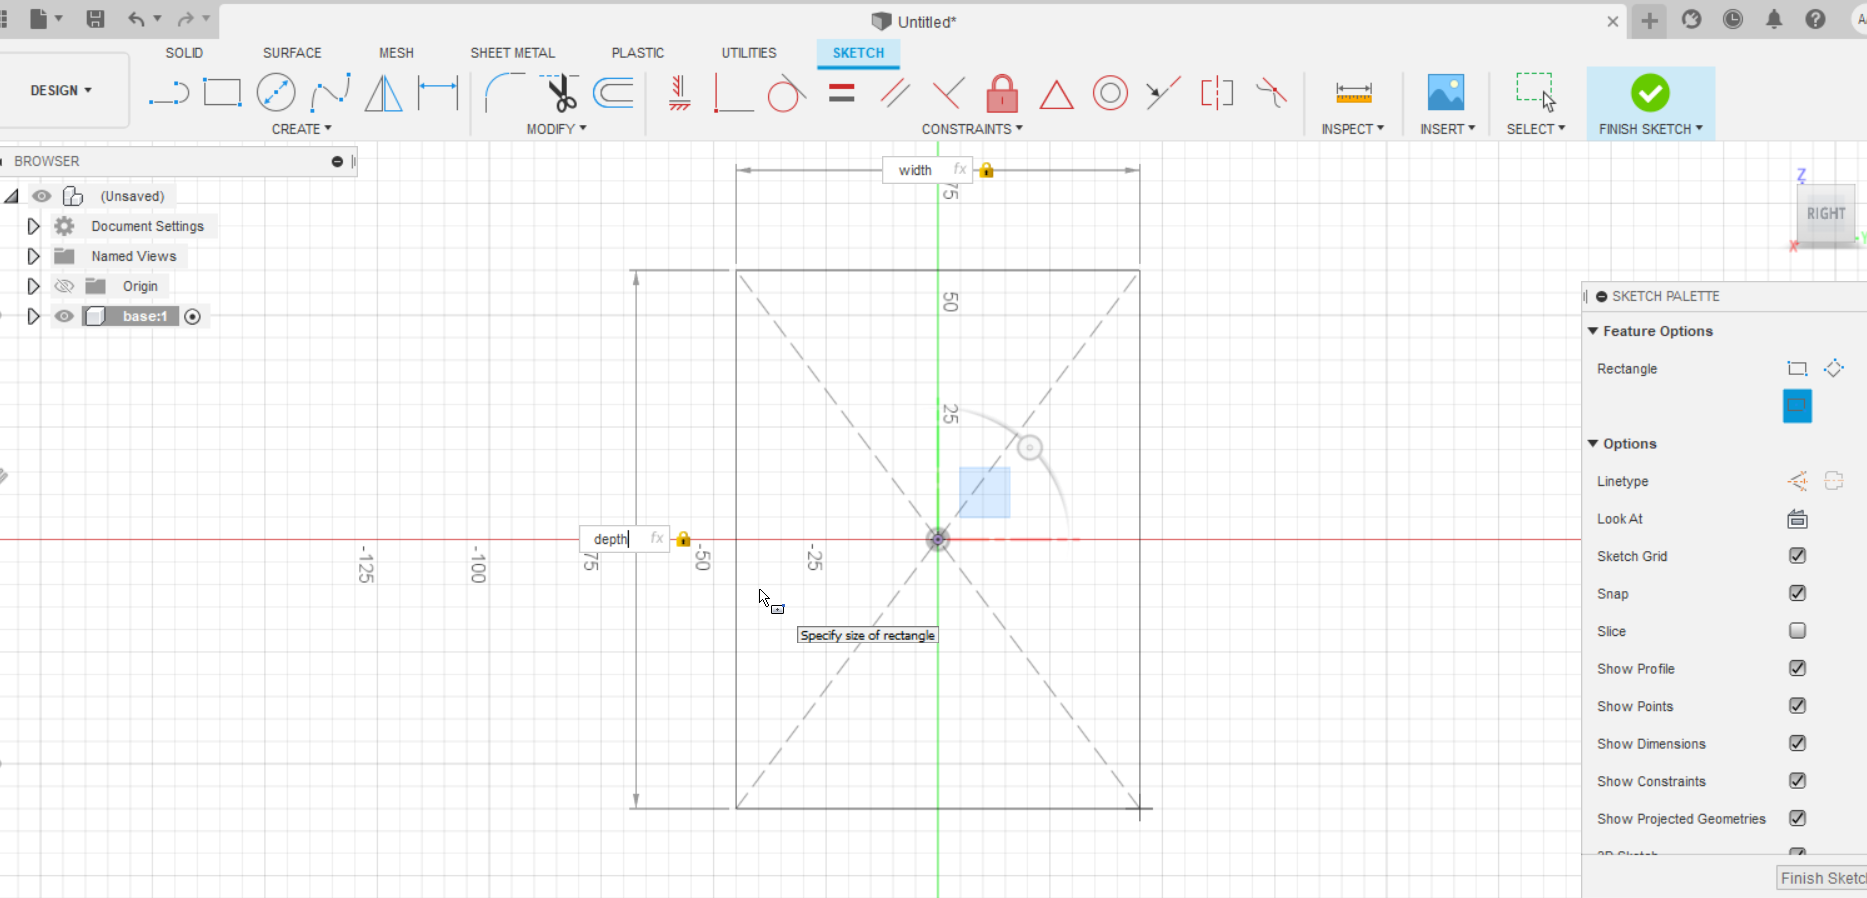
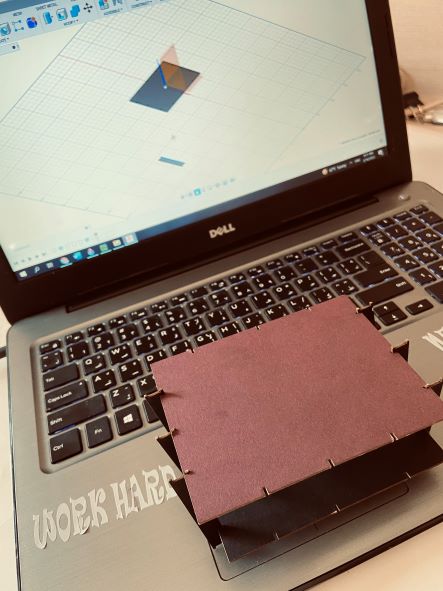
in this Assignment , I tried to build Simple design using the parametric table in fusion 360 , At the beginning my aim was to build a box but dew to how thin the material that I was gonna use , the original design seemed unpractical so I change it a Bit
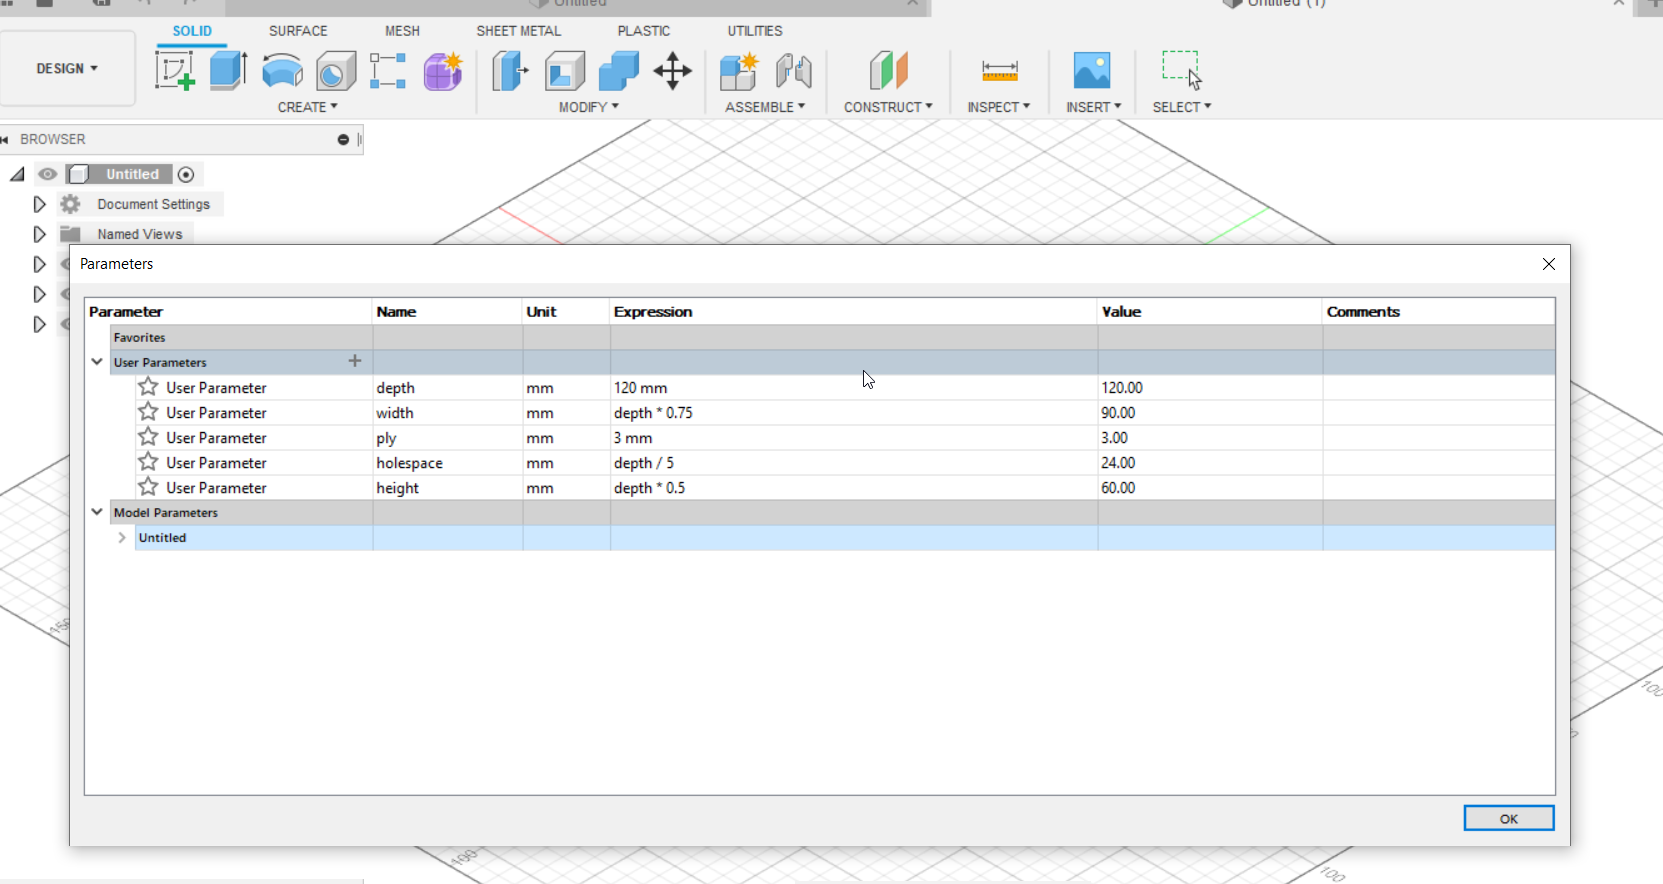
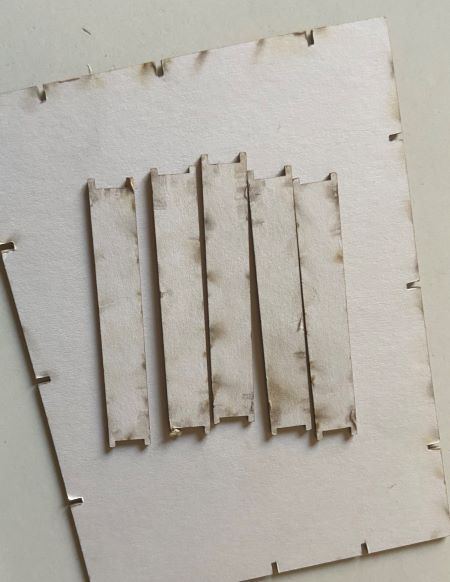
first I draw a rectangle from the center in the origin point, and I specified the width and length from the table and saved the sketch , after that I Sketched 3 rectangles and used a line to make the distance between them equal , specified the dimension and length of these joints from the table to 0.8mm (from the fitting test) and finally I used the mirror tool

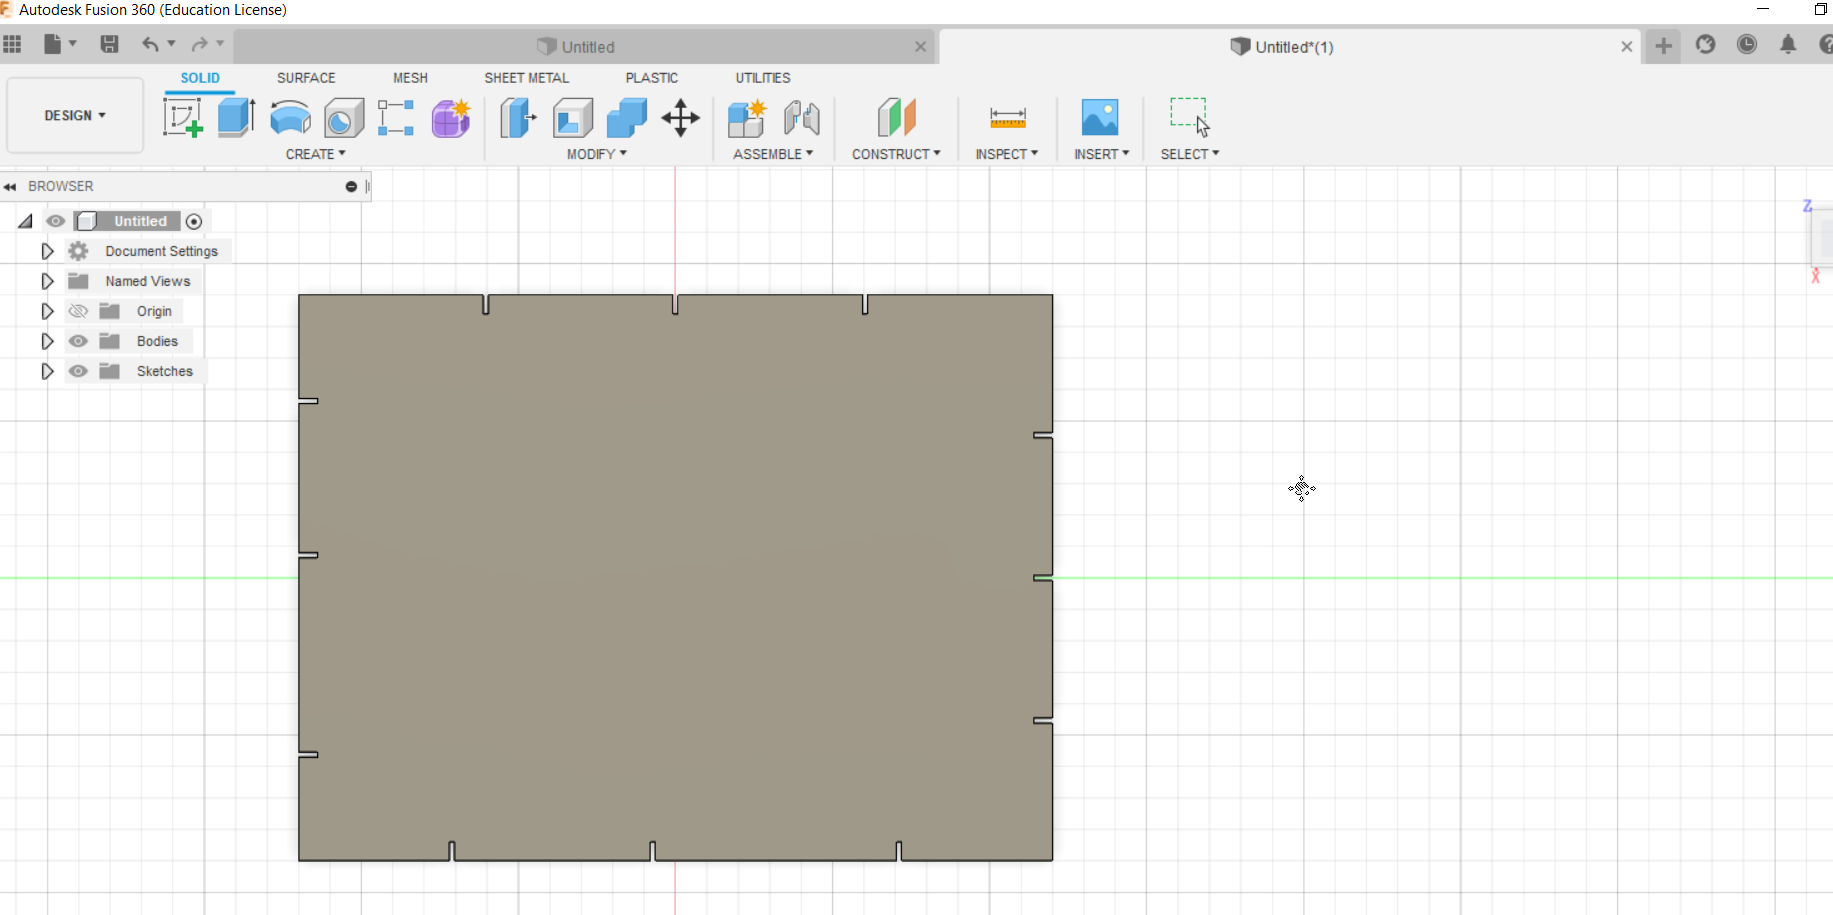
and since my original idea was unpractical I Modified it and added this piece
#### 2.1.3 fabrication
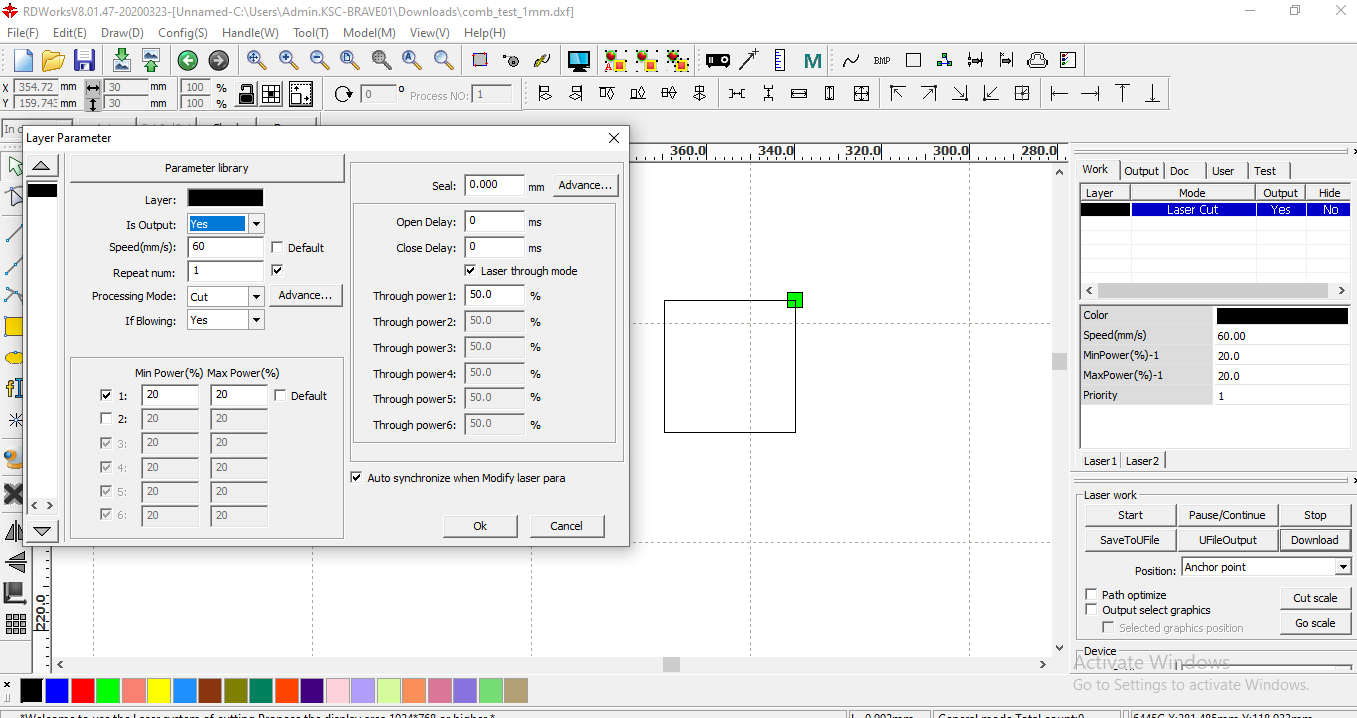
the 2D sketch is to be saved and exported is DXF file that will be sent to the computer device attached to the laser cutter machine we can modify the size of sketch and arrange them such way that will reduce the wasted space then the sketched that are ready for the fabrication are to be sent to the machine
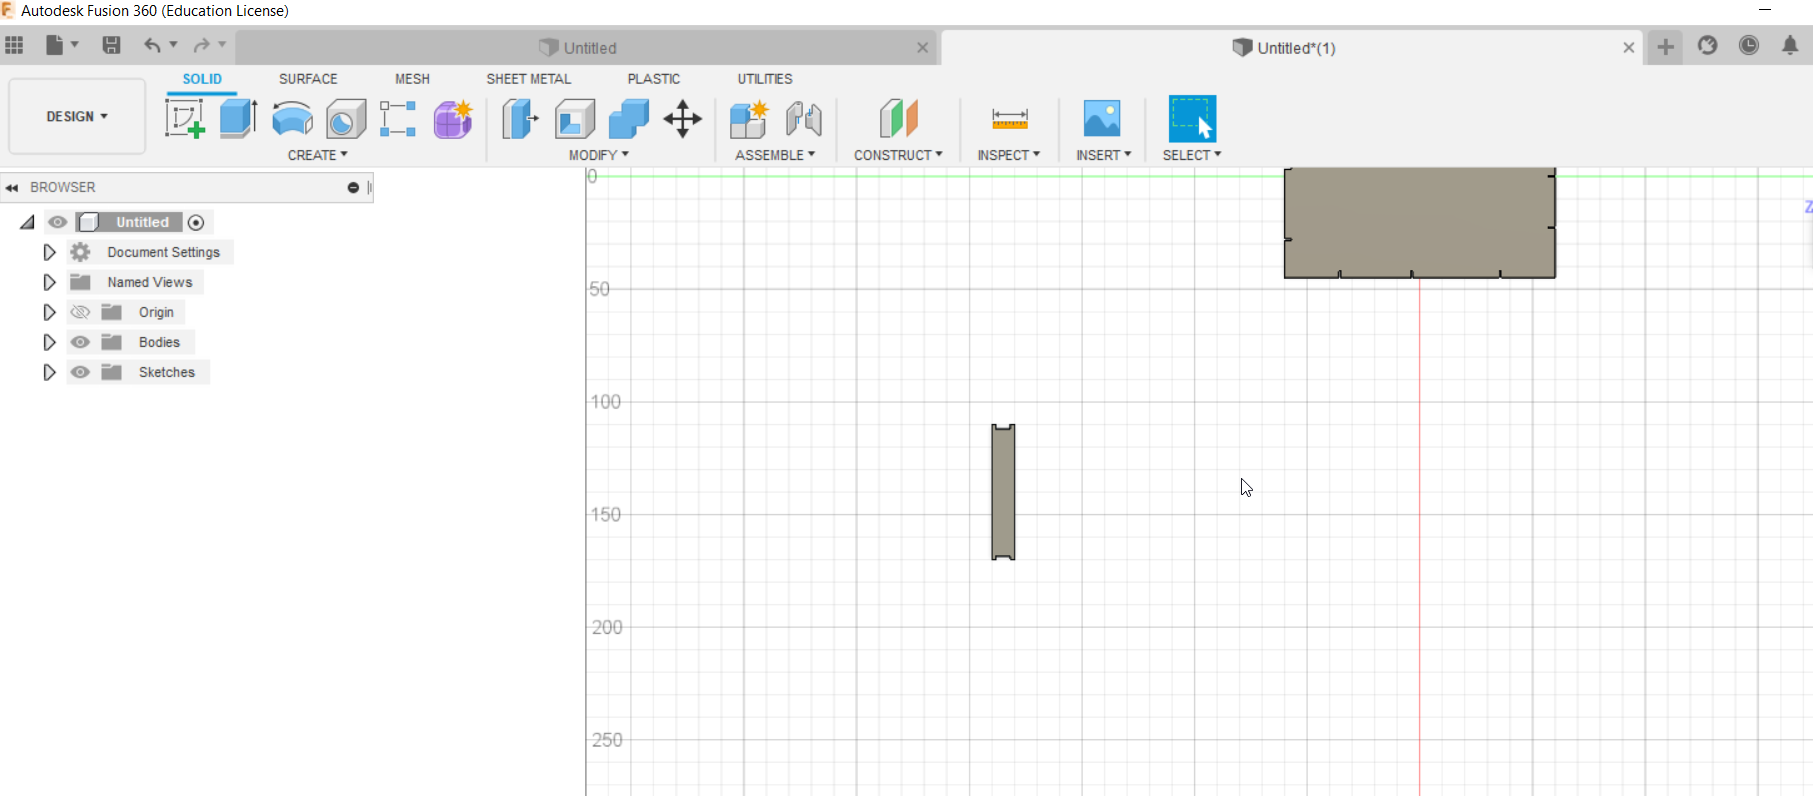
and the final result looked like
I noticed that the pieces have some burning marks , even though the setting( power=35 , the speed = 35 mm/s) were tested few times to avoid this issue.
2.2 group Assignment
the documentation of the group Assignment is found in