4. Embedded programming
This week I worked on Embedded programming.
Group Assignment
What is Microcontroller ?
A microcontroller (MCU for microcontroller unit) is a small computer on a single metal-oxide-semiconductor (MOS) integrated circuit (IC) chip. A microcontroller contains one or more CPUs (processor cores) along with memory and programmable input/output peripherals. Program memory in the form of ferroelectric RAM, NOR flash or OTP ROM is also often included on chip, as well as a small amount of RAM. Microcontrollers are designed for embedded applications, in contrast to the microprocessors used in personal computers or other general purpose applications consisting of various discrete chips.
Applications of Microcontrollers ?
● Light sensing & controlling devices ● Temperature sensing and controlling devices ● Fire detection & safety devices ● Industrial instrumentation devices ● Process control devices
What is Arduino ?
Arduino is an open-source hardware and software company, project, and user community that designs and manufactures single-board microcontrollers and microcontroller kits for building digital devices.
What language is Arduino?
Arduino code is written in C++ with an addition of special methods and functions. C++ is a human-readable programming language. When you create a ‘sketch’, it is processed and compiled to machine language.
ARDUINO MKR WIFI 1010
We will use ARDUINO MKR WIFI 1010 in this assignment
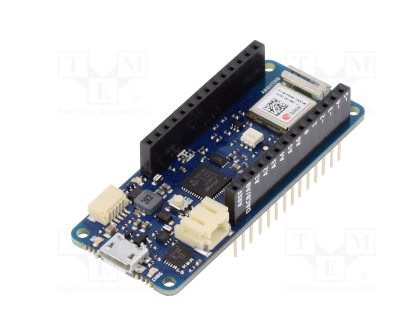
and you can find the datasheet of ARDUINO MKR WIFI 1010 here
what I learned from reading a microcontroller datasheet: The MKR1010 board makes working with WiFi more simple and lower power compared to it’s predecessor. The board has many features for easily prototyping connected devices including battery power management, a security chip, 32bit Microcontroller and a USB Connection which can power the board as well. The security chip provides secure connections over WiFi. About the power the Arduino MKR WiFi 1010 can be powered with an 5V input, or with a Micro-USB connector.
ARDUINO MKR WIFI 1010 pins

Tinkercad
Tinkercad is an excellent tool that allows us to simulate Arduino-based systems (and a lot more). We can simulate all exercises and even our own designs before trying them on real hardware. It also allows us to do programming using blocks.
First go to Circuits then Create new Circuit.

Then click on Arduino Uno R3 and code
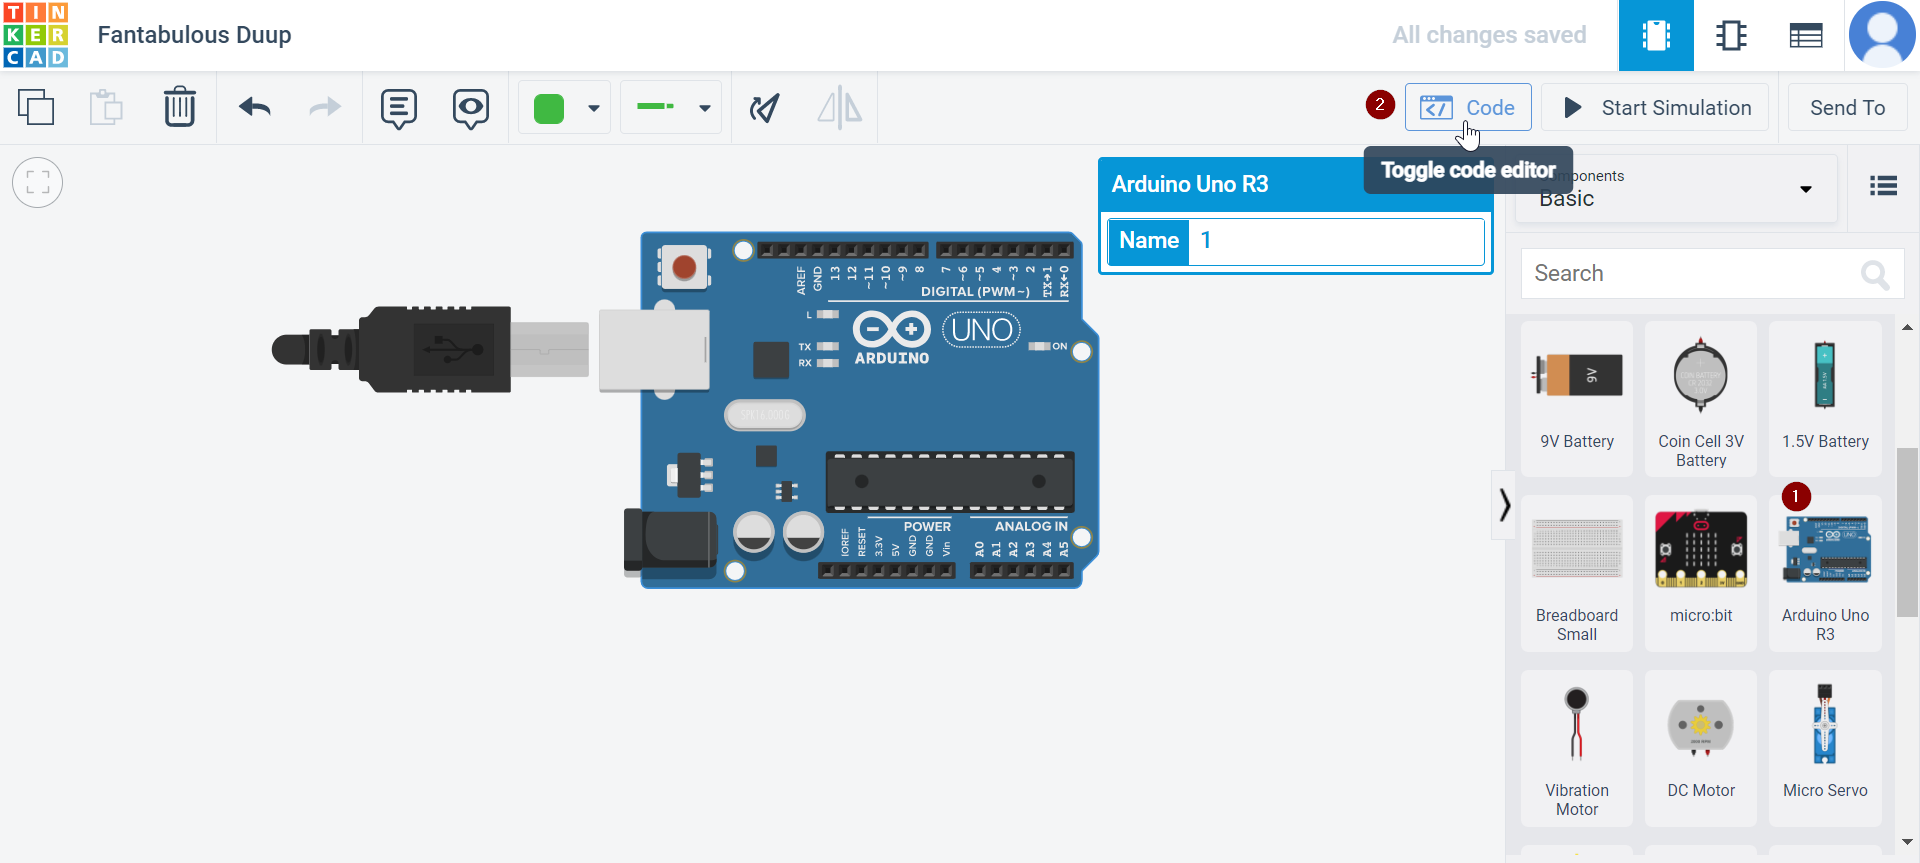
And start simulation
The video of simulation
Individual Assignment
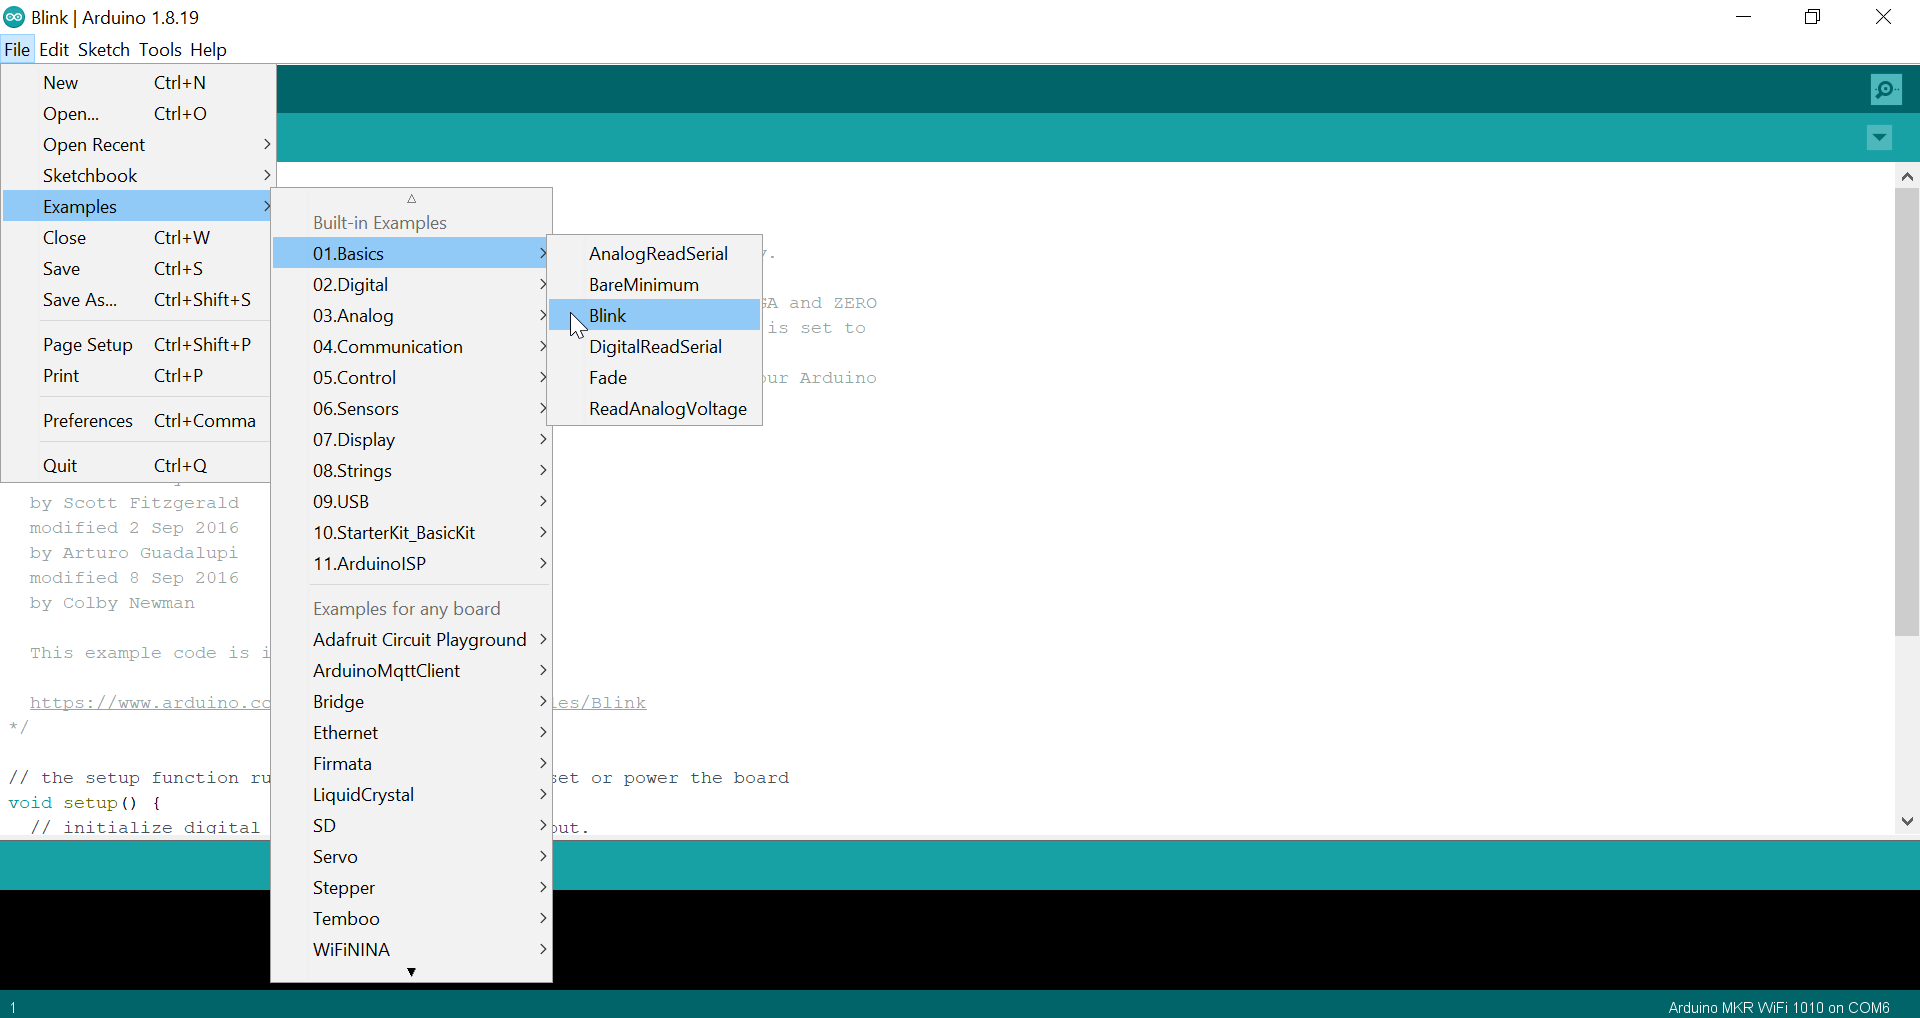
First Download the Arduino IDE software from this link here
Task 1 (Random blinking)
Open The File>Examples>Basics>Blink
The code that I used for random blinking
void setup() {
  // initialize digital pin LED_BUILTIN as an output.
  pinMode(LED_BUILTIN, OUTPUT);
}

// the loop function runs over and over again forever
void loop() {
  int A=random(500,5000);
  Serial.println(A);
  int B=random(500,5000);
  Serial.println(B);

  for(int j=0; j<10; j++){
    digitalWrite(LED_BUILTIN,HIGH);  // turn the LED on (HIGH is the voltage level)
    delay(A);                        // wait for a second
    digitalWrite(LED_BUILTIN,LOW);   // turn the LED off by making the voltage low
    delay(B);
  }                         // wait for a second

}
The result :
Task 2 (Morsecode)
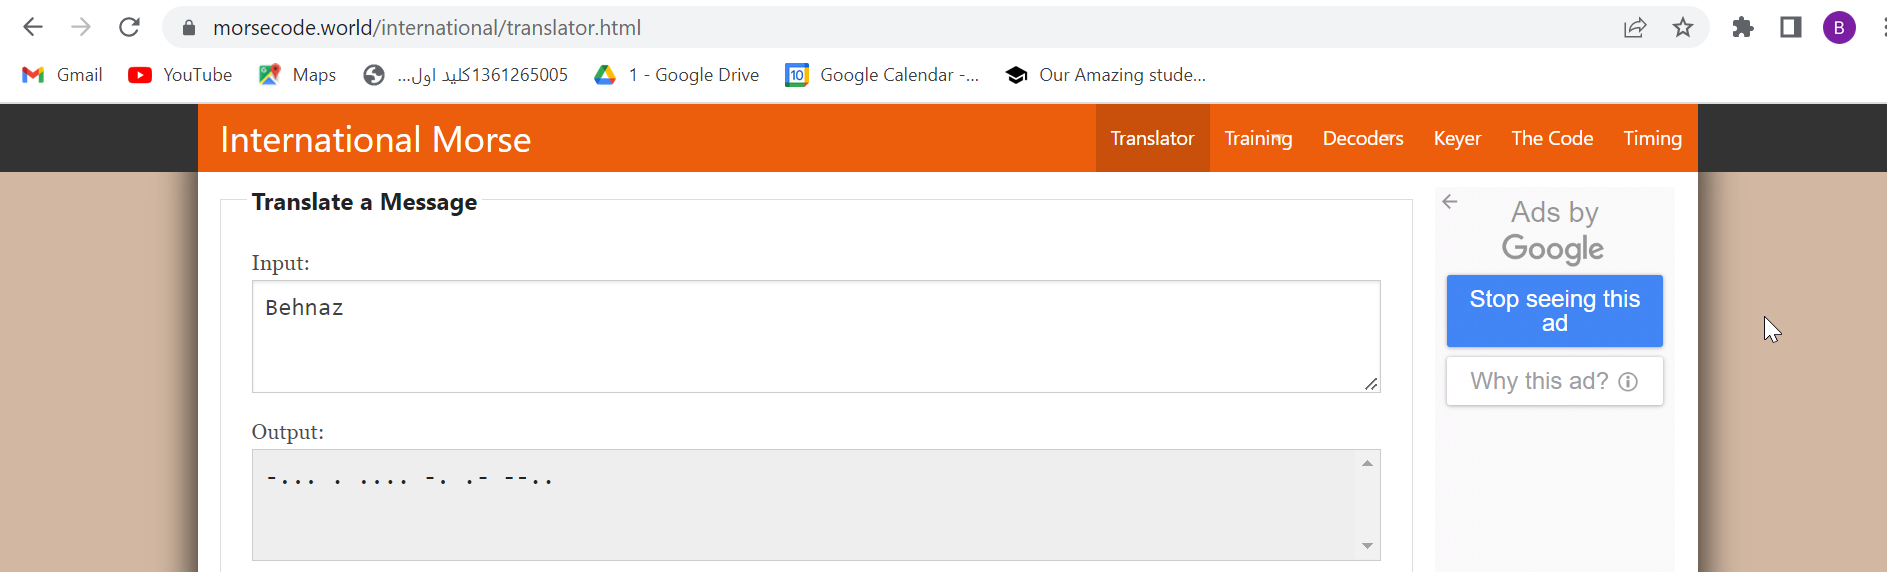
First go to this link and translate any word to morsecode morsecode
I translate my name
My code
void setup() {
  // initialize digital pin LED_BUILTIN as an output.
  pinMode(LED_BUILTIN, OUTPUT);
}

// B    -...
void loop() {
  digitalWrite(LED_BUILTIN, HIGH);   // turn the LED on (HIGH is the voltage level)
  delay(1500);                       // wait for a second
  digitalWrite(LED_BUILTIN, LOW);    // turn the LED off by making the voltage LOW
  delay(500);                       // wait for a second


   digitalWrite(LED_BUILTIN, HIGH);   // turn the LED on (HIGH is the voltage level)
  delay(500);                       // wait for a second
  digitalWrite(LED_BUILTIN, LOW);    // turn the LED off by making the voltage LOW
  delay(500);                       // wait for a second

   digitalWrite(LED_BUILTIN, HIGH);   // turn the LED on (HIGH is the voltage level)
  delay(500);                       // wait for a second
  digitalWrite(LED_BUILTIN, LOW);    // turn the LED off by making the voltage LOW
  delay(500);

   digitalWrite(LED_BUILTIN, HIGH);   // turn the LED on (HIGH is the voltage level)
  delay(500);                       // wait for a second
  digitalWrite(LED_BUILTIN, LOW);    // turn the LED off by making the voltage LOW
  delay(500);

   // space

   digitalWrite(LED_BUILTIN, HIGH);   // turn the LED on (HIGH is the voltage level)
  delay(500);                       // wait for a second
  digitalWrite(LED_BUILTIN, LOW);    // turn the LED off by making the voltage LOW
  delay(2500);

   // E   .

   digitalWrite(LED_BUILTIN, HIGH);   // turn the LED on (HIGH is the voltage level)
  delay(500);                       // wait for a second
  digitalWrite(LED_BUILTIN, LOW);    // turn the LED off by making the voltage LOW
  delay(500);

  // space

  digitalWrite(LED_BUILTIN, HIGH);   // turn the LED on (HIGH is the voltage level)
  delay(500);                       // wait for a second
  digitalWrite(LED_BUILTIN, LOW);    // turn the LED off by making the voltage LOW
  delay(2500);


  // H   ....


   digitalWrite(LED_BUILTIN, HIGH);   // turn the LED on (HIGH is the voltage level)
  delay(500);                       // wait for a second
  digitalWrite(LED_BUILTIN, LOW);    // turn the LED off by making the voltage LOW
  delay(500);

   digitalWrite(LED_BUILTIN, HIGH);   // turn the LED on (HIGH is the voltage level)
  delay(500);                       // wait for a second
  digitalWrite(LED_BUILTIN, LOW);    // turn the LED off by making the voltage LOW
  delay(500);

   digitalWrite(LED_BUILTIN, HIGH);   // turn the LED on (HIGH is the voltage level)
  delay(500);                       // wait for a second
  digitalWrite(LED_BUILTIN, LOW);    // turn the LED off by making the voltage LOW
  delay(500);

   digitalWrite(LED_BUILTIN, HIGH);   // turn the LED on (HIGH is the voltage level)
  delay(500);                       // wait for a second
  digitalWrite(LED_BUILTIN, LOW);    // turn the LED off by making the voltage LOW
  delay(500);

  // space

  digitalWrite(LED_BUILTIN, HIGH);   // turn the LED on (HIGH is the voltage level)
  delay(500);                       // wait for a second
  digitalWrite(LED_BUILTIN, LOW);    // turn the LED off by making the voltage LOW
  delay(2500);

  // N   -.

  digitalWrite(LED_BUILTIN, HIGH);   // turn the LED on (HIGH is the voltage level)
  delay(1500);                       // wait for a second
  digitalWrite(LED_BUILTIN, LOW);    // turn the LED off by making the voltage LOW
  delay(500);                       // wait for a second

  digitalWrite(LED_BUILTIN, HIGH);   // turn the LED on (HIGH is the voltage level)
  delay(500);                       // wait for a second
  digitalWrite(LED_BUILTIN, LOW);    // turn the LED off by making the voltage LOW
  delay(500);

  // space

  digitalWrite(LED_BUILTIN, HIGH);   // turn the LED on (HIGH is the voltage level)
  delay(500);                       // wait for a second
  digitalWrite(LED_BUILTIN, LOW);    // turn the LED off by making the voltage LOW
  delay(2500);

  // A   .-

  digitalWrite(LED_BUILTIN, HIGH);   // turn the LED on (HIGH is the voltage level)
  delay(500);                       // wait for a second
  digitalWrite(LED_BUILTIN, LOW);    // turn the LED off by making the voltage LOW
  delay(500);

  digitalWrite(LED_BUILTIN, HIGH);   // turn the LED on (HIGH is the voltage level)
  delay(1500);                       // wait for a second
  digitalWrite(LED_BUILTIN, LOW);    // turn the LED off by making the voltage LOW
  delay(500);                        // wait for a second

  // space

  digitalWrite(LED_BUILTIN, HIGH);   // turn the LED on (HIGH is the voltage level)
  delay(500);                       // wait for a second
  digitalWrite(LED_BUILTIN, LOW);    // turn the LED off by making the voltage LOW
  delay(2500);

  // Z  --..

  digitalWrite(LED_BUILTIN, HIGH);   // turn the LED on (HIGH is the voltage level)
  delay(1500);                       // wait for a second
  digitalWrite(LED_BUILTIN, LOW);    // turn the LED off by making the voltage LOW
  delay(500);

  digitalWrite(LED_BUILTIN, HIGH);   // turn the LED on (HIGH is the voltage level)
  delay(1500);                       // wait for a second
  digitalWrite(LED_BUILTIN, LOW);    // turn the LED off by making the voltage LOW
  delay(500);

  digitalWrite(LED_BUILTIN, HIGH);   // turn the LED on (HIGH is the voltage level)
  delay(500);                       // wait for a second
  digitalWrite(LED_BUILTIN, LOW);    // turn the LED off by making the voltage LOW
  delay(500);

  digitalWrite(LED_BUILTIN, HIGH);   // turn the LED on (HIGH is the voltage level)
  delay(500);                       // wait for a second
  digitalWrite(LED_BUILTIN, LOW);    // turn the LED off by making the voltage LOW
  delay(500);

}
The result
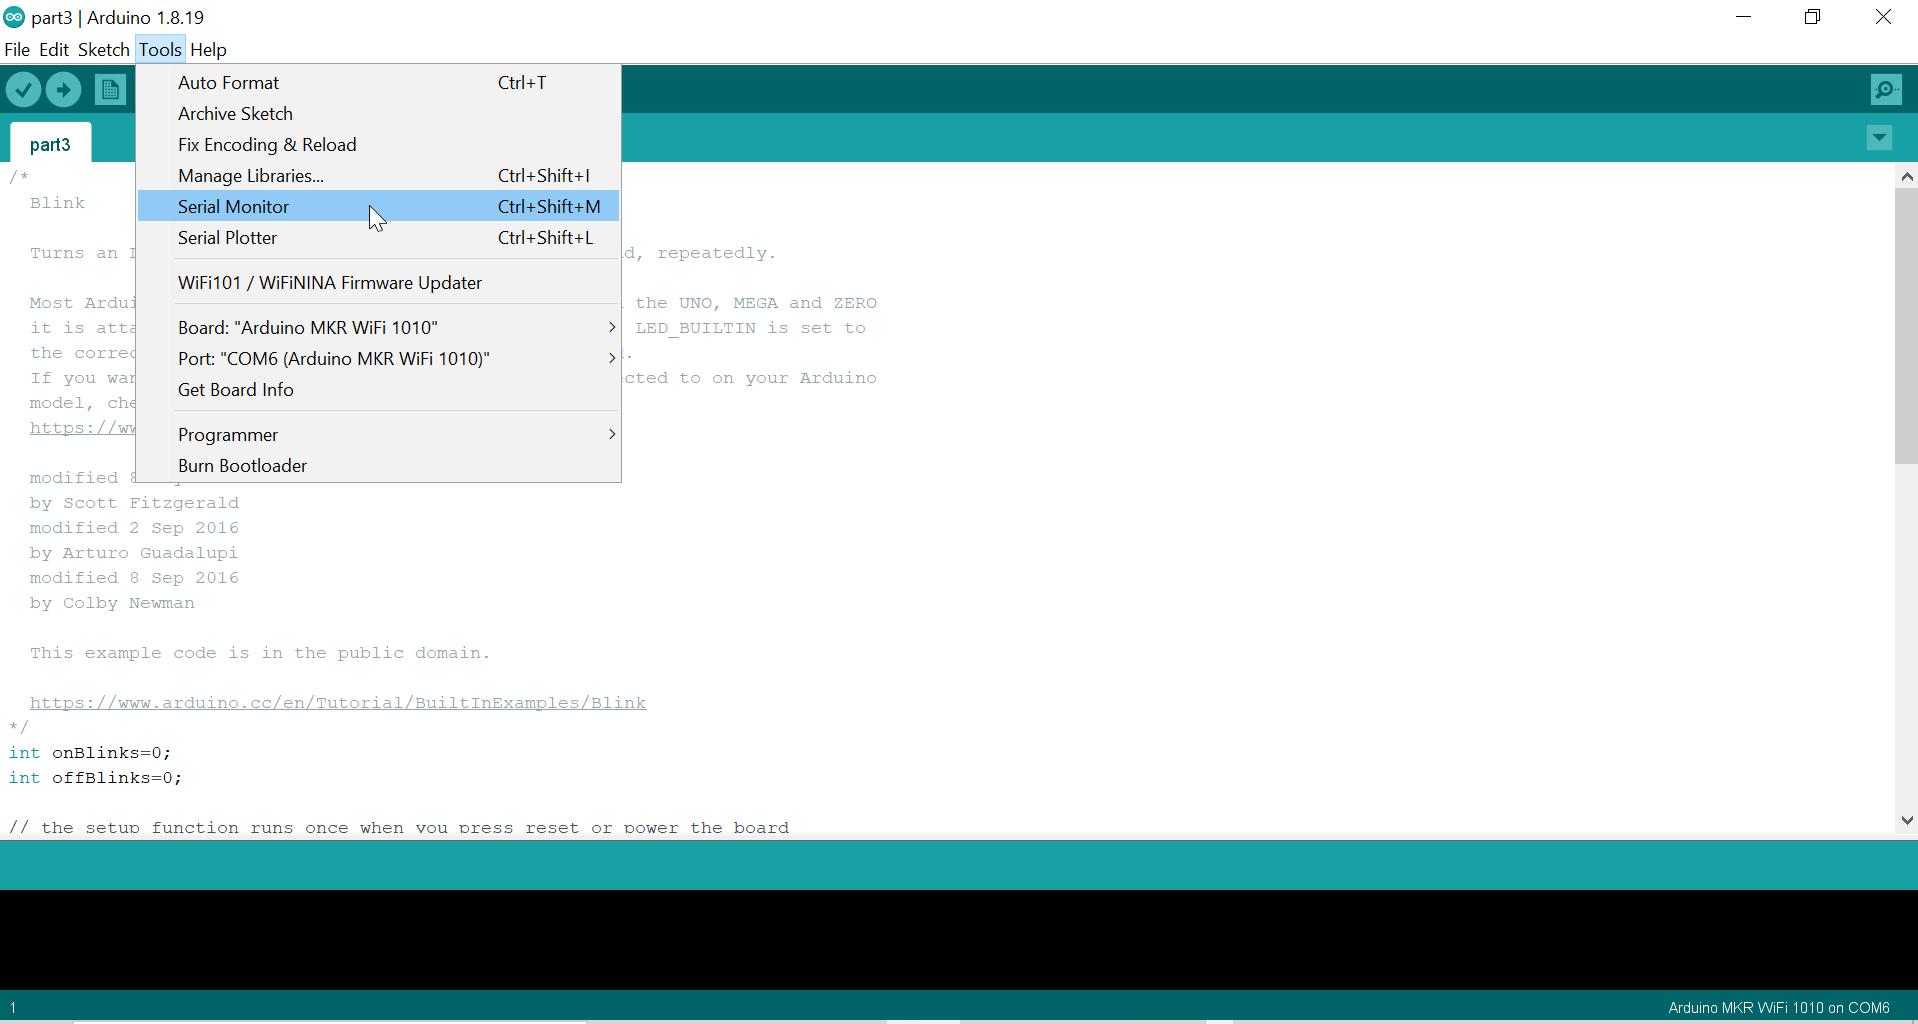
Task 3 (Serial Monitor)
Make an LEDs On and OFF by serial monitor

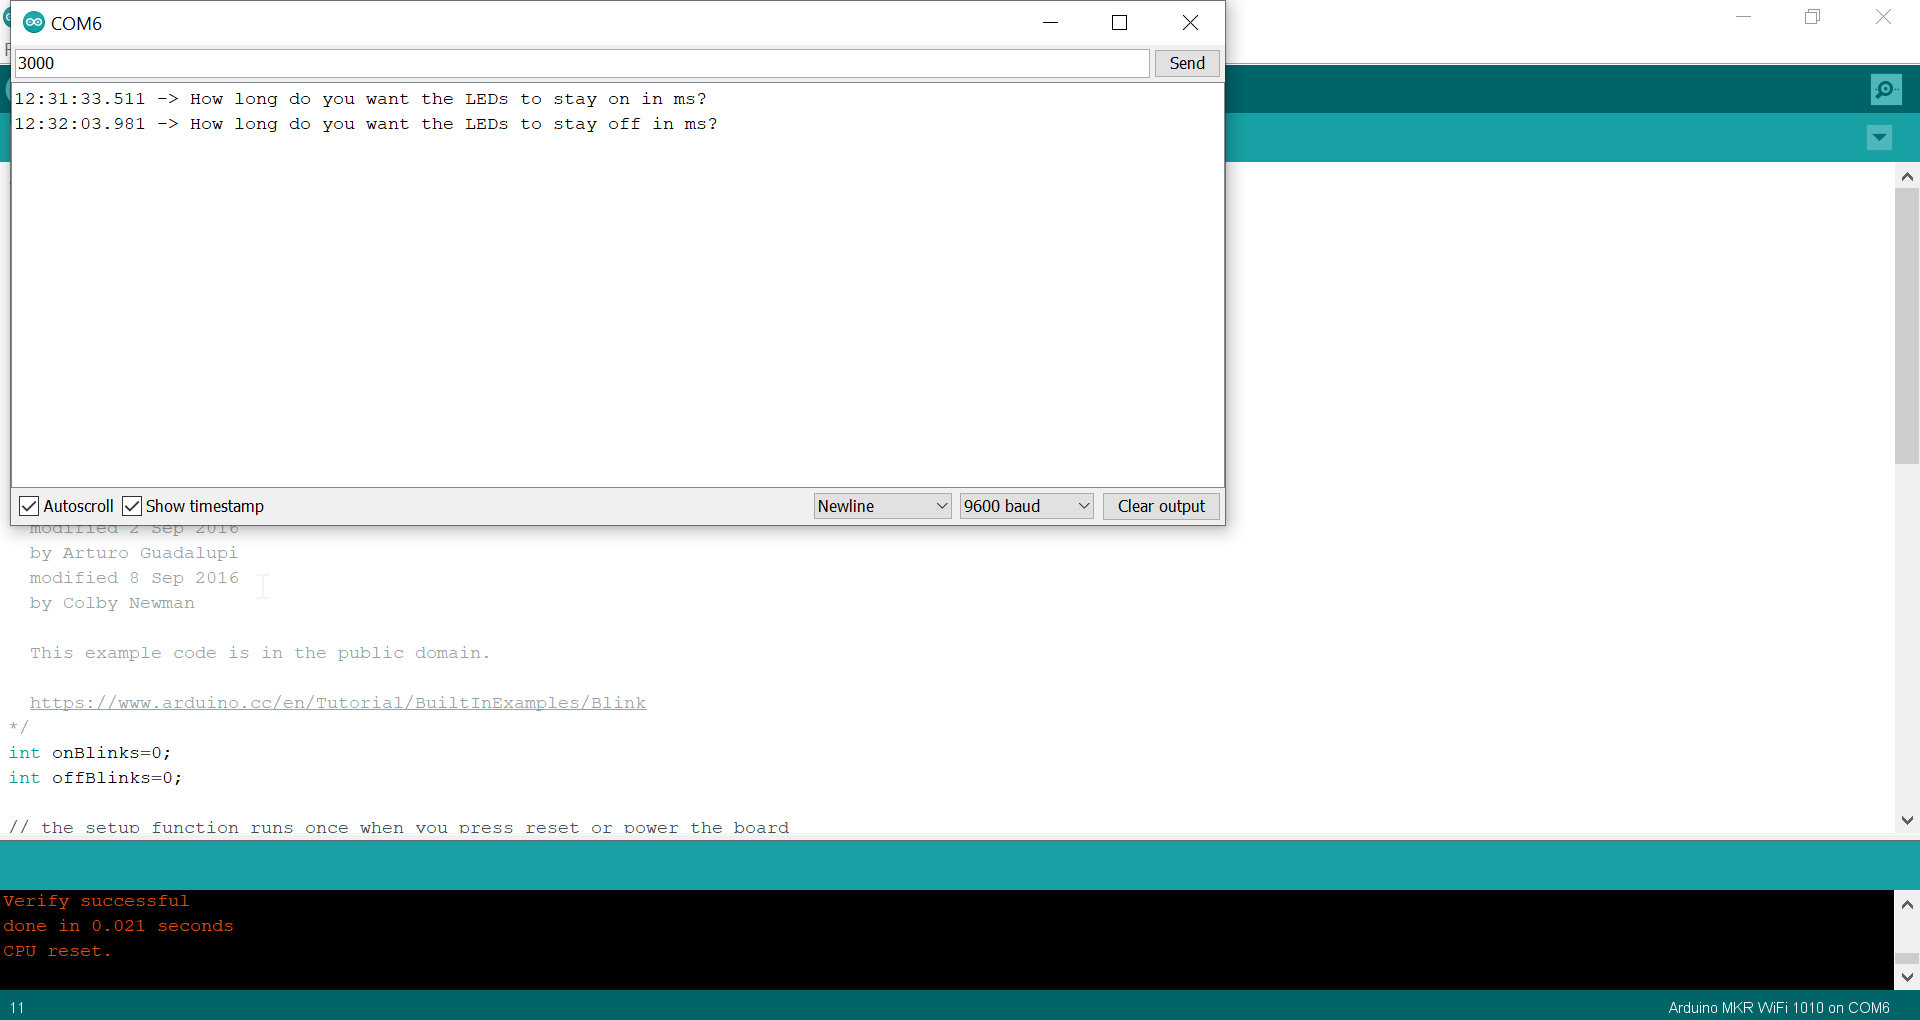
My code
int onBlinks=0;
int offBlinks=0;

// the setup function runs once when you press reset or power the board
void setup() {
  // initialize digital pin LED_BUILTIN as an output.
  pinMode(LED_BUILTIN, OUTPUT);
  digitalWrite(LED_BUILTIN,LOW);  // set the pin value on low at the begin
  Serial.begin(9600);
}

// the loop function runs over and over again forever
void loop() {
  while (onBlinks==0){
    Serial.println("How long do you want the LEDs to stay on in ms?");  // prompt user for input
    while (Serial.available() ==0){
      // wait for user to input data
    }
    onBlinks = Serial.parseInt();  // read the data the user has input
  }

  while (offBlinks==0){
    Serial.println("How long do you want the LEDs to stay off in ms?");  // prompt user for input
    while (Serial.available() ==1){
      // wait foe user to input data
    }
    offBlinks = Serial.parseInt();  // read the data the user has input
  }

  for(int i=0; i<5; i++){
    digitalWrite(LED_BUILTIN,HIGH);  // turn the LED on
    delay(onBlinks);  // wait for a second
    digitalWrite(LED_BUILTIN,LOW);   // turn the LED off
    delay(offBlinks);
    }
  }
The result