1. Project management
This week I worked on editing and customizing my website and started to get used to the documentation process. Gitlab and Mkdocs were introduced. Additionally, Gitbash and Atom were introduced as tools for editing website locally.
I decided to work online with Gitlab and Markdown.
Gitlab
Gitlab is an open source code repository and collaborative software development platform for large DevOps (development and operations) and DevSecOps (development, security, and operations) projects. GitLab offers a location for online code storage. The repository enables hosting different development chains and versions and allows users to inspect previous code and roll back to it in the event of unforeseen problems.
MkDocs
Mkdocs is a fast, simple and downright gorgeous static python-based site generator that’s geared towards building project documentation. Documentation source files are written in Markdown.
Markdown
Markdown is a plain text formatting syntax aimed at making writing for the internet easier. The philosophy behind Markdown is that plain text documents should be readable without tags mussing everything up, but there should still be ways to add text modifiers like lists, bold, italics, etc. Markdown is dead simple to learn. Markdown converts to HTML flawlessly, sparing you the hassle of opening and closing all those tags.
Getting started with Gitlab
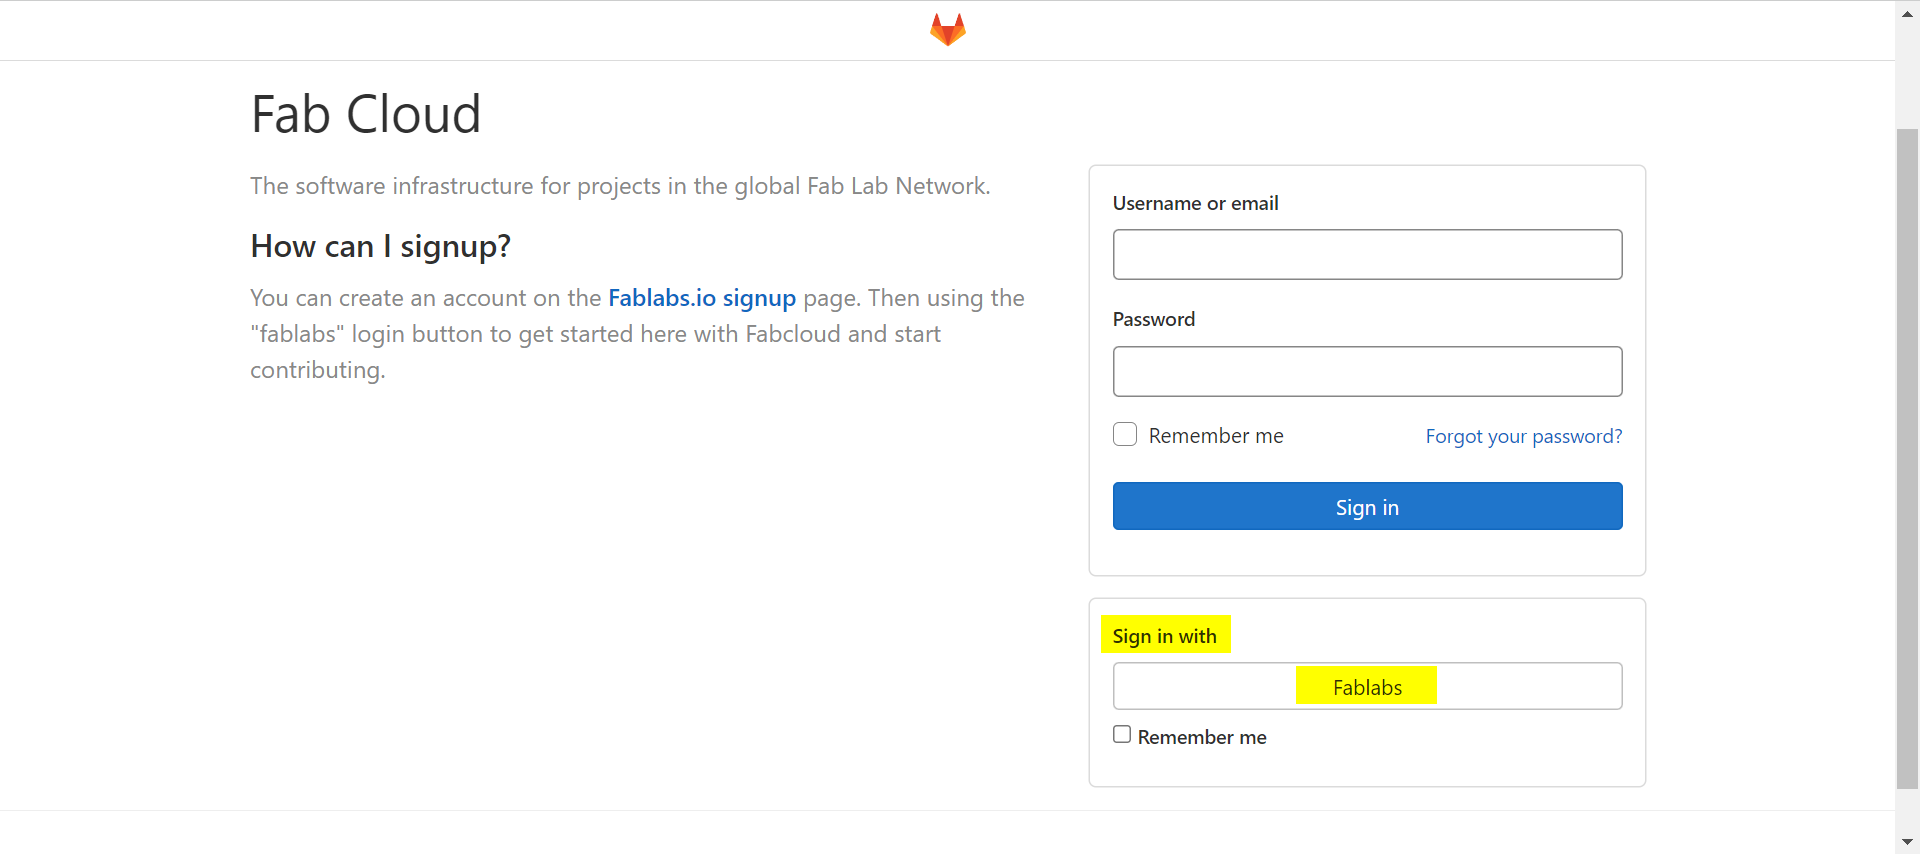
Fab Cloud: The software infrastructure for projects in the global Fab Lab Network.
I created an account on the Fablab.io signup page. Then used the “fablabs” login button to get started with Fabcloud and start contributing.
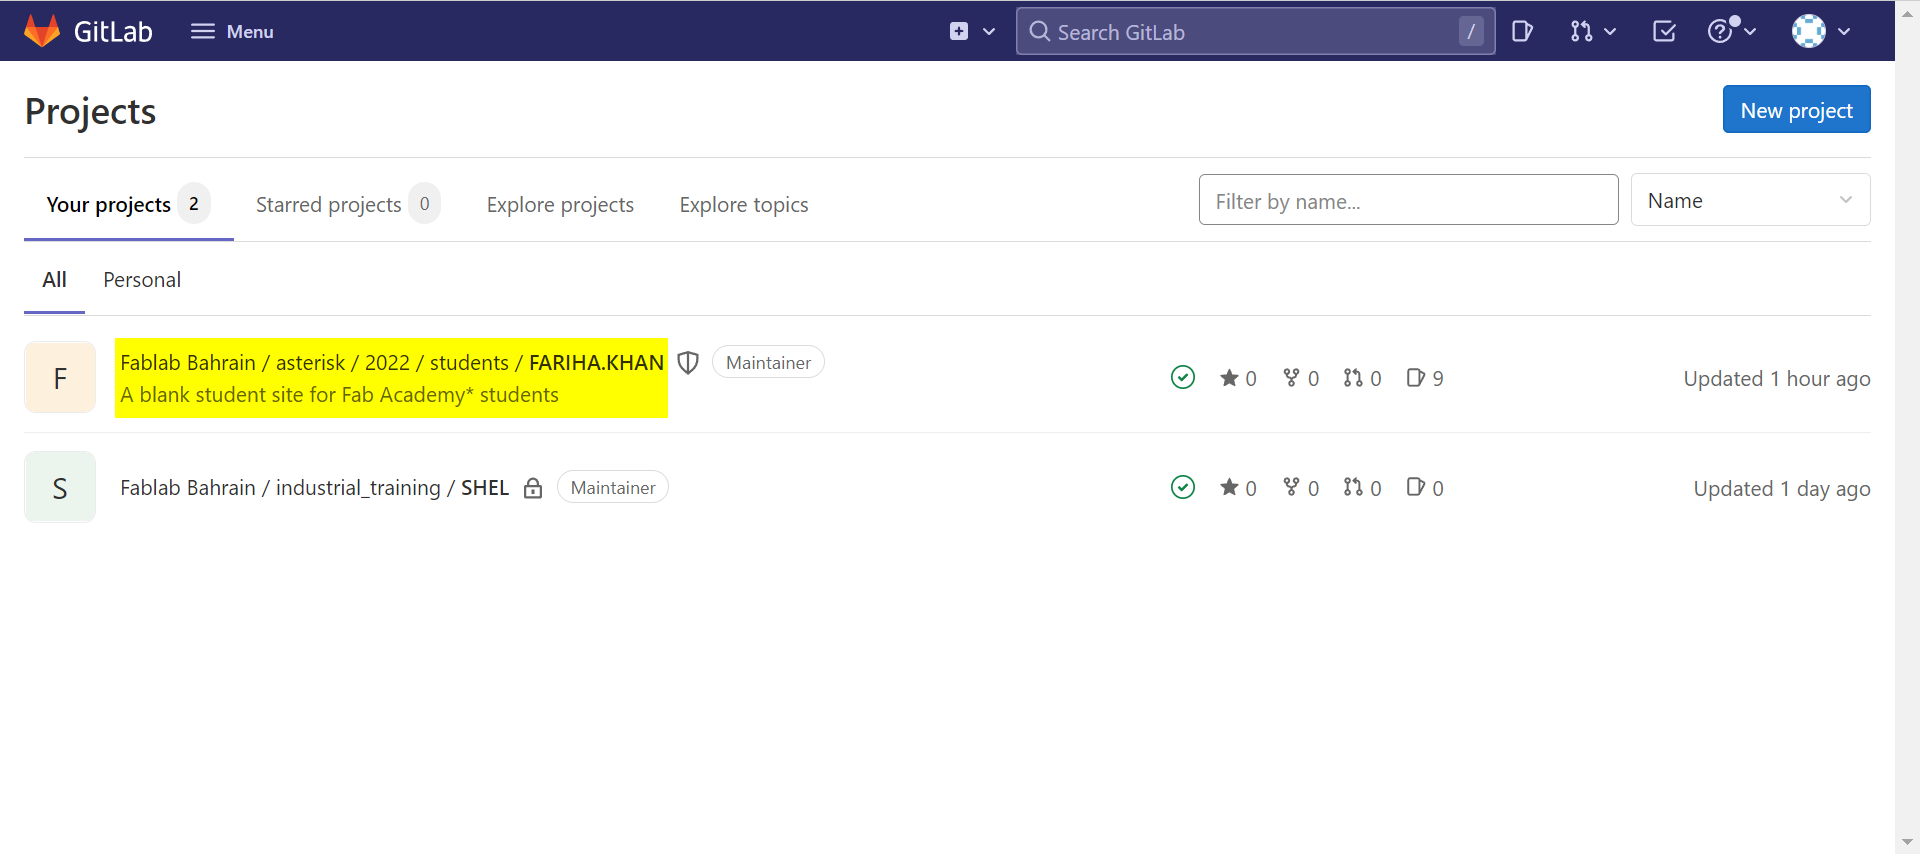
My projects were displayed in the Projects Dashboard after I logged in. I chose the project on which i wanted to start working.
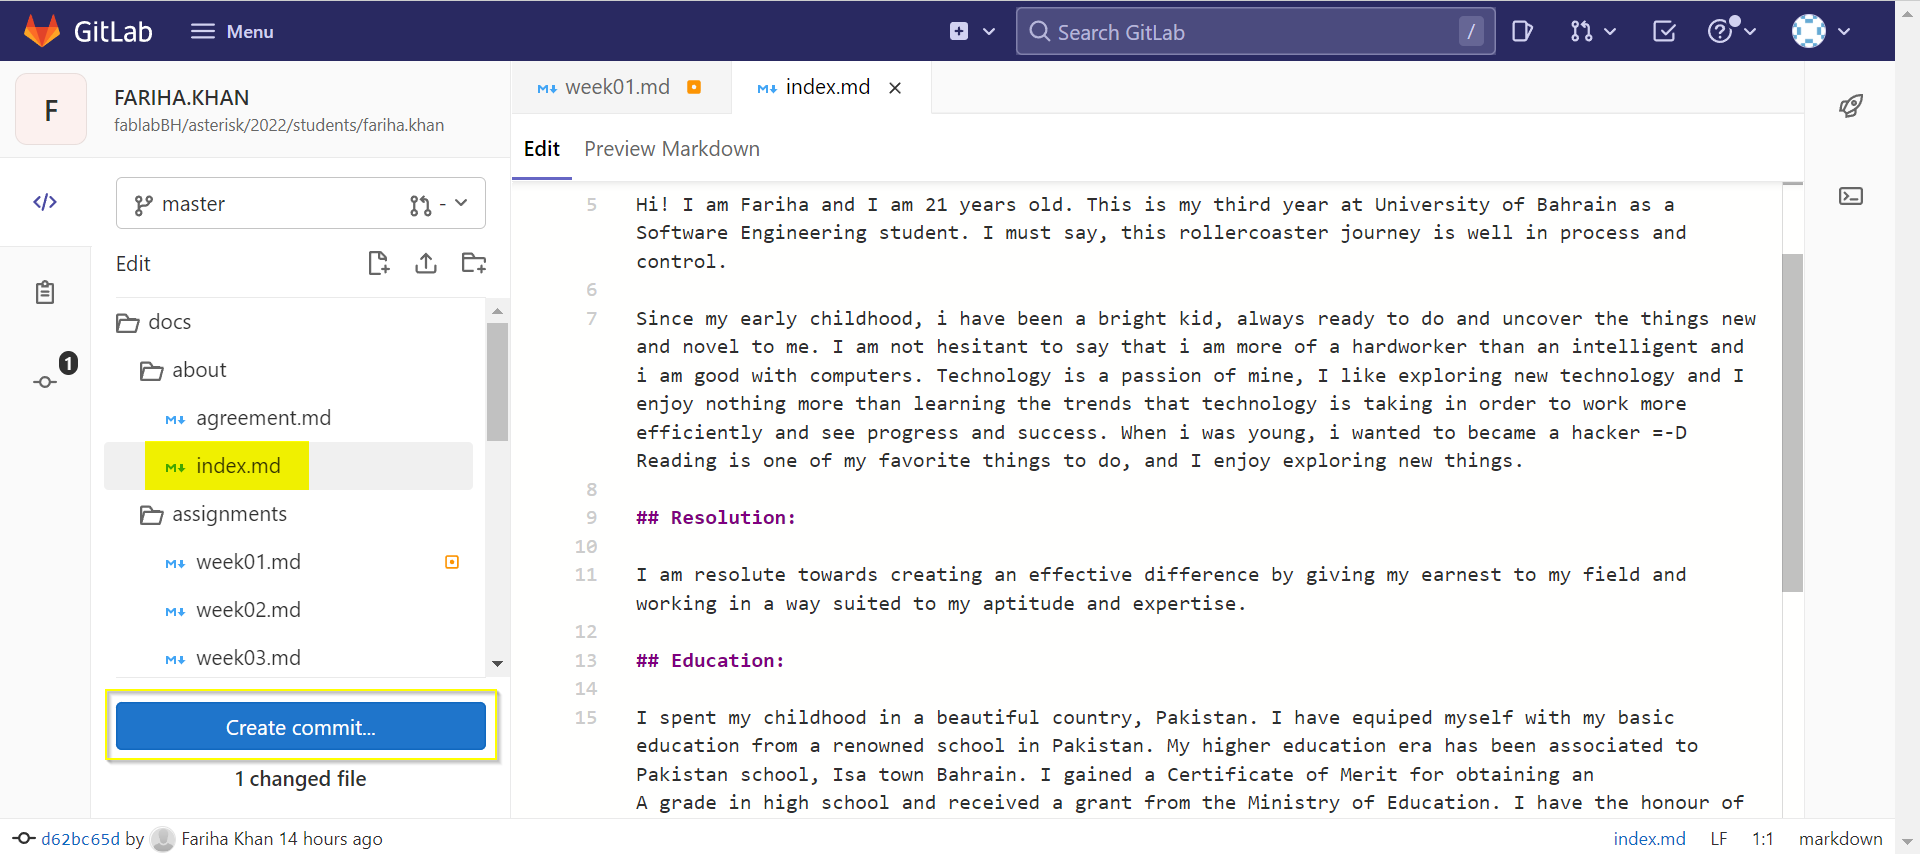
Editing About Page
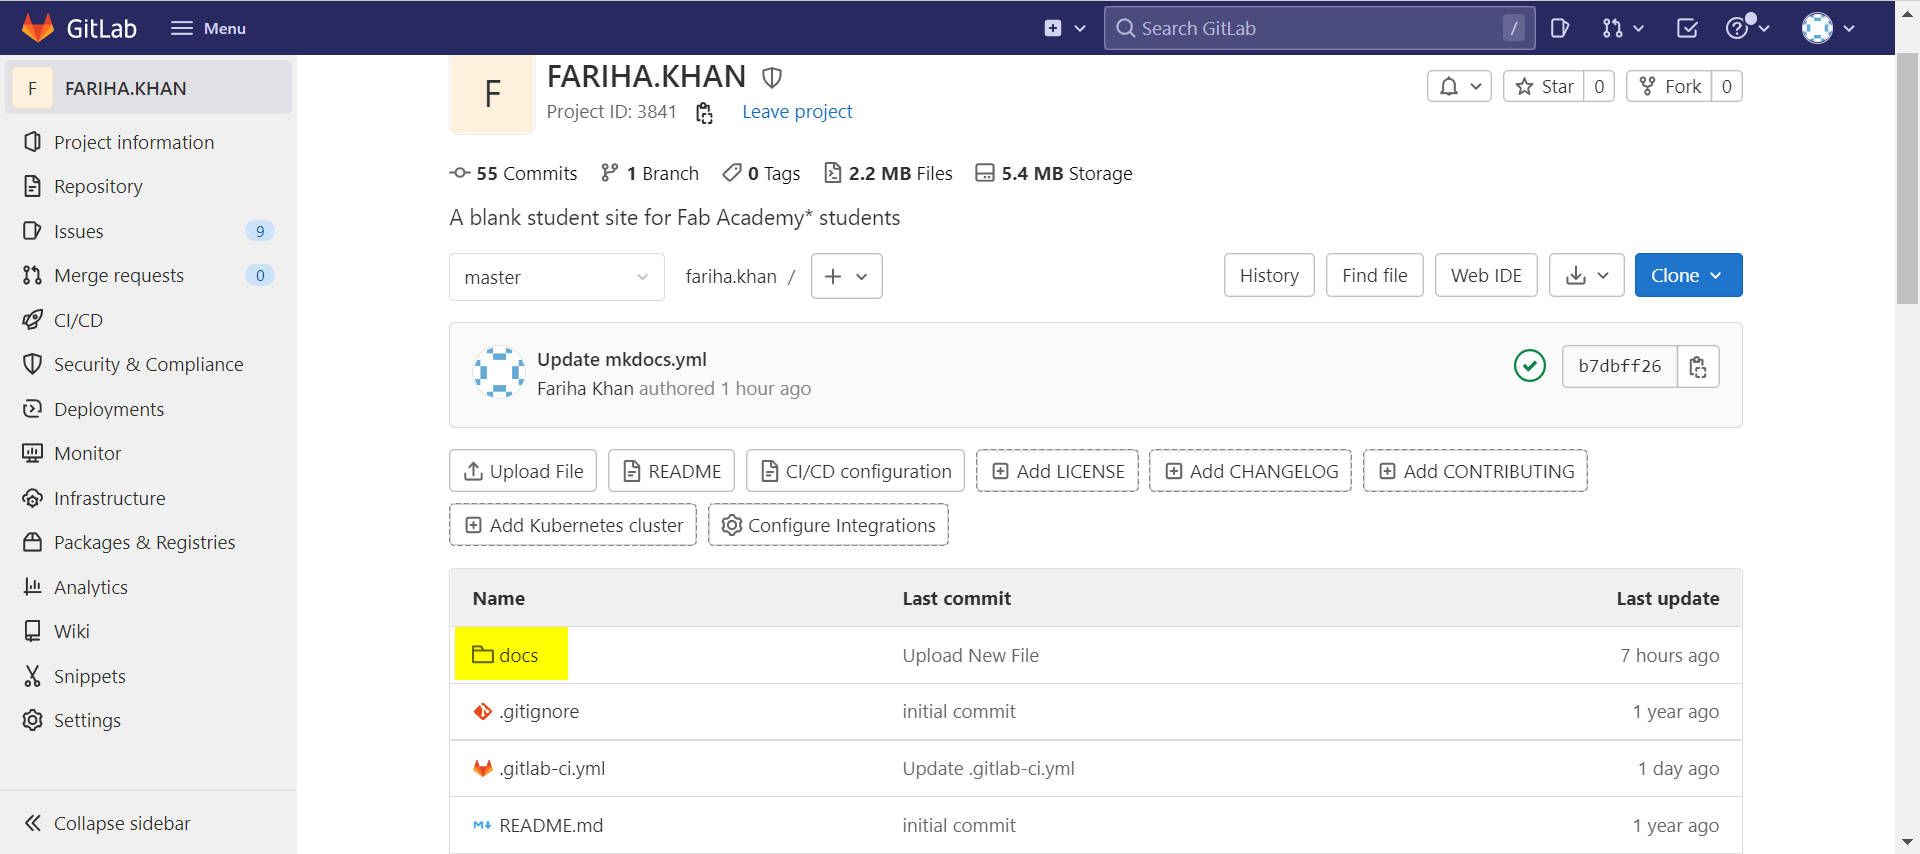
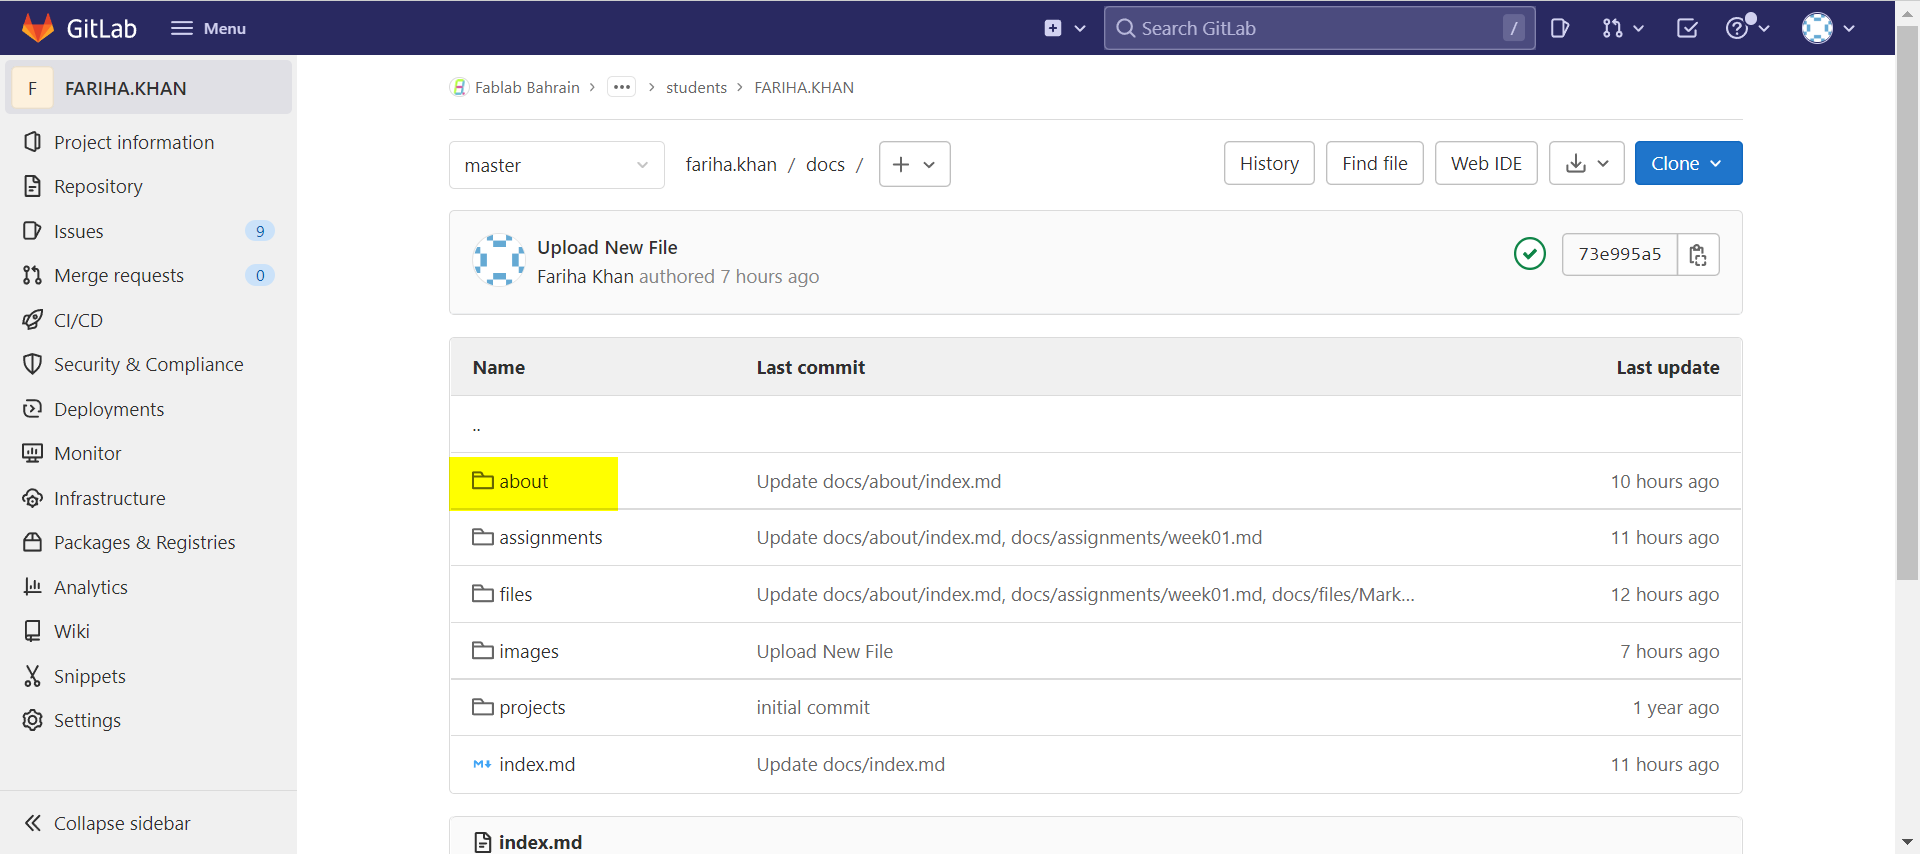
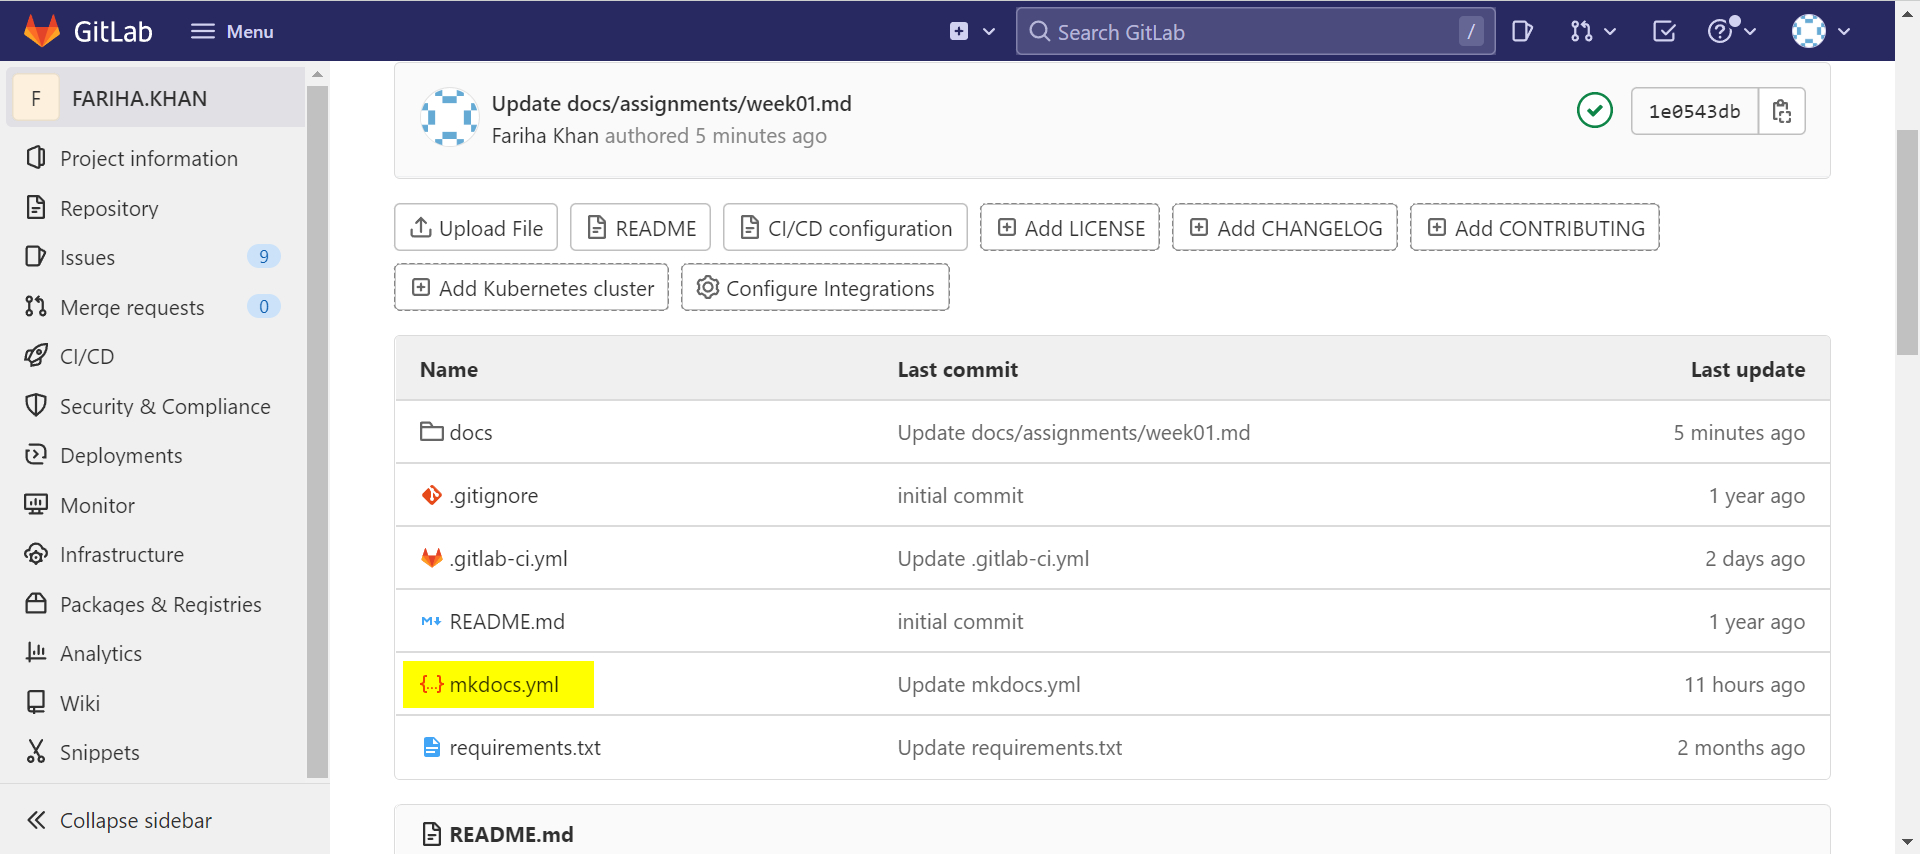
To edit my page, in my project, I went to the docs folder, then to the about folder. After editing my page (index.md) in the about folder, I commited the changes.
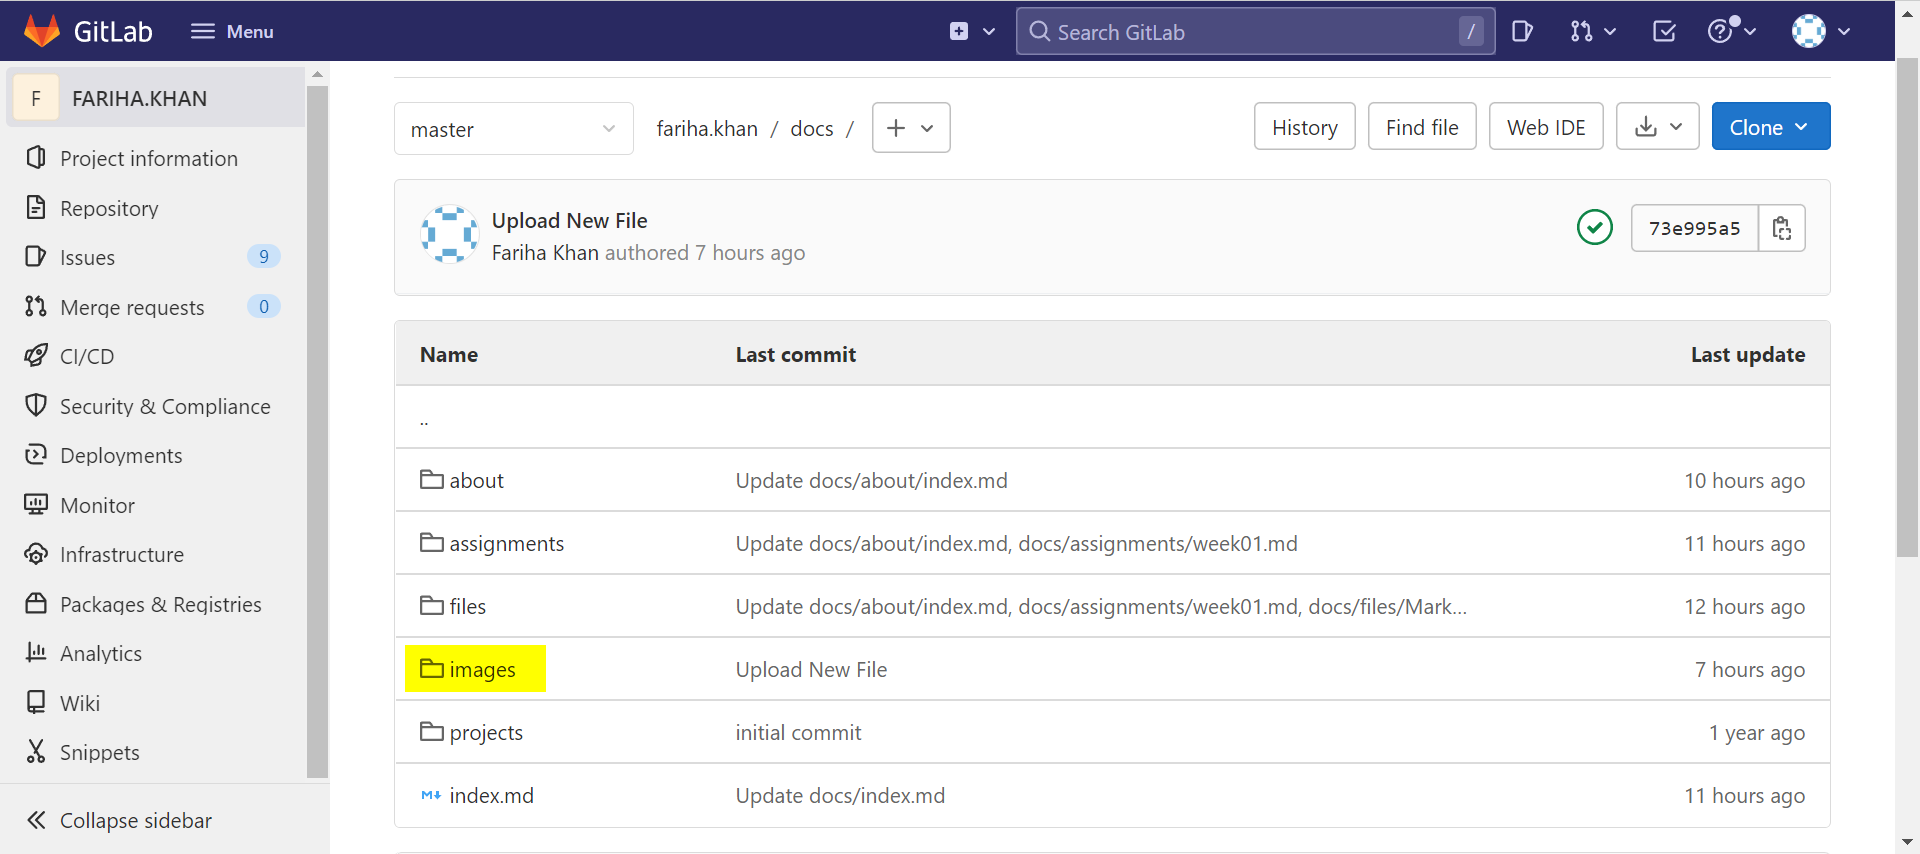
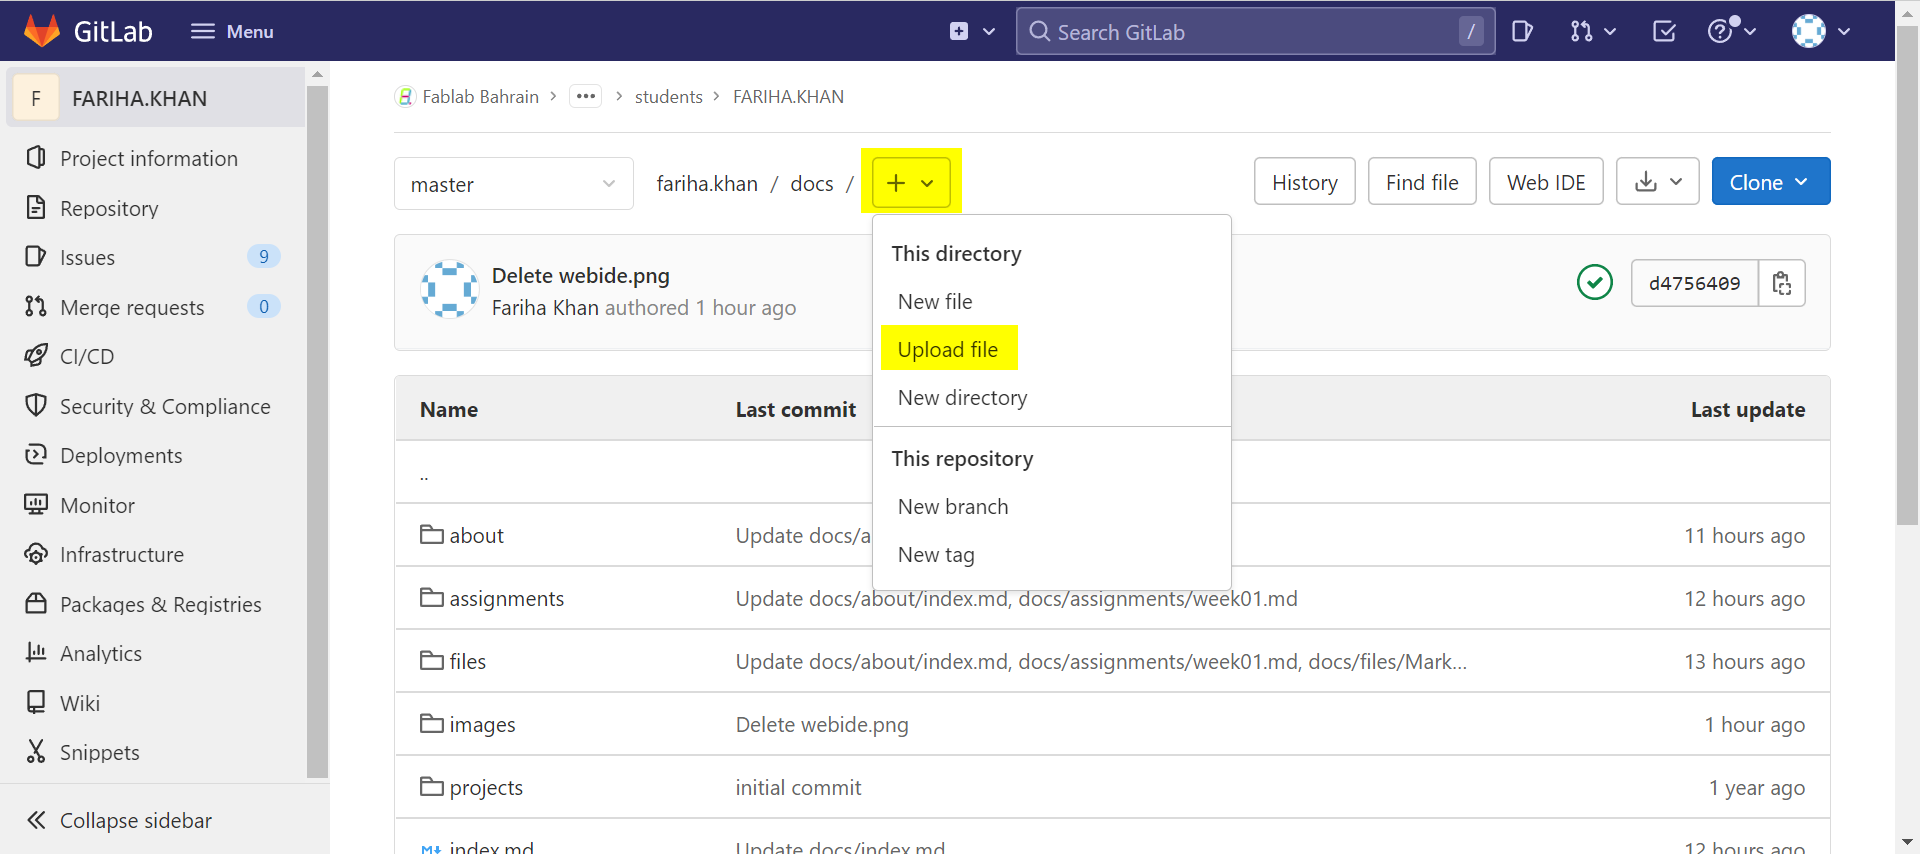
Uploading images on Gitlab
I needed to go to the docs folder, then to the images folder to upload images in the gitlab from my laptop.
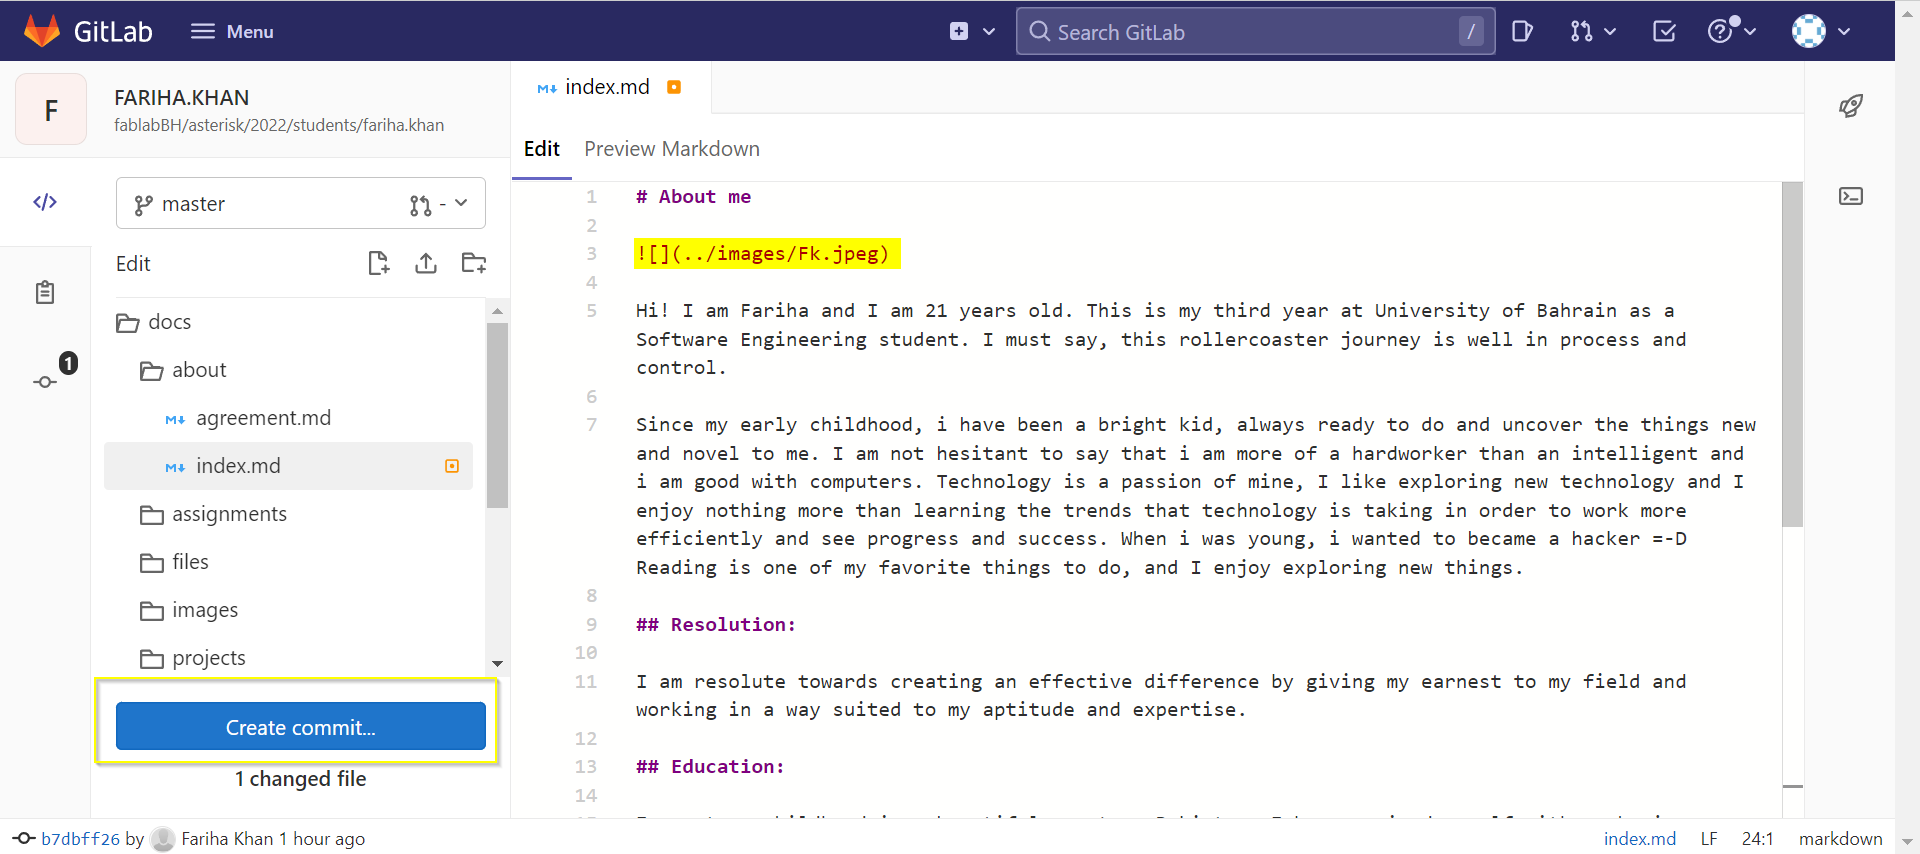
In order to display my image on the website, I used the following code:

Website Customization
In order to customize my website, I needed to go to the mkdocs.yml file instead of the docs folder.
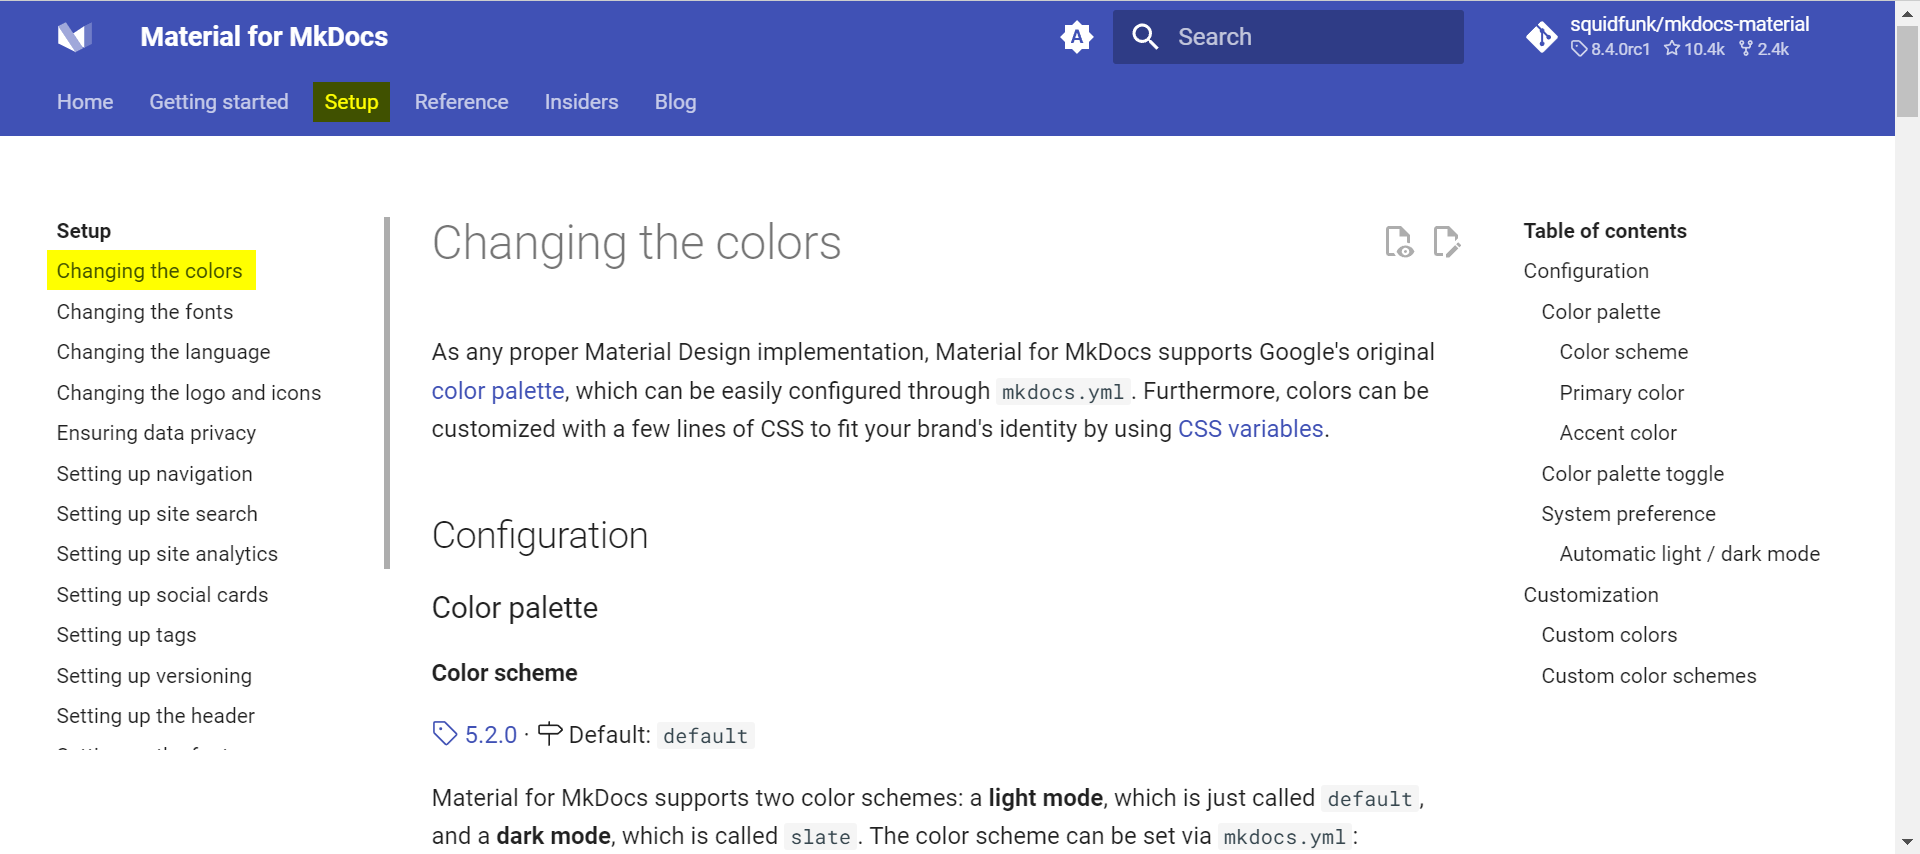
Changing the Colors
Project documentation is as diverse as the projects themselves and Material for MkDocs is a great starting point for making it look beautiful. It supports Google’s original color palette, which can be easily configured through mkdocs.yml.
To see colors, I went to Changing the colors option in Setup.
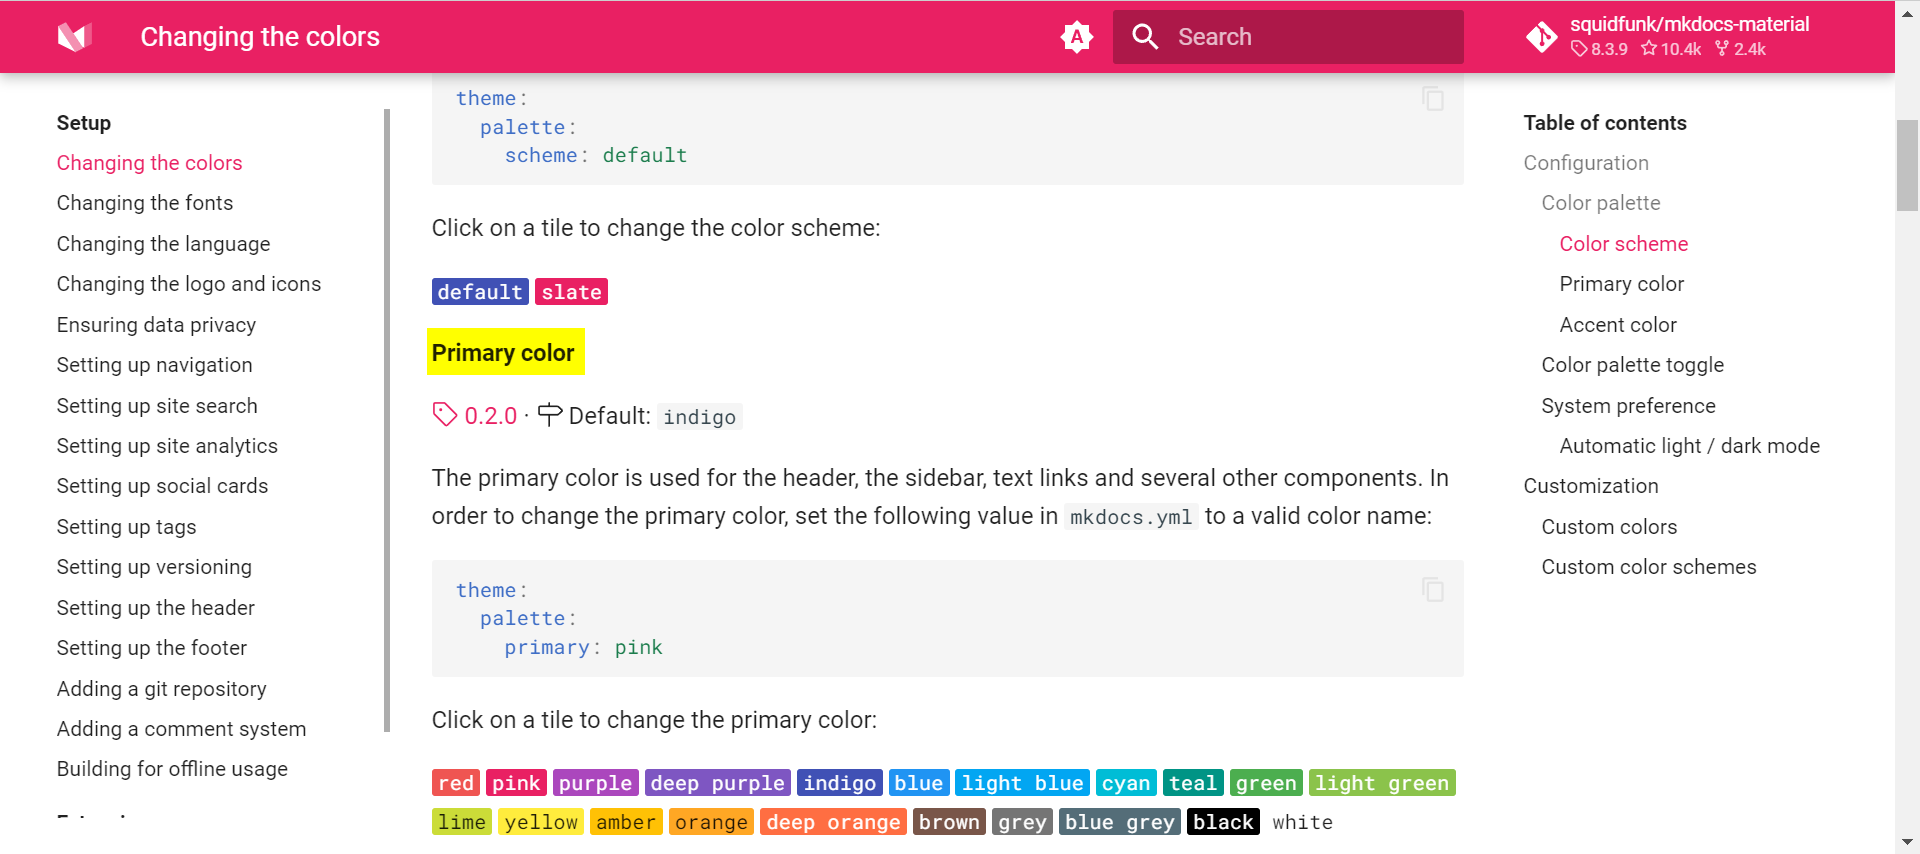
The primary color is used for the header, the sidebar, text links and several other components.
The accent color is used to denote elements that can be interacted with, e.g. hovered links, buttons and scrollbars.
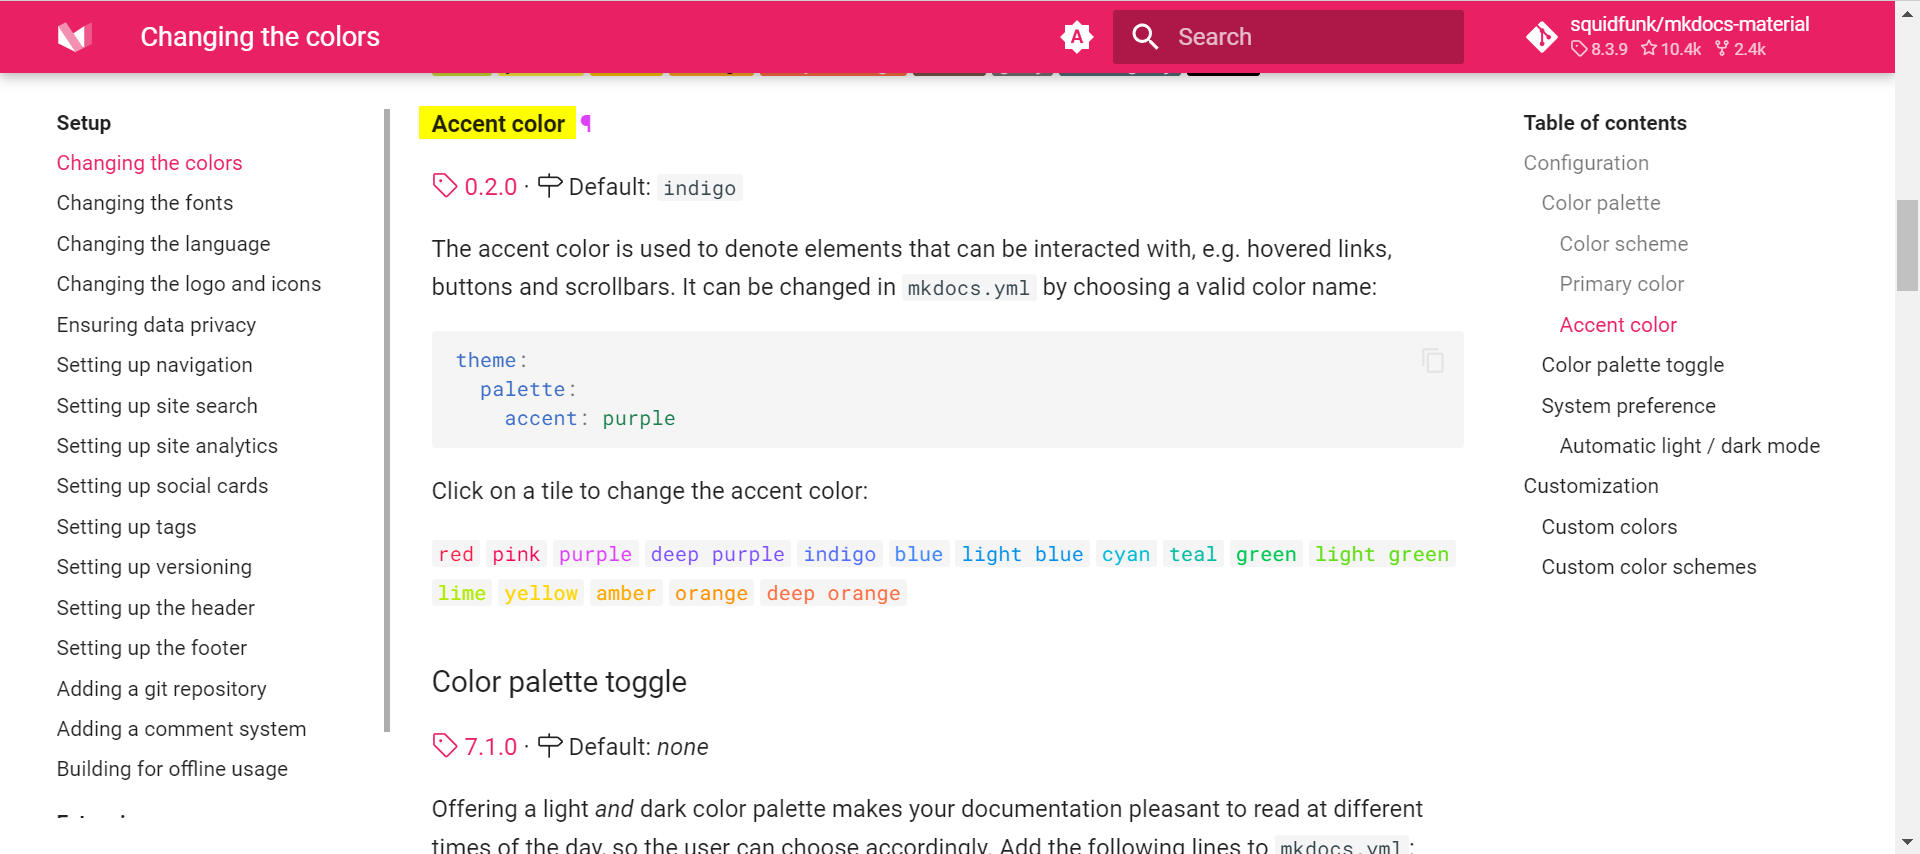
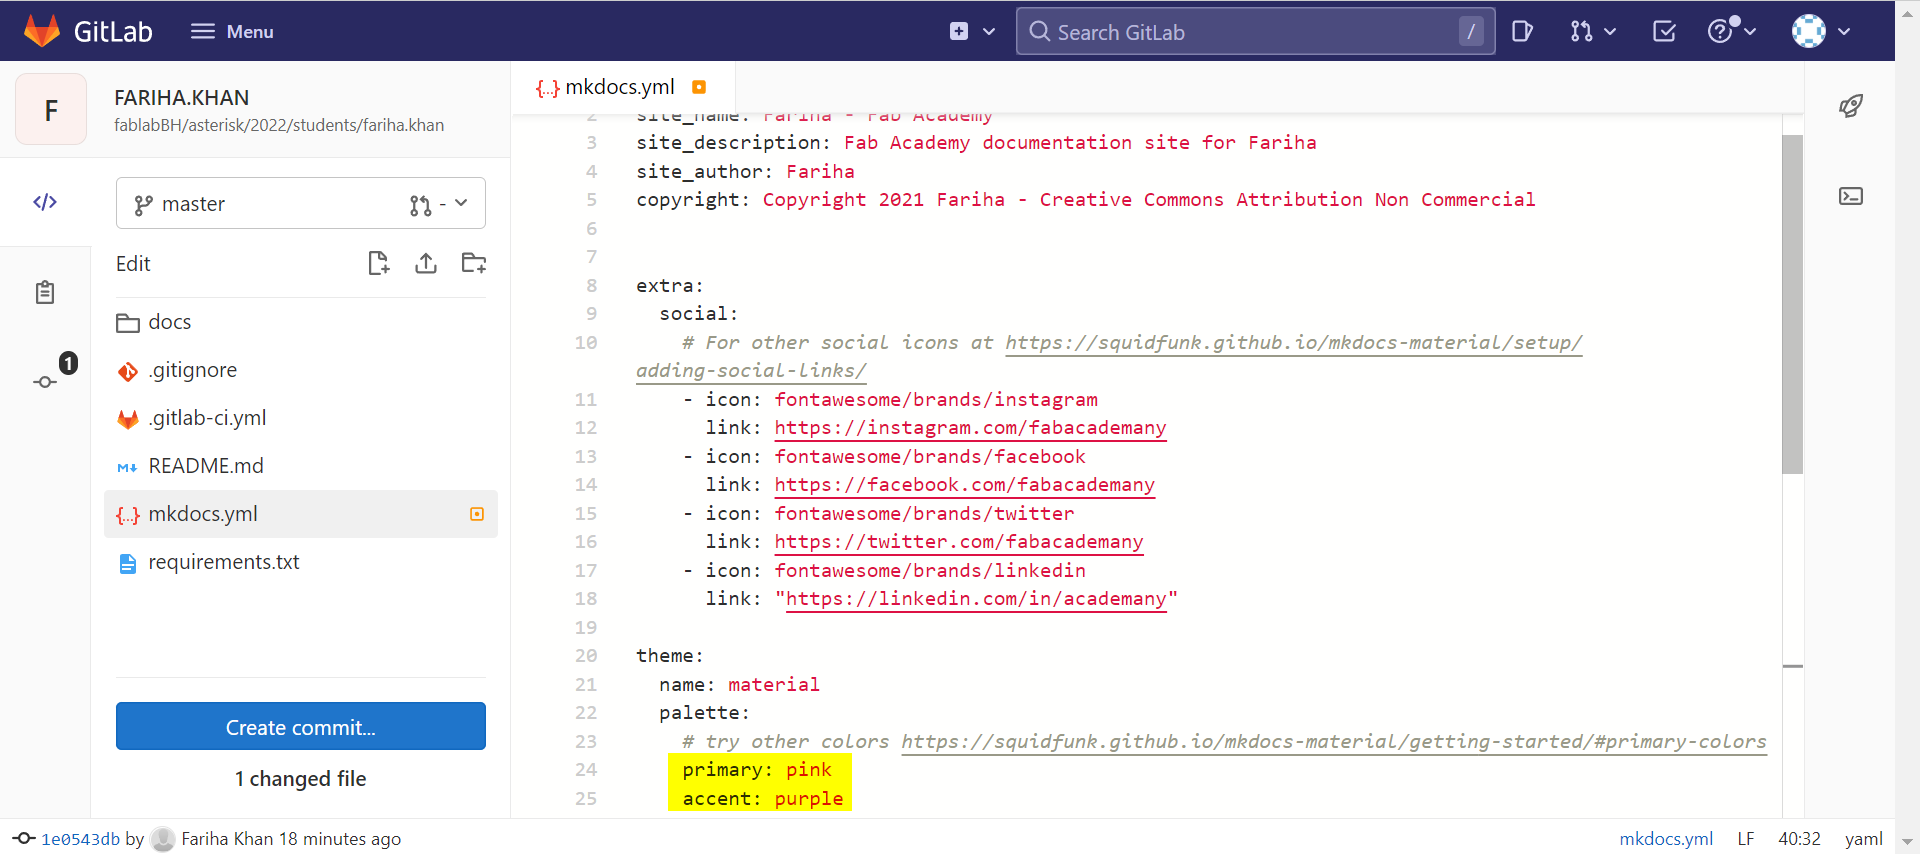
The default primary and accent color is indigo. In order to change the primary color to pink and accent color to purple, I set the primary color value to pink and the accent color value to purple.
theme:
  name: material
  palette:
    primary: pink
    accent: purple
Changing the Fonts
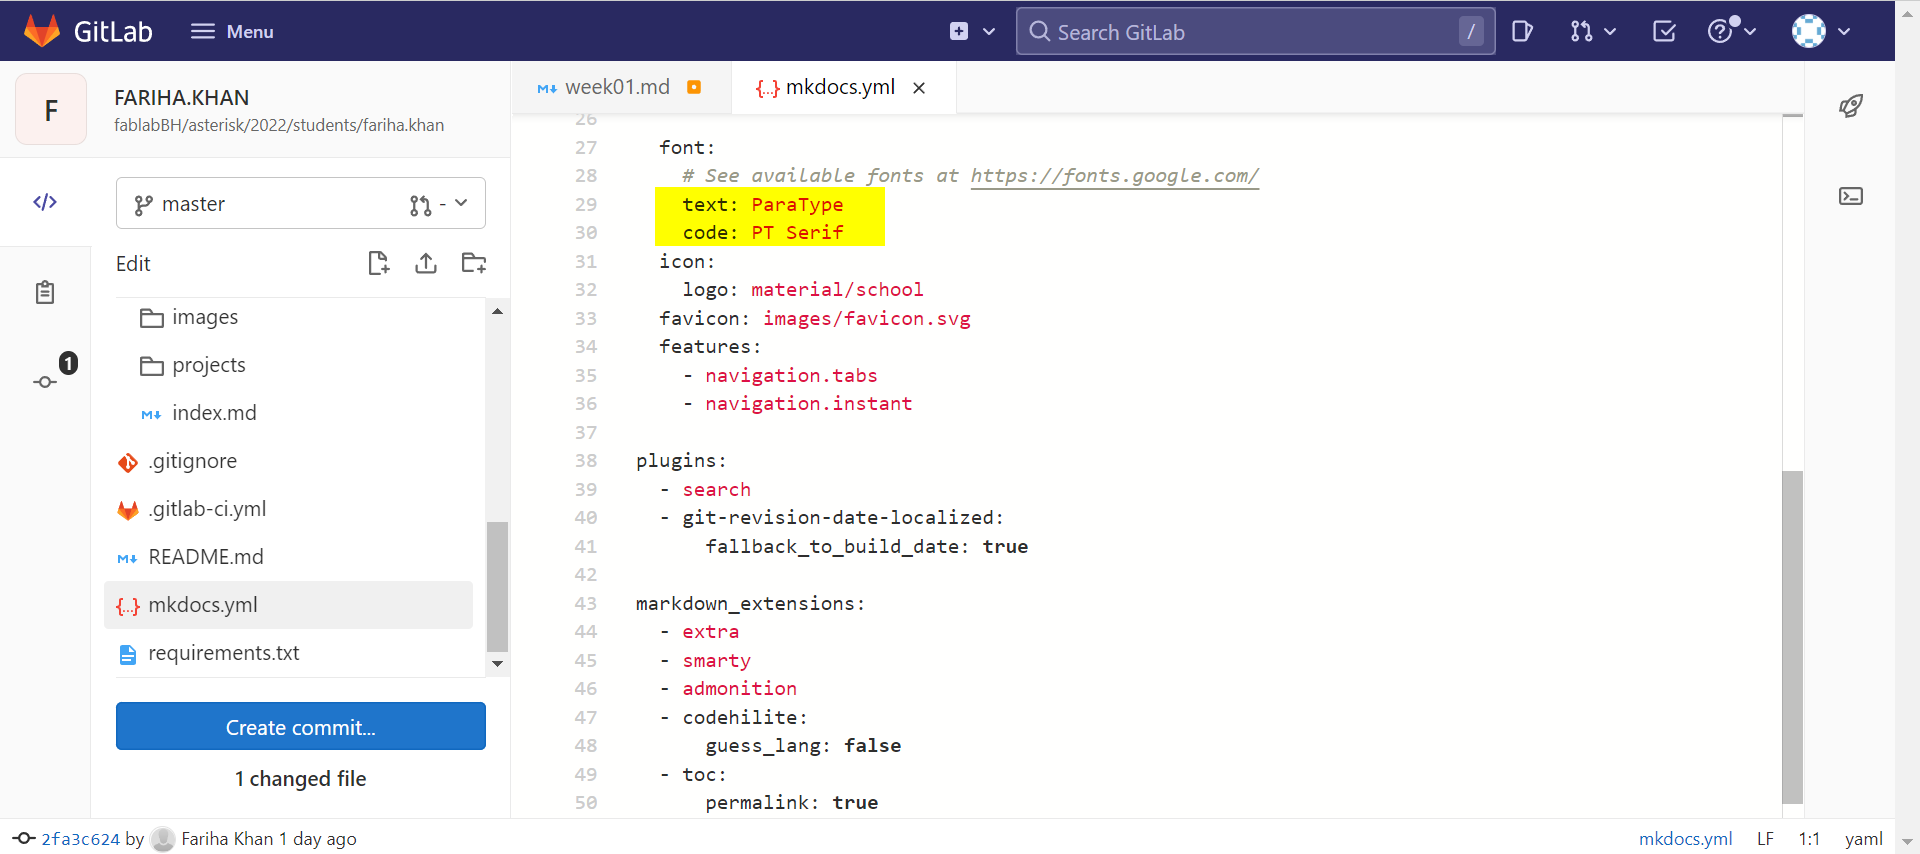
To see different fonts, I went to Google Fonts, I liked ParaType and PT Serif fonts and changed the font values in mkdocs.yml.
 font:
    text: ParaType
    code: PT Serif
HTML Tags
Using image tag
My image size was something I wanted to change, so I used an image tag. The tag is used to embed an image in an HTML page. The
tag has two required attributes: src - Specifies the path to the image, alt - Specifies an alternate text for the image, if the image for some reason cannot be displayed. The width and height of an image can also be specified in the image tag.
<img src="images/FK.jpeg" alt="Girl" width= "450" height="180">
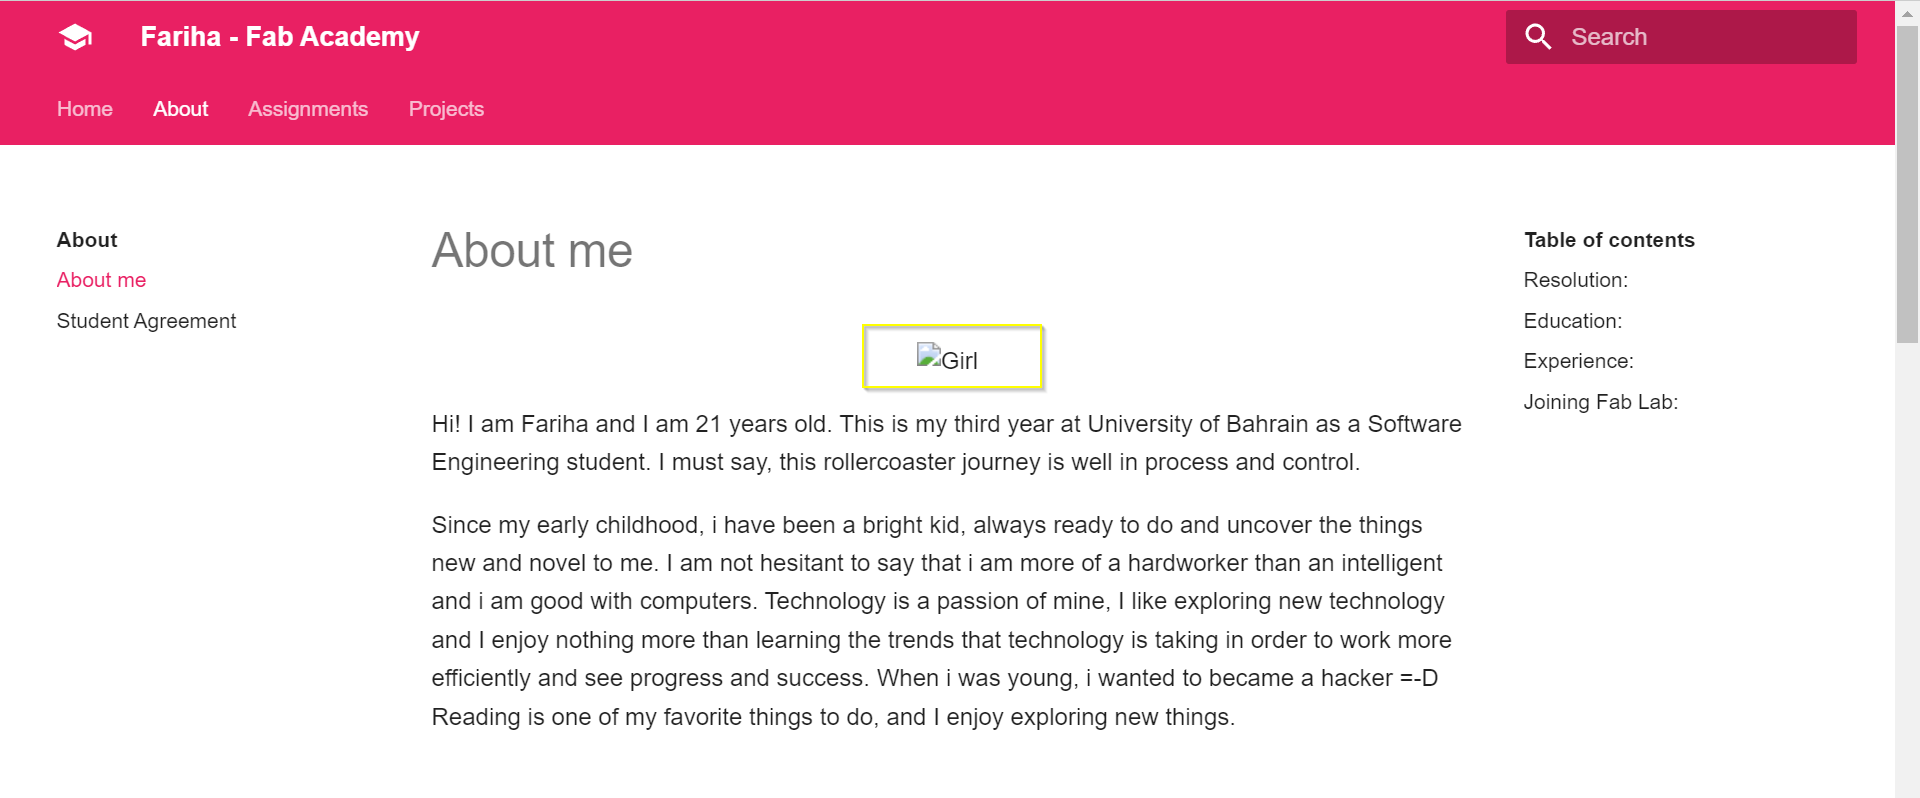
My image did not appear on my website after I added this code from www.w3schools.com.
I was able to solve this problem with the assistance of my instructor. This ../ had to be placed in the starting of img src in Markdown.
<img src="../images/FK.jpeg" alt="Girl" width= "450" height="180">
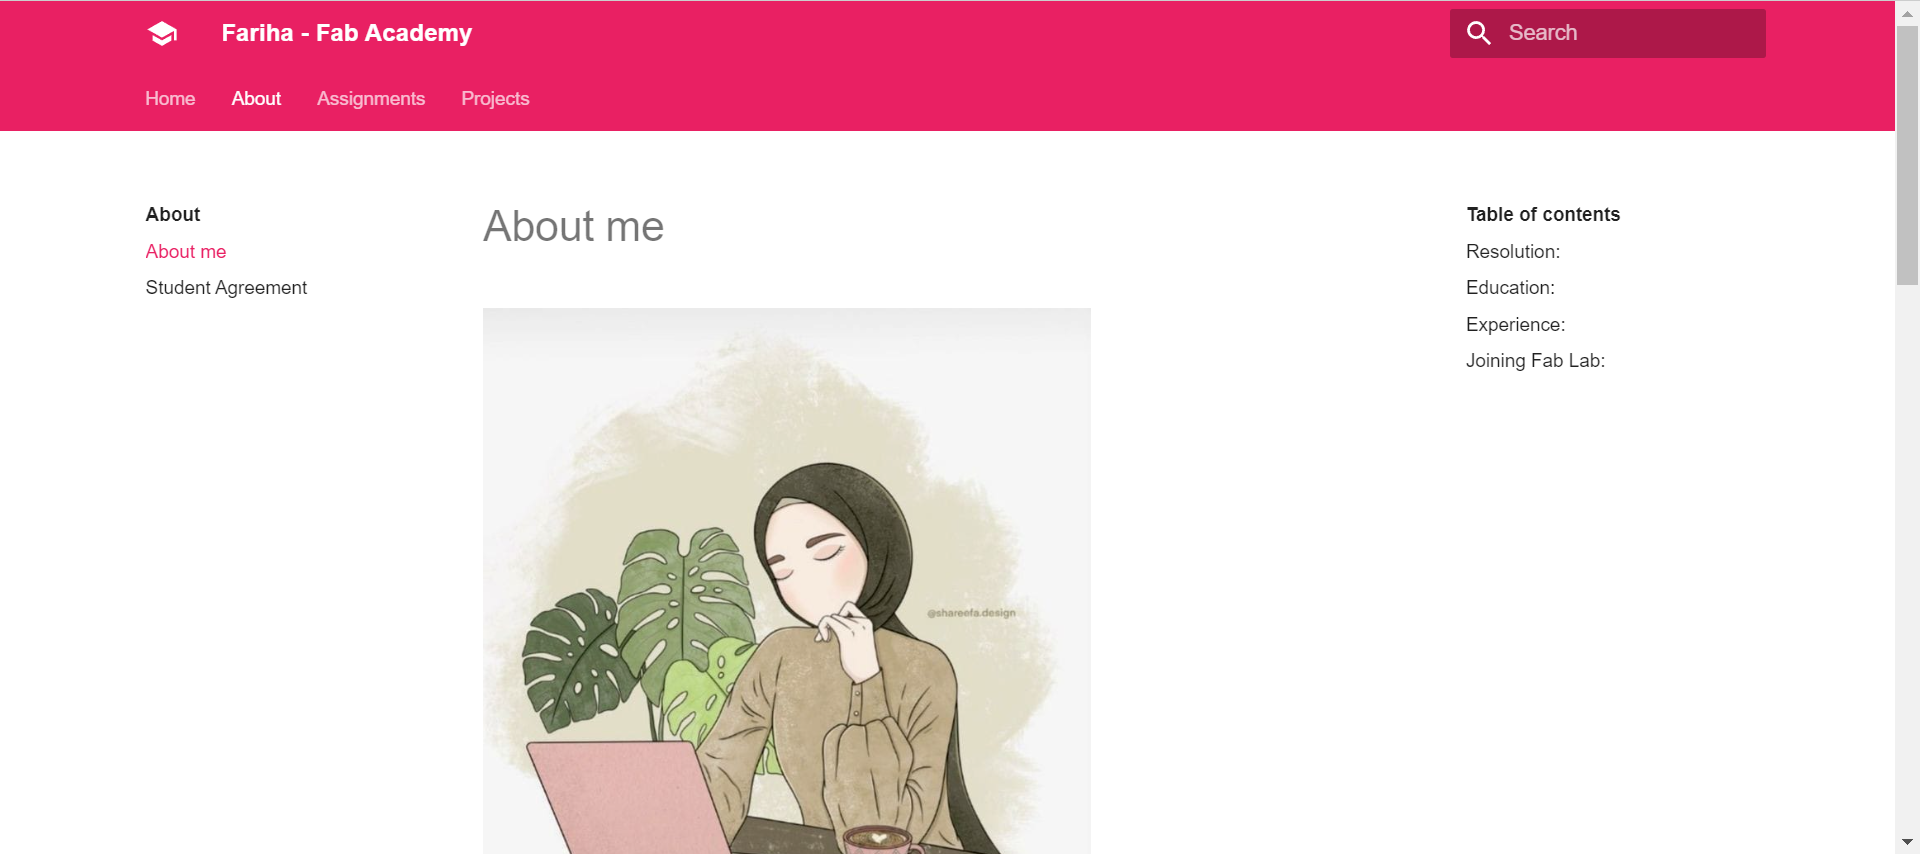
Before:
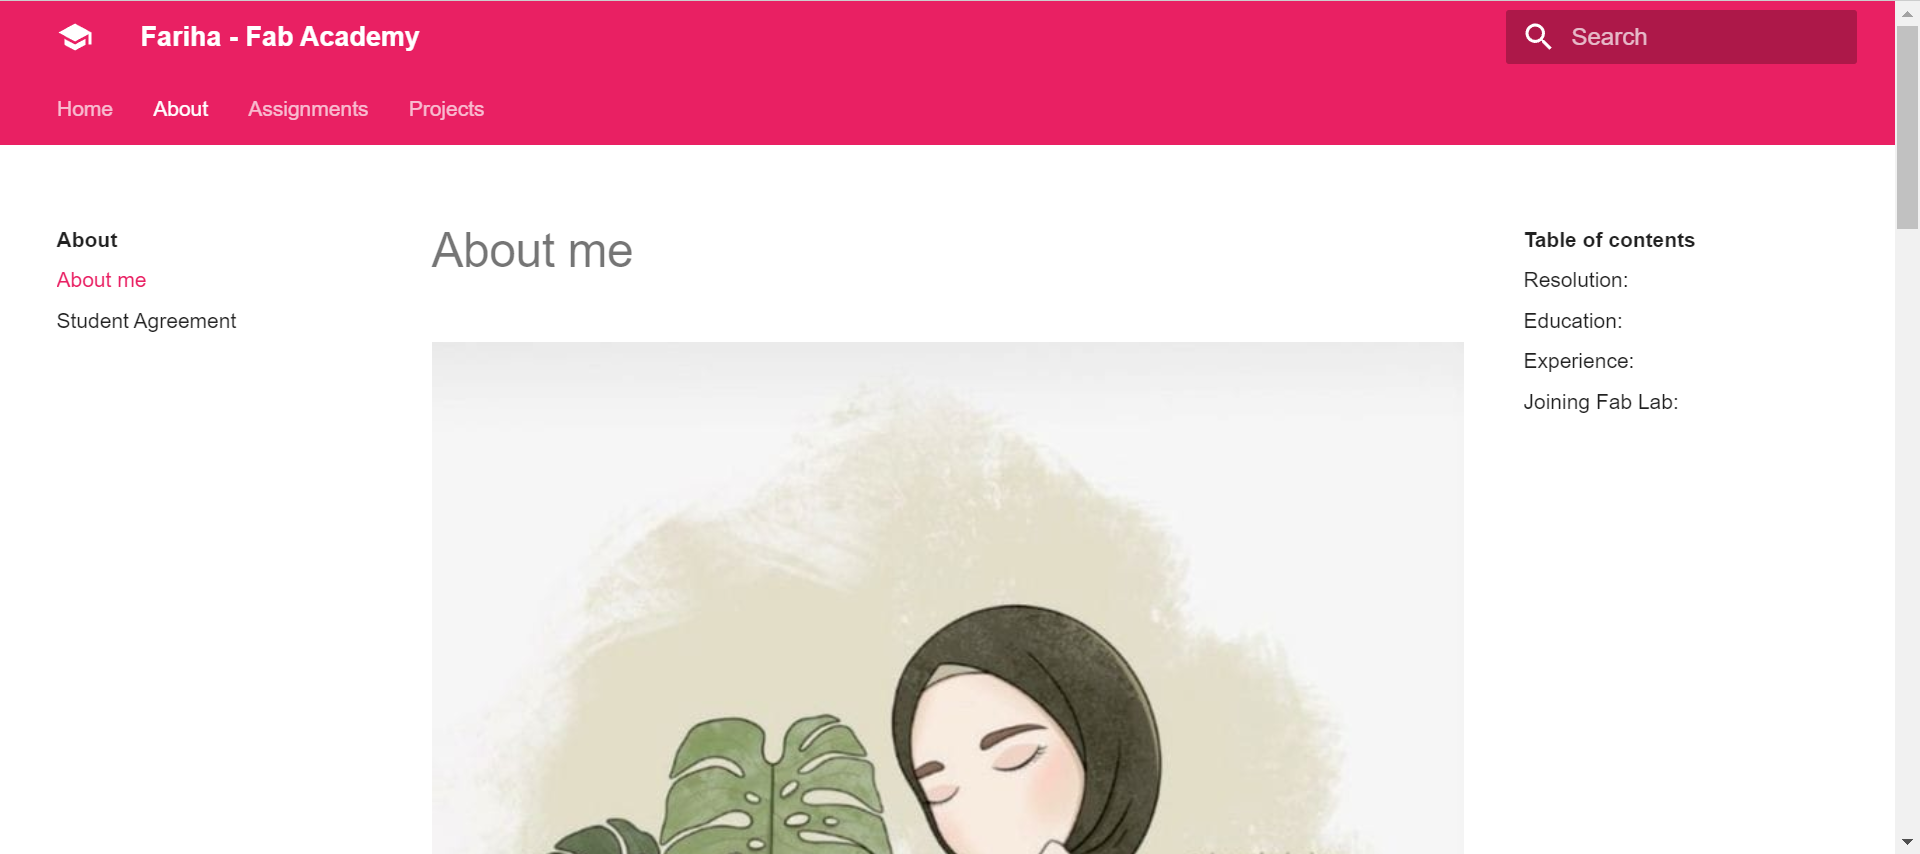
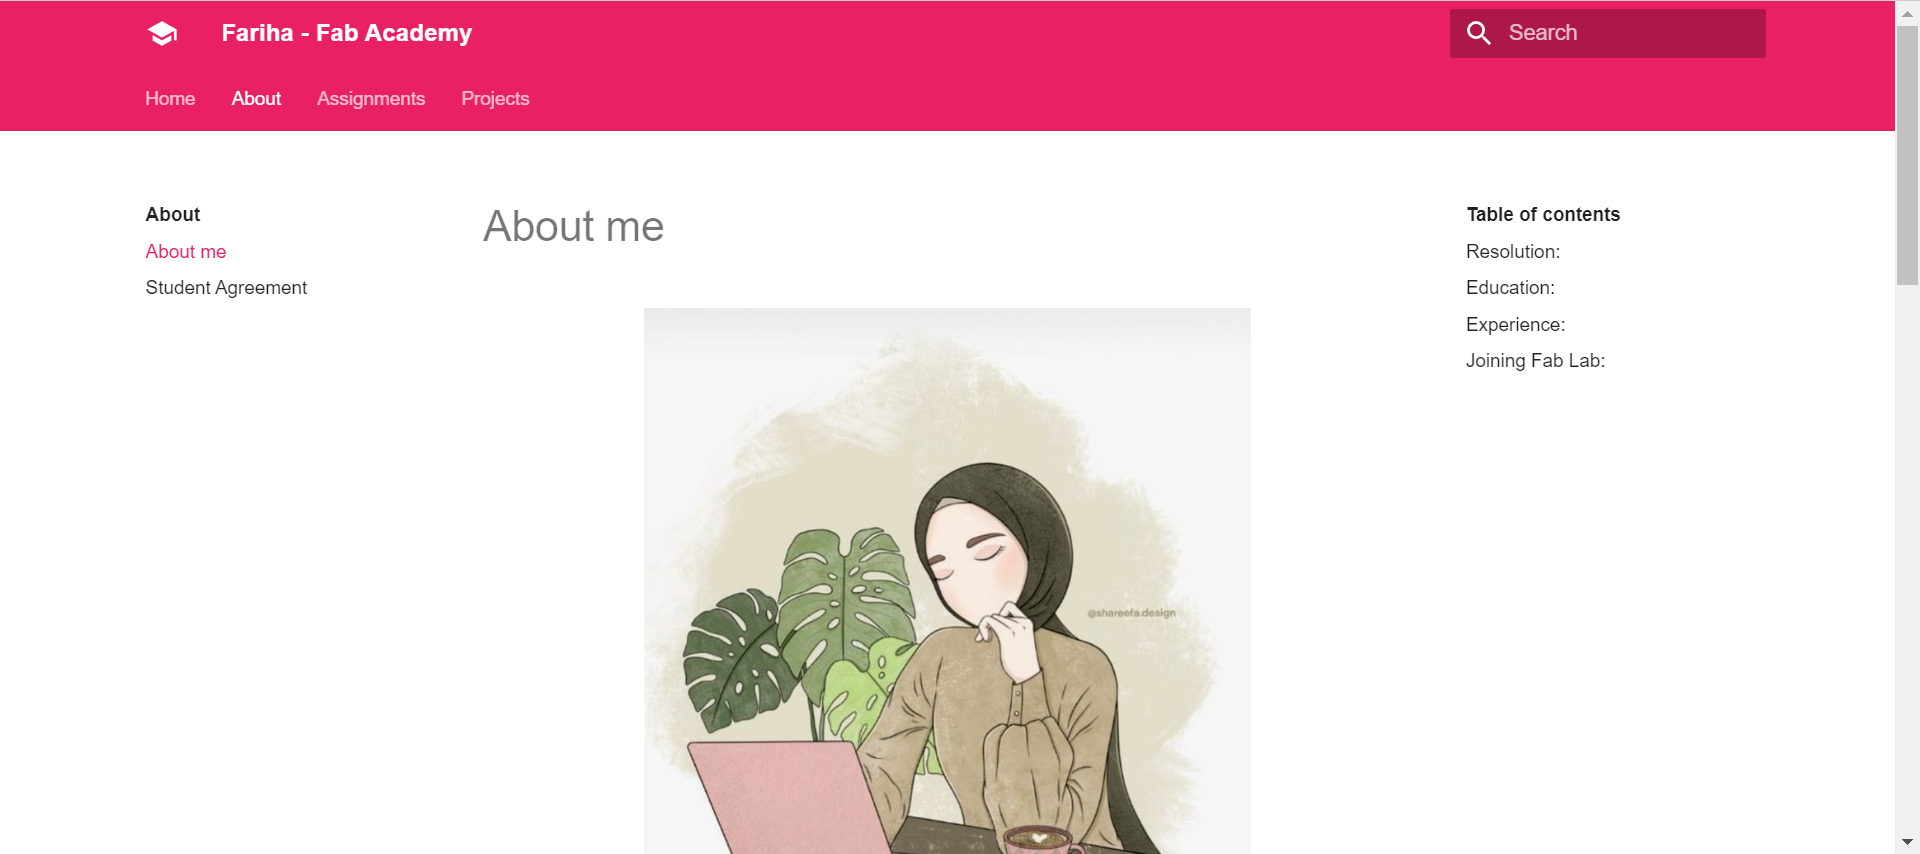
After:
Aligning the image horizontally centered
I used the following code to center the image horizontally:
<p style="text-align: center"> <img src="../images/FK.jpeg" alt="Girl" width= "450" height="180"> </p>
More about HTML
How to upload video?
The video tag is used to embed a video content in a document. There are three supported video formats in HTML: MP4, WebM, and OGG.
<video width="400">
  <source src="../../images/Teddy.mp4" type="video/mp4">
</video>
Extra ../ is required in the html tag for uploading video from the gallery in Markdown.
How to embed a youtube video in HTML?
On a laptop, go to the YouTube video you want to embed.
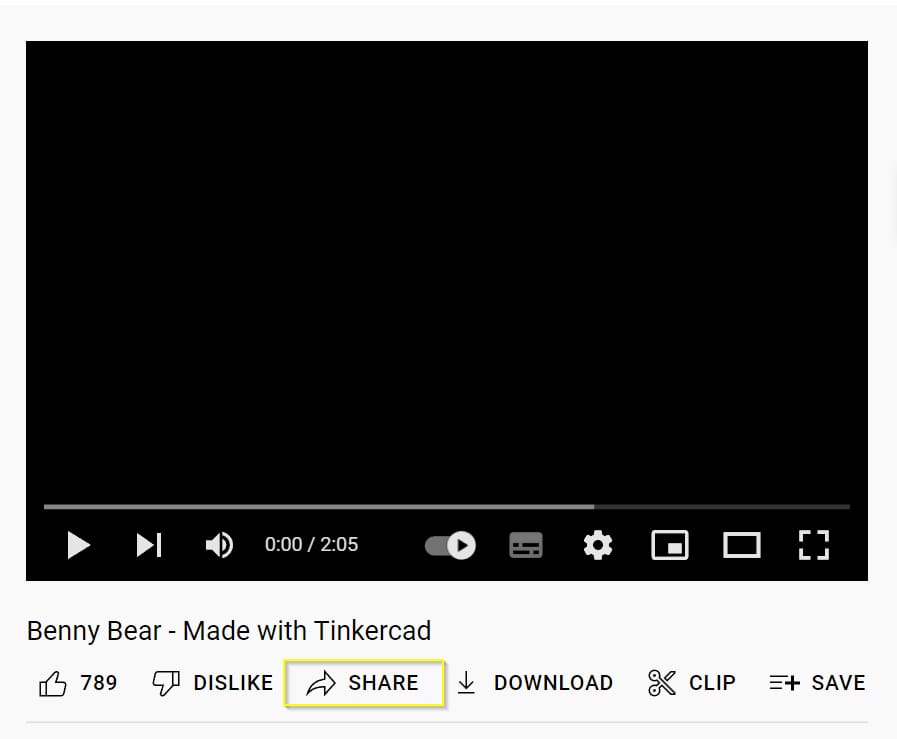
Click SHARE. From the list of Share options, click Embed.
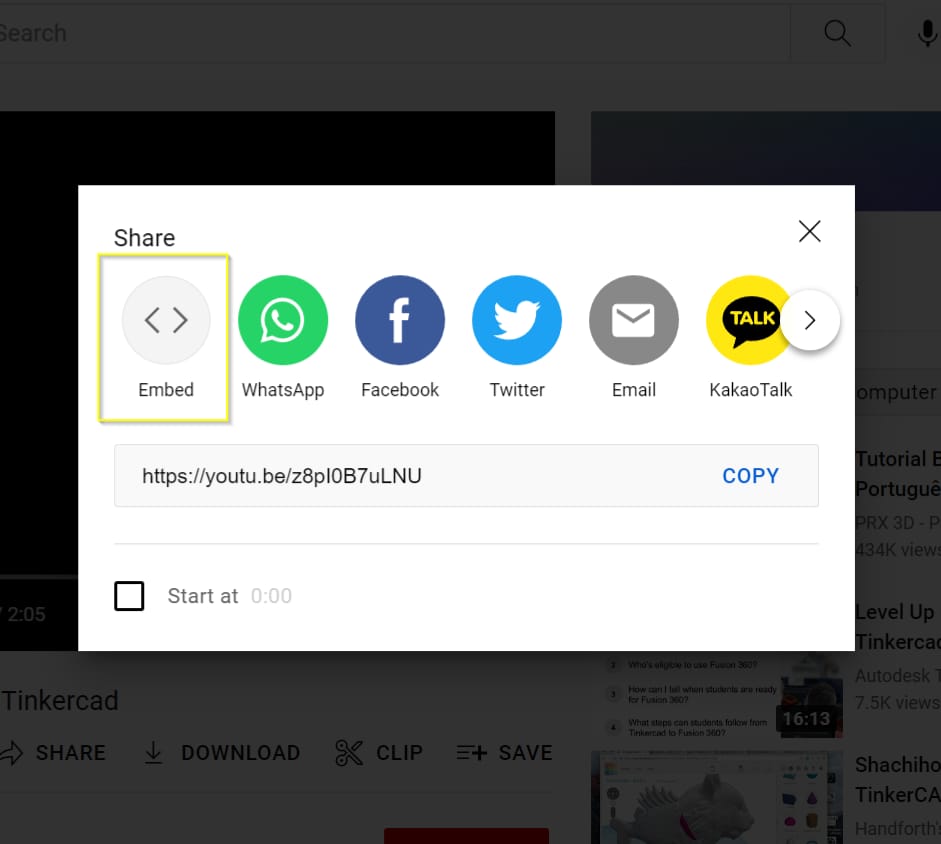
From the box that appears, copy the HTML code.
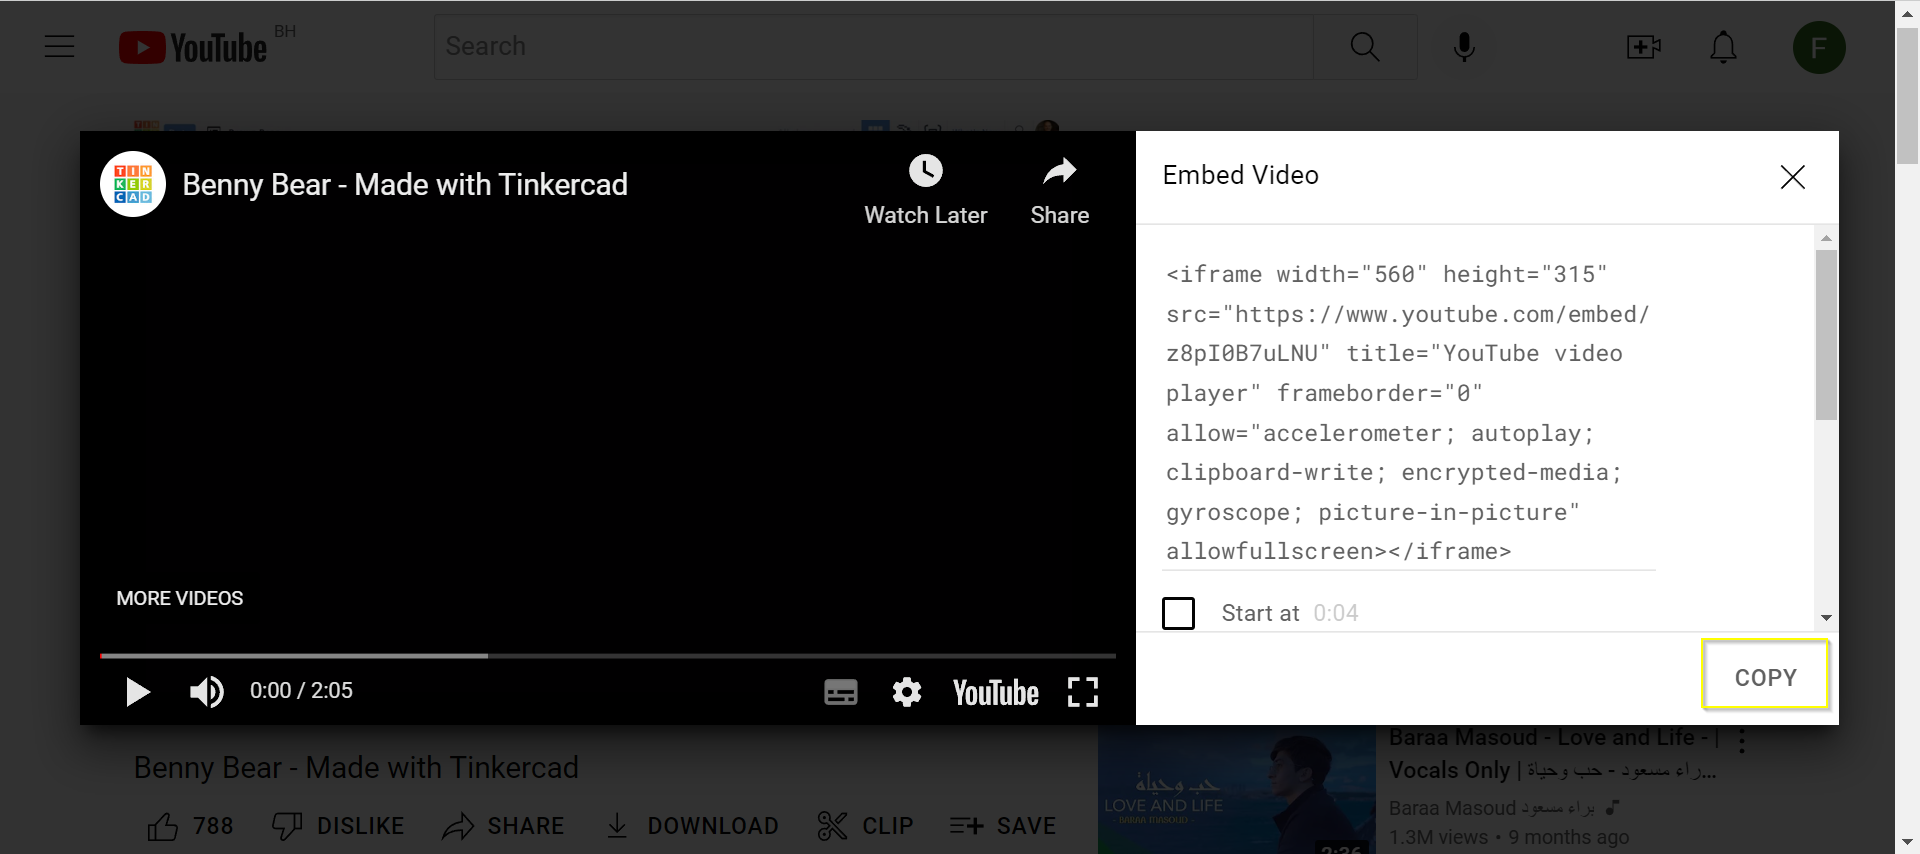
Paste the code into your website.
Greenshot
In my documentation, I took screenshots using Greenshot.
Greenshot is a light-weight screenshot software tool for Windows, it is efficient tool for project management with the following key features: Quickly create screenshots of a selected region, window or fullscreen; you can even capture complete (scrolling) web pages from Internet Explorer.Easily annotate, highlight or obfuscate parts of the screenshot. You can Export the screenshot in various ways: save to file, send to printer, copy to clipboard, attach to e-mail, send Office programs or upload to photo sites like Flickr or Picasa, and a lot more options simplyfying creation of and work with screenshots every day.
Useful links
- Gitlab
- What is Gitlab?
- Mkdocs
- Markdown
- Markdown CheatSheet
- Fablab.io
- Colors (Material for MkDocs)
- Google Fonts
- HTML Tags
- Greenshot