7. Moulding and casting
This week I learnt about the processes of moulding and casting and got to know about different types of materials used in moulding and casting.
Moulding and casting
Here’s a brief introduction to moulding and casting.
Moulding is the act of creating the cavity / form that carries a negative or reverse impression of an original model. Molds can be made of a rigid material, such as plaster or plastic resin or more commonly, a flexible material such as rubber. The material to use should be chosen considering the material of the model, the material to be used to make castings, and whether there are any undercuts.
Casting is the act of pouring liquid material into the cavity of a mold. After a period of time, this liquid will cure via chemical reaction or cooling. The solidified part is also known as a casting, which is ejected or broken out of the mold to complete the process. Casting materials are usually metals or various cold setting materials that cure after mixing two or more components together; examples are epoxy, concrete, plaster and clay.
Group Assignment
Our group assignment was to review the safety data sheets for each of our molding and casting materials and to make and compare test casts with each of them. Click here to see group assignment.
Individual Assignment
Creating a design in Tinkercad
The requirements for the design size were as follows: Smallest gap: 1.6mm (That’s the smallest milling bit), design max height: 8mm and design max width and length: 60mm.
I had to keep my design 2.5 D (no undercuts), but I did not have to keep it flat (I shouldn’t be able to cut it with the laser cutter).
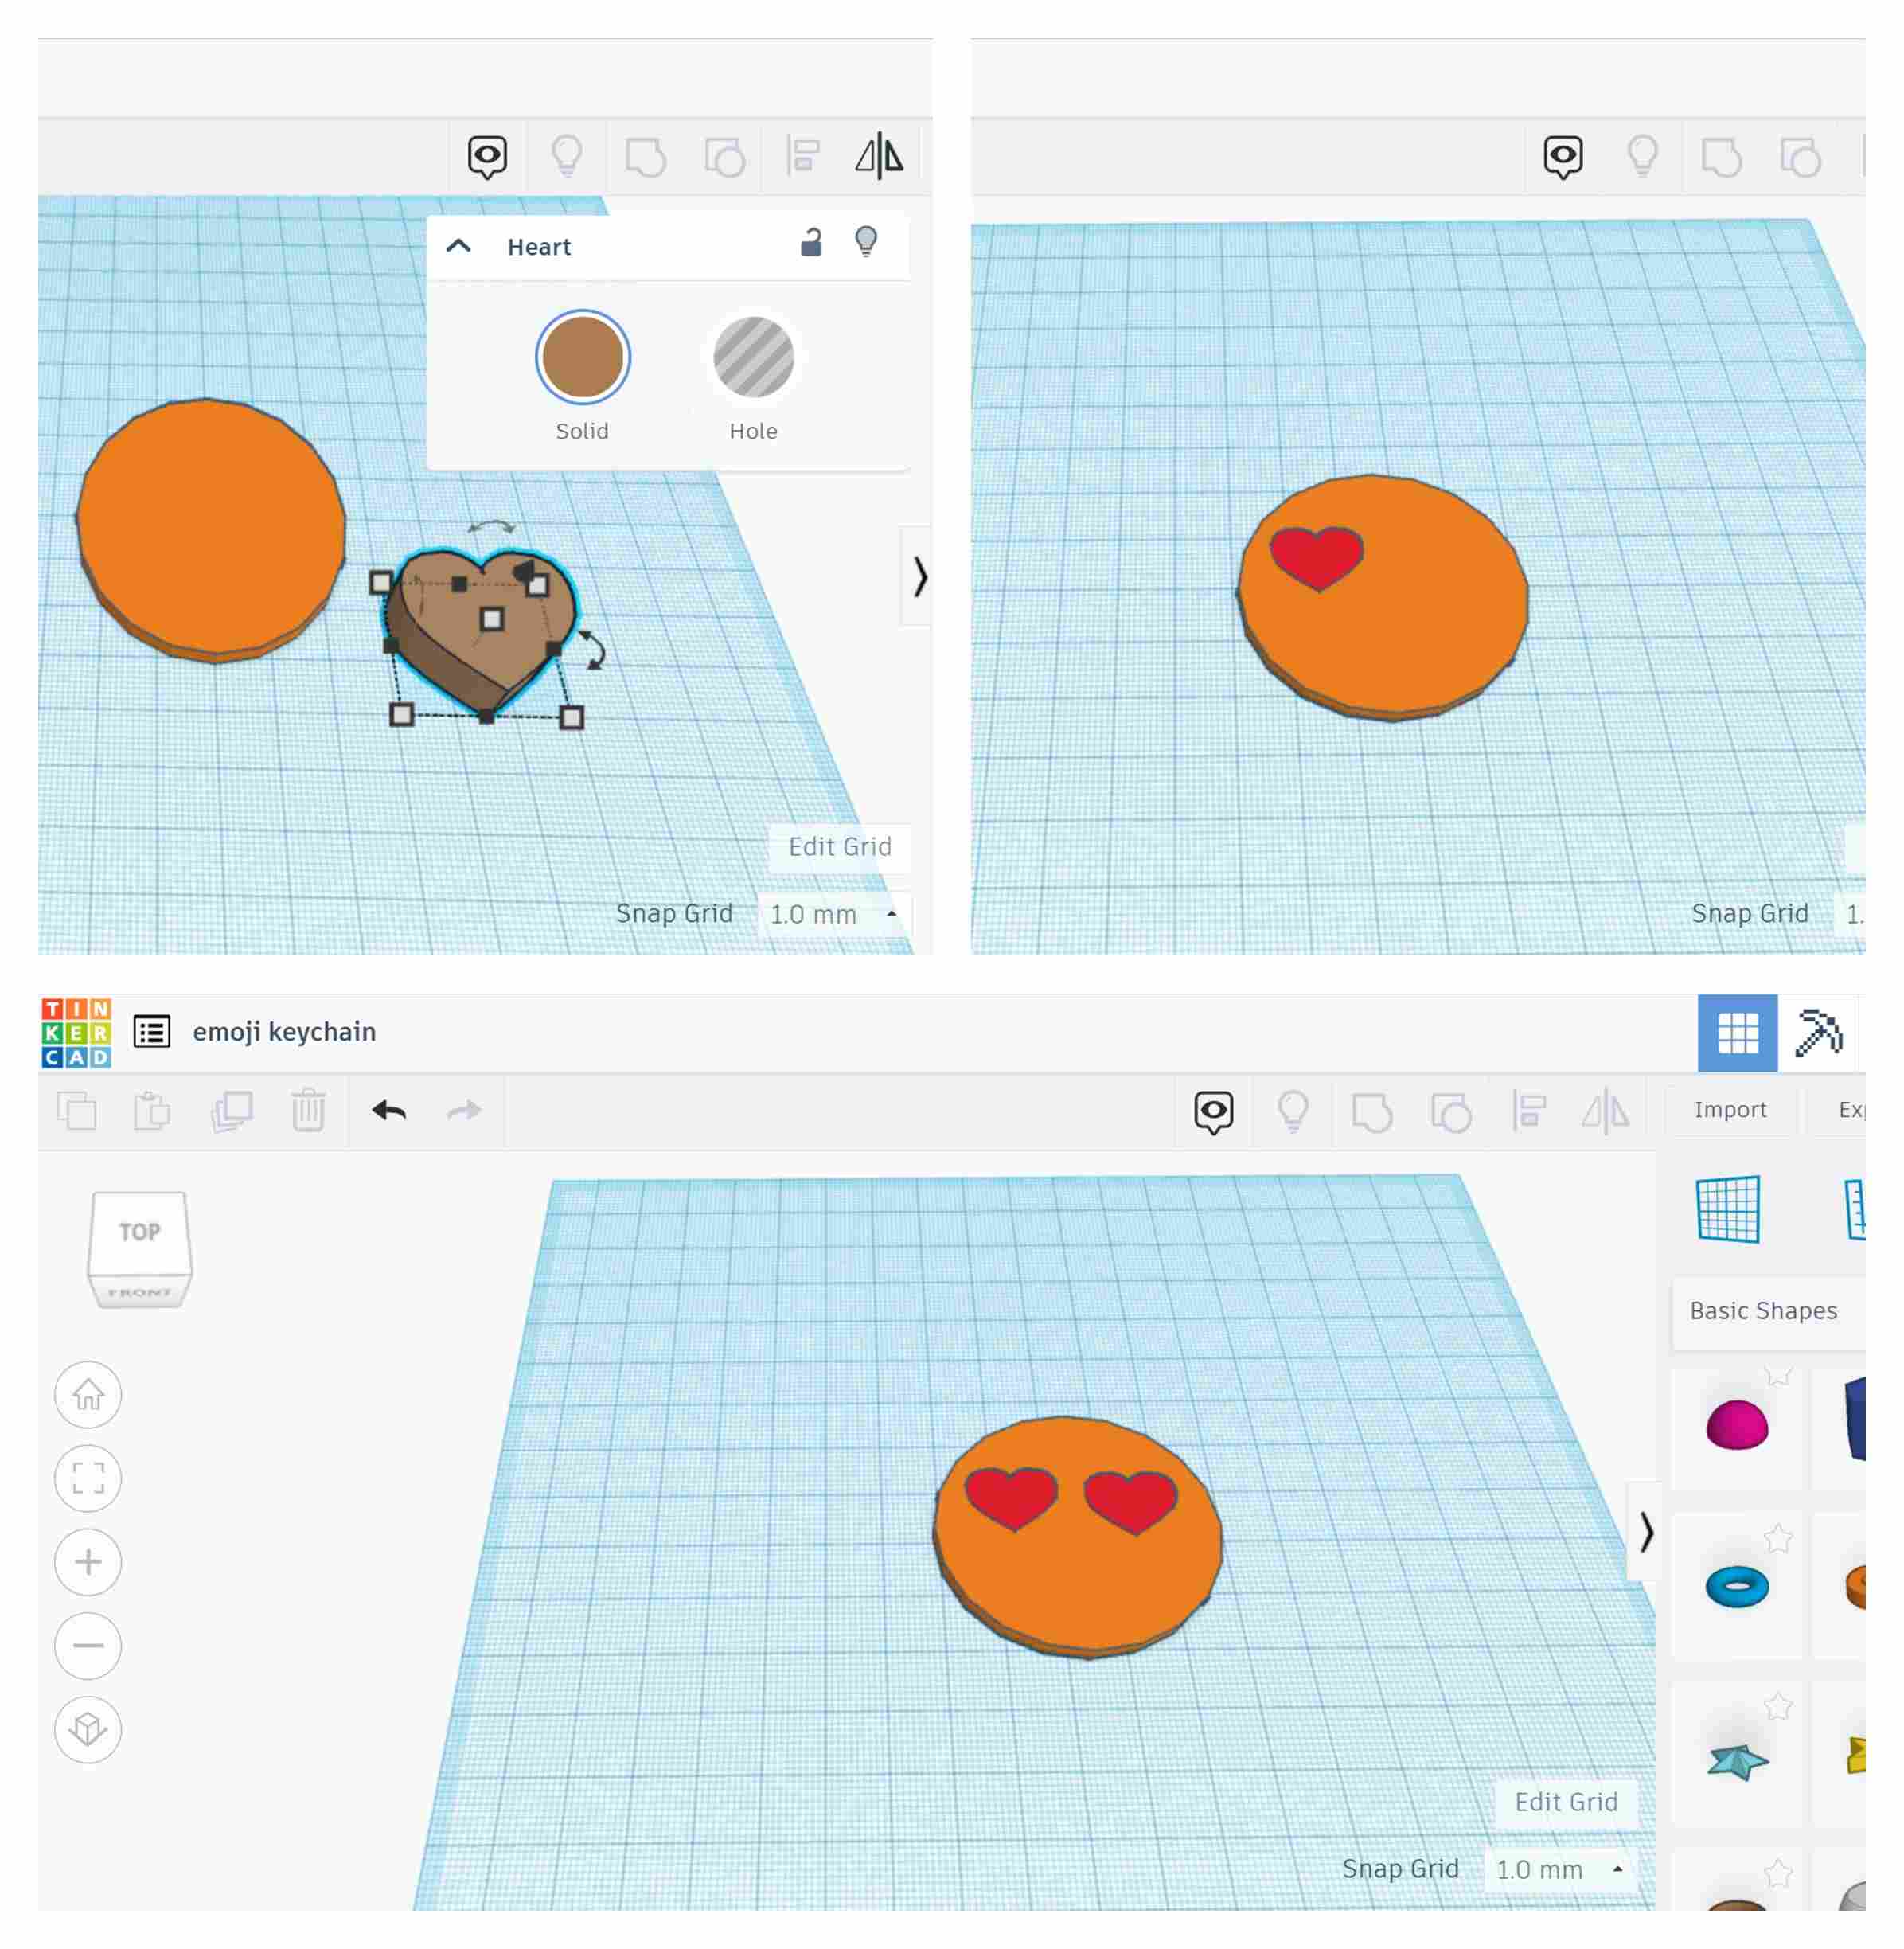
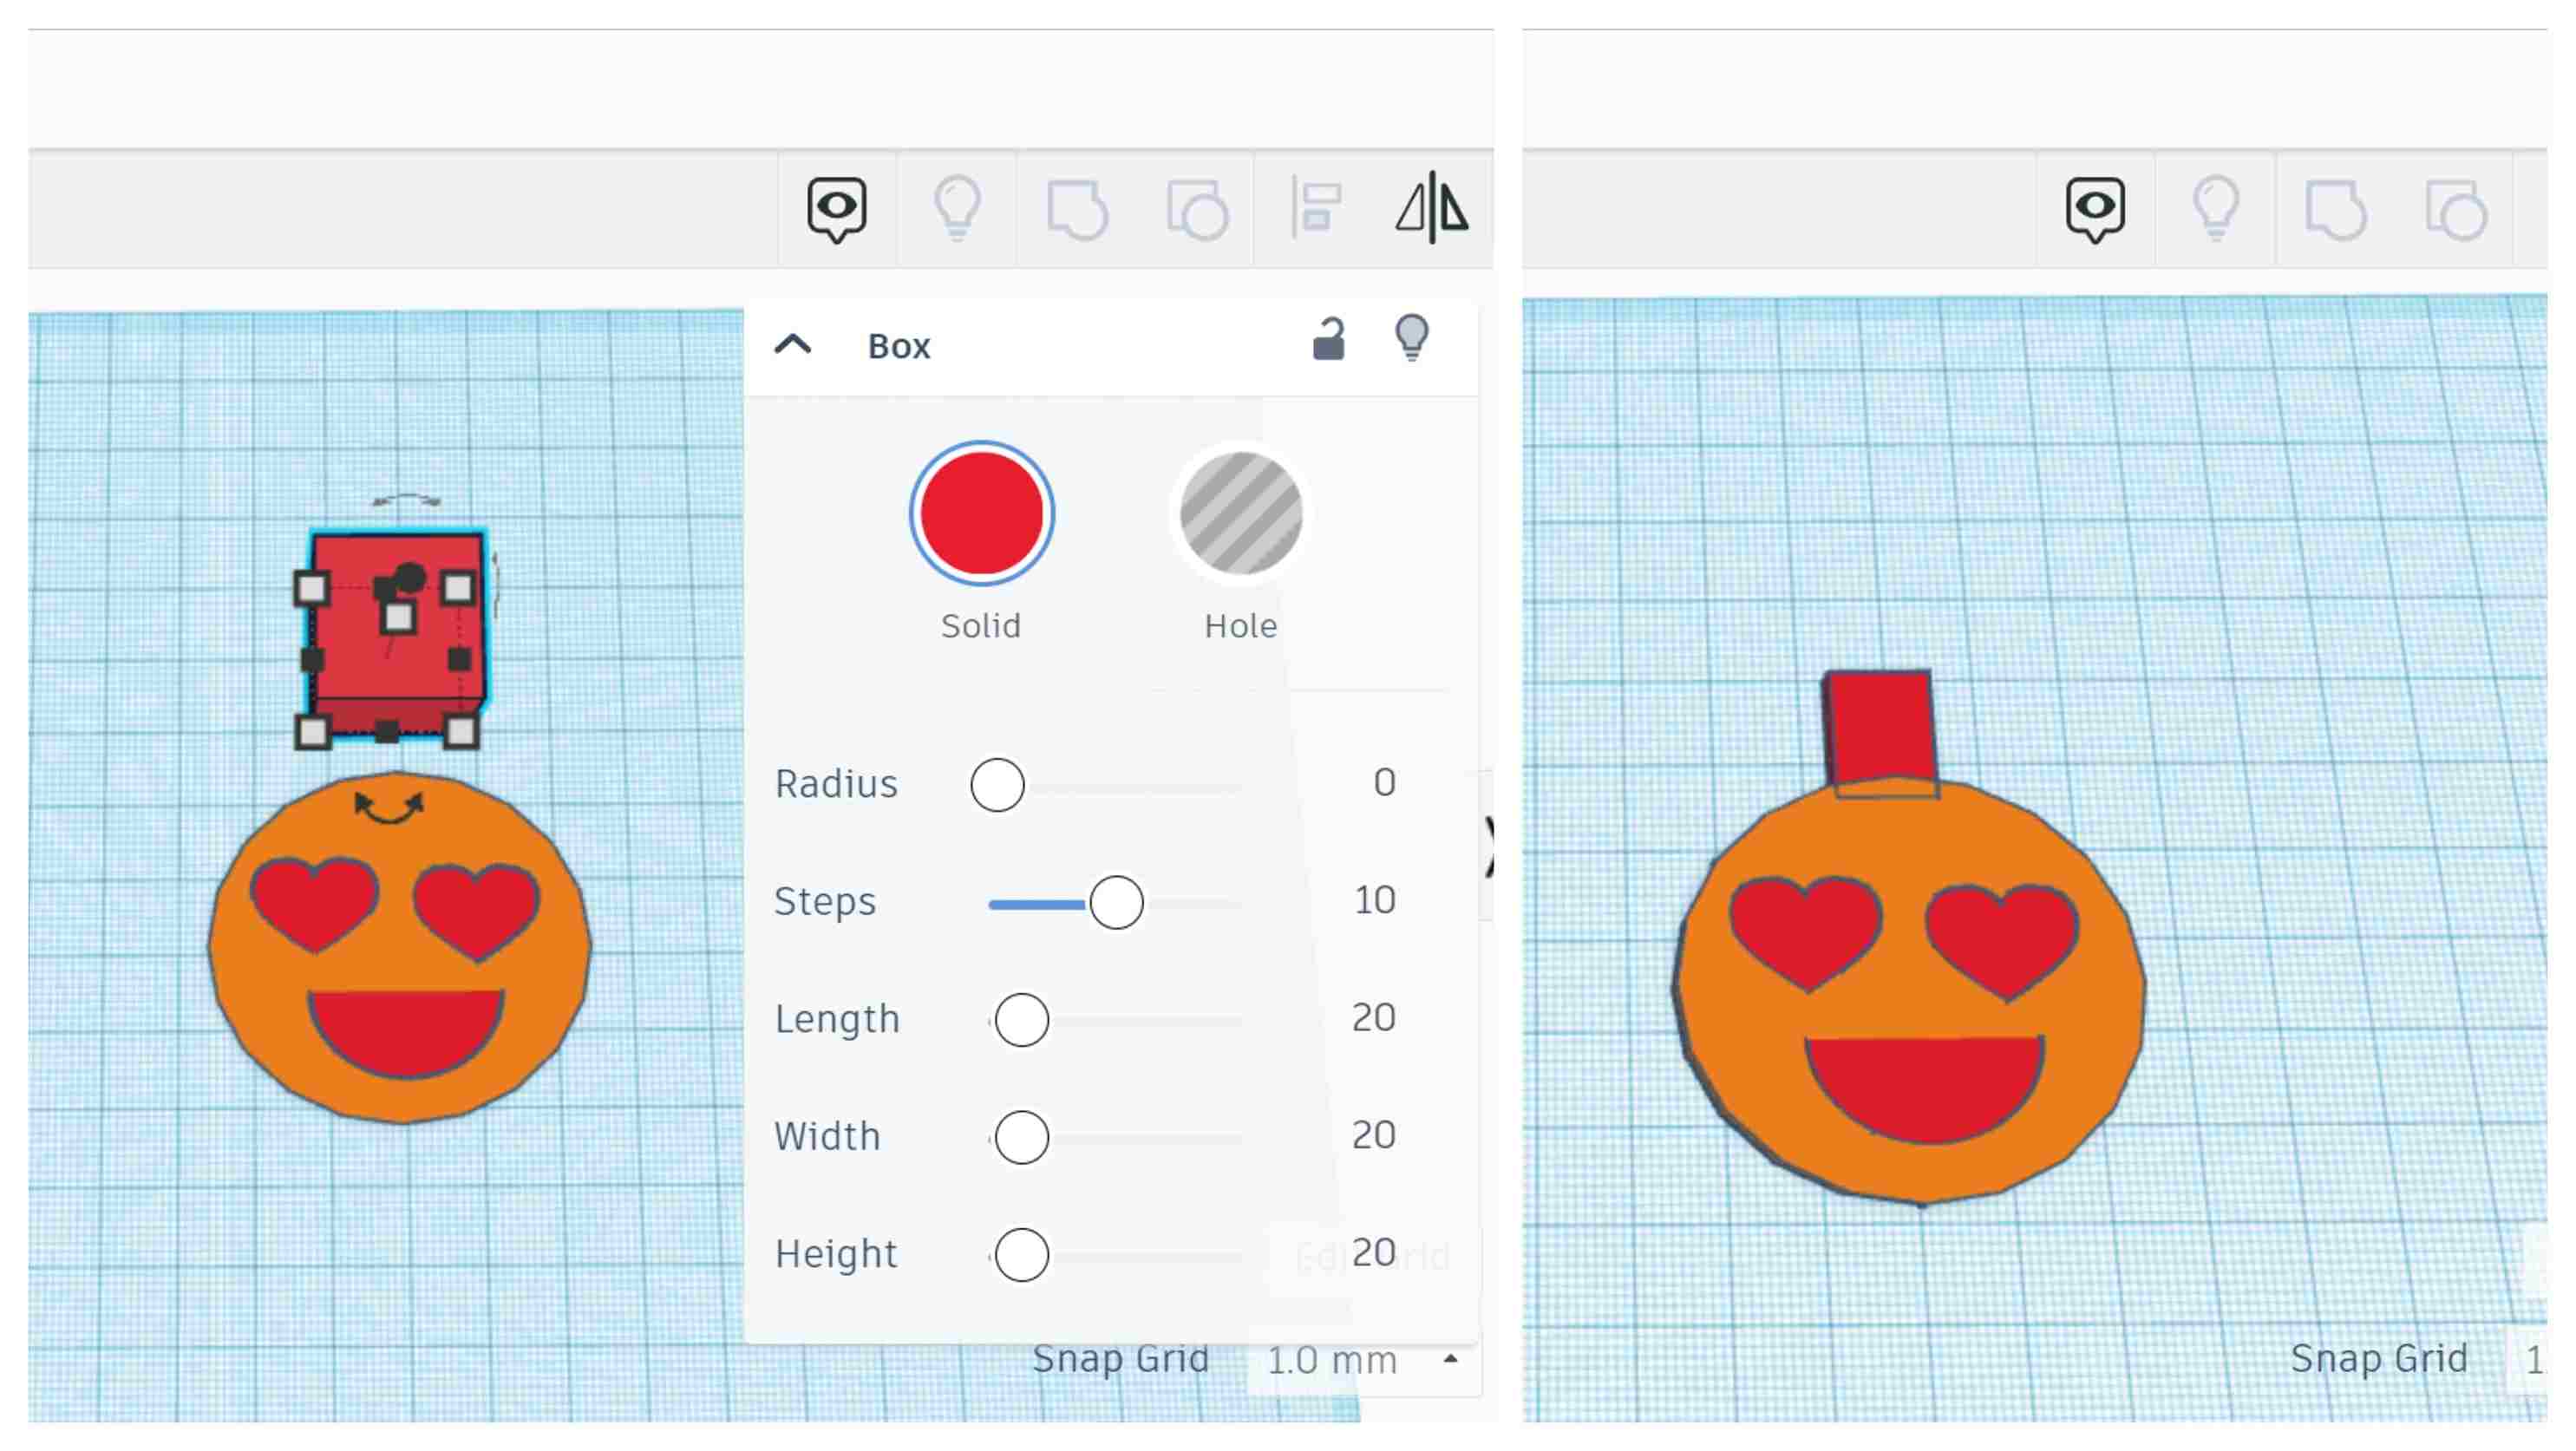
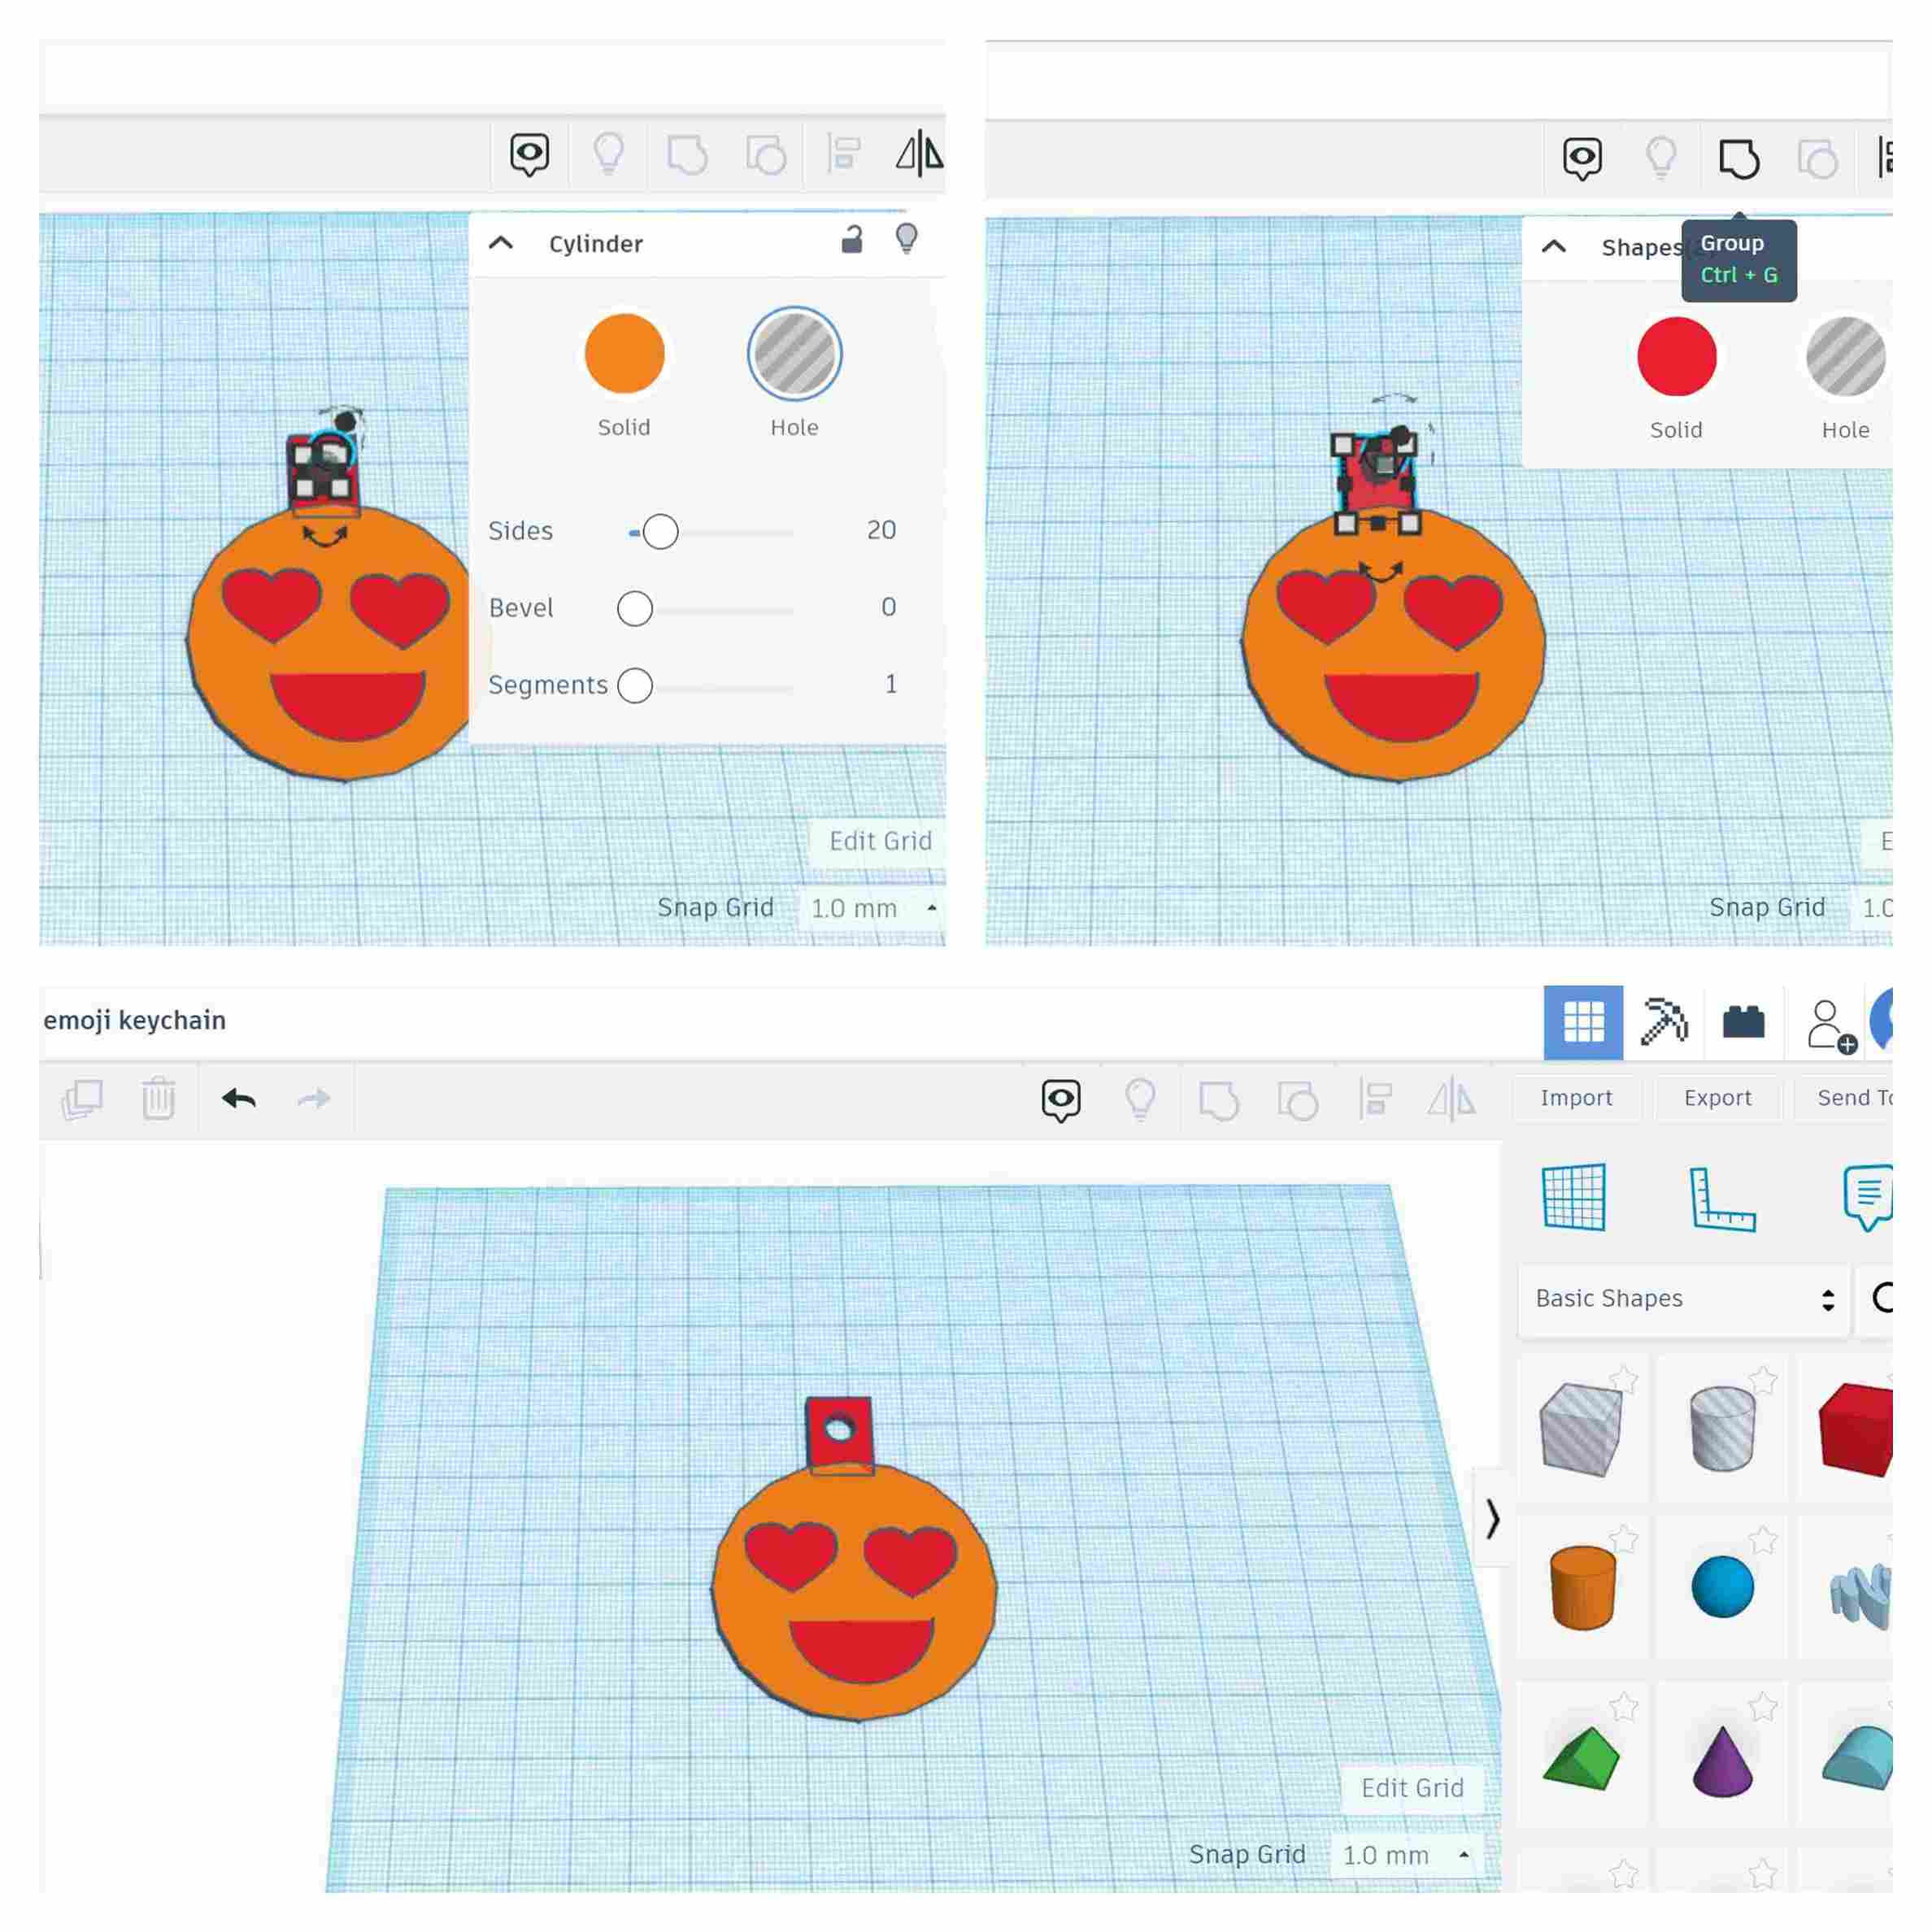
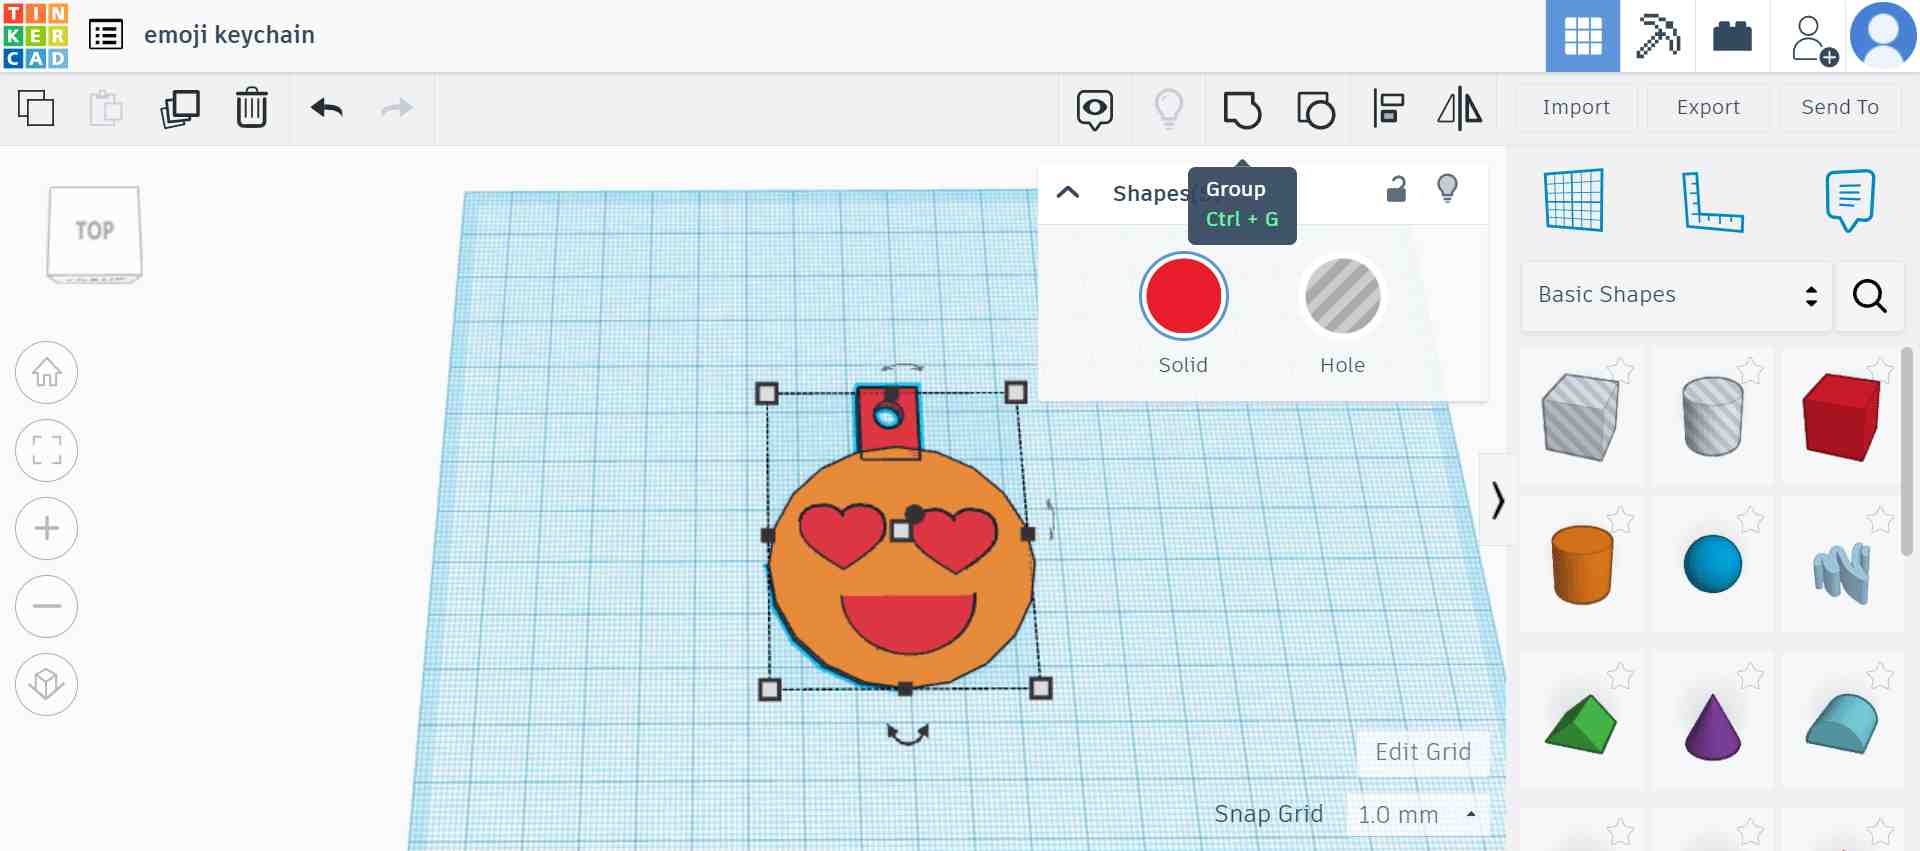
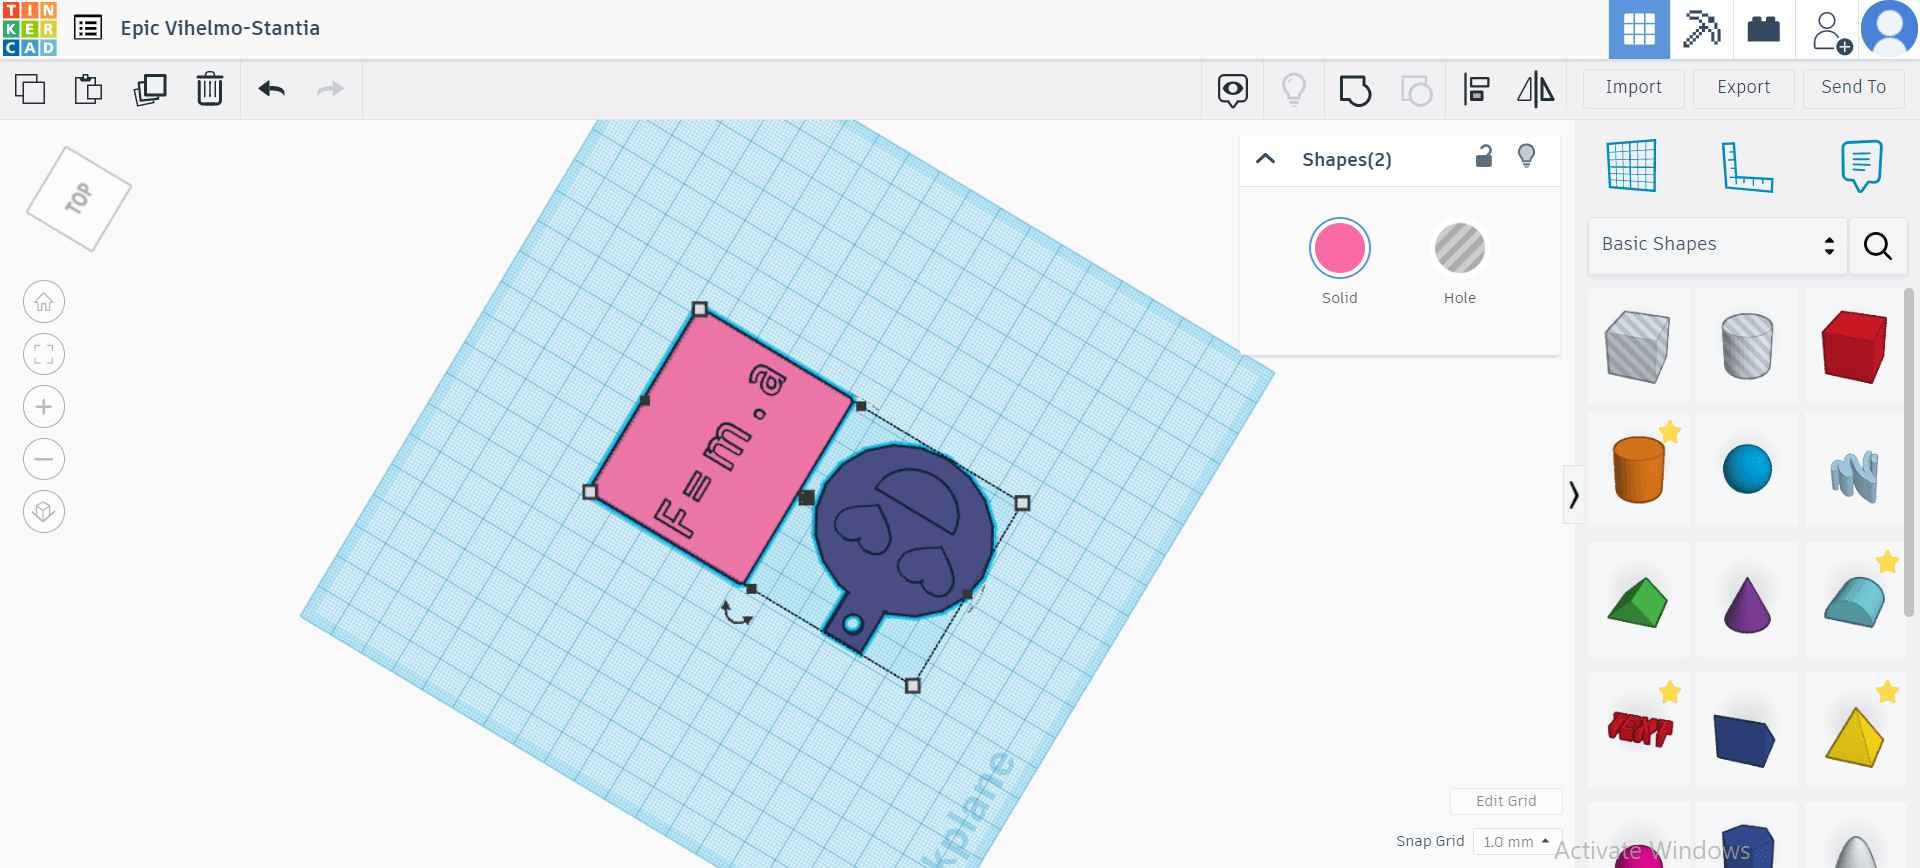
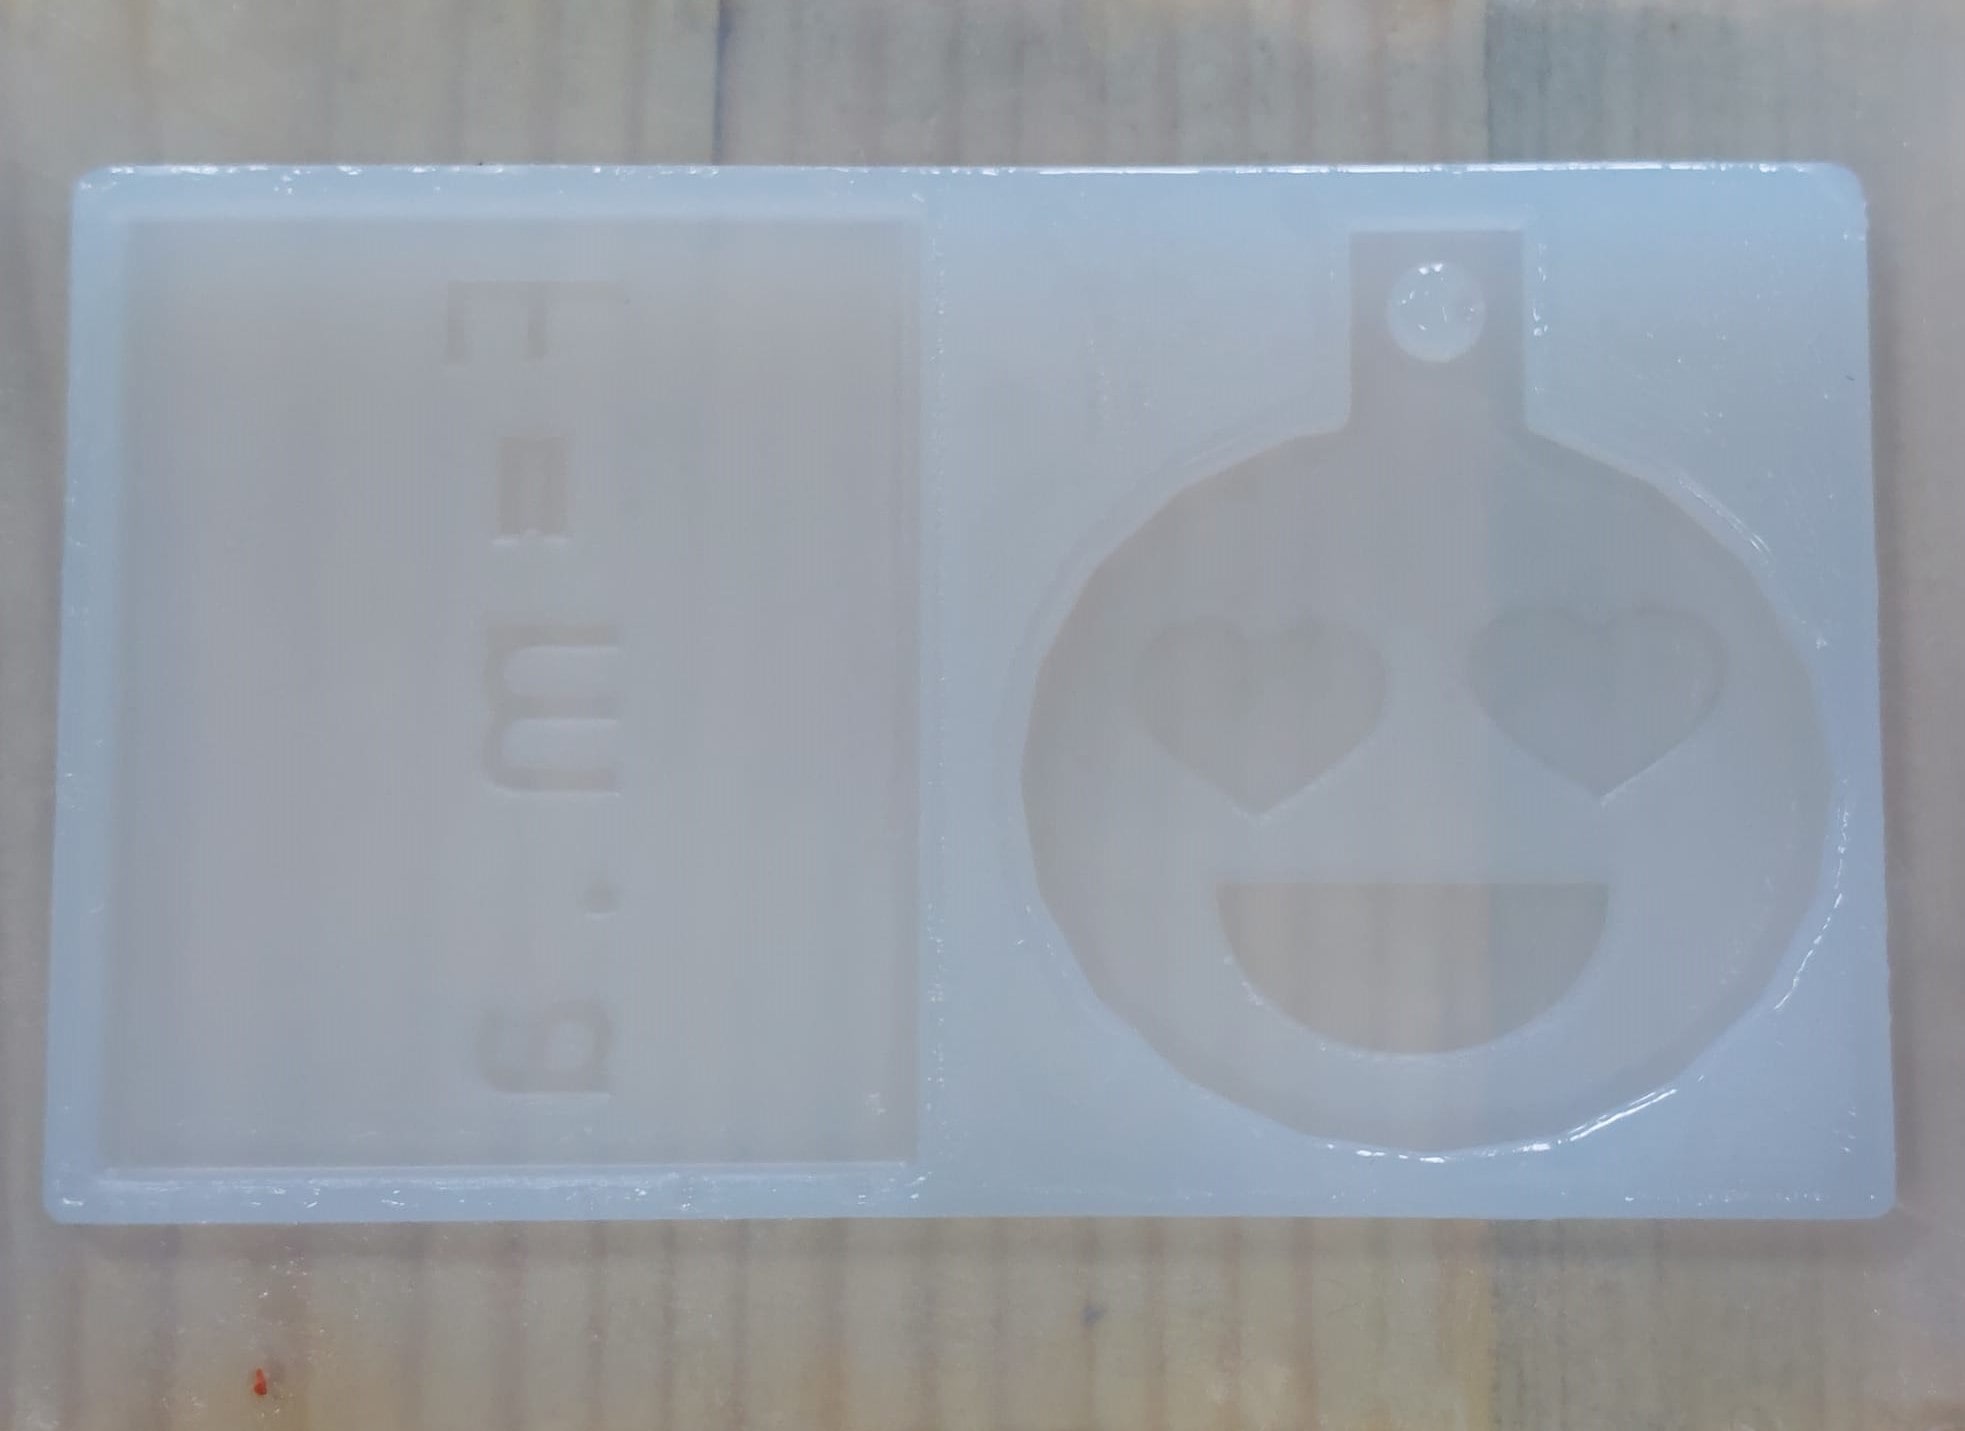
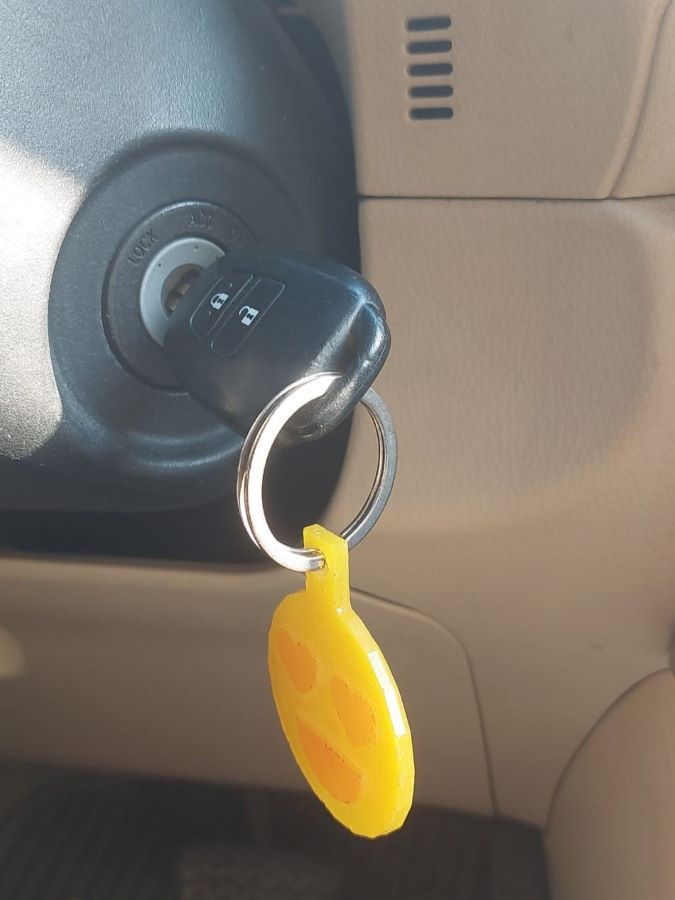
I decided to make a keychain and started looking for ideas. On thingiverse, I came across this emoji keychain and started creating it on Tinkercad. This design was really simple and easy to create!


Original stl file download link
Milling process
We used Machinable Wax for the milling process, where the objects were going to be milled and then later moulded and casted with different materials.
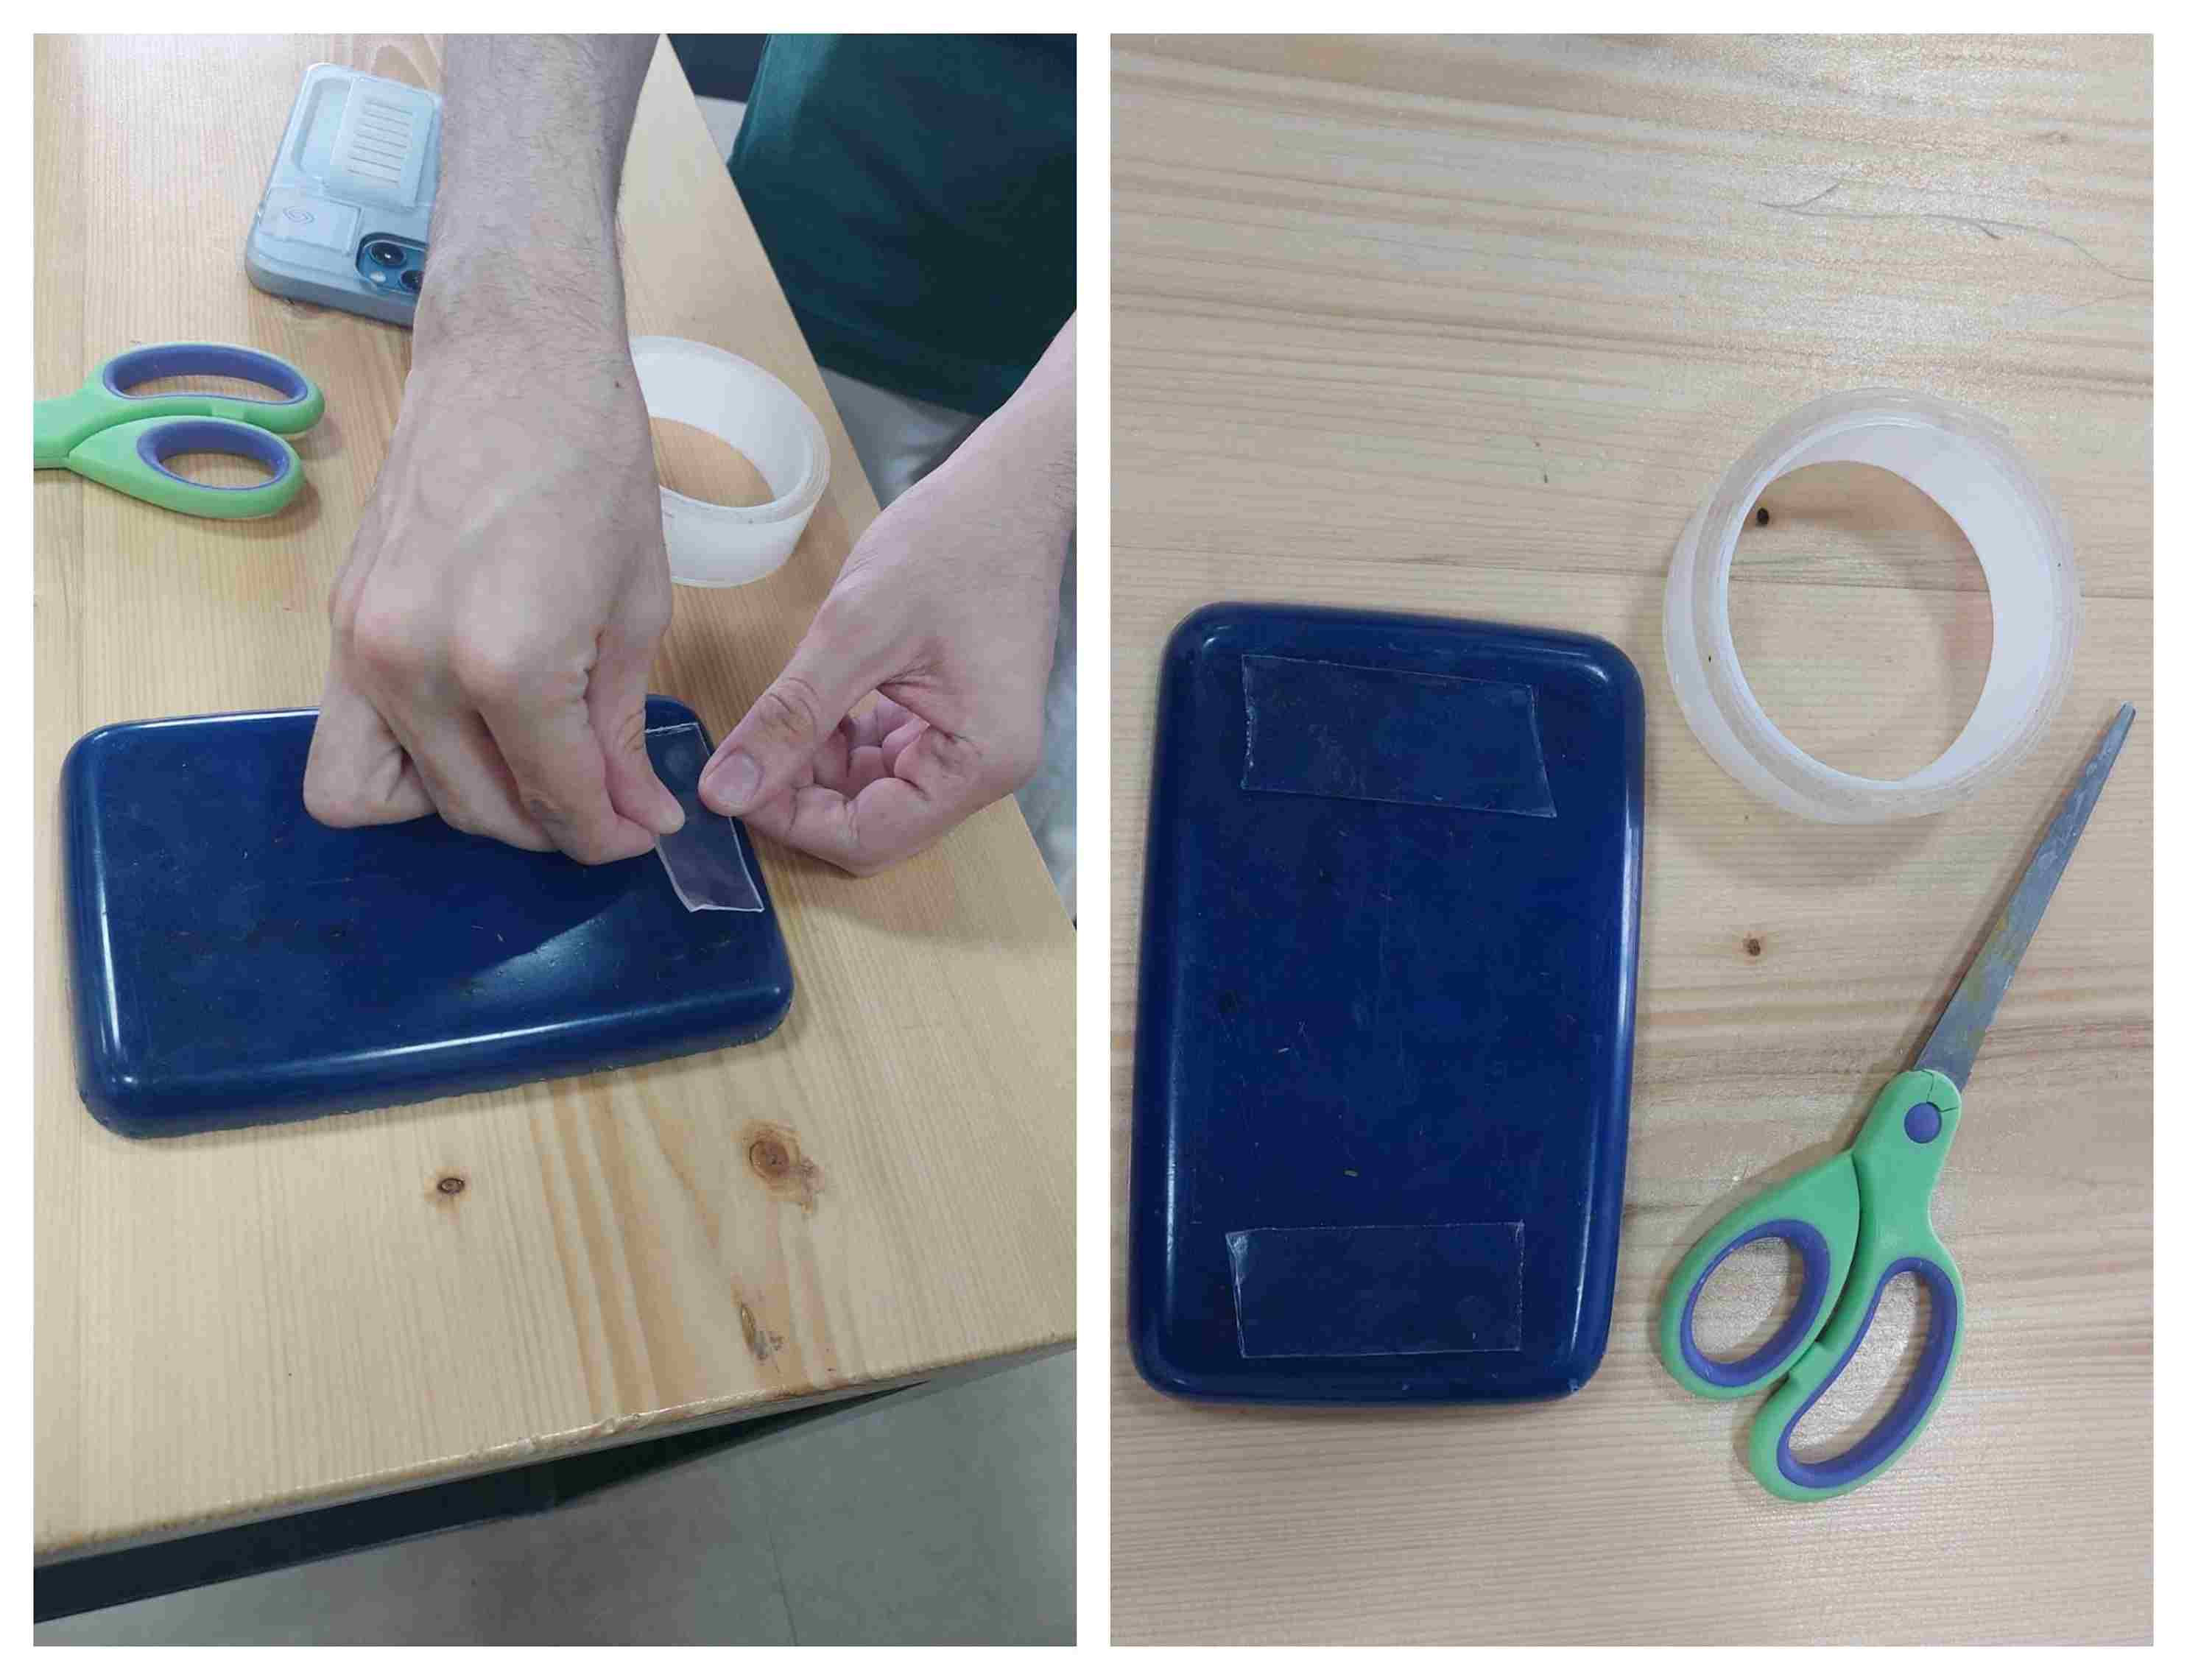
First of all, we used double-sided tape to adhere the wax to a machine.
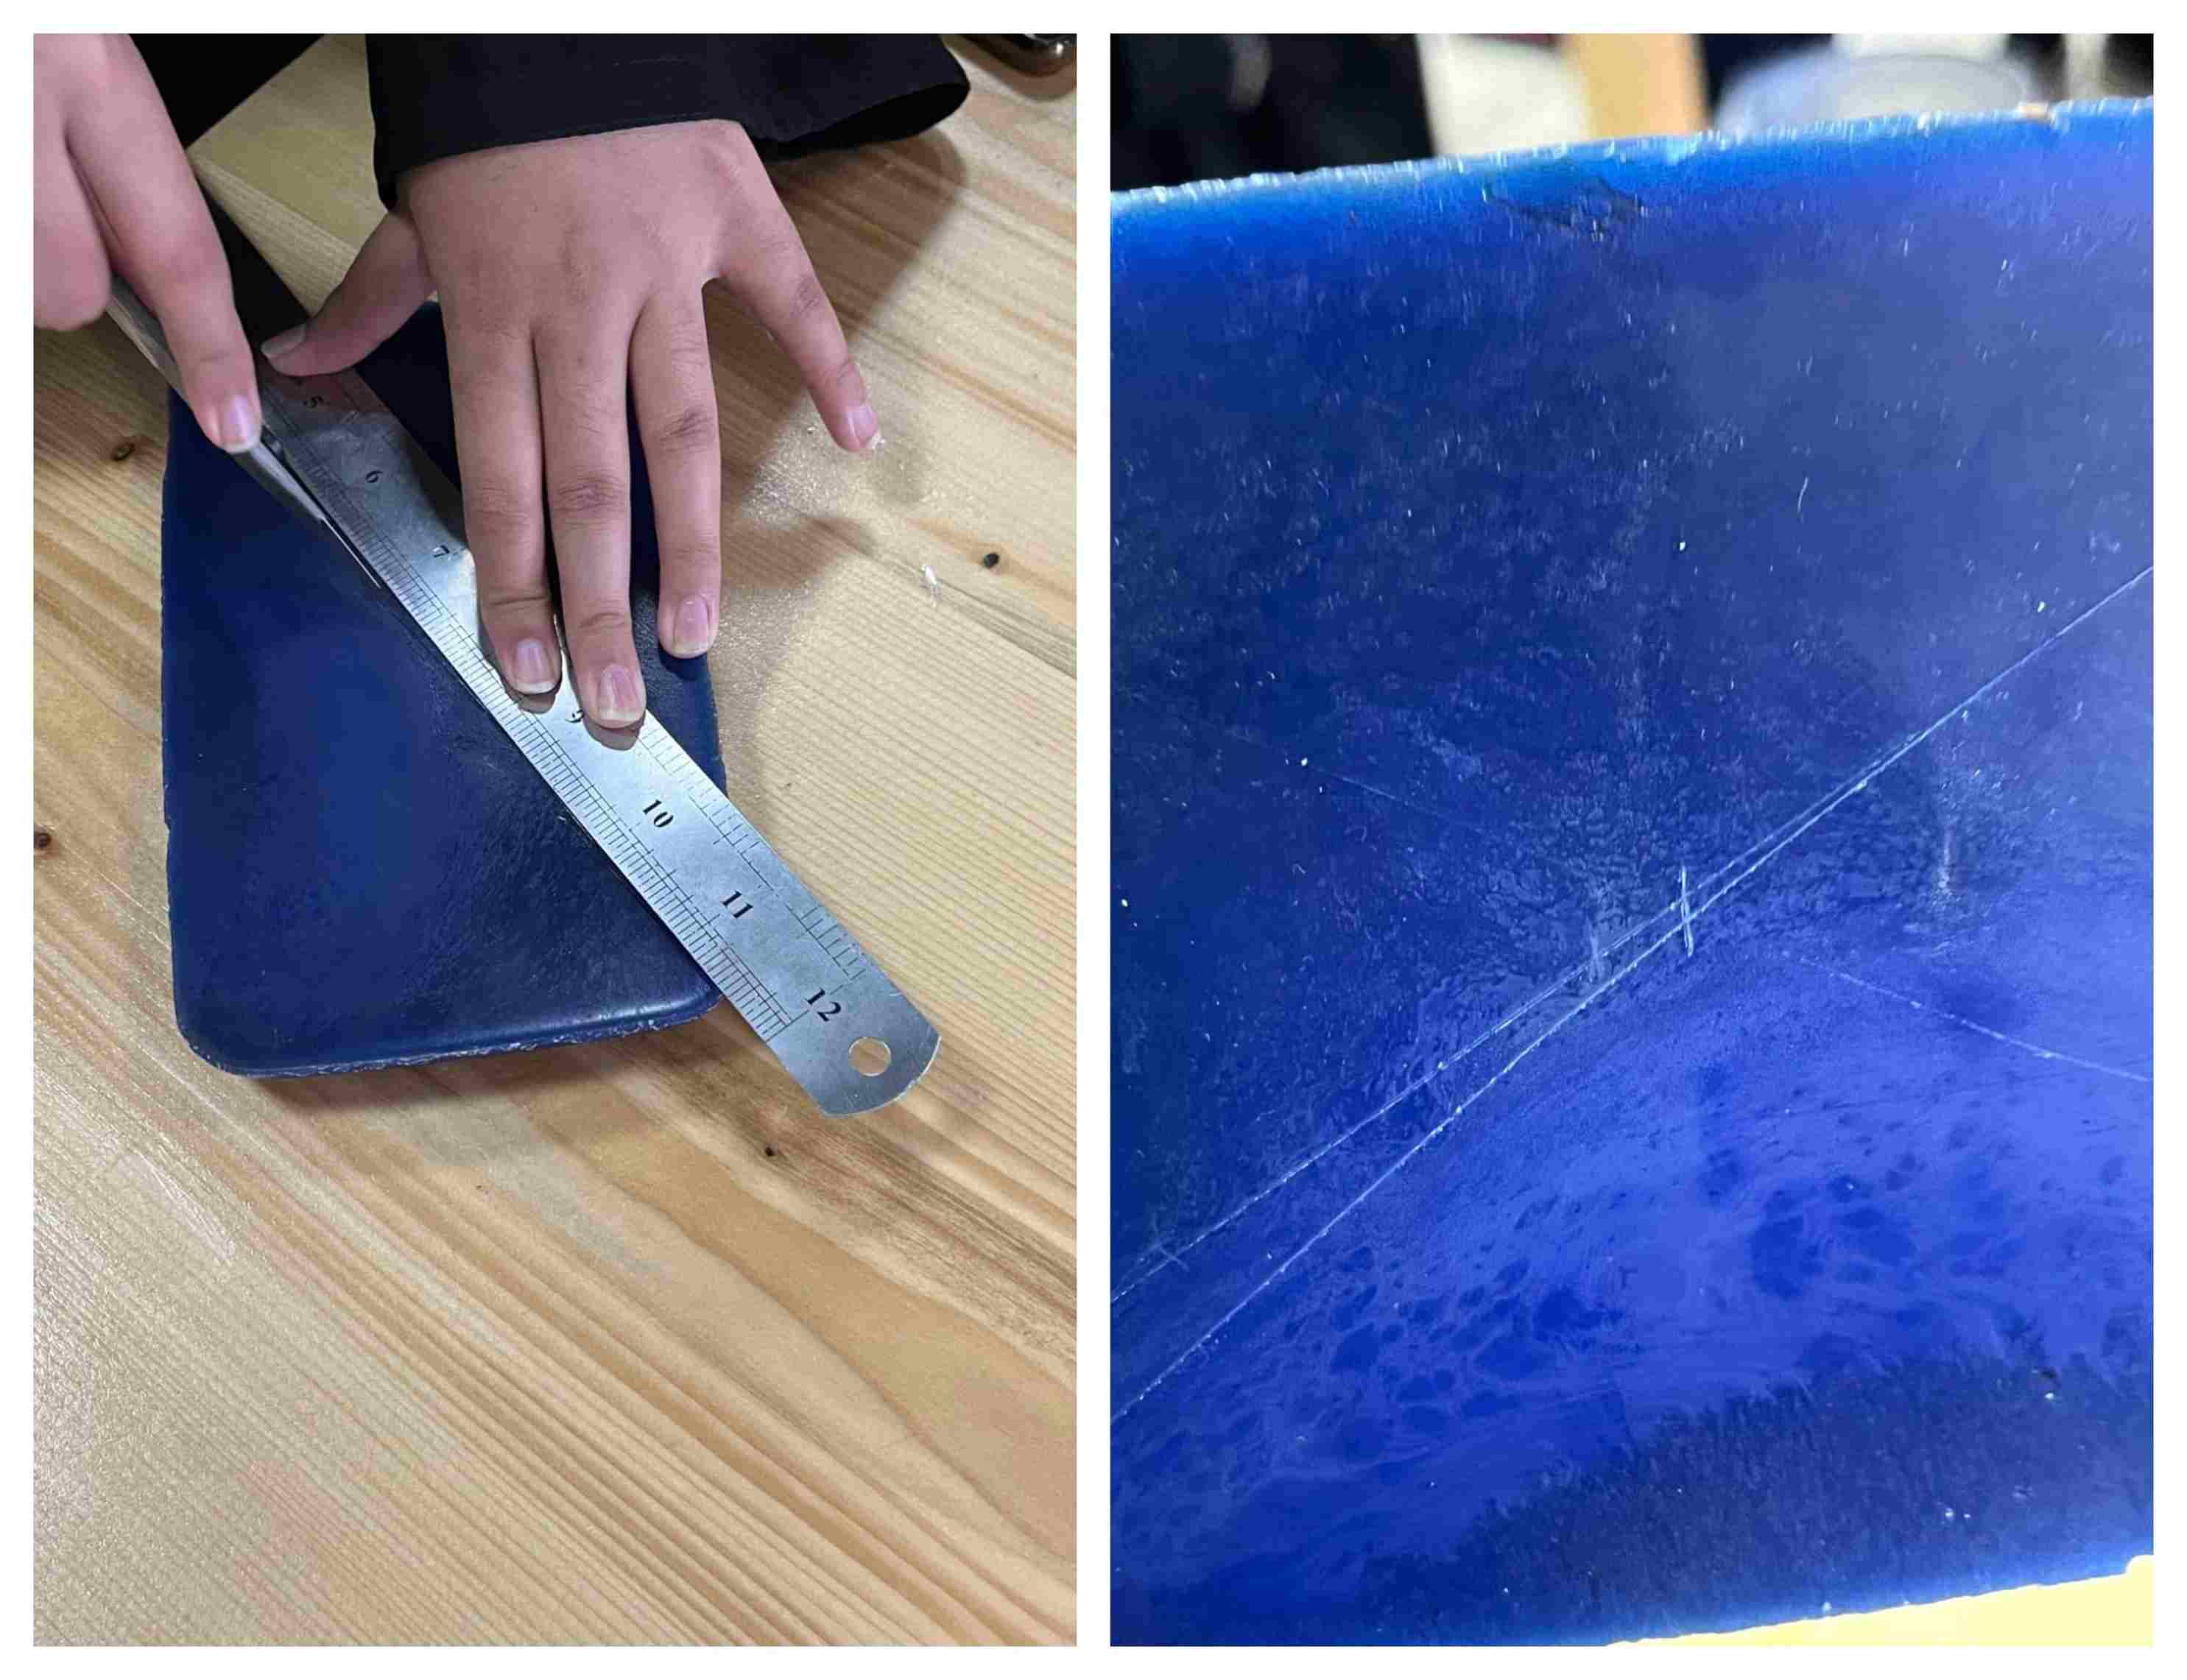
Then, we marked the middle of a wax in order to know the origin point, which was also set in the software settings later on. This origin point was the starting point for the machine to start milling.
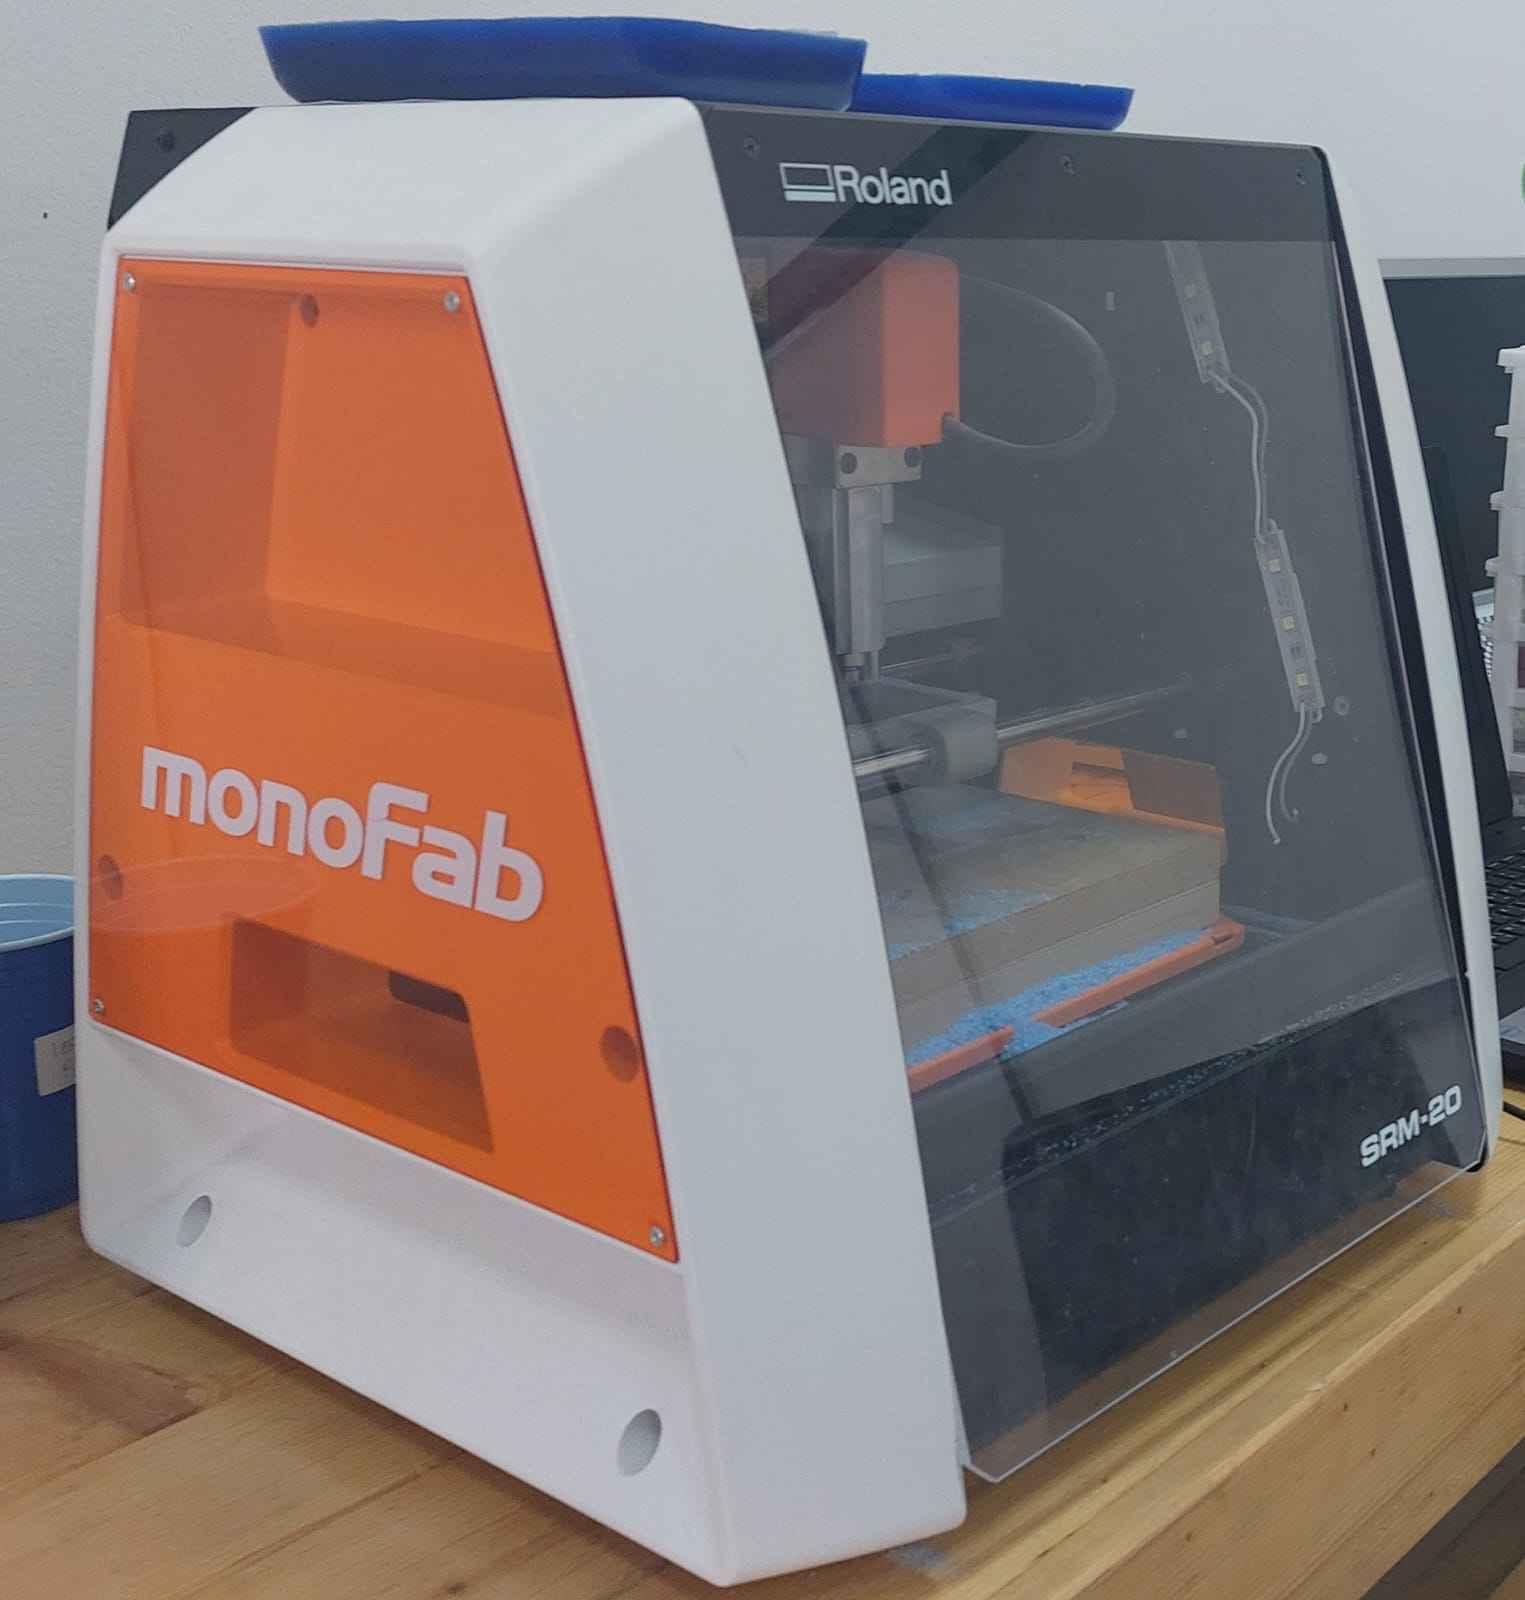
The Roland SRM-20 MonoFab machine was used for milling.
The Roland SRM-20 MonoFab Desktop Subtractive Rapid Prototyping (SRP) system is capable of 3D milling, 2D Milling, and Engraving. The SRM-20 is ideal for a variety of product designs tasks, including model making, rapid prototyping, and small lot production. A wide range of materials, including modelling wax, chemical wood, foam, acrylic, poly acetate, ABS and PC board can be precision milled using the SRM-20 small milling machine.
To save time and to better utilize wax, me and my colleague put our designs together. First of all, we imported our objects together on Tinkercad to aligned and grouped them.
After that, we uploaded our model to SPR Player.
The Roland SRP Player CAM software is ideal for rapid prototyping and custom rapid manufacturing applications. Roland SRP Player was created specifically for designers and engineers to make SRP prototype parts quickly and easily in five easy steps using an easy to follow, intuitive workflow. SRP Player accepts a wide range of file formats including industry standard .stl. As a result, it produces superior parts with smooth surfaces and accurate, tight-fit precision.
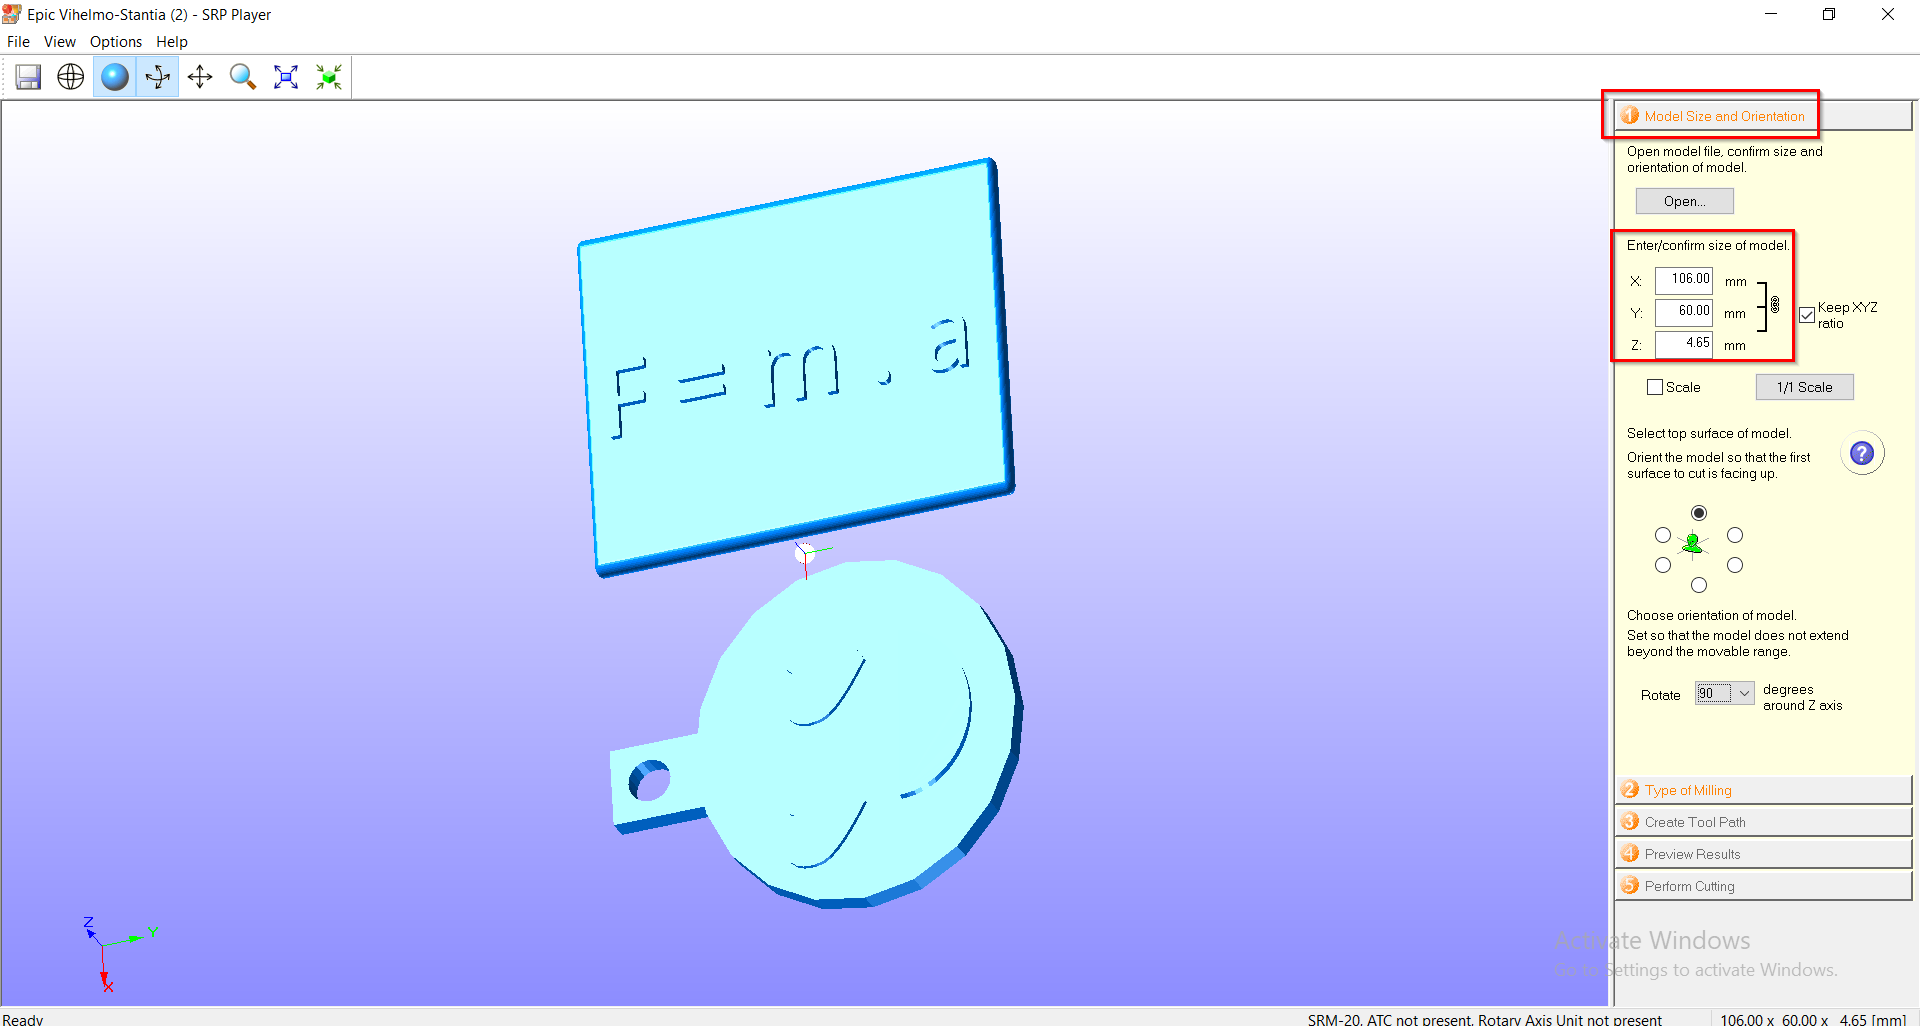
In SPR player, the first step was to set the dimensions of our model.
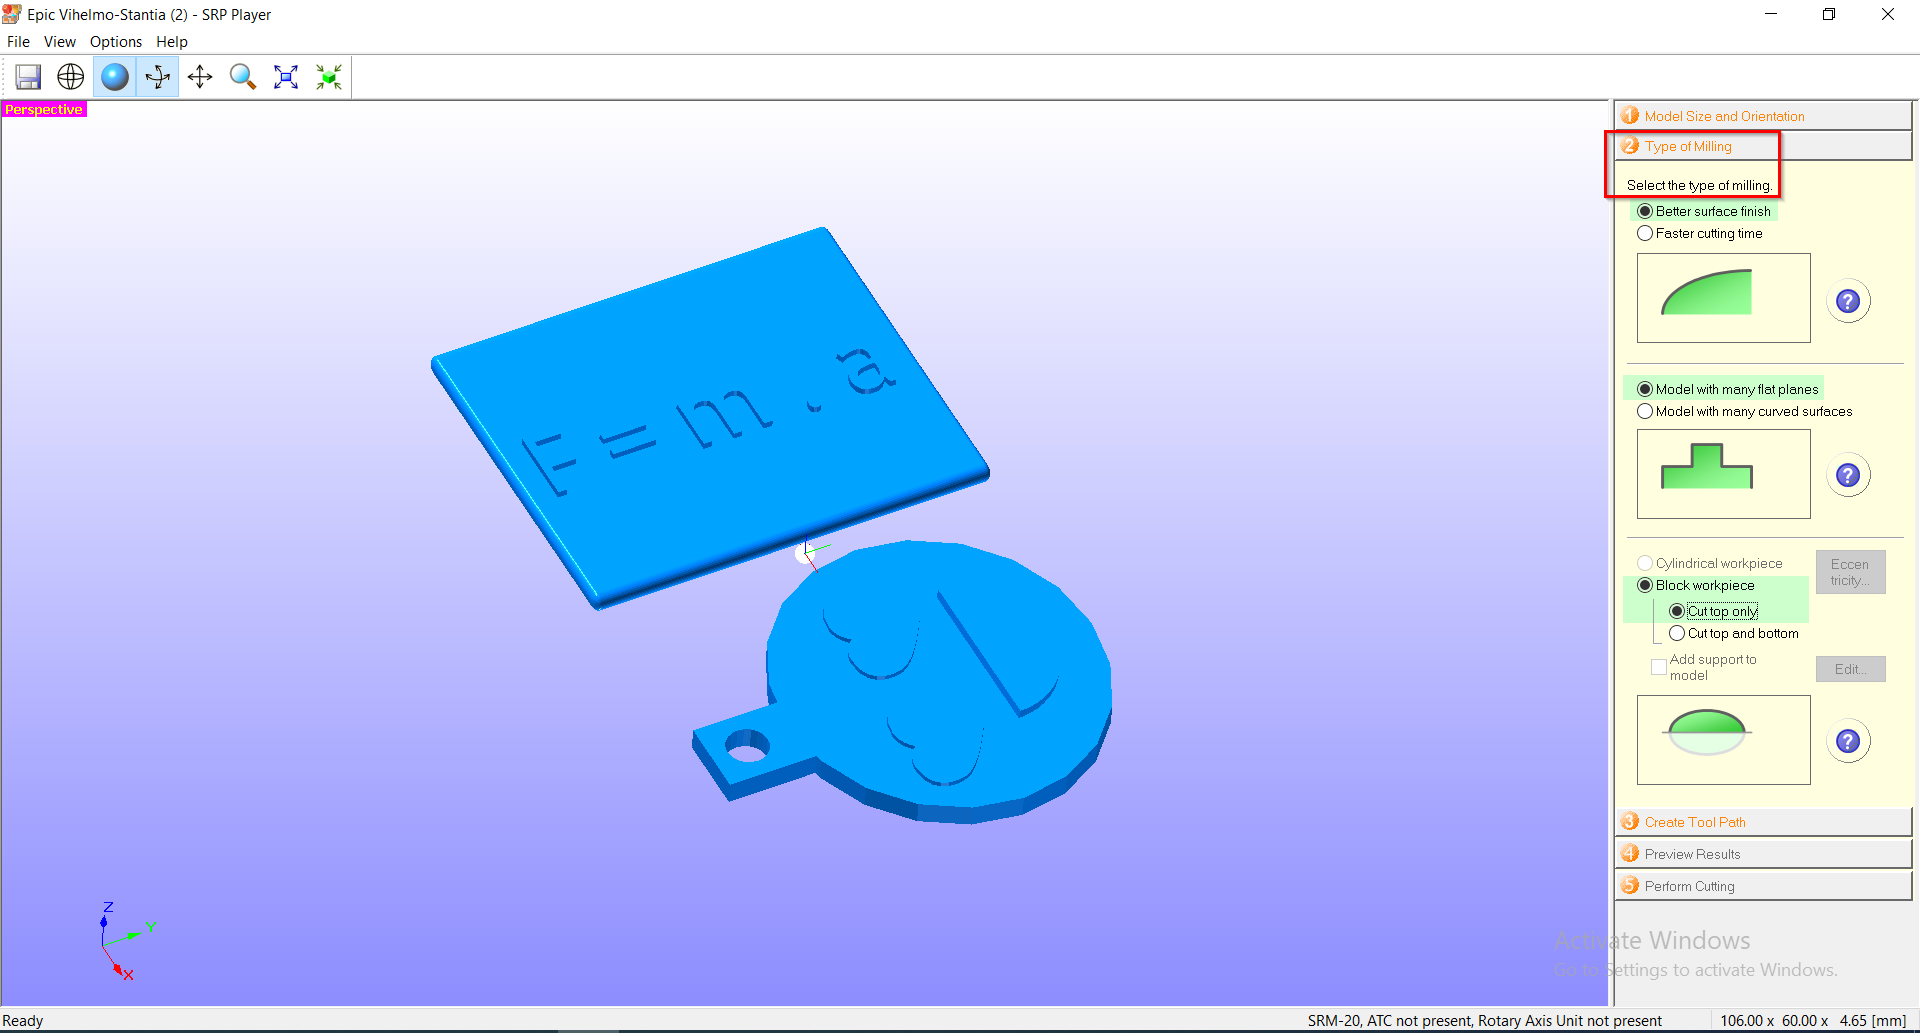
The second step was to select the type of milling. We chose a better surface finish, a model with many flat planes, and a block work piece. In the block work piece, we chose to cut top only.
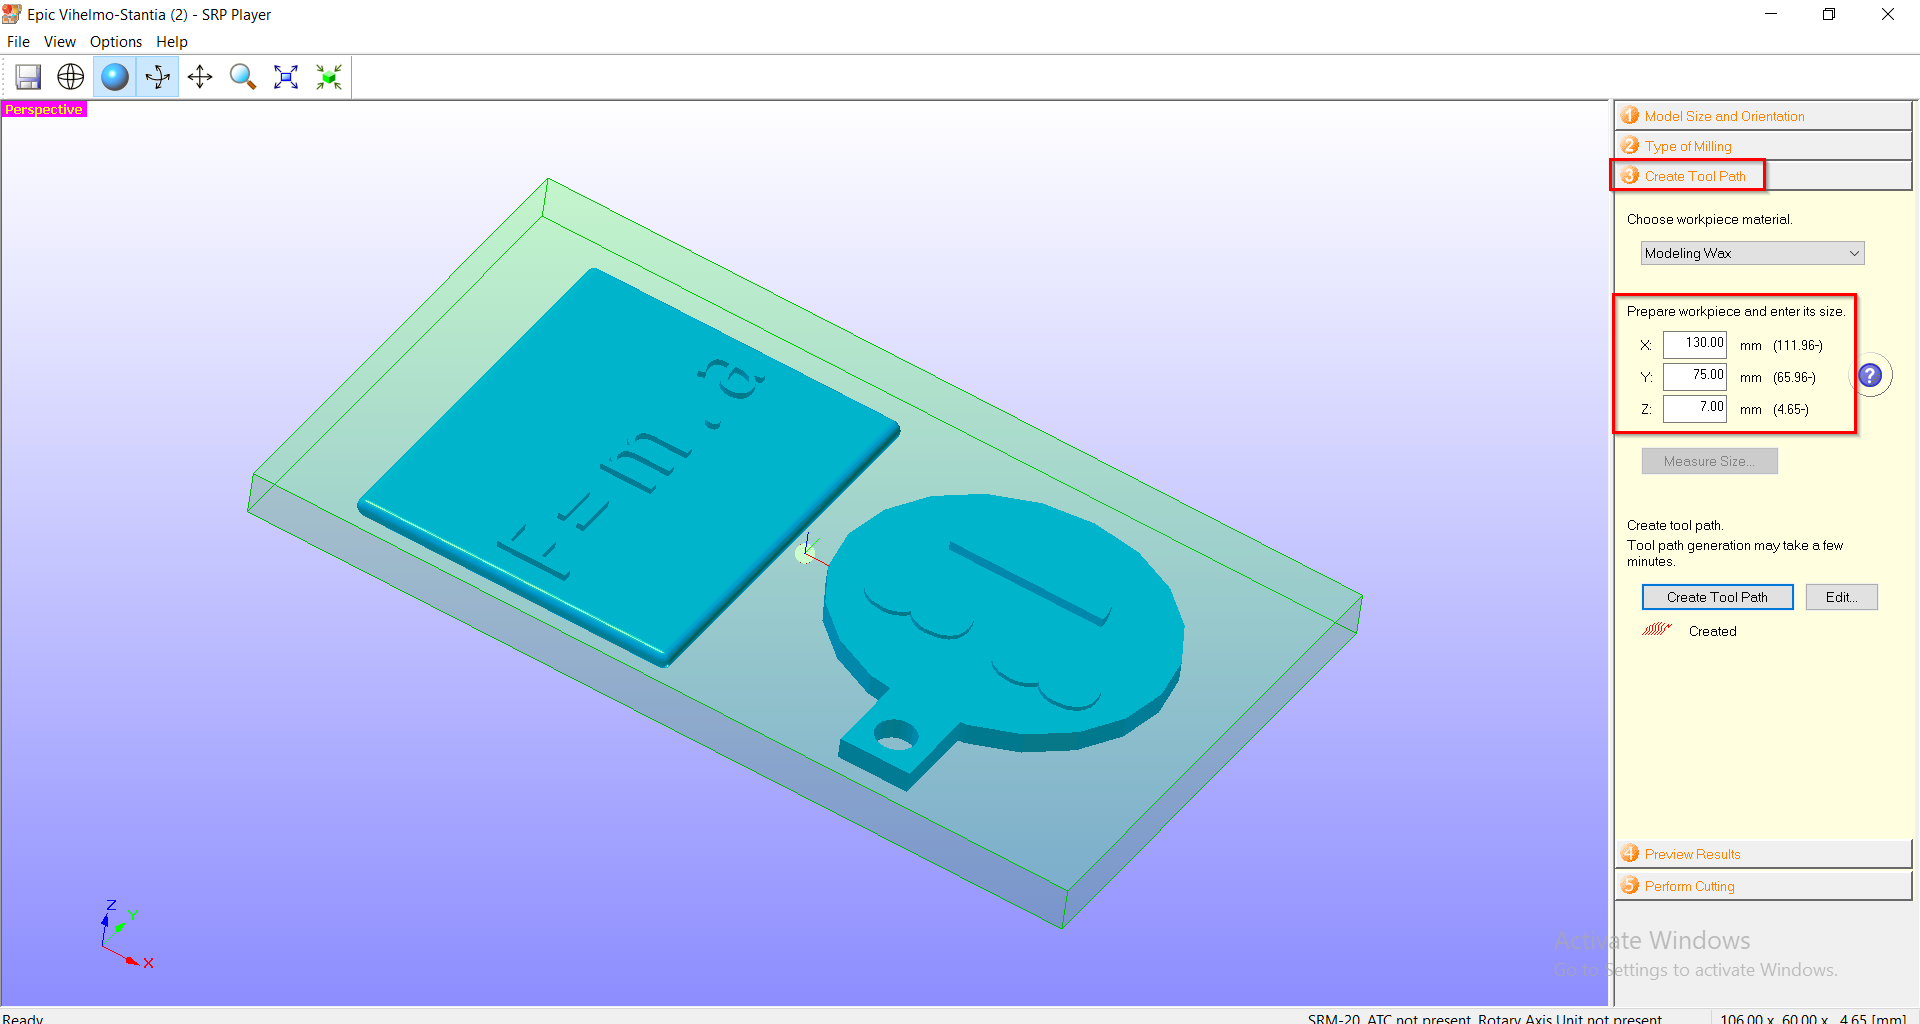
The third step was to create a tool path. We chose the dimensions of our work place material.
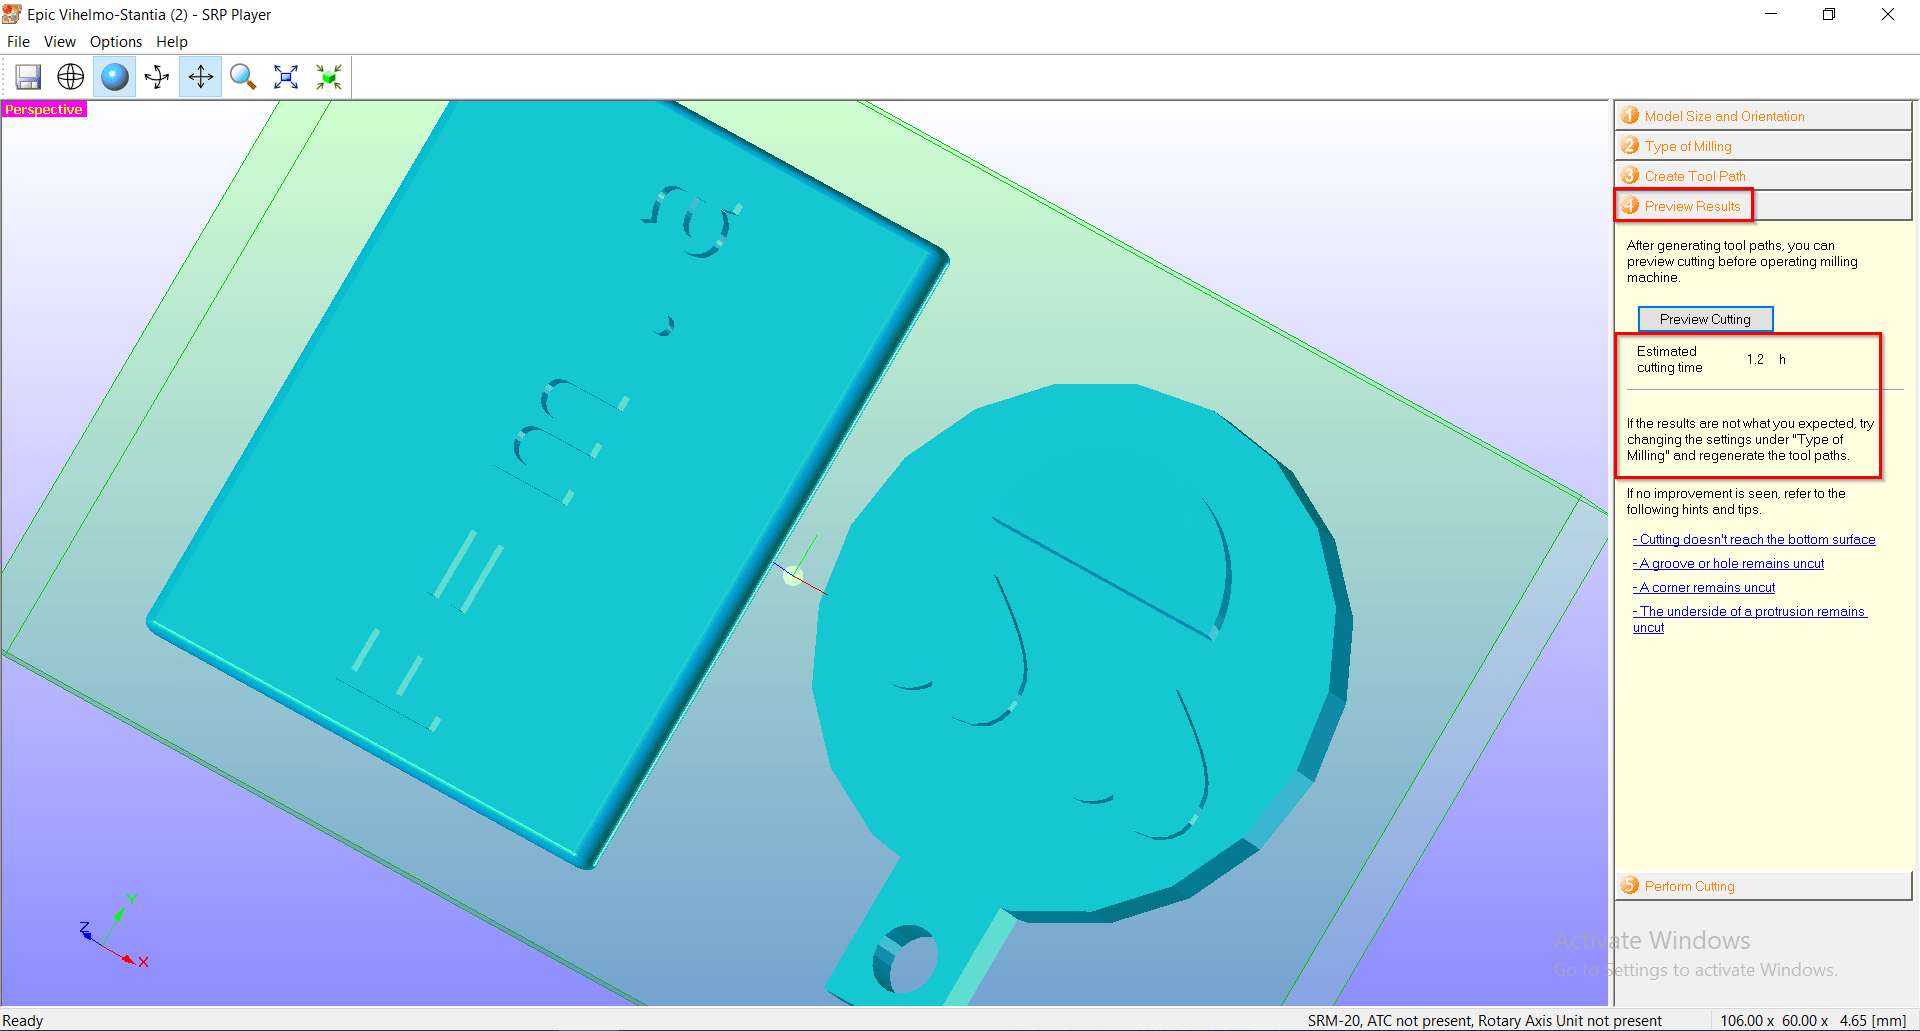
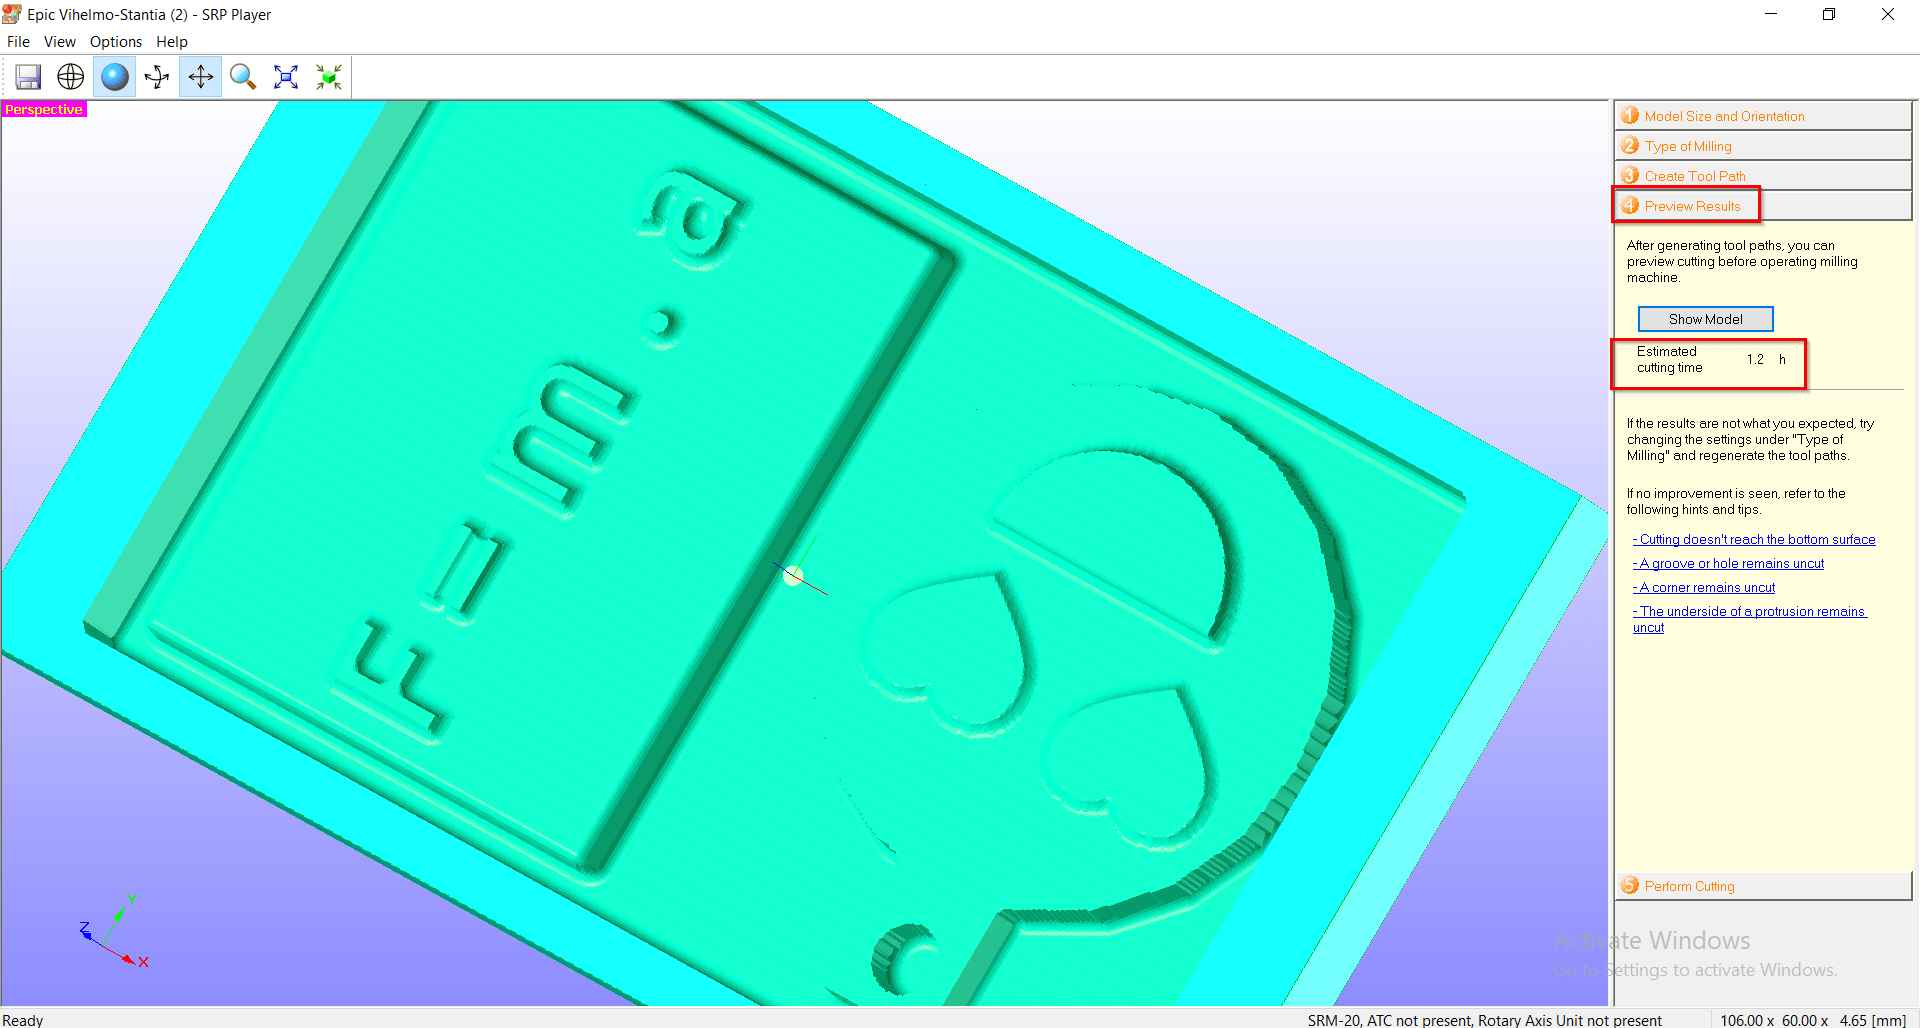
The fourth step was to preview the results. The results were not what we expected.
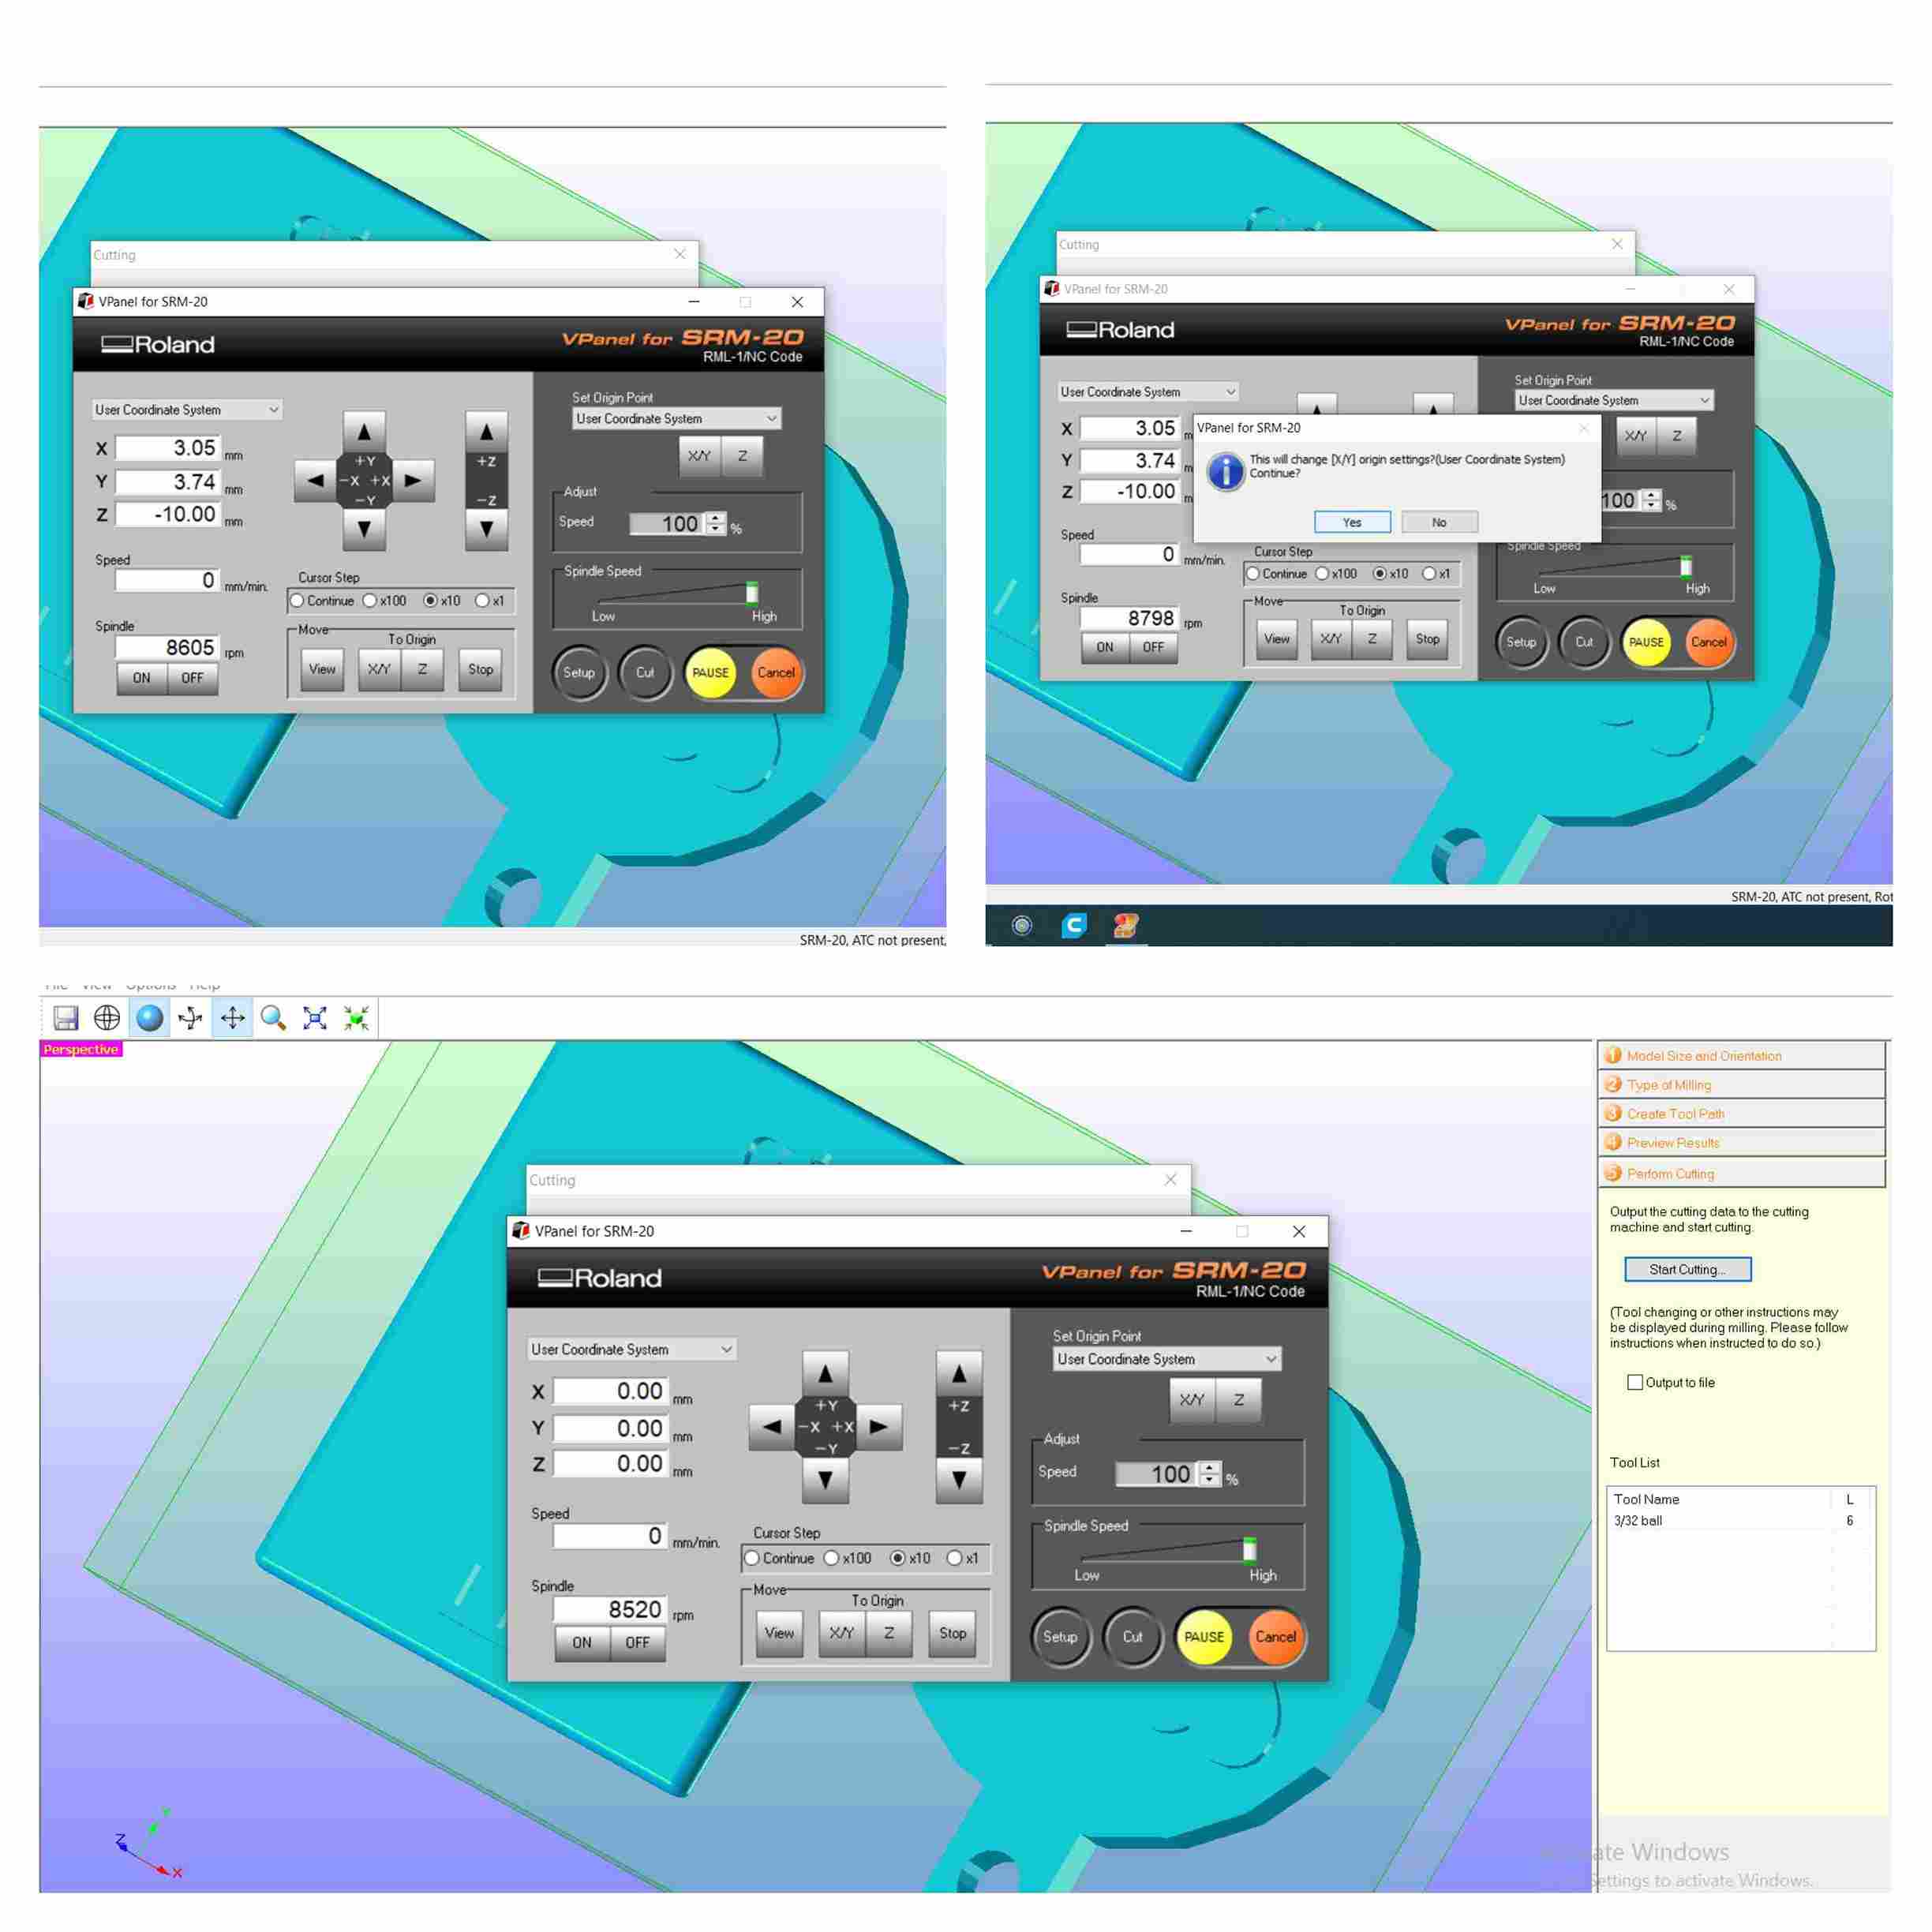
So, we tried changing the settings under the “tool path” option. We chose 3/32 ball tool.
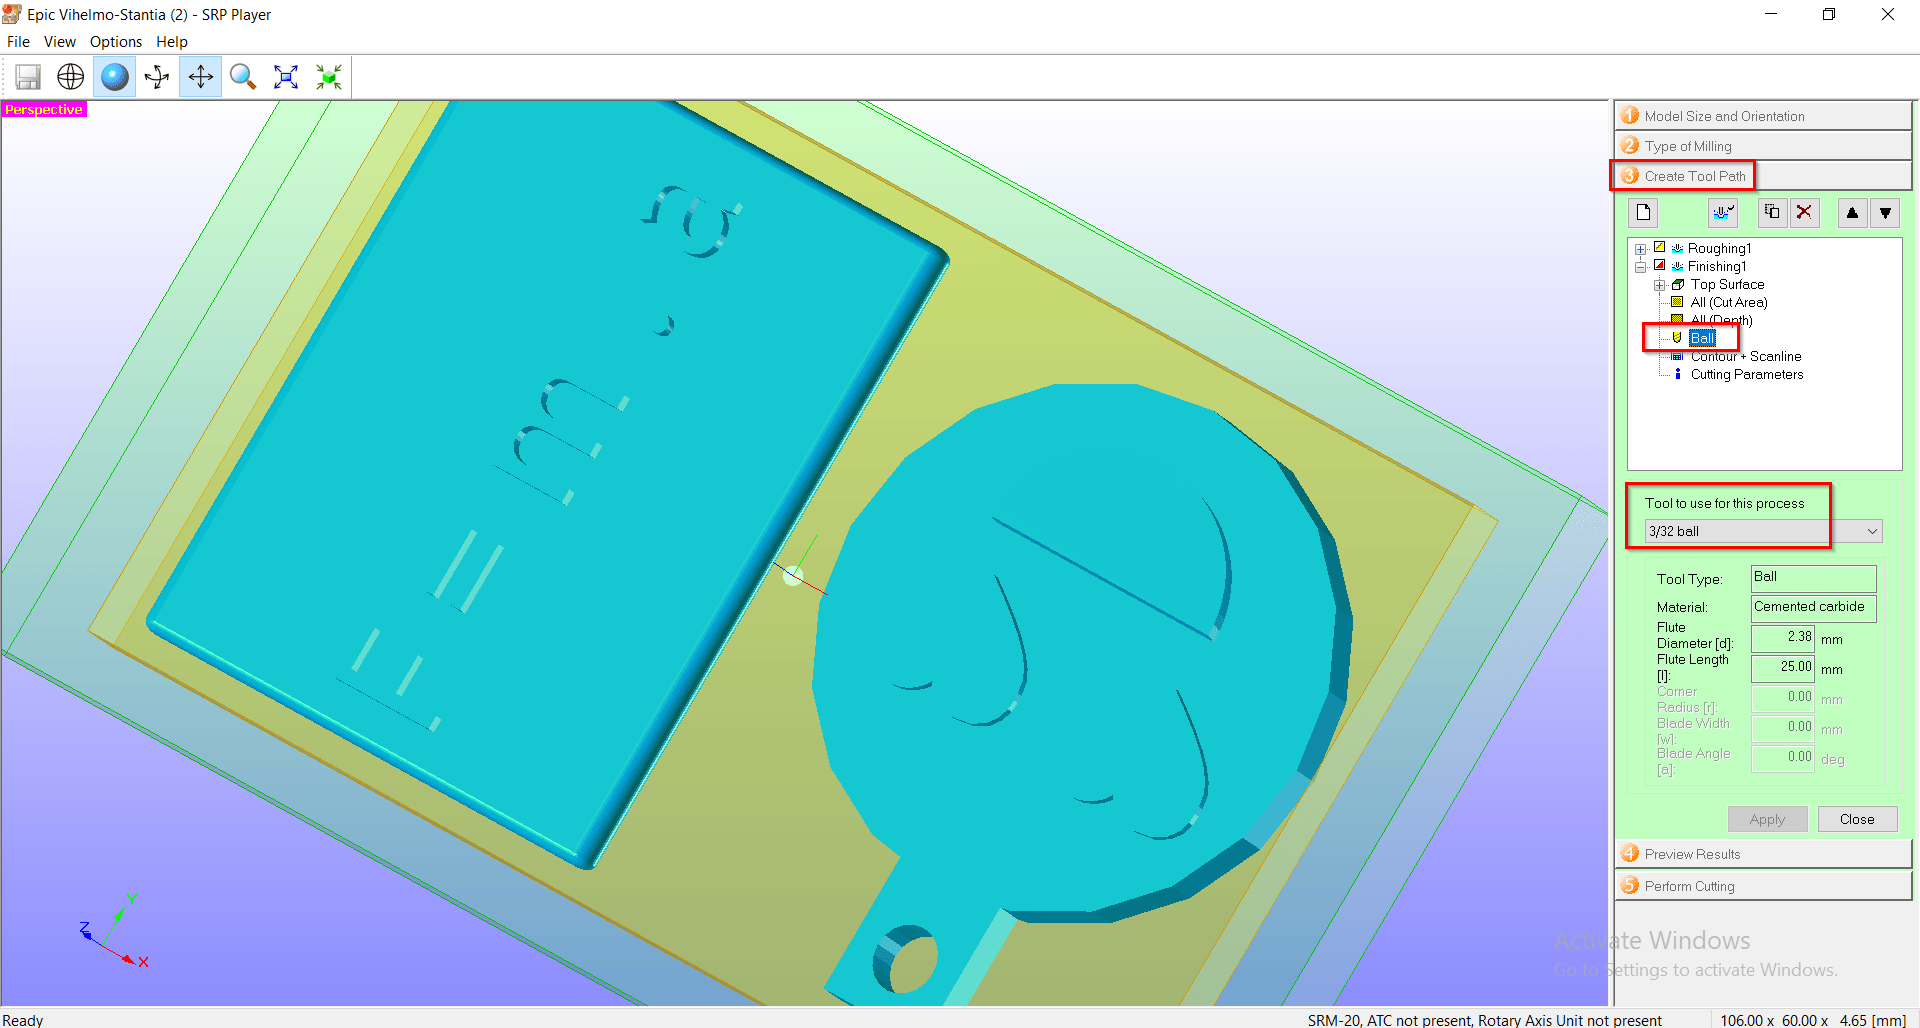
After that, we again previewed the results, and now the results were as we expected.
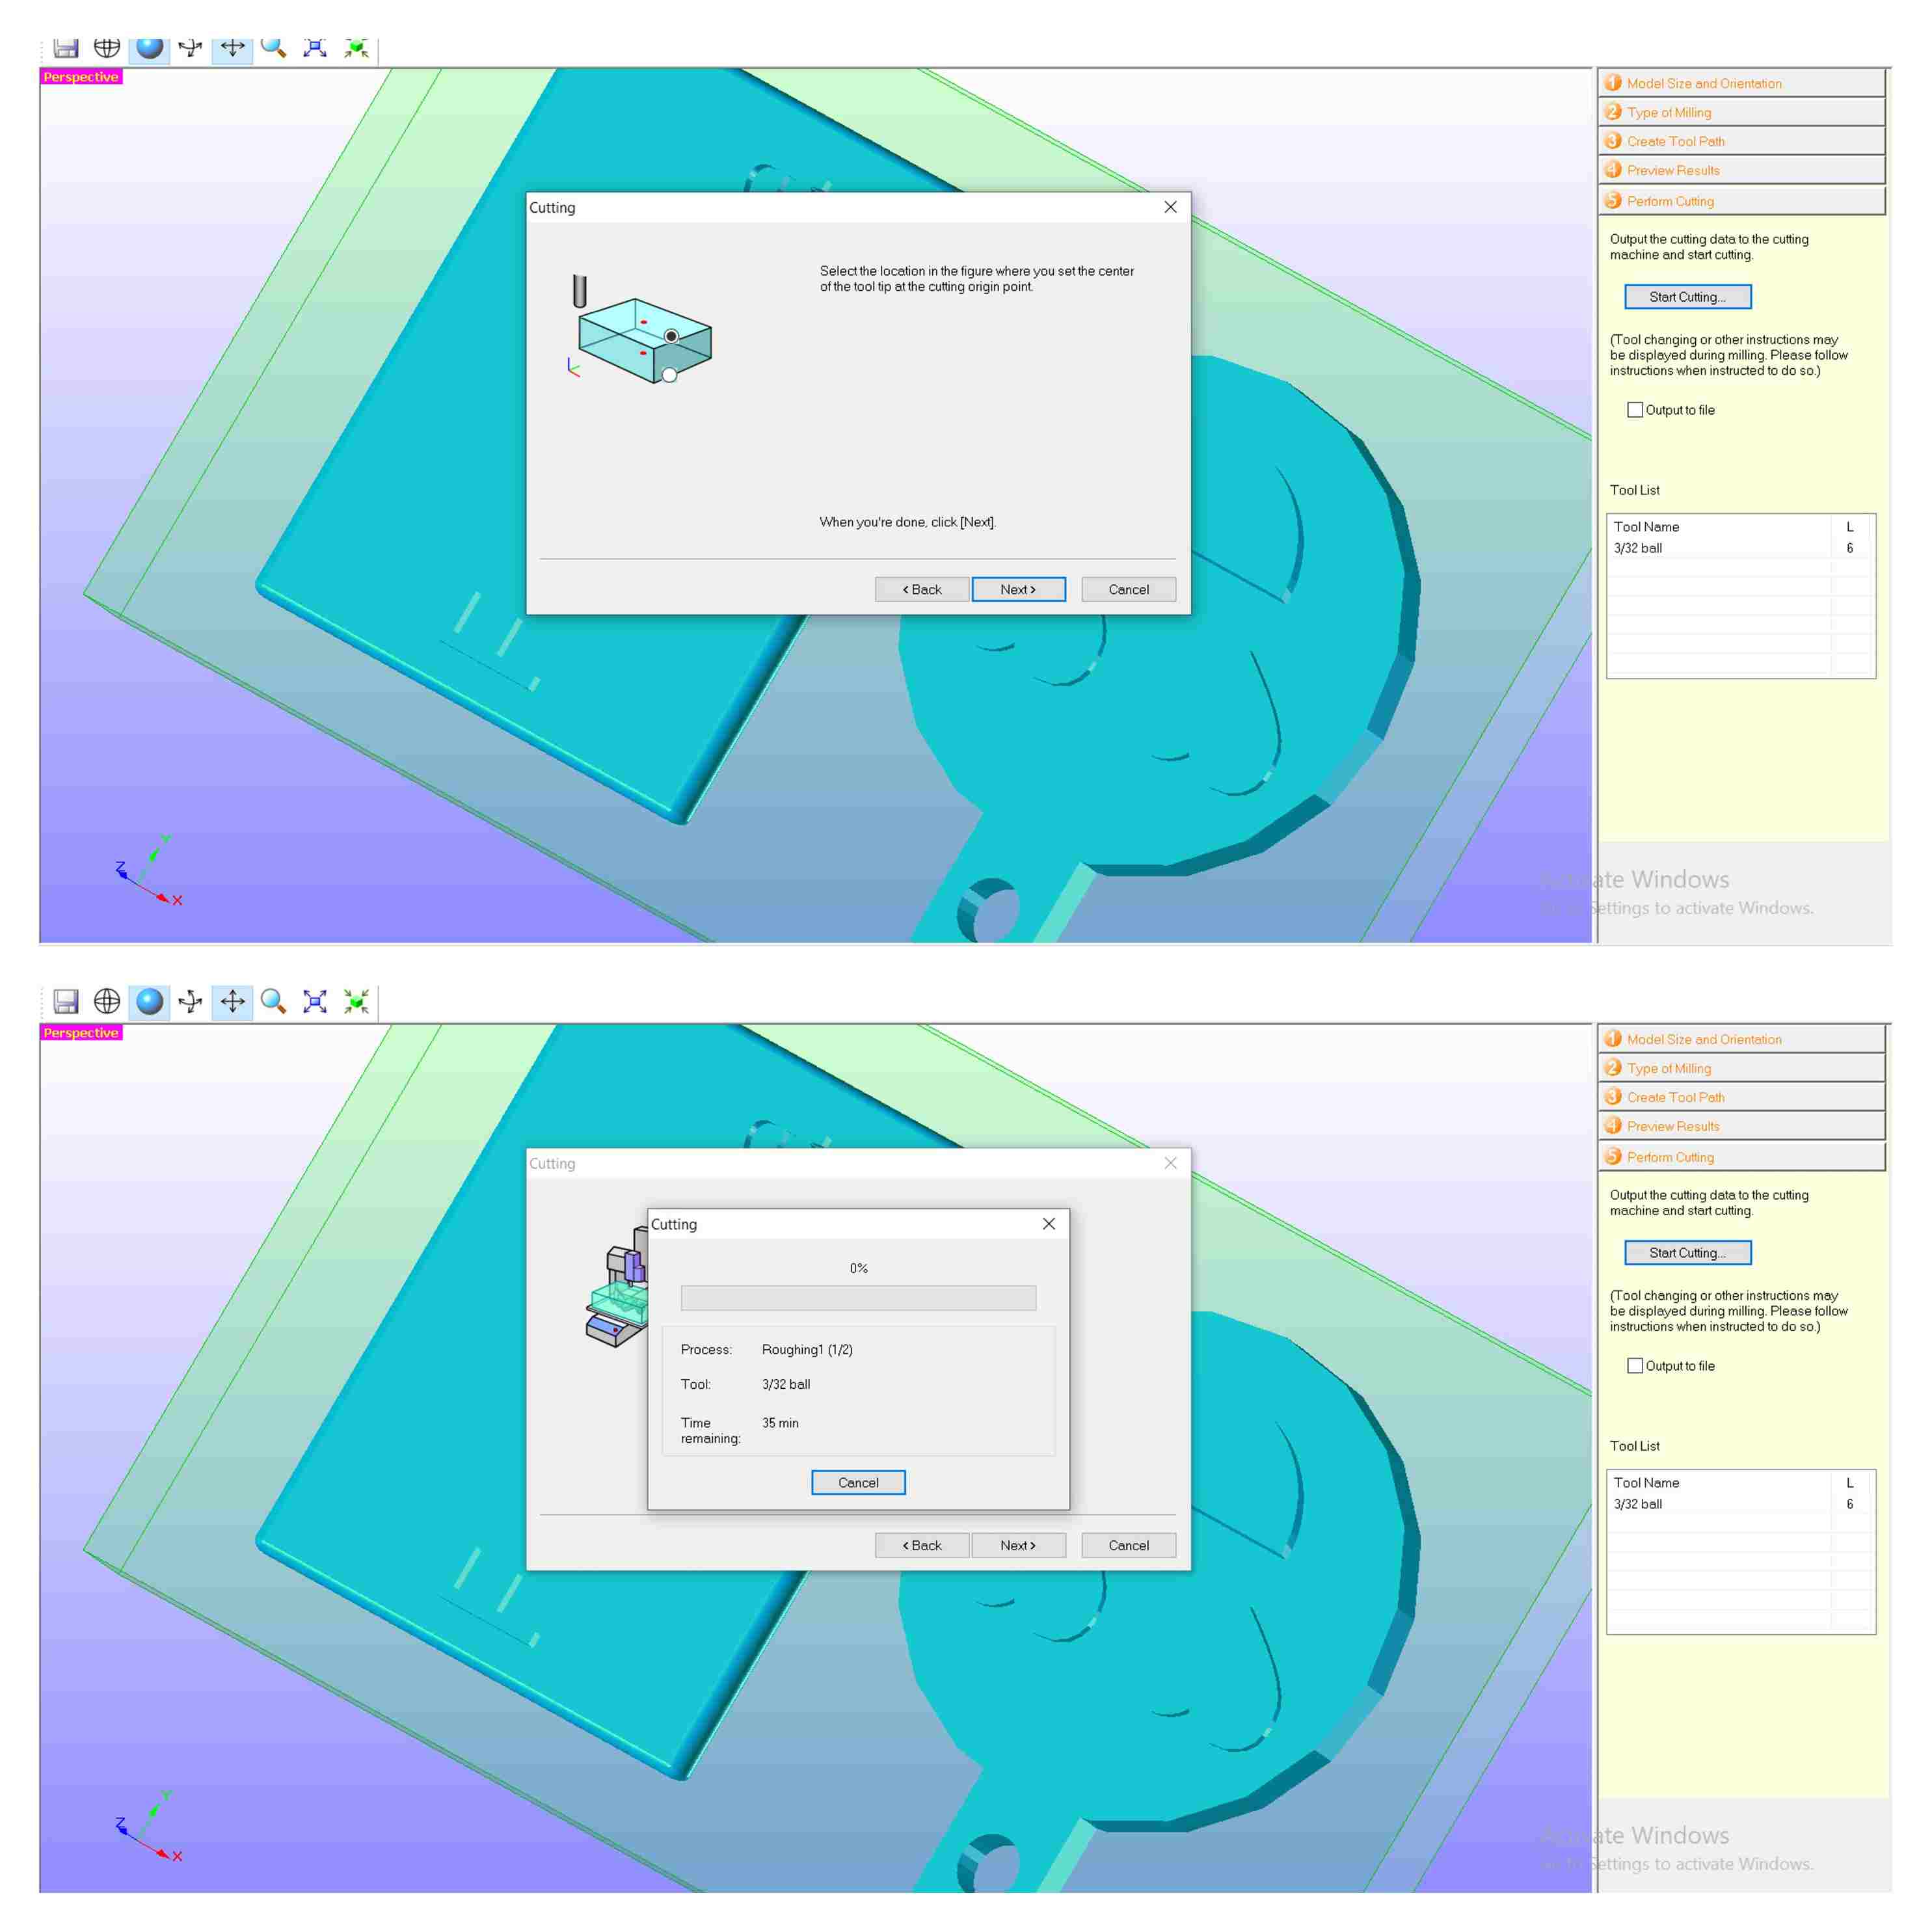
Finally, we went to the final step in the software, which is perform the cutting.
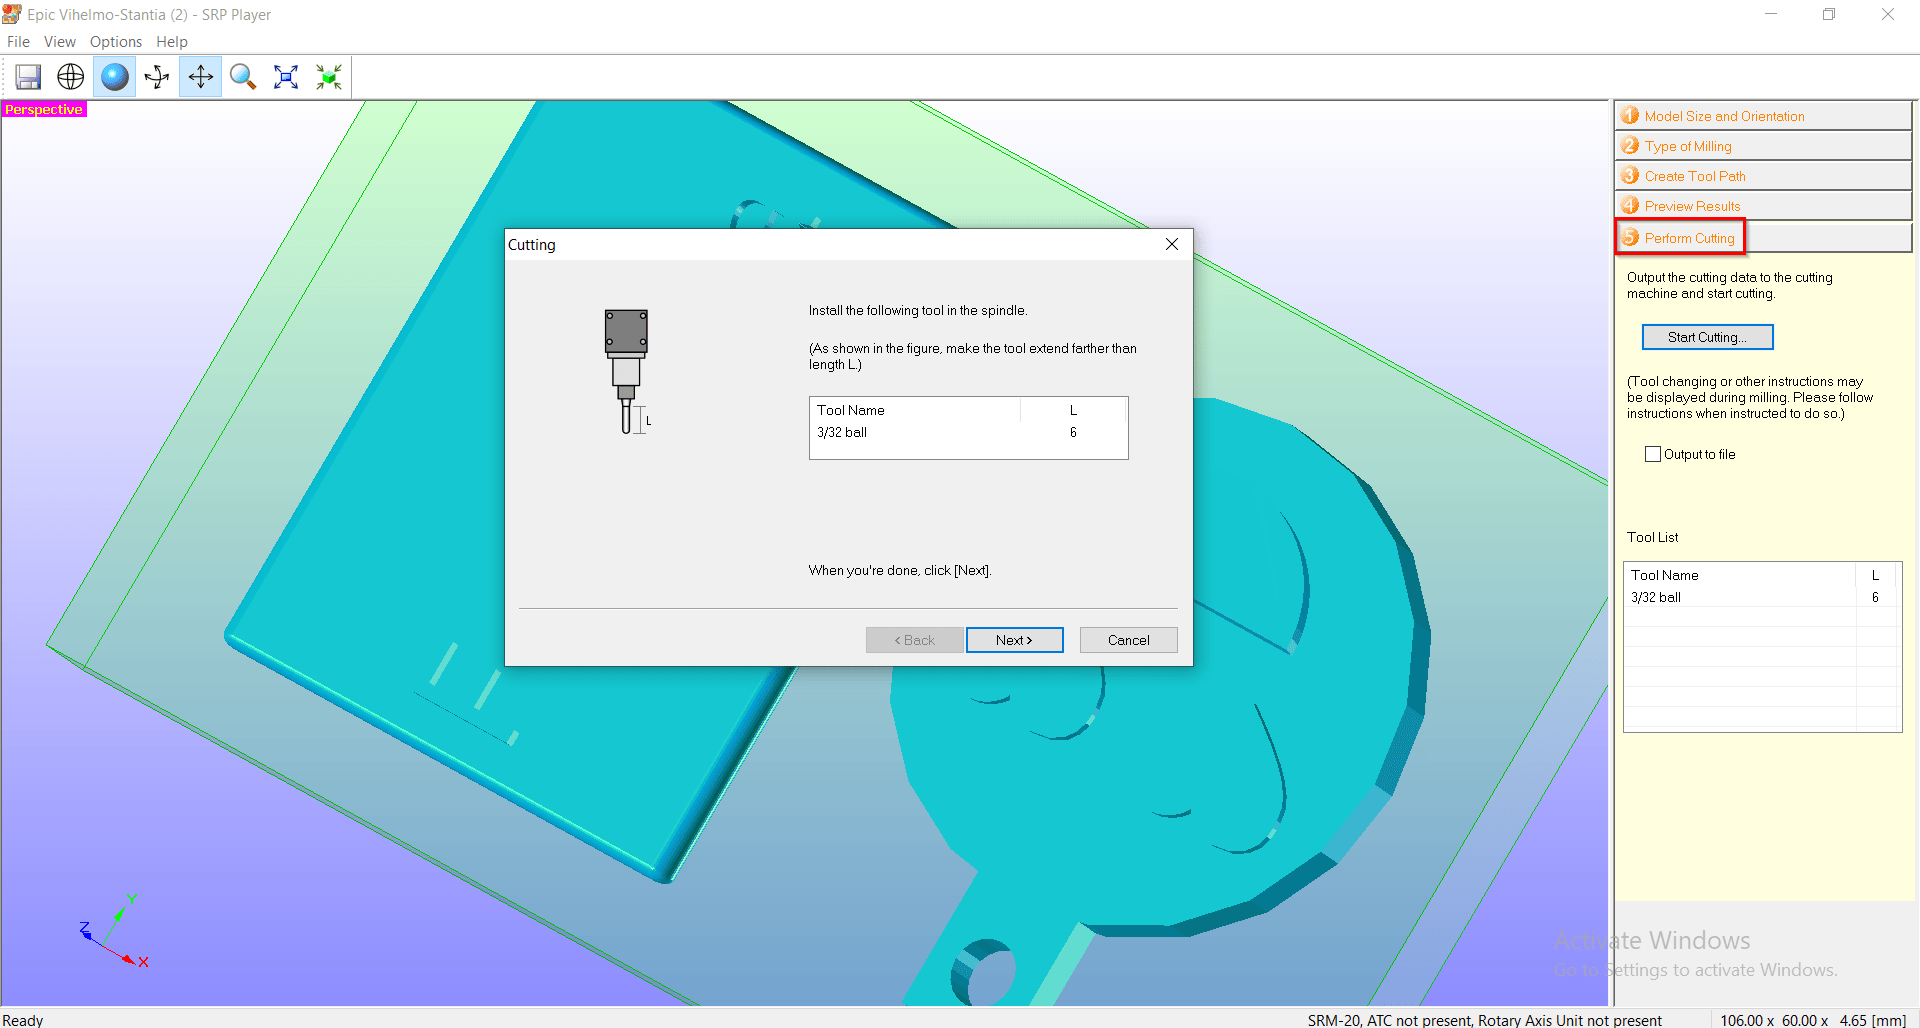
We installed the 3/32 ball in the spindle.
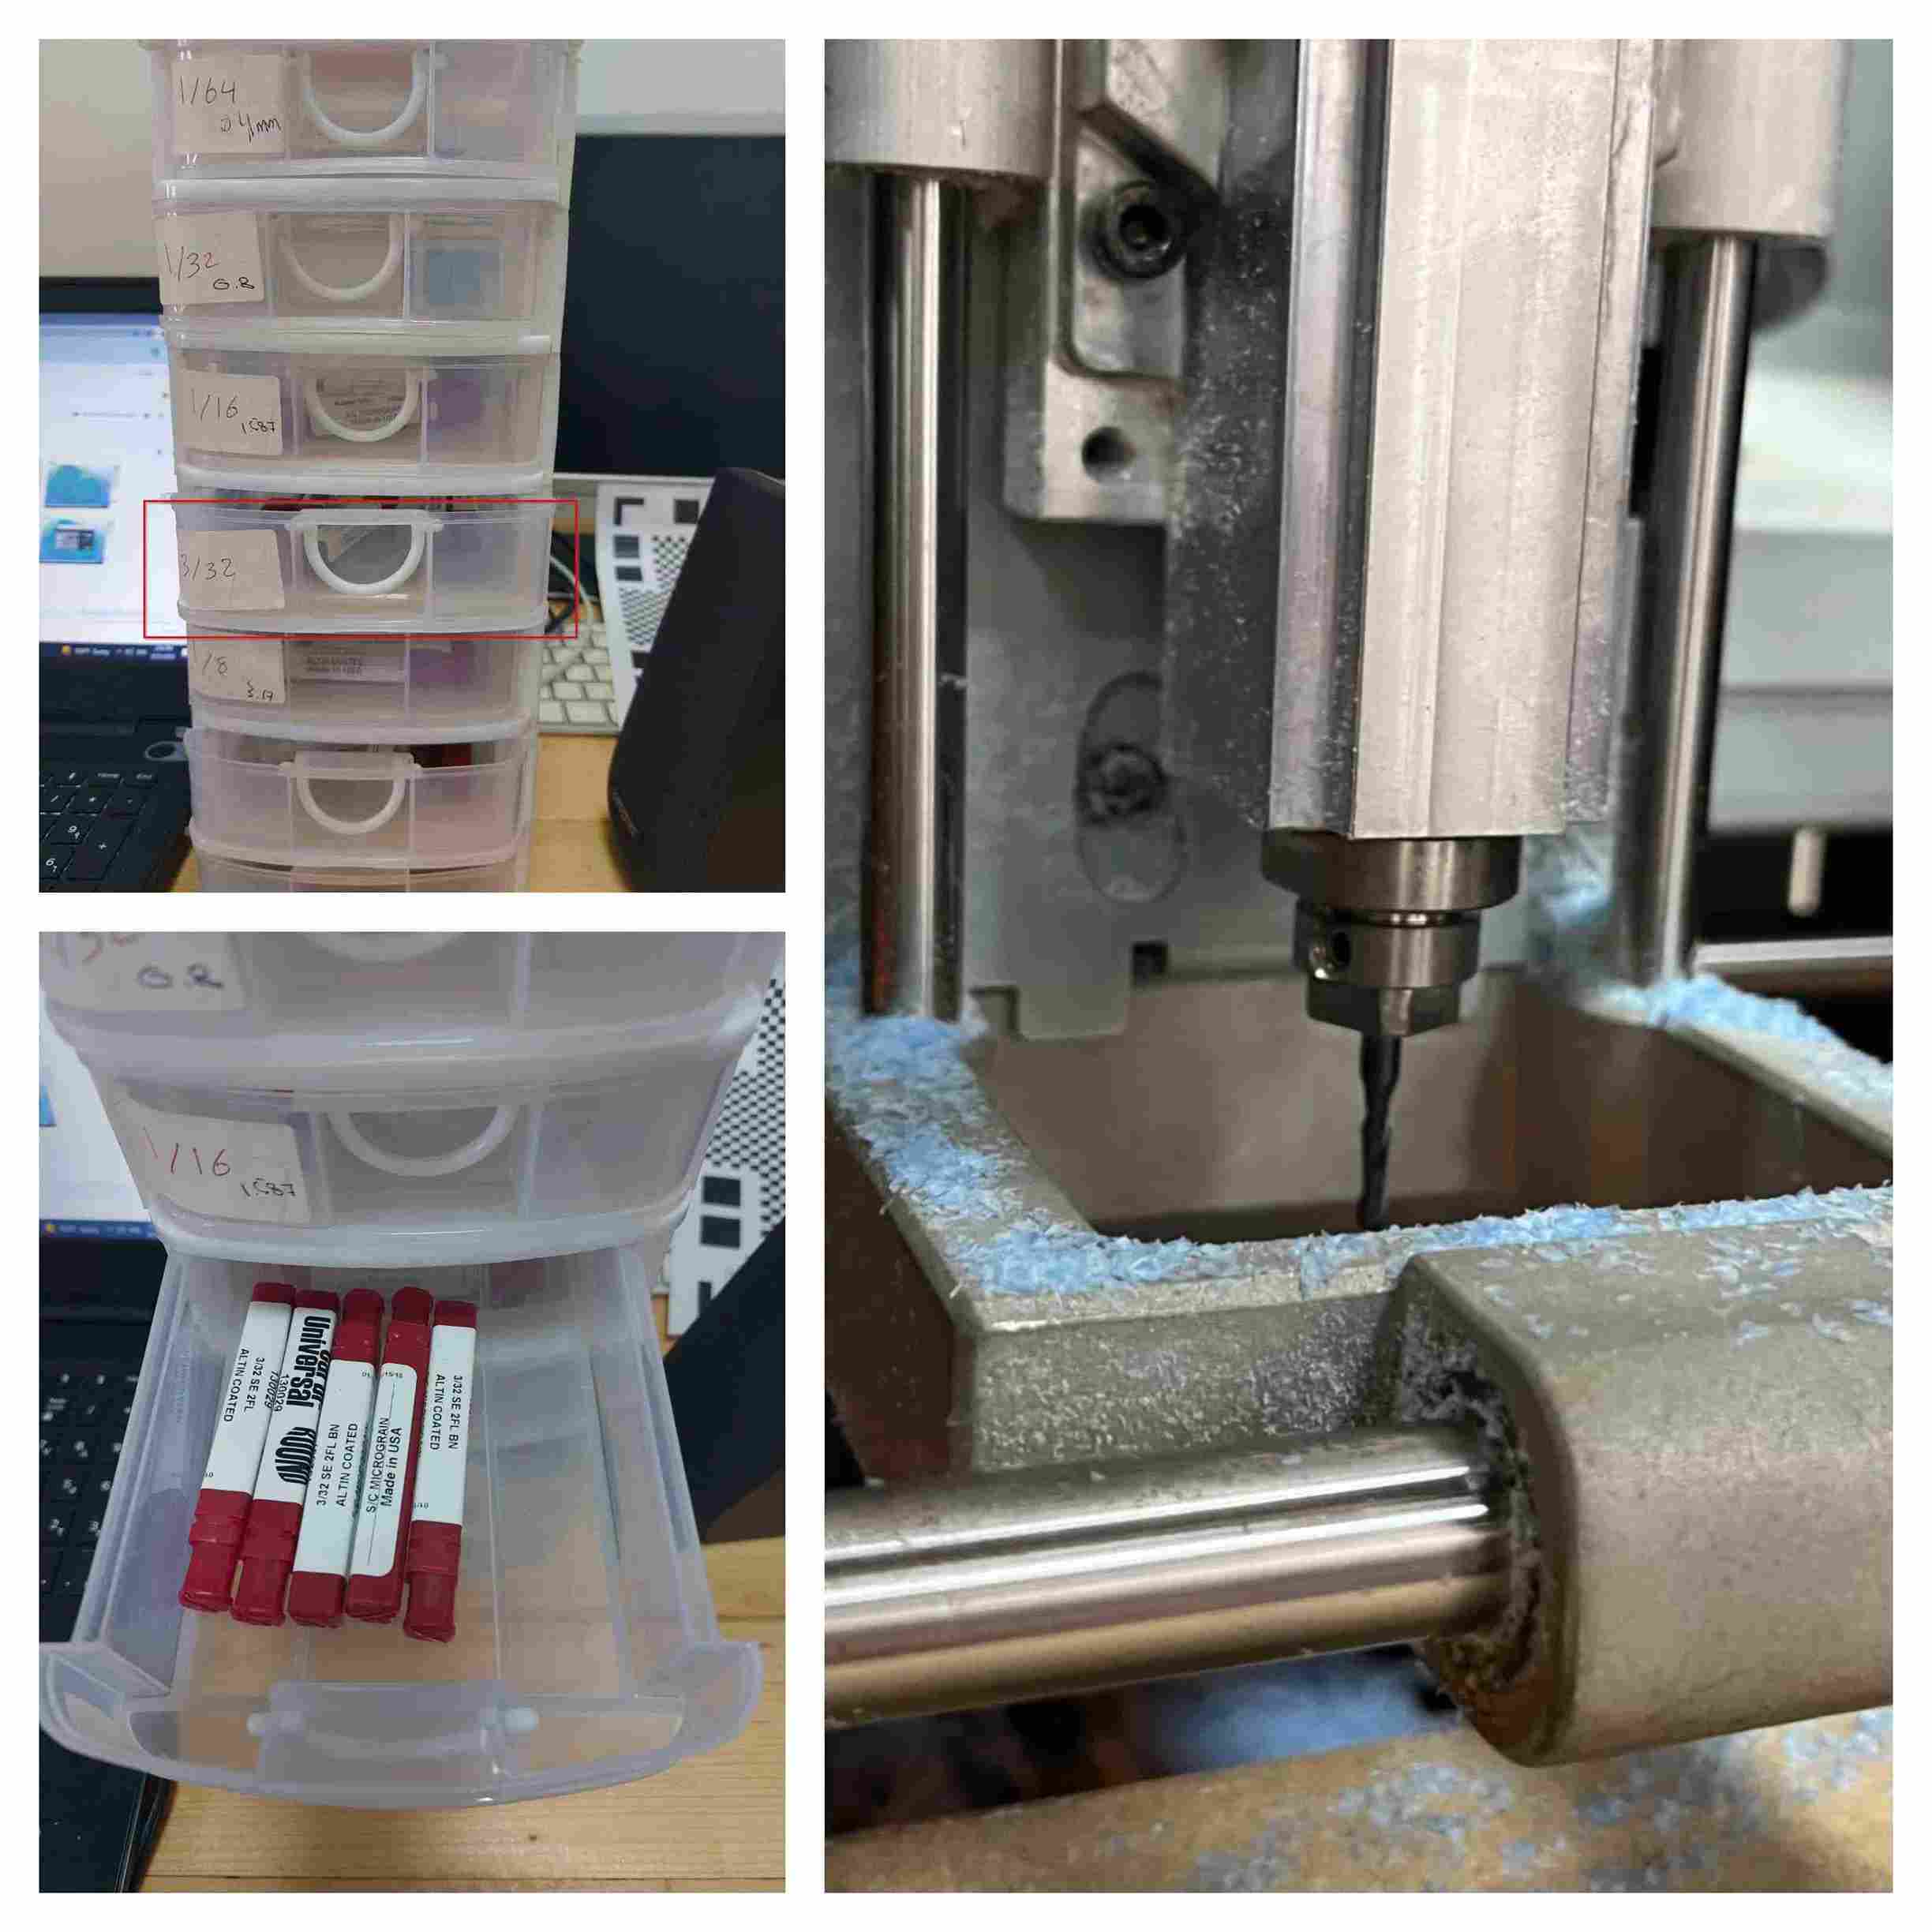
After installing the tool, we put the wax (on which we put double-sided tape at the bottom) into the machine.
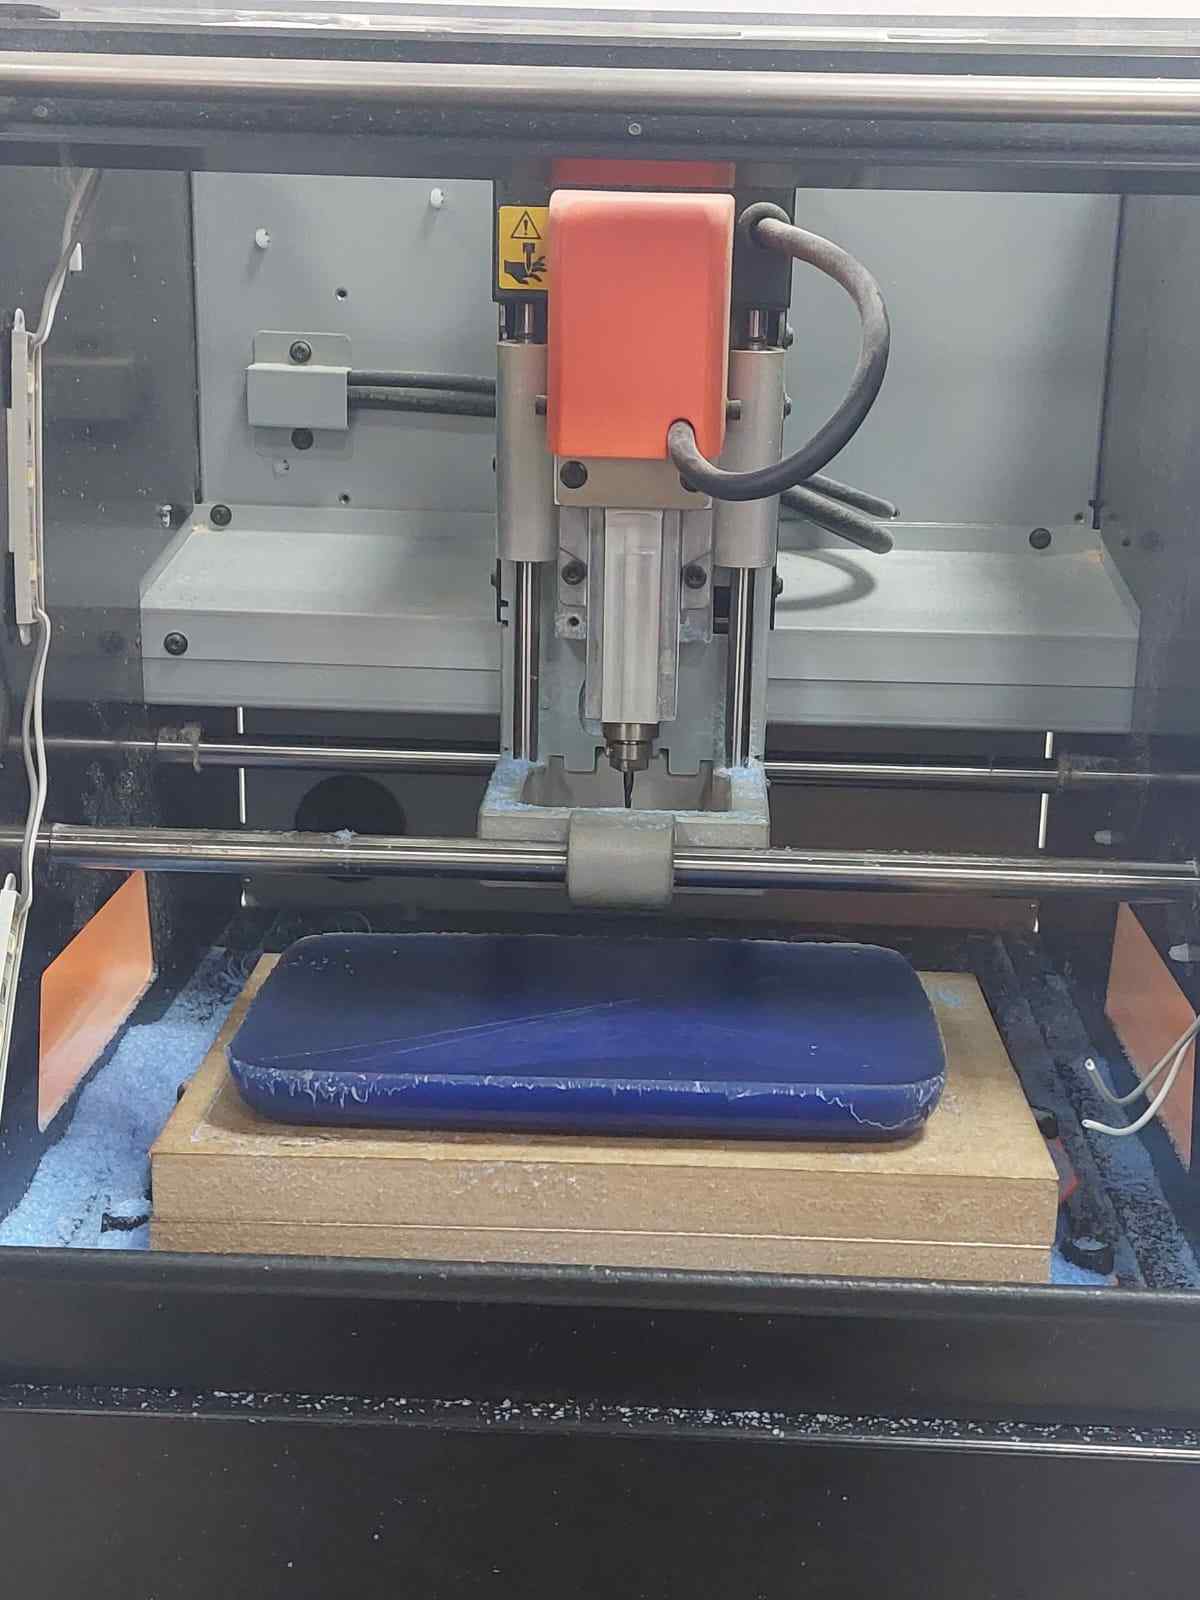
After fixing the wax into the machine, we used VPanel for SRM-20 to set the origin point. We set center of the tool tip at the cutting origin point.
Finally, we started cutting. It showed that it would total 1 hour and 20 minutes (35 mintues for roughing 1 and 45 mintues for roughing 2).
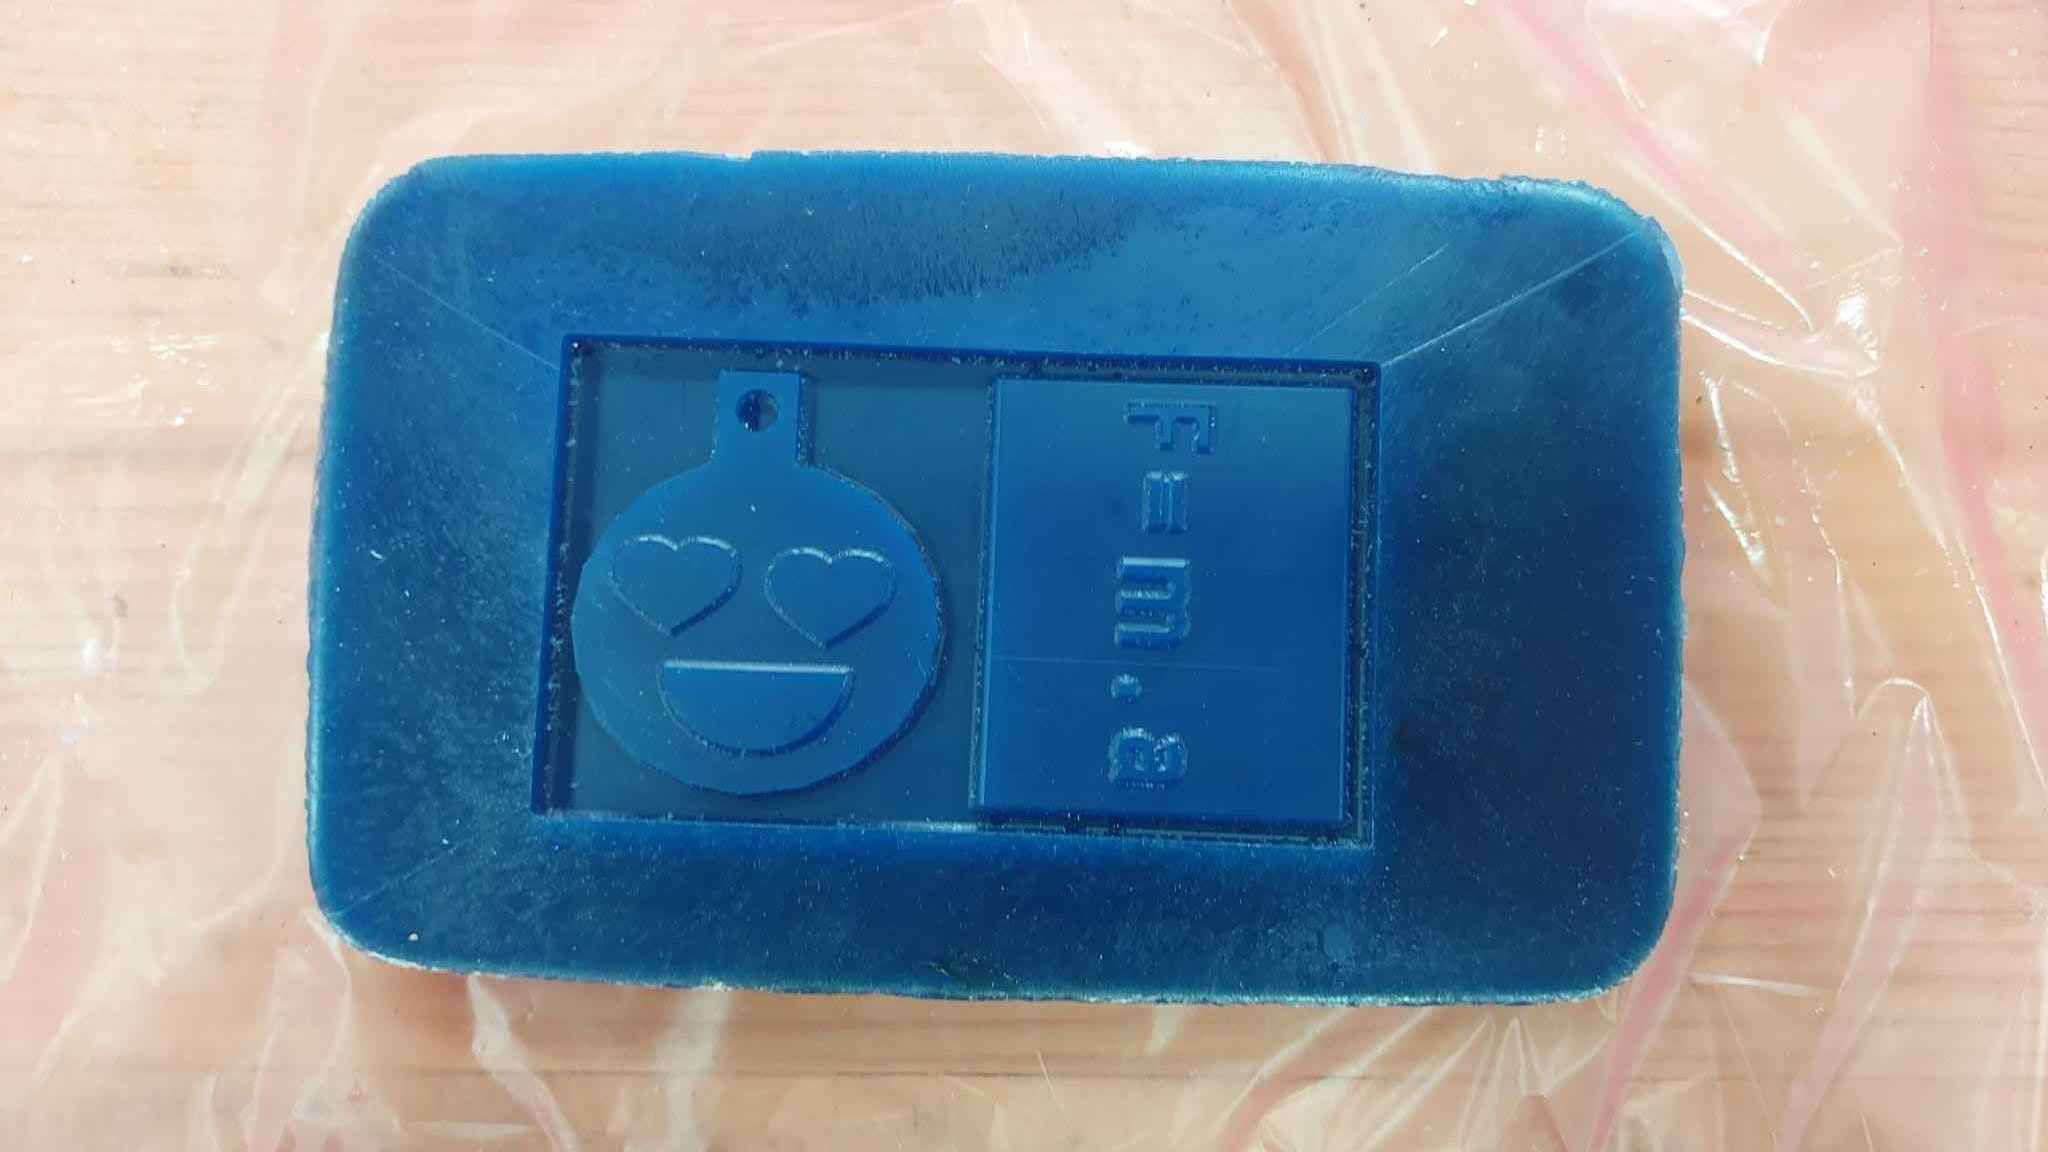
Here is the final result after 1 and a half hours!
Moulding process
For moulding process, we used silicion.
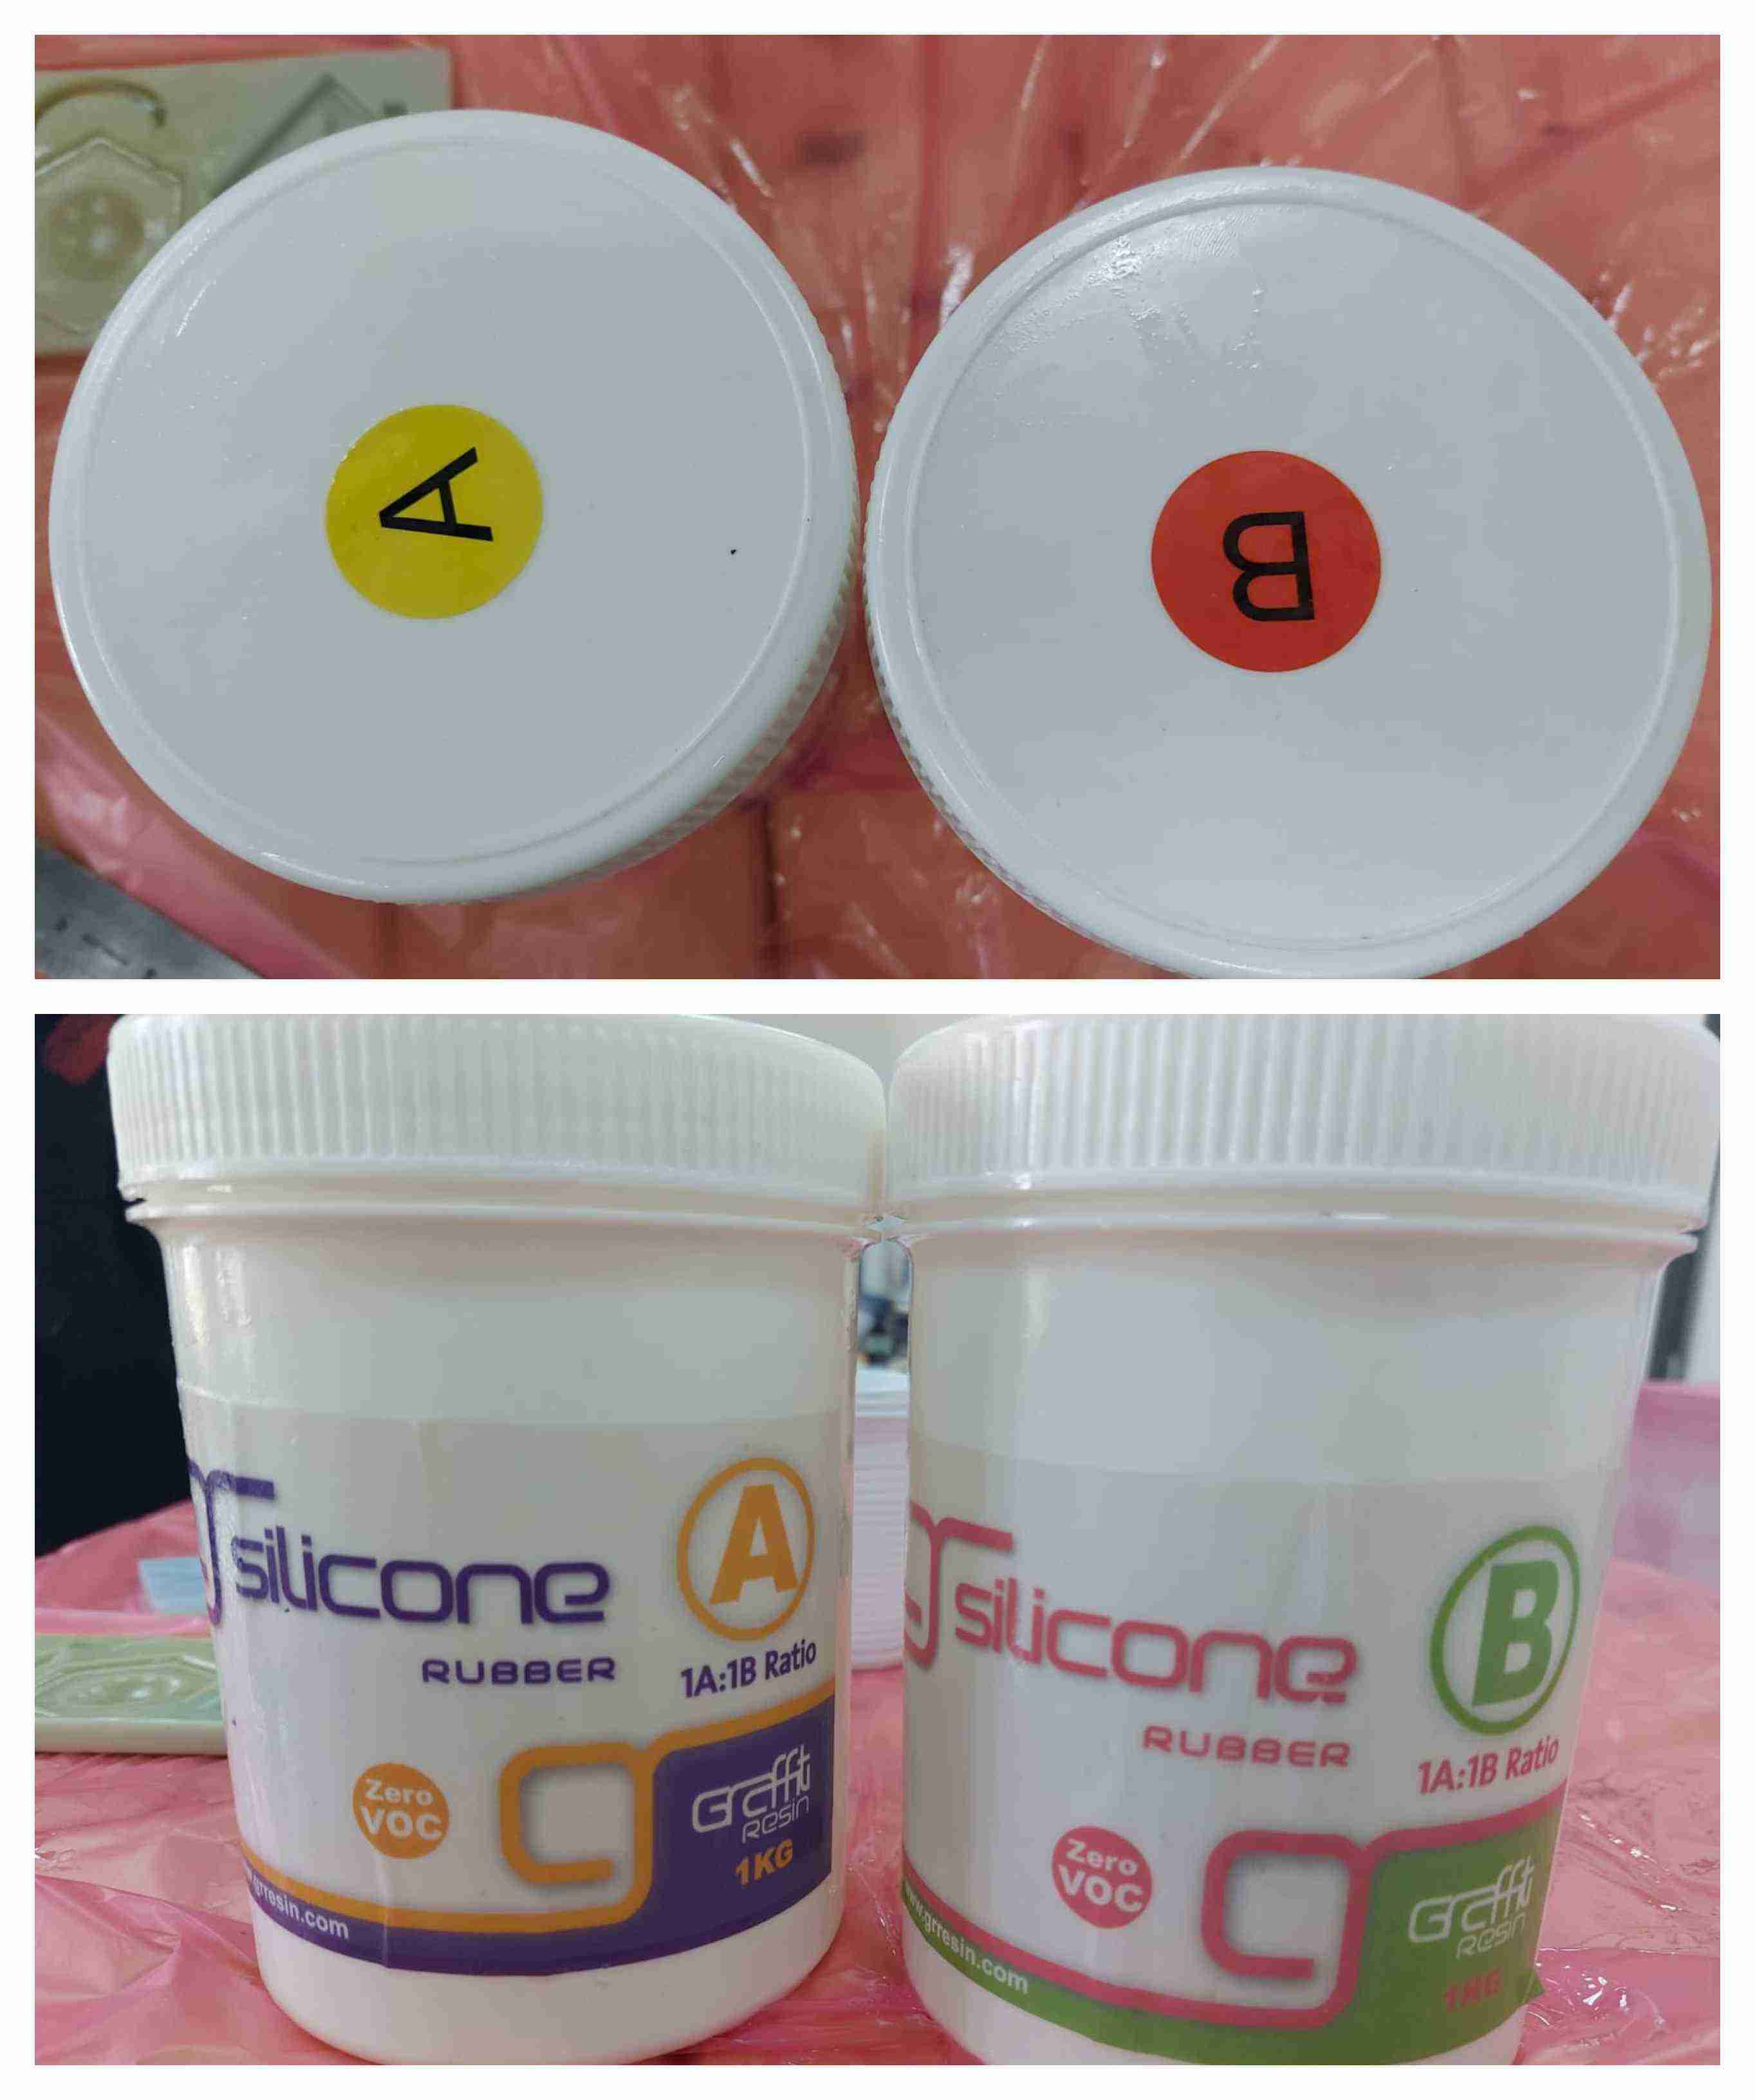
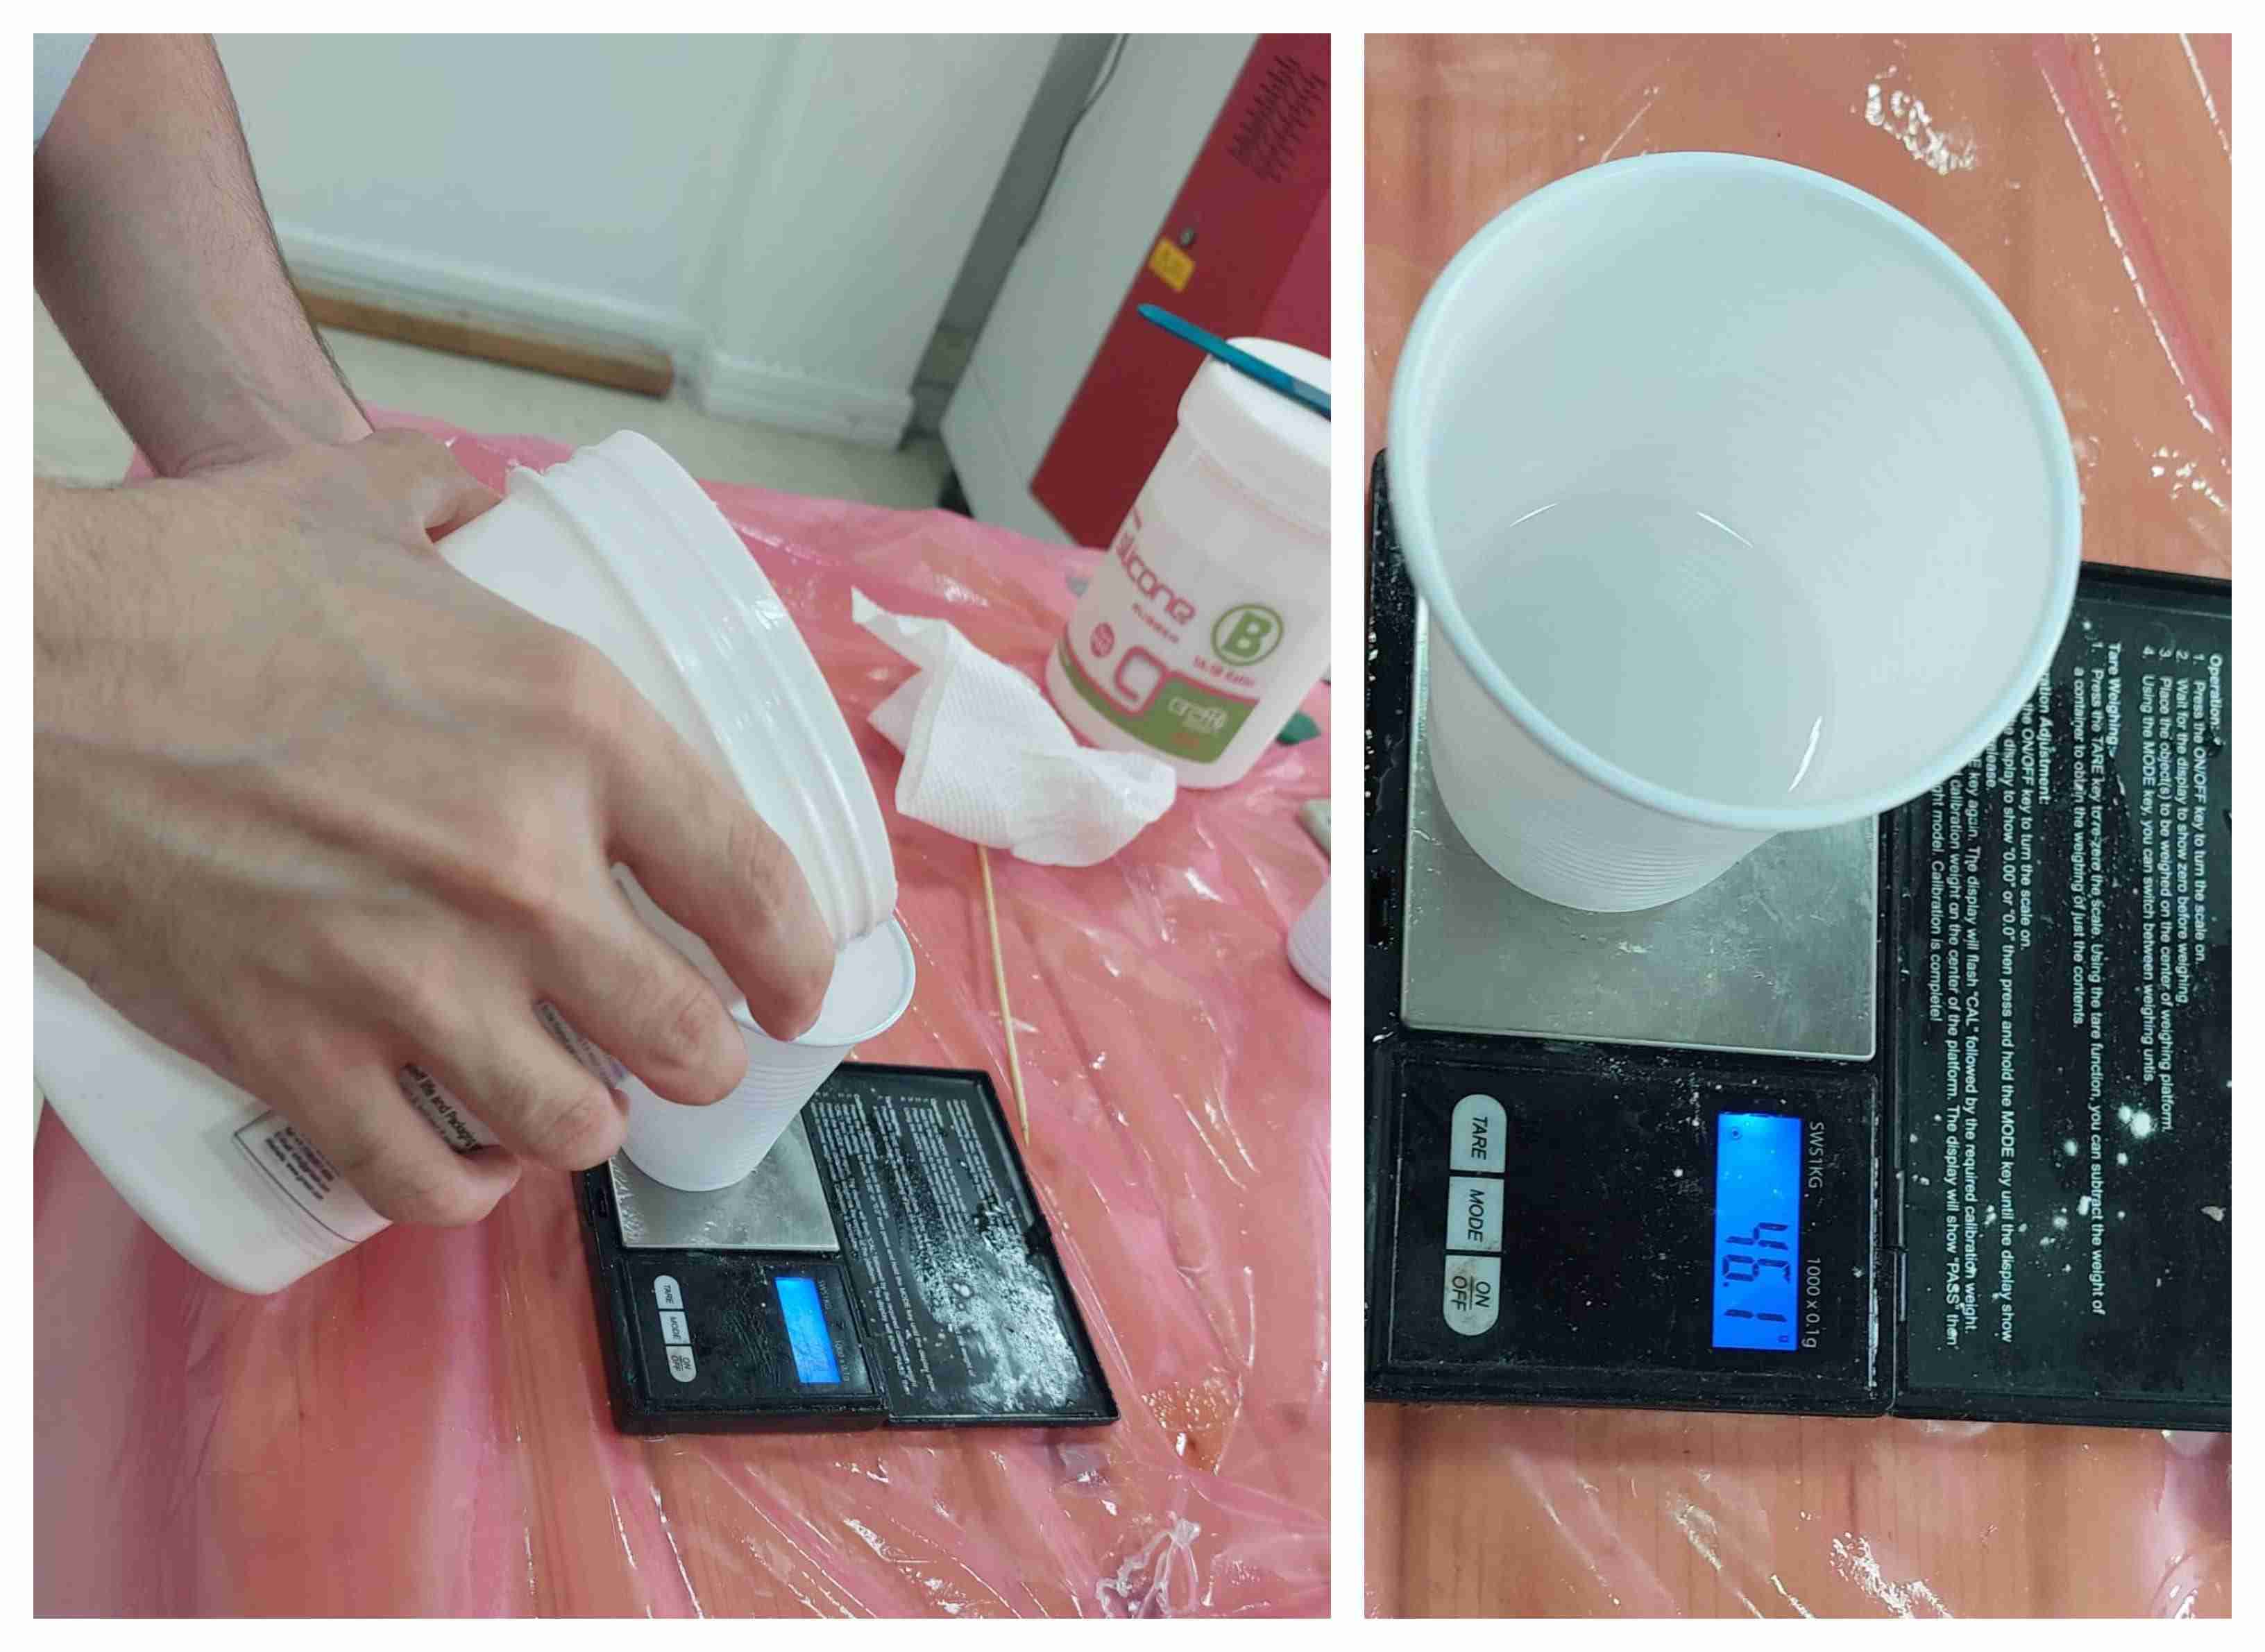
The mix ratio for silicone A and B is 1:1. We took silicon A and weighed it. It was 46.1 g.
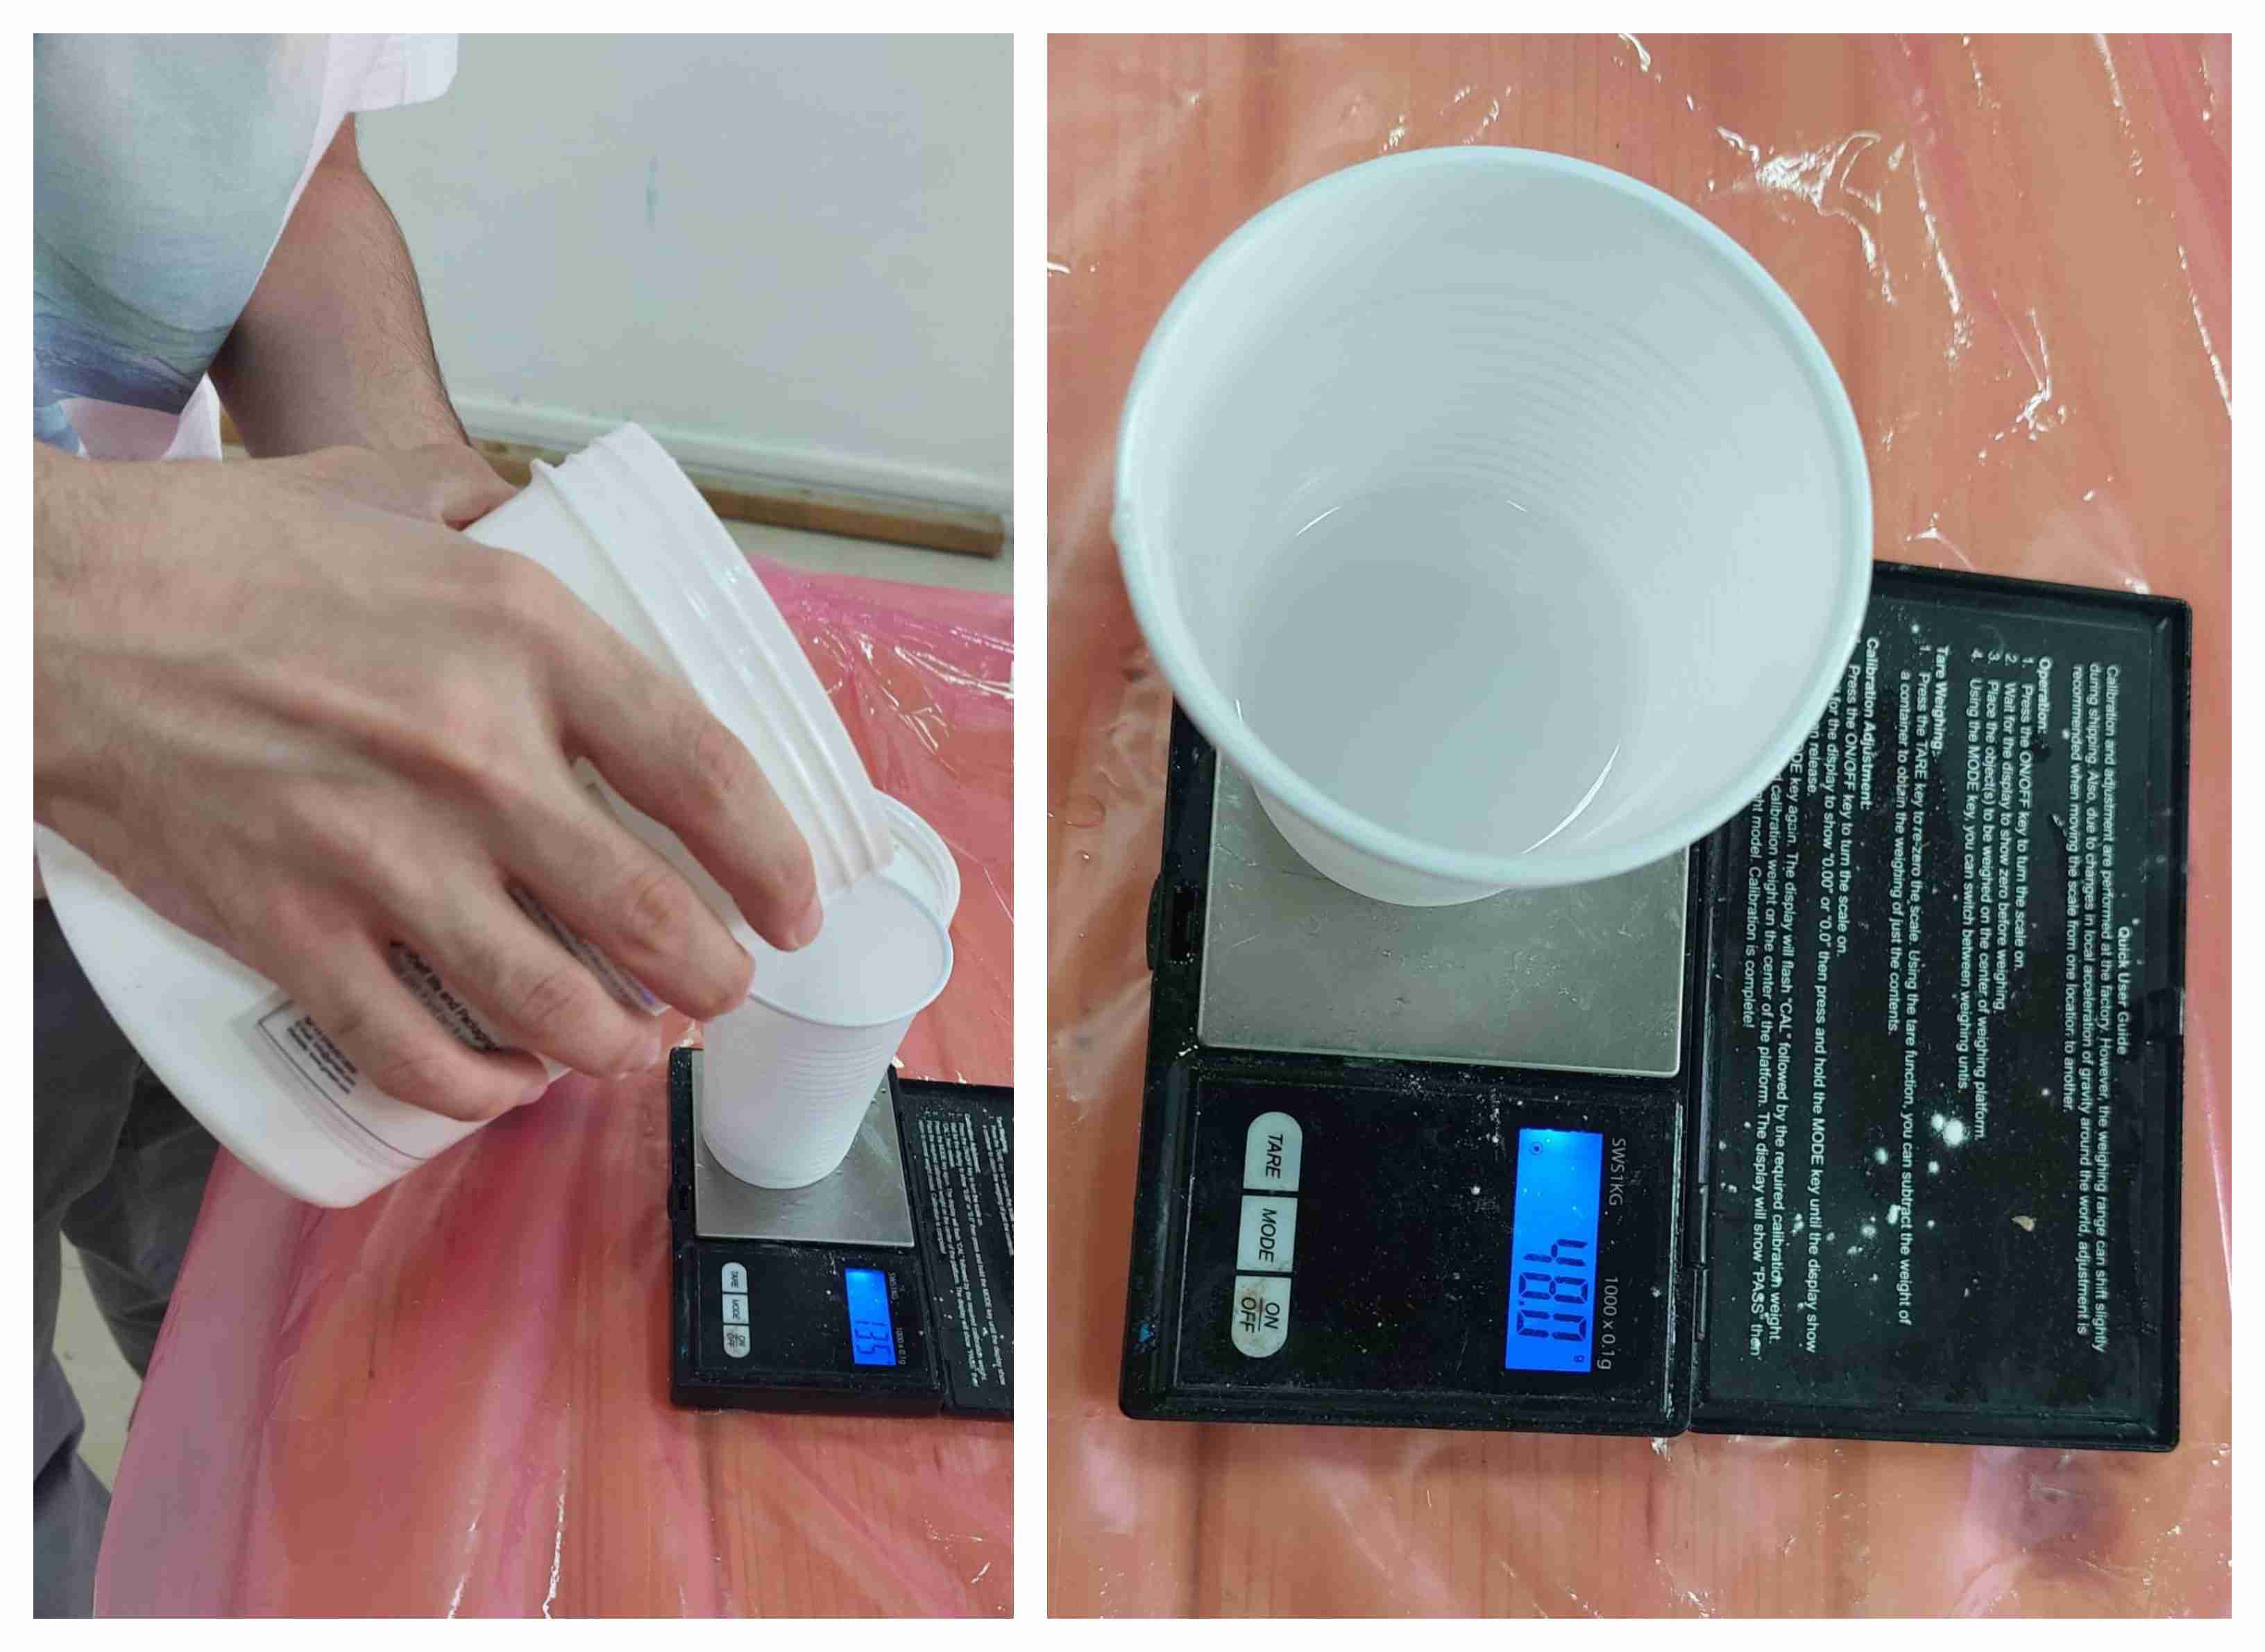
Then, we took silicon B and weighed it. It was 48 g (the ratio was almost 1:1).
After we weighed them, we mixed the both silicons together and stirred them. According to the safety data sheet of silicion we read in the group assignment, the working time of silicion is between 30 and 40 minutes, and the curing time is 24 hours. After mixing them properly, we poured them to make a mould and kept them for 24 hours.
Hero shot
Remarks
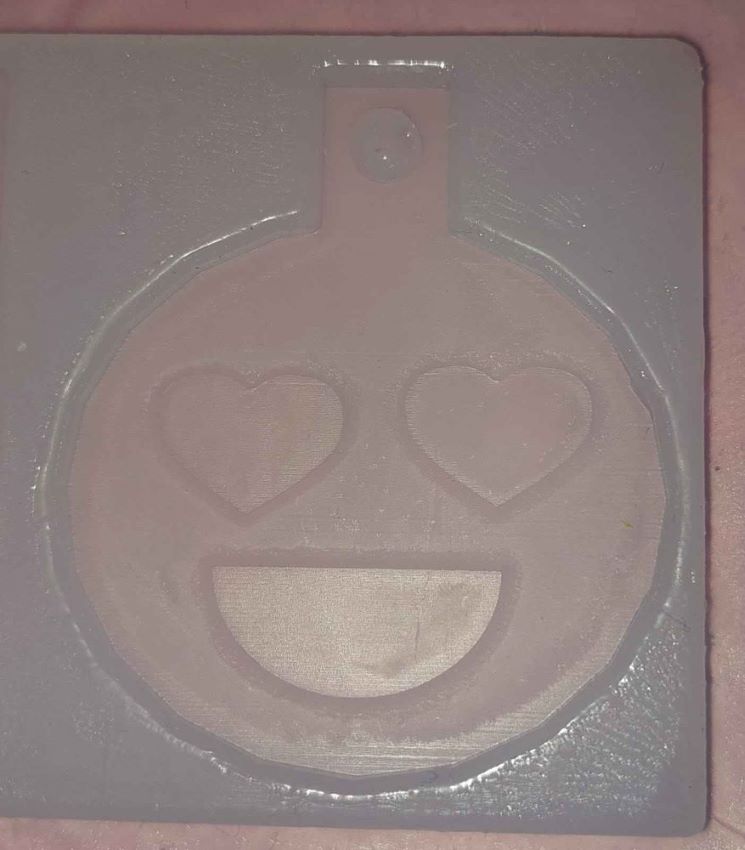
We forgot to wear gloves! We did not touch silicon, but we should have worn gloves for safety. The final result, which we got after 24 hours, was good; it was just a little bit sticky and wet, which may be because one of the silicions is 46.1 g and the other is 48 g, which is almost 1:1 but not exactly 1:1.
Casting process
For casting process, we used resin.
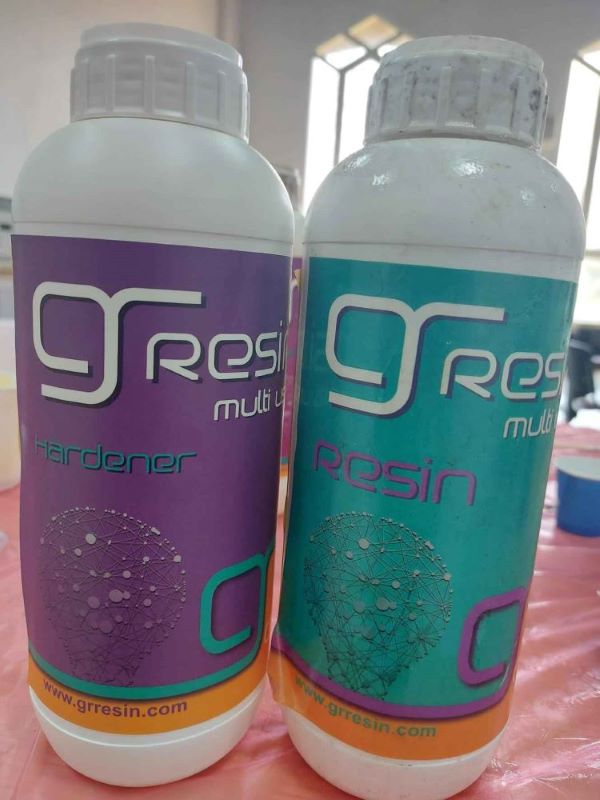
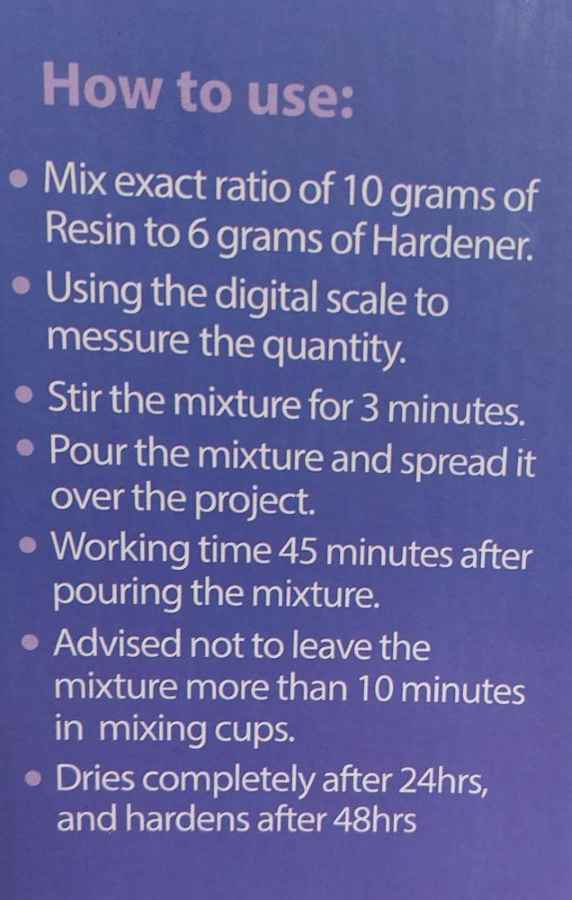
The exact mix ratio for resin is 10:6. So, after discussing with our instructor Dua, we took 12 grams of resin and 6 grams of hardener.

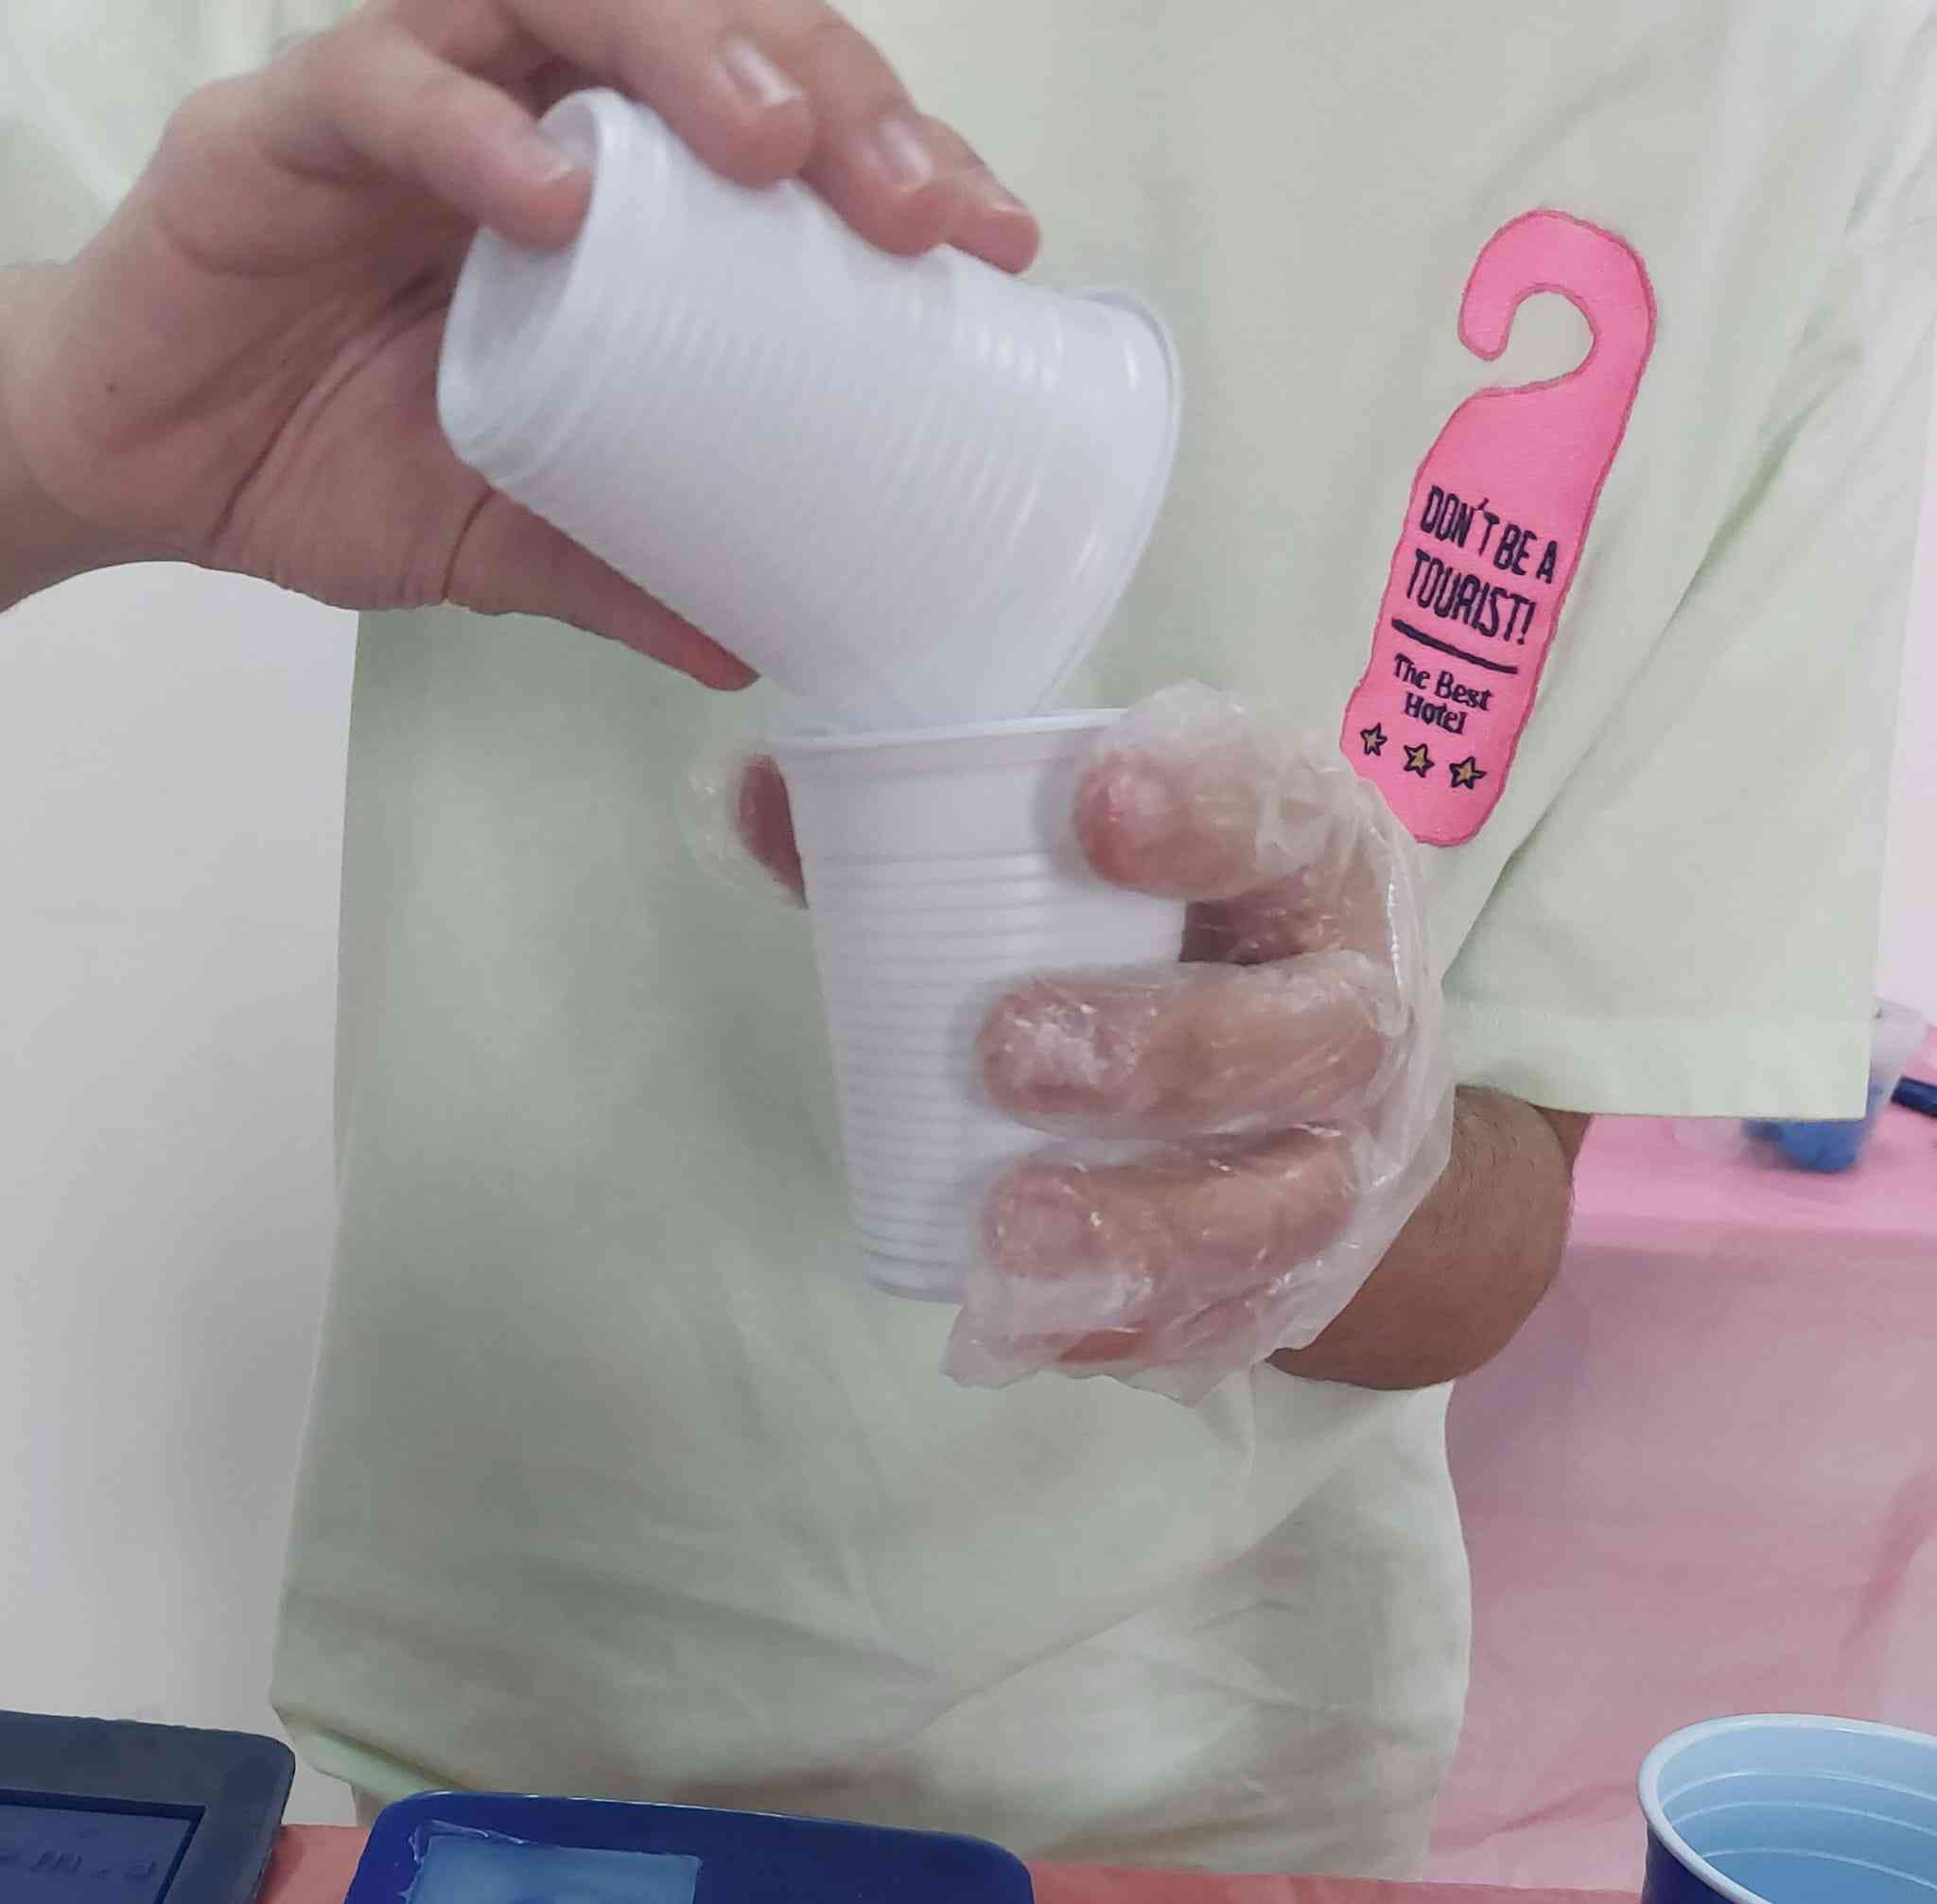
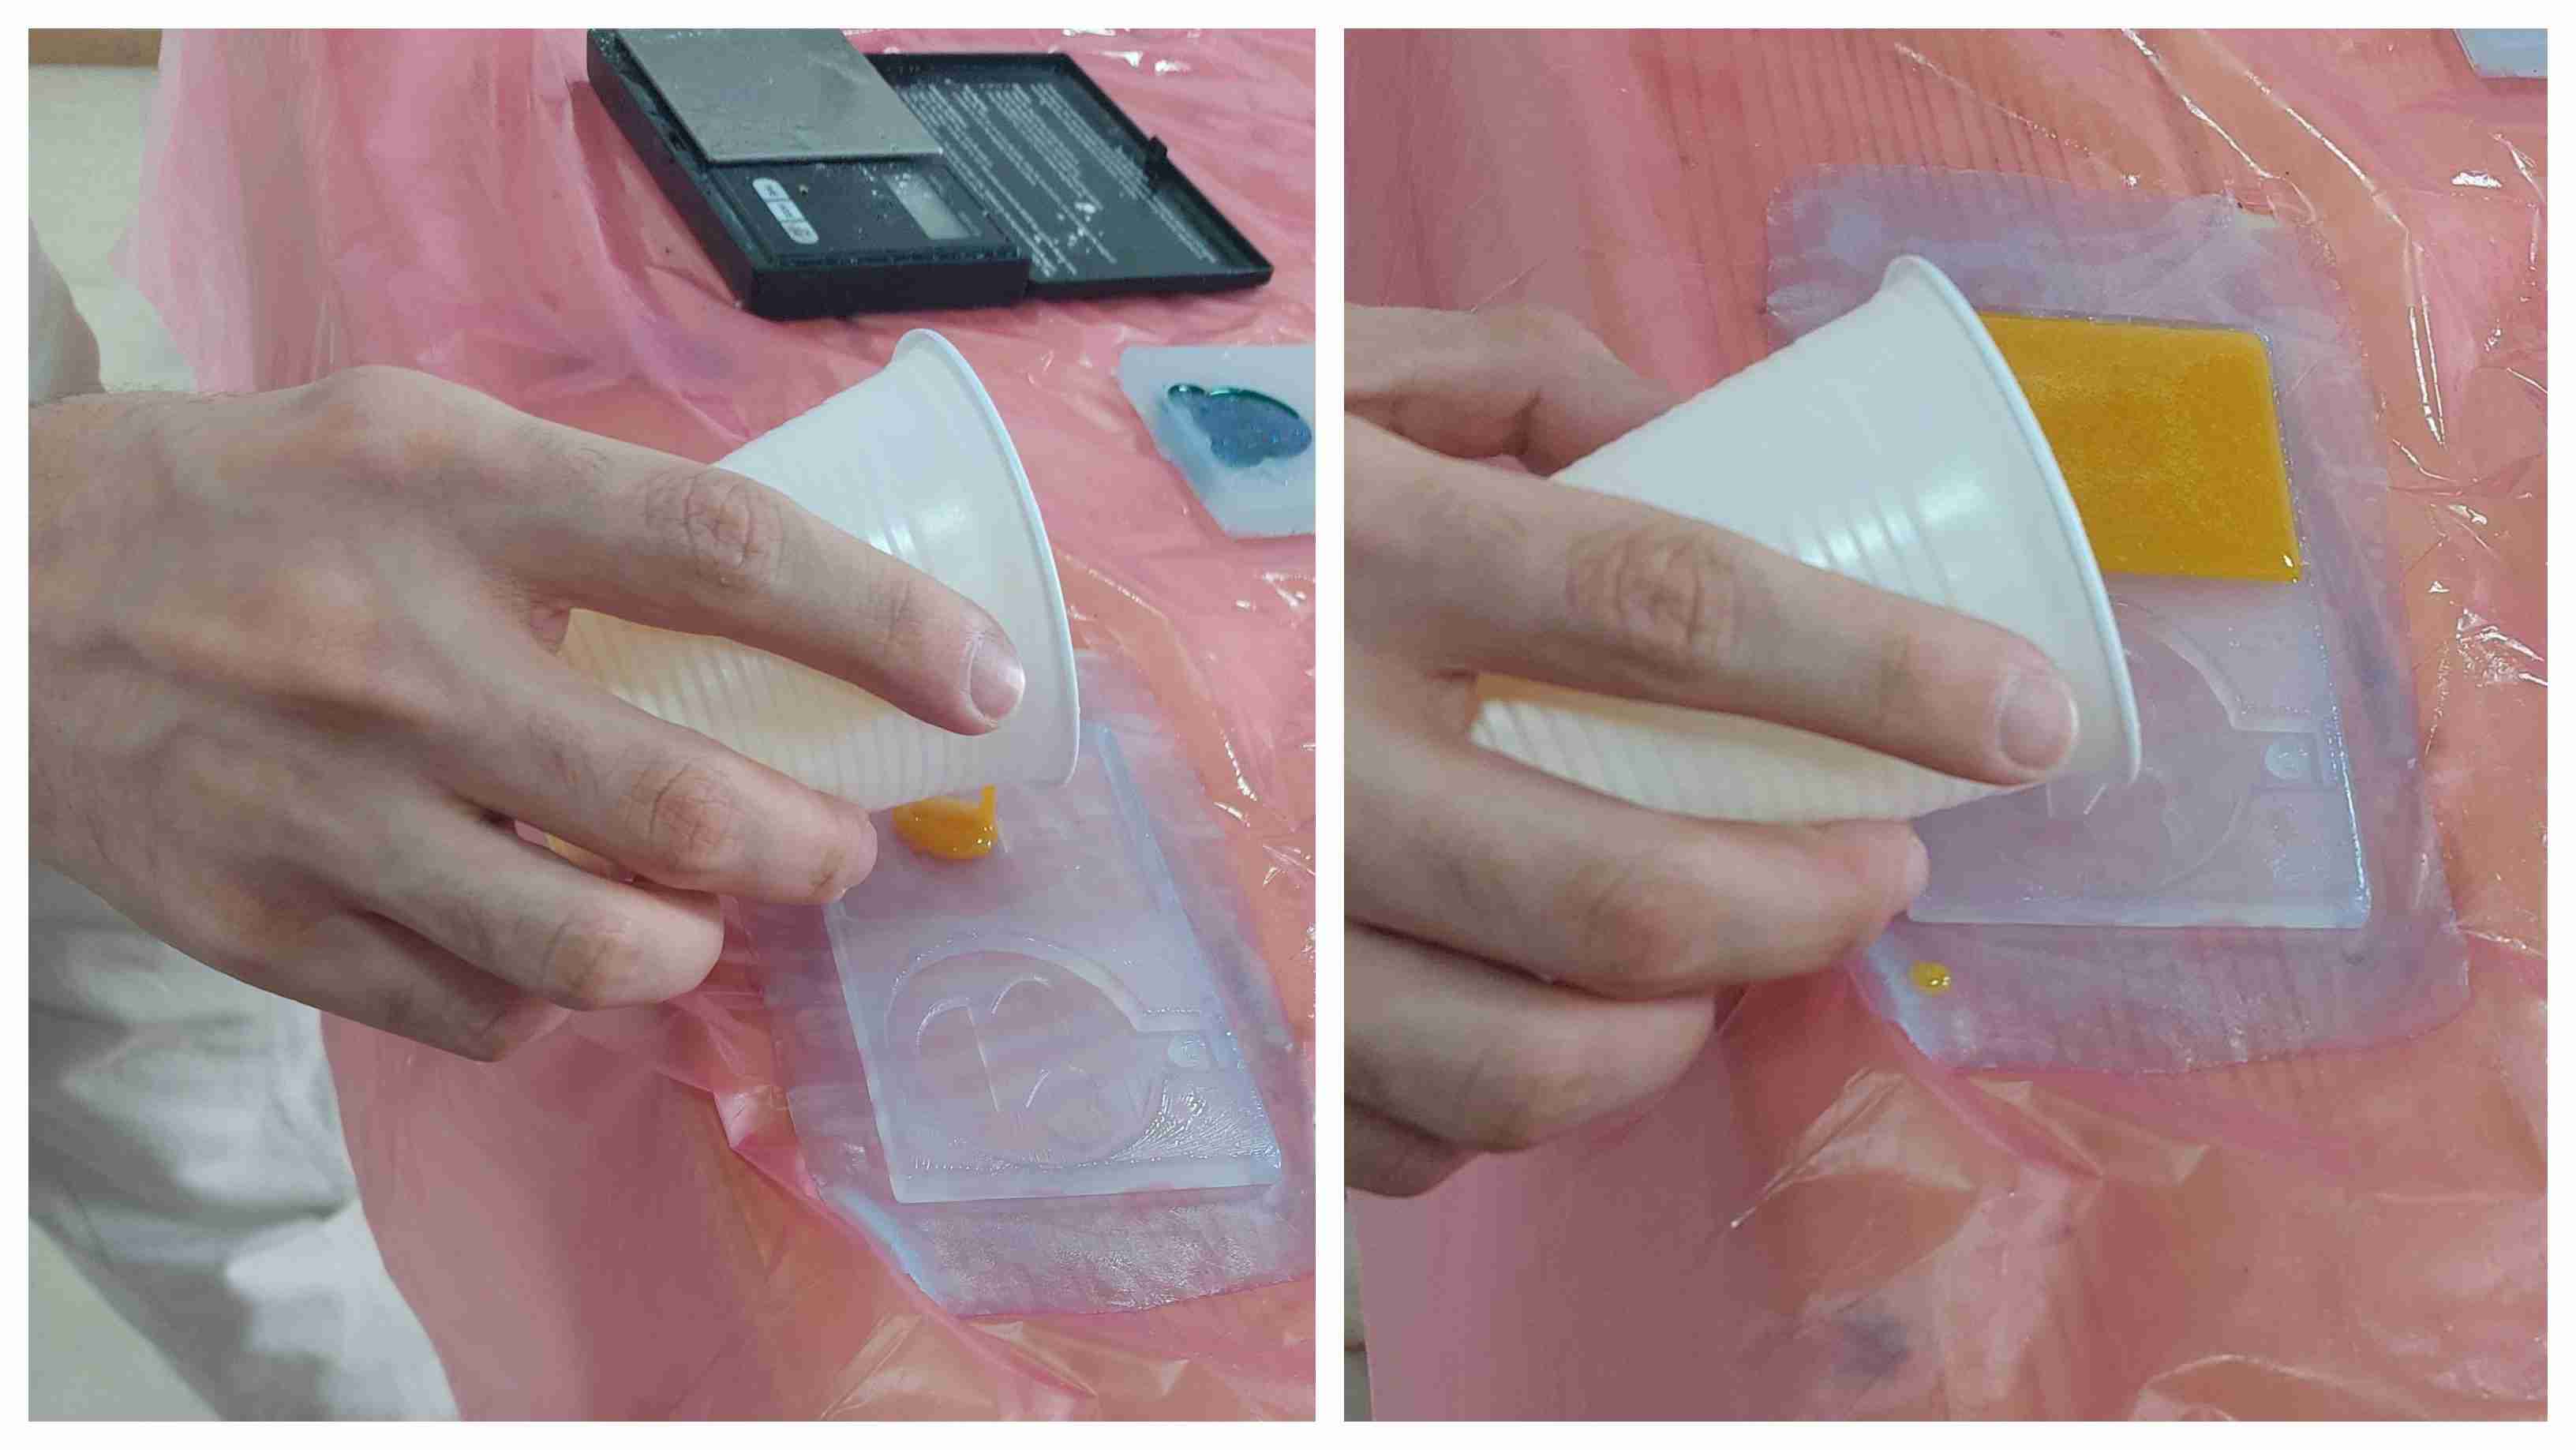
We mixed them together and also mixed yellow color with them and stirred them. The working time of resin is 45 minutes, and the curing time is 24 hours. After mixing them properly, we poured them onto a mould and kept them for 2 days (due to the weekend).
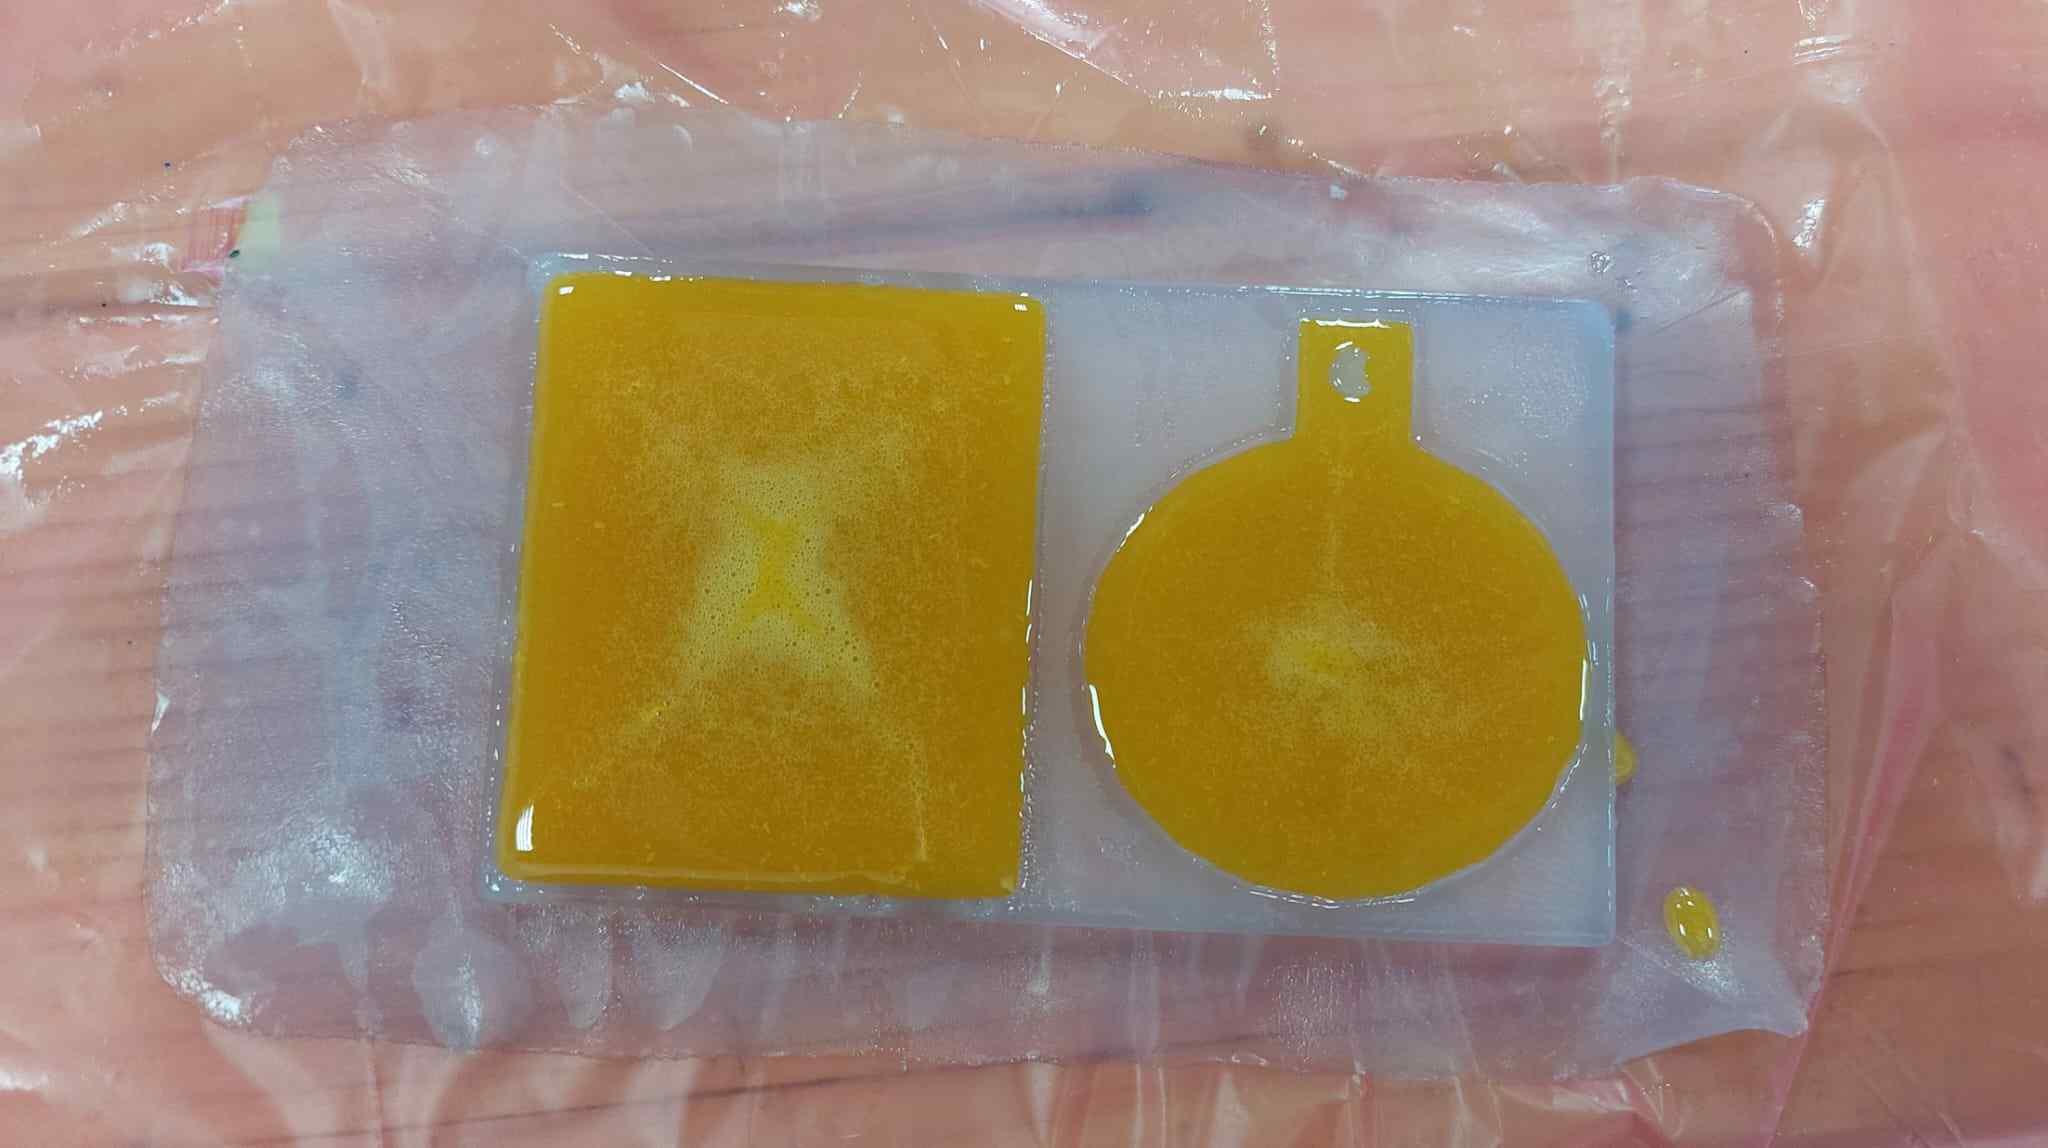
Hero shot
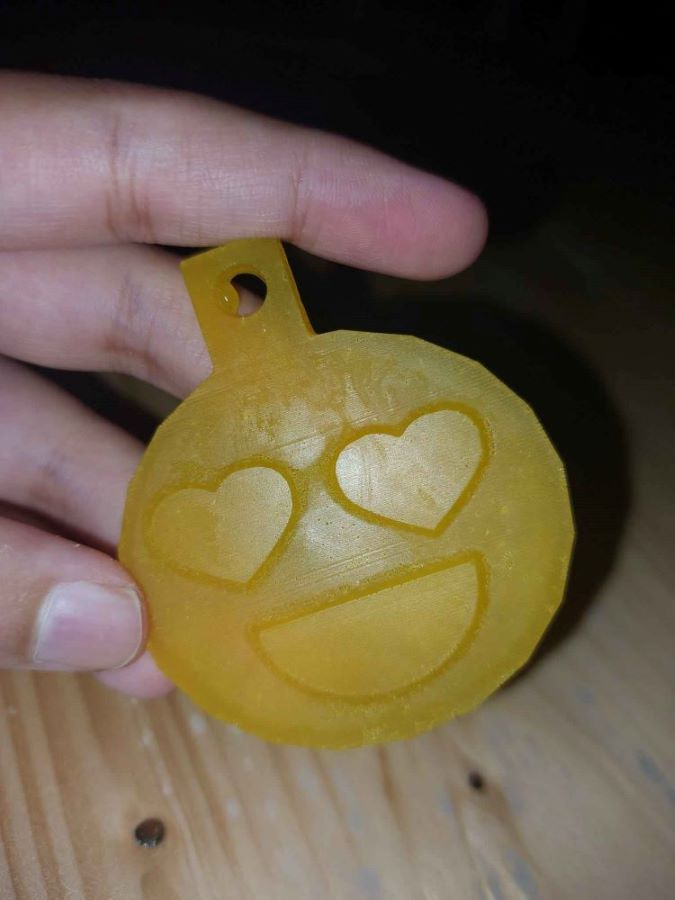
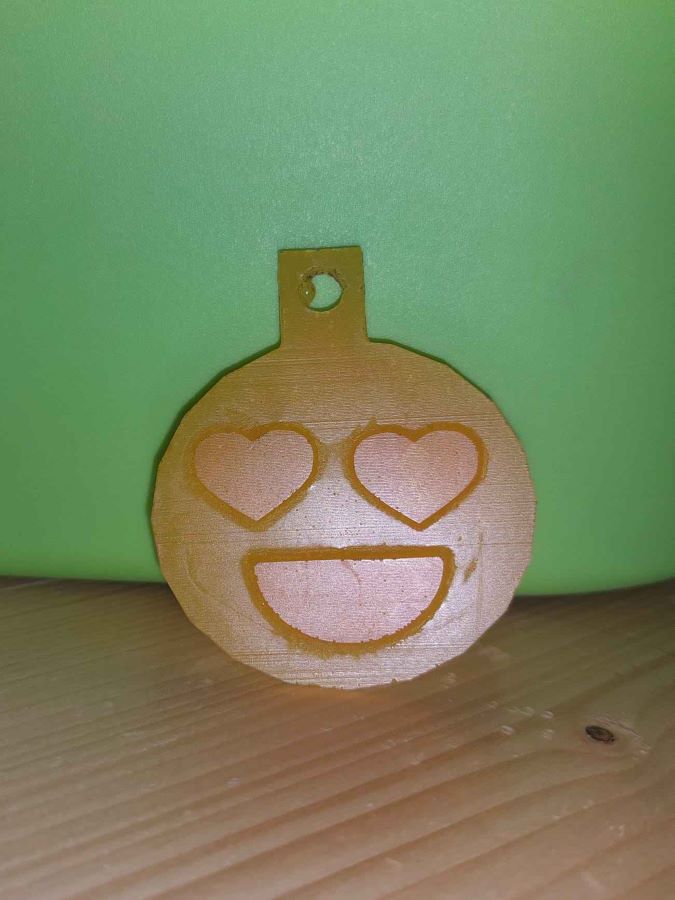
Remarks
This time we didn’t forget to wear gloves :) We followed all the instructions written on the box correctly and didn’t face any problems.