3. Computer controlled cutting
This week I learnt Vinyl and Laser cutting.
Vinyl Cutting
Vinyl cutting is the act of creating a design in a software program then sending that design through to a vinyl cutter, which will cut out our design using a blade on sheets of vinyl.
Vinyl Cutter
Vinyl cutter is a computer controlled cutting machine. Vinyl cutters are mainly used to make signs, stickers, banners and advertisements. Advertisements seen on automobiles and vans are often made with vinyl cut letters. Vinyl cutters use a blade to cut our design into certain materials. Once the vinyl cutter has done its work, we then need to weed the cut vinyl sheets — removing all the waste vinyl from the paper backed sheet — and transfer the final design onto wherever we want it to go — on a lapop, for instance, our cars, our walls, cards, scrapbooks, you name it! Vinyl cutters are able to cut our designs into paper, cardstock, tissue paper, reflectives, thermal transfer material and much more. Some can even emboss our designs on wood and aluminium.
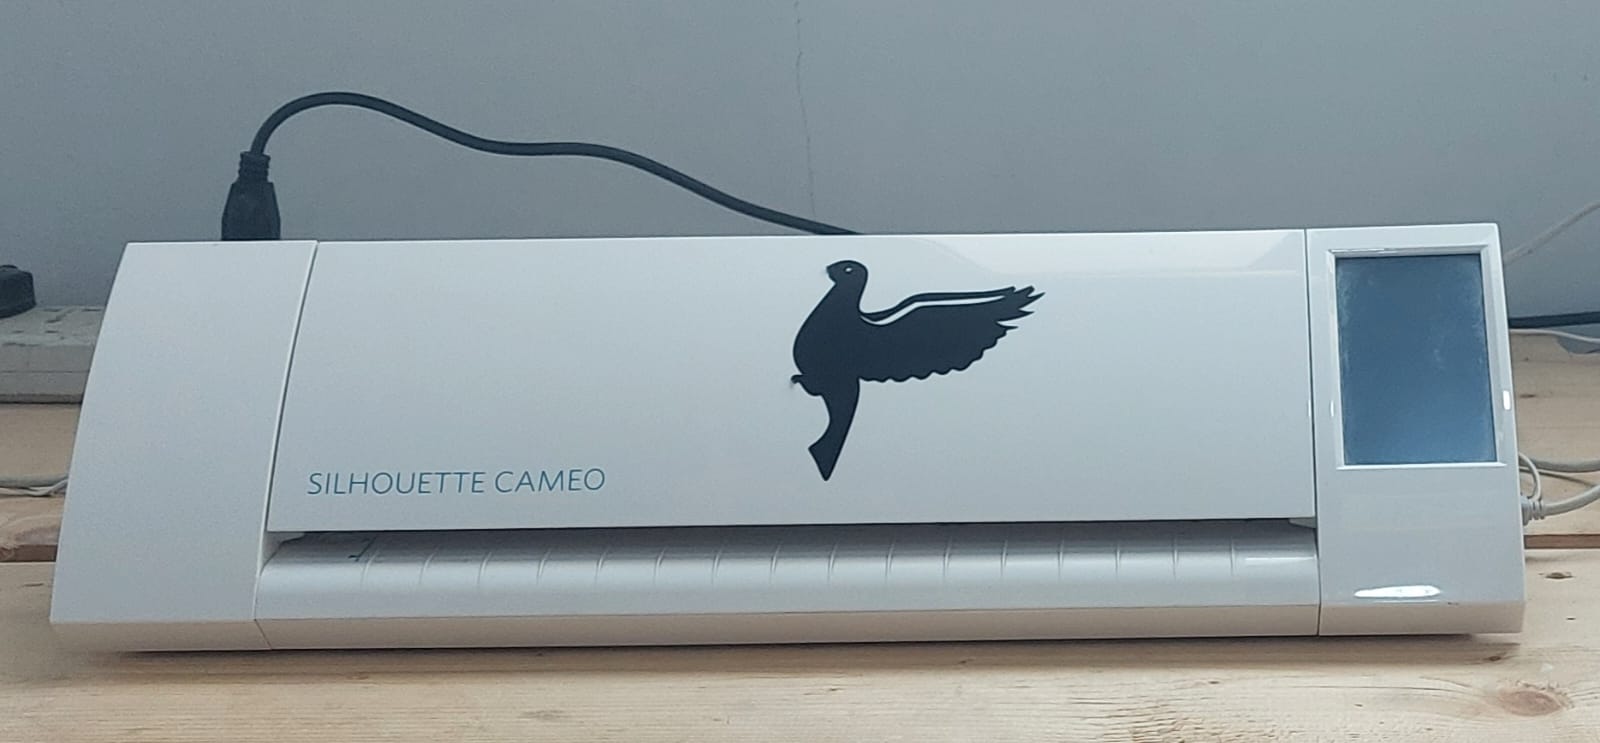
I used a Silhouette Cameo vinyl cutter.
Silhouette Cameo
The Silhouette Cameo is the ultimate DIY machine. It uses a small blade to cut over 100 materials, including paper, cardstock, vinyl, and fabric up to 12 inches wide. It has a full-color LCD touch screen. With the touch screen, we can load our media and access our machine settings. By adjusting the white rollers on the main roller shaft, it can cut the following media sizes: A4, letter, 12”, and 13” (12 in. material on the cutting mat). The spring rollers have been designed for a strong yet gentle way to hold project materials in place.
Working with Vinyl Cutter
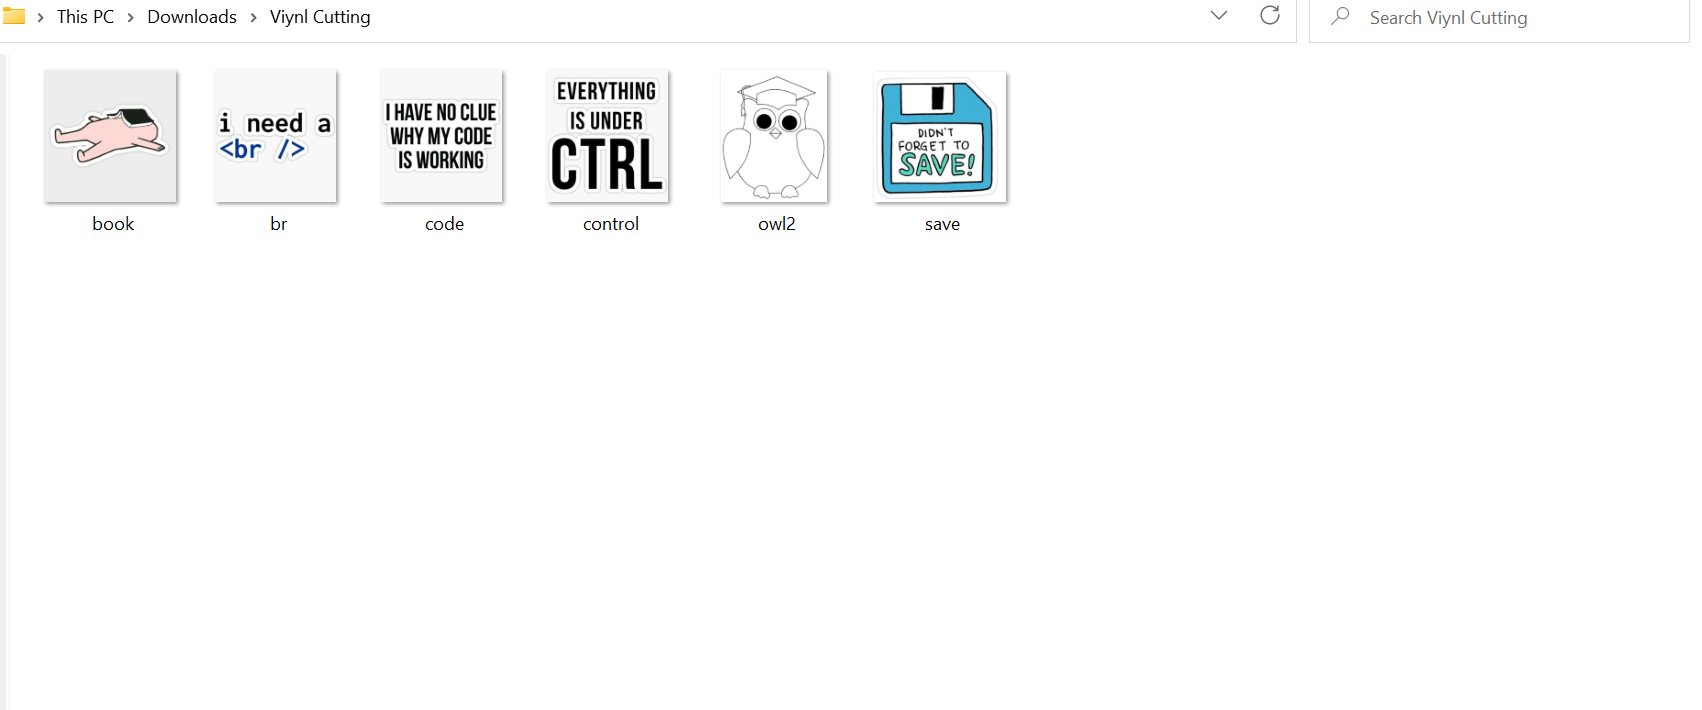
I downloaded these images from pinterest.
After downloading images, i downloaded Silhoutte Studio Software from here .
Silhouette Studio is a software which allows us to access or create designs and send them to a Silhouette cutting machine.
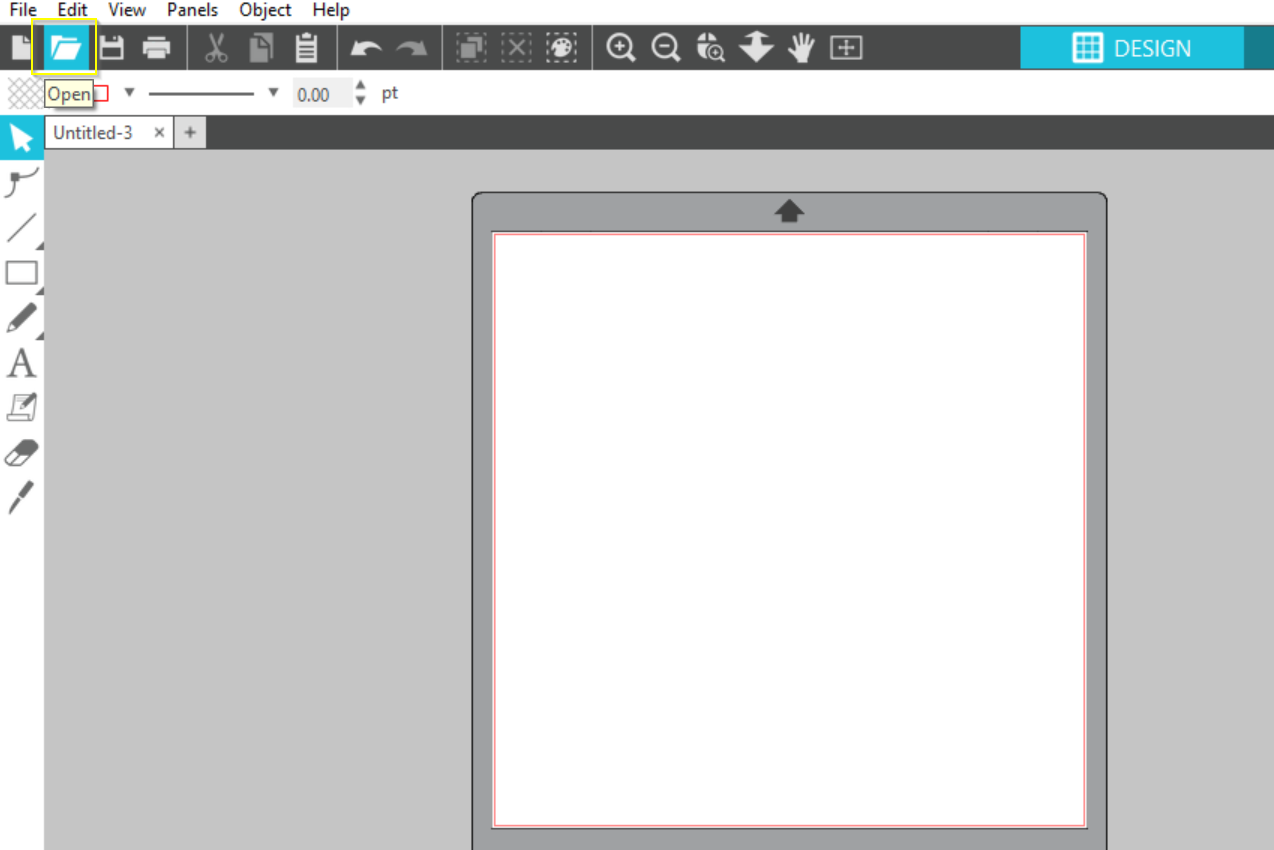
In the silhouette studio, I opened the images from my laptop.
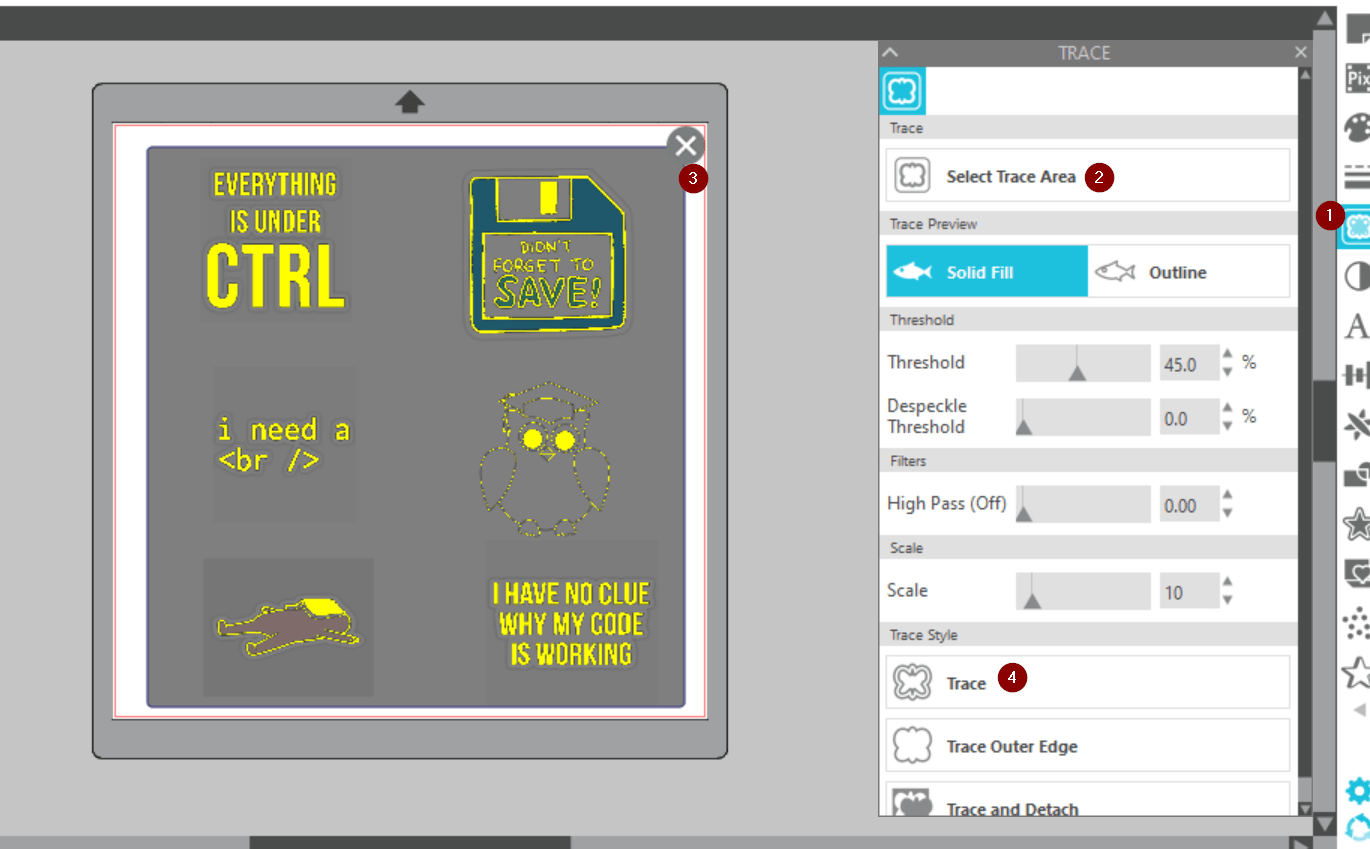
After opening the images, I traced them.
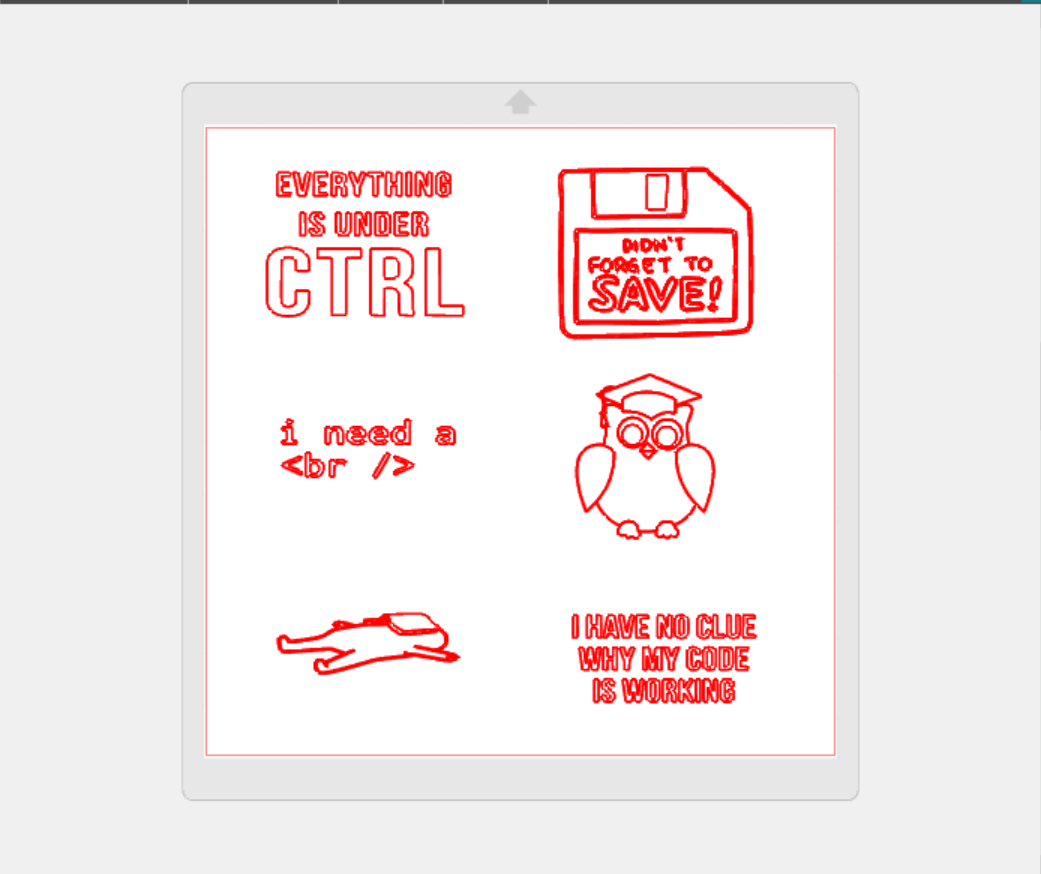
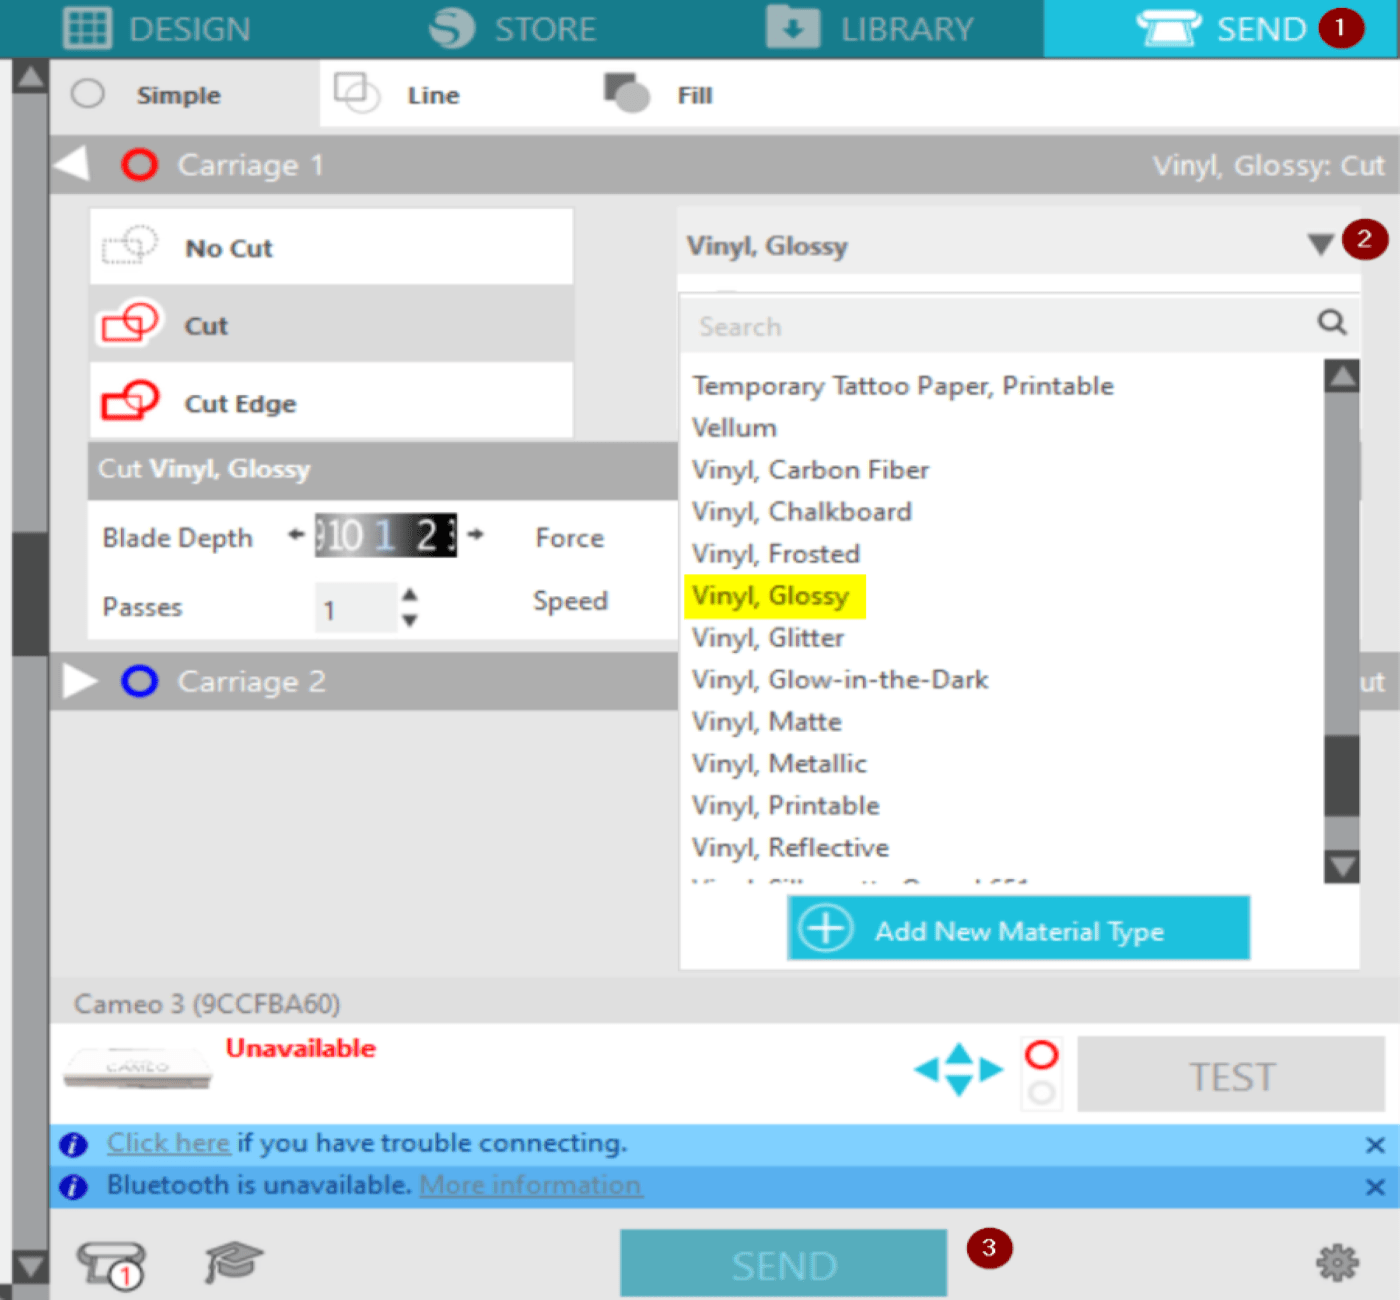
After tracing the images, I selected my type of vinyl from the material drop-down list in the Send panel. I fixed the vinyl on the cutting mat with glue. Then I loaded the vinyl into the silhouette Cameo vinyl cutter. After that, I clicked “Send.”

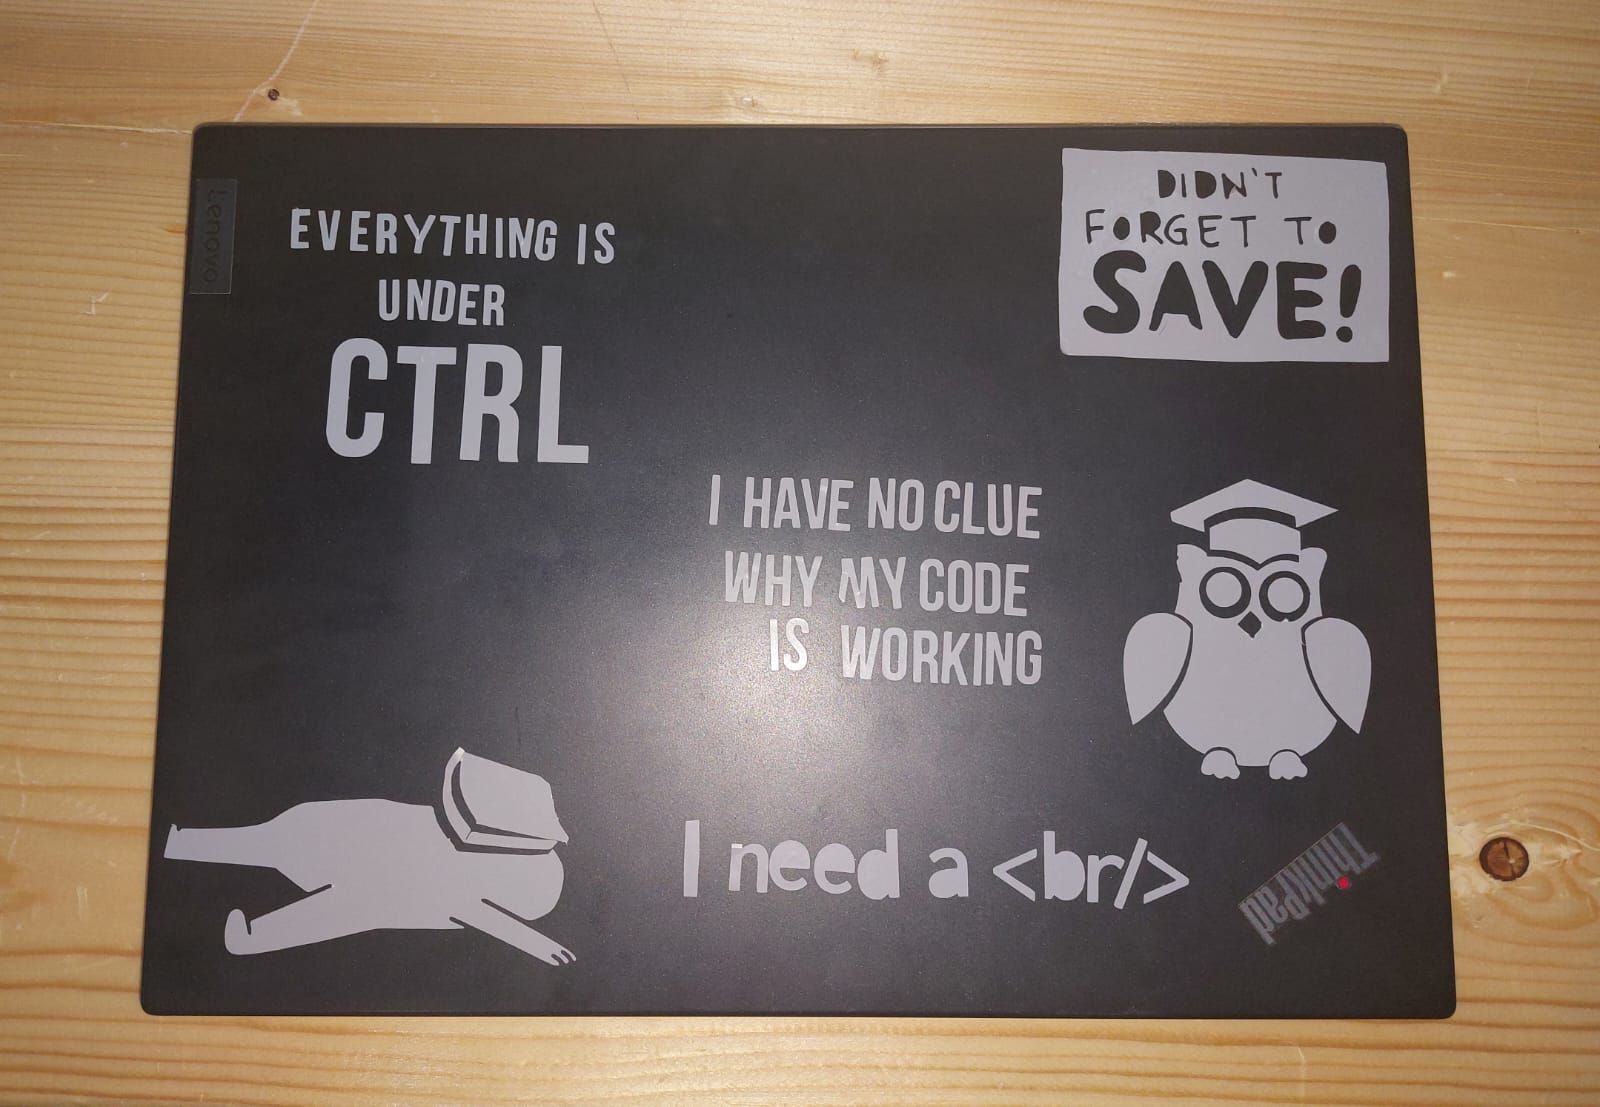
Hero Shot
Laser Cutting
Laser Cutting is a subtractive manufacturing technique that consists of cutting or engraving a material by means of a laser, resulting in a cut edge. Laser Cutting can be used on a number of materials such as plastic, wood, cardboard, etc.
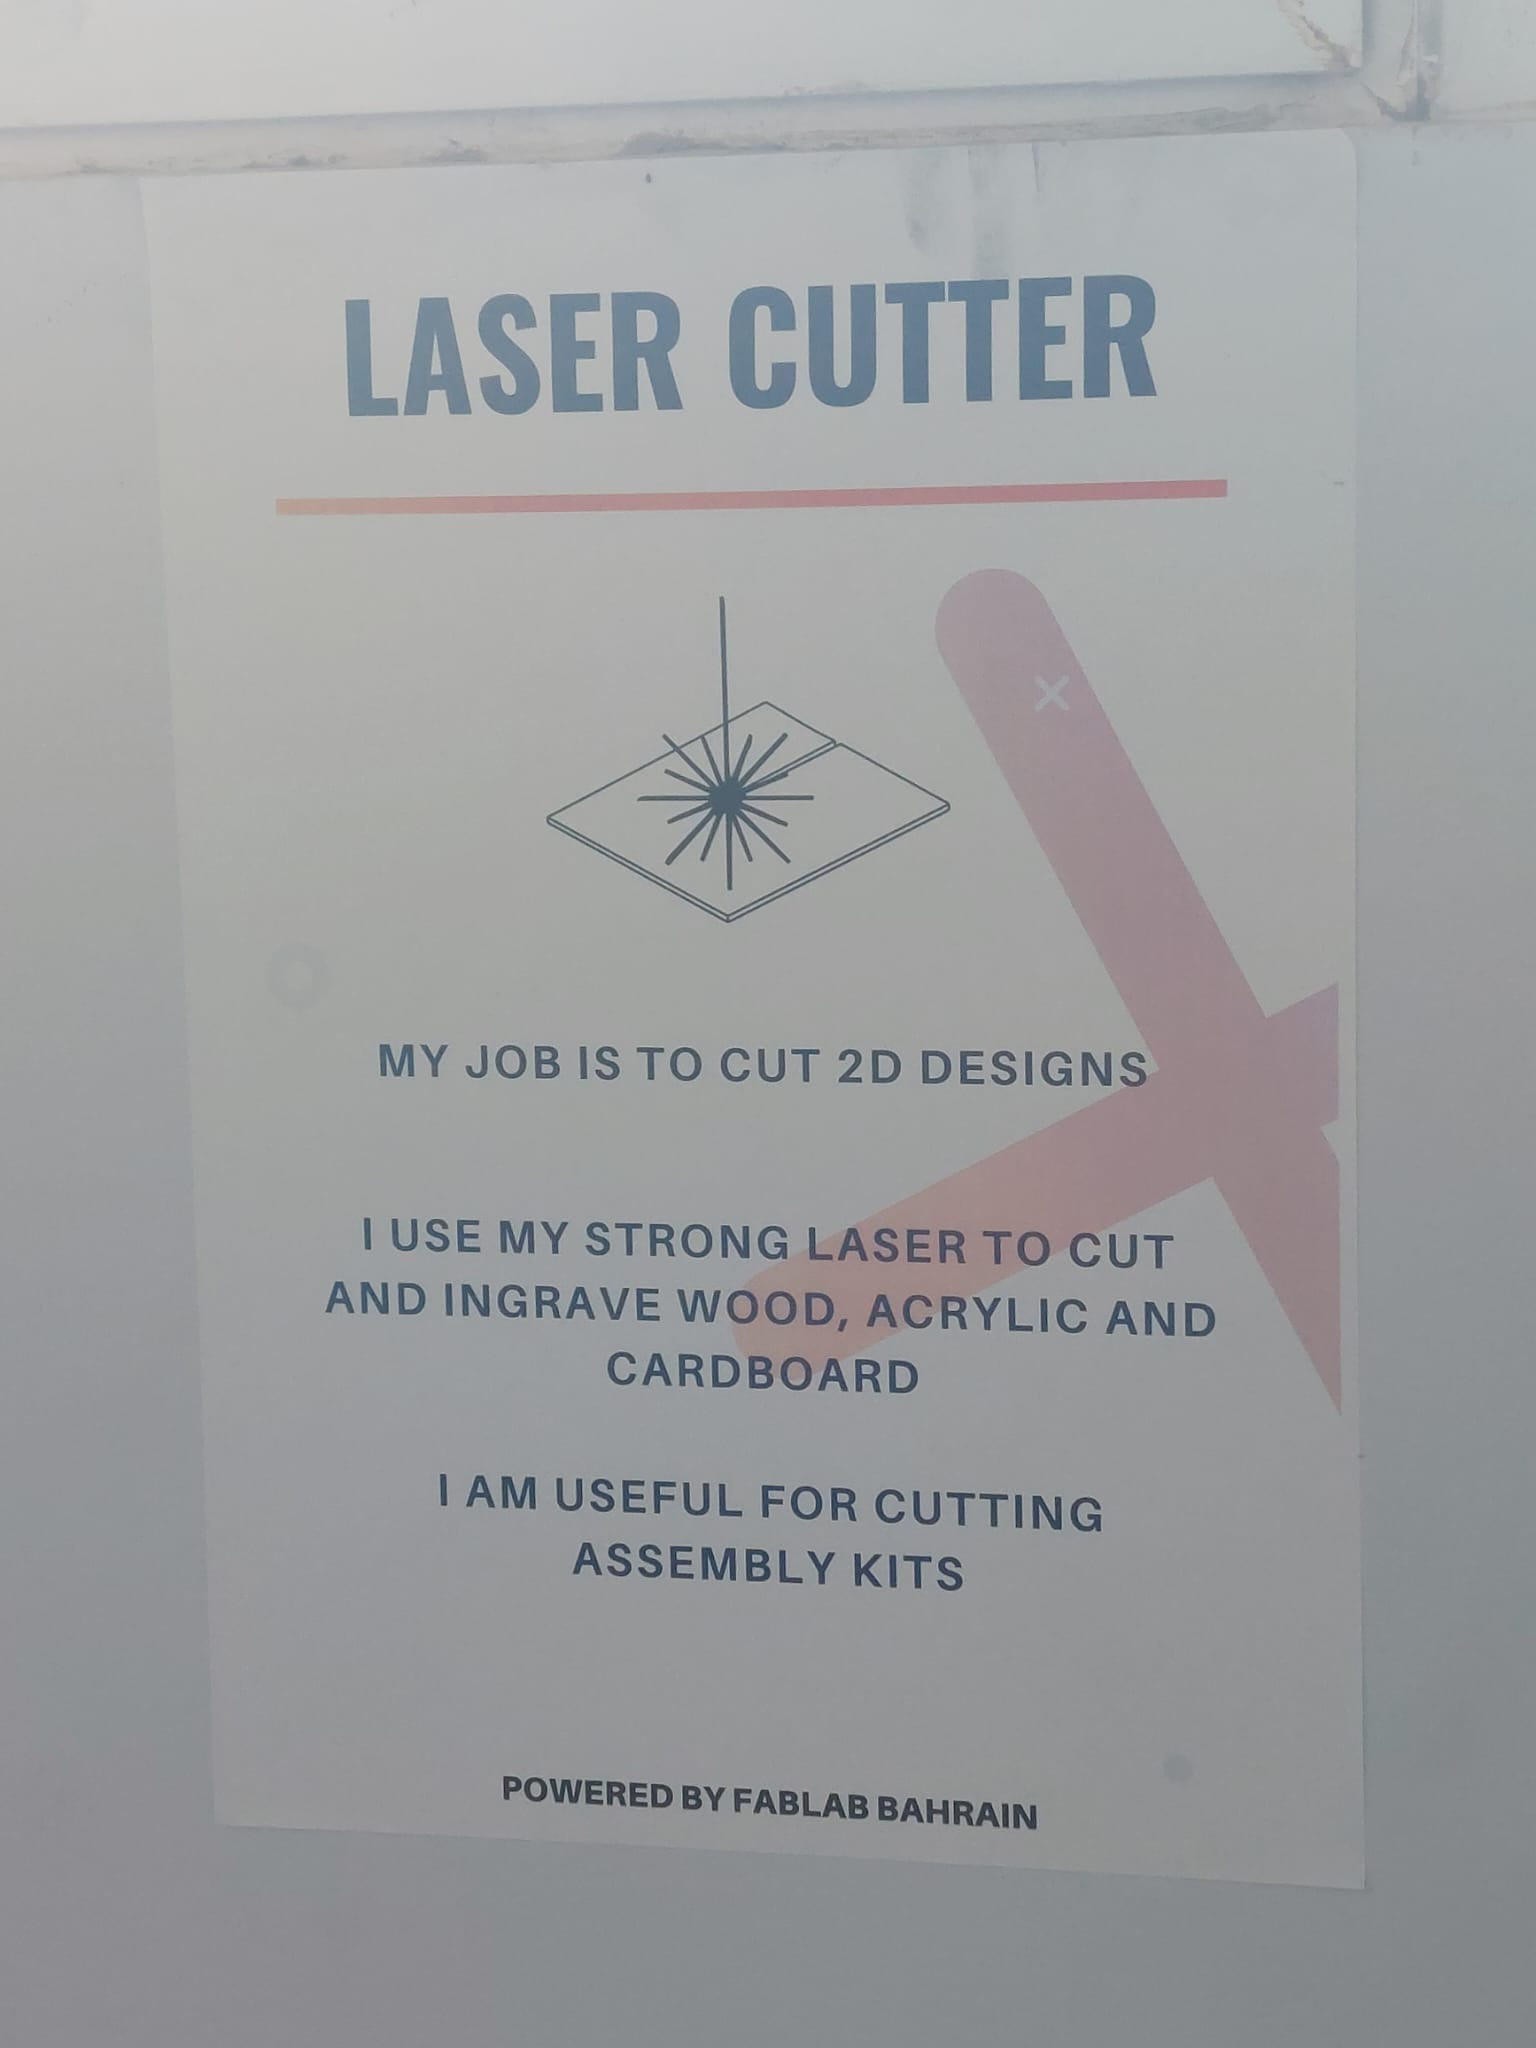
Laser Cutter
Laser cutter create patterns and designs by cutting into materials. A powerful laser beam is the source that melts, burns, or vaporizes the material. Essentially, laser cutting is a fabrication process that uses a thin, focused, laser beam to cut and etch materials into custom designs, patterns, and shapes as specified by a designer. This non-contact, thermal-based fabrication process is ideal for several materials, including wood, glass, paper, metal, plastic, and gemstone. It’s also capable of producing intricate parts without needing a custom-designed tool.
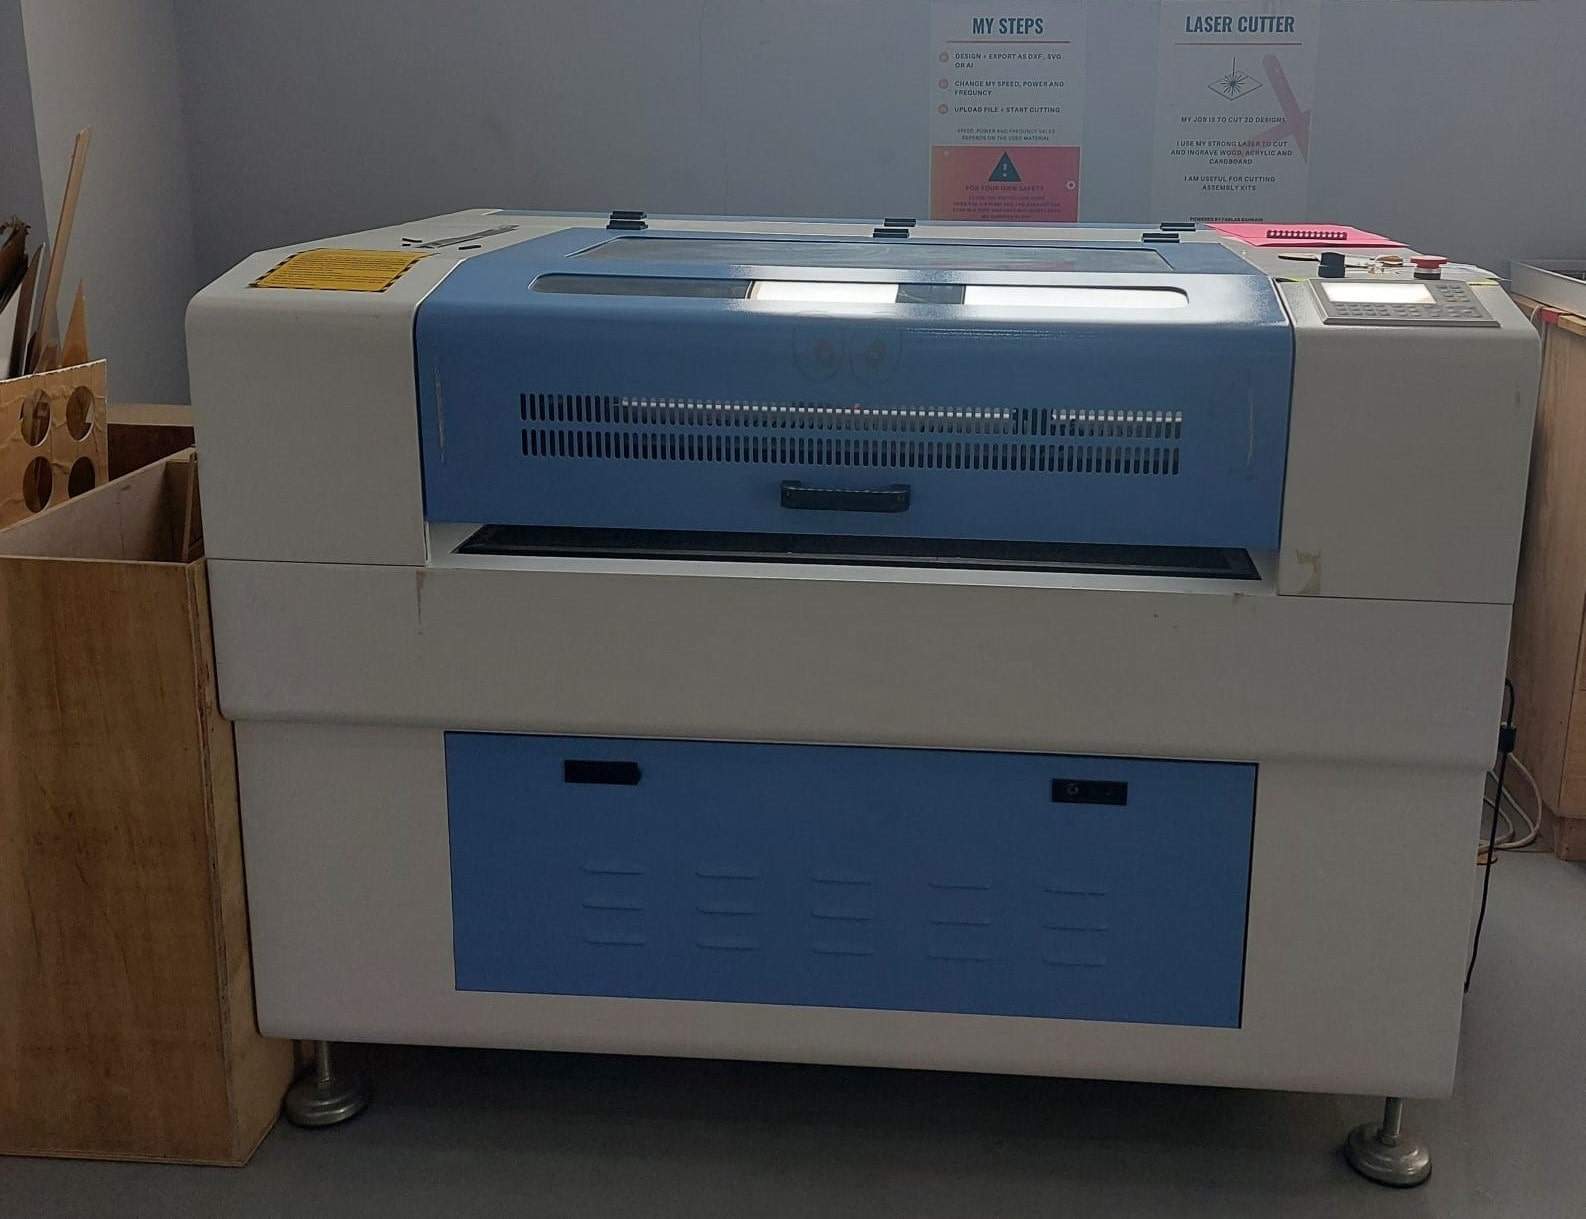
There are three main types of laser cutters: CO₂ (gas lasers), fiber lasers, and Nd: YAG or Nd:YVO (vanadate crystal lasers). In the Fab Lab Bahrain, we have a CO₂ laser cutter.
CO₂ laser cutter
A CO₂ laser cutter is a laser machine that uses a CO₂ laser beam to engrave and cut wood, MDF, plywood, chipboard, dieboard, cardborad, acrylic, fabric, jeans, plastic, leather, etc. and thin metals, which is widely used in industrial manufacturing applications, school education, small businesses, home businesses, small shops, and home shops. CO₂ laser cutting is a sheet metal processing technique that uses an electrically driven gas laser. The laser cuts contours into metal sheet material such as steel, stainless steel, or aluminium. CO₂ cutting technology is highly accurate and offers a lot of shaping freedom. This even makes it easy to cut complex shapes.
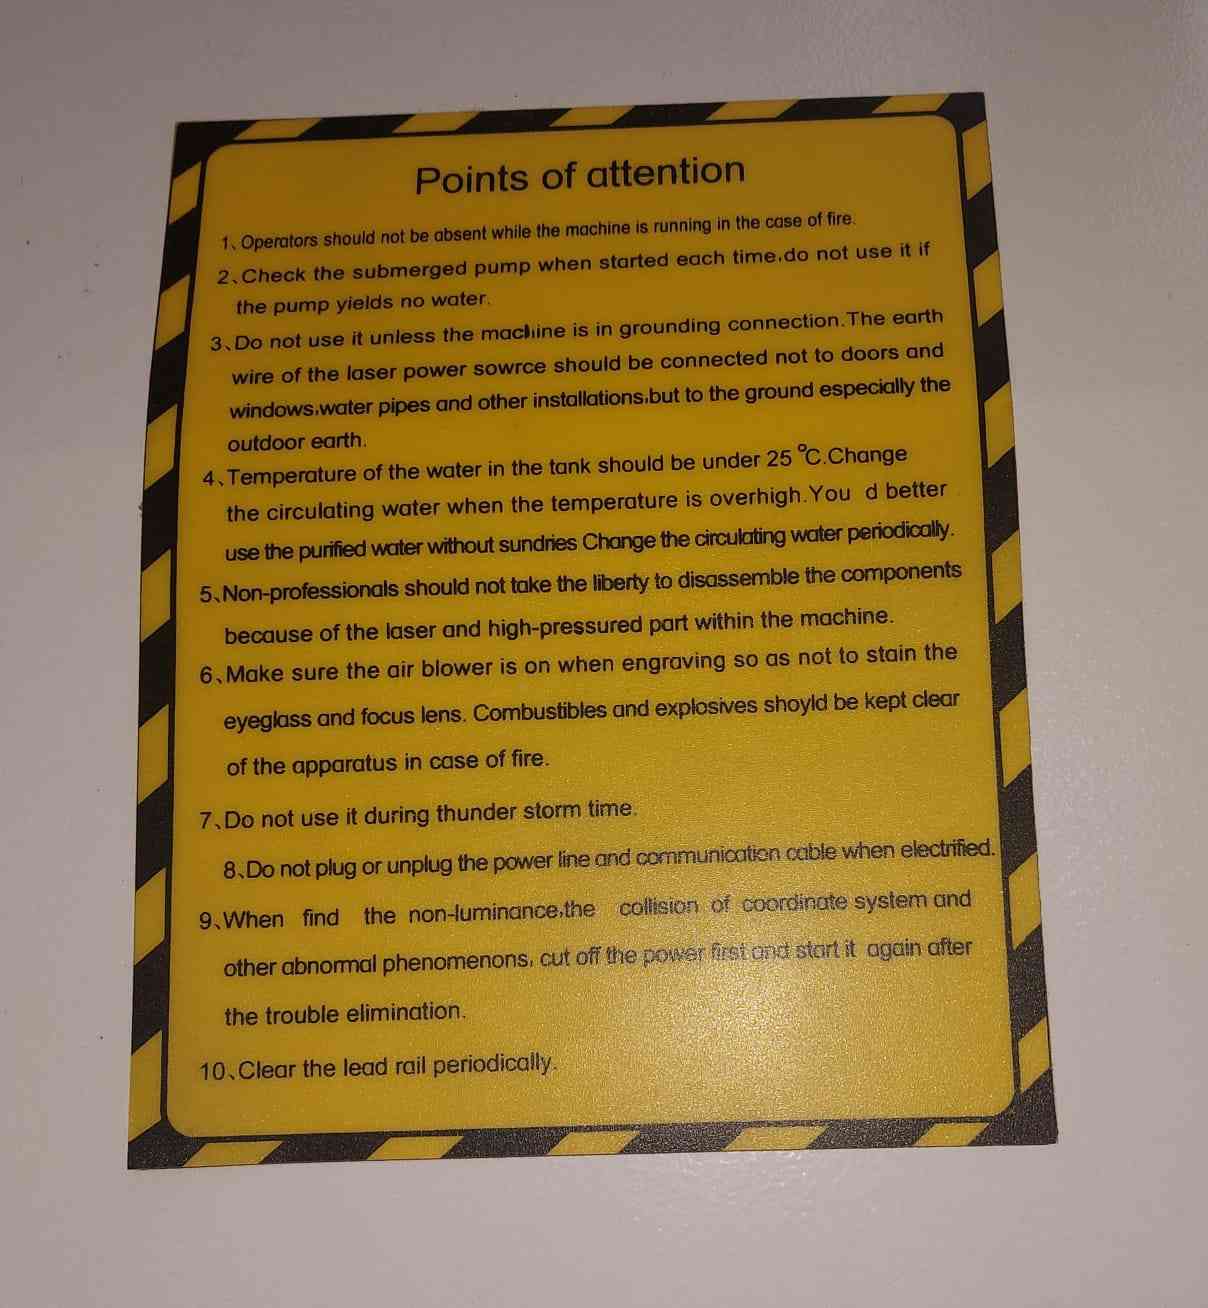
Safety Measurements
For your own safety close the protection door, open the air pump and exhaust fan. Stay in a safe distance but, do not leave laser cutter running alone.
In the case of an emergency, the fire blanket can be used to extinguish the flames. It is always placed next to the machine.
![]()
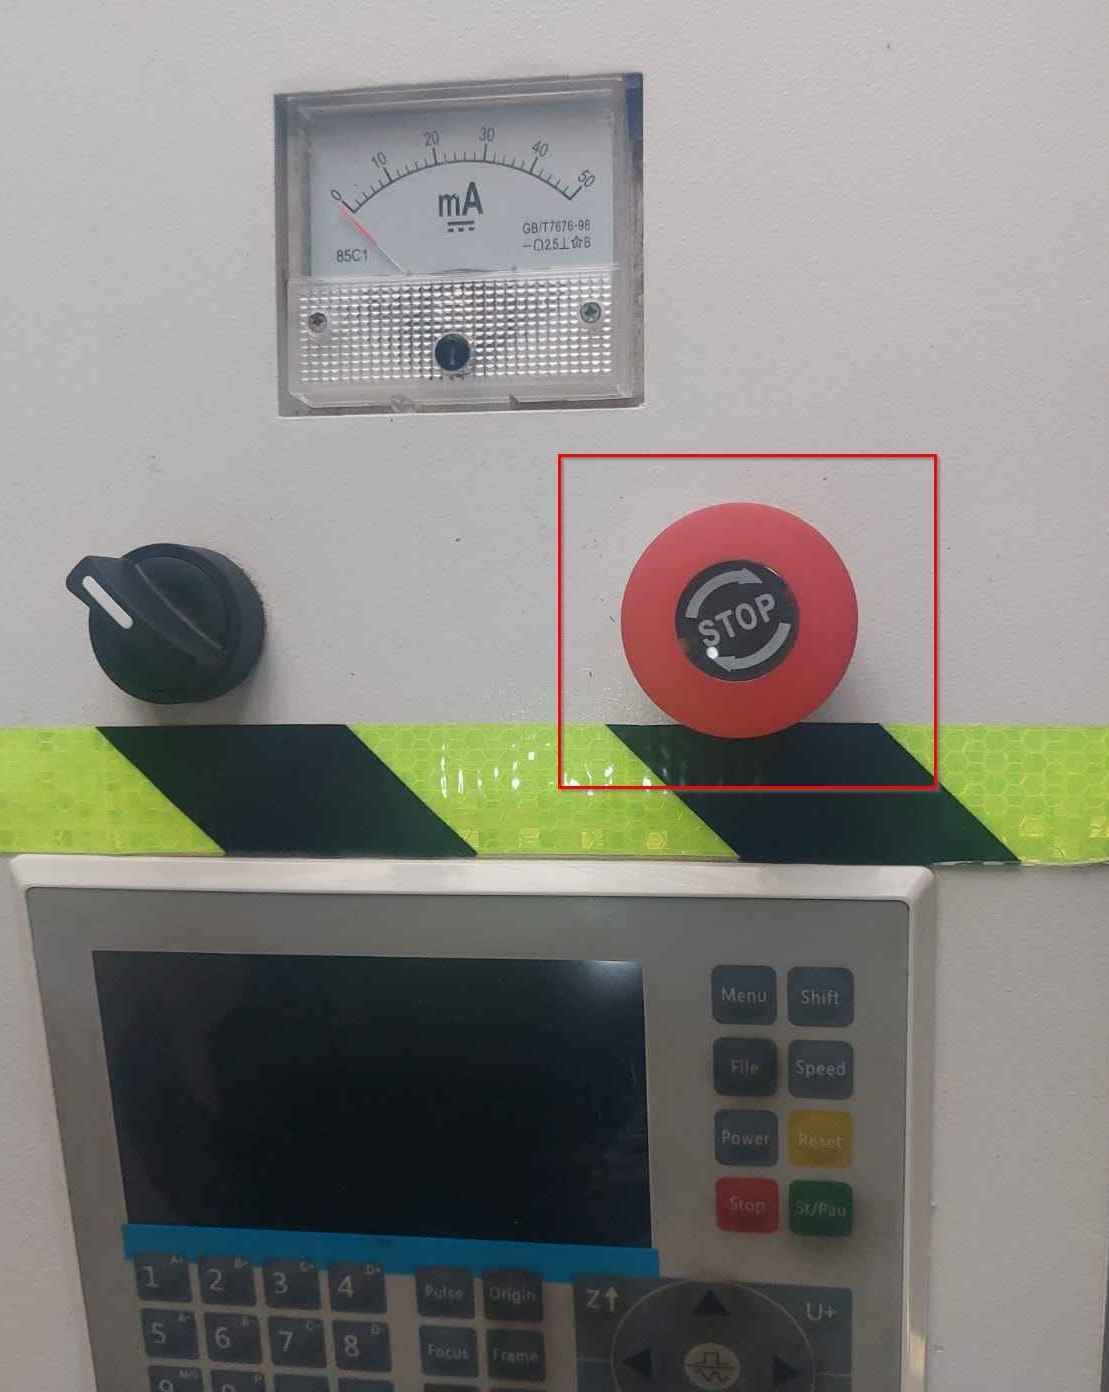
And in the case of any emergency, stop the machine. Also, the extension wire can also be cut off, to avoid spread of fire.

Group Assignment
In this group assignment we explored the characteristics of the CO₂ laser cutter including the focus, power, speed, rate, kerf, and joint clearance. To see more details about group assignment visit Jenan.Alhamad’s website.
Individual Assignment
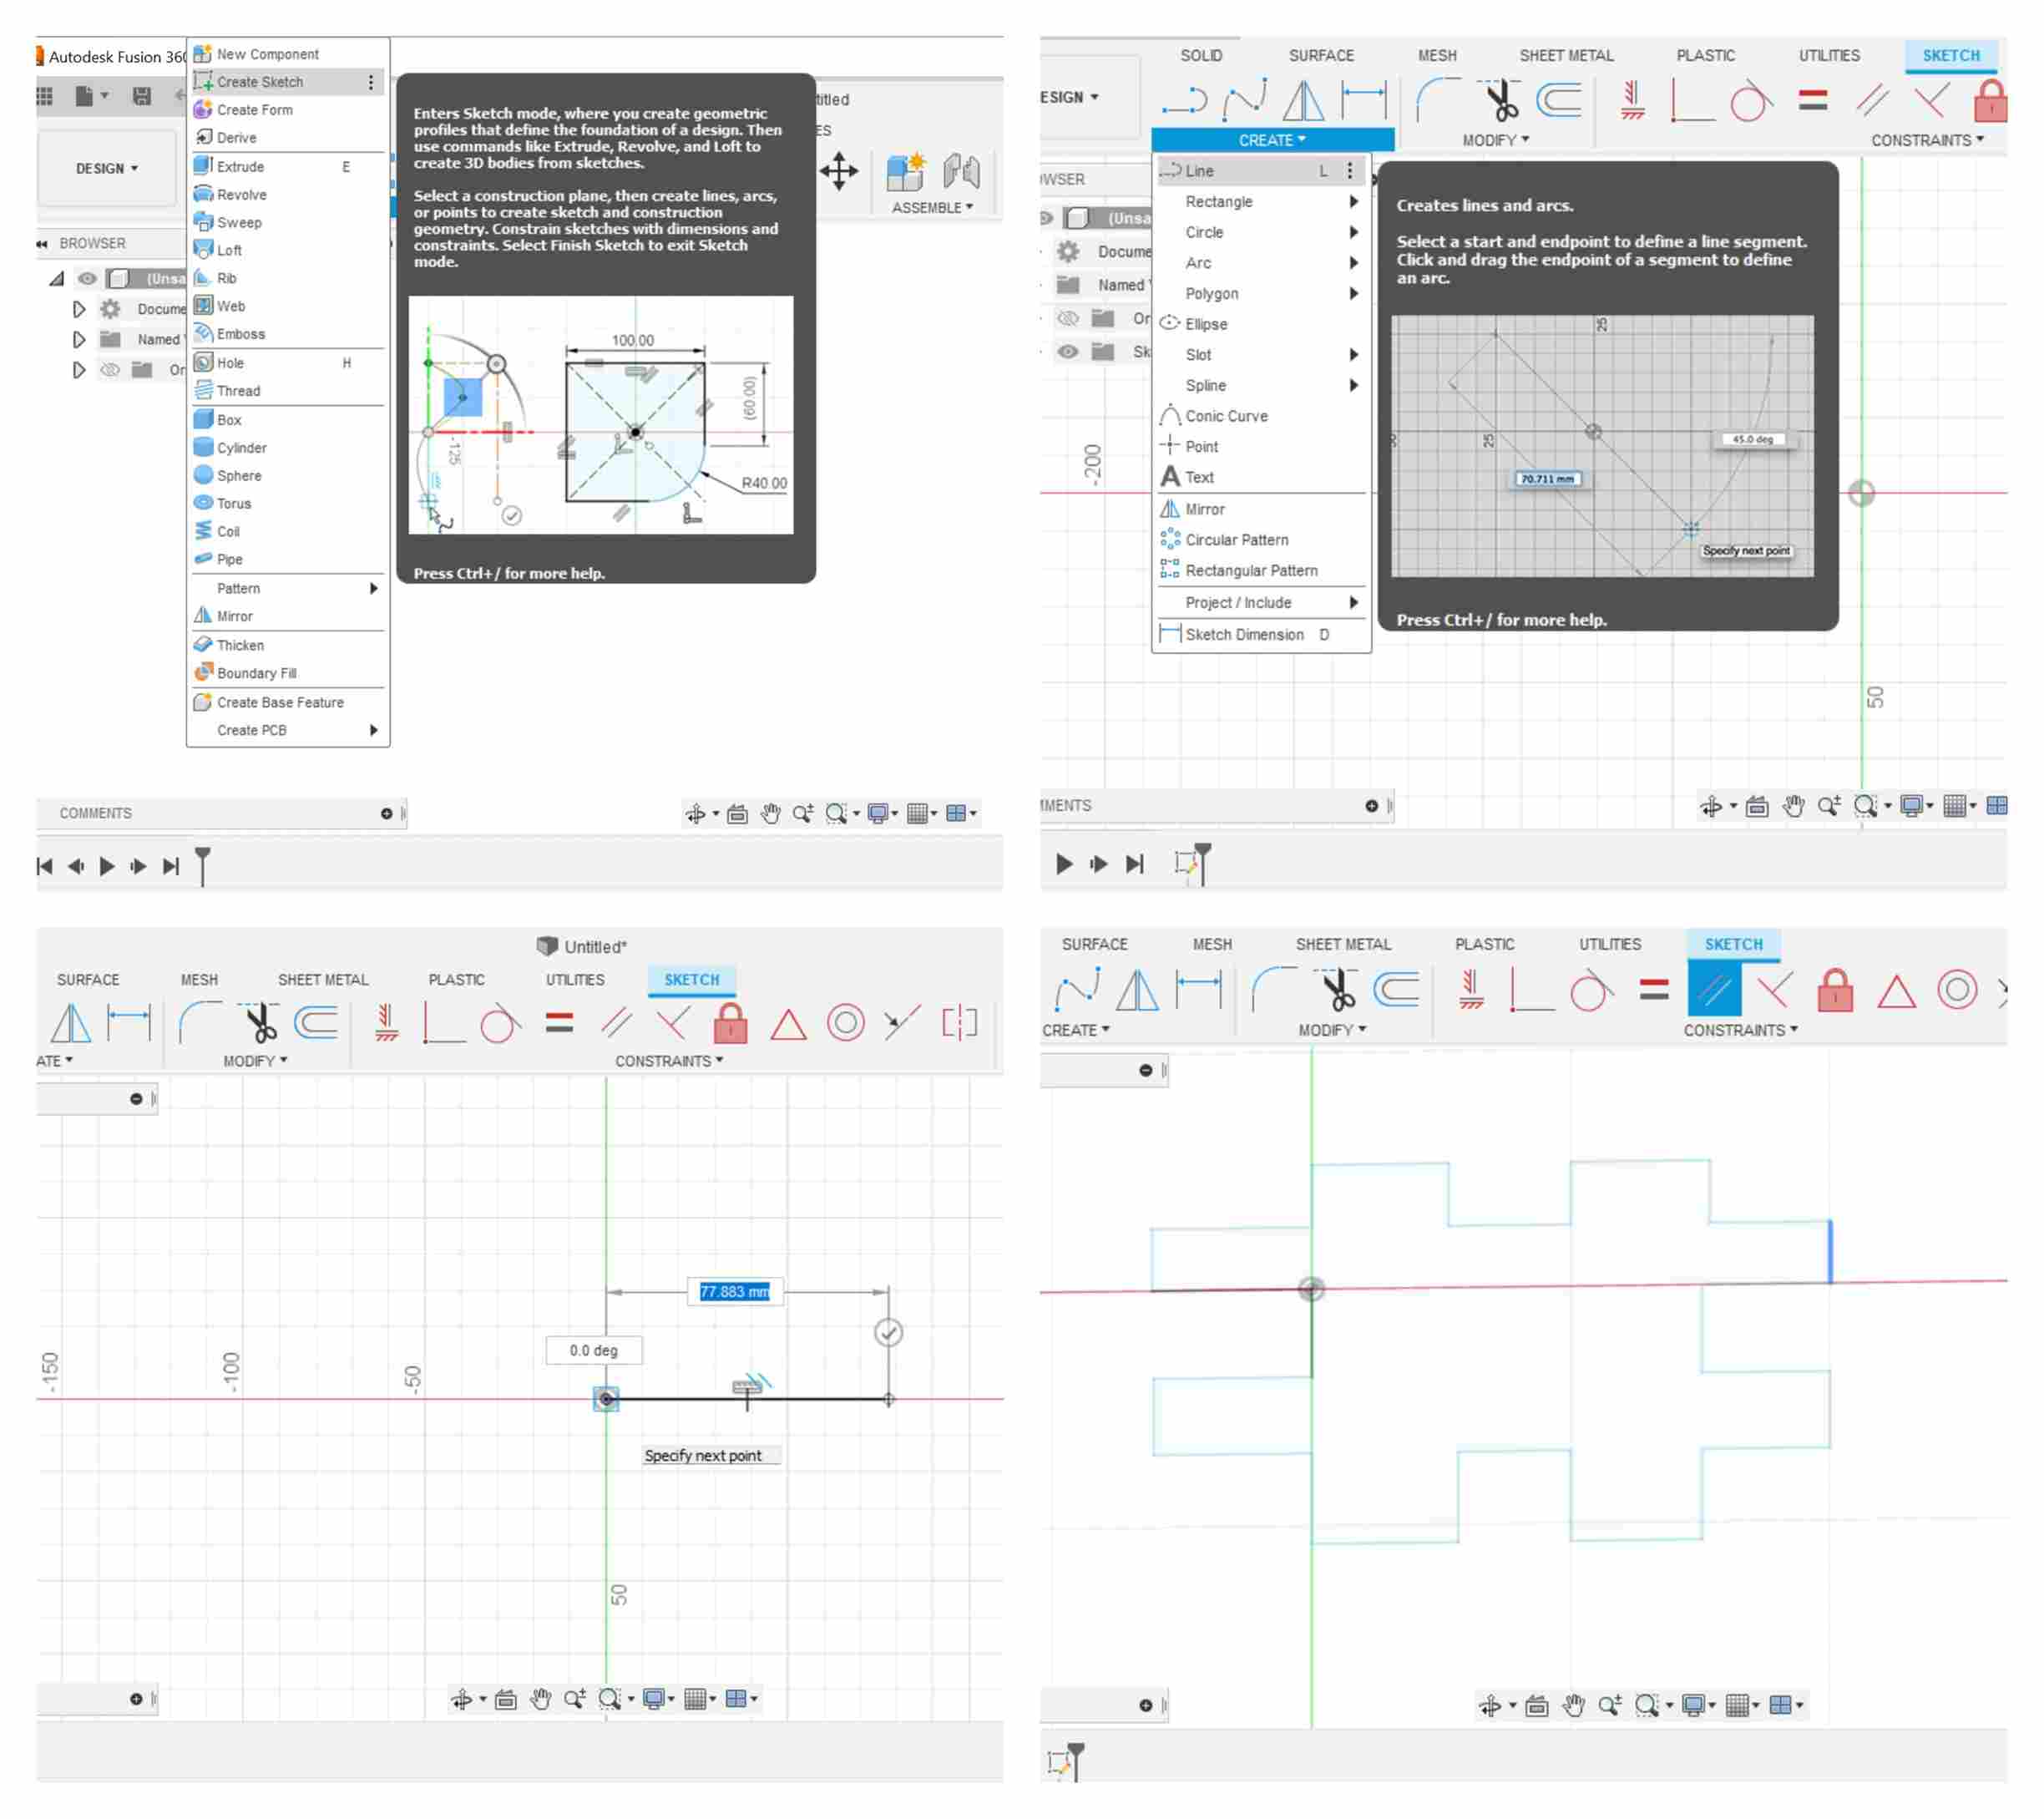
Creating Parametric design in Fusion360
I was creating the design of the base of a pencil case by following this tutorial, then I modified this design by changing the dimensions and create a random design for a press-fit kit.
Using the “Sketch Tool”.
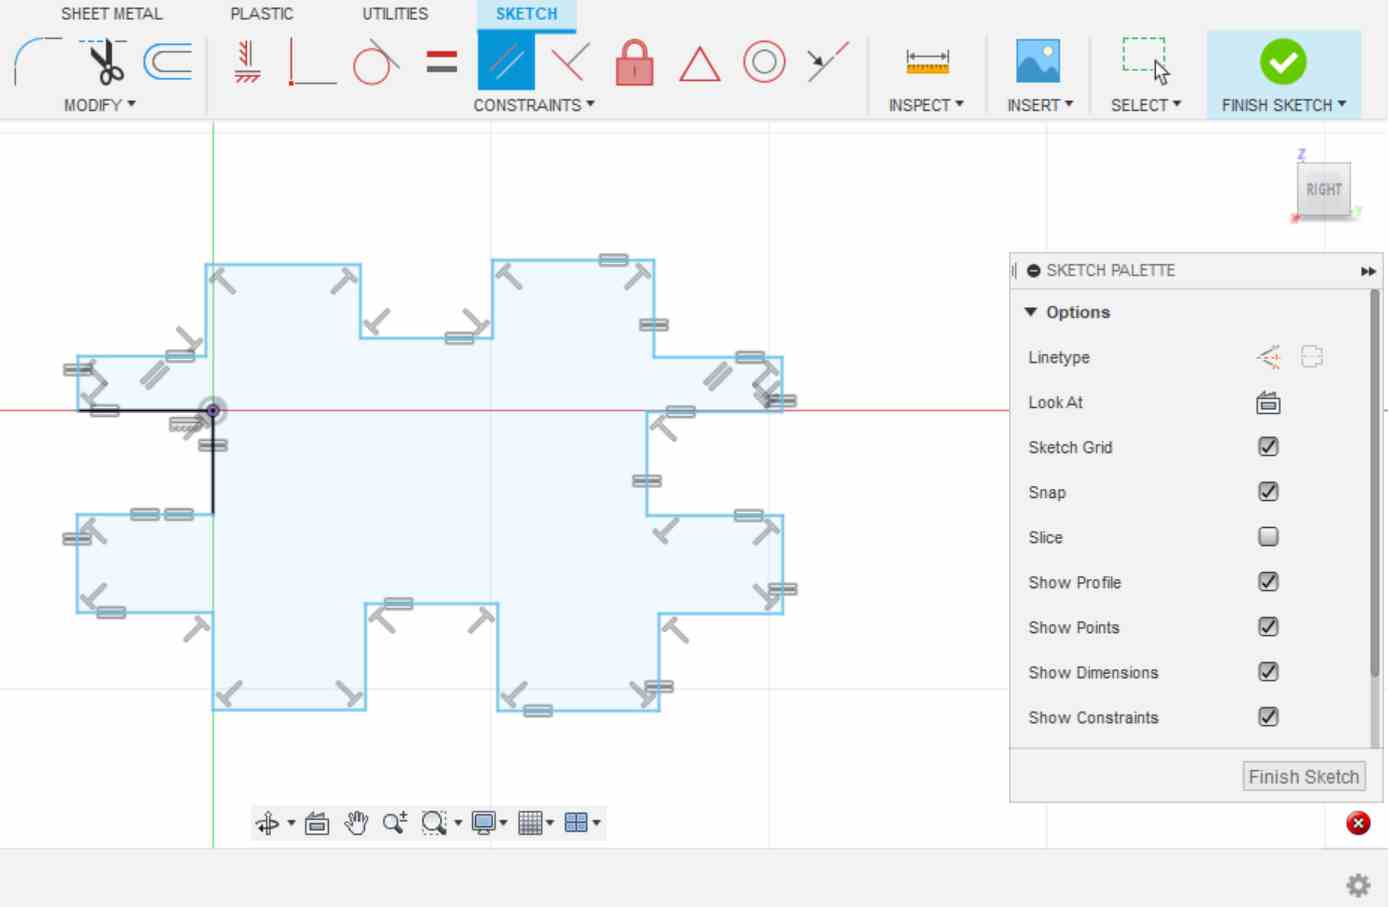
Applying constraints.
Adding dimensions and exit the sketch area.
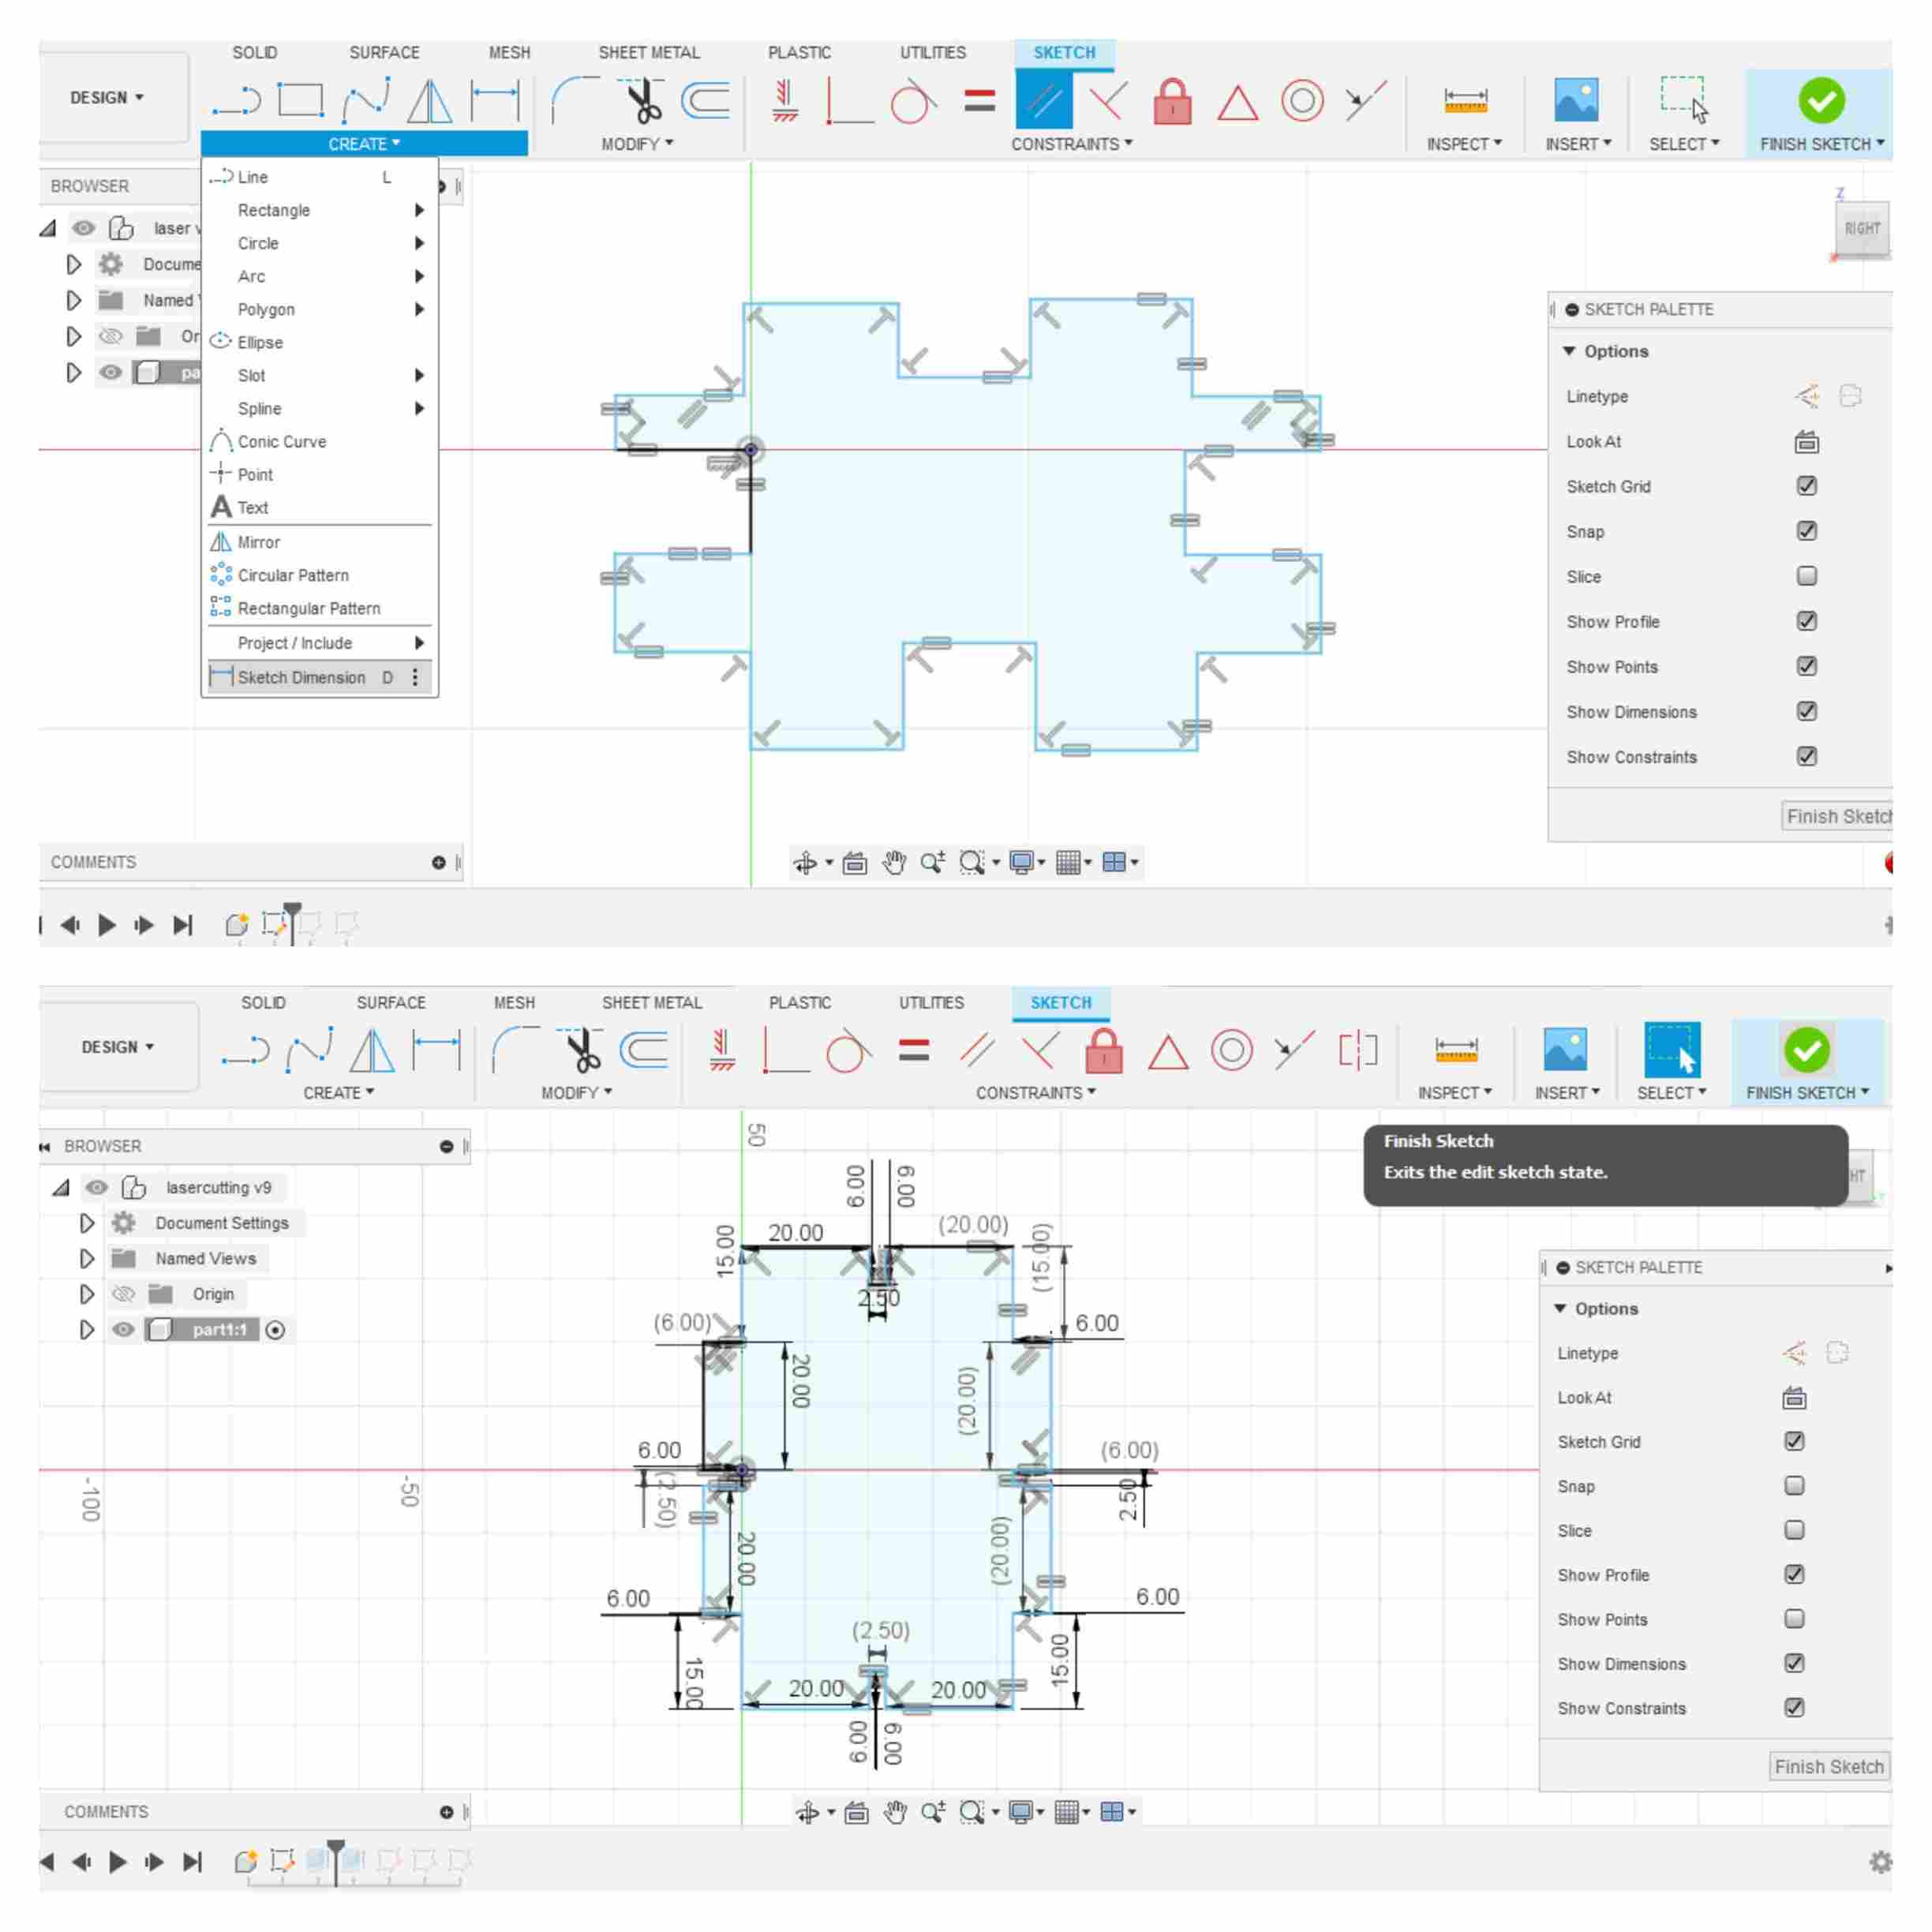
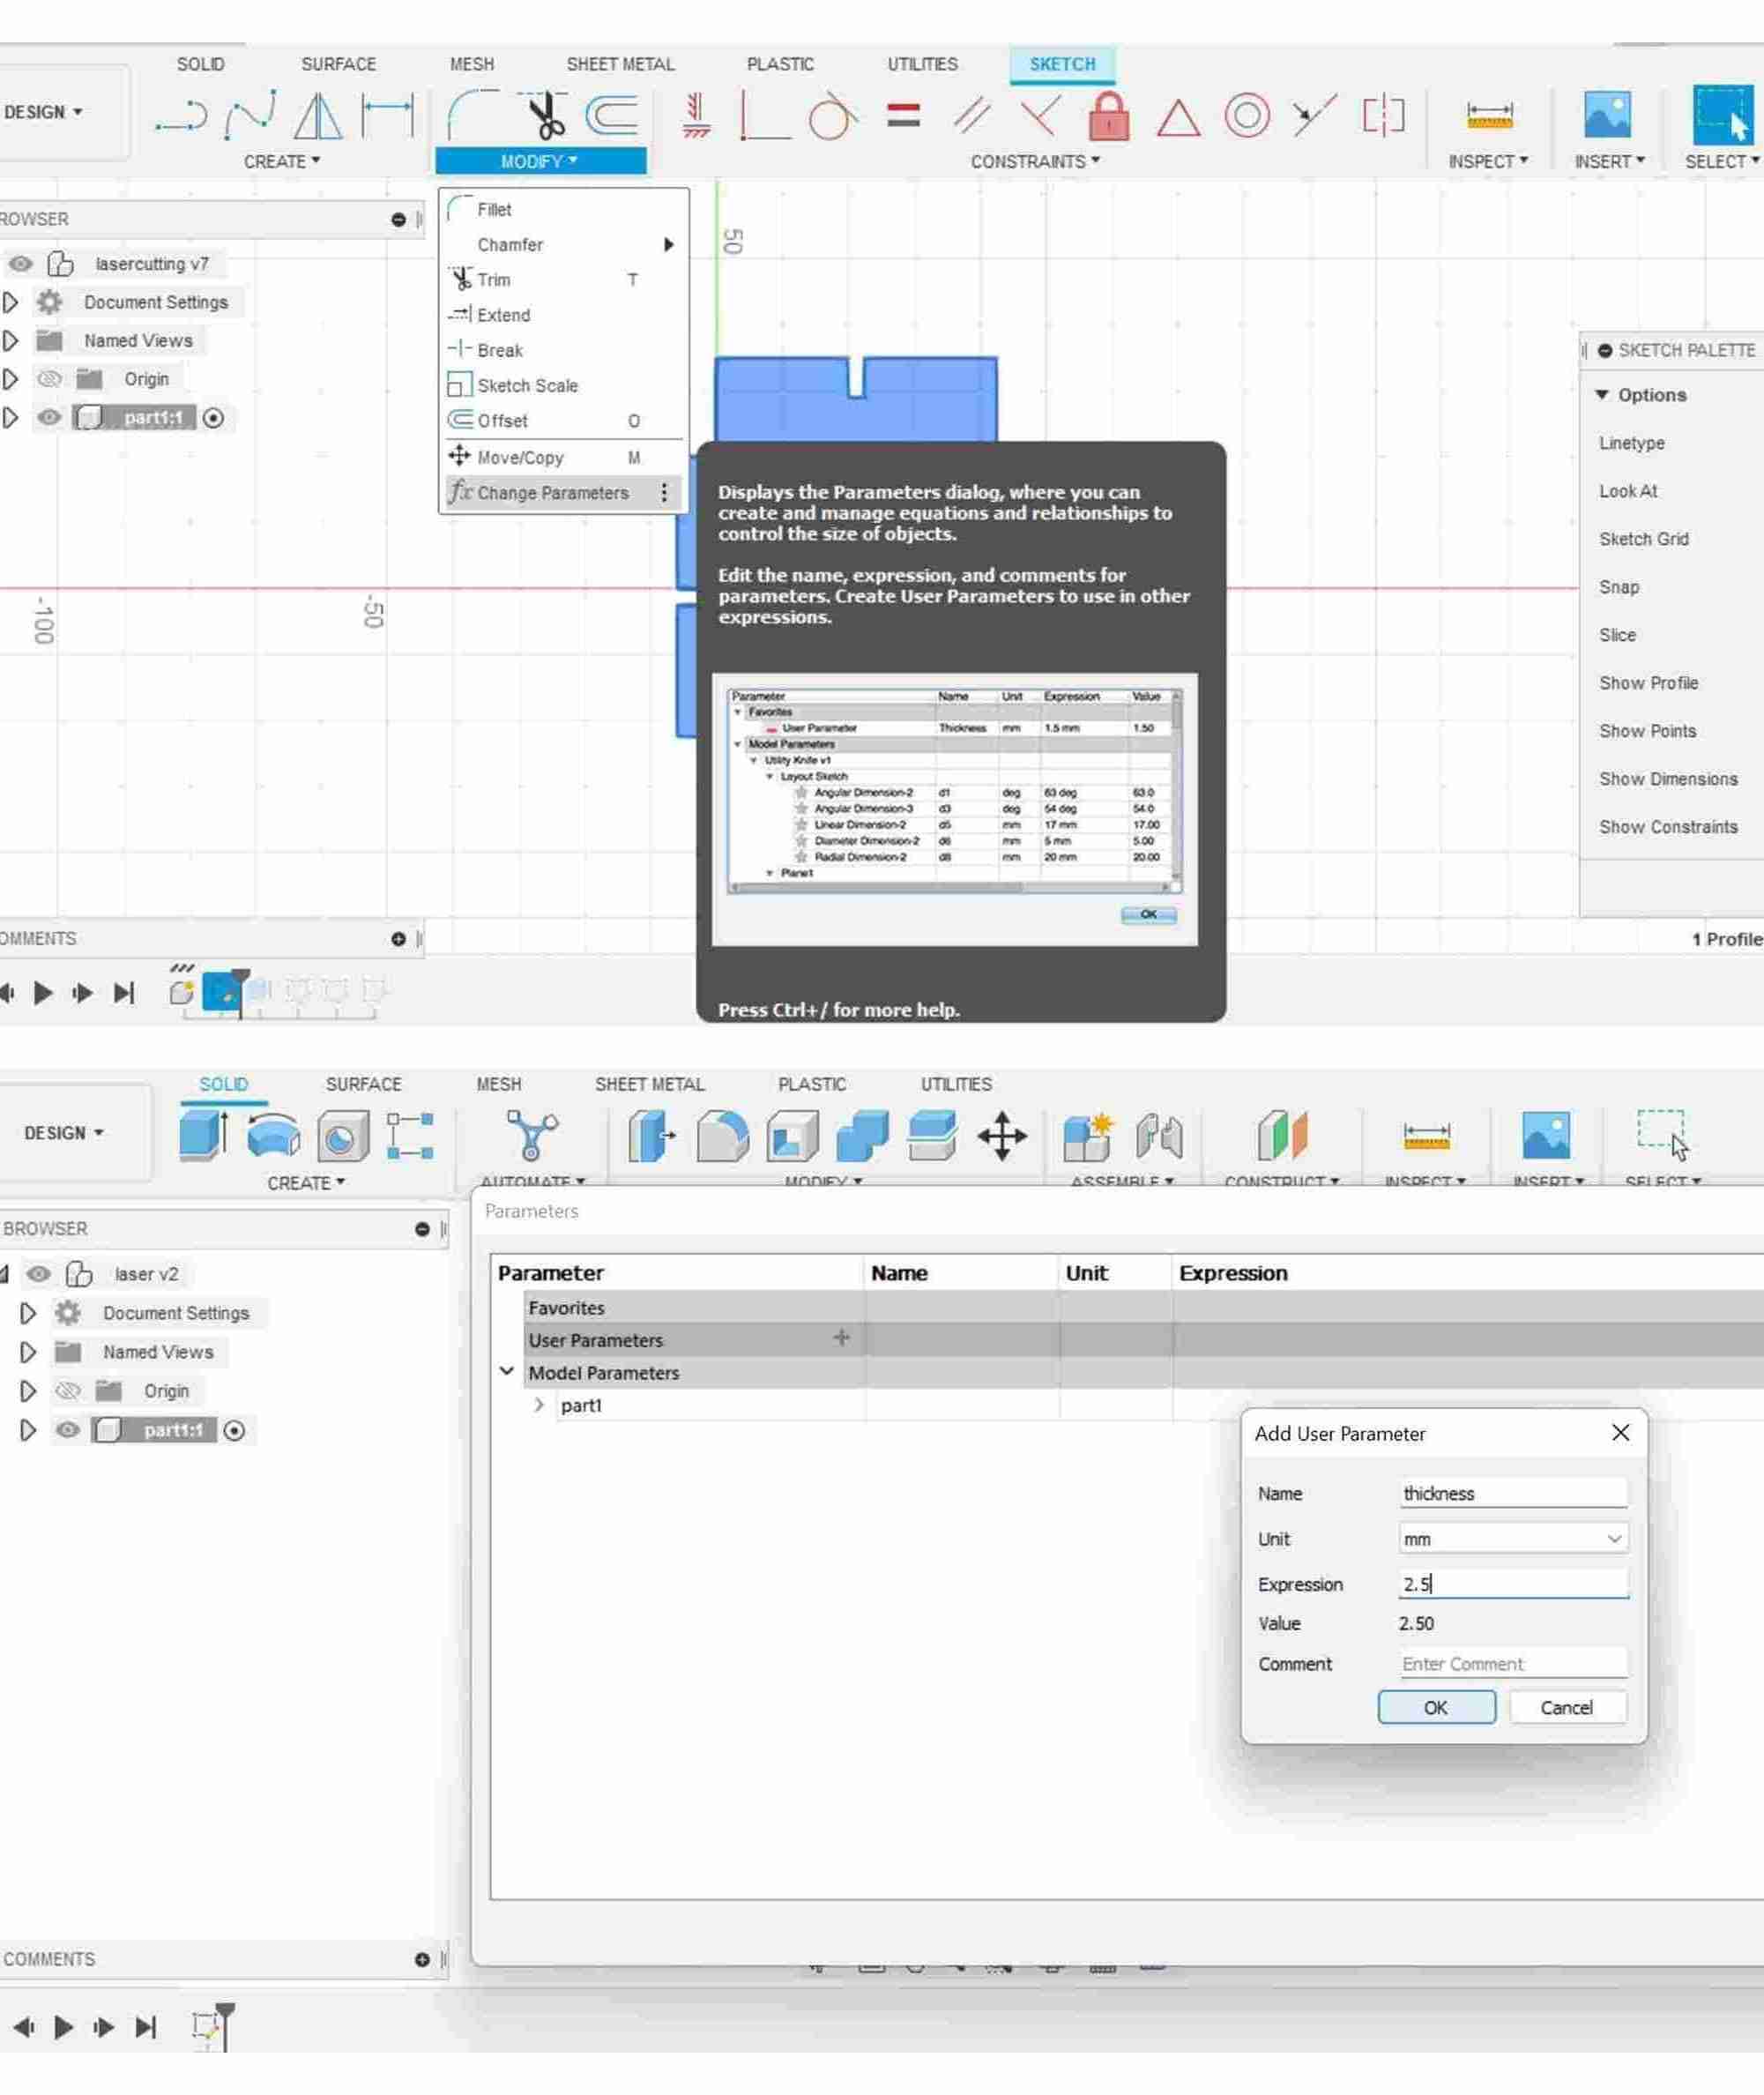
Adding parameters to my sketch.
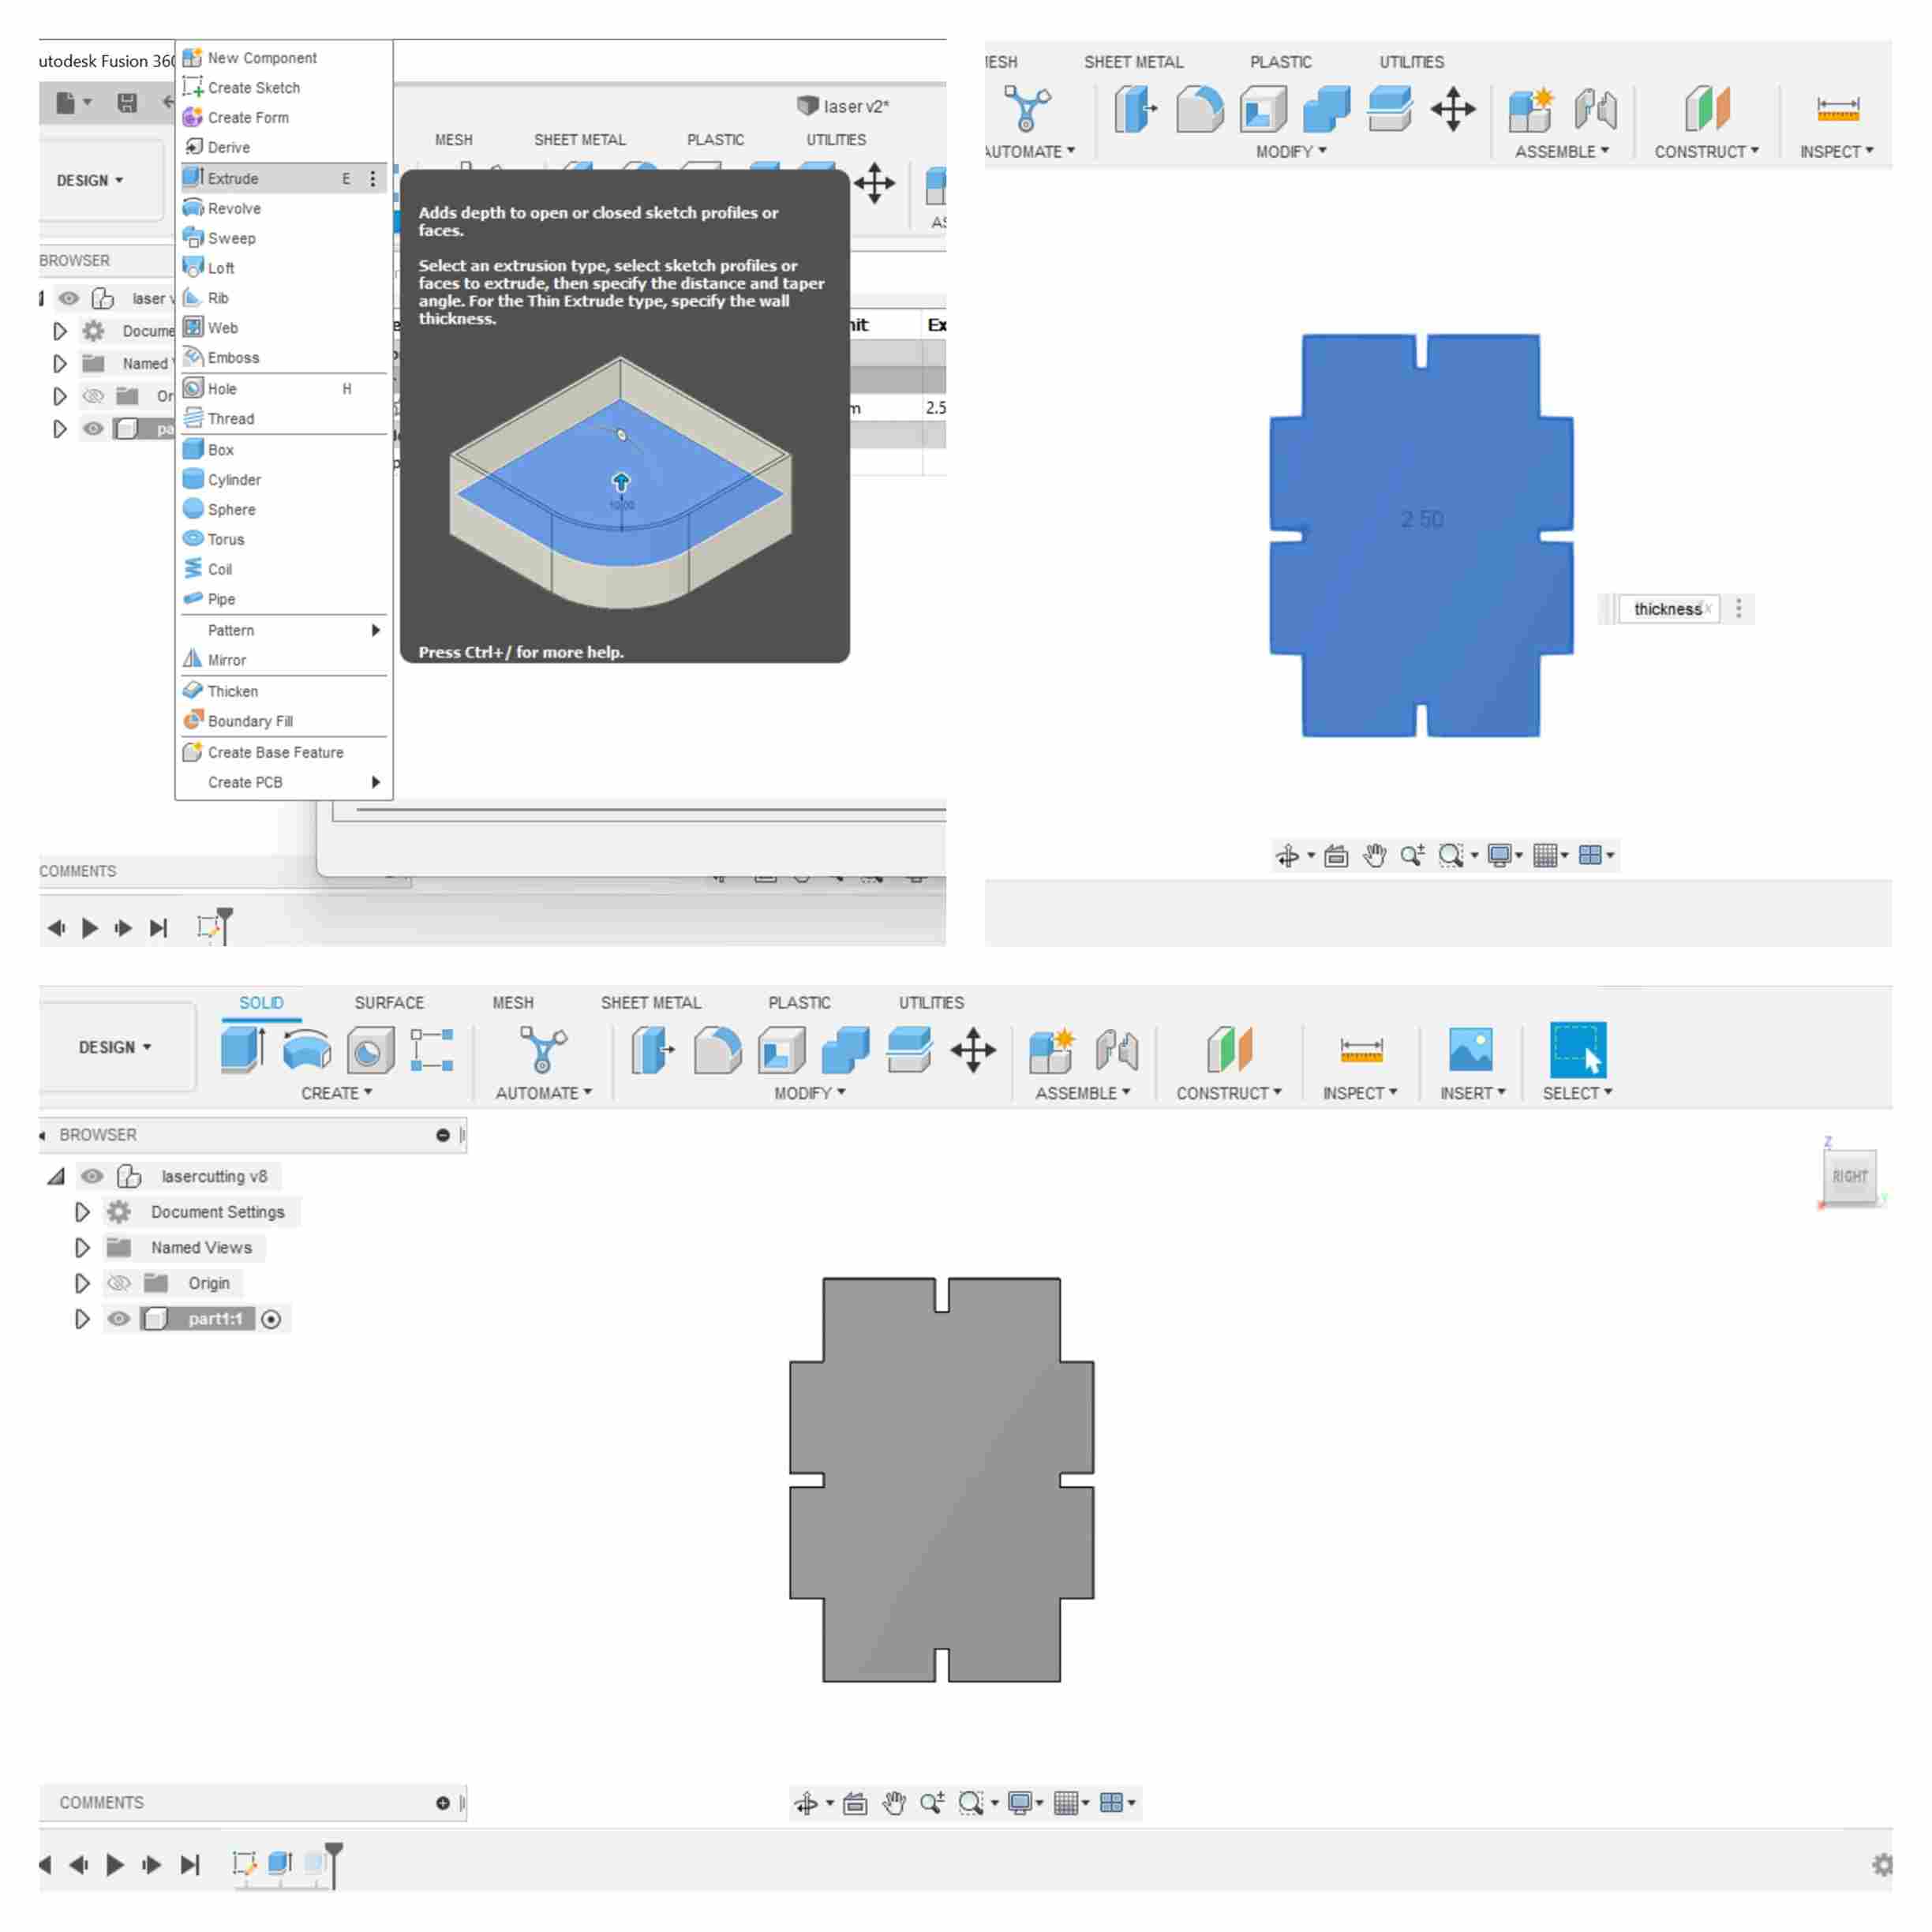
Extruding the sketch.
To save the file for Laser Cutting, go to the left side of the menu and right click on the “Sketches”, and then “Sketch 1”. Then, Select “Save As DXF” and save your file on your computer.
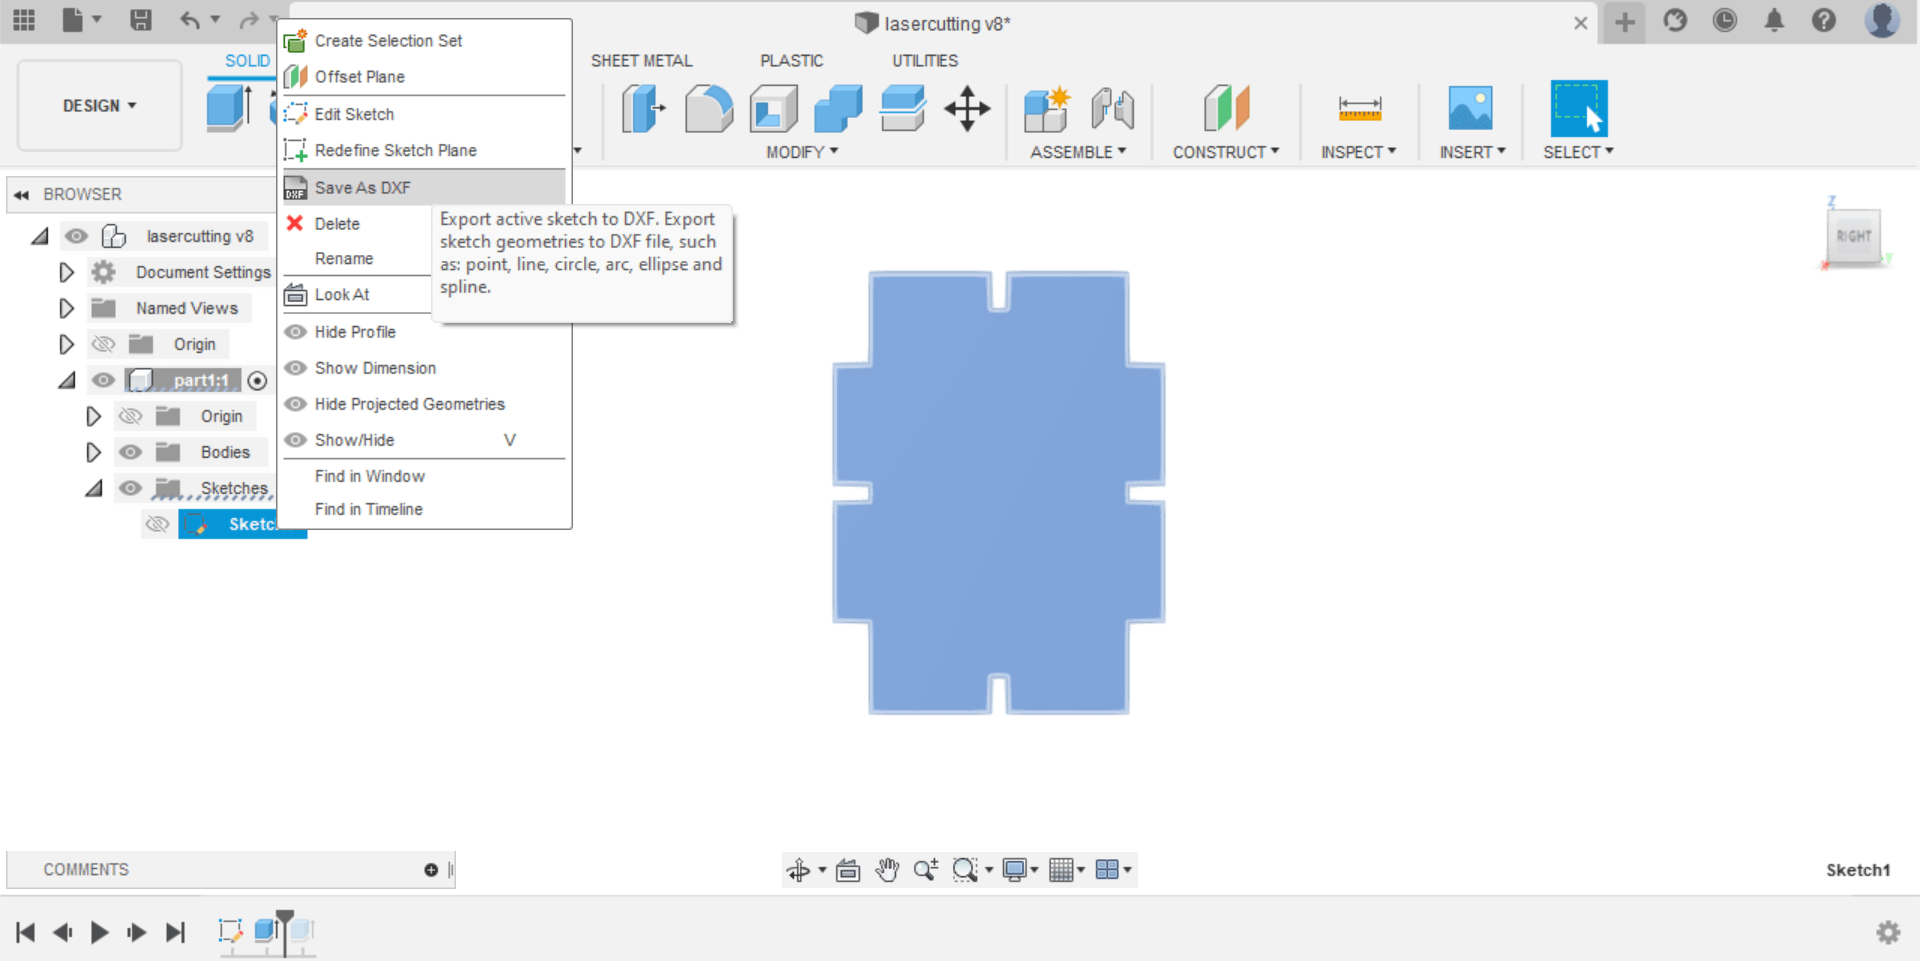
Note: If your file contains more than one sketches that are assembled, you have to repeat this saving procedure for each sketch individually.
Now the design is ready for Laser Cutting!
Working with Laser cutter
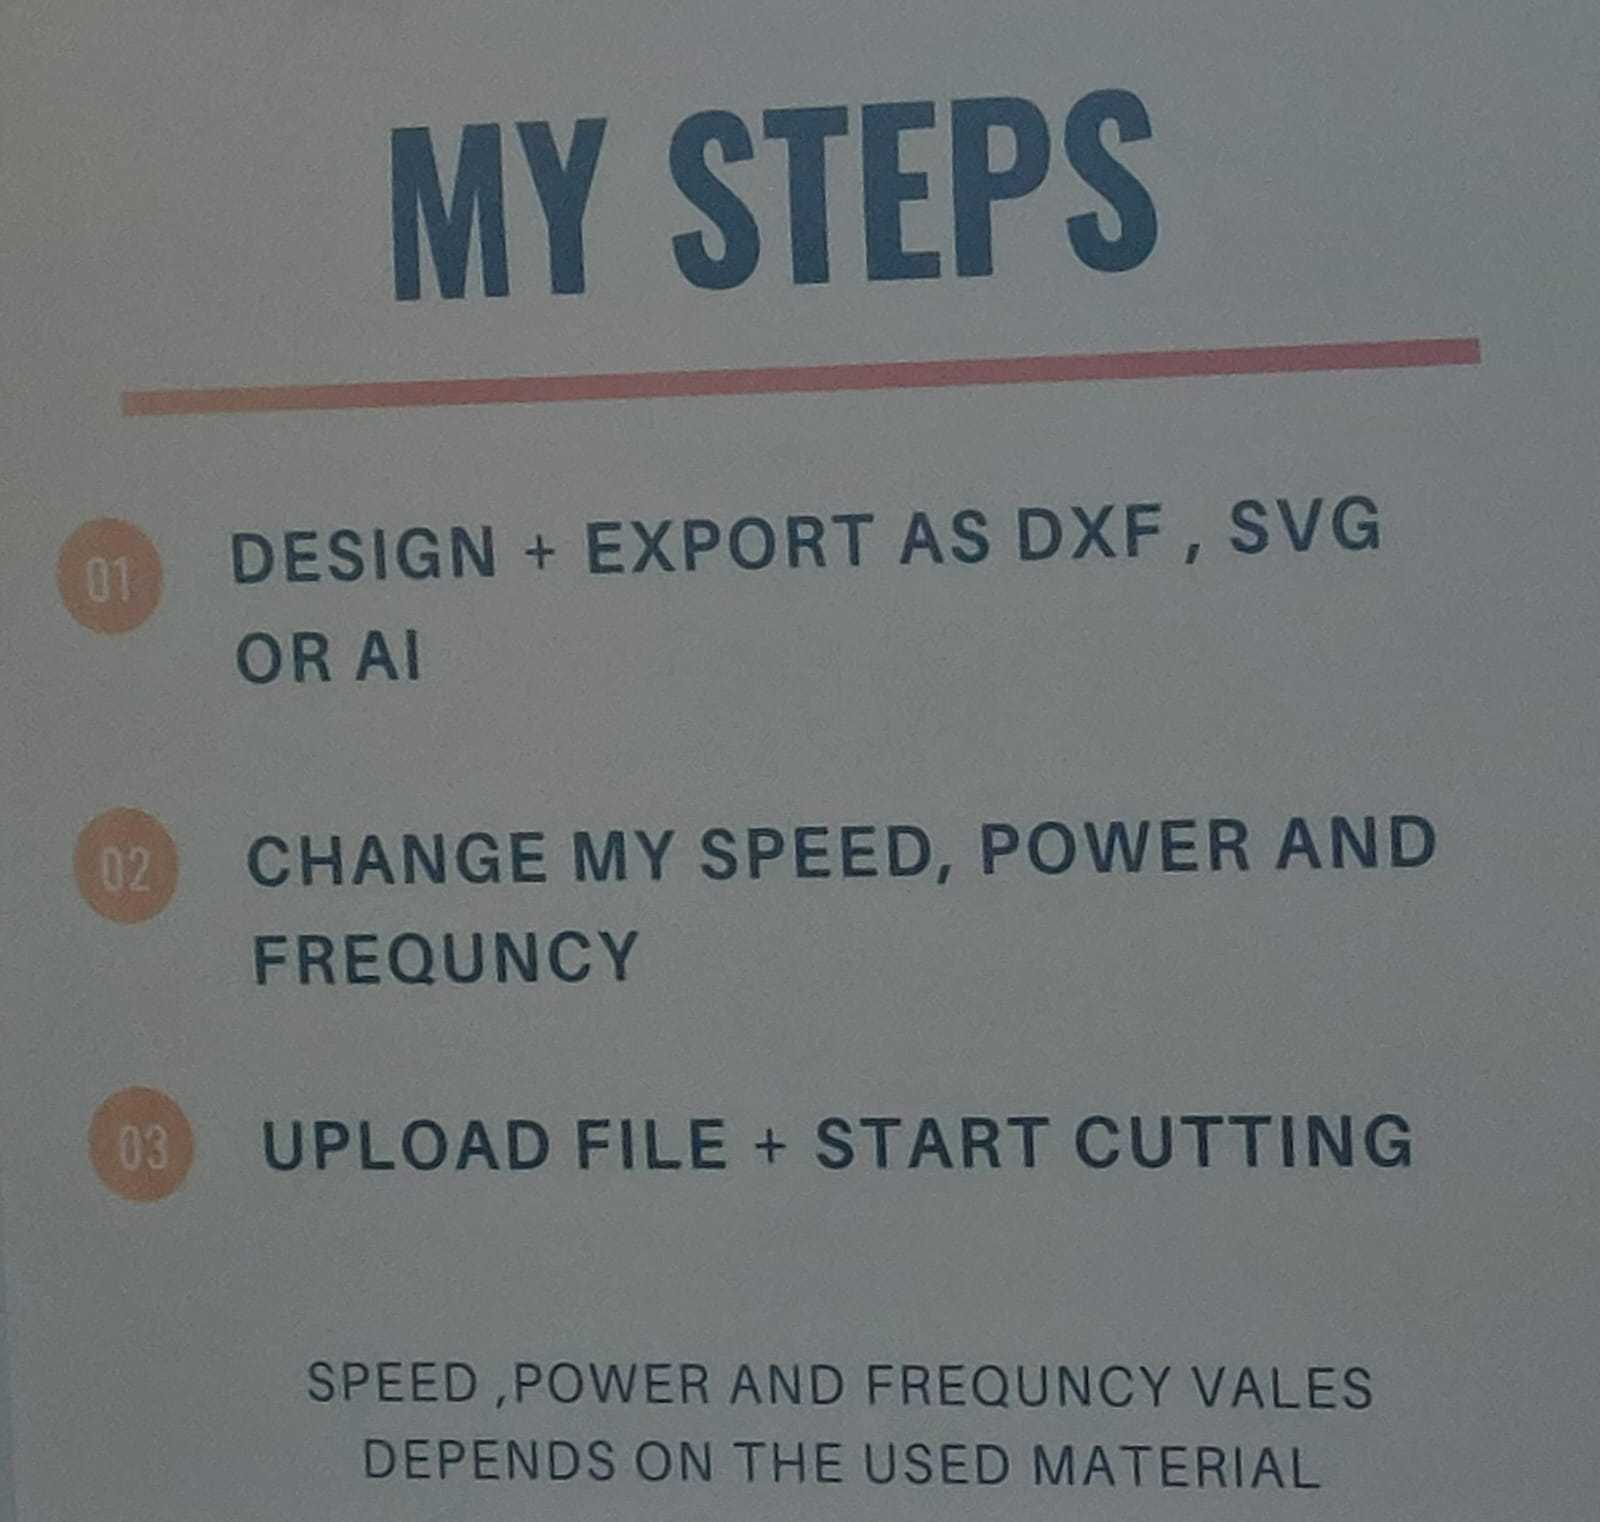
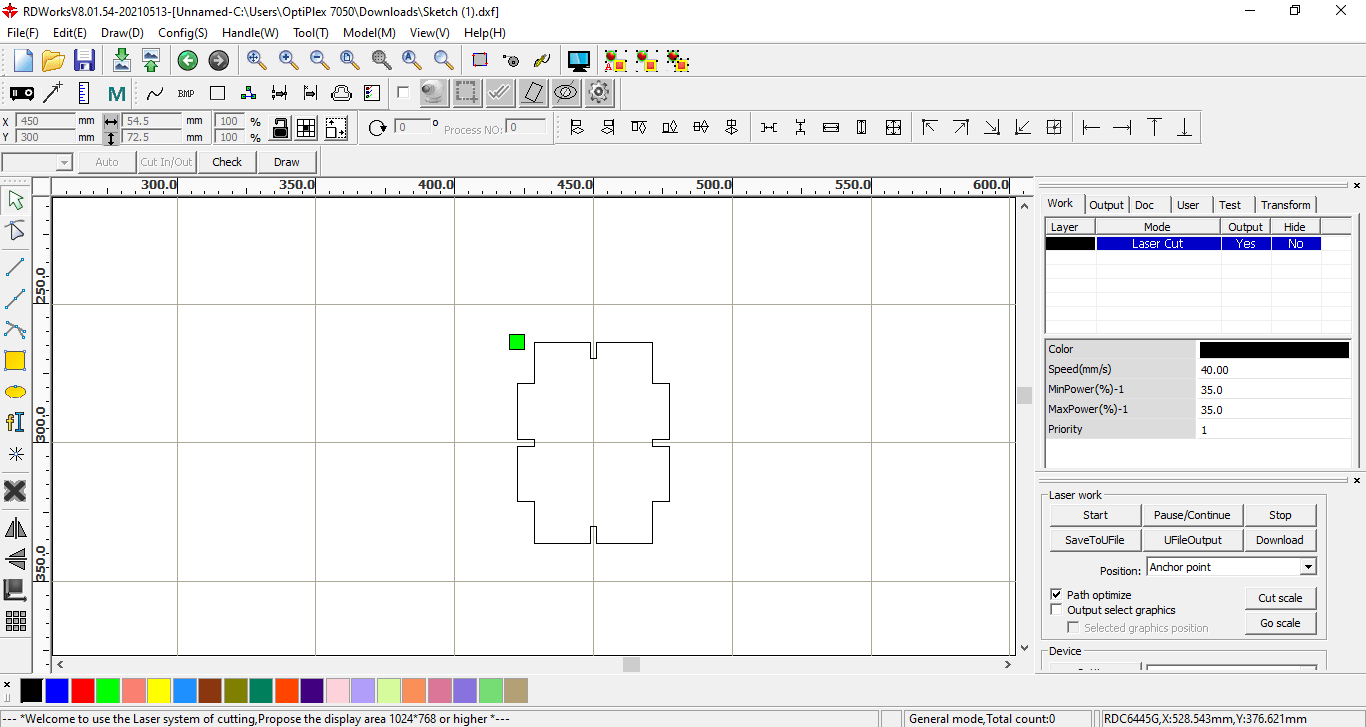
Import your design to RDWORKS and set power and speed (I set the speed to 40 and power to 35).
RDWorks is a powerful program that allows you to perform laser cutting engraving operations. It is the software that controls the laser. The program has support for drawing points, lines (horizontal/vertical), polyline, ellipse/circle, rectangular/square, Bezier curve, text, and for CAD models such as DXF, AI and PLT.
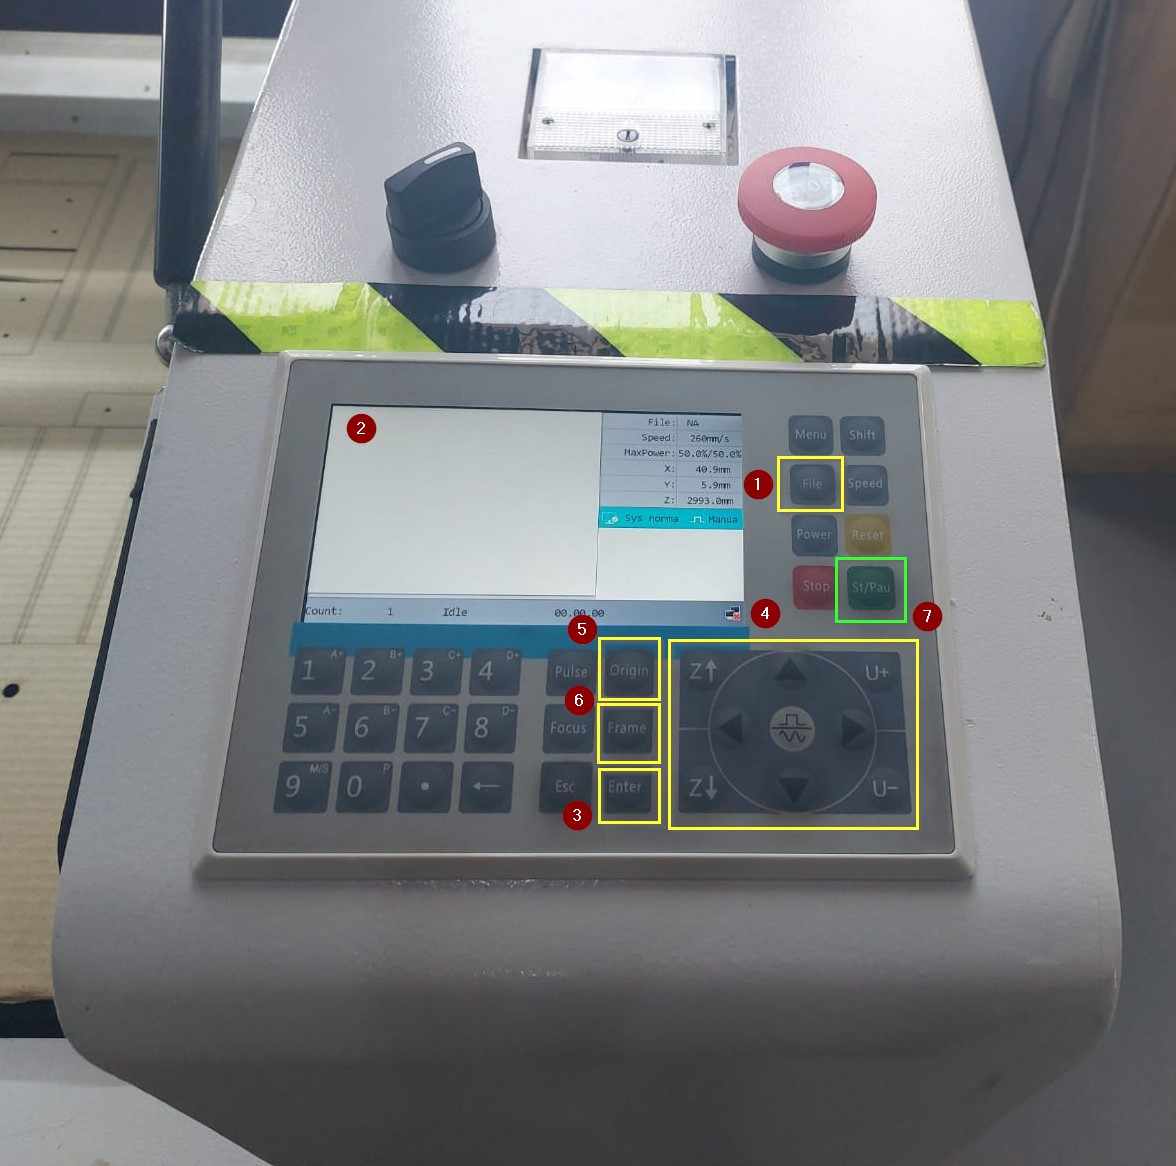
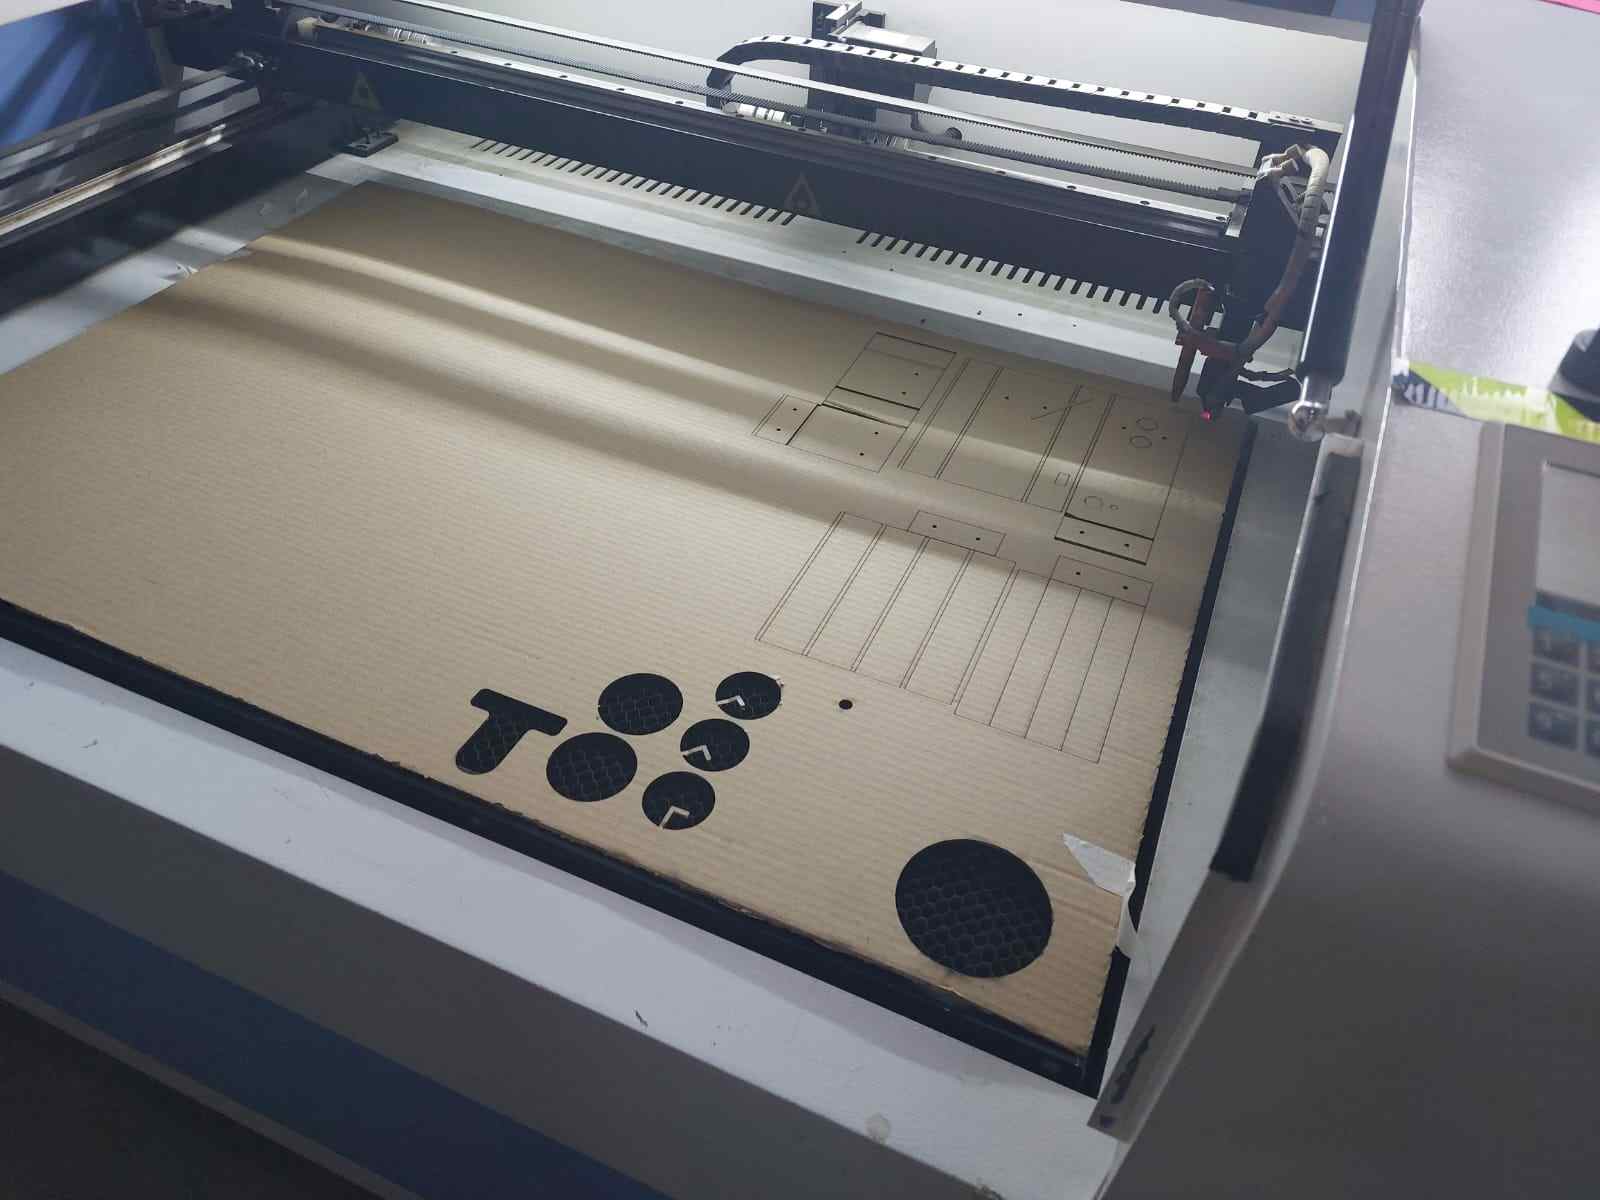
After importing your design to RDWORKS and setting speed and power, on the laser cutter press on file to upload your design. Upload your design and press enter. By using the cursors at the lower right, we can move the laser along the x, y or z axis. Press on Origin to choose the starting point of your design. Then, press on the frame to check the borders of your design. Finally, press the START button to start cutting.
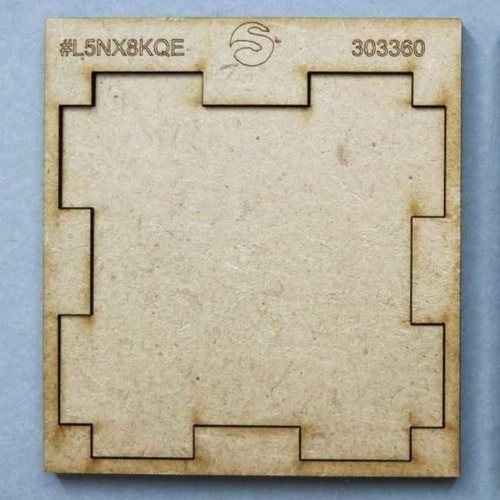
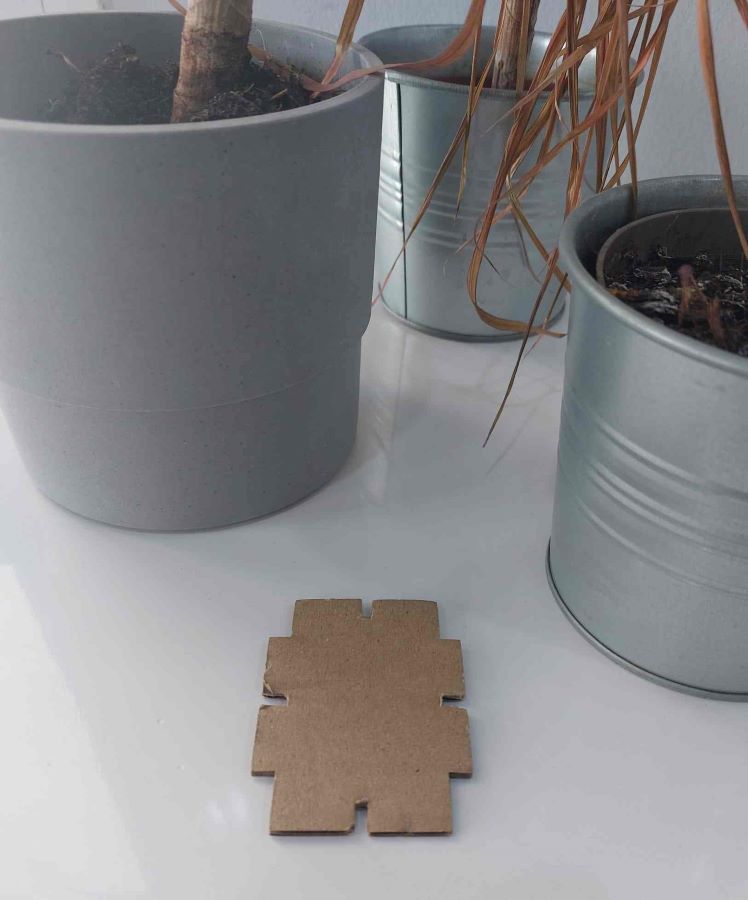
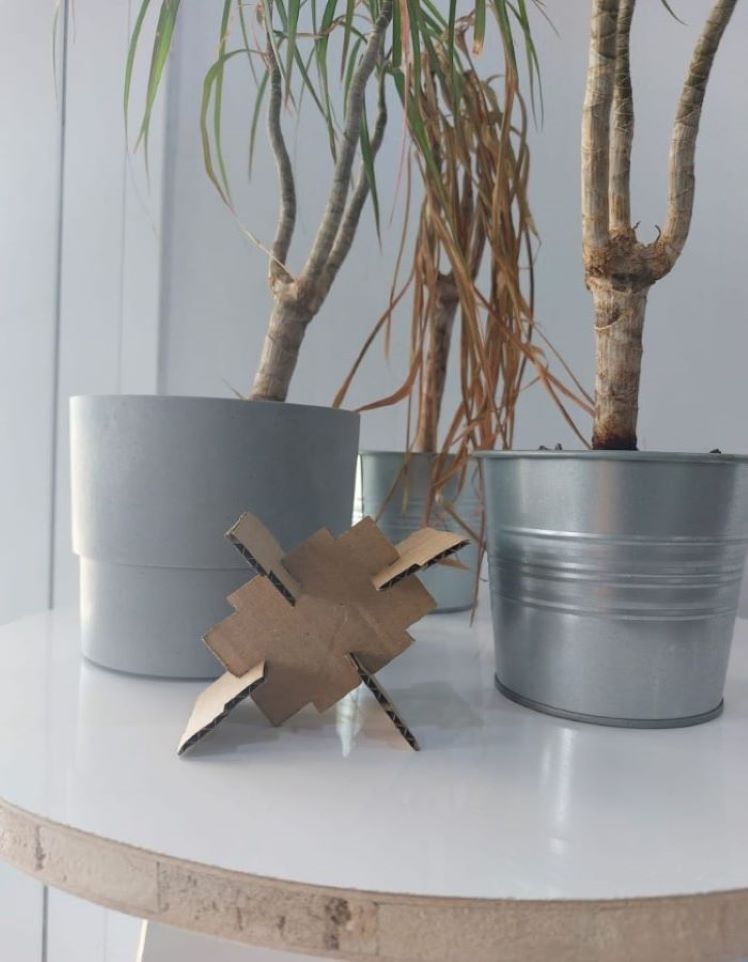
Hero Shot
Original dxf file download link
Original fusion360 archive file download link
Useful links
- What is vinyl cutter?
- Silhouette Cameo
- Silhoutte Studio
- What is laser cutter?
- What is CO₂ laser cutter?
- Fusion 360 Laser Cutting Tutorial
- RDWorks