4. Embedded programming
This week I have learned more about microcontrollers (MCU), and I have distinguished between different types of MCU. I have worked on embedded programming for my Arduino IDE|Adafruit Feather using TinkerCad.
Group Work
Assignment 1: Search for different types of microcontrollers boards and compare between them.
What is a Microcontrollers
Microcontrollers are embedded inside devices to control the actions and features of a product. Hence, they can also be referred to as embedded controllers. They run one specific program and are dedicated to a single task. They are low power devices with dedicated input devices and small LED or LCD display outputs. They are an intelligent tiny objects which are used for precise process control in data handling, communication, and manufacturing.
Microcontrollers Boards Types
There are several types of microcontrollers available in the market, here are some of the widespread microcontrollers types:
Arduino Uno R3 Microcontroller .
Teensy 4.0.
Arduino Pro Mini 328.
ESP32 Microcontroller Board
Raspberry Pi 4
MBED LPC1768
BeagleBone Black
ESP8266 Microcontroller Board
Arduino Uno Microcontroller Board
Arduino Uno is a microcontroller board based on the ATmega328P (Click here to view the datasheet)[https://www.arduino.cc/en/pmwiki.php?n=Main/arduinoBoardUno].
It has 14 digital input/output pins, of which 6 can be used as PWM outputs and 6 analog inputs.
It contains a 16 MHz quartz crystal, a USB connection, a power jack, an ICSP header and a reset button, it contains everything needed to support the microcontroller.
ATmega328P data
The operating voltage | 5V
Input Voltage recommended | 7-12V
Input Voltage limited | 6-20V
Digital I/O Pins | 14
PWM Digital I/O Pins | 6
Analog Input Pins | 6
DC Current per I/O Pin | 20 mA
DC Current for 3.3V Pin | 50 mA
Flash Memory | 32 KB
Clock Speed | 16 MHz
LED_BUILTIN | 13
Length | 68.6 mm
Width | 53.4 mm
Weight | 25 g
The BeagleBone Black Development Board
BeagleBone Black is a small package of a microprocessor and memory which helps to operate the other embedded system through a Linux operating system. It is widely used in automation, IoT and robotics at the development level. • It comes with built-in wireless networking functionality, it can be accessed remotely over the internet and can be used to access electronic projects. • BeagleBone Black is a cheap, community-supported development platform for embedded program developers. • Booting time to install Linux requires TEN seconds and get started on development in under 5 minutes using only a sole USB cable. Power Inputs: BeagleBone Black has two power inputs, one is through a DC power Jack input port and the second one is USB. Both ports have different power input ratings. Power Outputs: Beagle Bone has three power output pins; these pins can be used to give power to external devices.
Teensy Microcontroller Board
Teensy 4.0 microcontroller board It is quite small in comparison to other boards and can be used for a variety of DIY projects. All commands are sent to the board through two USB ports. With a small add-on, the Arduino IDE can program the Teensy 4.0 A USB cable can be used to connect the microcontroller to a PC or laptop. For more cutting-edge applications, it offers 1024k RAM compared to 16k RAM on the Arduino Uno. And To program Teensy, most projects use Arduino with Teensyduino extensions or the C programming language. There are, however, a variety of different options. The Teensy microcontroller board has 21 digital I/O pins, whereas the Teensy++ has 38, which can be used to control or read data from a variety of devices.
Giant Board
Giant is the first single-board computer in Adafruit’s Feather form factor. It is a tiny microcontroller with FeatherWing support and compatibility with more than 60 FeatherWing development boards. It supports CircuitPython for Linux. It run full Debian Linux to give users access to myriad applications and and libraries for their projects. It has different power modes and this makes it useful for projects which need to consume less energy. it can make a better alternative to a Rasbeery Pi or BragleBone for a project that requires less space and more power than an ordinary microcontroller can provide. There are 3 main power modes: 1- default state: power usage is between 66-82mA when being idle in console. And it can be around 80-130 while running more intensive tasks. 2- Linux standby mode: when it enters standby mode, all rails are set to low power mode and the expected power usage would be around 44-48mA, depending on the task. 3- Suspended to memory mode: this mode gives the least power consumption. The power usage in this mode is around 22-28mA Giant Board Specs: • Processor: Microchip SAMA5D2 ARM®️ Cortex®️-A5 Processor 500 MHz • Memory: 128 MB DDR2 RAM • Storage: microSD card • Sensing: 6 x 12-bit ADC with 3.3 V reference and external trigger • Actuation: 4 x 16-bit PWM with external trigger • Connectivity: 1 x I²C, 1 x SPI, 1 x UART, more with Flexcom • Power: via USB, with support for LiPo batteries • Operating System: mainline Linux kernel
Assignment 2: Search for different programming languages, compare between them and how many can you use to program the same microcontrollers.
Research
Click here to install Arduino IDE Click here to see the Instruction
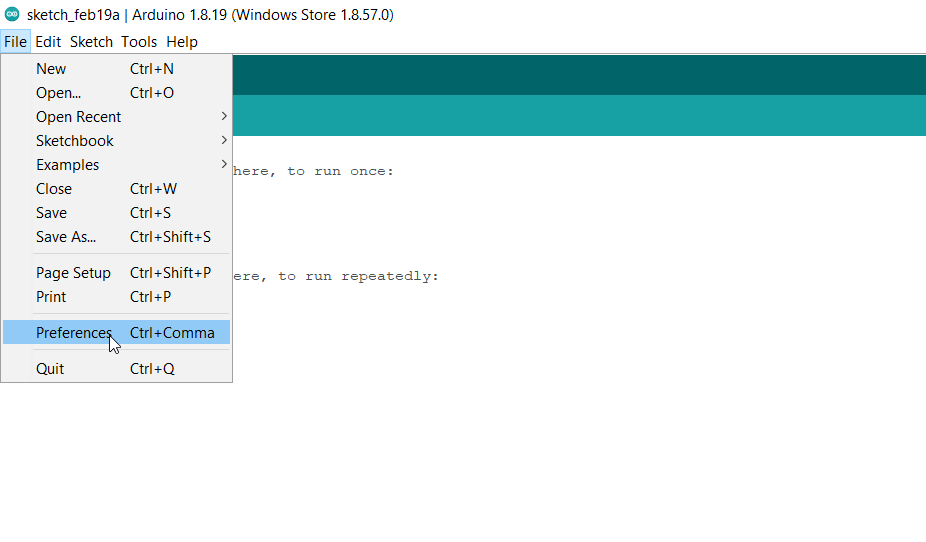
Start the Arduino IDE
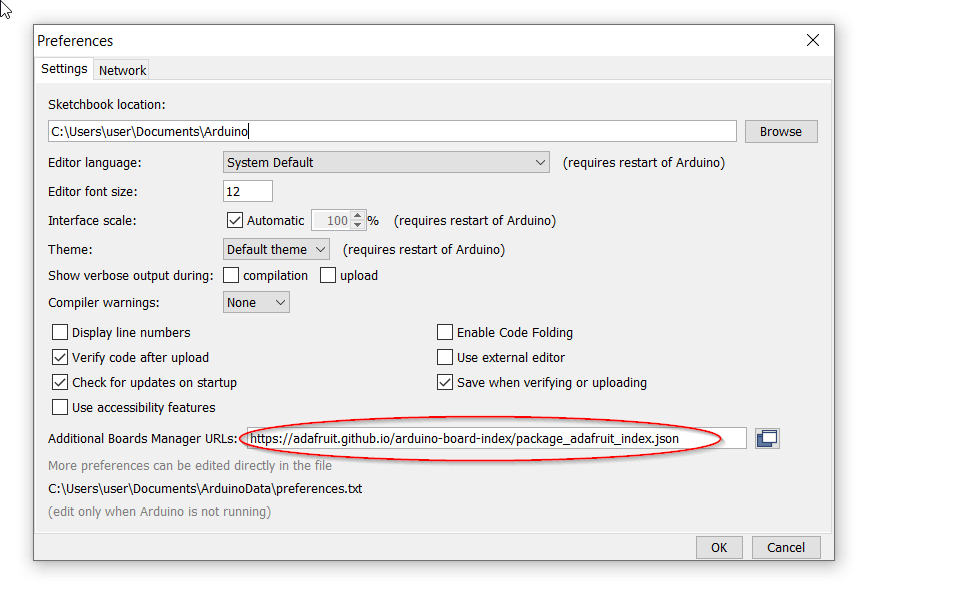
Select File: Preferences: Add https://adafruit.github.io/arduino-board-index/package_adafruit_index.json as an Additional Board Manager URL
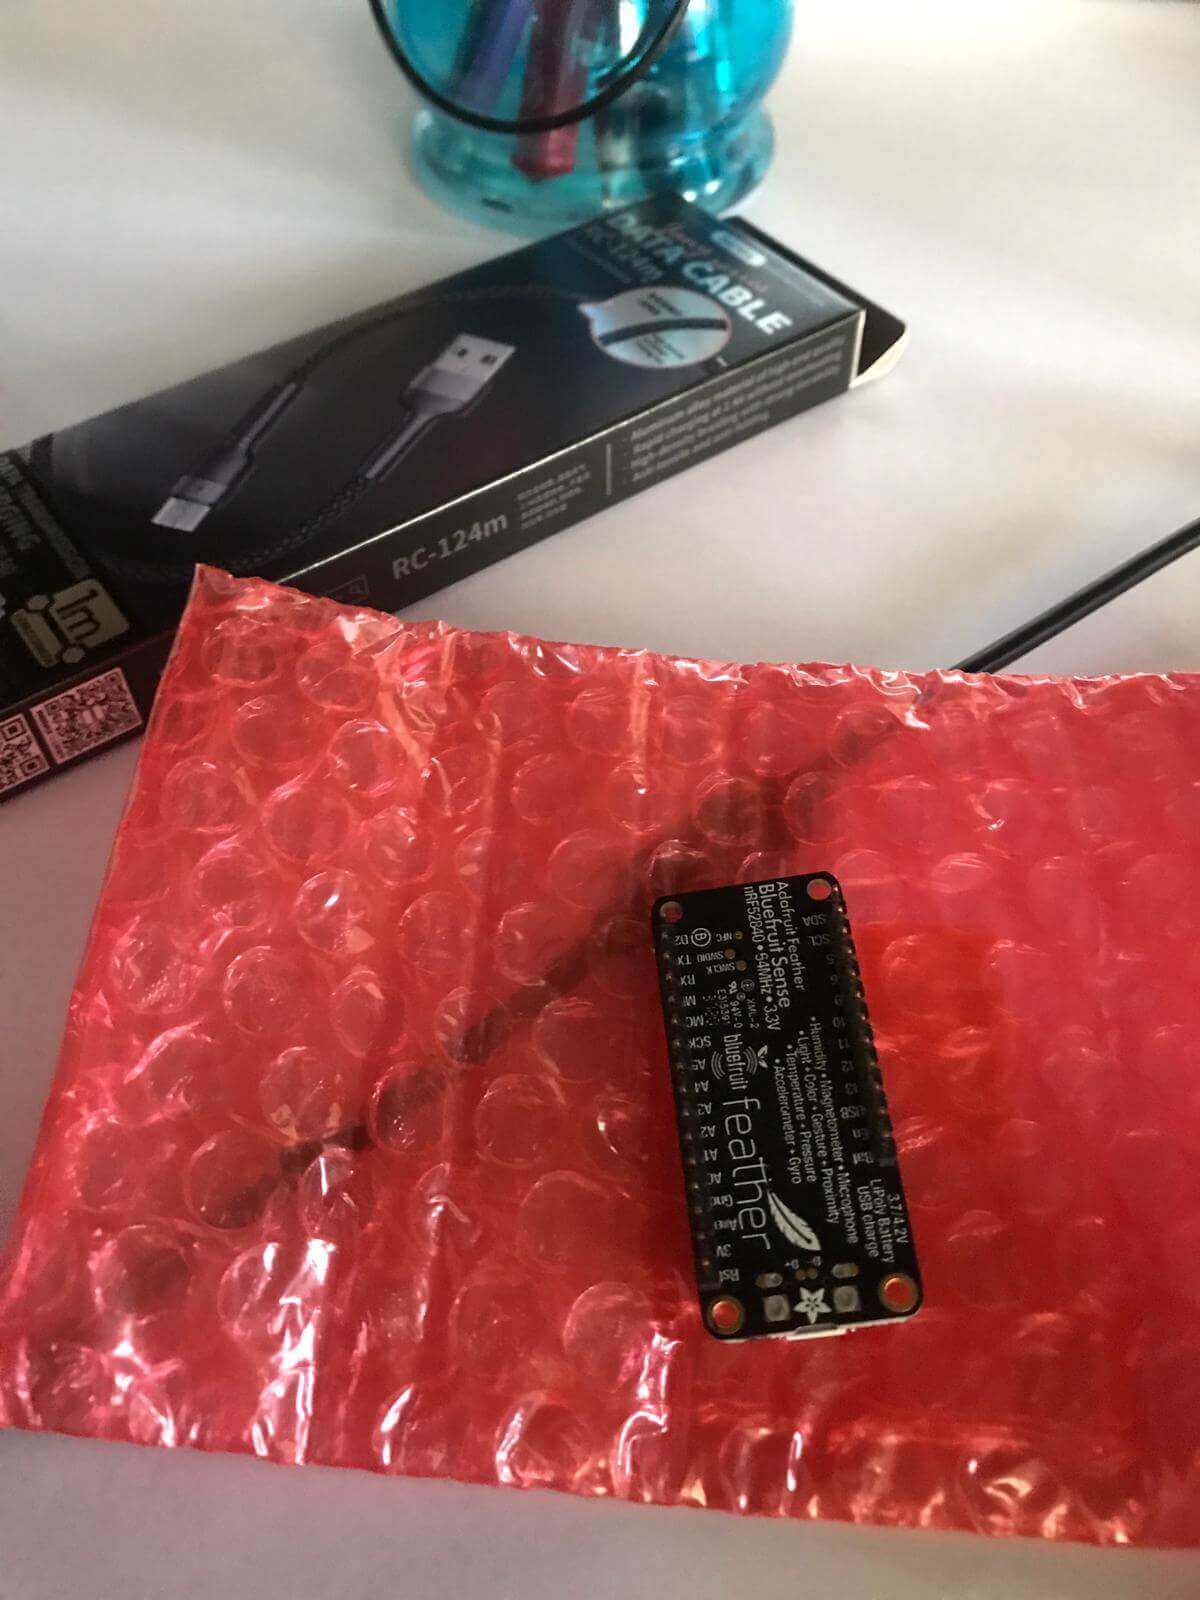
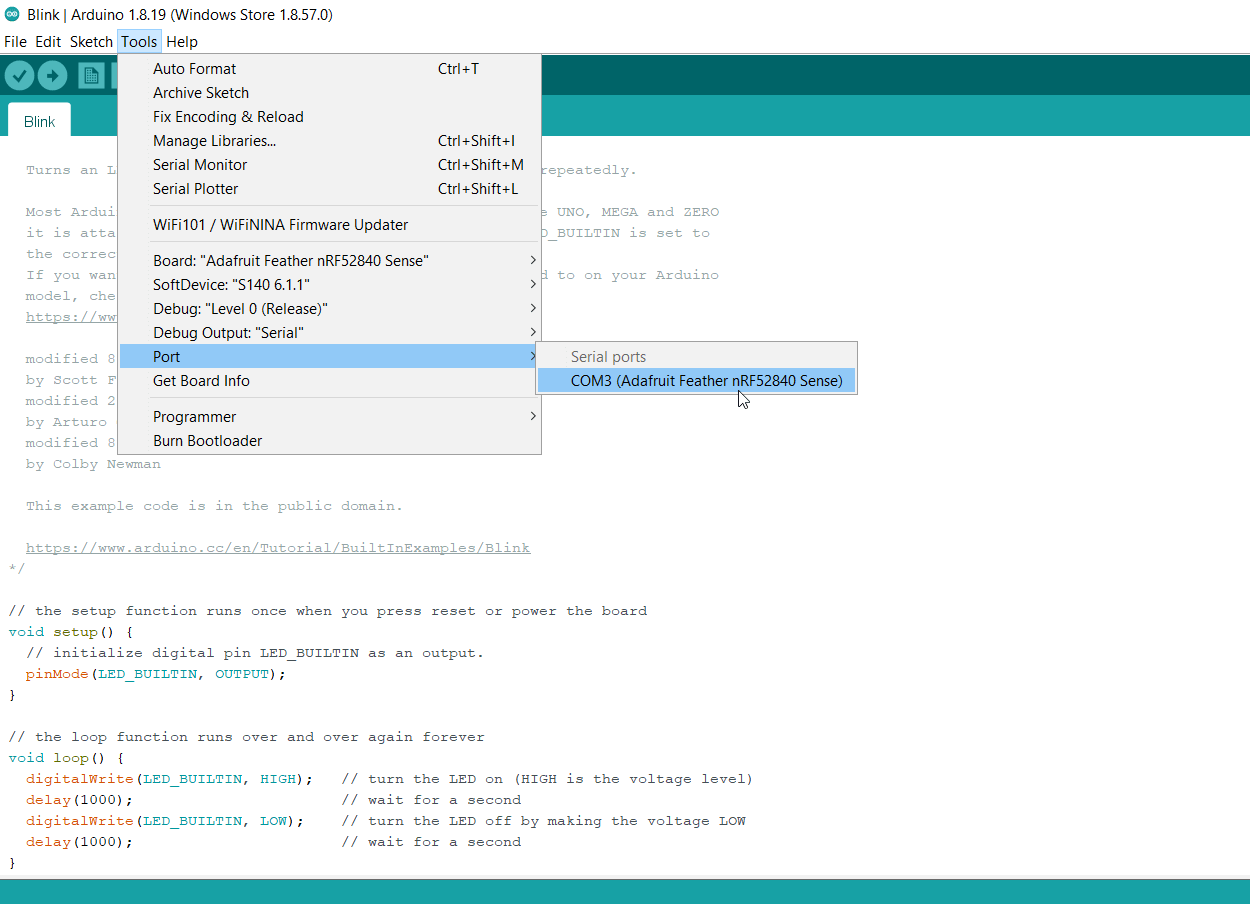
Connect the Feather Arduino IDE with your computer by the data cable
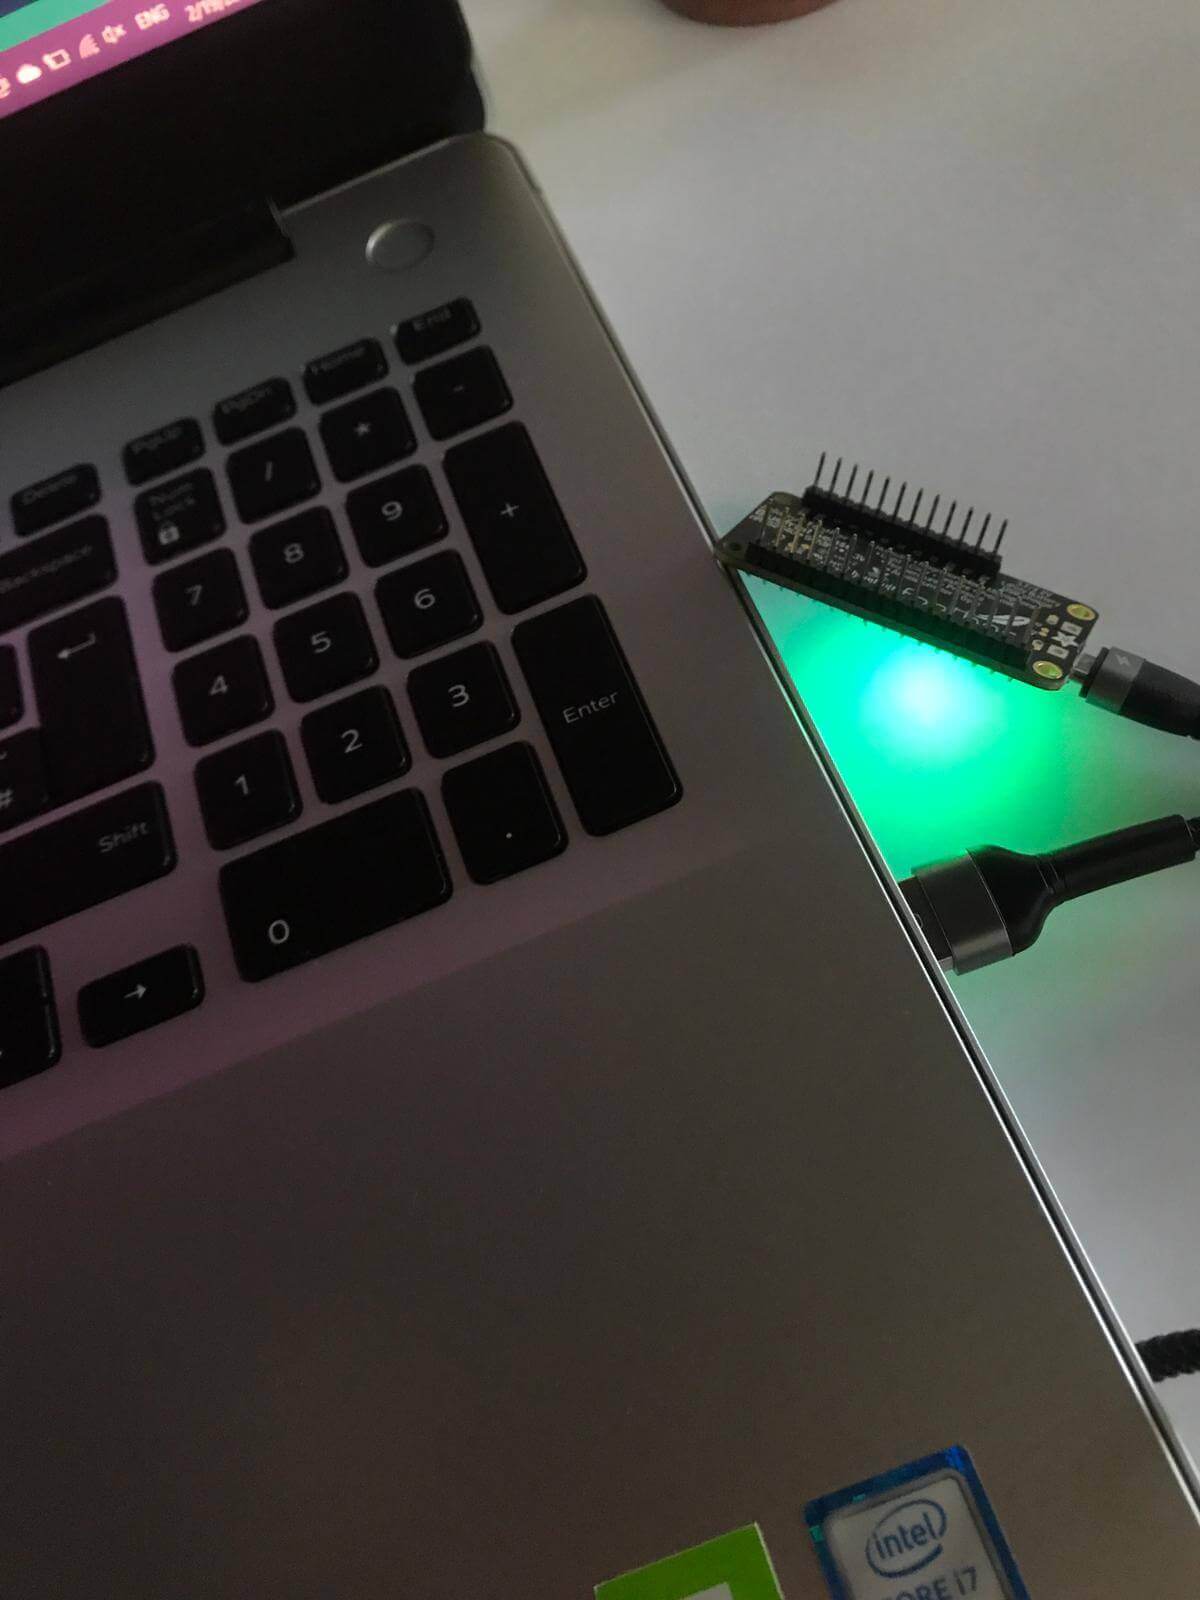
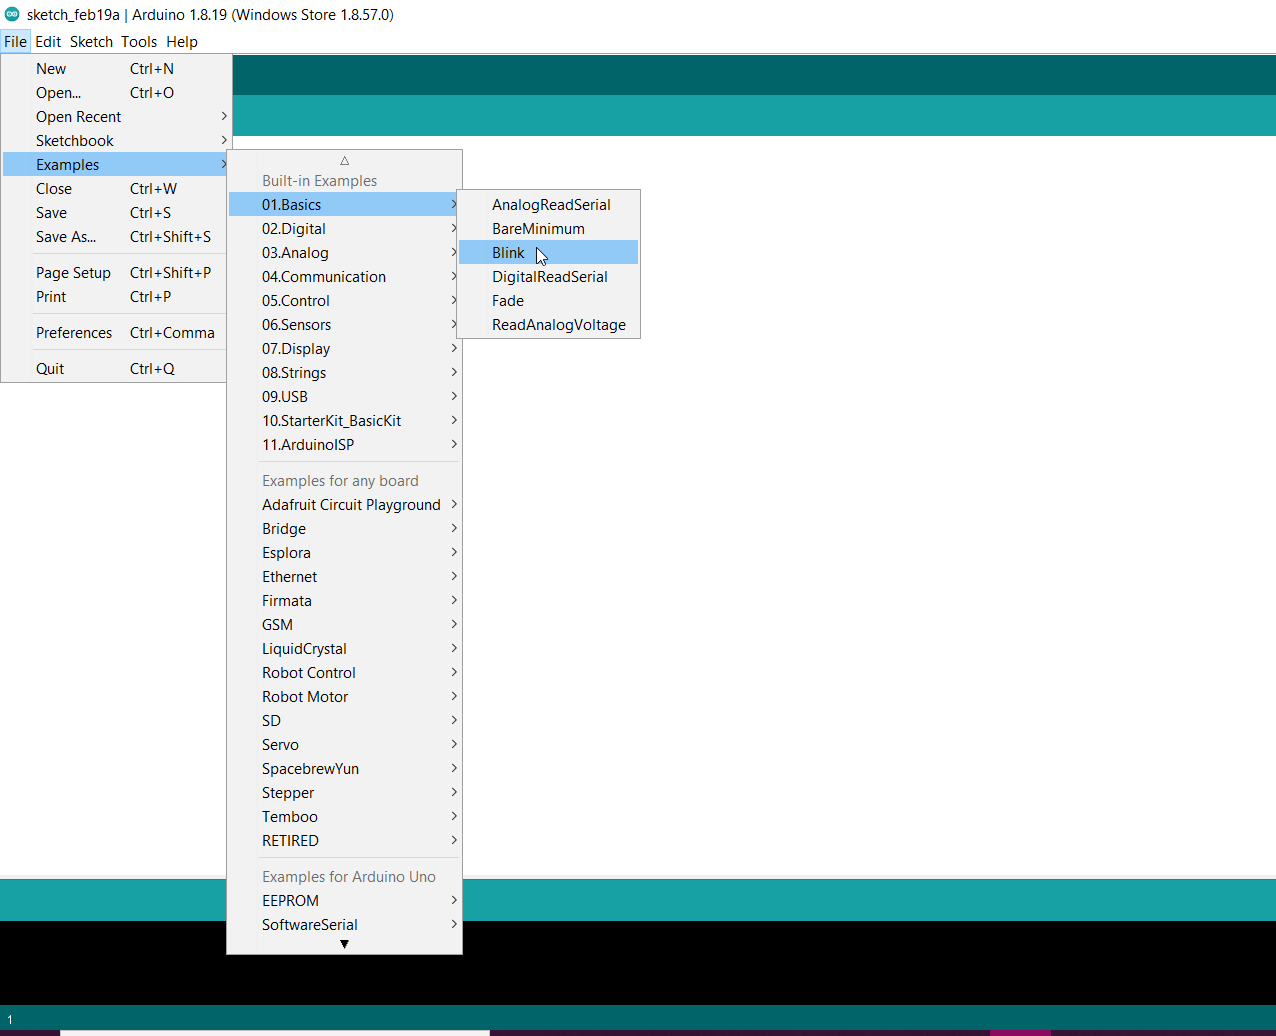
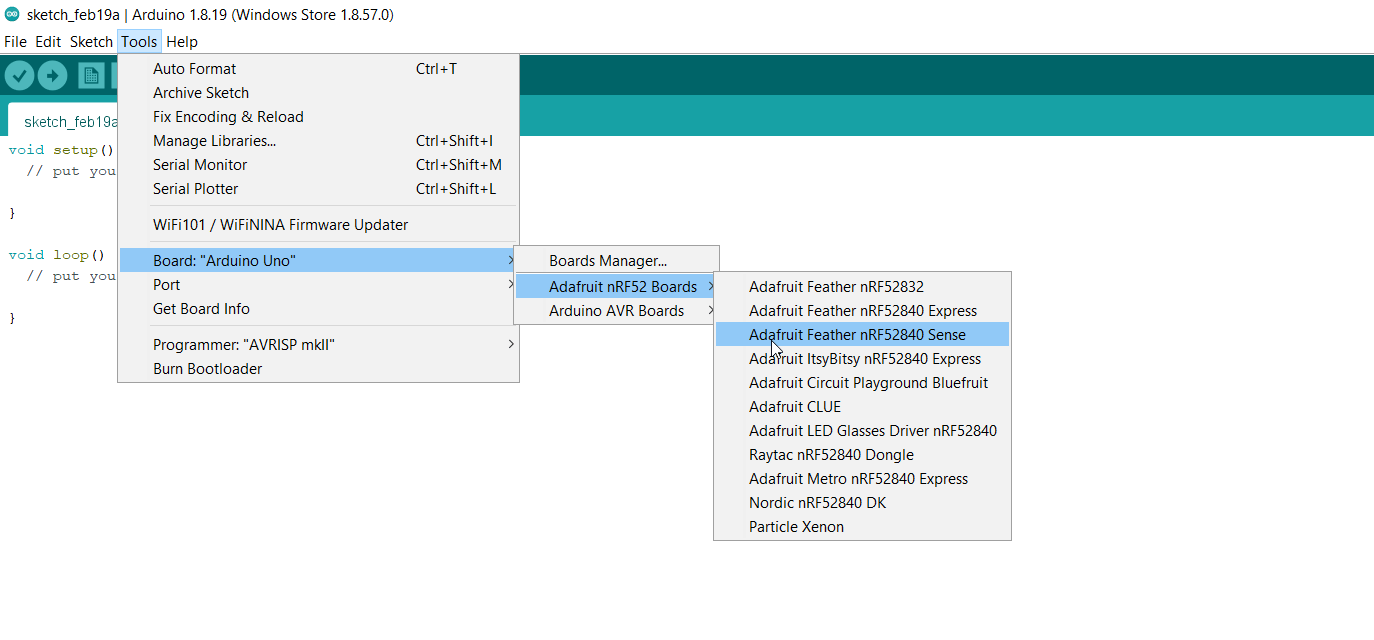
 Follow these steps to compute the blink built-in program
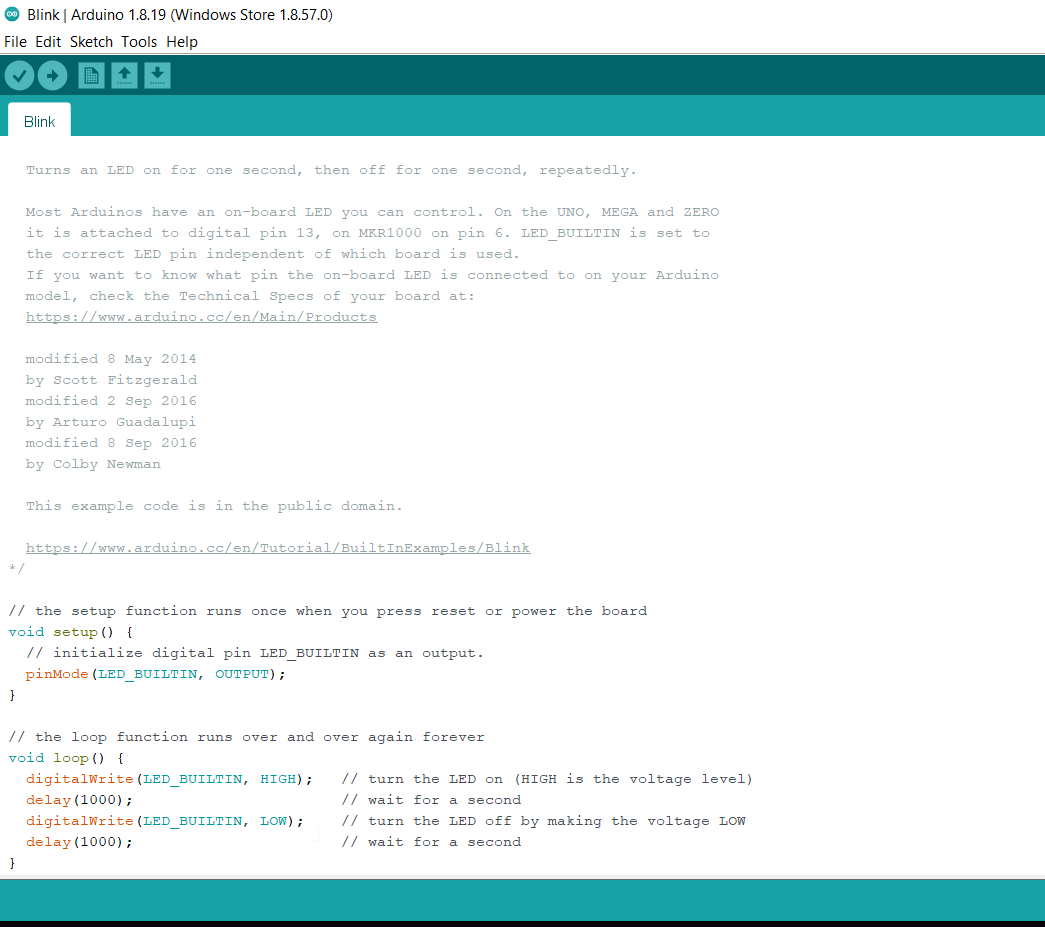
 This is the blink code
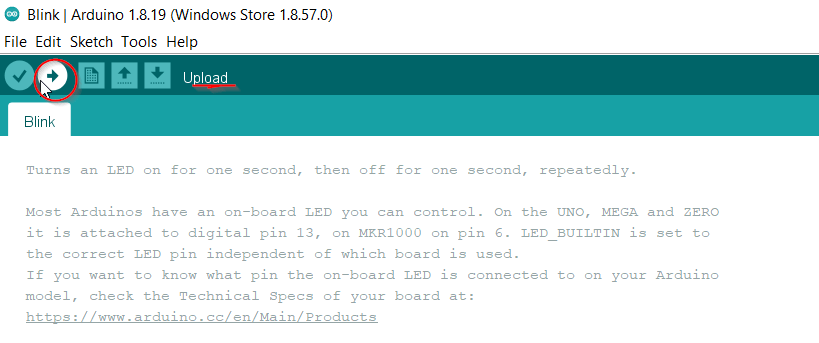
 After editting the code you can upload it
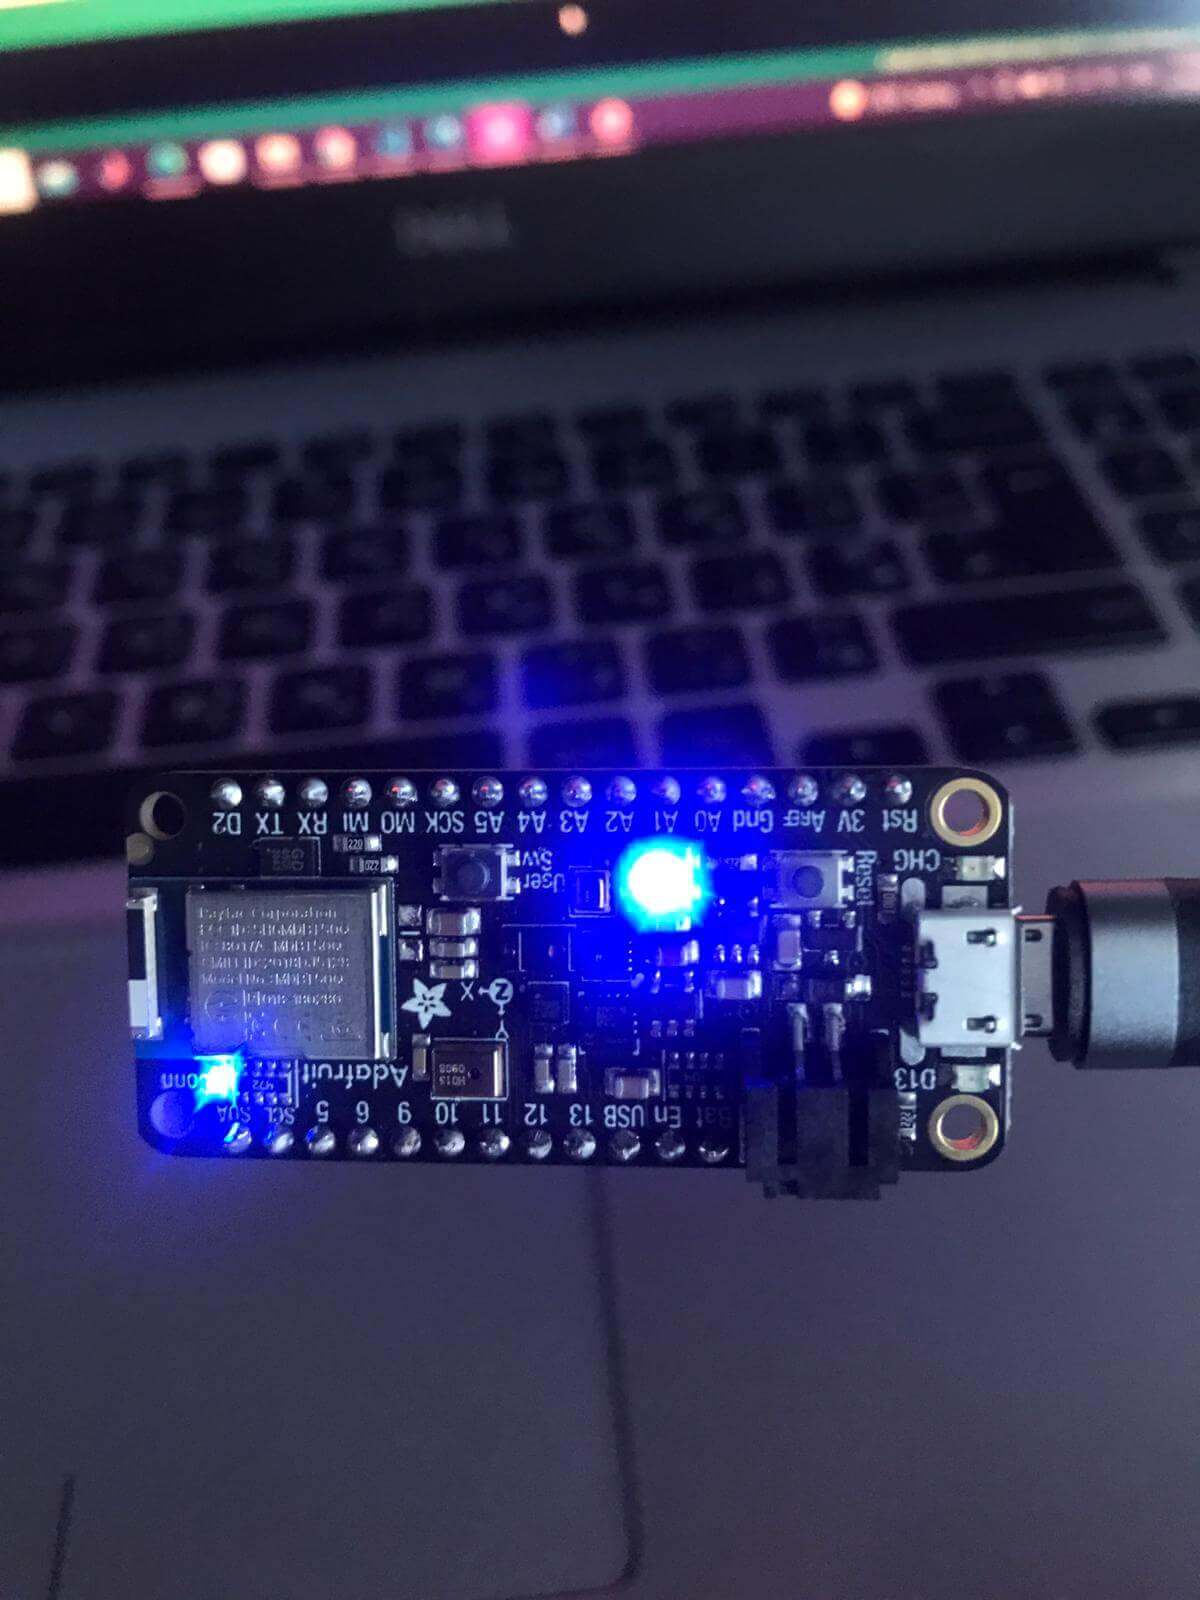
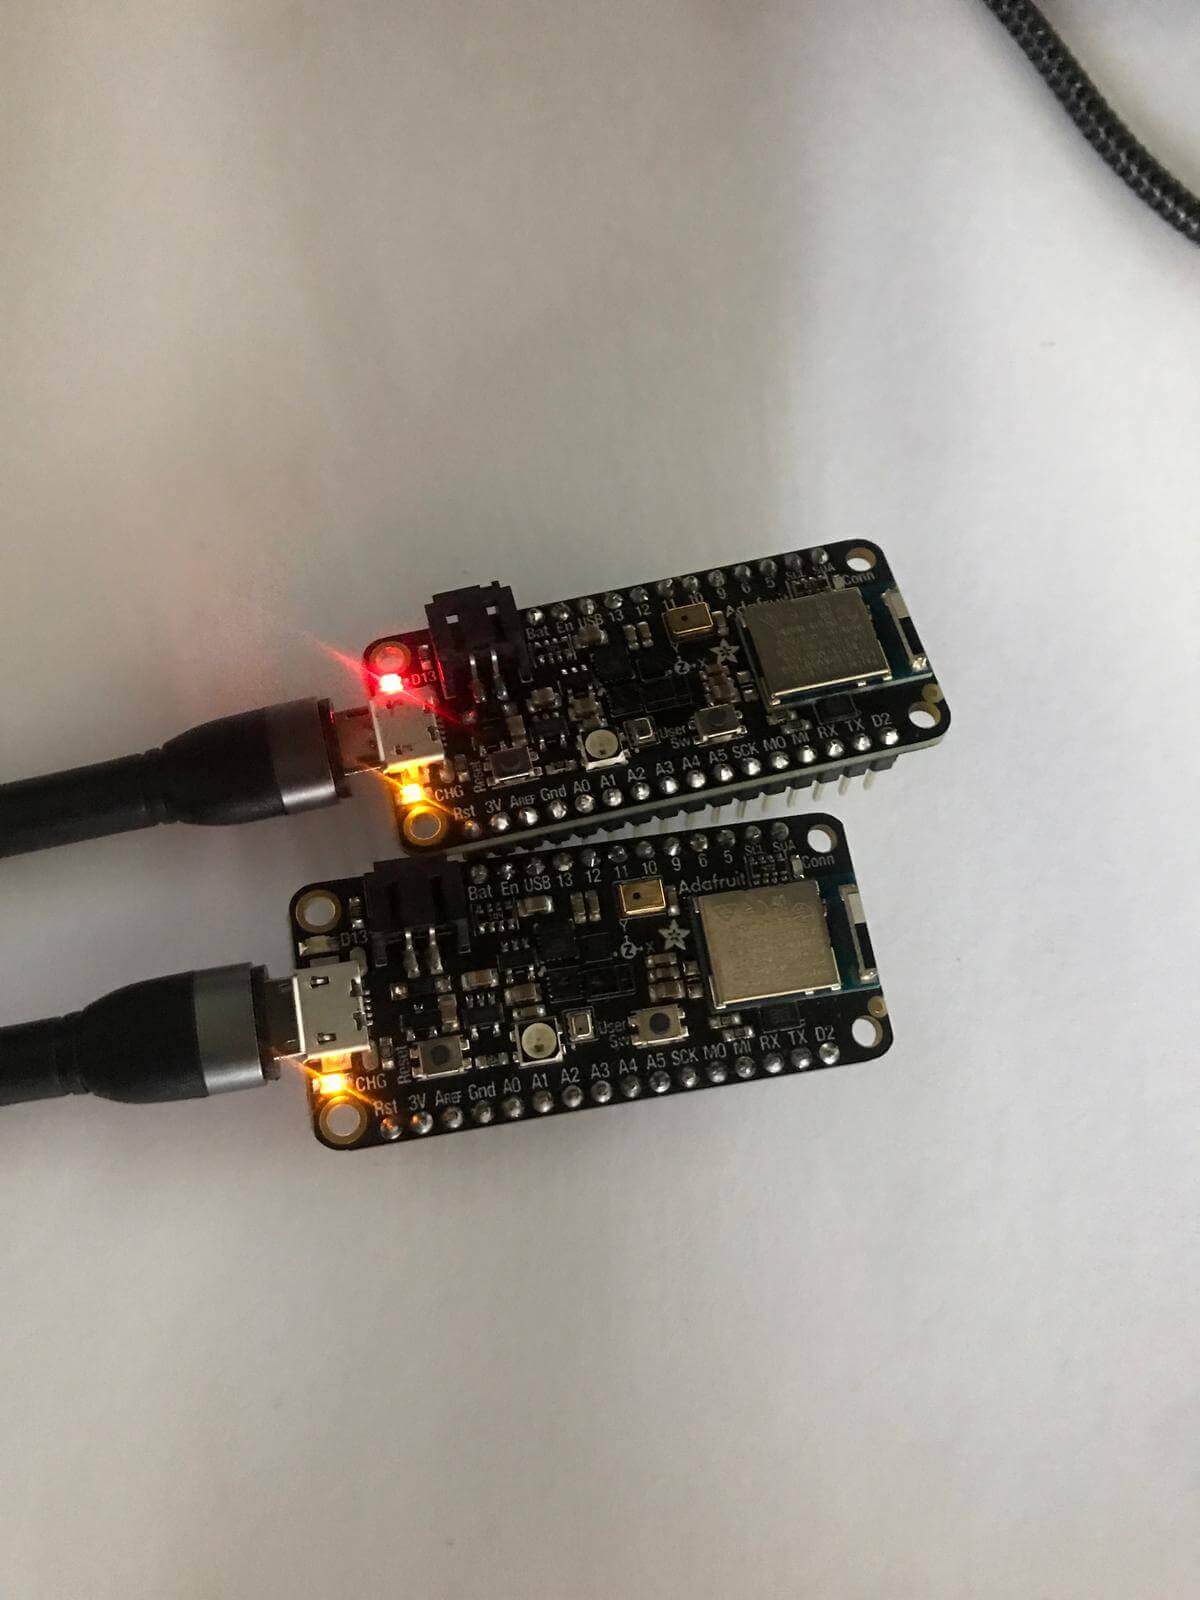
 By clicking this indicated bottom twice, you will restart the Arduino
 Ayah have reduced the delay time in her code to blink faster and we have detected the change that happened
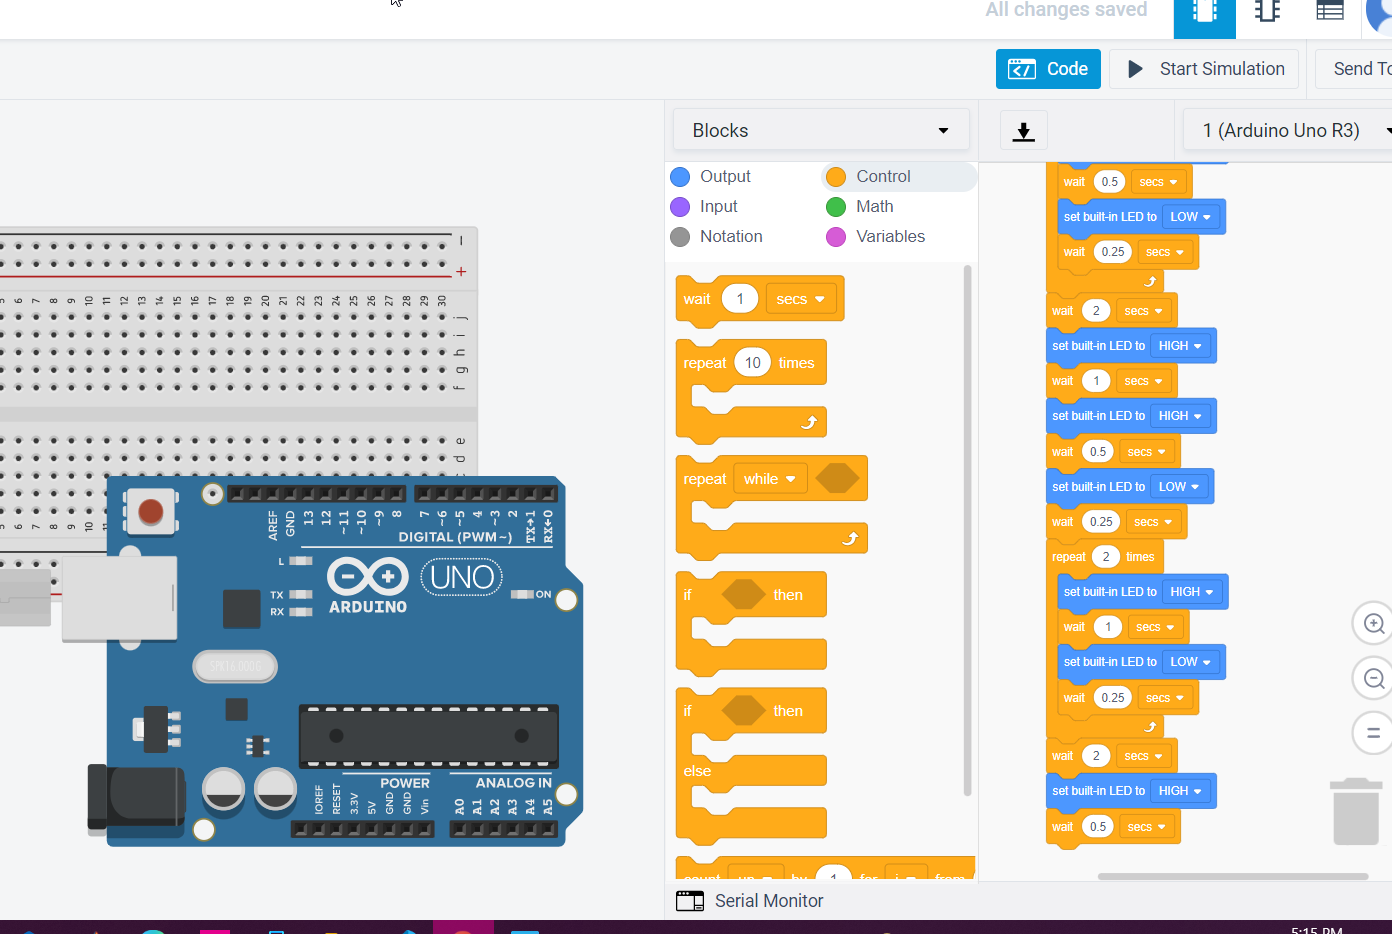
TinkerCad
We can control our Arduino to enable it to send messages and implement tasks using morse code. Morse code is a method used in telecommunication to encode text characters as standardized sequences of two different signal durations, called dots and dashes, or dits and dahs.
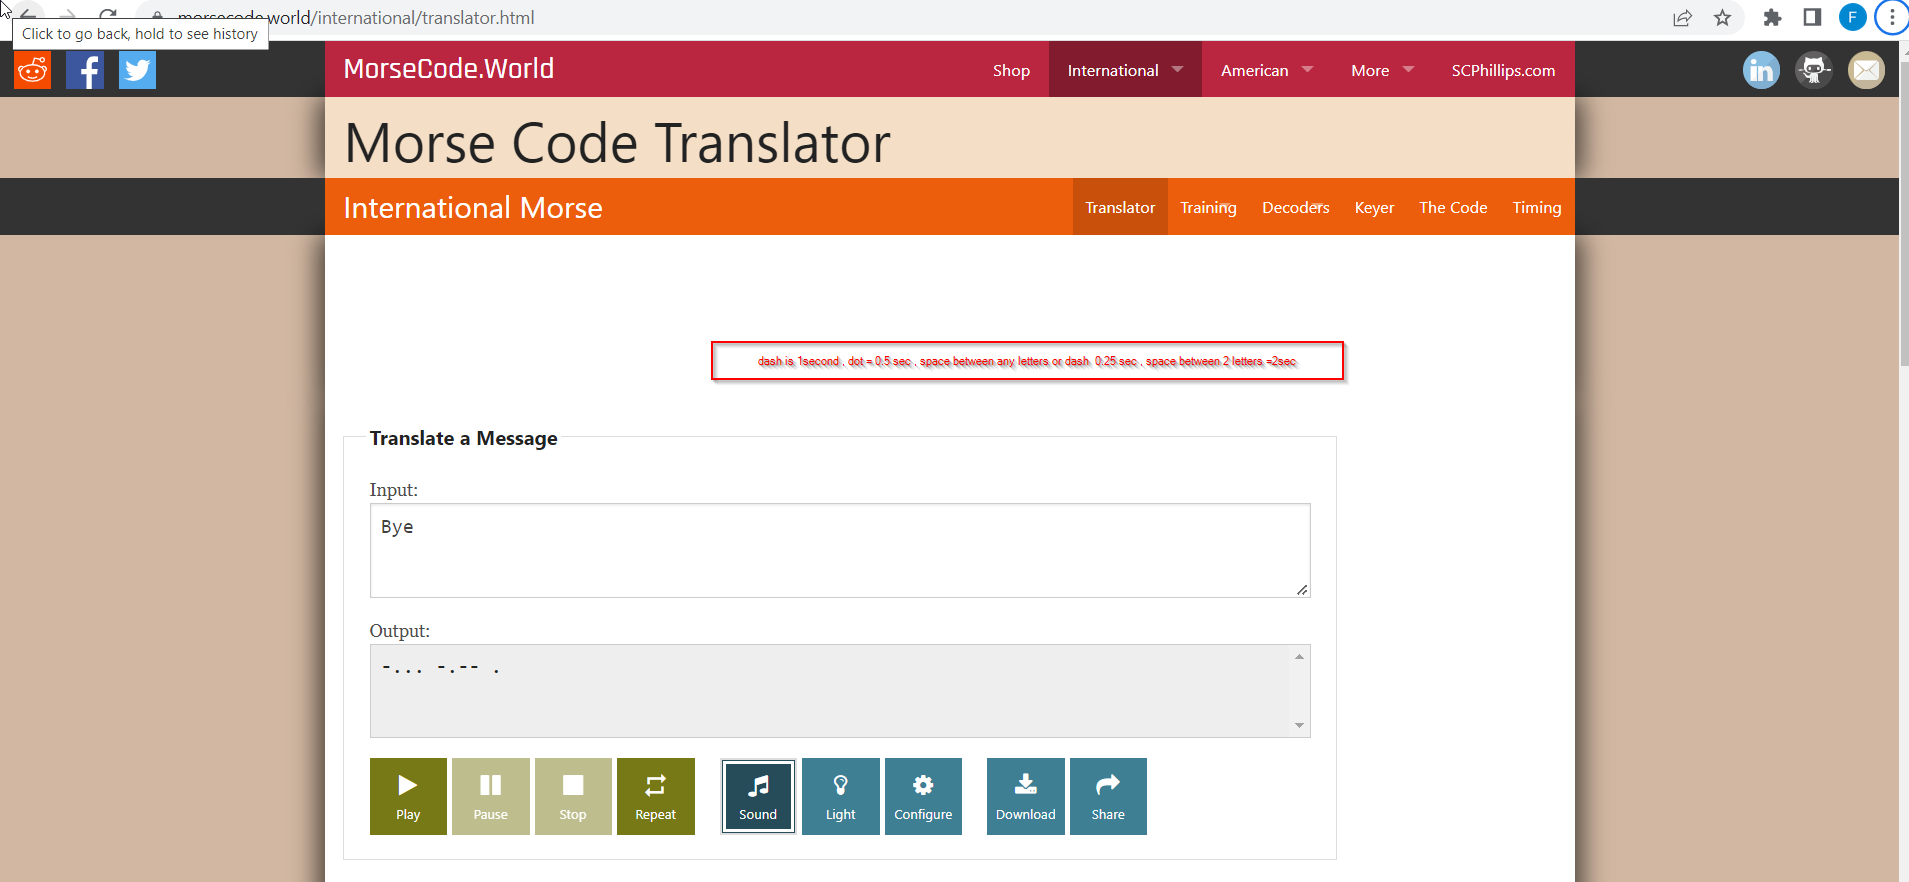
To write the code in TinkerCad, use the morse language and make the following translators:
Dash equal 1-second delay high led.
Dots equal 0.5-second delay high led
Spaces between dashes and dots equal 0.25-second delay low led
Spaces between letters equal 2-second delay low led
TinkerCad
 Drag a breadboard and an arduino to control
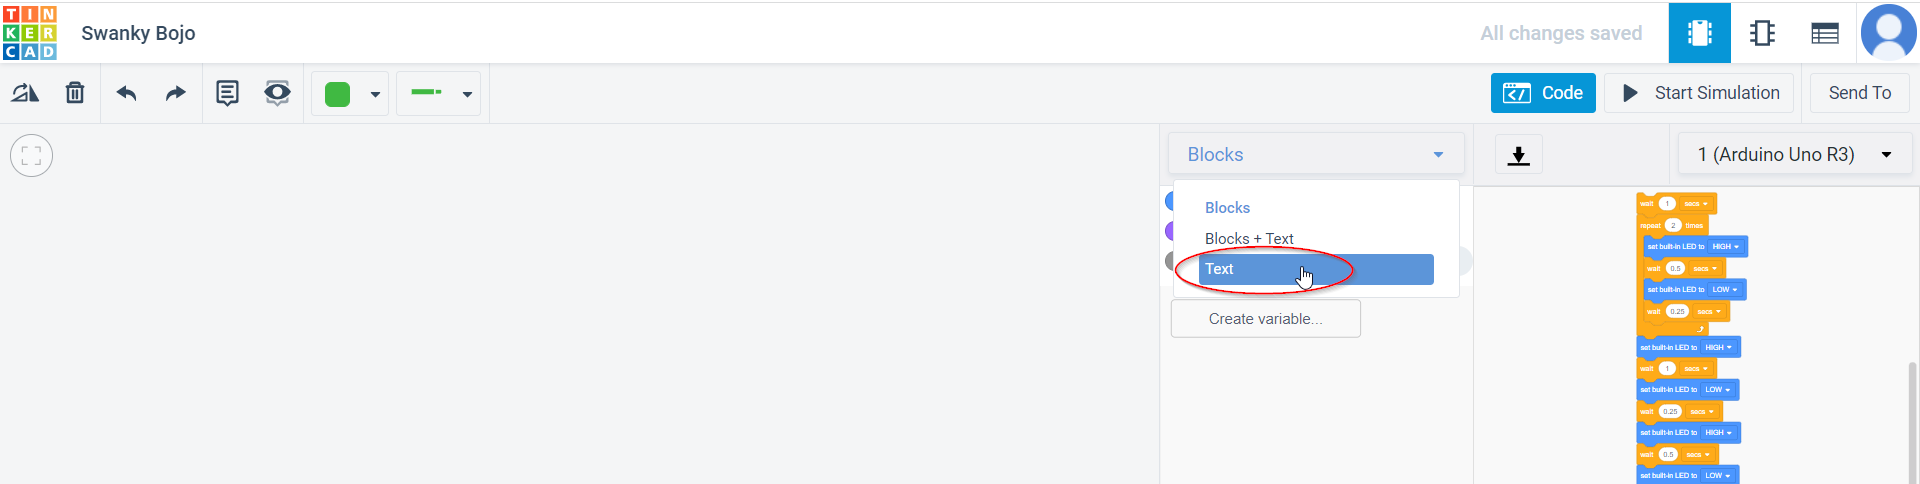
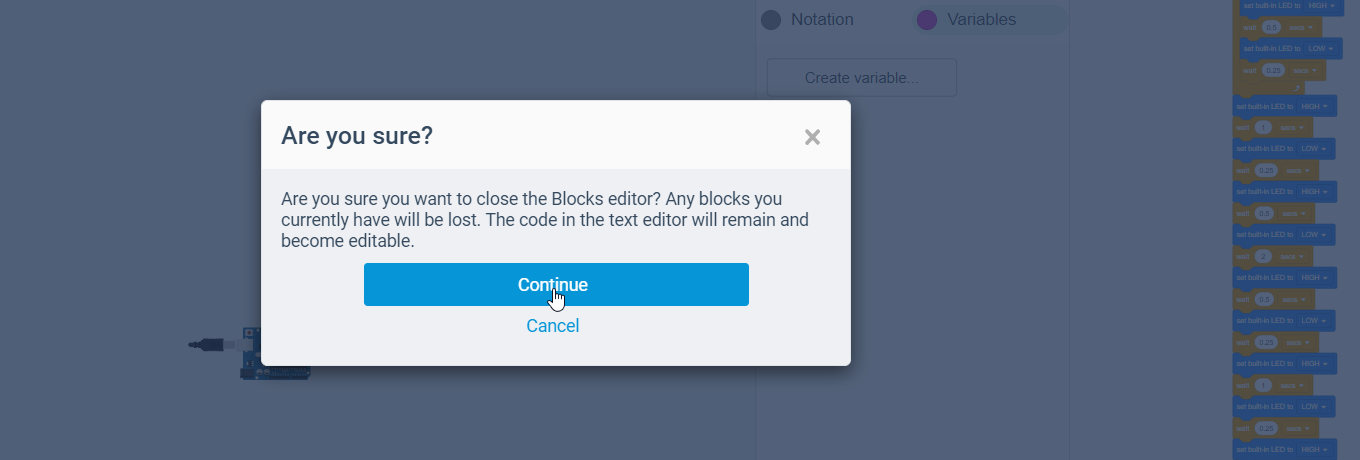
 Then convert the blocks into text, copy and paste in the Arduino application
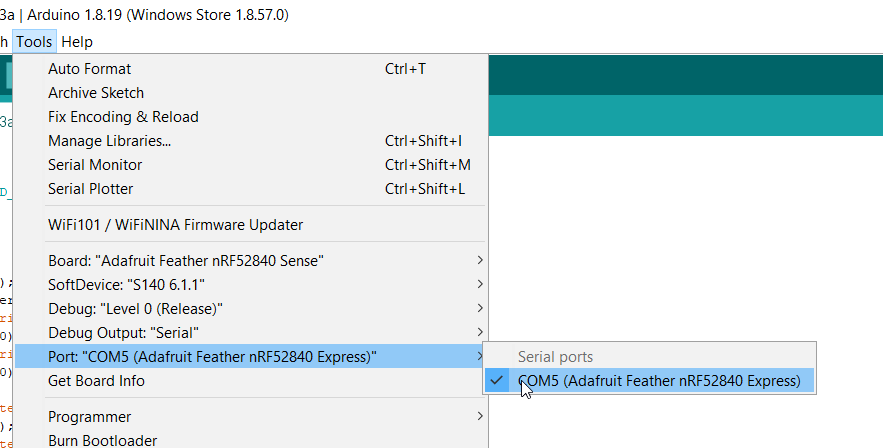
 Connect the Arduino by USB into the computer and follow these steps:
Click the restart bottom on Arduino twice
Connect the Arduino by USB into the computer and follow these steps:
Click the restart bottom on Arduino twice


Indivisul Assignment
Medium mode: pre code your microcontroller to send a morse code 1 word message and challenge anybody to figure it out.
I have chose a word and I have translated it into morse code then write it in the blocks language in Tinkercad website.


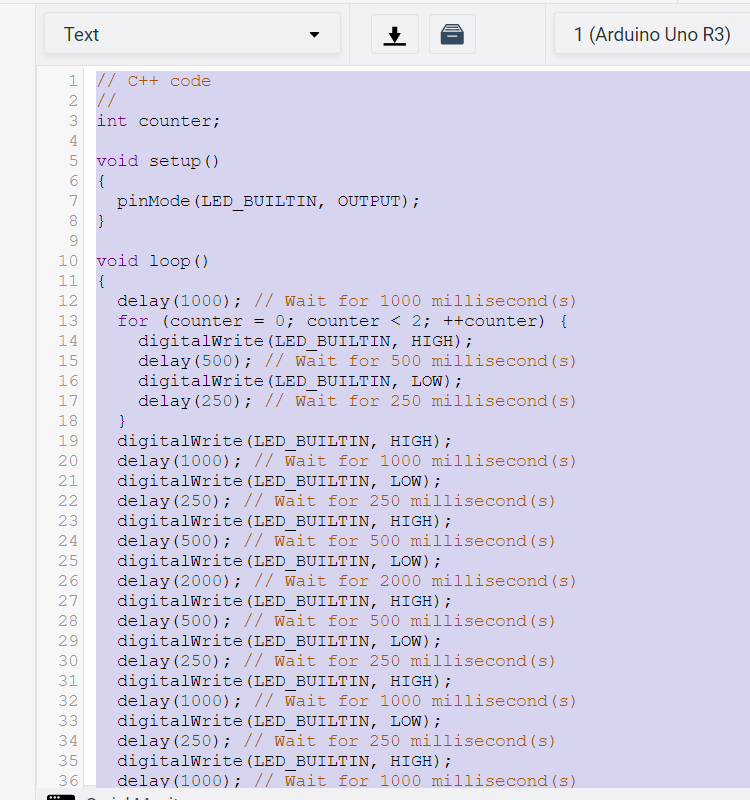
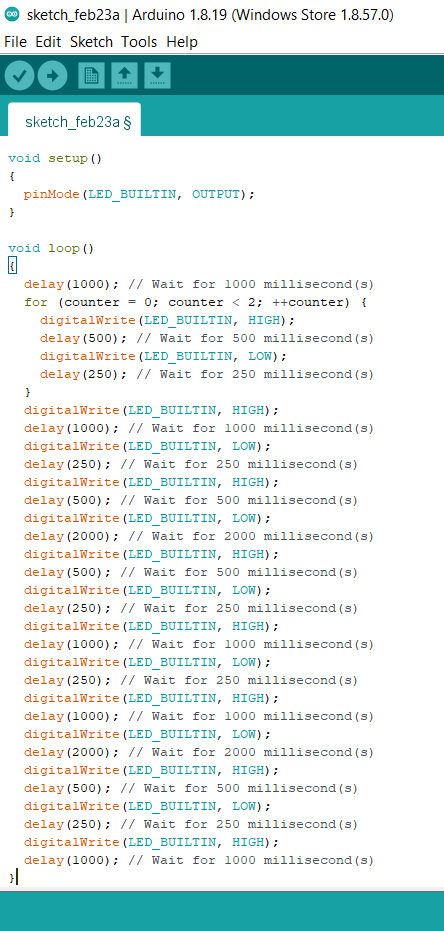
Source Code
// C++ code
//
int counter;

void setup()
{
  pinMode(LED_BUILTIN, OUTPUT);
}

void loop()
{
  delay(1000); // Wait for 1000 millisecond(s)
  for (counter = 0; counter < 2; ++counter) {
    digitalWrite(LED_BUILTIN, HIGH);
    delay(500); // Wait for 500 millisecond(s)
    digitalWrite(LED_BUILTIN, LOW);
    delay(250); // Wait for 250 millisecond(s)
  }
  digitalWrite(LED_BUILTIN, HIGH);
  delay(1000); // Wait for 1000 millisecond(s)
  digitalWrite(LED_BUILTIN, LOW);
  delay(250); // Wait for 250 millisecond(s)
  digitalWrite(LED_BUILTIN, HIGH);
  delay(500); // Wait for 500 millisecond(s)
  digitalWrite(LED_BUILTIN, LOW);
  delay(2000); // Wait for 2000 millisecond(s)
  digitalWrite(LED_BUILTIN, HIGH);
  delay(500); // Wait for 500 millisecond(s)
  digitalWrite(LED_BUILTIN, LOW);
  delay(250); // Wait for 250 millisecond(s)
  digitalWrite(LED_BUILTIN, HIGH);
  delay(1000); // Wait for 1000 millisecond(s)
  digitalWrite(LED_BUILTIN, LOW);
  delay(250); // Wait for 250 millisecond(s)
  digitalWrite(LED_BUILTIN, HIGH);
  delay(1000); // Wait for 1000 millisecond(s)
  digitalWrite(LED_BUILTIN, LOW);
  delay(2000); // Wait for 2000 millisecond(s)
  digitalWrite(LED_BUILTIN, HIGH);
  delay(500); // Wait for 500 millisecond(s)
  digitalWrite(LED_BUILTIN, LOW);
  delay(250); // Wait for 250 millisecond(s)
  digitalWrite(LED_BUILTIN, HIGH);
  delay(1000); // Wait for 1000 millisecond(s)
}