5. Embedded programming
This week has to be the most interesting compared to the weeks passed for my side, because we will start learn on the microcontrollers.
Group Assignment
On the first day, we started working on group assignments every group has given a different microcontroller and tasked to search about it and discover what and how it works. You can see all groups results in this link Click here.
Homework
each of us has given a microcontroller and as a homework we should try to make the LED light to blink.
I already know how to blink it from courses I took before. so i opened the blink code from the file/example/basics/blink. And this is the code that make the LED in microcontroller turn on for 1 sec then of for 1 sec again and again. very easy code to understand.

Code Example
#include <Arduino.h>
#include <Adafruit_TinyUSB.h>
void setup() {
  // initialize digital pin LED_BUILTIN as an output.
  pinMode(LED_BUILTIN, OUTPUT);
}

// the loop function runs over and over again forever
void loop() {
  digitalWrite(LED_BUILTIN, HIGH);   // turn the LED on (HIGH is the voltage level)
  delay(1000);                       // wait for a second
  digitalWrite(LED_BUILTIN, LOW);    // turn the LED off
  delay(1000);                       // wait for a second
}
video Example
More work
Also i tried a different style of blink because i already noe that, so i won’t to let LED turn on with low voltage then the light get stronger each time then it get weaker by time. i didn’t now how to do it because of that i start to do it. After alot of tries i searched about it and i saw that i can change the current flowing to the led from digital(low or high in same voltage level) to analog(i can control how much each time current flowing ). and it done.
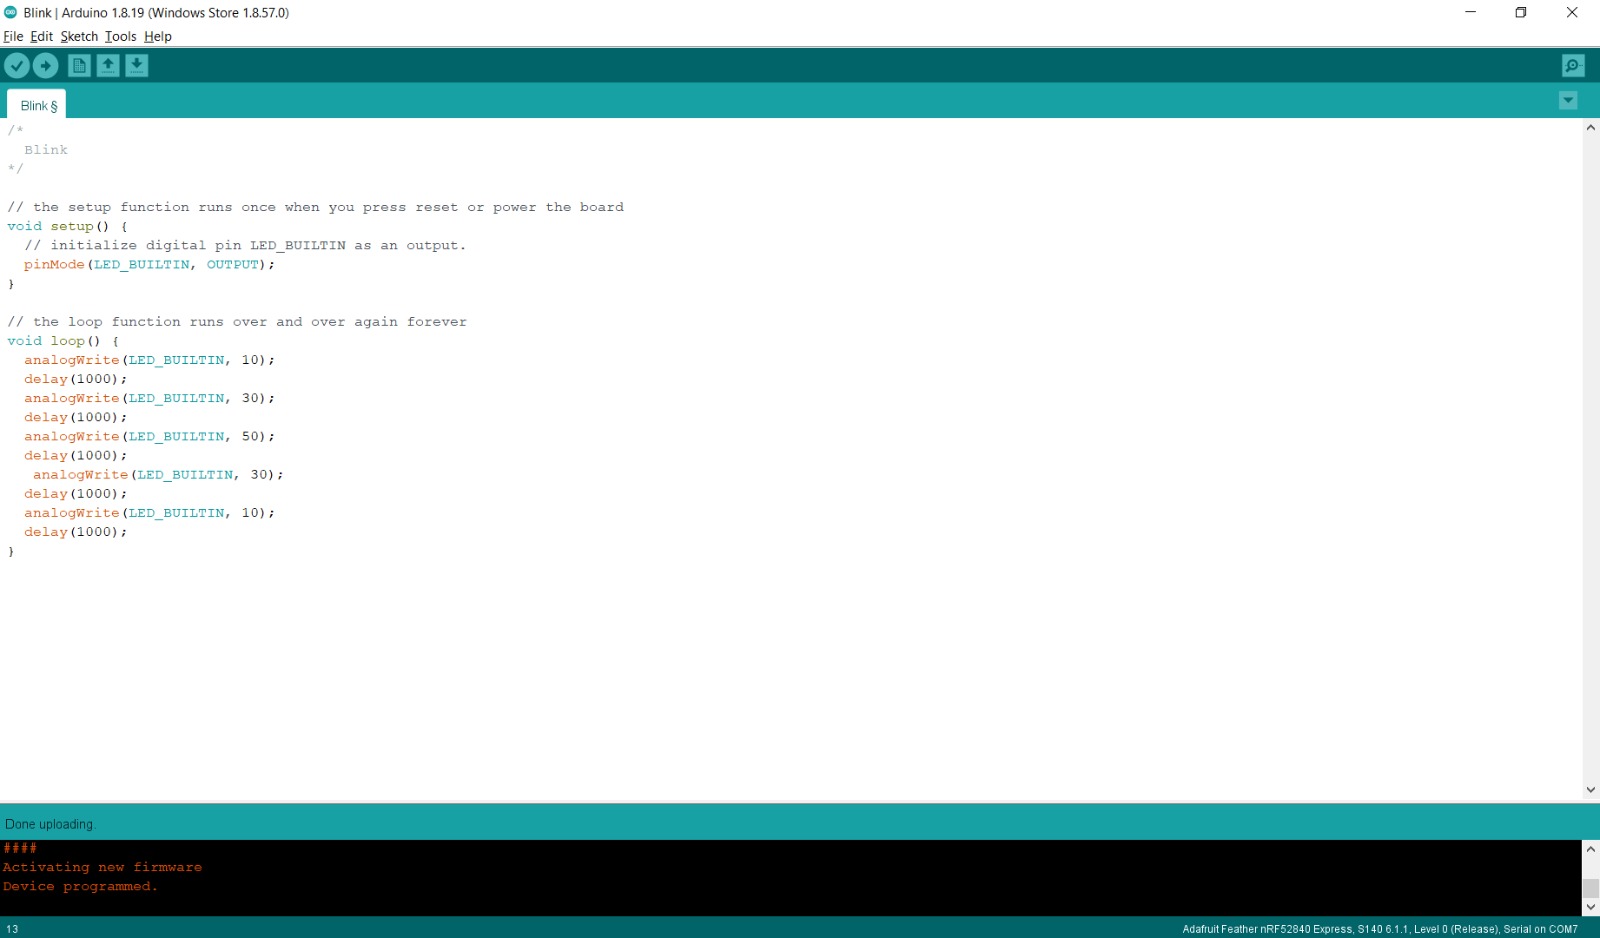
Code Example
``` void setup() {
pinMode(LED_BUILTIN, OUTPUT); }
// the loop function runs over and over again forever
void loop() {
analogWrite(LED_BUILTIN,10);
delay(1000);
analogWrite(LED_BUILTIN,30);
delay(1000);
analogWrite(LED_BUILTIN,50);
delay(1000);
analogWrite(LED_BUILTIN,30);
delay(1000);
analogWrite(LED_BUILTIN,10);
delay(1000);
}
```
video Example
Tinker Cad
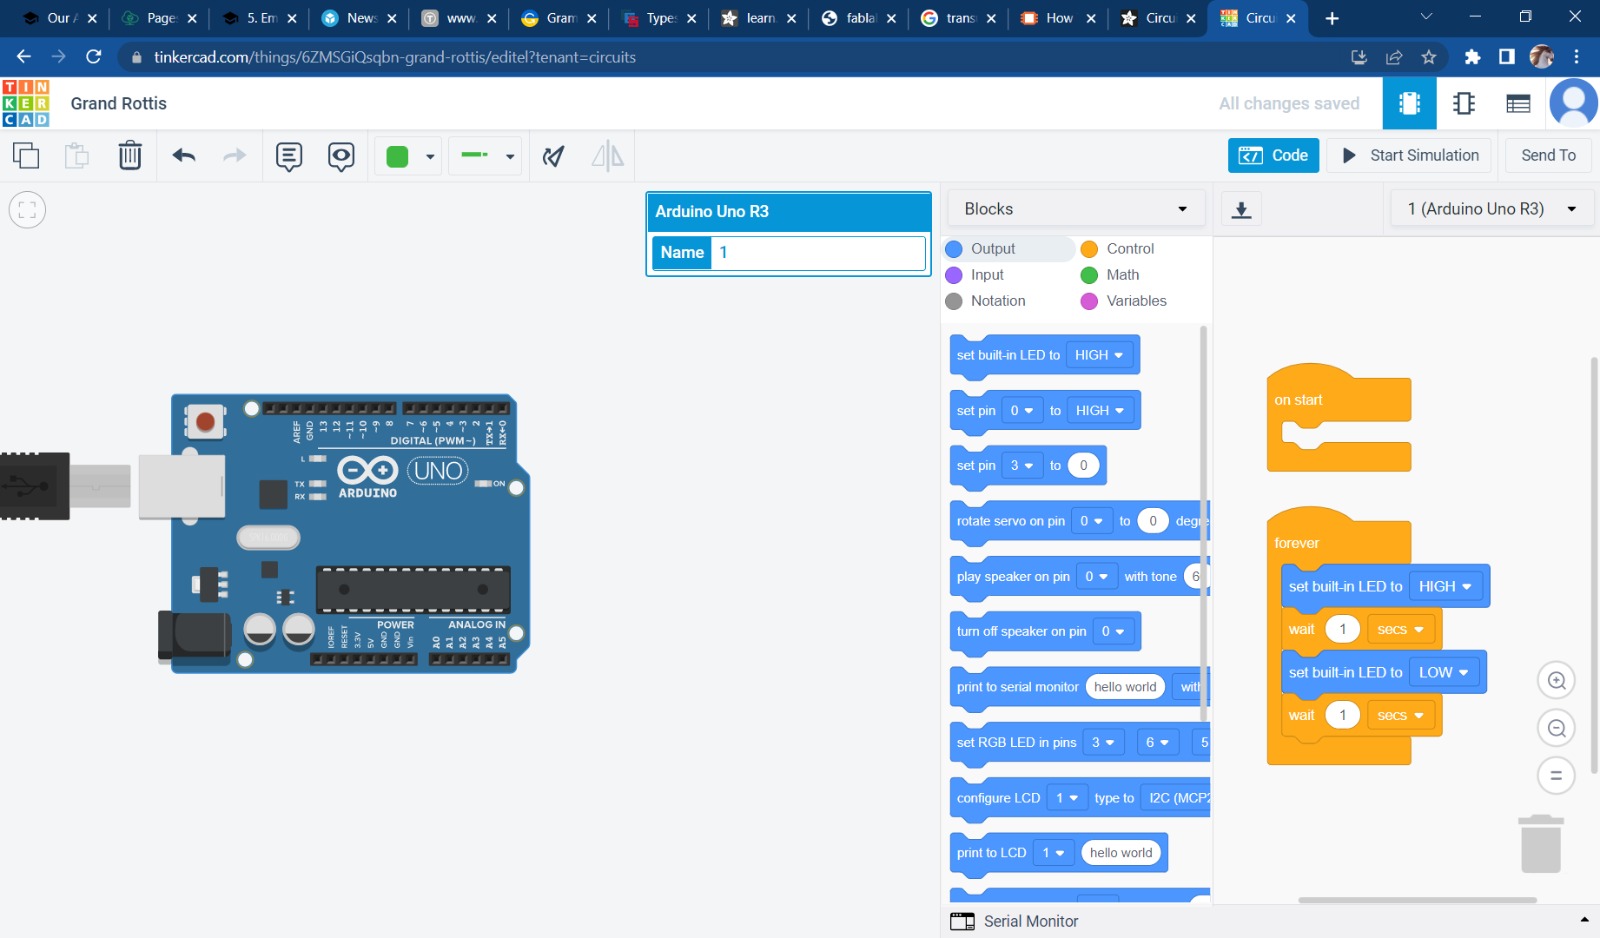
On the second day, we start using tinker cad and see what it provides in designing circuits. This was simple and very good website for beginners. Also after doing what you want tinker cad can convert it to a code thatyou cane use it in arduino and see the result in real.
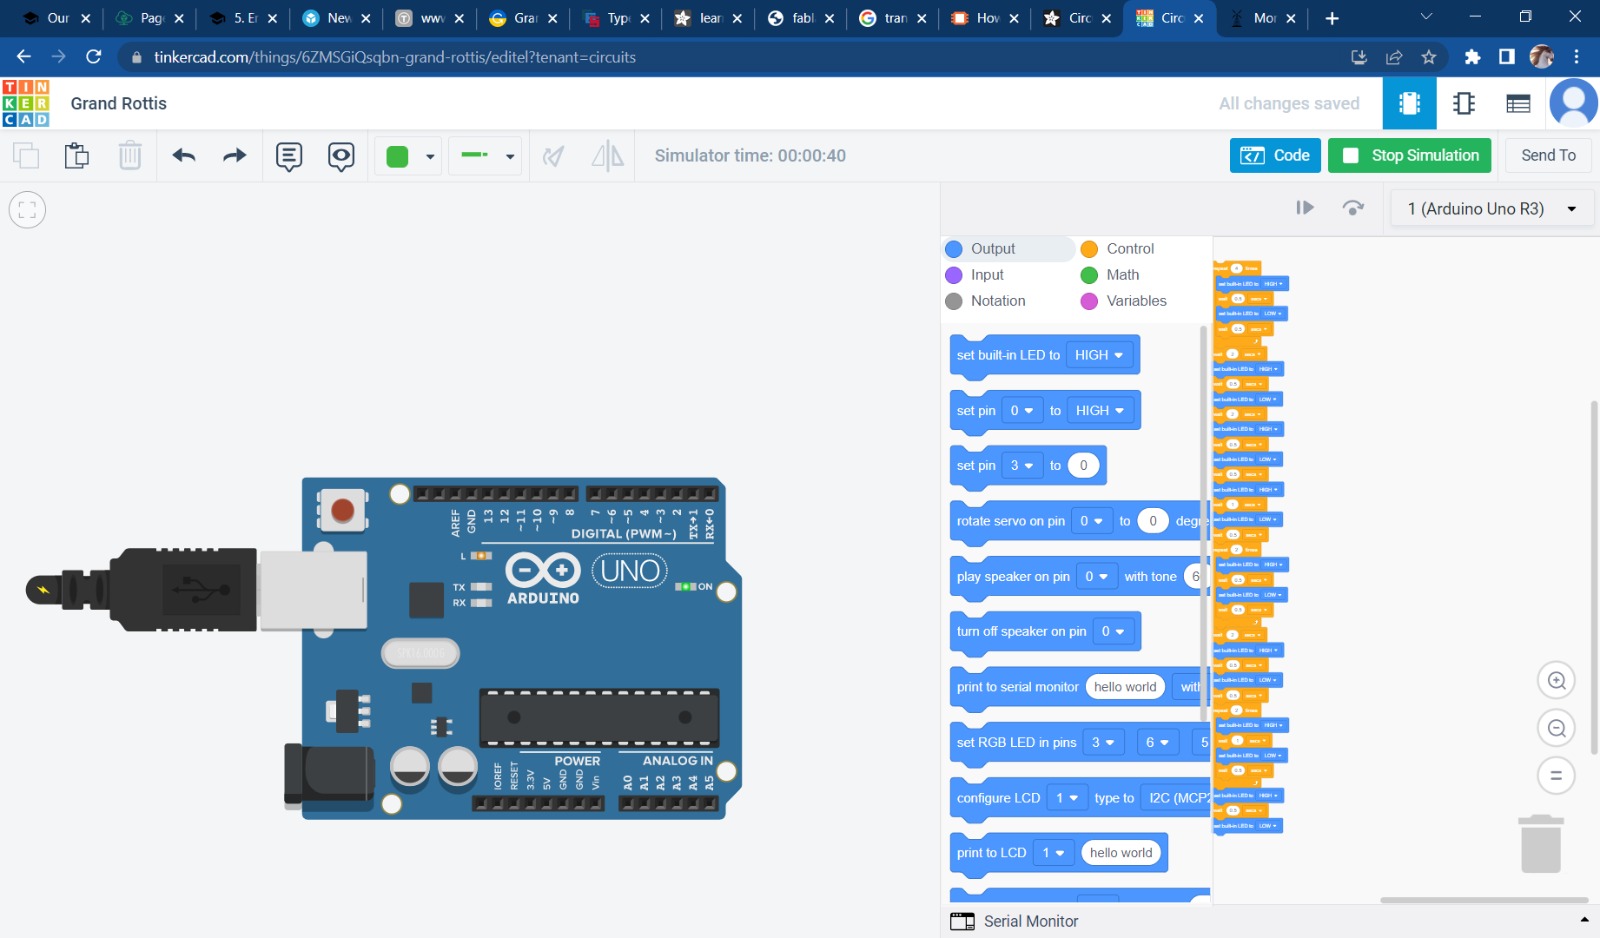
Blink with Tinker Cad
First we tried to do the blinking homework on the tinker cad
Morsecode with Tinker Cad
Then we tasked to do blinking by morse code, each one should take a word and converted to morse code by website called morsecode.world. And instructor did a guid we must folloe during this assignment which is..
Morsecode:
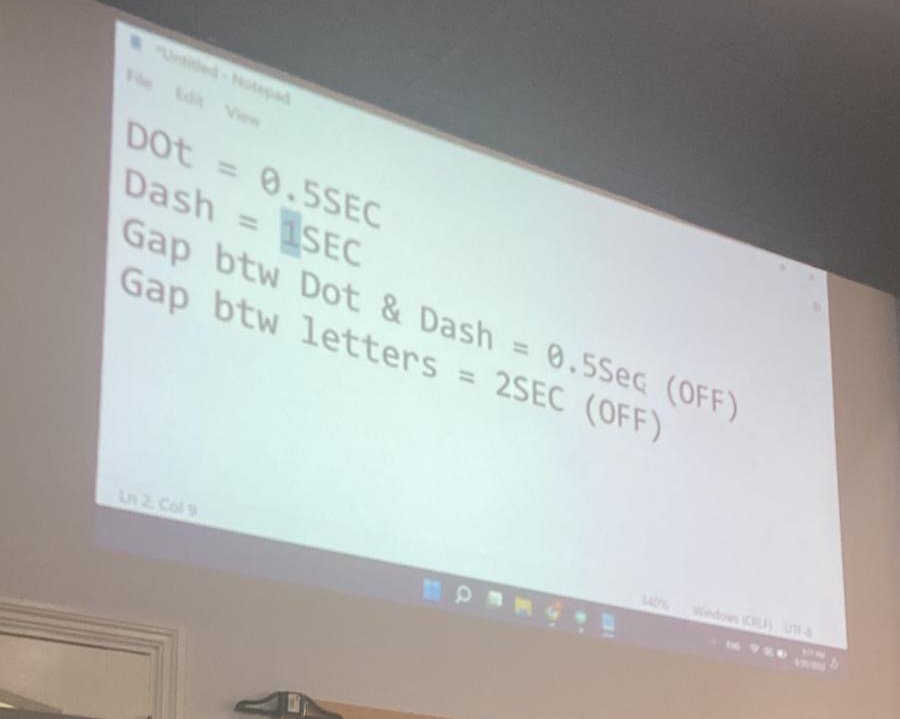 - The point= Led on for 1sec
-
The dash= Led on for 2sec
-
between the point= Led off for 0.5sec
-
between words= Led off for 1sec
So said i will take the word ‘help’ and this what it shows
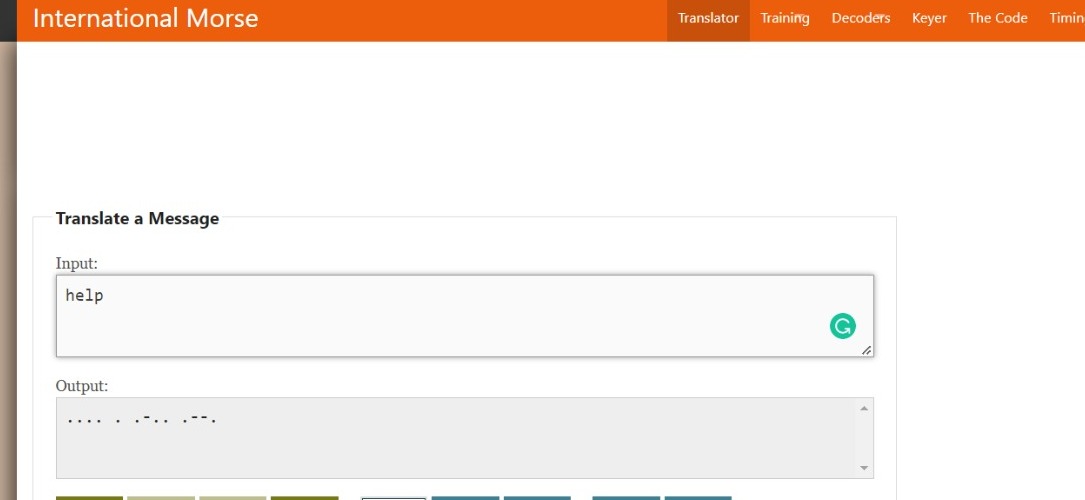
i did it in tinker cad and it works well
Video Example
This all for this week, see you at the next one <3