3. Computer controlled cutting
This week is about laser cutter machine that cuts 2D designs by laser. So we were need to design 2D design by one of the softwares that we tried in the second week, this week is the week that the real program starts. We tasked to design 2D design which is have to be parametric press fit, means the parts we will cut should be able to attached them in a different ways.
Group Assignment
First day the assignment were that we need to test the following:
1-[joints] this means we need to test the best dimentions of the pieces joint that will make them fit to each other. it must be Not big that cause the pieces to fall, and not fit as well that cause the pieces to be small and the joints are not able to overlap or get into each other.
2-[laser speed] means the best speed that the laser have to move to get our result correctly without mistakes
3-[laser power] means the best power that the laser can cut the material, not big that consume more gas or less and not small that it can’t cut the material.
So we test these things like groups and you can see the results and more details if you want by clicking on my friend Kawther site.
2D Design
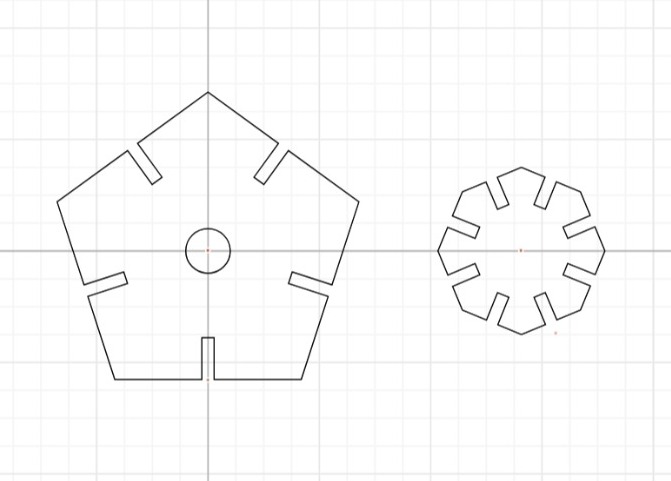
For this type of designing i saw that using cuttle will be better, easier and it will take less time. I desided to design two pieces a big one and small one it will take place of attaching the big pieces.
I opened cuttle
The big piece designing process
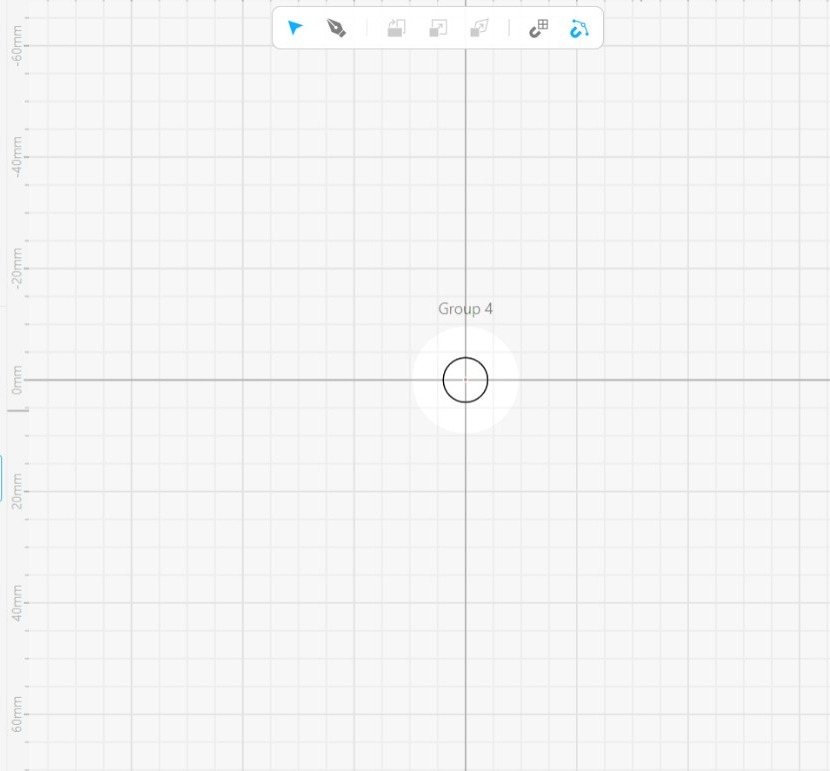 i inserted i circle as usual
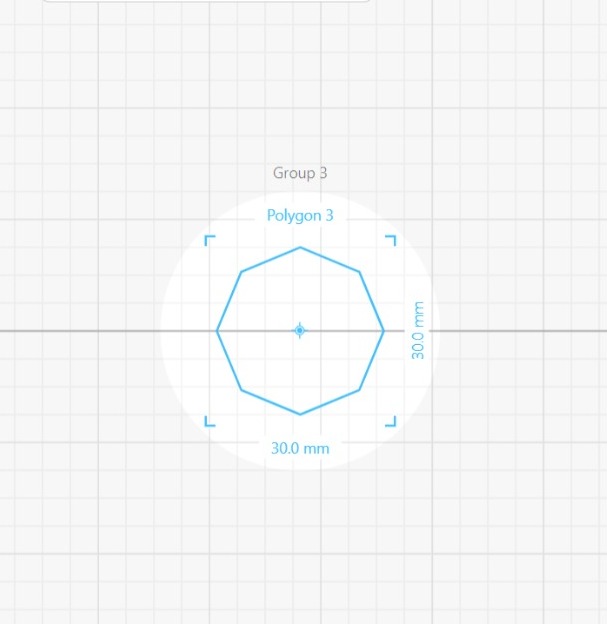
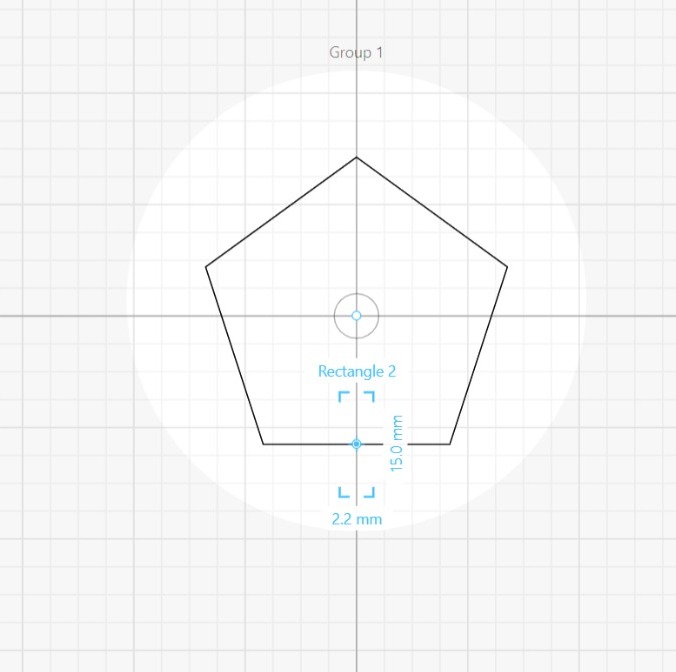 Then i chosed the rectangle to be my orignal shape because it has more sides so it will be better for this assignment.
 after that i dragged rectangles and applied rotational repeat, so this part will cut my rectangle so this were the parts will be attached to each other.
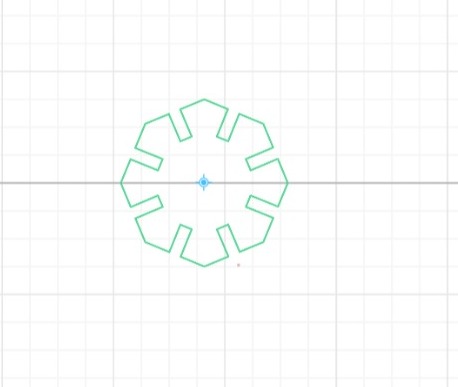
 By that this is the first piece been done.
The small piece designing process
And same steps will be for the second piece

by that both pieces is been done and ready to cut
Laser Cutter Machine
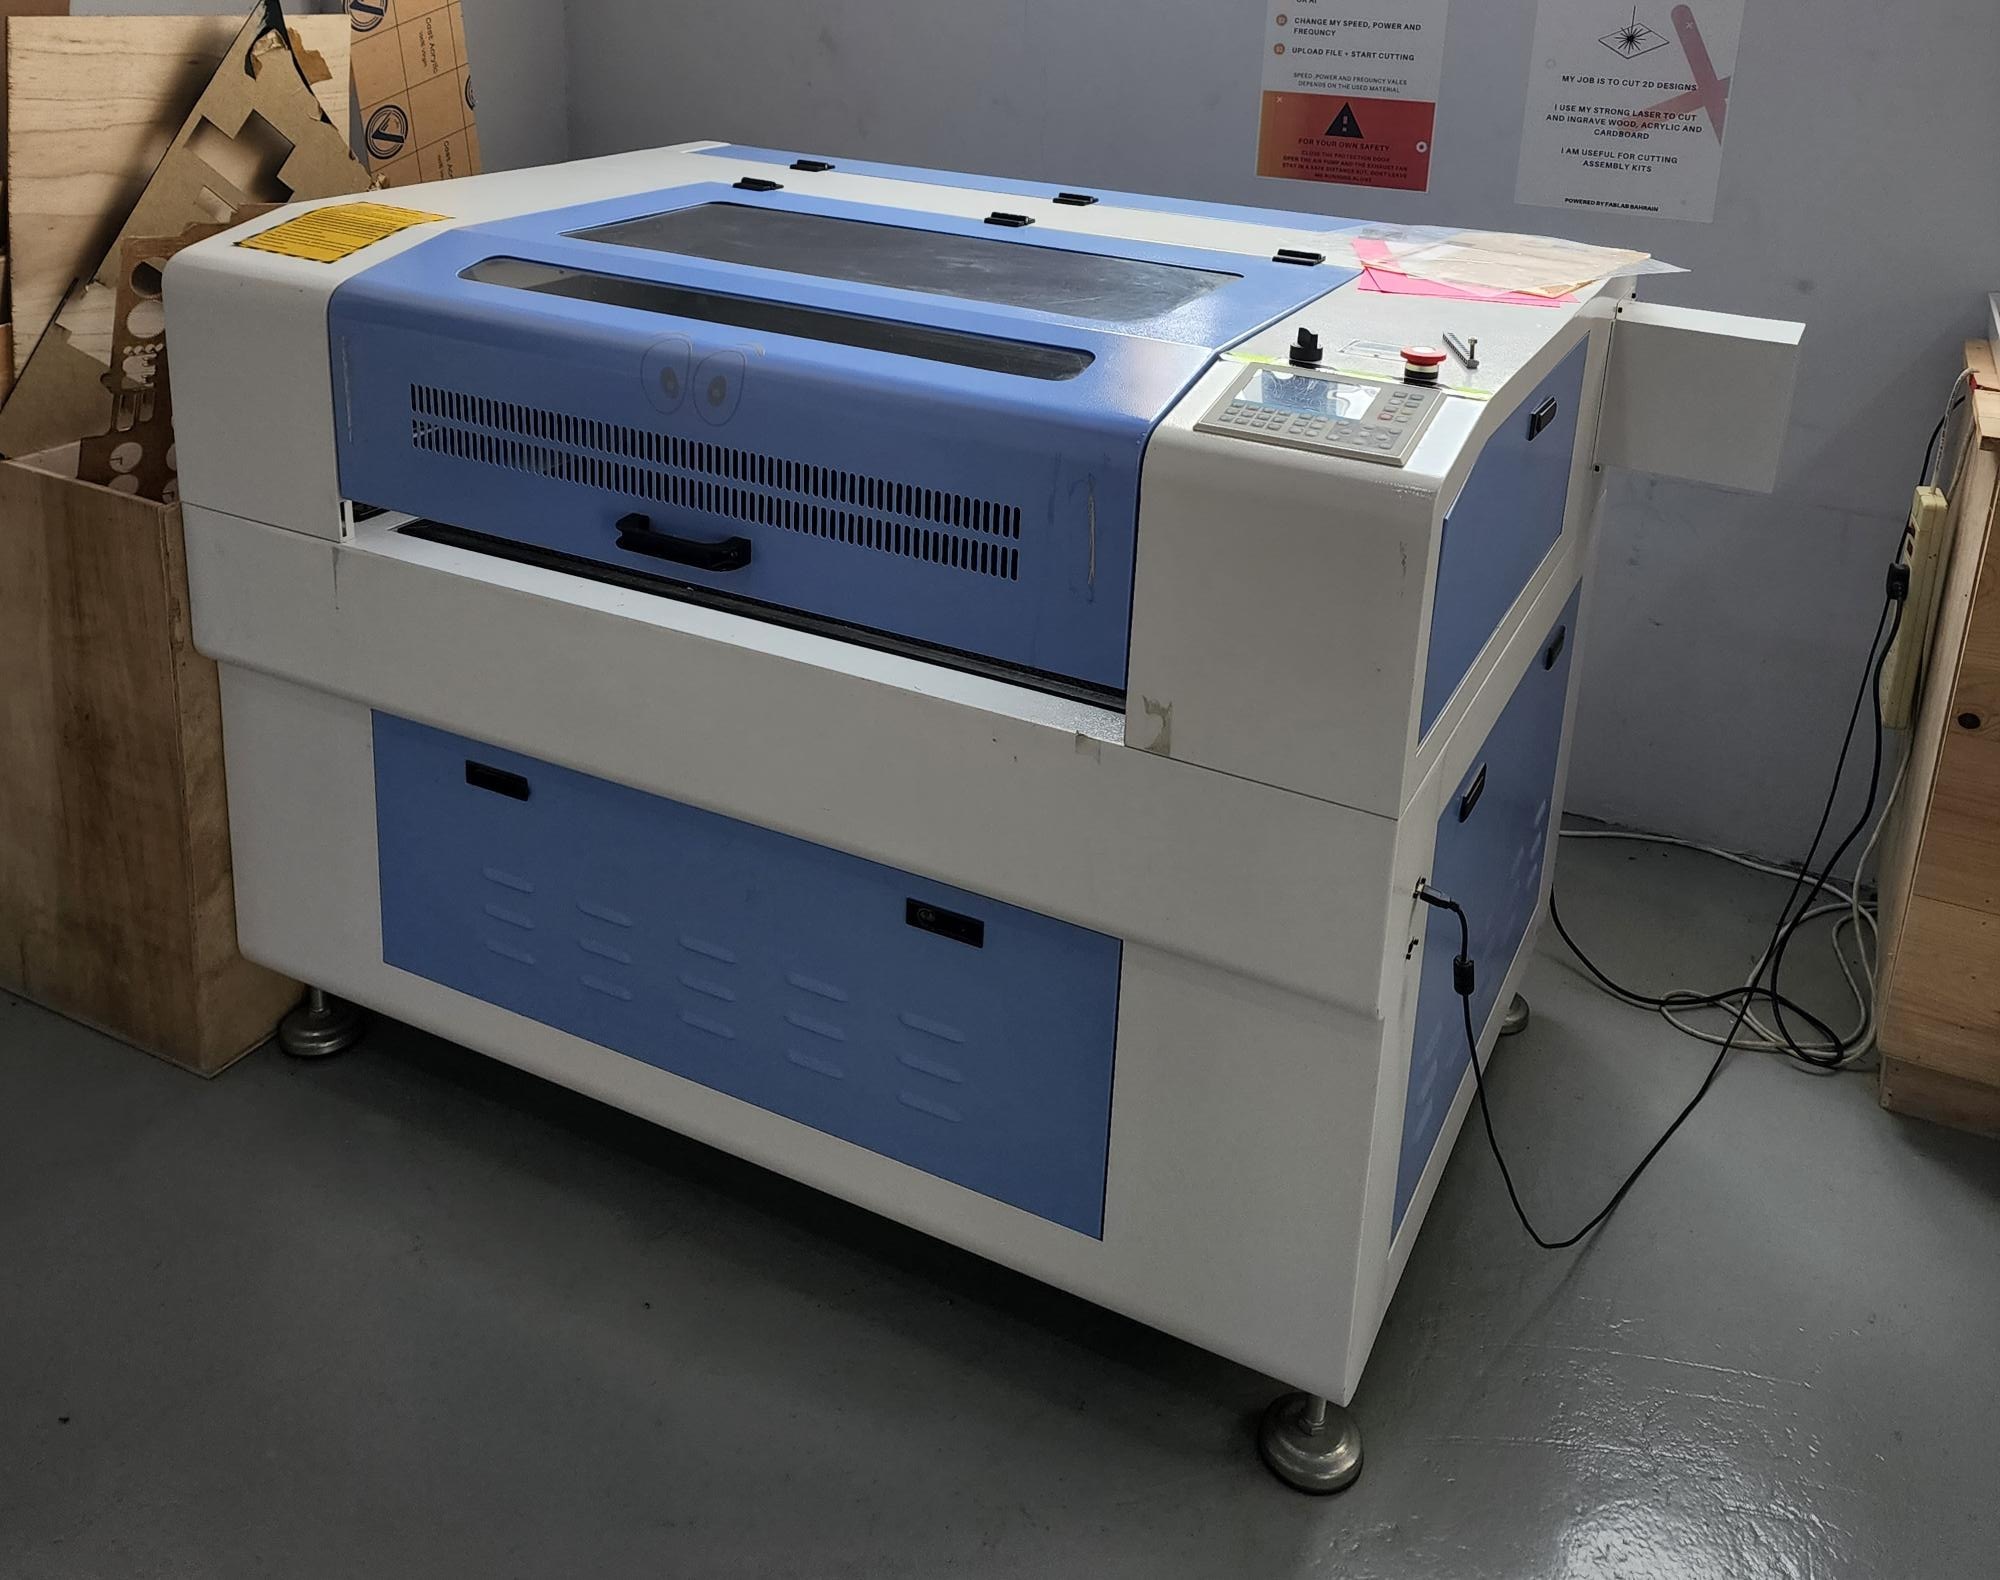 This machine increaces gas temperature and it get it out and focus it into a point so that’s lead to cut the material.
Cutting Steps
1- First i send my design to the Computer connected to this machine
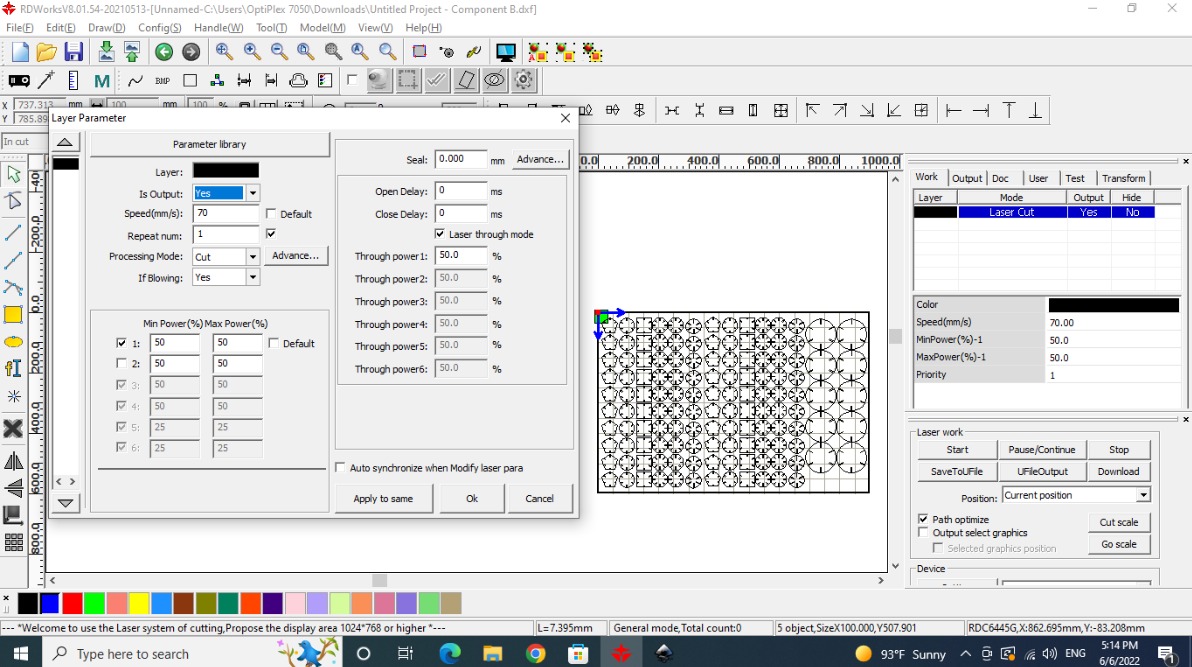
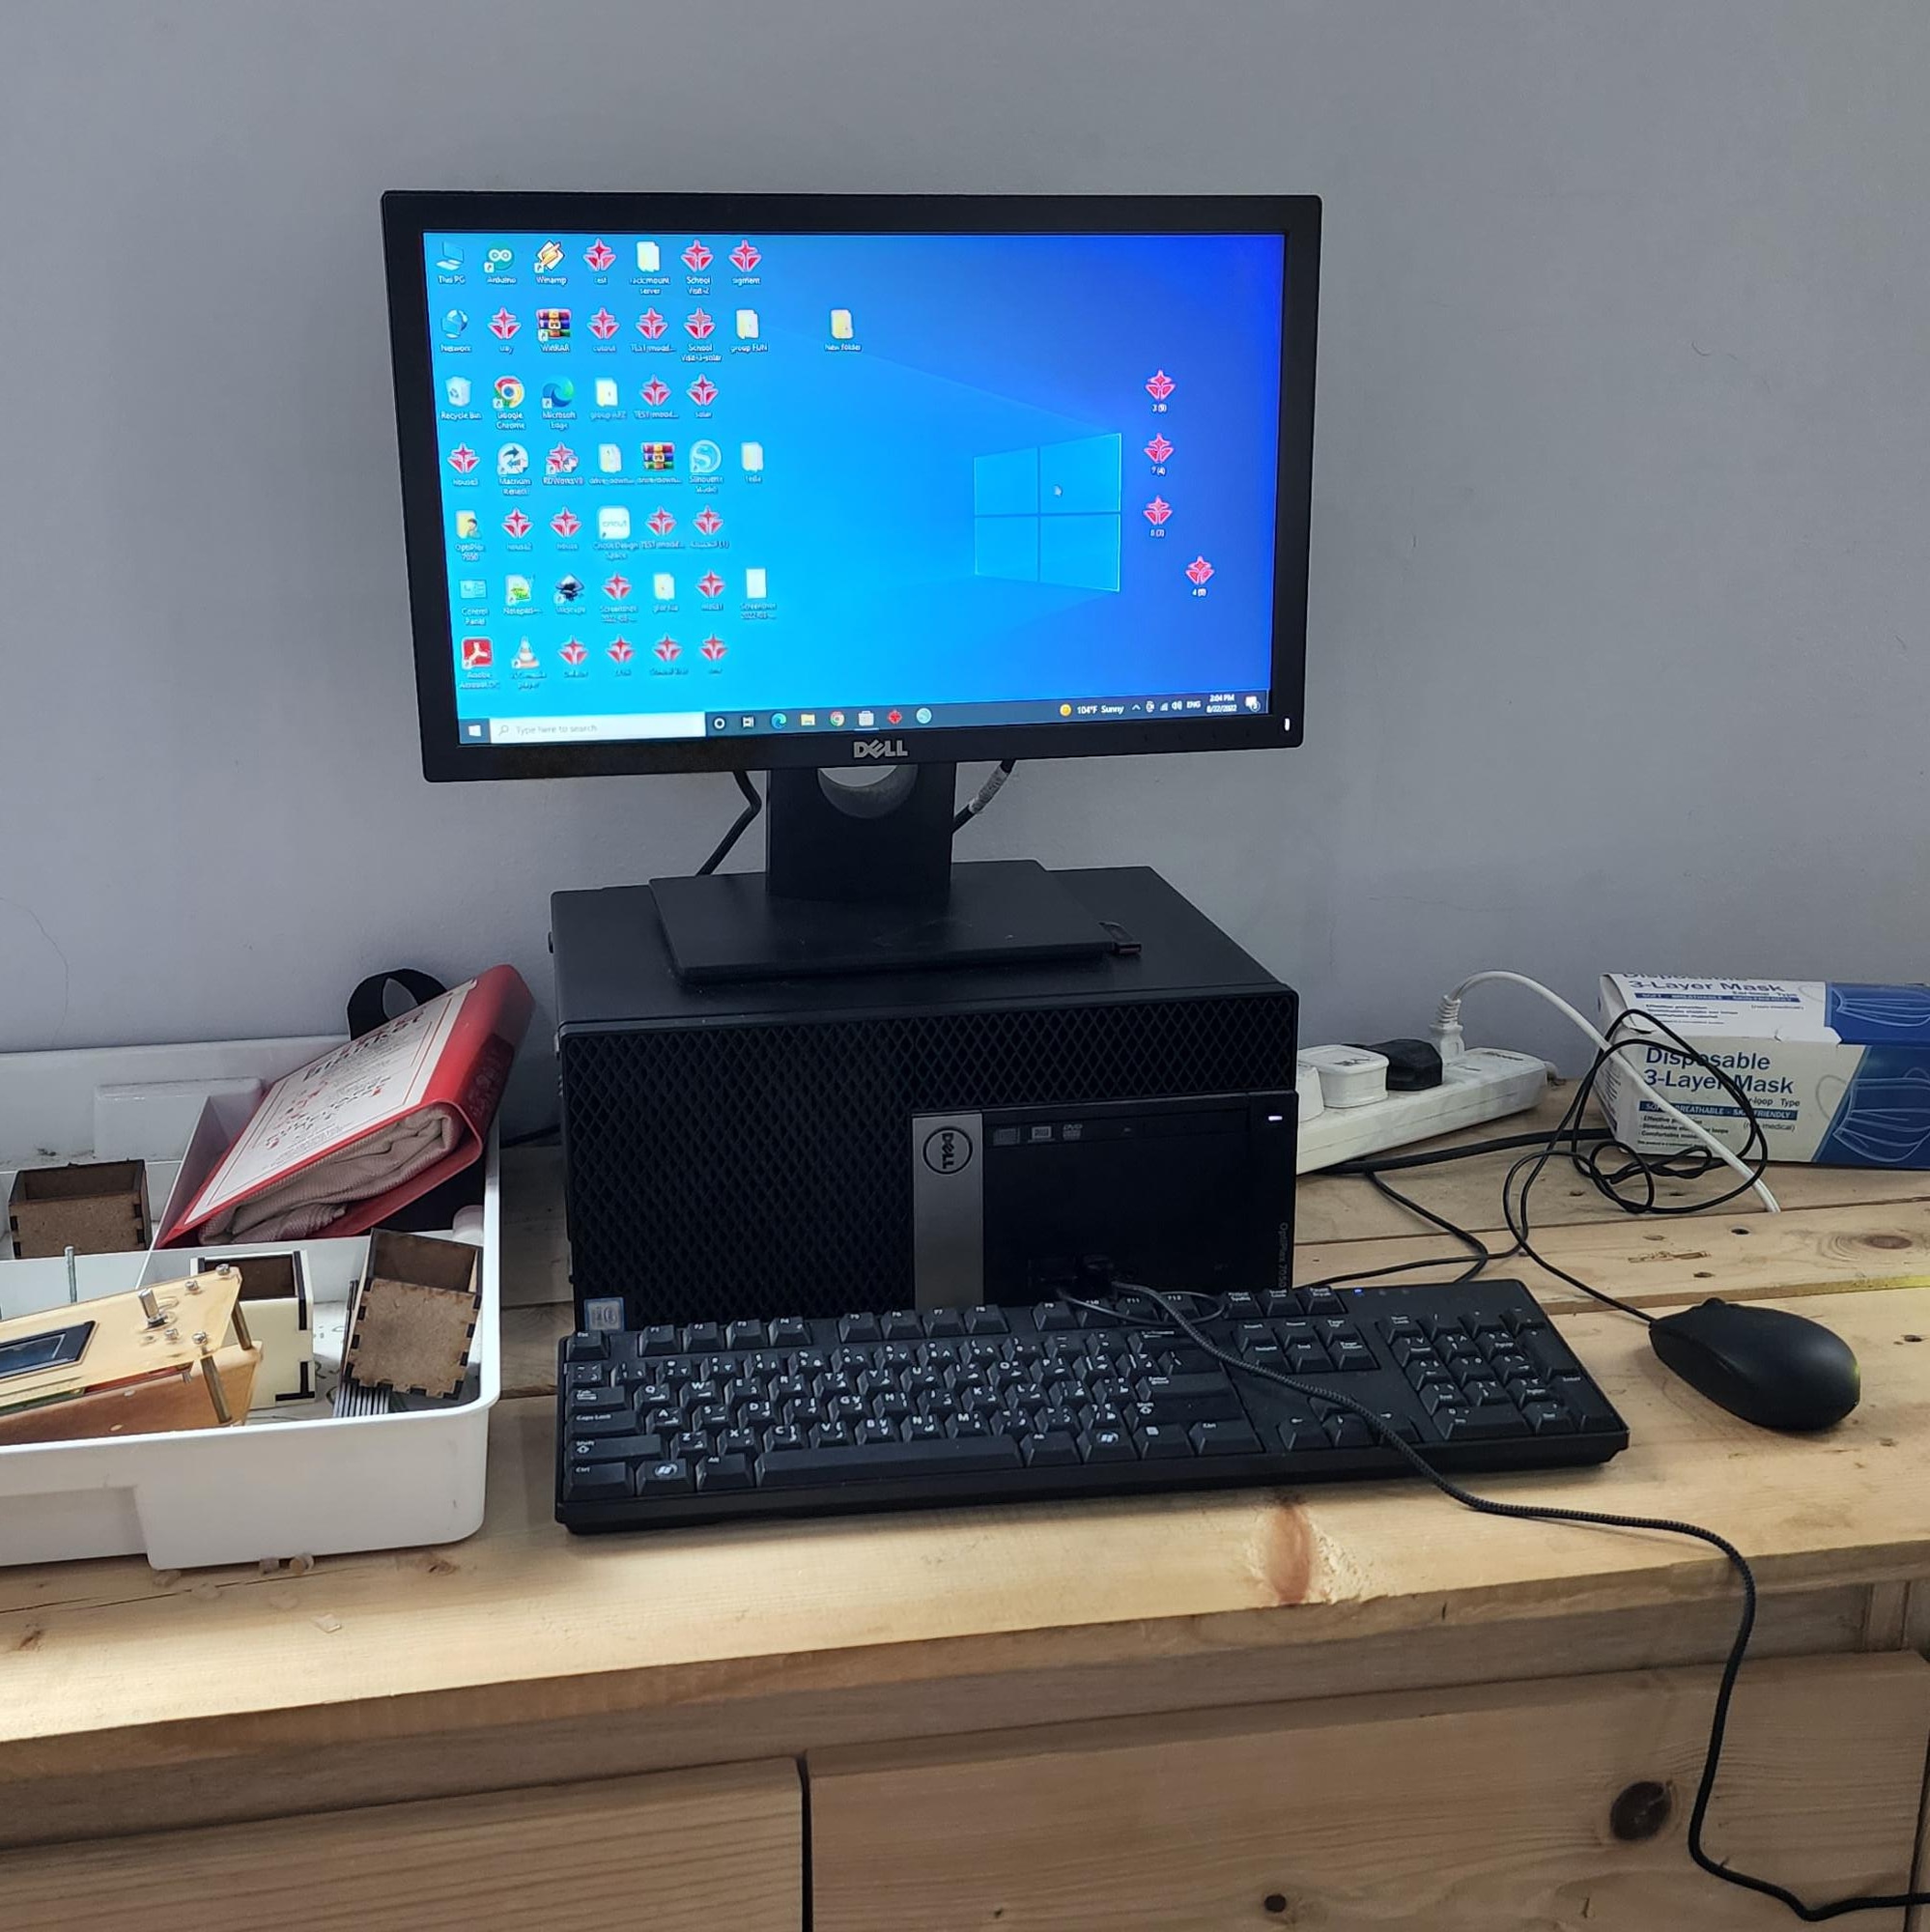 On this Computer a software called RDworks, this is the program related to the machine.
2- Second i opened my design in it and starts setting the settings. like: speed,power and joints. the joints is the hight and lenth of the cutted pieces on the design, it’s the place were the pieces will be connected to each other. This joint is already definde it while i am designing. I cutted almost 10 pieces of each big and small design.
3- Finally the cutting process starts and the pieces were ready.
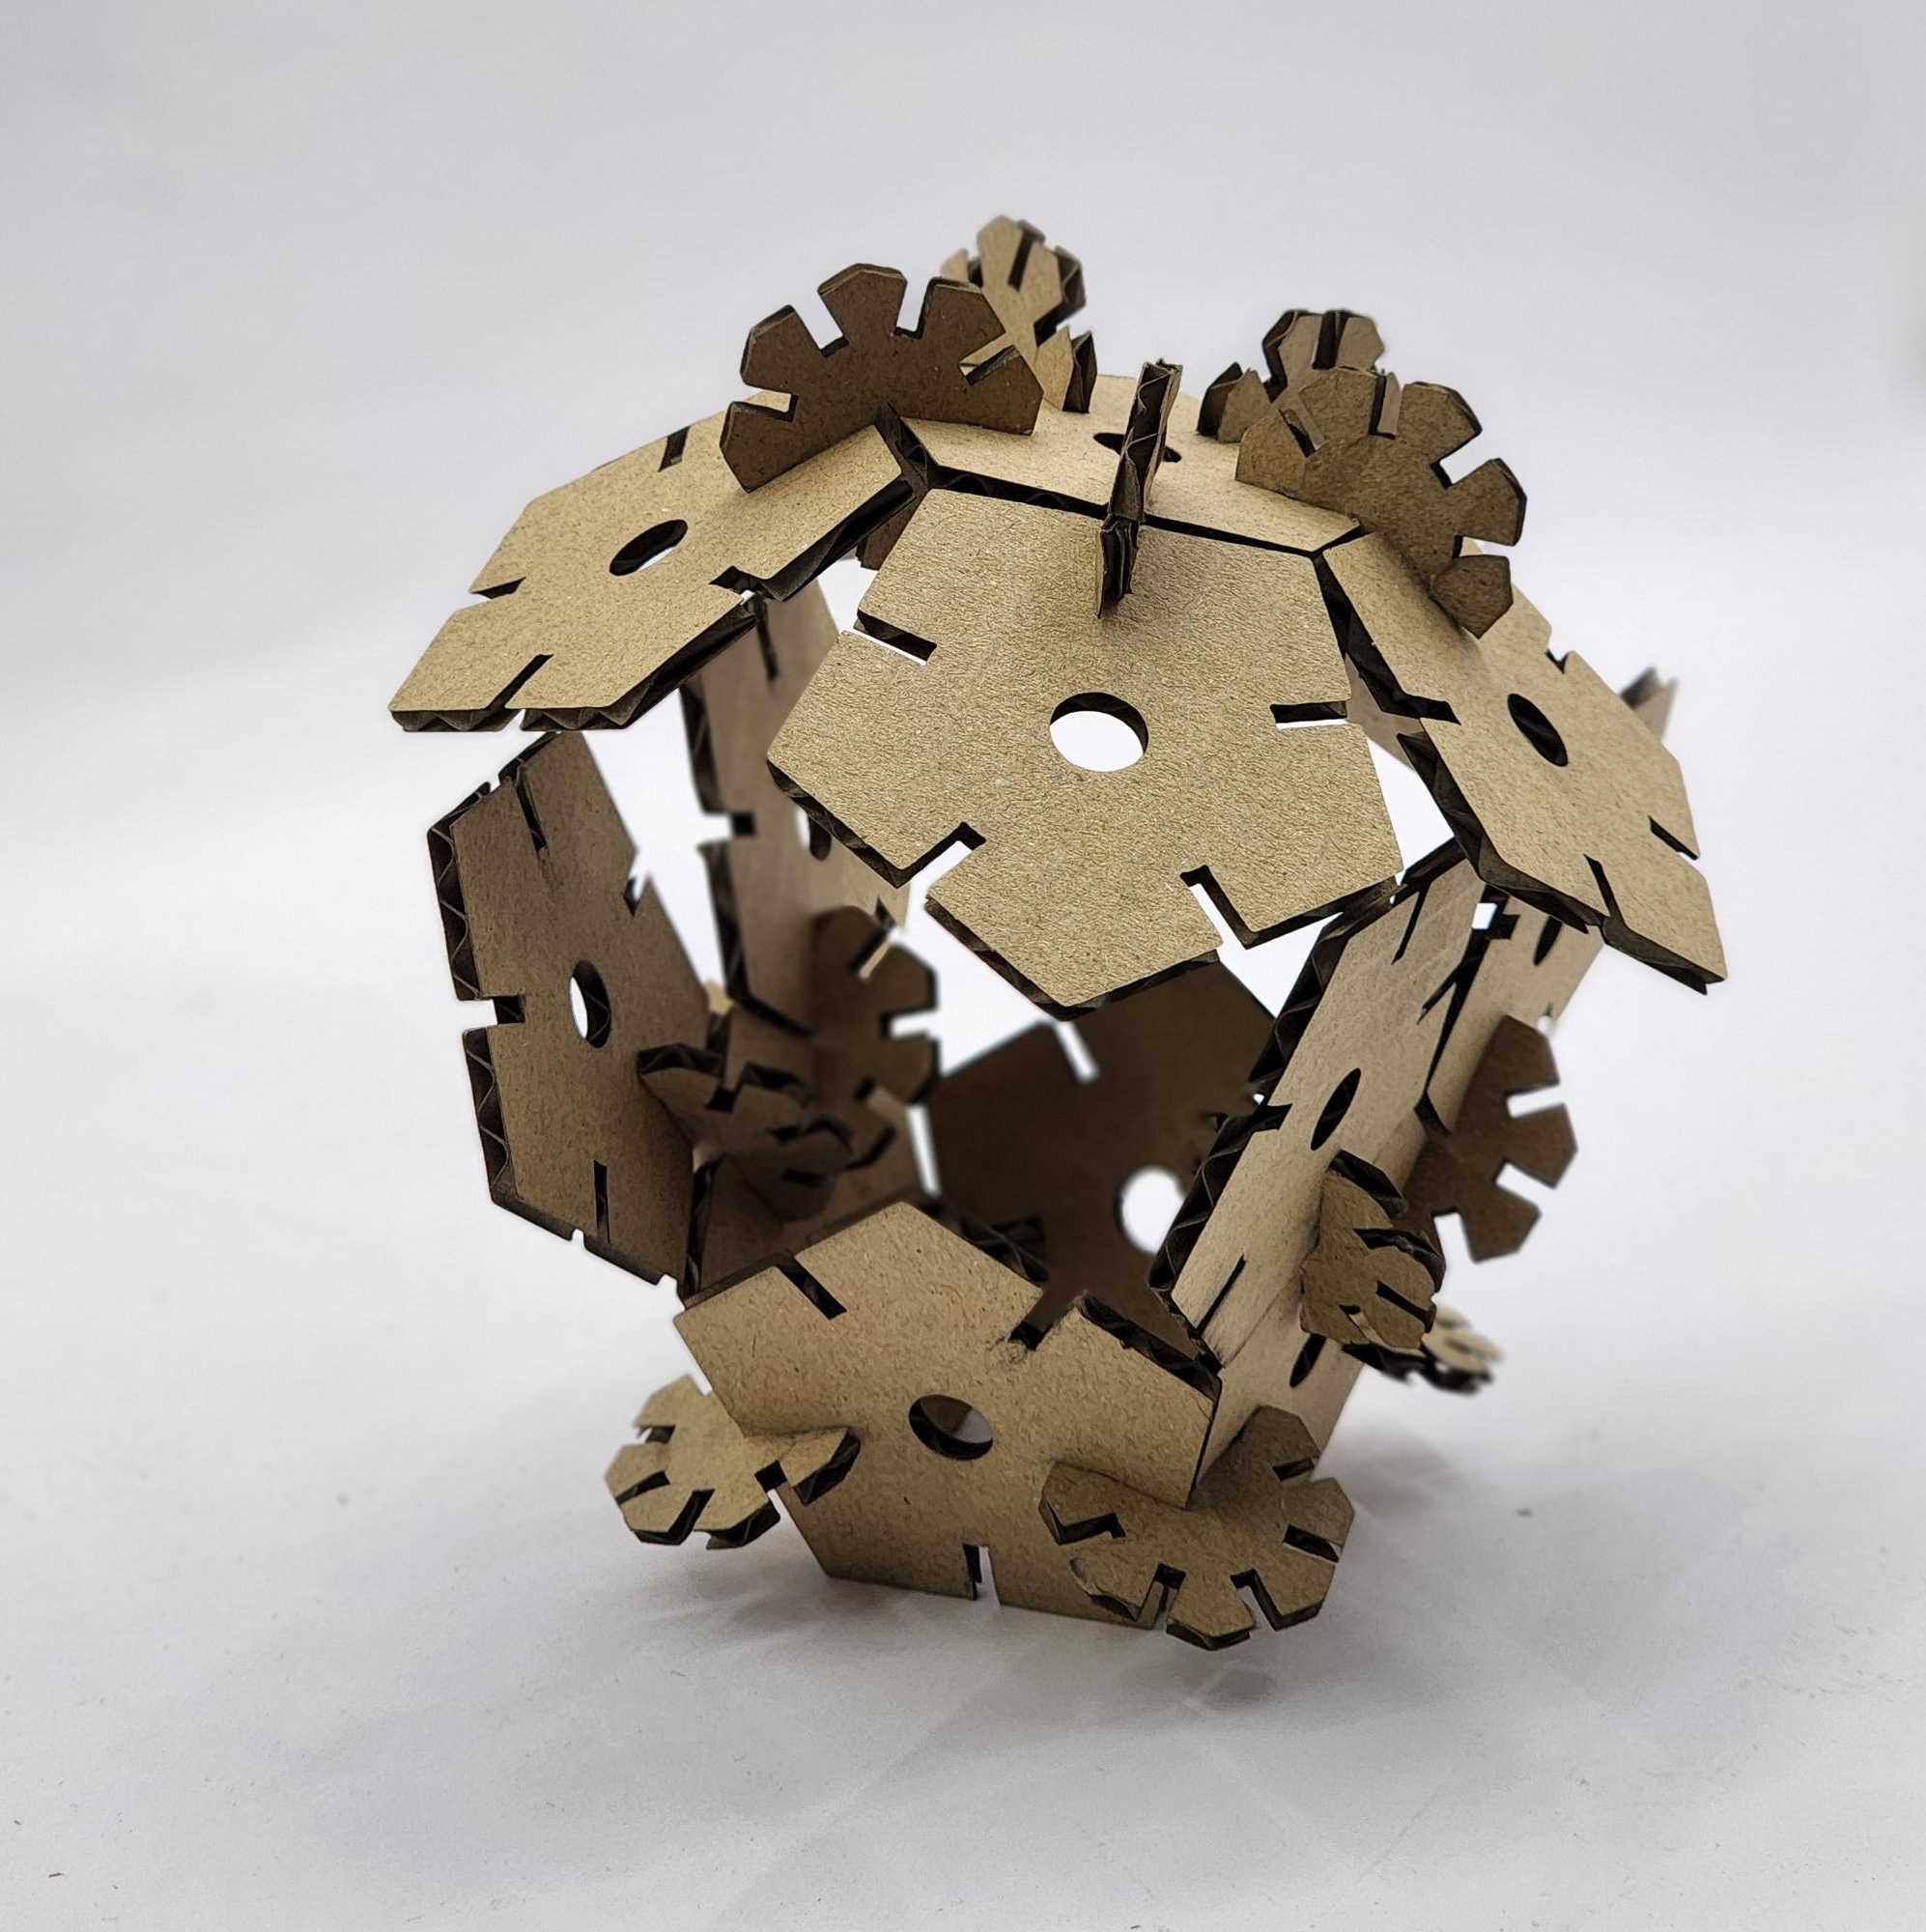
Final result
Last stage, and all after that processes I connected the pieces to each other and tried to do a nice shape by that this what i come with
Vinyl Cutting
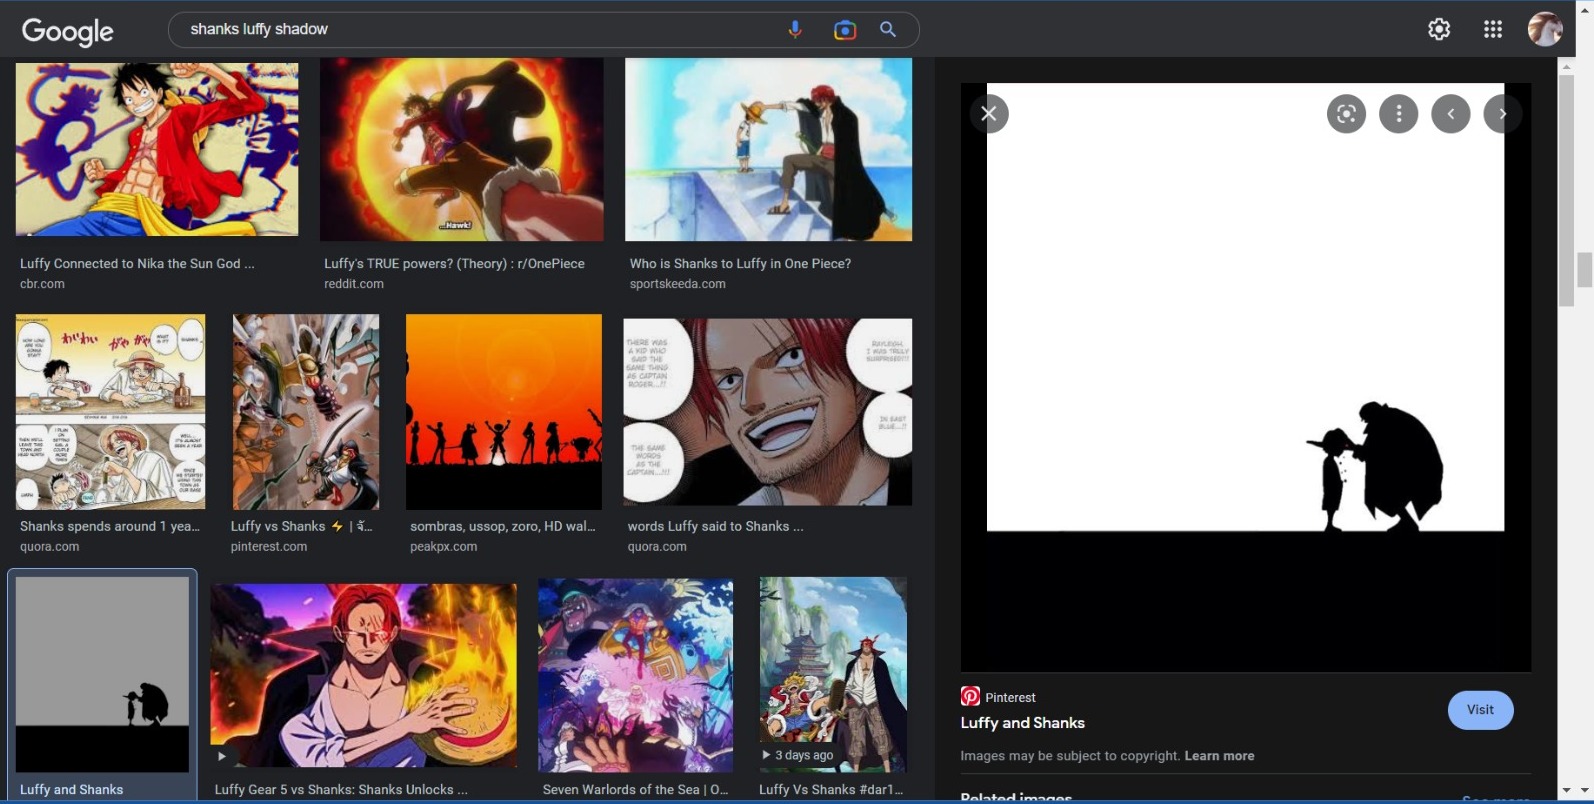
The vinyl cutter basically can cut anything you want on any material with small thickness. I i took a thing represent a character a like in a show ‘one piece’ to be cutted.
 wesite
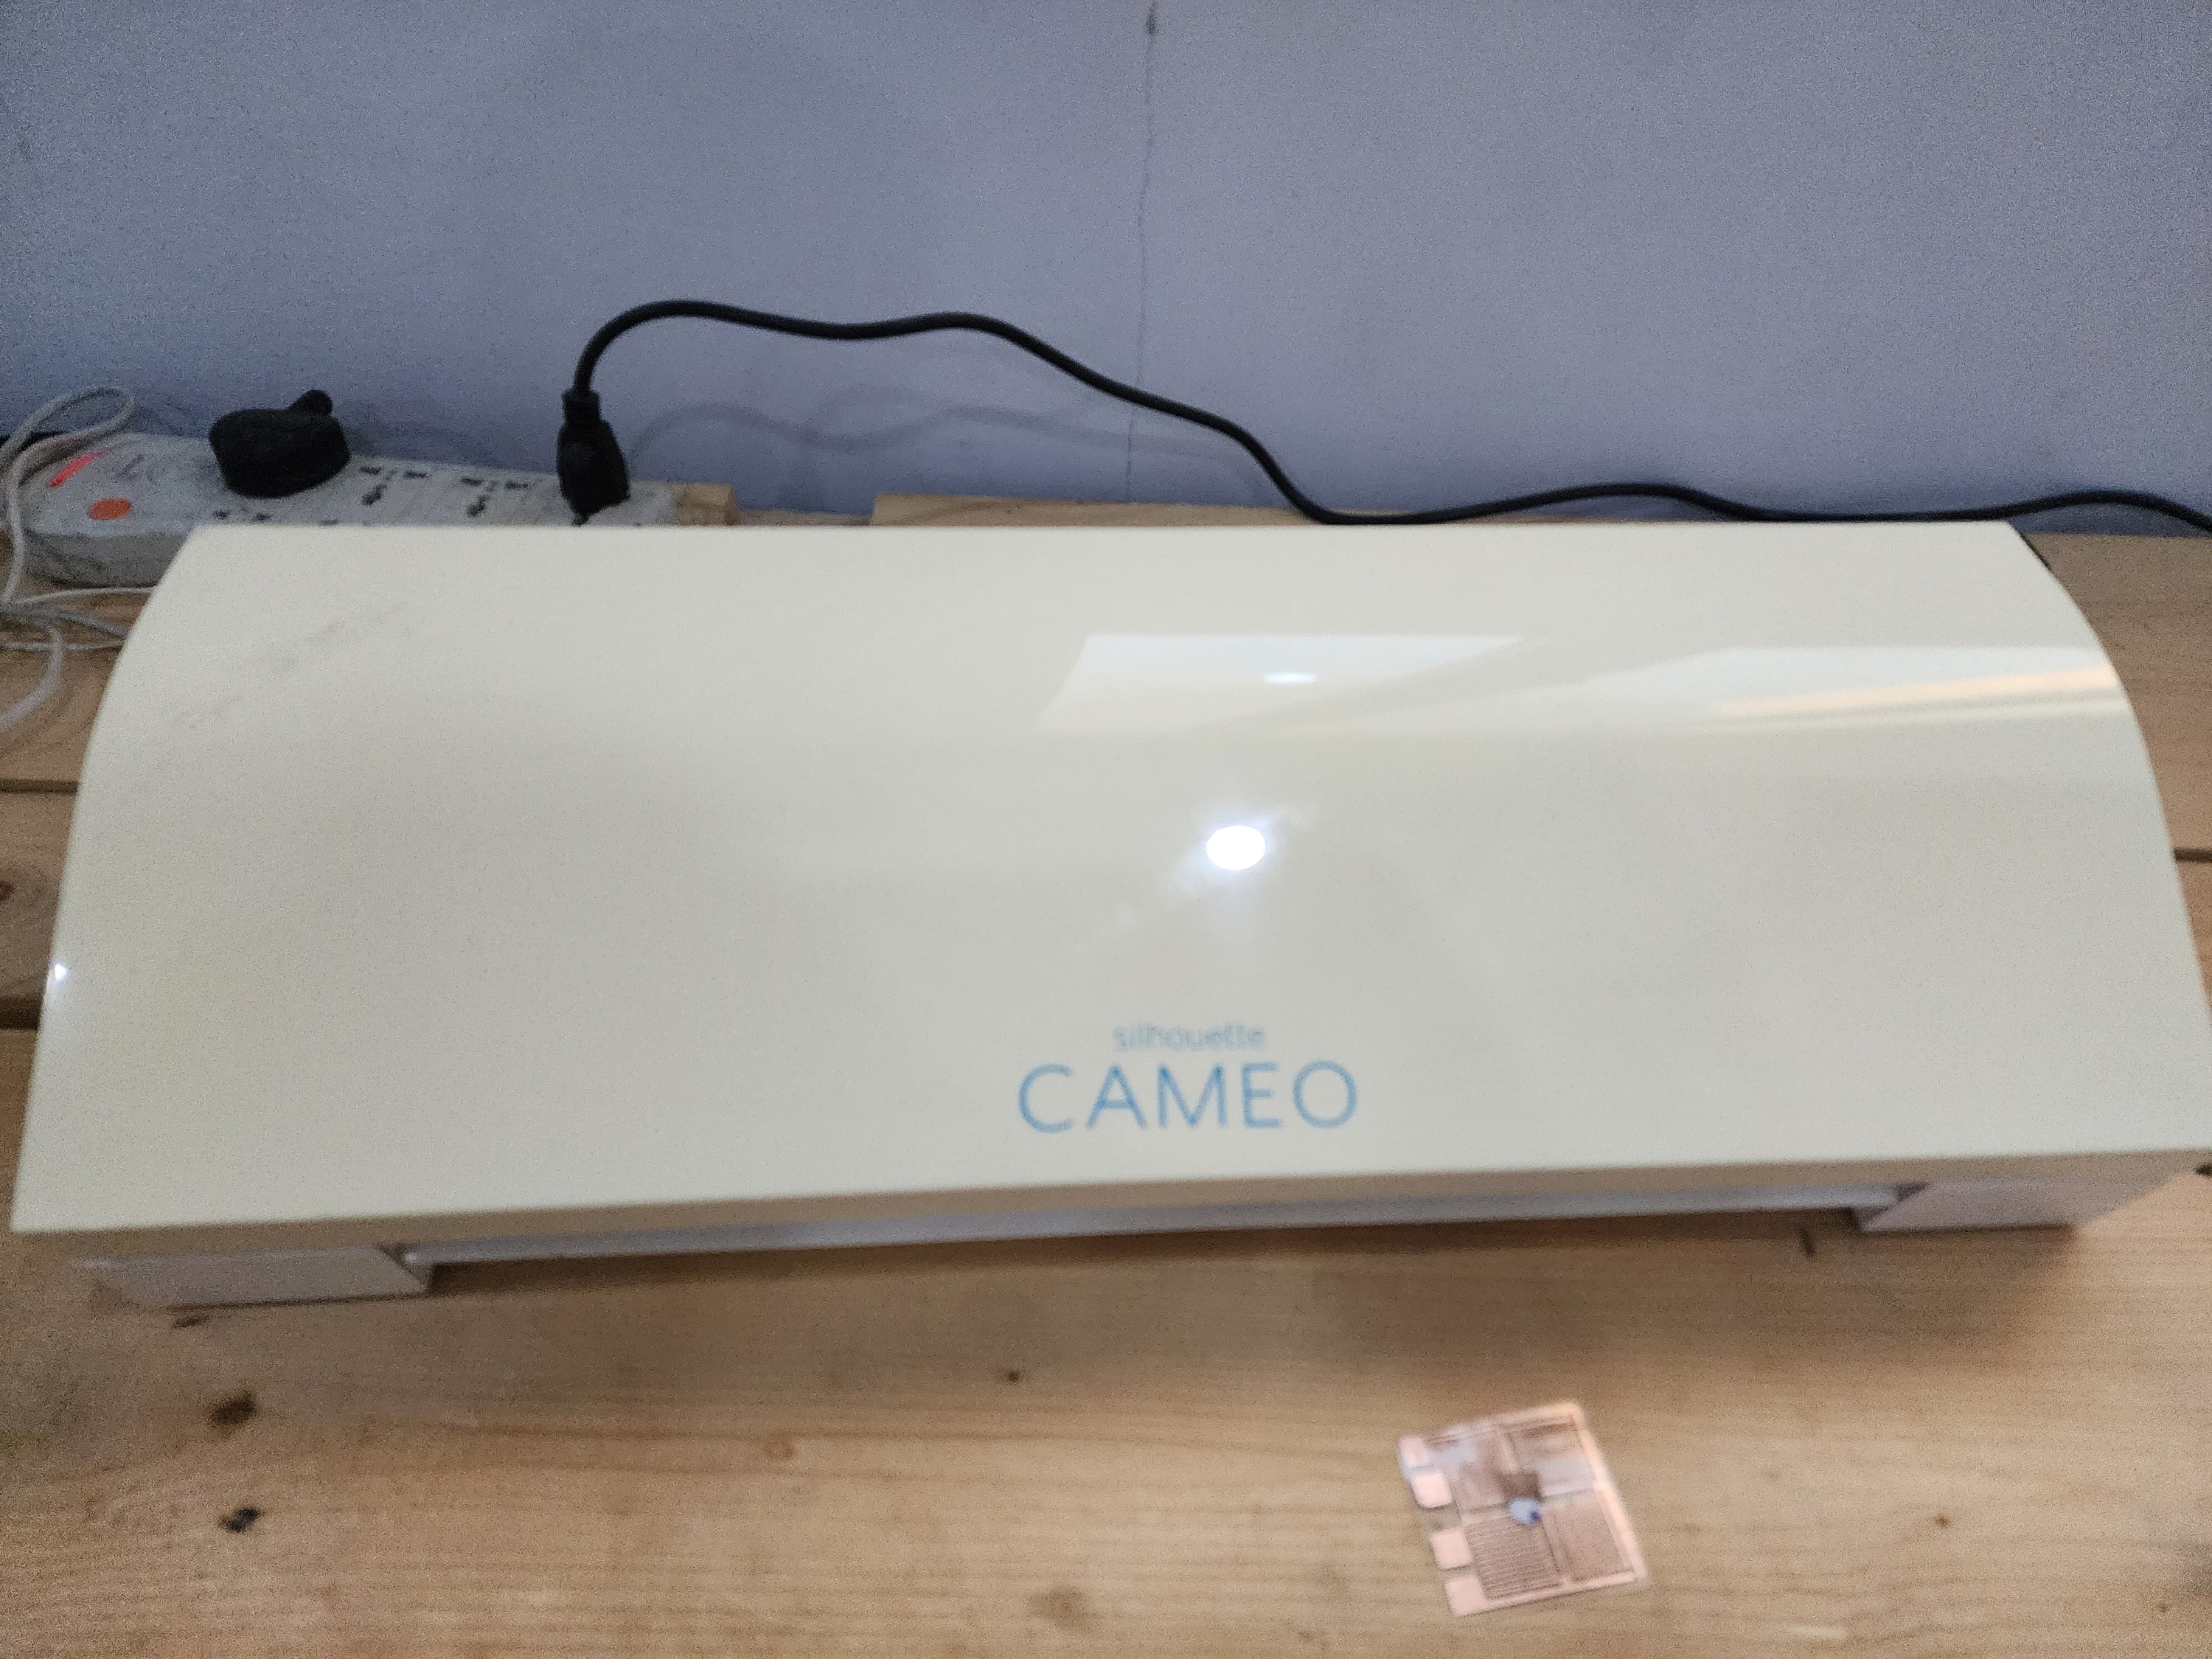 and here is the vinyl cutter machine
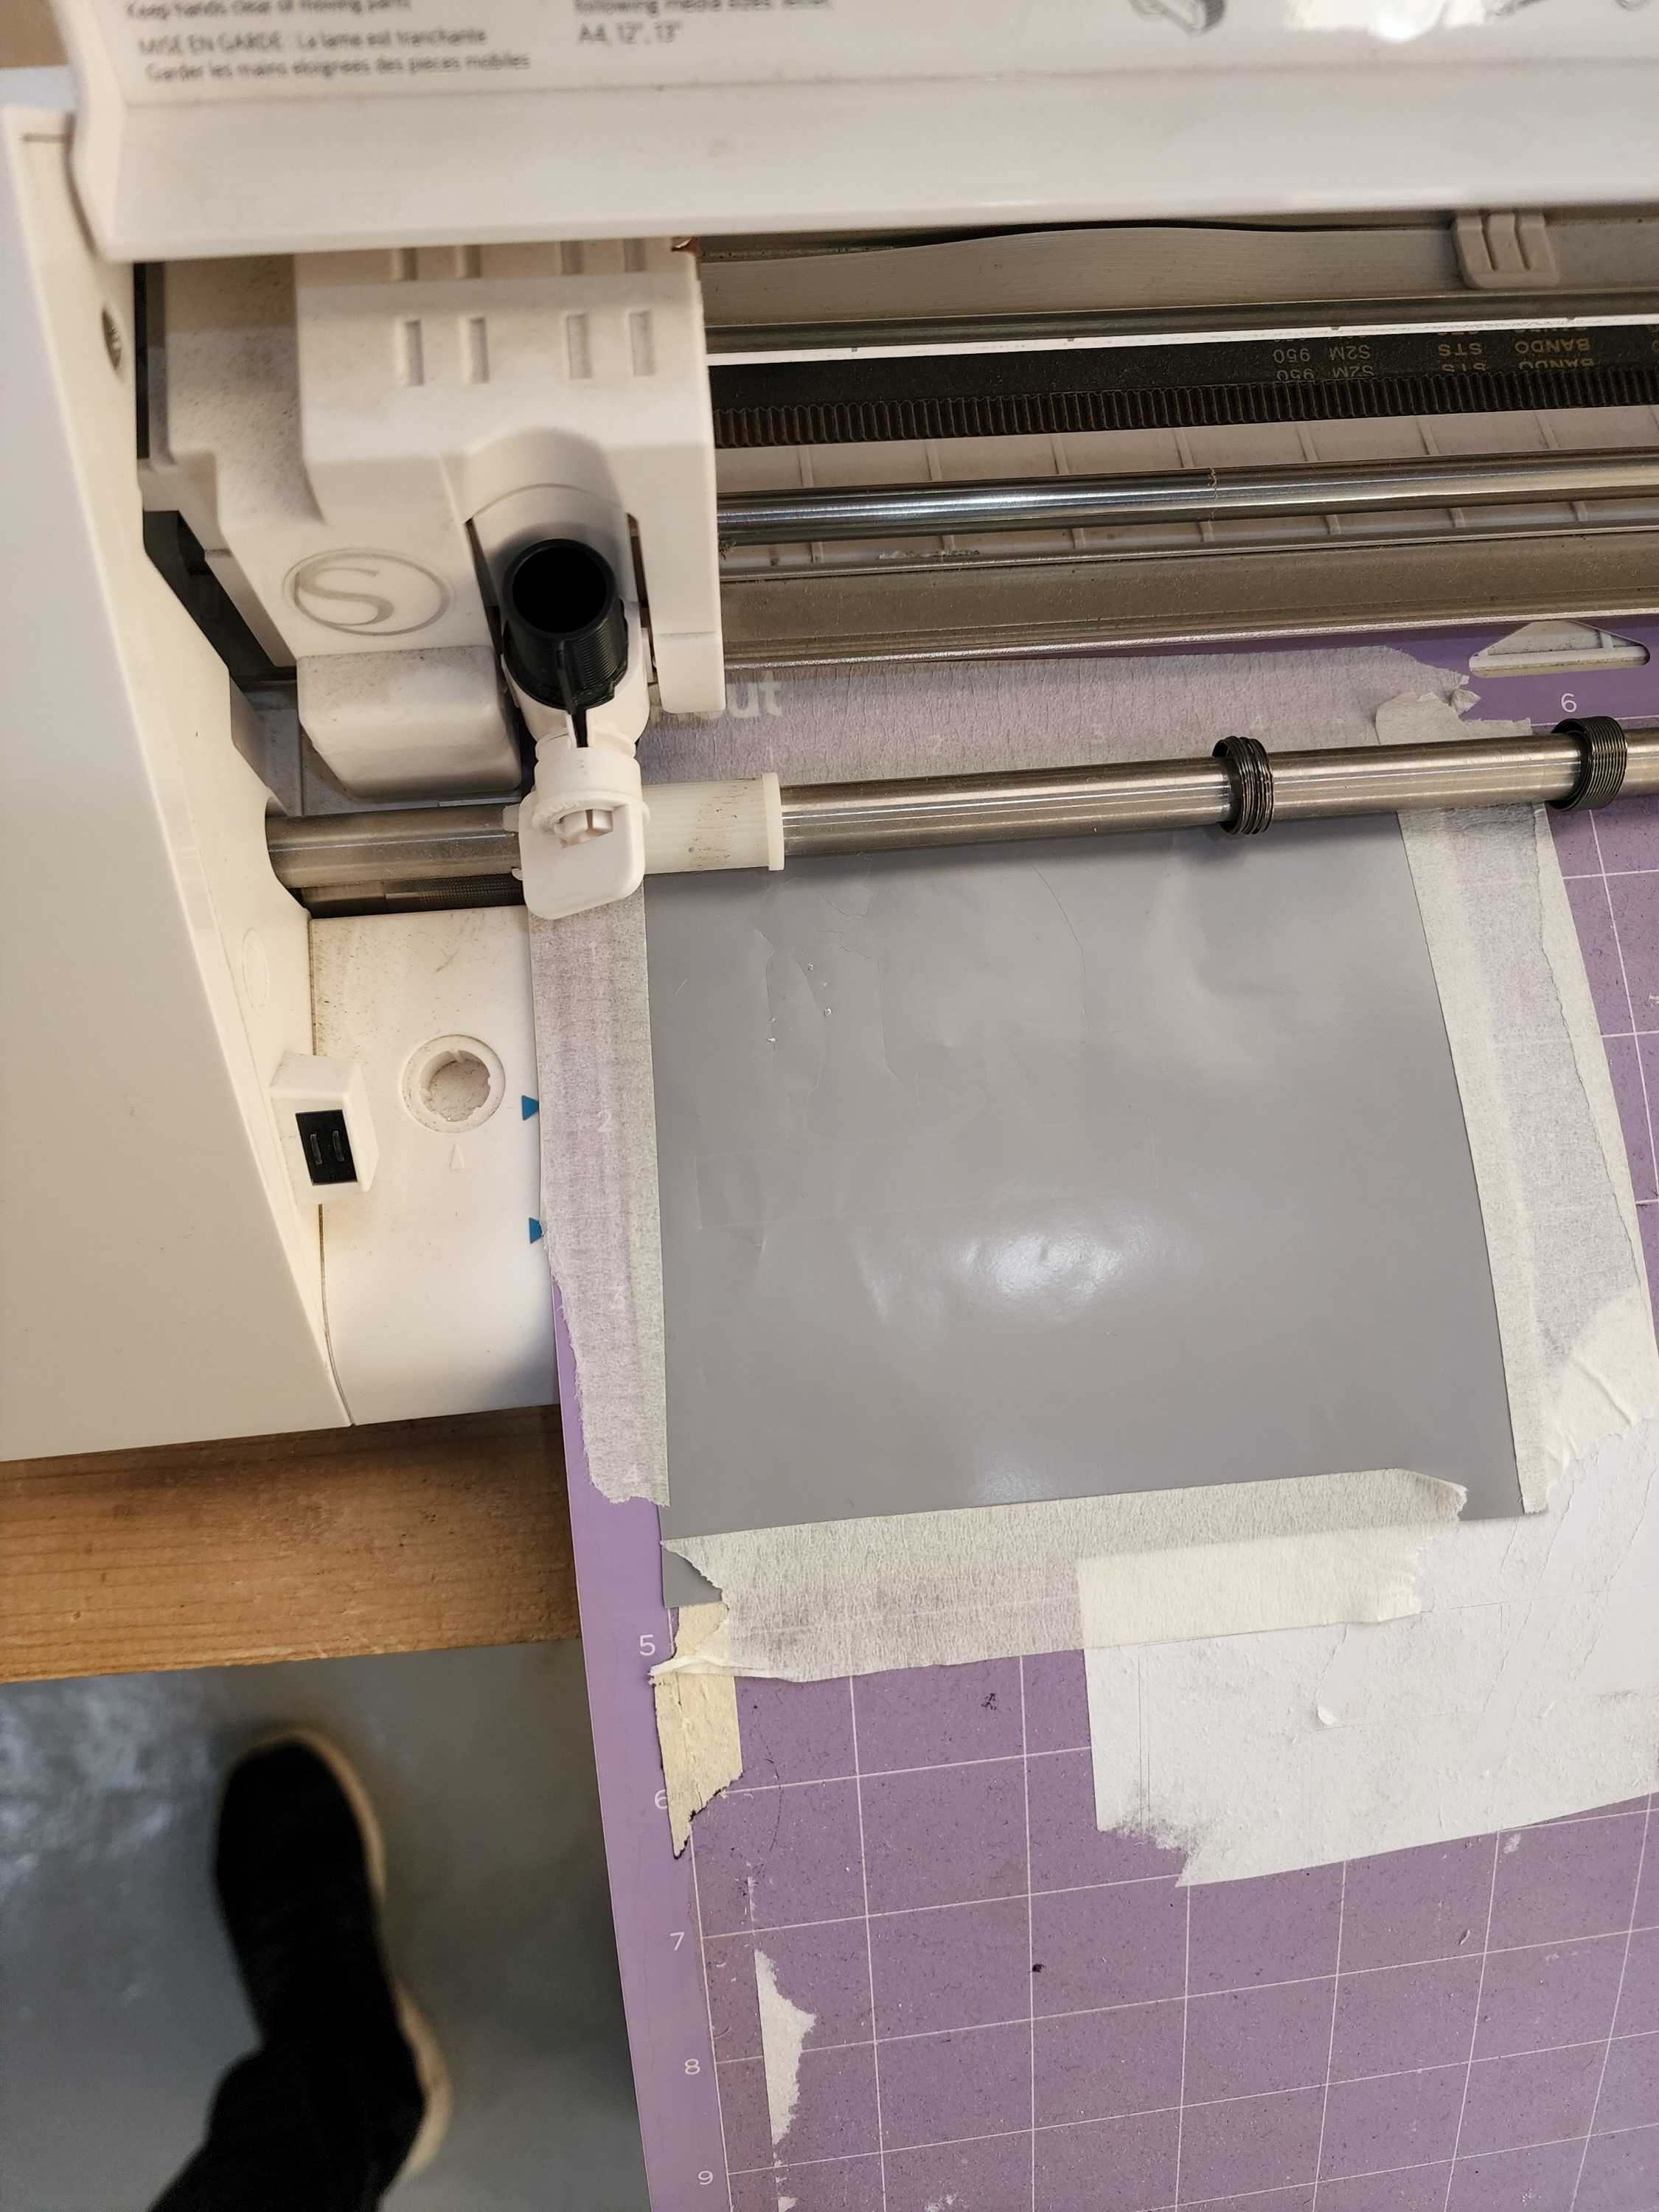 then i puted the paper which the design will be cutted in
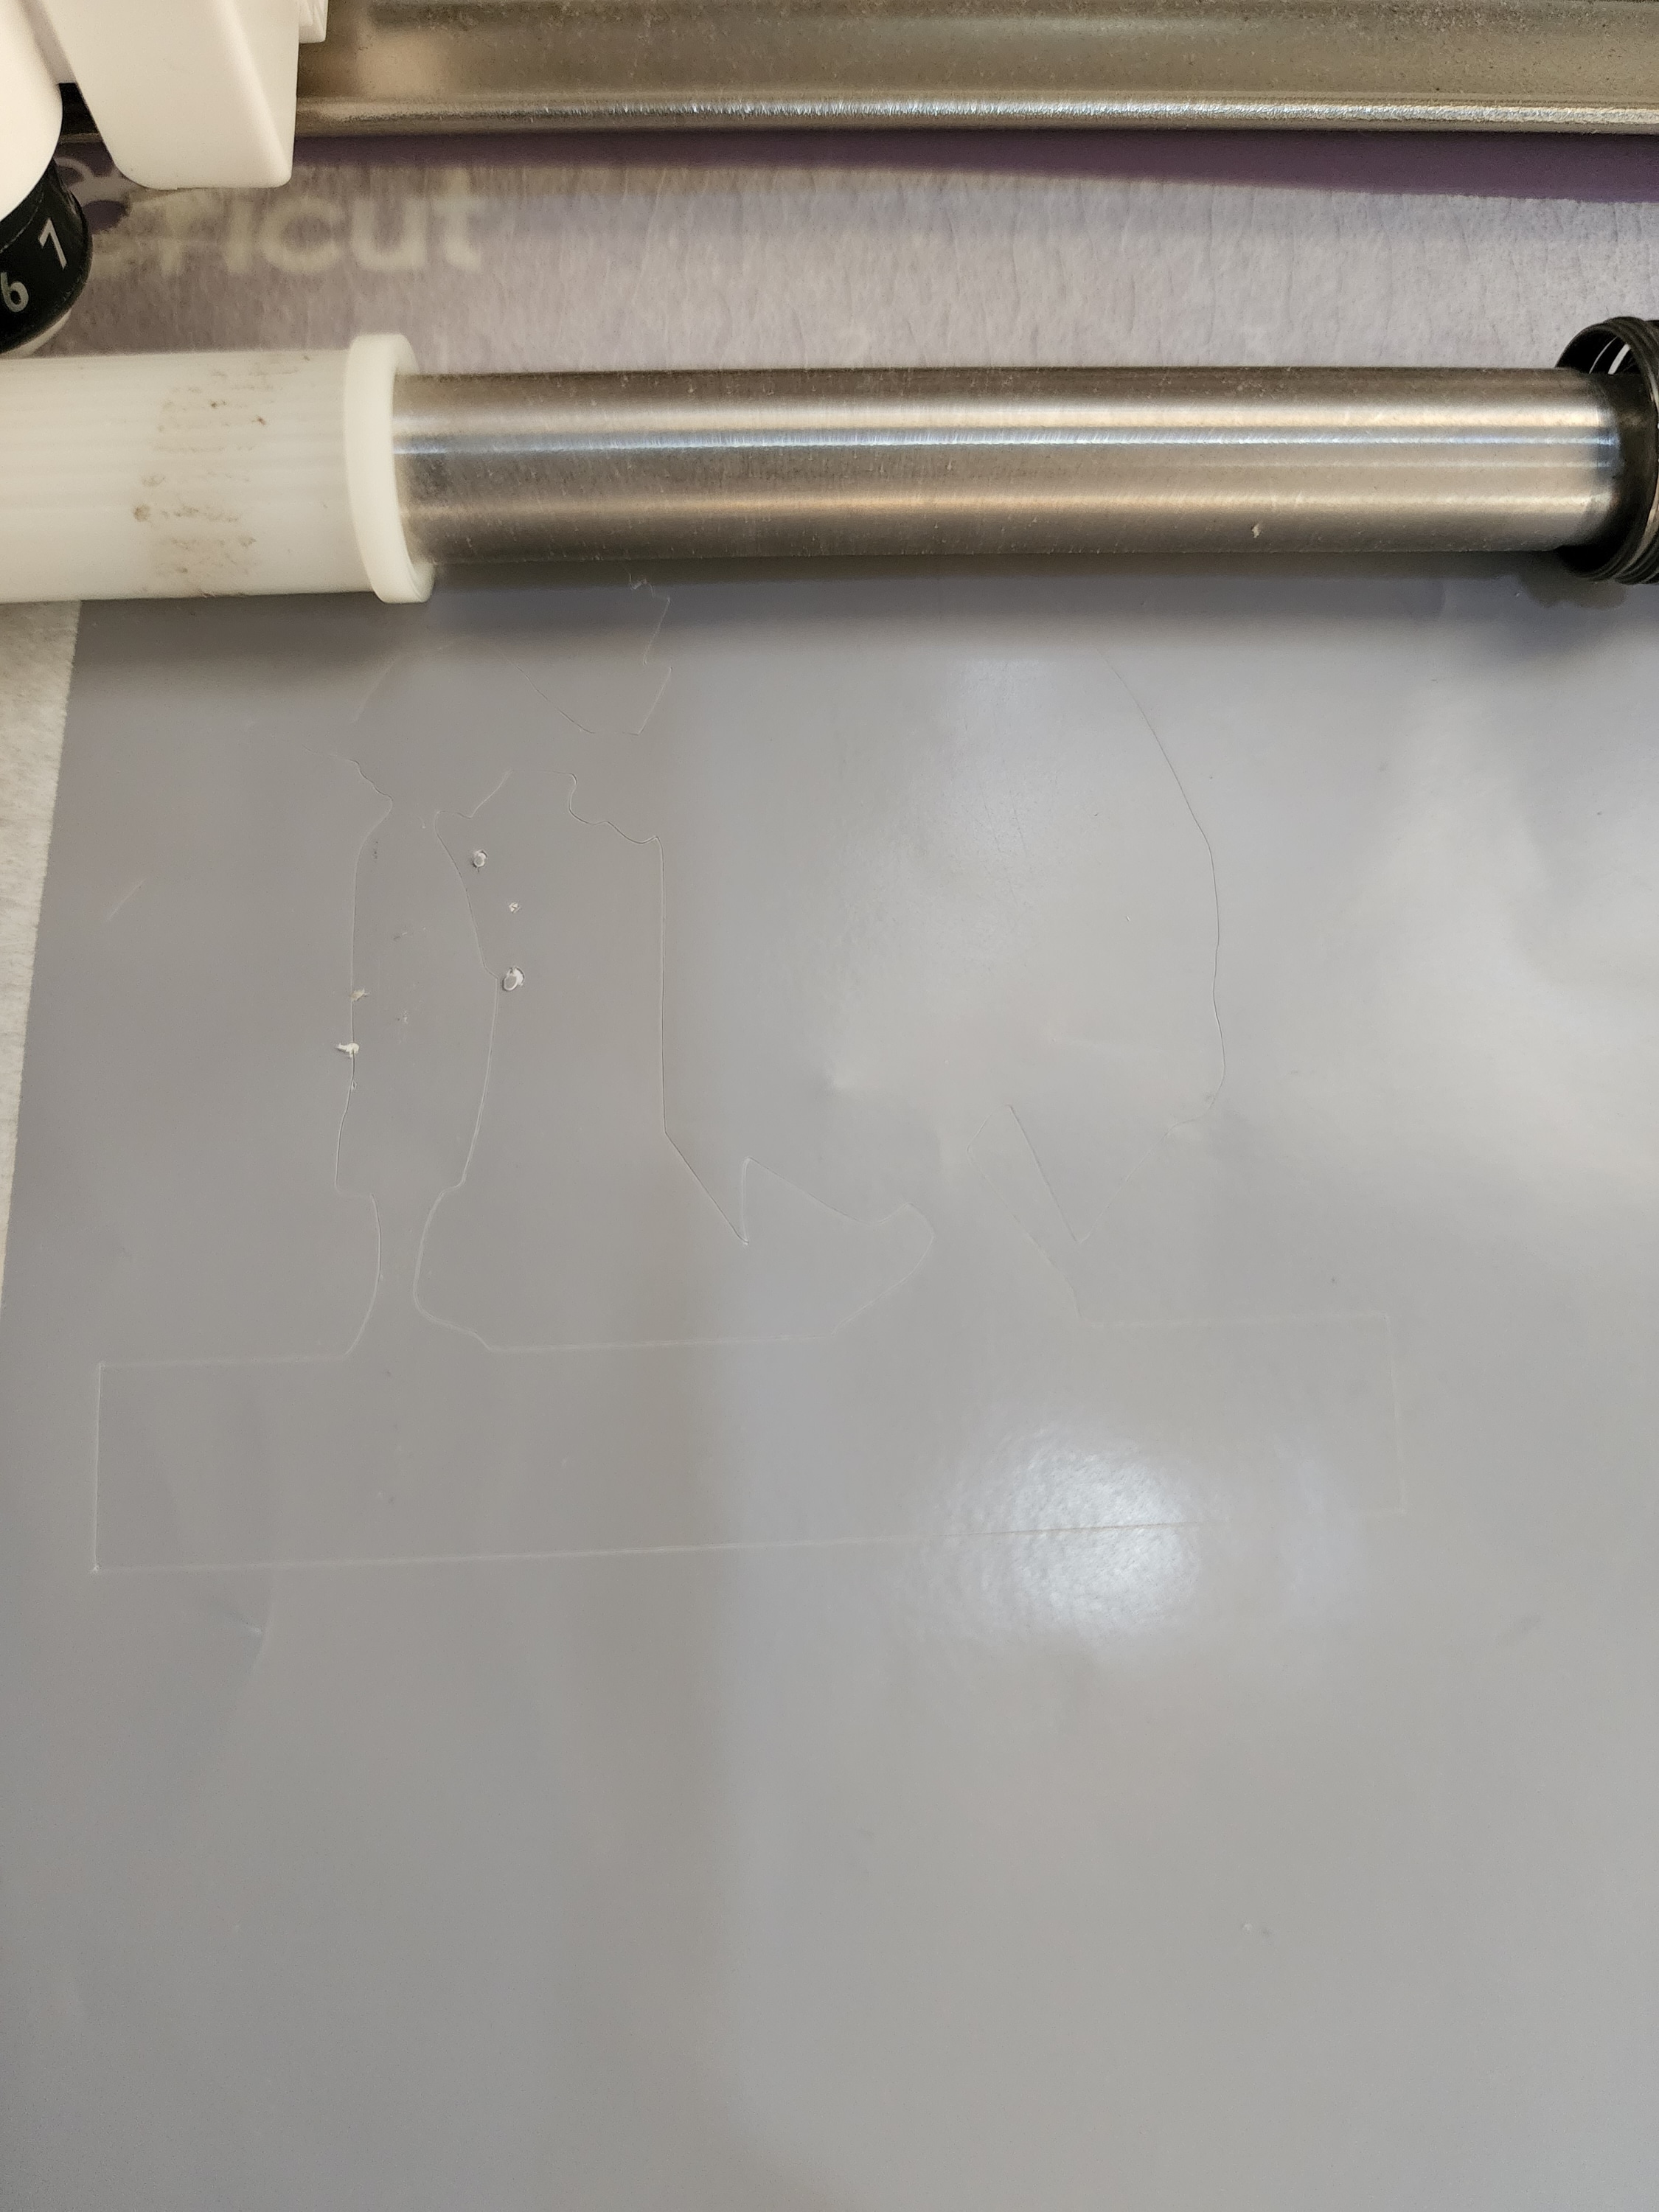 here’s the design after it cutted
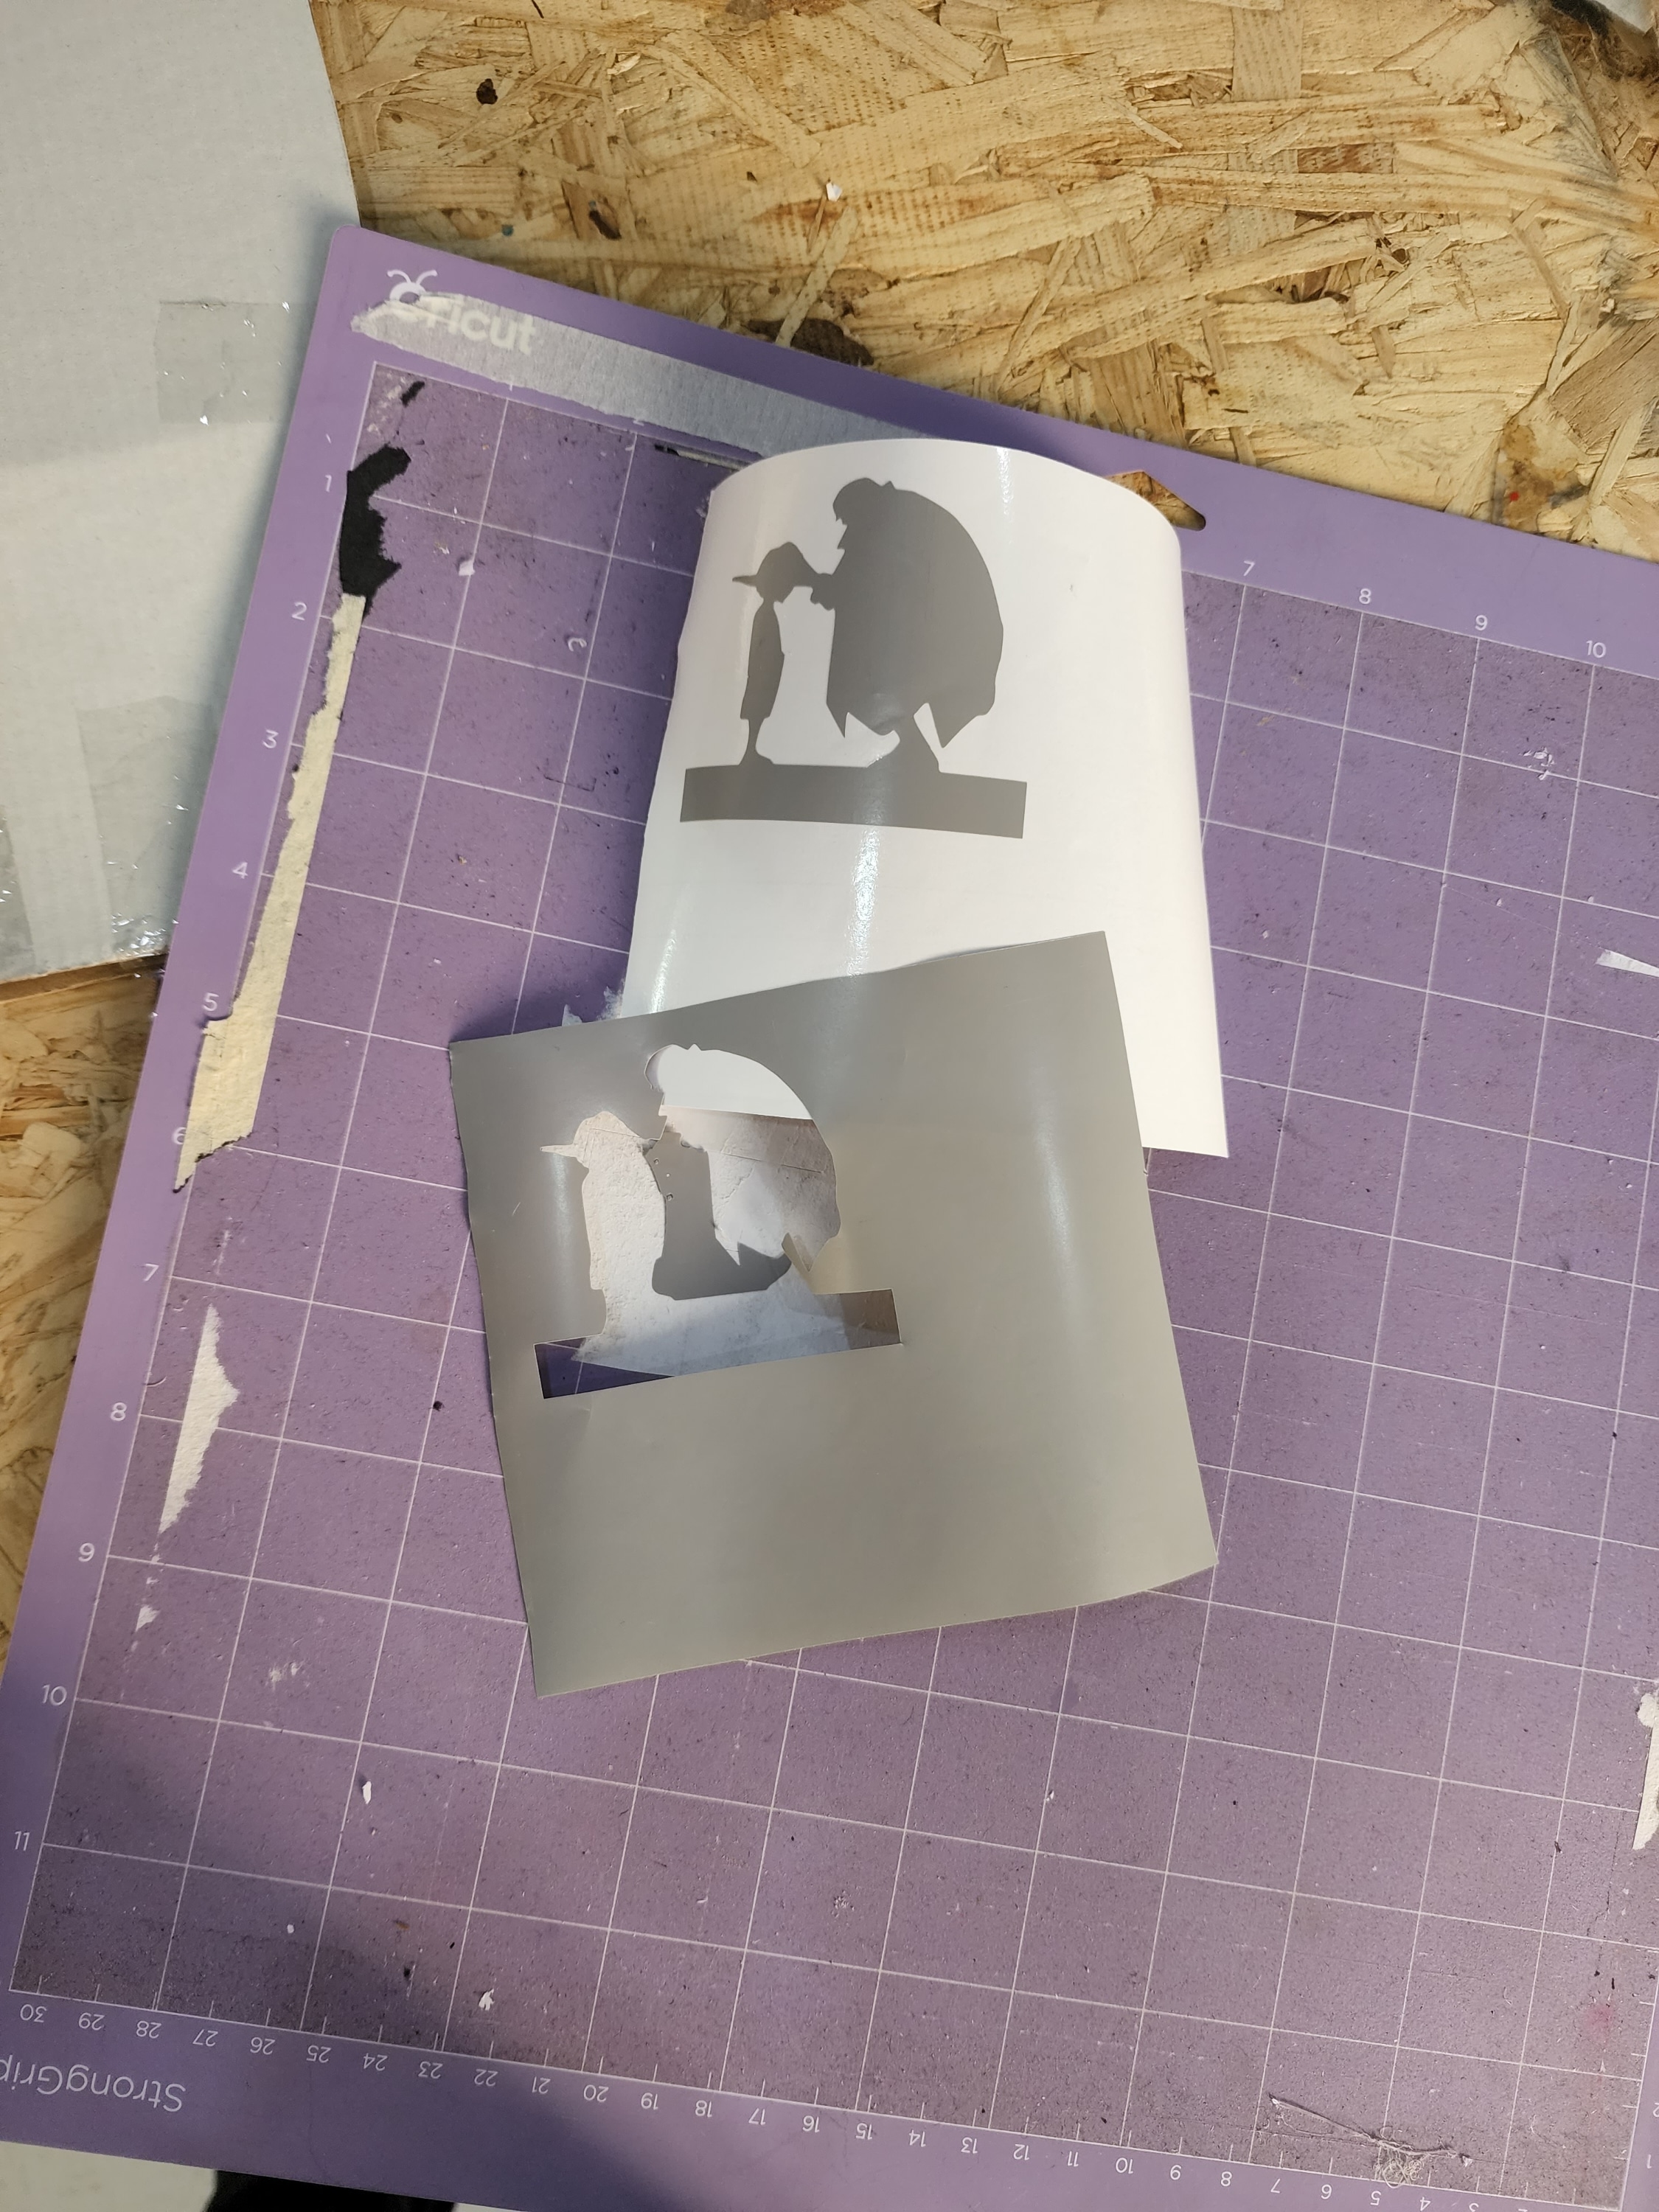 this here is the result comes out after taking the unwanted pieces out
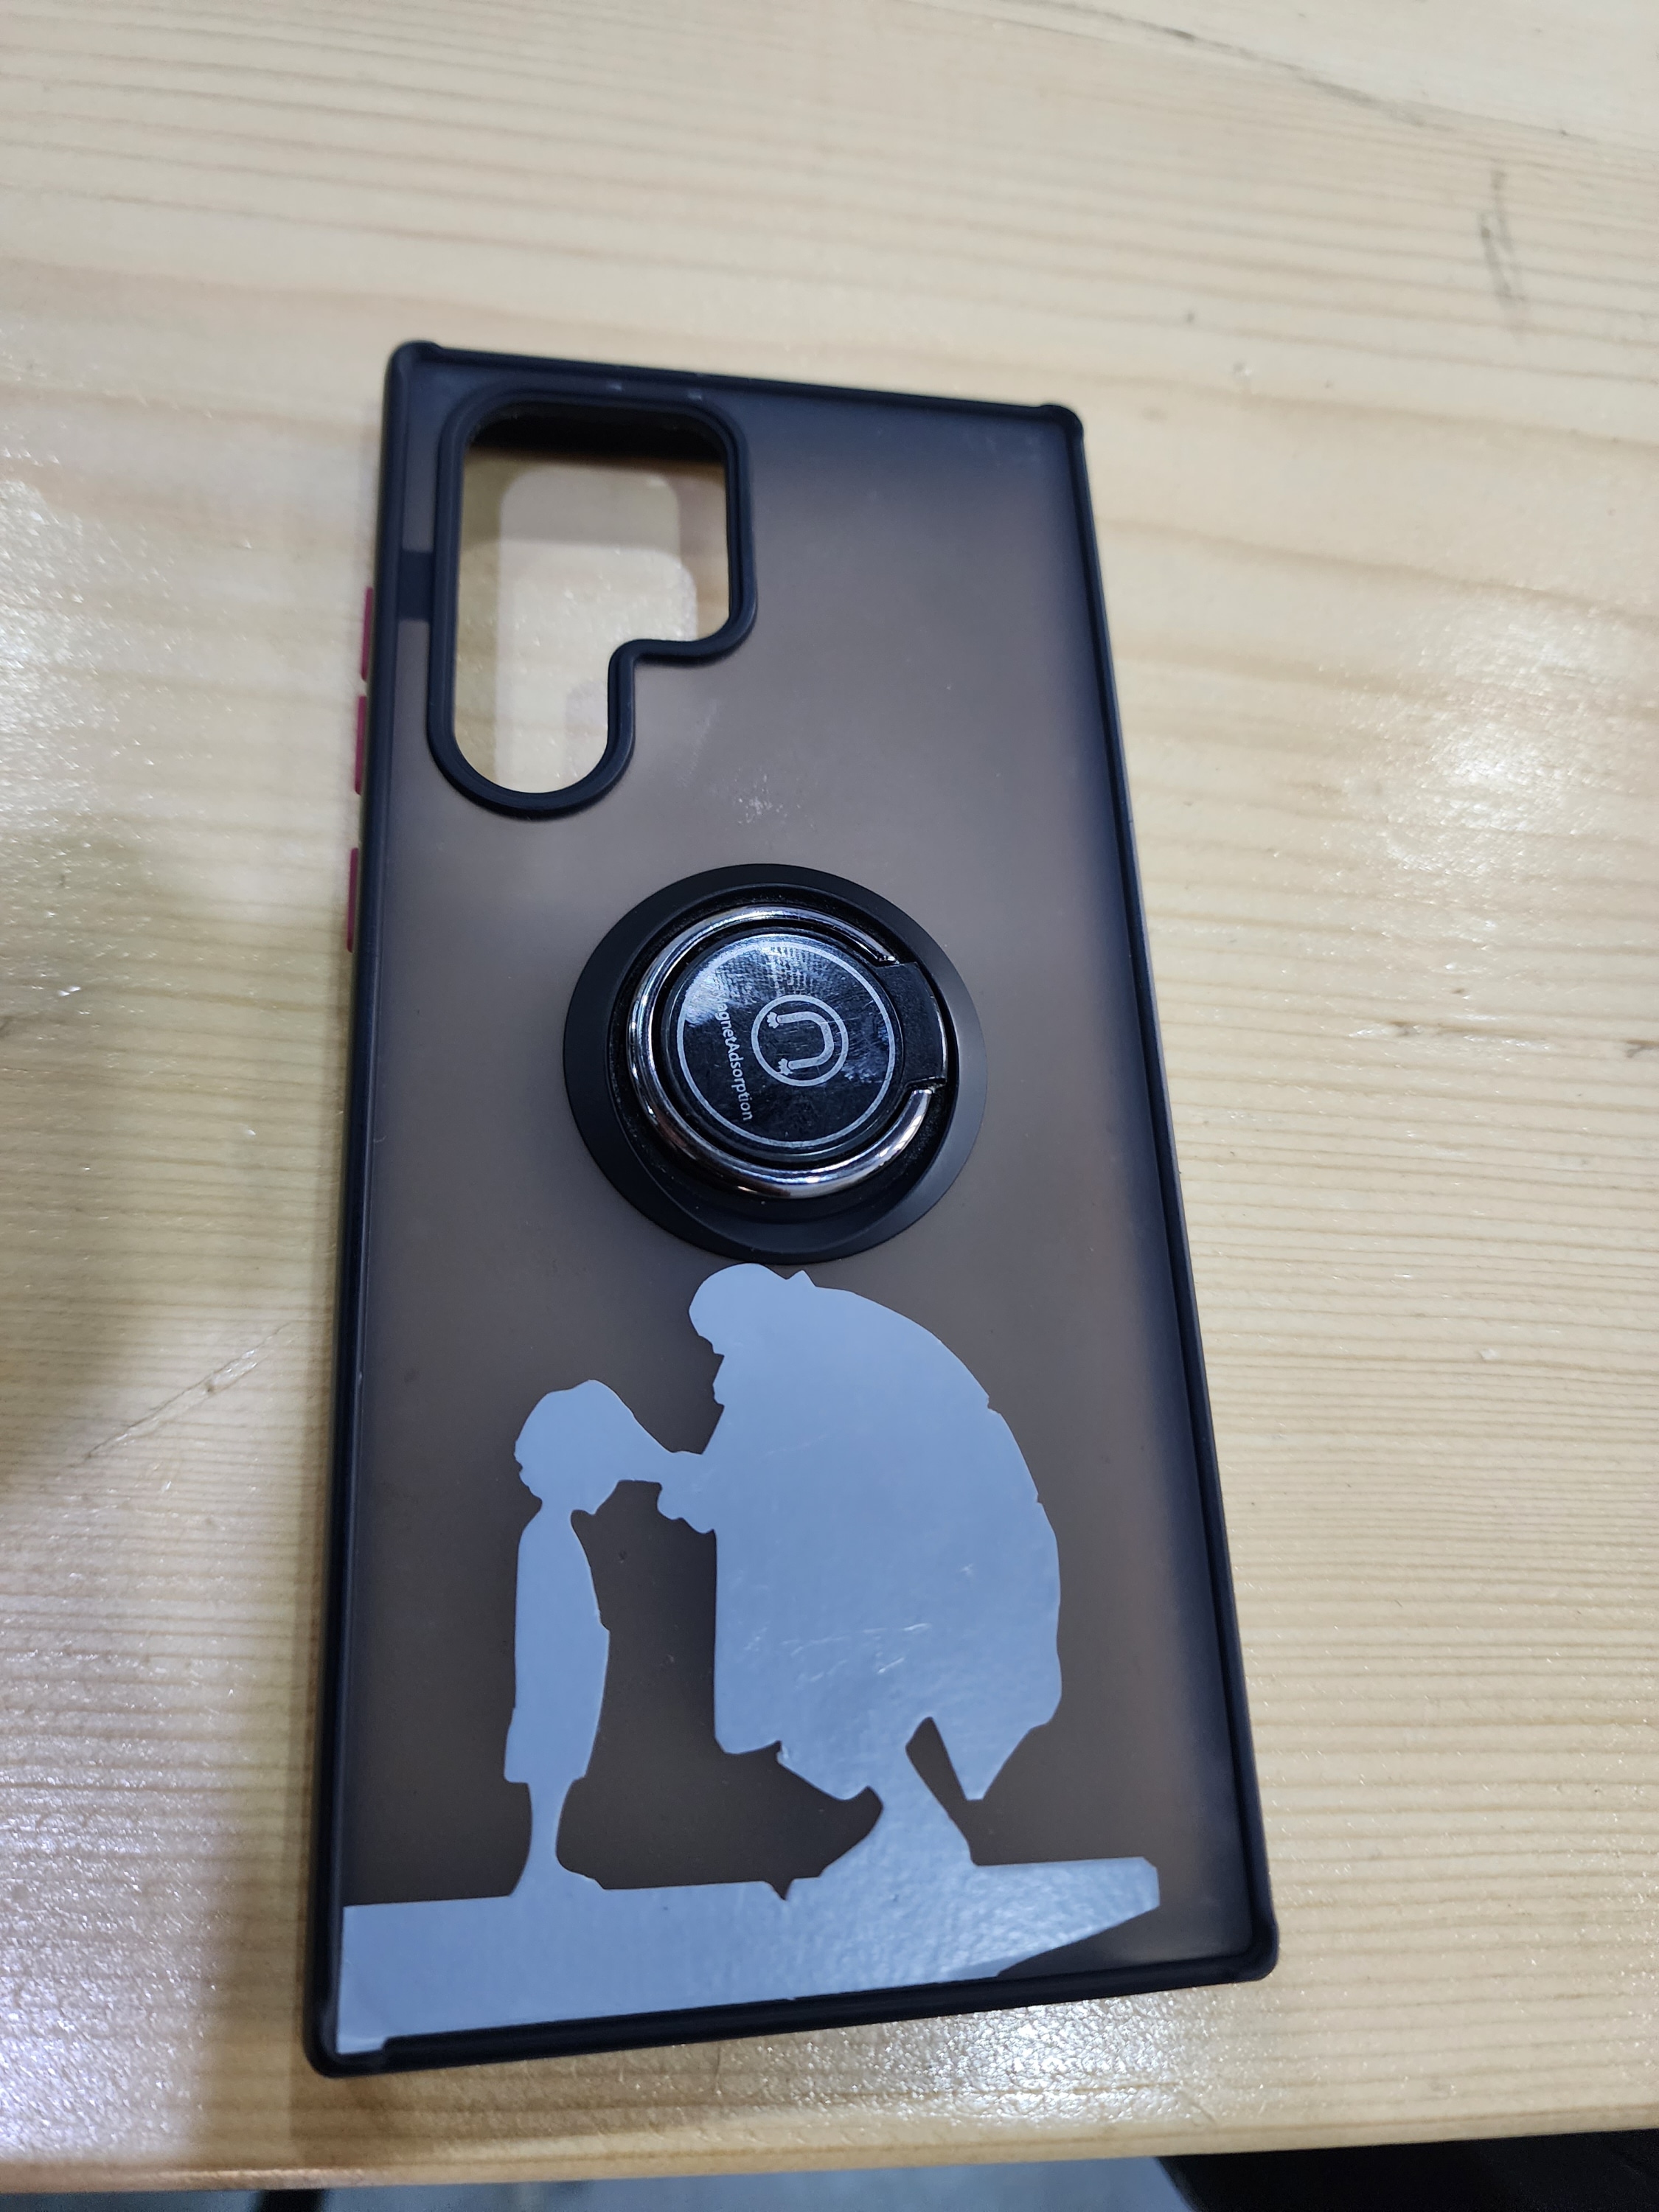 and i putted on my phone cover
This all for this week, see you at the next one <3