6. Large format CNC (computer controlled Machining)
This week is one of my favourite weeks, because i love the Carpenter stuff and how u can do different tables oe objects by the wood. So this week we learned using a machine thas cutts t any 2D the design you did. And this week i had to attend it everyday at this week
Group Assignment
This assignment was to test the cnc machine and see what the setting we have to set when we will use it to cut our design. We test the speed, power, alignment, and the toolpaths about the machine. All details should me mentioned in my friend website Group assignment link.
Individual assignment
For this we tasked to design 2D design for kids, at this design we should not use any nails or something like that, the design have to be able to connect each part with others by joints and holes. After that this design will be cutted and will be donated to the Charitable Society for Orphans.
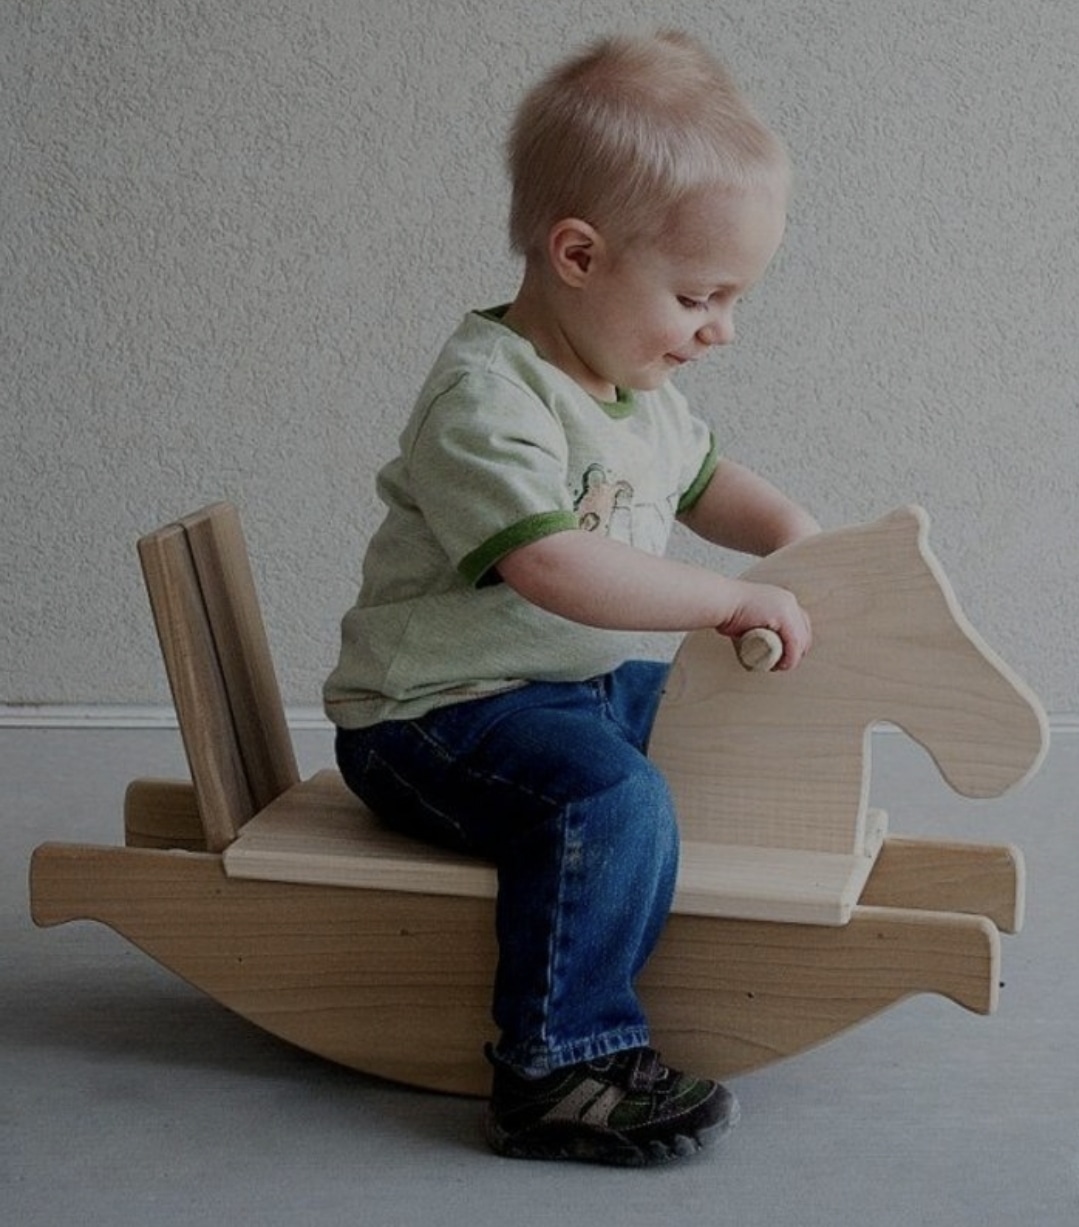
So we search for a thing to start designing it, we searched in This website, until finally i saw the design that i going to do:
Designing steps
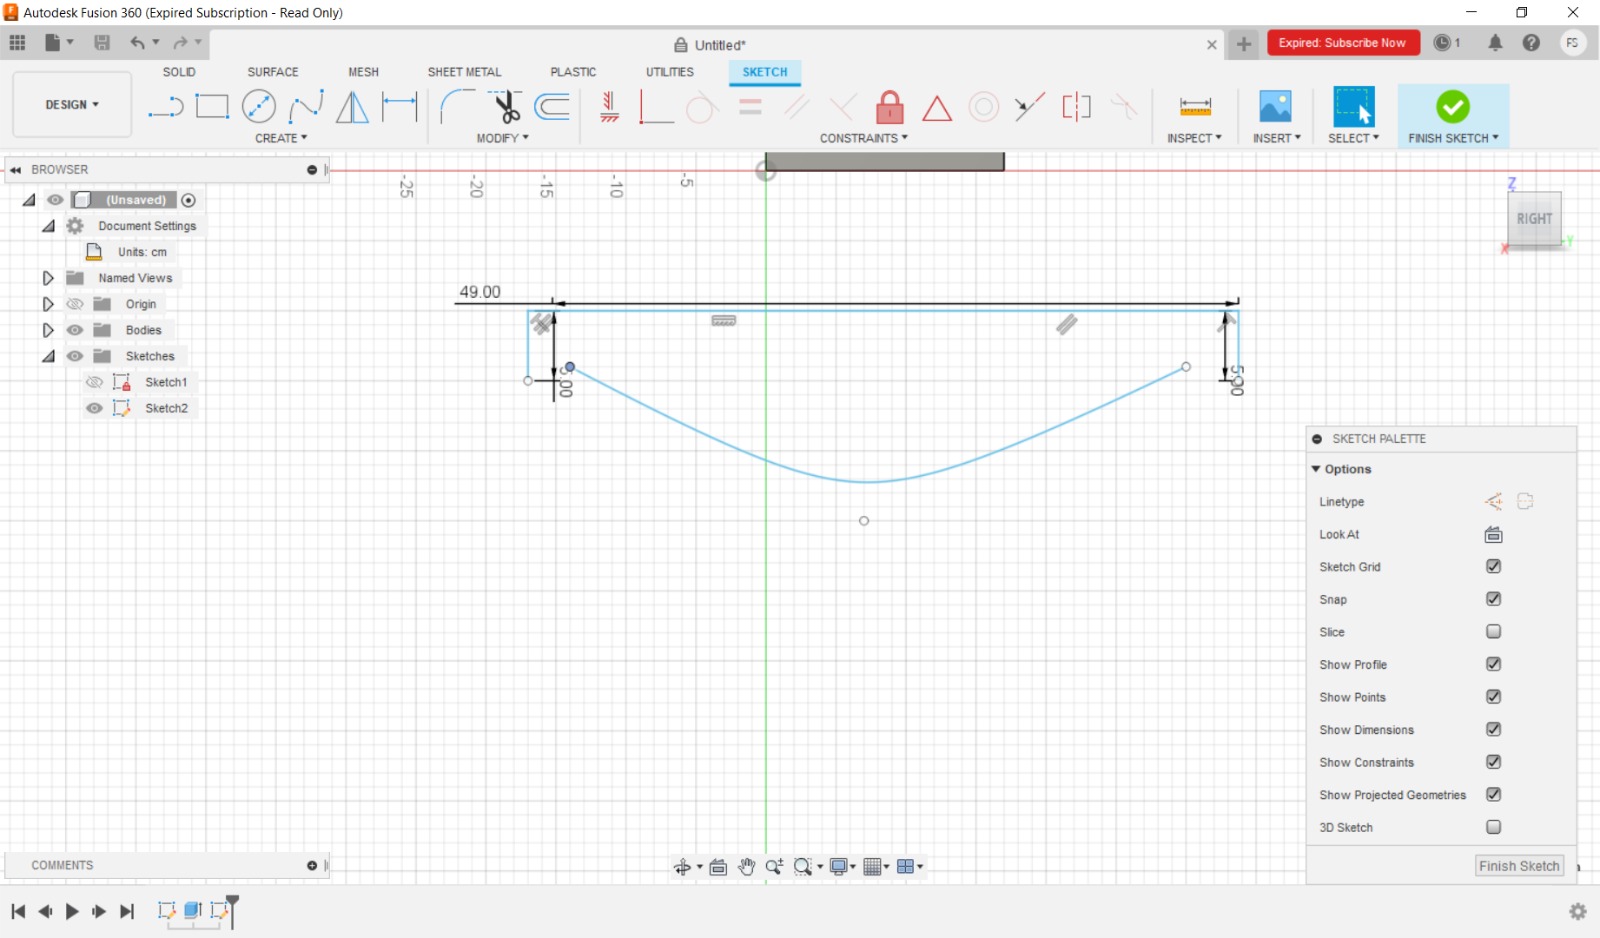
First I start imaging how i will design it and what dimension i shall take, i took a ruler and try o image the best dimension. After i decided what dimension i will take i opened fusion360 directly because it was the best designing software that i used, and i start to designing it.
Secondly, I choosed to design he base that the horse-toy will stand by it, so i need to be carful about it and make sure the child won’t fell down.
Then i designed and extrude the piece that the kid will set on it, so i have to take in mind how long it should be.
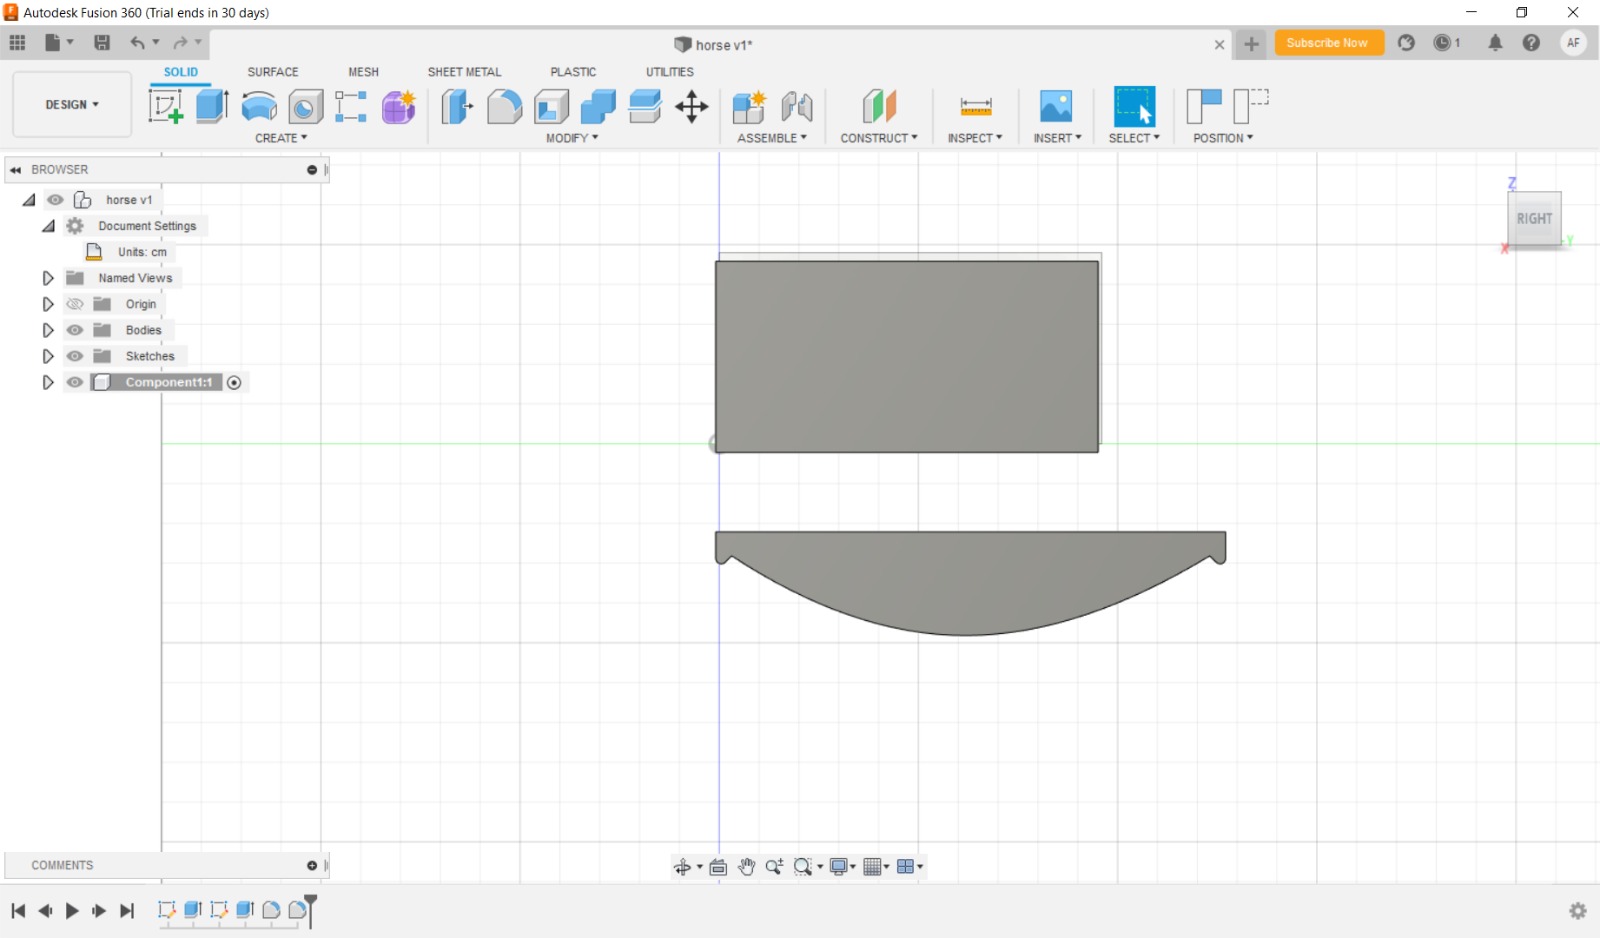
After that just like the base, i draw the horse head and then extrude it.
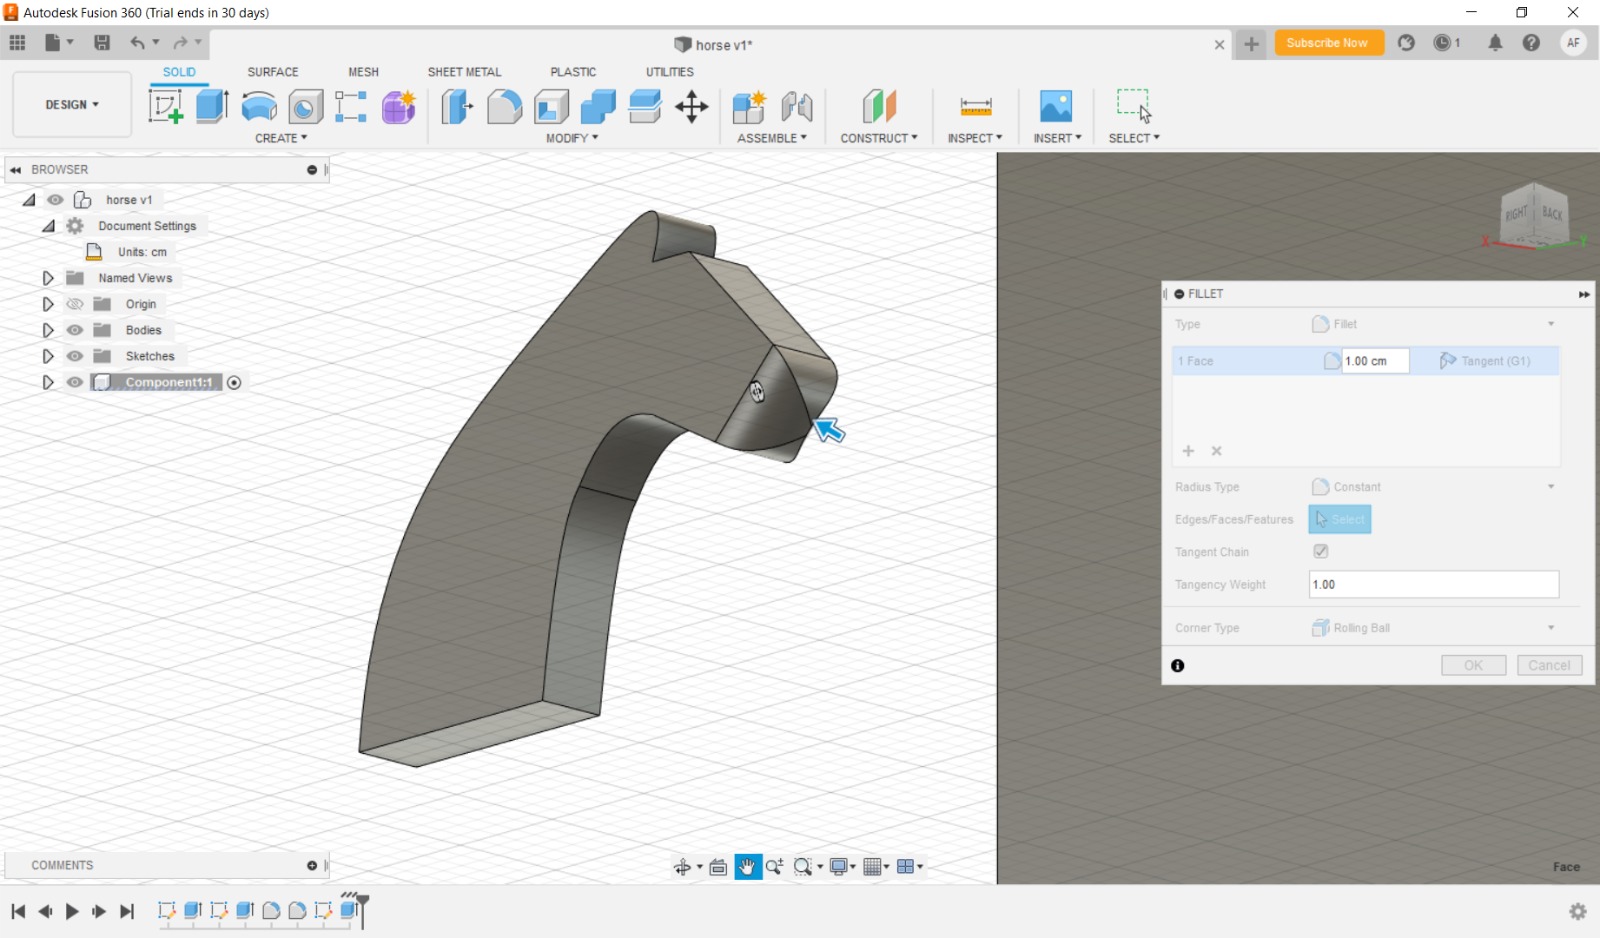
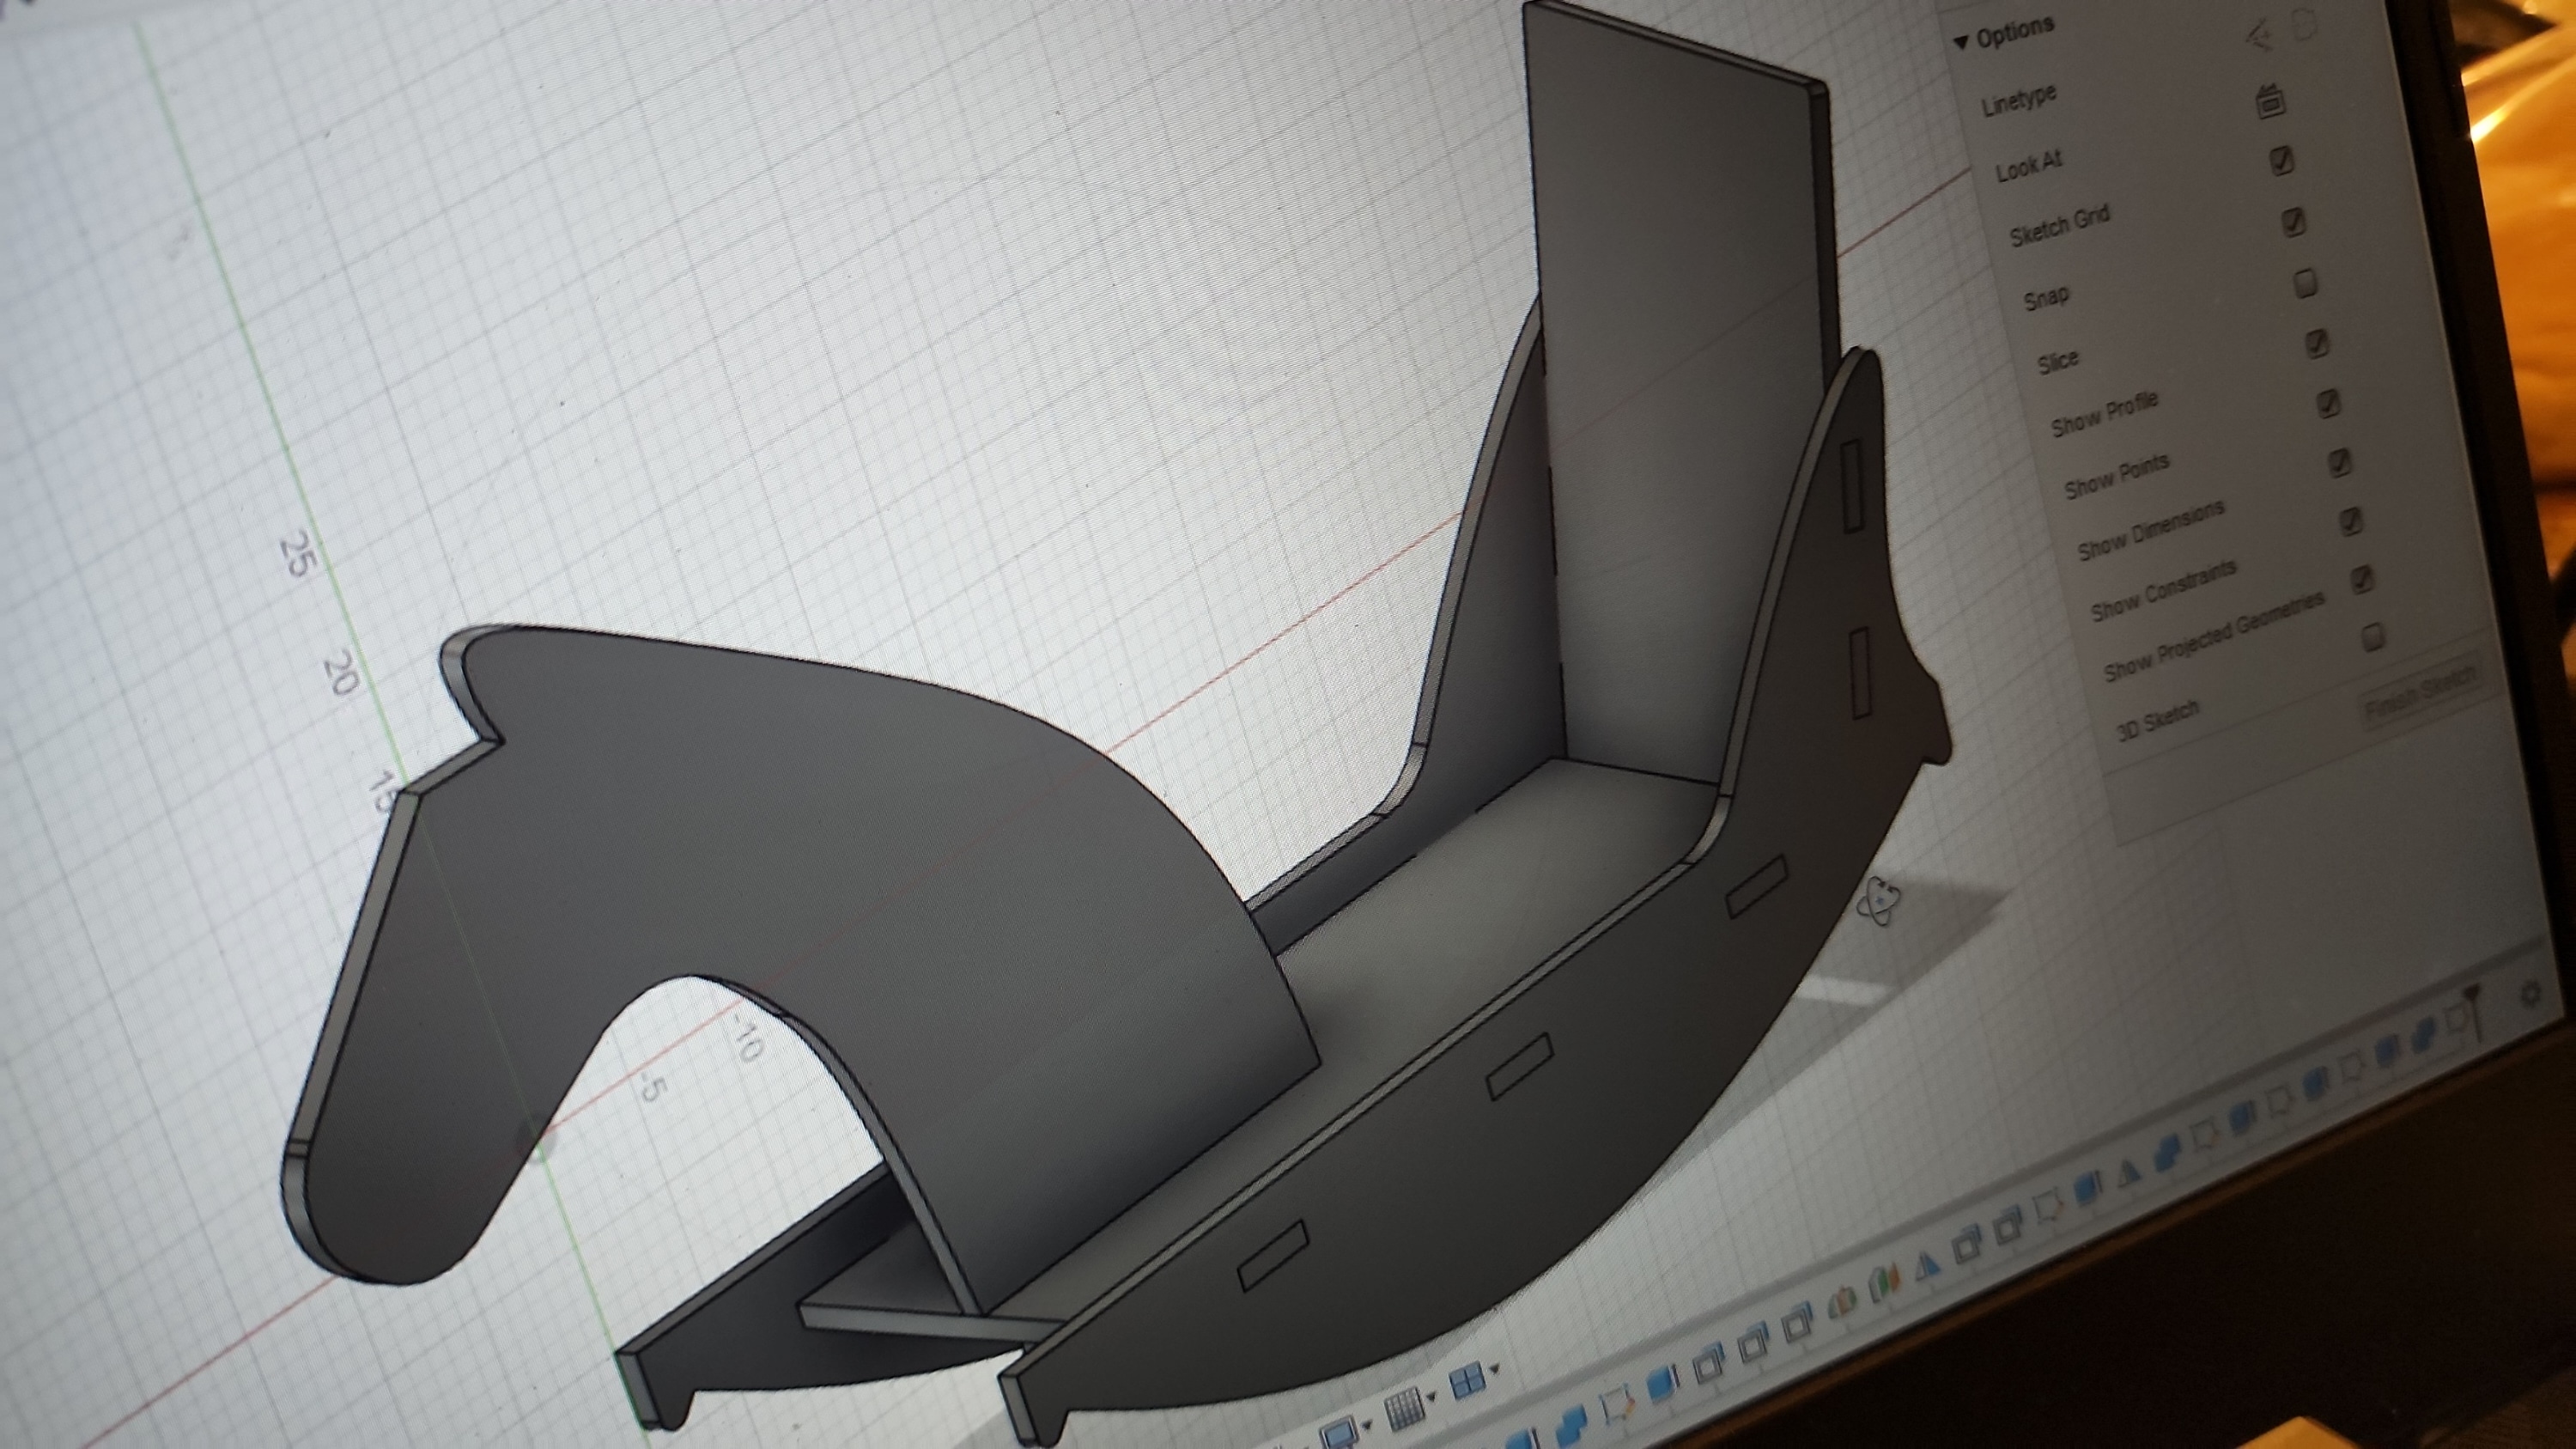
By this all pieces are ready after i did the last piece that take a place of the piece that the kid will rest his back.
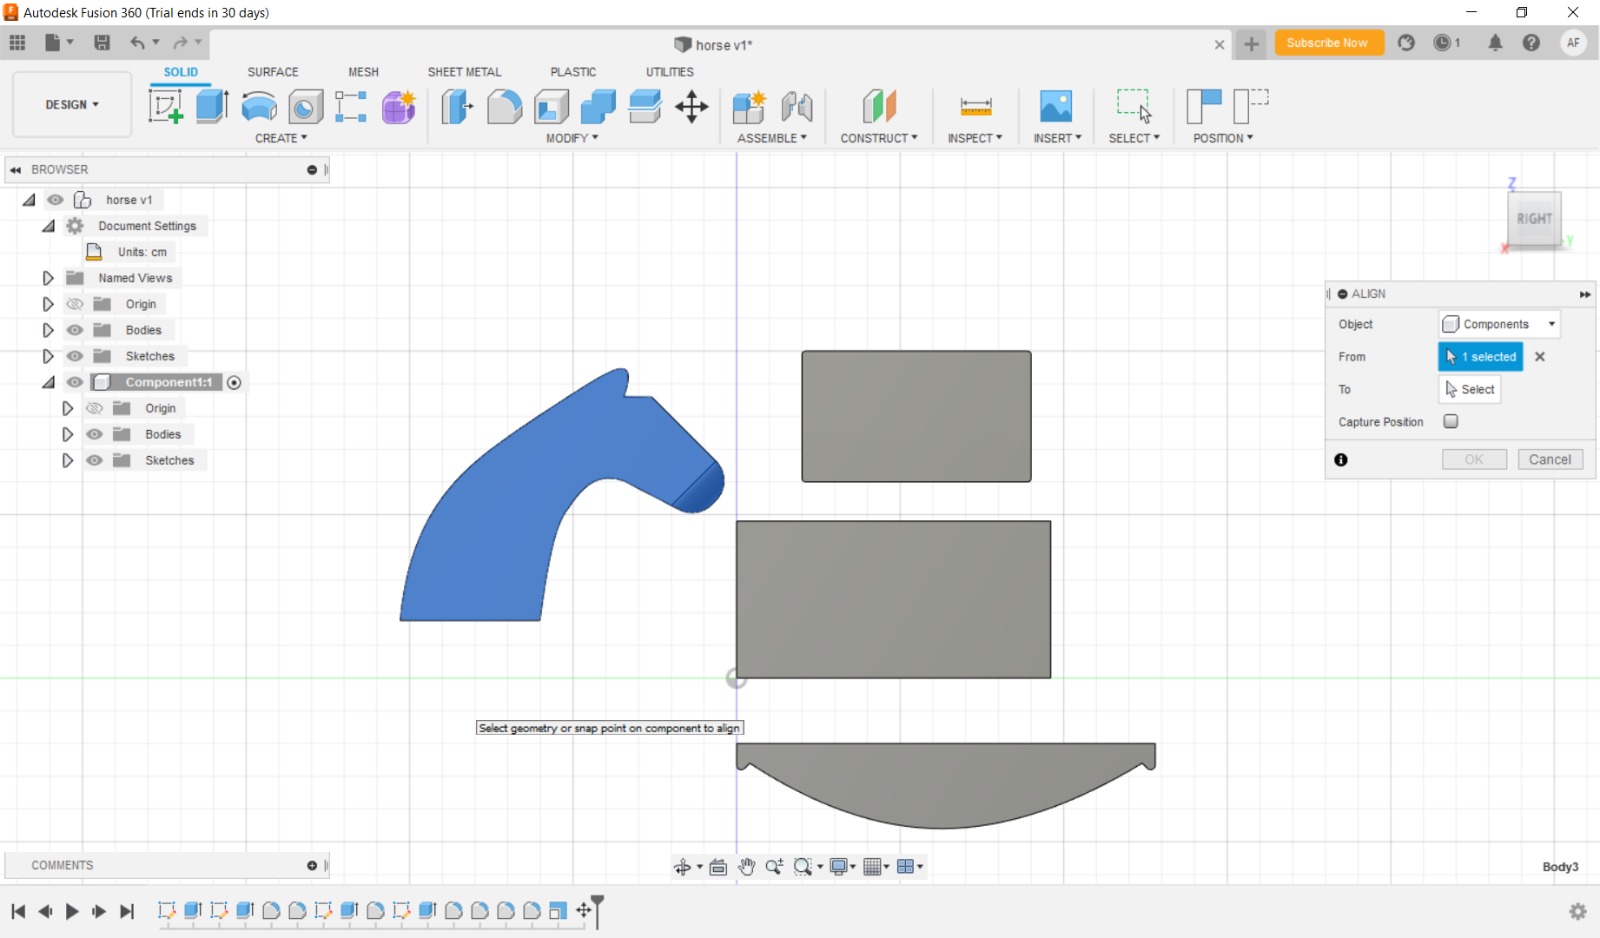
Finally, i took the all pieces and putted every piece in it’s place, then i did the joints with each piece and i come out with this.
And you can see the viseo steps here
This design took from me 4 days because that i still a beginner, but after this design i learn alot so now i im better in these designs.
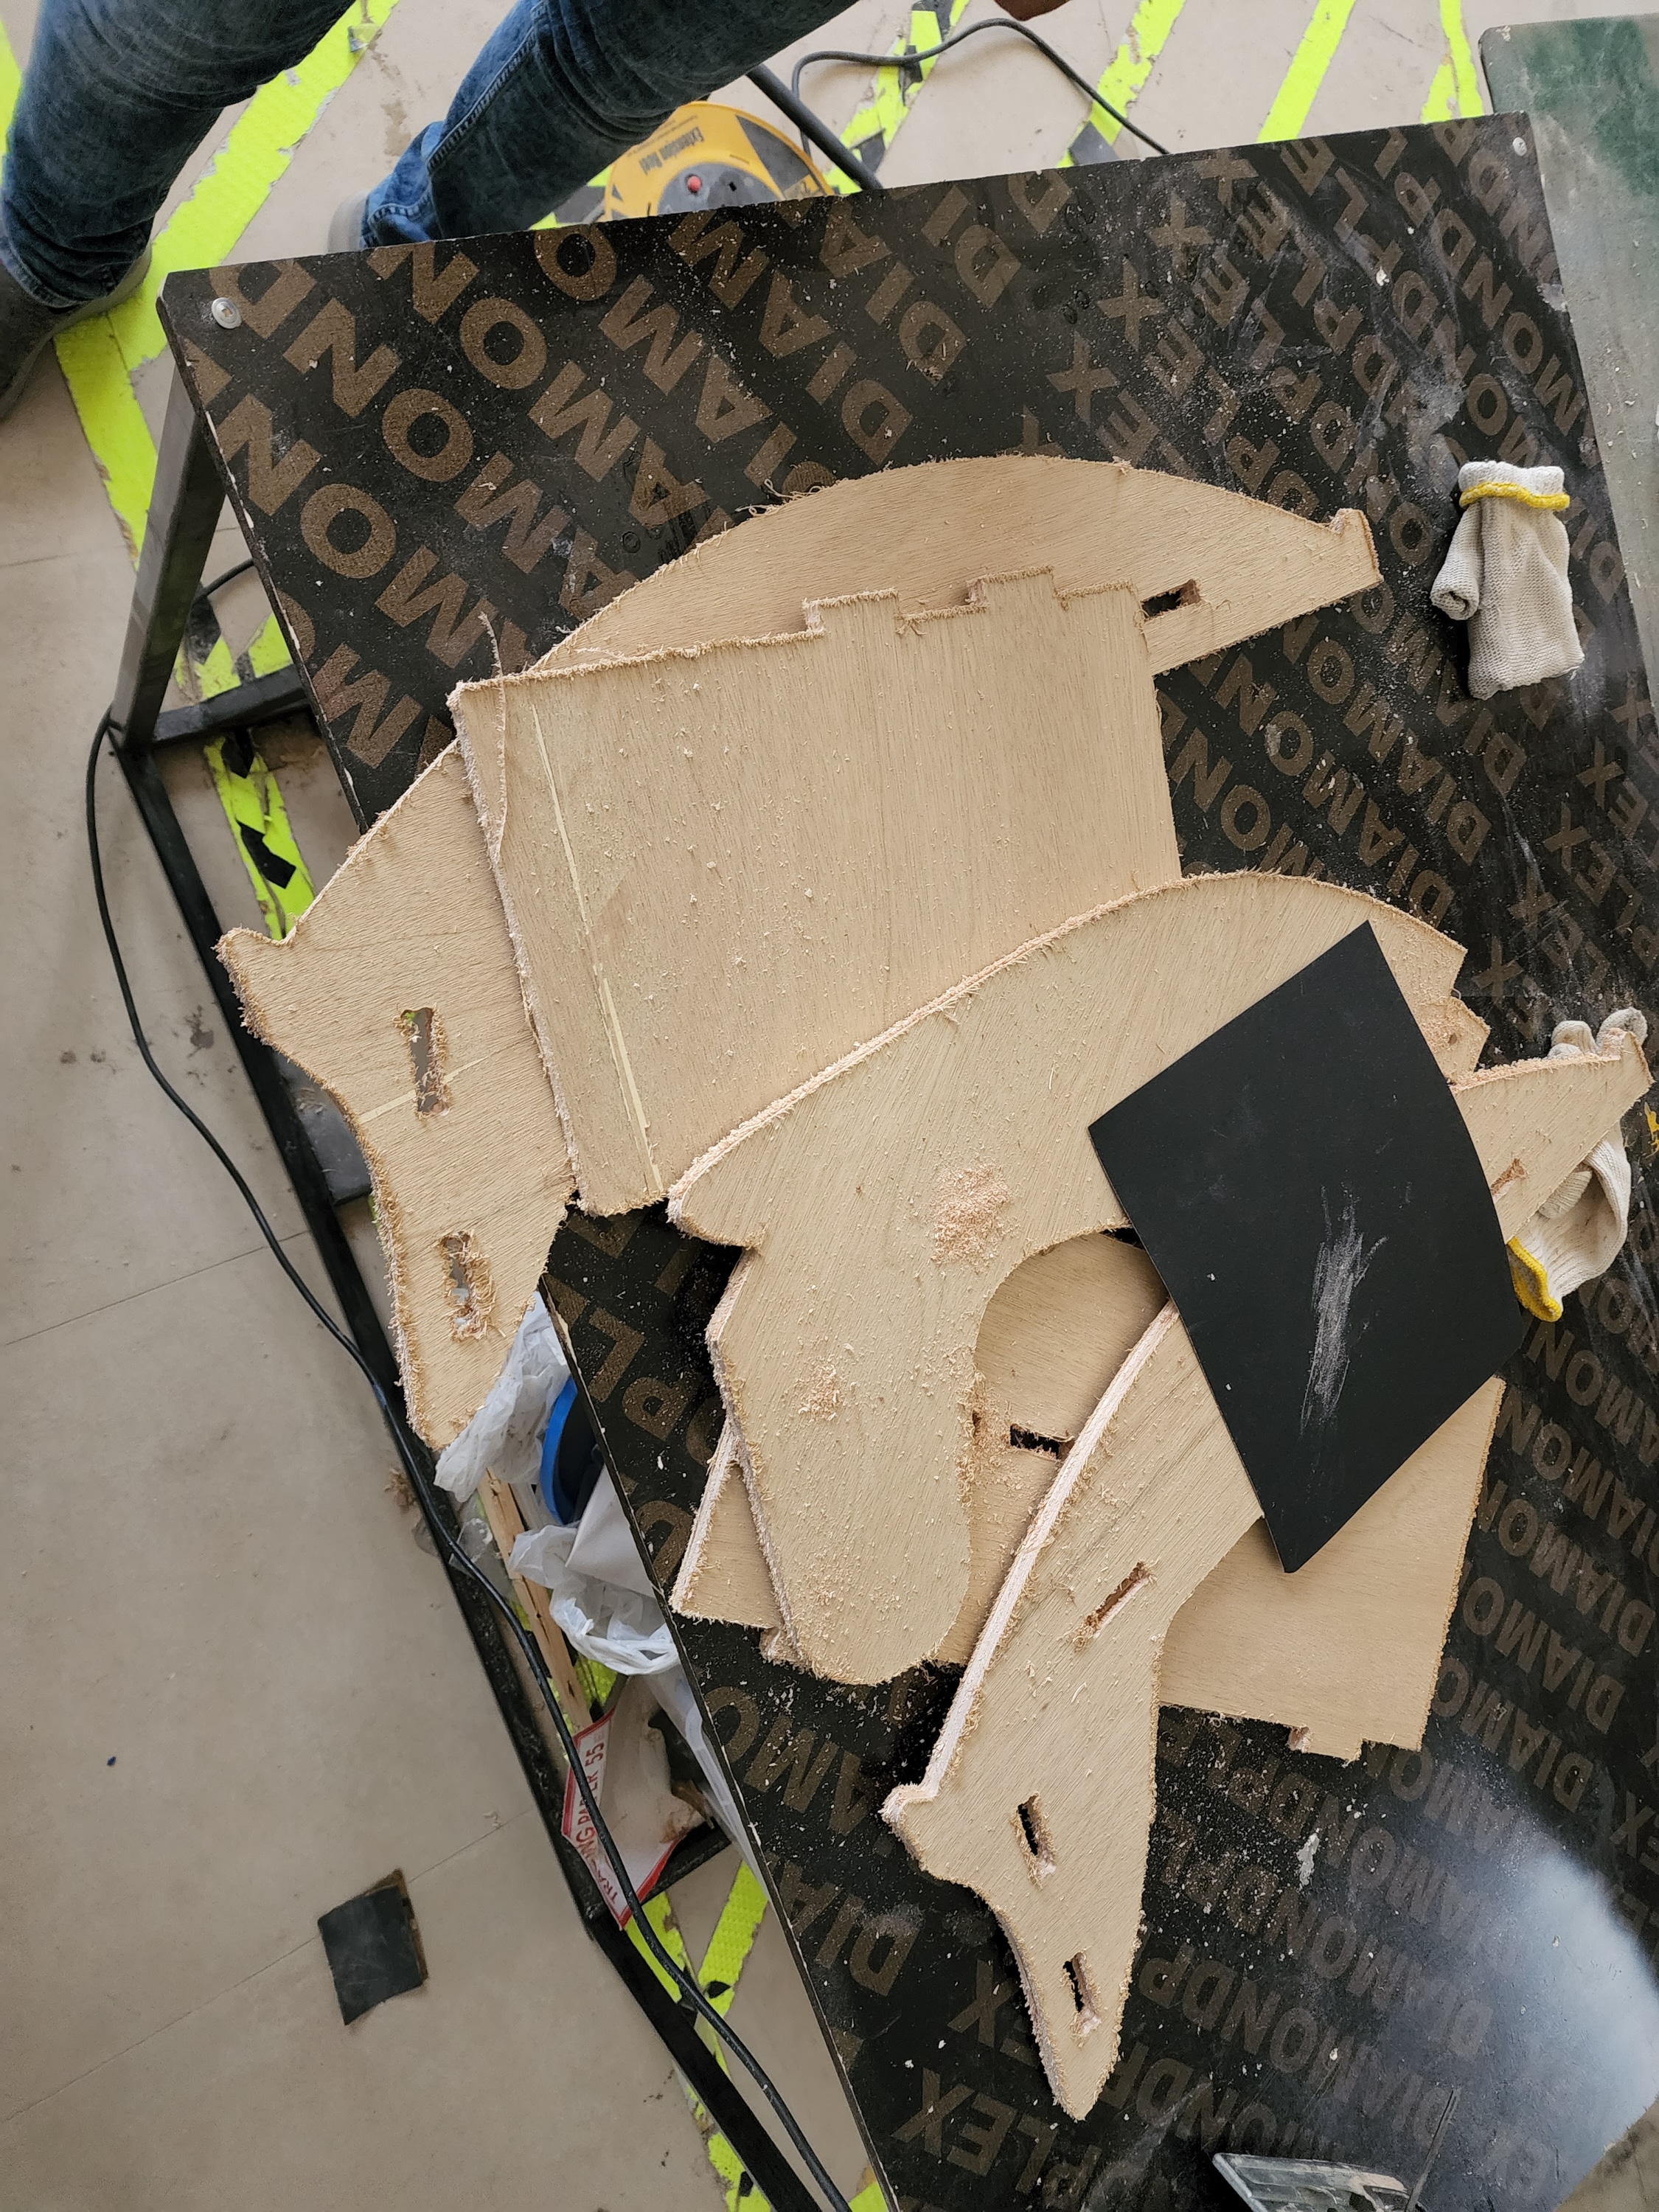
Cutting steps
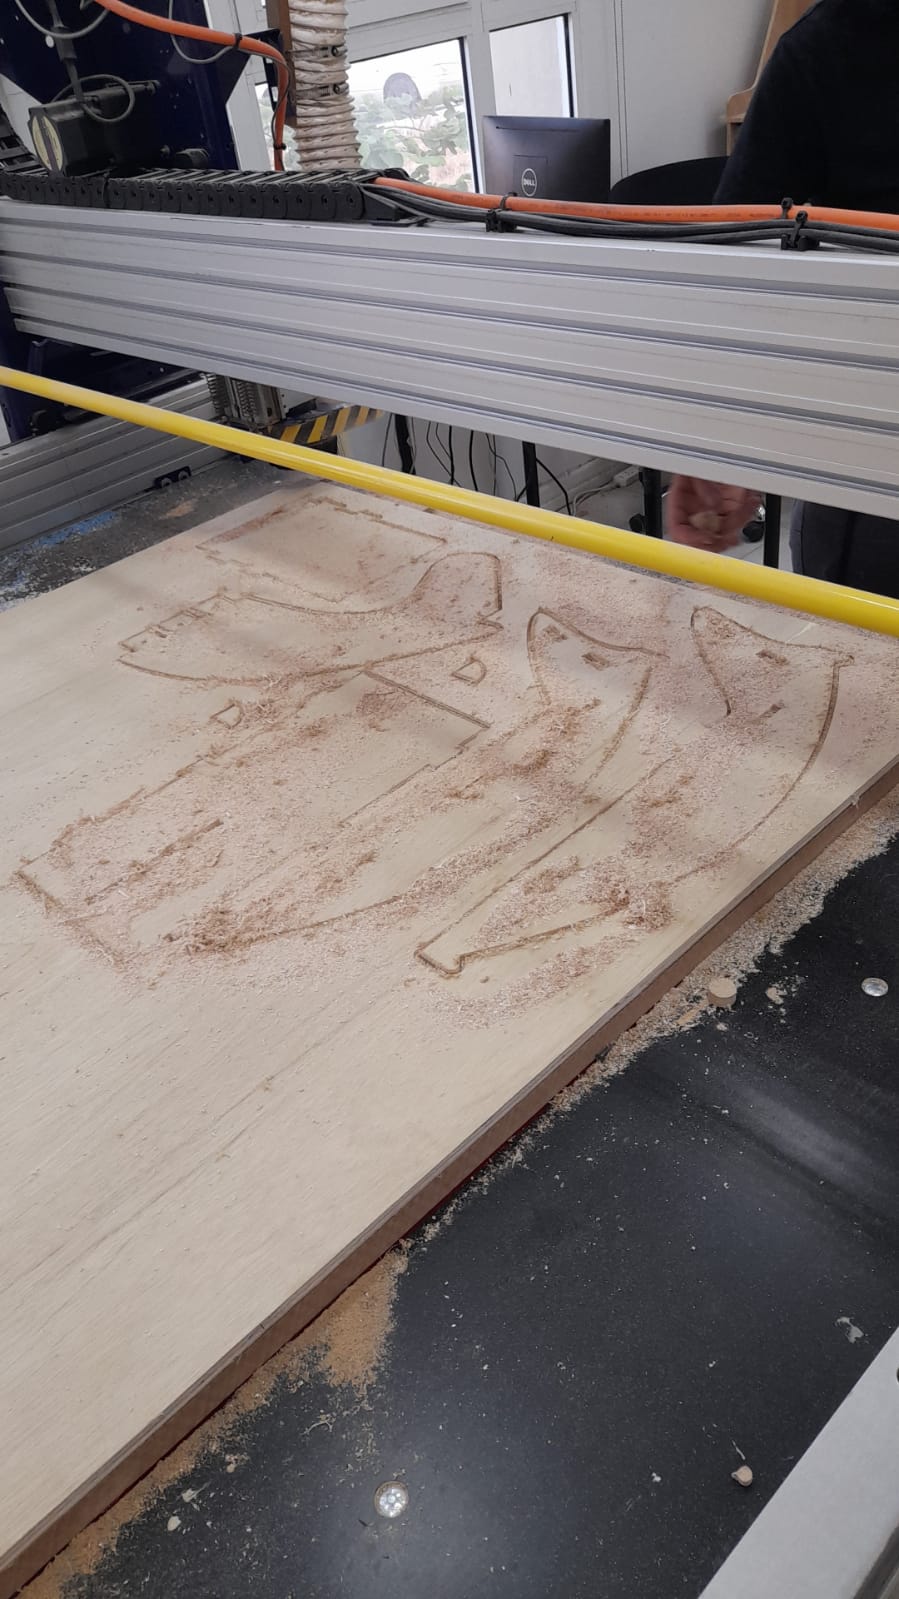
Firstly, I went to the cnc directly and start to cut what i designed
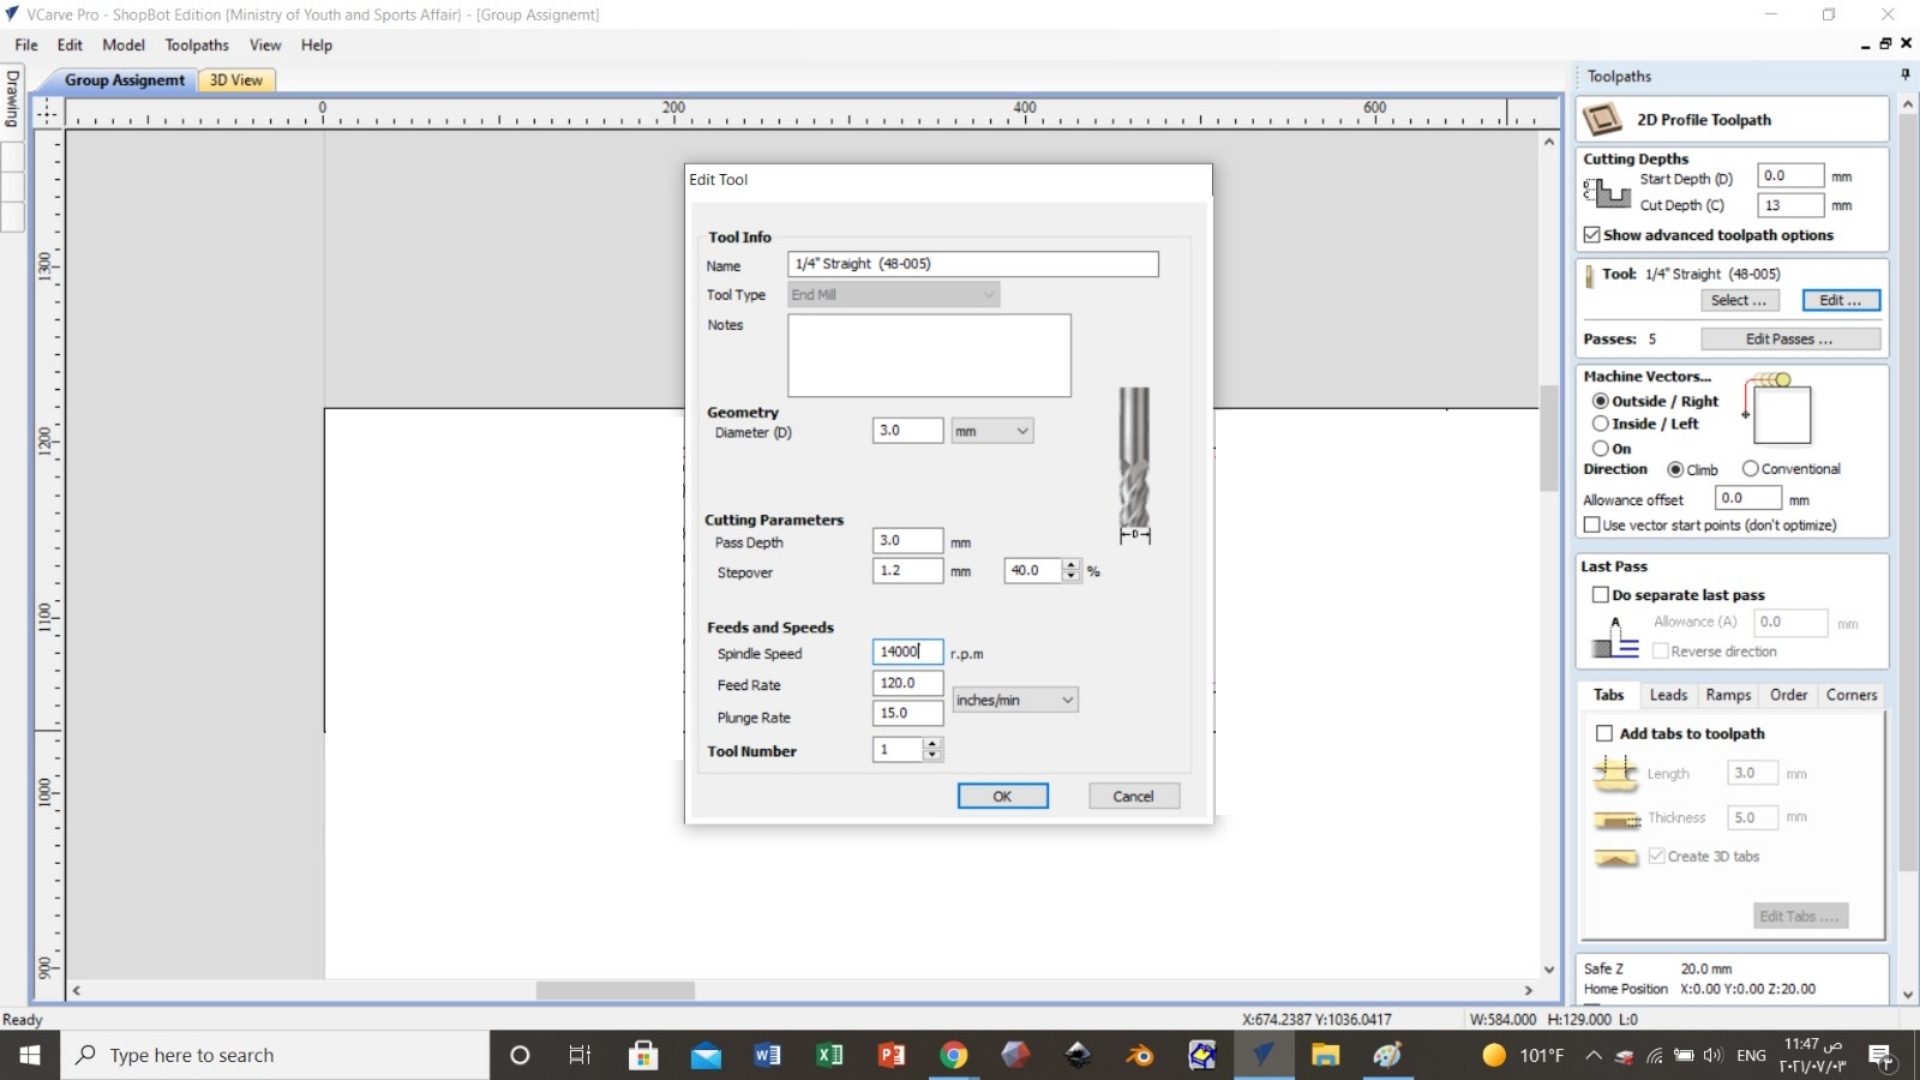
Secondly, I set the setting as usual for any machine speed, power and the tool diameter.
Finally, my design is cutted and its about to be ready to connect the pieces.
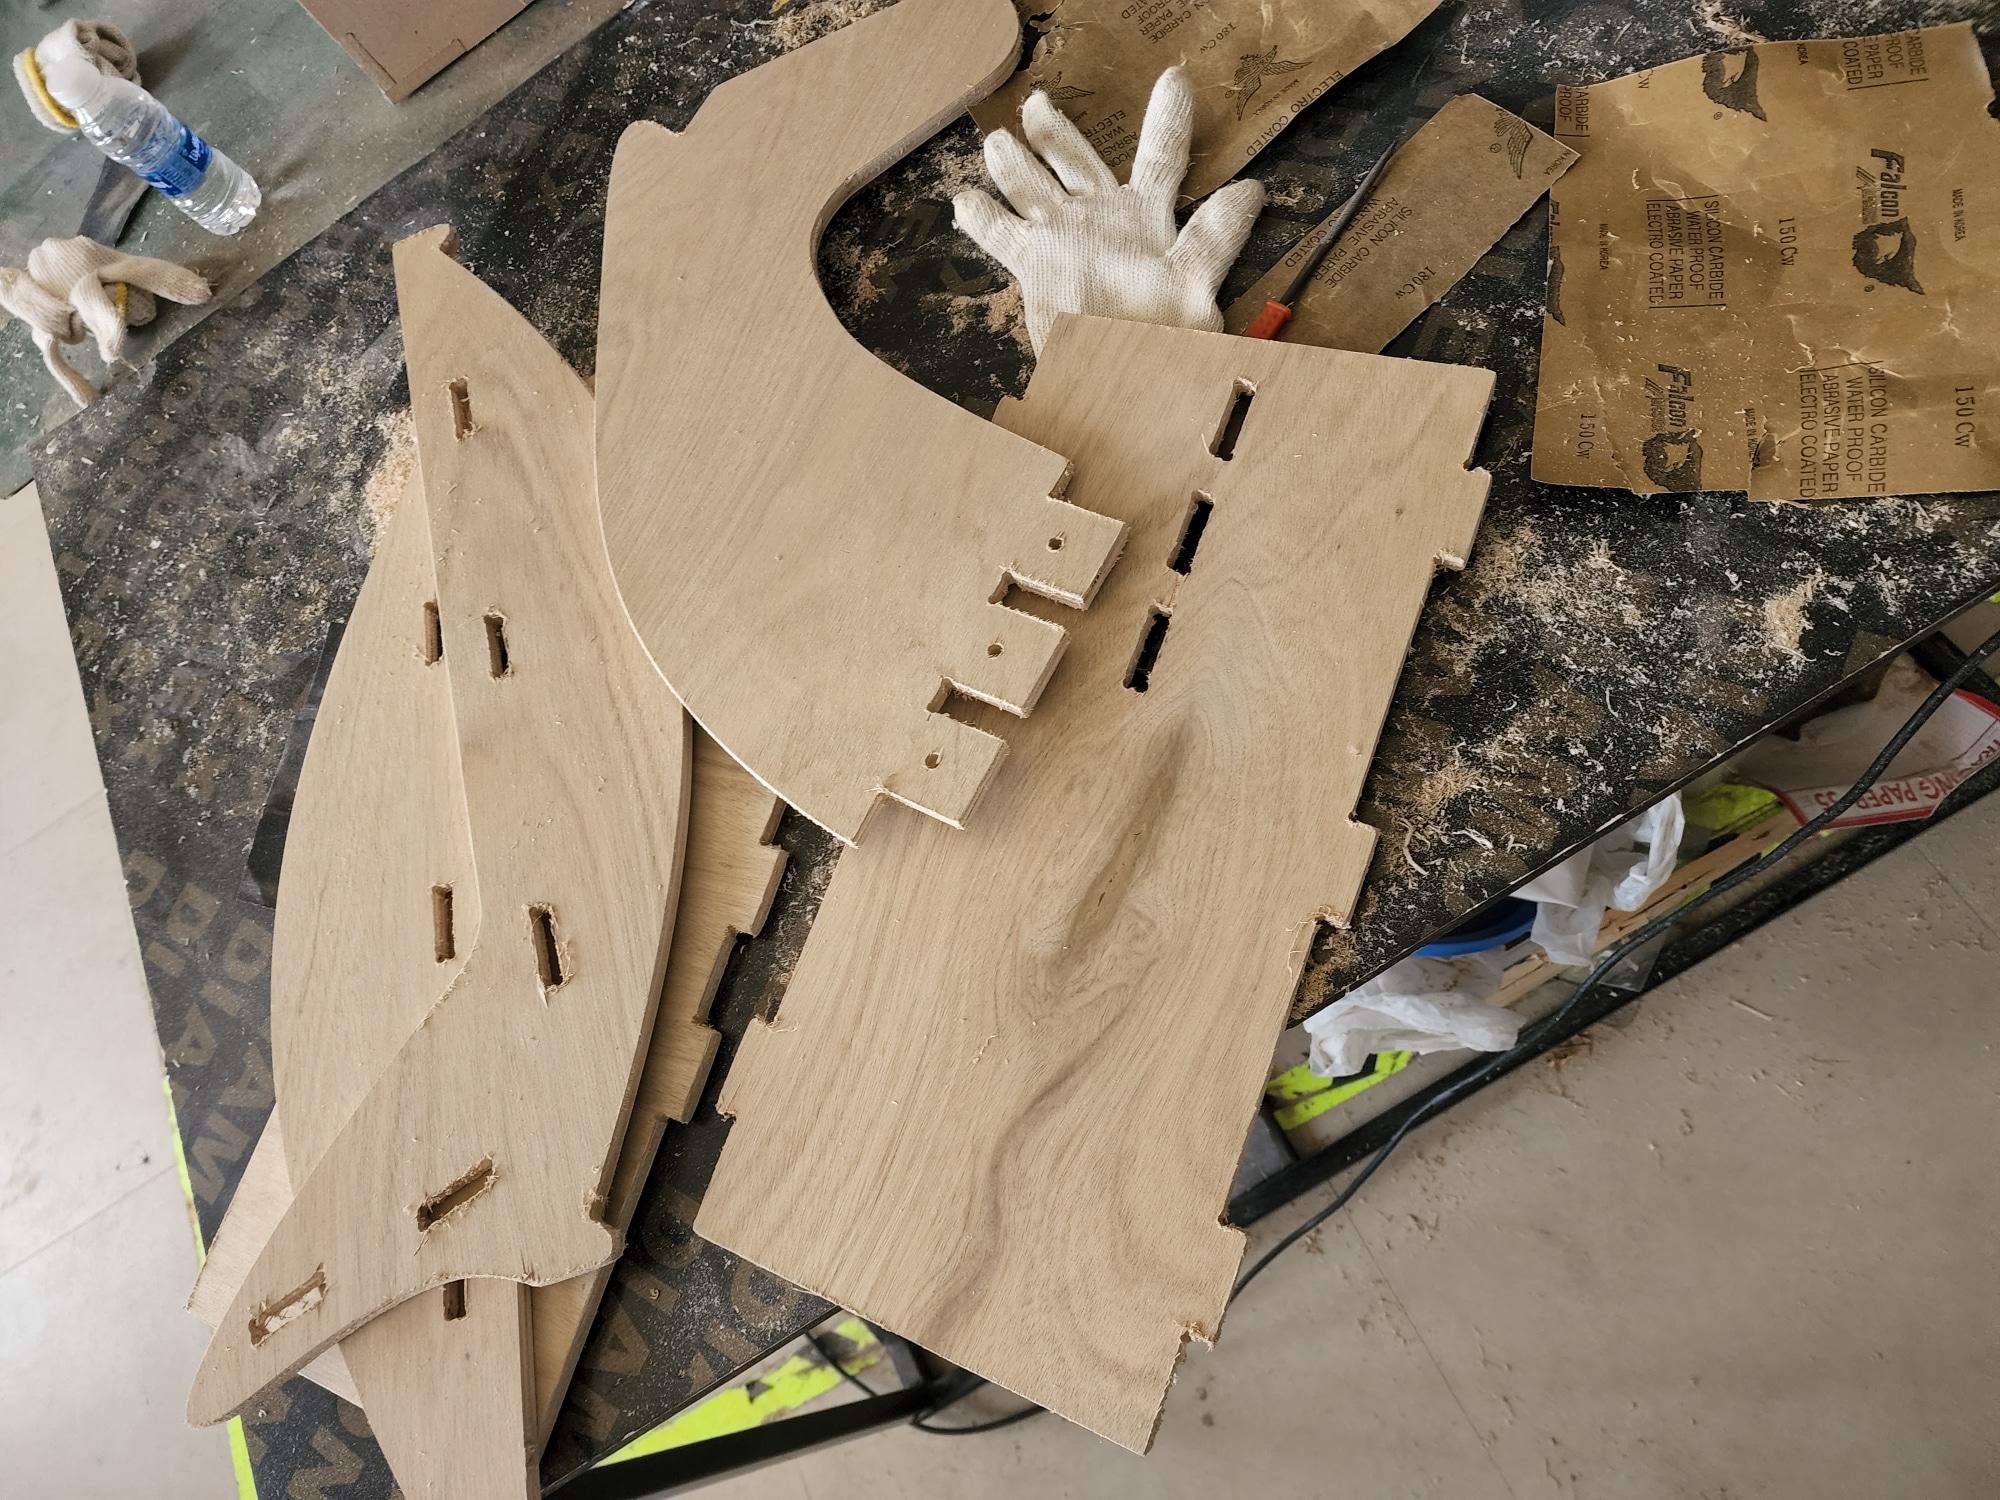
Final step
Before connect the pieces, i start sanding the edges of my design and the joints.
After sanding process, the design is ready to be connected
Now welcome to the final design and this is the result after connecting all pieces to each other.
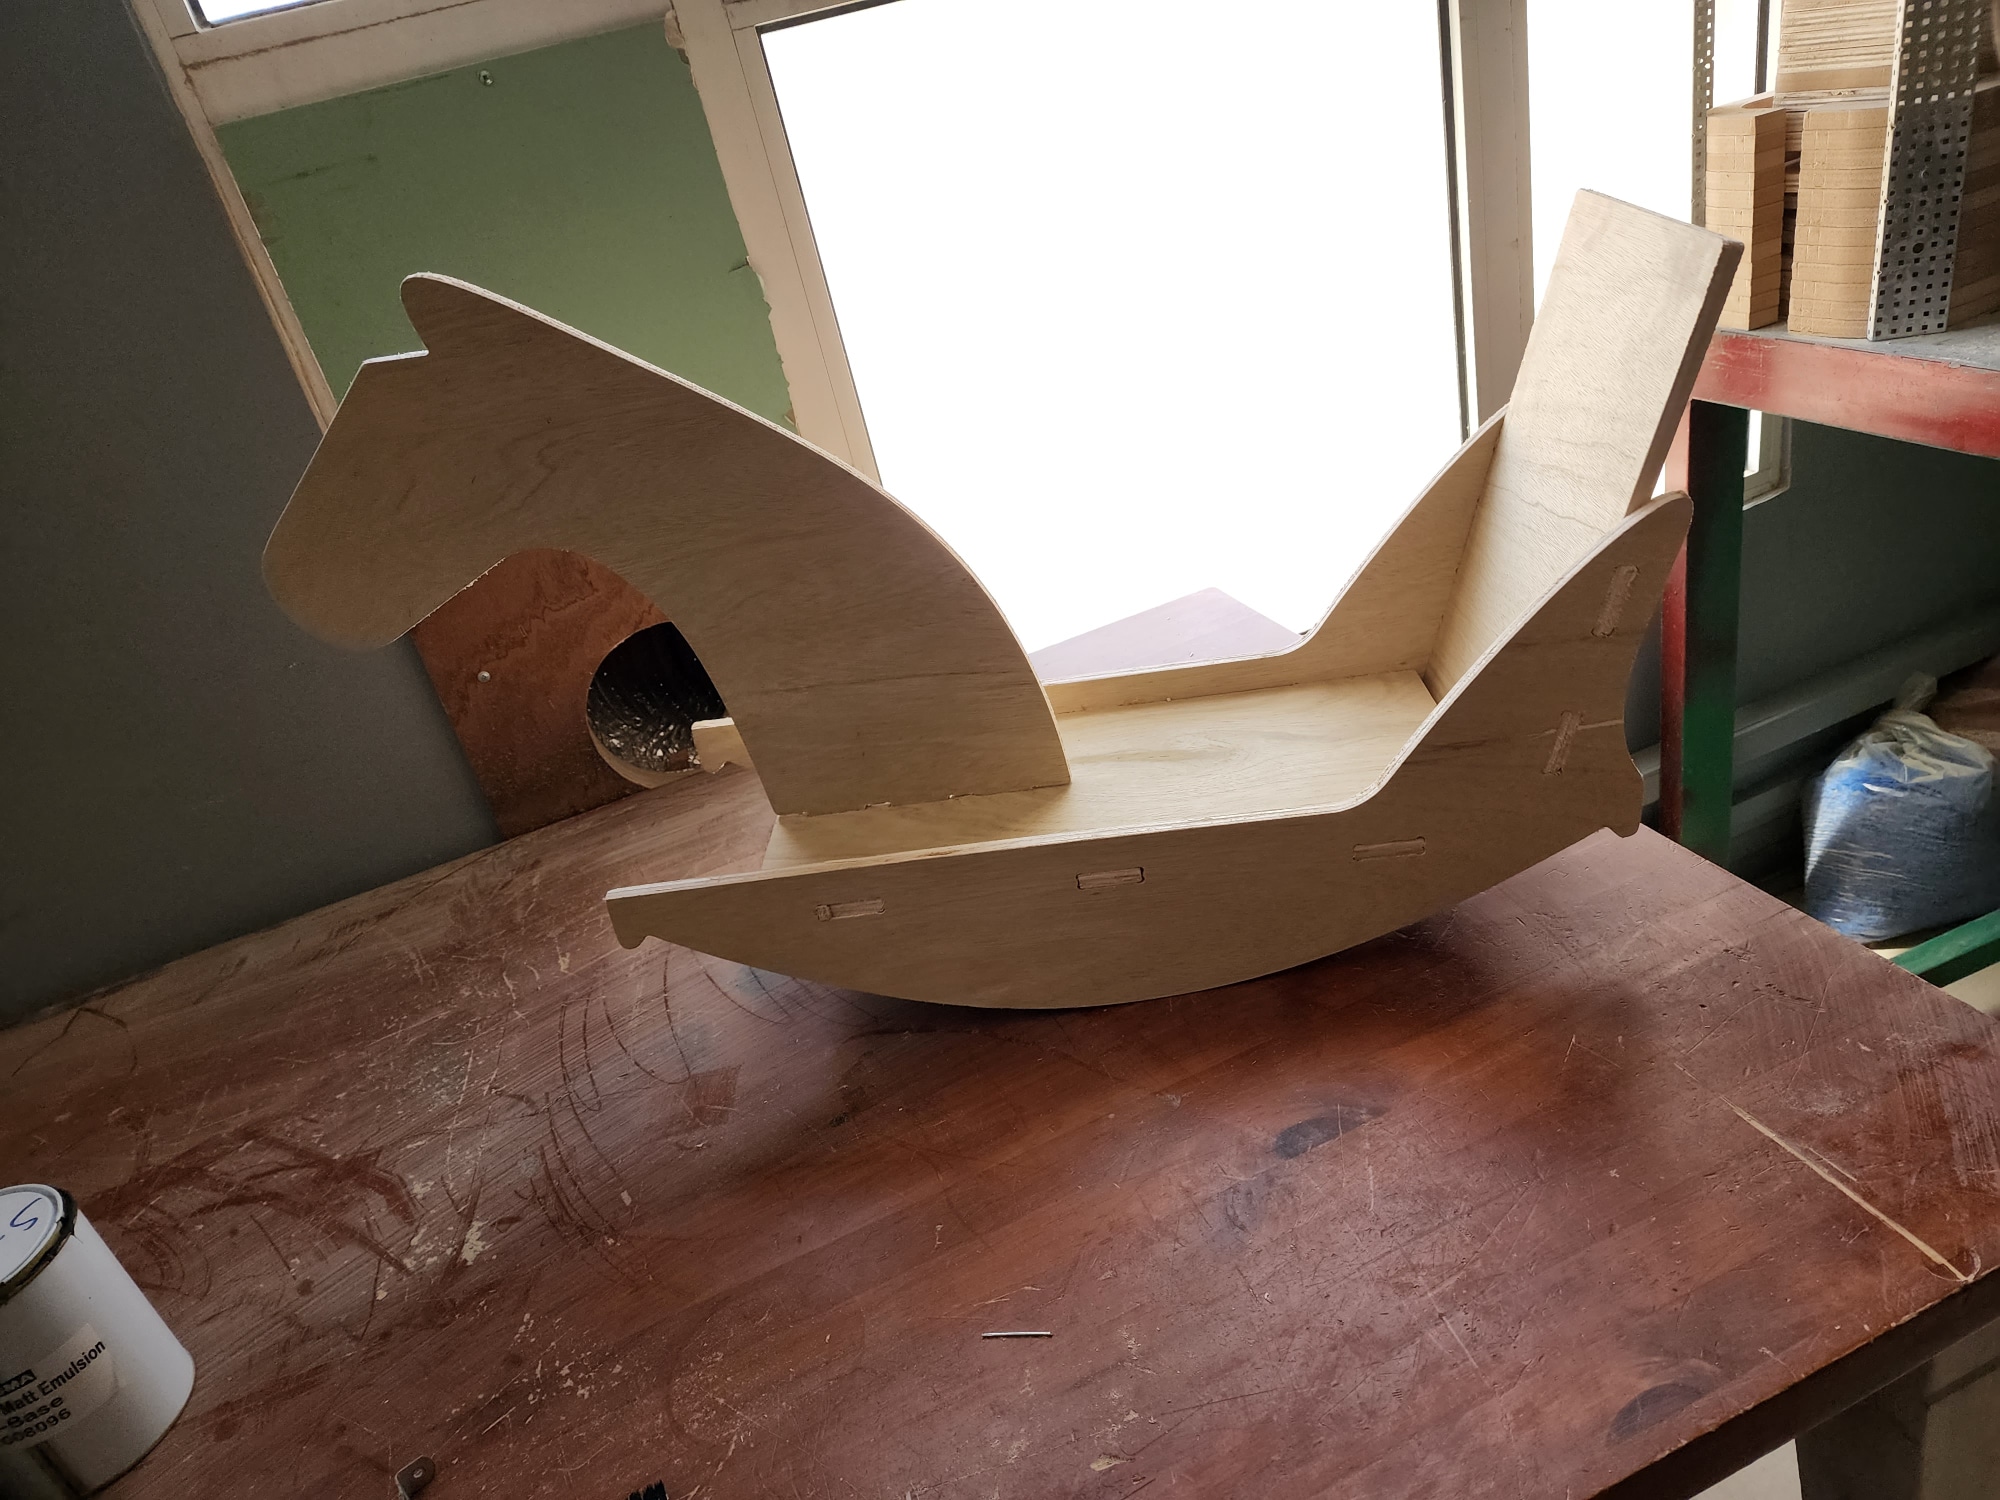
This is s video showing the horse-toy
This all for this week, see you at the next one <3