5. 3D printing and scanning
This week I learned about 3D printing machines, how they work and their characteristics.
3D scanning
1-scan through the console
3D scanning is the way to transfer physical 3D shapes to a digital 3D shapes. there are two way to do this proses, the firs one is through 360 scanner (XBOX 360 Kinect Sensor) this is the one that we learned about.
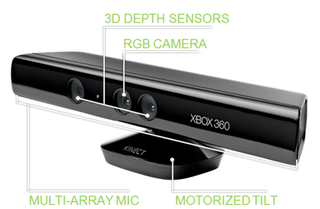 in the image above we can see the XBOX 360 Kinect Sensor and what is consist of. this console provide by the developer’s of Microsoft company for gamin purposes, but we can use it to scan our selves then print it in 3D shapes. through this console you can scan any thing you want starting from your pen, to your room. but if there is any darkness it may affect on the scanning process.
2-scan through using mobile scan program
to scan 3D shapes by our phones we used (Qlone) program for Android and iOS systems. it is free program you can download it from google play or app store.
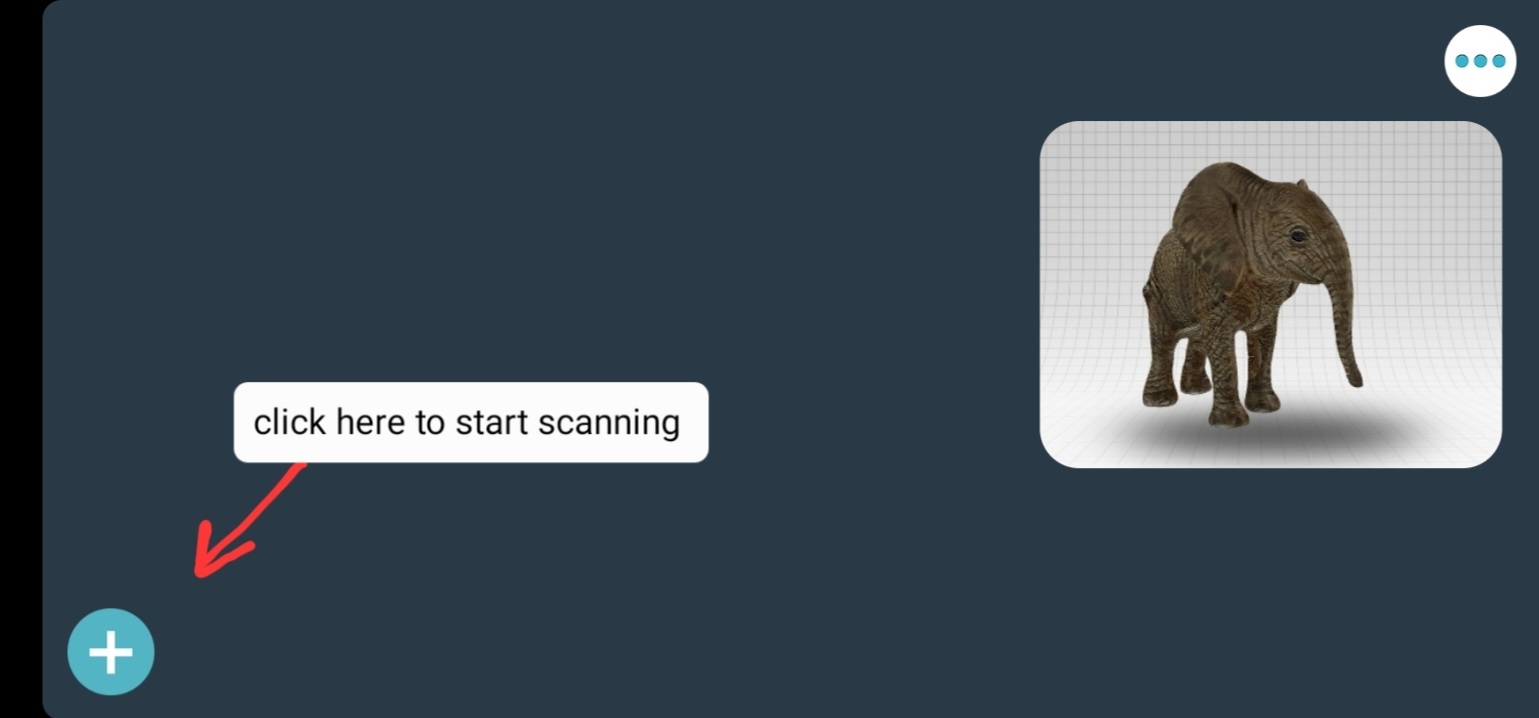 this is the main page you will see it once you open the app. click on + to start scanning any 3d shape you have.
to start scanning you need to print a paper that have grid same like chess board
this is the main page you will see it once you open the app. click on + to start scanning any 3d shape you have.
to start scanning you need to print a paper that have grid same like chess board
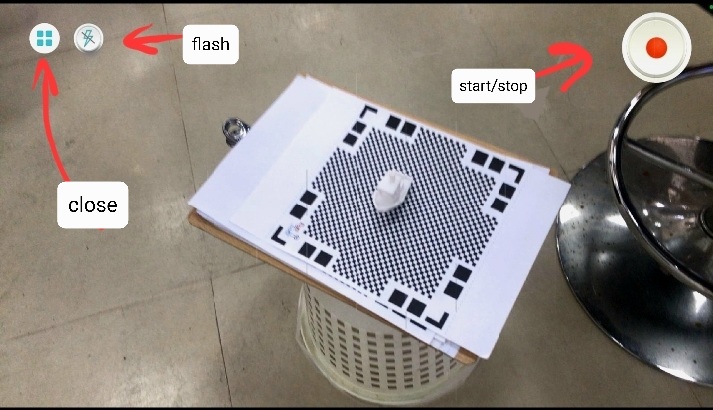 this board should be big enough to be able to see the corners of it by your phone camera without any interruption by the object you have.
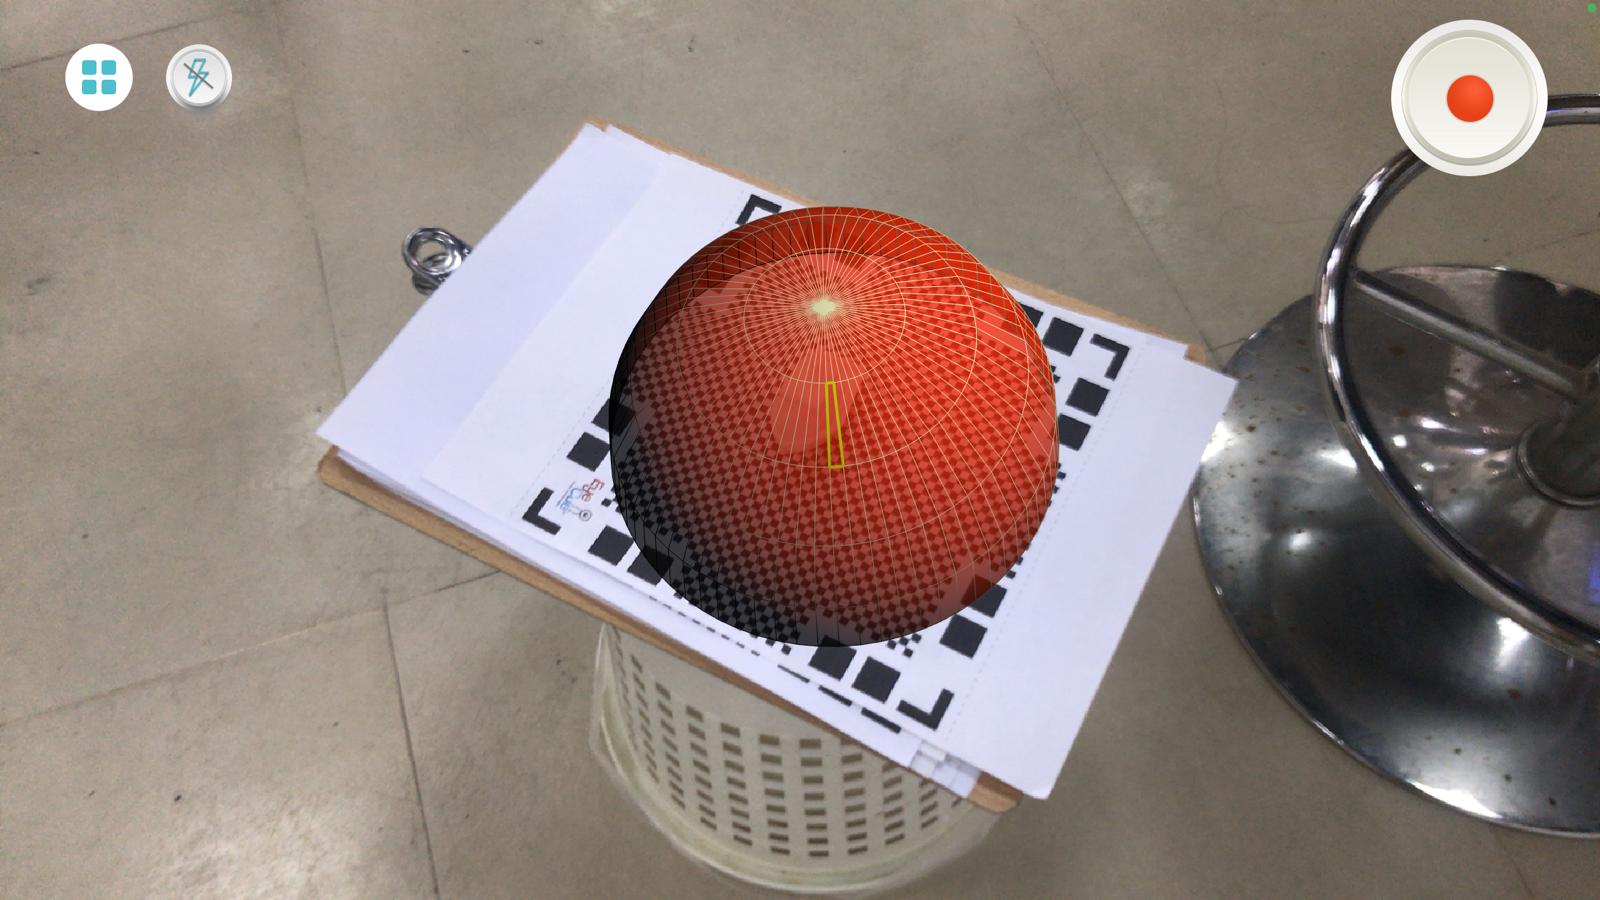 the should be close enough to the paper to be able to scan the object, when you be able to see this blue dome cover your object properly that’s mean your position is good and you can start scan.
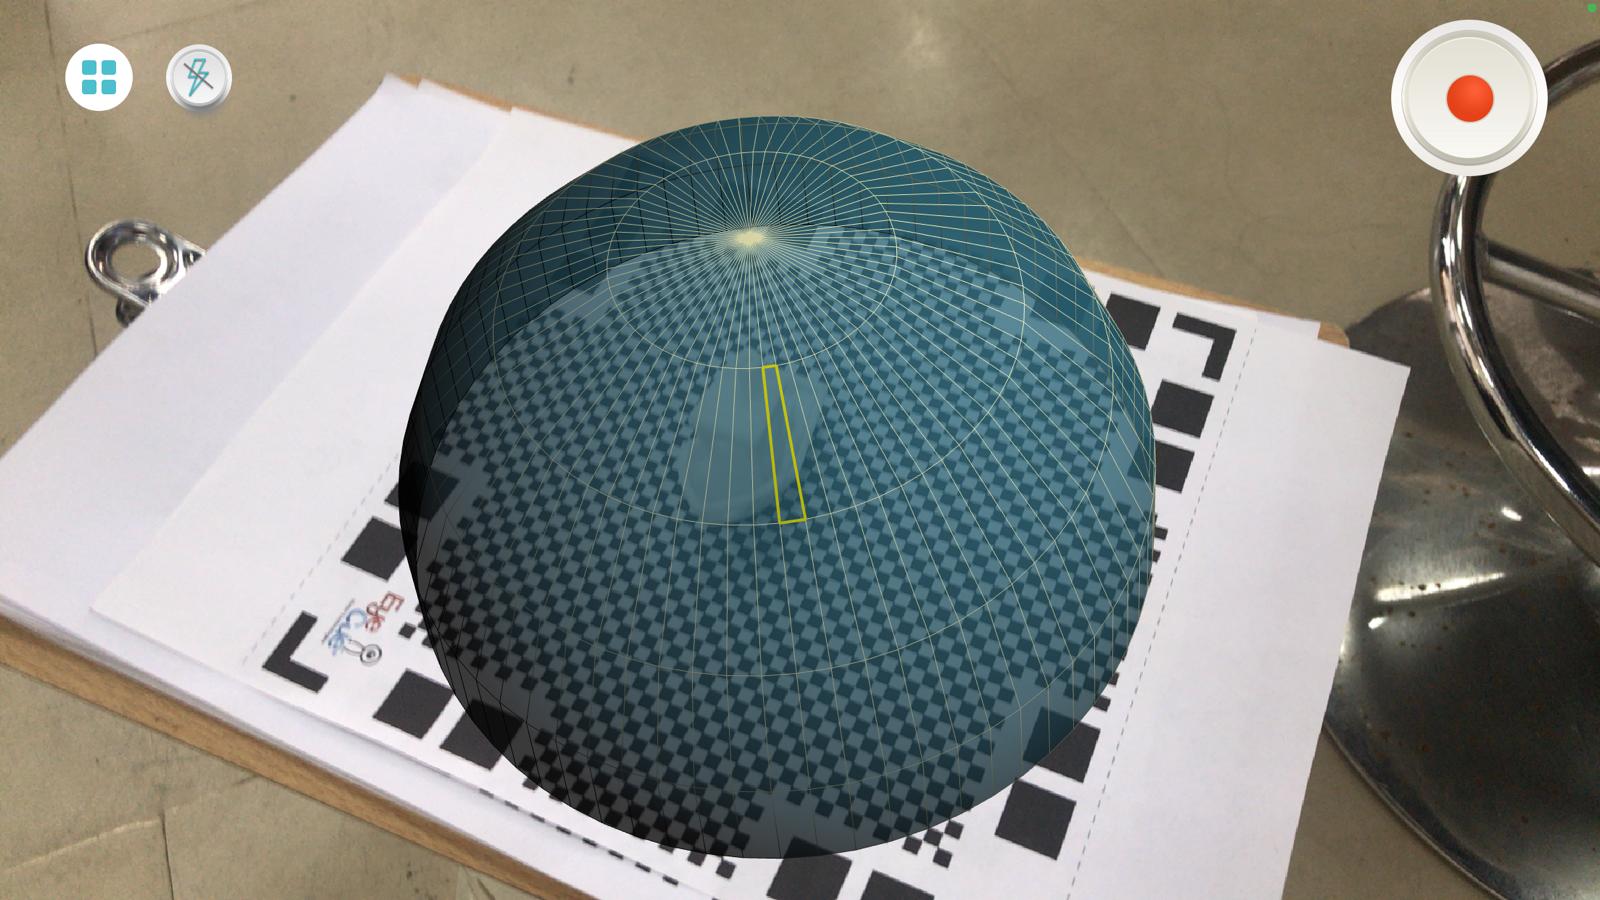 if you are far away from it the blue dome will turn to red once to noticed you that you are far.
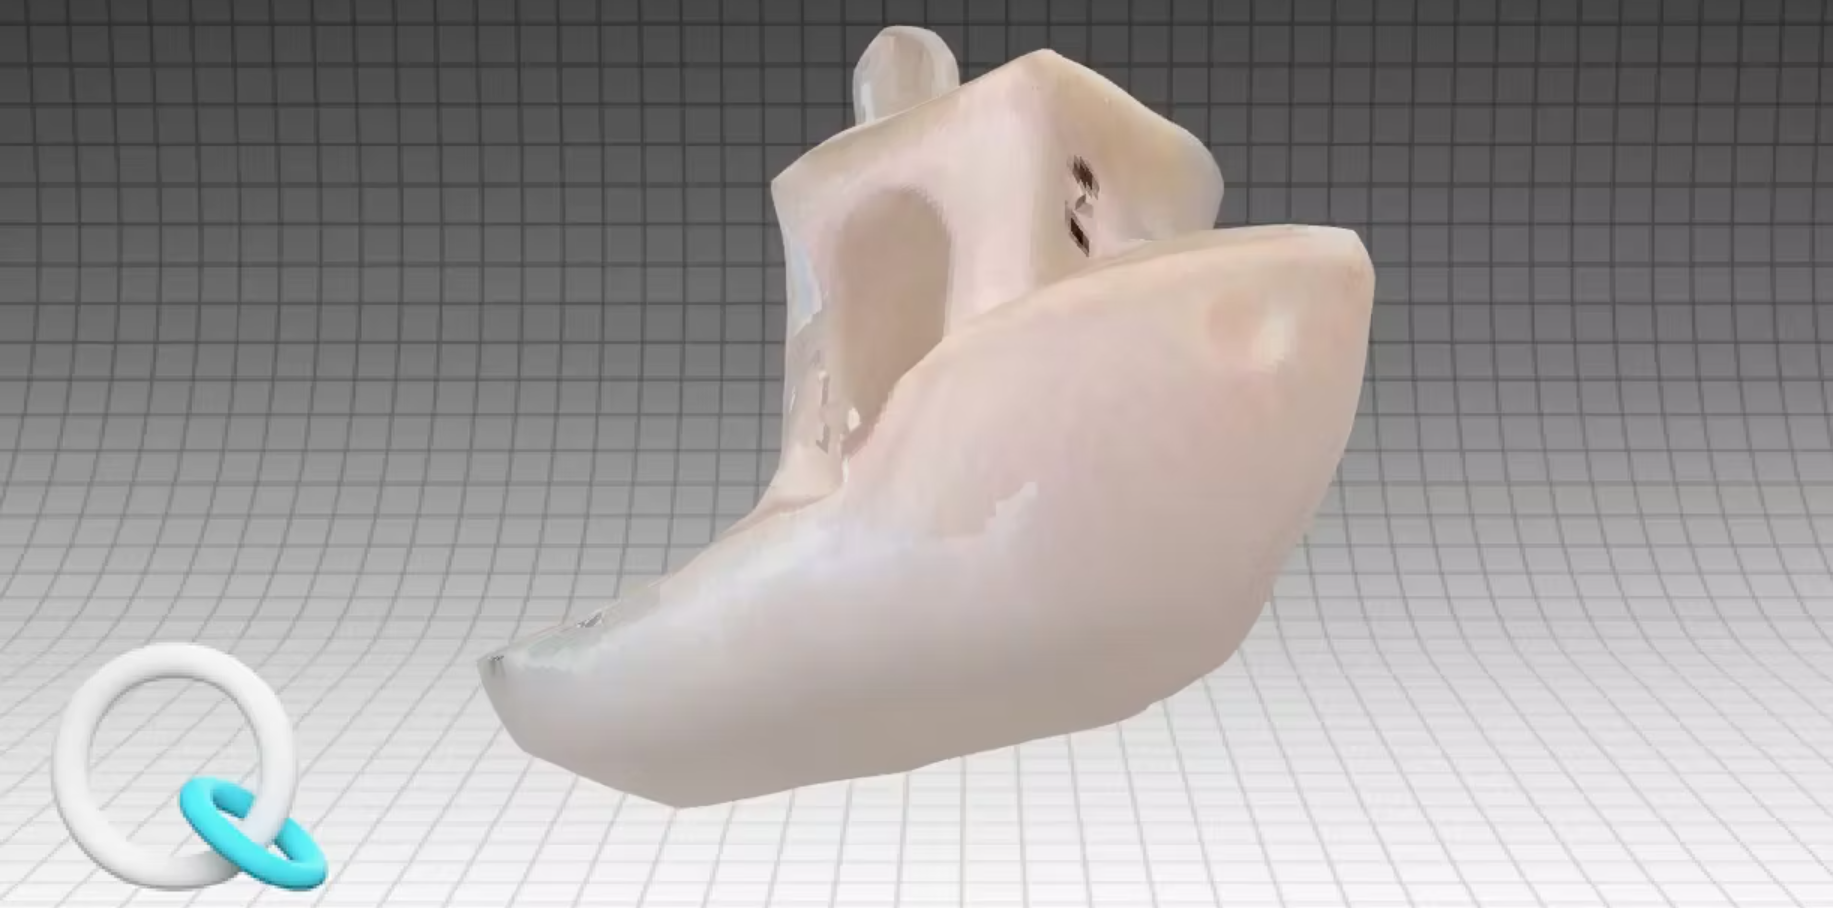
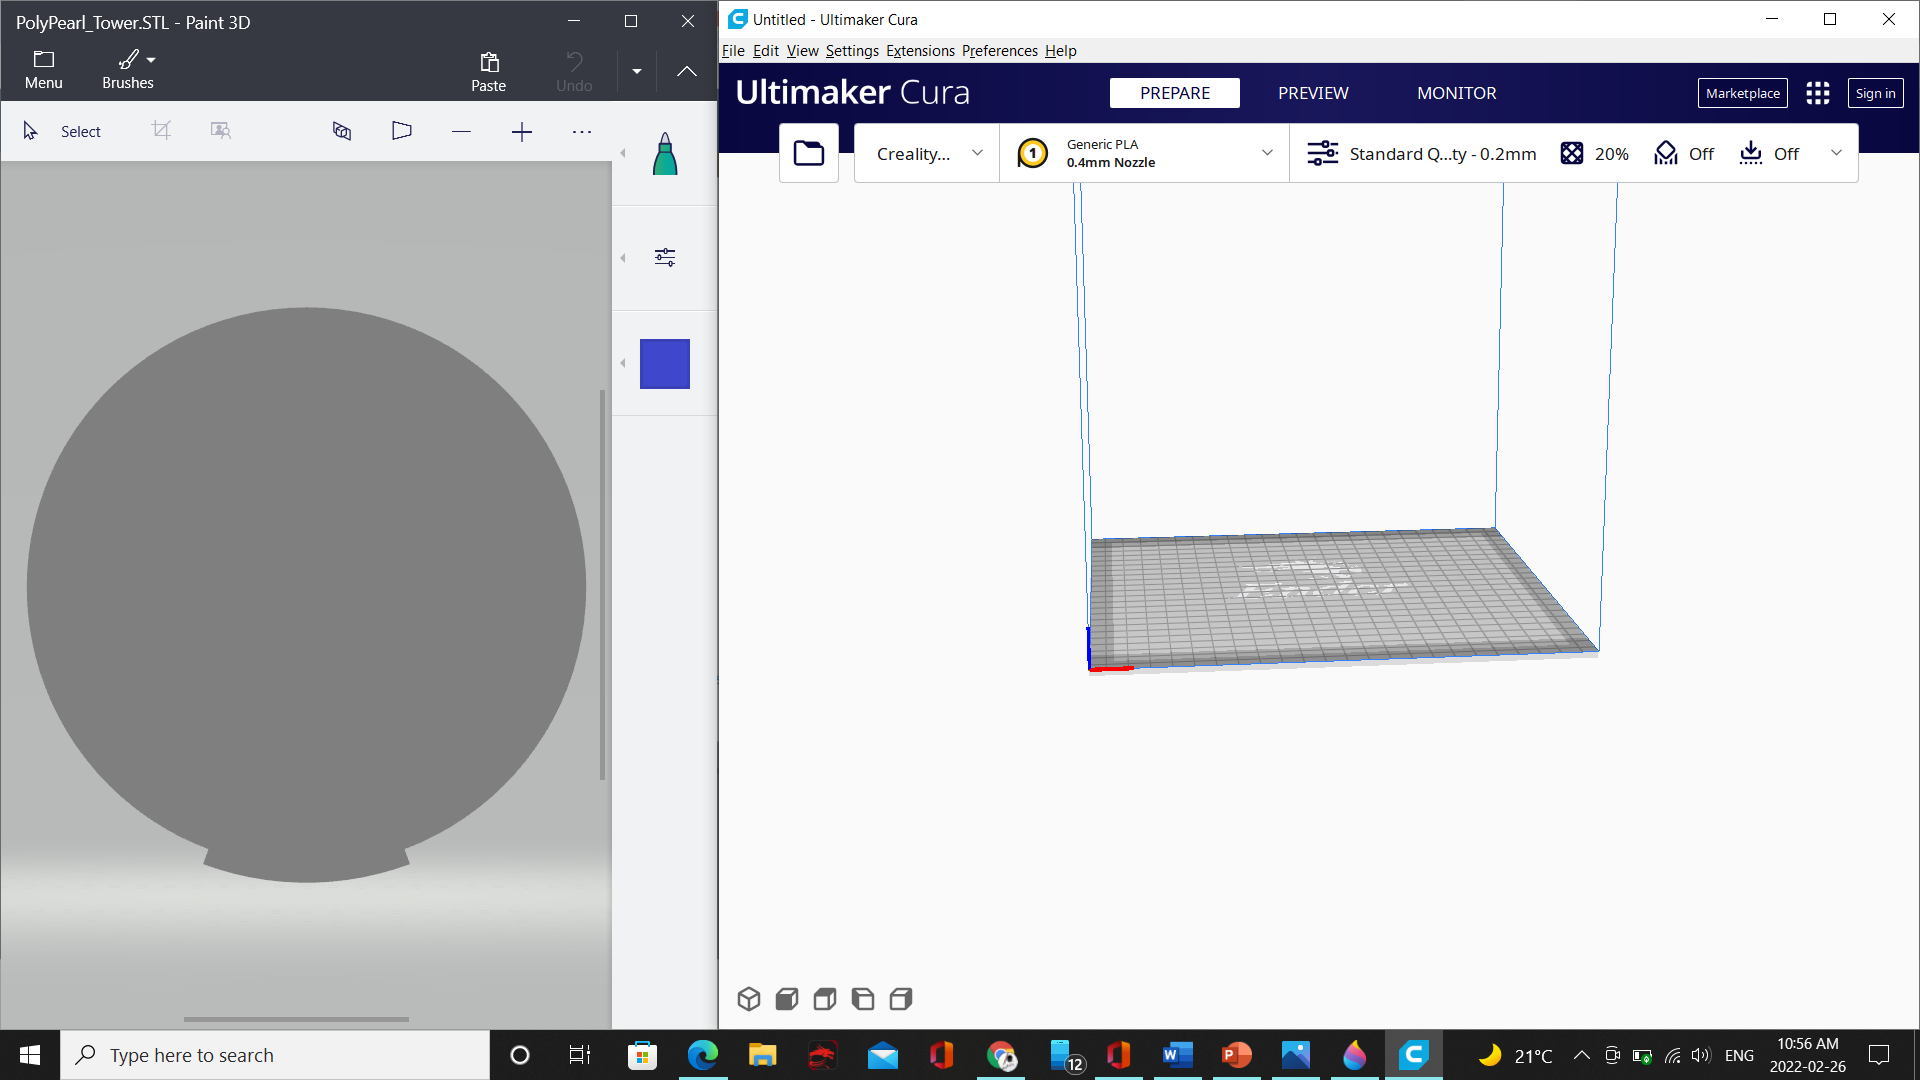
this was the final result of the shape I took. there were mistakes in the scanning, there were some openings in the object but the scan did not recognize it because the openings were not shown the paper from them so, the scanner cant recognize them as wholes.
- In the images below you can see the difference between the real shape and the scanning result.
3D printing
3D printing is the opposite process of scanning process. 3D printing means transferring the 3D design to reality or make it physical object.
cura
you have to download the following program, that will make you able to modify and print your 3D object by any 3D printer you have.
 when you go to the website through the link above click on download.
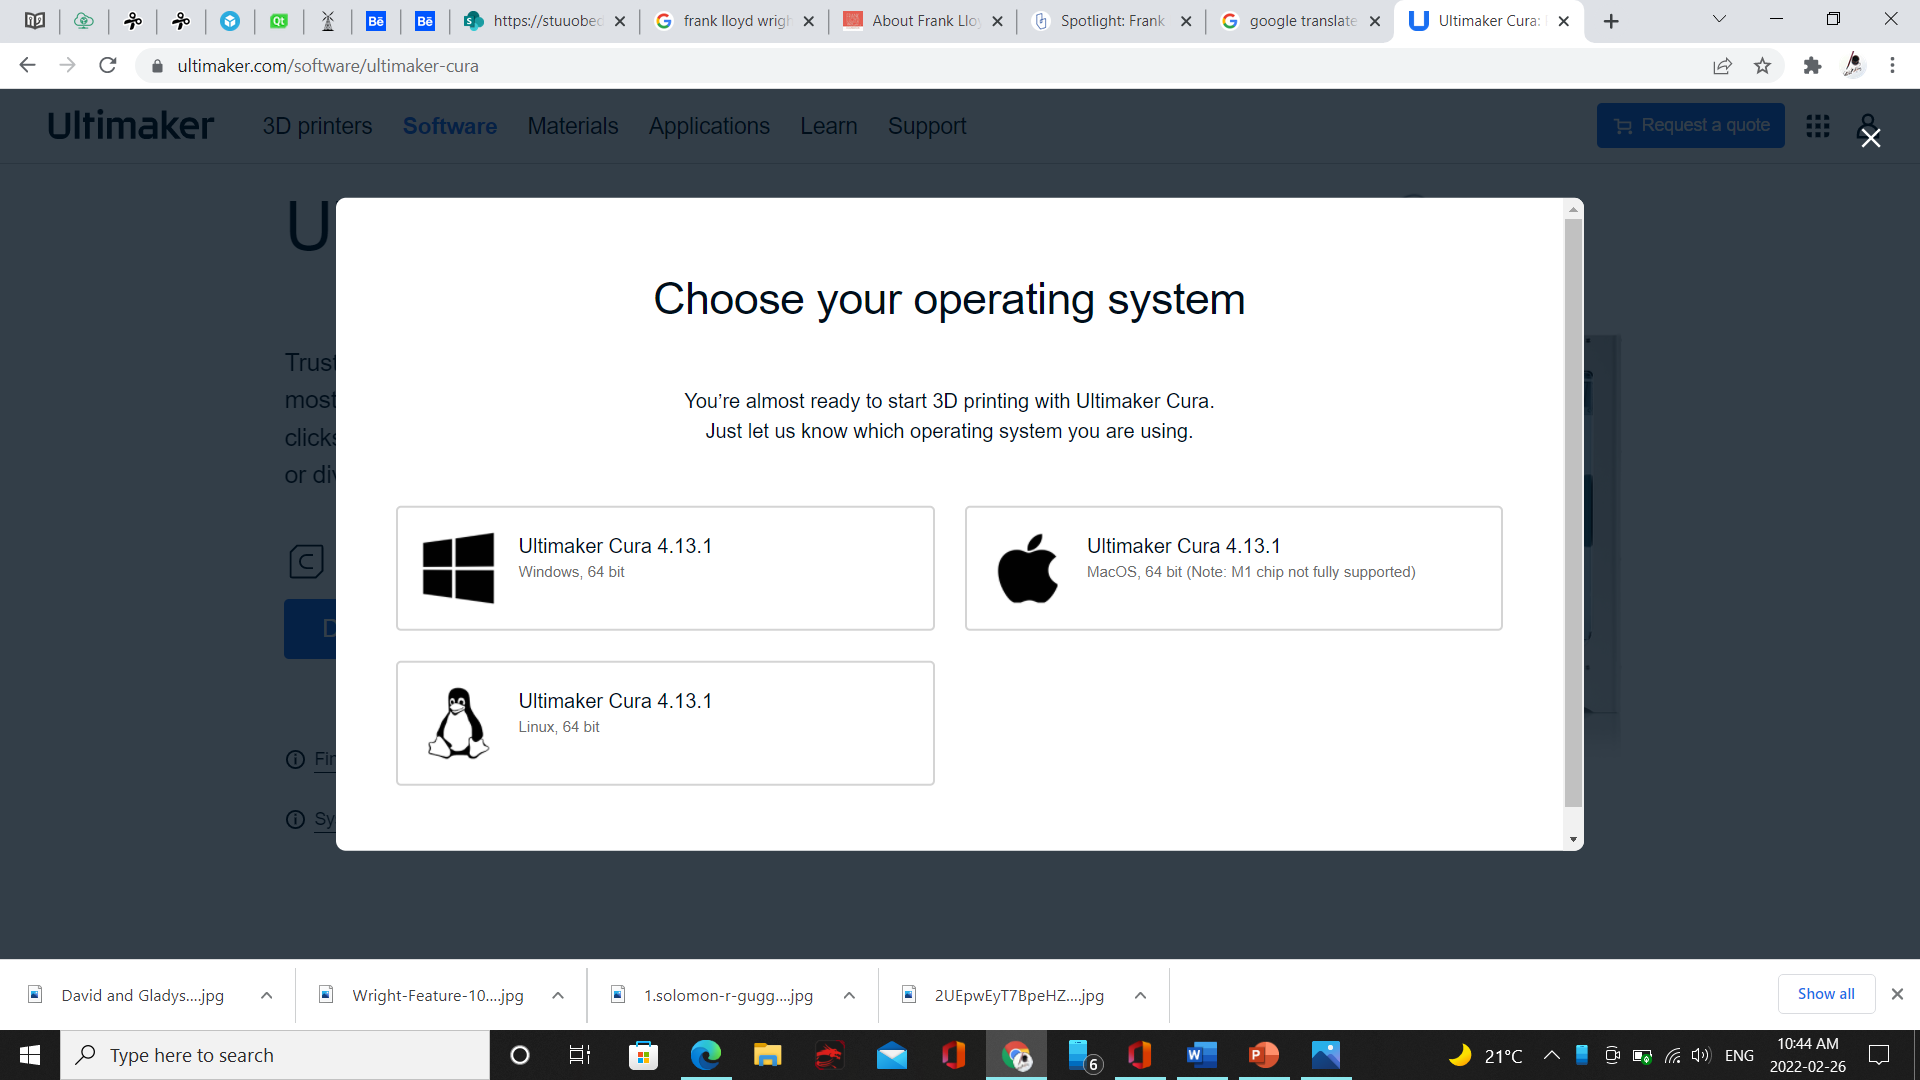 choose the downloading file based on your pc/computer system.
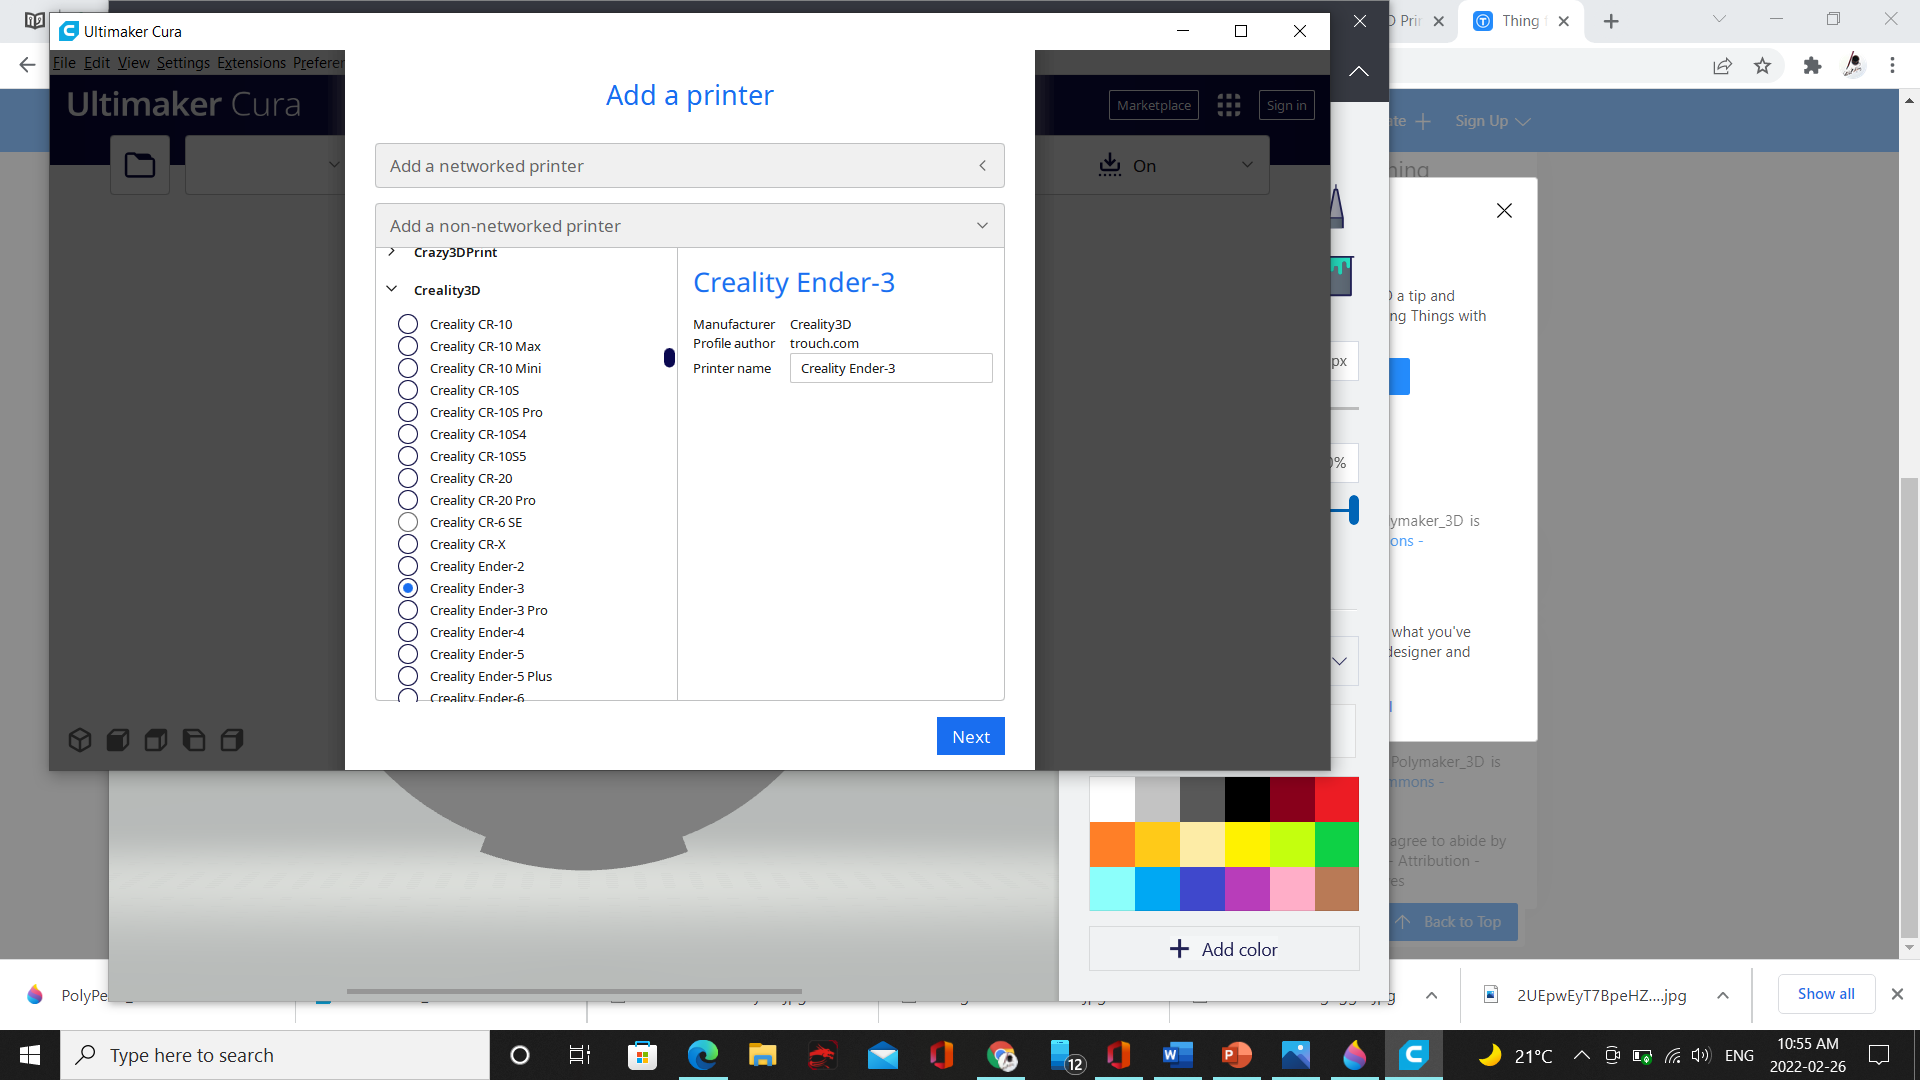
after installing the app and open it, you will be asked to choose the printer name and type
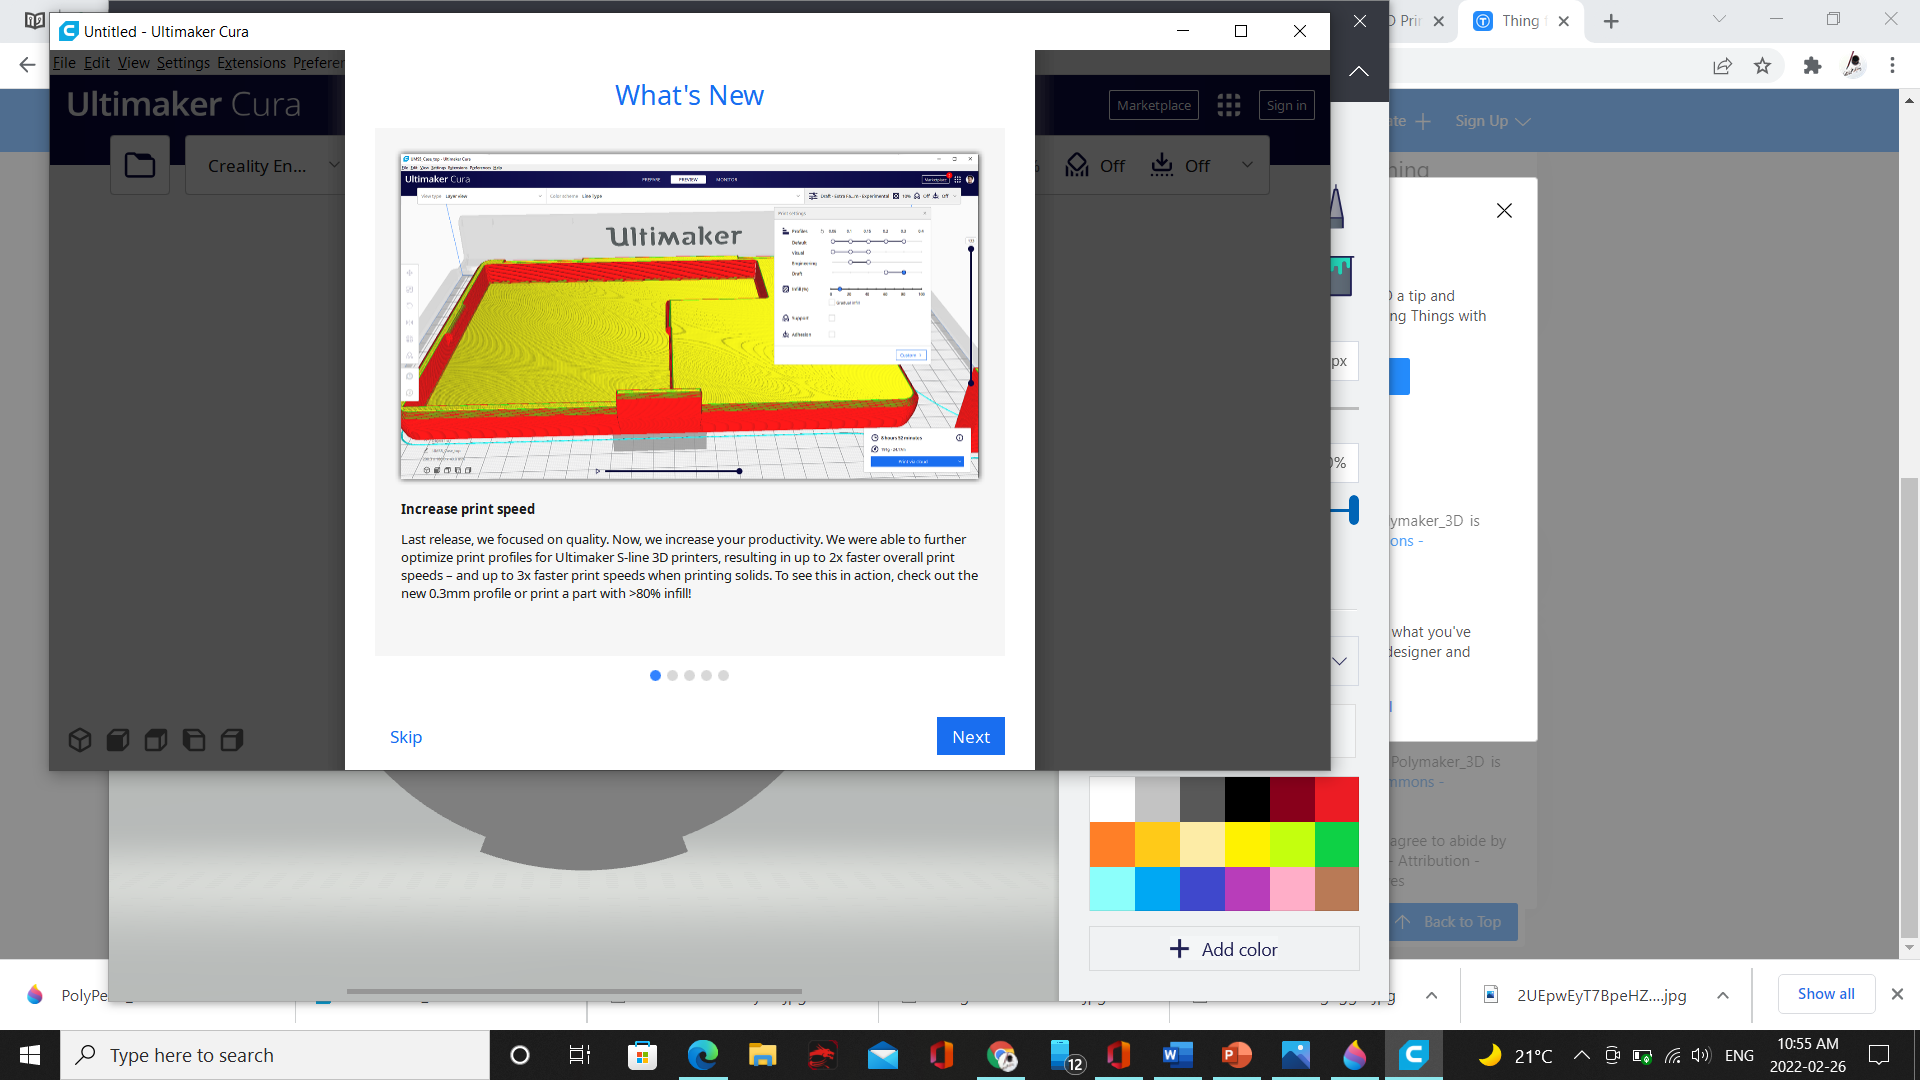
 then some guides will be shown to you just skip them
 and finally here we go here is where you can upload, modify and export you files to print them.
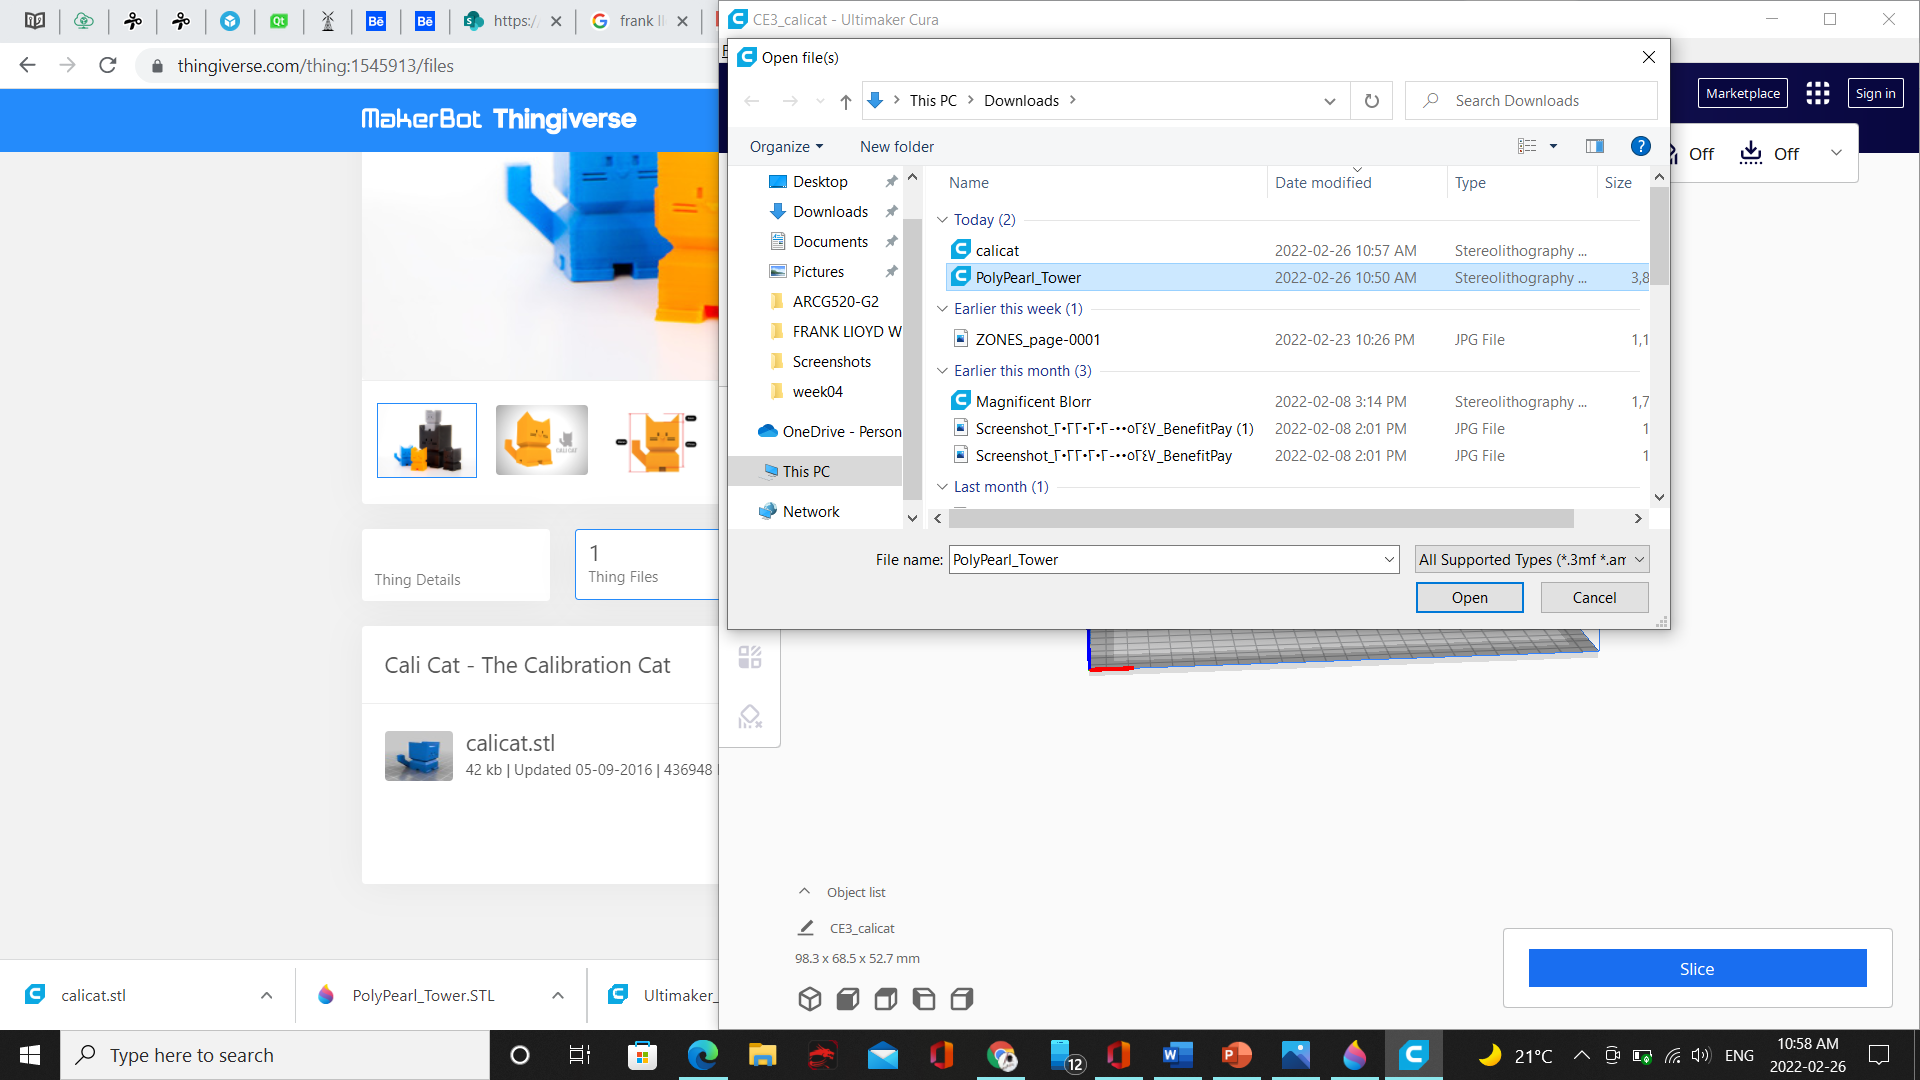
 to download your file follow the next:
1- go to files
2- select your STL file
3- click on opens
to download your file follow the next:
1- go to files
2- select your STL file
3- click on opens
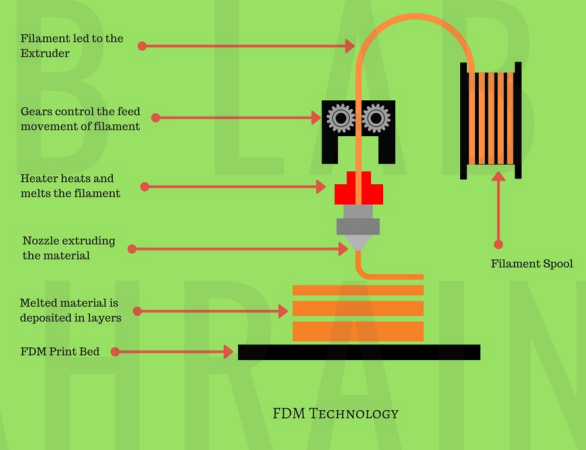
FDM
The process of a material melt is called FDM. the material in this process deposited as compact layers to form the three dimensional shape.
in the following image we can see the process of how FDM works
to make your model stable and strong during and after printing you have to have an internal fill as shown
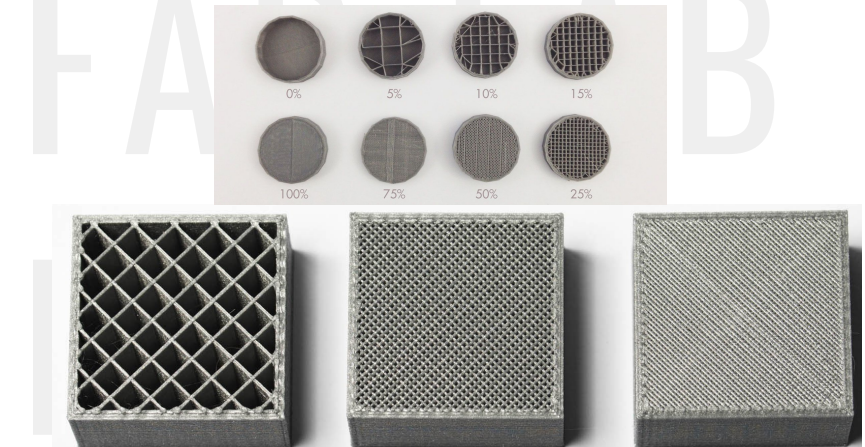 this fill have different patterns and percentage of filling. depend on this filling you will make your object strong or weak.
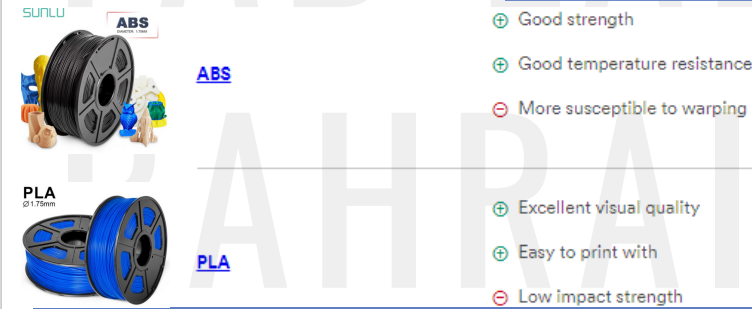
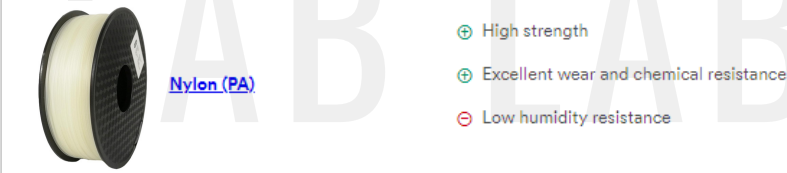
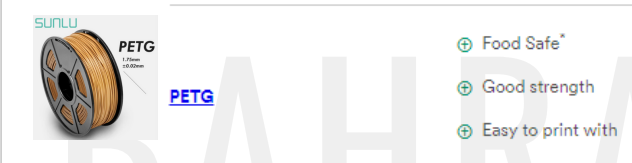
in the following images show some the material used for 3D printing
this fill have different patterns and percentage of filling. depend on this filling you will make your object strong or weak.
in the following images show some the material used for 3D printing
Advantages
there are many advantages for 3D printing and the use of 3D printer i list some of them below: 1-you have the ability to design and print complex shapes. 2-less material used 3-creativity
Disadvantages
there are also some negative points related to 3D printing i list some3 of them : 1-limitation of size 2-take long time to finish the process
Thingiverse
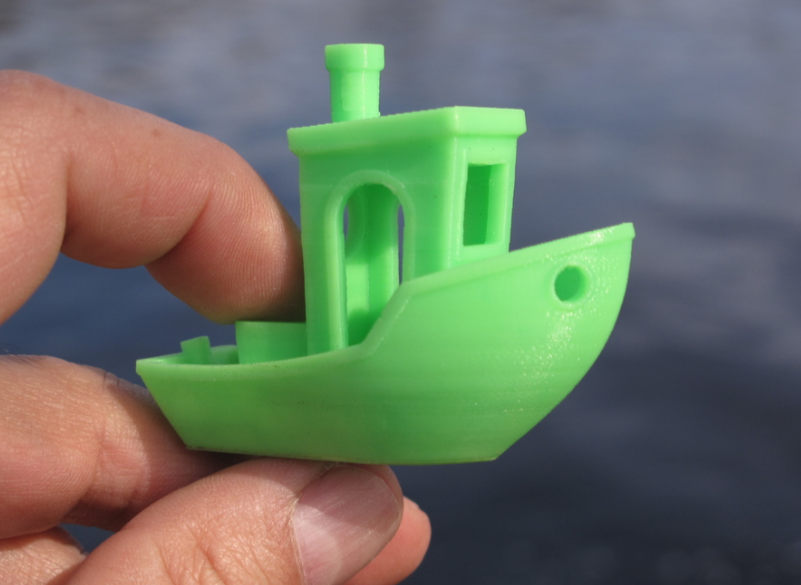
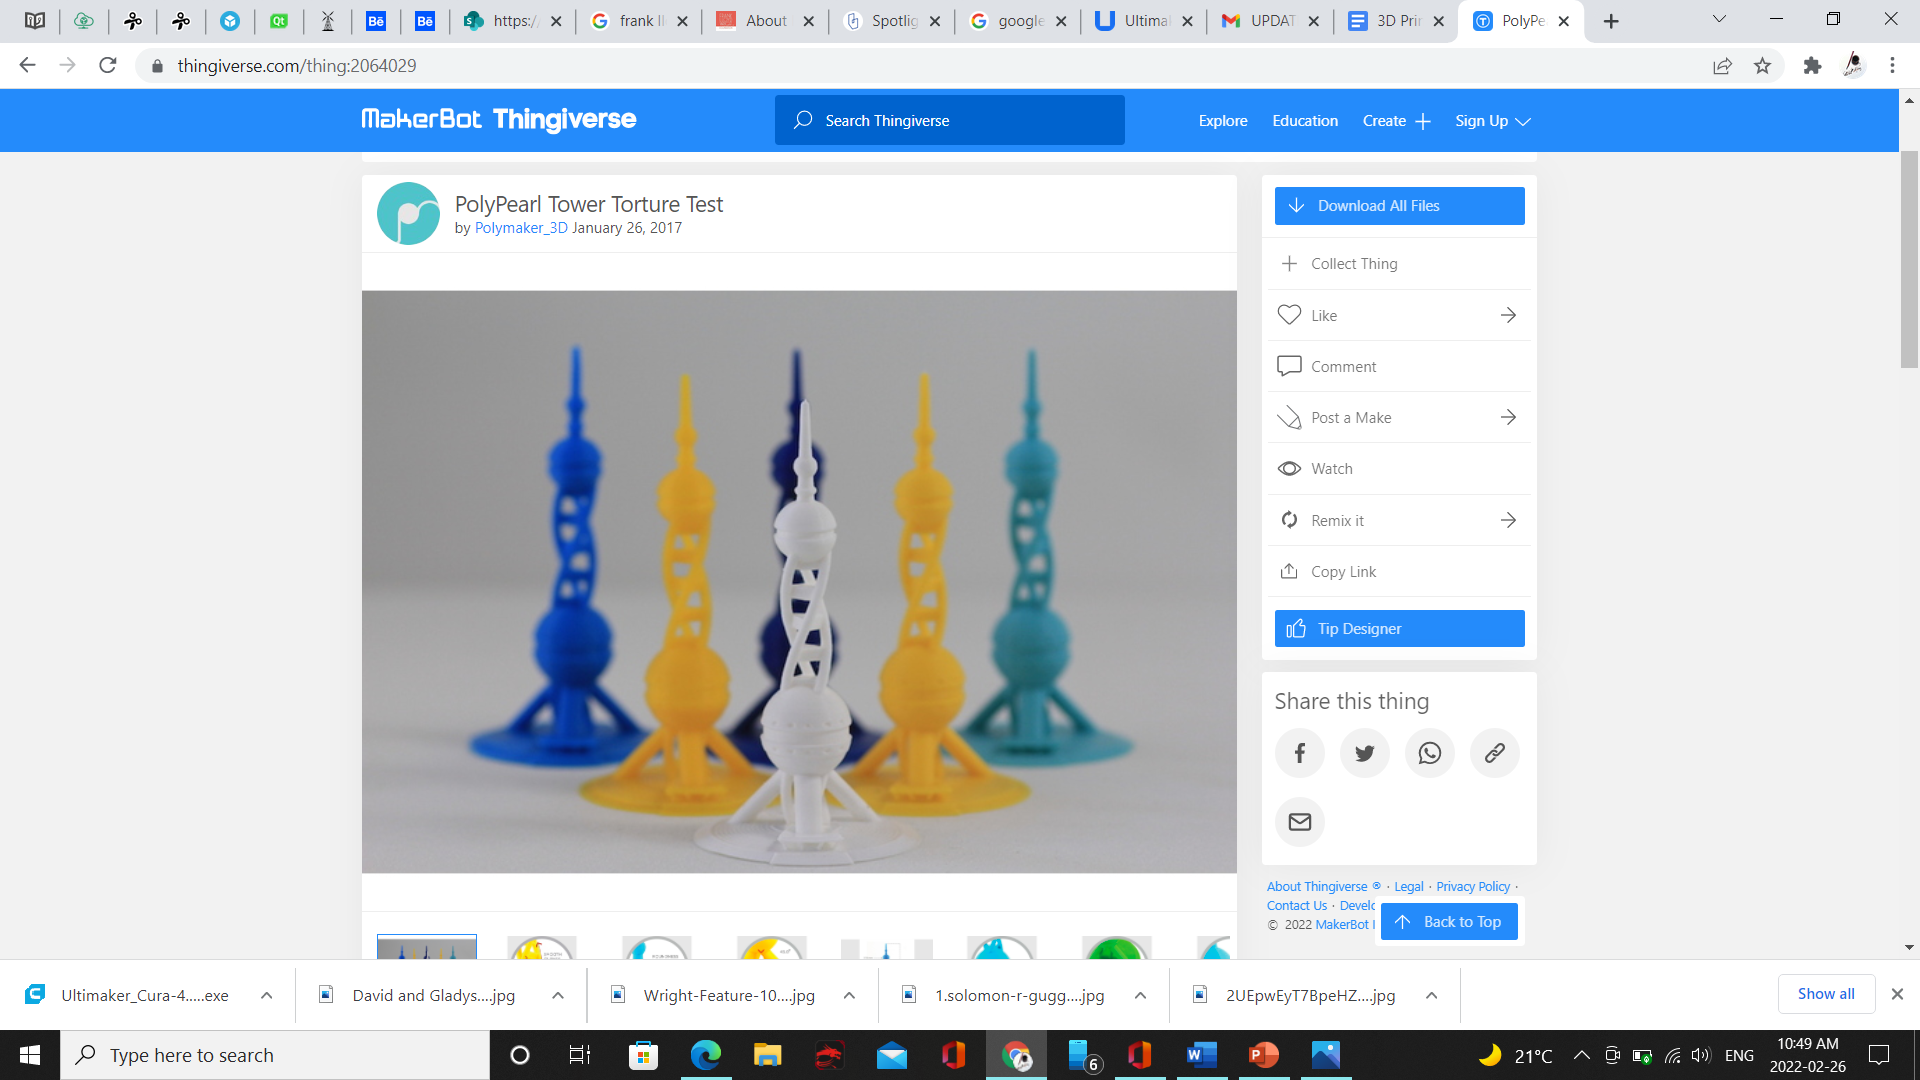
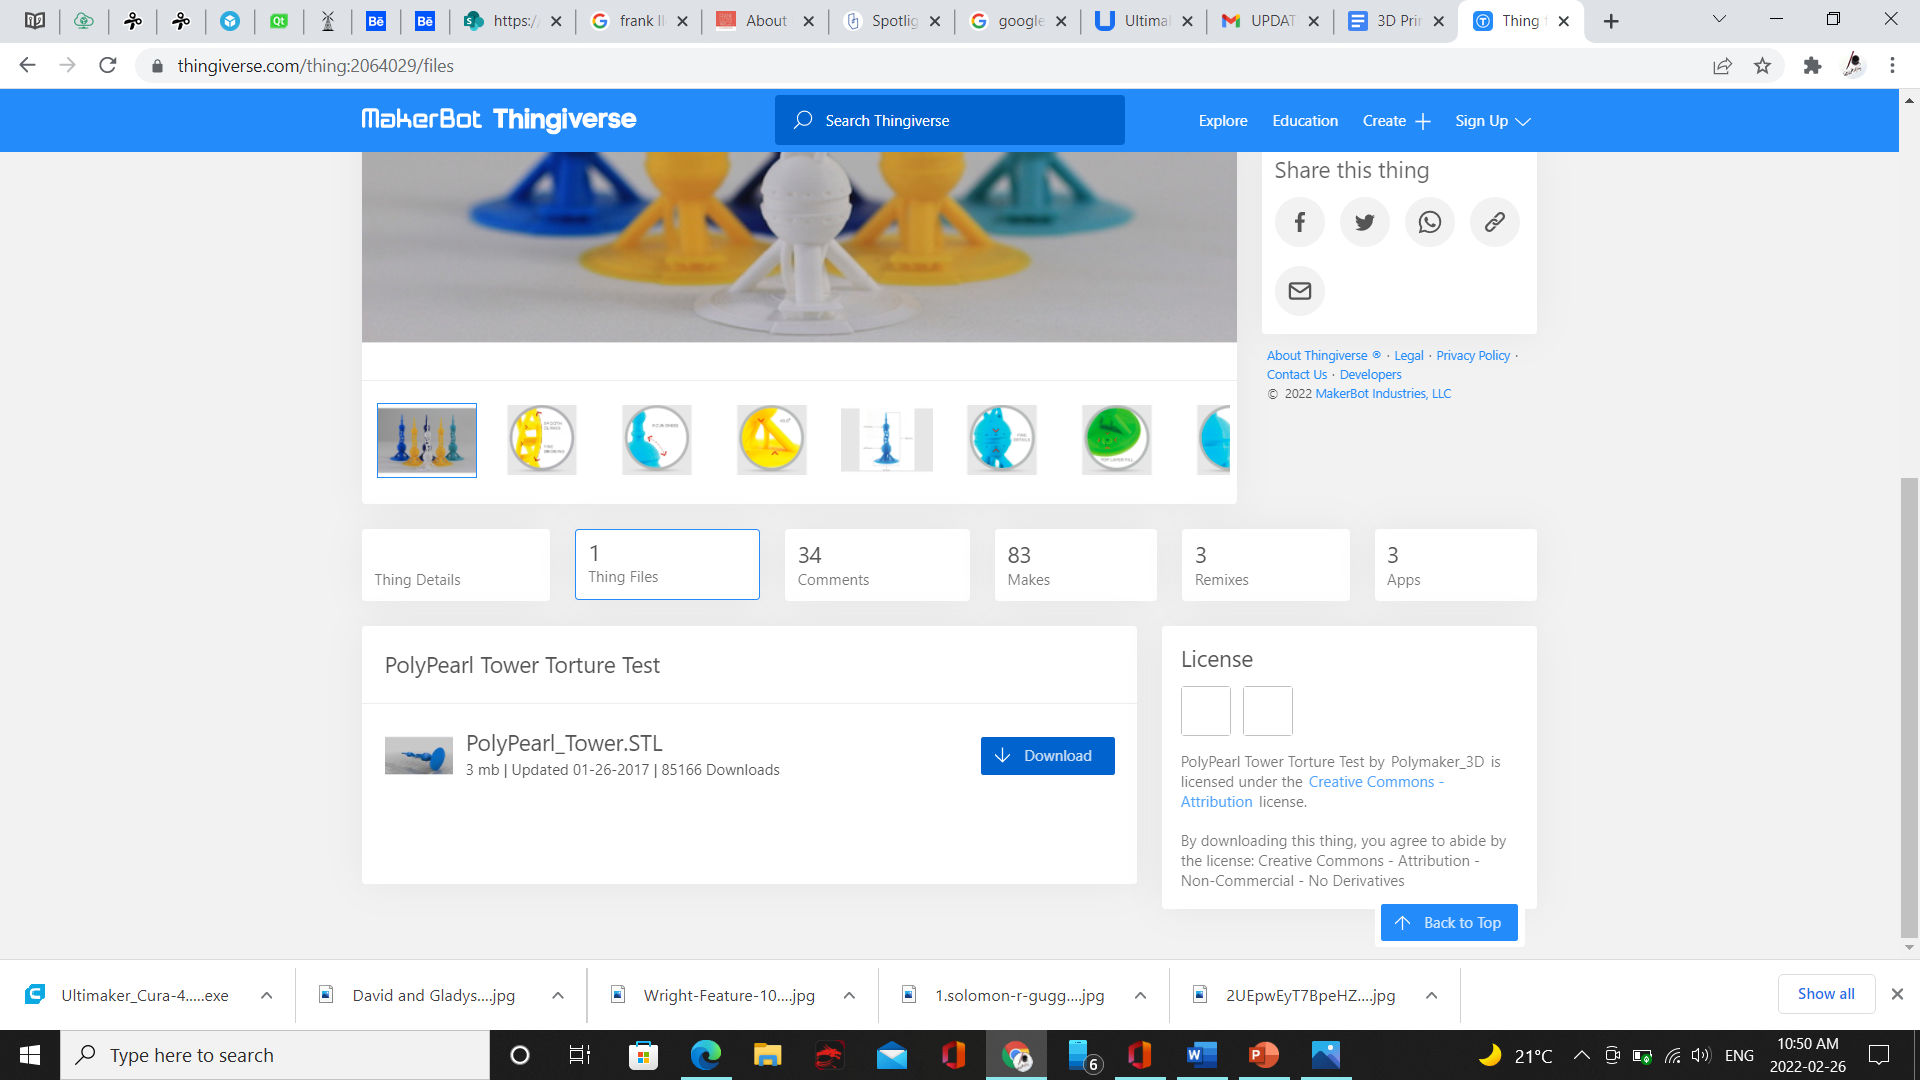
if you do not have ready 3D object you can visit this website and choose from many free 3D object and print it.
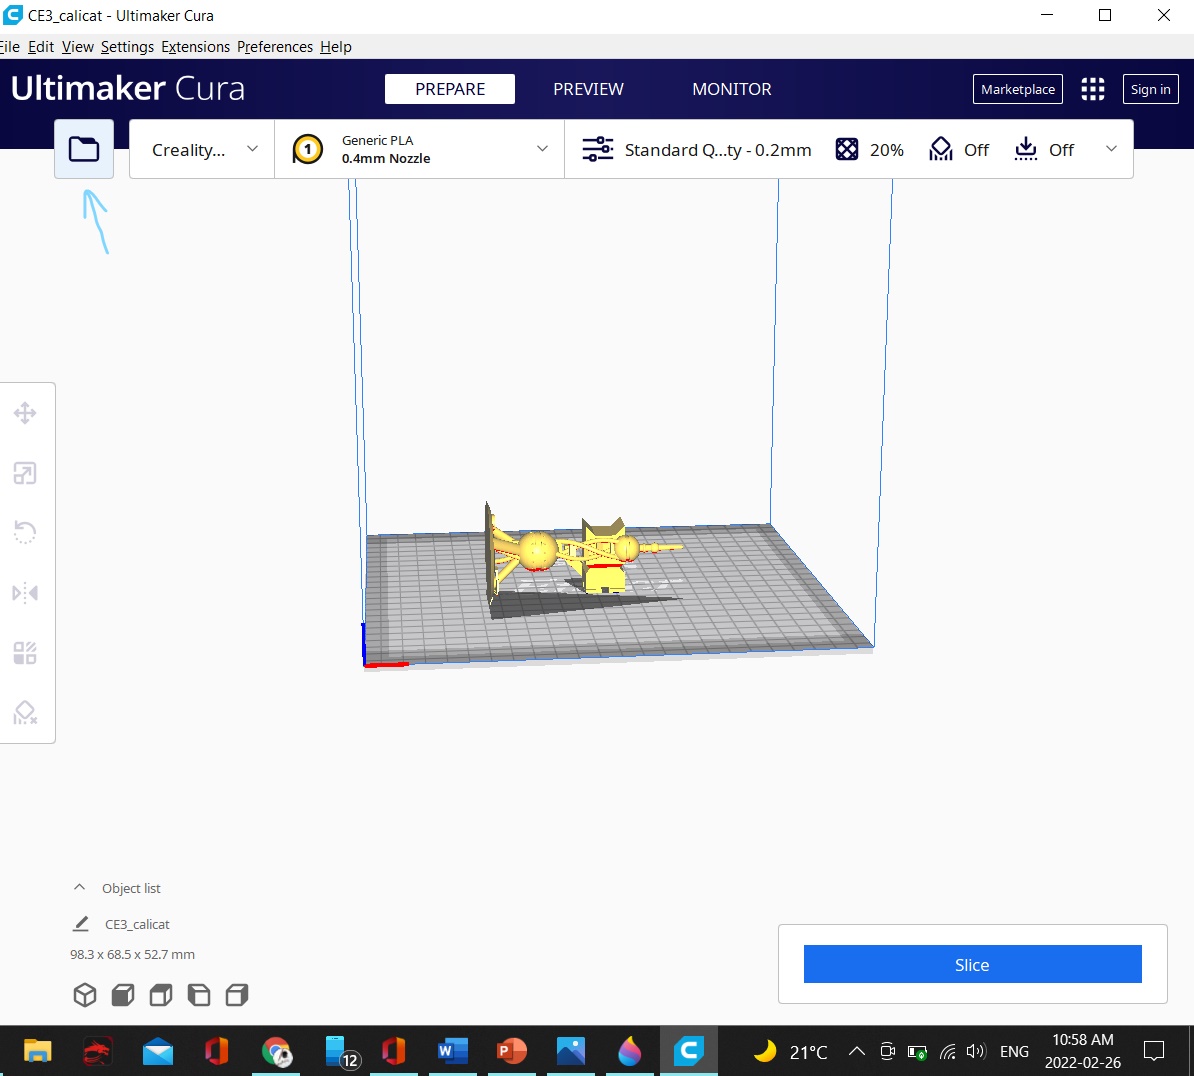
I choose a 3D object from this website to try using 3D printer
this was the 3d printing process and the final result
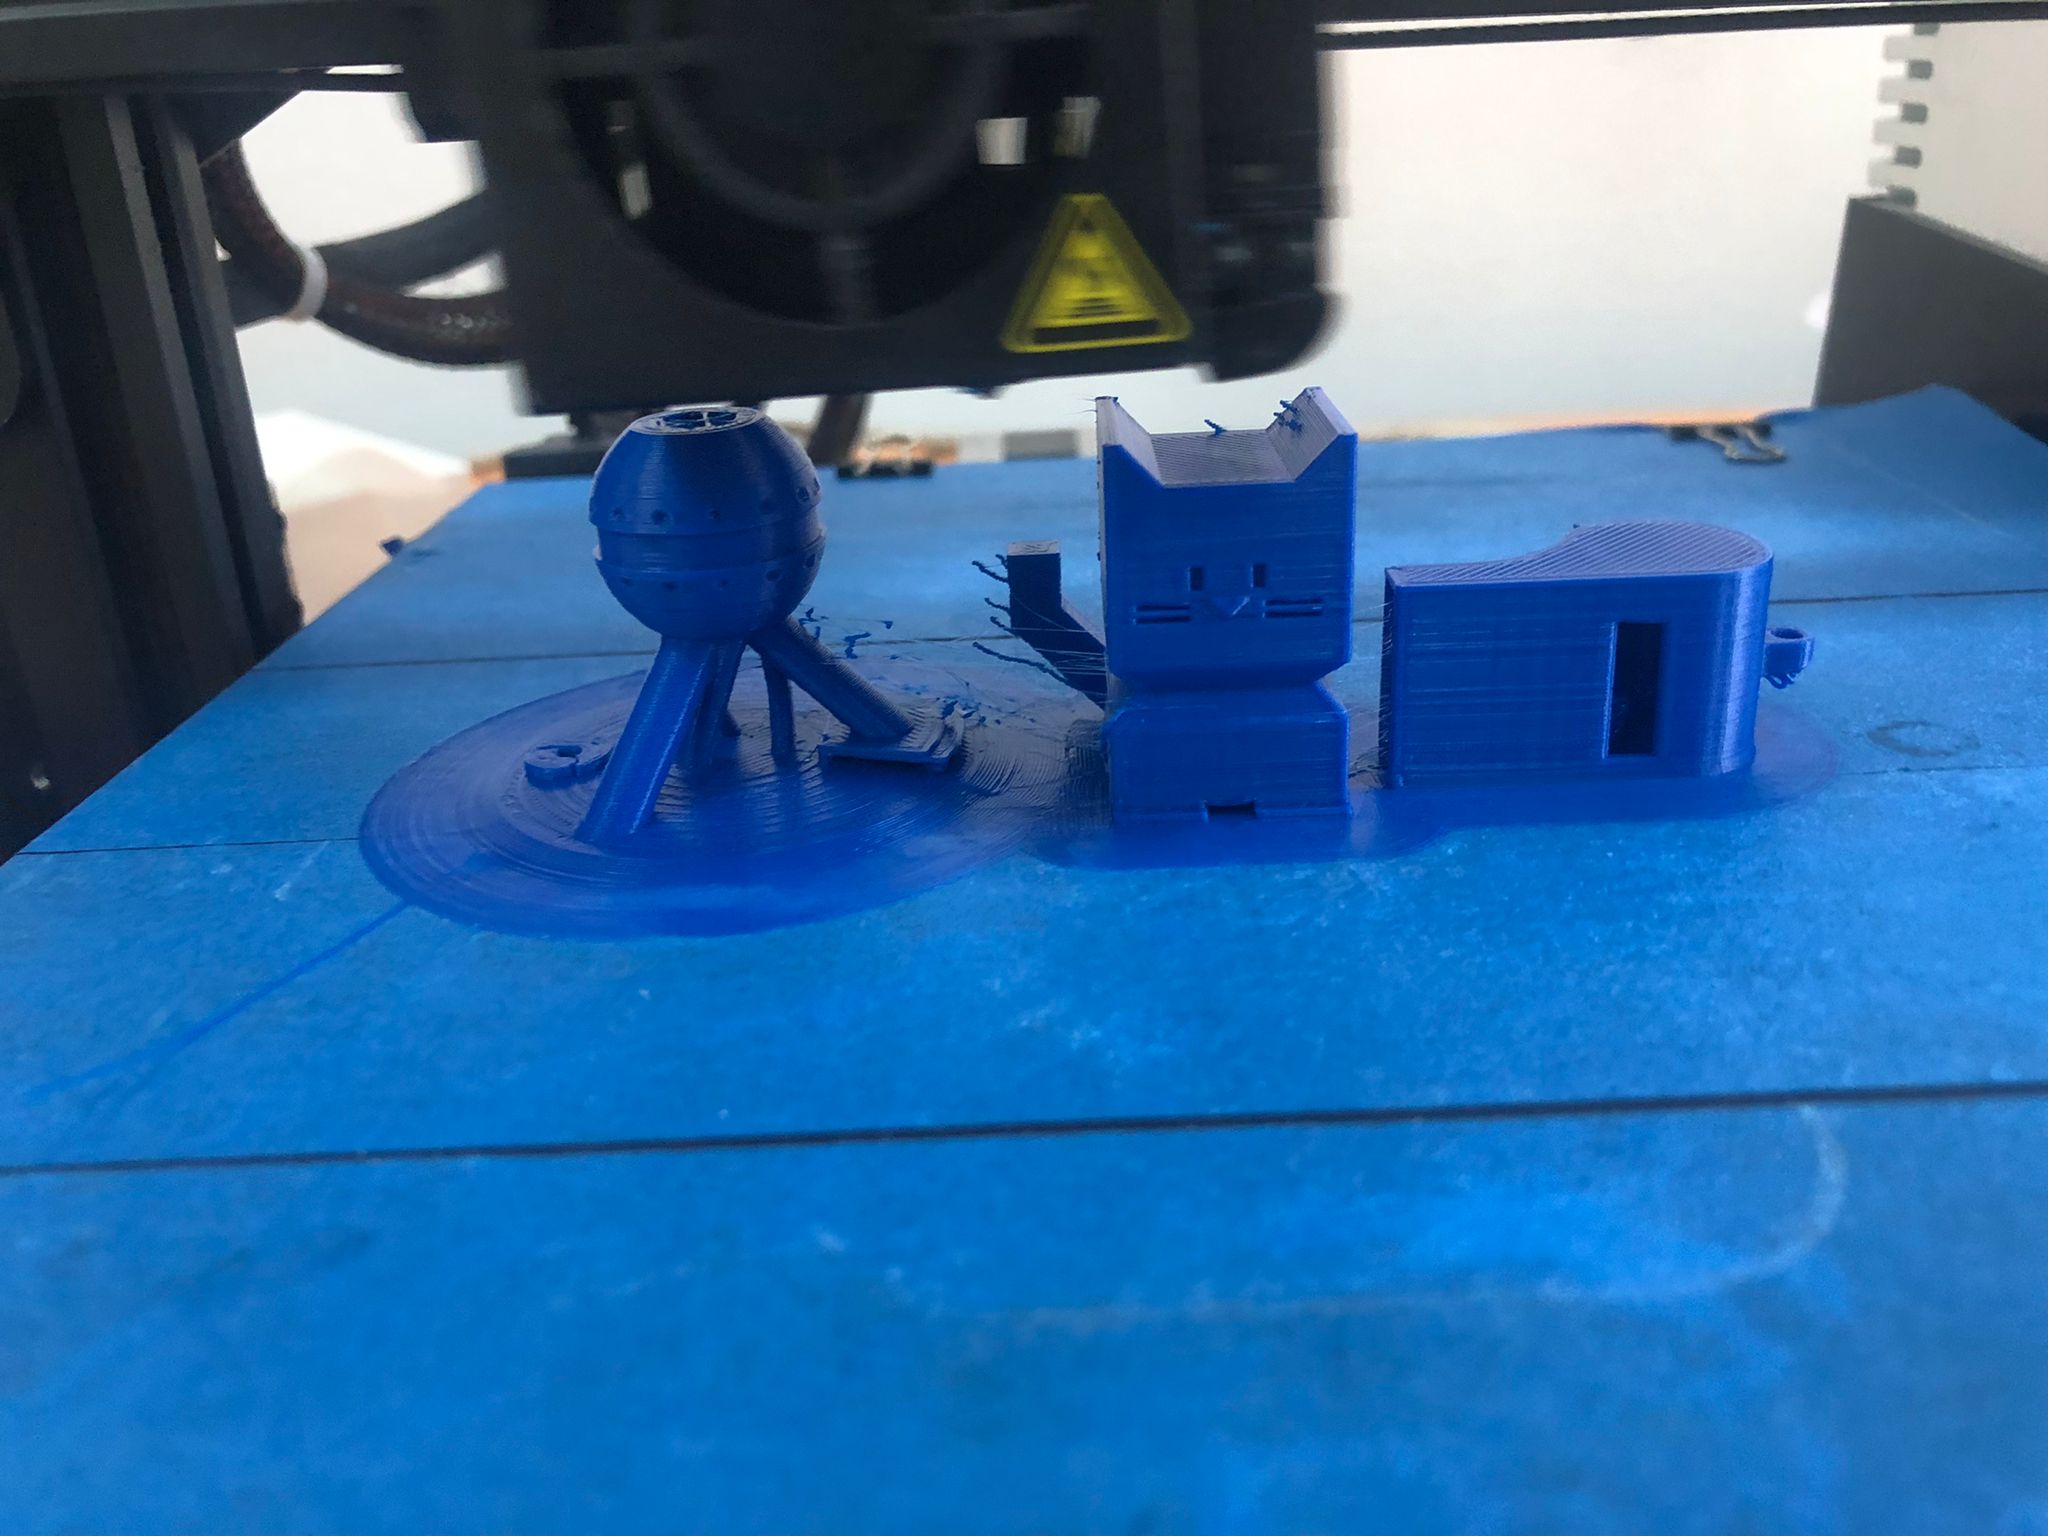
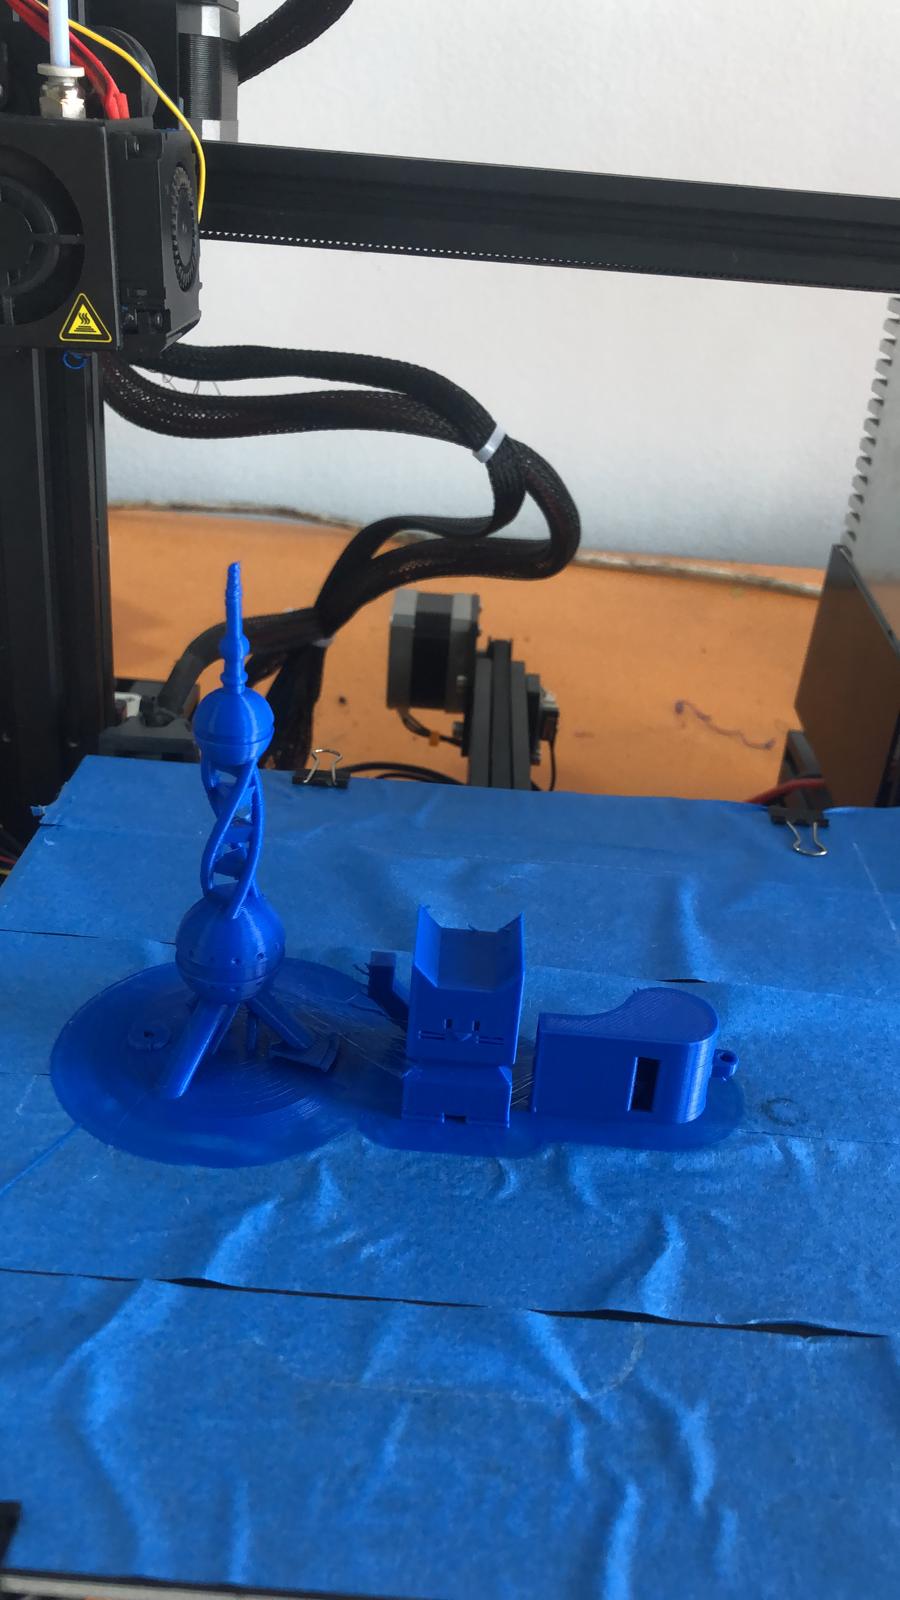
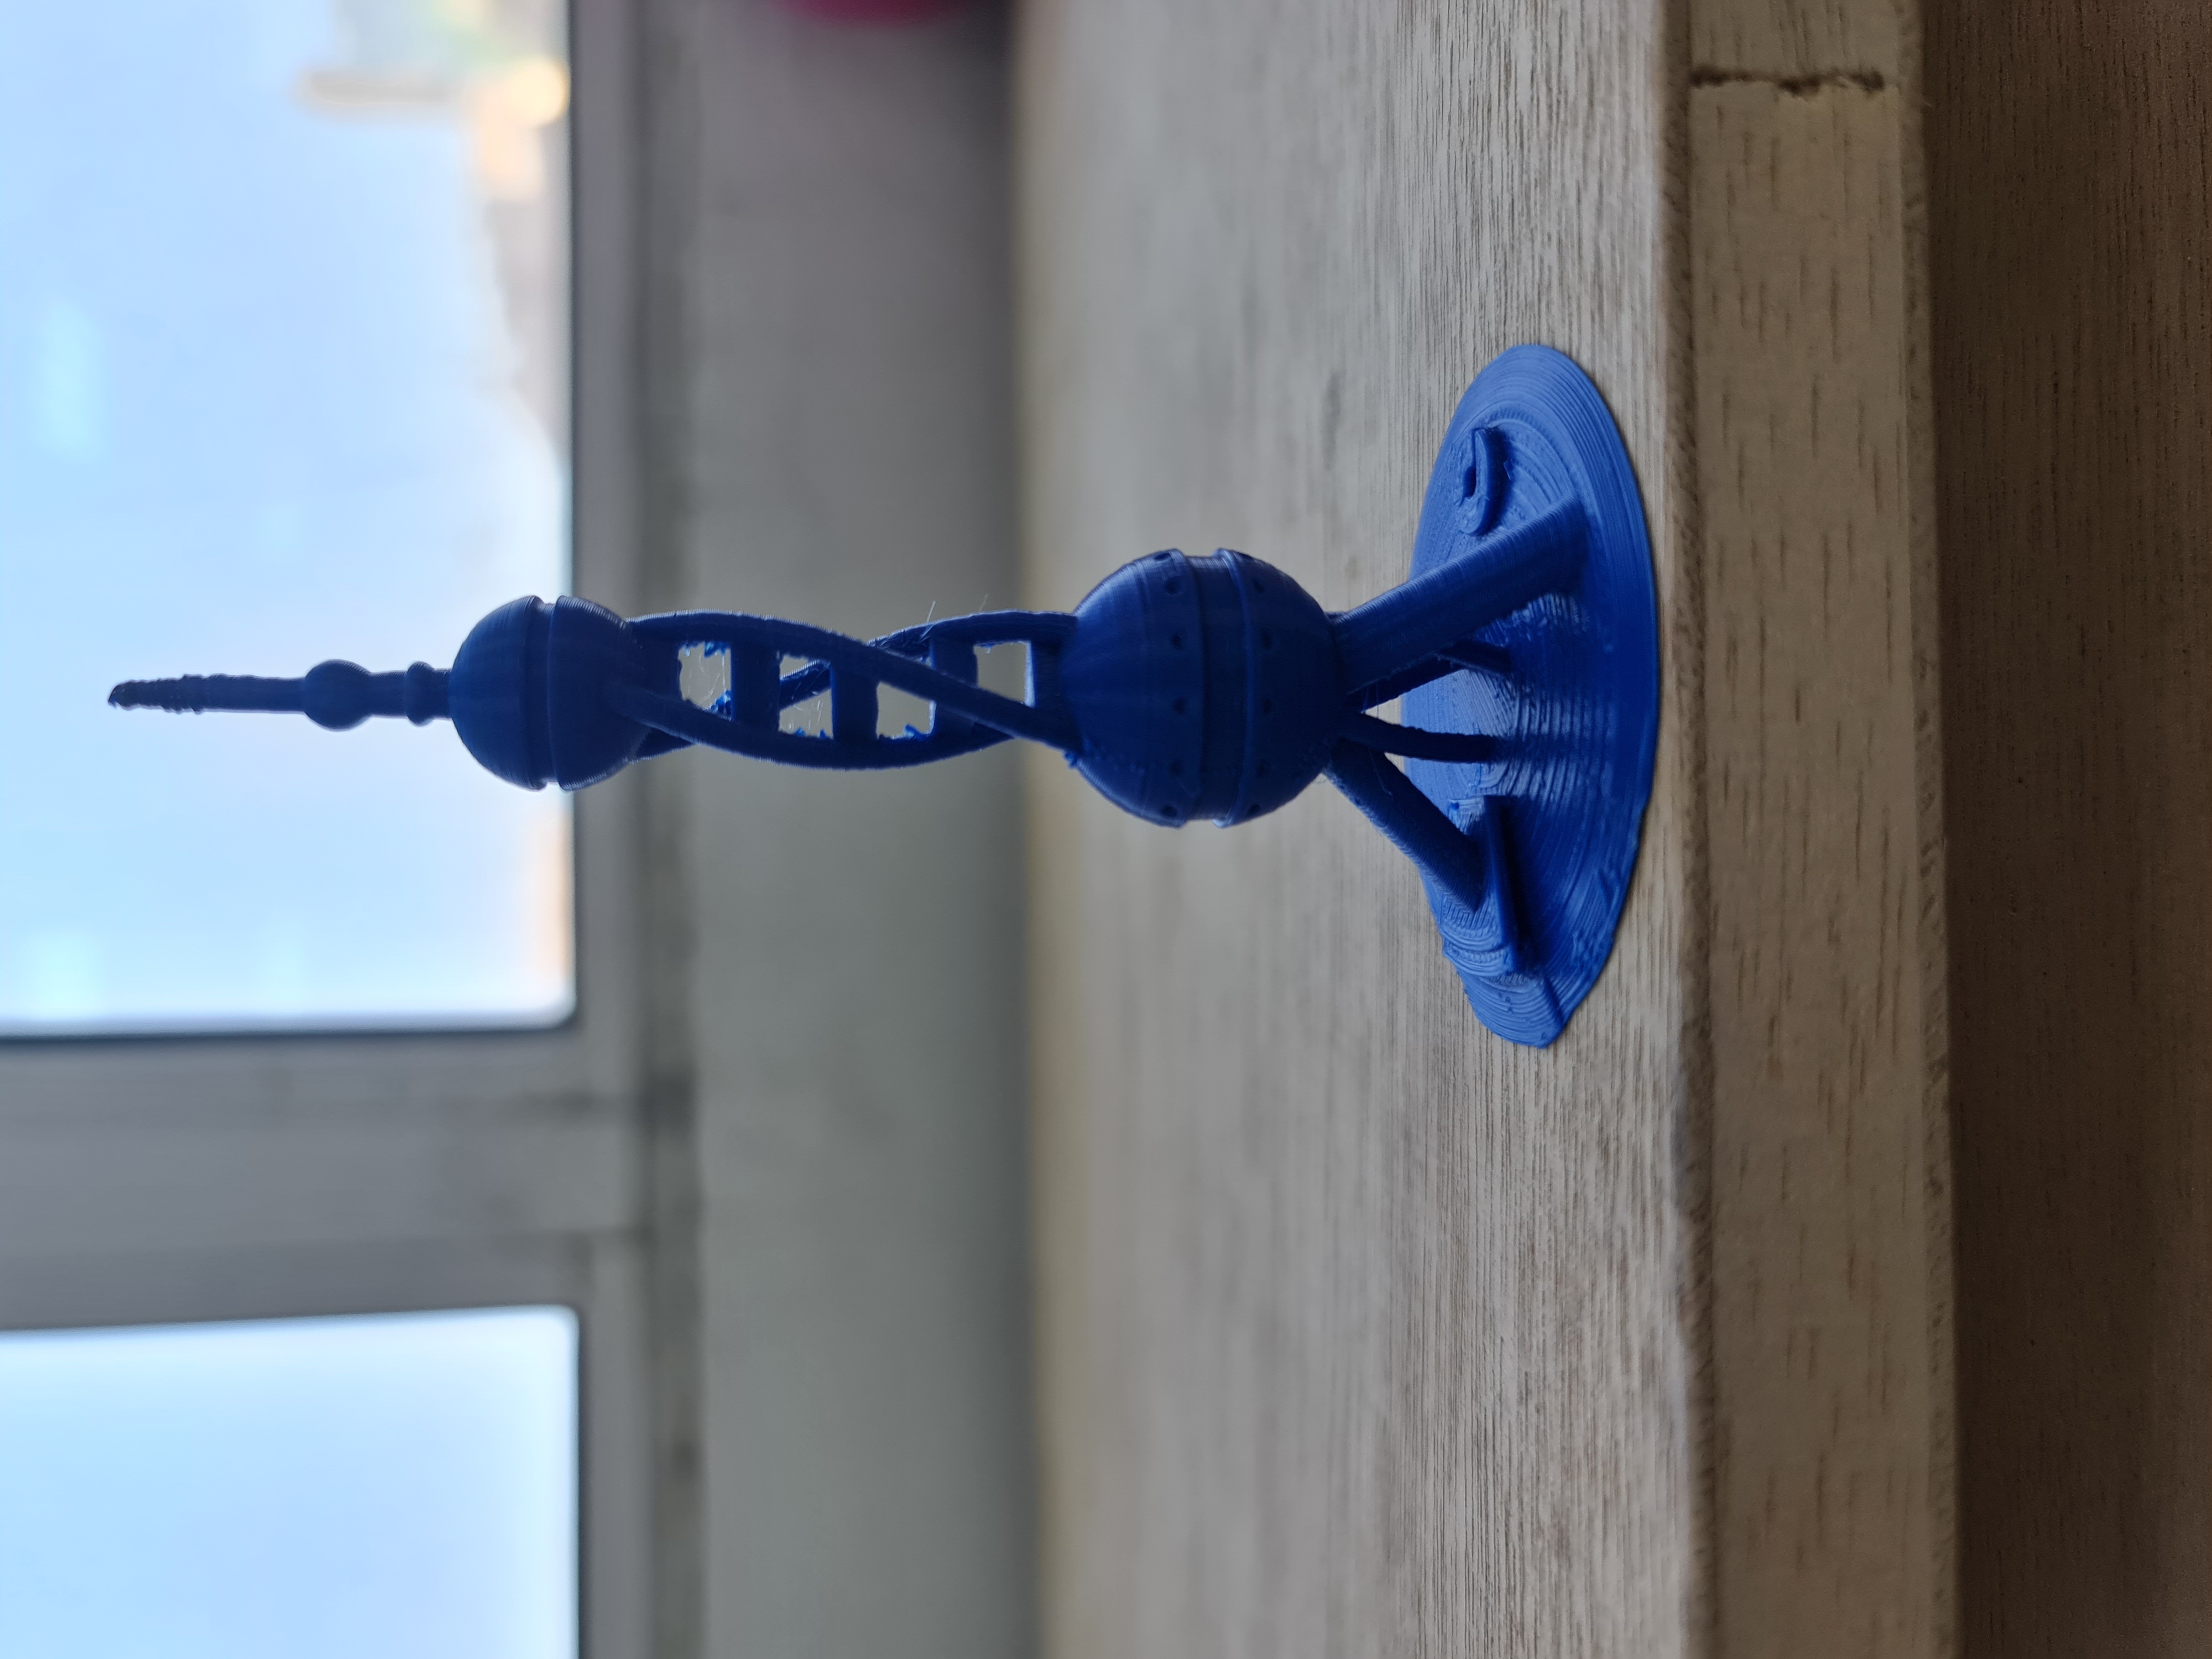
the final result was good and neat.
- For my design I used tinker CAD program, I did an easy design from the ready made designs in tinker CAD.
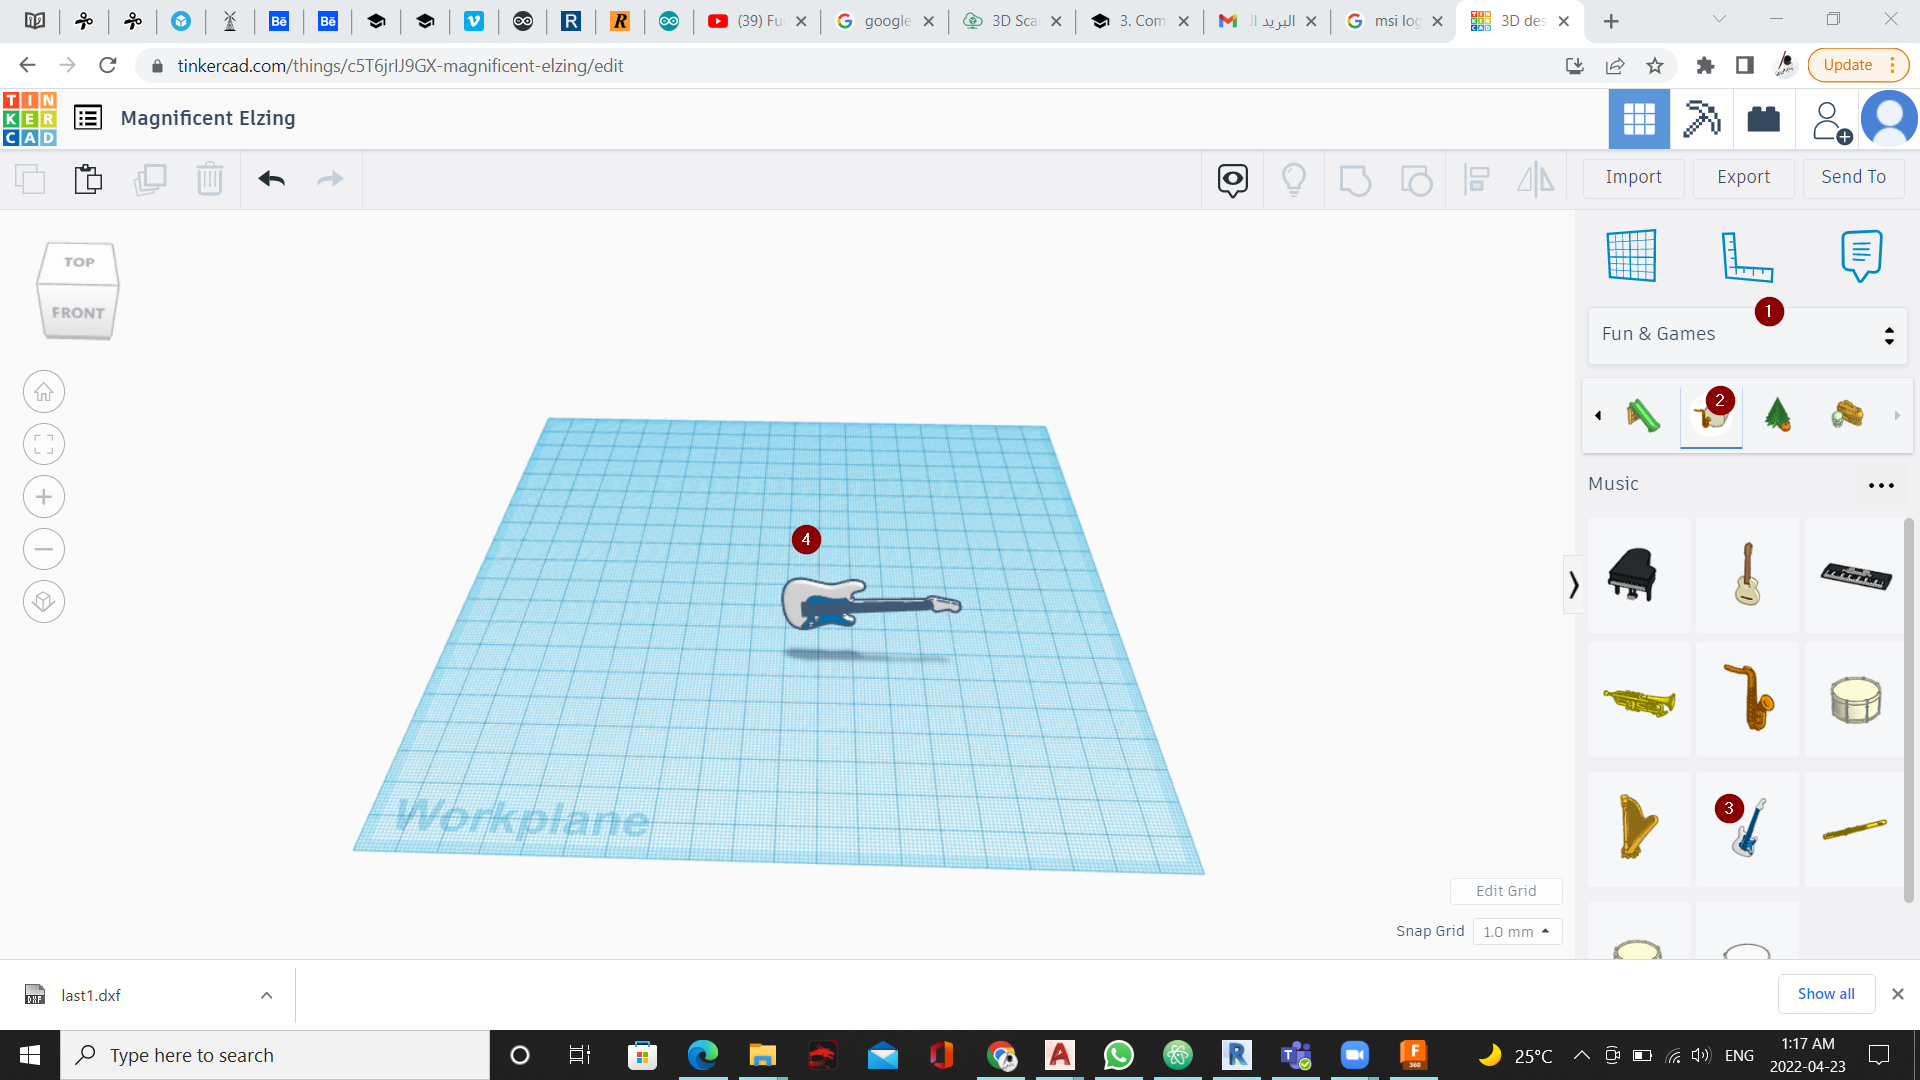
here is the steps that I did for my design:
- open tinker CAD
- from the shapes option menu I choose fun & games
- then I choose the music shapes icon
- the I dragged the guitar shape to the work space
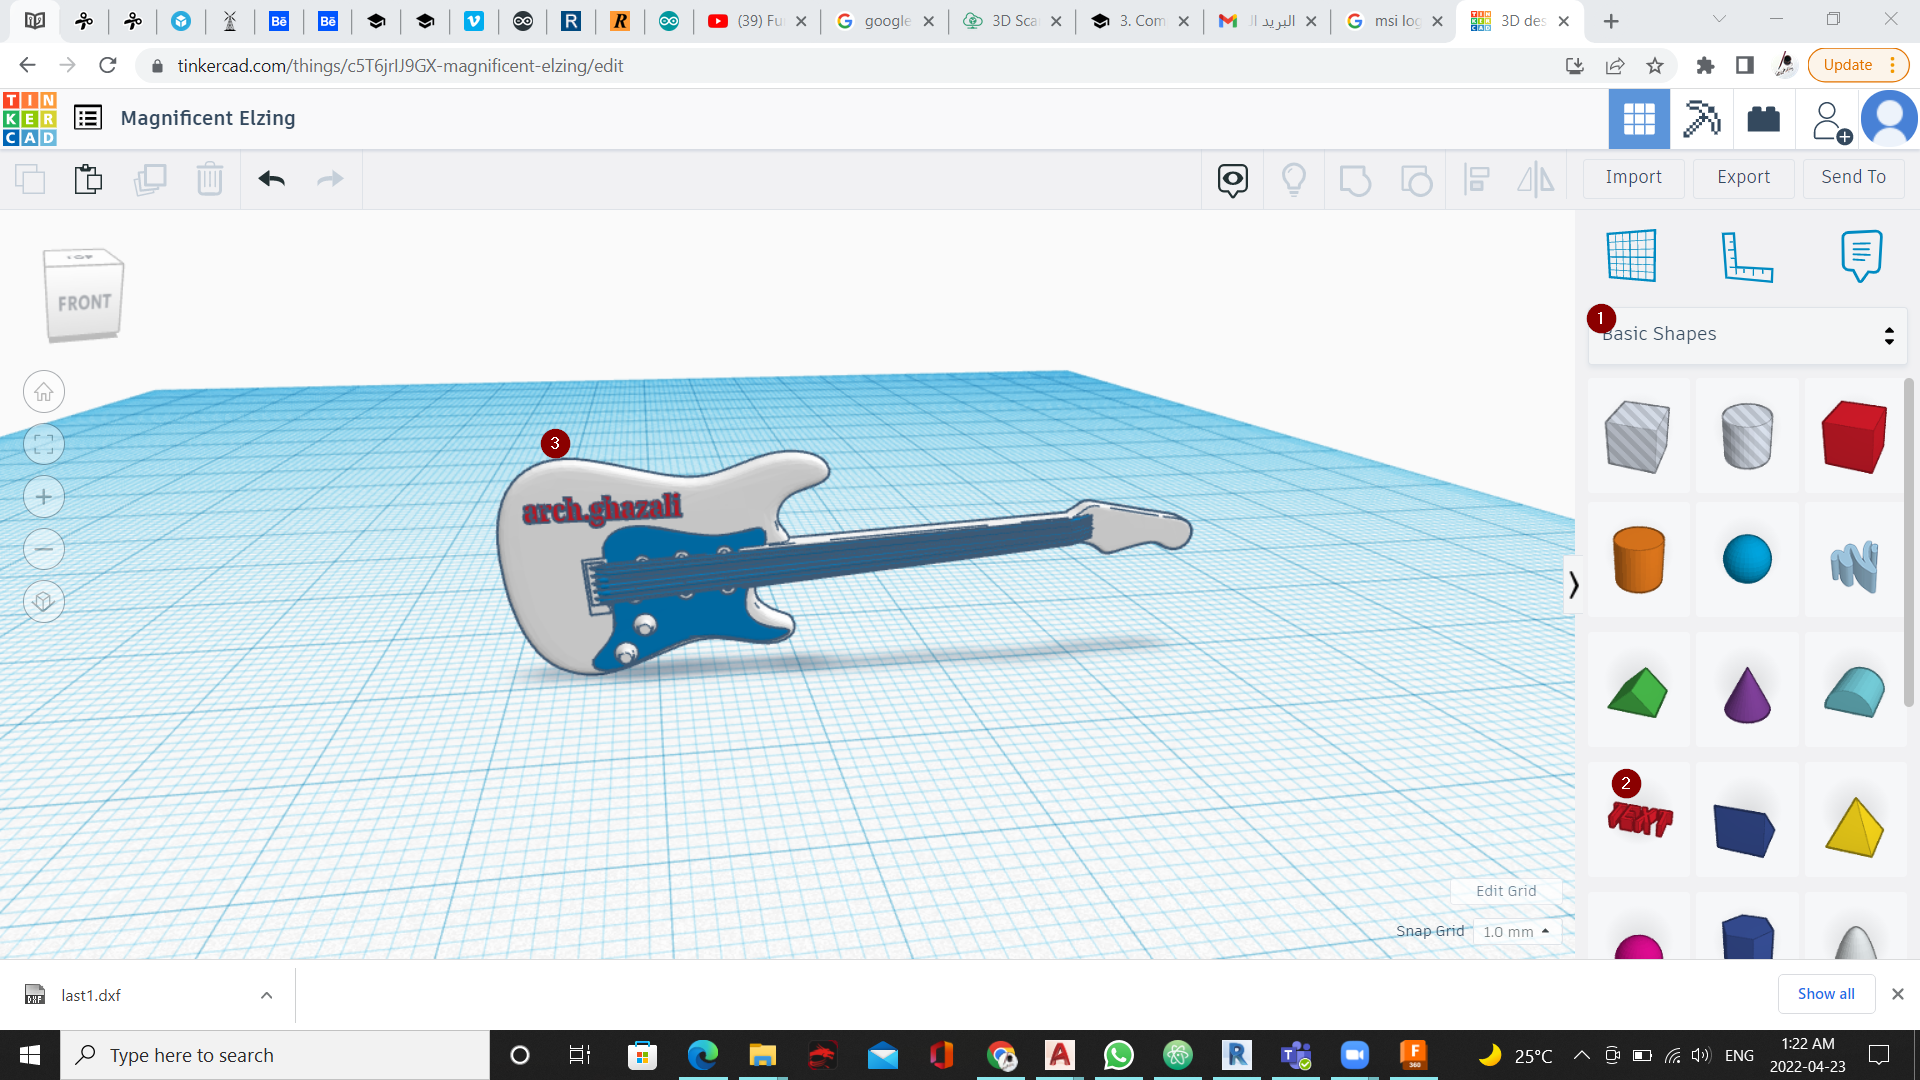
- here I add a text to the design.
in the images below is the process of printing the shape and the final result.
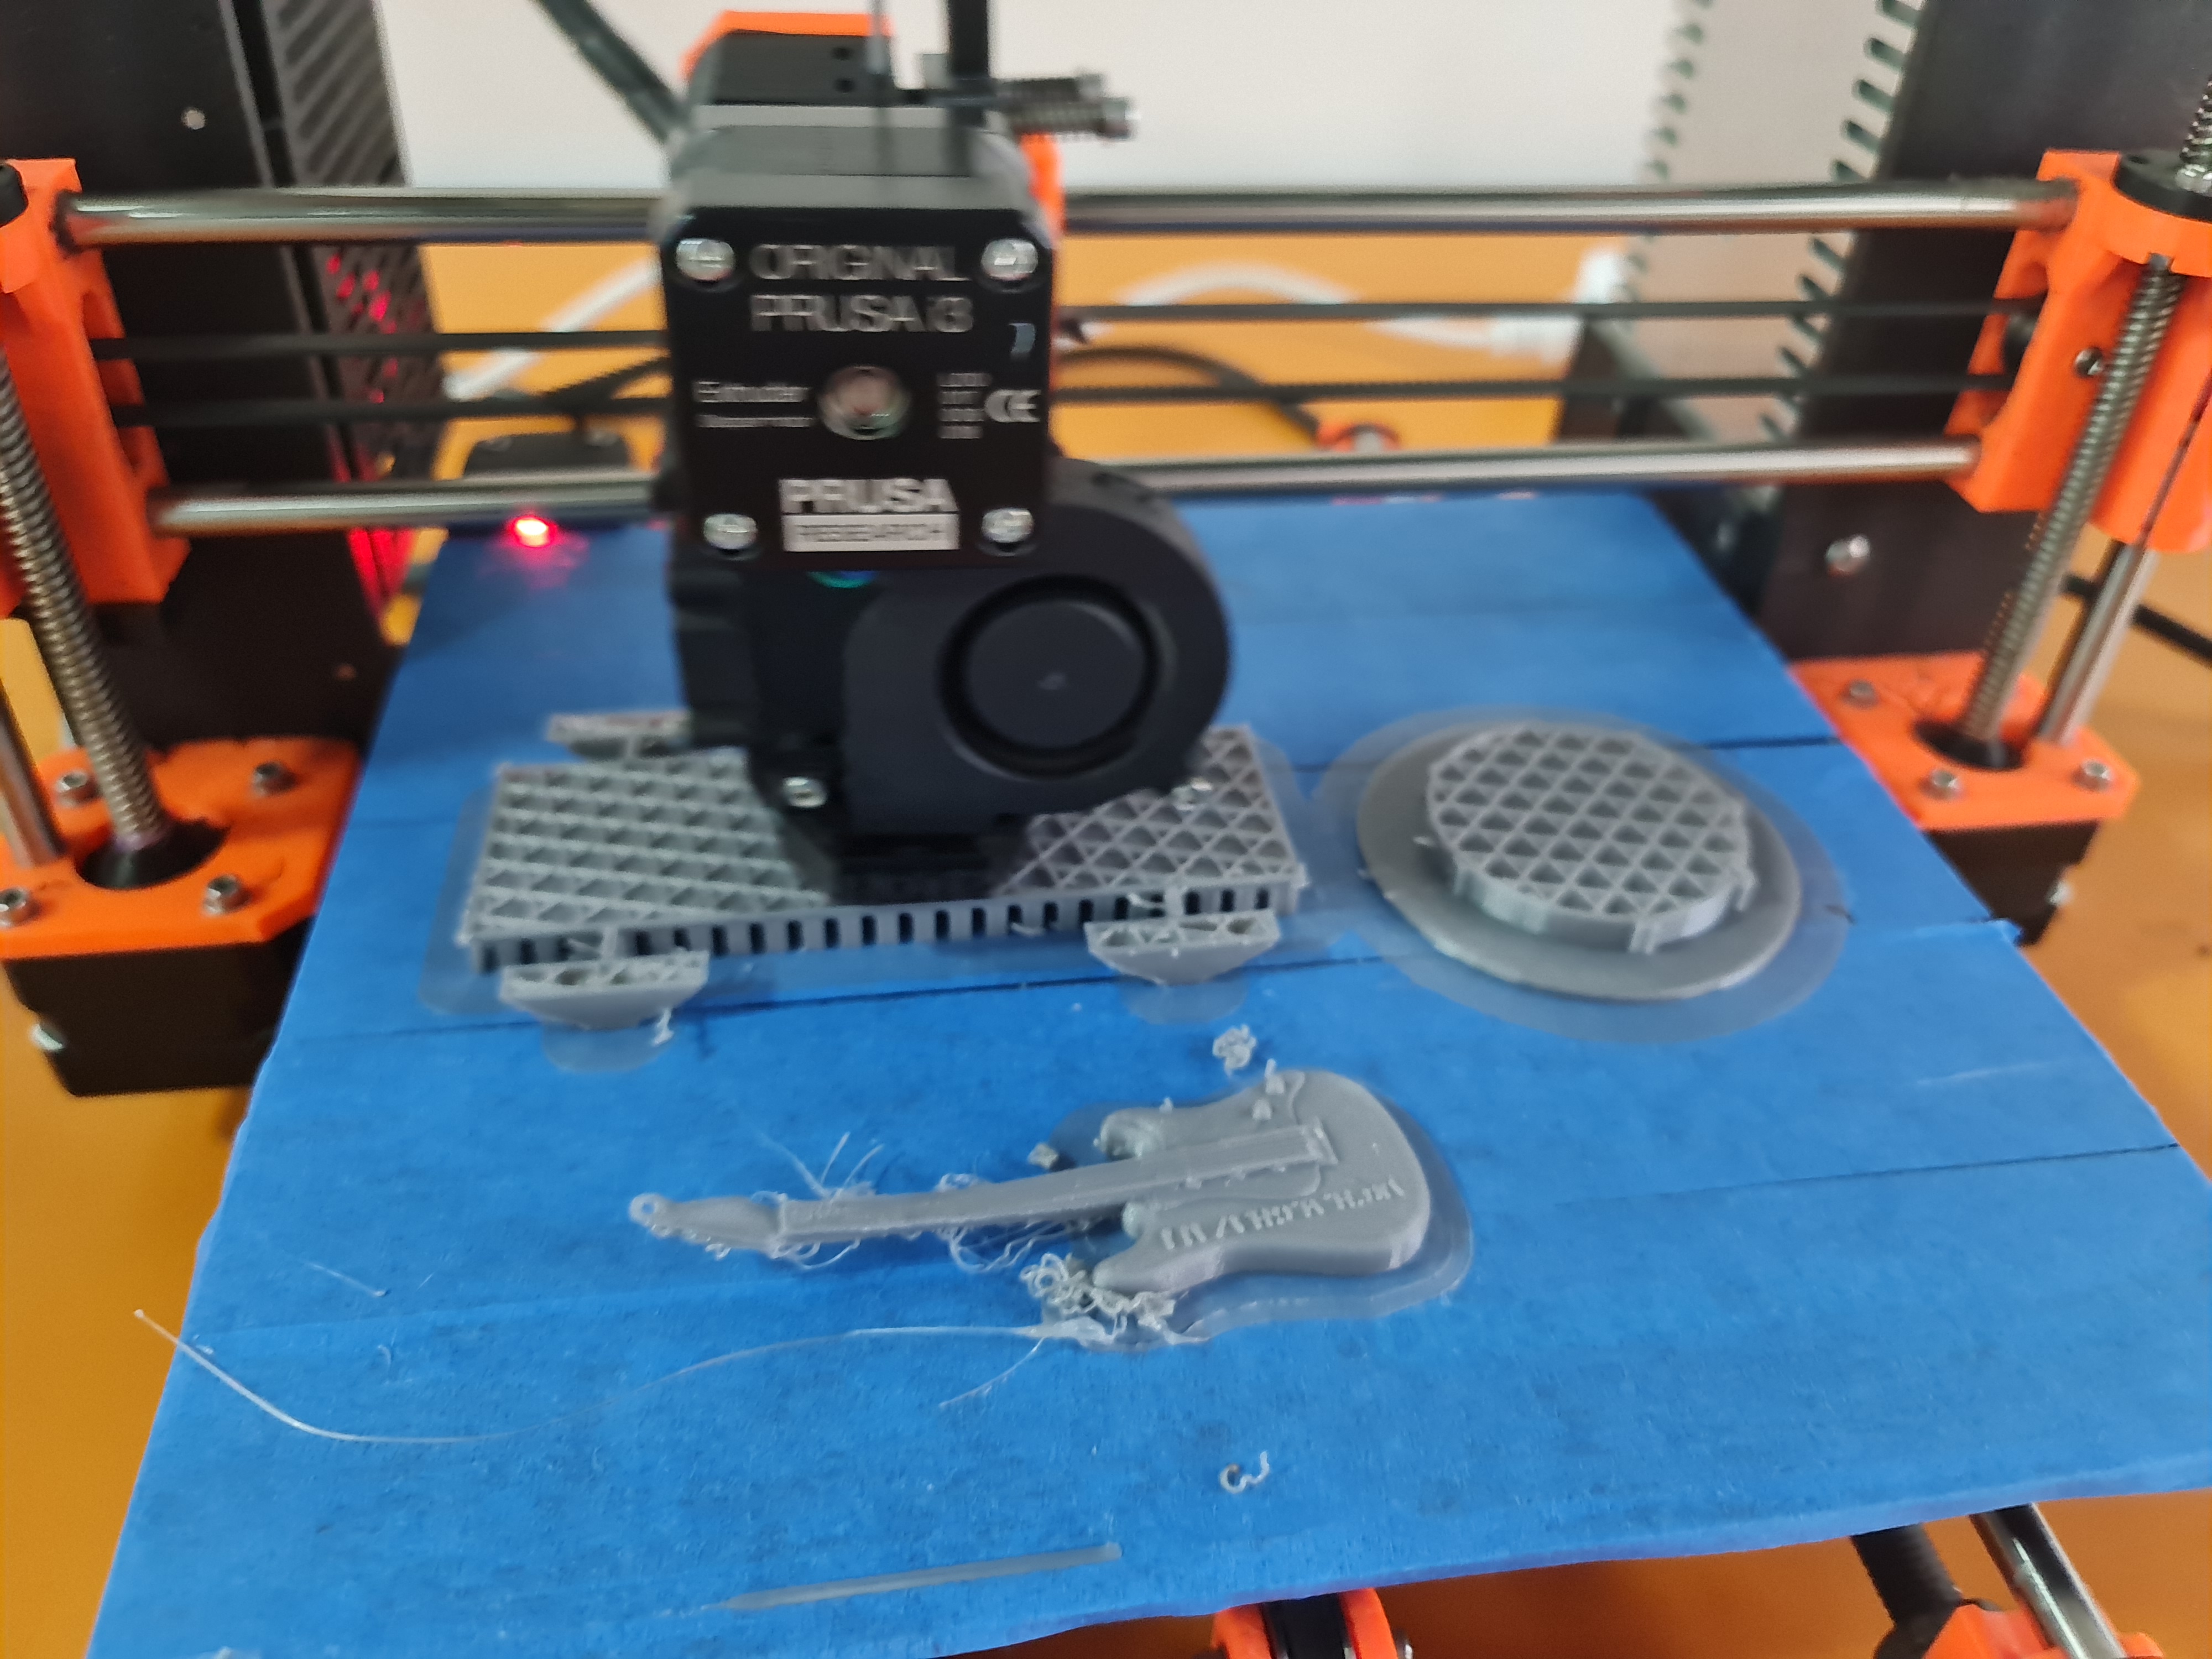
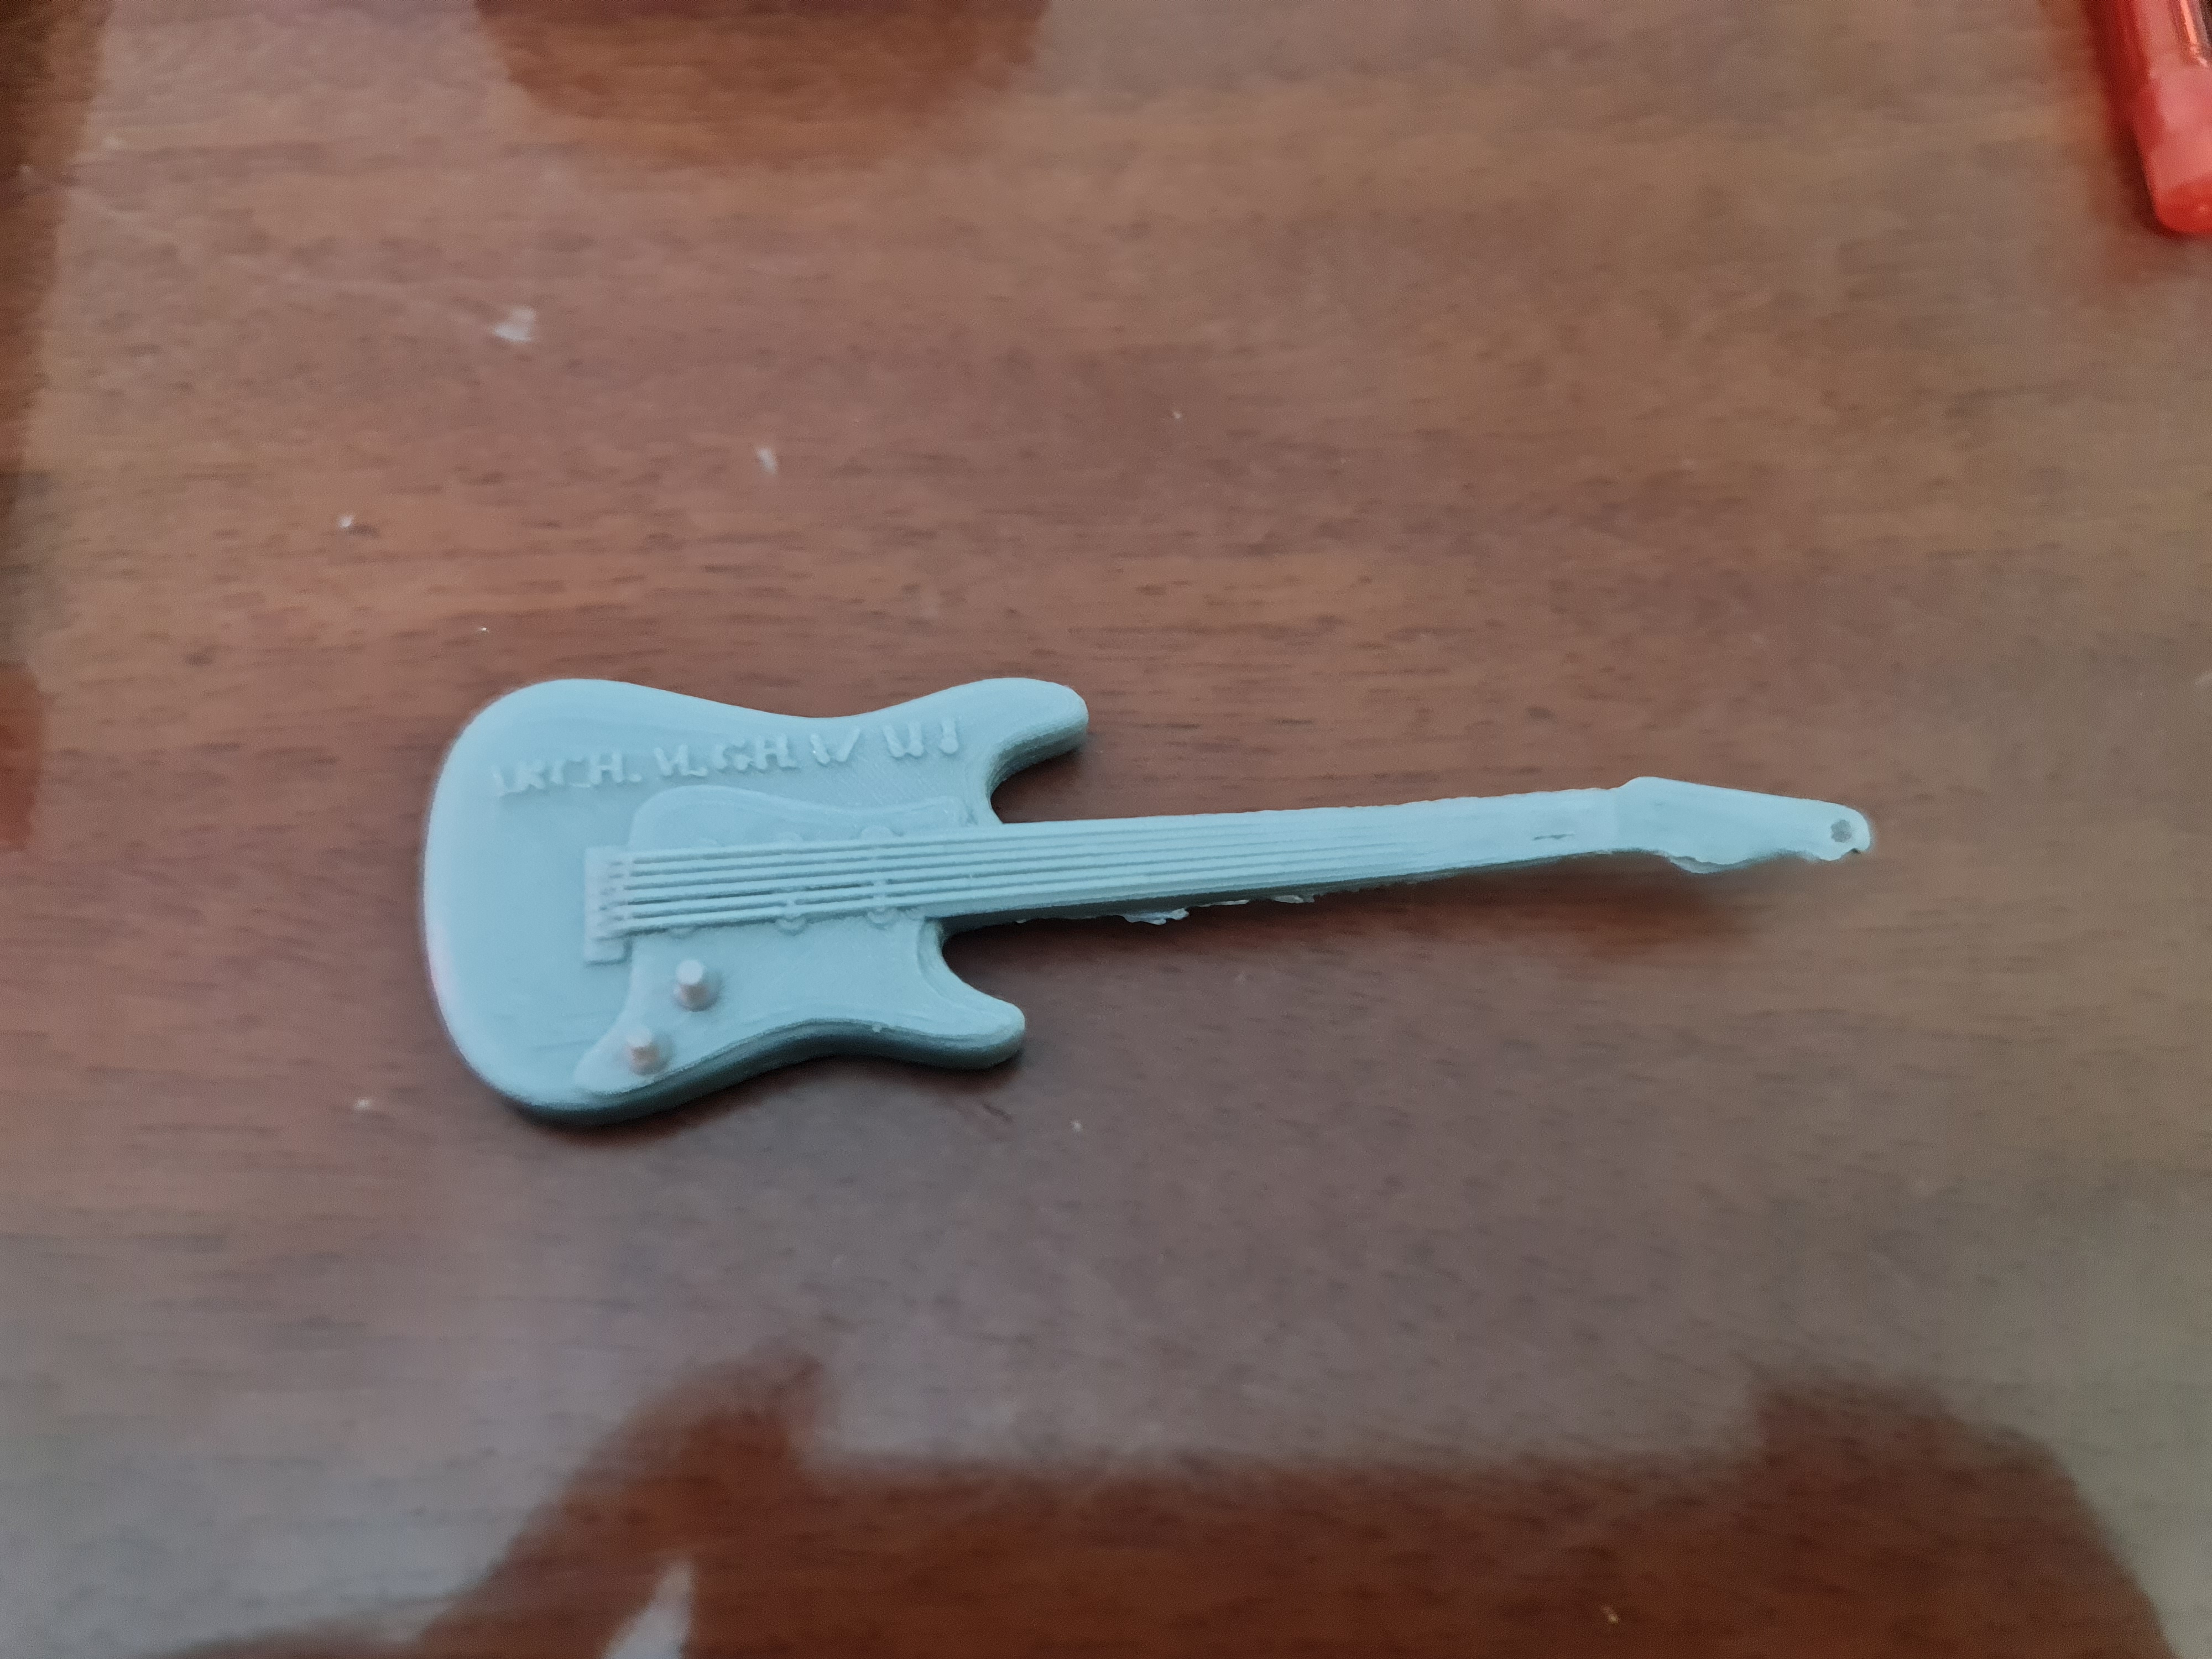
in the final result the shape was not good because when we print the design we did not use the support option to support the areas that have angle more than 50.